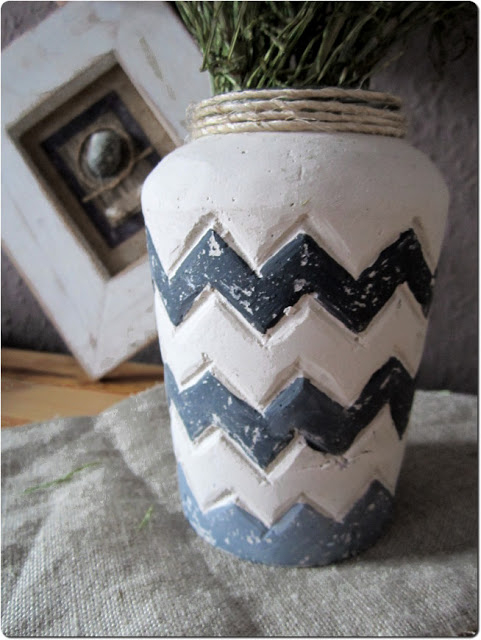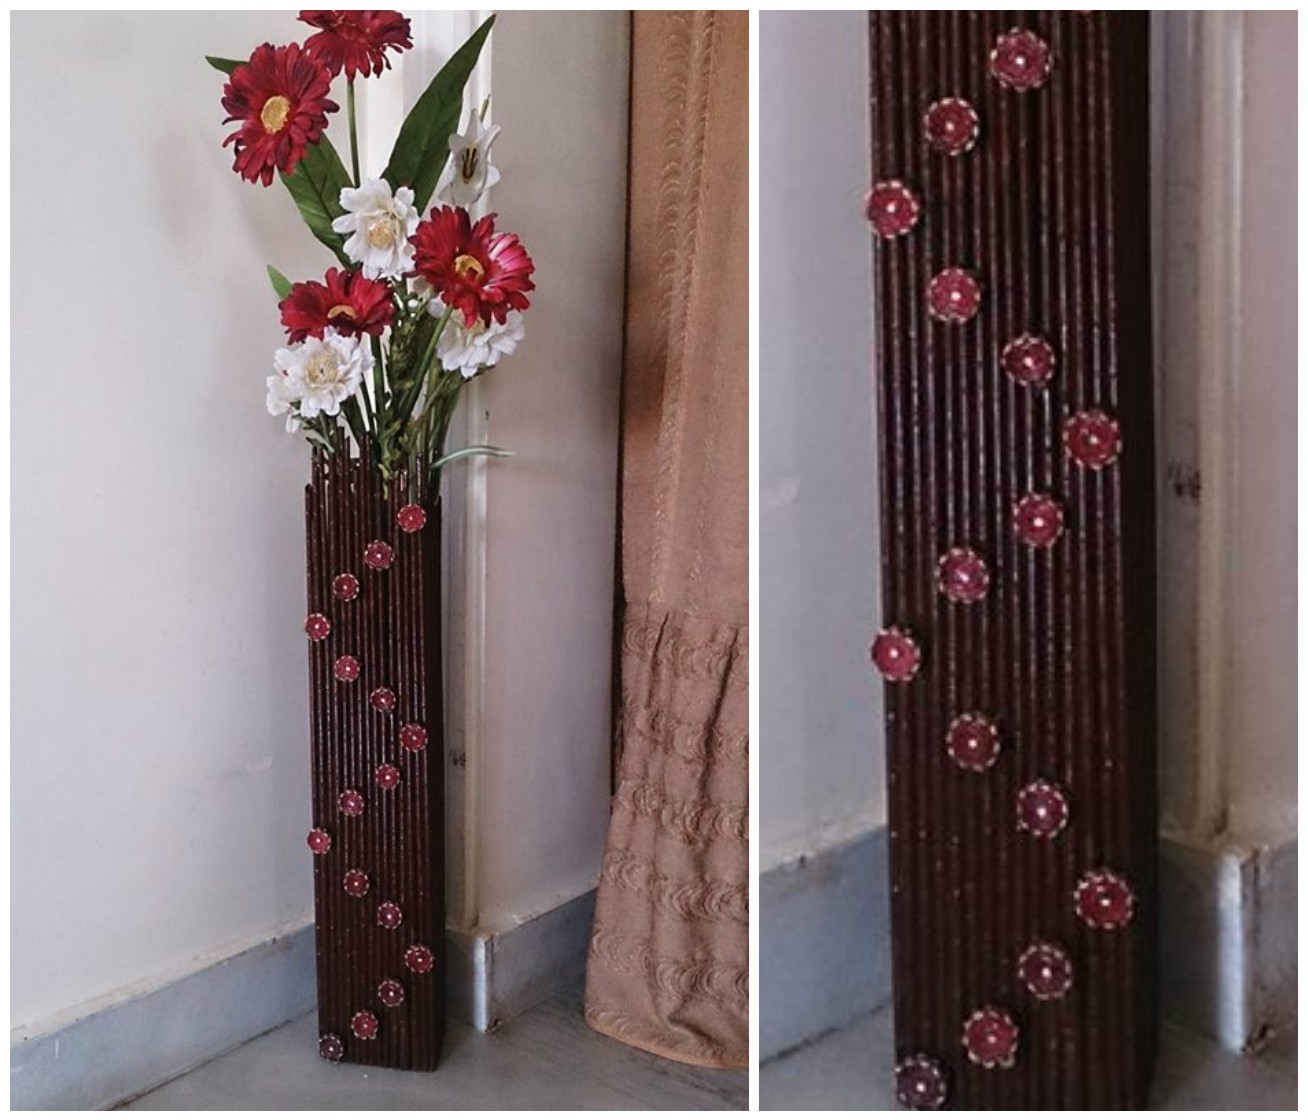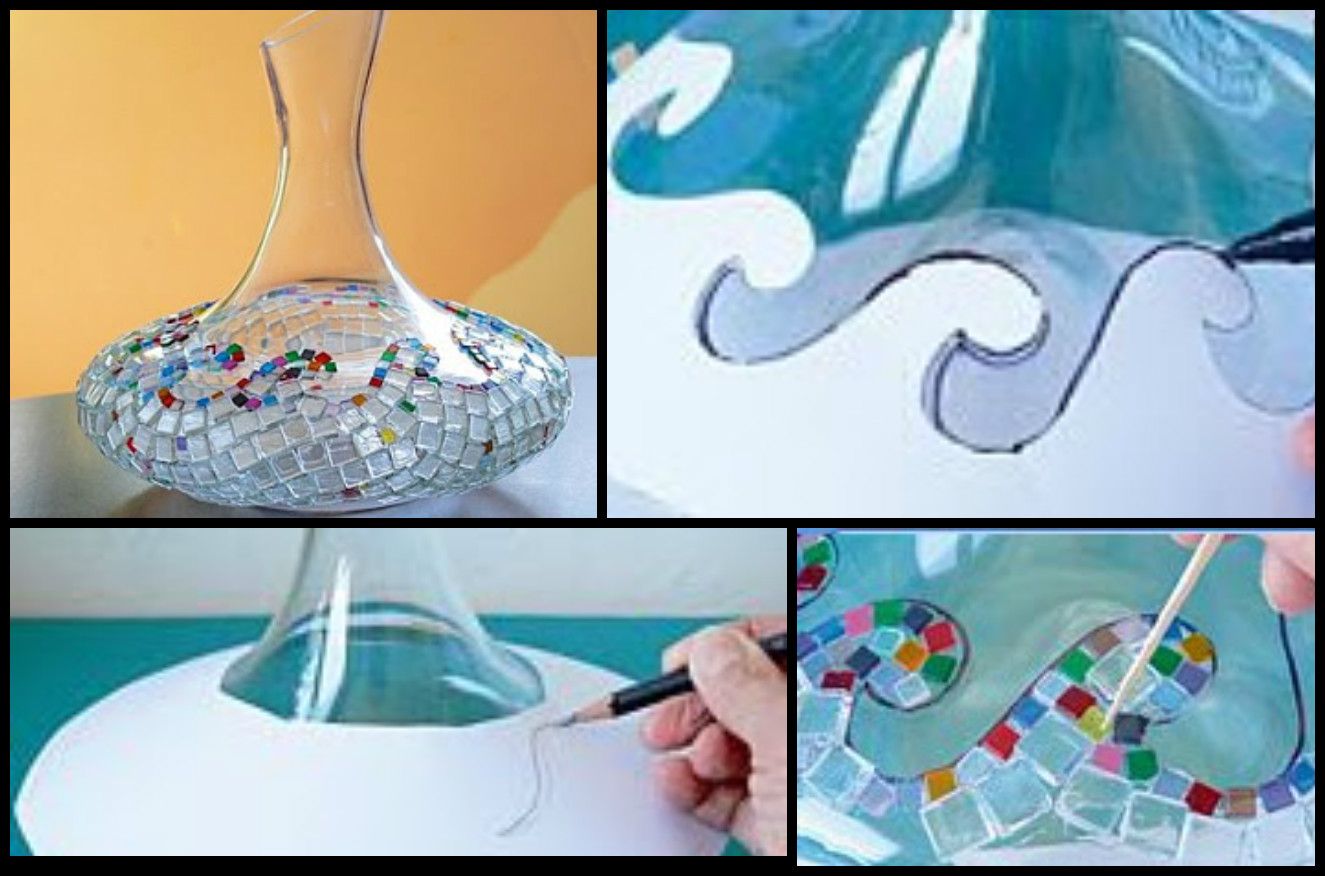
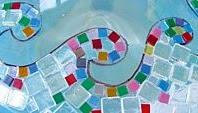
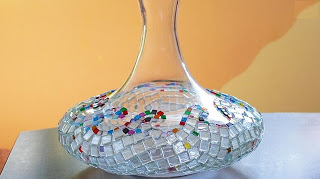
A simple glass vase can be decorated with transparent glass mosaic squares. They are transparent and colored squares can be folded patterns. And as the clear vase, by the bits of glass is not necessary to use grout: shiny faces squares reinforce the impression of the beauty transparent vase. Transparent windows are larger and fewer in combination create a beautiful ornament.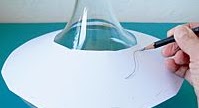
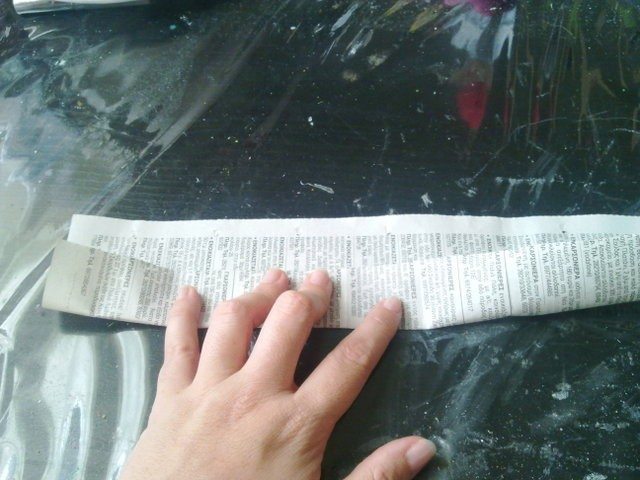
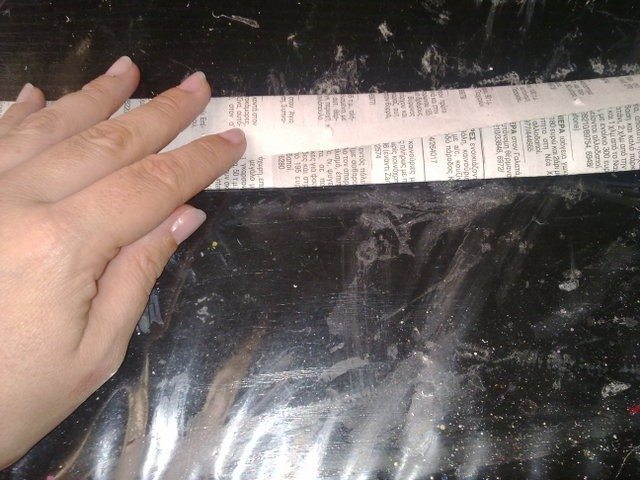
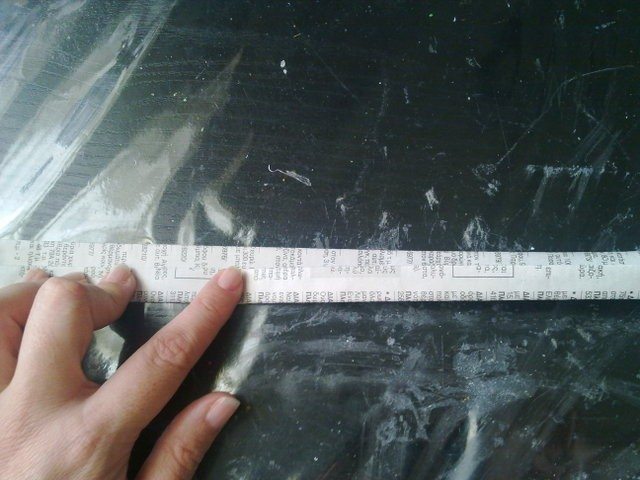
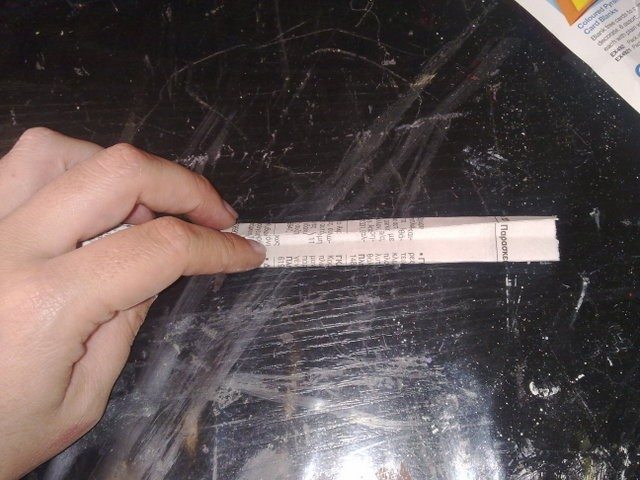
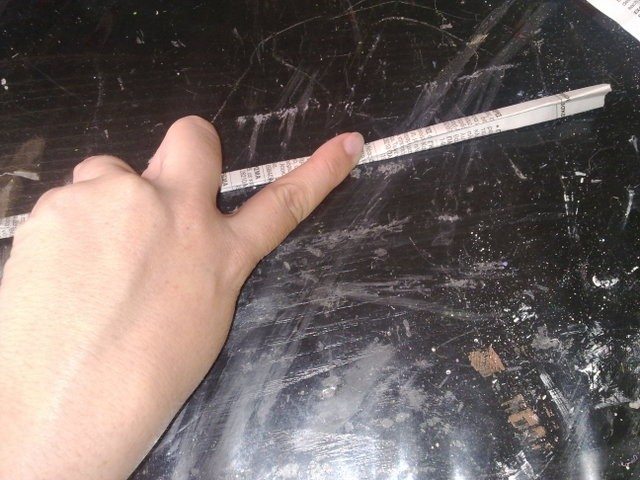
1. Measure the circumference of the vase and cut out a circle of paper or the cone of a size to match the size of the vase. Then wrap the vase of paper and draw a pattern on it.
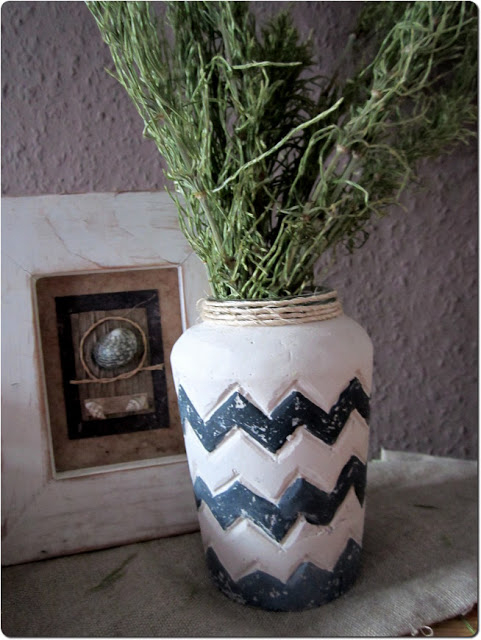
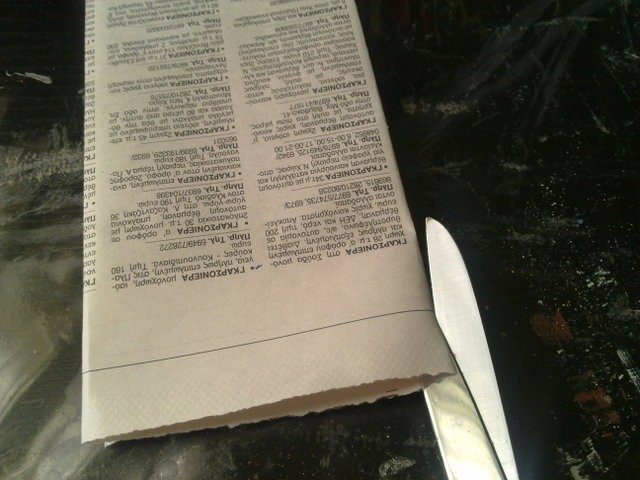
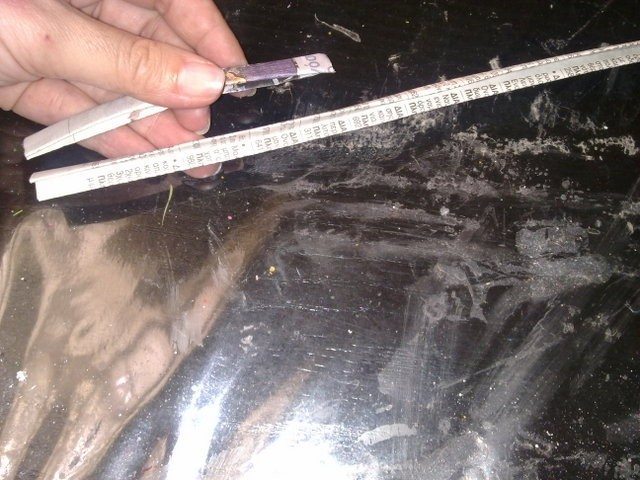
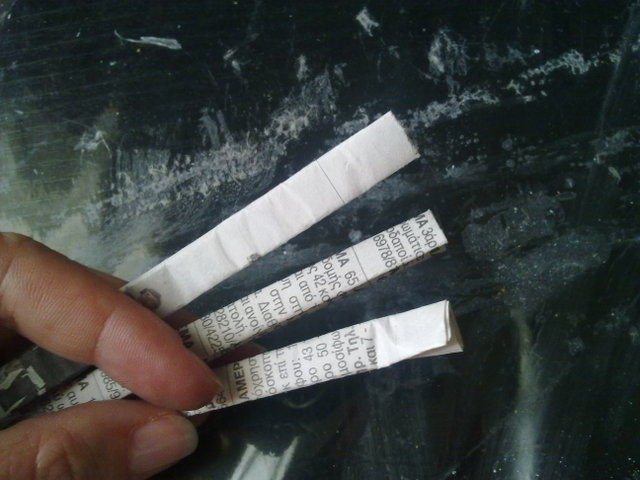
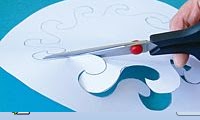
2. Remove and paper outline the contours of the figure – in this example, the wave crests. Thus prepared stencil cut out with scissors.
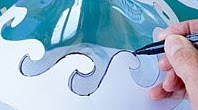
3. Template glue in several places with tape. Smyvatelnym marker or pencil outline the contour of the stencil to the vase.
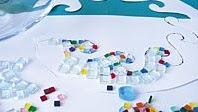
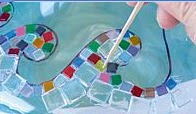
4. Stencil take off and expand on it mosaic squares. Whitecaps emphasize smaller colored stones. Large transparent set for them.
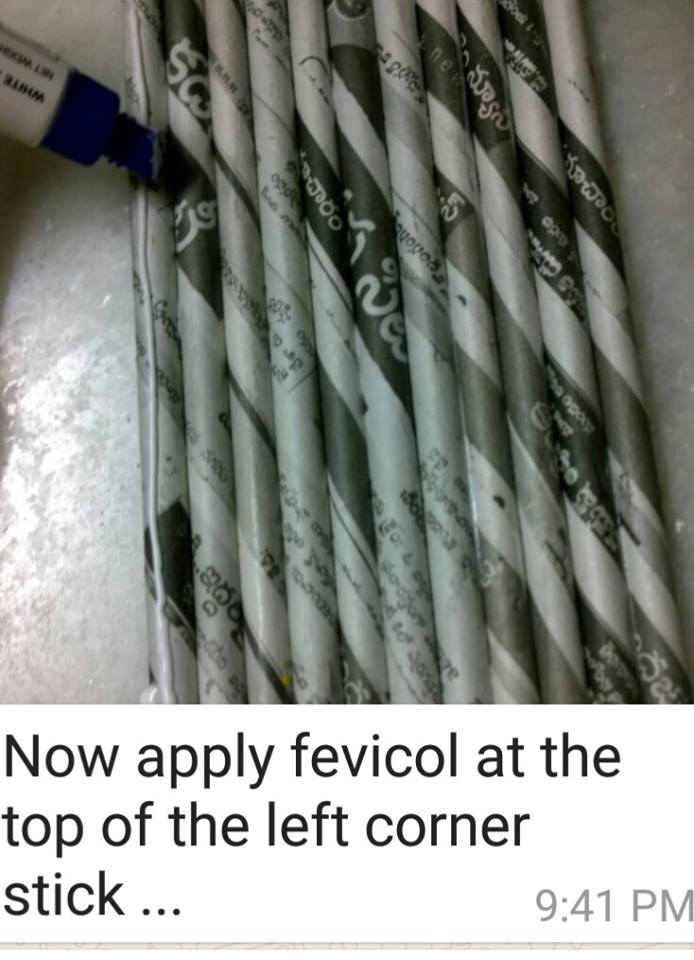
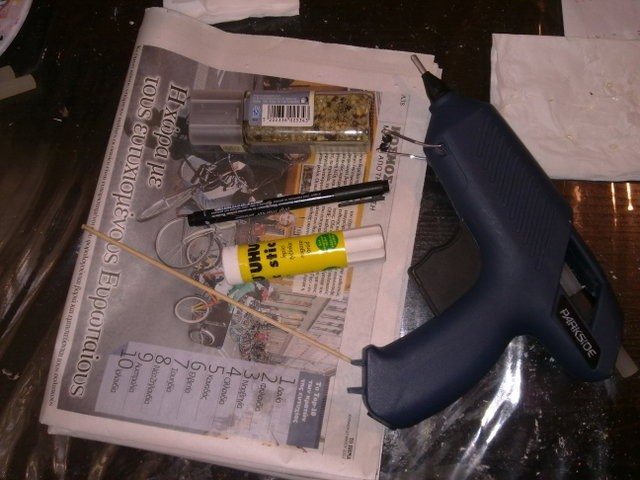
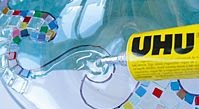
5. Under vase enclose a towel to keep it rolled and begin to glue the mosaic. Clay for mosaics or synthetic universal transparent glue for glass (UHU) smear on a little piece of a vase and immediately attach the box.
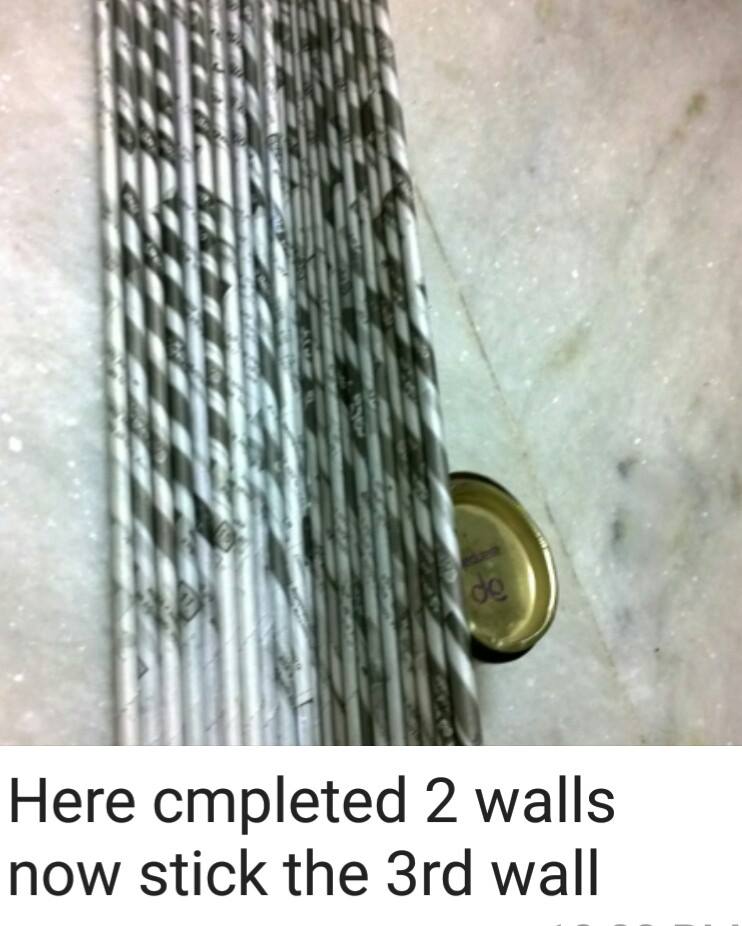
6. Mosaic sticking, following the curve of the wave. On the ridge, we put small colored squares, the very large set wave.
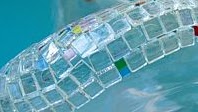
7. Sticking a few centimeter bands and, before the vase to turn to continue to glue the next, should be left to dry pasted squares. Immediately after gluing boxes can still be moved (eg a toothpick) to find the right place.
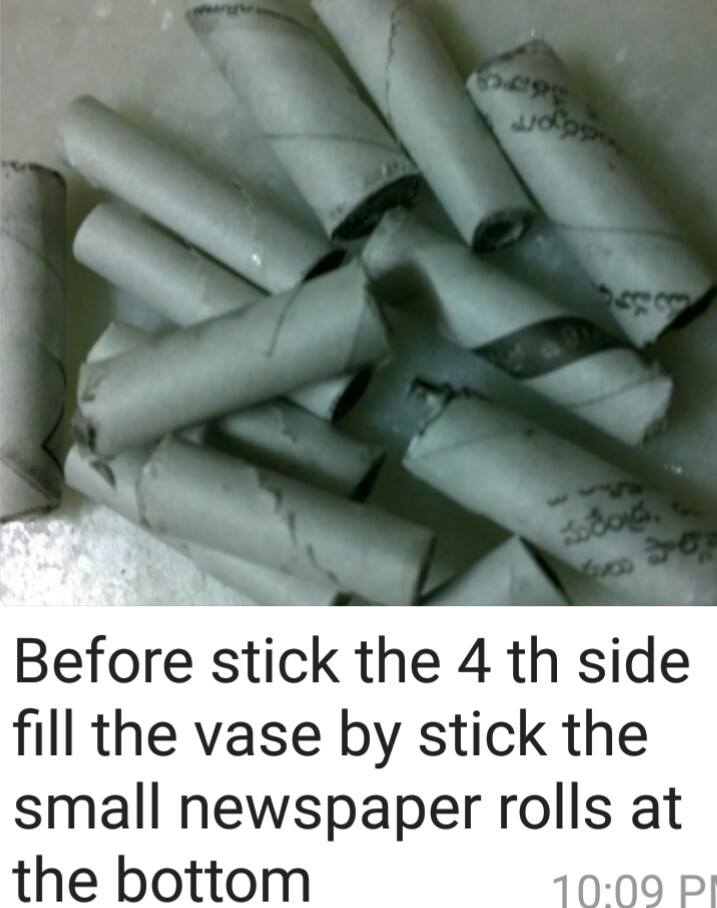
8. If there is a gap, fill it in smaller pieces. The curved part of the vase cover the large squares. Chance for variety inserts colored glass.
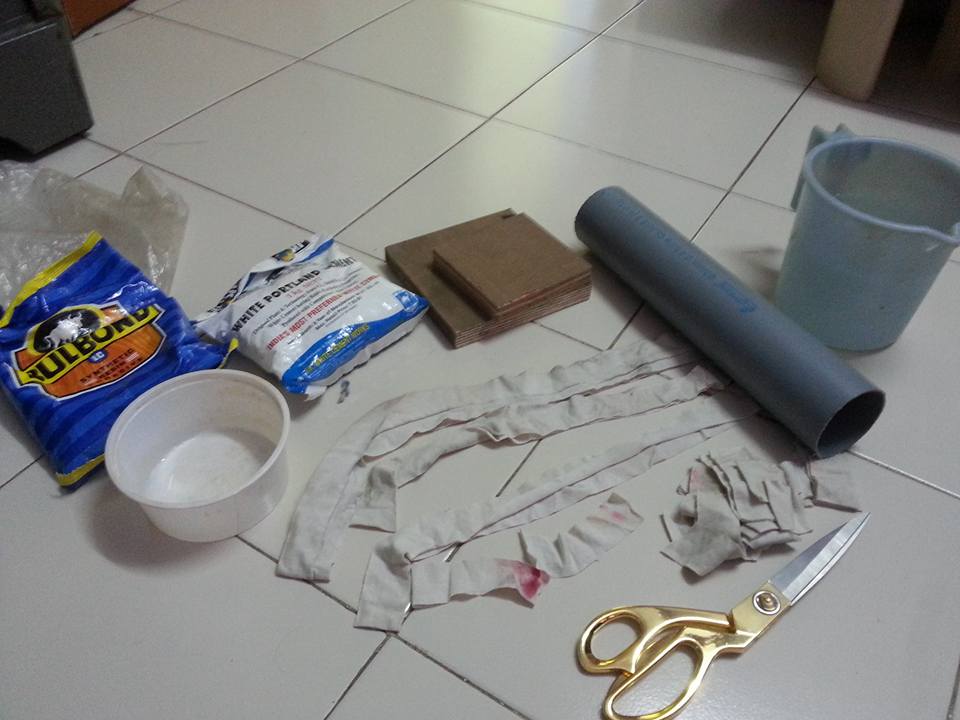
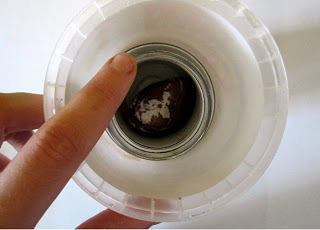
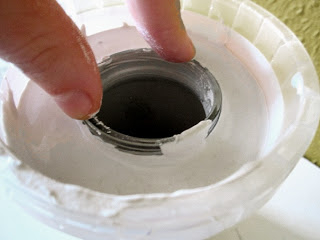
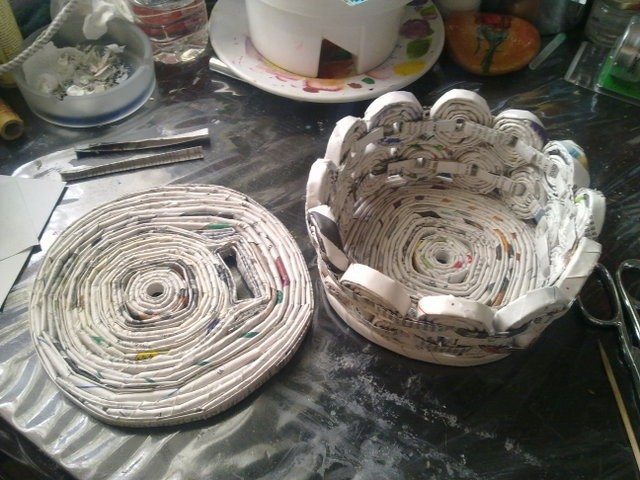
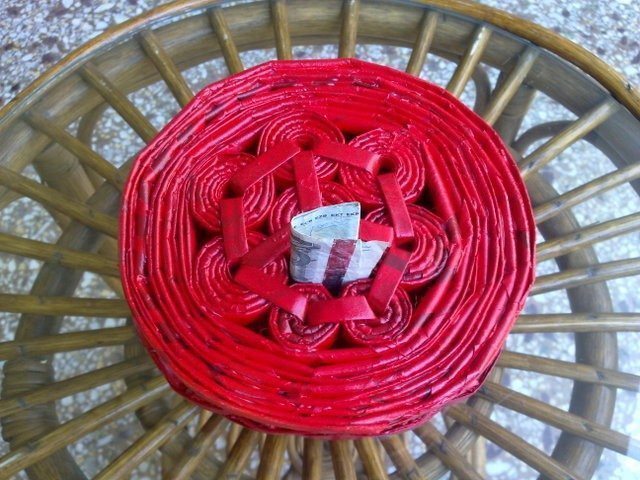
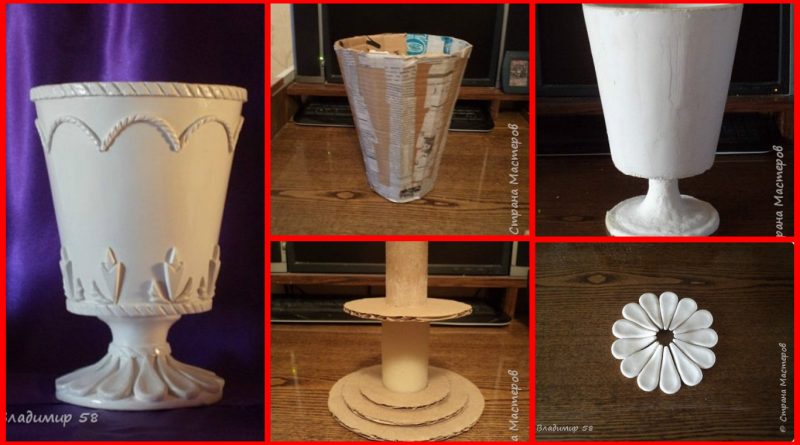
 Take the jar tighter and cardboard discs.
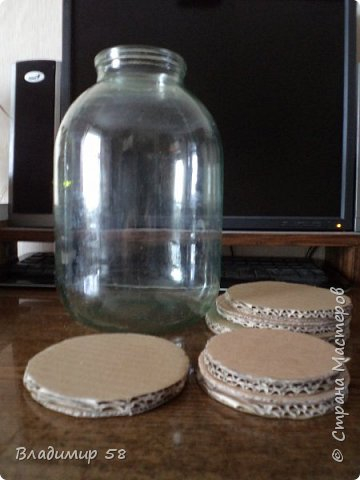 Merge truncated cone.
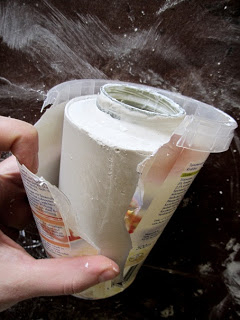
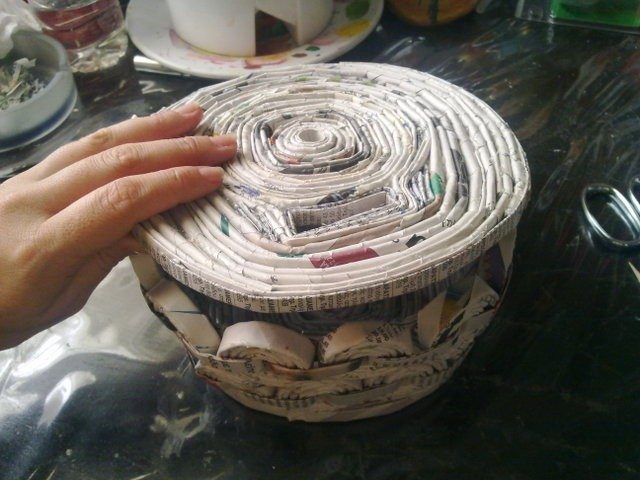
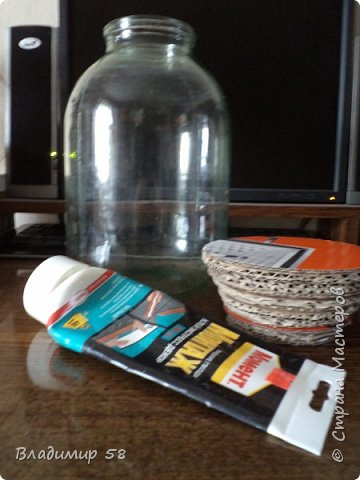 When the cone test and help make the bank above
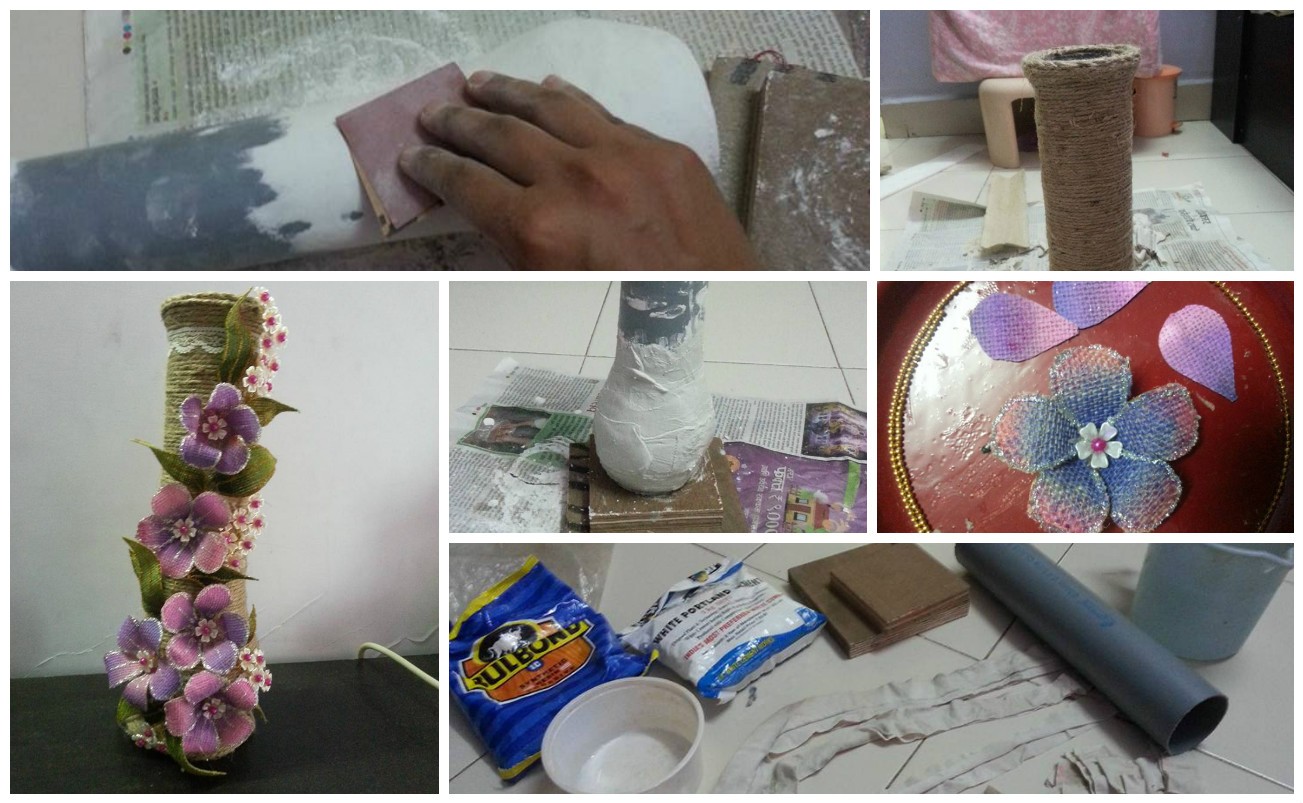
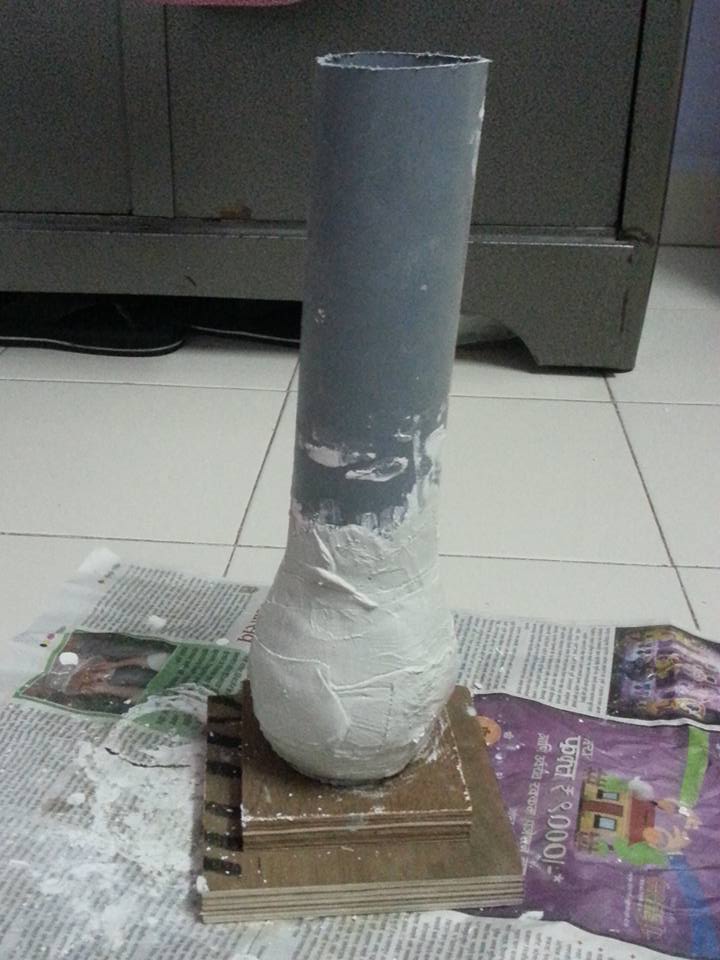
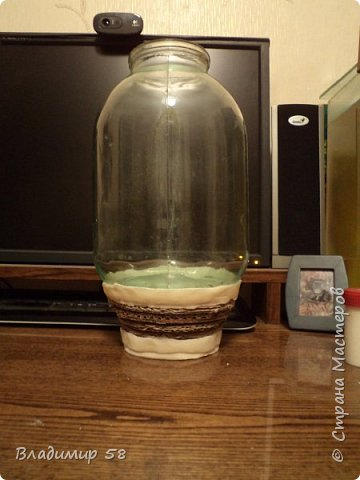 With the help of a plaster bandage begin forming the shape of our amphora.
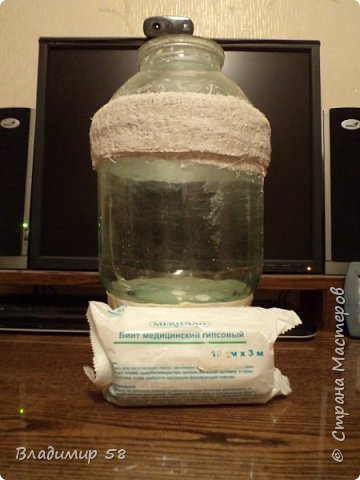
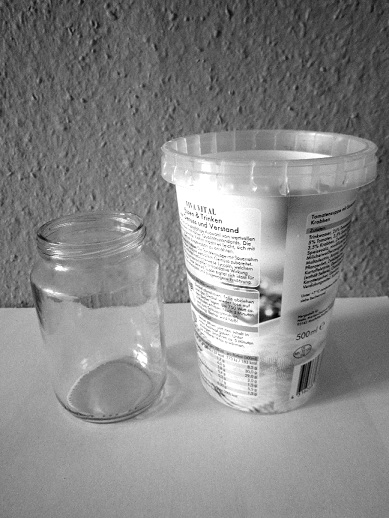
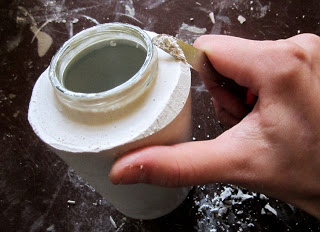
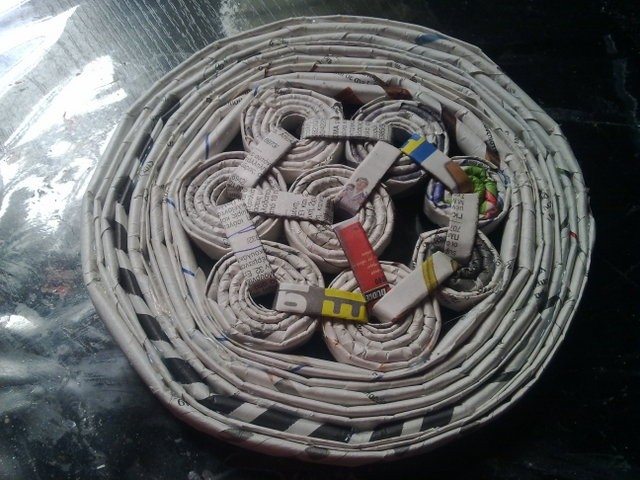
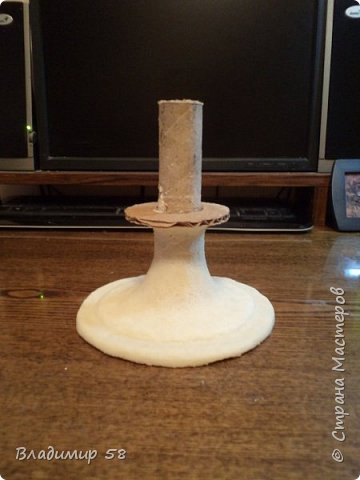
 Most Bank of mayonnaise is ideal for the formation of the neck.
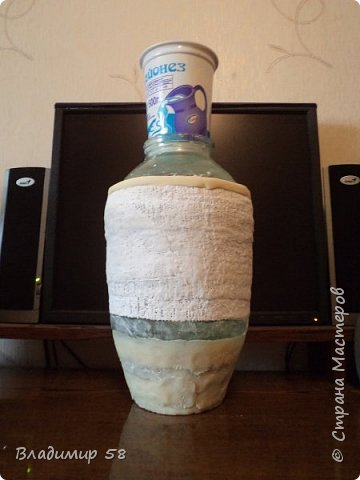 From cardboard collect the bottom of the vase.
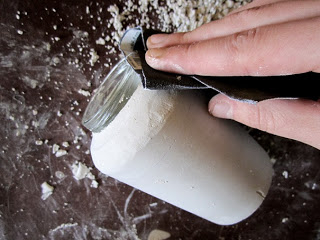
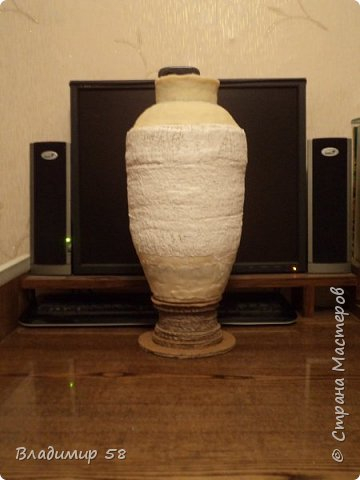 Fashioned treat and plastered putty.
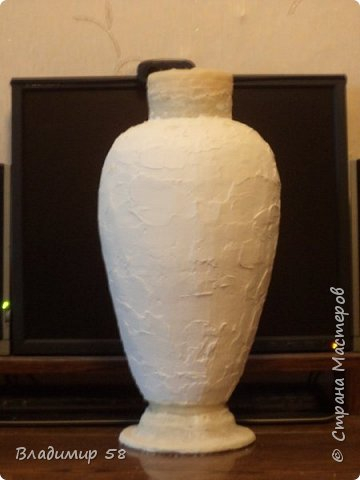 Vase turns so hard cardboard discs except for the reliability of the adhesive is twisted screws.
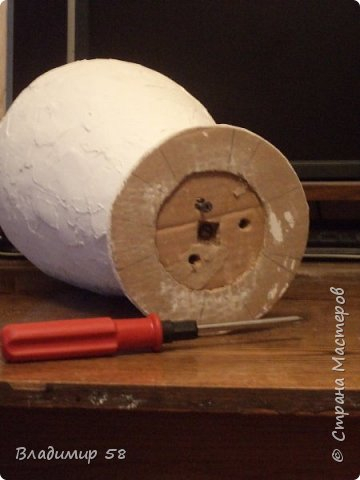 give us the necessary forms.
 Preparations for pens.
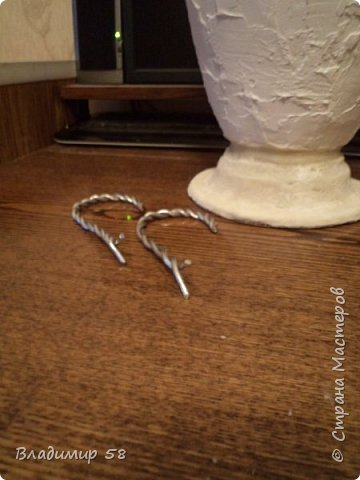 Fashioned from the test pen.
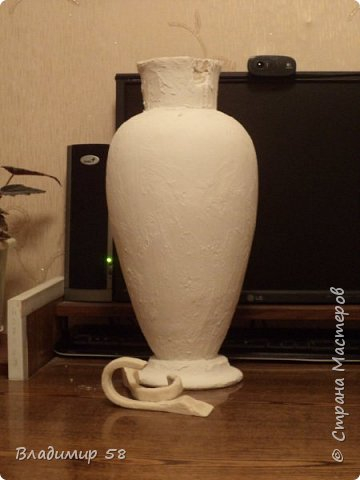 Glue Pens.
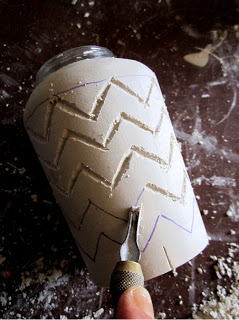
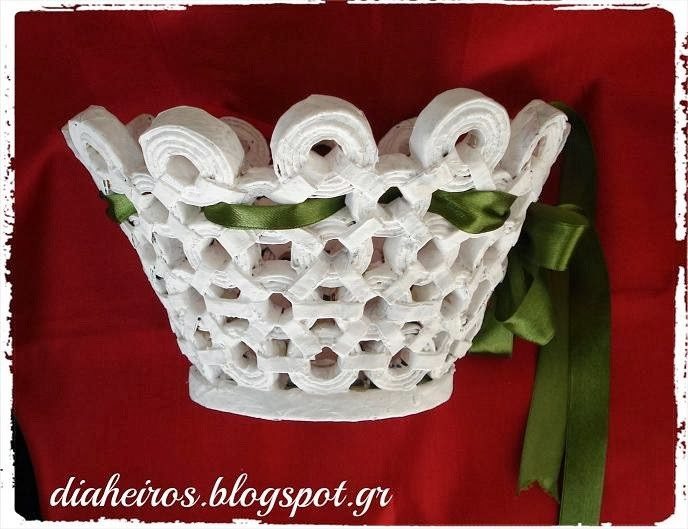
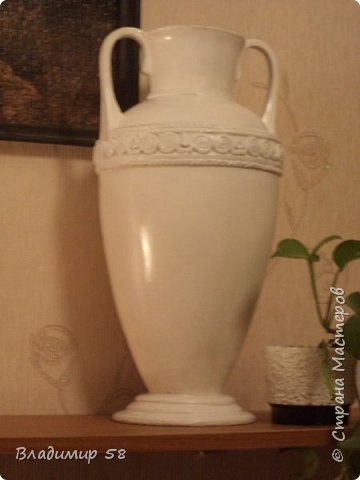
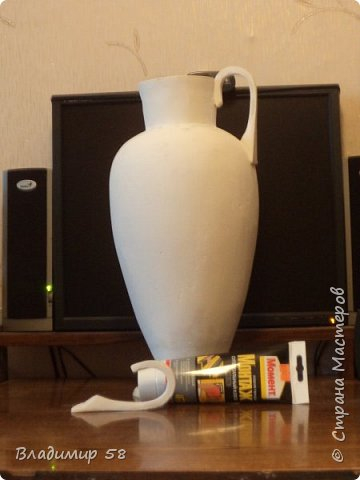 Make a rim under the ornament.
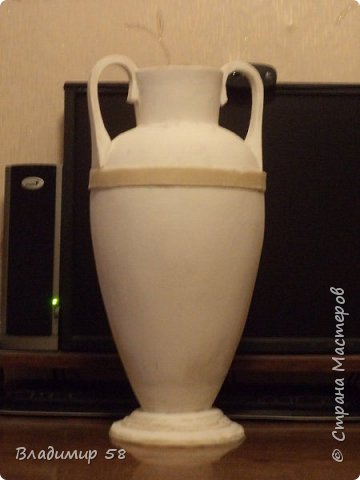
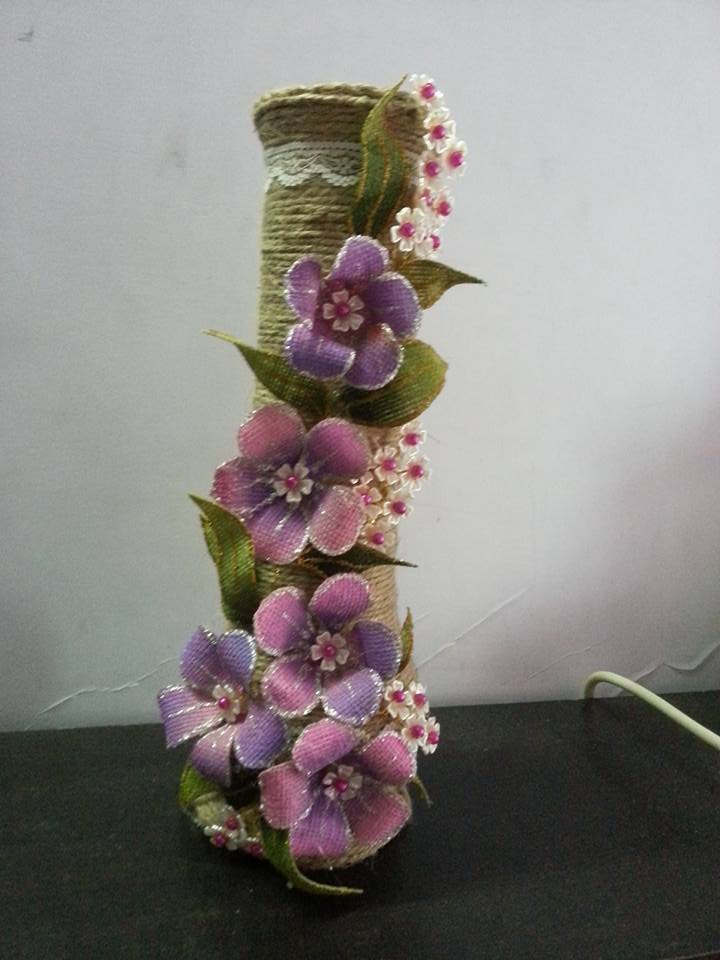
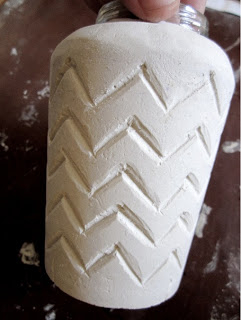
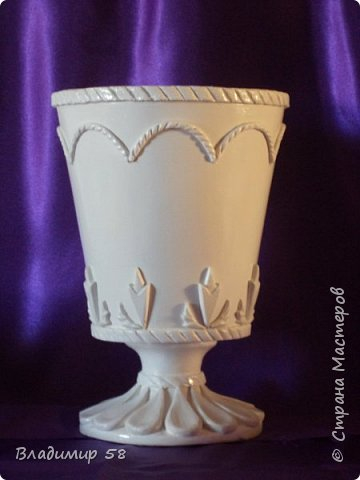
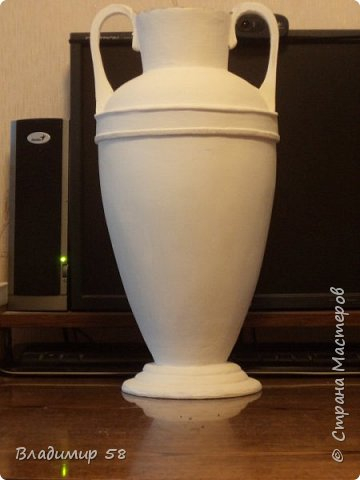 Lepim ornament.
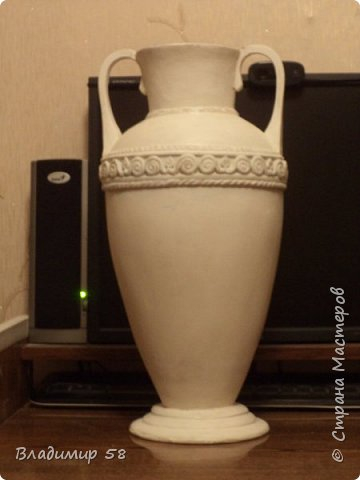 Neck cover several epoxy resin.
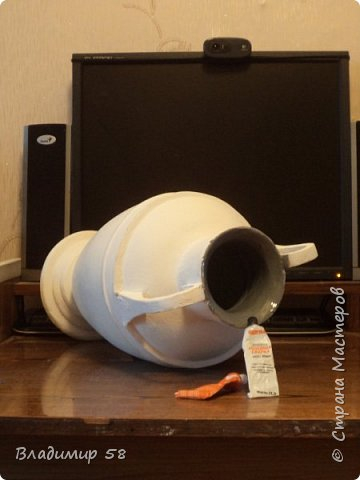 Prepare for painting the bottom of the vase.
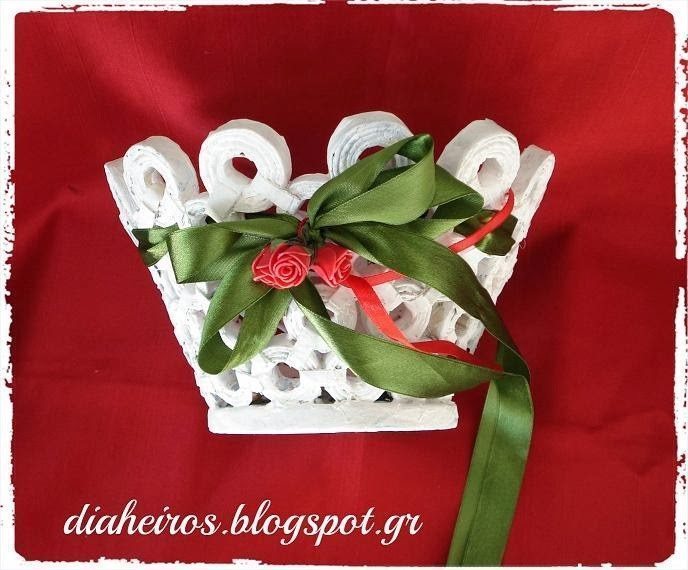
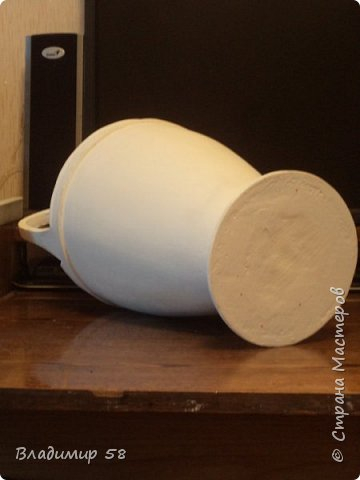 Vase after painting with enamel.
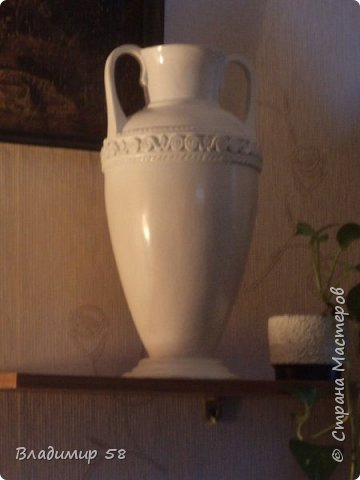
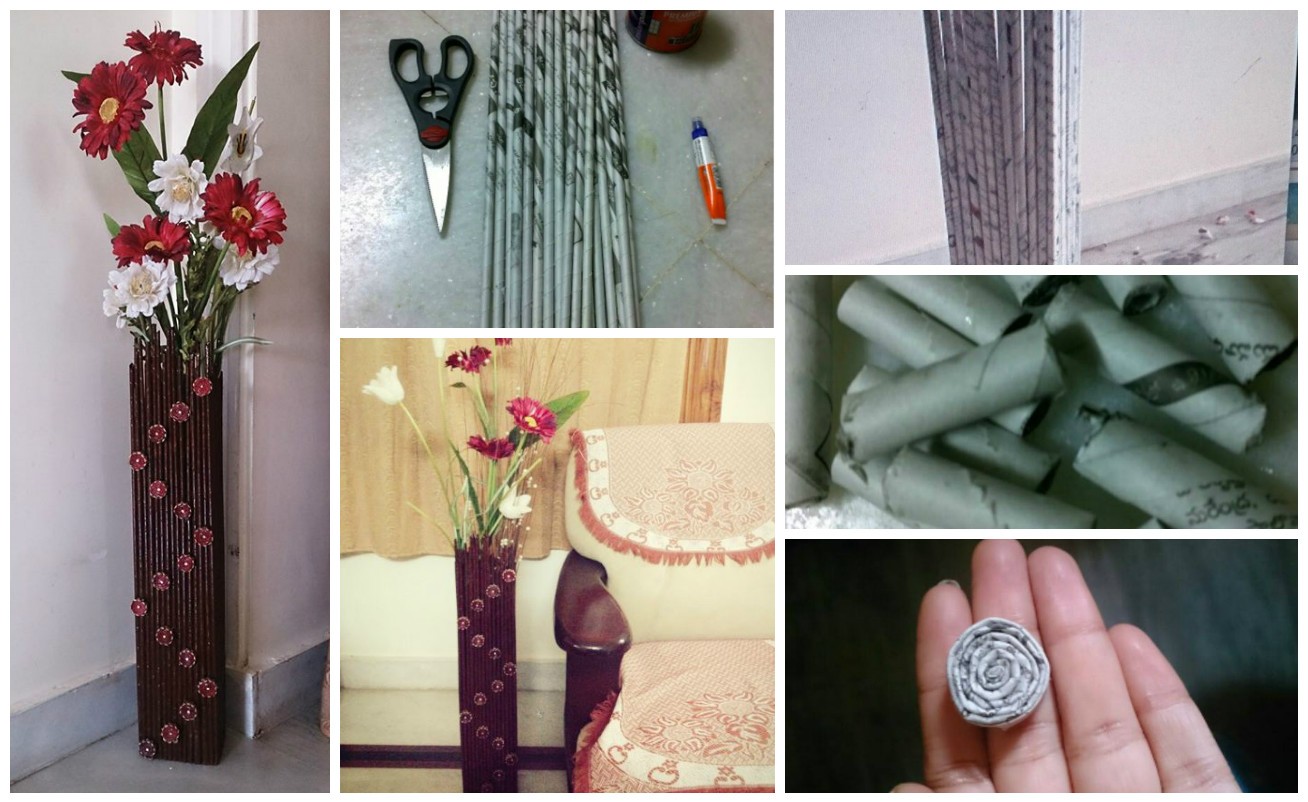
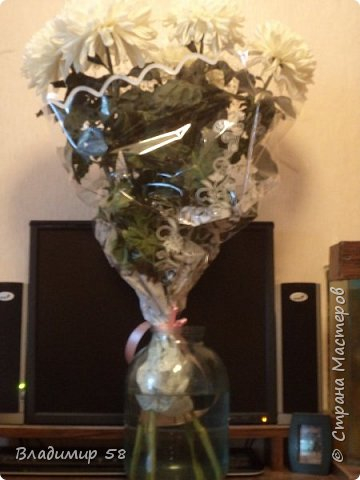
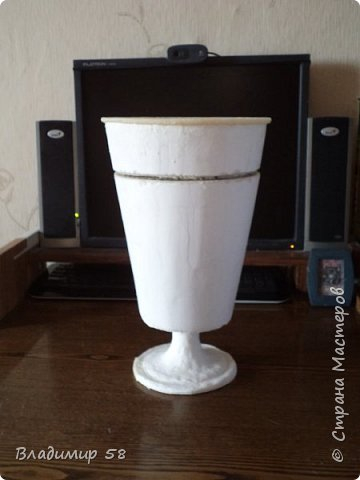
 Long wanted to radically solve the problem of garbage on the desktop. But the head is faster than hand so this work will be considered the first part of the next set.
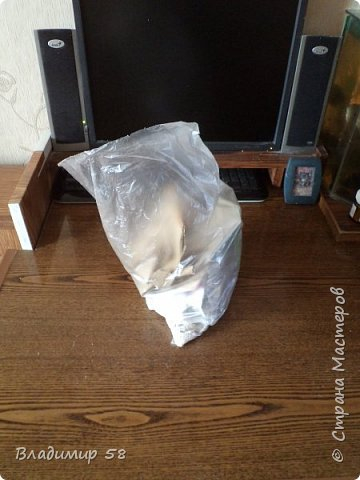 Sticking cardboard truncated cone.
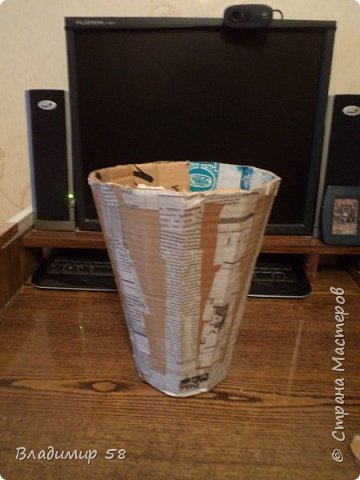 On both sides of the inserted discs for rigidity.
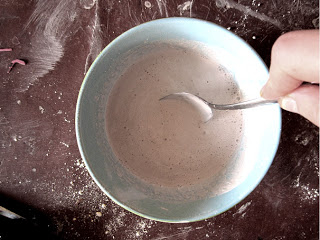
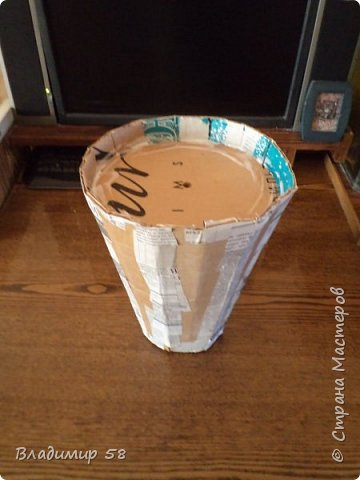 Getting paste dough.
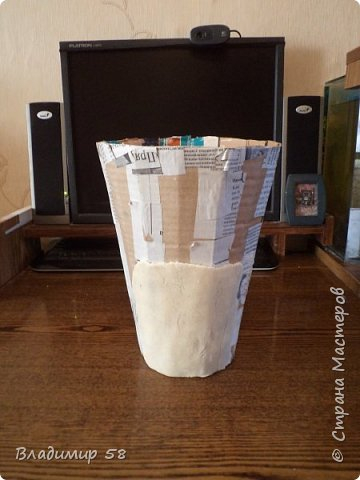 Tape off the test outside, after drying, remove the upper disc
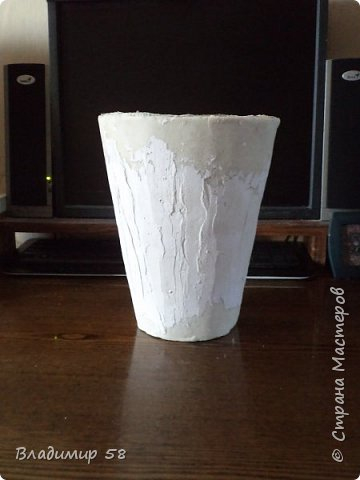 Now, plastered inside.
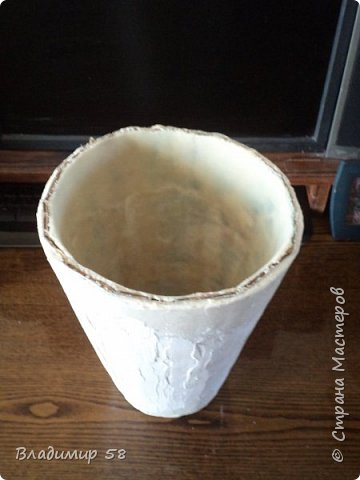 While drying our future vase, we do lag
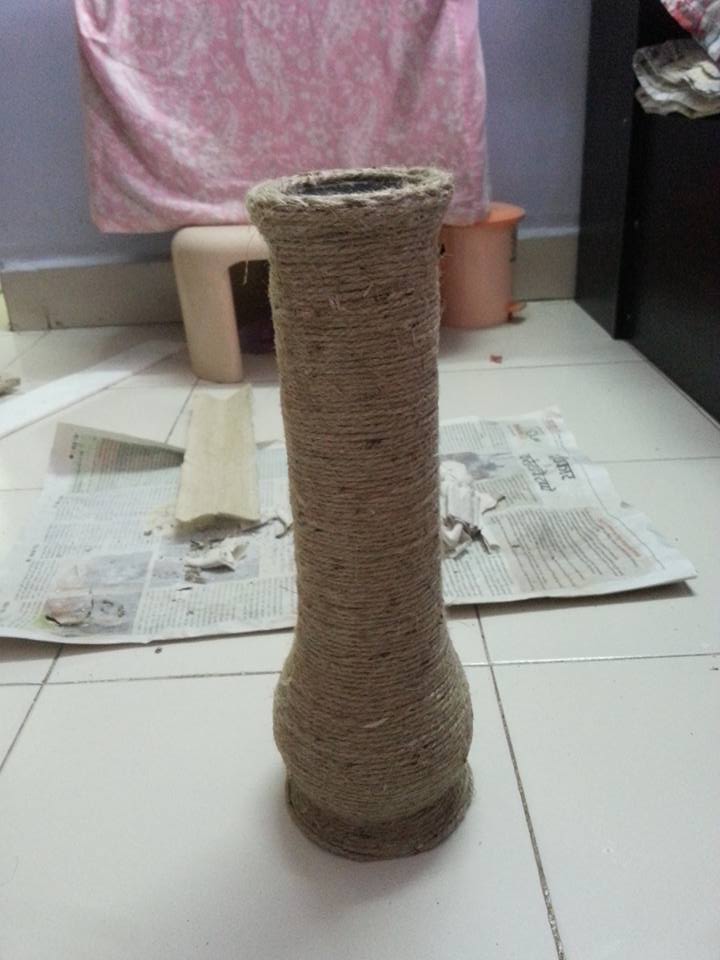
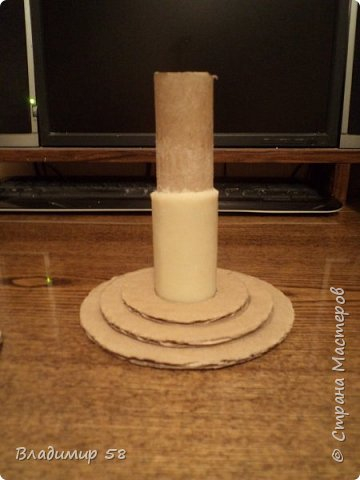 The foot is ready, you can collect a vase.
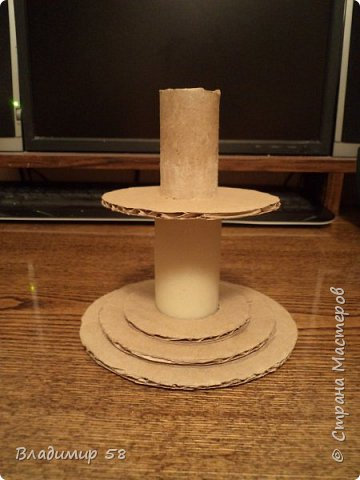
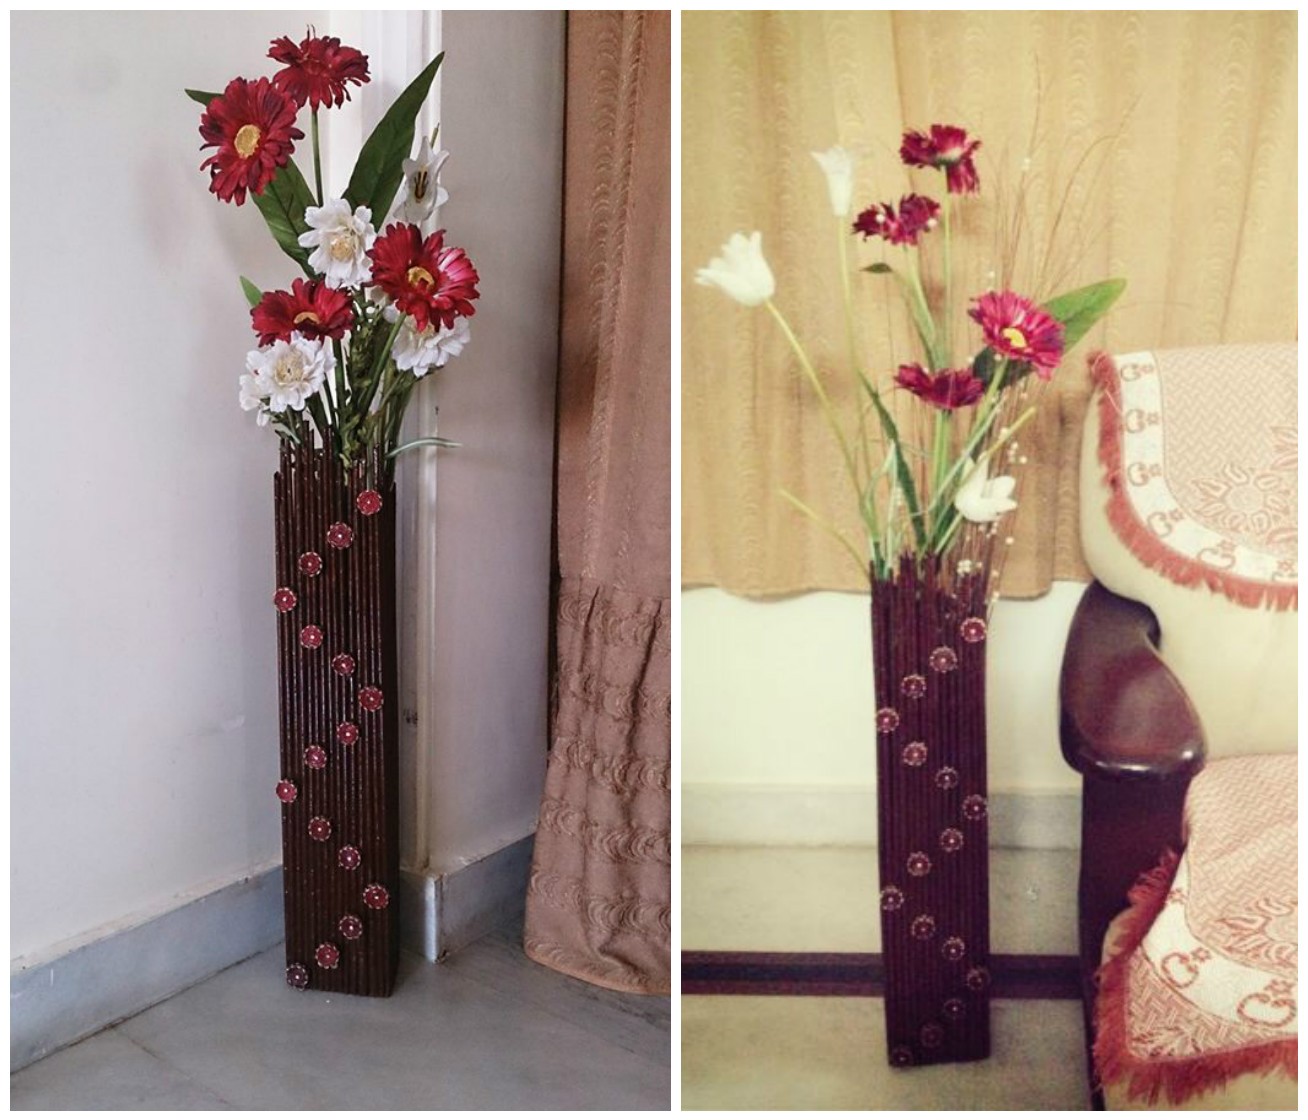
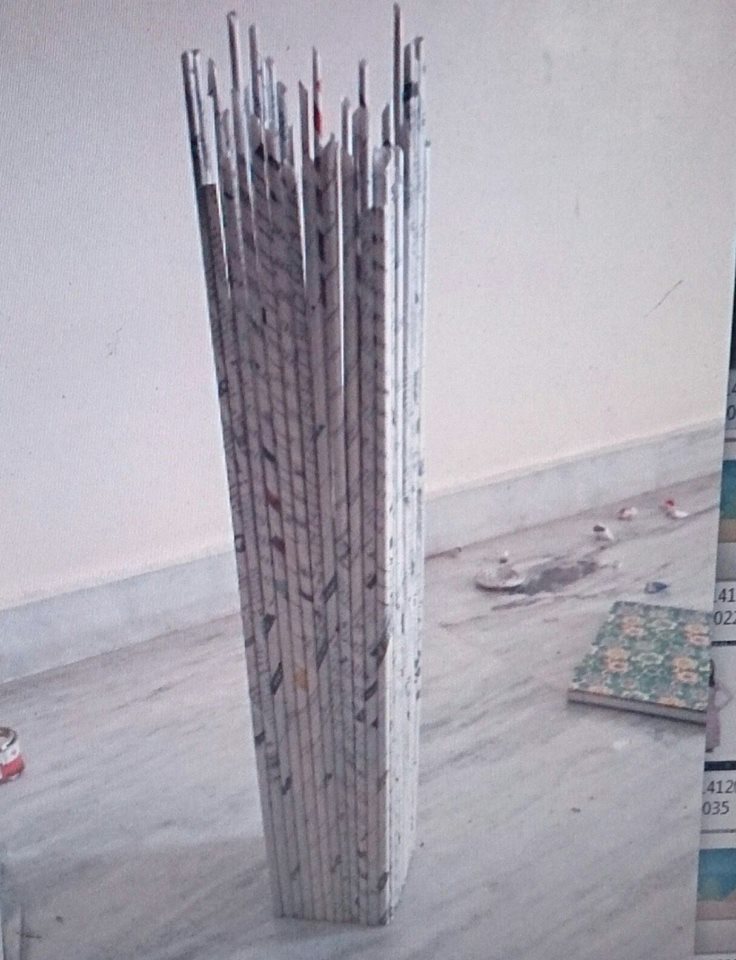
 The result was a tall, measured a height of two feet and once took a sip.
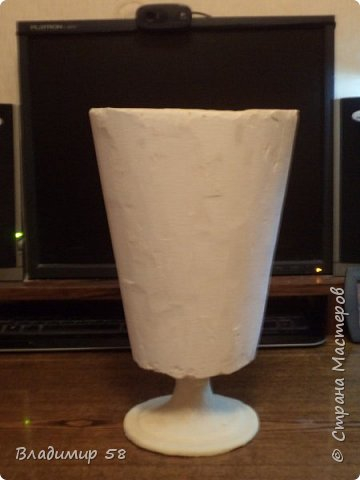
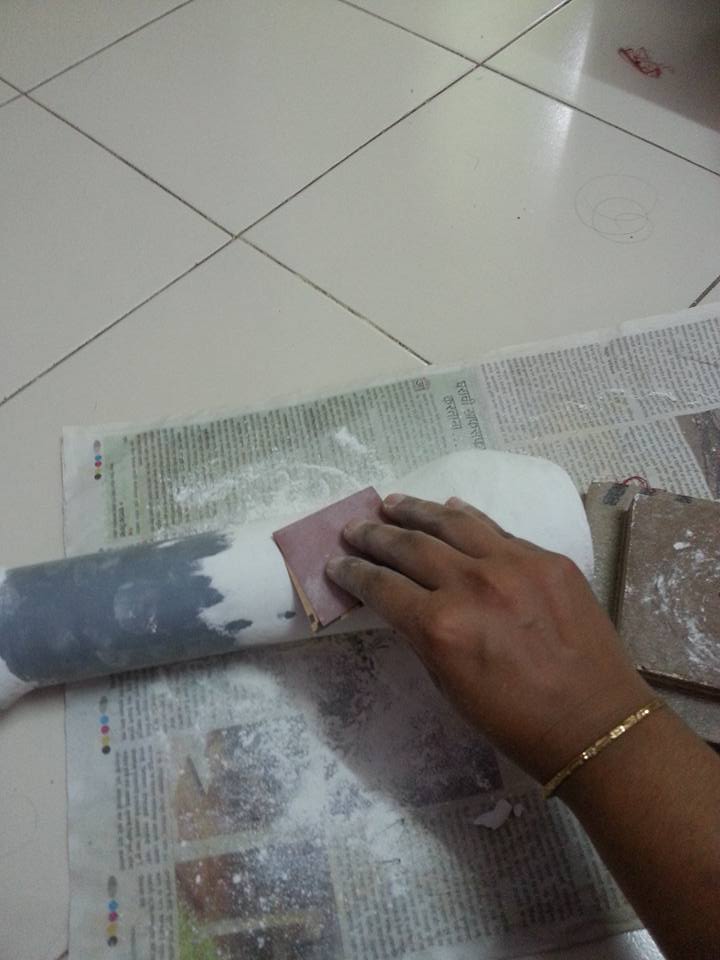
 Piece cut save for the future.
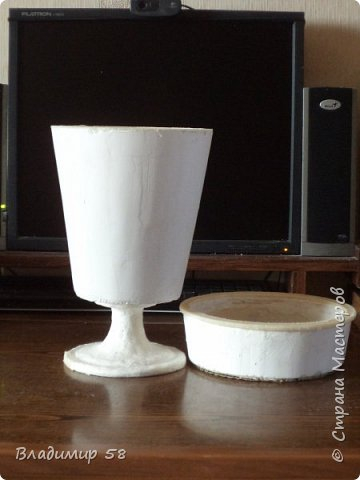 layer of putty.
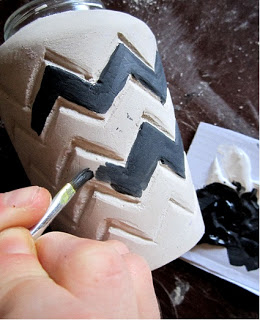
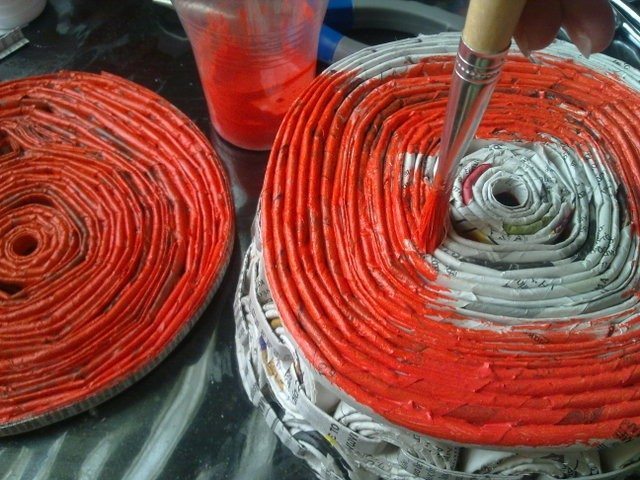
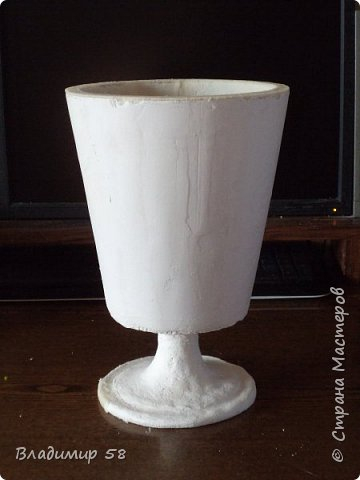 Are painted with two layers of thick paint
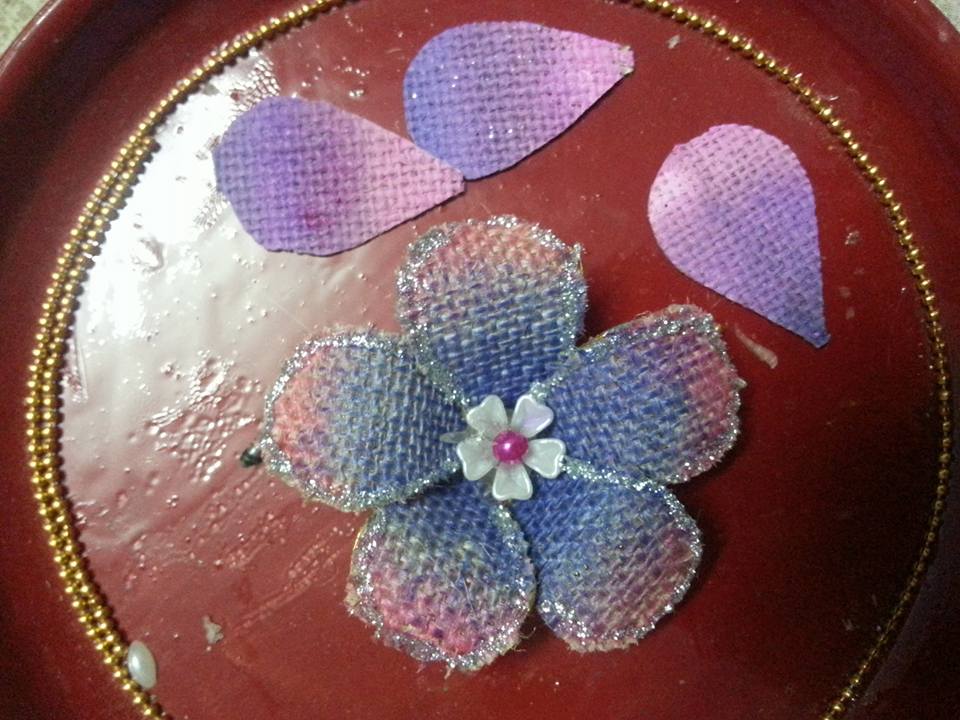
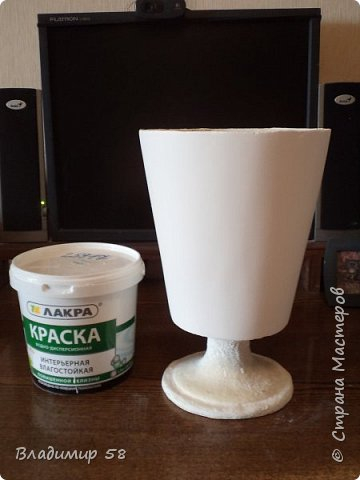 Lepim dough preform for mold.
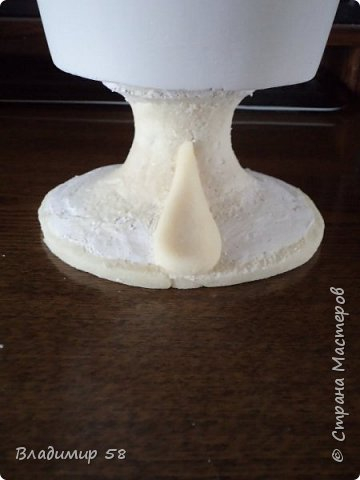 We produce mold.
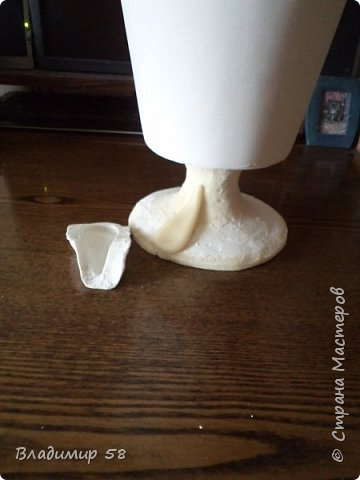 Mark up the leg of the first element.
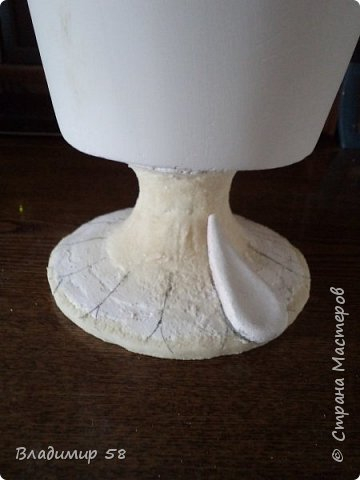 Cast all elements dekrativnye legs.
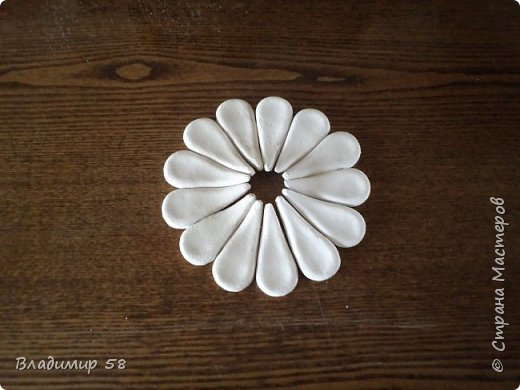 Glued gypsum blanks on PVA glue.
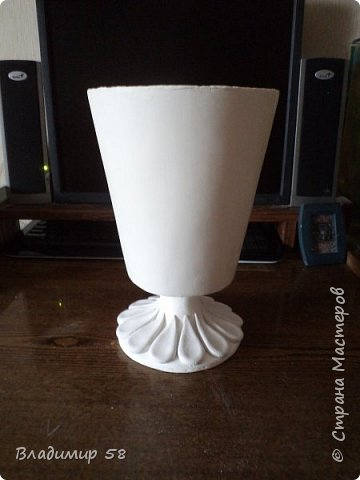 Similarly we produce other elements.
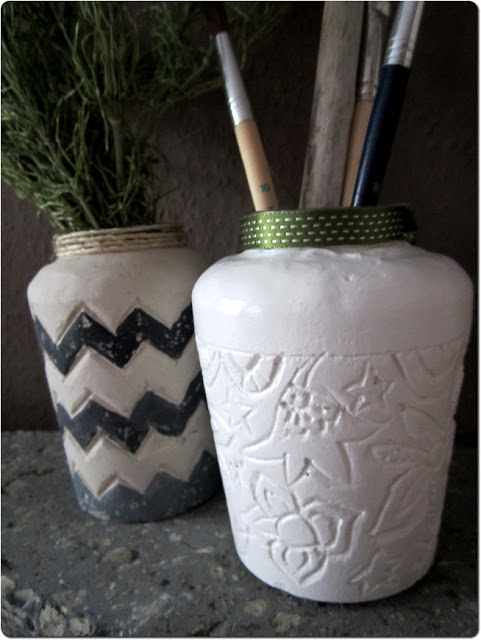
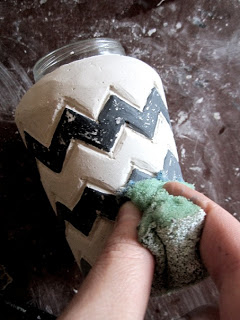
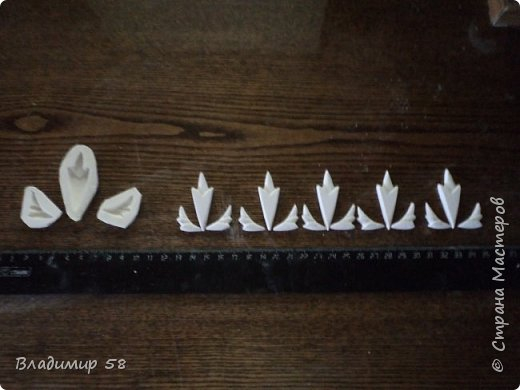 Mark up and nakleivaem.Lentochnye elements are made of expanded testa.Kogda all pasted enamelled bath.
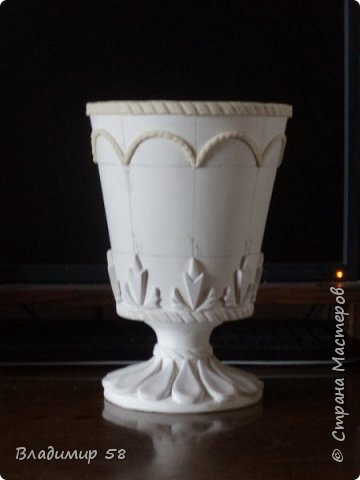 Garbage Problem solved.