Probably, every family has a warehouse of useless things. Would not it be great to find them a new life! Do you have such an opportunity: buy a second life to old keys 🙂
So, we need:
1. Keys.
In my practice, I have been manufacturing wind music experience of old keys. I want to warn at once: hollow keys, we will not do, they are not heard, we need the key alloy. I decided not to repeat them, and to find the key of all shapes and sizes on the same instance.
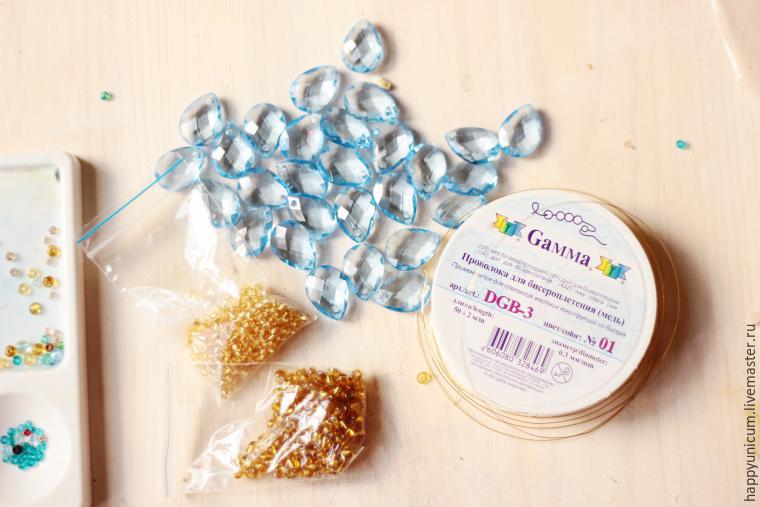
2. Gold enamel sprays acrylic enamel in the bank.
3. twine, thread floss.
4. Beads.
5. Sleigh Bells (bells).
6. Glue.
In my work I use glue for ceiling tiles: it has no color, smells strong, sticks together firmly, but easily washed by hand.
7. Wire for needlework.
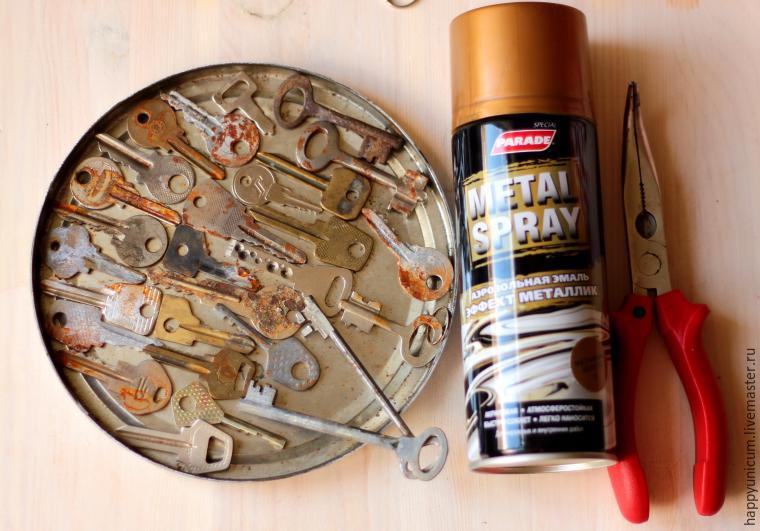 So, we picked up the keys and the five bells ringing now prepare them for painting, I posted them in a metal cover. Then be sure to get out into the fresh air. In the film we begin to spray paint, coloring our Keys thoroughly on both sides.
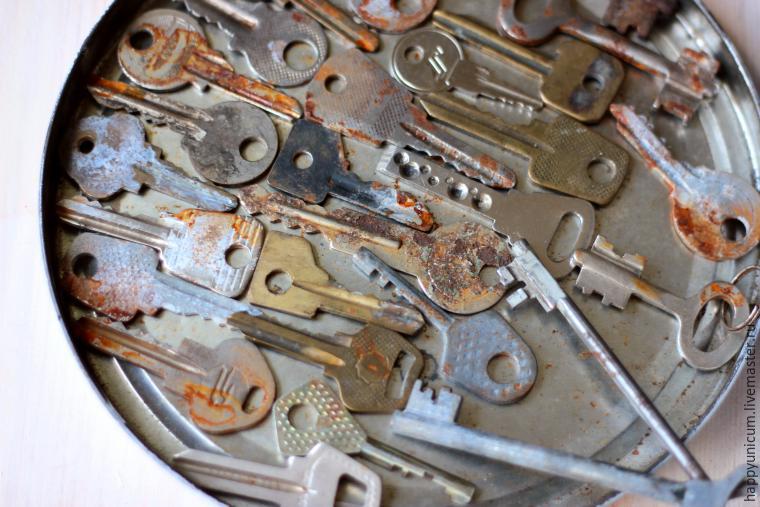
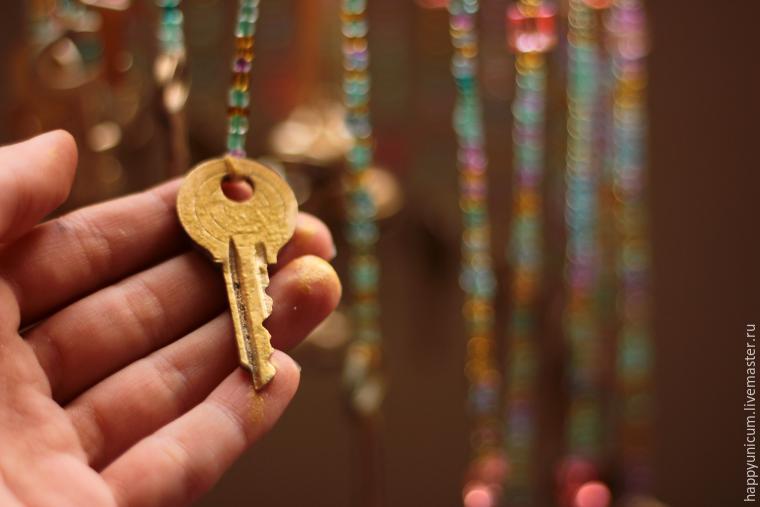
 Keys dried up and that’s what we got:
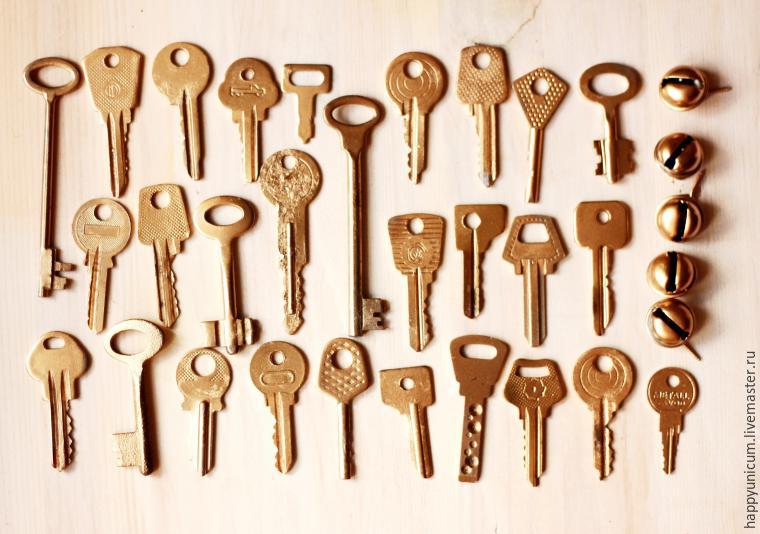 Now zaymёmsya basis for our wind music: it must be a hoop. I chose a hoop with a diameter of 16 cm and only took the inner ring.
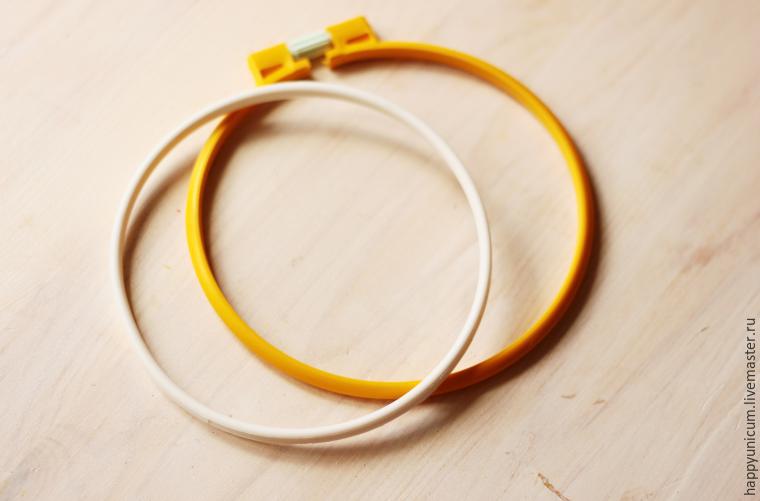 Then we wrapped tightly wrap string:
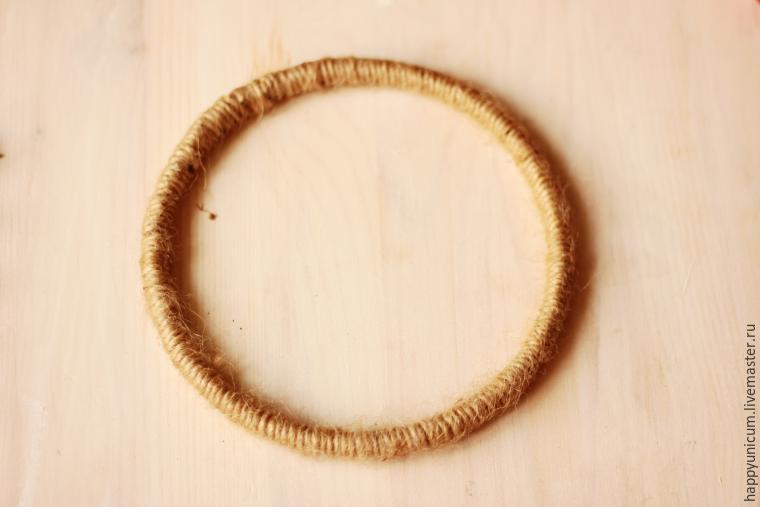 Then wrap wrapped diagonally thread floss: we use the soft blue color, in the future, it will overlap with the wind elements of music:
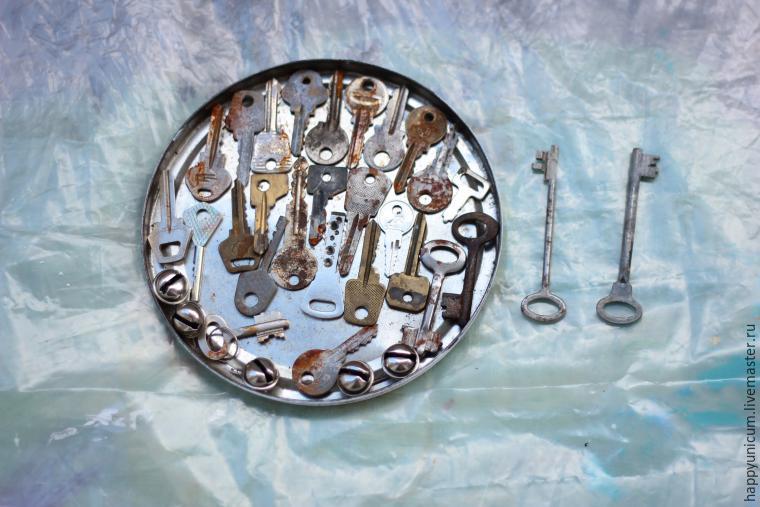
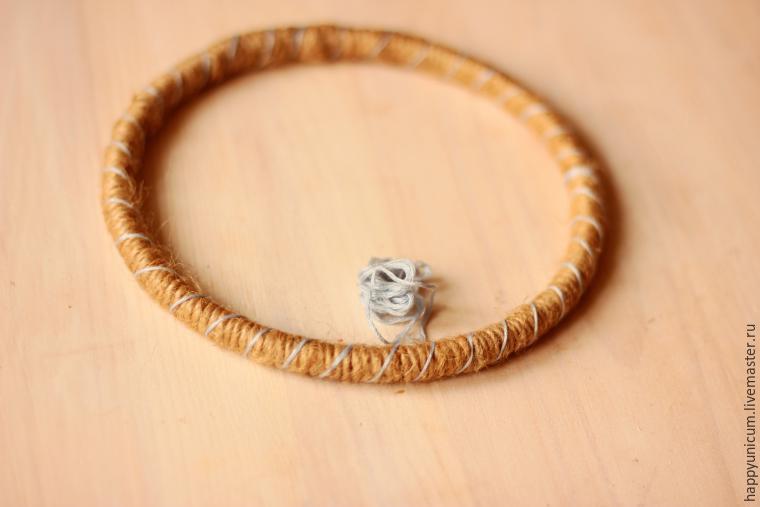 It’s time to choose the color scheme, which will determine the beads and beads.
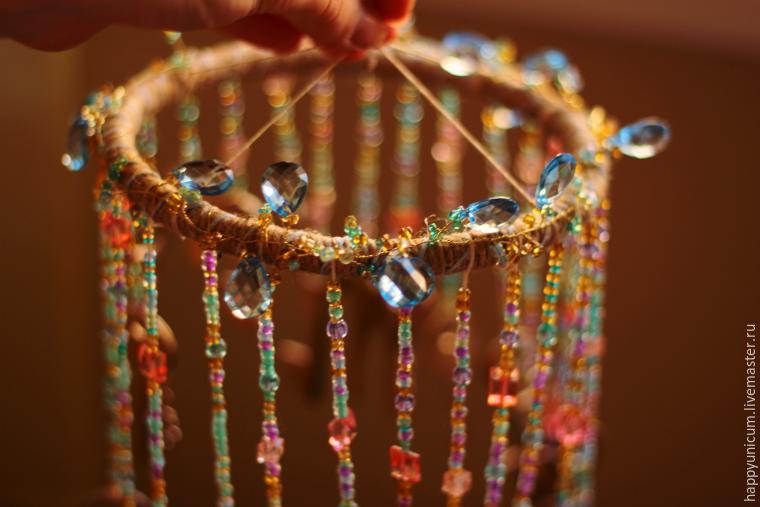
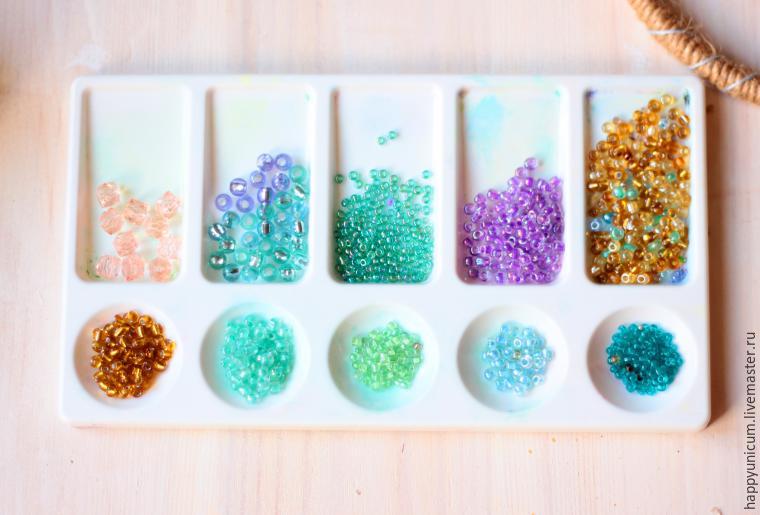 We are making mounts for our base for our share of the circle into four equal parts and connect them strictly in the middle of the circle:
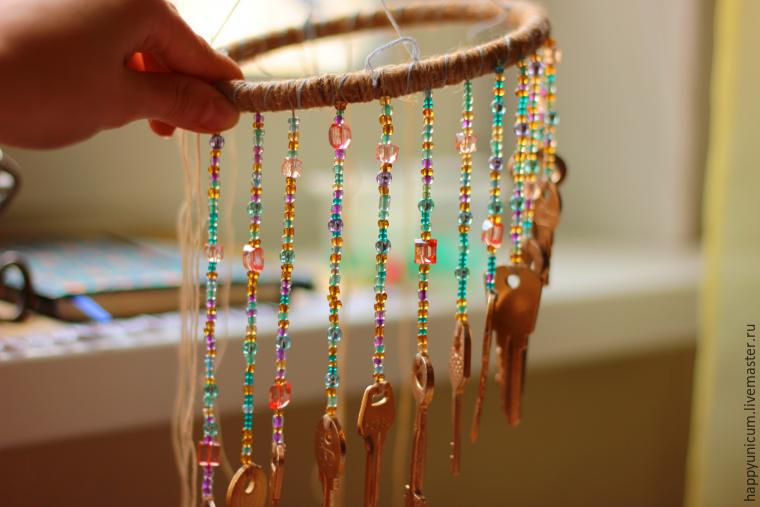
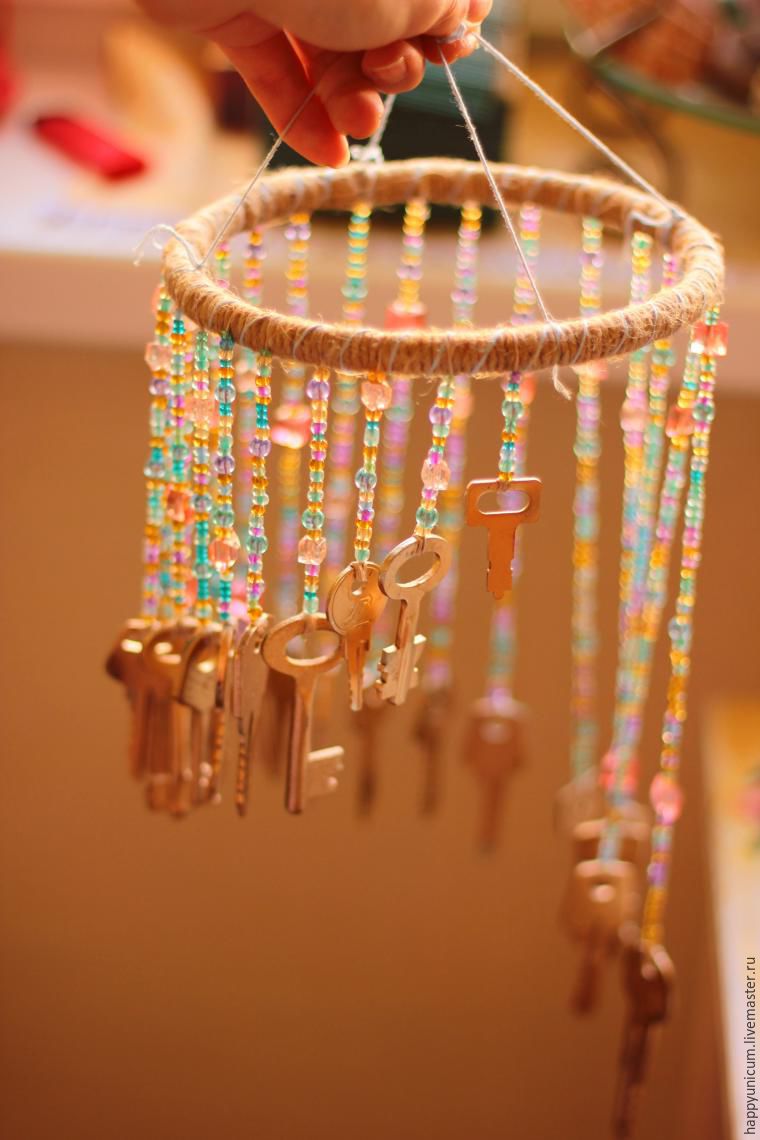
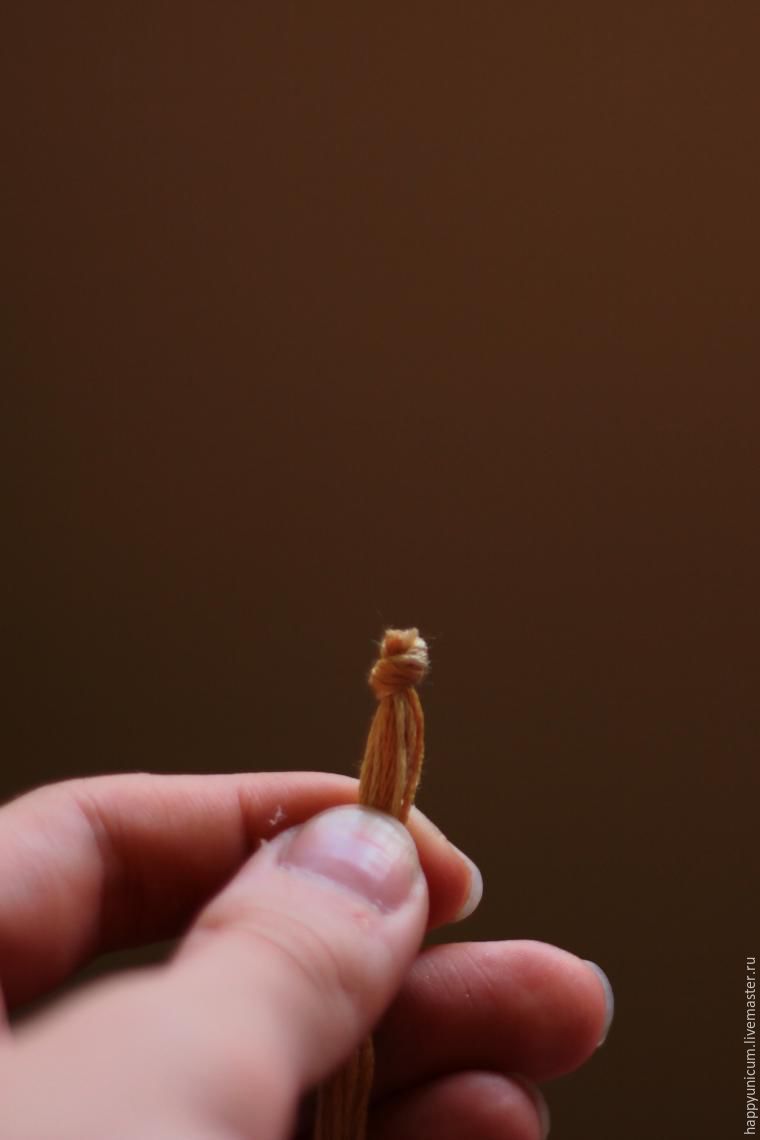
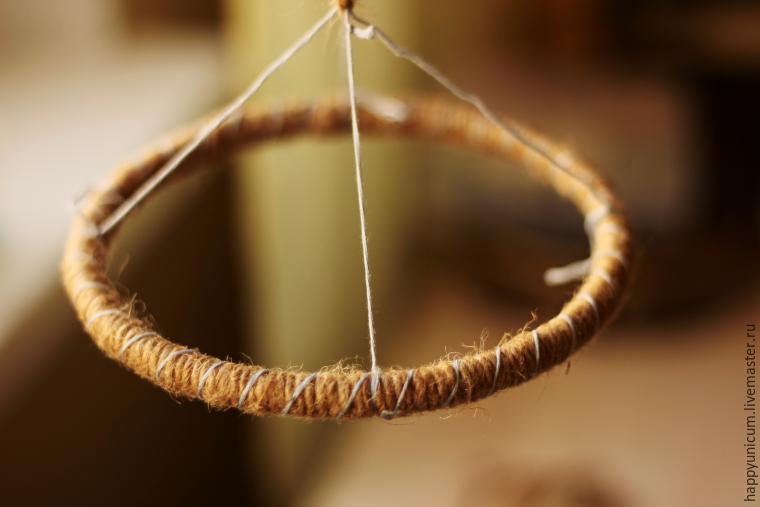 Now we count the number of keys. Cut as much thread sewing with each subsequent thread should be slightly longer than the previous one, a sort of stage. Attach a simple winding thread on the base in use glue.
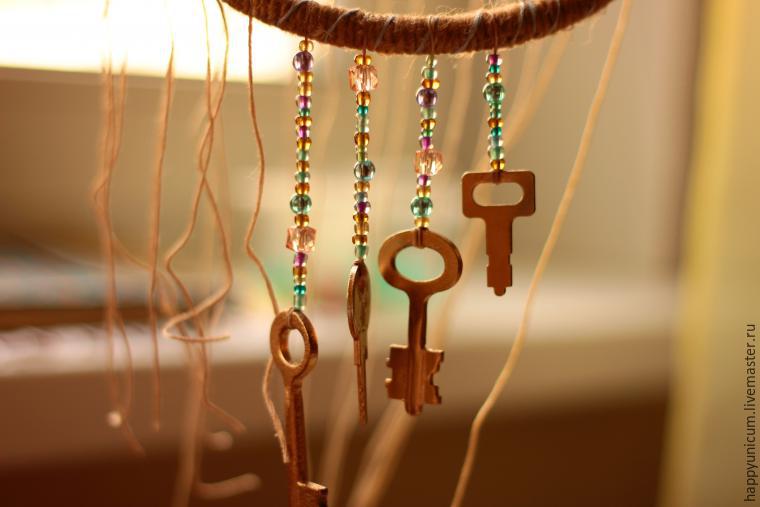
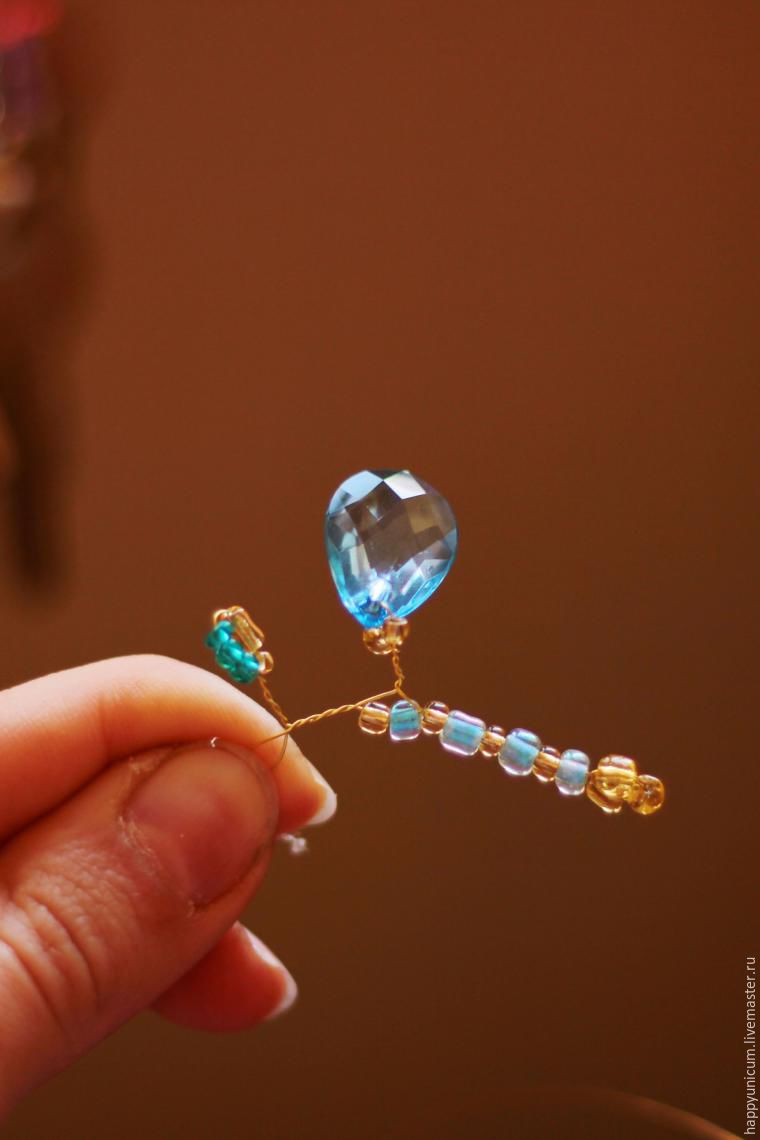
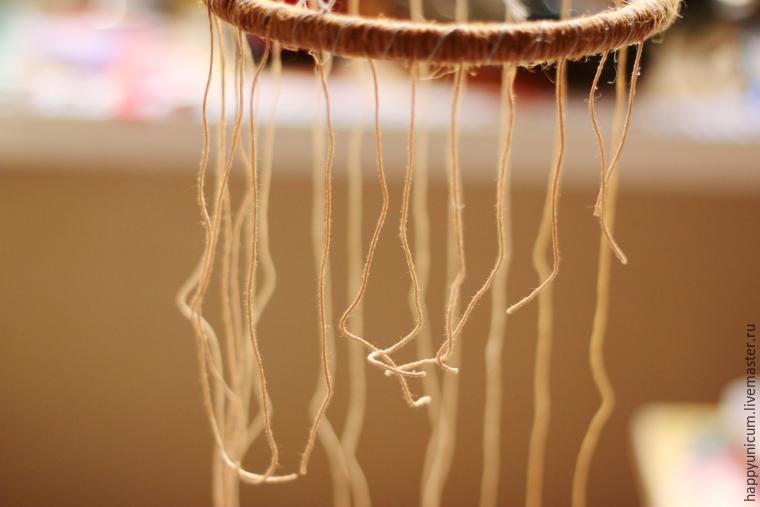 Next is the long and laborious part of the work: for each thread strung beads and beads in this order, as the heart desires and tastes! After the beads are strung and left a small tip of the thread we attach the first key:
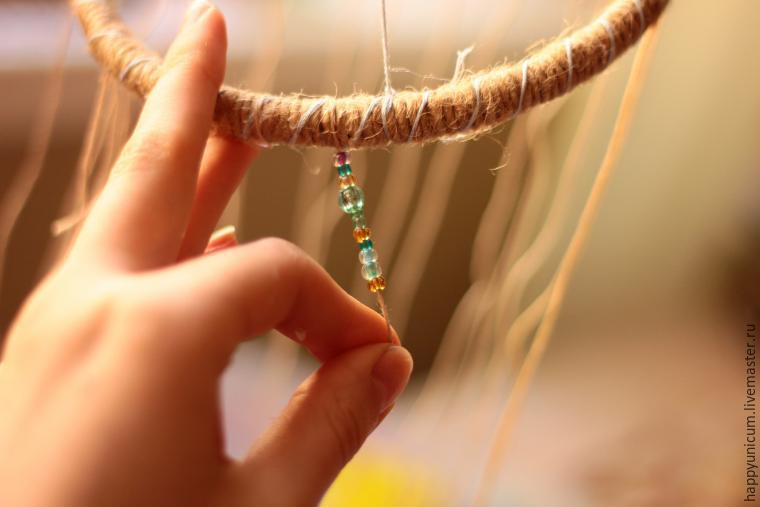
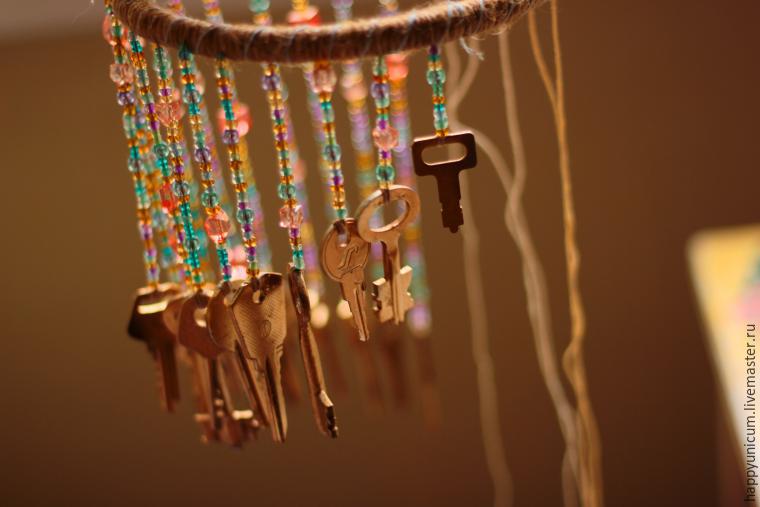
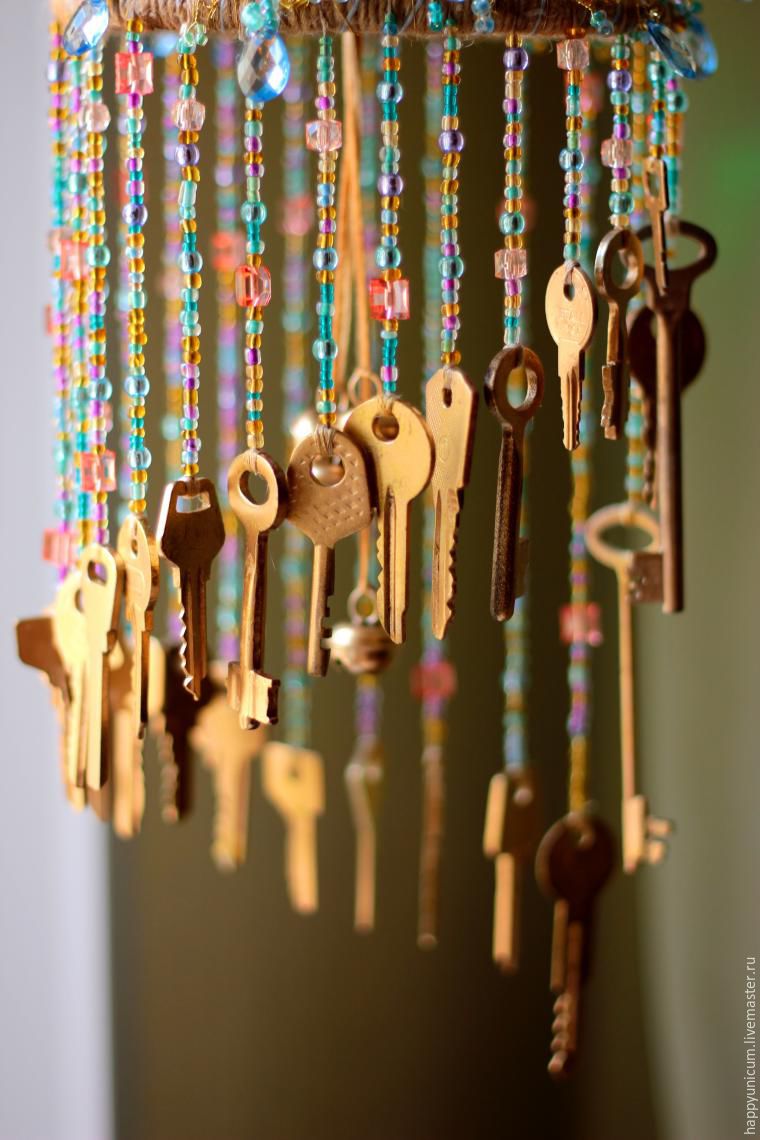
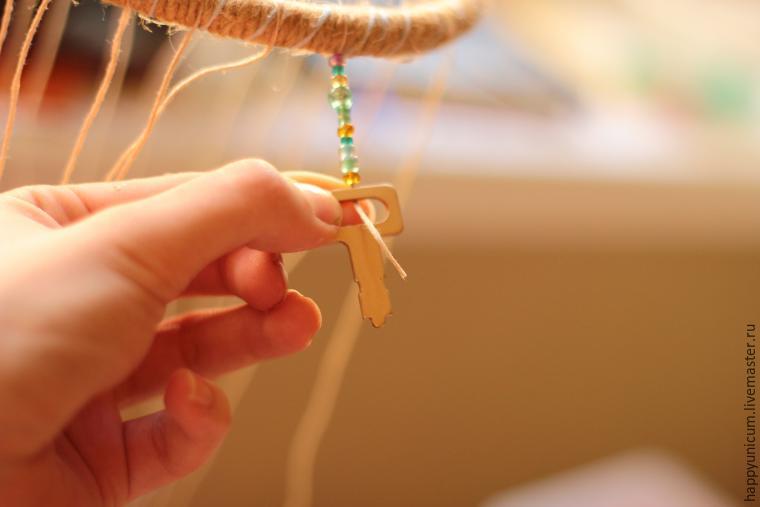 Key put on the glue, thread wrapped neatly around the tab key. And so we are working with each thread. It follows that each subsequent key hung lower, but touched the previous one.
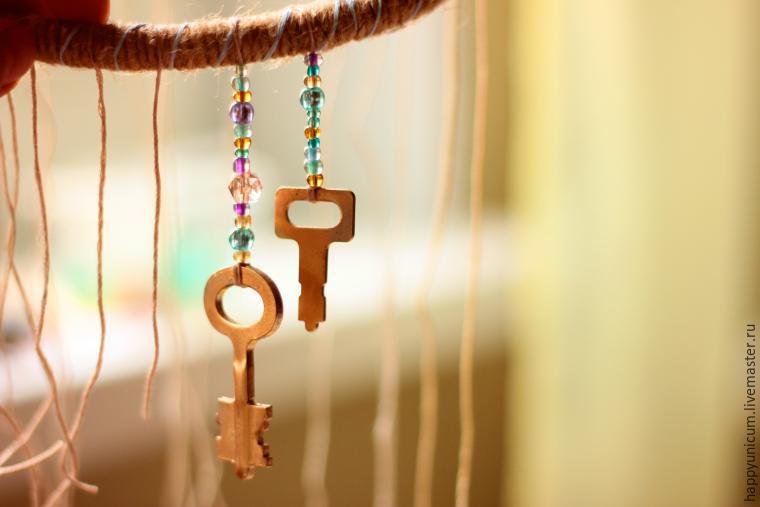
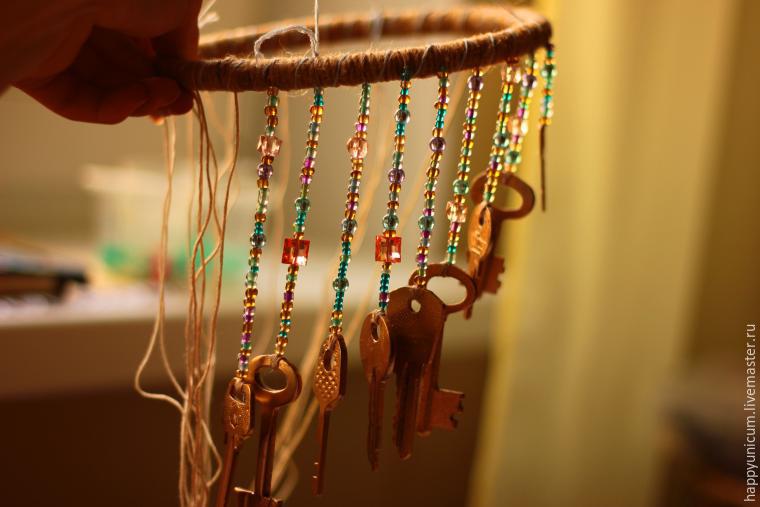
 After several hours of hard work, we are ready for the next step. Change the attachment to a neat and durable.
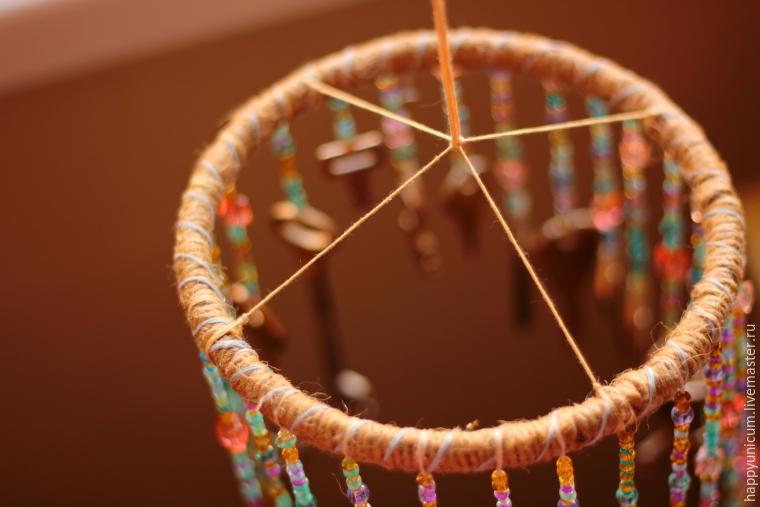
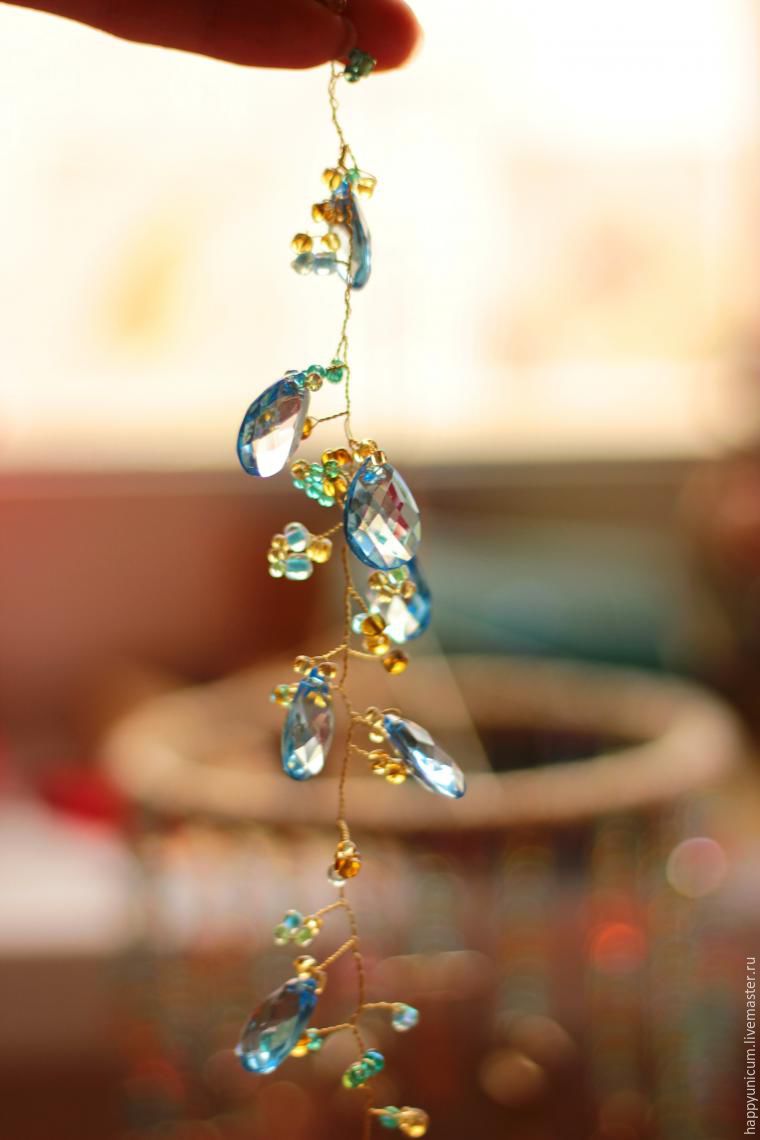
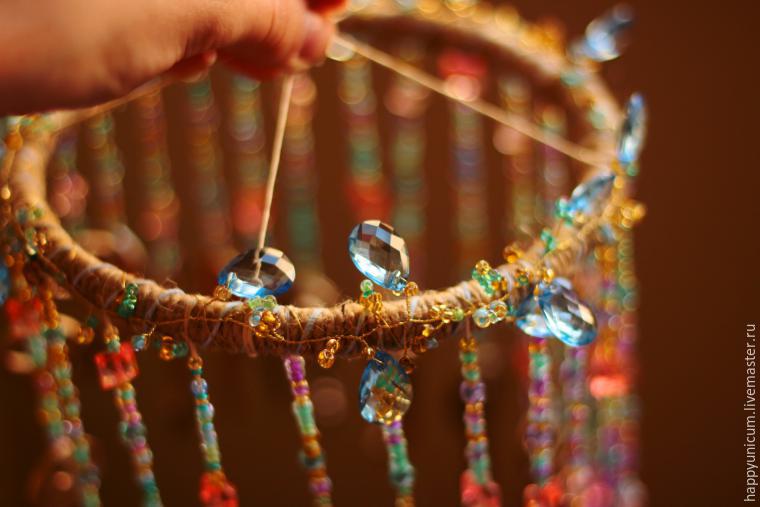
 Wires are twisted into a spiral, arbitrarily adding beads and crystals. It turns out delicate wreath that our foundation.
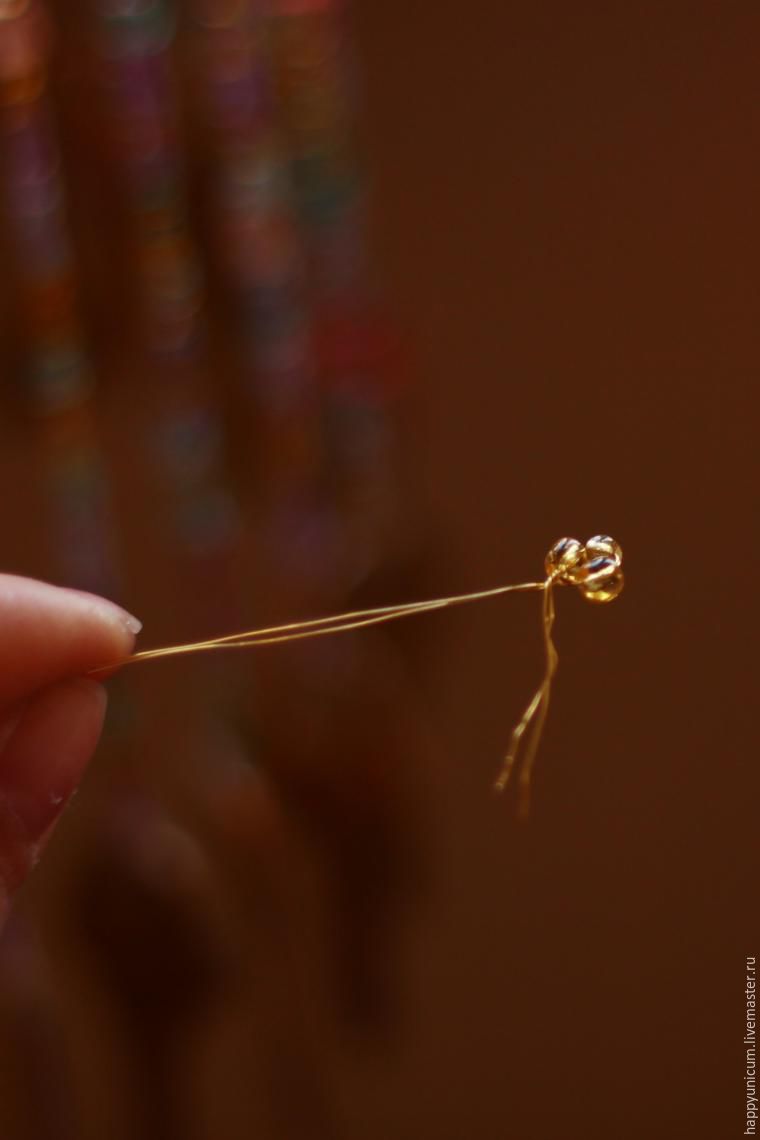
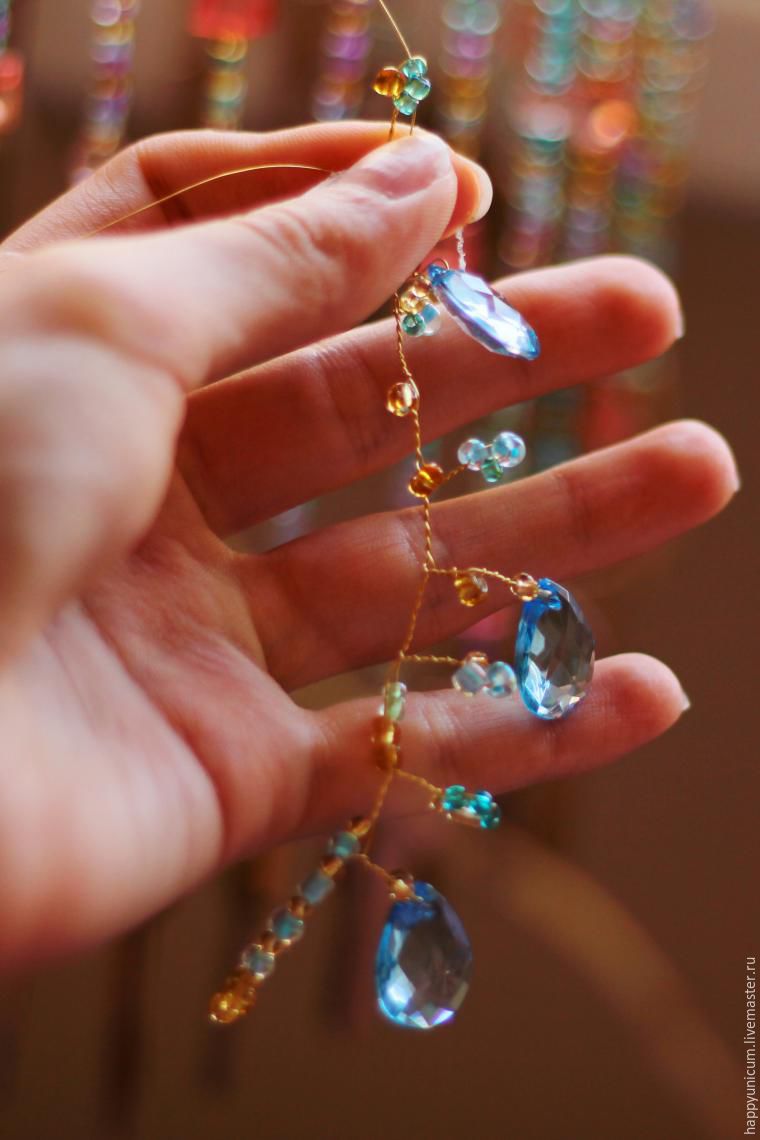


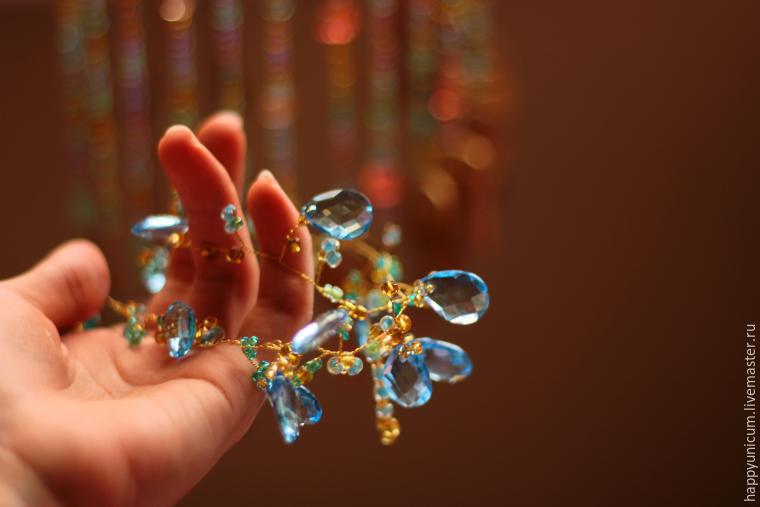 Entwine our foundation’s how beautiful it turns out:
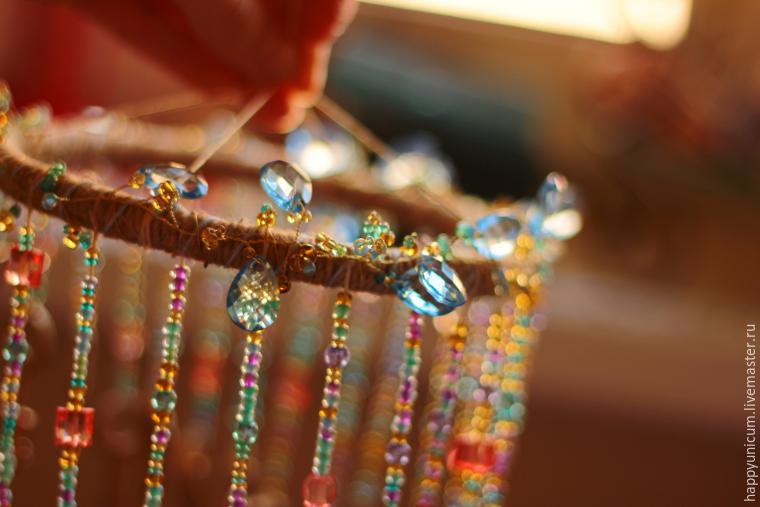
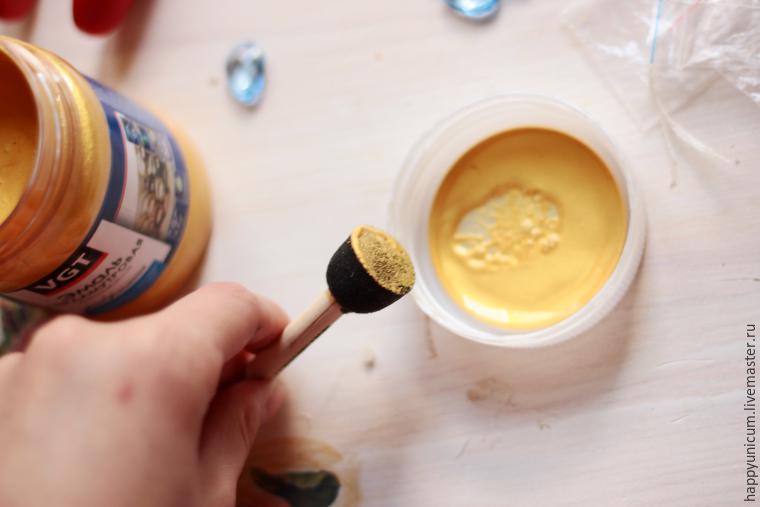
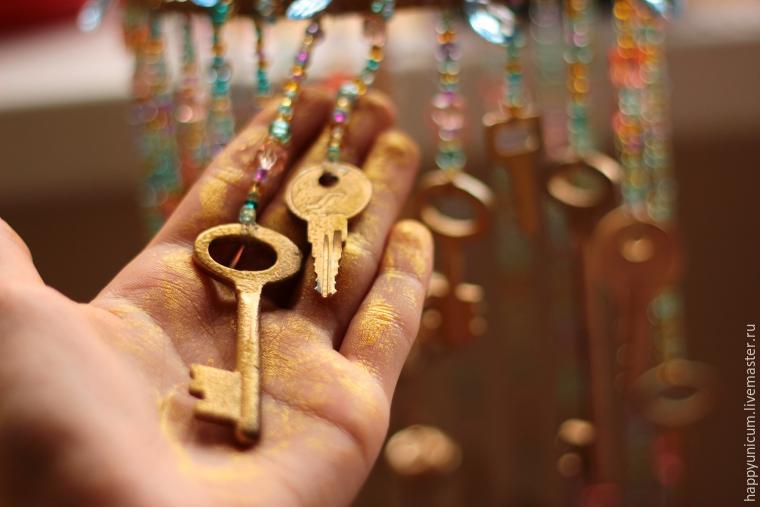
 I key tone seemed warm enough and I decided to cover them paint a rich golden color.
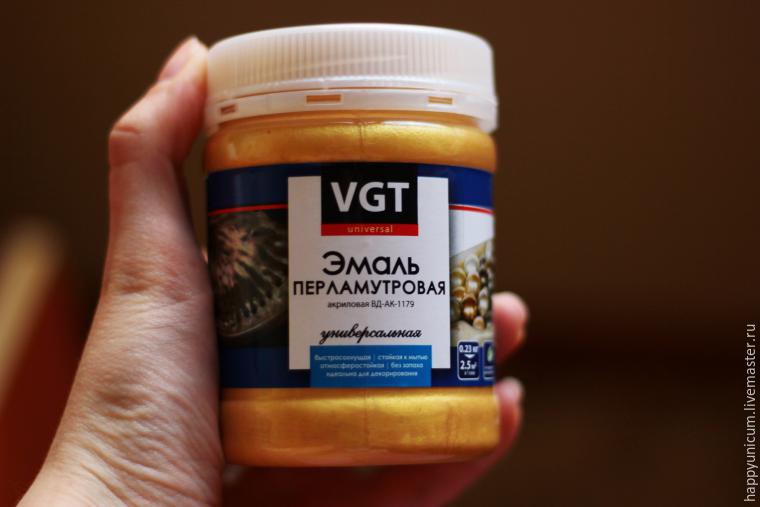
 Gloves I never use, but you advise. Although the paint and so very easily washed away with warm water unnecessary chemical exposure to the skin you do not need. Now for the bells. Fasten each thread and tie them in a bundle, but so that each bell was on a different level.
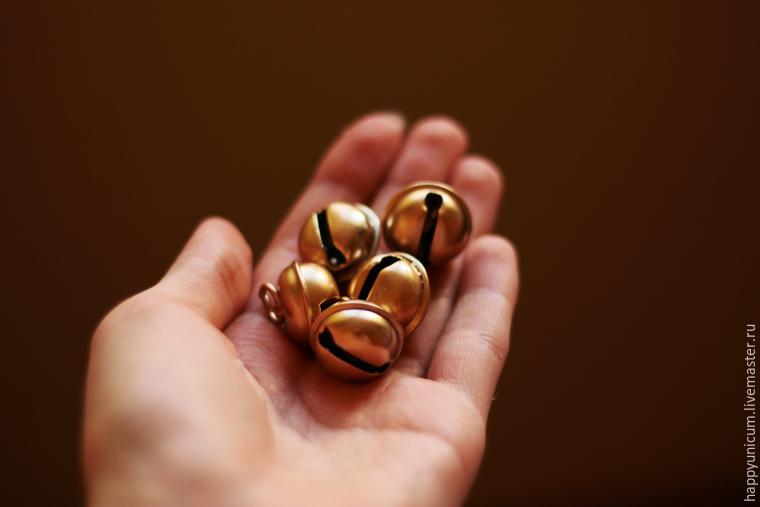

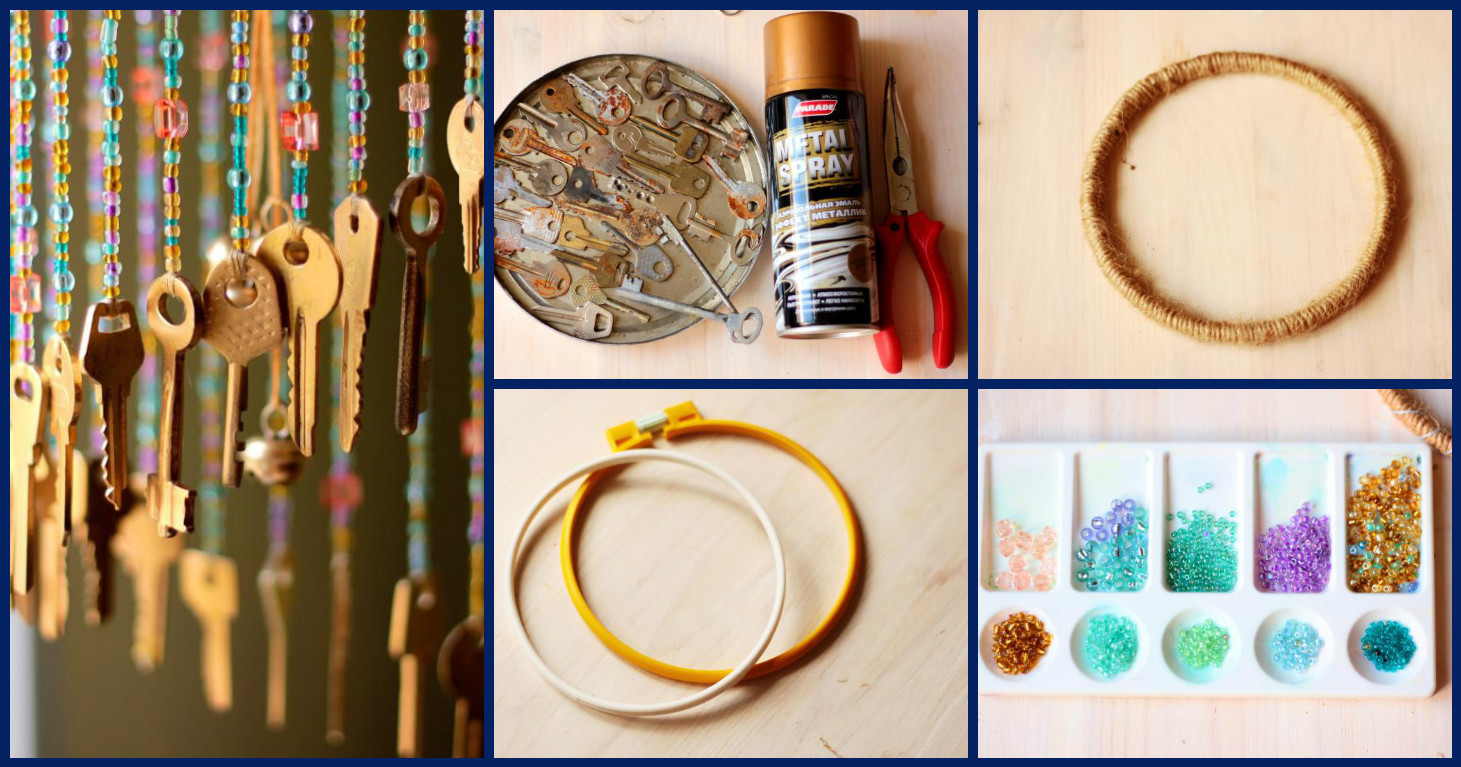
 We hang the bells in the center of the composition, and enjoy 🙂
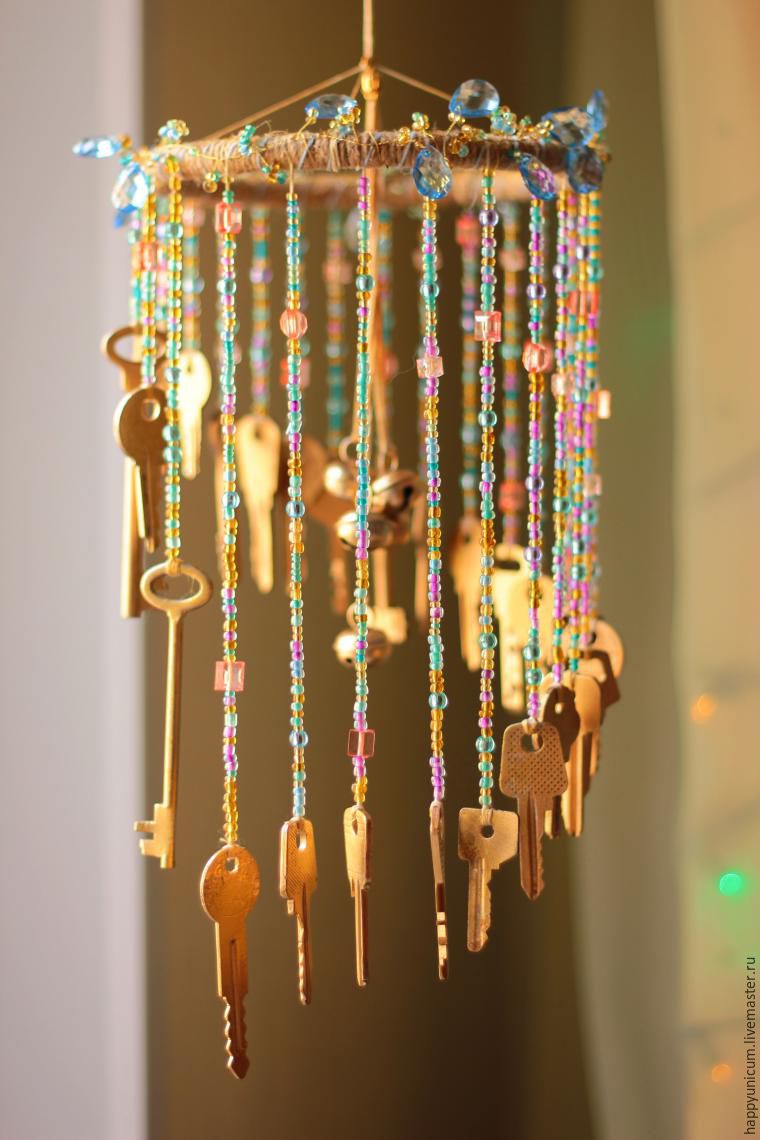
 To all heard the wonderful sound.