cover manufacturer for headphones will not require you a lot.
Time and skills, and make it can be made of fabric remnants, surely you have different scraps, which can be put to use. And our detailed master class will help you with this.
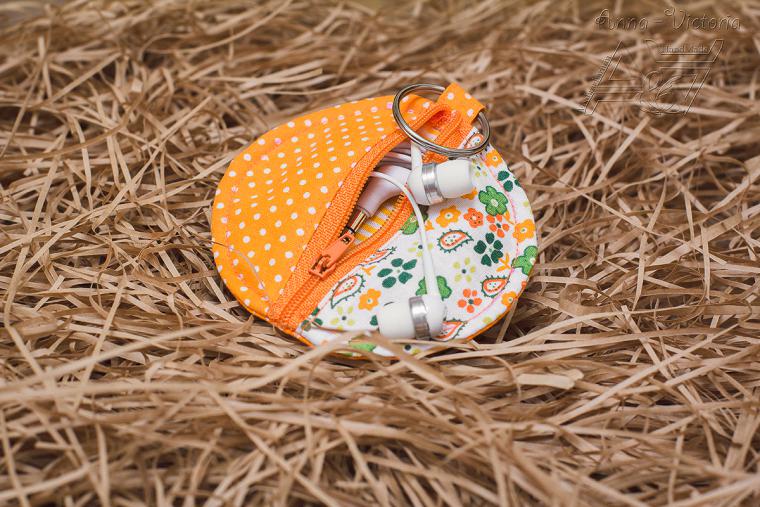
This cover can also be used for storage of flash player or a miniature, here it is already possible to show your imagination. Cheholchik can be used as a pendant, it was convenient to use it, and he was always there.
Let’s get started …

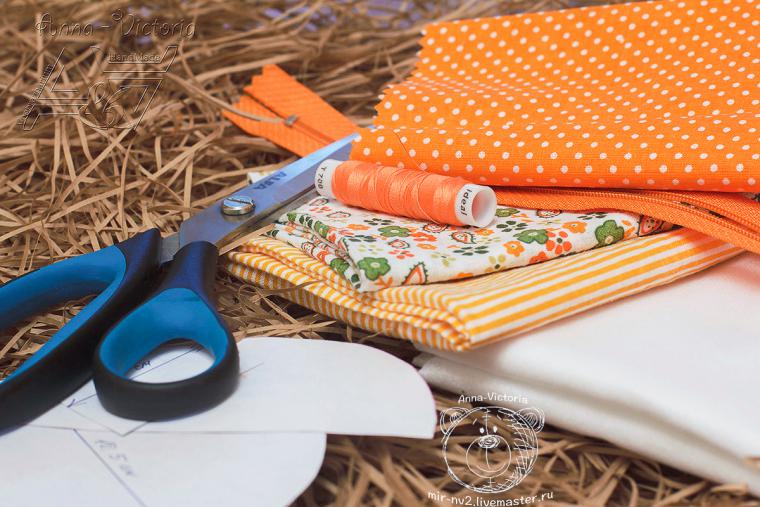
Required Material:
lightning;
main fabric;
Lining cloth;
Nonwoven for sealing or batting;
pattern, scissors, thread and a good mood.
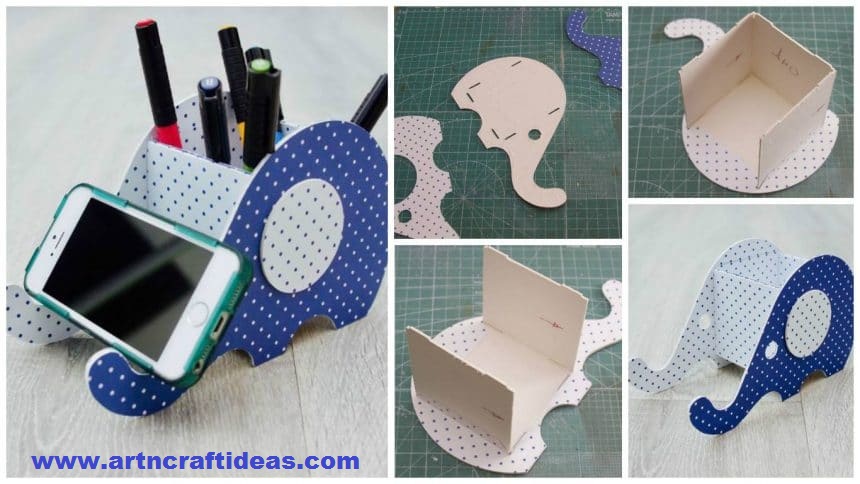
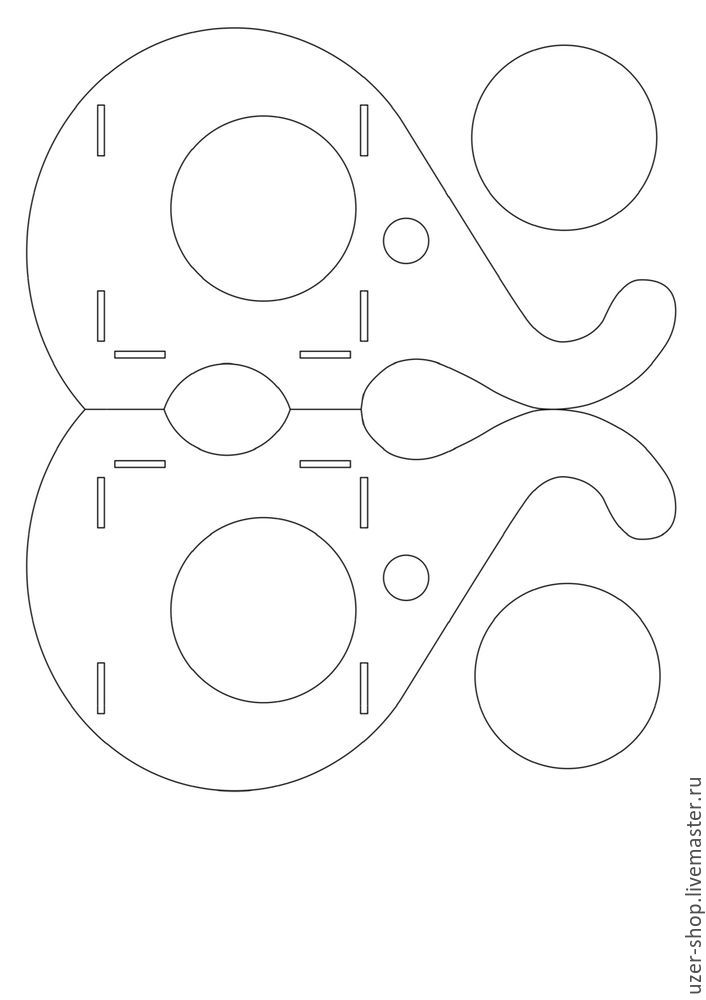
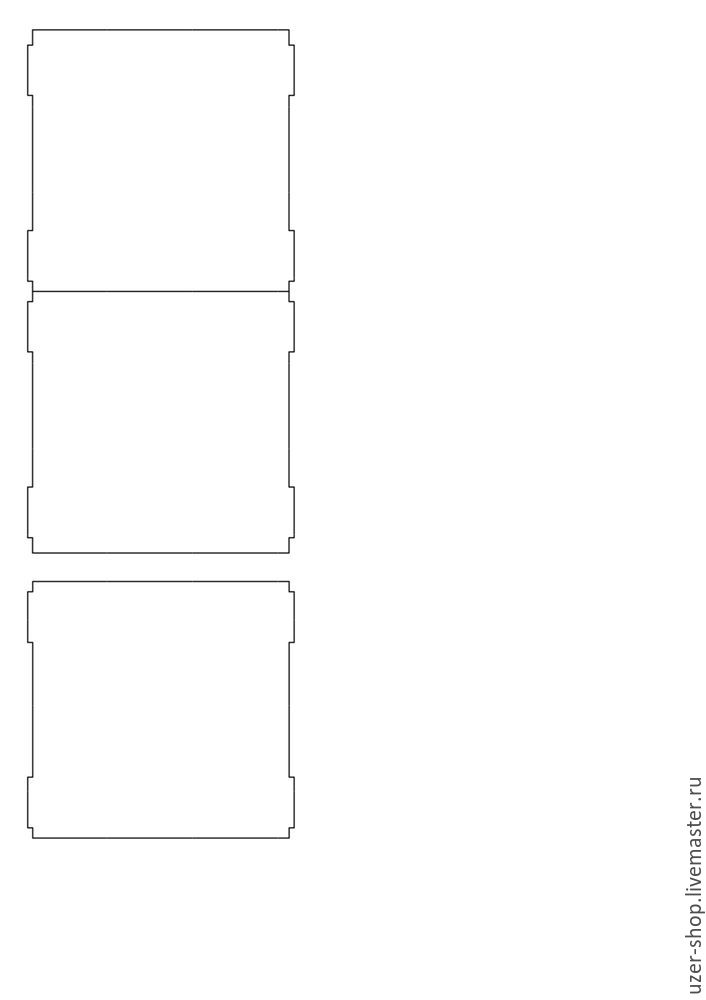
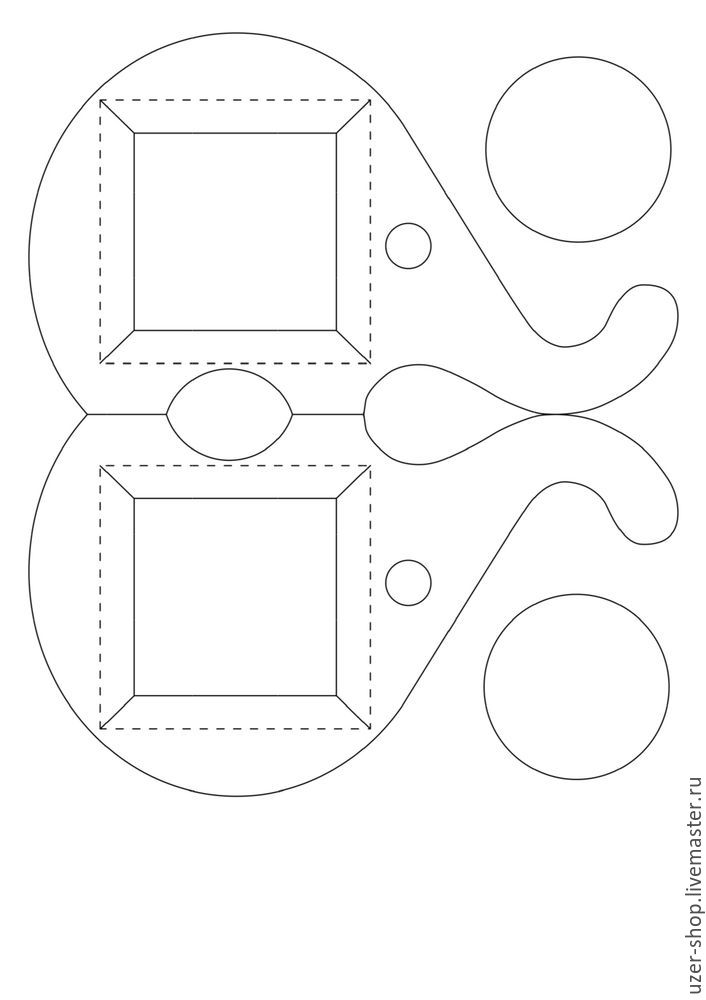
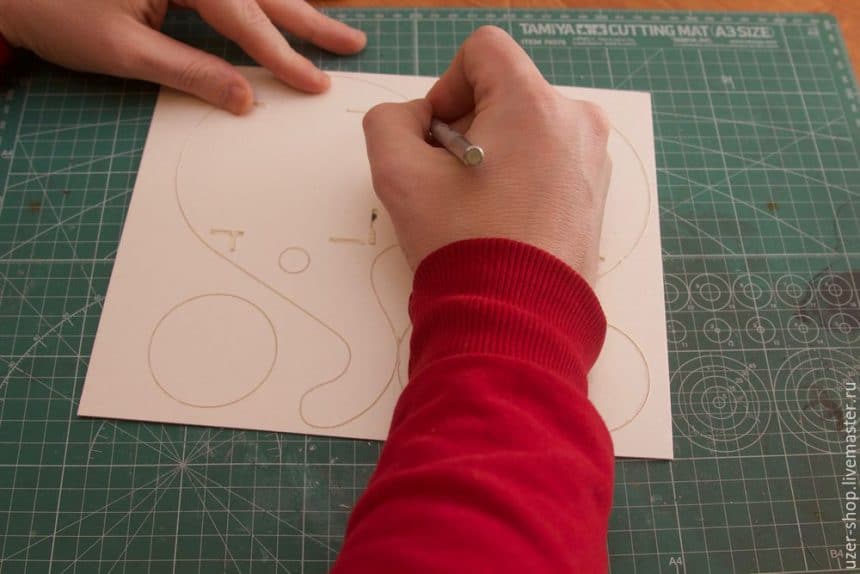
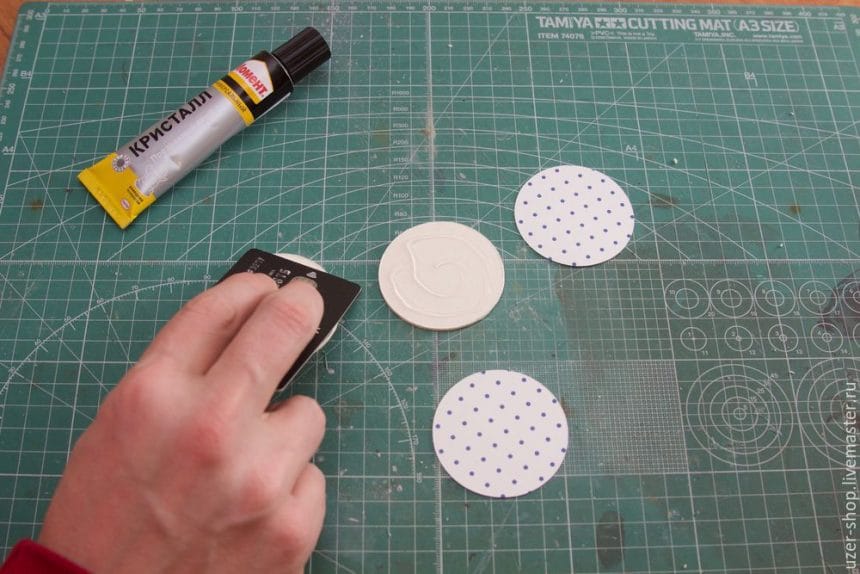
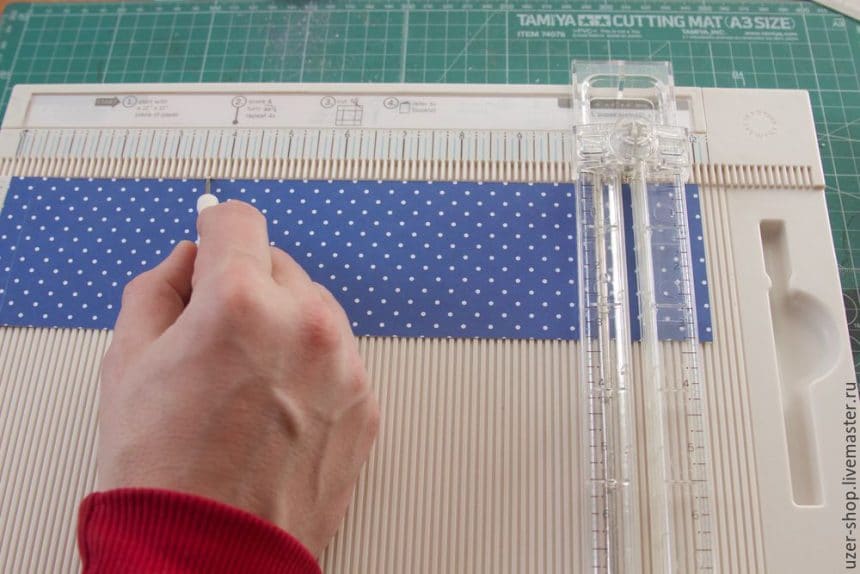
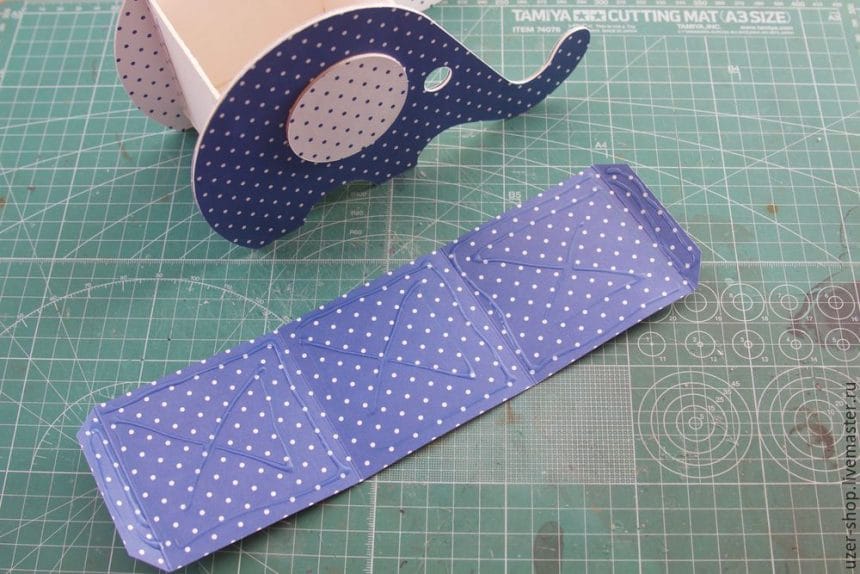
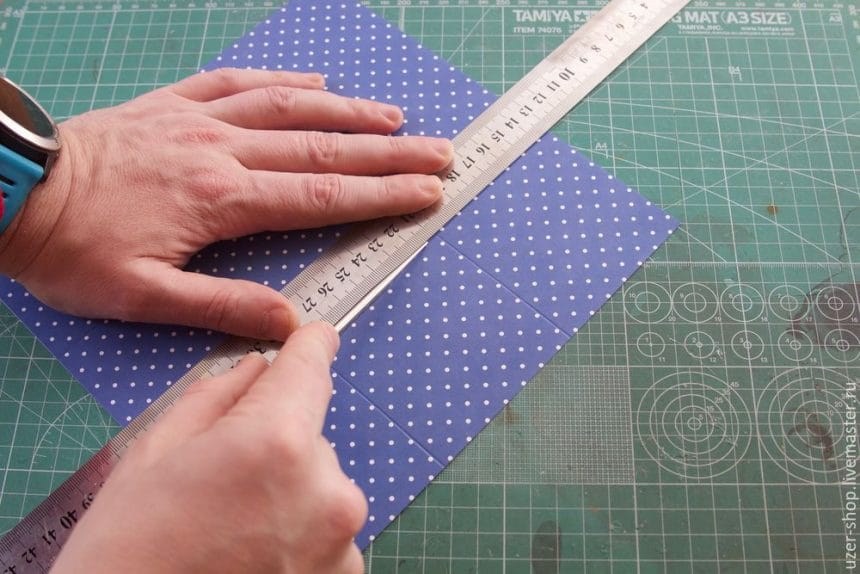
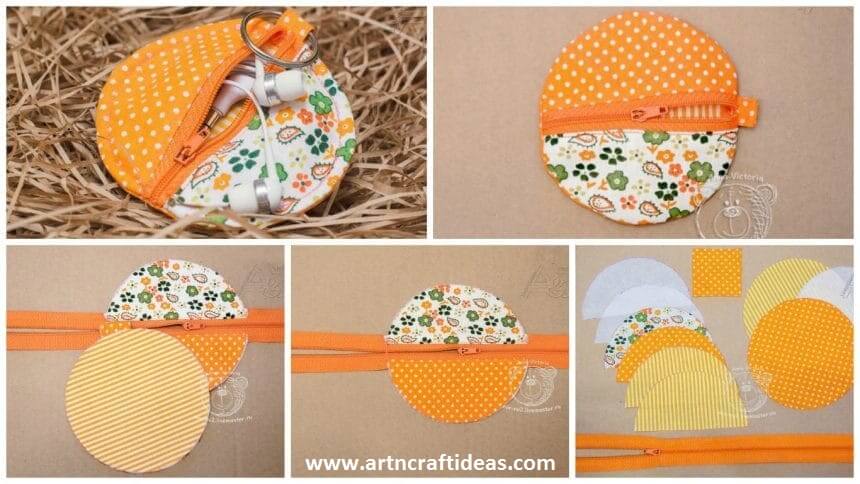
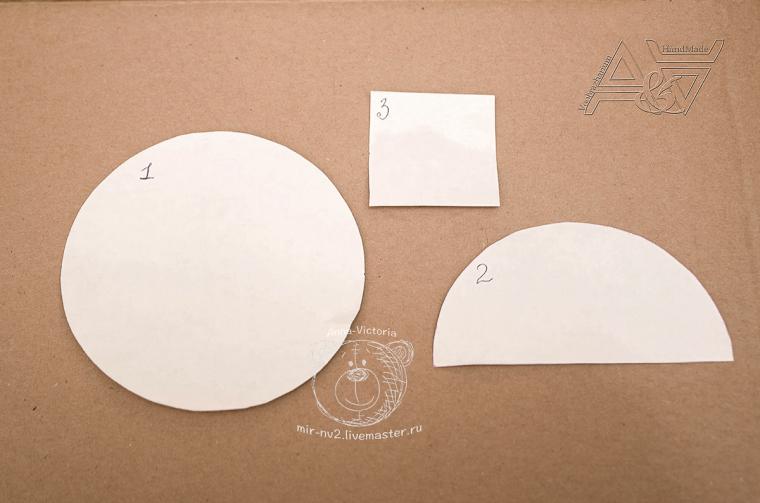
From the base fabric (in this case, and colored dots) cut parts 1 – piece 1, 2 – 2 pcs., 3 -. 1 pc. (Pictured Circuits numbered).
Lining (in our case striped) and nonwoven 1 -1 units 2 – 2 pieces.
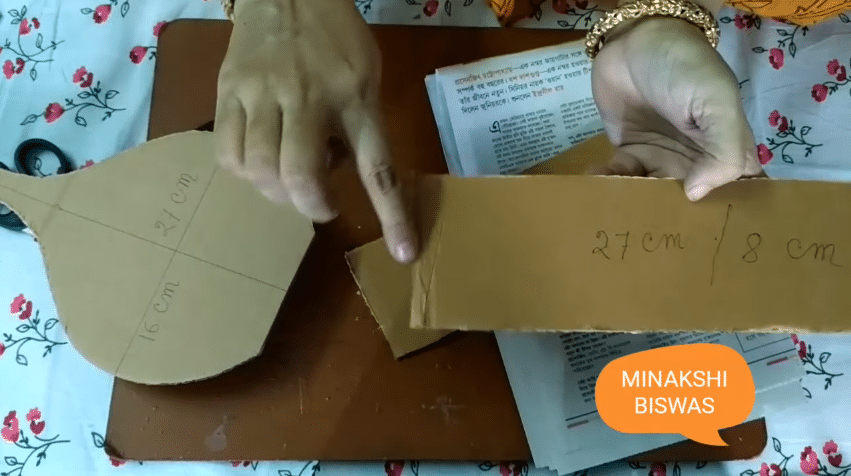
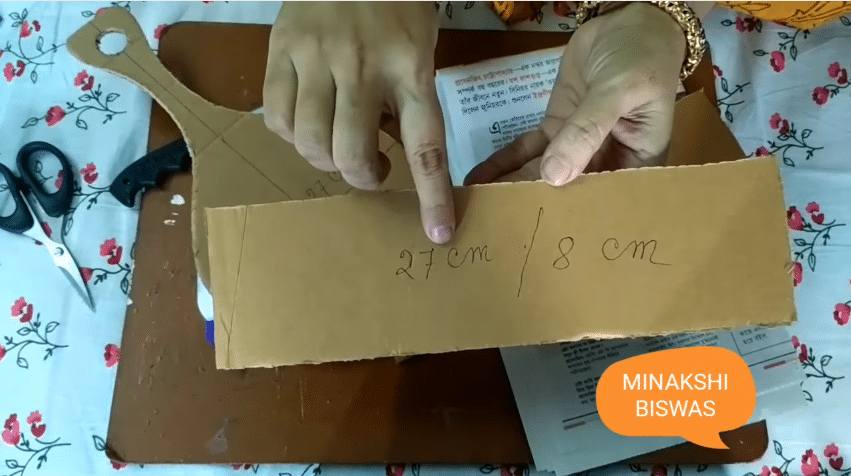
Swing 1 about 9-11 cm 3 -. 4-5 cm Details are given with allowances. The size of parts may be changed depending on the purpose for which will be hereinafter used.
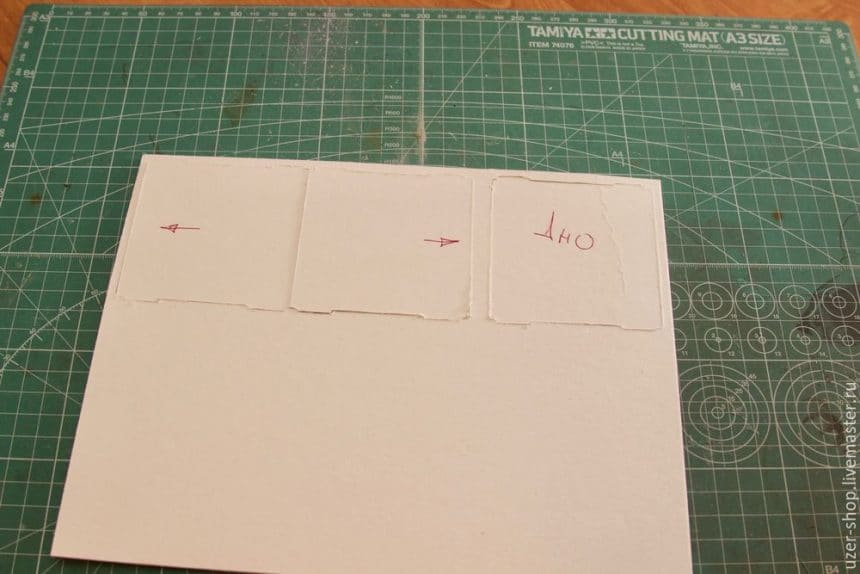
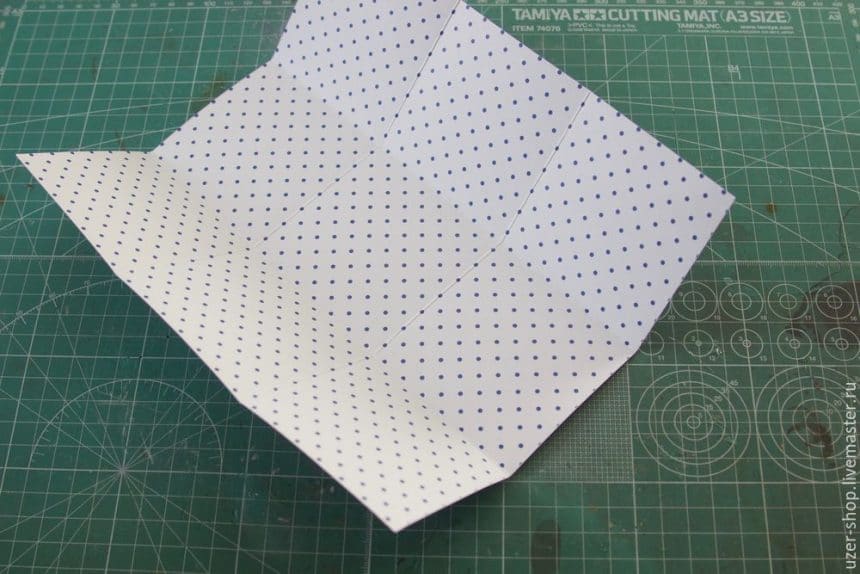
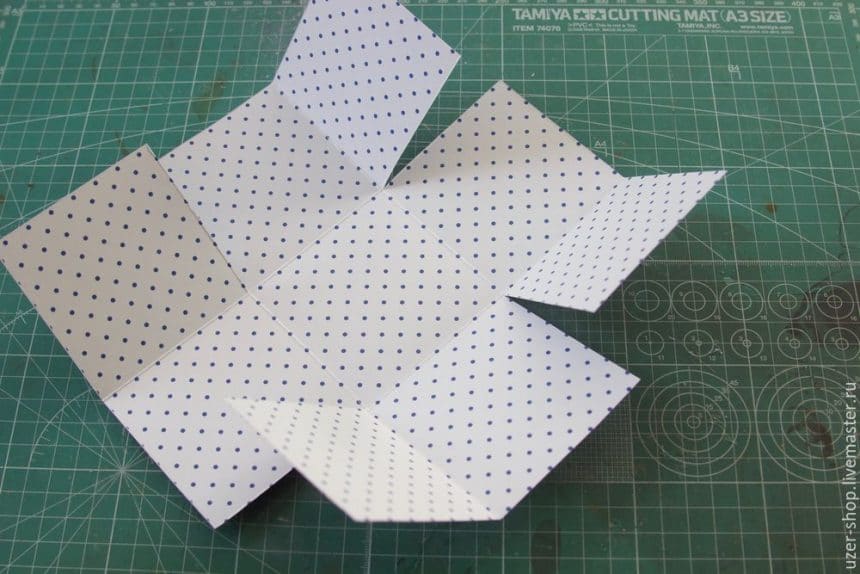
As a result, we have obtained a number of parts:
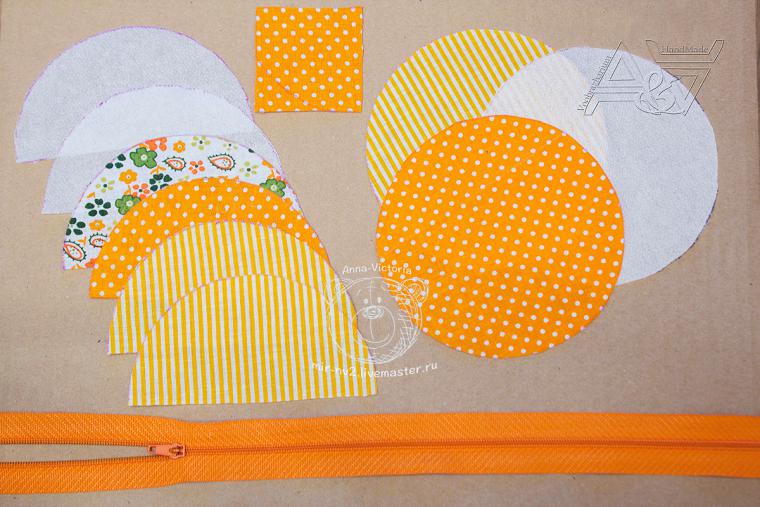
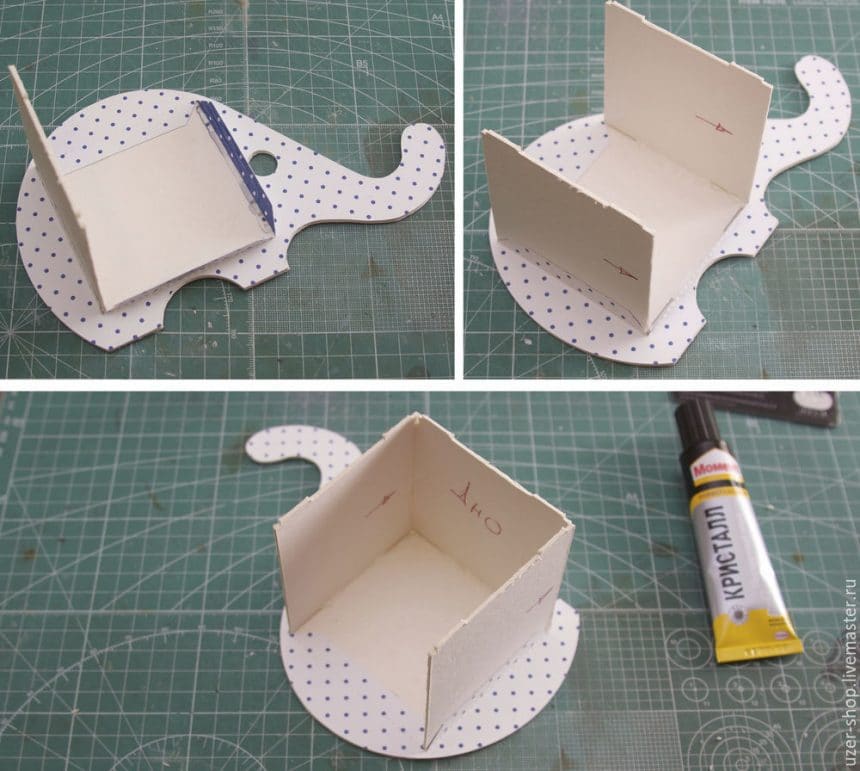
Sleek interlining to the three parts of the base fabric:
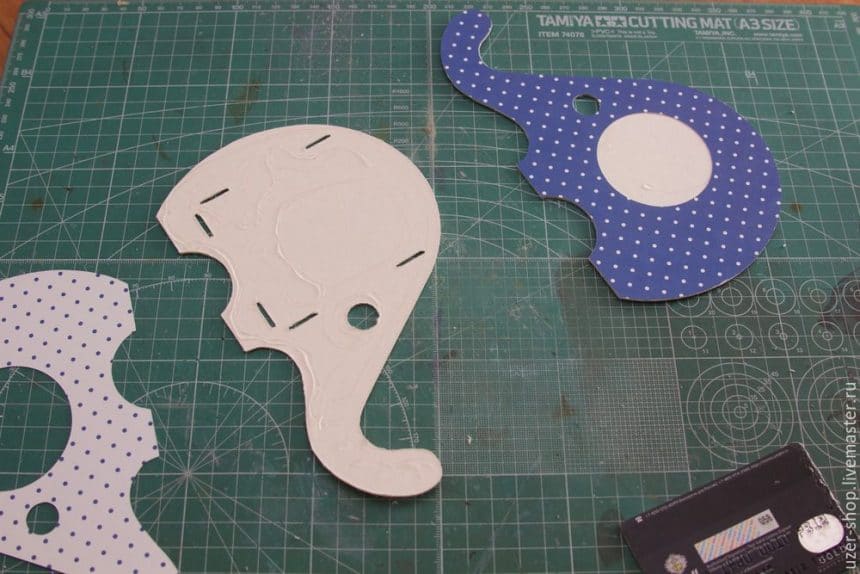
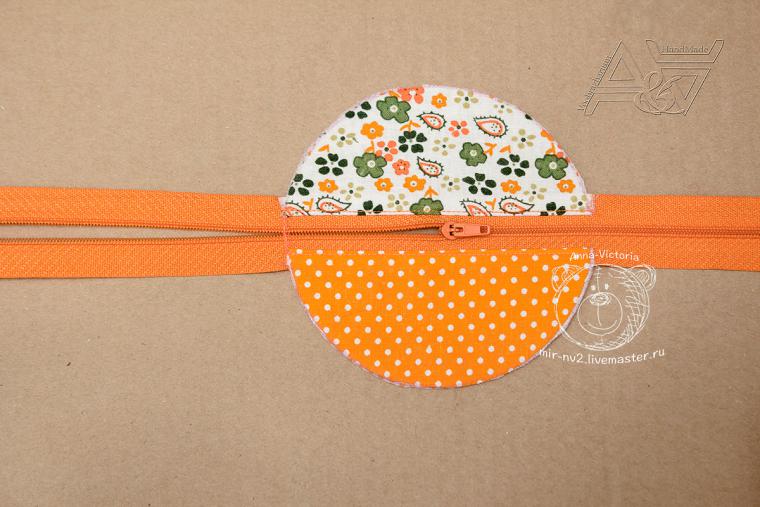
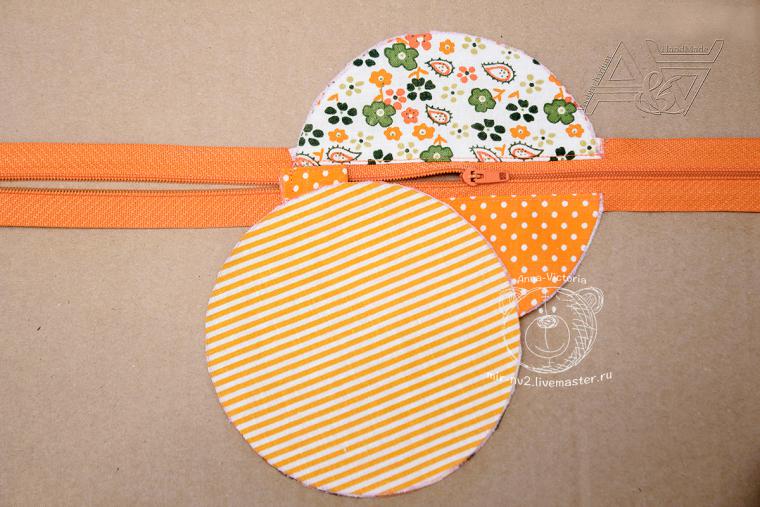
Take a semicircle lining fabric face up and put on his zipper, so that the upper edge coincided:
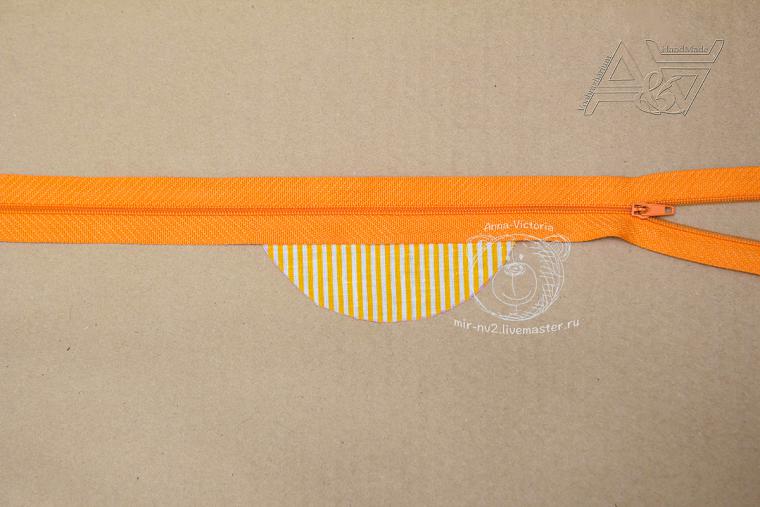
Set top semicircle of the base fabric (also raze edges)
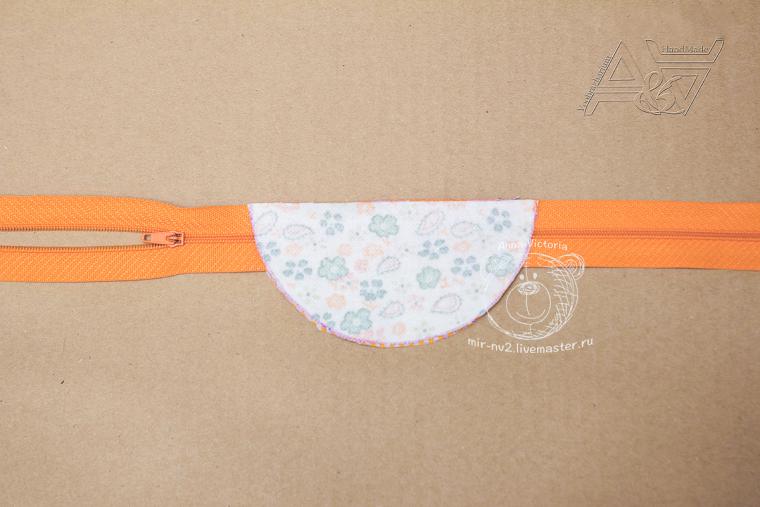
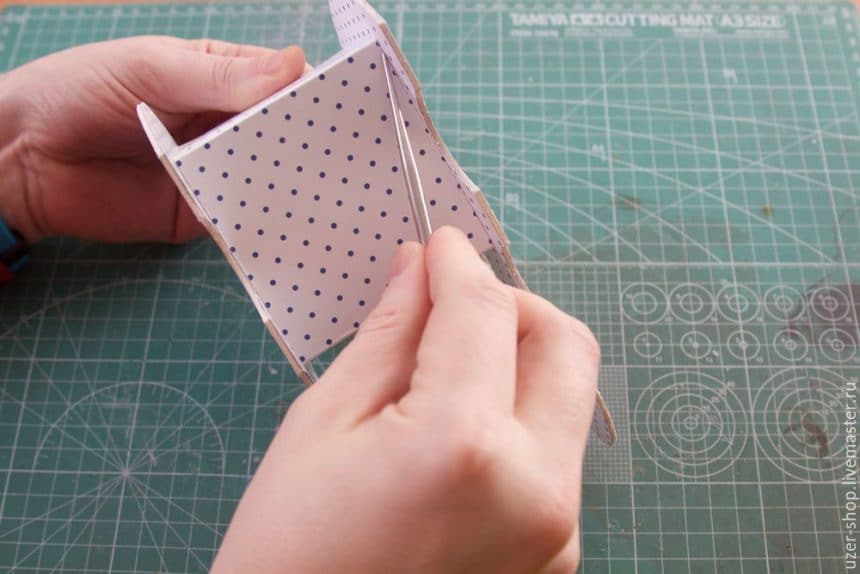
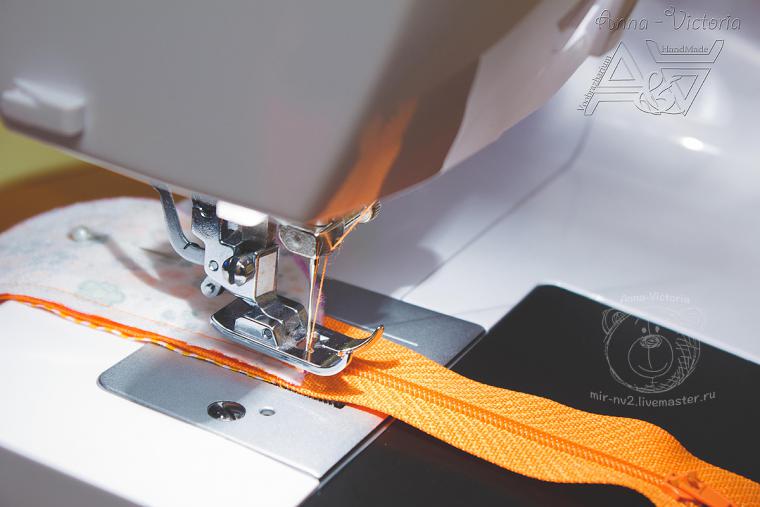
Now the “structure” should flash, departing from lightning about 5 mm (for convenience staple items or stoned)

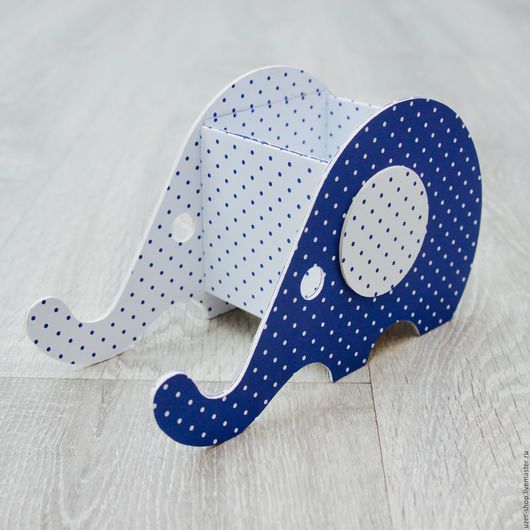
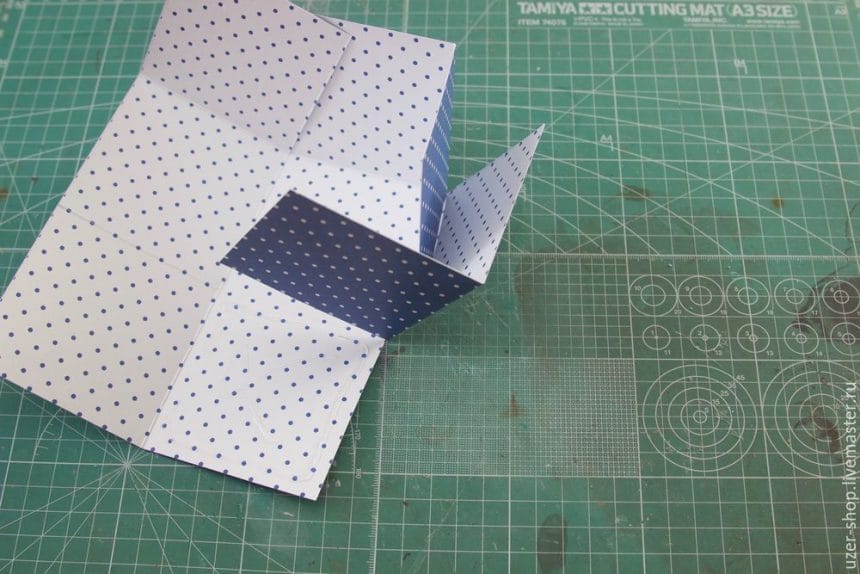
So we turned one-half of the top of the cover. Similar actions are performed in the second half. Here’s what you should have:
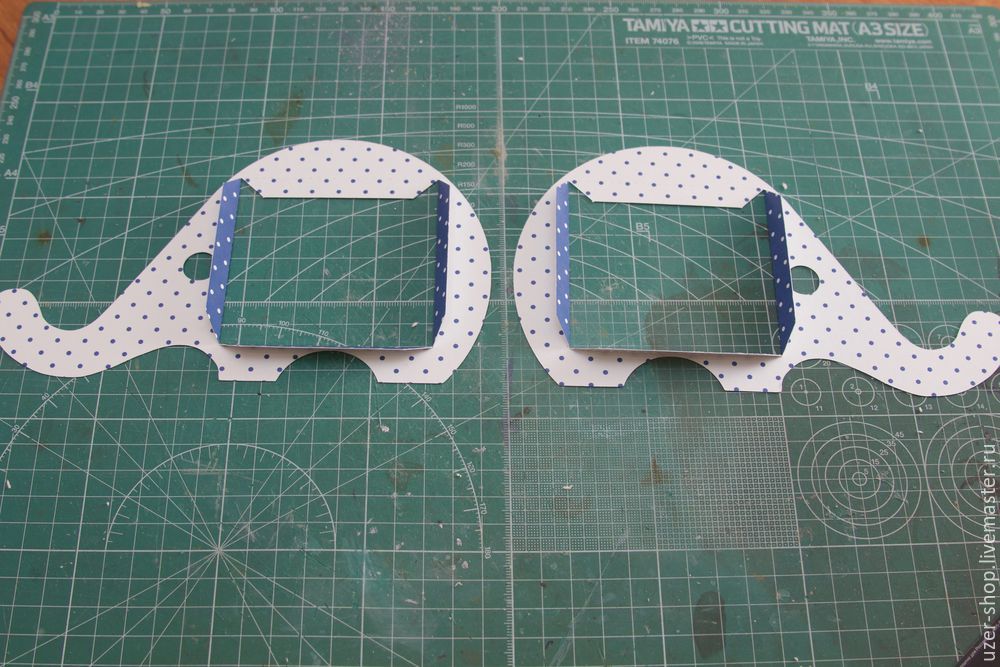
The right side of the box:
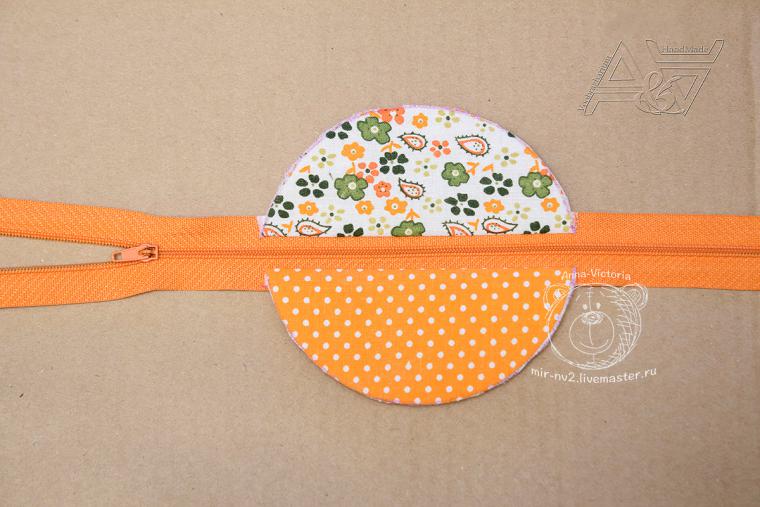
Wrong side of the box:
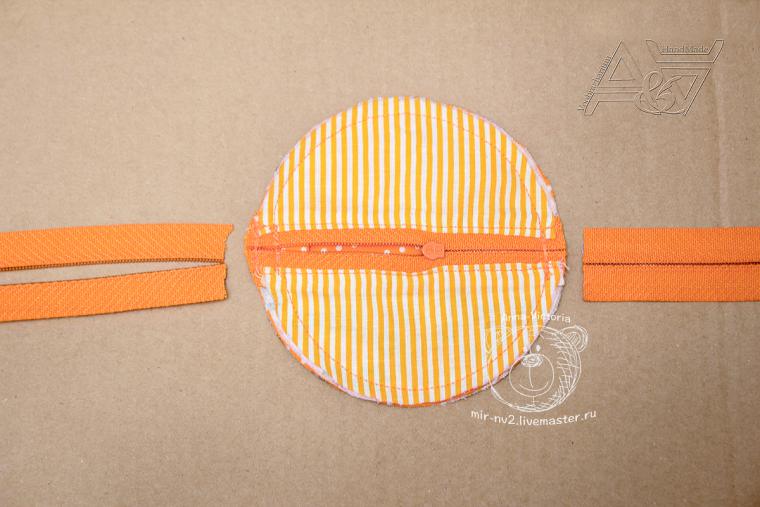
Take preform face up and sew the two sides of the zipper, departing from it 2-3mm. Unzip to the middle and hand stitched back and forth for fixing:
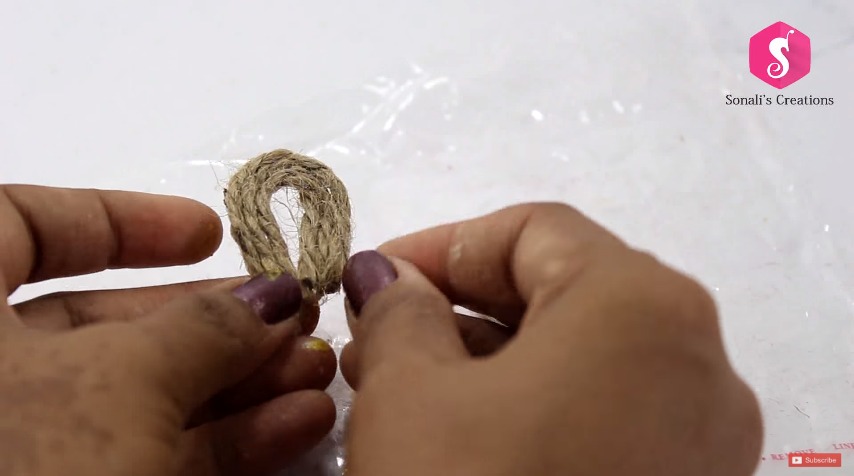
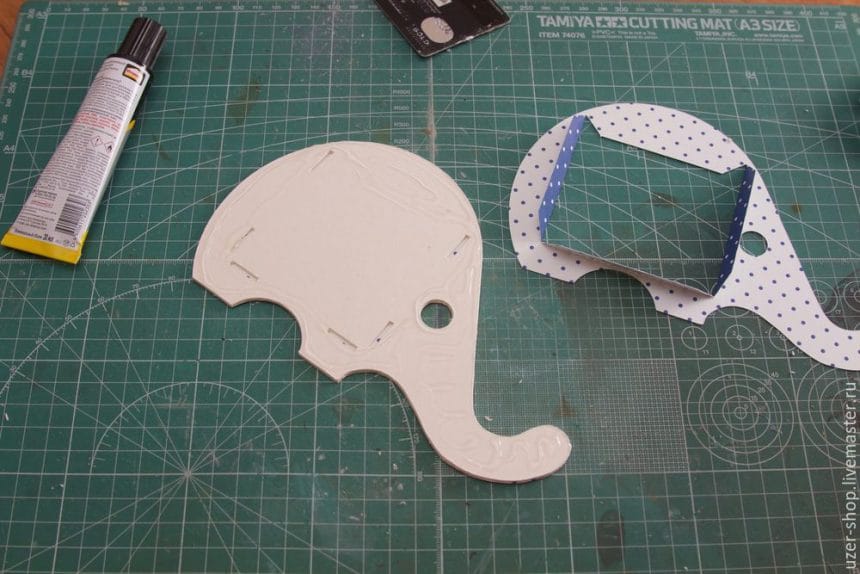
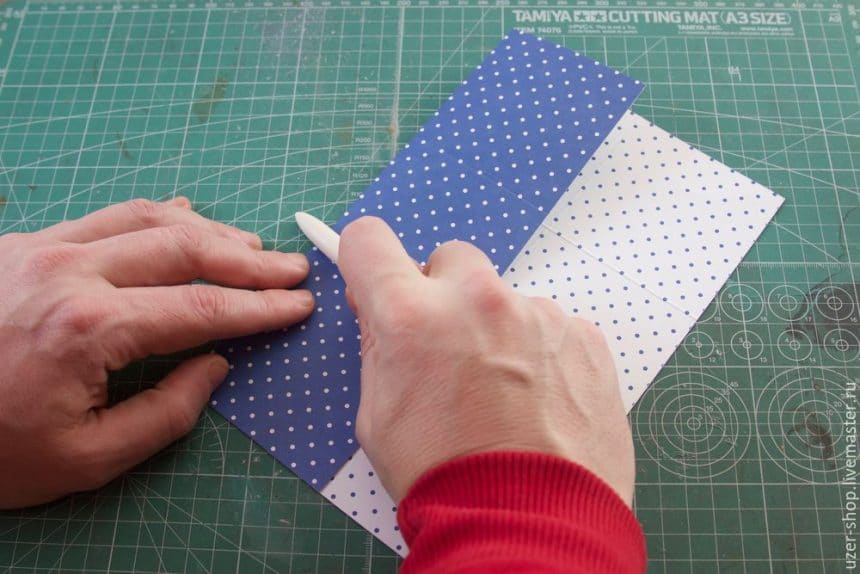
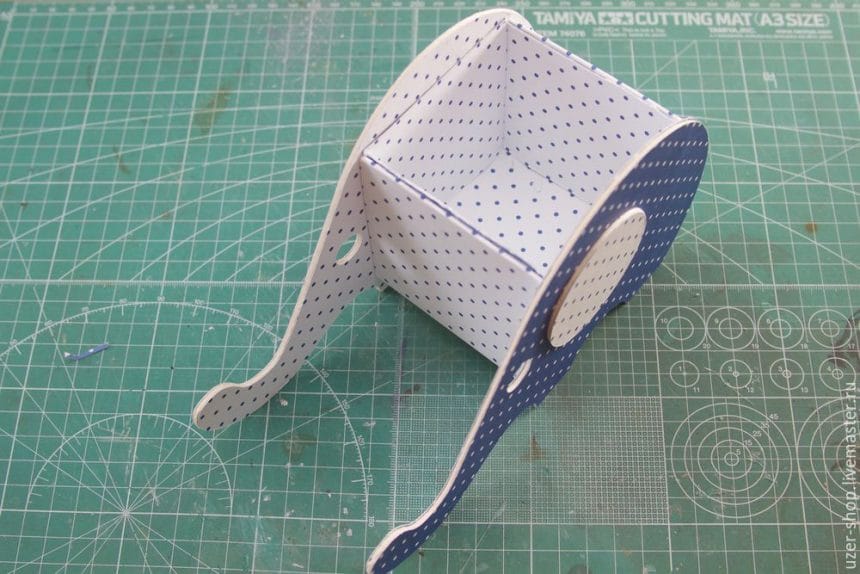
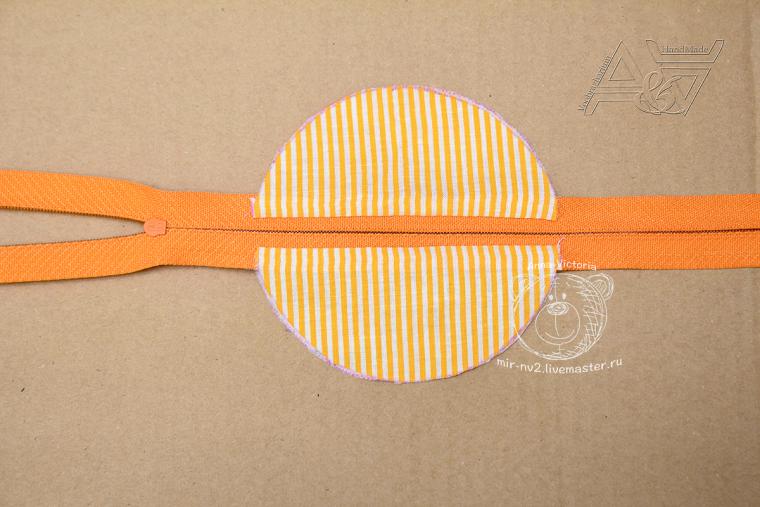
We make a loop at the edge of the lightning. Take part 3, fold the edges to the center and then in half:
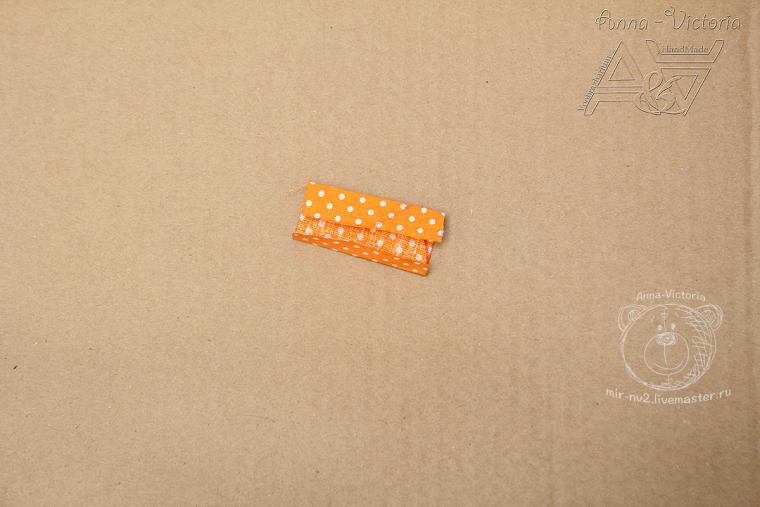
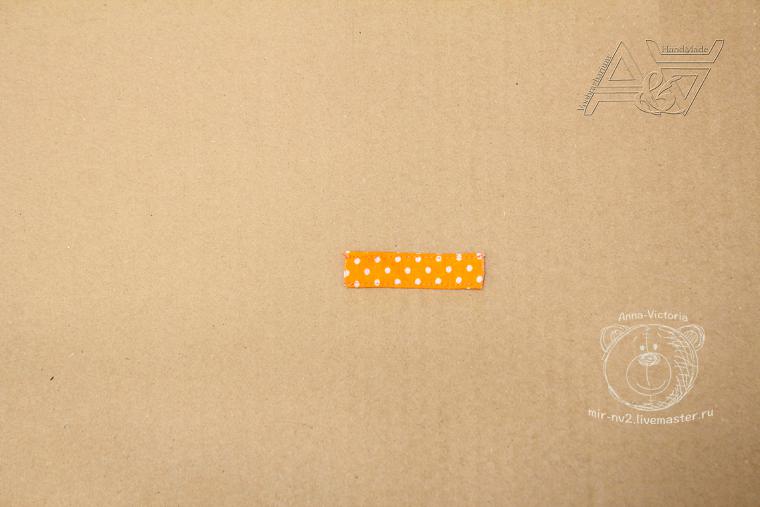
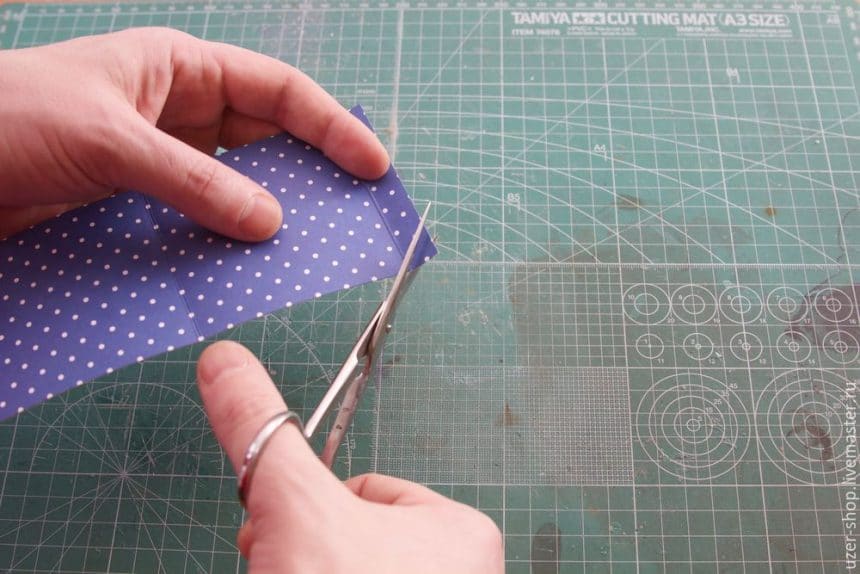
Sew part of the long edge on both sides, stepping back 2-3mm.
Next, bend your future loop in half and sew to the place where previously secured the zipper:

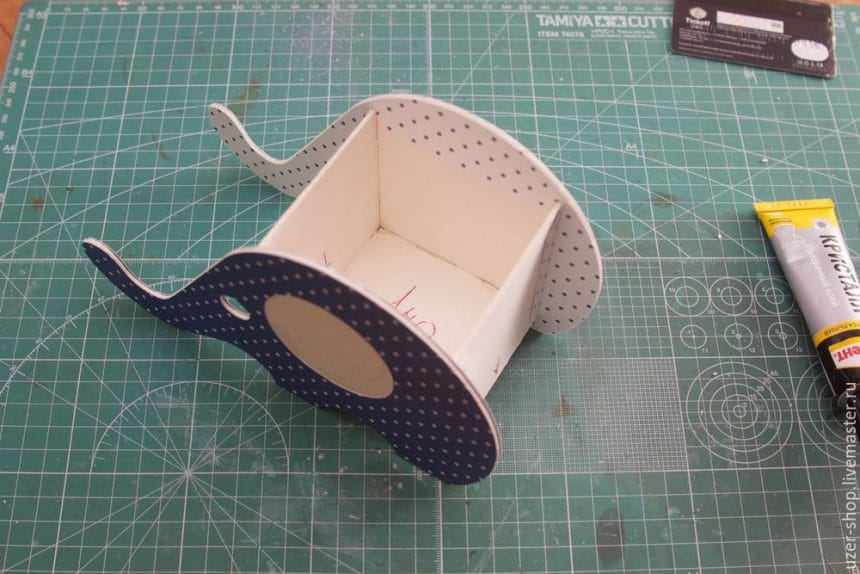
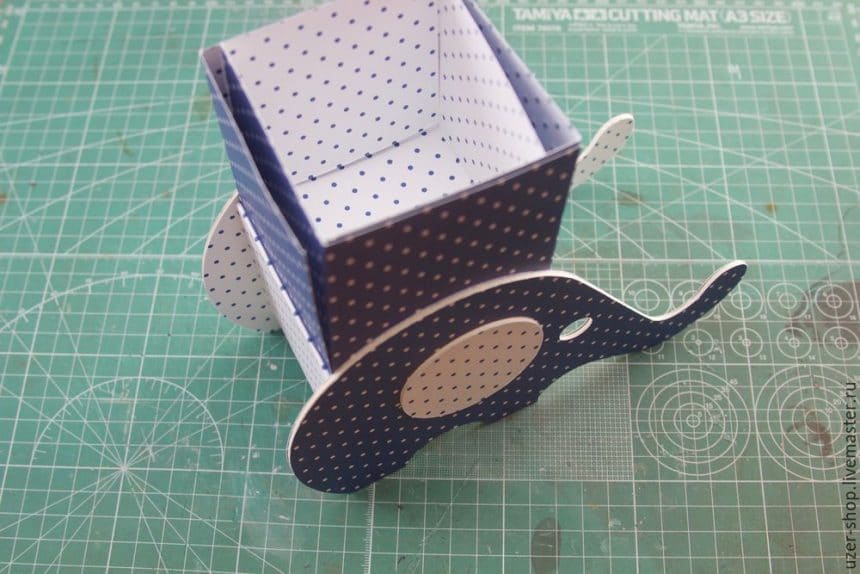
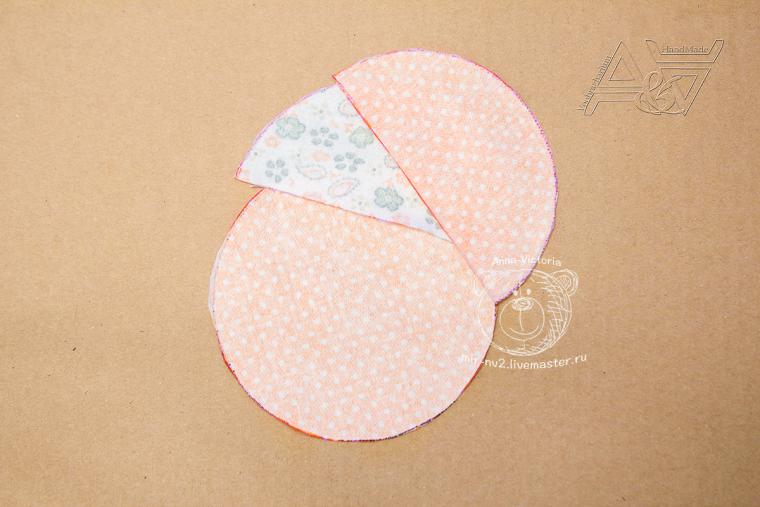
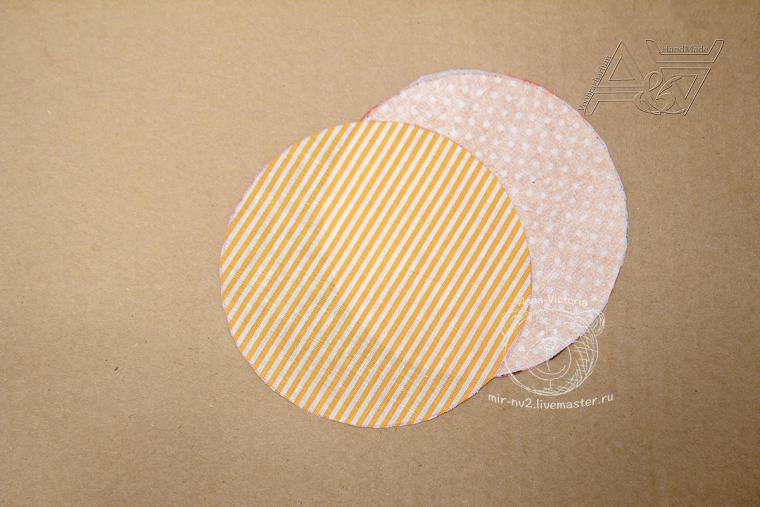
Take parts cut for the back side (of the base fabric (dots) and the lining (striped)). Circle, a cut out of the fabric put face down on top of the face we put a circle of lining fabric:
Now all this will place on the front part of the cover (lightning necessarily rastegnut until mid) and stitch around the circle, stepping back 5 mm from the edge:
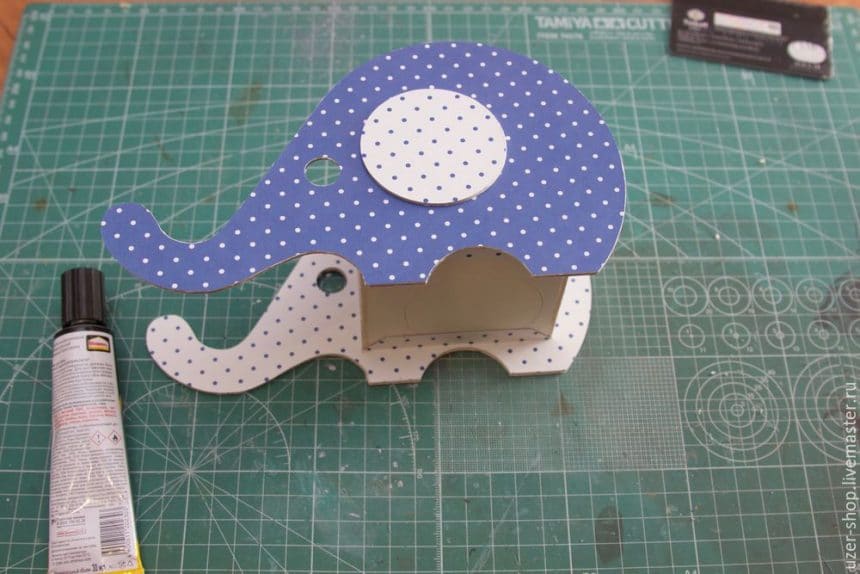
Carefully cut off the tails of unnecessary padlock and trim allowance circle (leaving about 2-3 mm)
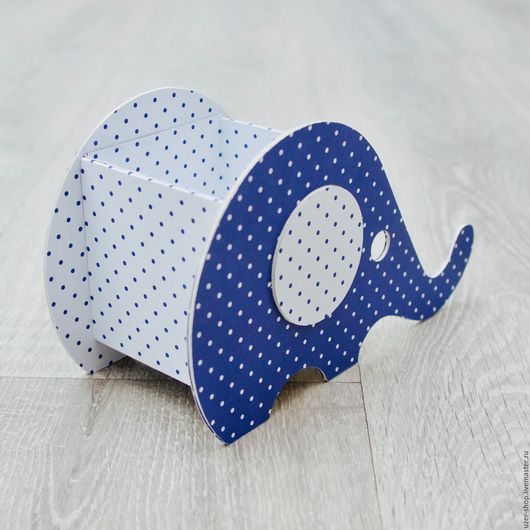
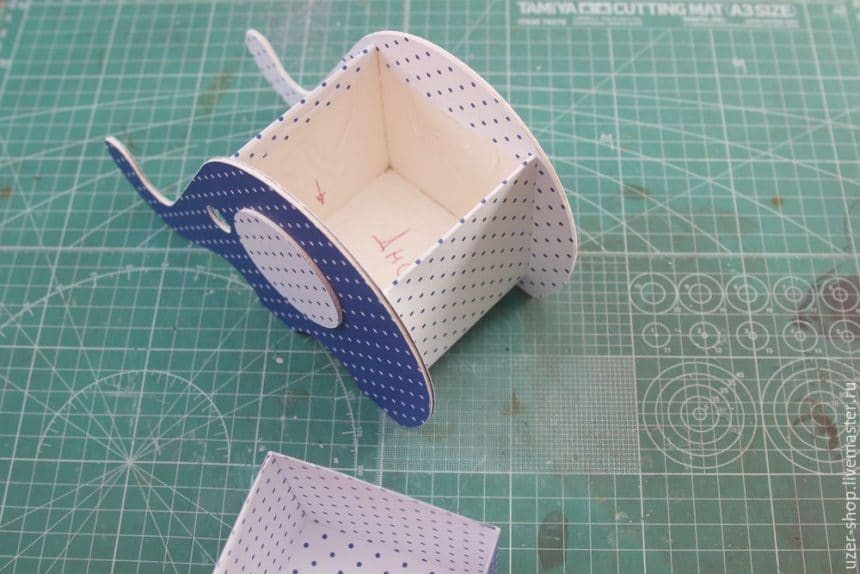
It turns out, stitch along the edge of a round cover, retreating 4-5 mm.
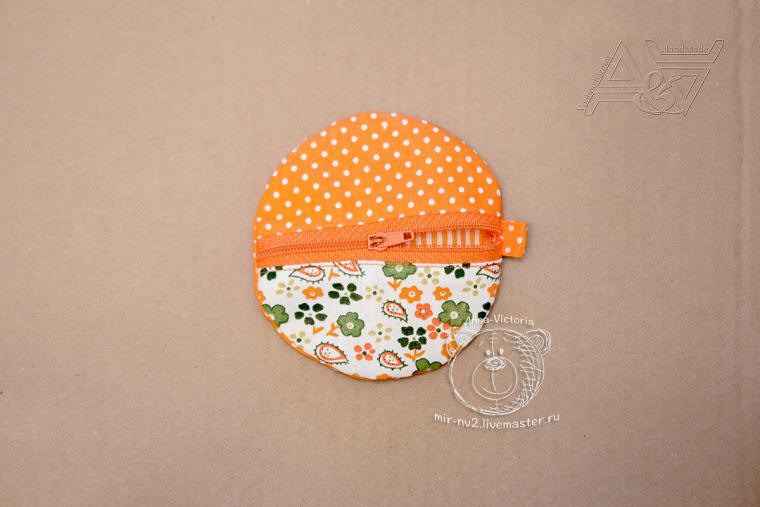
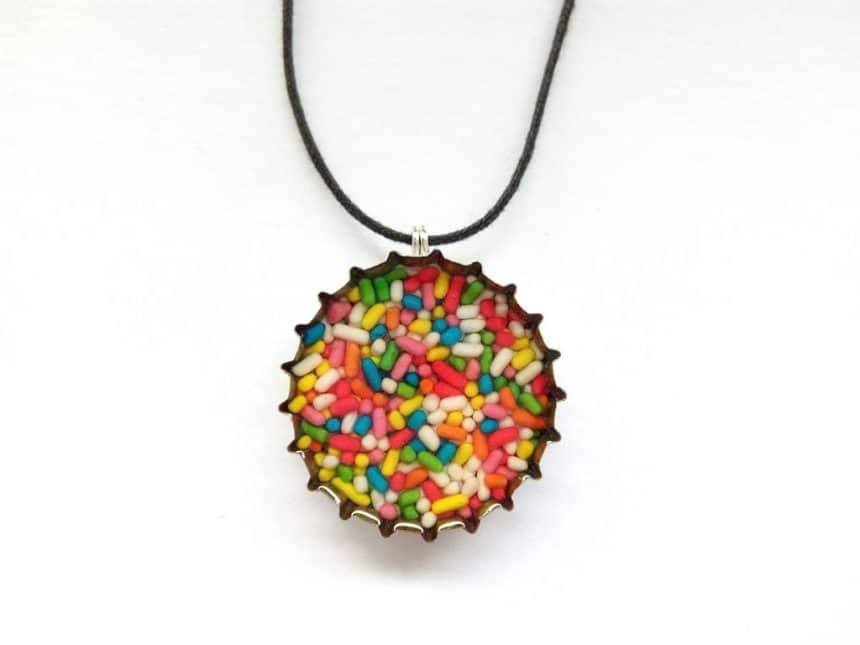
To our was always with us, we attach to the eyelet in the ring!


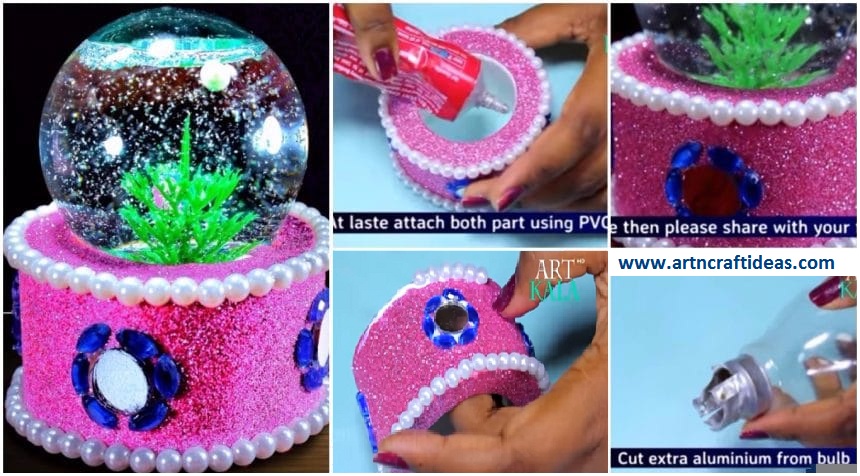

 2. Chart Paper
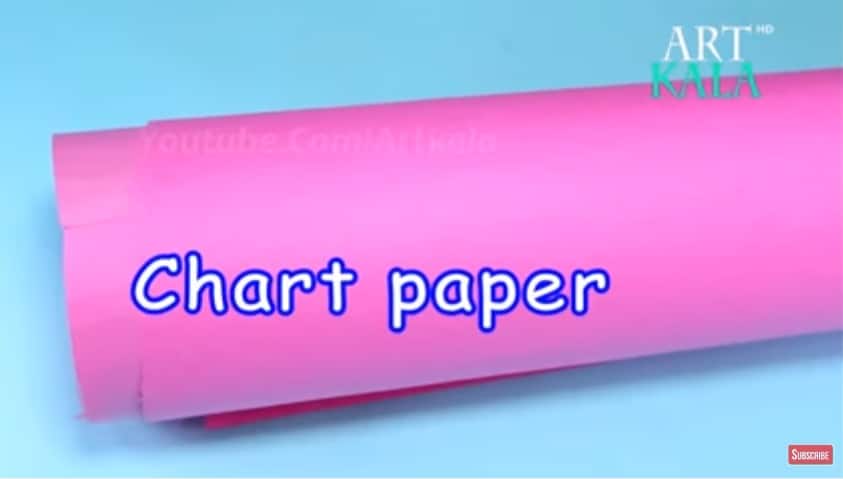 3. Foam
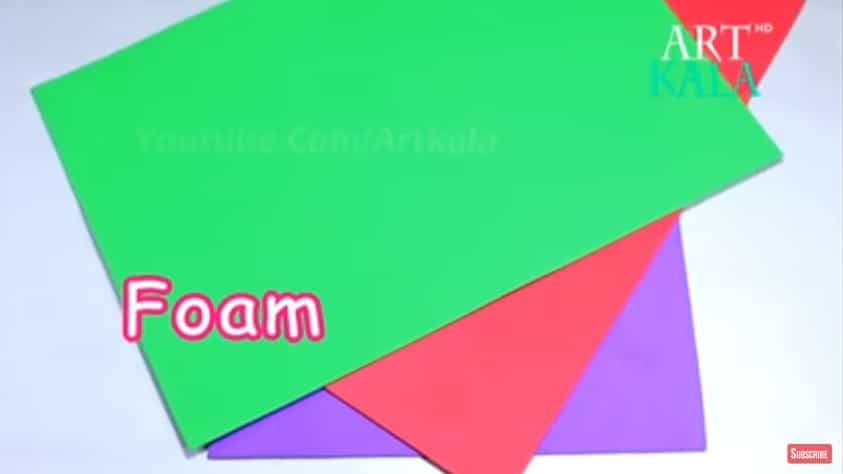 4.Glitter Paper(Foam Sheet)
 5. Round Shape Thermocol
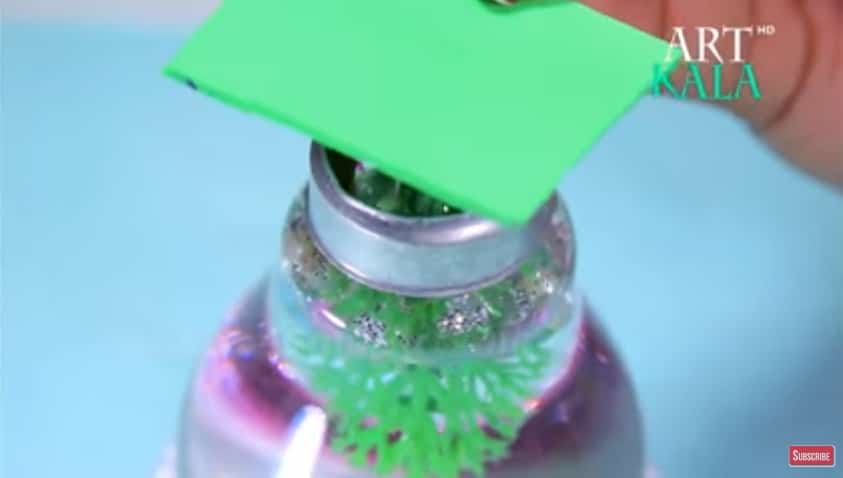
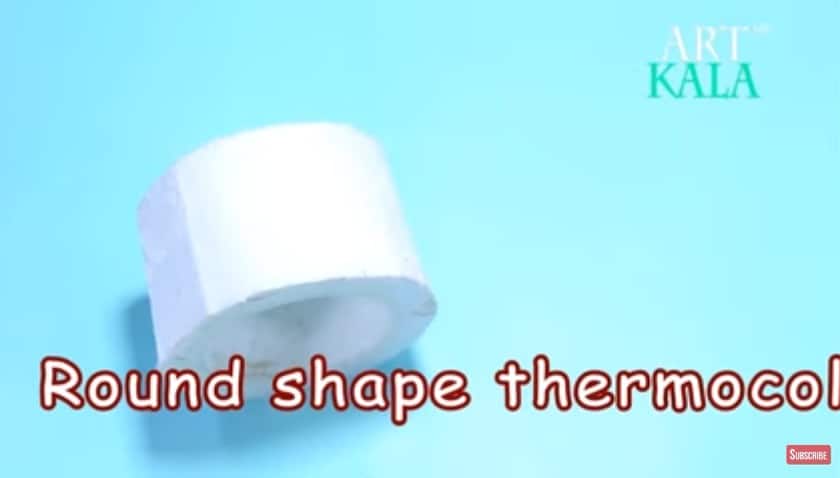 6. Small Plastic Tree
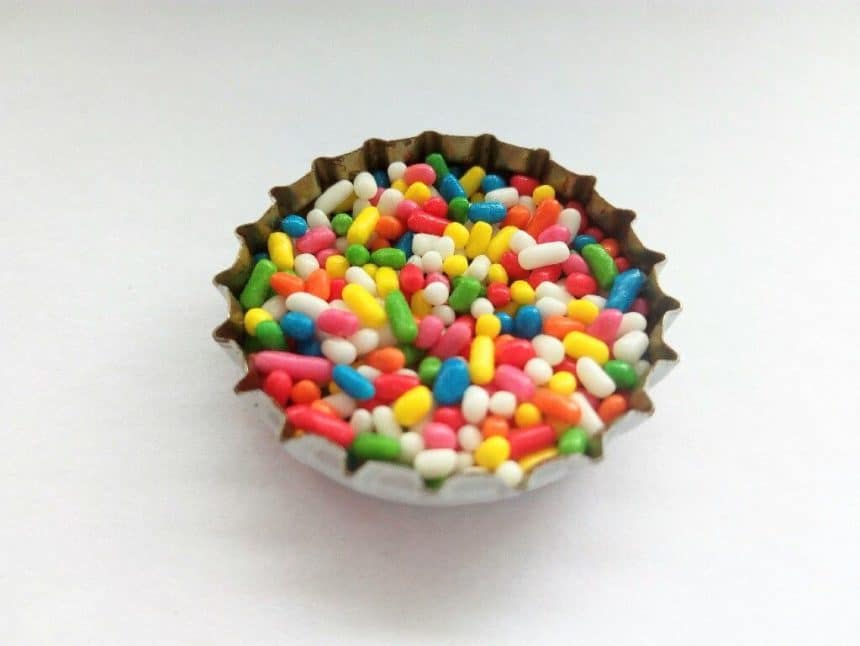
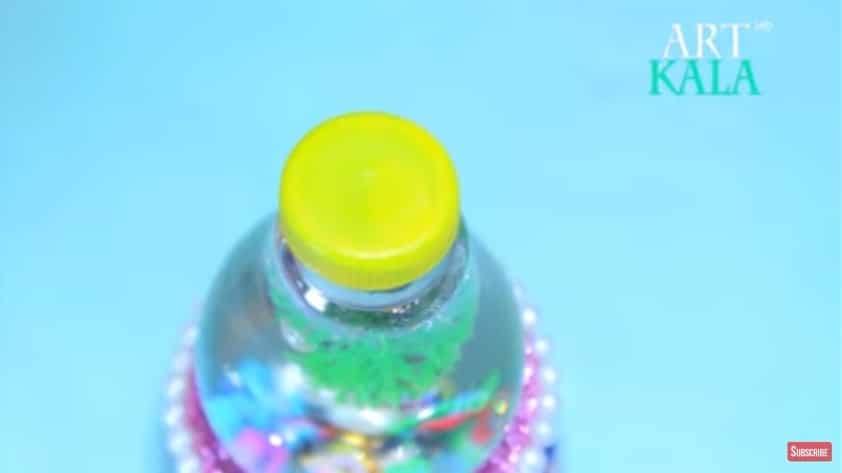
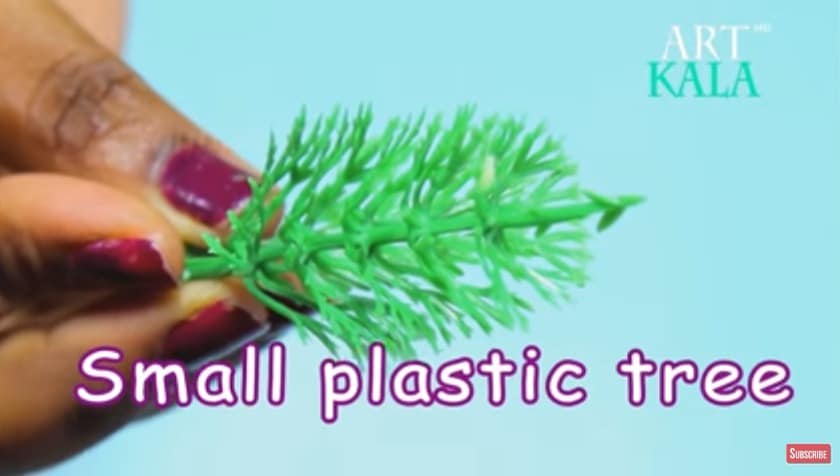 7. Plastic Cap
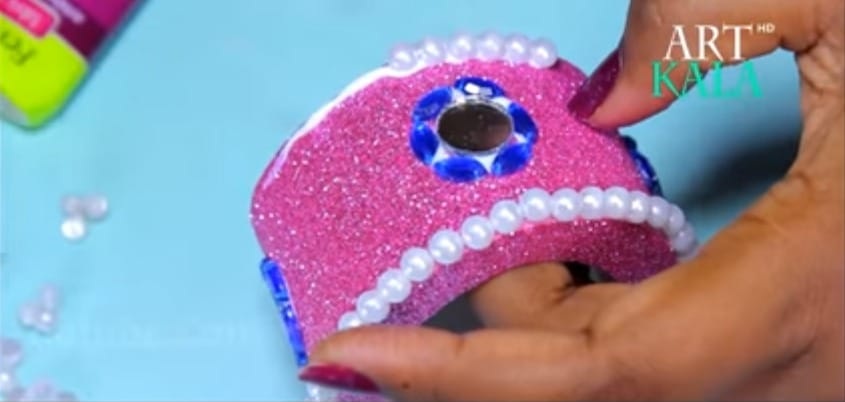
 8. Kundan
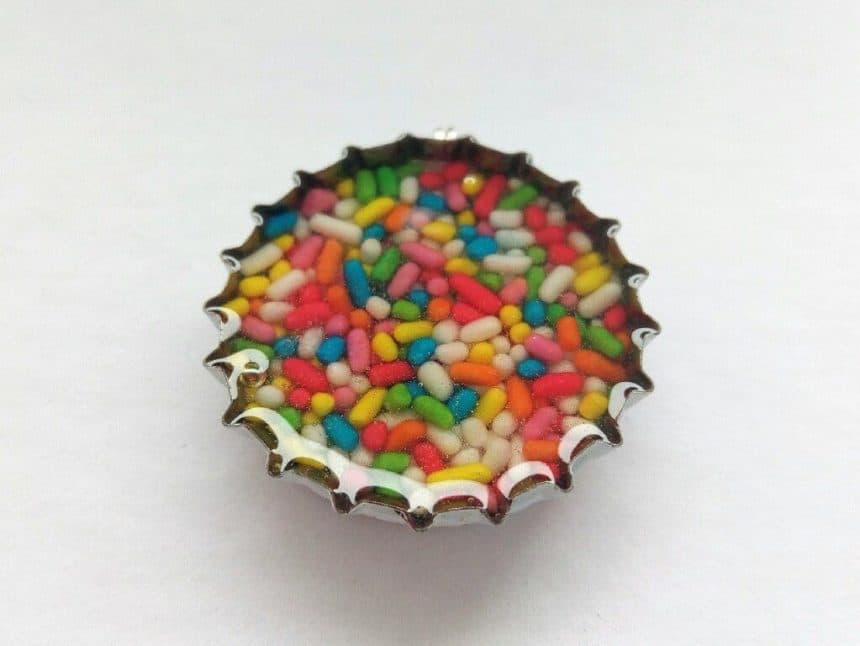
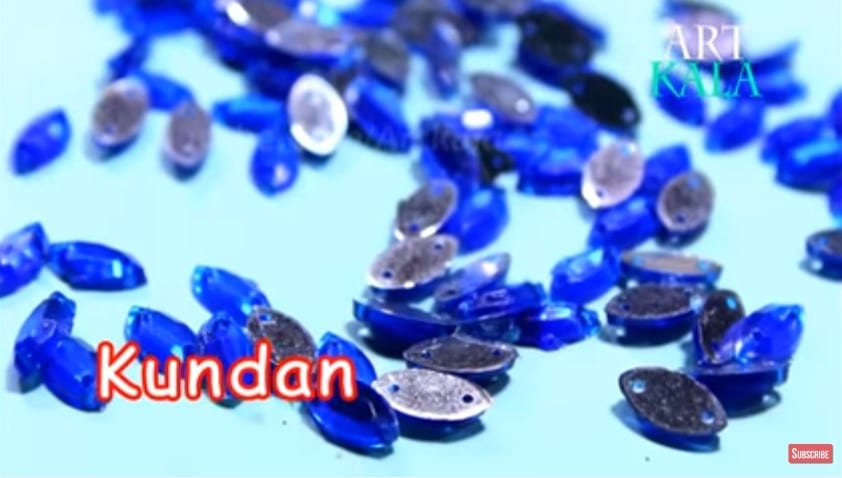 9.Glitter
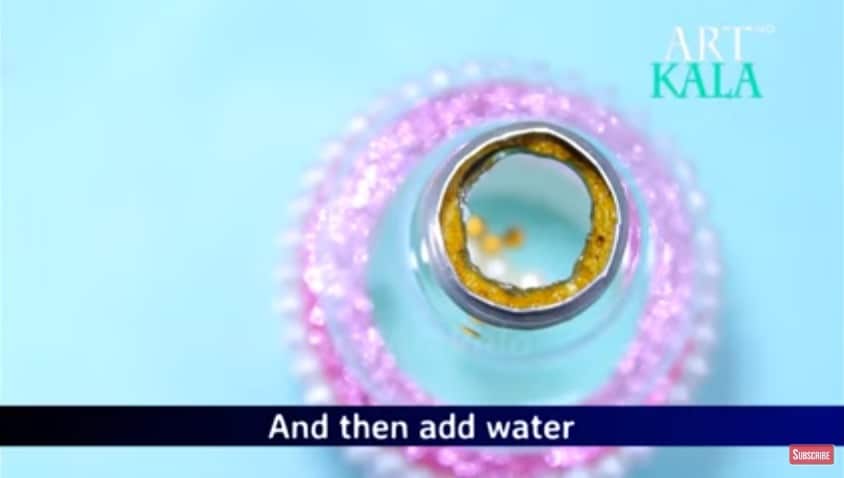
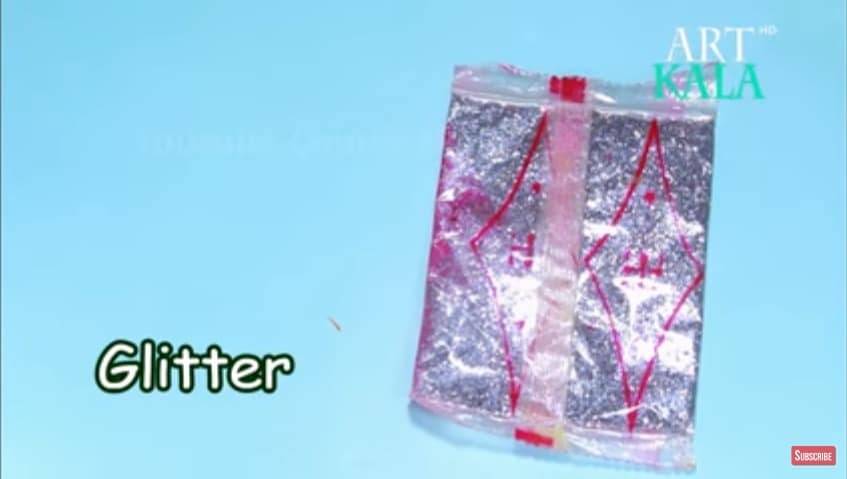 10. Mineral Water
 11.Scissor
 Step: 1
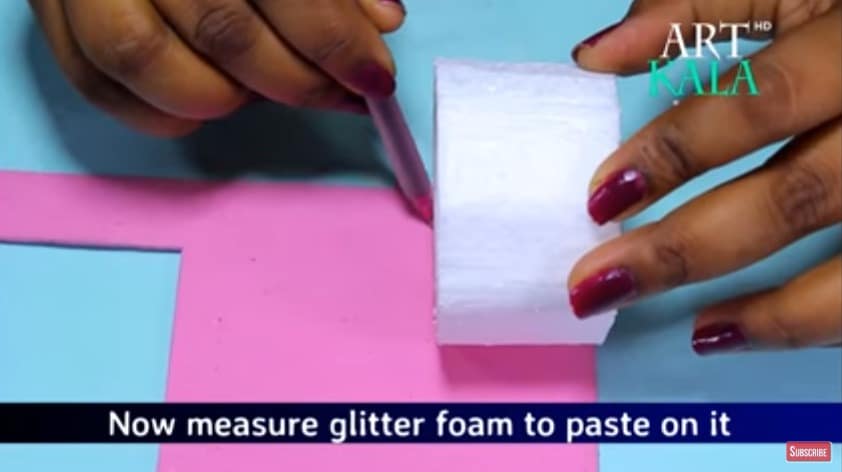

 Step. 2
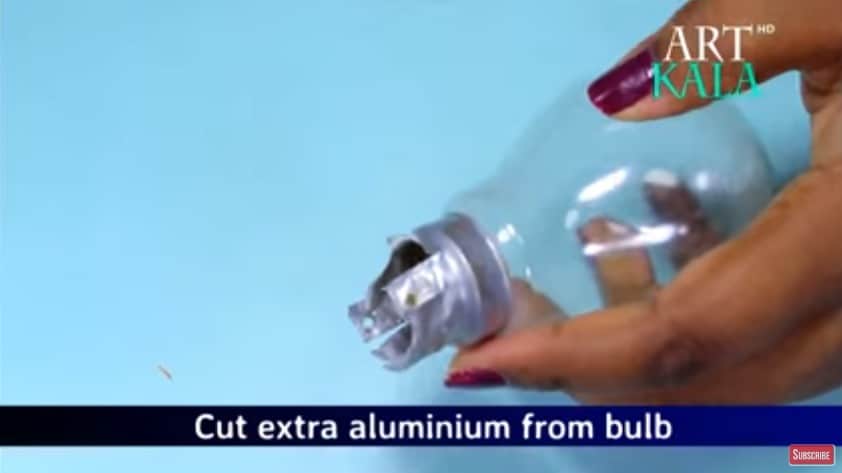 Step. 3
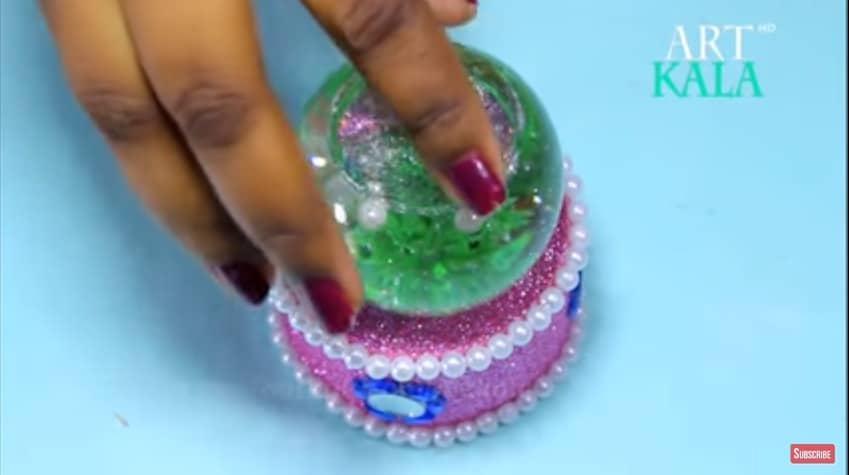
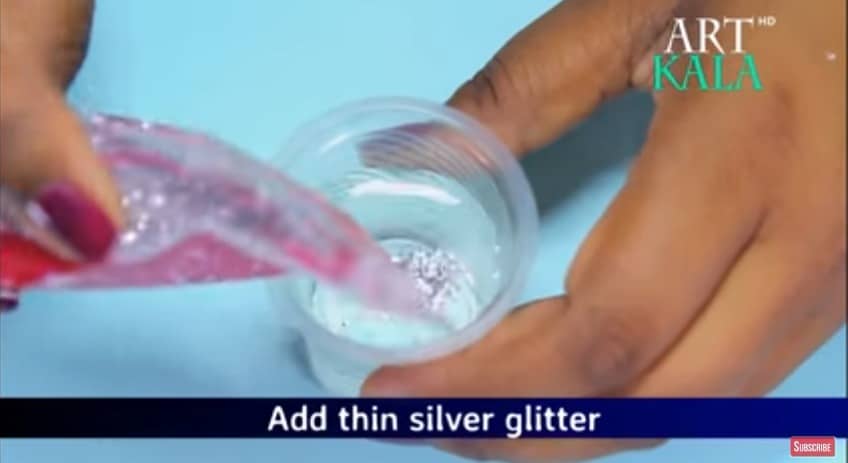
 Step. 5
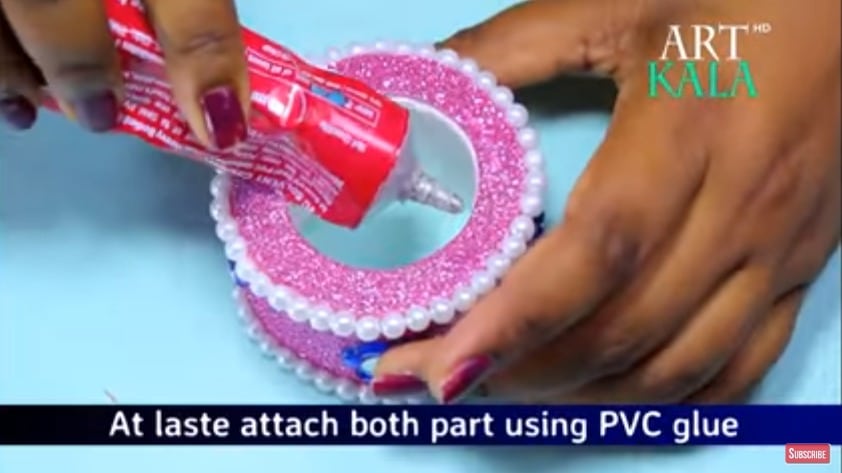
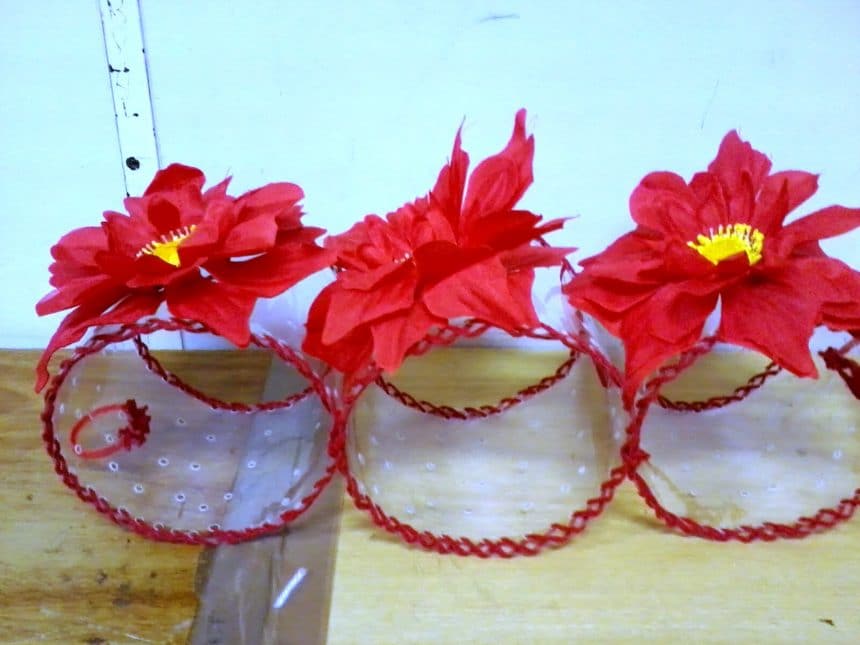
 Tell us how this looks like to you.
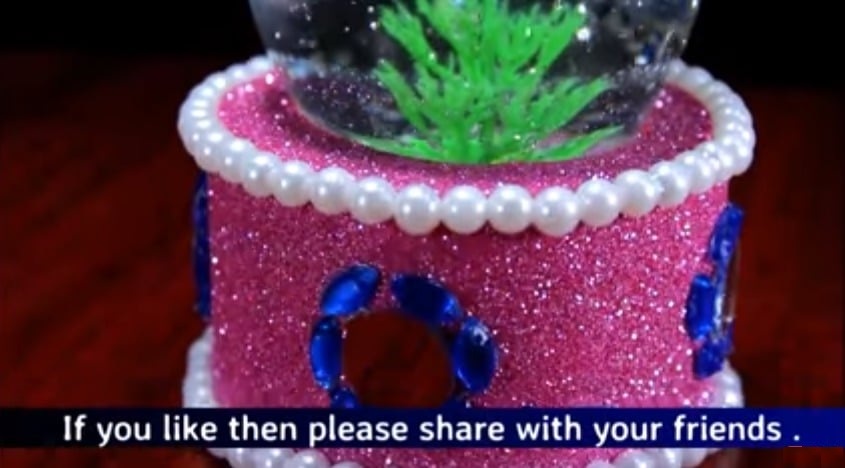
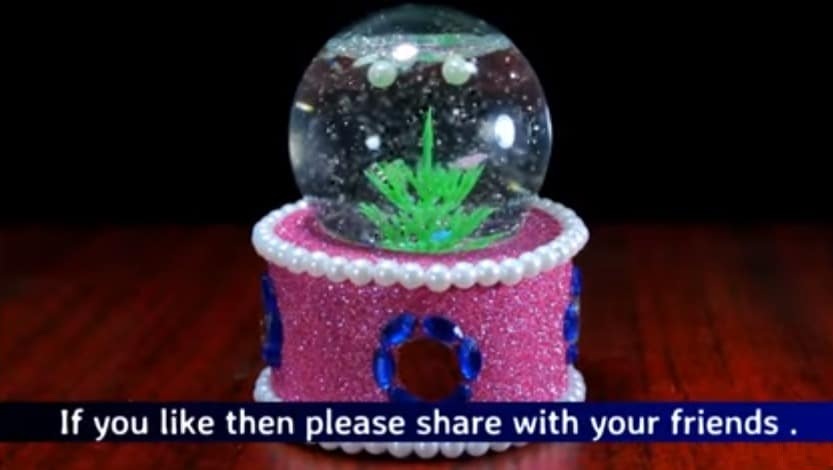
 I took a photo from all angles so that

 But, I … I’m curious, I decided to make one!
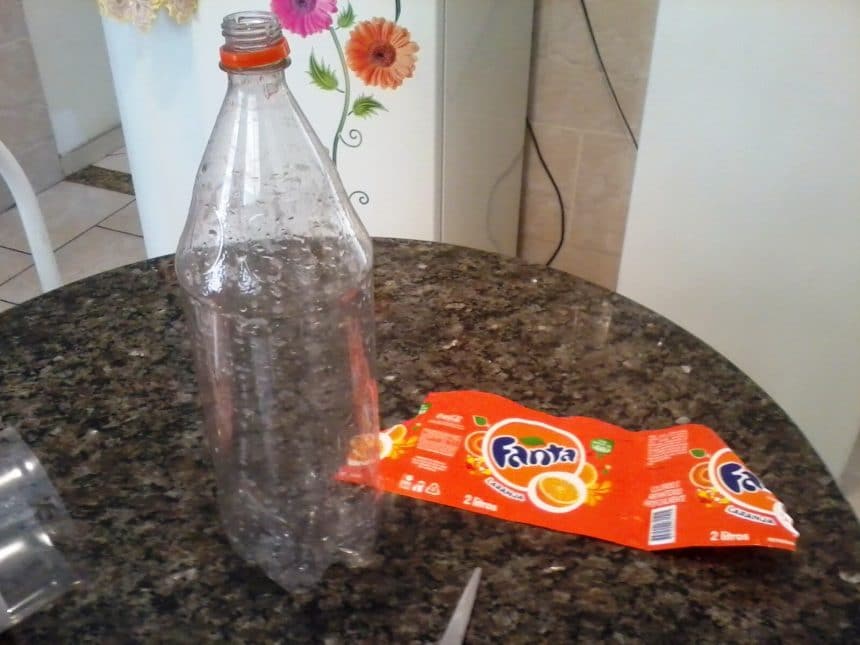 I took the toilet paper and
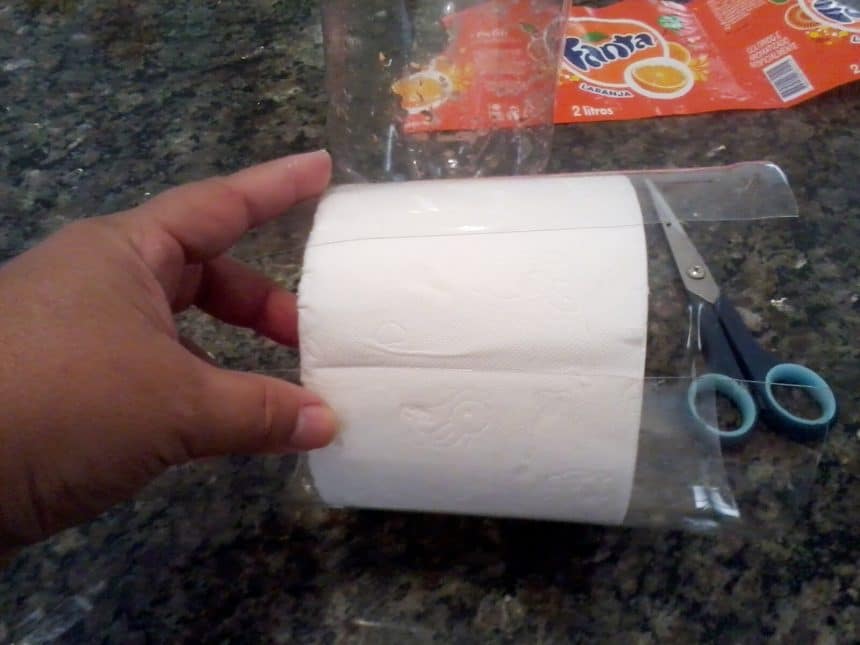
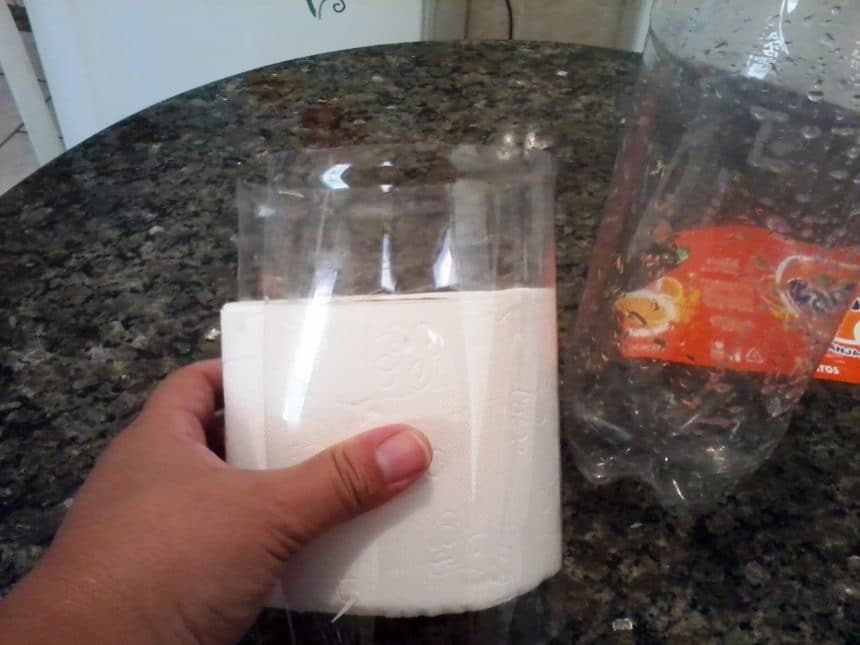
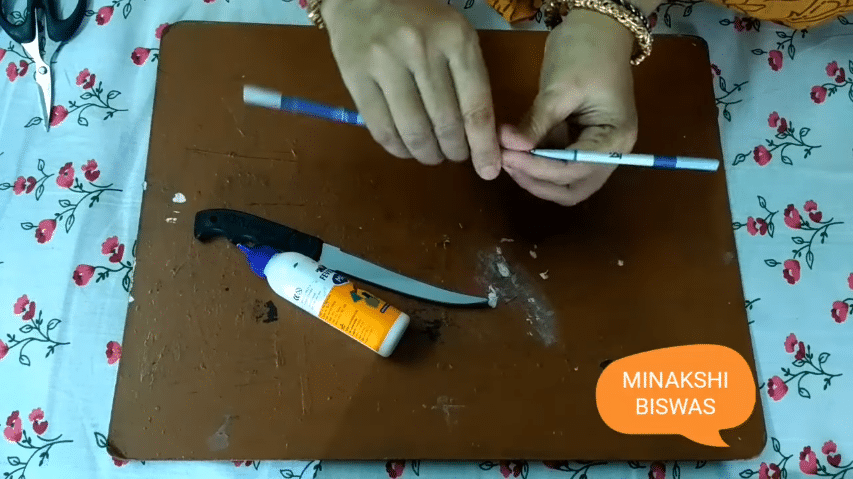
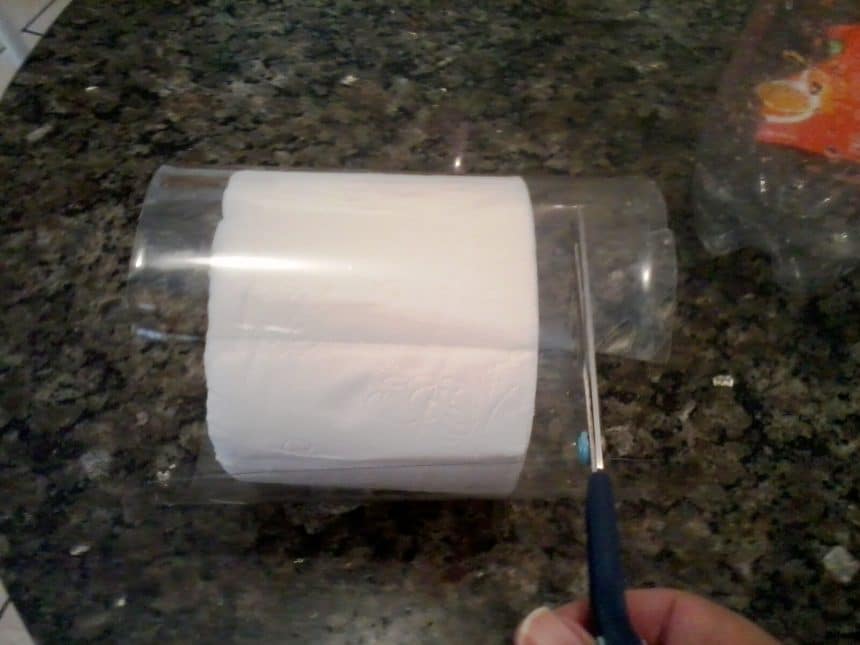 Medi and I’m doing the lateral cut.
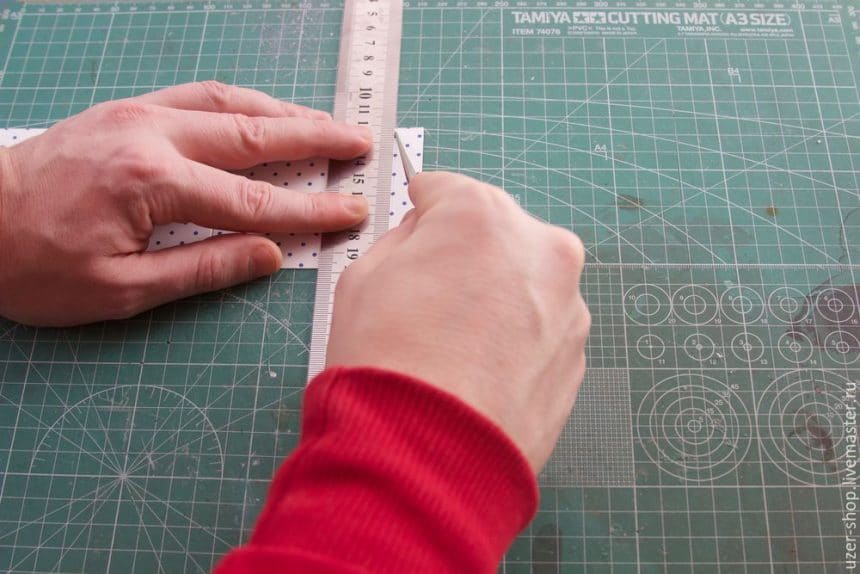
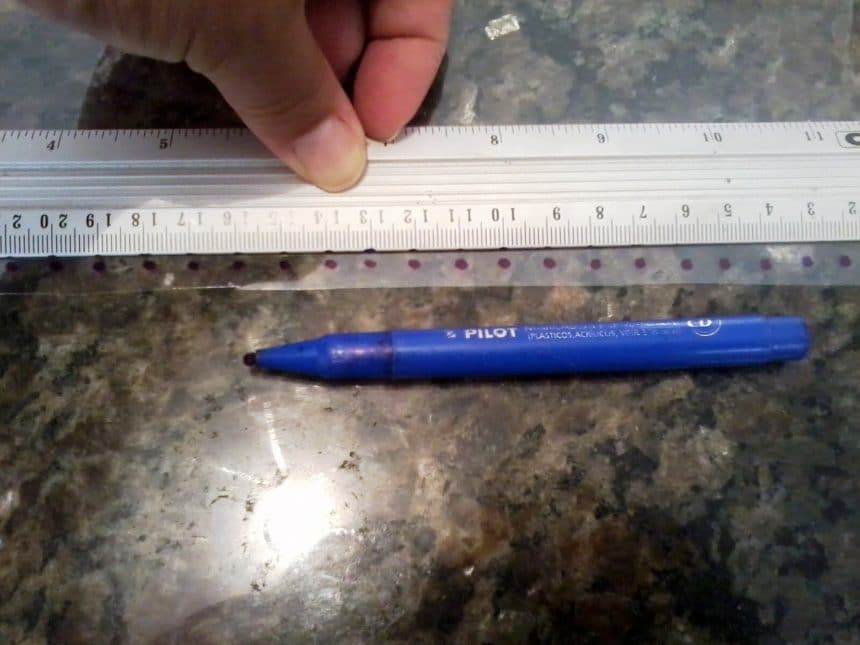 I was measuring the little holes with a ruler.
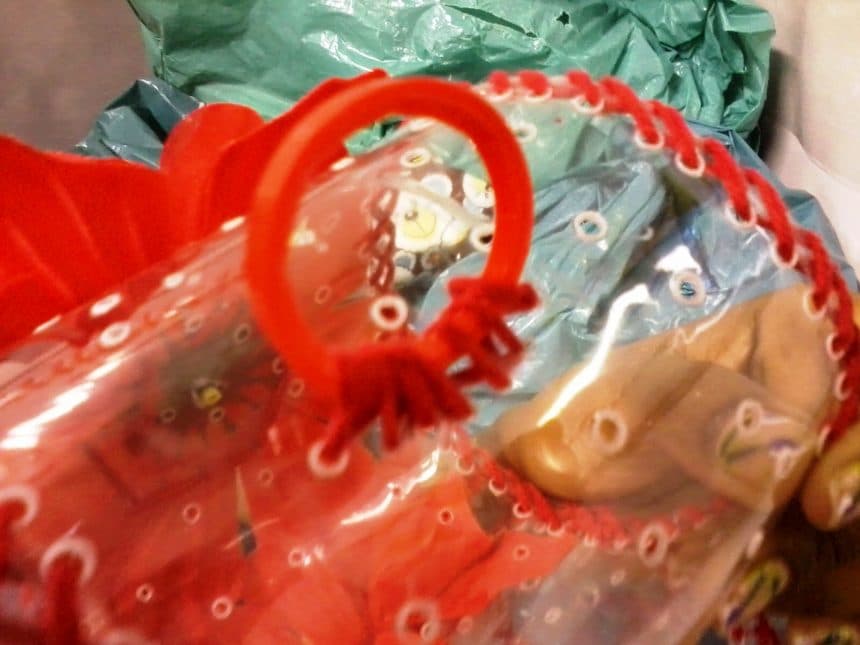
 Please note that I made a cut for the roller attachment.
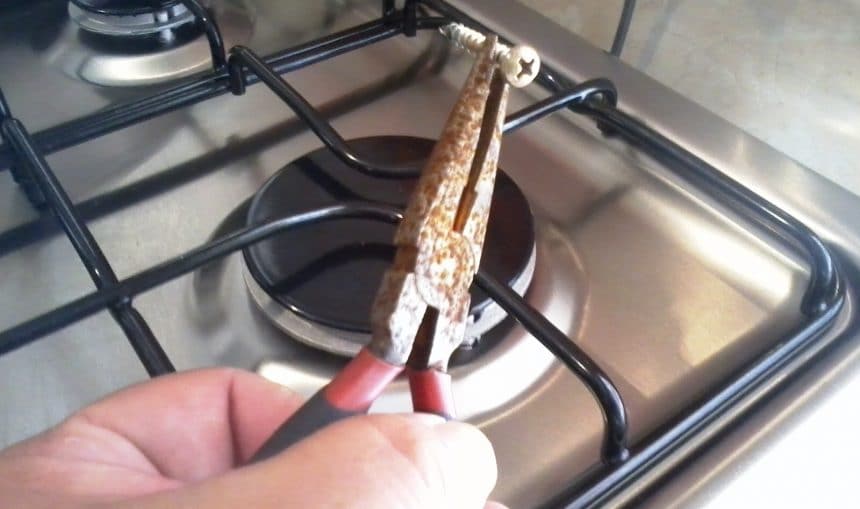 With the help of the pliers, I got a screw
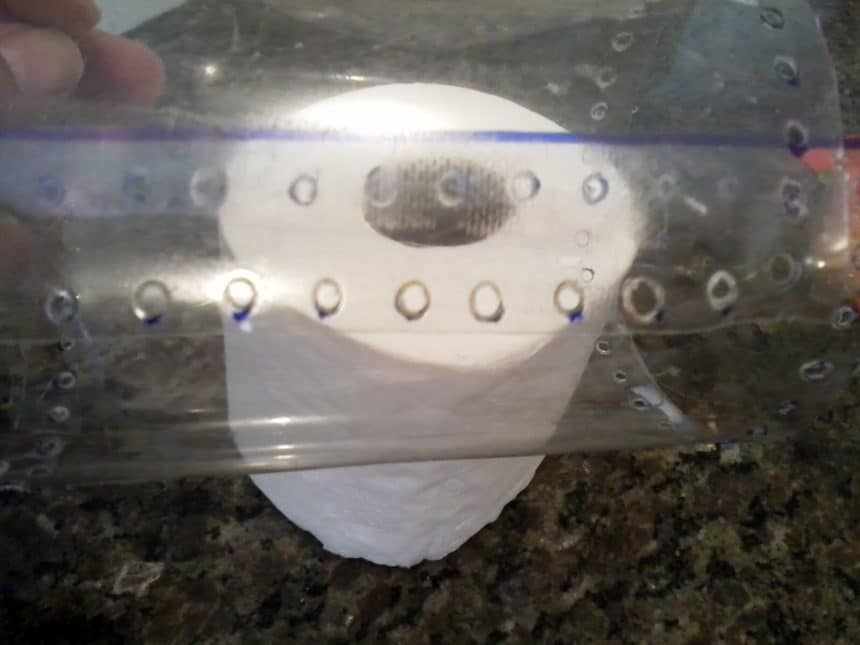 Look at the holes.
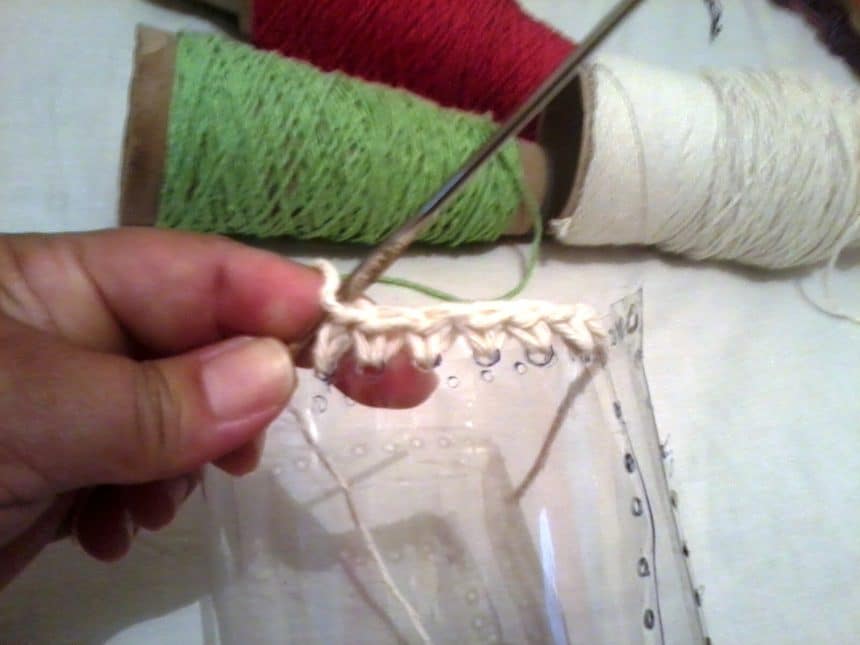 Here I start to finish my work.
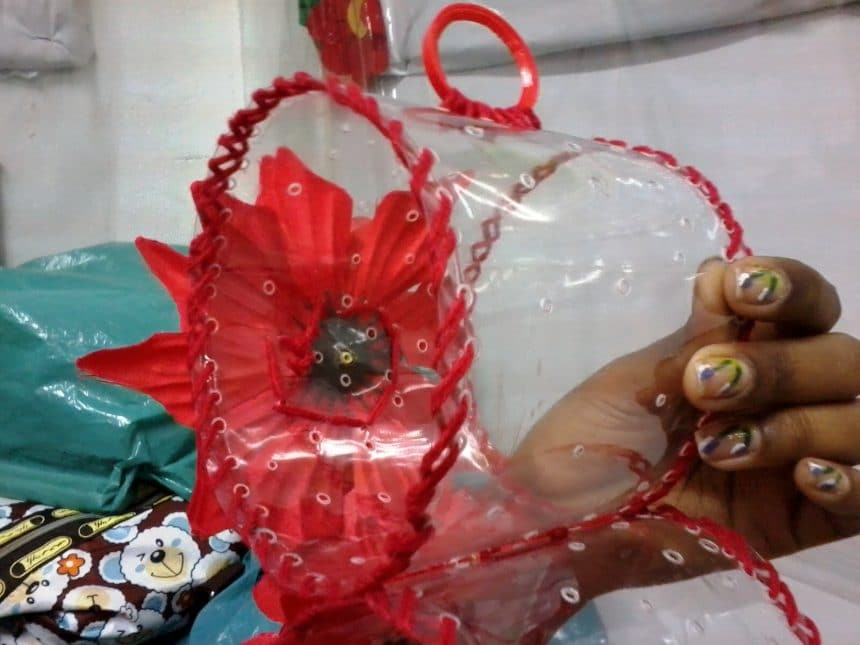
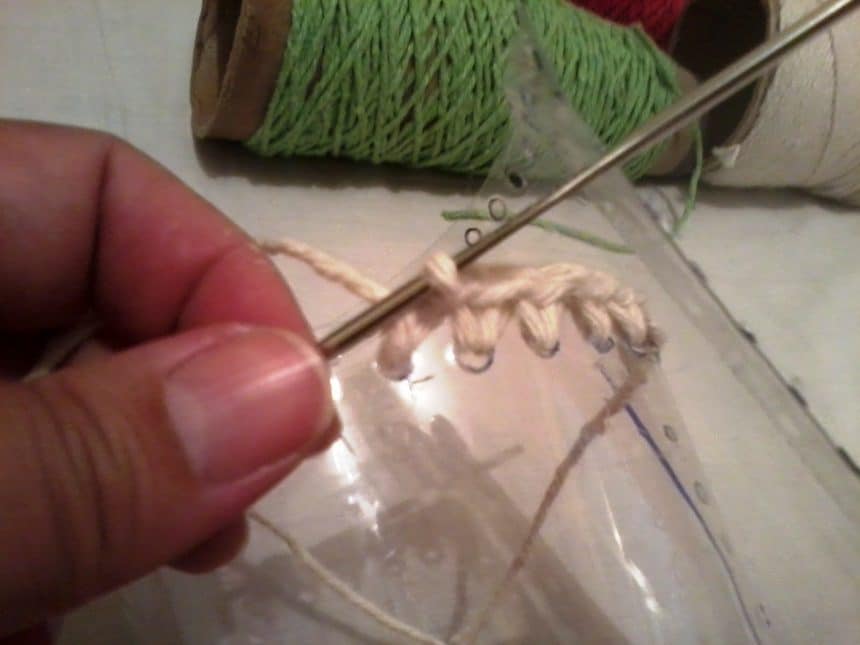 I started the base with low buttonholes.
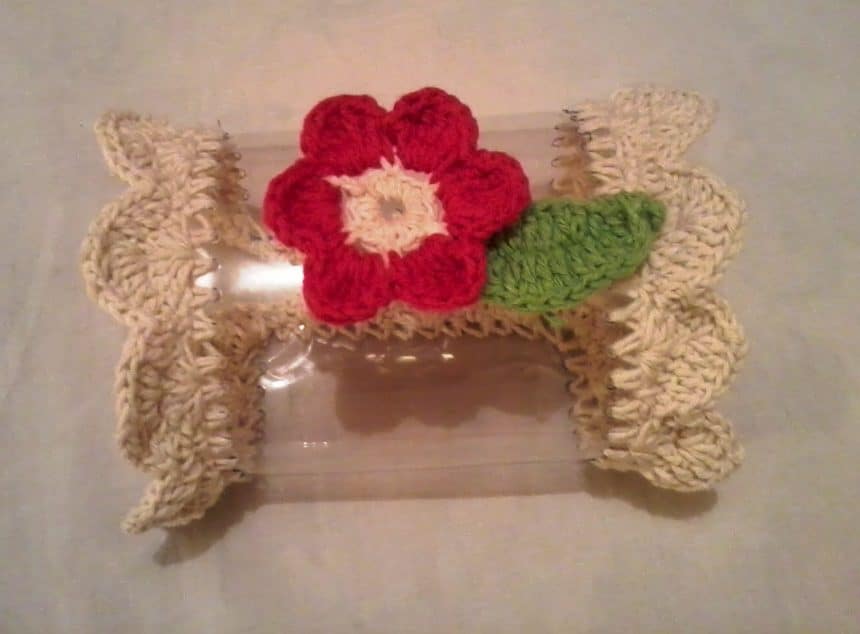 Here the work is finished.
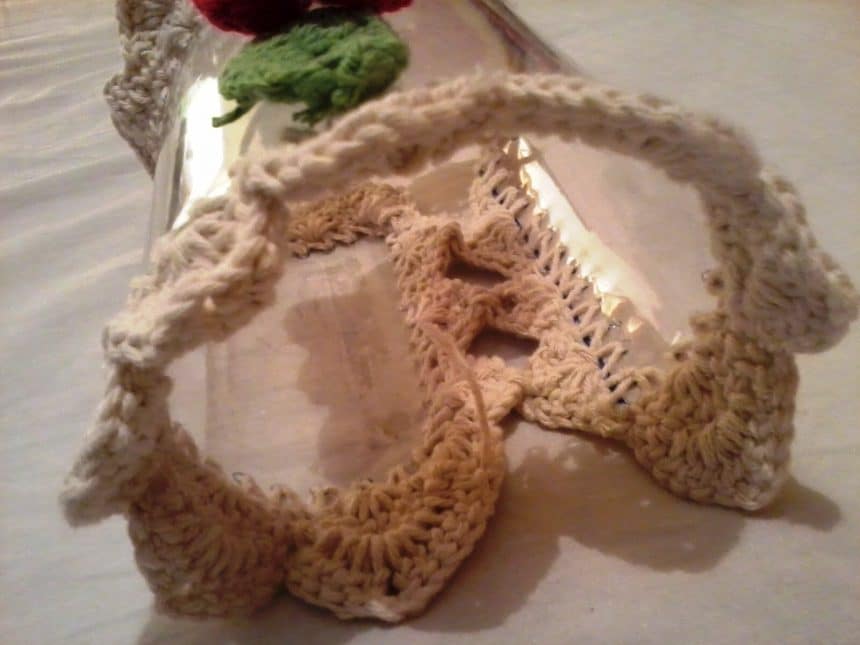 To make the union of the plastic again, I made
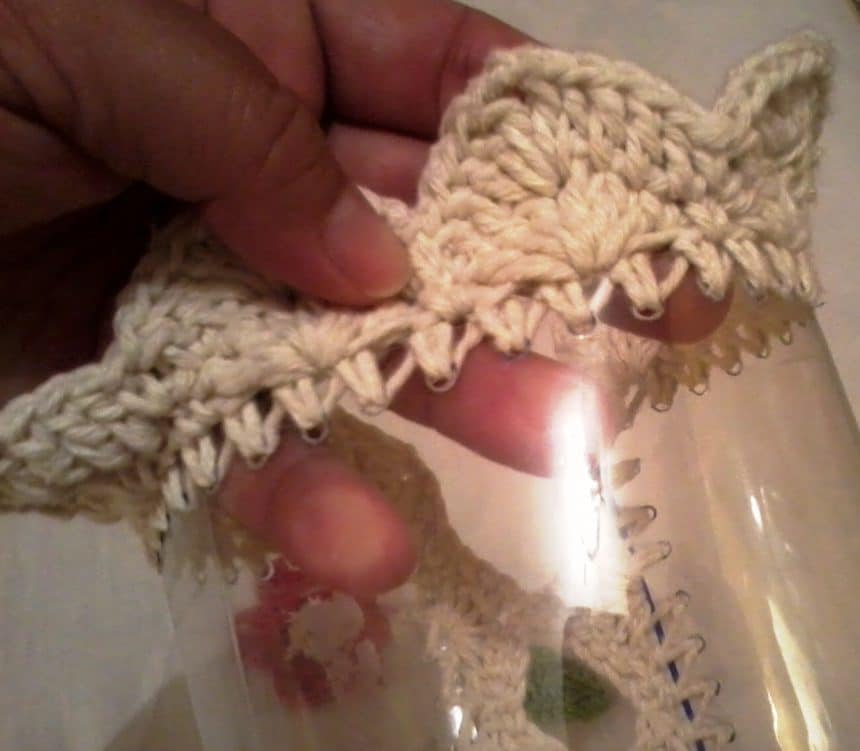 Here the details of the side.
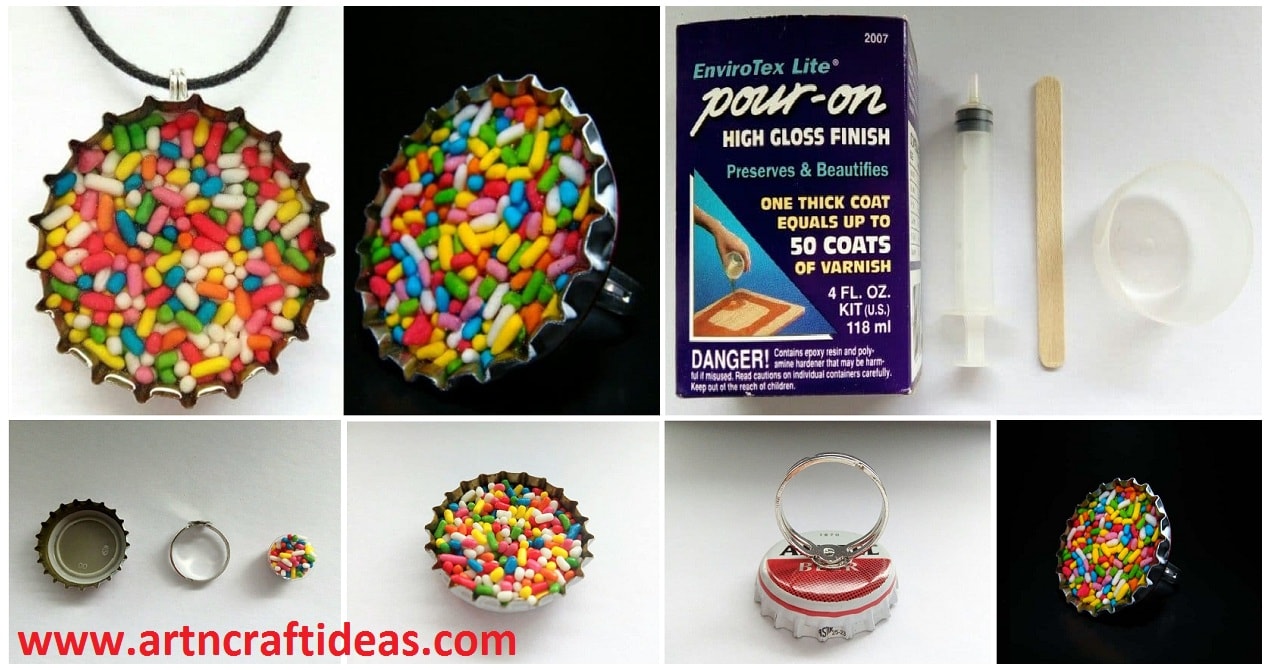
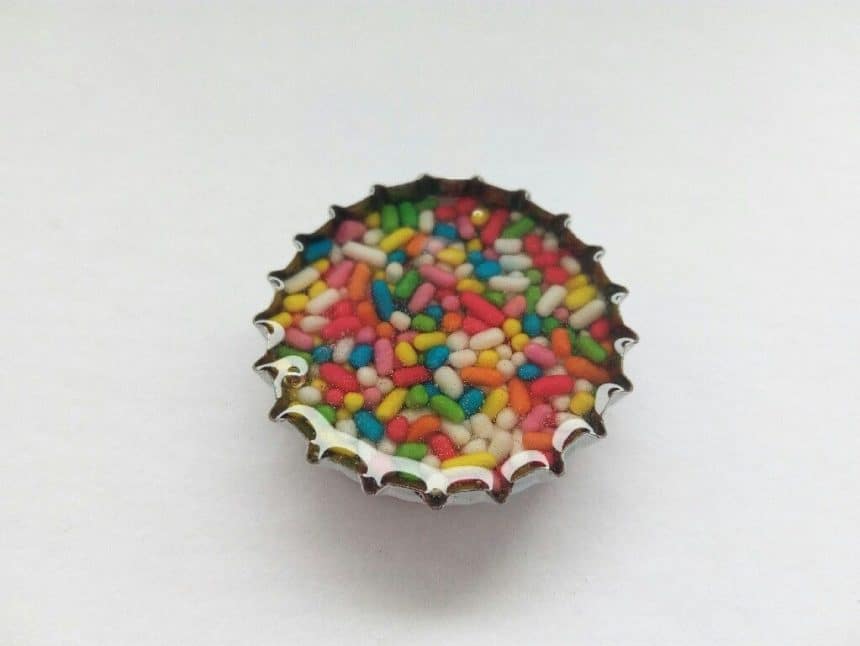
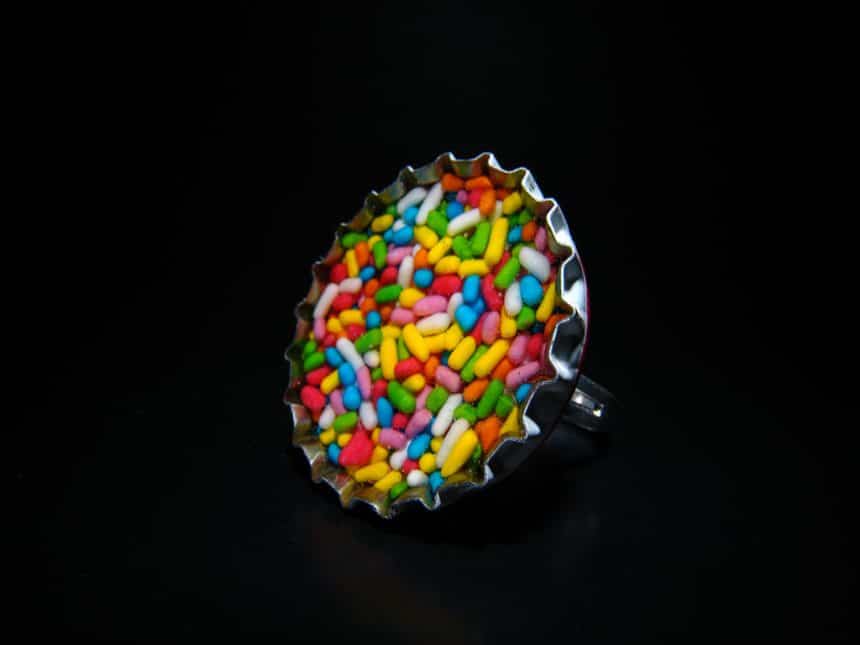
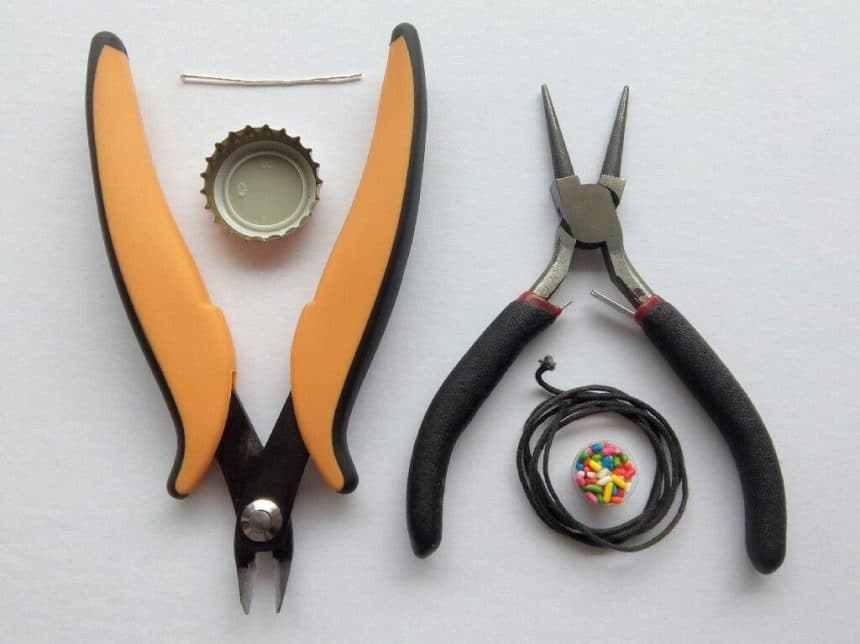
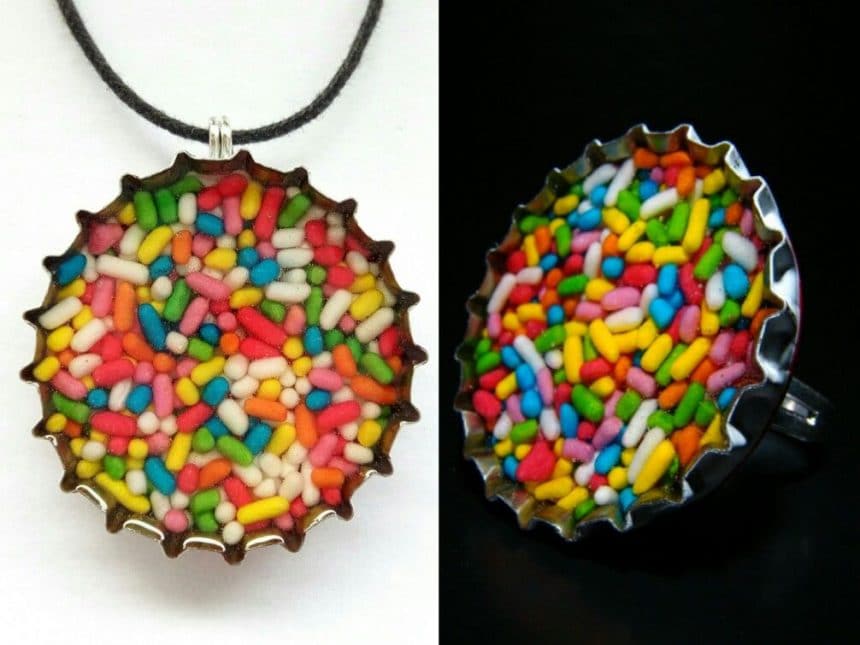 Step 1: Ring’s Tools & Supplies
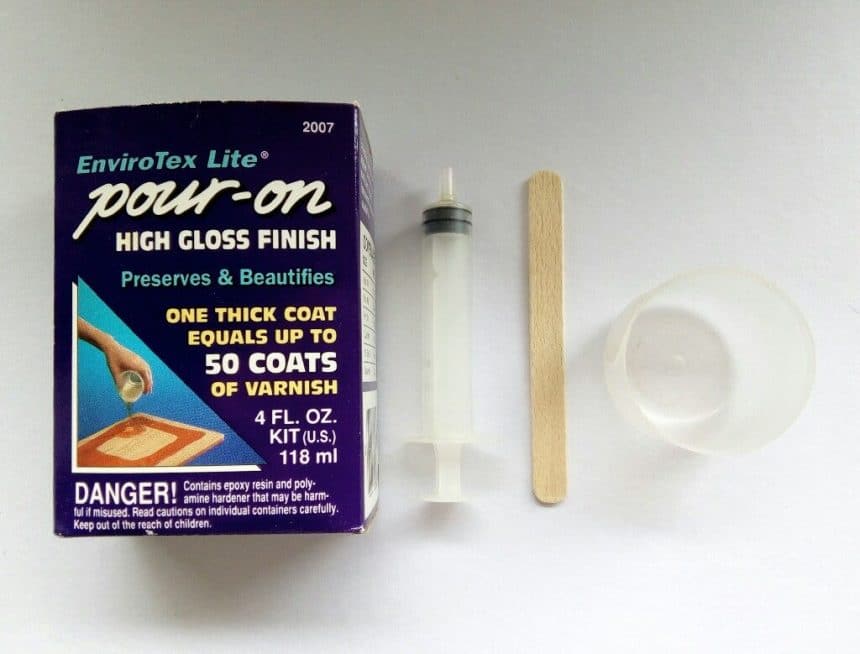
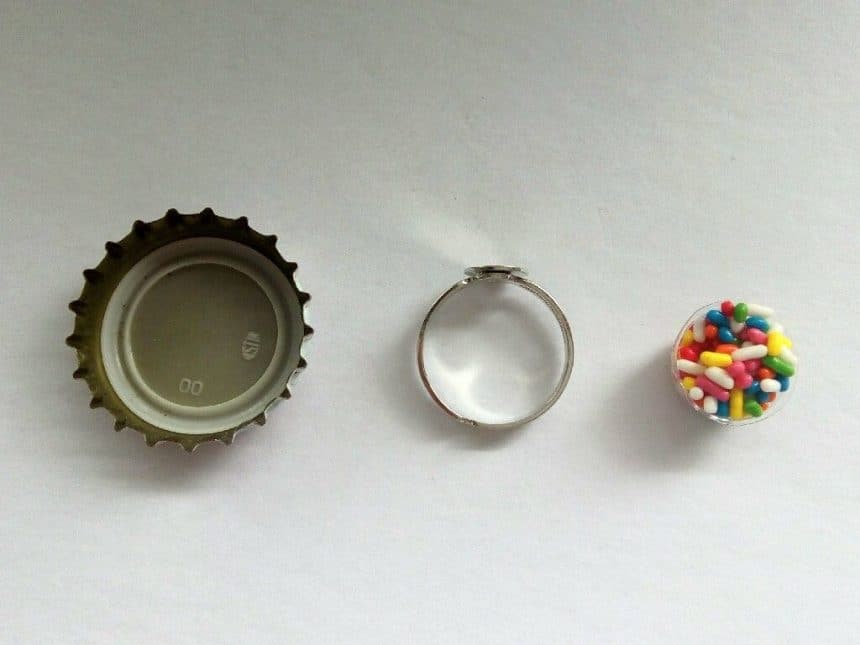 Required Material:
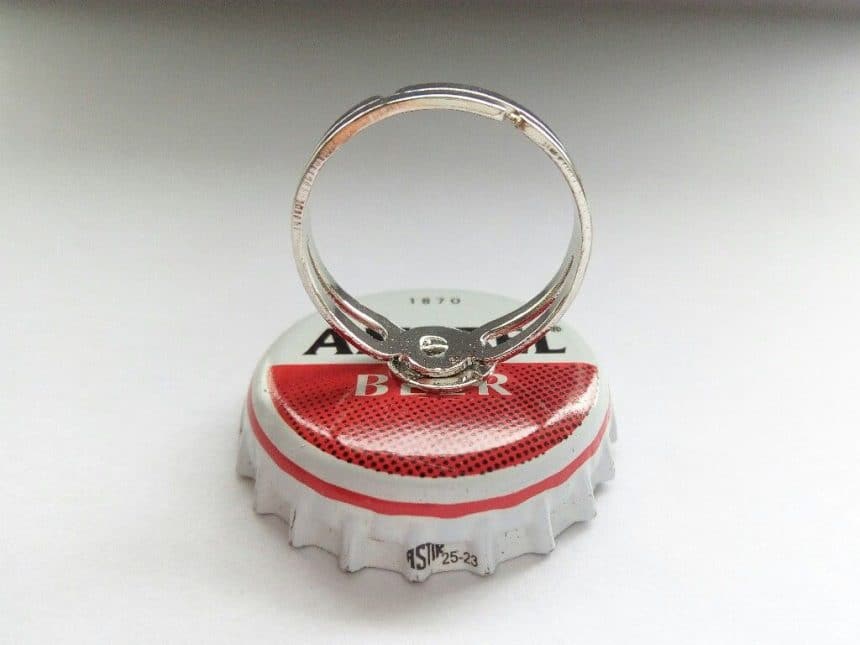
 Step 2: Ring