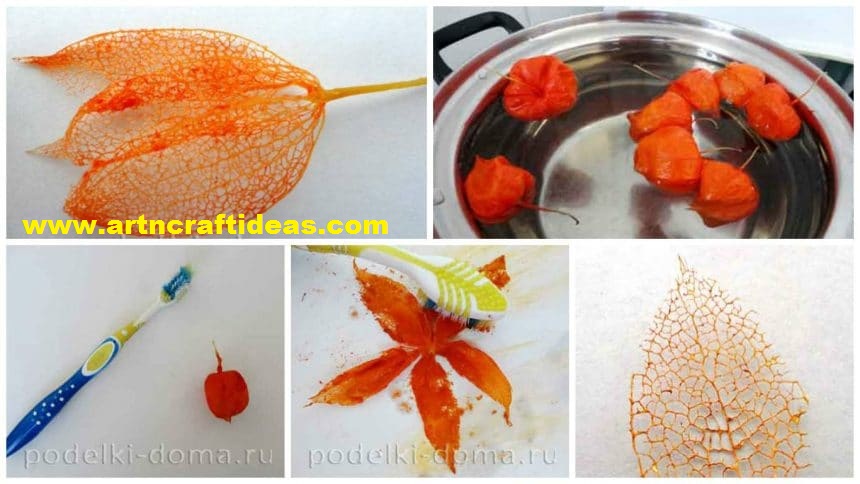
Now you will learn how to make a skeletonization of leaves in the home. Master class Tatiana Levchenko.
Technique “skeleton” – this is a very delicate and painstaking work. However, having mastered it, you can create amazing beauty applications, cards, and other compositions without the high cost. It is said that this technique is very loved by many jewelry makers who sell their creations for hundreds of dollars. Why pay so expensive, when you can make with your own hands not less refined and luxury products?
 This paper presents a technique skeleting the example of Physalis.
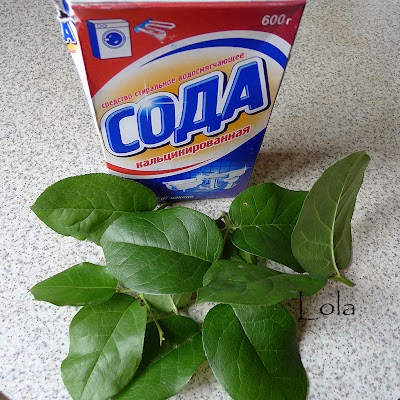
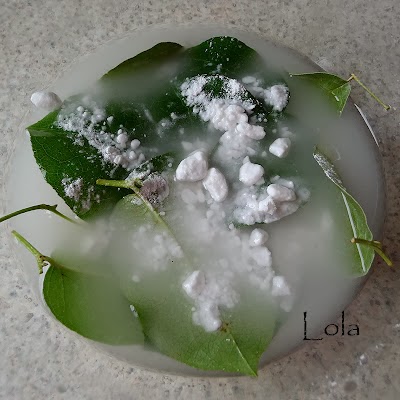
In a small saucepan is necessary to pour water (0.5 L), put physalis (average 6-8 pieces) and add 150 g of sodium hydroxide. Boil over medium heat about half an hour. Then drained, rinsed physalis water and boil for another 30 minutes in pure water, without soda. When the soft tissue Physalis will be separated from the skeleton, it is possible to pull out the contents of the saucepan. This can be done with the help of tweezers. If soft shell tight to the veins should be given more time cooks. 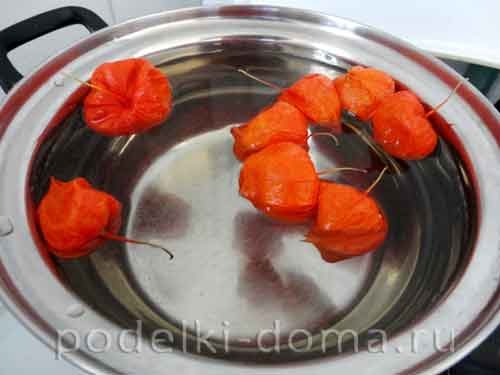
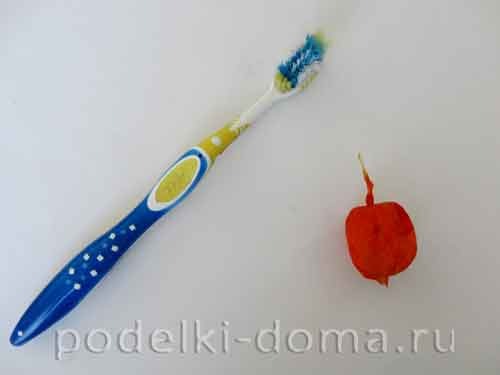
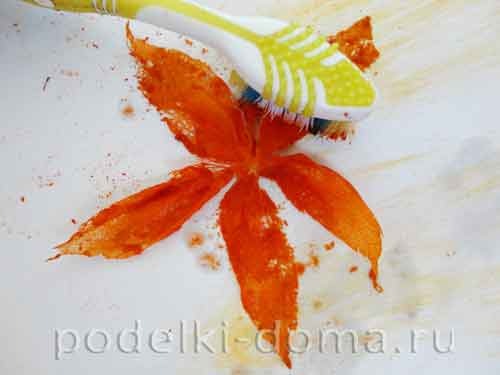
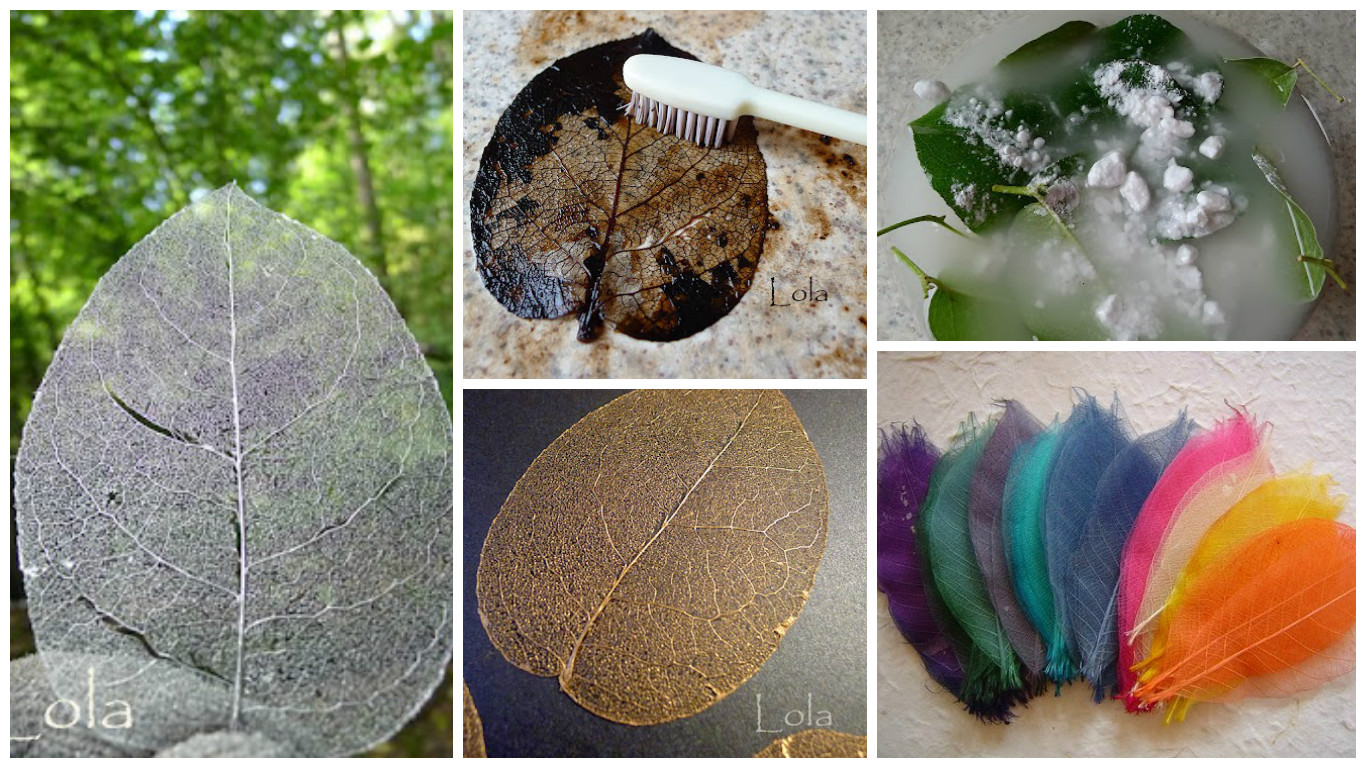
Now you will need a toothbrush and desirable piece of paper or cloth, on which it will be convenient to purify the skin. Physalis can try to clean the whole or neatly divide it into leaves with scissors (partially or completely). If you do it hands ugly veins can break.
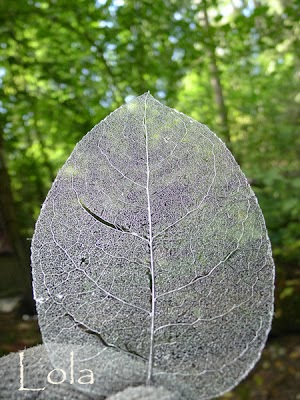
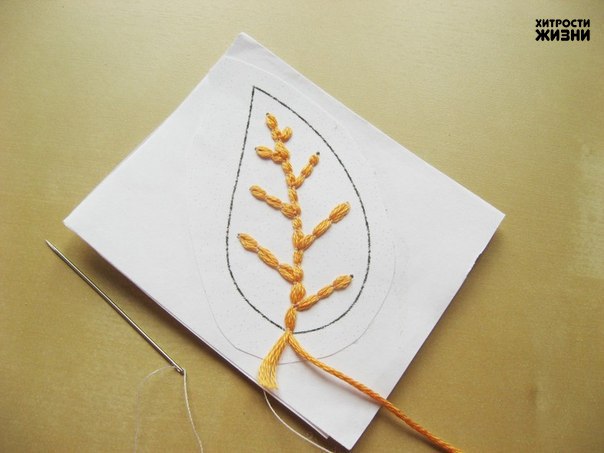
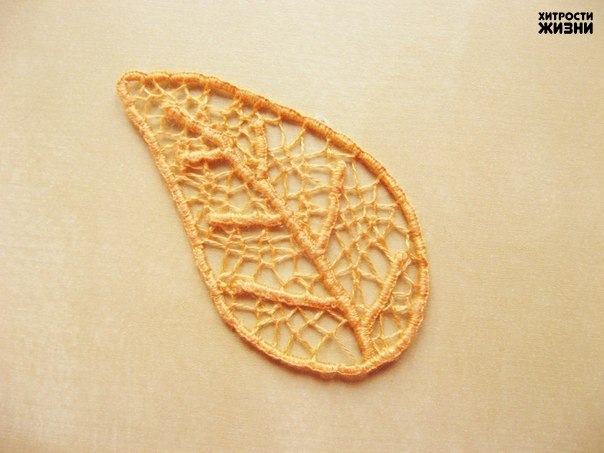
Then gently begin to conduct toothbrush on the surface of each leaf. At this time, the paper will begin to appear original picture (note for those who love unusual designs and patterns).
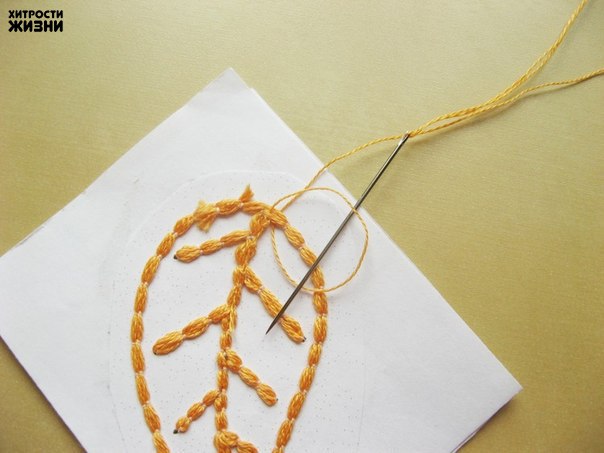
 Also, the brush as a tool for cleaning sheets can also use a conventional paper towel. As a result, you need to completely get rid of the soft tissue to the skeleton was left alone. The more accurate will remove the peel, the more beautiful will look like the future of the product.
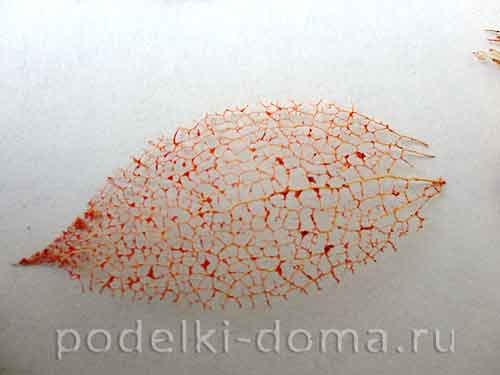
 Now it is necessary to dry skeletonized physalis. To do this you need to put each leaf separately or the whole skin of the streaks on the paper. Top cover with a napkin and iron hot iron several times.
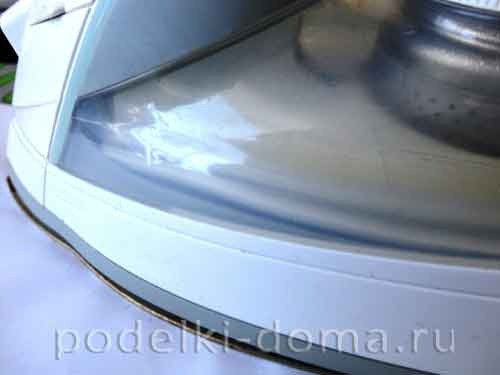
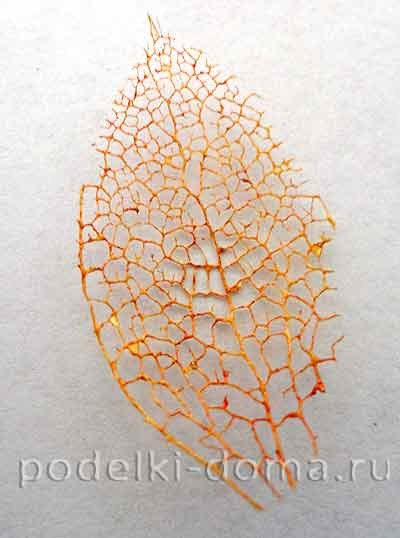
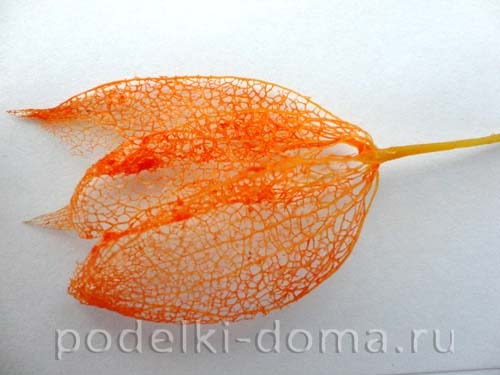
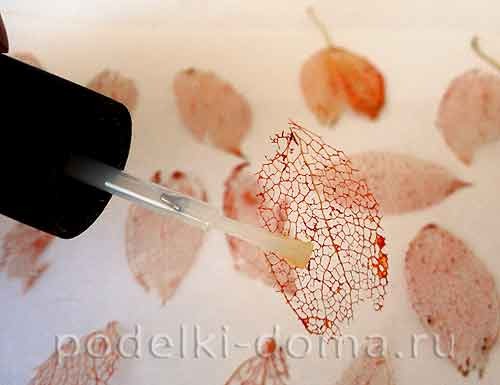
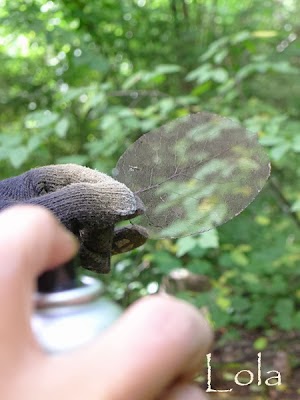
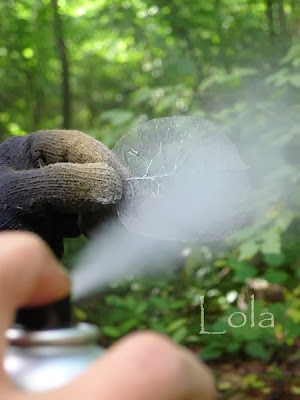
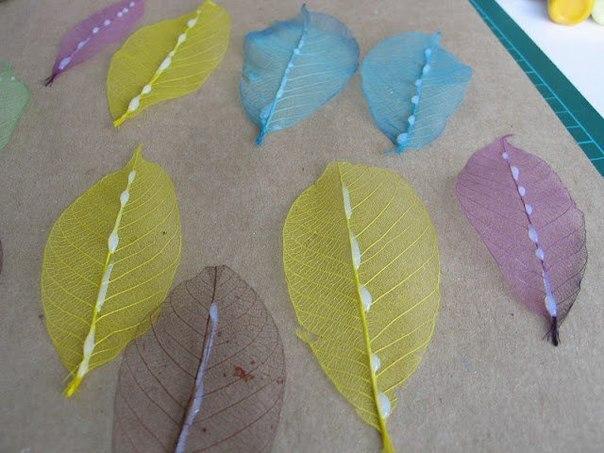
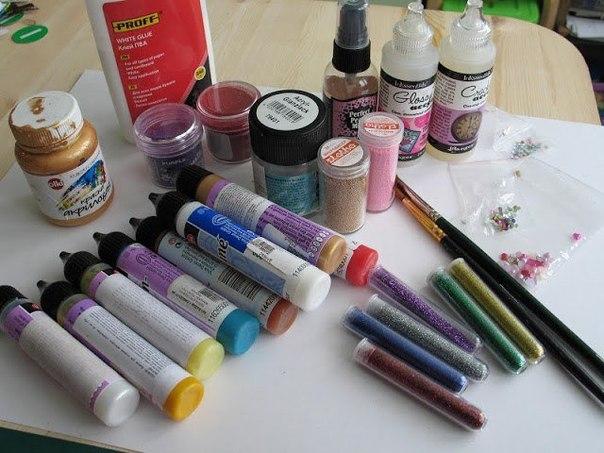
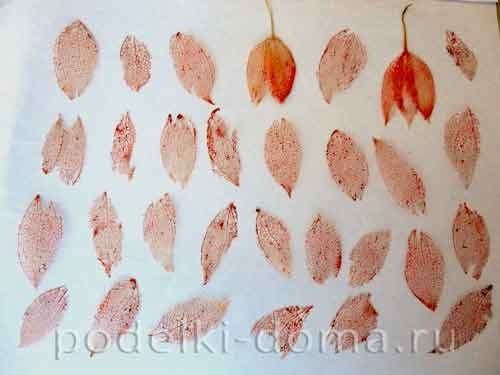 Leaves can be colored using gouache or colored varnishes. If you just paint the leaves, it is then necessary for the strength to put more regular nail polish (colorless or with sparkles).
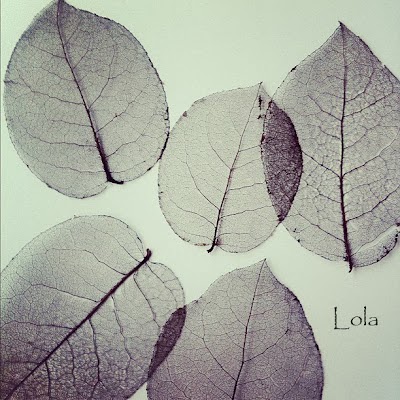
 Decomposed leaves on paper or a napkin, allow time to dry thoroughly. You can then trim the irregularities with scissors and use blanks for new and interesting ideas.
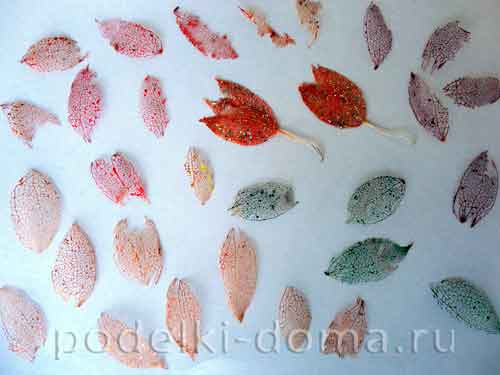
courtesy: podelki
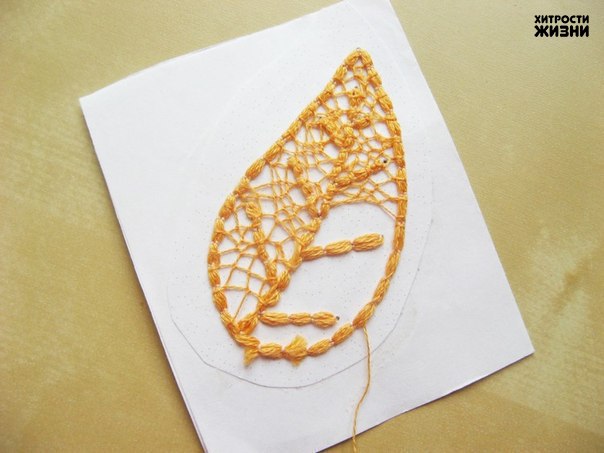
 Obtain from one leaf saucepan and gently scraping the flesh toothbrush. If the flesh can not be, this leaf boil for some time, and until it is cooked, get another leaf
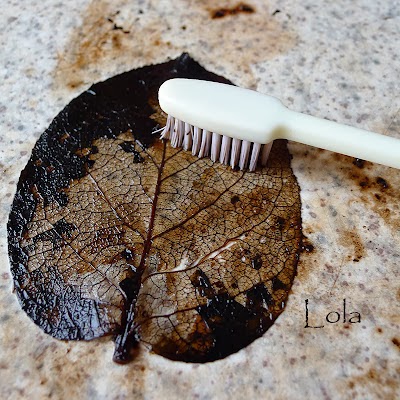
 By the way, do not pour the liquid remaining on the leaves (the one in which the cooked leaves without soda) If you do it a little bit evaporate receive excellent ink – Sepia. I do not know how much they are persistent and will be suitable for calligraphy, but for aging paper ideal
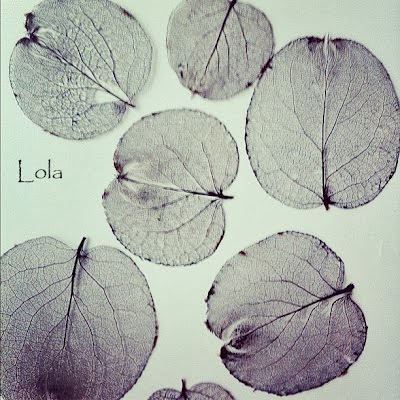
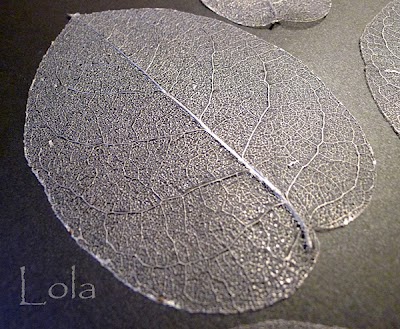
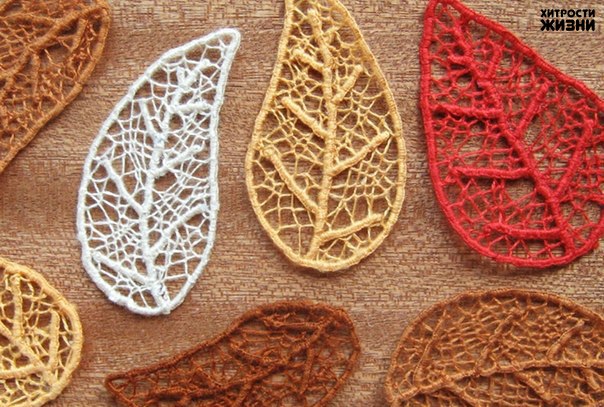
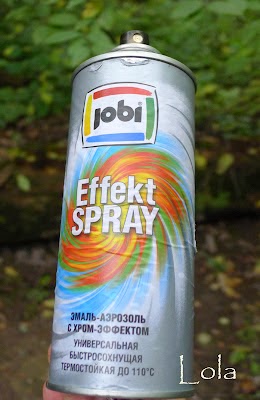 With silver and gold colors
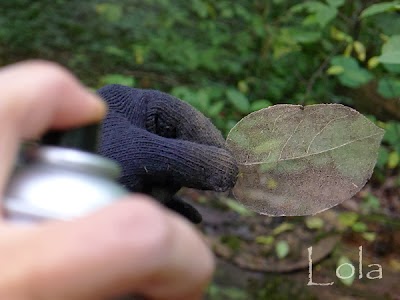
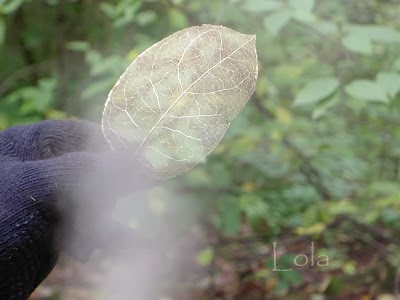
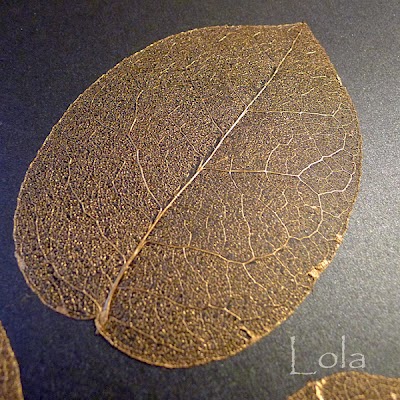
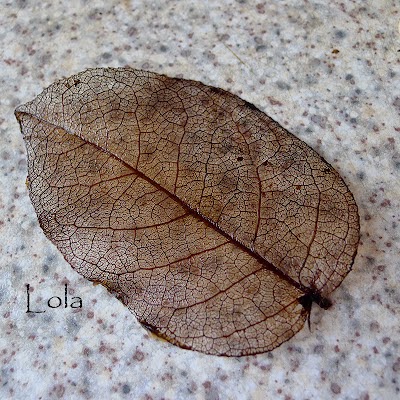
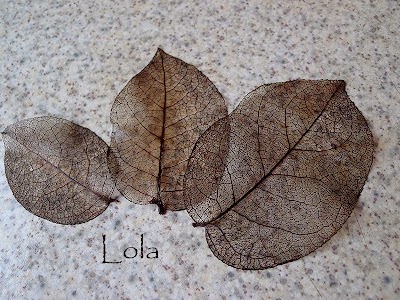
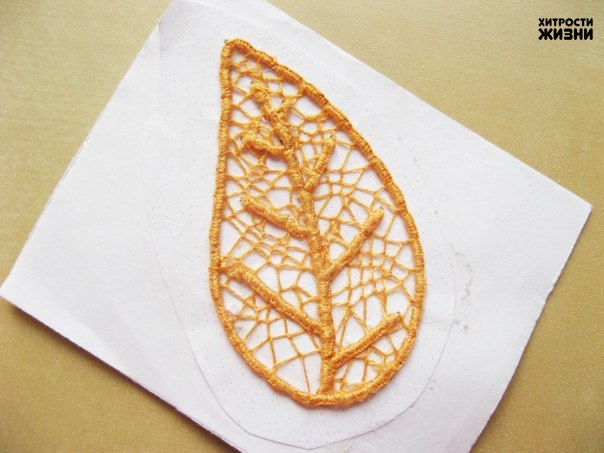
 After drying, I got here such leaves
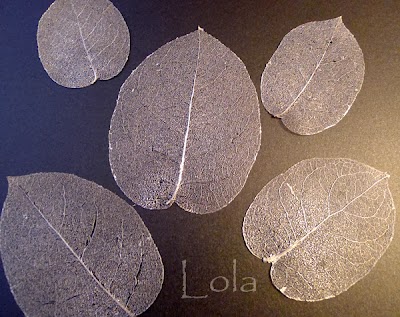
 Gold
Gold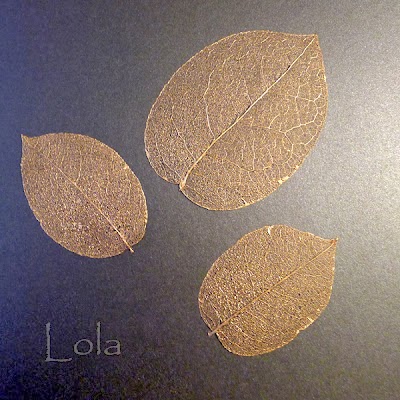
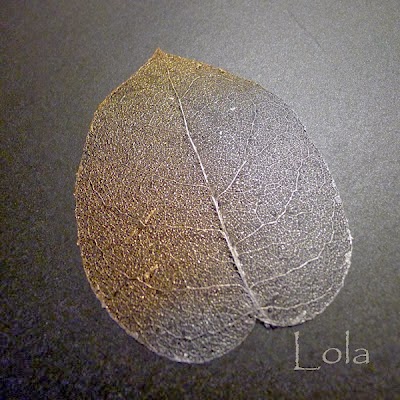
 Part I painted the leaves in two colors (medium leaf)
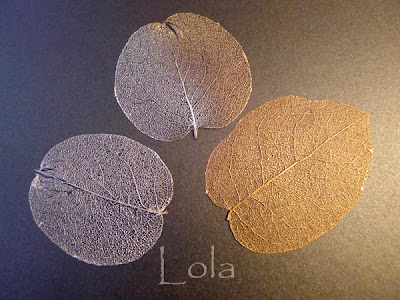

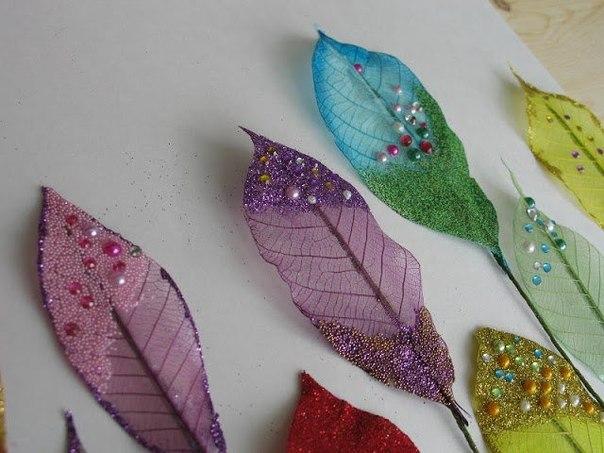
 When ready to inlay and glue has dried, can be covered with lacquer, in order to fix the result and give extra shine.
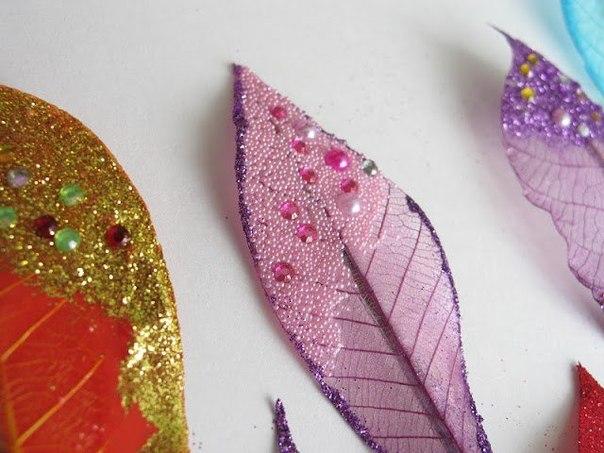 Here and ready decoration. By the way, it can be used not only for further decoration objects, and as a separate element of the decor.