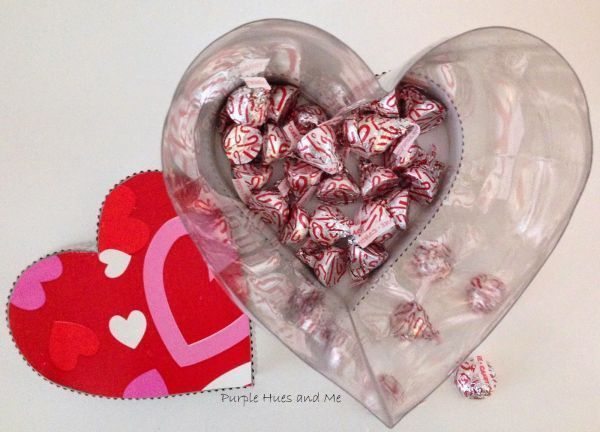
Gift with heart pet bottle wreaths to delight your gift. This piece can have the details you want and the colors you want.
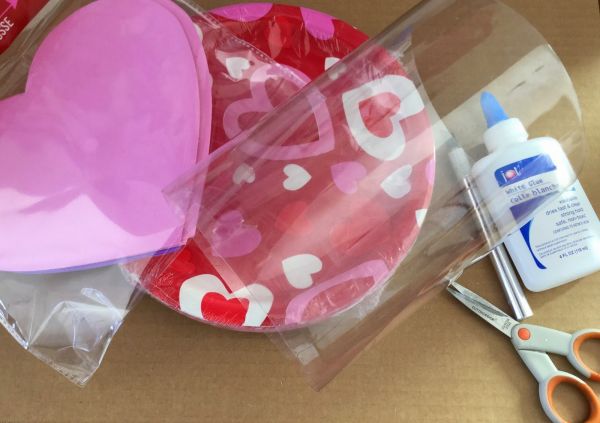
To make this craft you will need:
- 3-liter pet bottle or smaller pet bottle, if you want a smaller carrier;
- Scotch tape;
- Spatula;
- Common scissors;
- Common white glue;
- Glue all or hot glue gun;
- Micro-corrugated paper with the color of your choice;
- Flower or ornament of your choice to decorate your piece (optional);
- Structured paper of your choice with the color or stamp also of your preference.
Step by Step Heart Pet Bottle Trek
Start by separating all the materials that you will use in your crafts. Then cut the bottom and top of the chosen pet bottle. Use an adhesive tape to make it easier to cut the bottle straight.
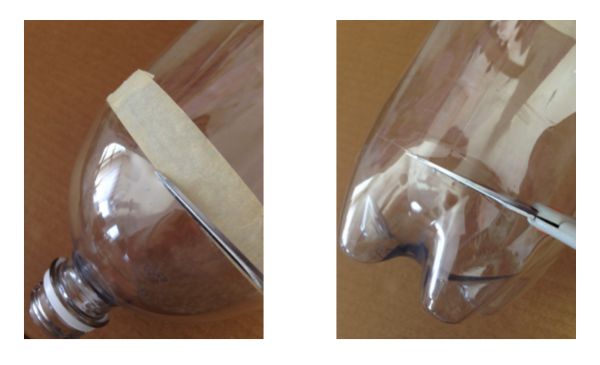 Then wring a piece of the pet bottle. Use a spatula, if you want, to make the job easier.
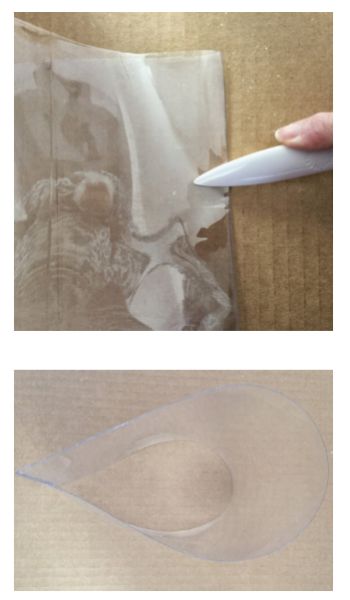 Soon after, fold in the curved part, making a second crease.
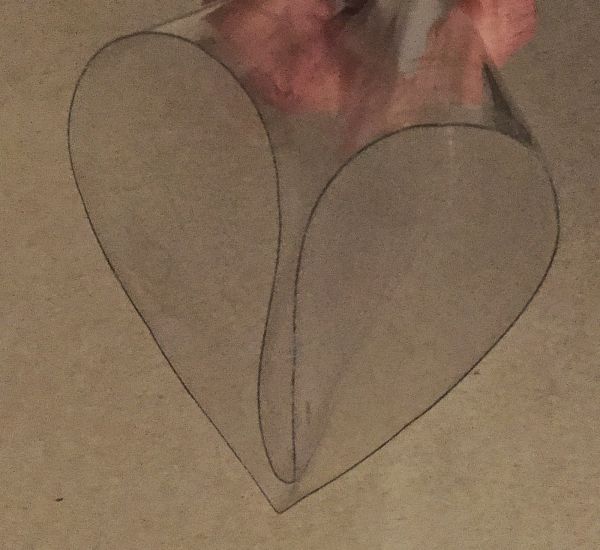 Now, release the bottle so that it opens naturally and is in the correct position.
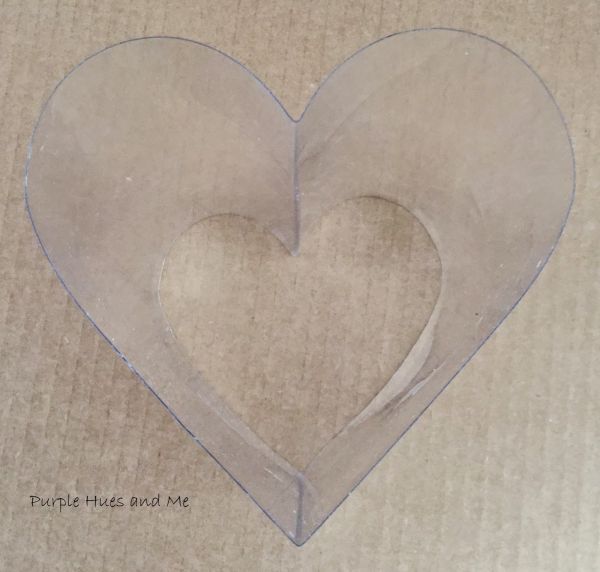 Then, take the heart made of pet bottle and scratch in the chosen paper. Cut two hearts, to make it firmer, but leave a small leftover around the whole heart, so that the piece made with the pet bottle fits inside the heart at the end.
 Soon after, stick one paper heart to the other.
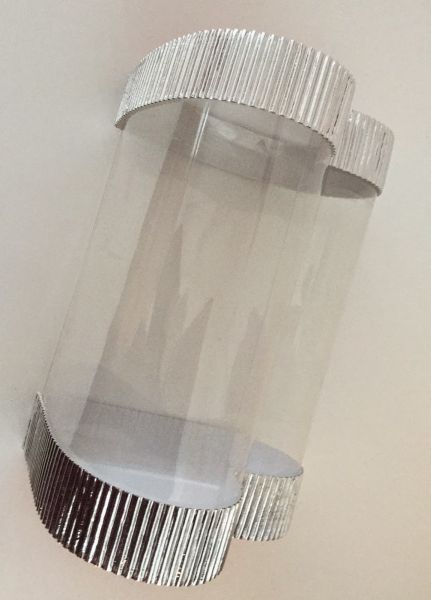
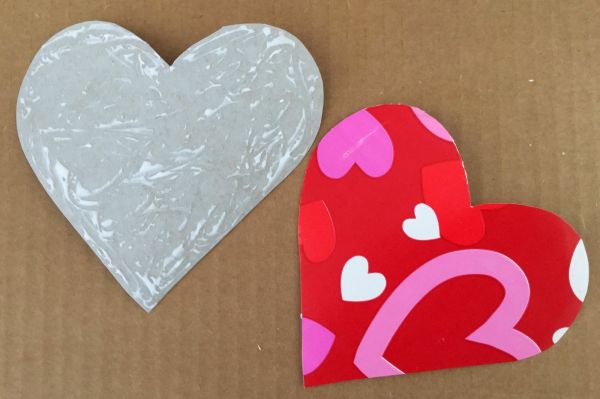 Now, cut a strip as wide as you like on the chosen micro-corrugated paper and place it around the paper hearts.
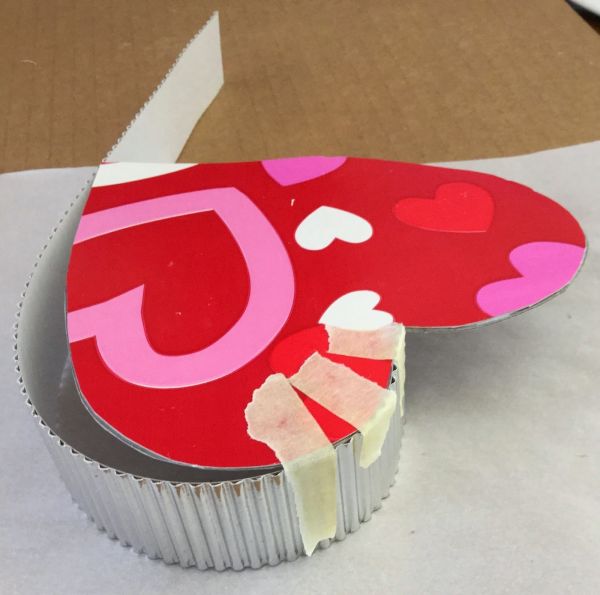 Then apply all glue or hot glue to the heart splicing. Let it dry. Stick the heart made of pet bottle. Let it dry.
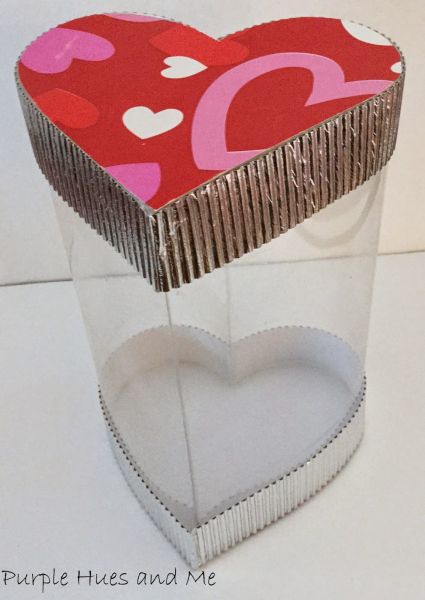
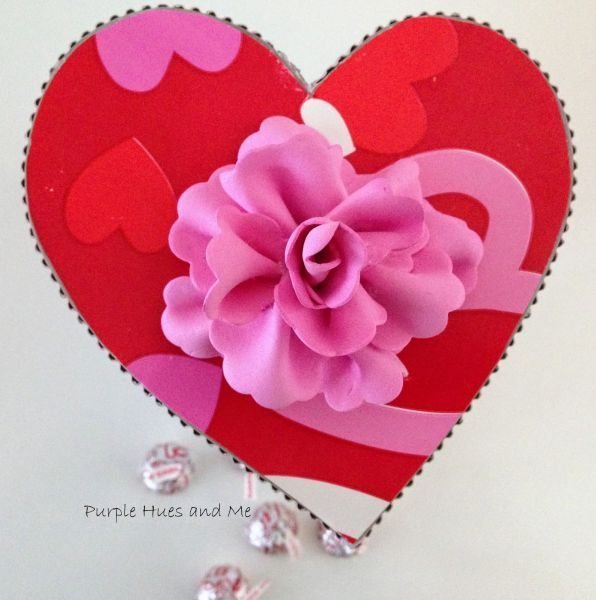
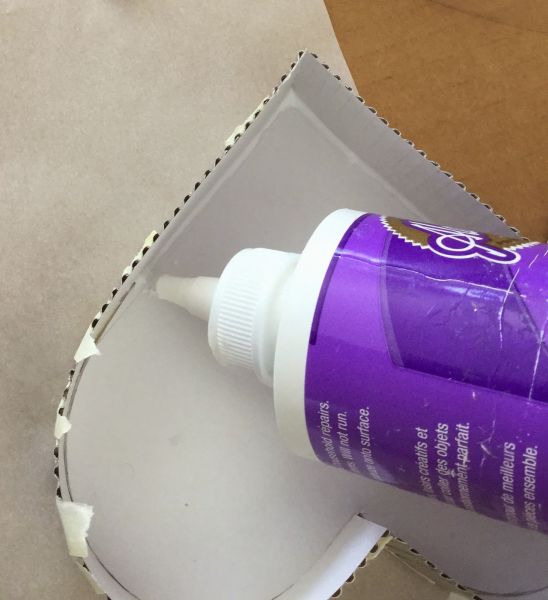 Then, to finish your piece, make another piece of paper, to be the cover of your carrier. If you like, stick a flower or other ornament on the lid. And it’s ready!
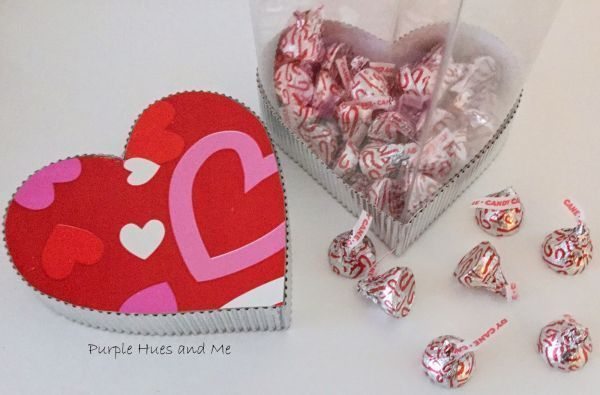
 (images by plumperfectandme)
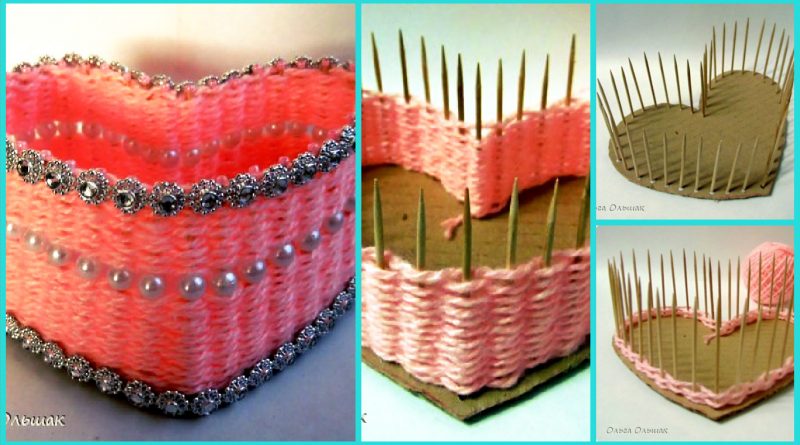
 I will describe the process of making mistakes that I made to you, if you want to do, they are not repeated. To the bottom it is necessary to take a thick cardboard, cut two identical blanks, I have a heart and glue them together. Then I immediately began to stick a toothpick, this is the first mistake that had to correct later. When glued workpiece 2 further need to paste over the bottom of the colored paper or make a decoupage napkin generally elevate the bottom of the ONCE, until a toothpick stick!
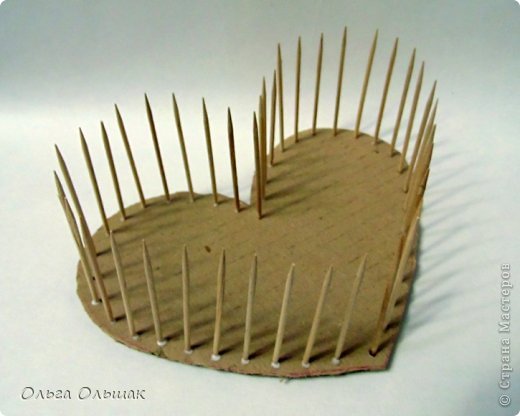 Winding yarn
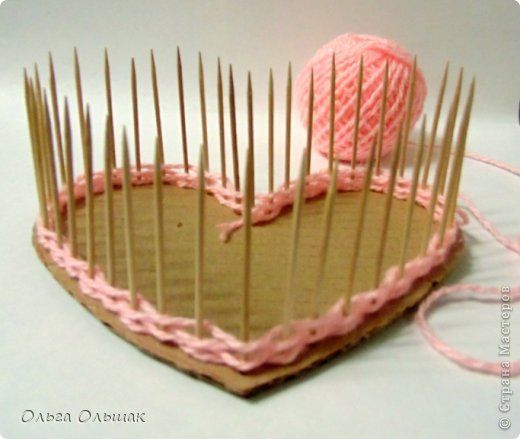 Well, that’s got to the middle! Then I strung beads and braid further continued.
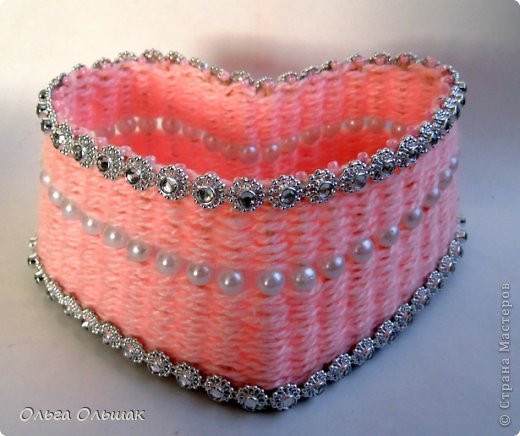
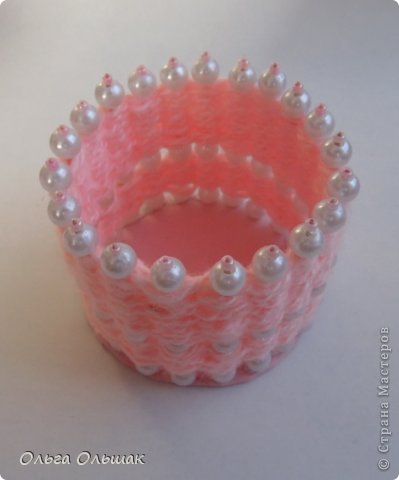
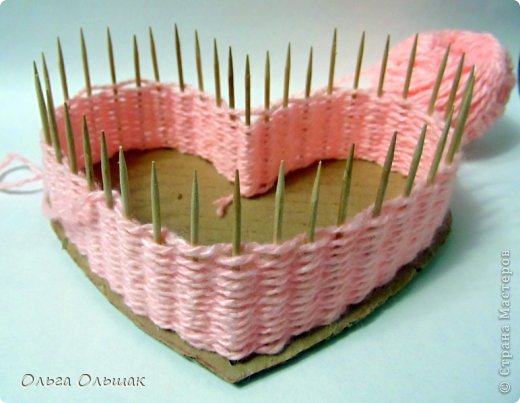 When to the top, then on each toothpick glued beads. Ennoble the bottom and top. The result is pleasant to me, do not you?
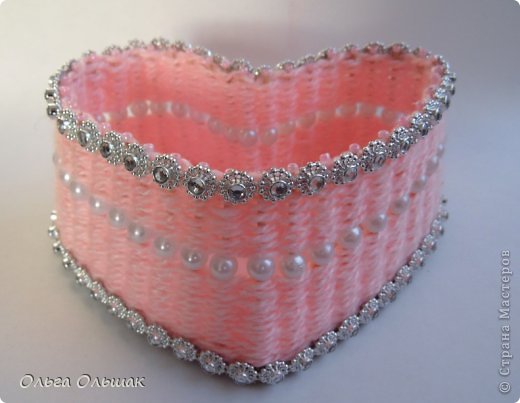 We had to split hairs with the inside of a vase-taped pink paper and pigtail yarn hid an ugly seam.
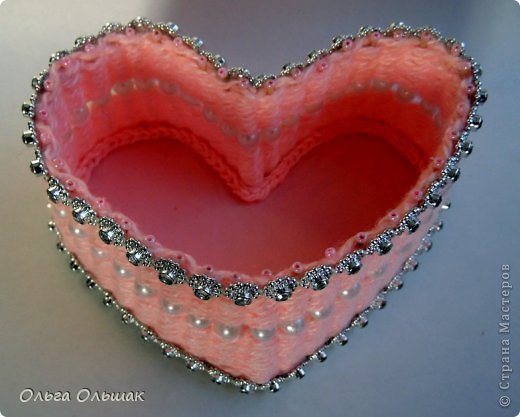 Here the colors are in fact-vase was very gentle.
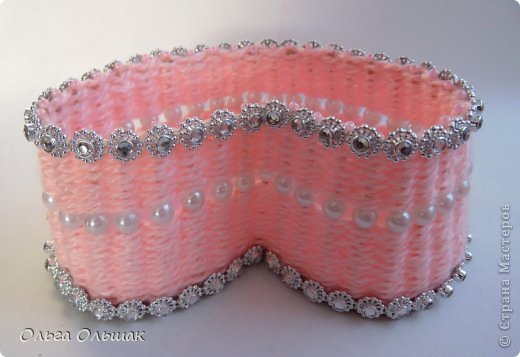 He made one more round shape – bottom. Mistakes are the same – DO NOT!
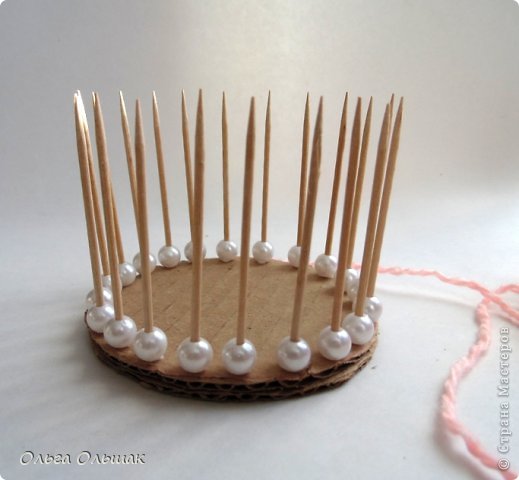 Result. Bottom corrected!
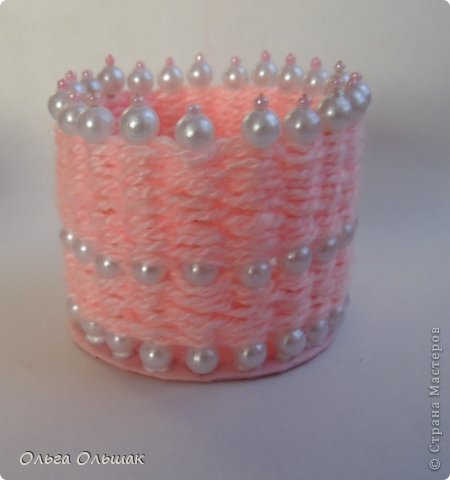
 That turned a set!
 Thank you to everyone who looks at the light! Be creative, self-confident and people!