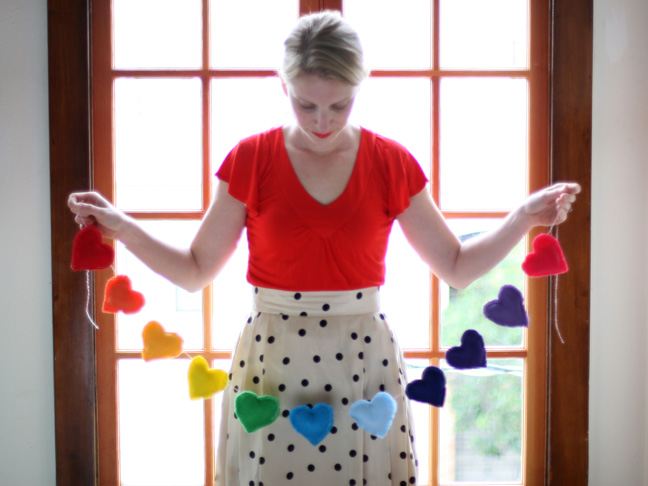
This is a fun little rainbow banner for Valentine’s Day make with felt and string. Keep reading to see how to make it!
Required Material:
- Squares of craft felt in rainbow colors
- Bakers twine
- Sewing machine or needle and thread
- Scissors
- Chalk
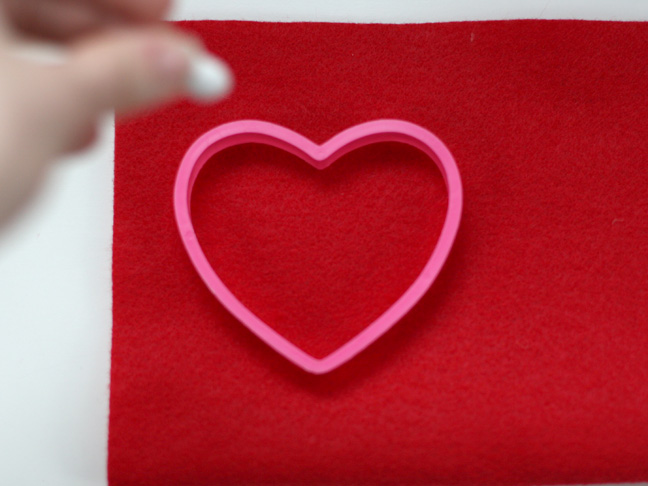
- Heart cookie cutter
- Batting
- Pins
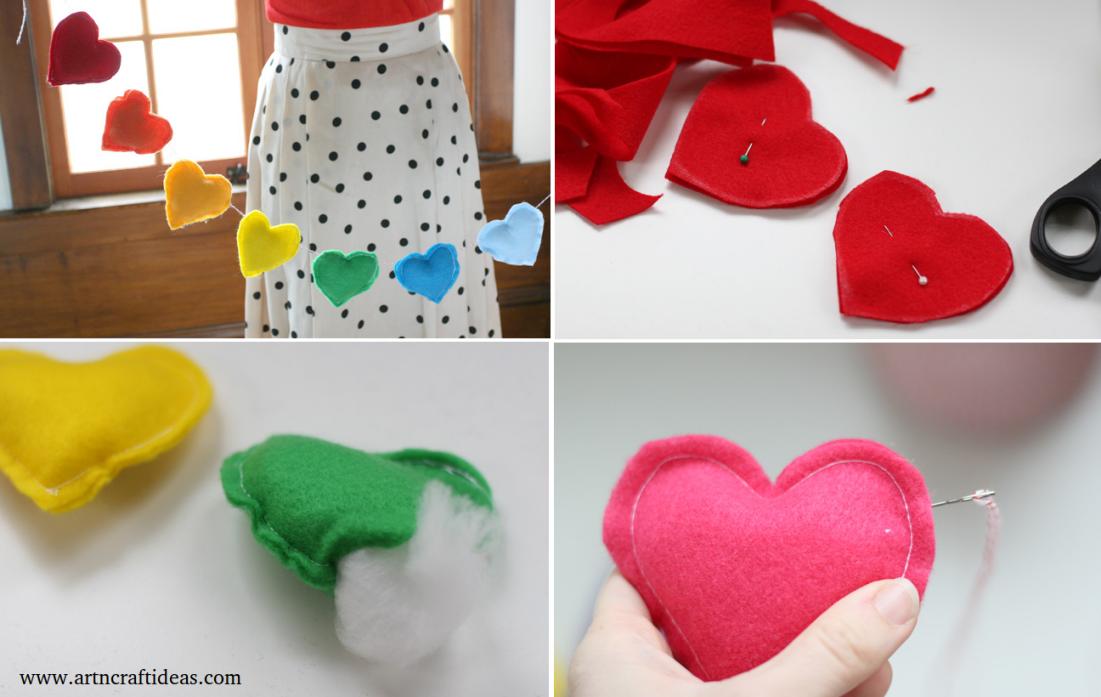
- Start by tracing the heart shape onto a piece of felt folded in half
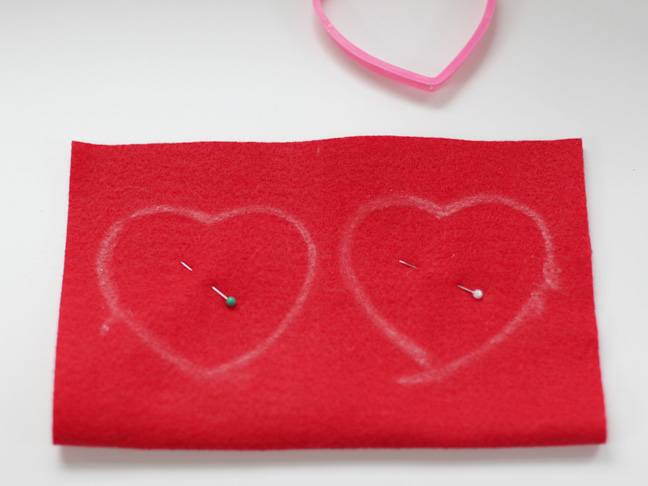
After it has been traced with chalk, pin the middle to keep both sides together.
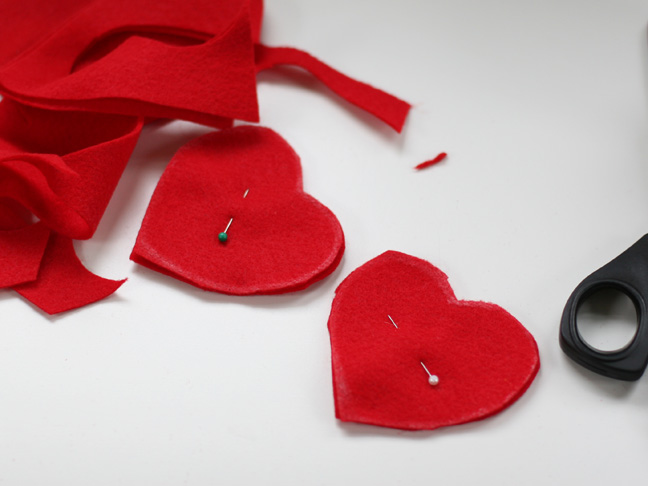 Cut out your hearts. Keep the pins in. Set pinned hearts aside.
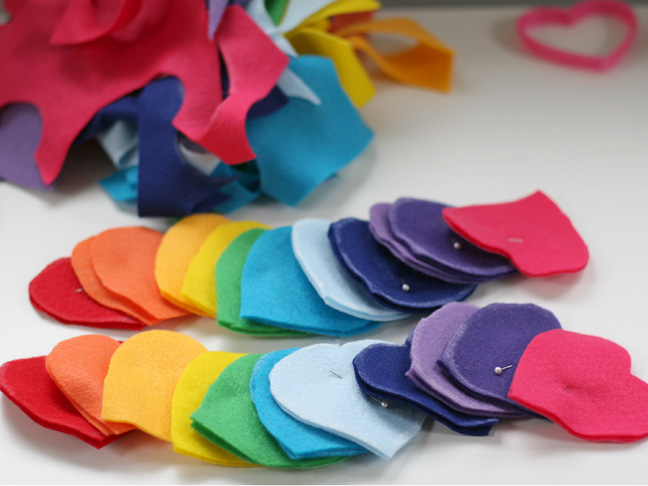
Do the same with the other rainbow colors.
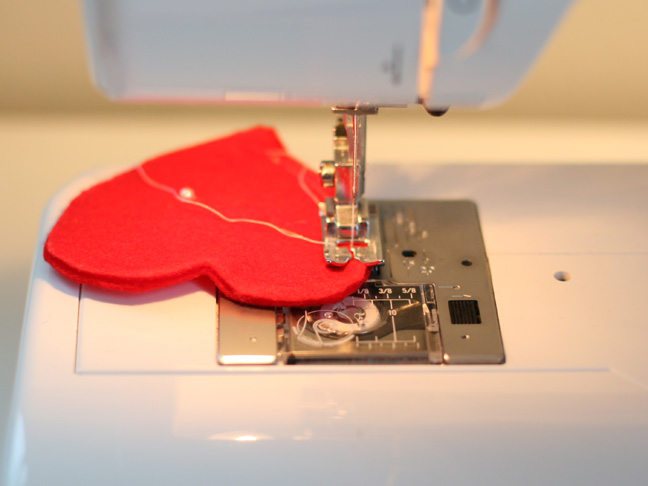
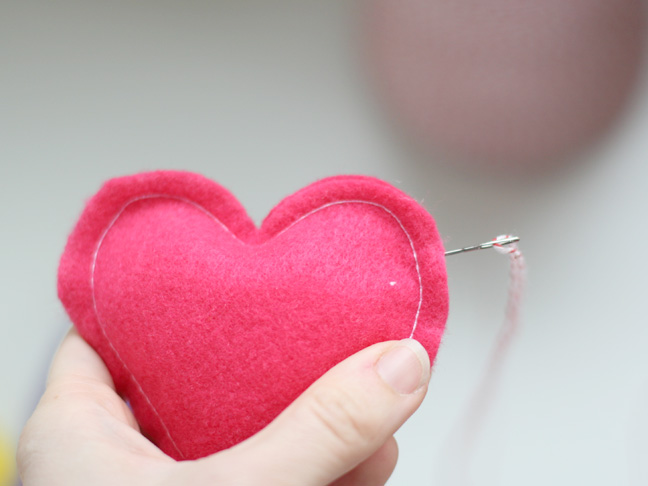
Now sew both pieces together along the edge in a extra wide stitch with contrasting thread. You could also handstitch these. Leave 2 inches open to add the batting.
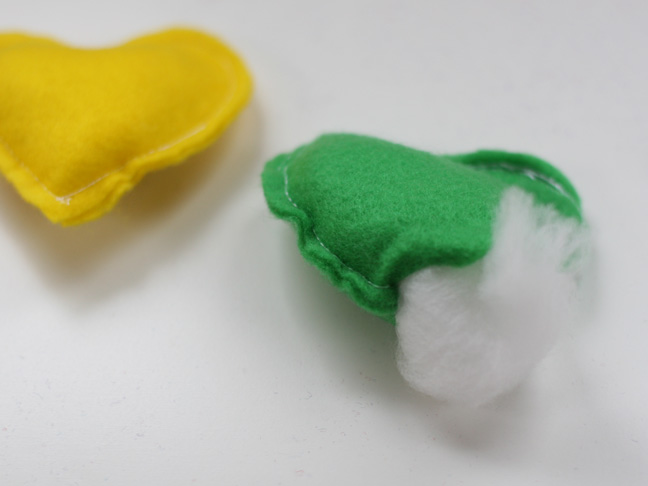
Stuff the batting into the heart and sew up the last inch.

Do the same with the other colors (I only ended up making one of each color as opposed to the two I had cut out).
Thread some bakers twine into a embroidery needle and poke through the top end of one, threading it through to the other side. Make sure to put the hearts on in rainbow order.
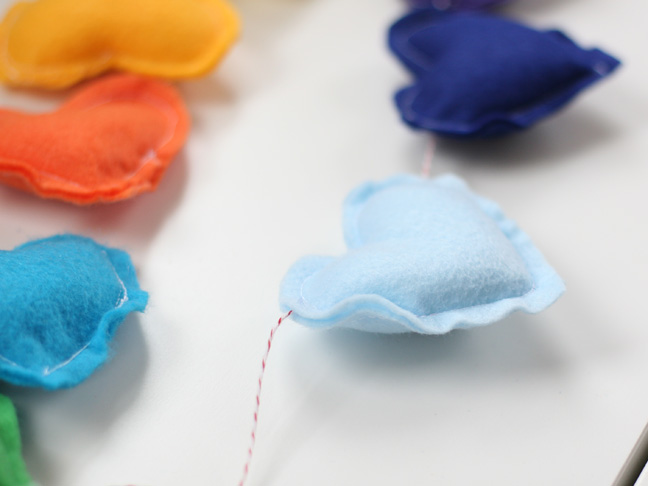
Keep adding to the thread until they’re all on.
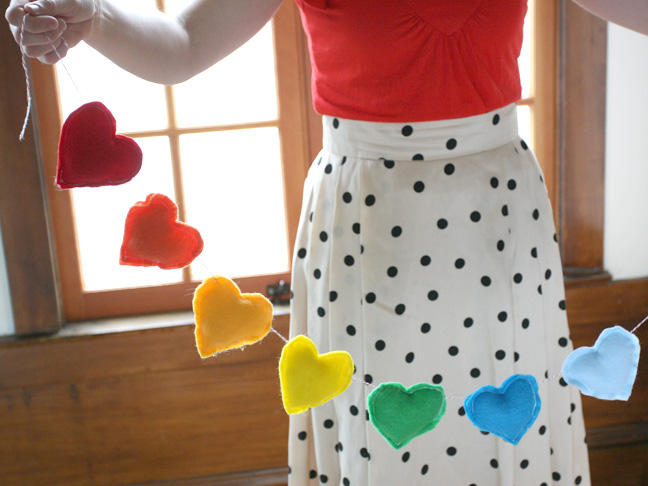
Hope you like this Rainbow Banner tutorial.
Image Source: momtastic
We would love to hear your thoughts in the comment section below. And be sure to like us Facebook for more ideas!
Thank you for visiting our website. Keep Creating with Art & Craft!
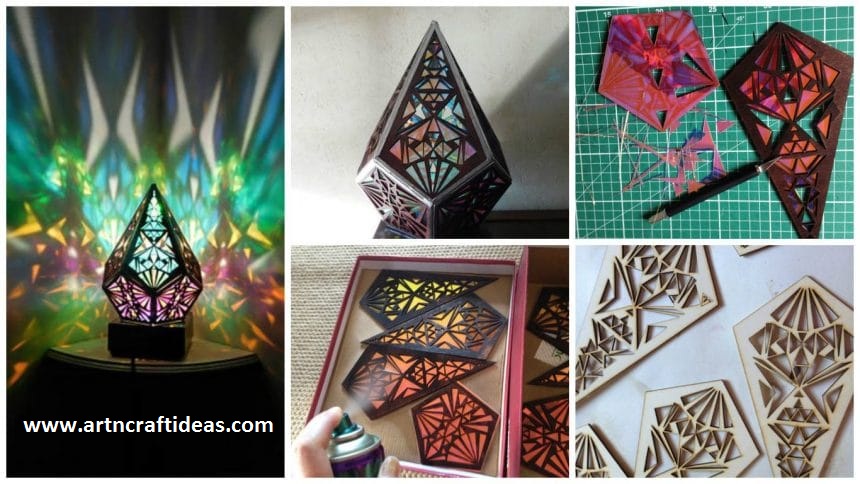

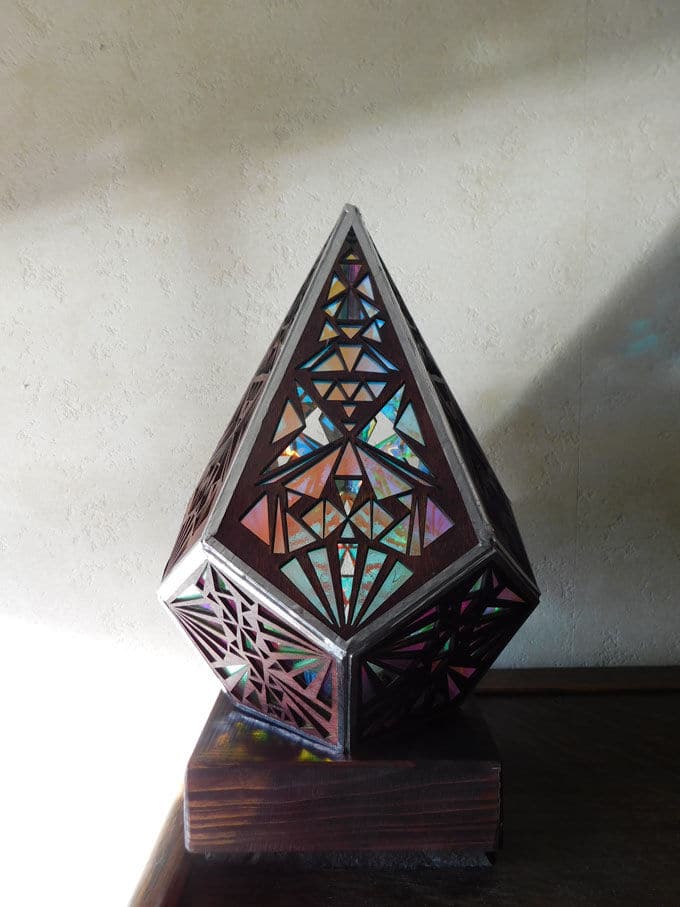
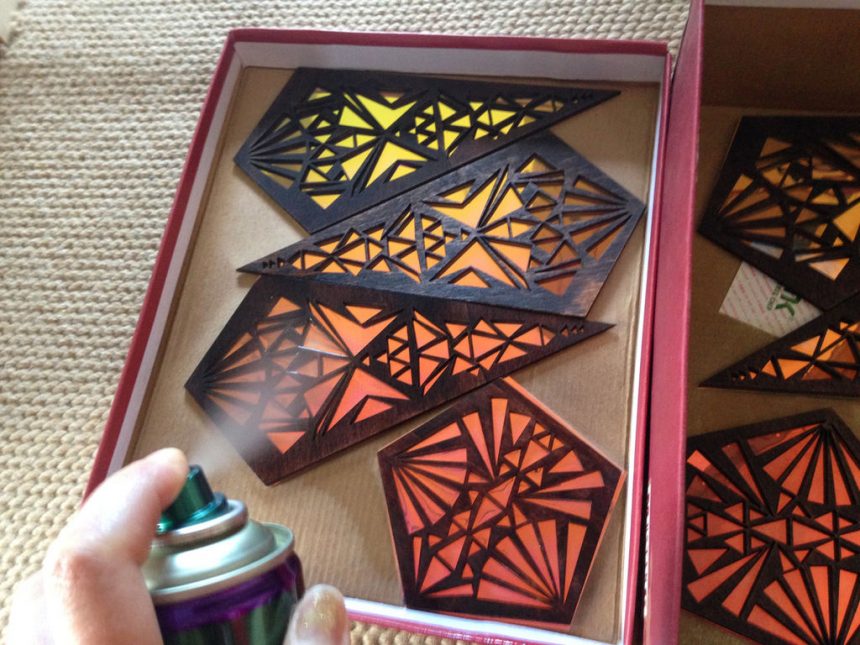
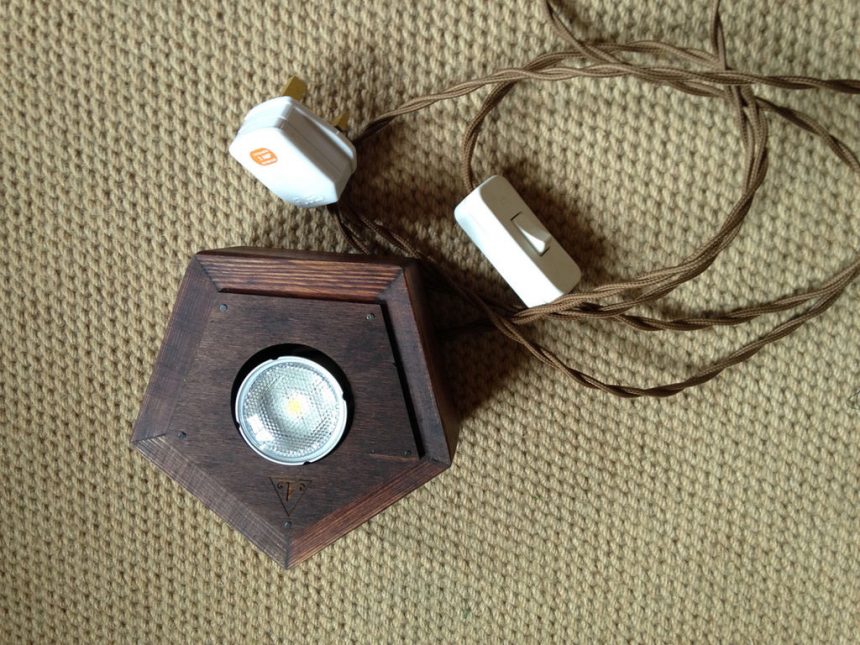
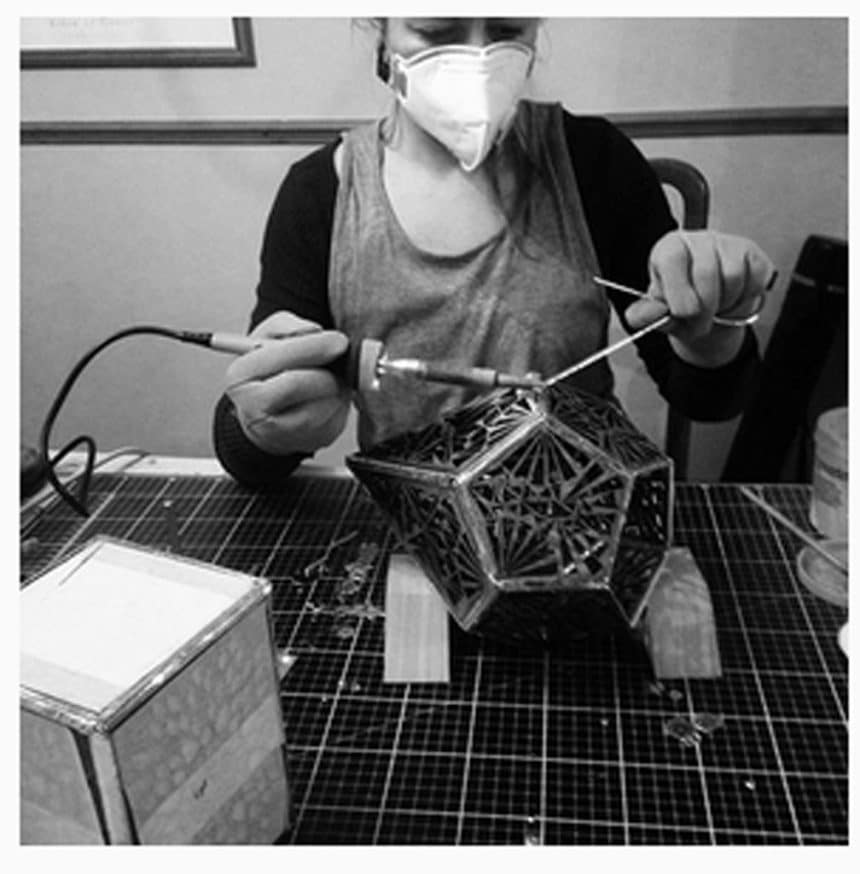
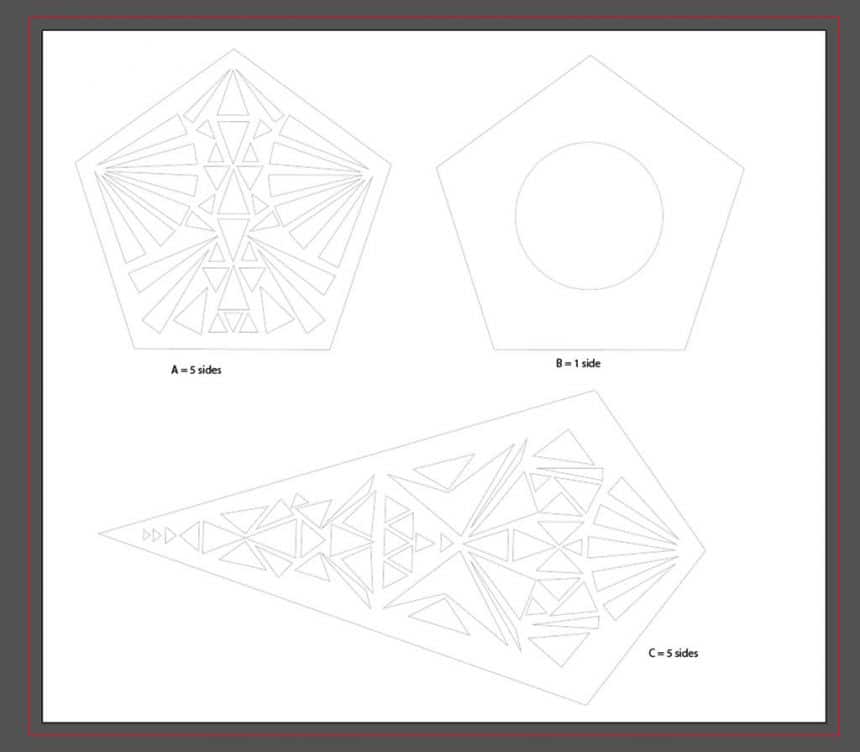 I begin by drawing my design on paper with rough sketches. I really enjoy geometrical shapes so I wanted to design one. I have had many failures on this design as I was not getting the mathematical measurements correct but I got there in the end. This is then drawn in illustrator to make this mathematically correct. I then send this file to a local laser cutter company to get these cut out of birch wood.
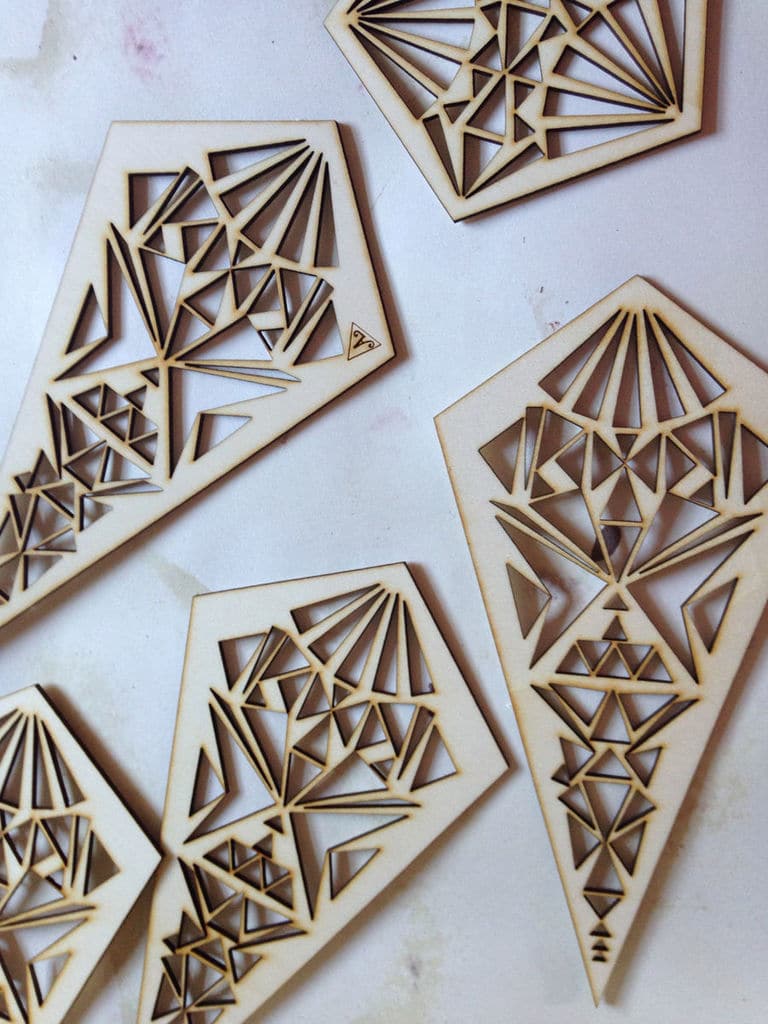
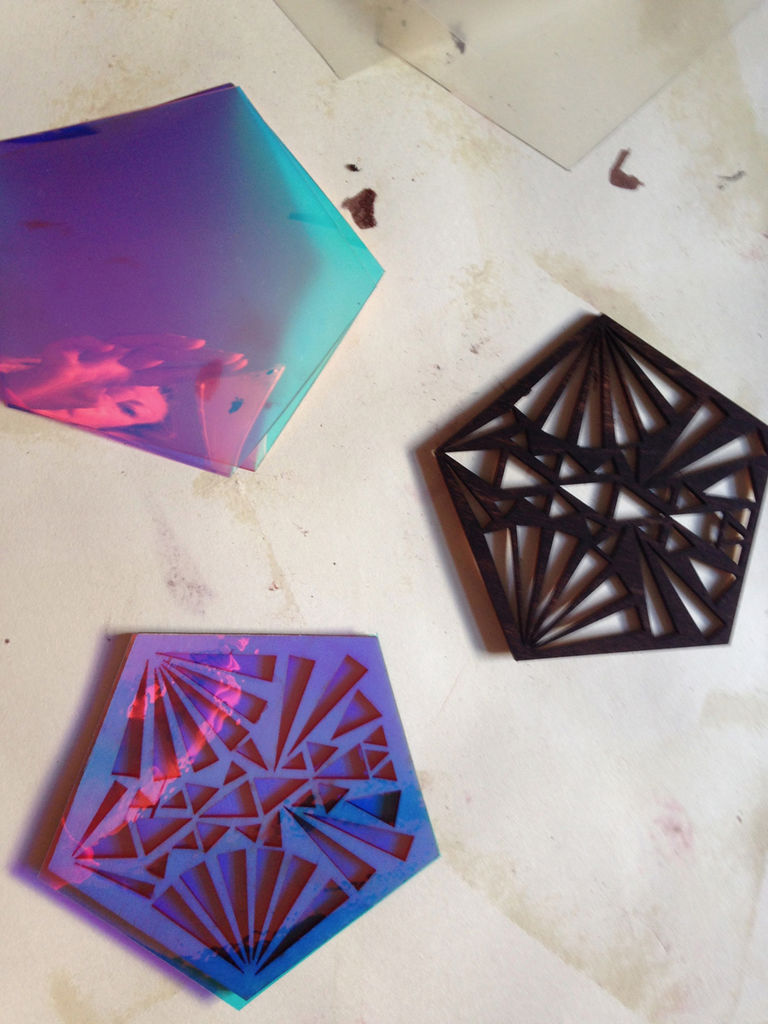
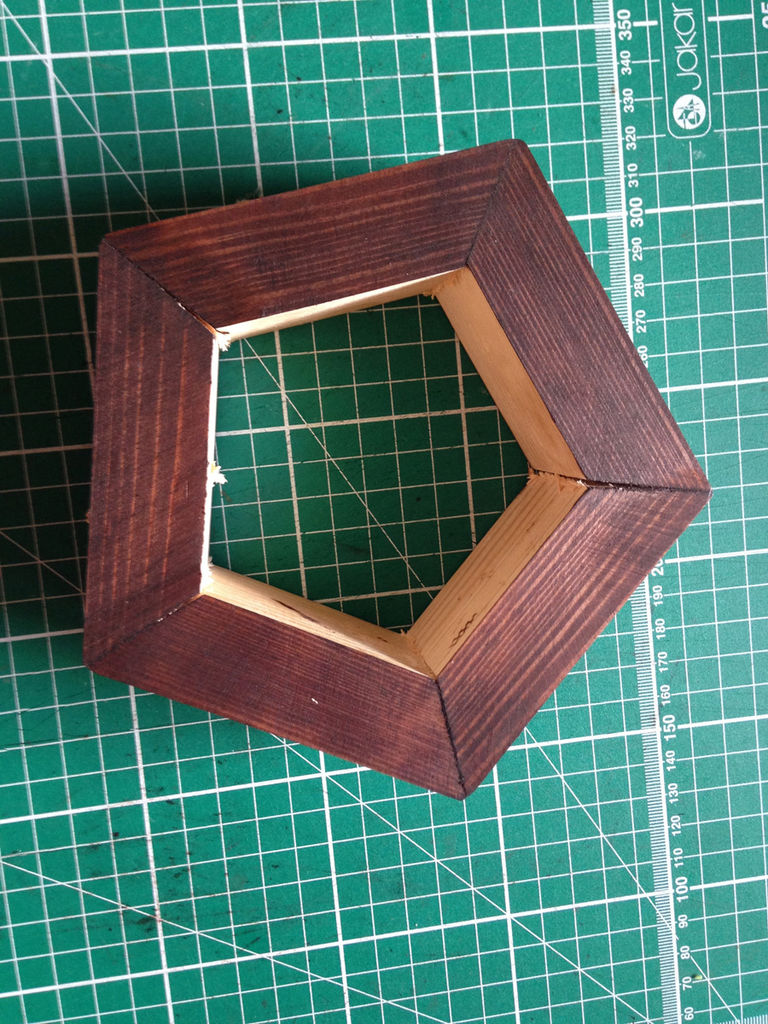
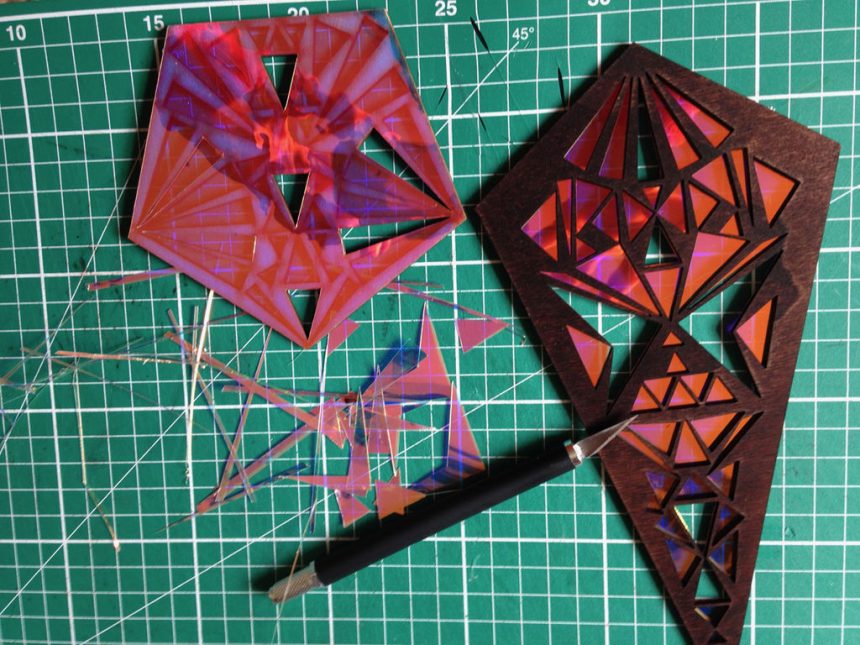

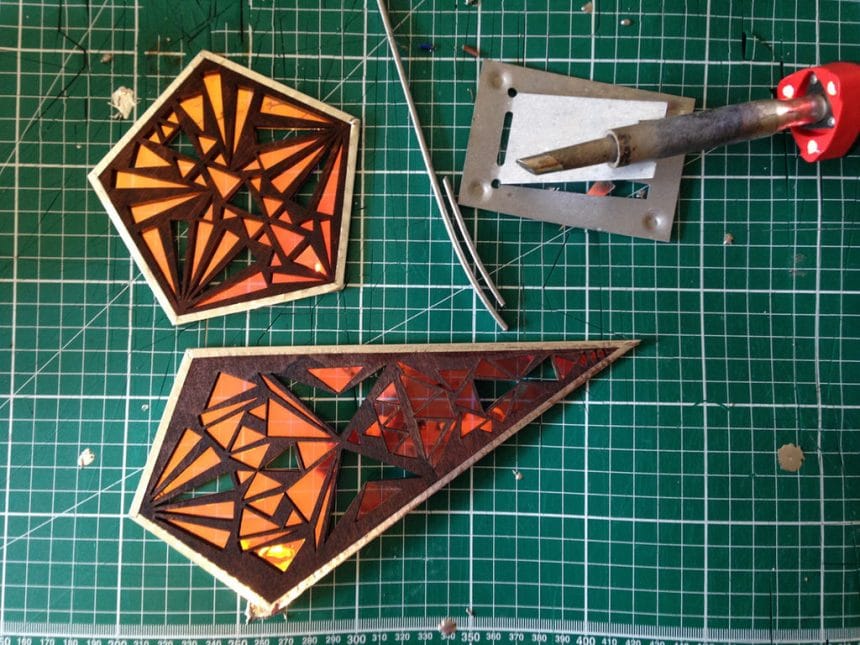
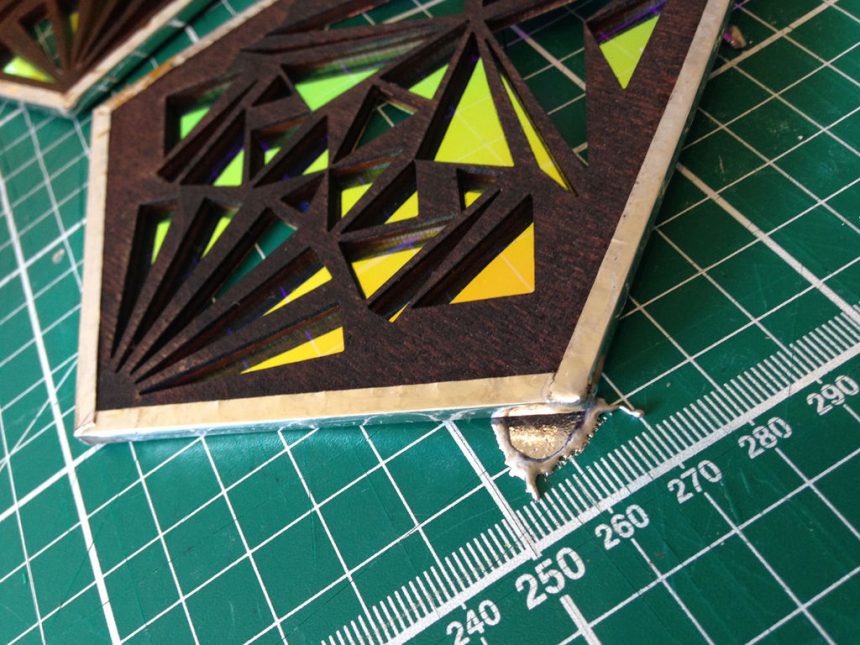


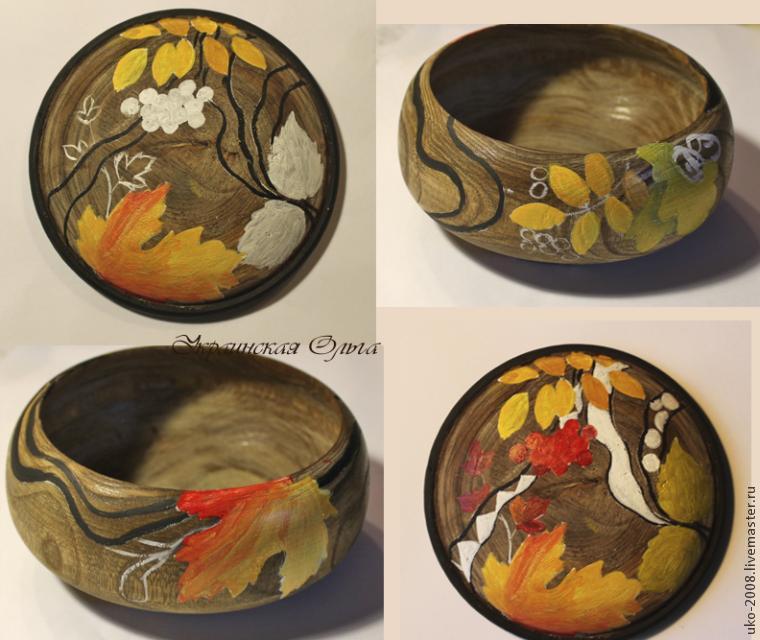


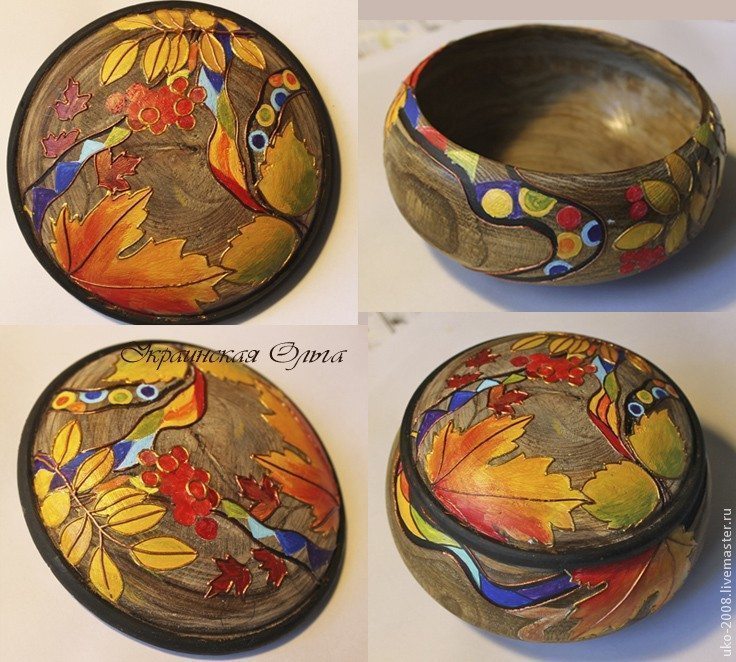

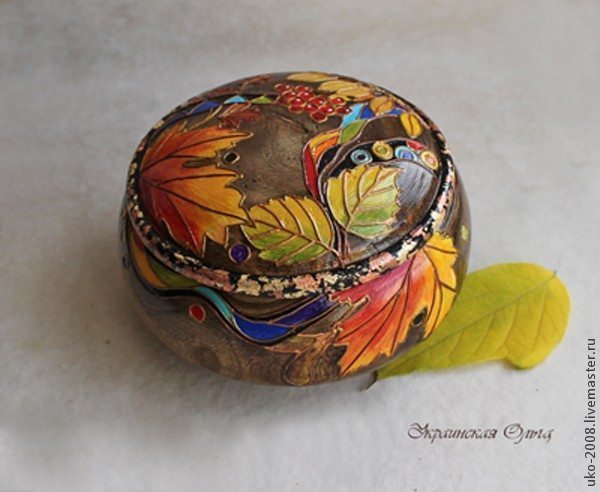
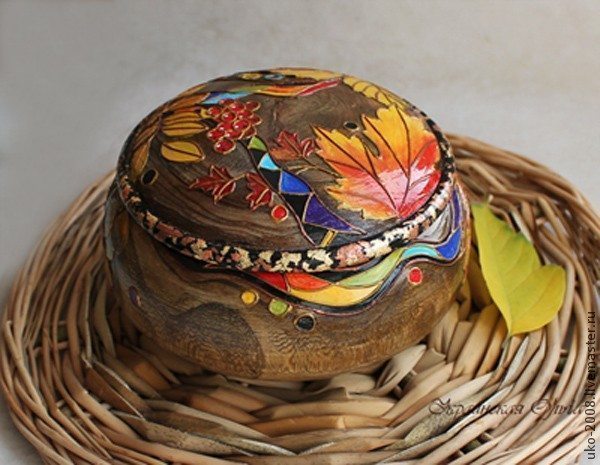
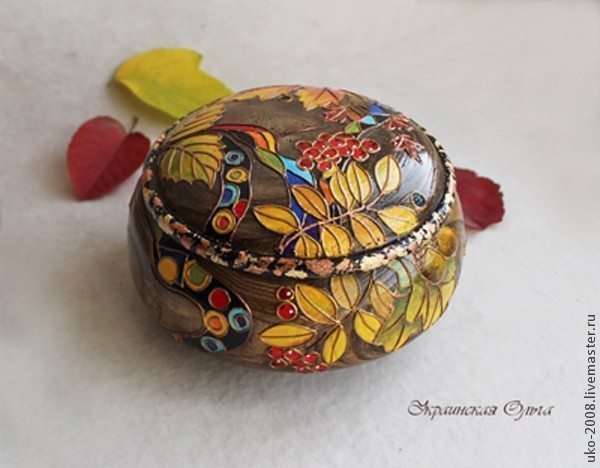
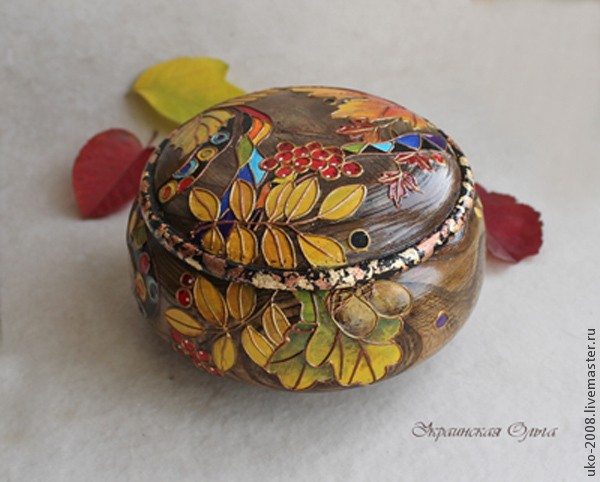
 All of them! Box covers Yachting glossy varnish, usually three layers.