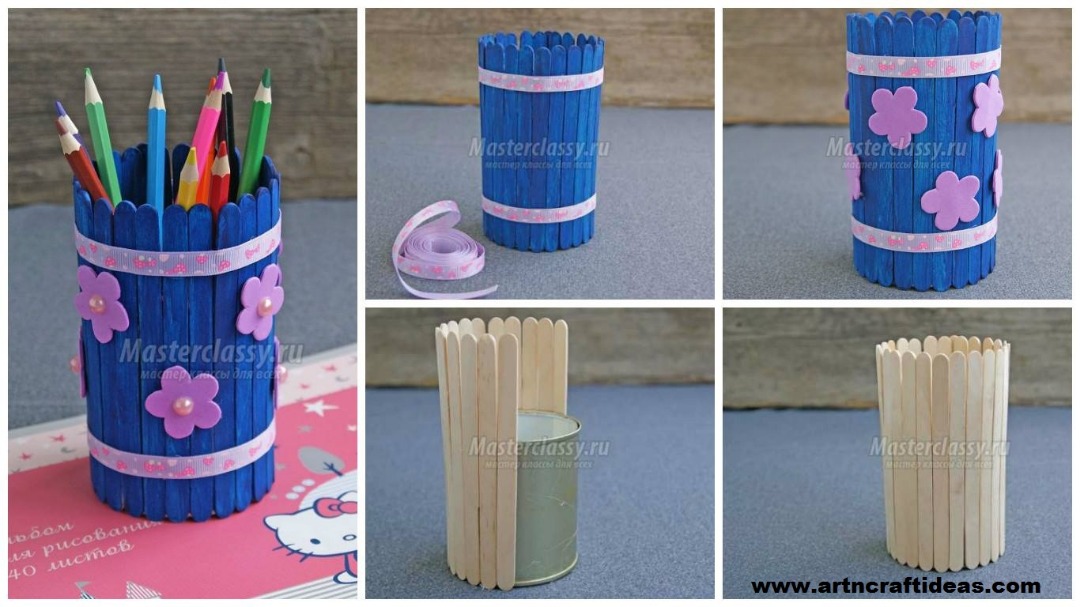
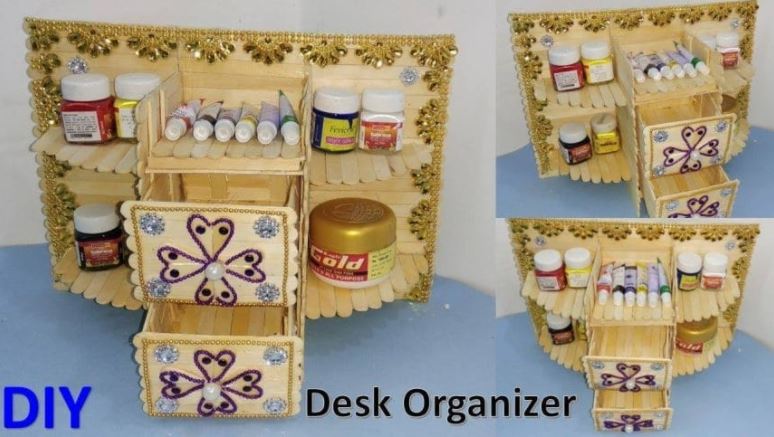
How to Make Desk Organizer from Ice Cream Stick

Get Daily Art and Crafts Ideas & Tutorials…
How to Make Desk Organizer from Ice Cream Stick
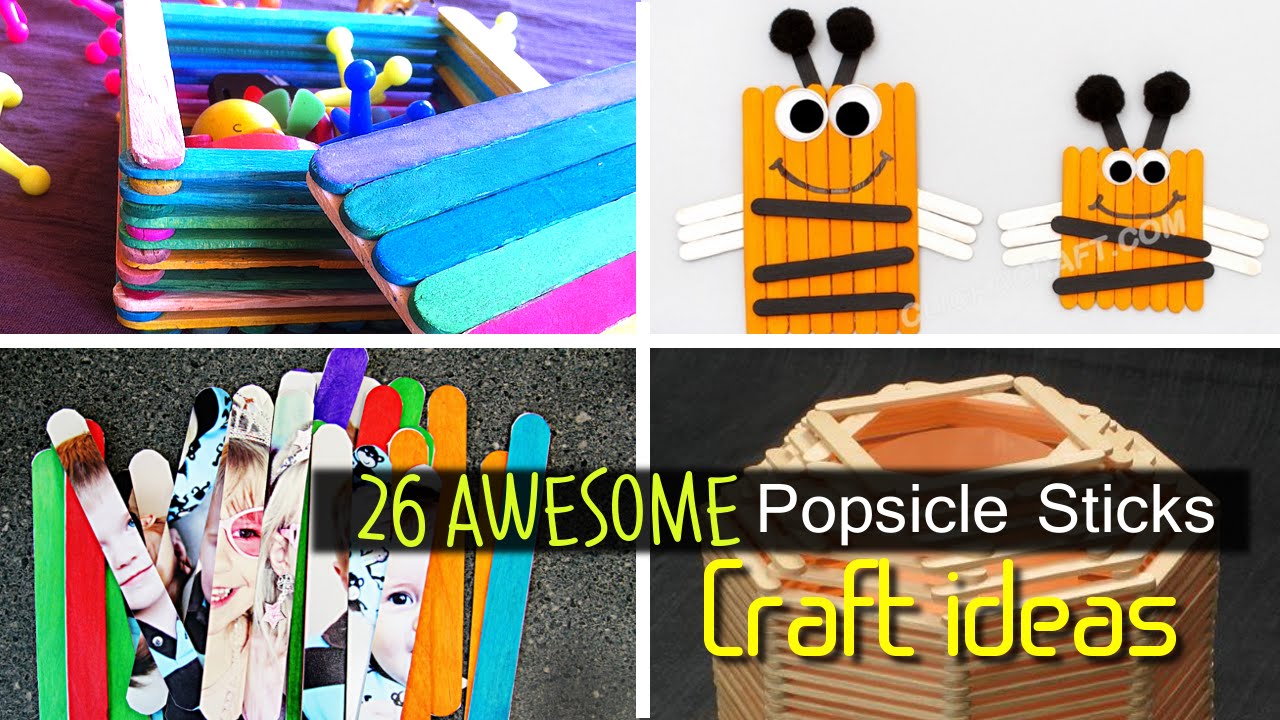
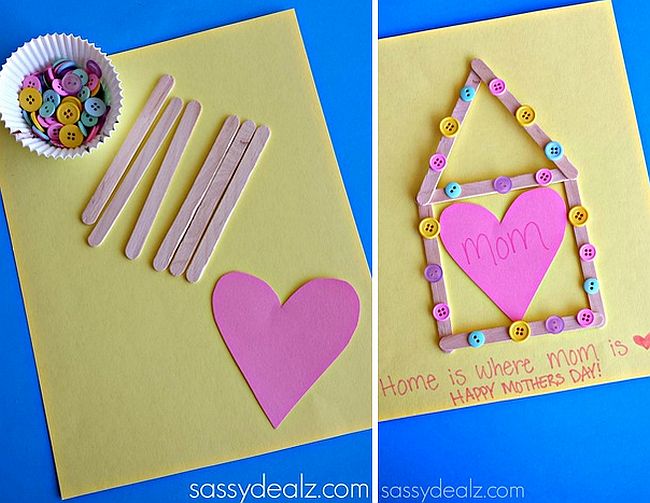
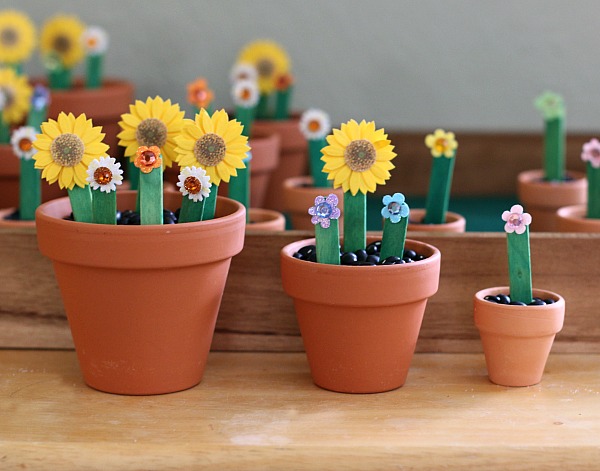
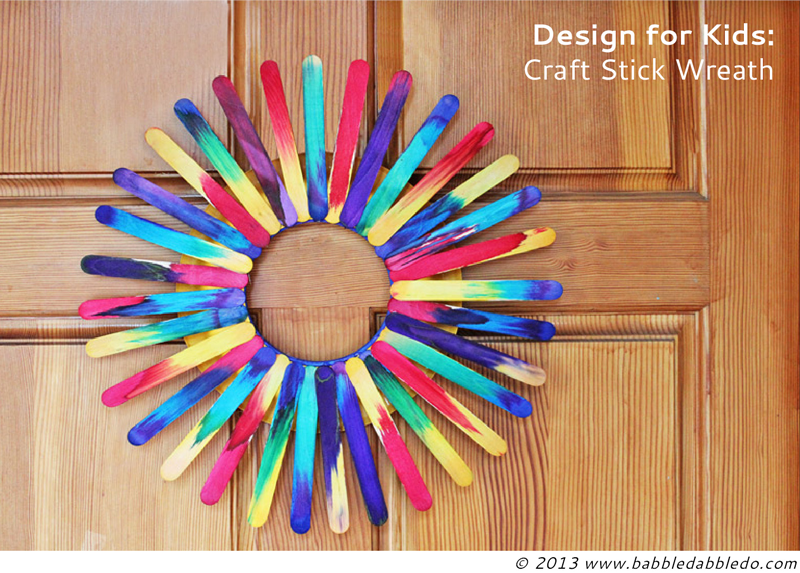
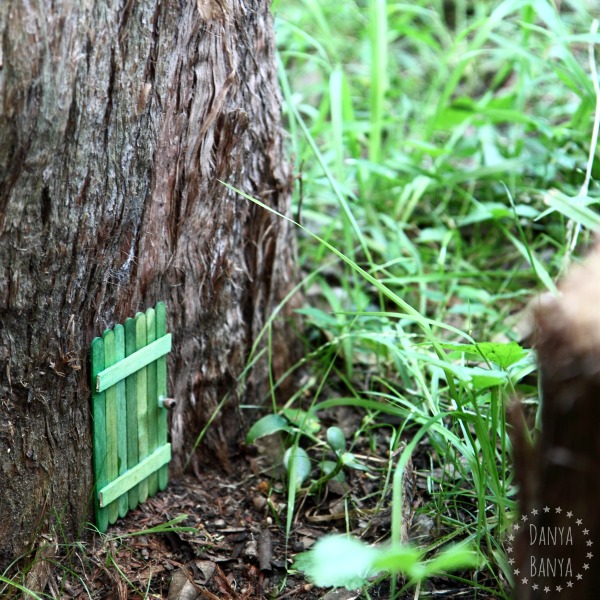
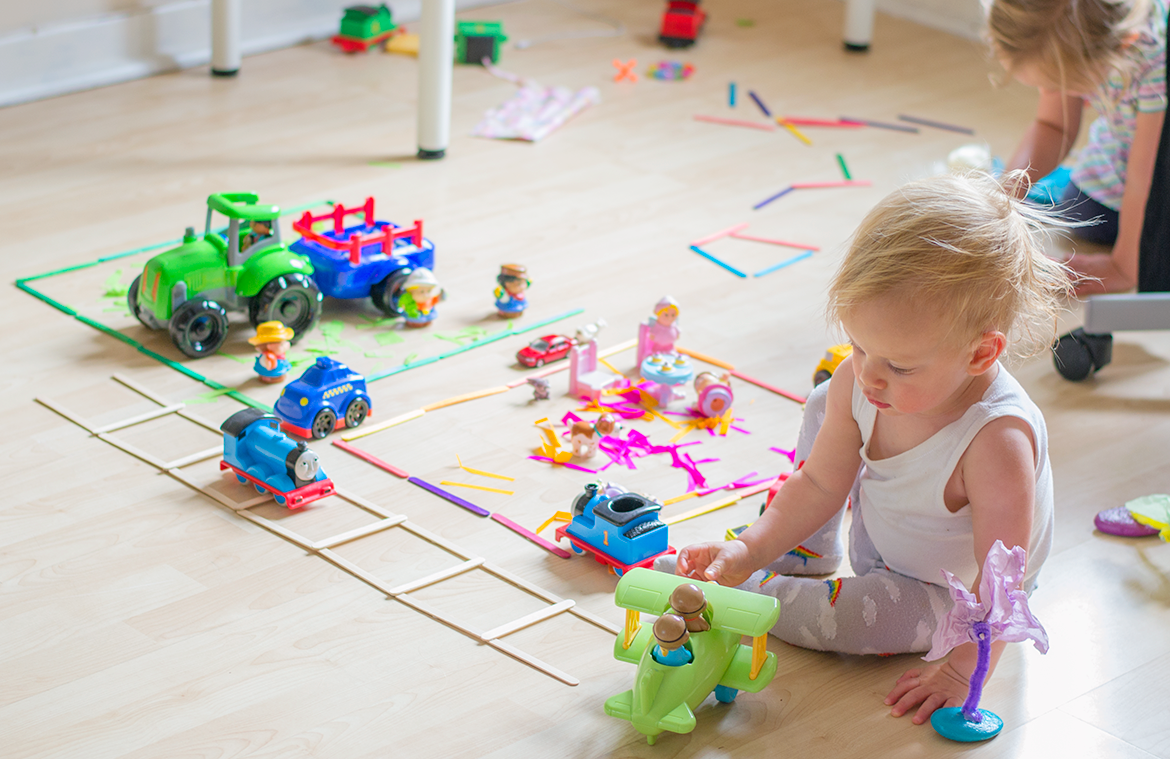
Some of the best crafts to make with kids are made with the simplest supplies. From my years working in day cares, I’ve always been partial to popsicle stick crafts! Whether you prefer to buy yours or just wait until your kids have eaten enough popsicles to amass a good sized stick collection, there are hundreds of different crafts that you can help them make with the little wooden slabs.


![]()
Hope you like these Fun Popsicle Stick crafts for kids.
Image Source: pinterest.com
We would love to hear your thoughts in the comment section below. And be sure to like us Facebook for more ideas!
Thank you for visiting our website. Keep Creating with Art & Craft!
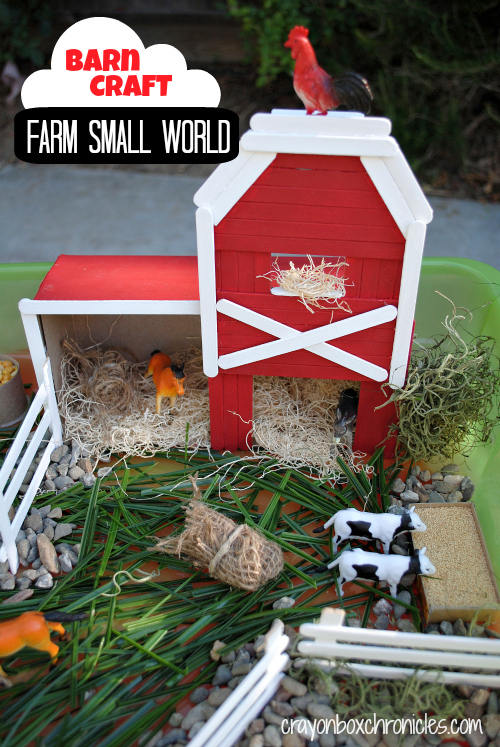
Many of us aspire to, to make toys for the children with their own hands.
Strictly speaking, it’s very simple. Only need to stock up on patience to allocate free time, as well as a hundred percent, use their imagination. This toy will be a child more expensive the purchase, because he watched every step of its creation, and older children can participate, or even do it yourself according to our instructions.
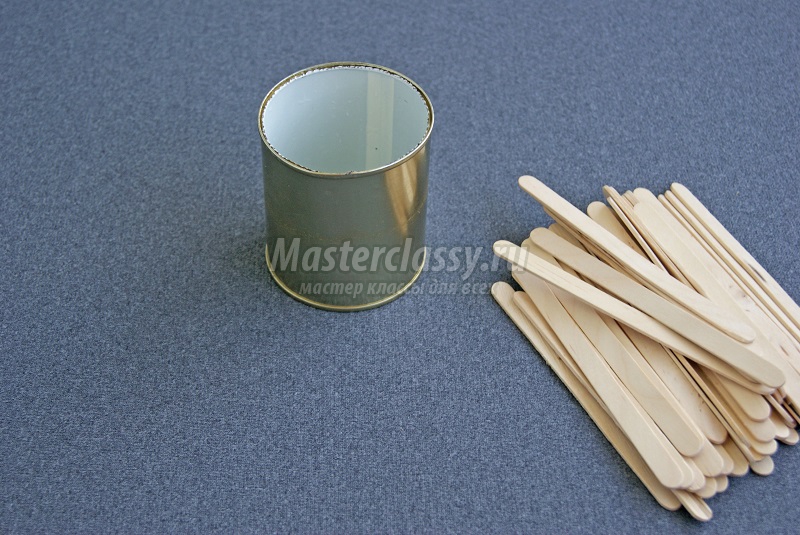
Required Material:
– box of yogurt or sour milk thoroughly washed and dried;
– Glue “Moment”;
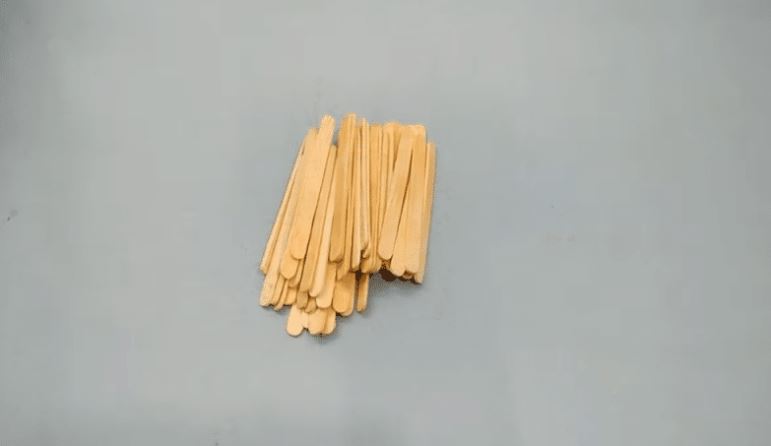
– sticks of ice-cream;
– putty;
– paints;
– scissors;
– thread;
– beads;
– ribbons and so on.
So we have to carry out the following work steps:
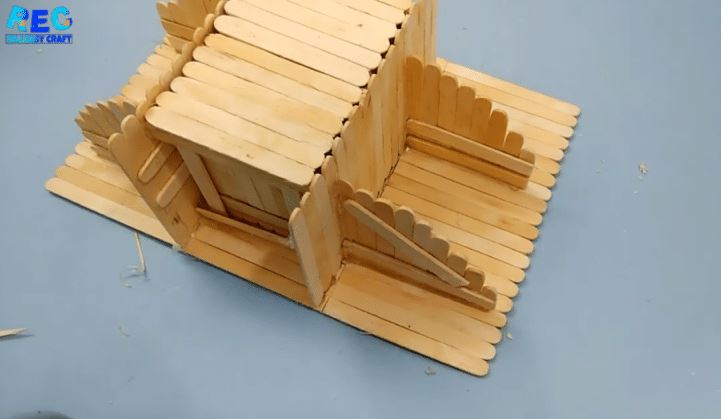
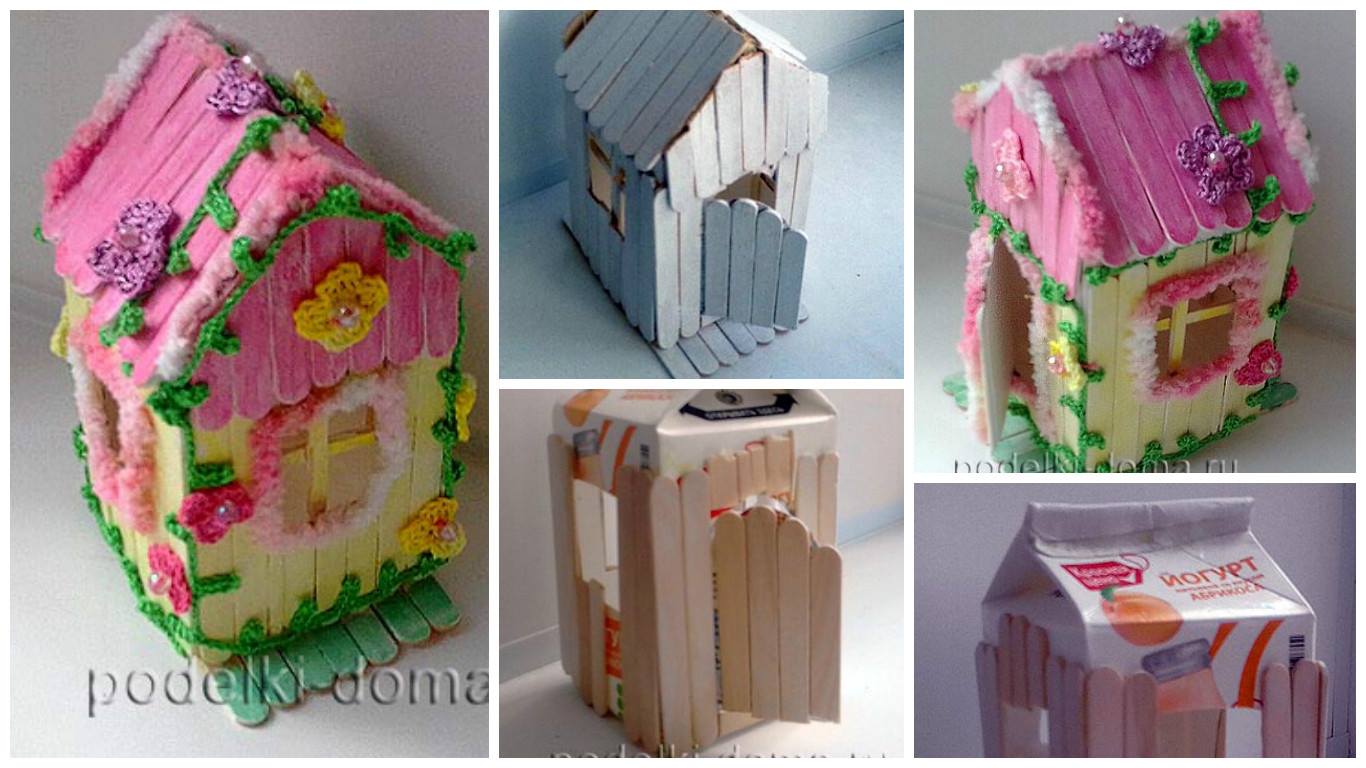
Take an empty box and cuts it with scissors three windows and one door.
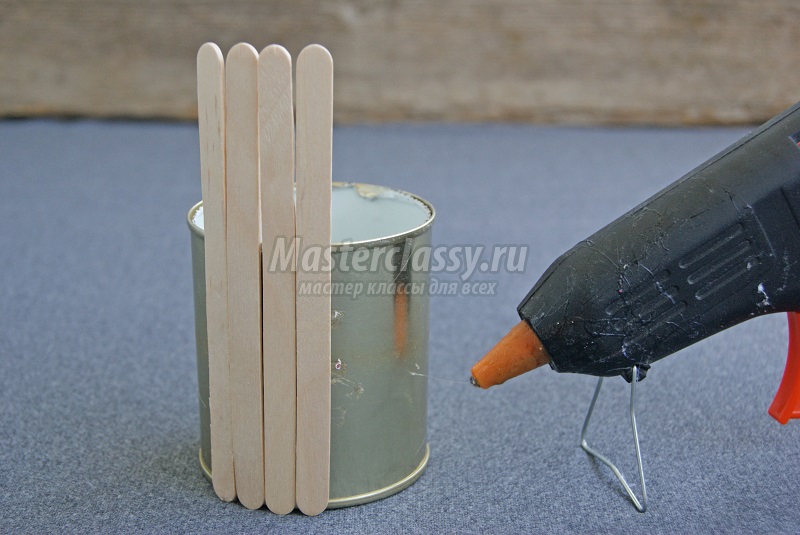
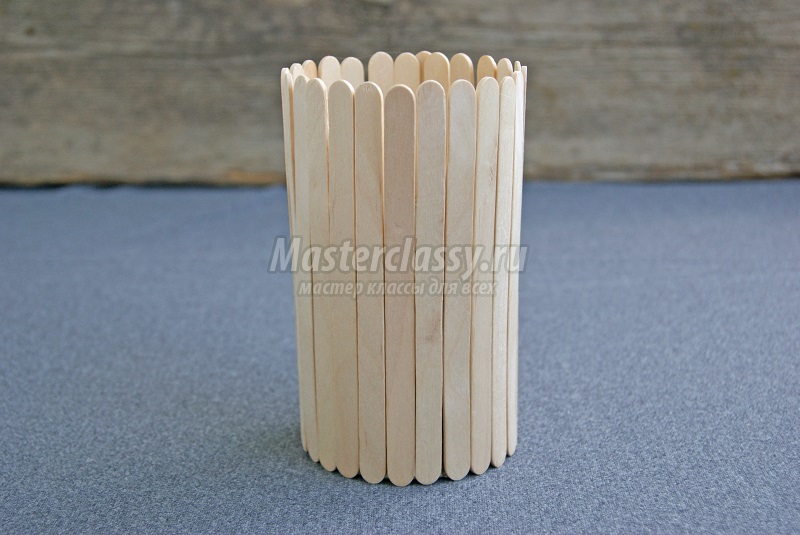
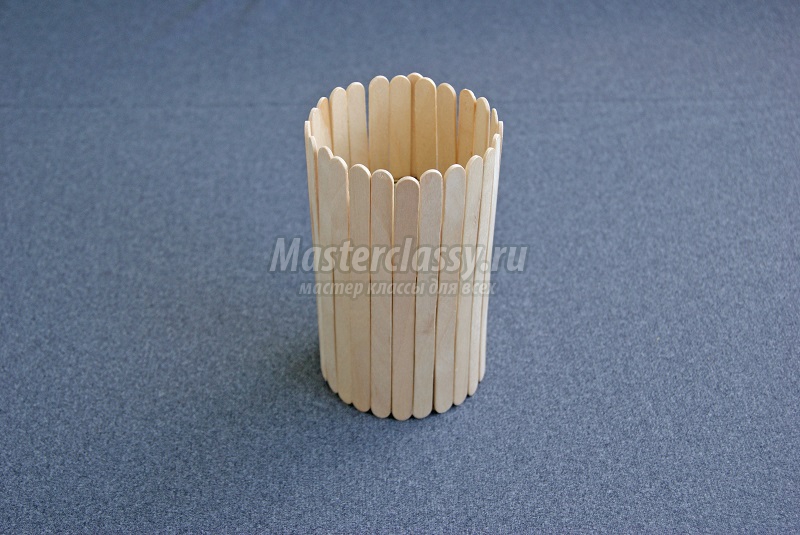
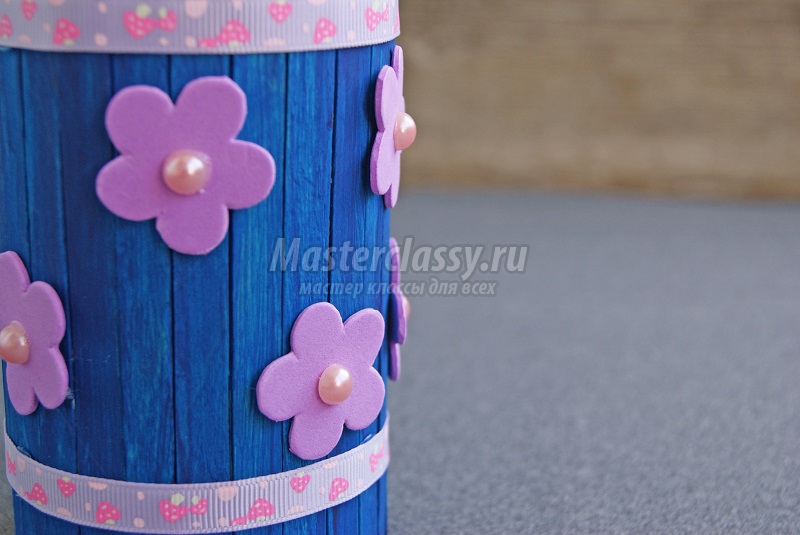
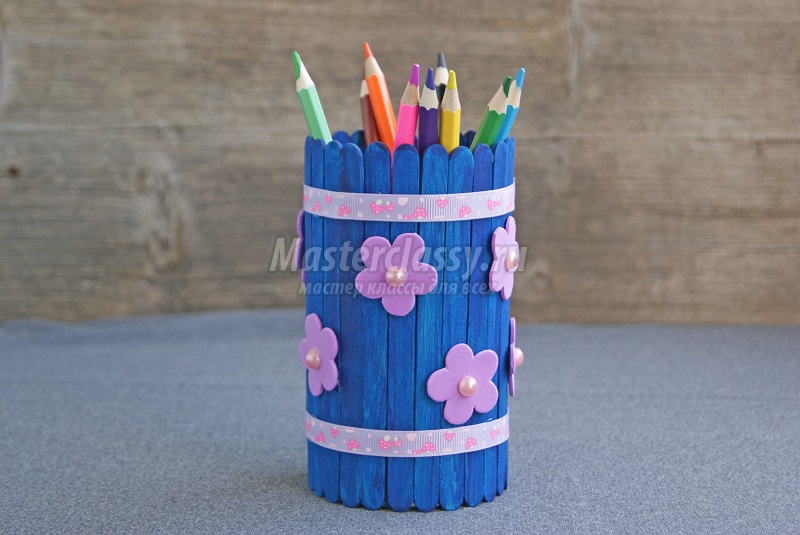
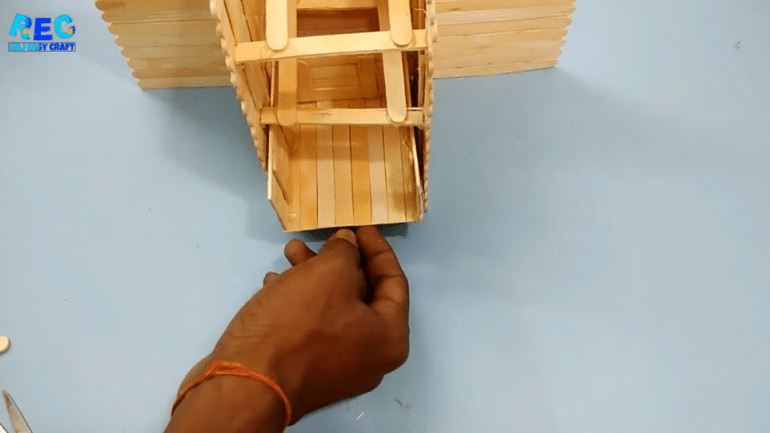
Then take a stick and start to stick them to the outer walls of the box.
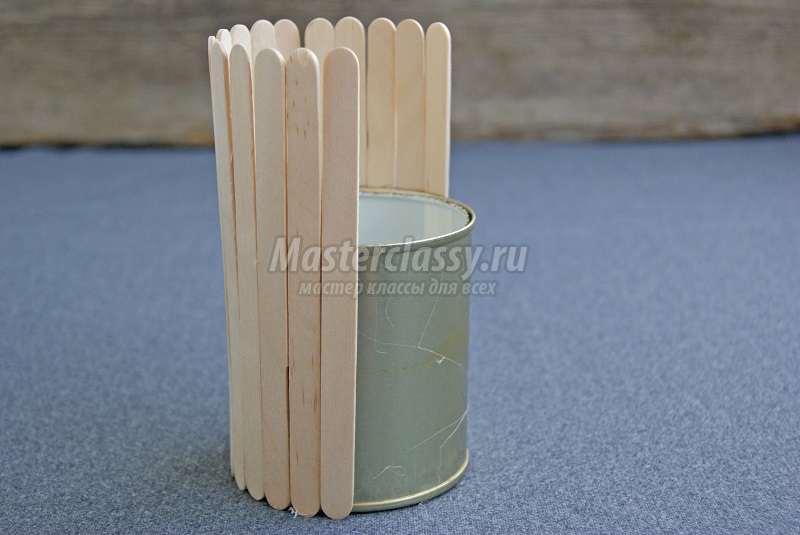
It turns out something like this.
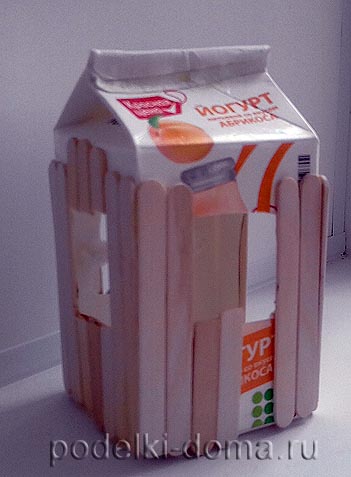 Some sticks have to be cut because the distance of the window to get a little.
 Next, in the same way, you need to paste over the door, here such it will be.
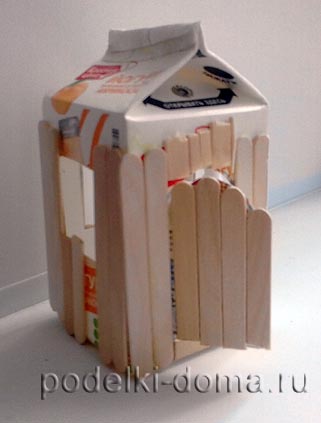
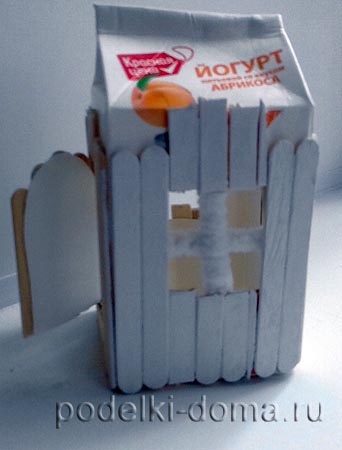
Step 2. Primer
Now we do two important things: First, take the matches, glue them crosswise and attach to the windows. Secondly, we take a first coat (acrylic paint, or ordinary bar to correct inaccuracies in the text) and start to paint it white, our sticks.
It turns out something like this.
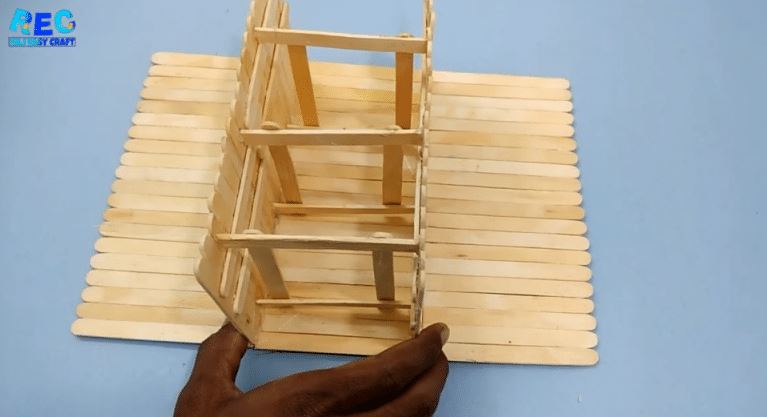
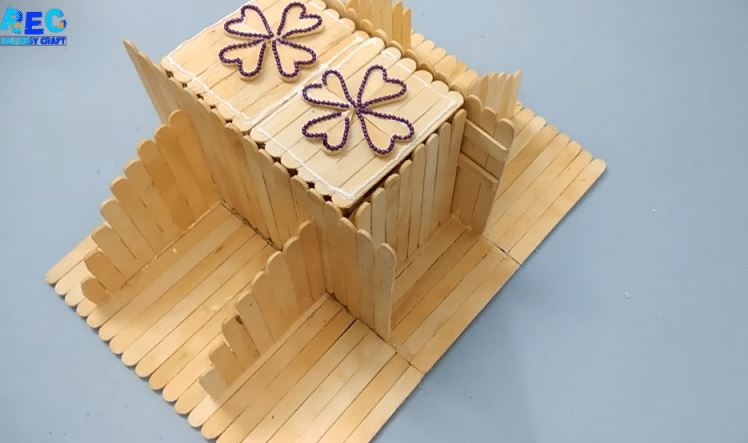
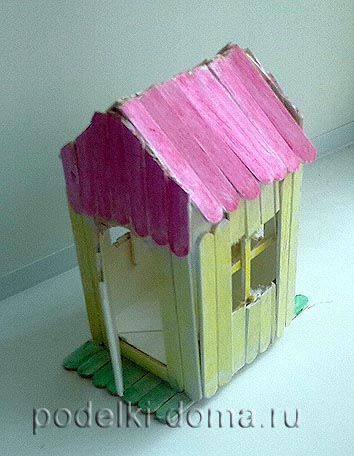
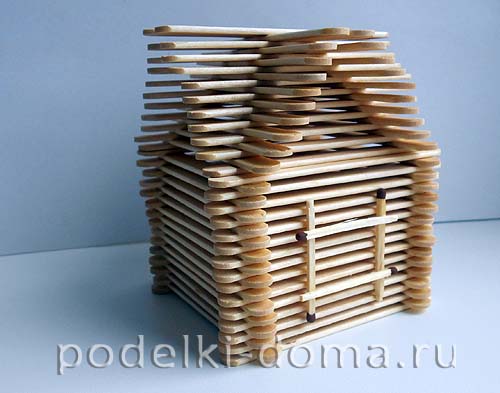
Then do the roof. To do this, glue sticks on top, wait until the glue is dry, and then paint them with white paint. That’s what we do.
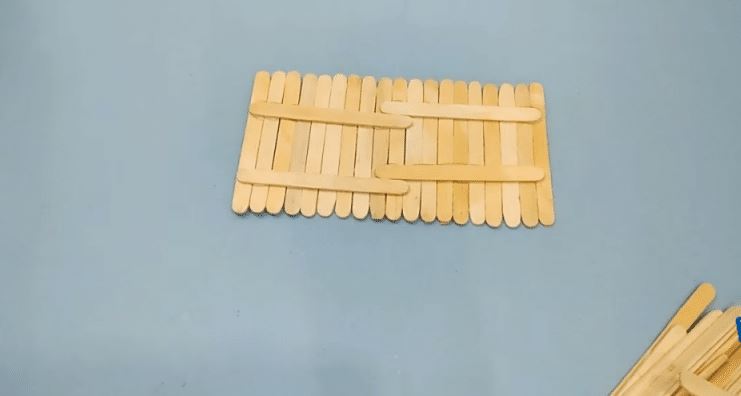
Then, from the sticks, we do a kind of basis for our lodge.
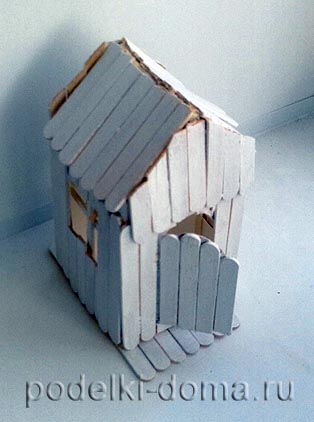 It turns out a pretty white house.
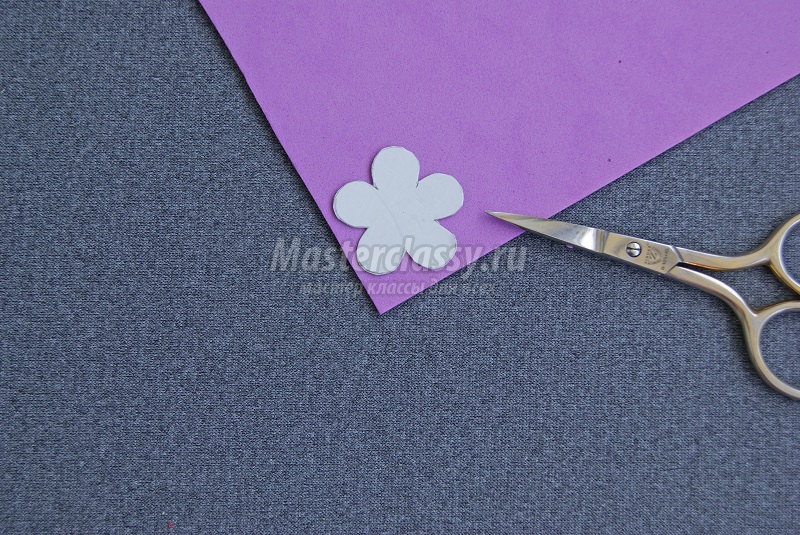
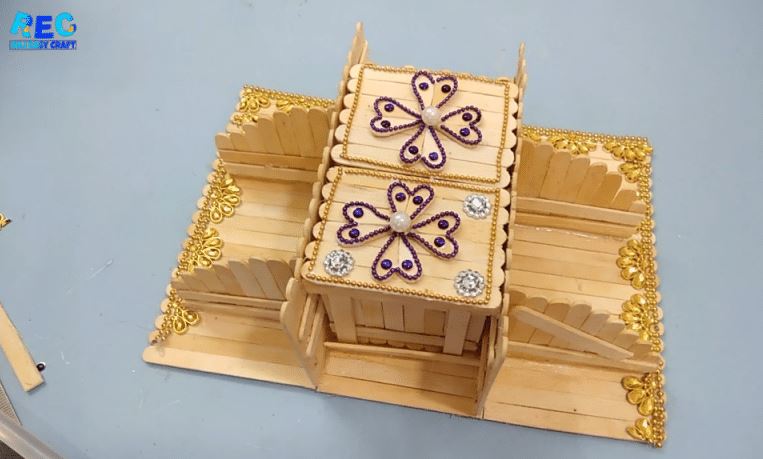
Step 3. Prettification and decoration
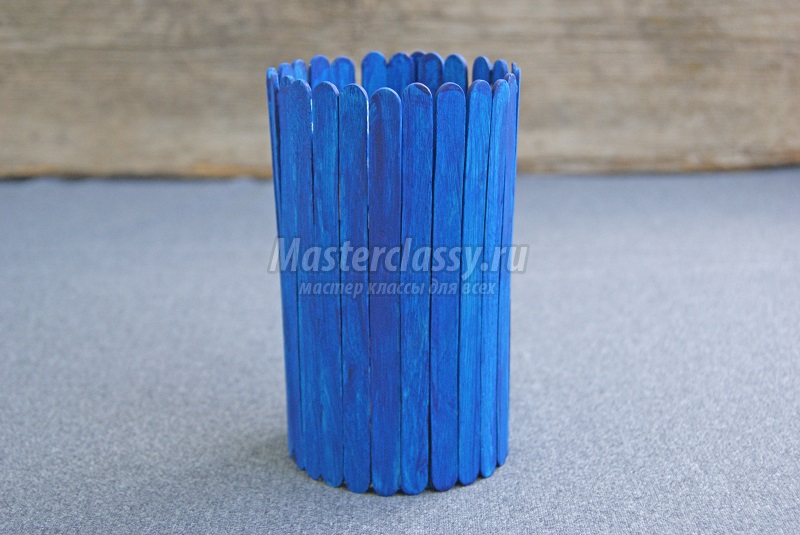
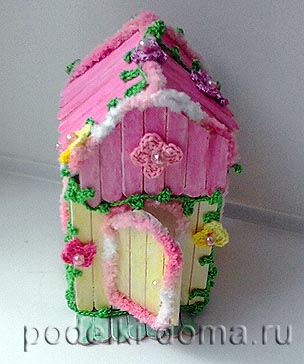
Now it’s time to decorate our house. You can use ordinary ink: gouache or watercolor. Choose any favorite color and proceed to our work.
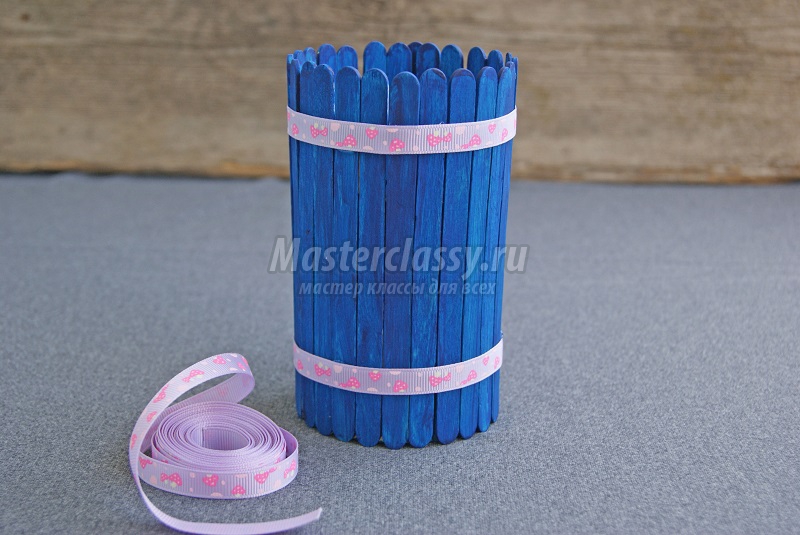
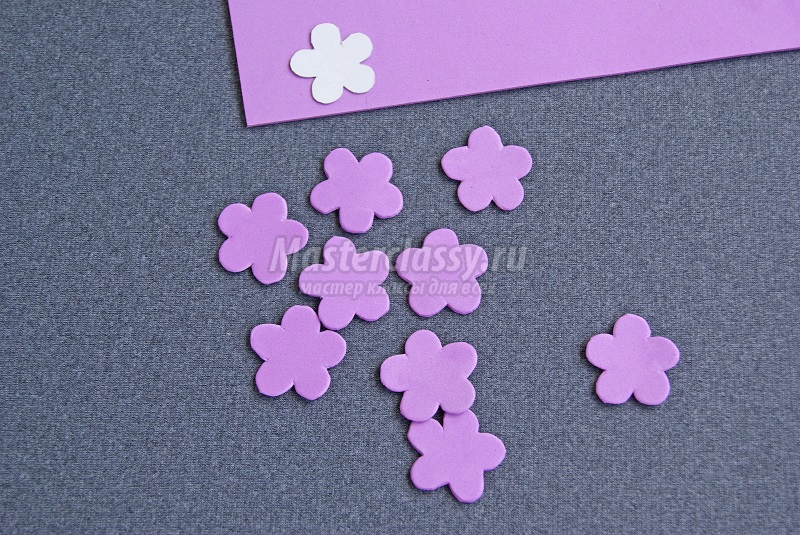
 And then, when the paint dries, boldly take the hands off the hook, thread, beads, ribbons. We begin to glue them to our house. So we do our creation is simply unique.
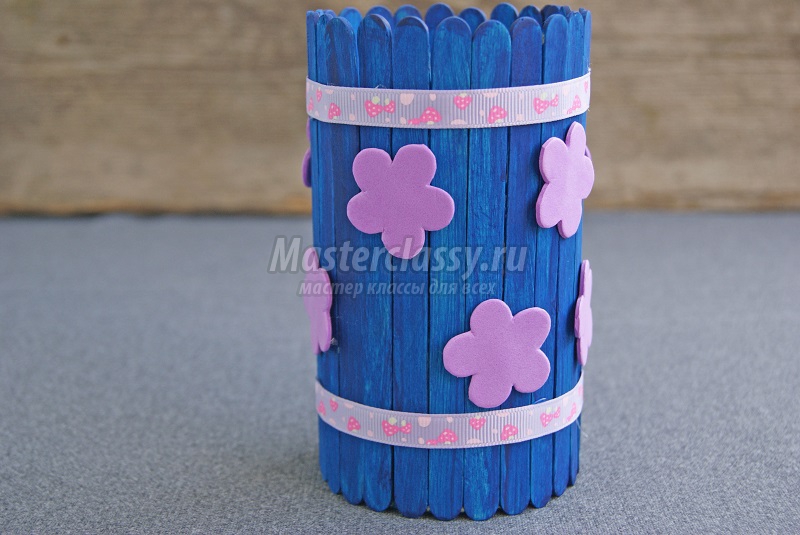
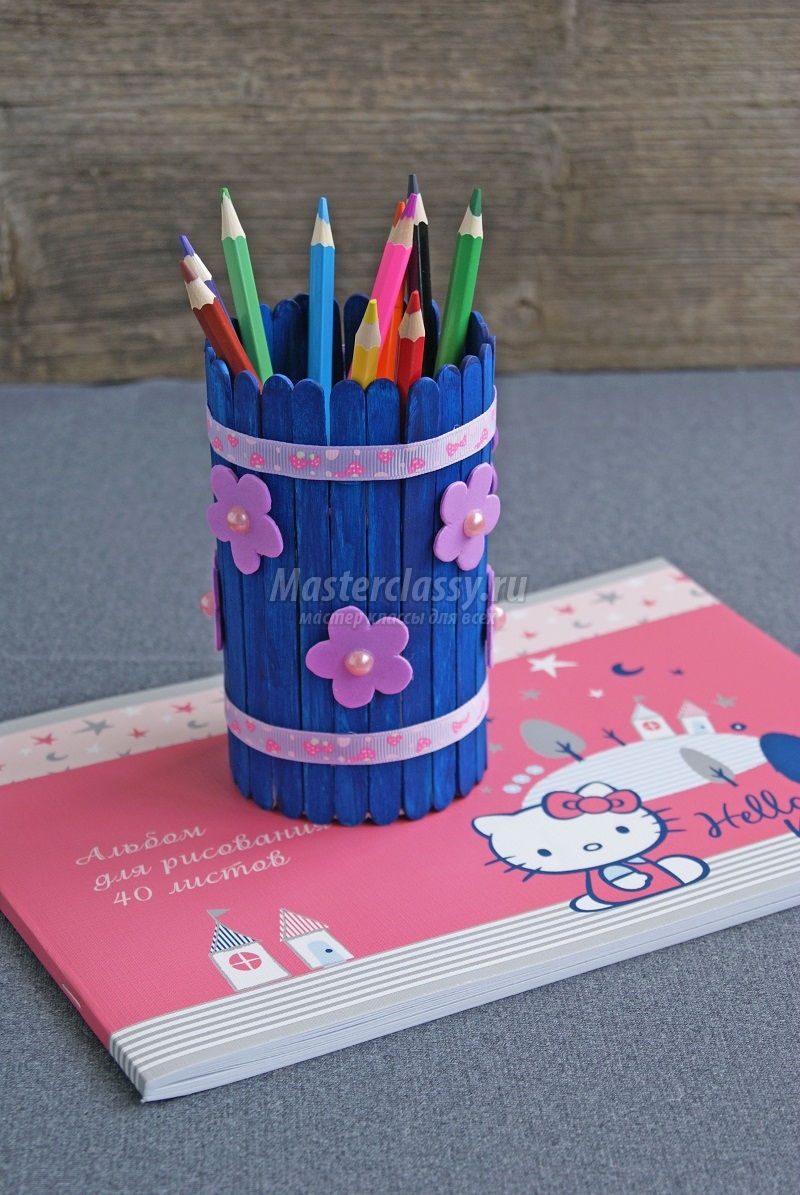
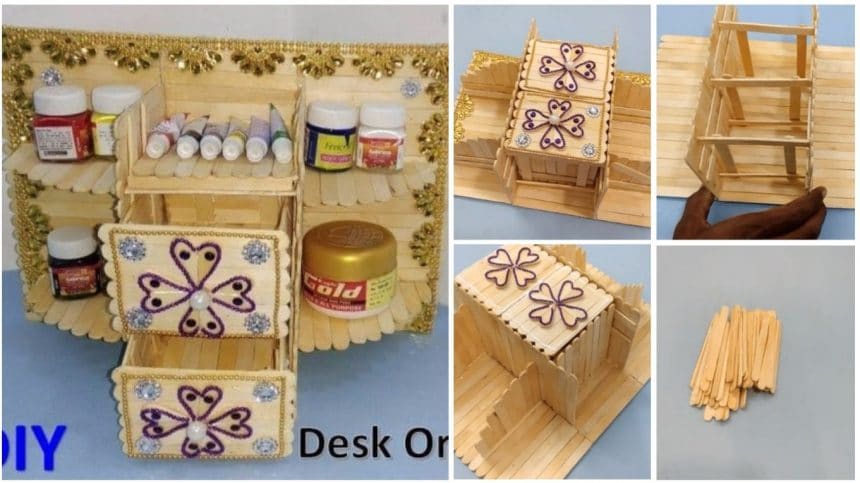
See how the house was transformed!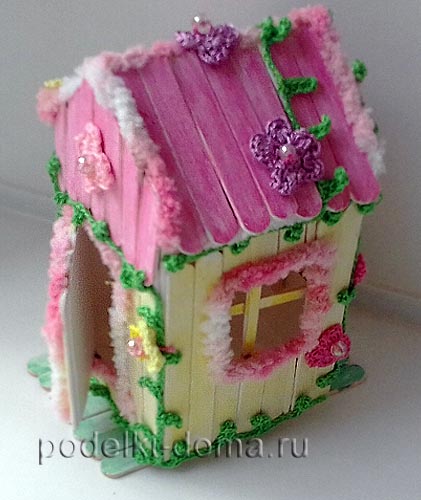
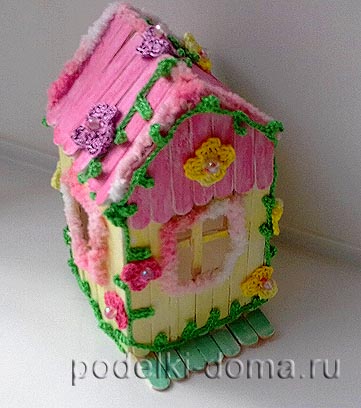
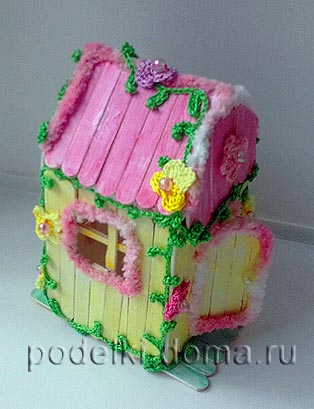
And such a miracle, you can make your own hands, spending is about 3 hours time. At the same time, you get a finished toy for your child, as well as through contact with the world of beauty experience real aesthetic pleasure!
Go for it, you will succeed!
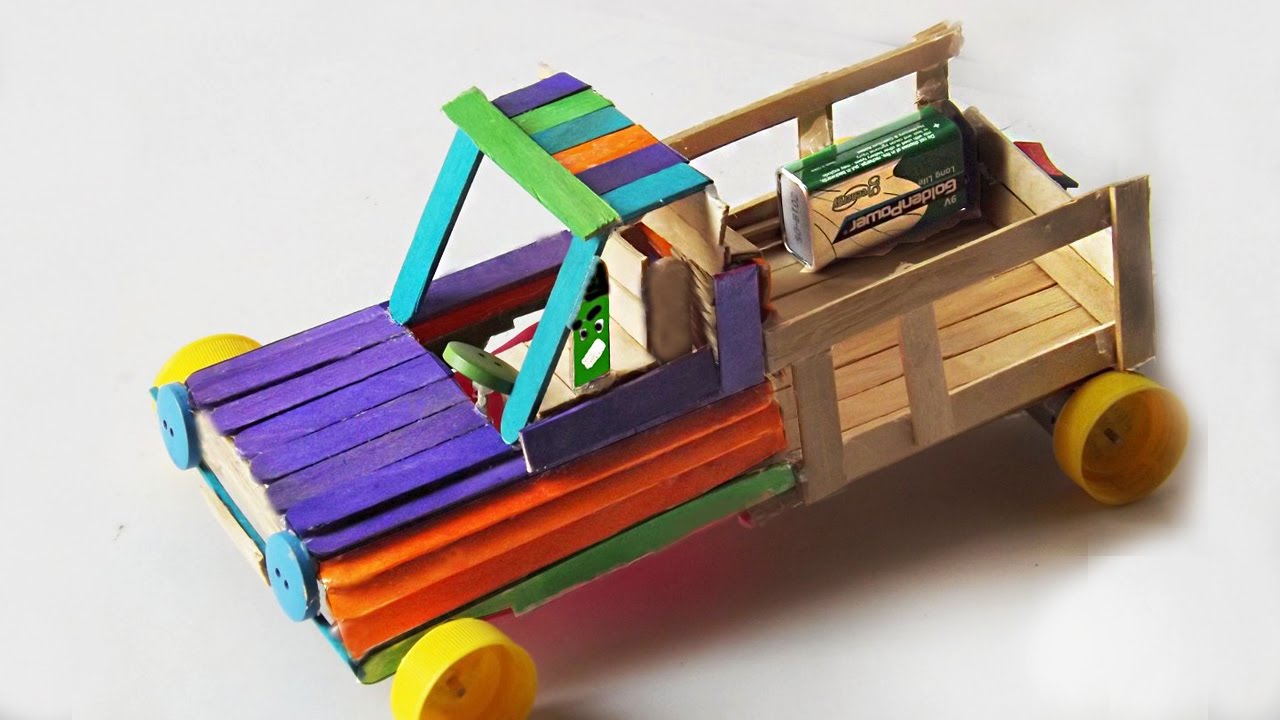
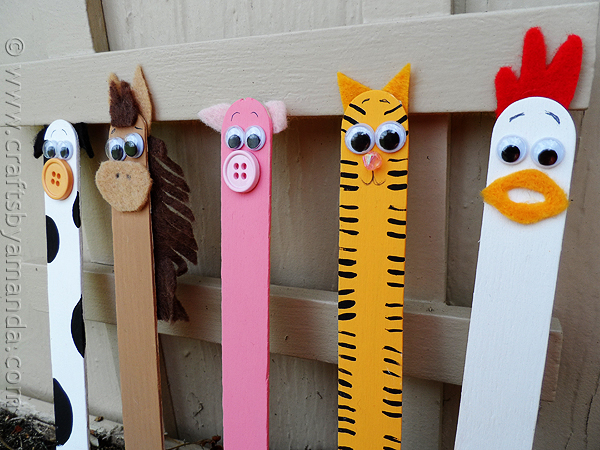
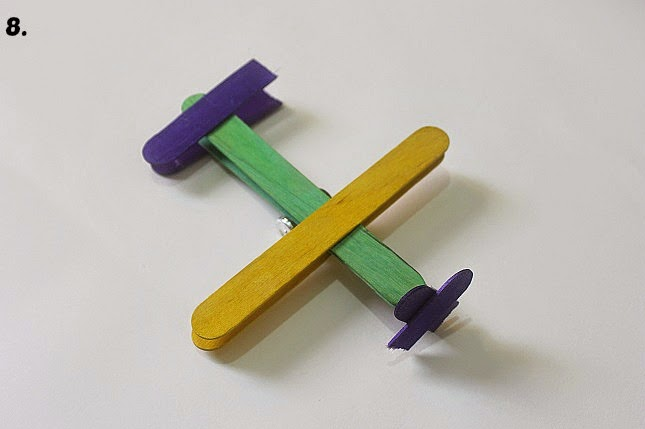
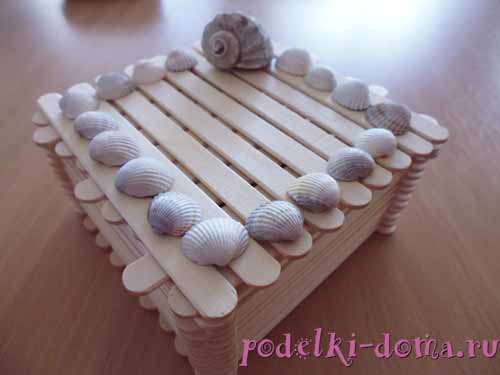
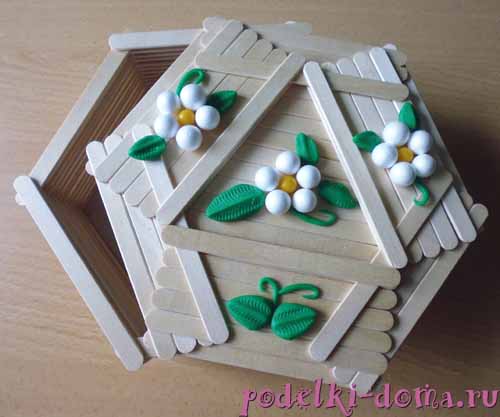
From sticks of ice cream, you can do a lot of interesting things.

courtesy: podelki-doma
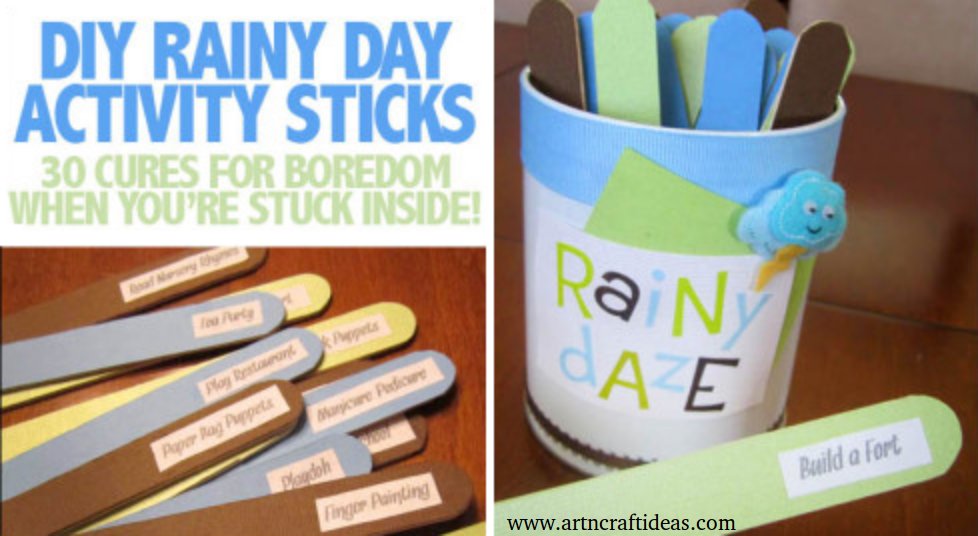
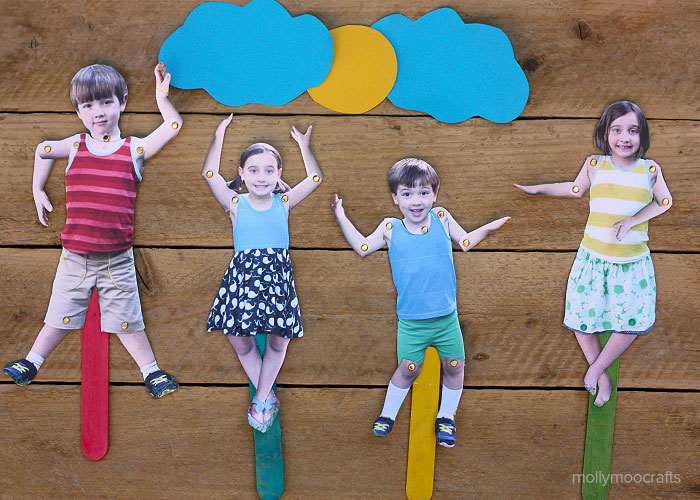
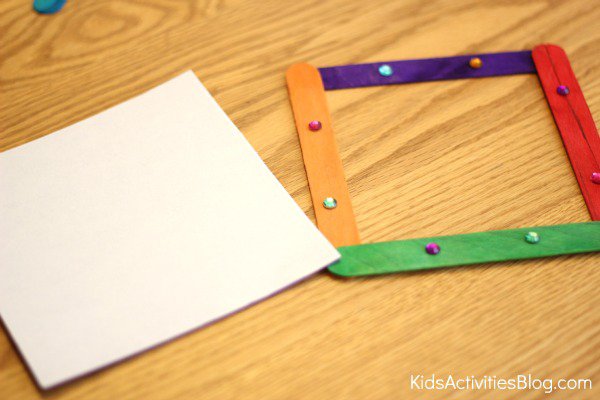
I ran across some super cute color-coded chore sticks from Embellish. Loved the idea
Supplies:
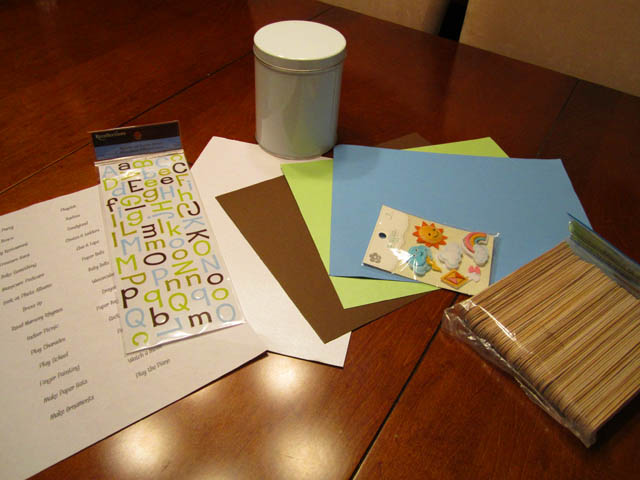
So here’s the step by step instructions…
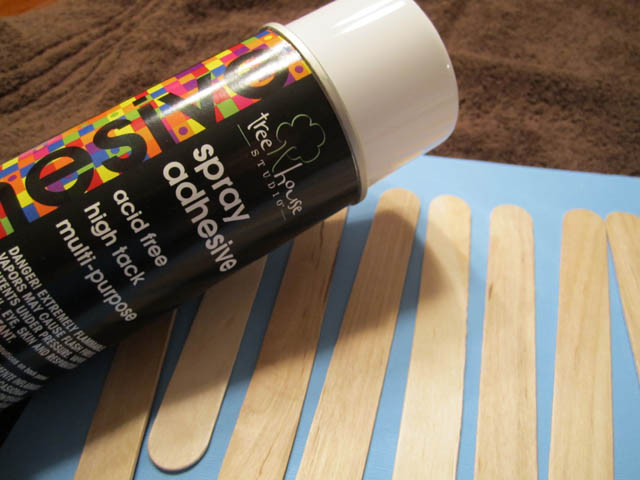
First thing I did was spray 10 wooden craft sticks to three different colors of paper (30 sticks total) using spray adhesive.
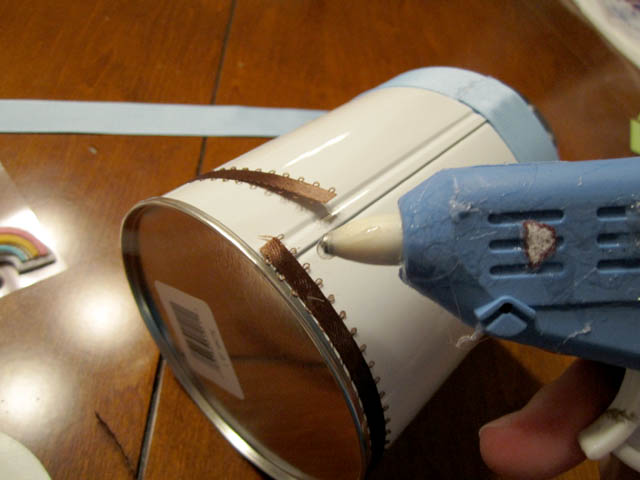
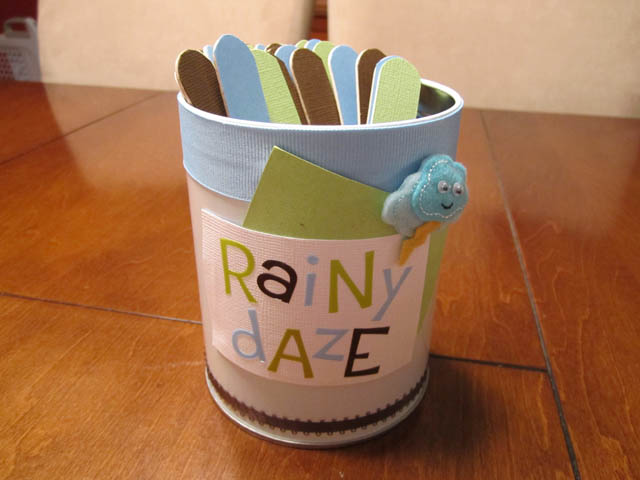
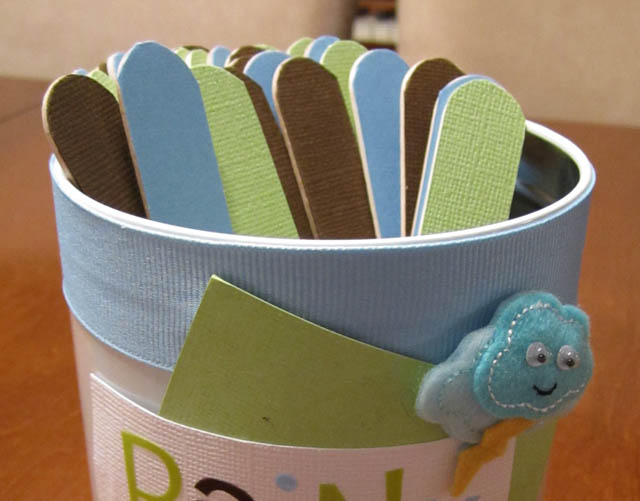
While that was drying I started work on the tin jar. I added some ribbon to the top and bottom using my hot glue gun.
Then I used some scrap paper and the alphabet stickers to label my jar with “Rainy Daze” and added a little embellishment with a Puffie.

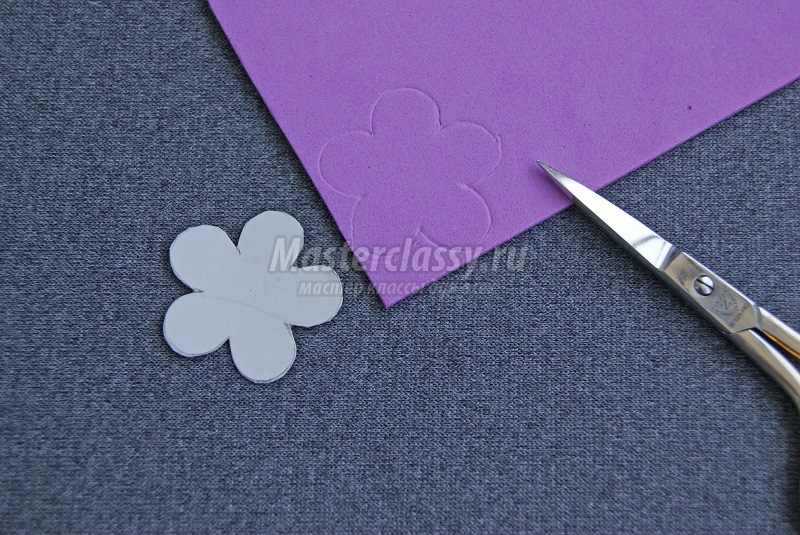
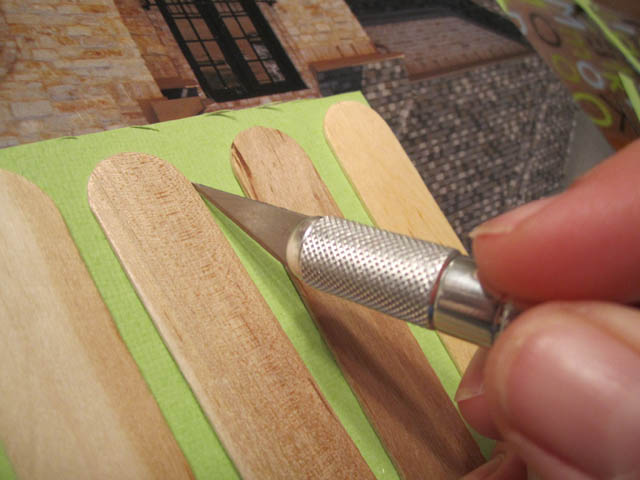
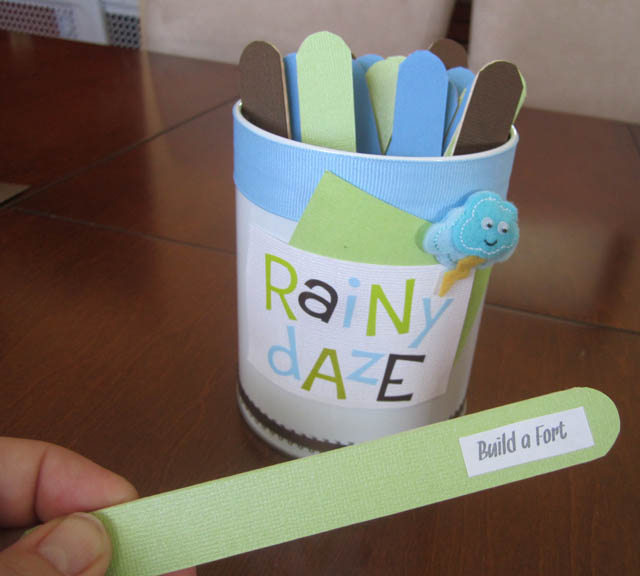
Now it’s time to finish the activity sticks that were set aside for drying. I used an exacto knife to trim out the straight sides and a pair of small scissors to cut the rounded edges.
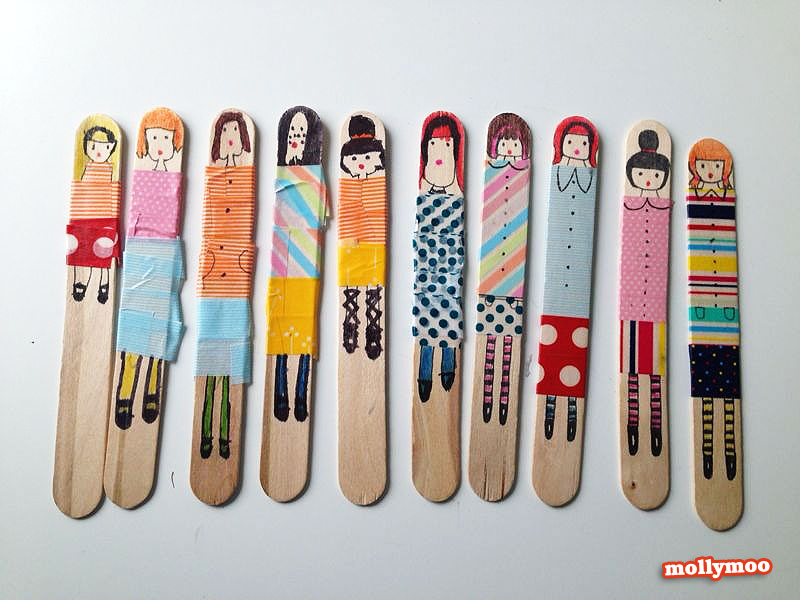
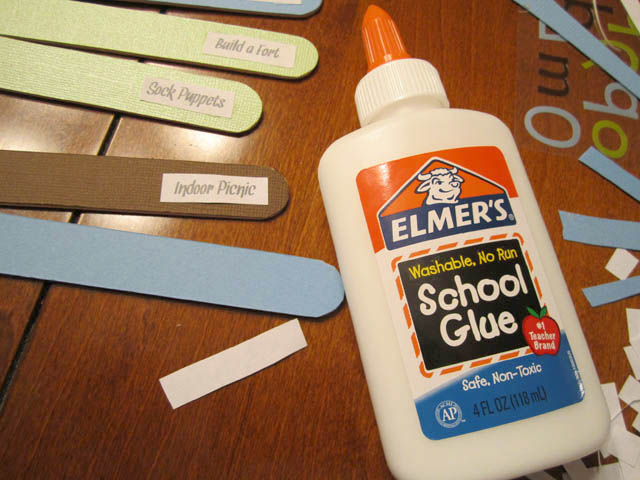
I then created a Word doc of 30 activities and printed it out in a cute font. I trimmed them out and used Elmer’s glue to adhere them to the ends of the activity sticks.
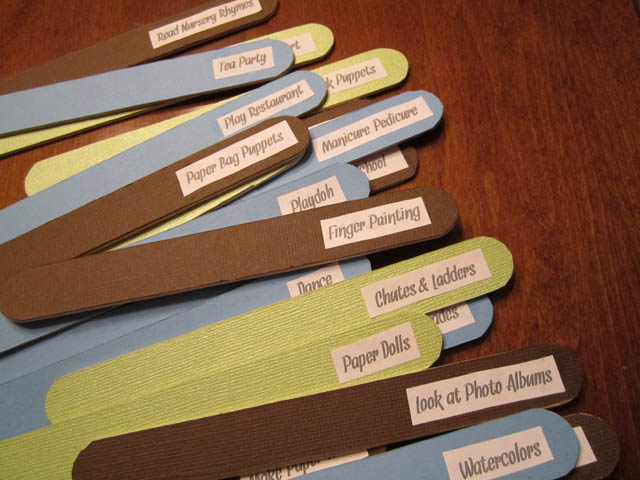
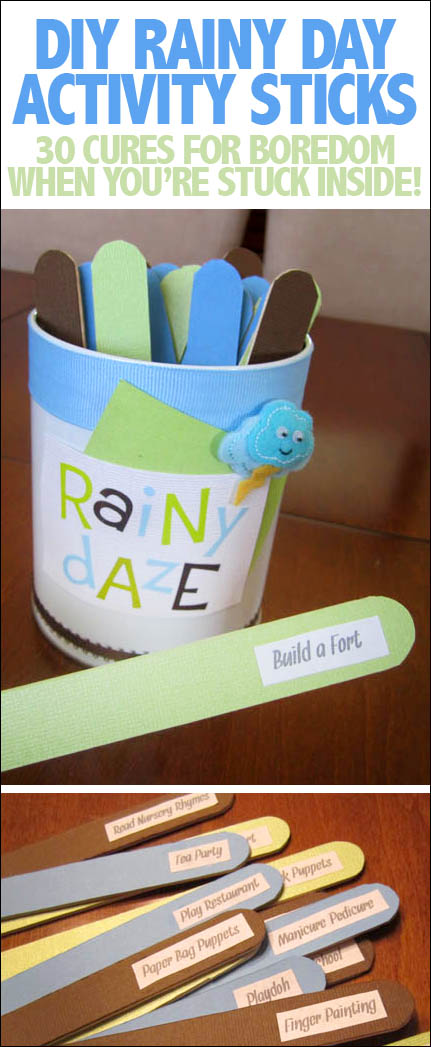
Here are all of the completed activity sticks!
Pretty cute, huh? Yeah, I’m figuring we’ll use these a lot more than just rainy days. When it’s over 100 degrees here, it’s hard to do anything outside! These will work great for winter time activities as well!
Source: howtonestforless
We would love to hear your thoughts in the comment section below. And be sure to like us Facebook for more ideas!
Thank you for visiting our website. Keep Creating with Art & Craft!