
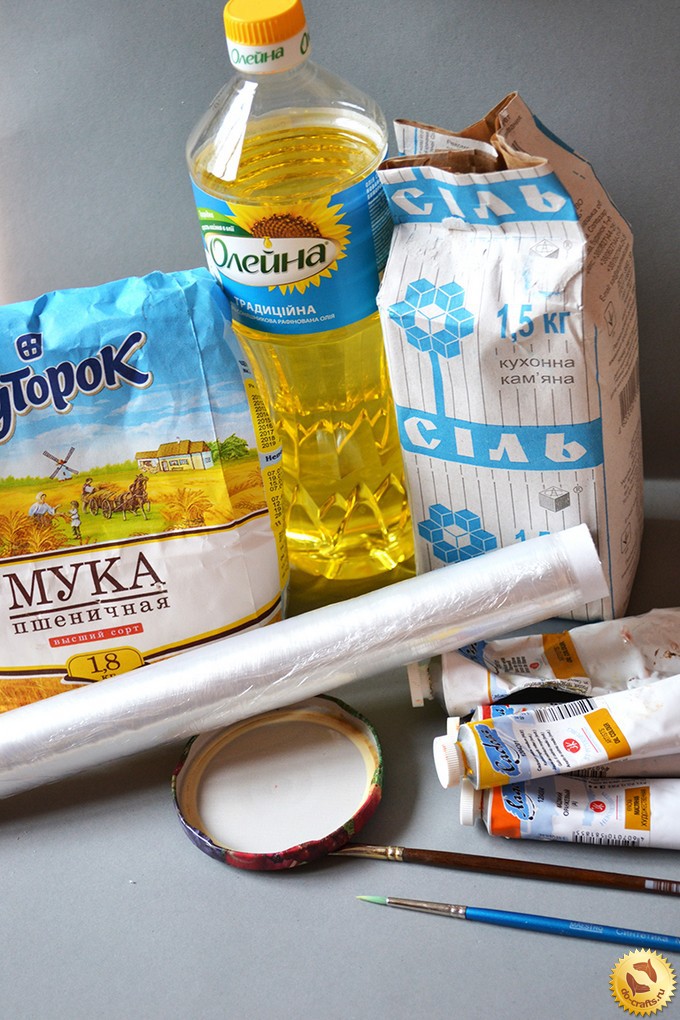
It requires the following ingredients:
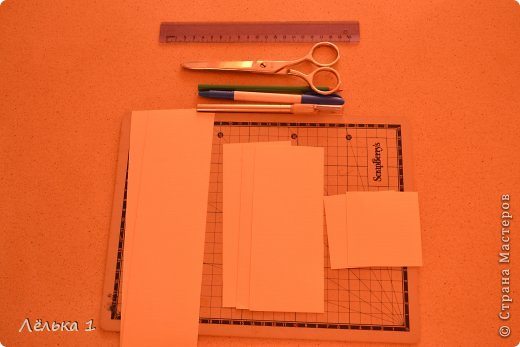
- A dense paper for background (at least 300g / m2)
- Less dense paper for flowers (from 120 to 160 g / m2 – denser not desirable, tk strip of this size will not curl and smoothly obedient) two colors. In my case it is white, that will stand out, and a gentle shade of the background color, which will allow the flowers to our successfully combined with the main color and helps highlight the details.
- Paper knife and steel ruler to cut strip. Use scissors to cut a tedious affair
- PVA glue
- A toothpick or other curler rolls
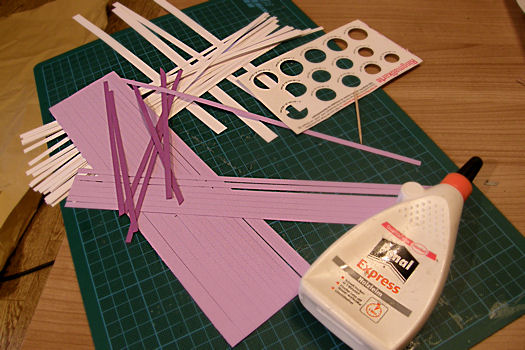
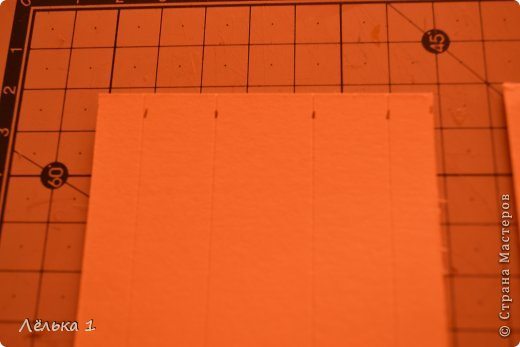
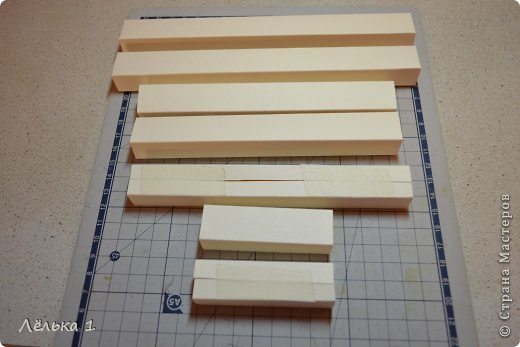
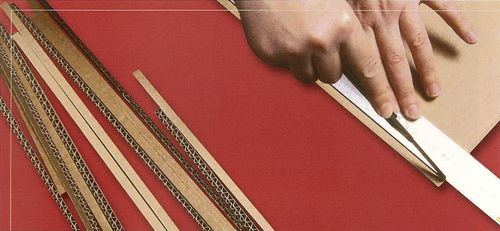
Cut into strips 30 cm long and 5 mm wide, the number pretends leaning on conceived plot. There are many clever ways to quickly cut, for example, cut a few layers of paper at a time, but this density (120 to 160), it is quite difficult. so long to not split hairs, I bonded with paper flowers tetrad piece of a cell and, Whack-Whack-Whack by moving the line of cells…
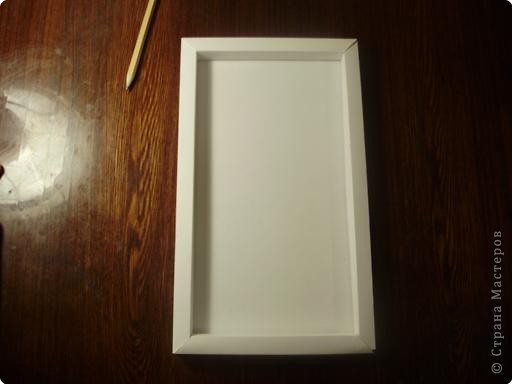
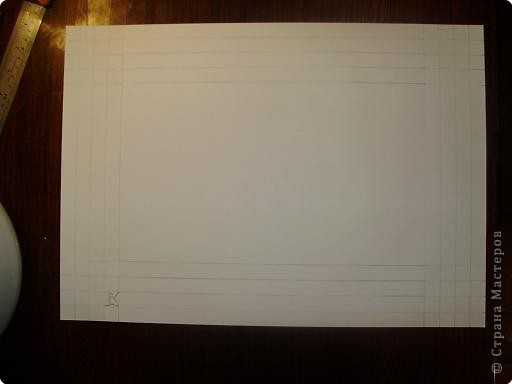
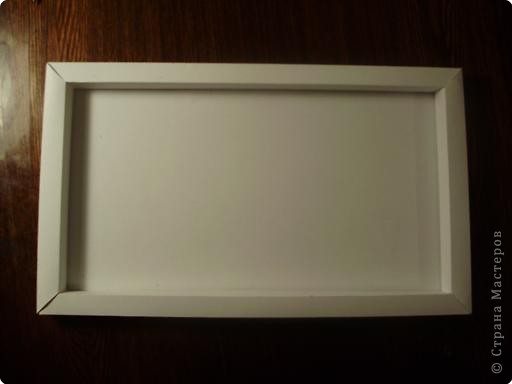
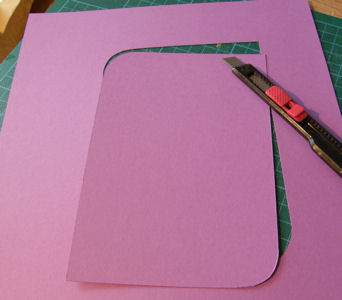
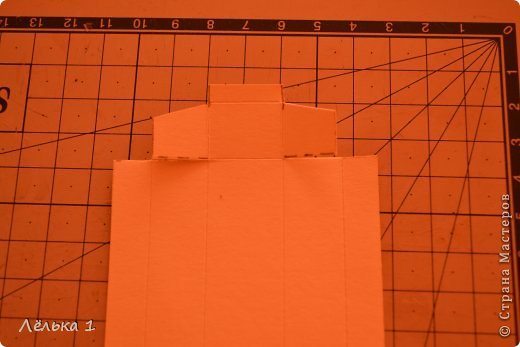
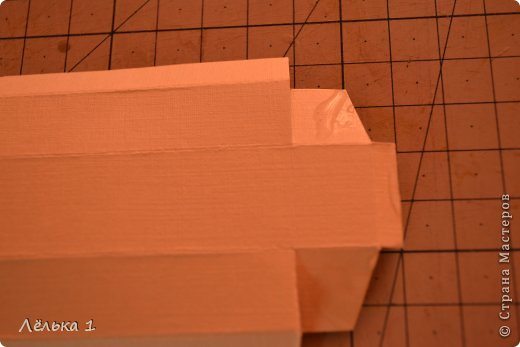
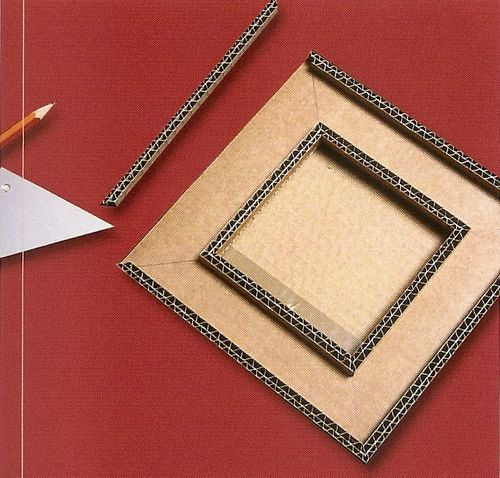
But first, make a frame, and best of all – for later.
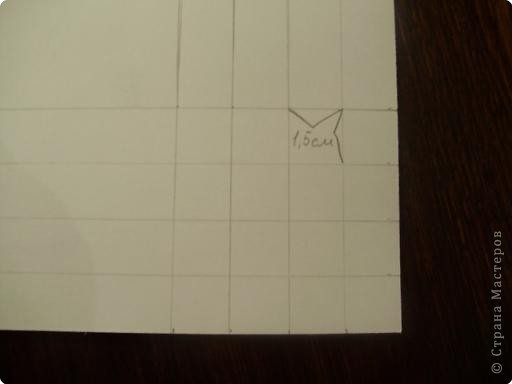
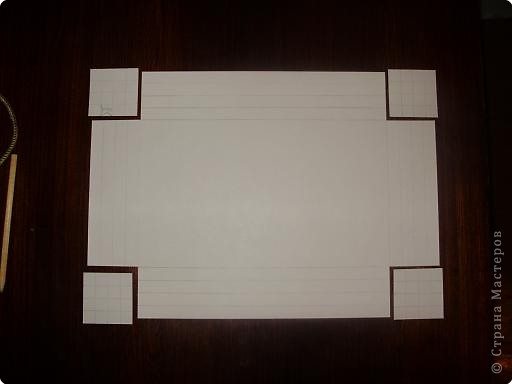
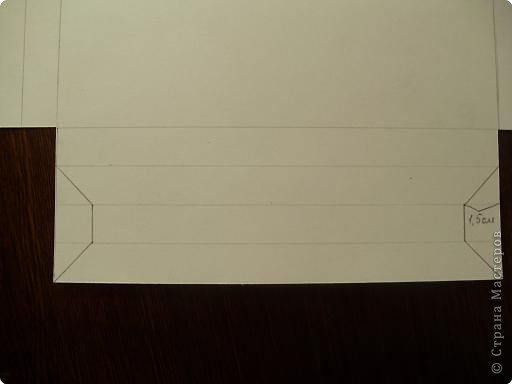
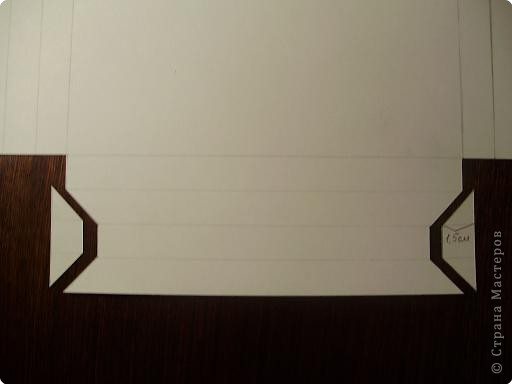
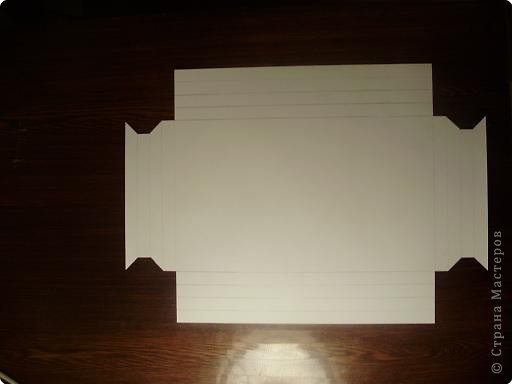
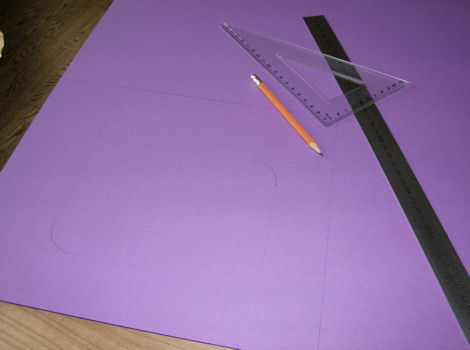
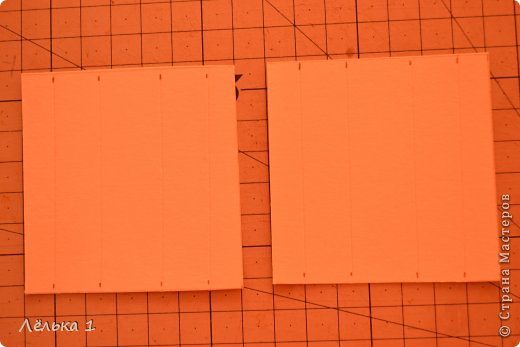
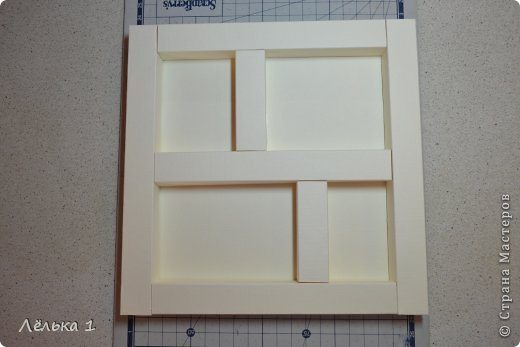
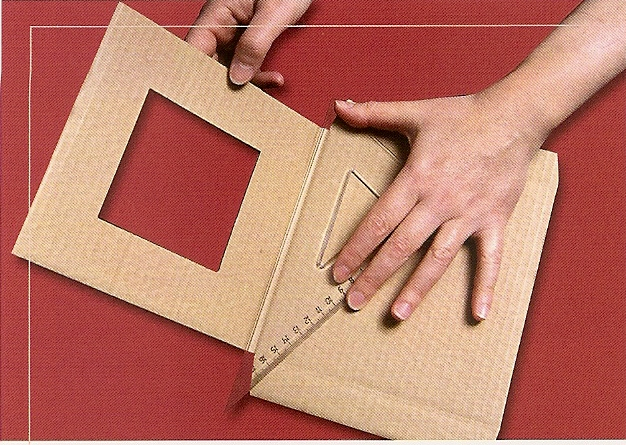
We mark up our most dense leaf. It is recommended to prepare a detailed shemku on paper, not to cut too much, take into account all the dimensions. I look forward to photos 13×18, based on these dimensions, select the width of the box, my left and from the bottom a little bit wider. Zakrnchiv layout, cut out window for the picture, which should be slightly smaller than the photo
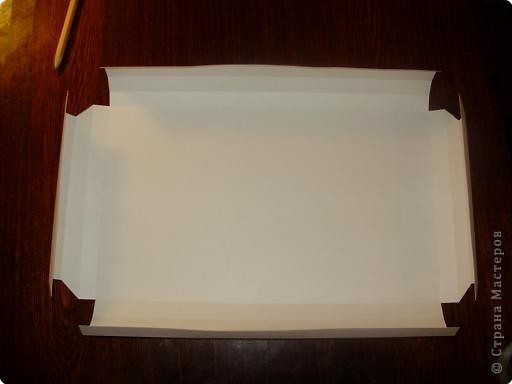
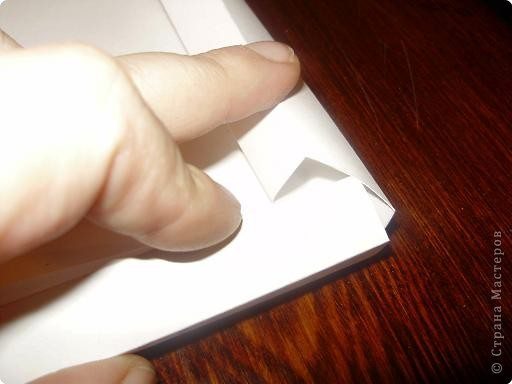
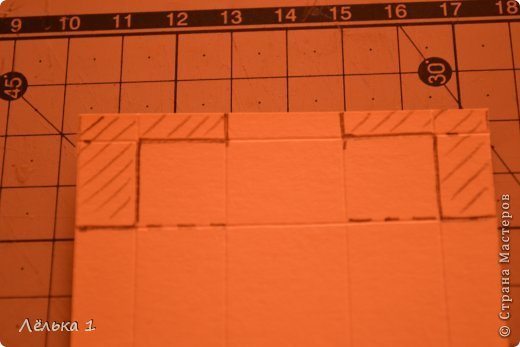
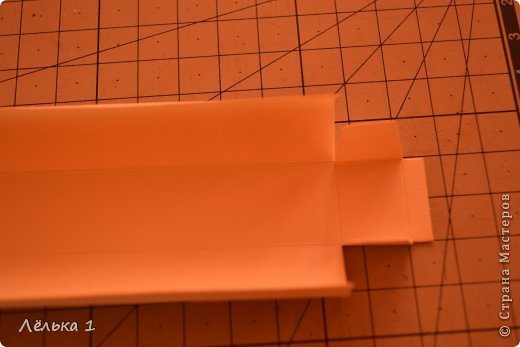
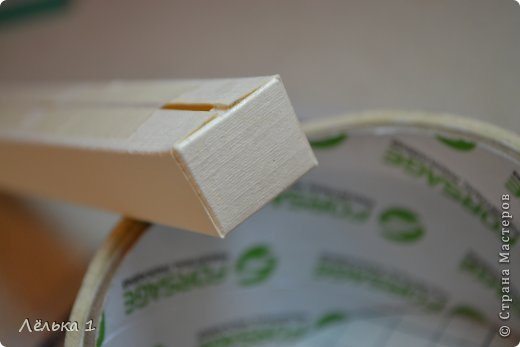
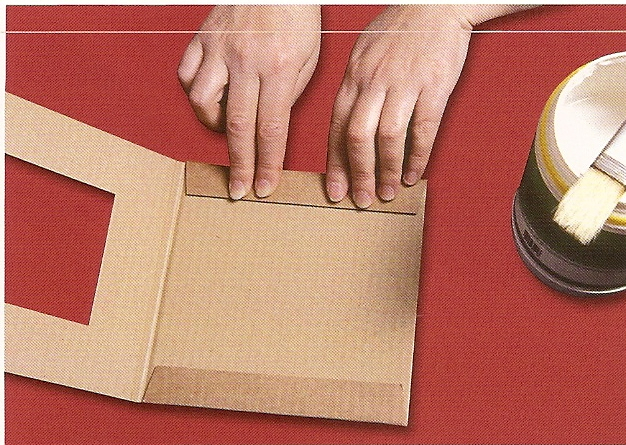
Now for the “pocket” into which the picture will be inserted. Photographic paper is very thick and has a substantial thickness, so that the frame is not deformed when it put them in the photo, we give the pocket a little bit width)) is glued to the back of the narrow strip of heavy paper, and now you can stick and “pocket” itself, which will not allow our shot to drop out of the frame.
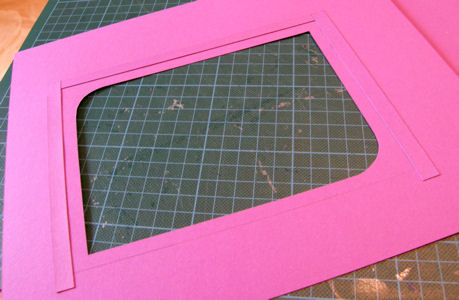
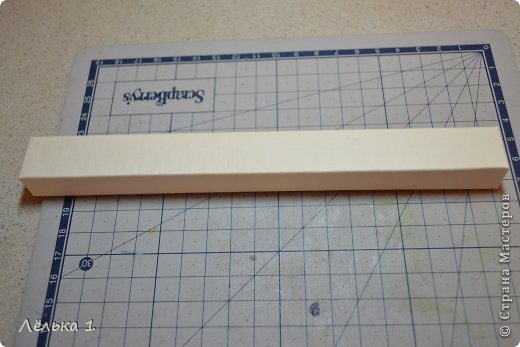
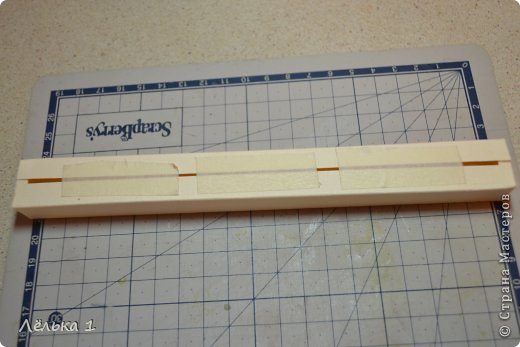
Basis is ready.
We turn to the flowers. As you probably already know, the Demi demisoffice.com.ua/news/news_around_the_world/104 have a whole bunch of examples and lessons, which explores in detail and scale of the basic quilling techniques.
So, for the manufacture of the petal we need a paper strip, which by means of a split toothpick (or more noble instrument) is rolled into a tight roll of. A roll in turn unwound to a certain diameter, and then the end of the strip is fixed with white glue rolls and formed into the desired shape with the fingers. my hands to avoid dark spots then hurt at work. Particularly easy to get dirty cuts strips for the white paper is a disaster, it is easy to give very poor appearance.
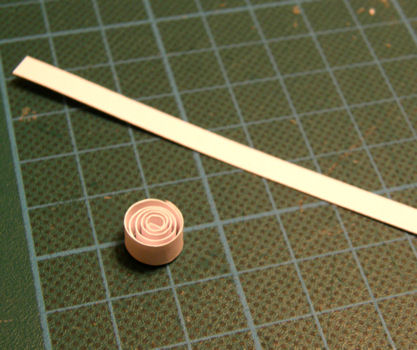
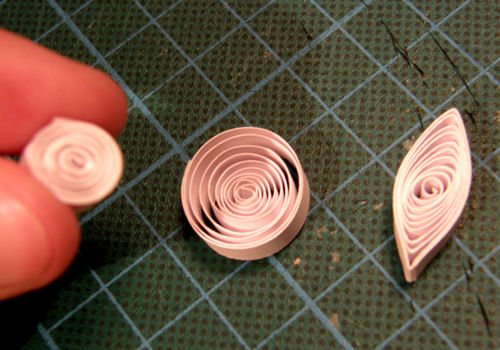
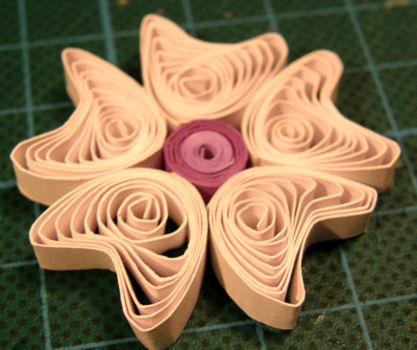
For the manufacture of identical petals useful template to unwind rolls up to a diameter. Here is my first flower
Mnoe still really like the flowers of this form
and leaves, of course
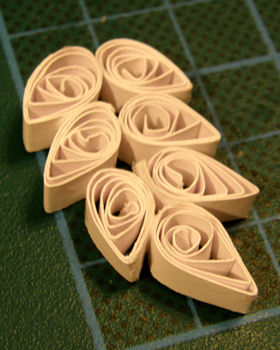
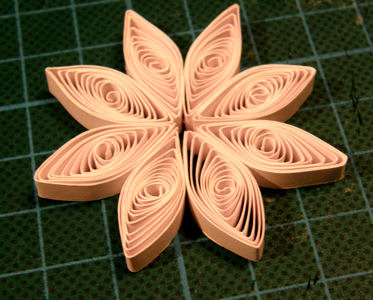
In general, we turn your heart’s content, do not forget to create a variety of flora dimensions))
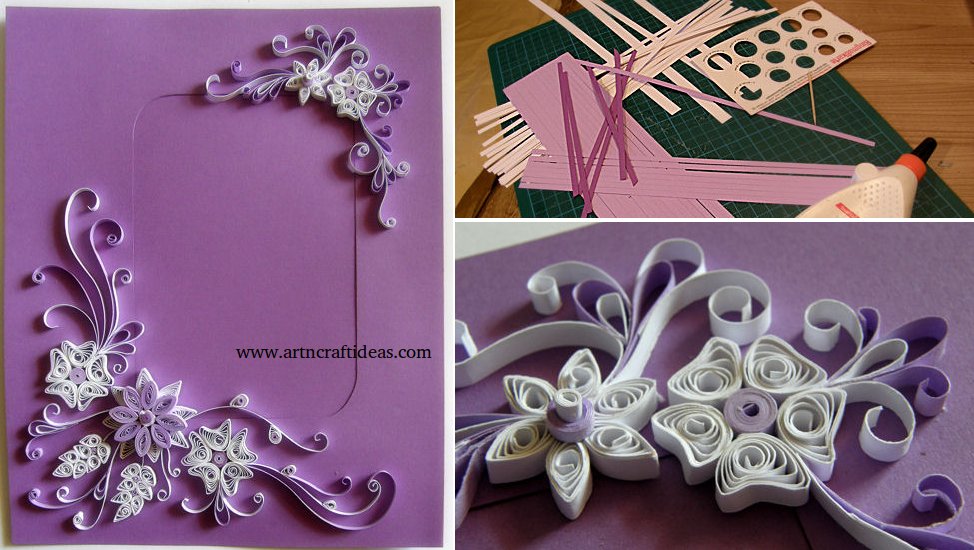
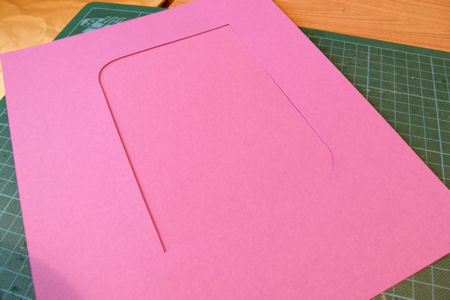
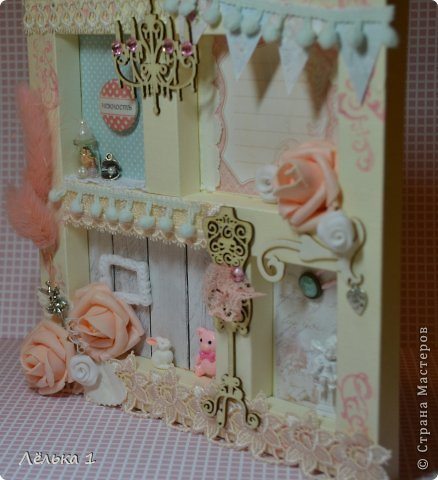
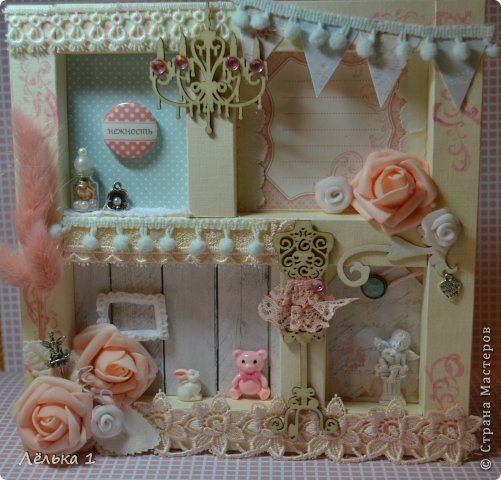
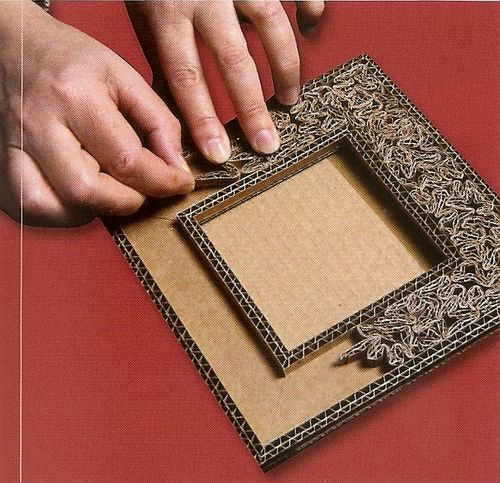
when the basic elements are ready, dispose of on the frame and prileivaem.
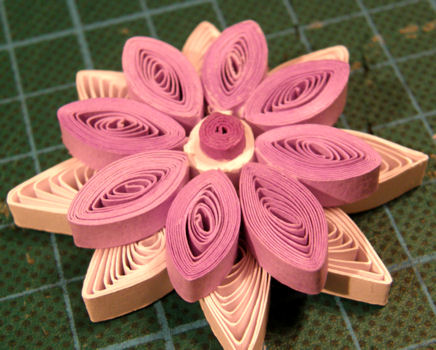
This is not the final version, but the meaning is, I think, is clear.
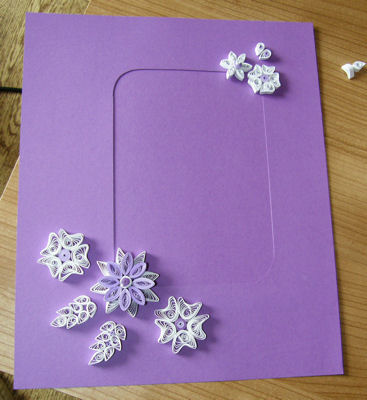
Now add the details and Circuits, until the composition does not seem quite complete
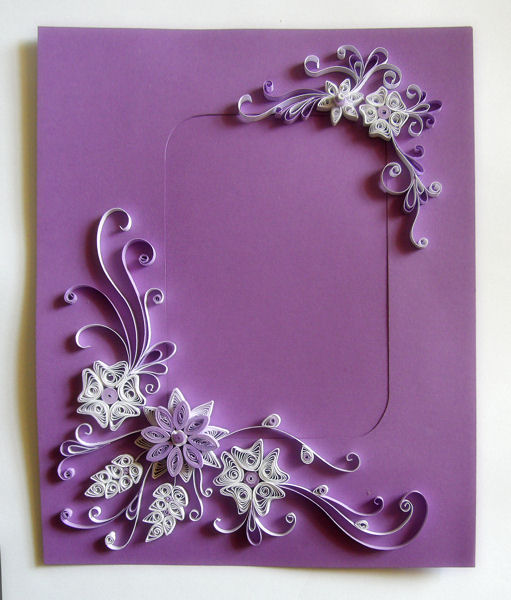
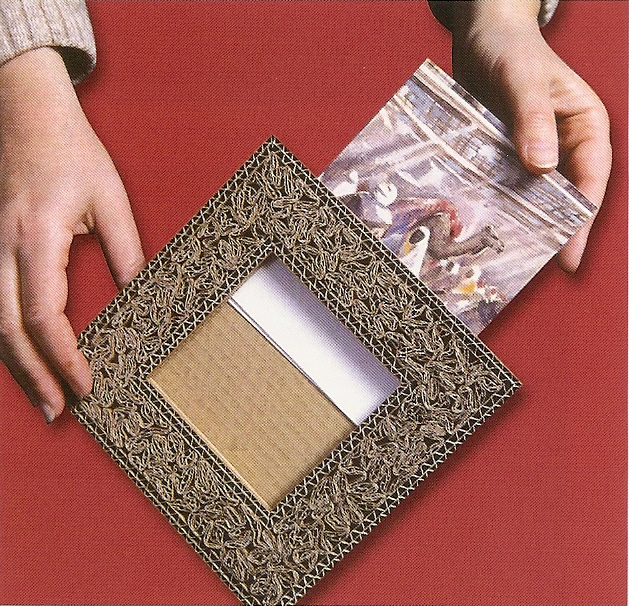
one last step – attach the back of the podstvku stability.
frame ready
Thank you for attention. I hope you will come in handy malenkty my lesson. I’d be happy reviews!


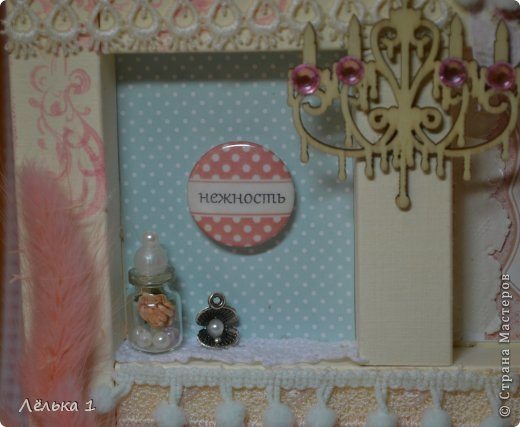
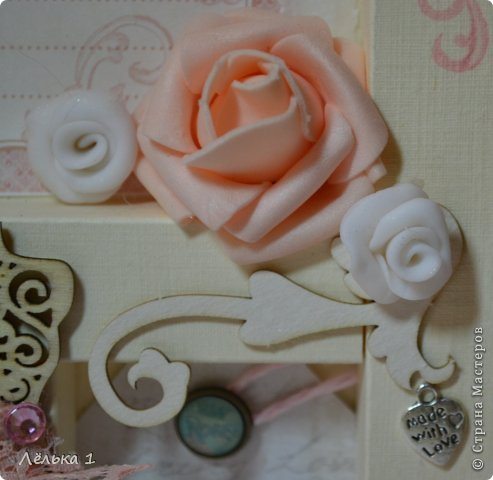
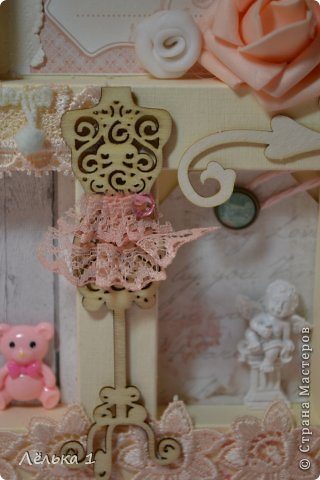
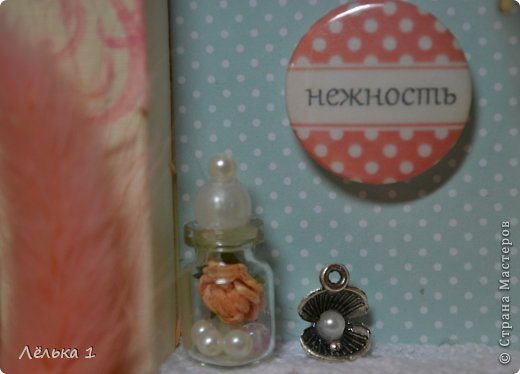
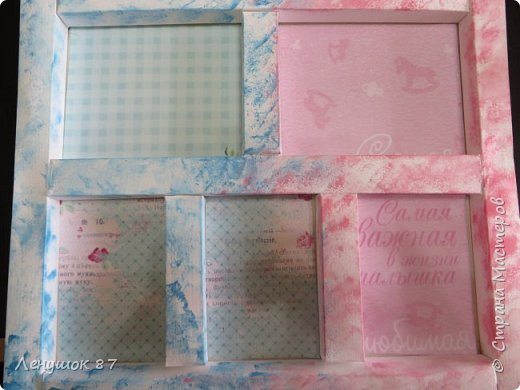
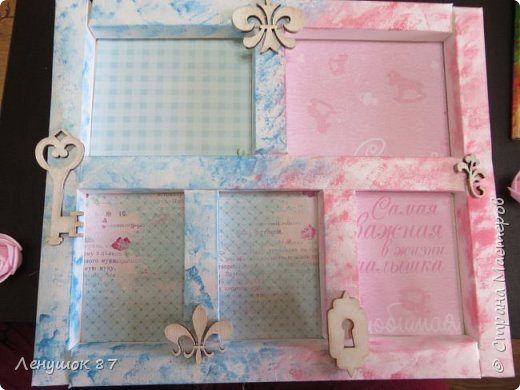
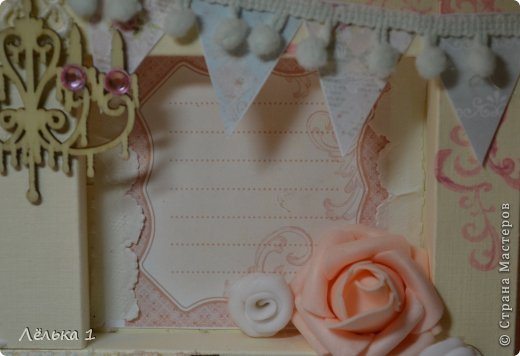 Buttons tender, very pleasant to me, hence the name of the entire product. In a jar, canned rose, and of pearl, embodies all the tenderness.
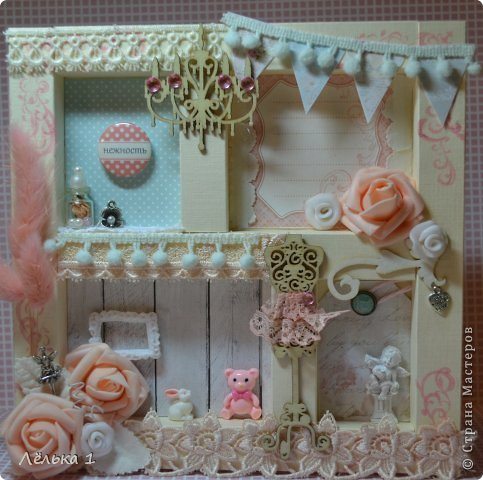


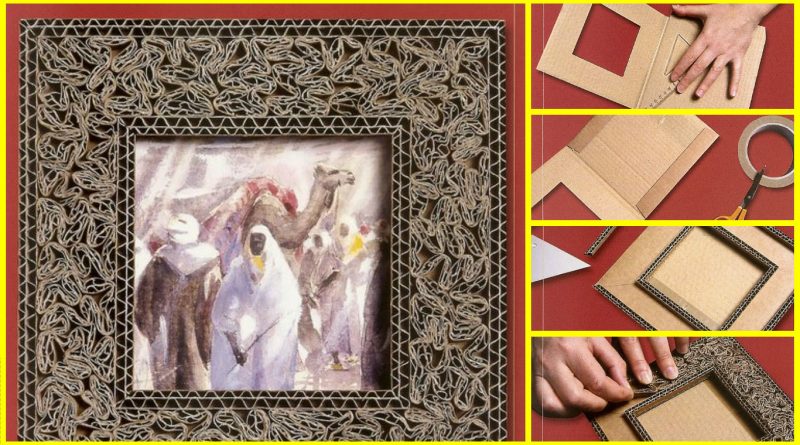
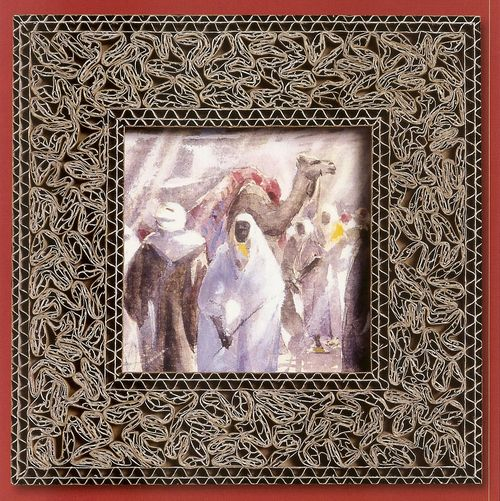

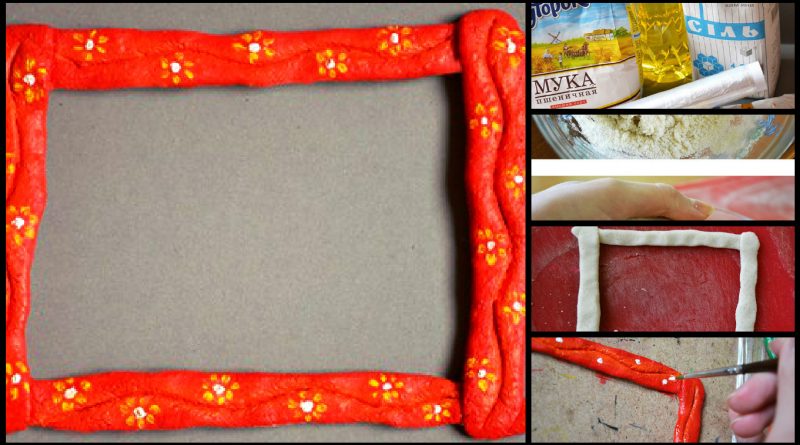
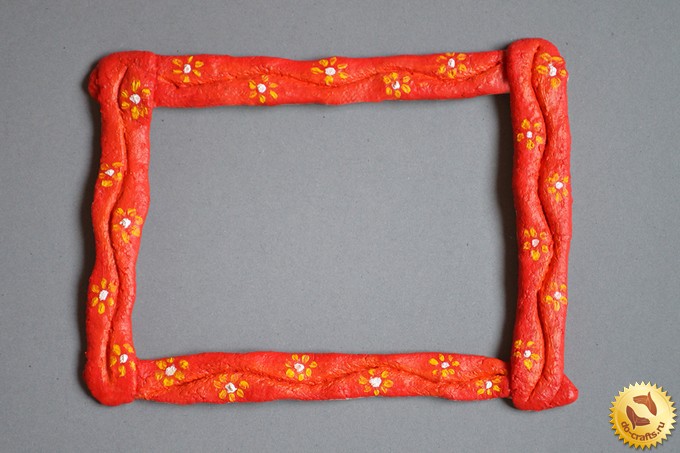
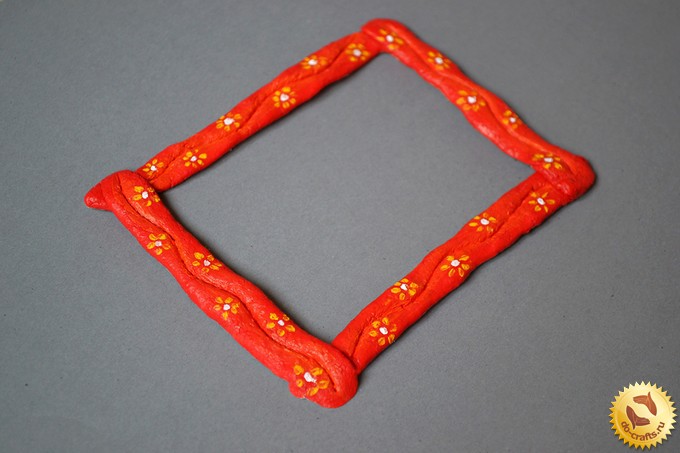
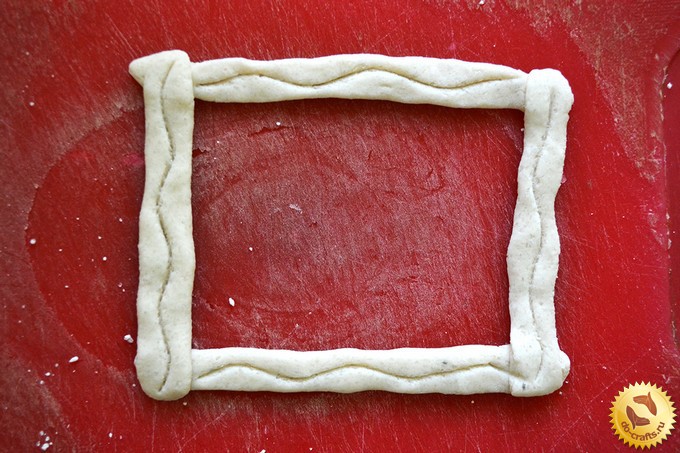
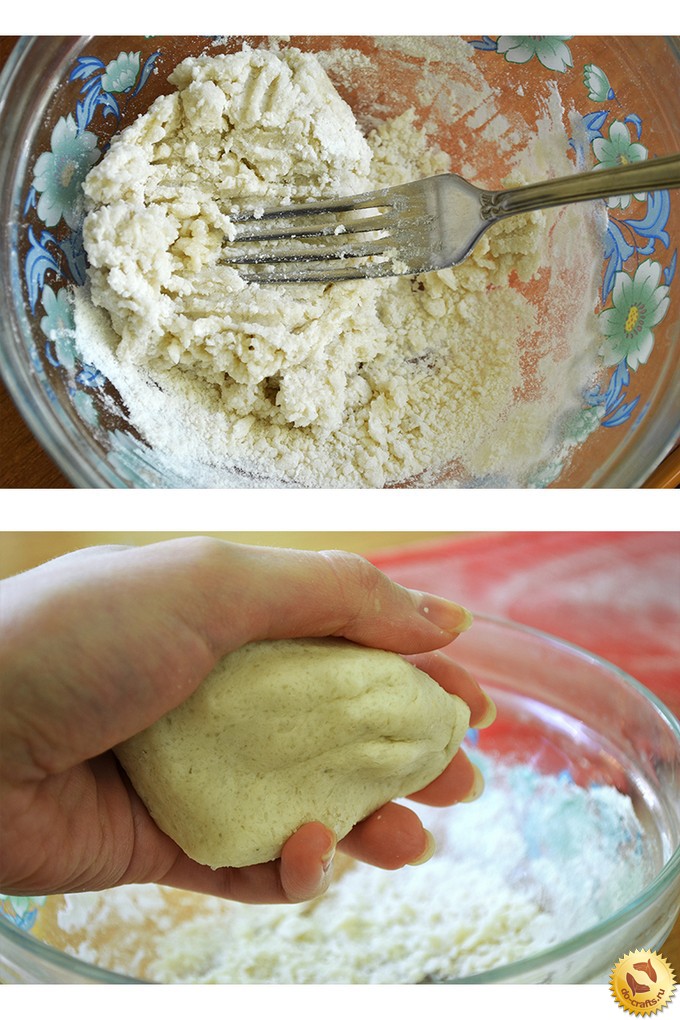 2. Further, the obtained sausage dough do four, two of which must be slightly shorter than the second pair.
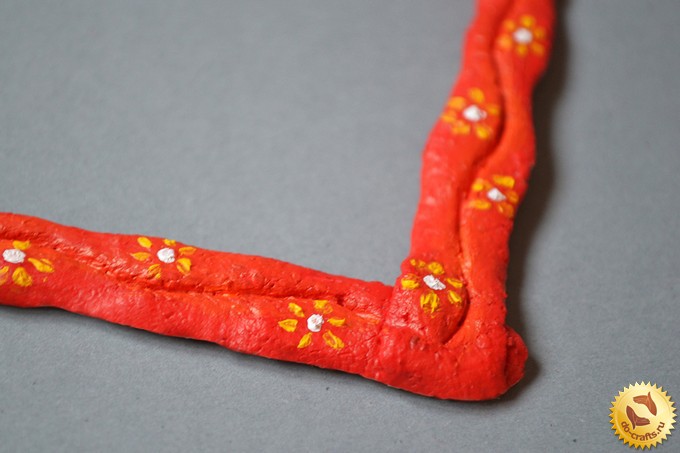
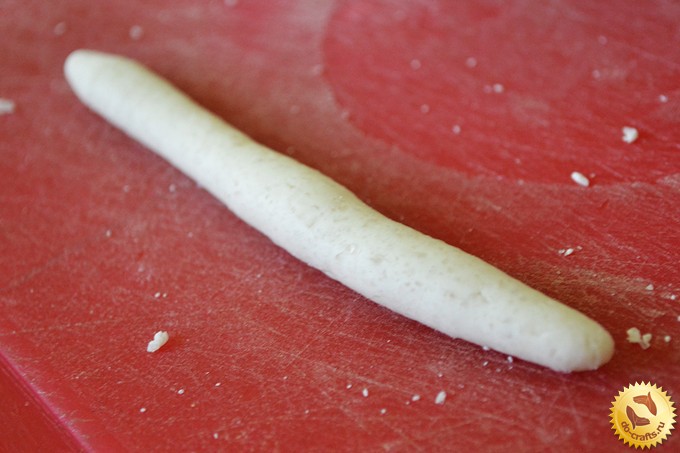 3. Push the sausage fingers, thus making them thinner. Thereafter applying them perpendicular to each other.
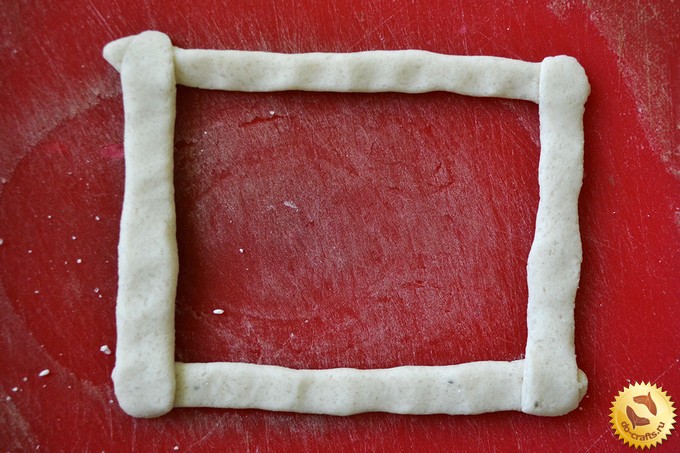 4. Take a toothpick and cut through the wavy pattern along the sides of the frame.
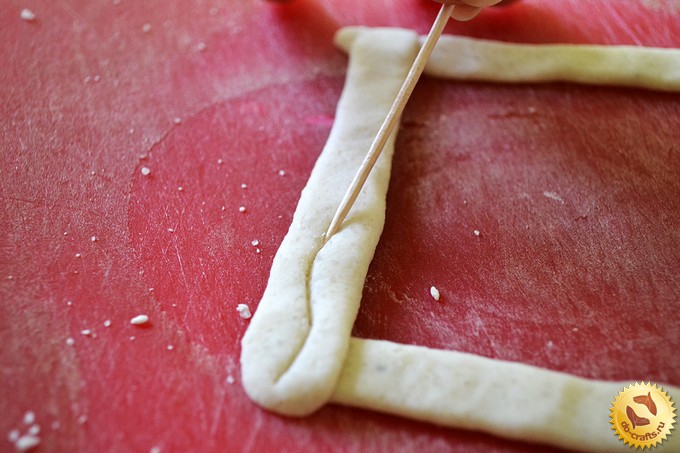
 6. Now wrapped with cling film surface on which we paint the picture frame.
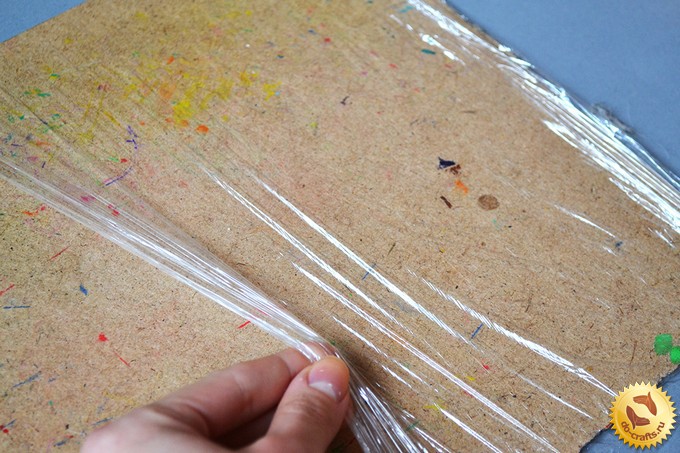 7. squeezed from tubes of red, yellow, orange and white paint.
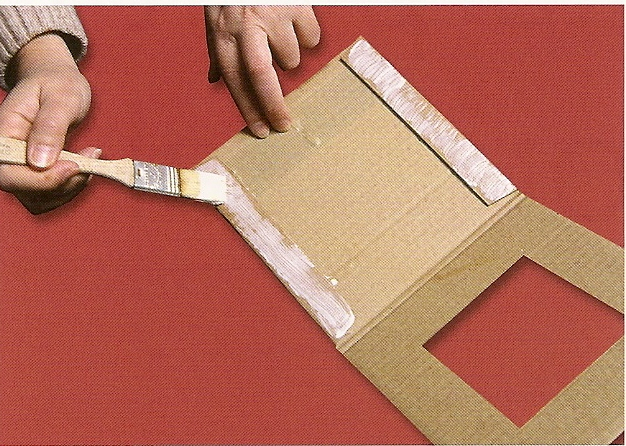
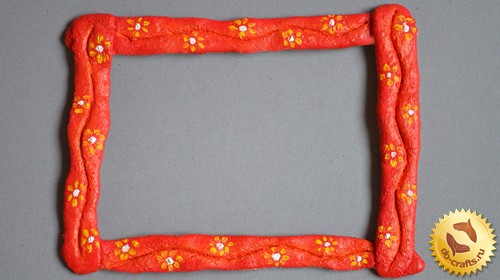
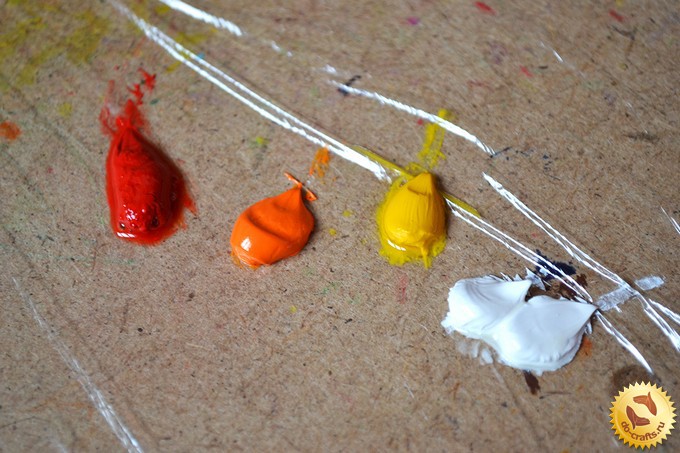 8. We take a broad brush and paint the frame in red color (occasionally damp brush in sunflower oil).
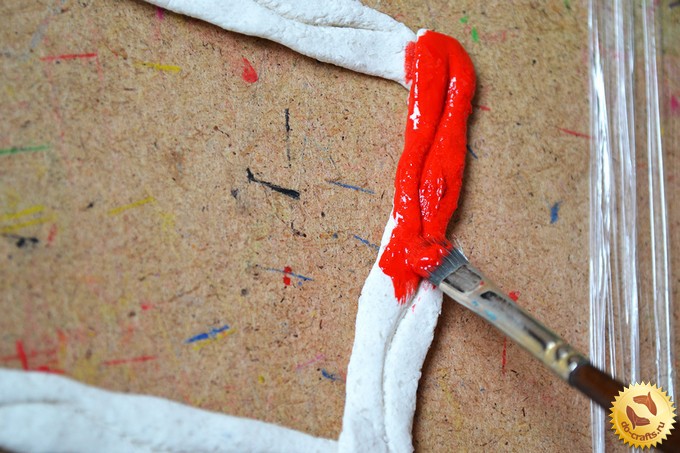 9. We look to have been painted over all the edges.
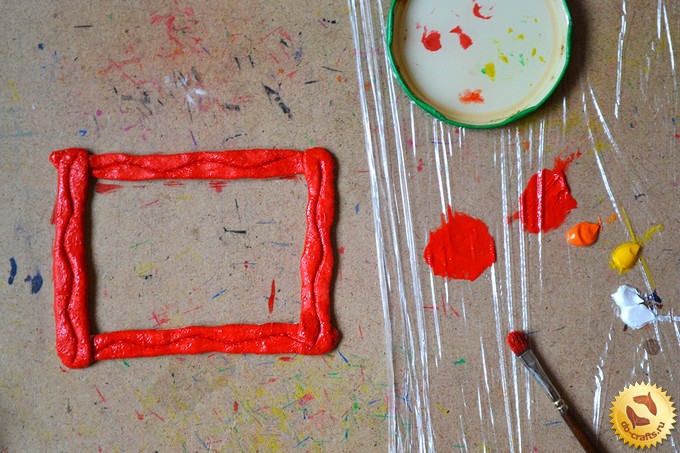 9. We look to have been painted over all the edges.
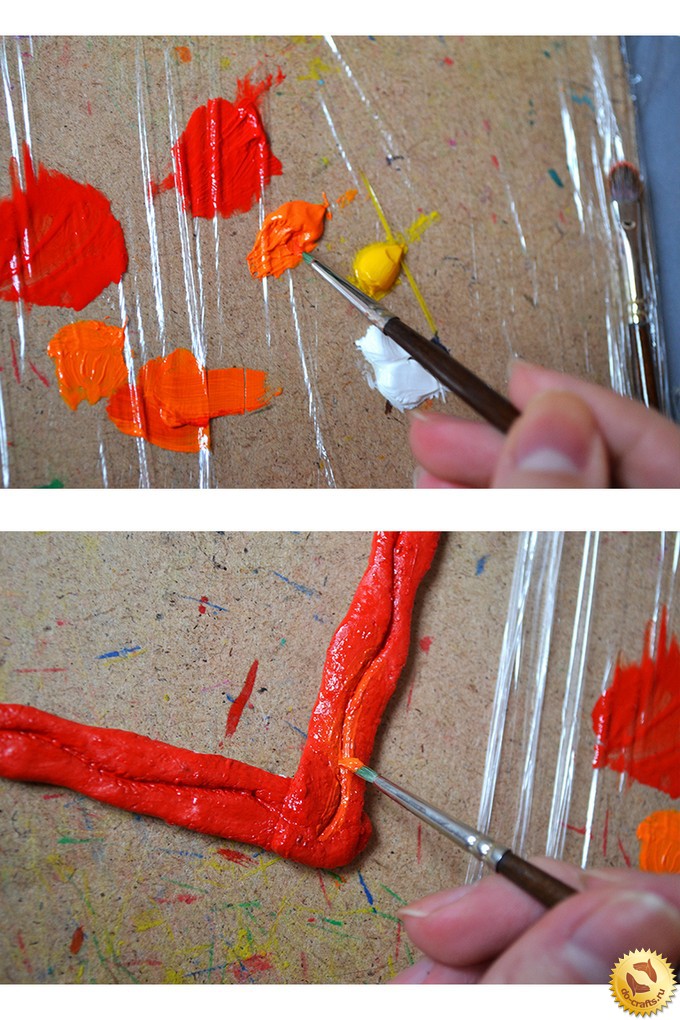 11. Wait until the frame is dry (for several days). To expedite the process, you can bring a table lamp.
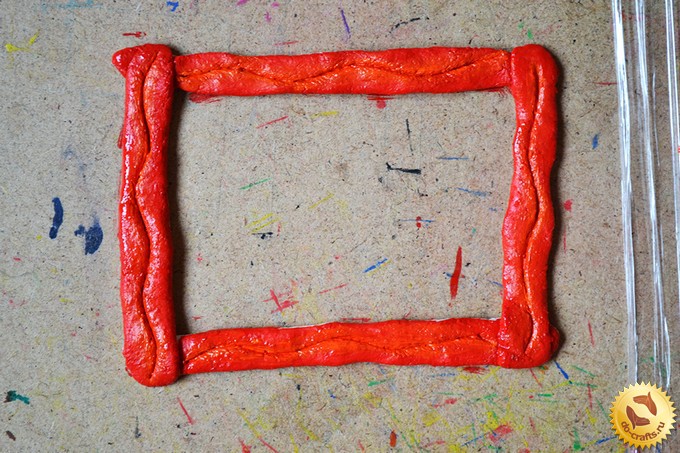 12. Further, the thin brush set white spots along the wavy pattern.
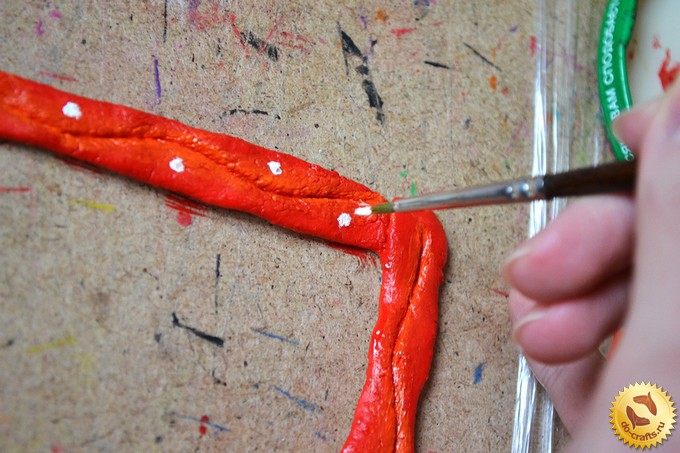 13. After that, take the yellow paint and paint the petals of flowers.
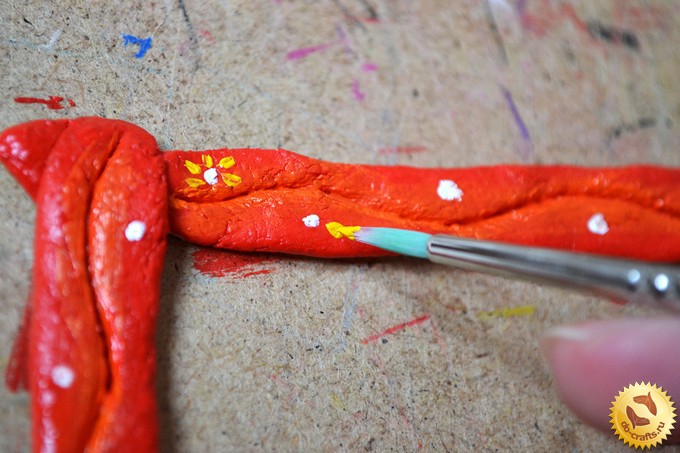 All the work is done. We are waiting for a couple of days, then you can paste a picture framed.