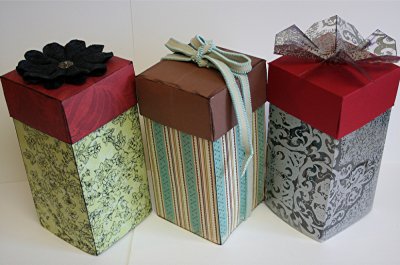
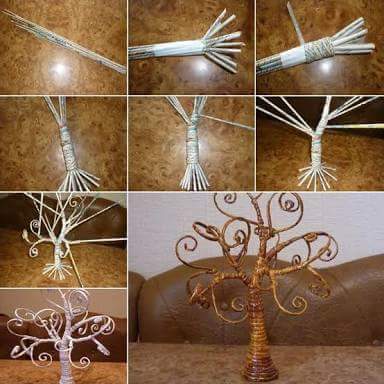
Boards Decorative cage for birds. Cage turned in height of 25 cm.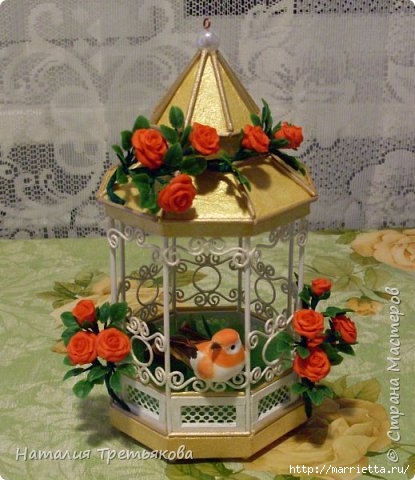 We need: a simple cardboard (again I took a box of cakes and sweets), a thick boxboard to impart structural strength, bamboo sticks (skewers), wire, crepe paper, putty, paint, glue, Titan, PVA glue, homemade cold porcelain for molding of flowers, and of a decorative bird cage that was not empty.
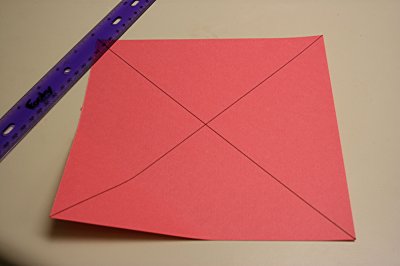
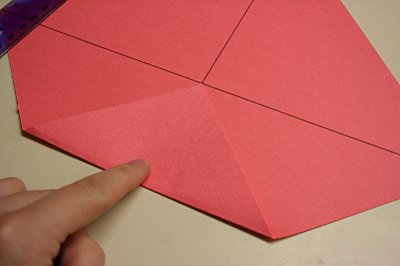
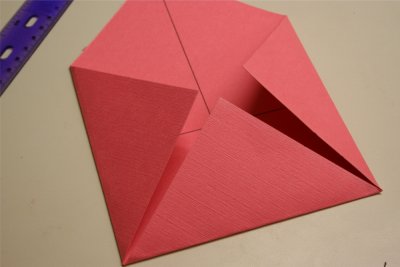
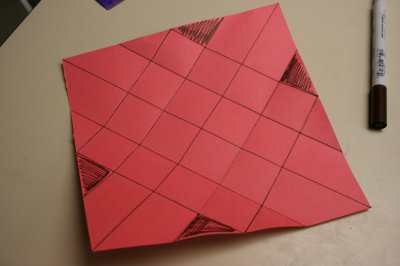
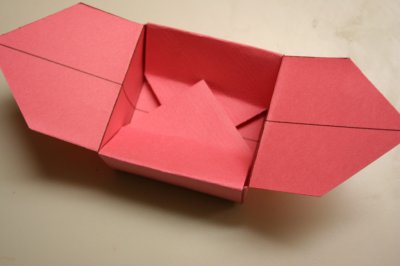
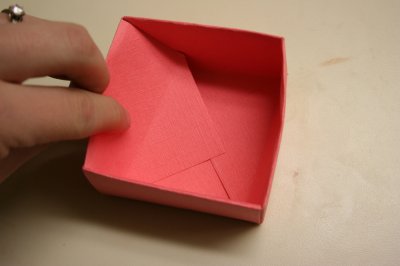
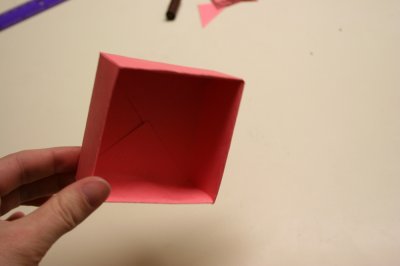
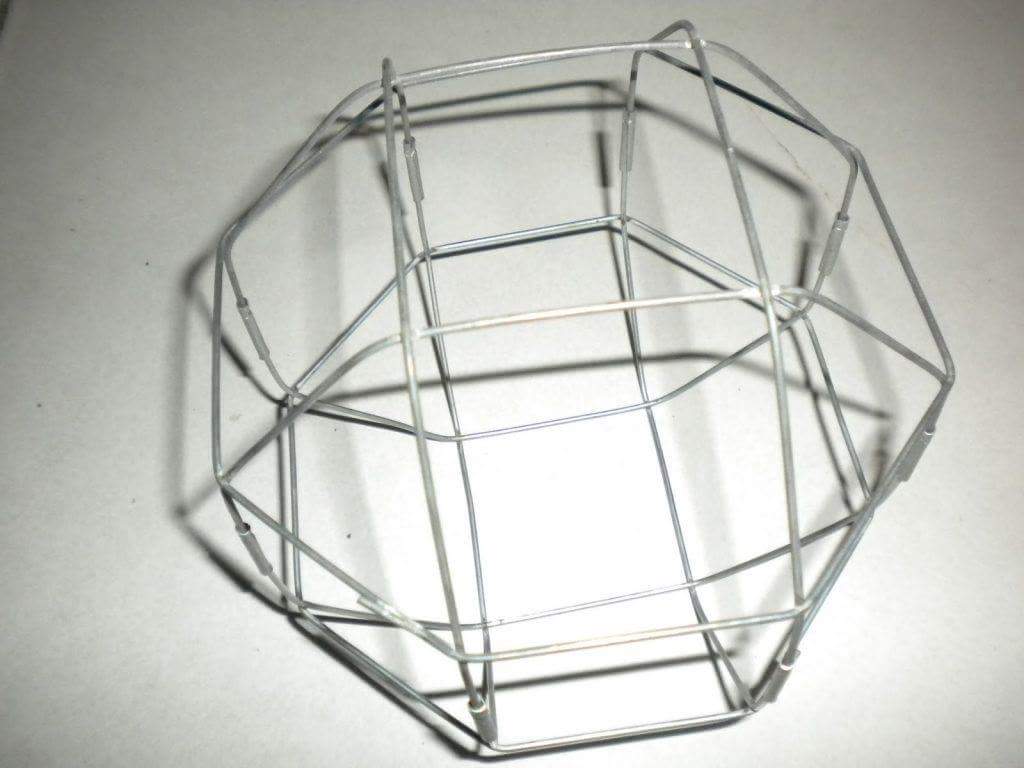
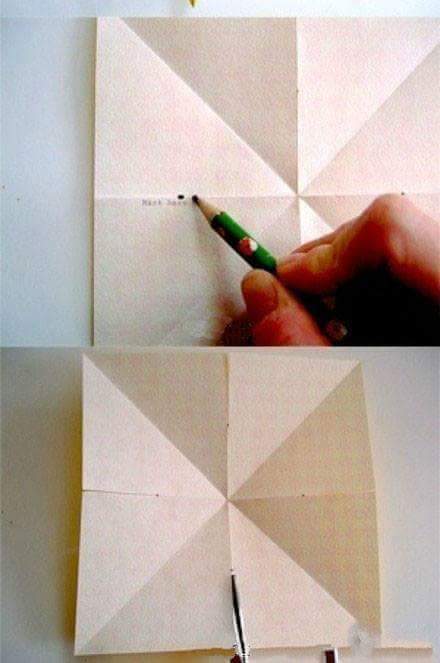
cell size you define yourself. I do everything on the basis of the octahedron, the distance between the opposite angles is equal to 13 cm., And the side of the octahedron is equal to 5 cm.
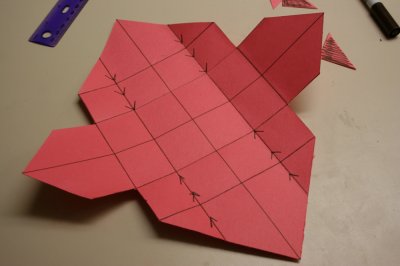
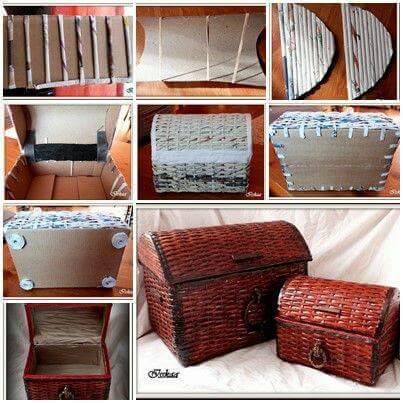
Doing the basics of preparation and the roof on the basis of my previous MK stranamasterov.ru/node/872548
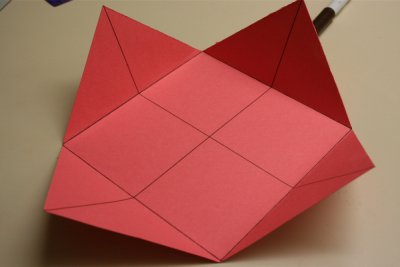
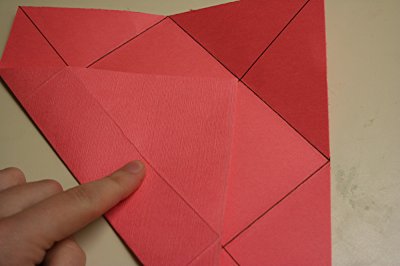
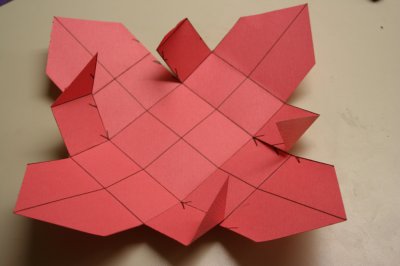
The only difference is that for a large roof we make additional detail -. octagonal box with walls of 1 cm These bumpers is reinforced with two more layers of plain cardboard. Octahedron of this part on all sides by 0.5 cm less than the lower part of the roof.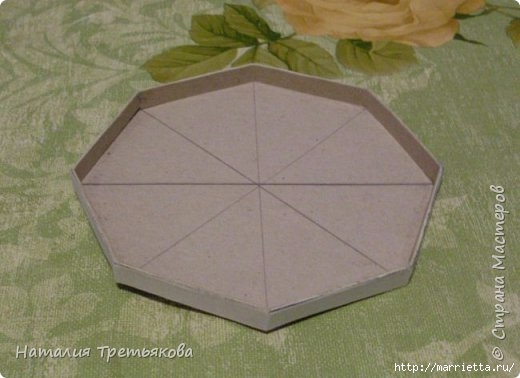 It has been plastered and primed blank roof.
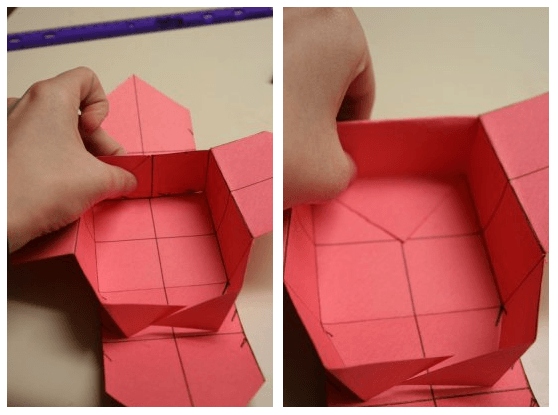
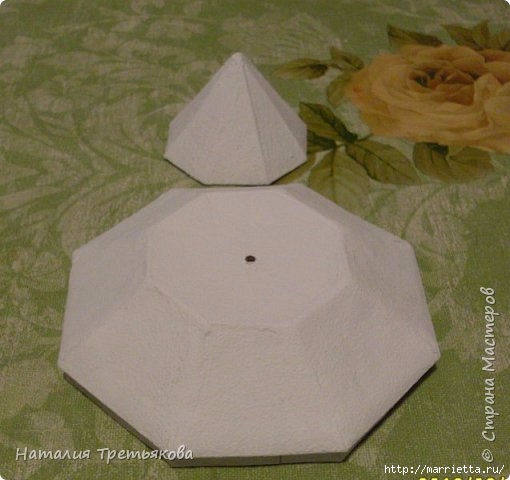 Here are a few not in compliance with the order of work. The roof had already been primed and glued blank with bumpers to the bottom of a large roof.
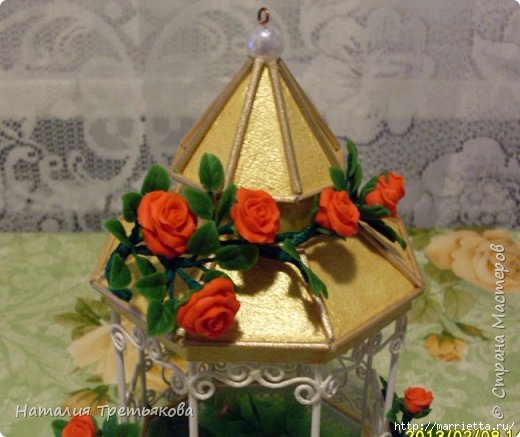
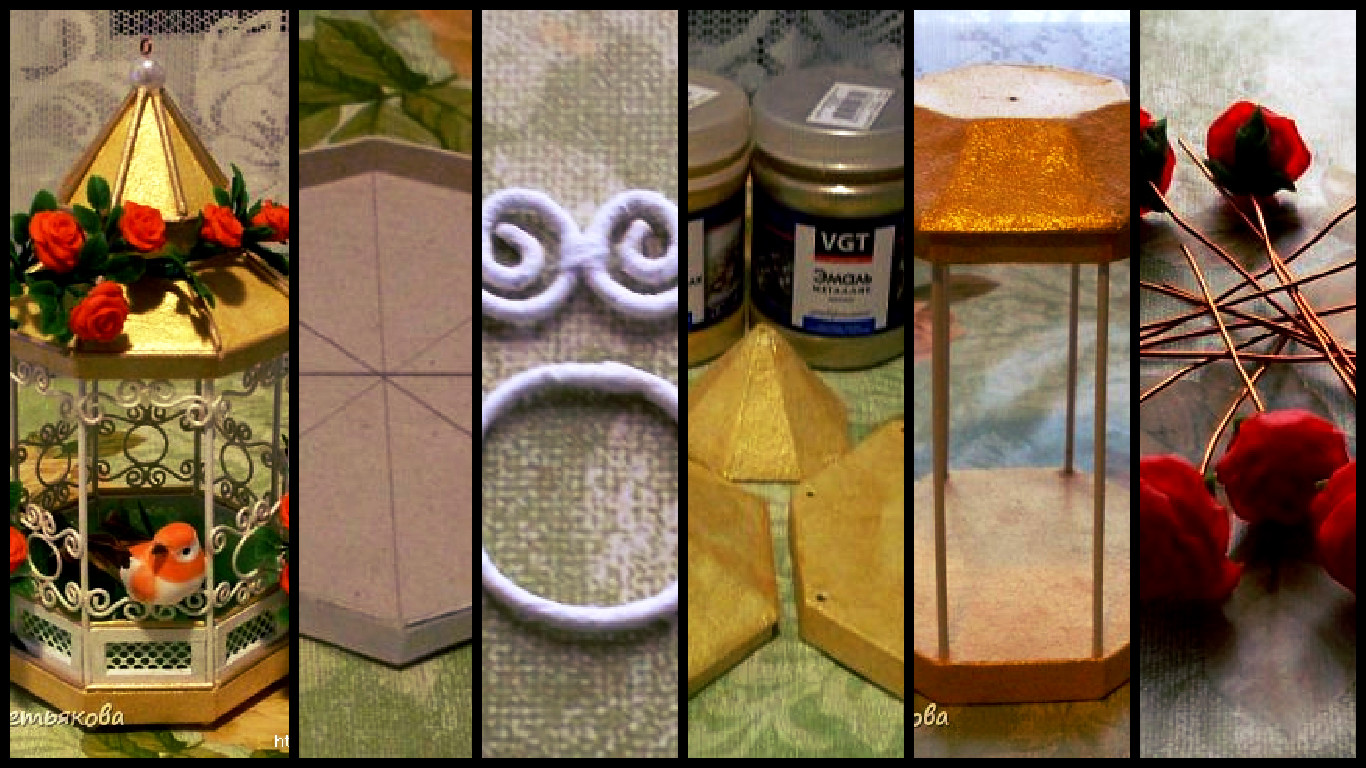
 It has been finished parts foundation and roof, painted in gold
showed off his new acquisition – acrylic paint with a golden hue of two kinds. For a long time, I wanted to find in our city something like that. The small packages in stationery. products are sold all sorts of colors but in sets. And then there is wealth, – do not want to
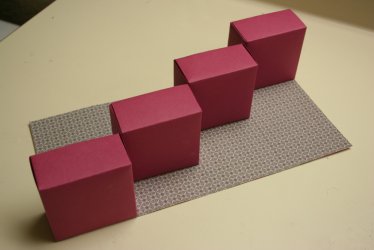
in the upper and lower parts of the roof in the middle of making a hole, then to thread the wire hook.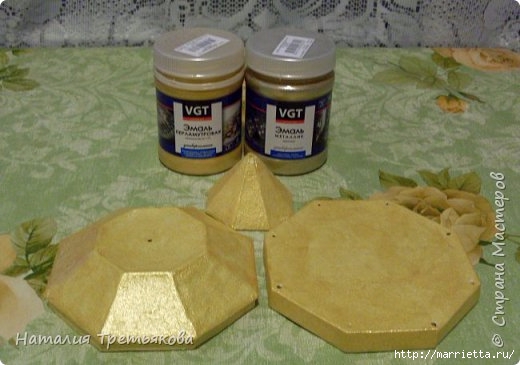 Paint skewers with white paint and glue to the base and the bottom of the roof.
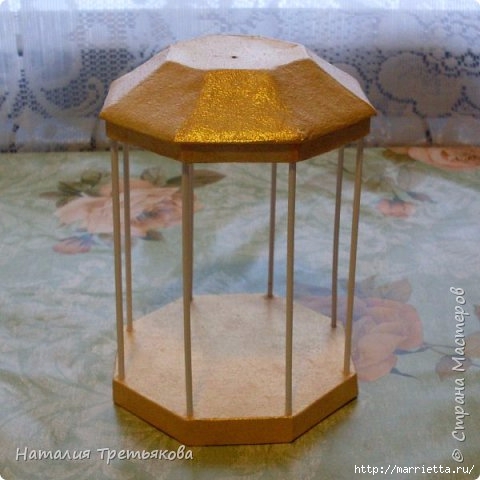 Then we do here are cardboard frames with mesh material on the size of the opening between the skewers. In the photo, there are seven, but then I still eighth finishing touches to the bottom to close all openings.
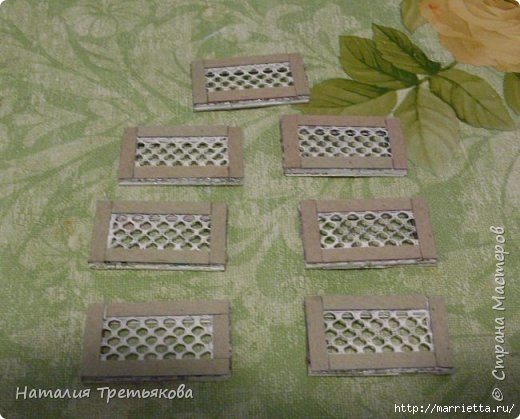 Frames with mesh painted first with white paint, and then gold Interferential paint to give a gold metallic hue (as painted all white cells details) But it can not do.
Glued wooden beads between the upper and lower part of the roof, which is later regretted. But more on that later.
Decorate the cage, painted a different shade of gold, skewers (we do it in the same places that the gazebo decorated with twisted wire).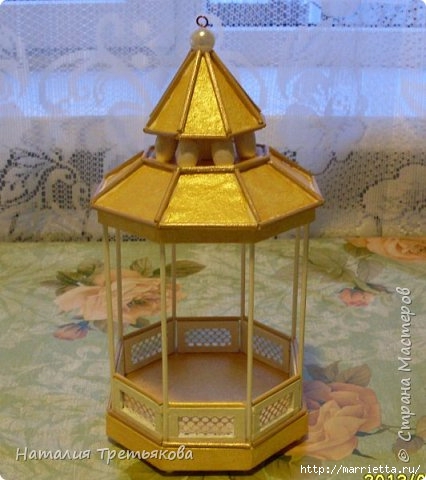 It stretches the wire through all parts of the roof and secures it from both sides of beads. The previous photo shows the upper bead with a wire hook and the next – lower. As well as using beads made little feet in the cells.
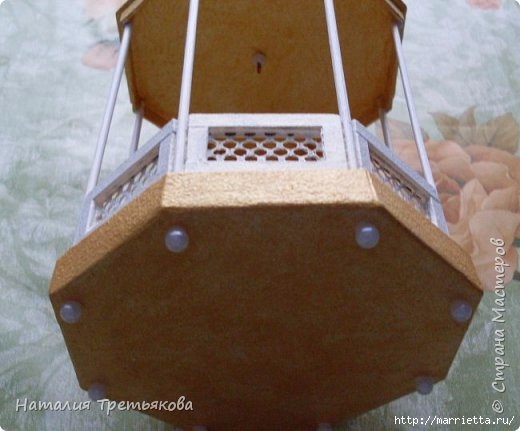 Decorate space within the cell, as later we will be difficult to do anything inside.
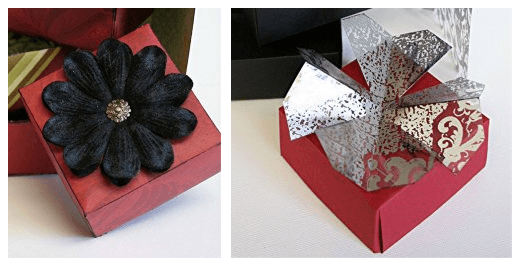
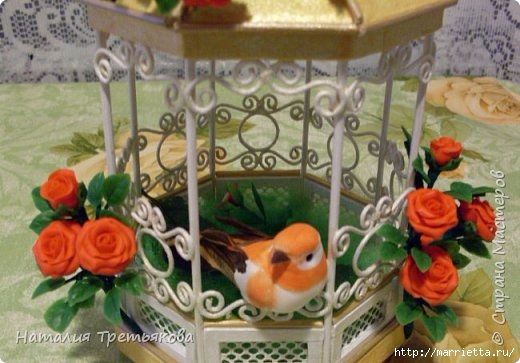
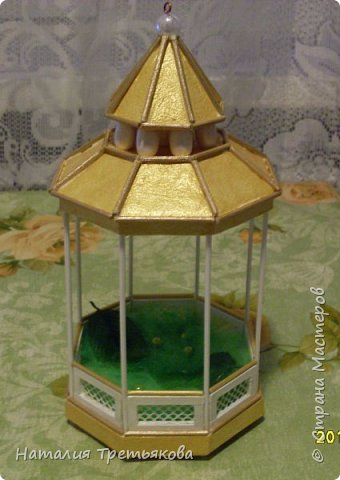 Wire wrapped white crepe paper and here are Gnehm Circuits, of which our grill will be.
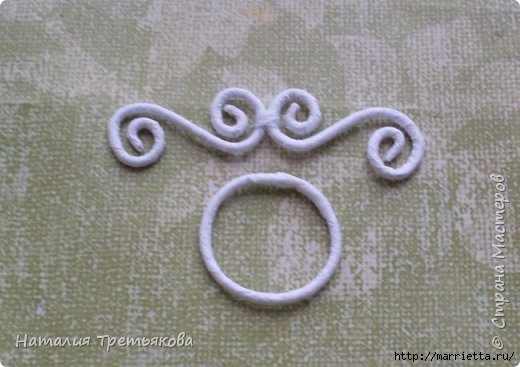 Then it has a very long and laborious work, and we have just such a decorative on the cage. All parts are glued to the grating Moment PVA carpenter (he is very durable). I decided that the decor inside the cell is not enough and even taped plastic flowers before creating . Immediately as such a delicate twisted was ready, I realized how not written here these huge wooden beads on the roof and I immediately has stuck their strip of cardboard. Sometimes it happens that you have to think out and redo some things on the fly.
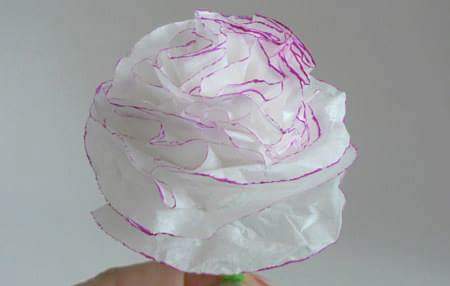
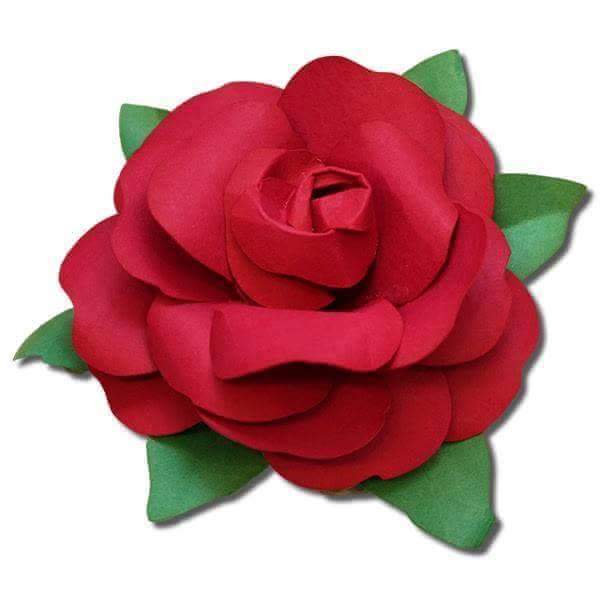
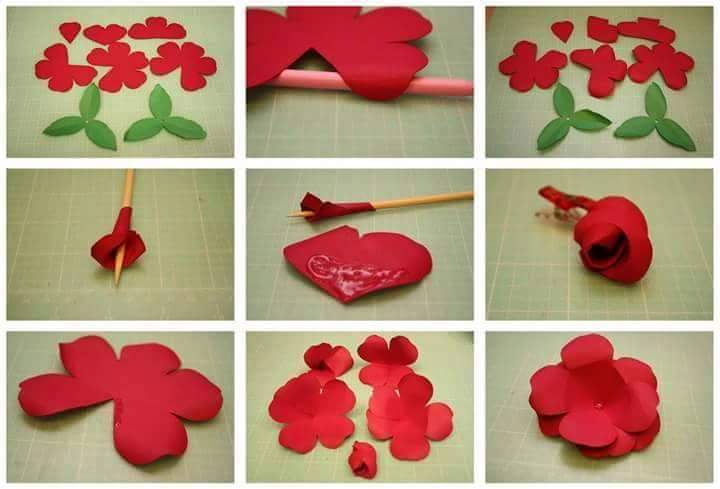
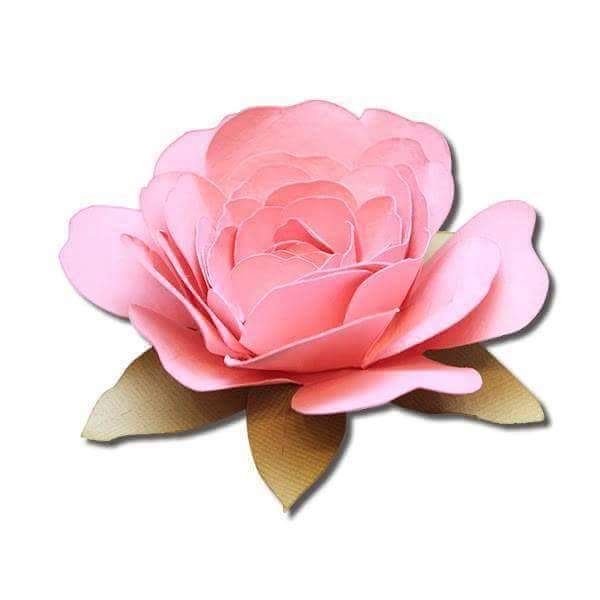
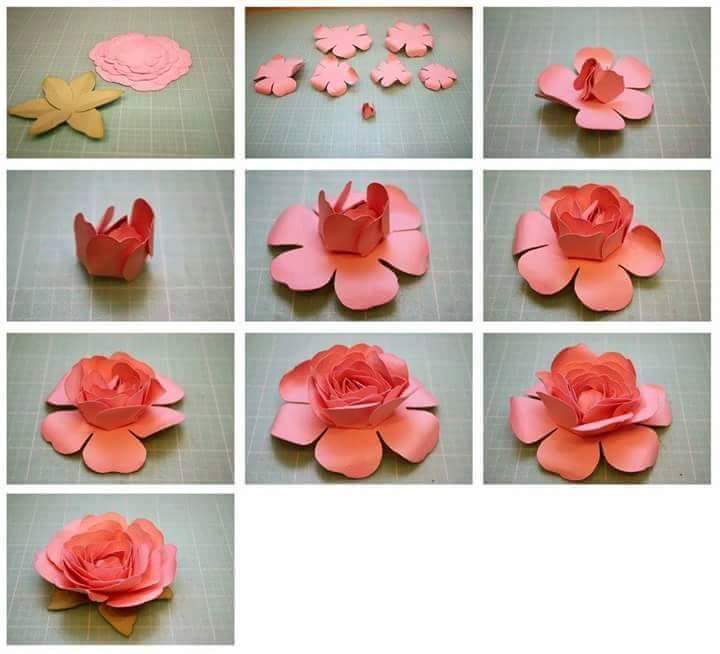
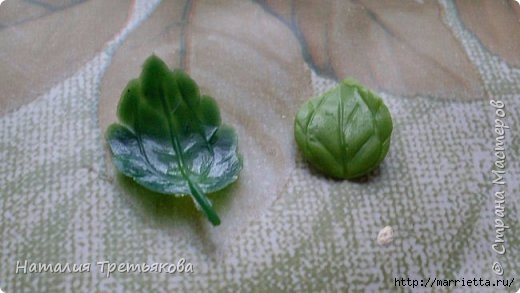
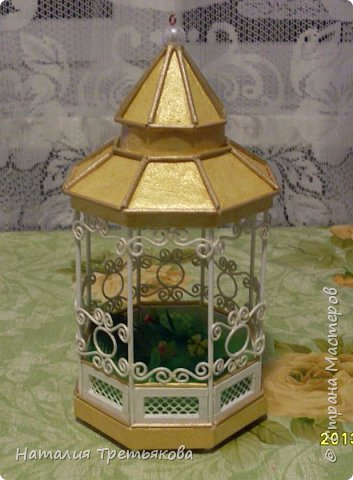 roses and leaves. To create roses do not use any Molde and boats, and for leaves using plastic leaves from the branches purchased. Very much I liked that the leaves can be quickly and easily to stick in this way.
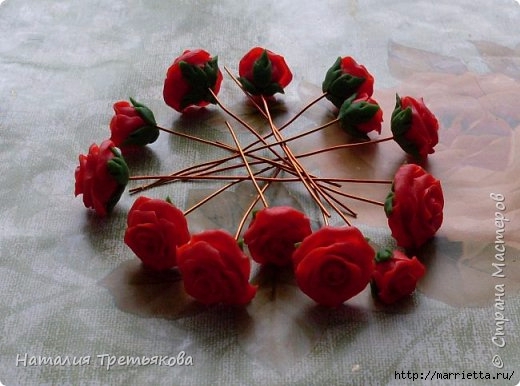
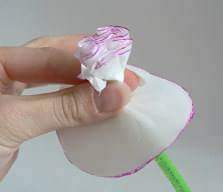
 I collect it all in the form of roses twine.
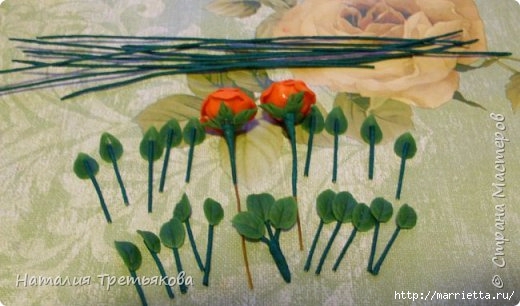
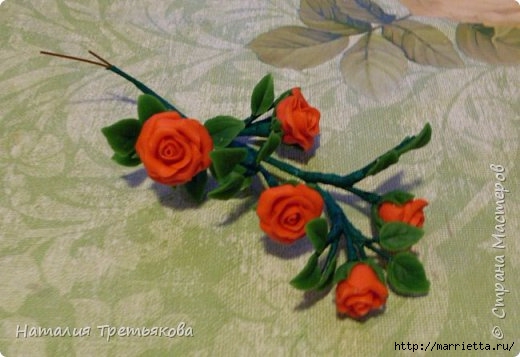
Decorate with sprigs of cage bird and glue.
The most difficult part in the creation of this cell for me was not to tear the crepe paper when bent parts for lattice

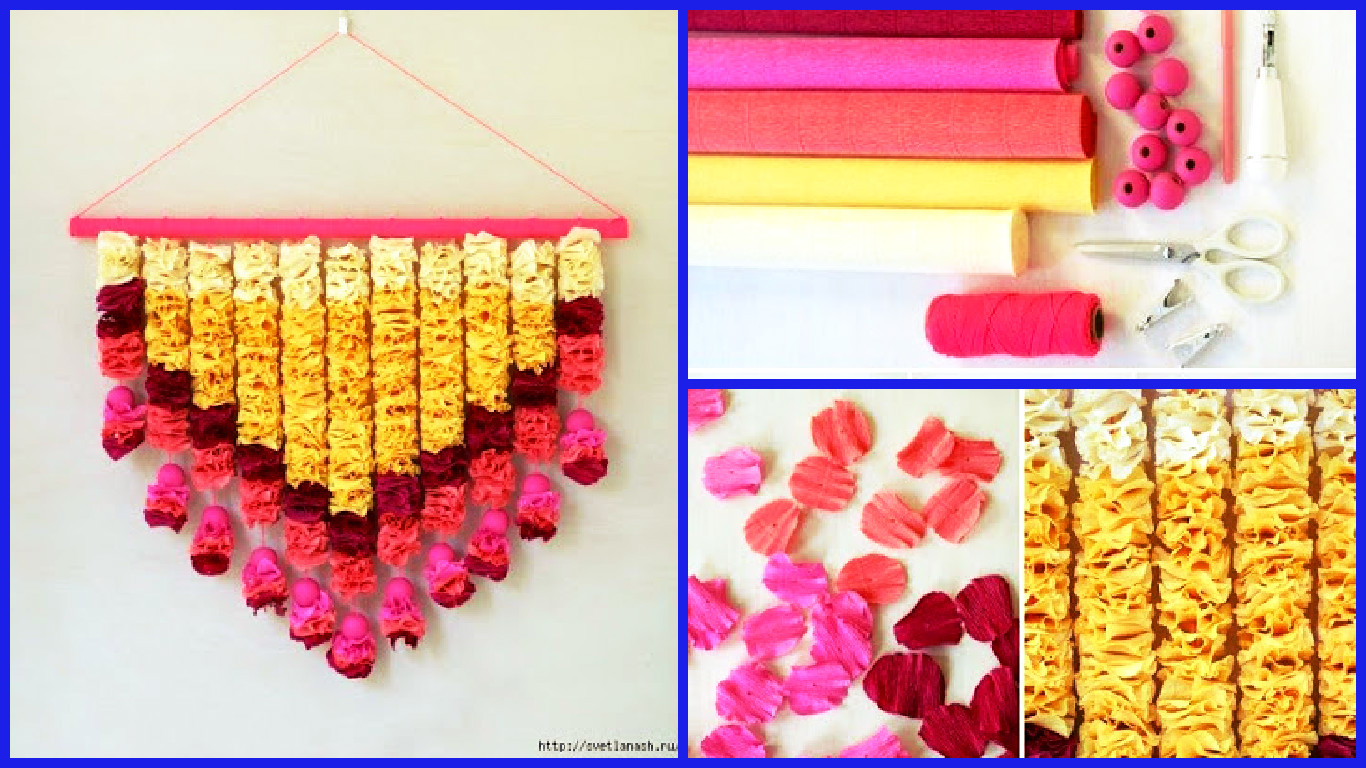
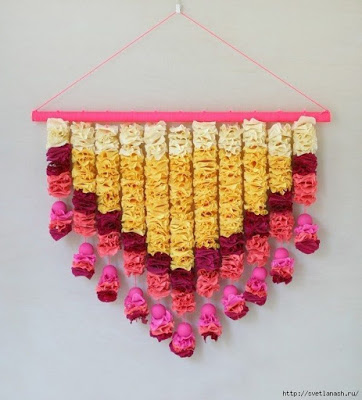
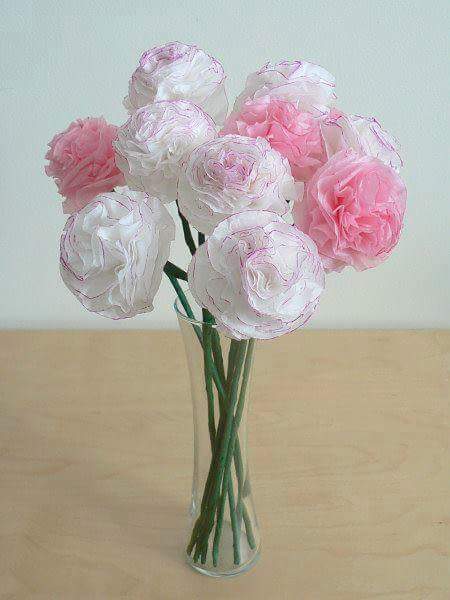
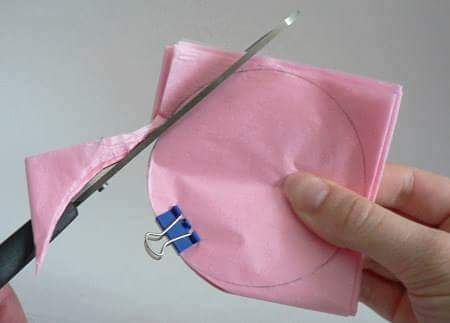
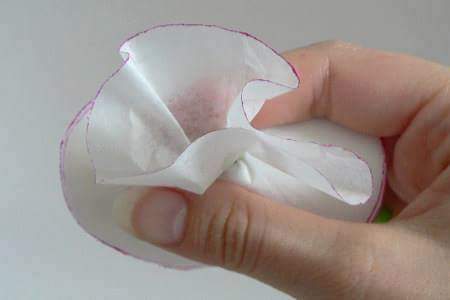
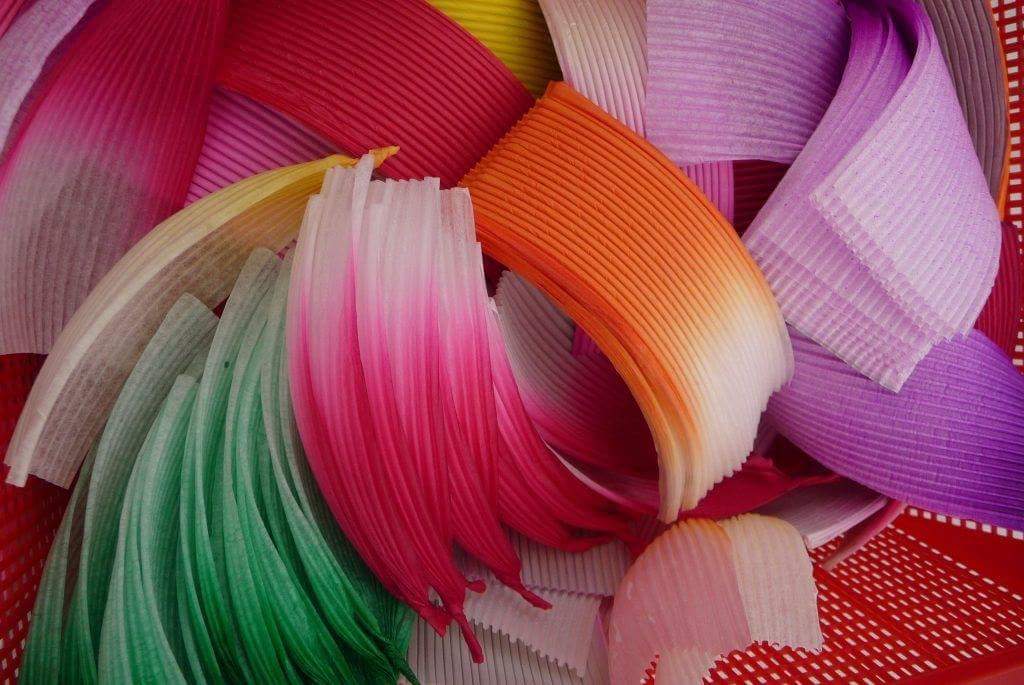
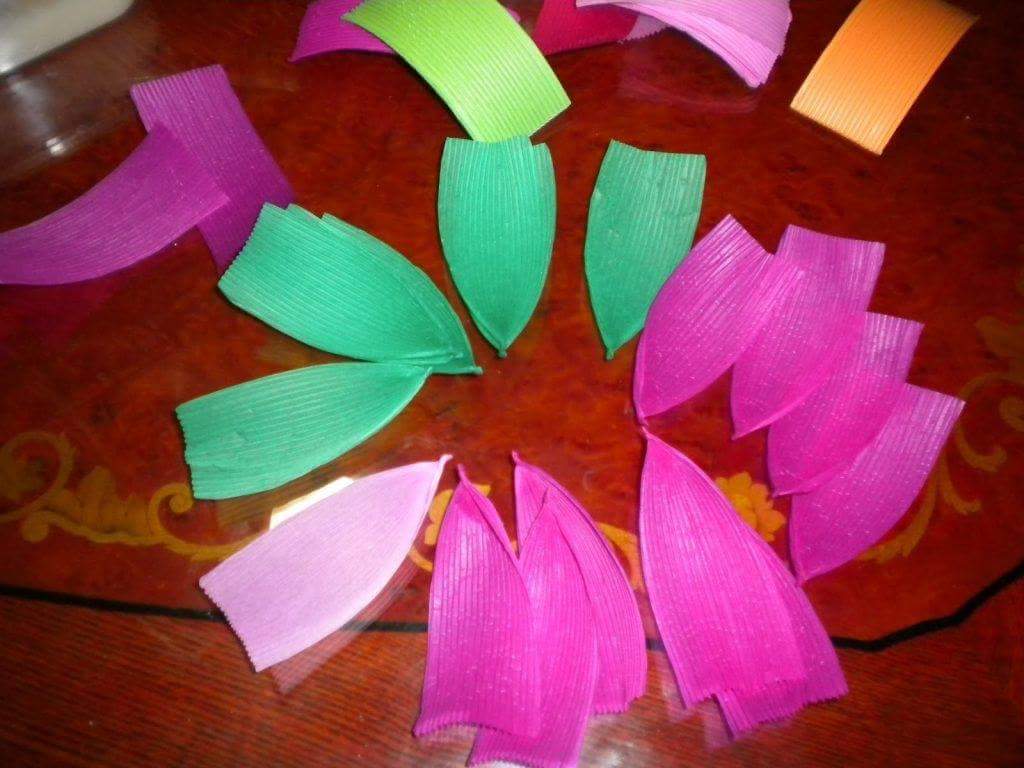
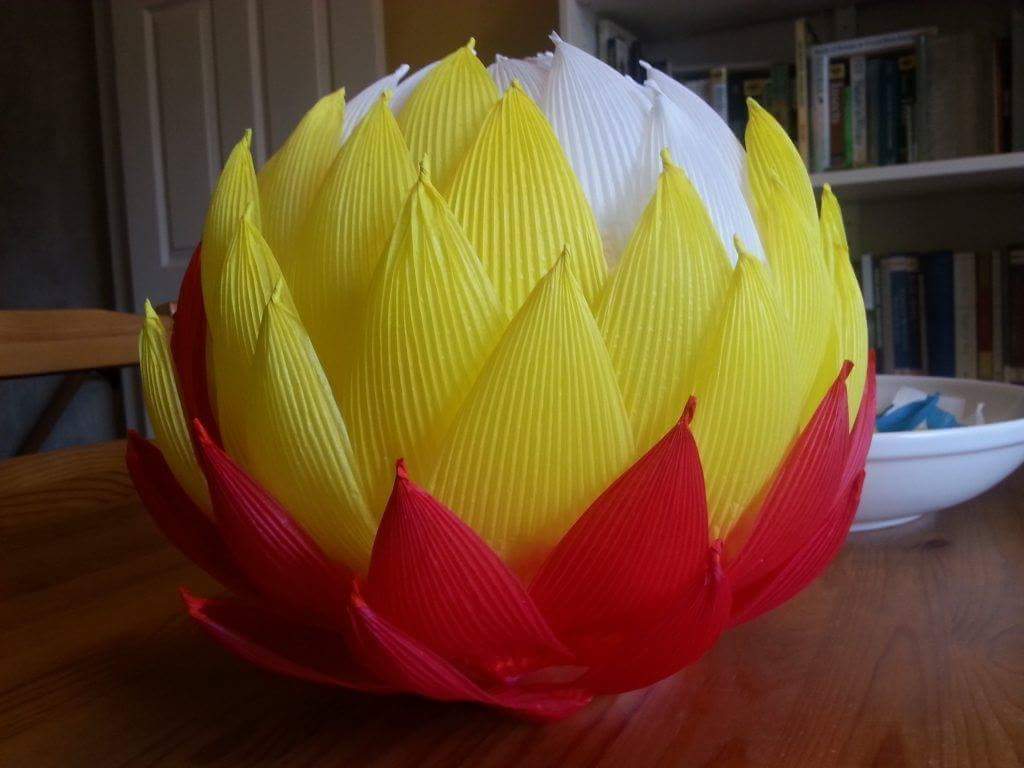
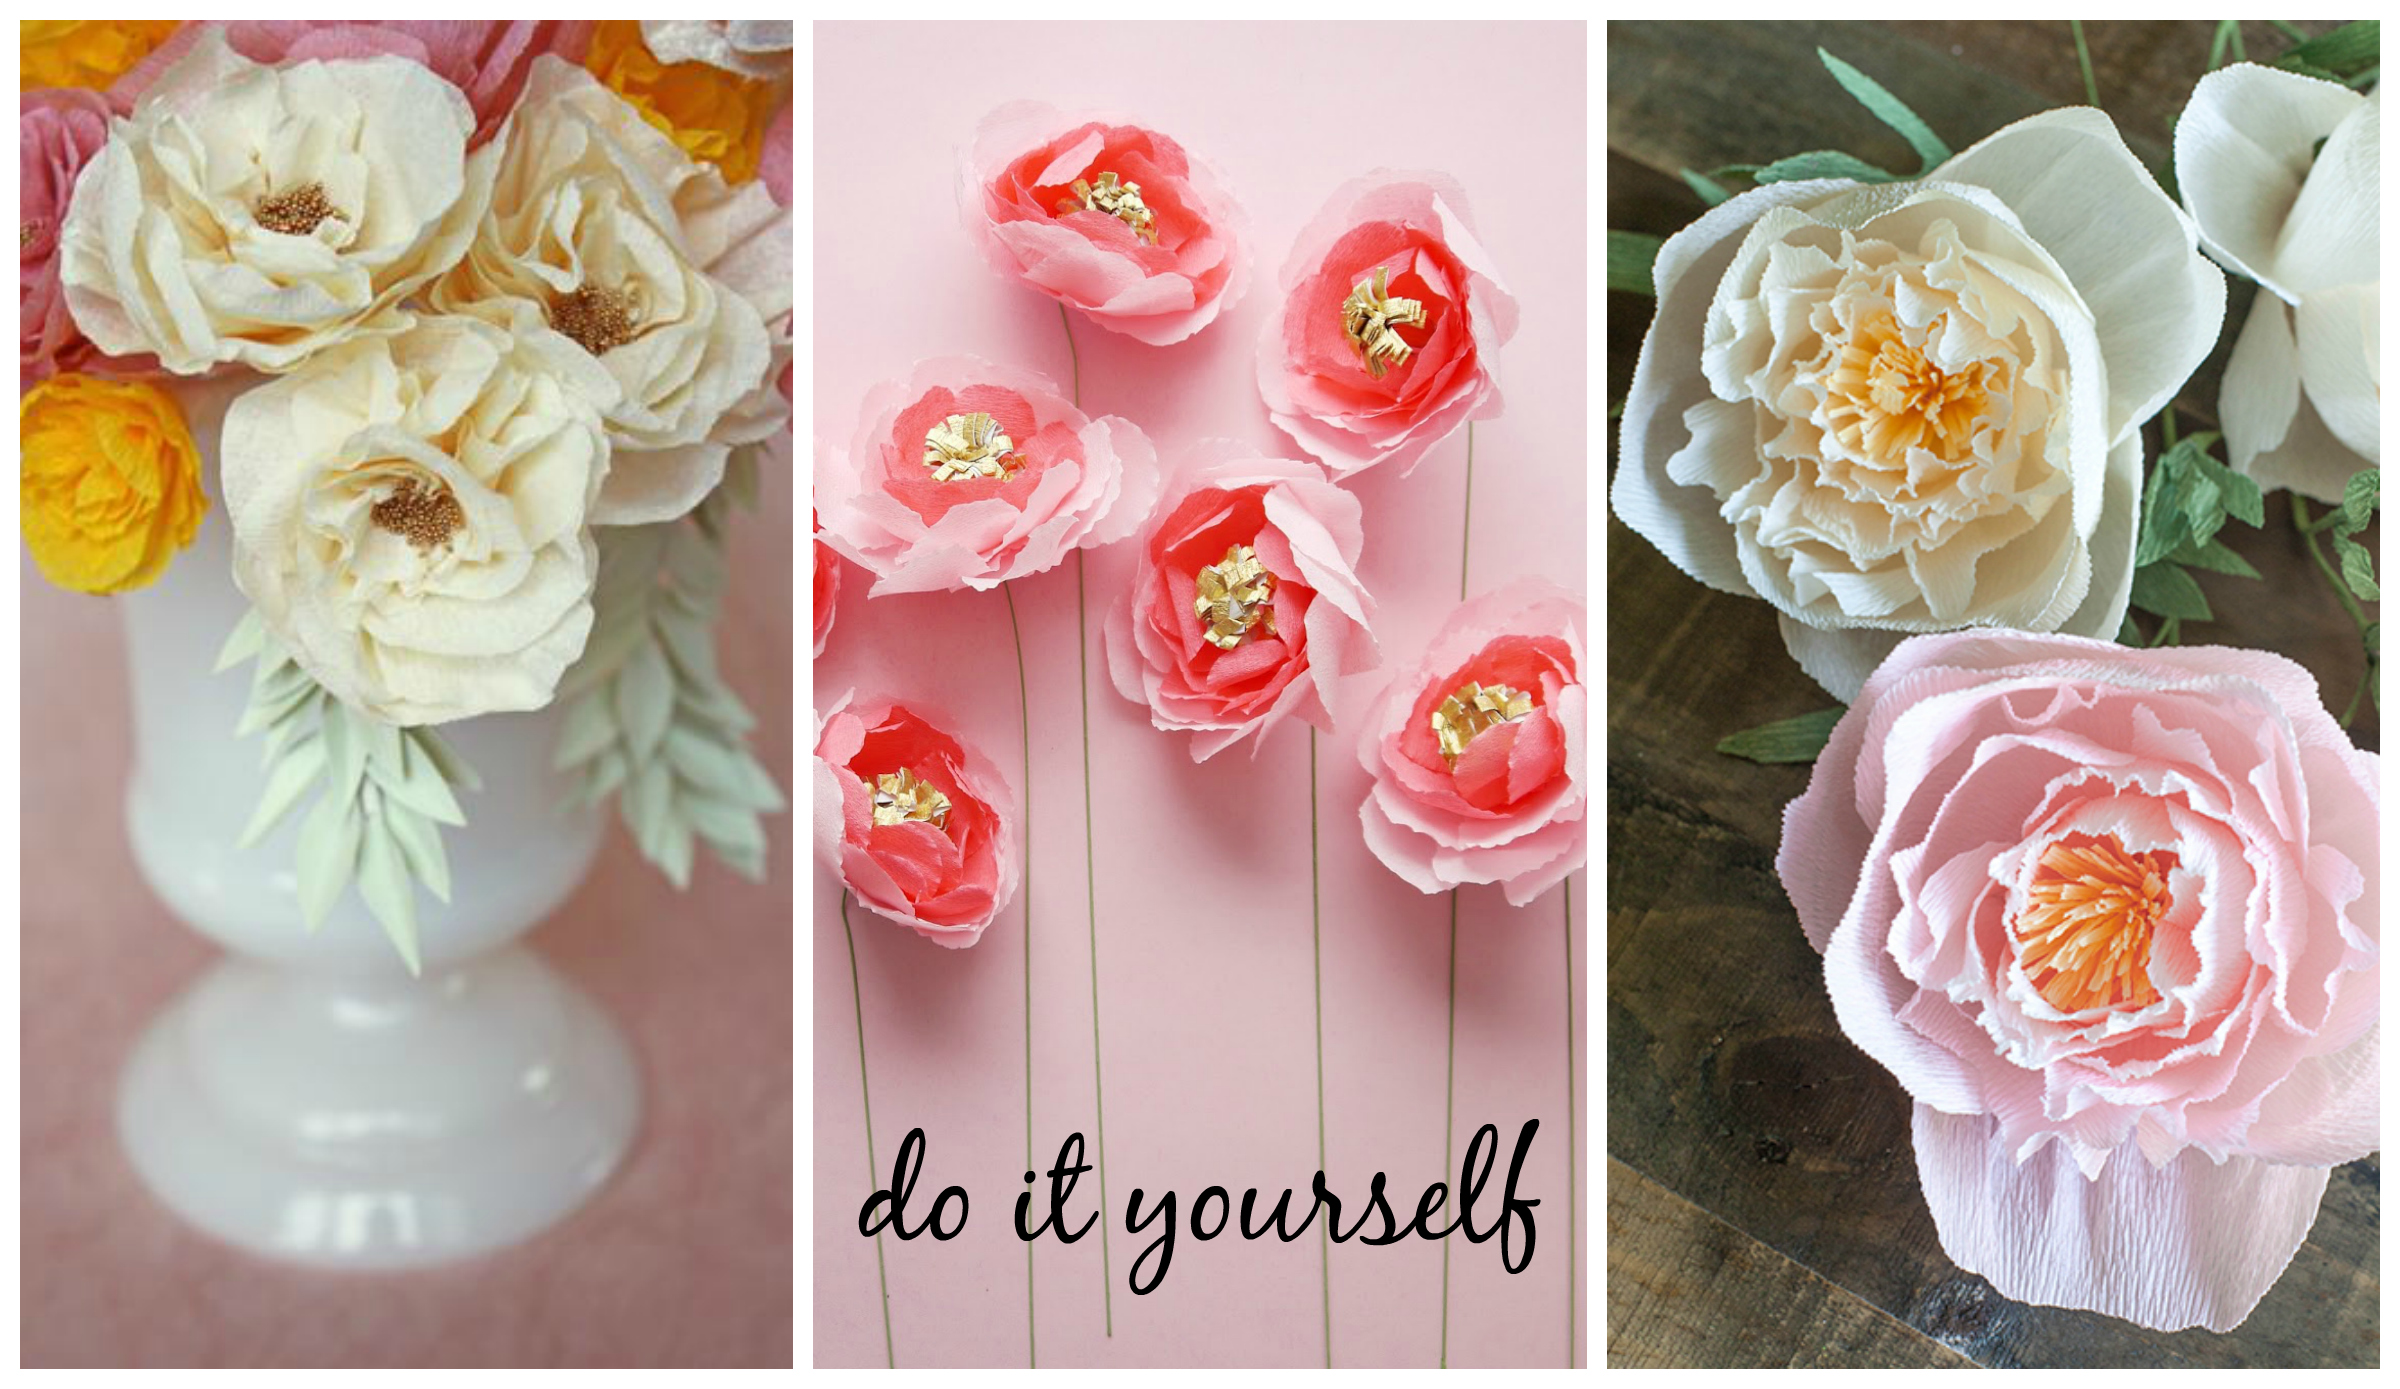
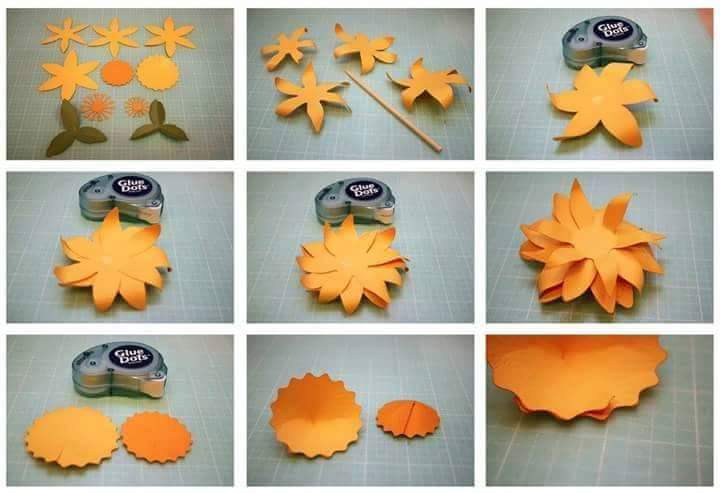
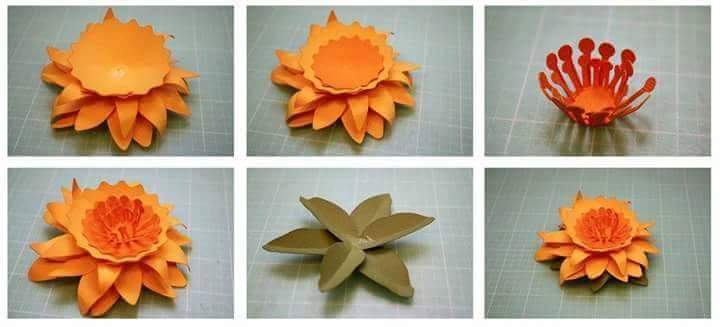
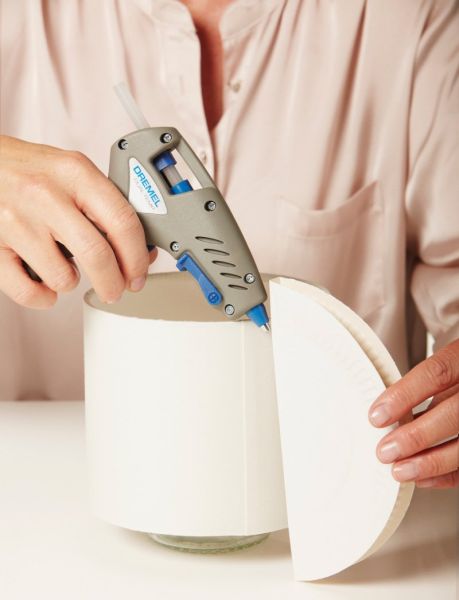
 Step 4: To fluff up the petals, gently pull the edges of the paper, creating a kind of ripple. You can stretch several petals, to save time.
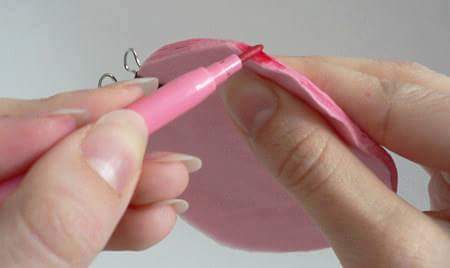
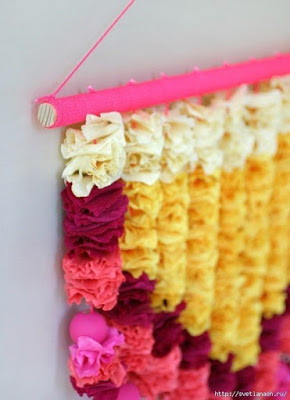
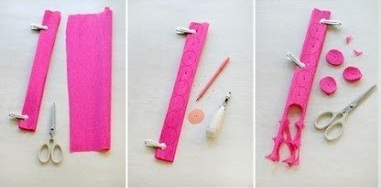 Step 5: Tight bolt threads. Tie long strands around the bolt every 5 cm. On them, you will be stringing the petals.
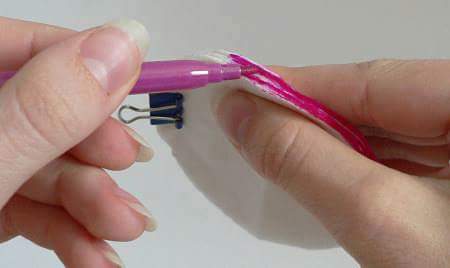
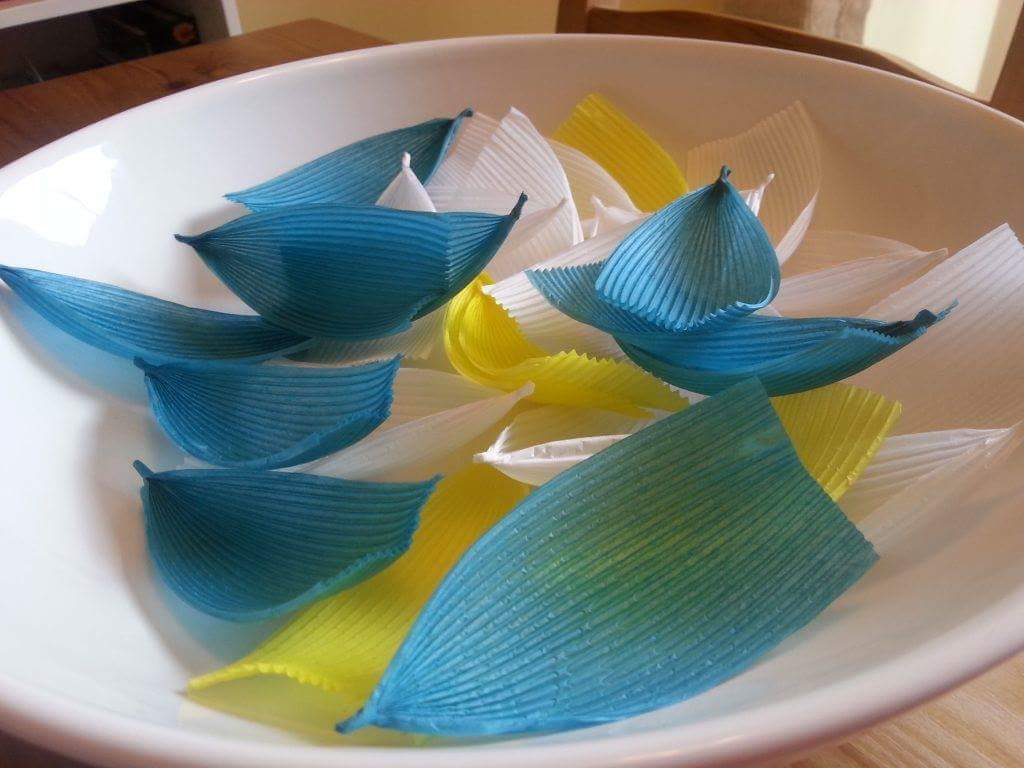
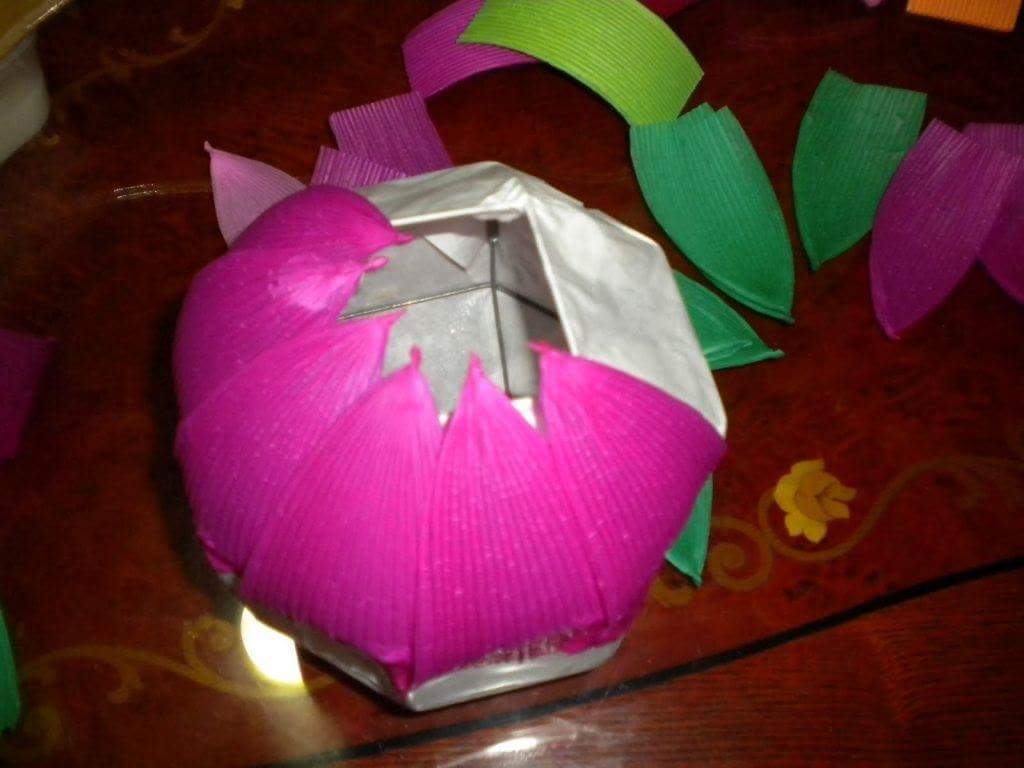
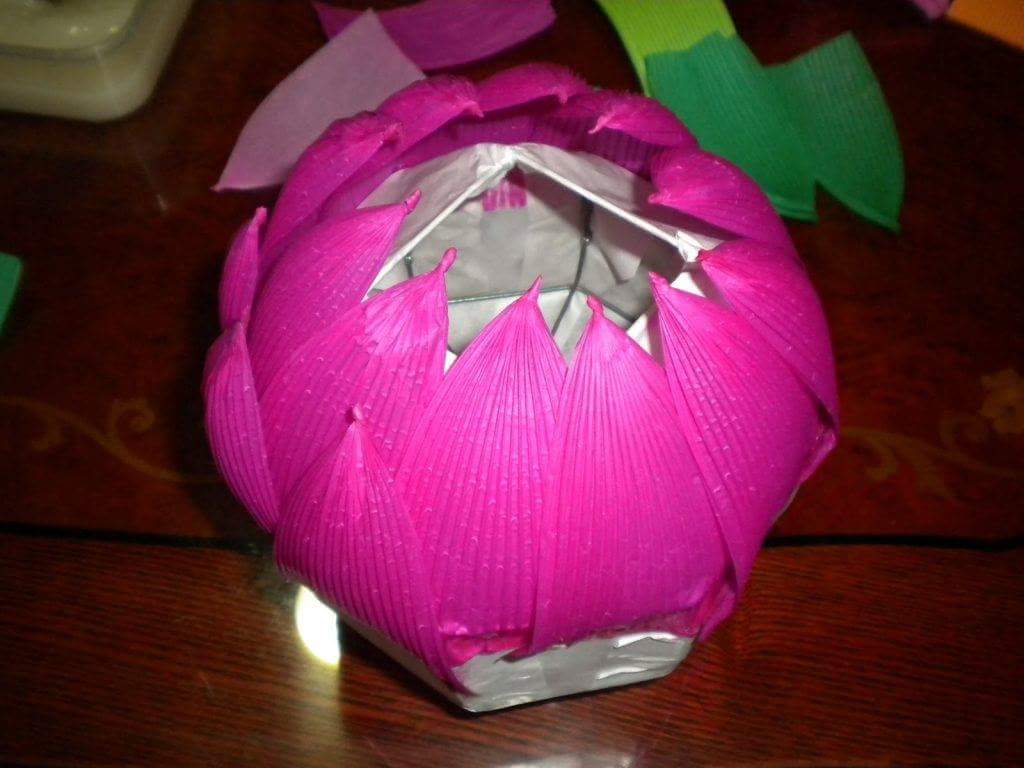
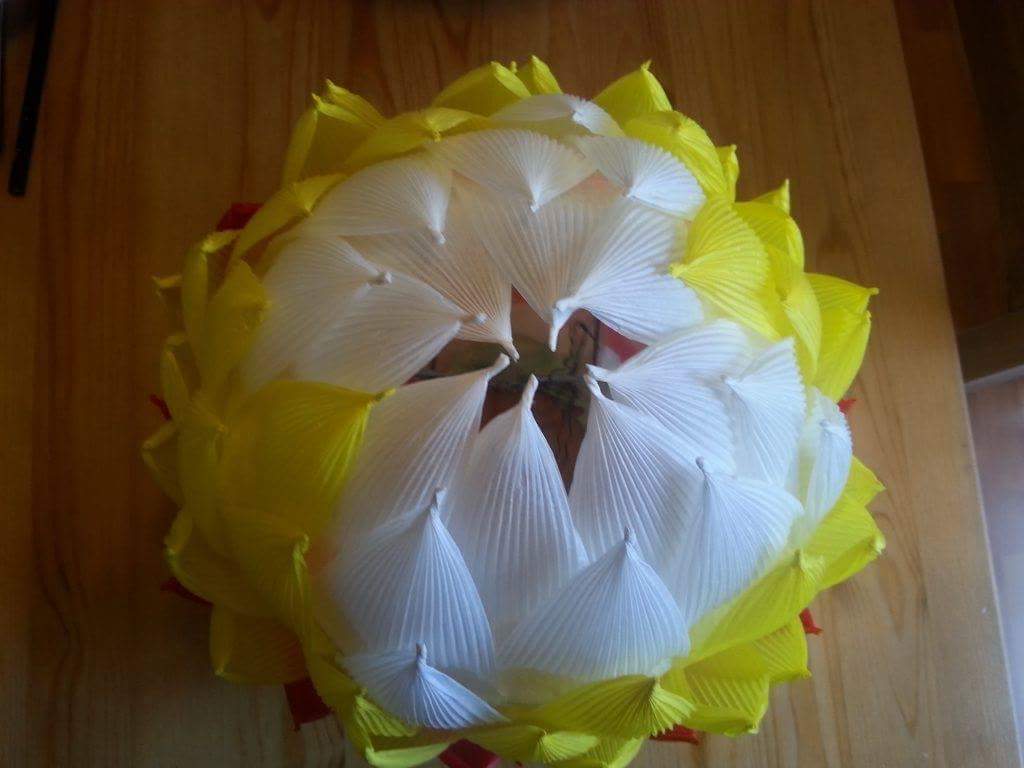
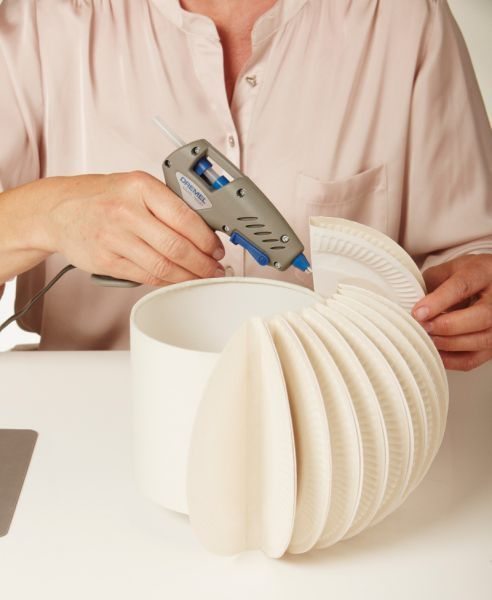
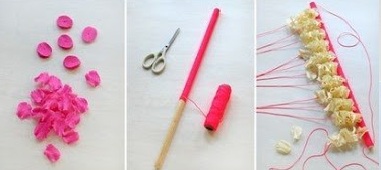 Step 6: petals are strung on a thread and tighten the knot at the end of each tape obtained. Alternate the colors of the petals, to get the palette.
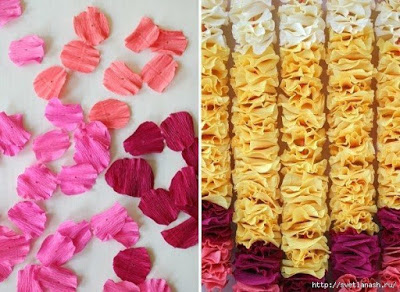


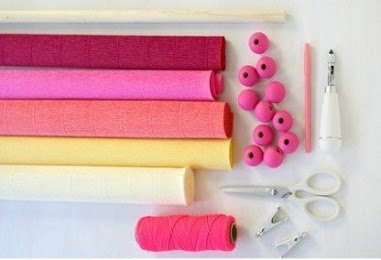
 MATERIALS:
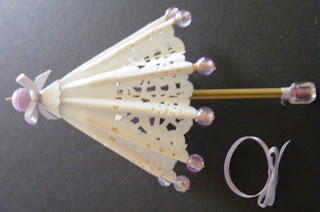
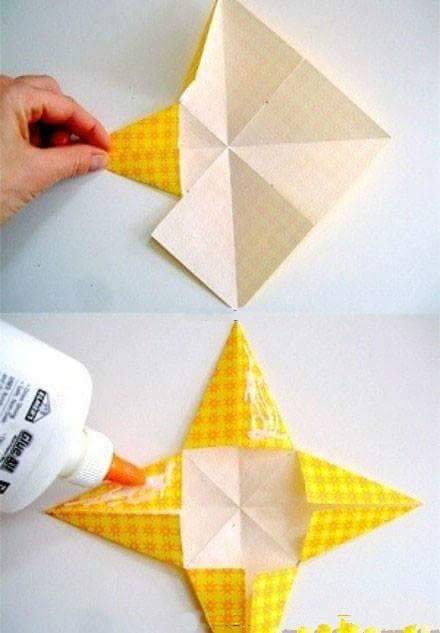
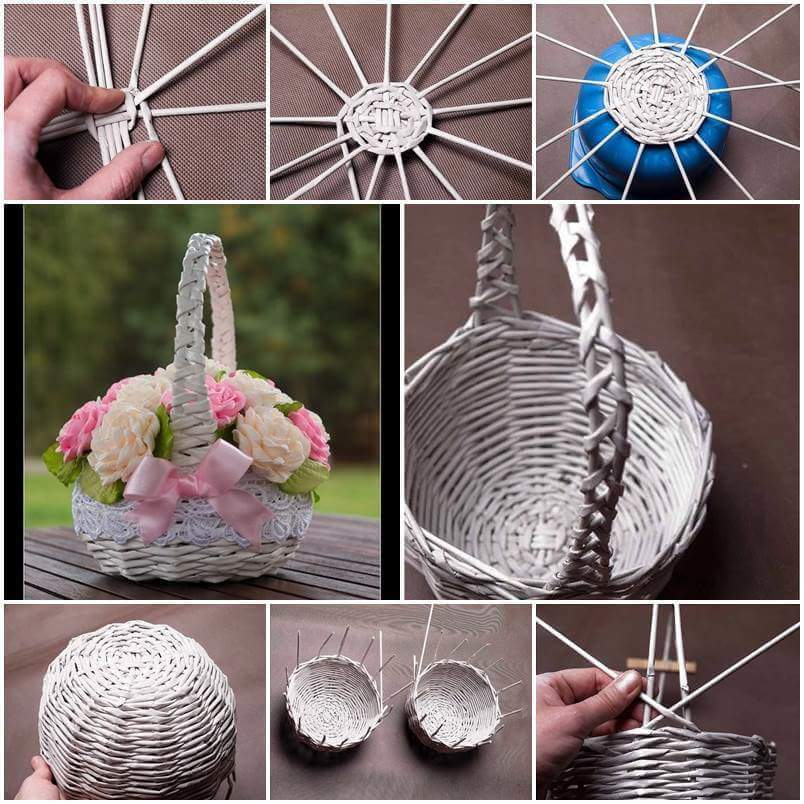
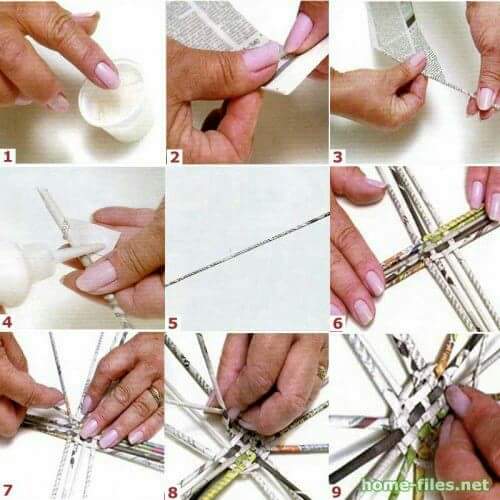
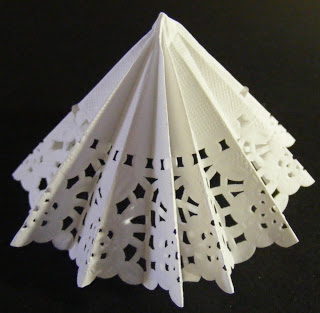
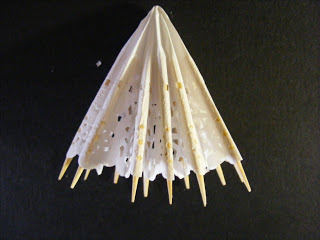
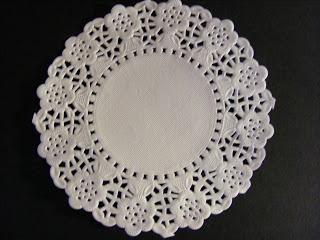 We fold the lace in 12 equal parts.
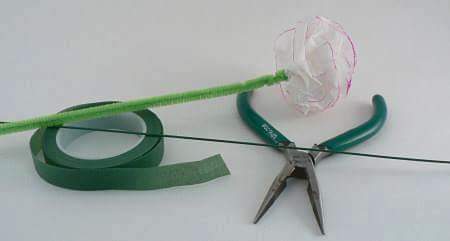
 In each double the sticks, previously coratados of the same size, are glued.
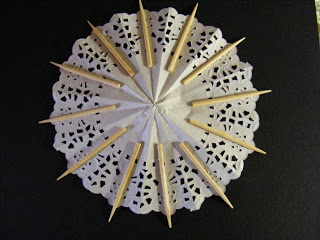
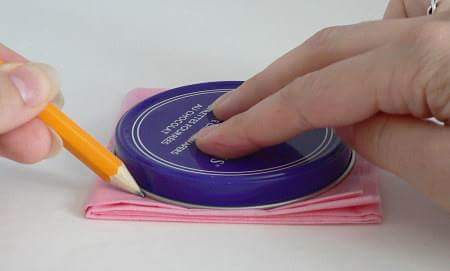
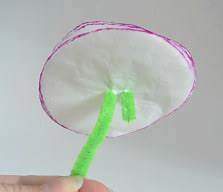
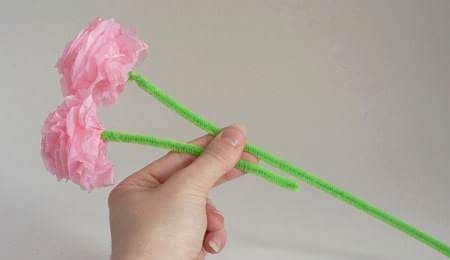
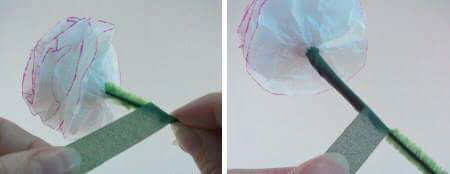
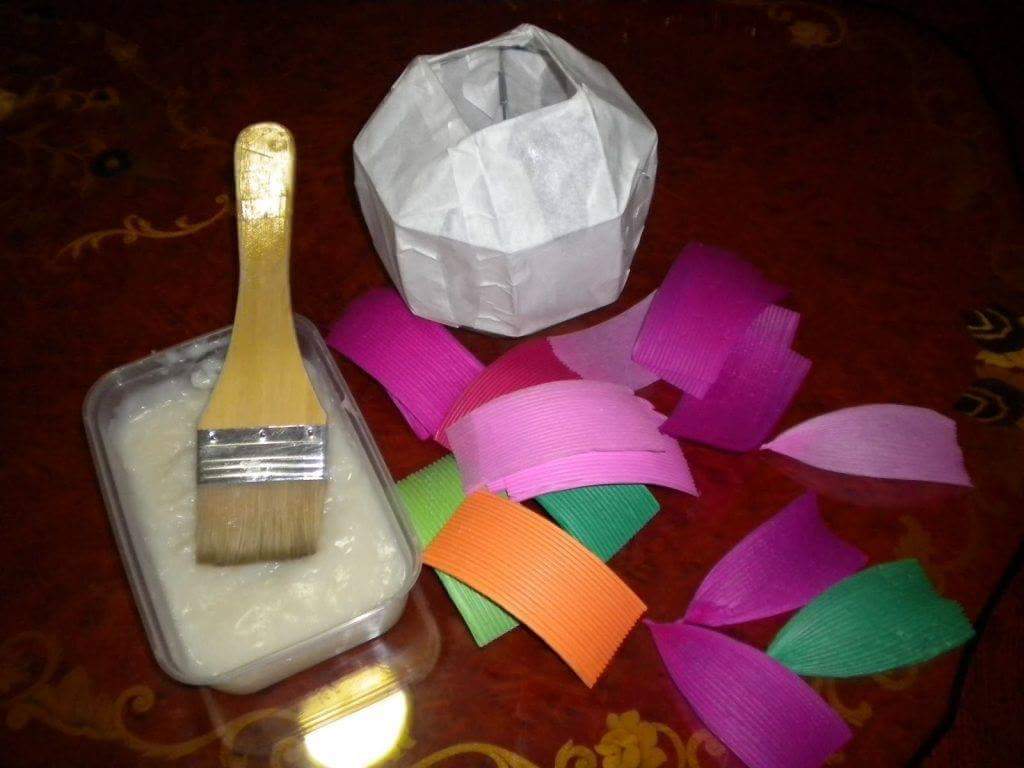
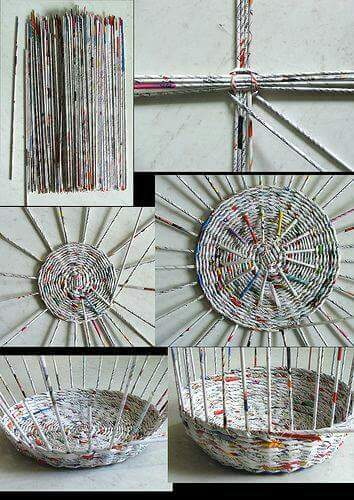
 Put some paper on the skewer stick.
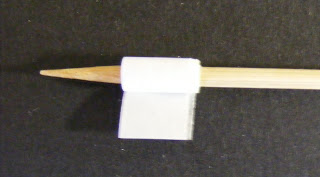 We passed through the center of the paper of the blonda.
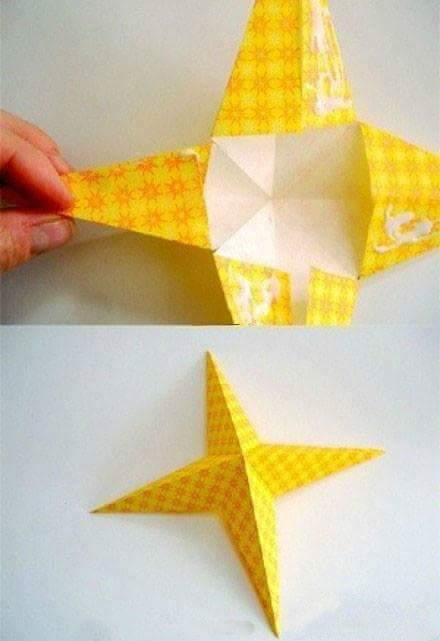
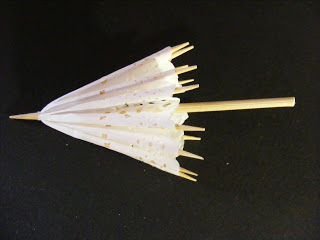 We put the pearls or rocayas in each point, of the color that one wants more.
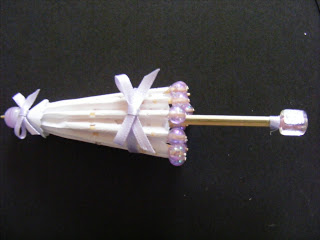
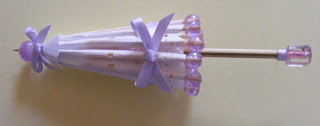
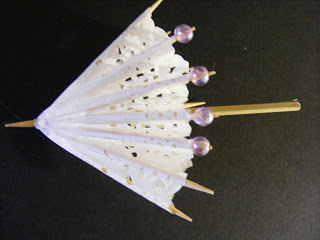 We make a detail to put it in the tip, soon, we add another pearl or racaa and we decorate it with a very small bow.
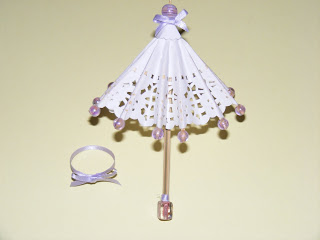
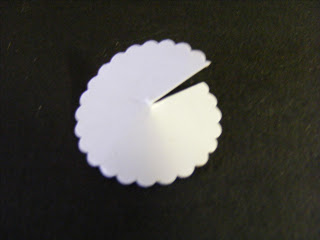
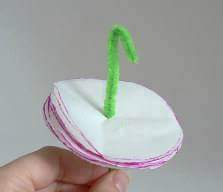
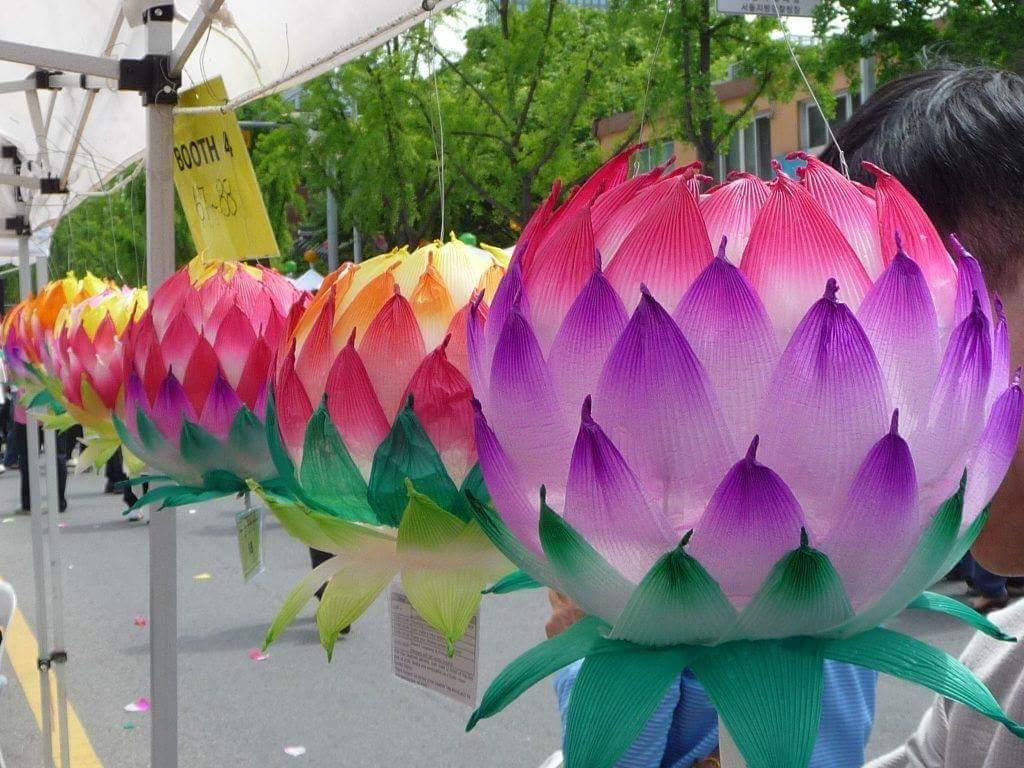
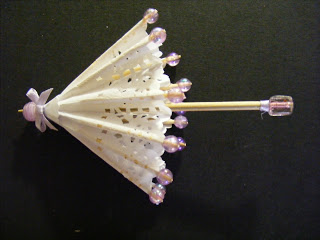 And so we have a very funny umbrella and you can give it many uses.