Beautiful Newspaper tubes jar or vase: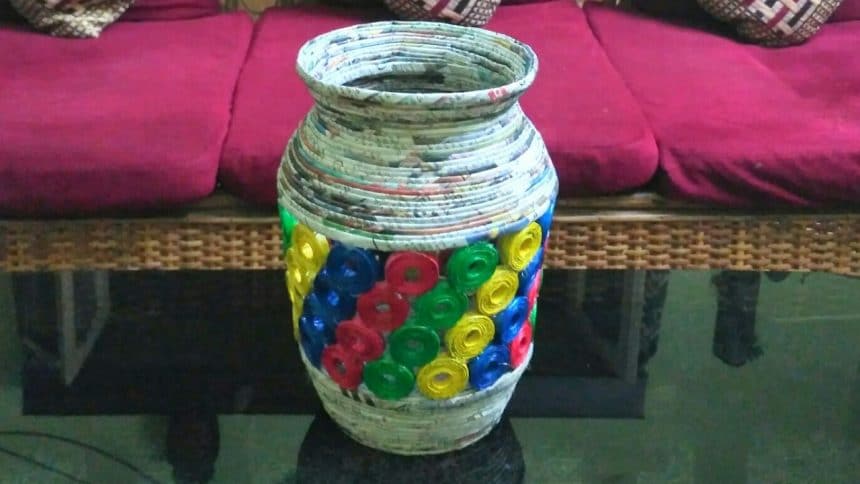
How to make a newspaper tubes jar or vase
Get Daily Art and Crafts Ideas & Tutorials…
Beautiful Newspaper tubes jar or vase:
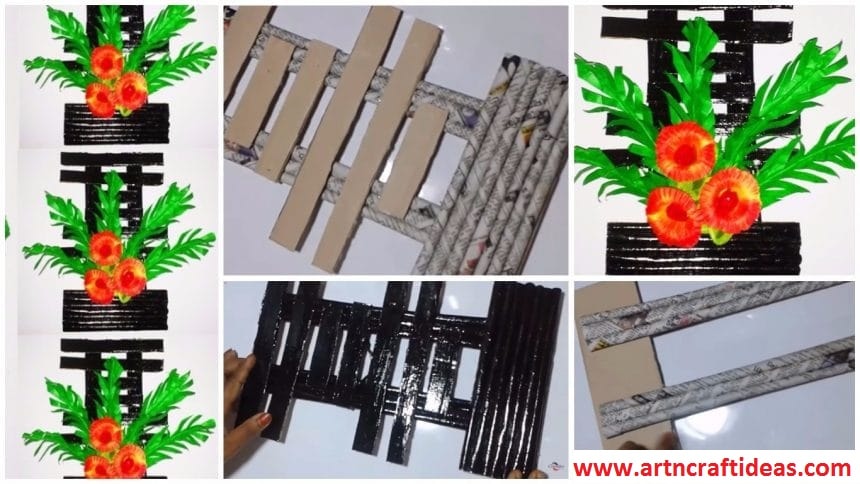
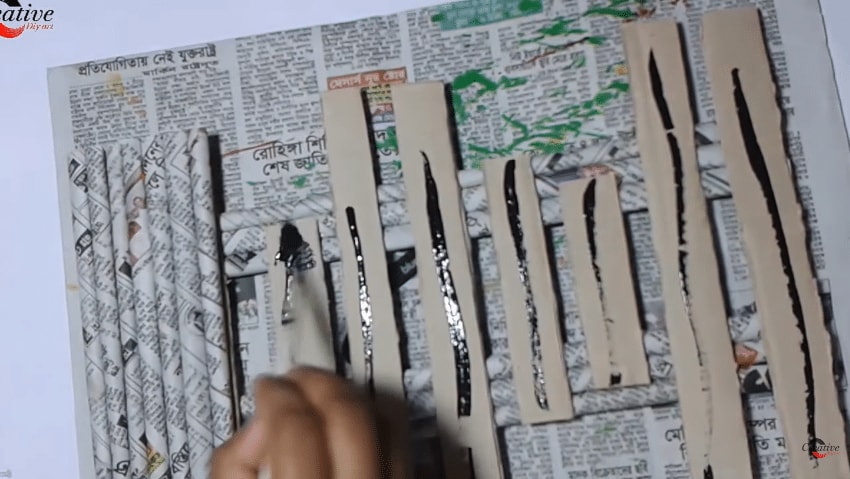
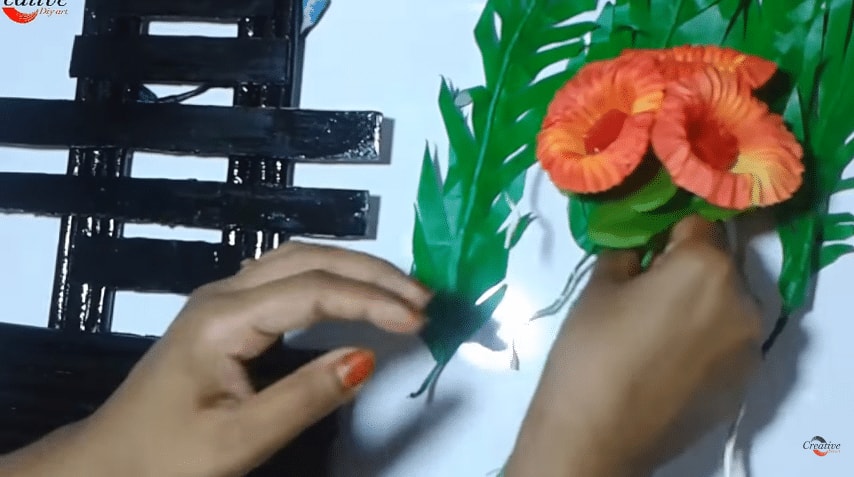
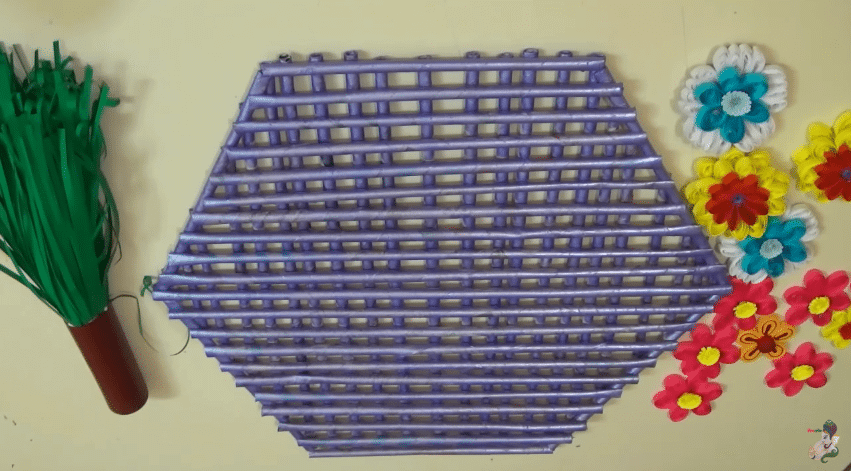
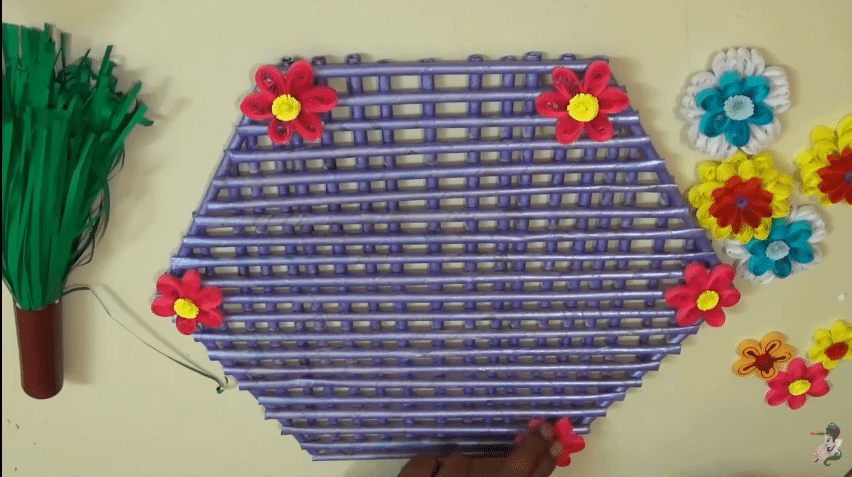
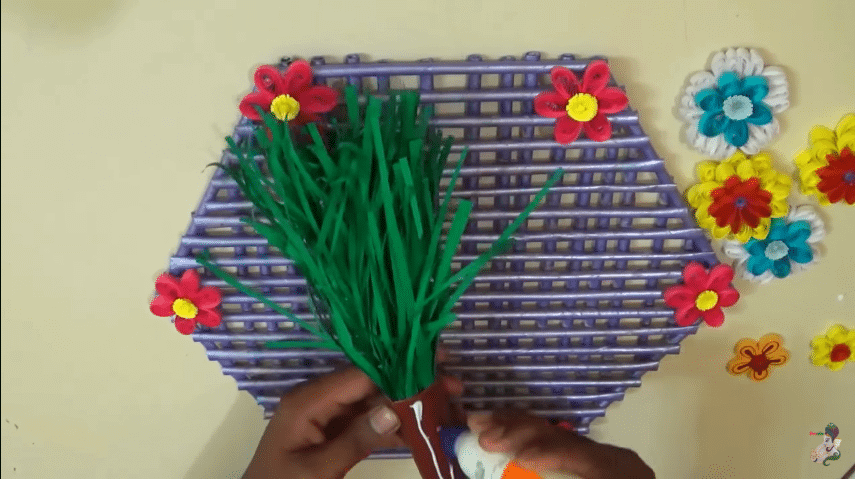
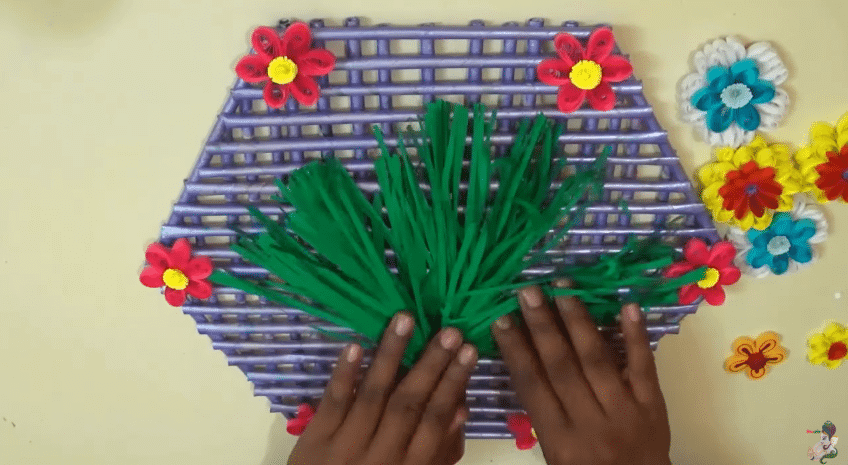
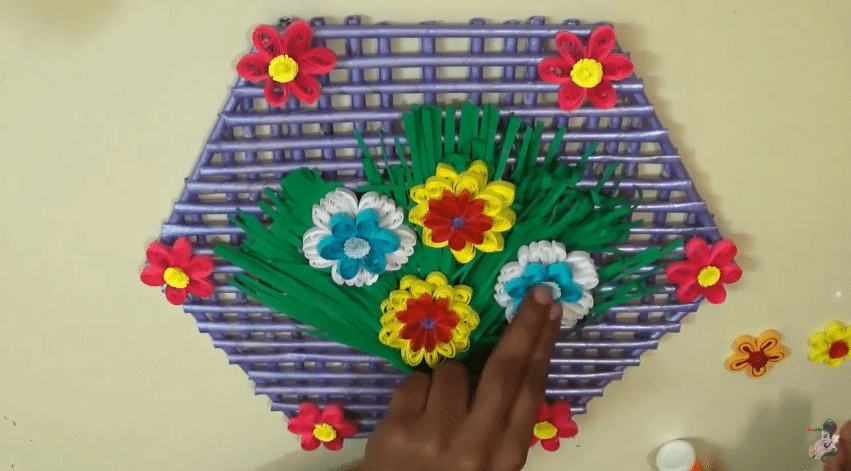
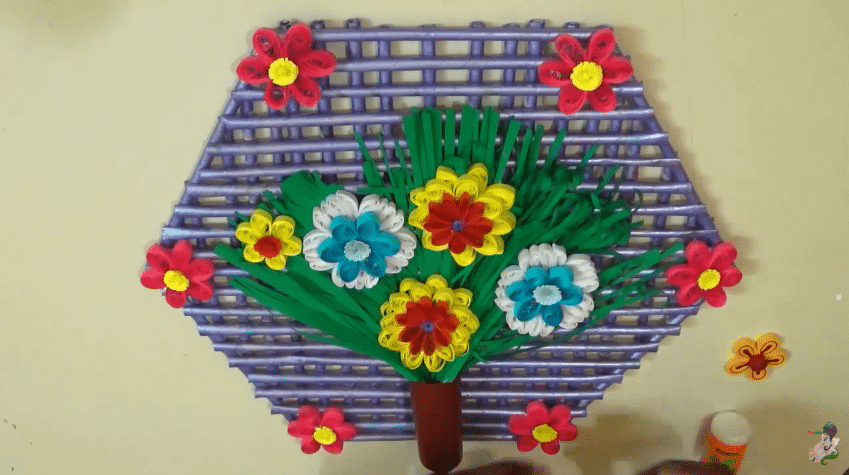
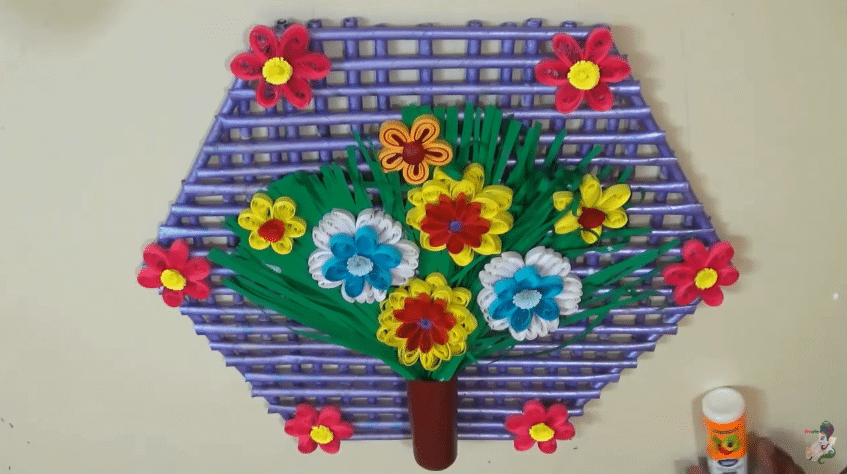
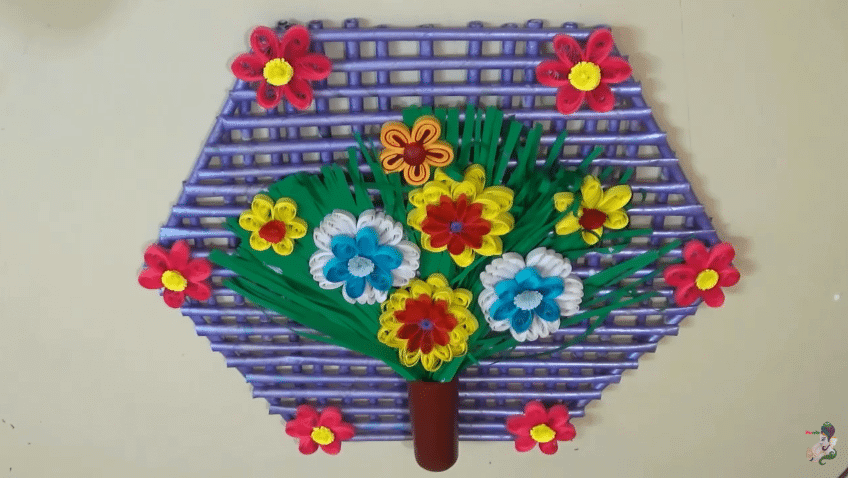
Beautiful Handmade Newspaper Wall Hanging (Best Out Of Waste)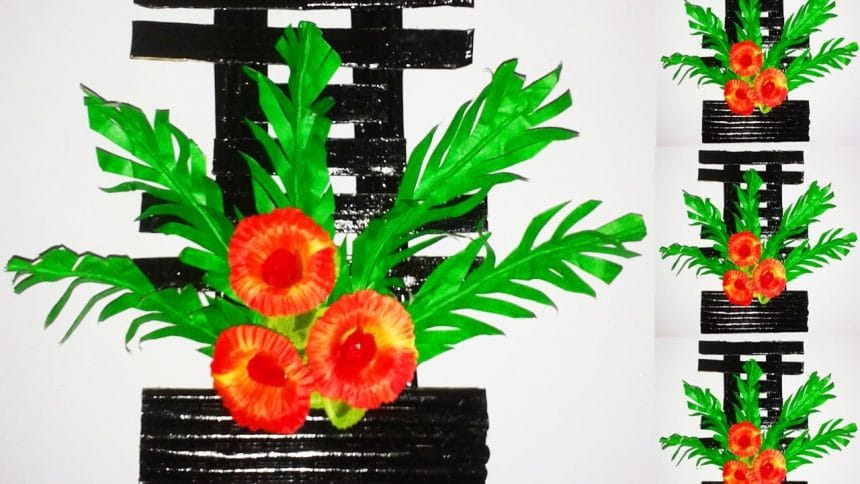

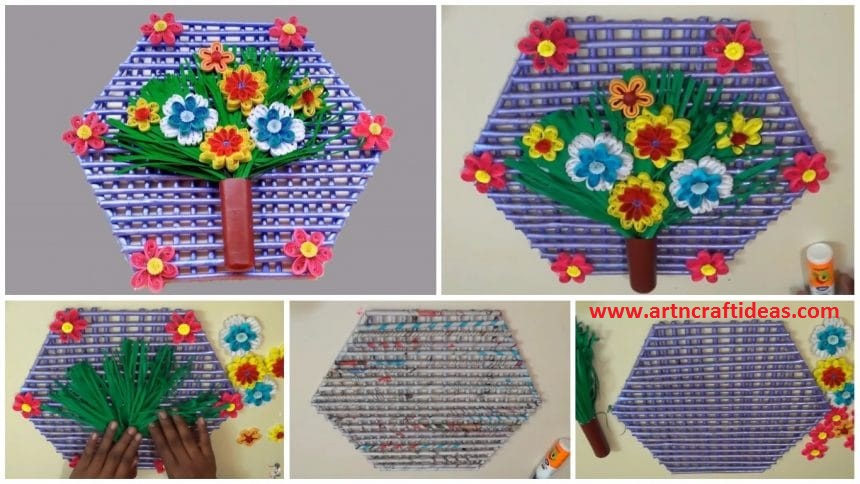
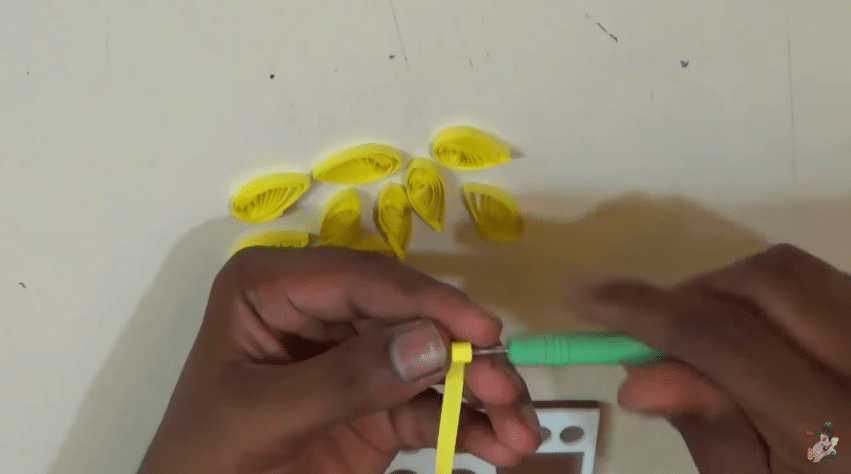
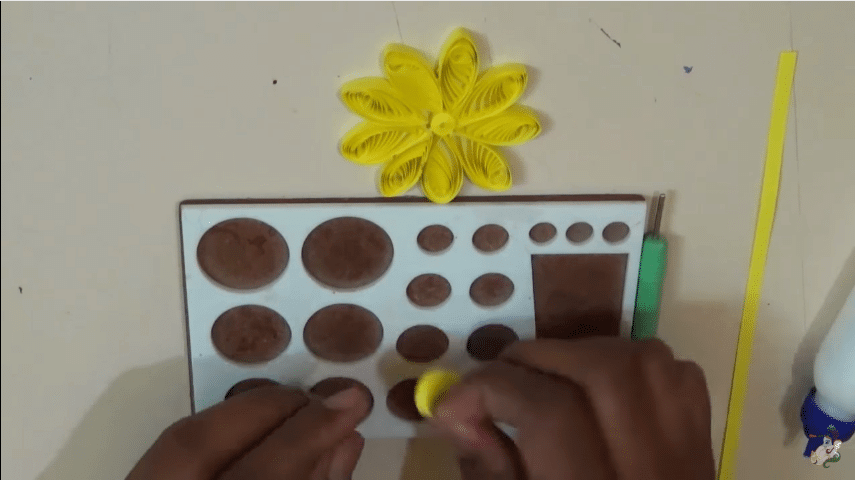
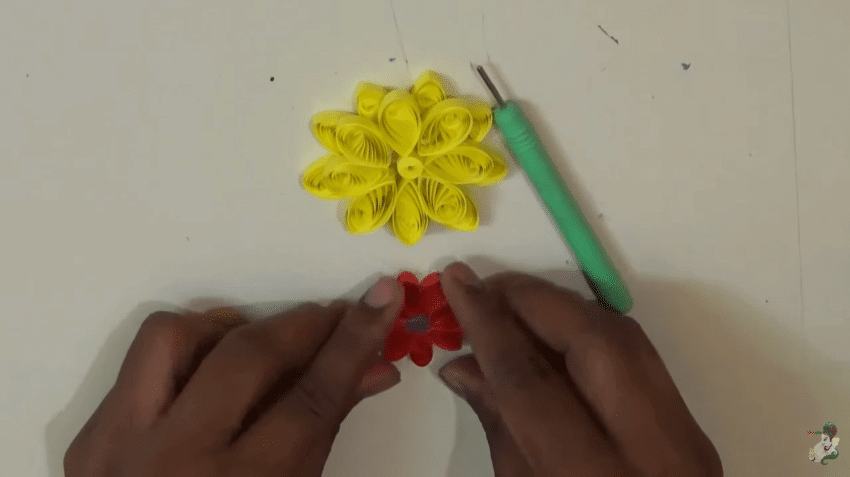
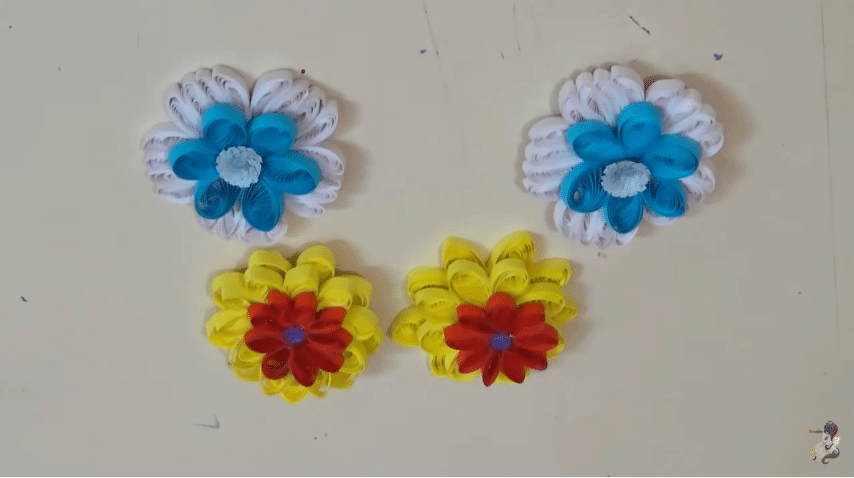
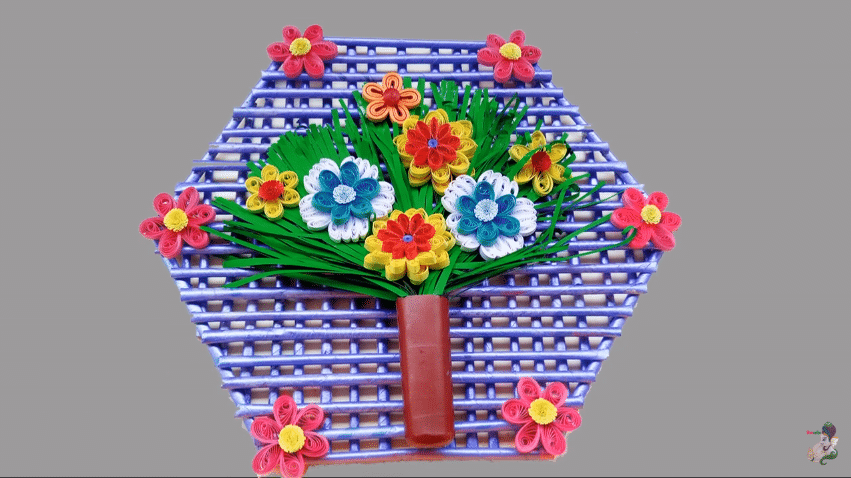
Paper Quilling Wall Hanging for Room Decoration:
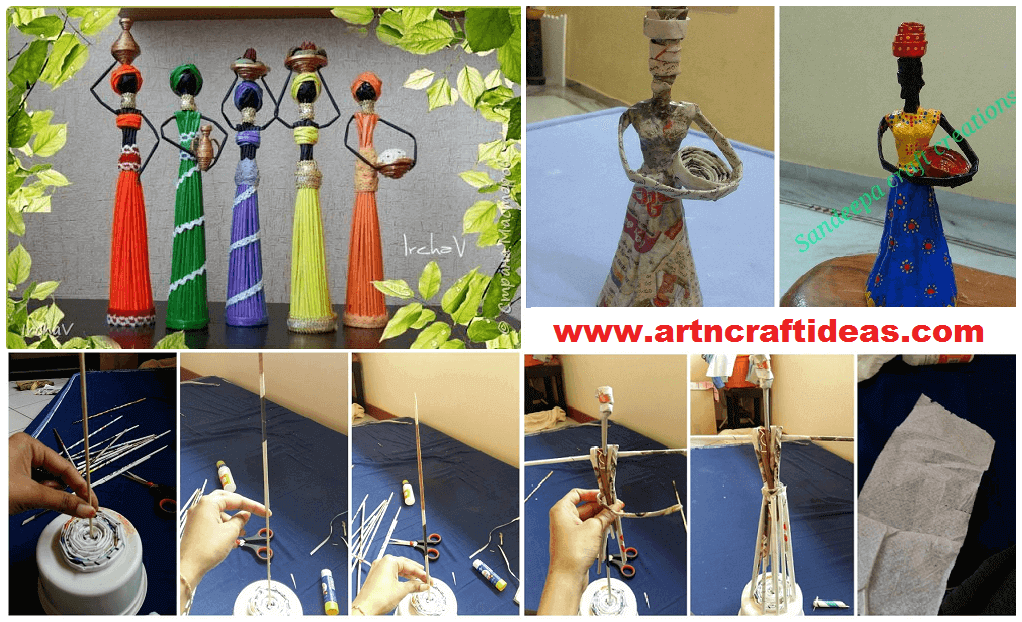
Wonderful African Doll from Newspaper Tubes:

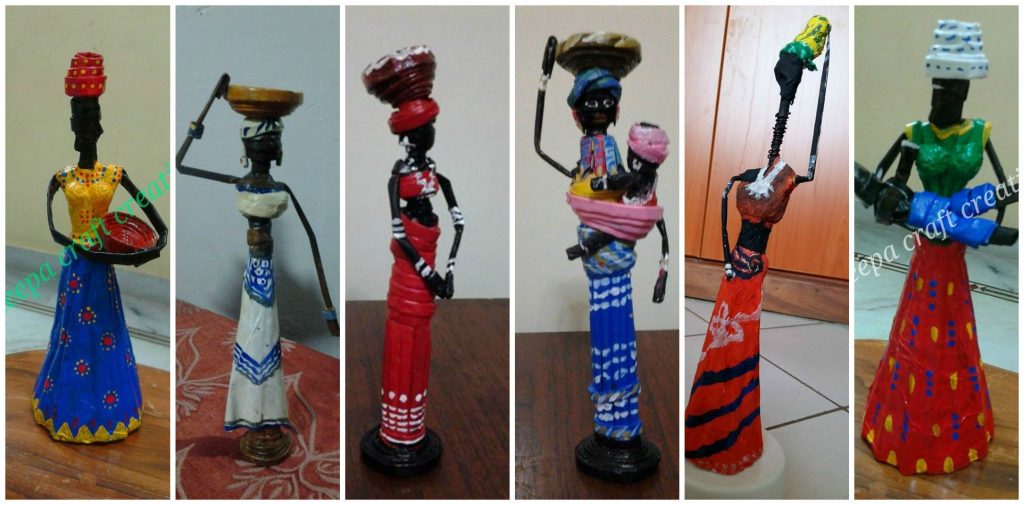
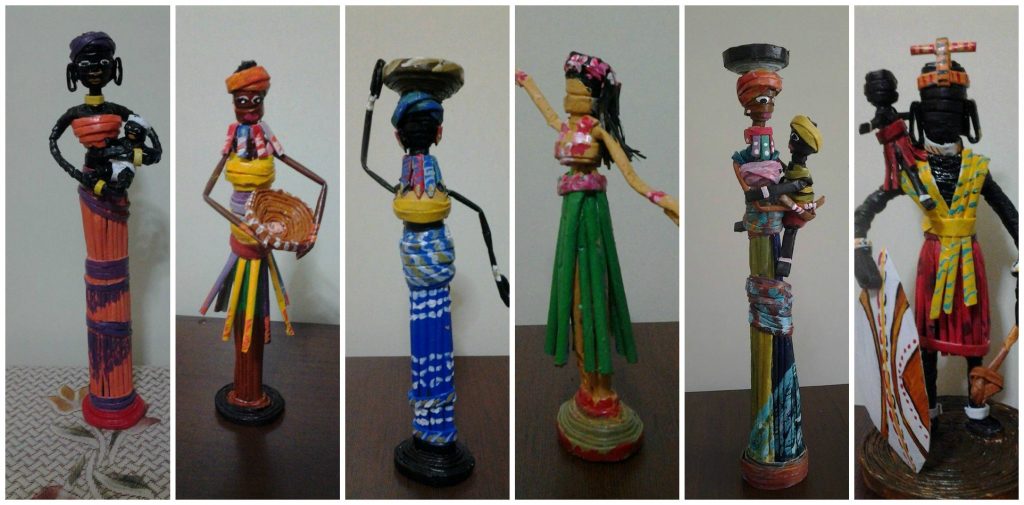

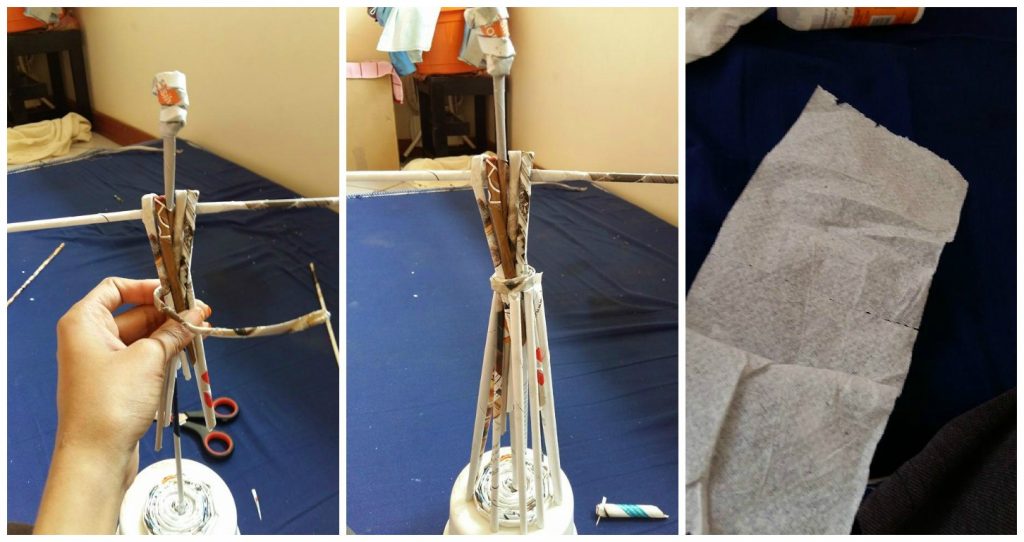
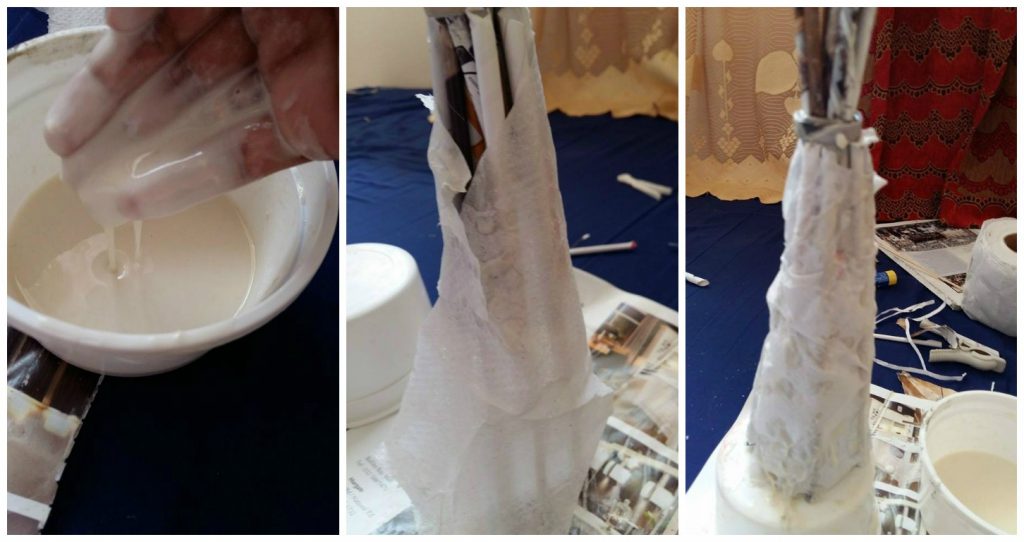
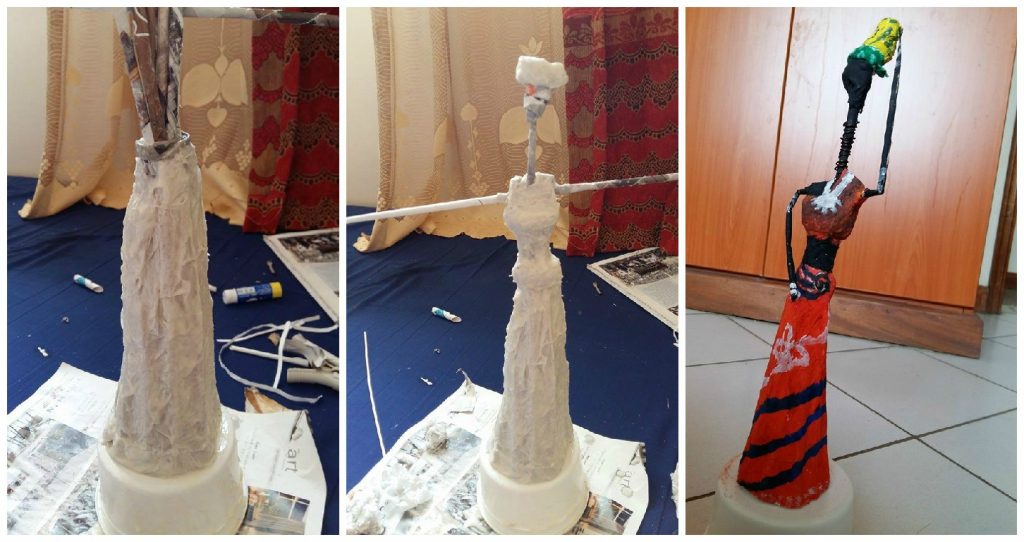
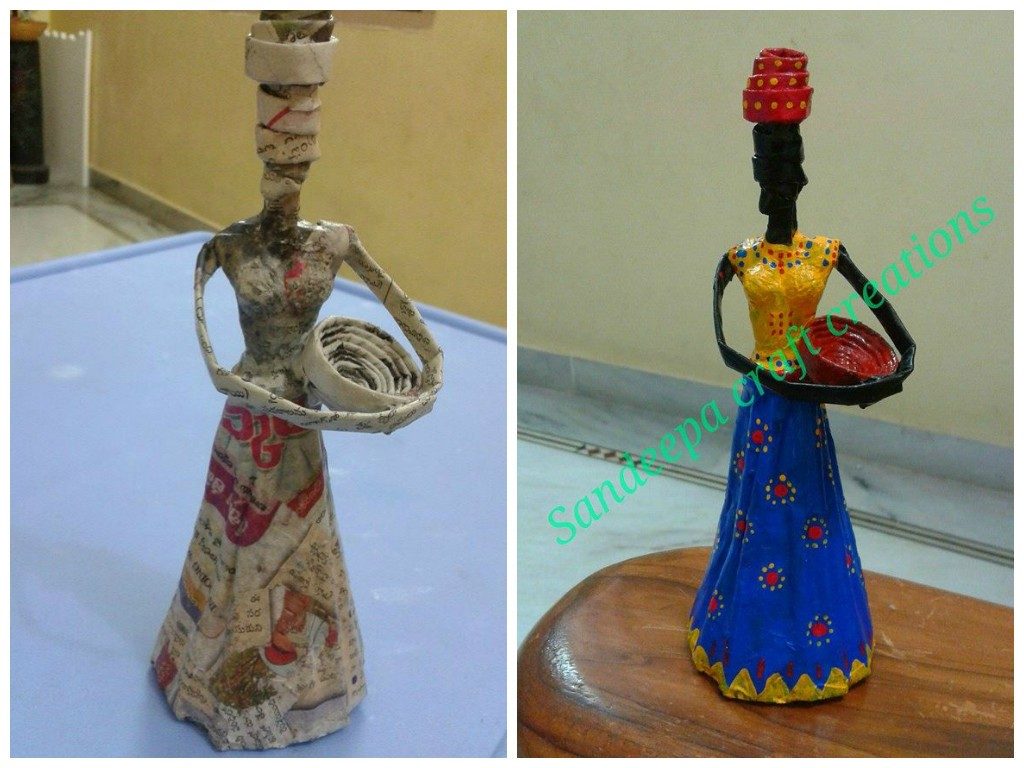
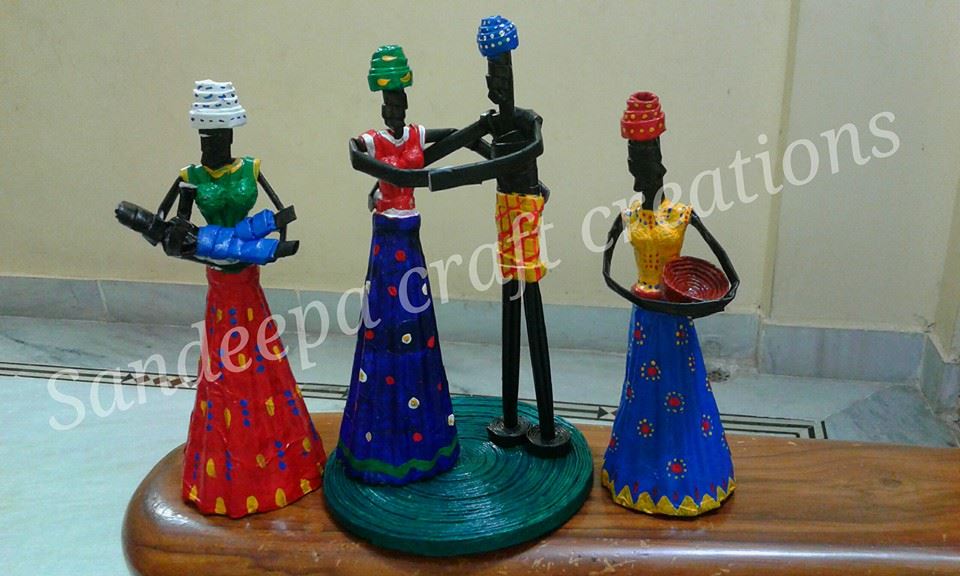
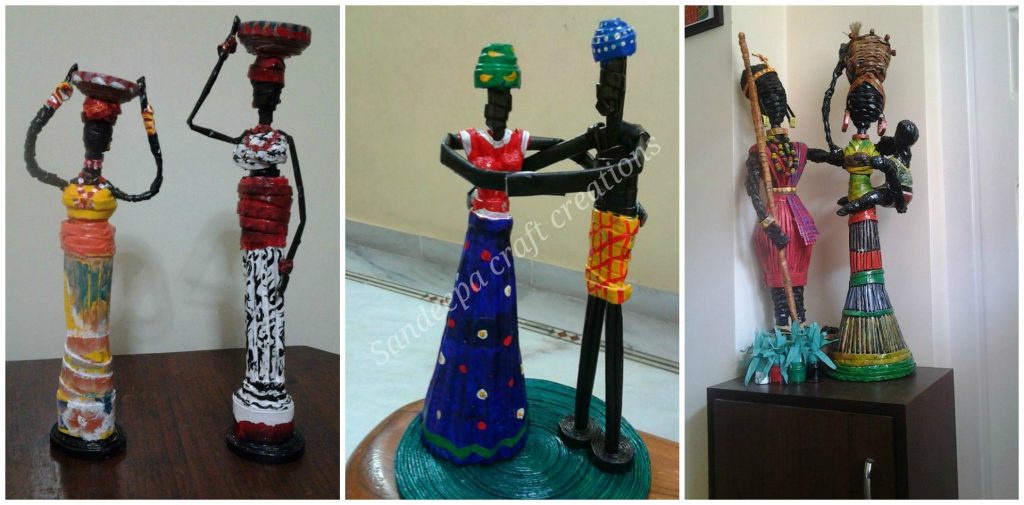

Courtesy: Neeta’s Art & Crafts
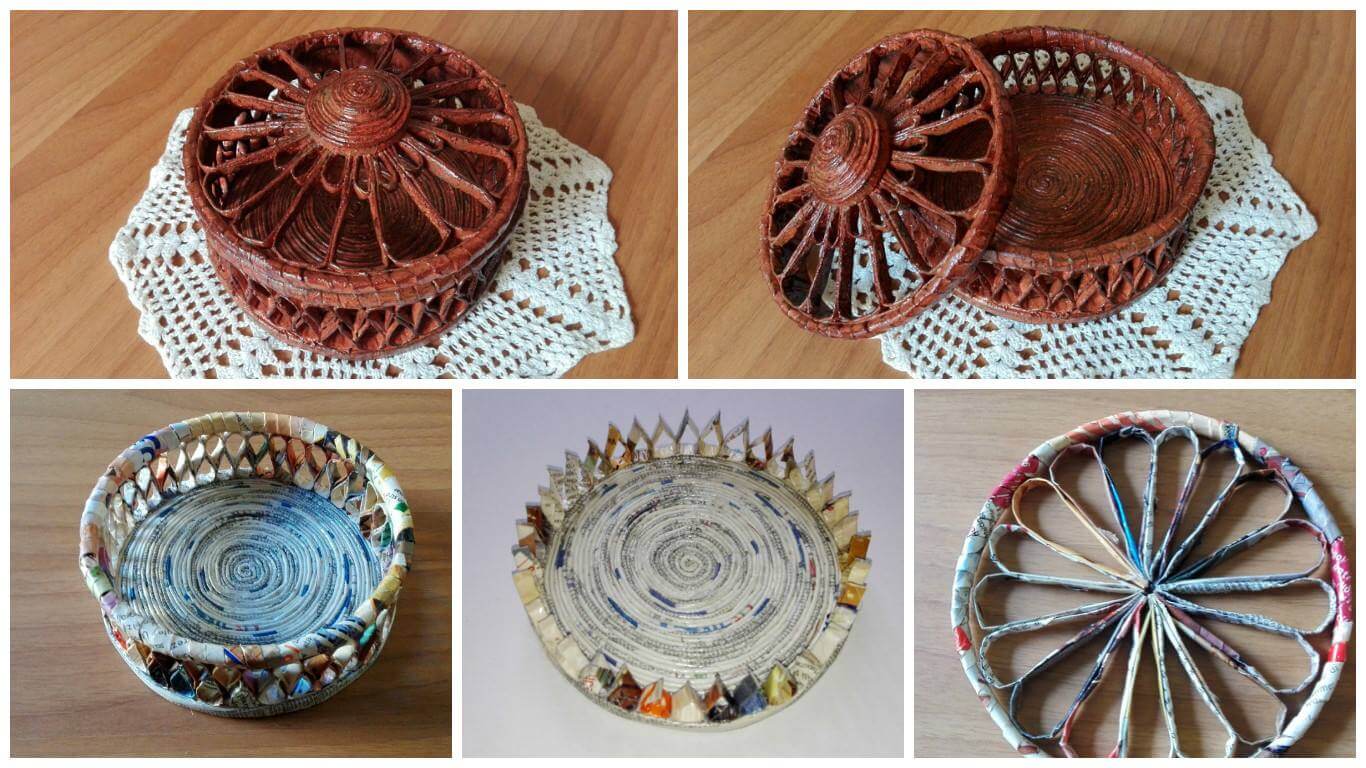
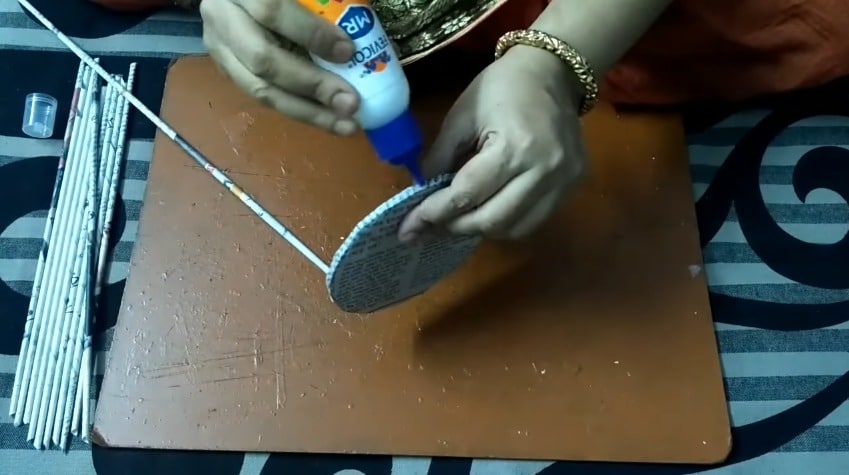
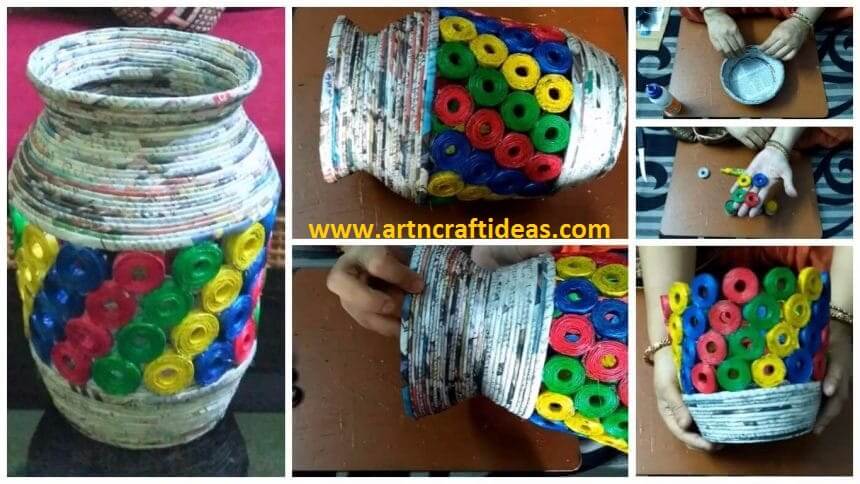
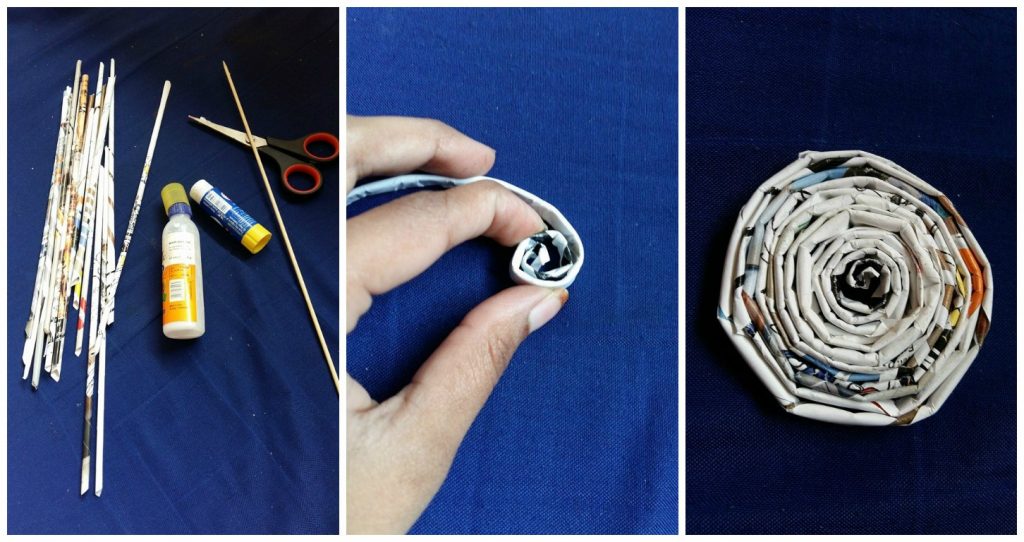
I continue with my boxes made with paper tubes, this time I made it round!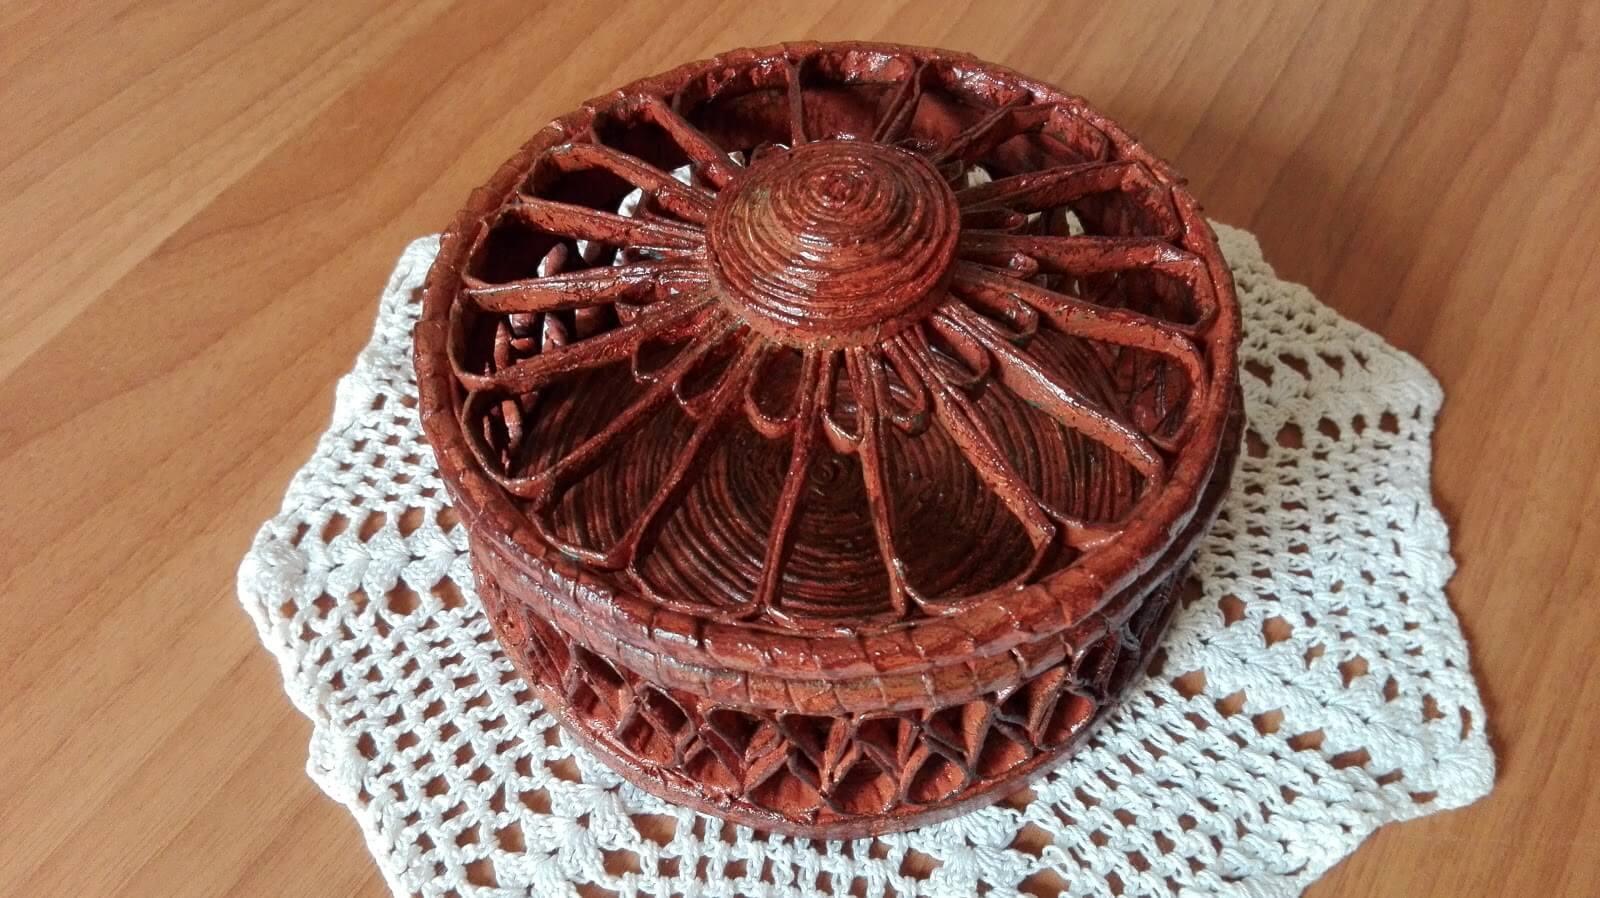
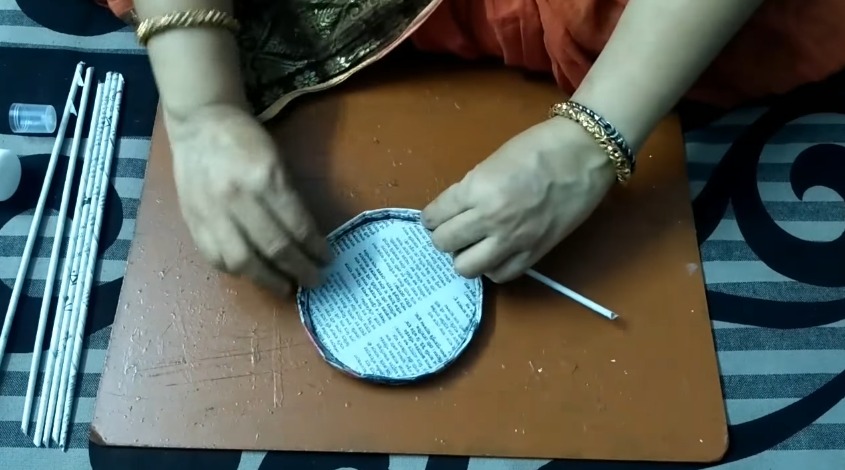
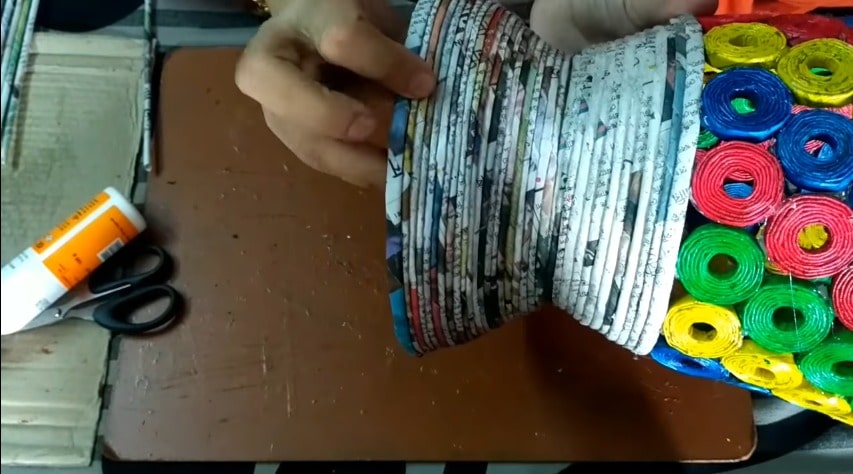
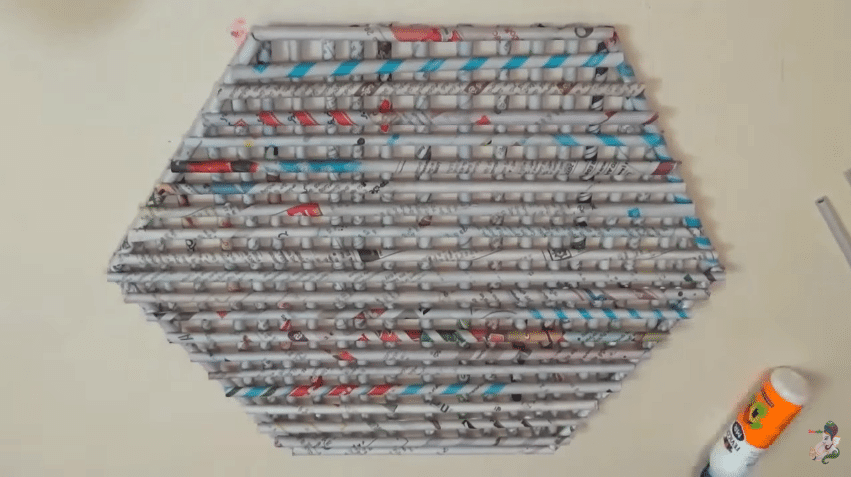
 I made the box below the coiling on itself the first tubes and continuing until you have a round of 15 cm in diameter. I smeared glue well to make it pretty tough.
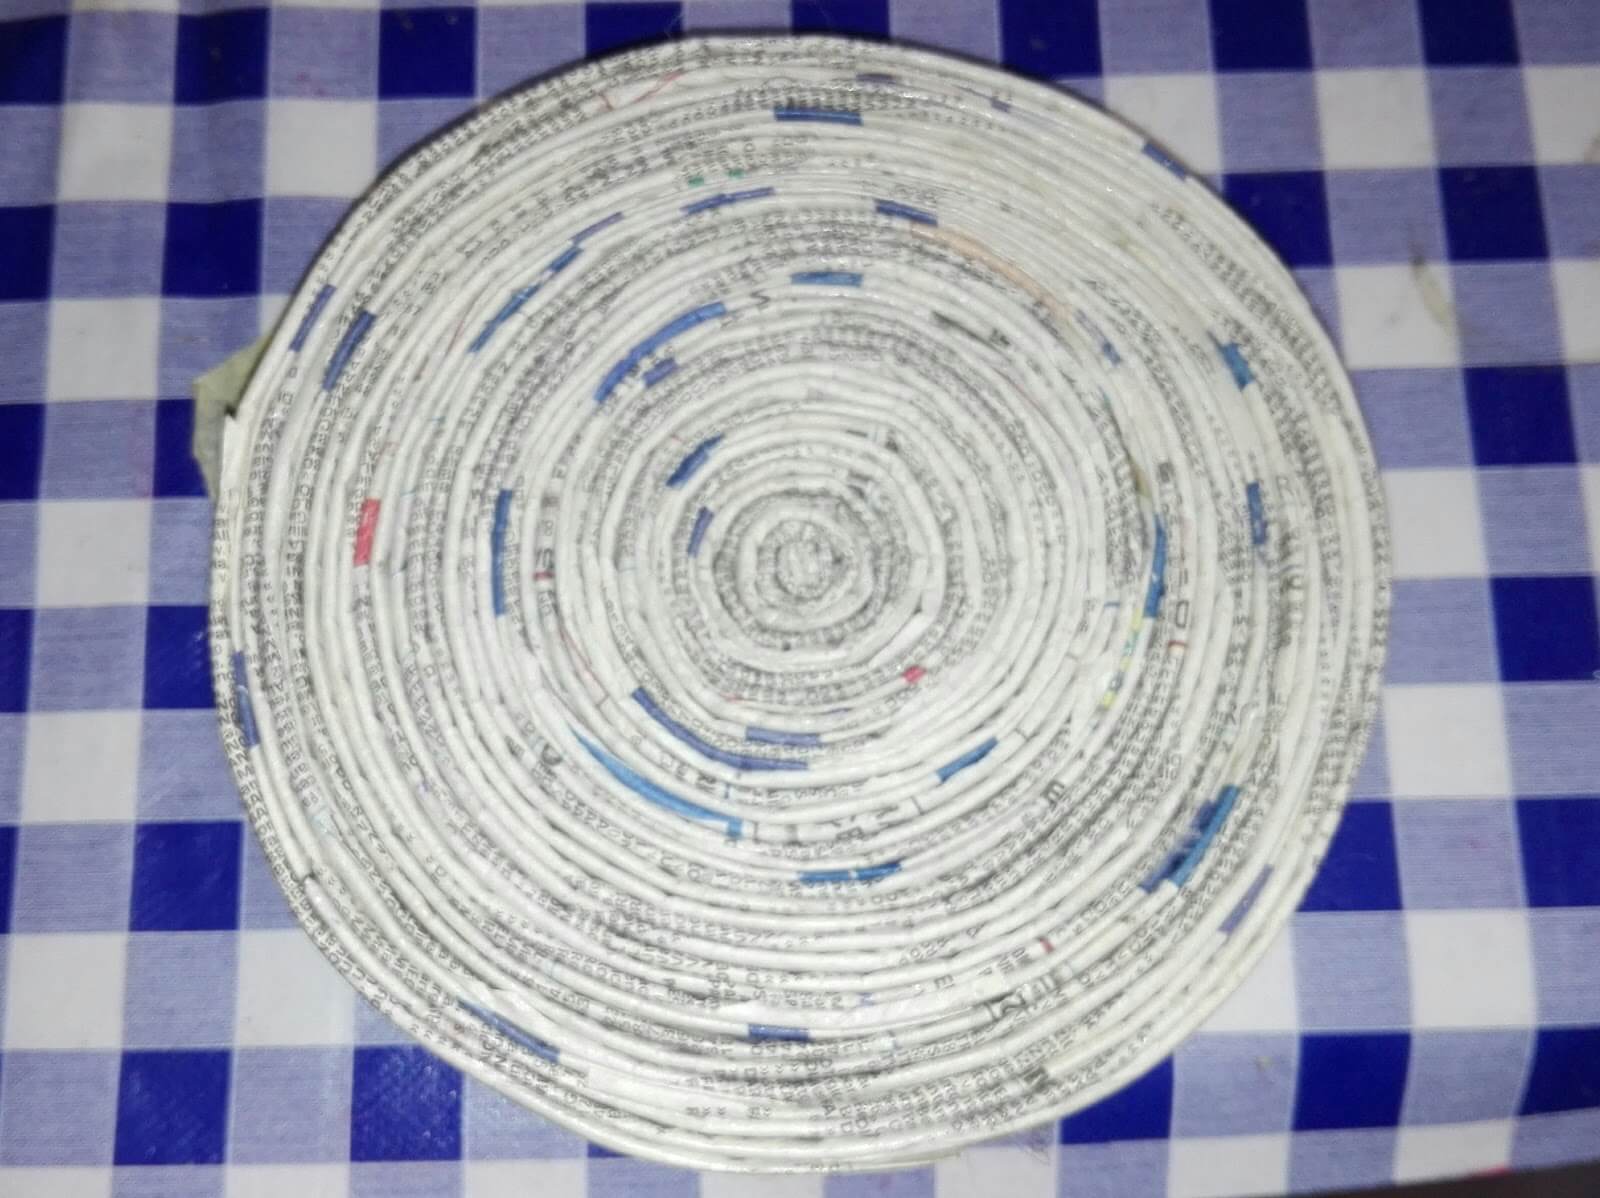
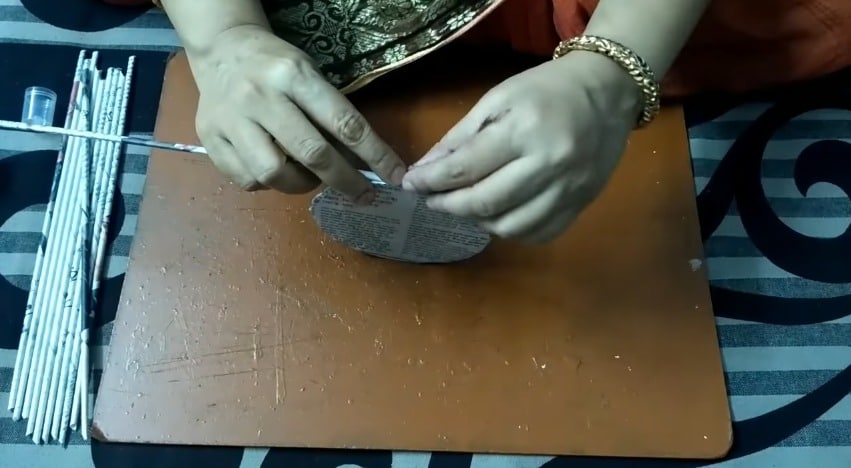
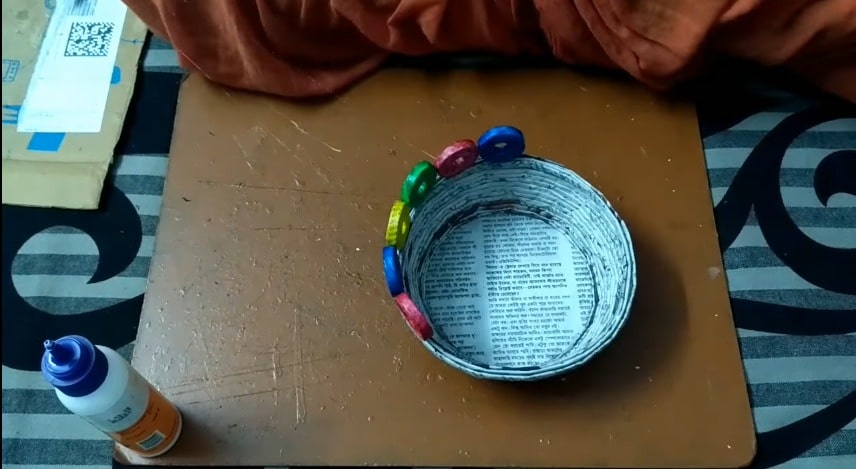
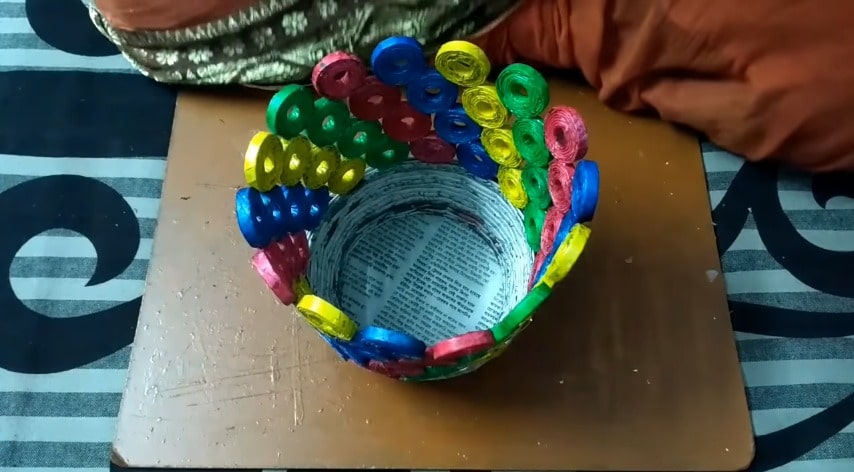
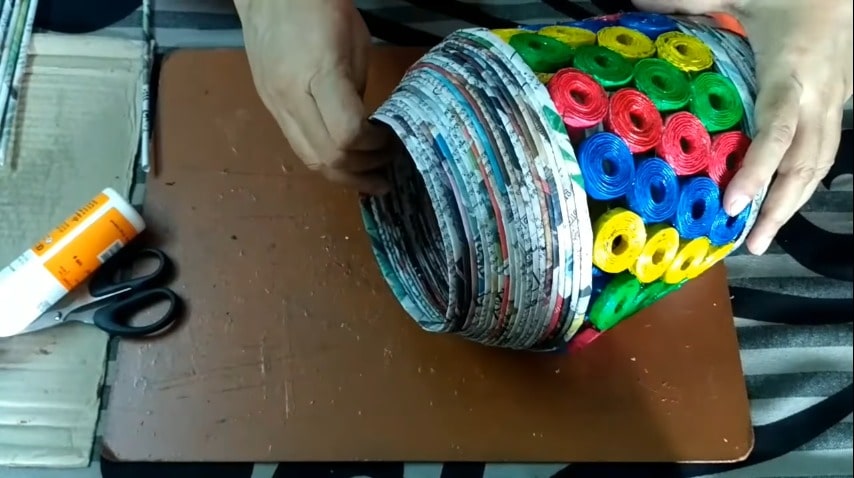
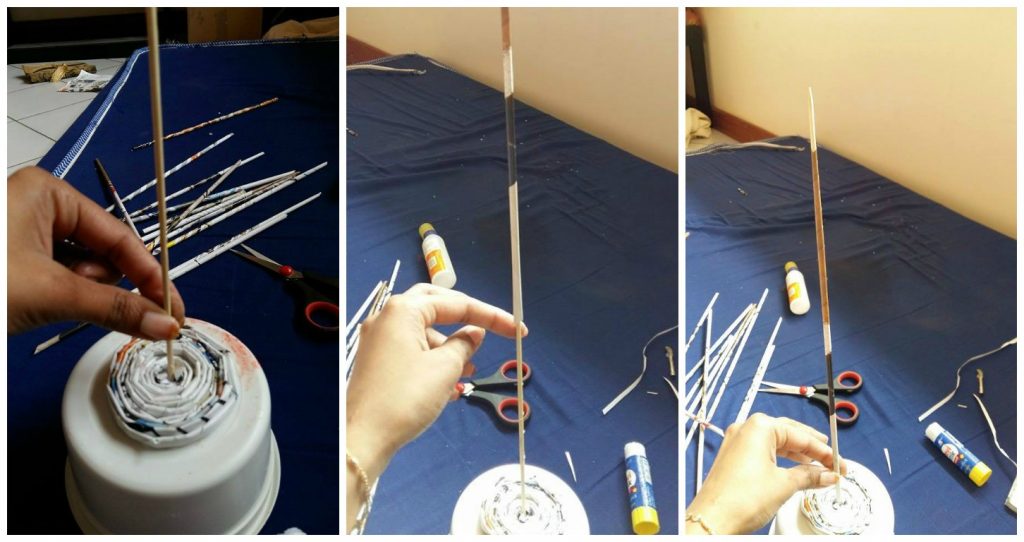
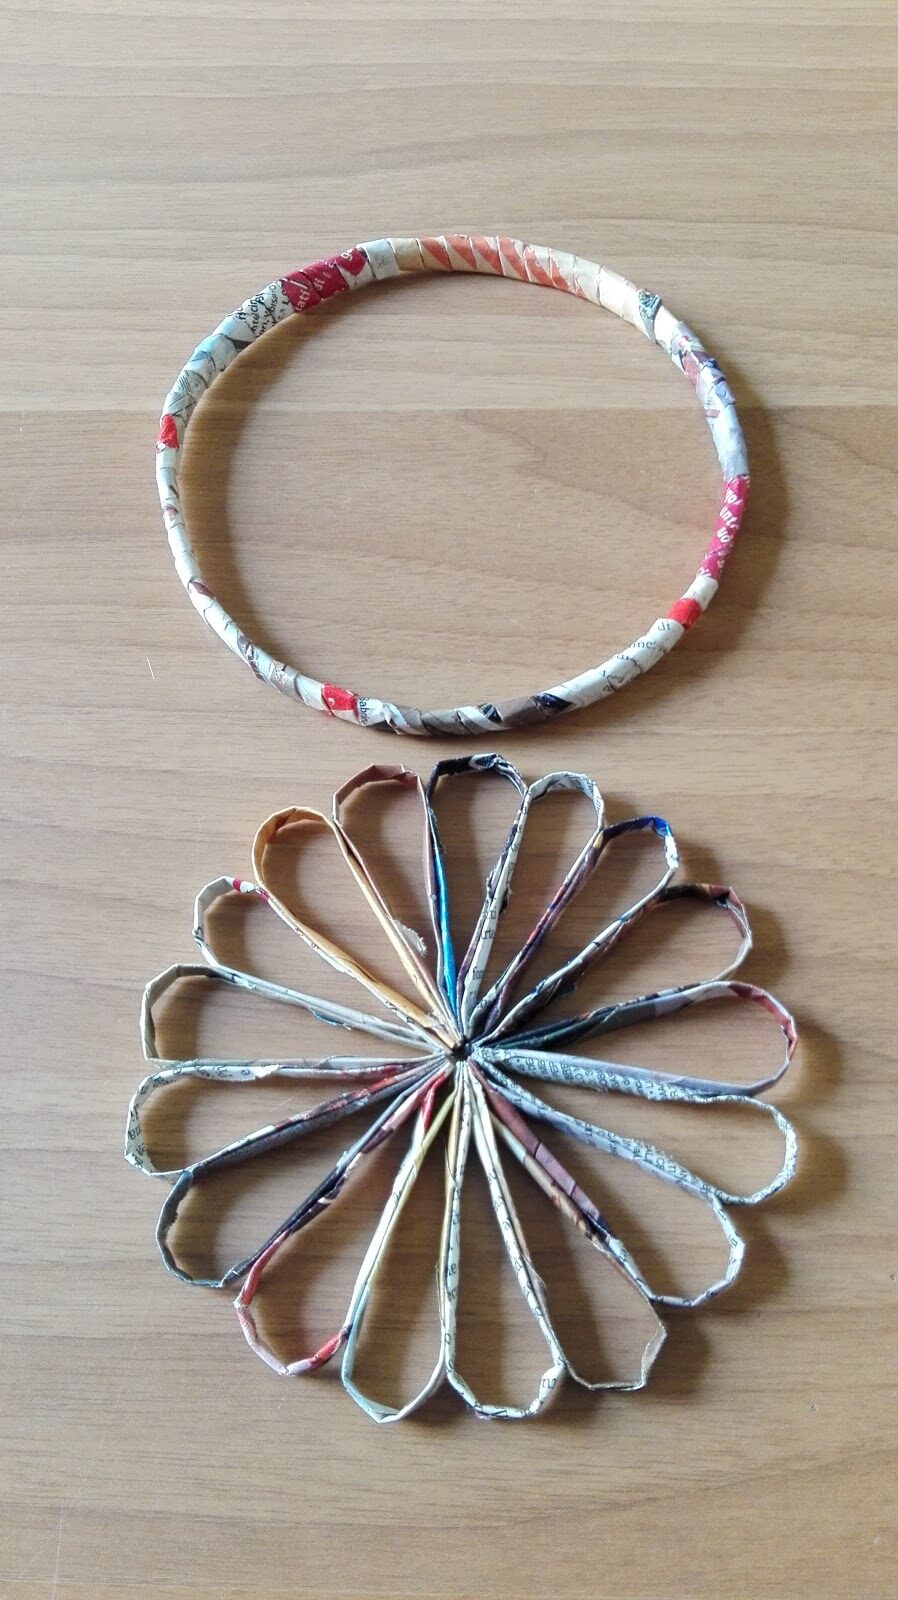
From tubes, I cut 36 pieces 5 cm in length and I folded in half forming around and I glued together the two ends.
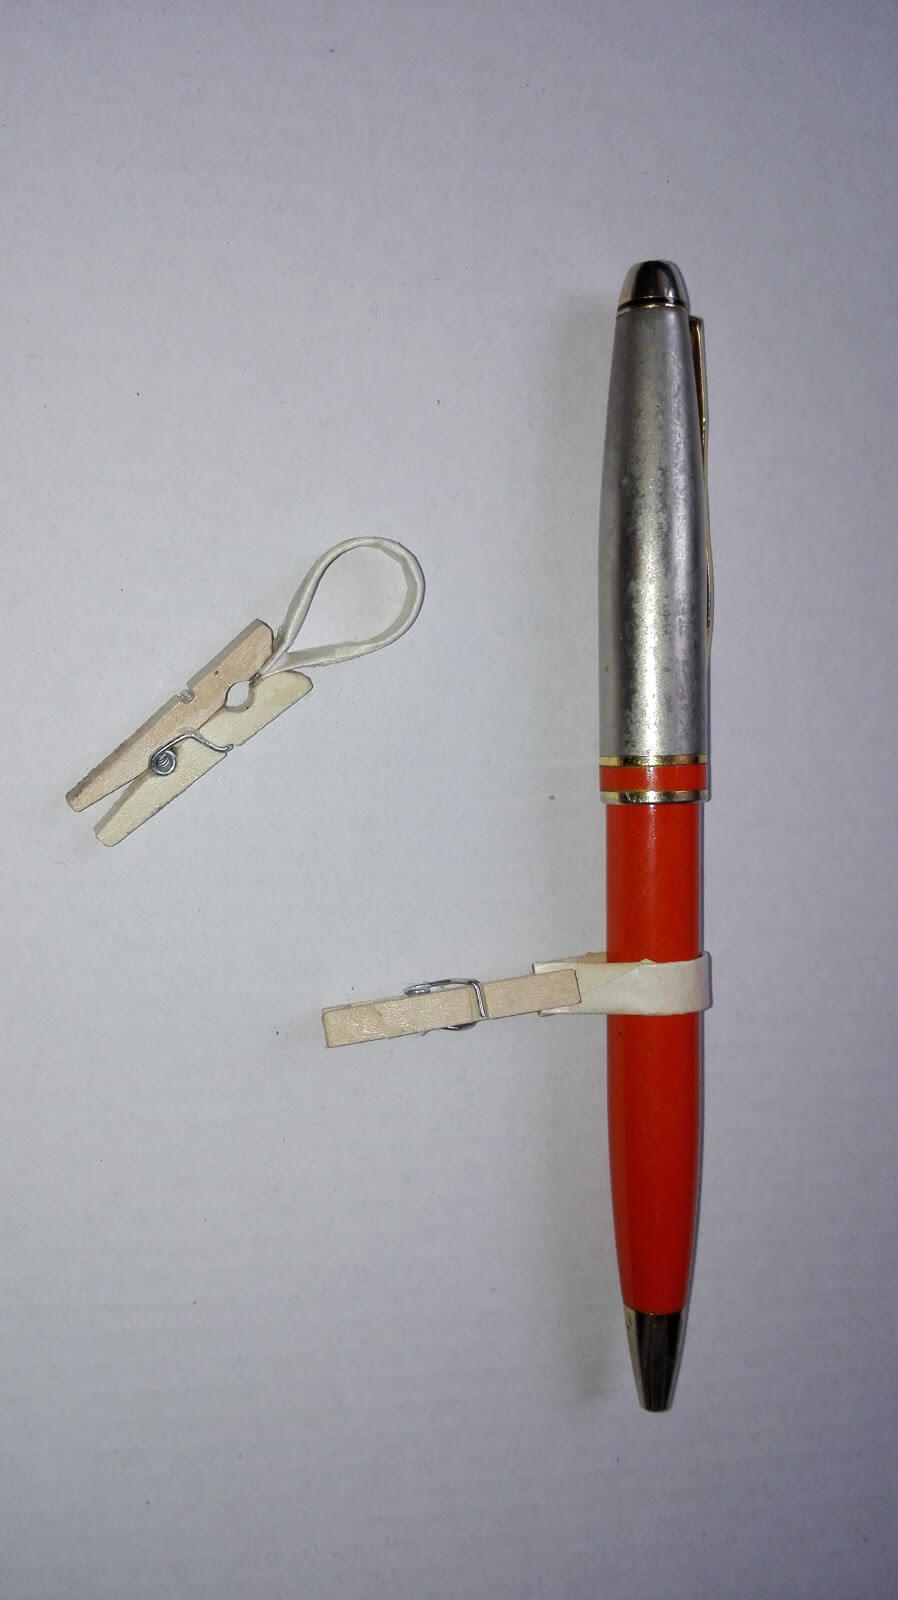
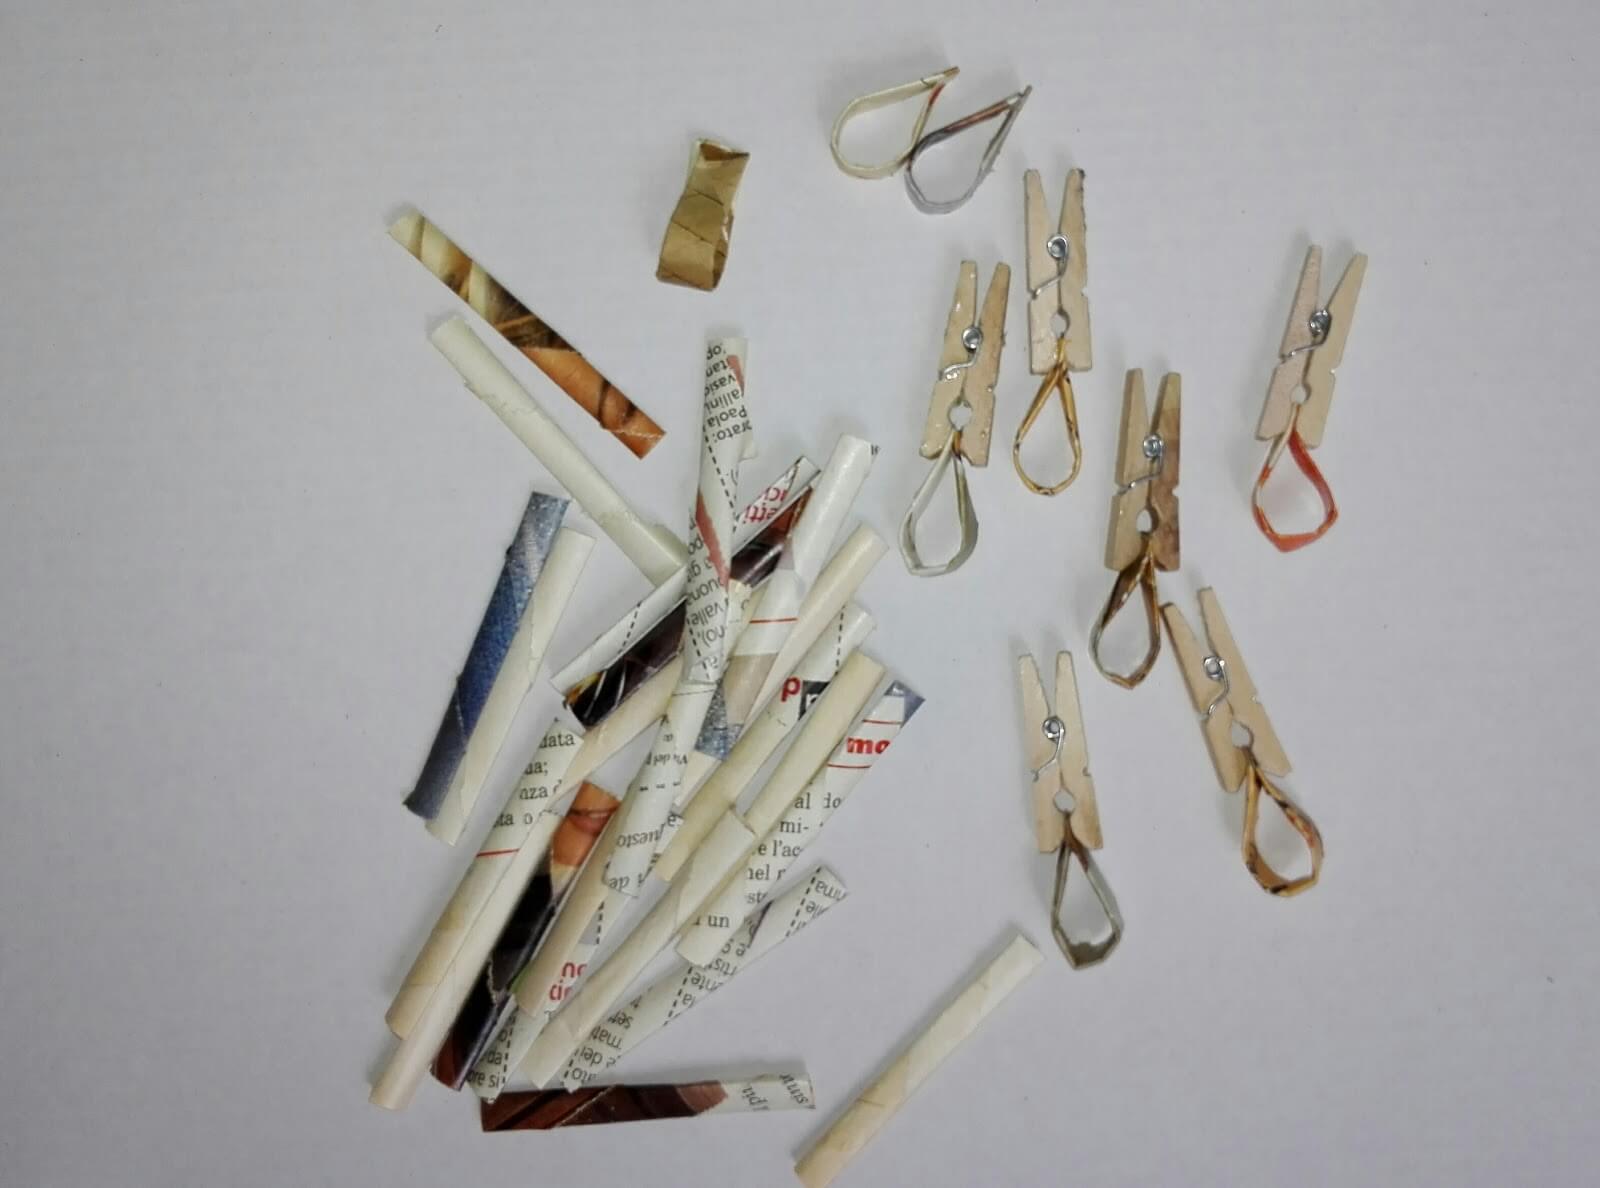 I spent well the glue on the rods and I left to dry them well.
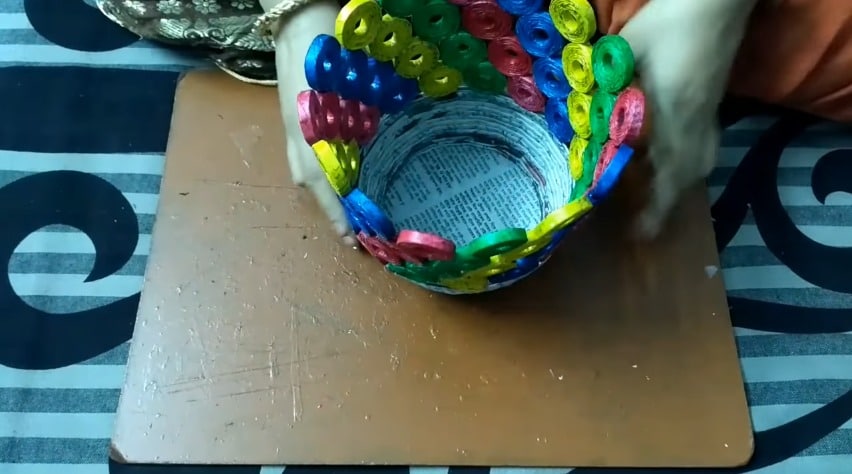
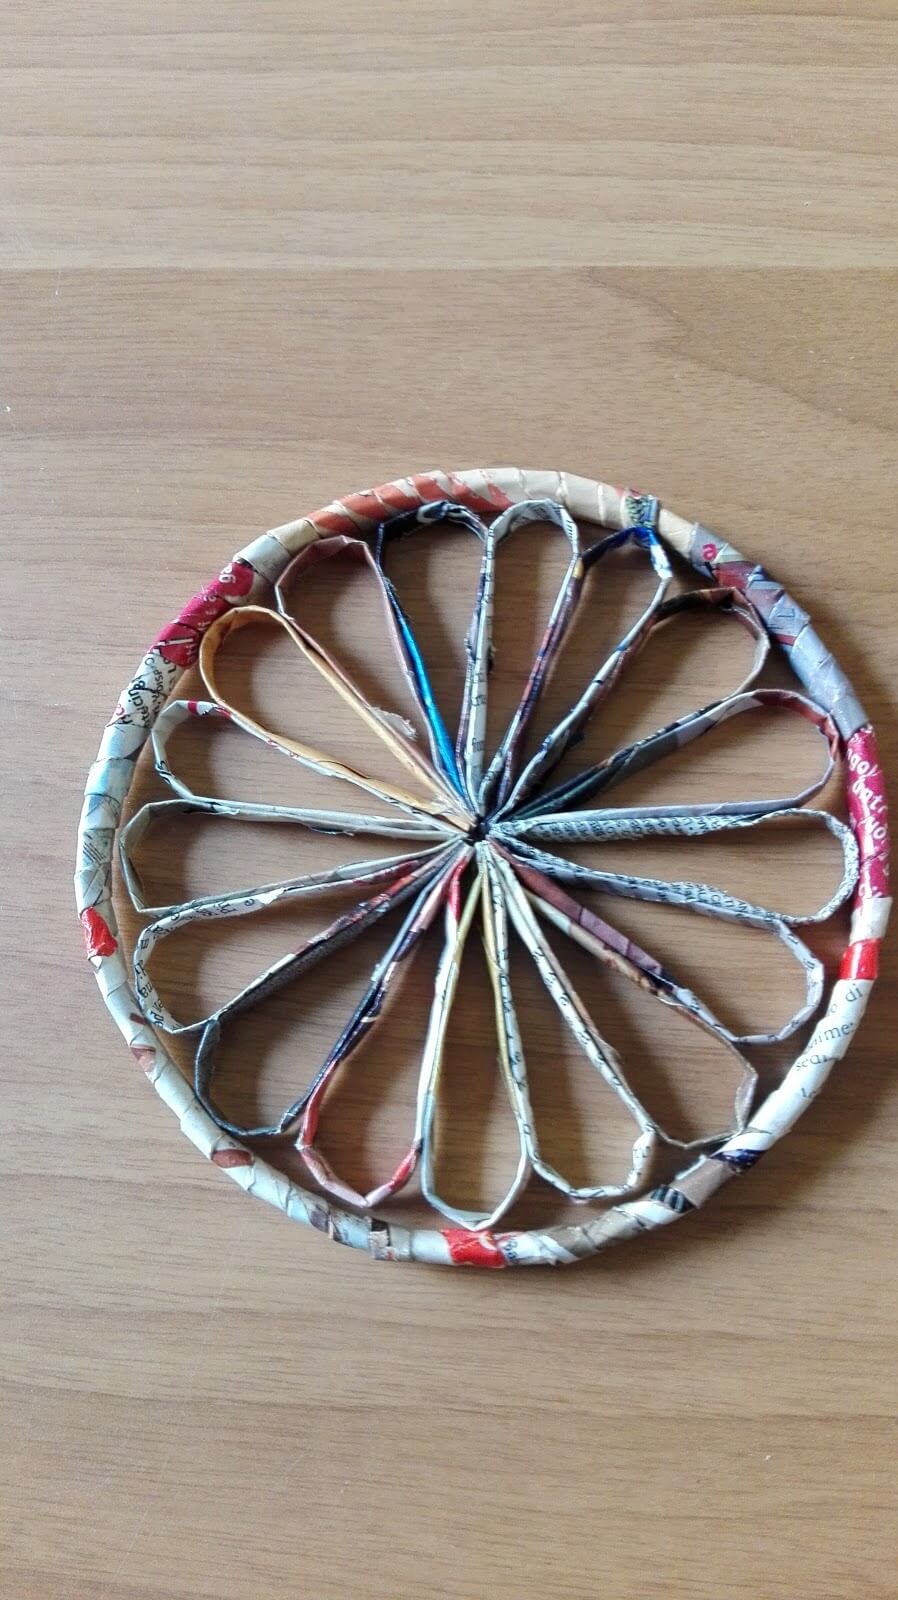
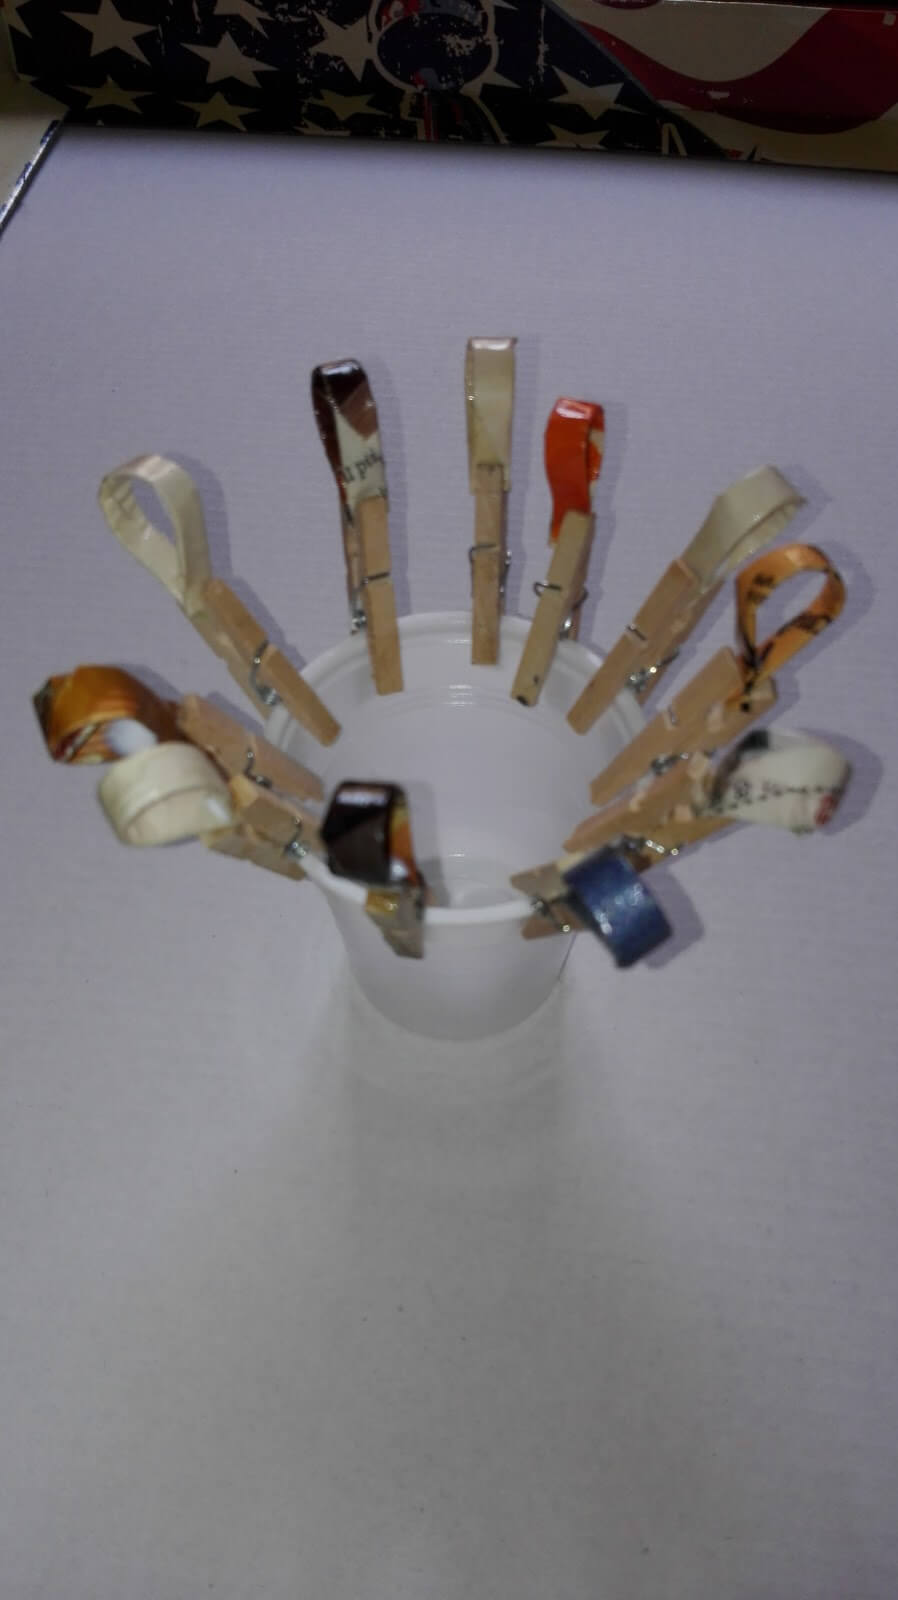 I have them so glued to the bottom of the box as seen in the photo below.
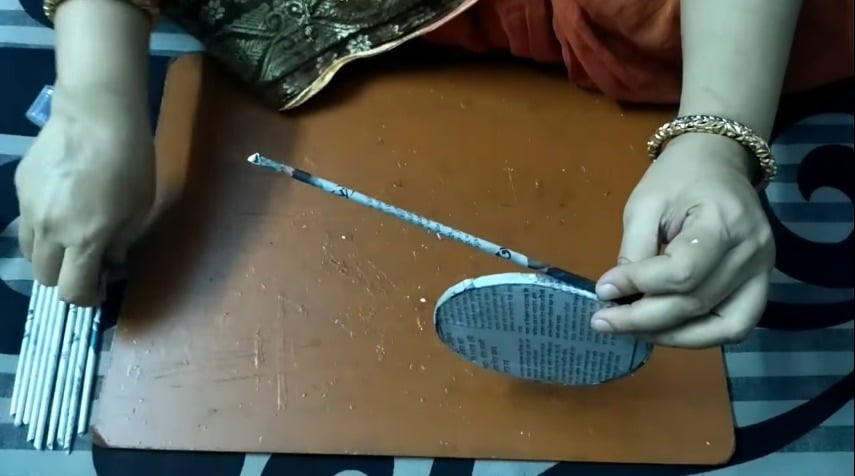
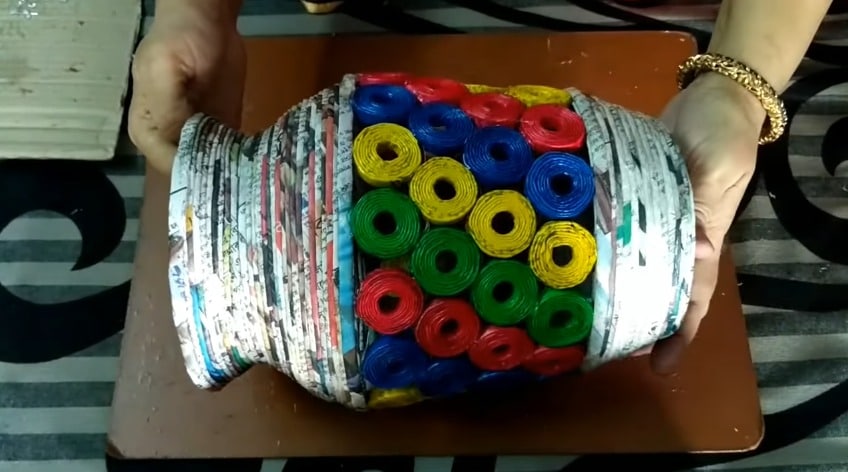
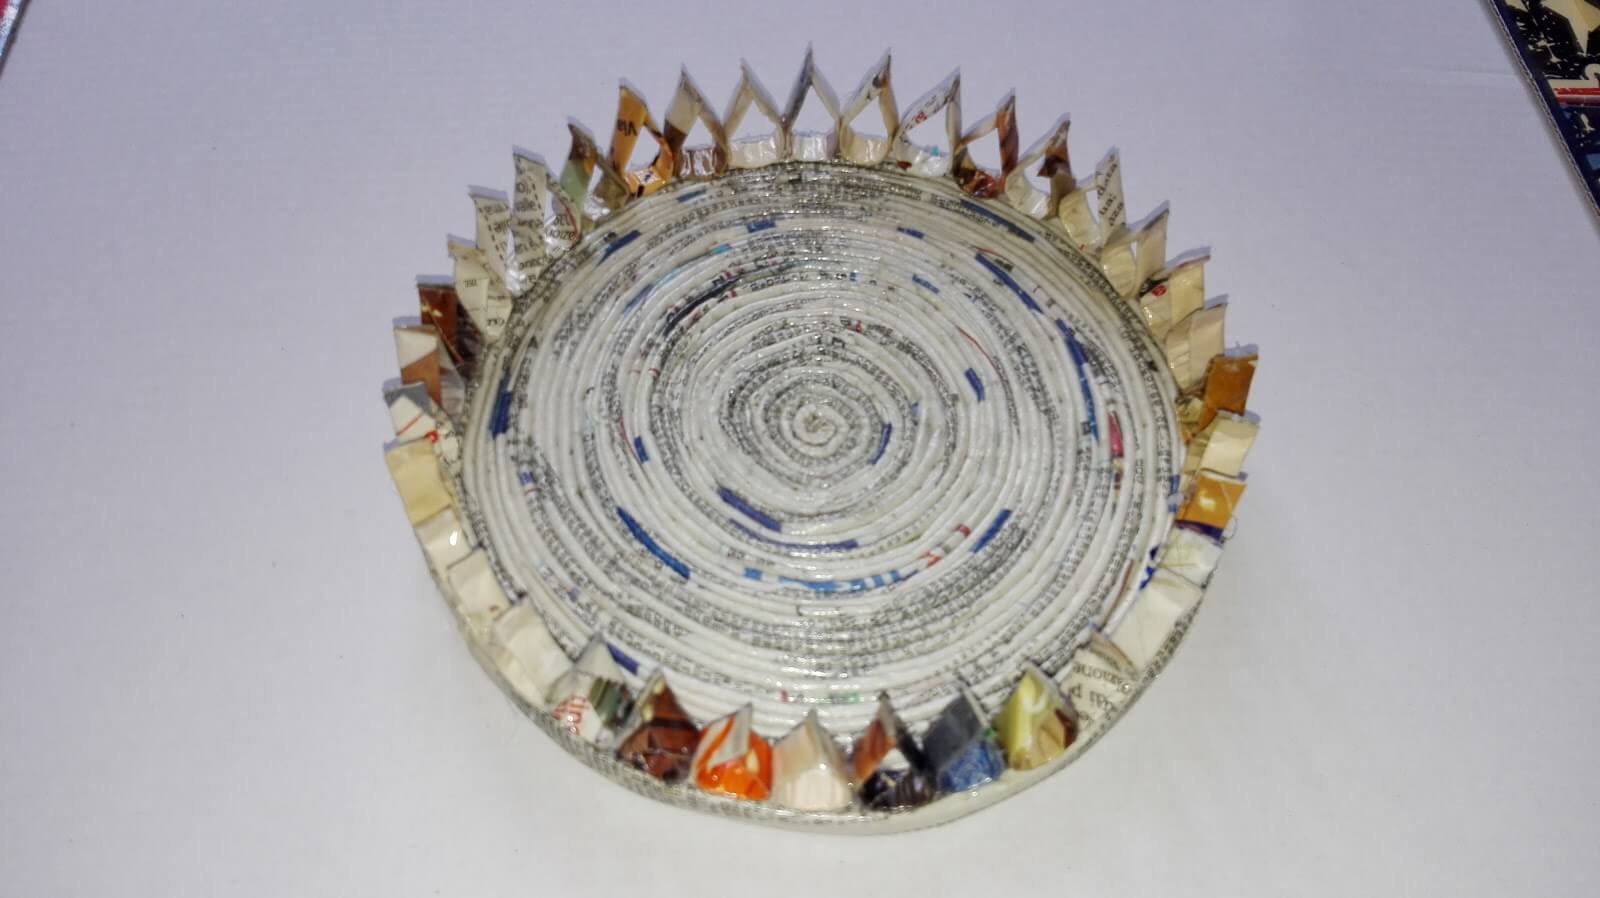 Made a second round pasting them upside down.
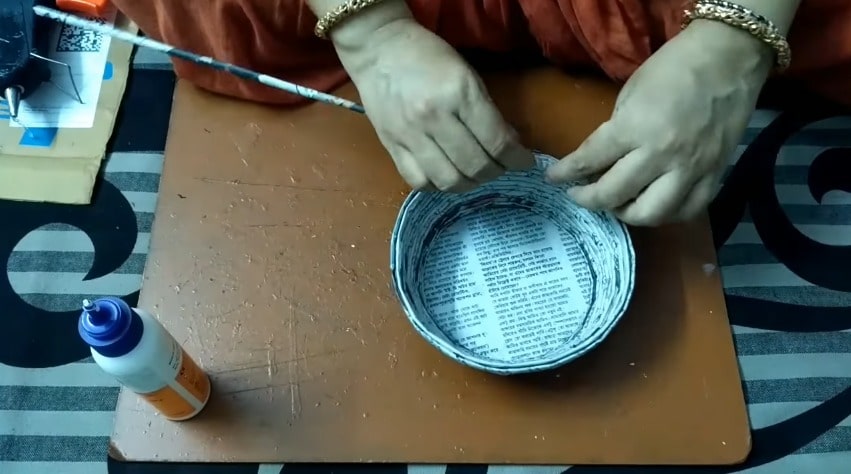
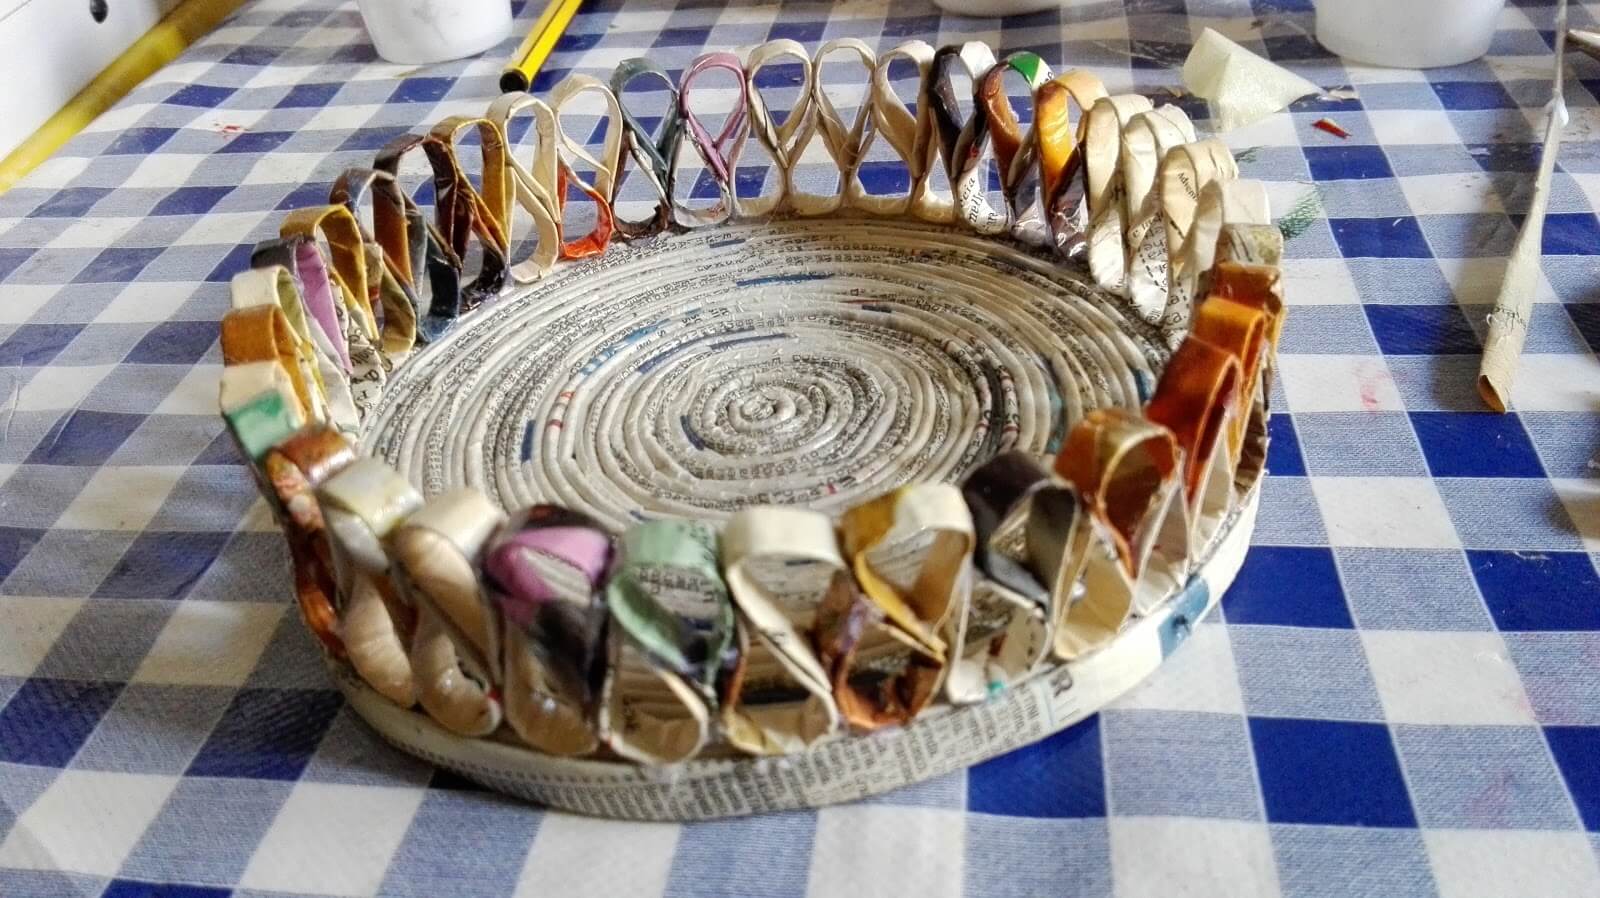 Always with the tubes I made a circle of top measurement of trash.
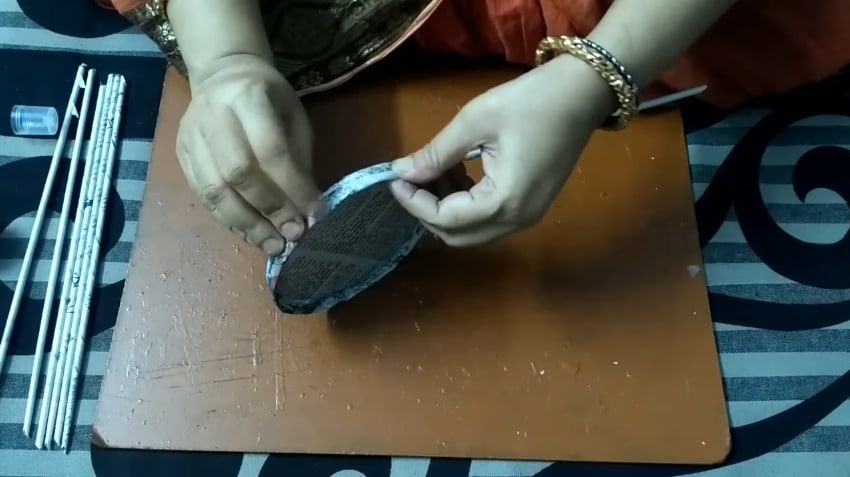
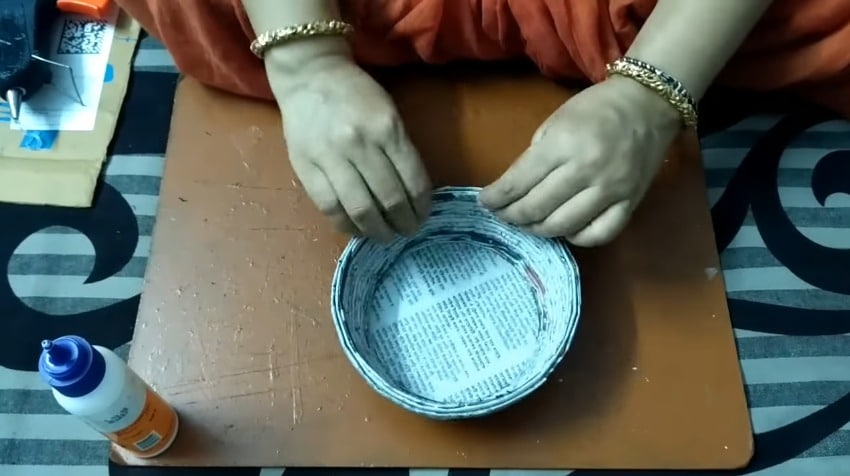
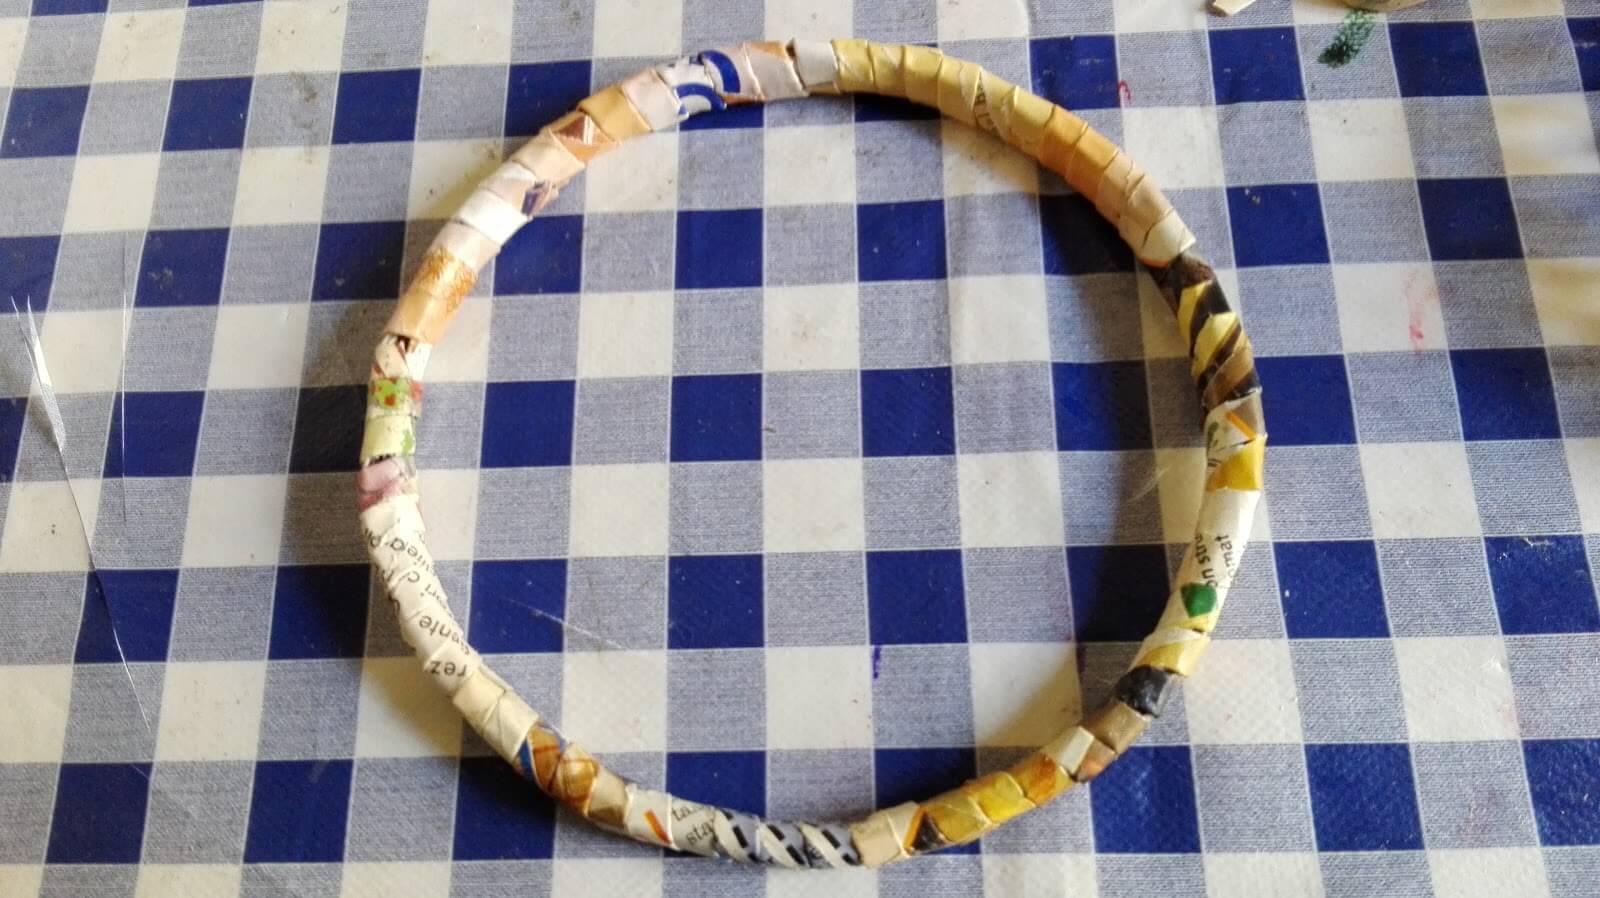 I pasted above the rods and I did it to dry well. The basket is made.
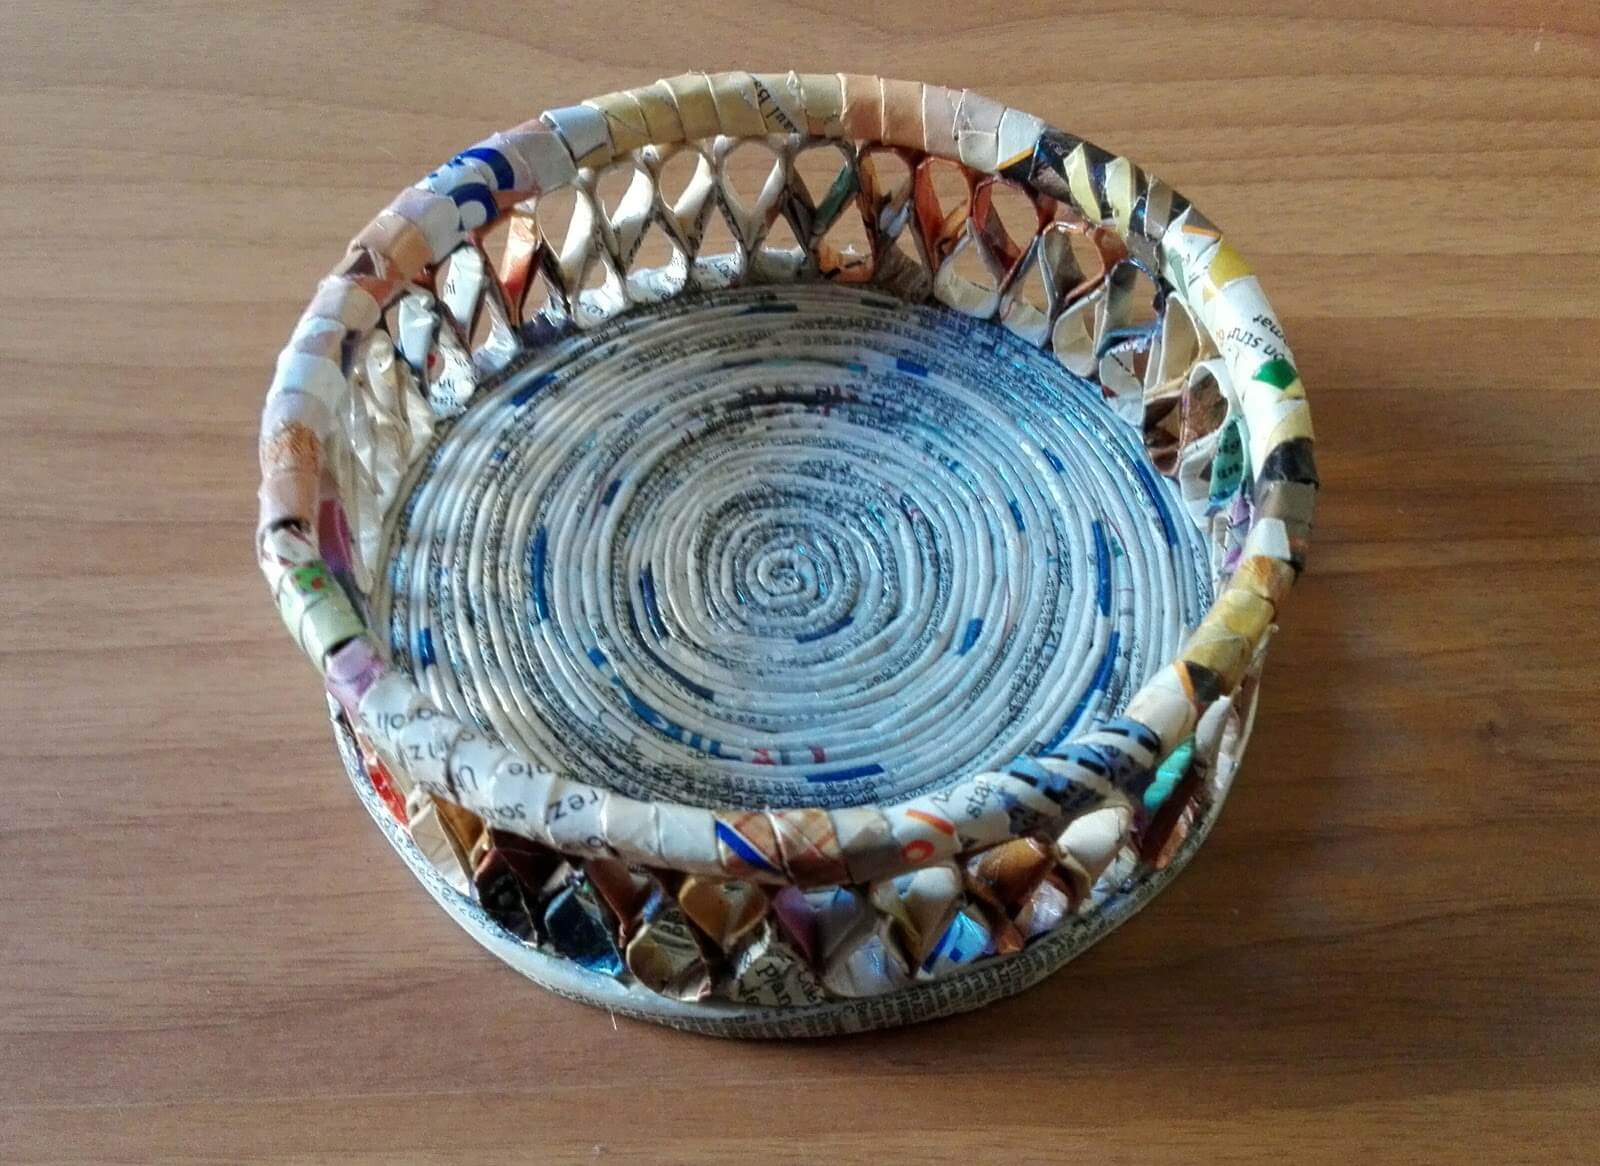
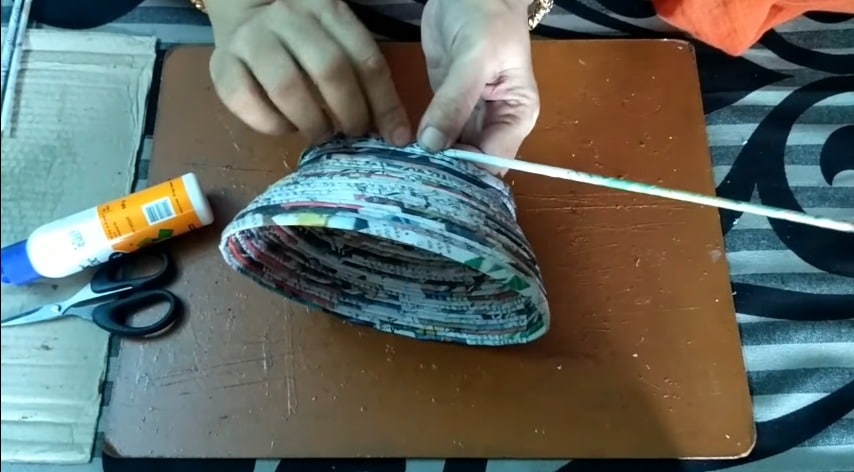
 I give to all a nice pass elongated vinyl glue with a little water. I
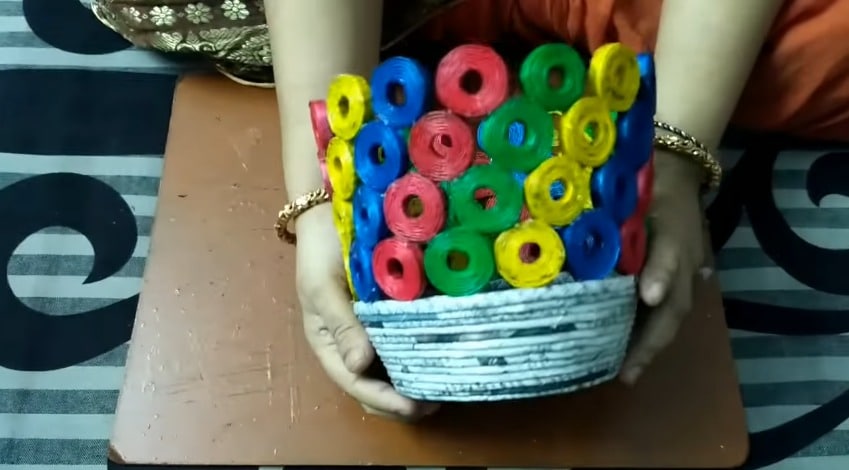
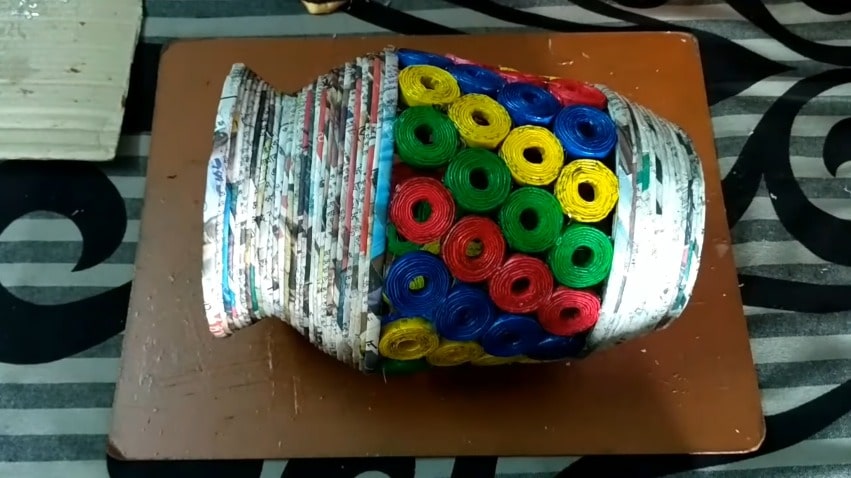
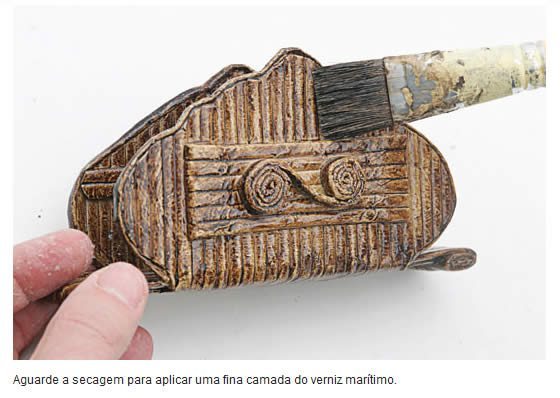
let it dry well and then I painted everything with white acrylic paint mixed with glue.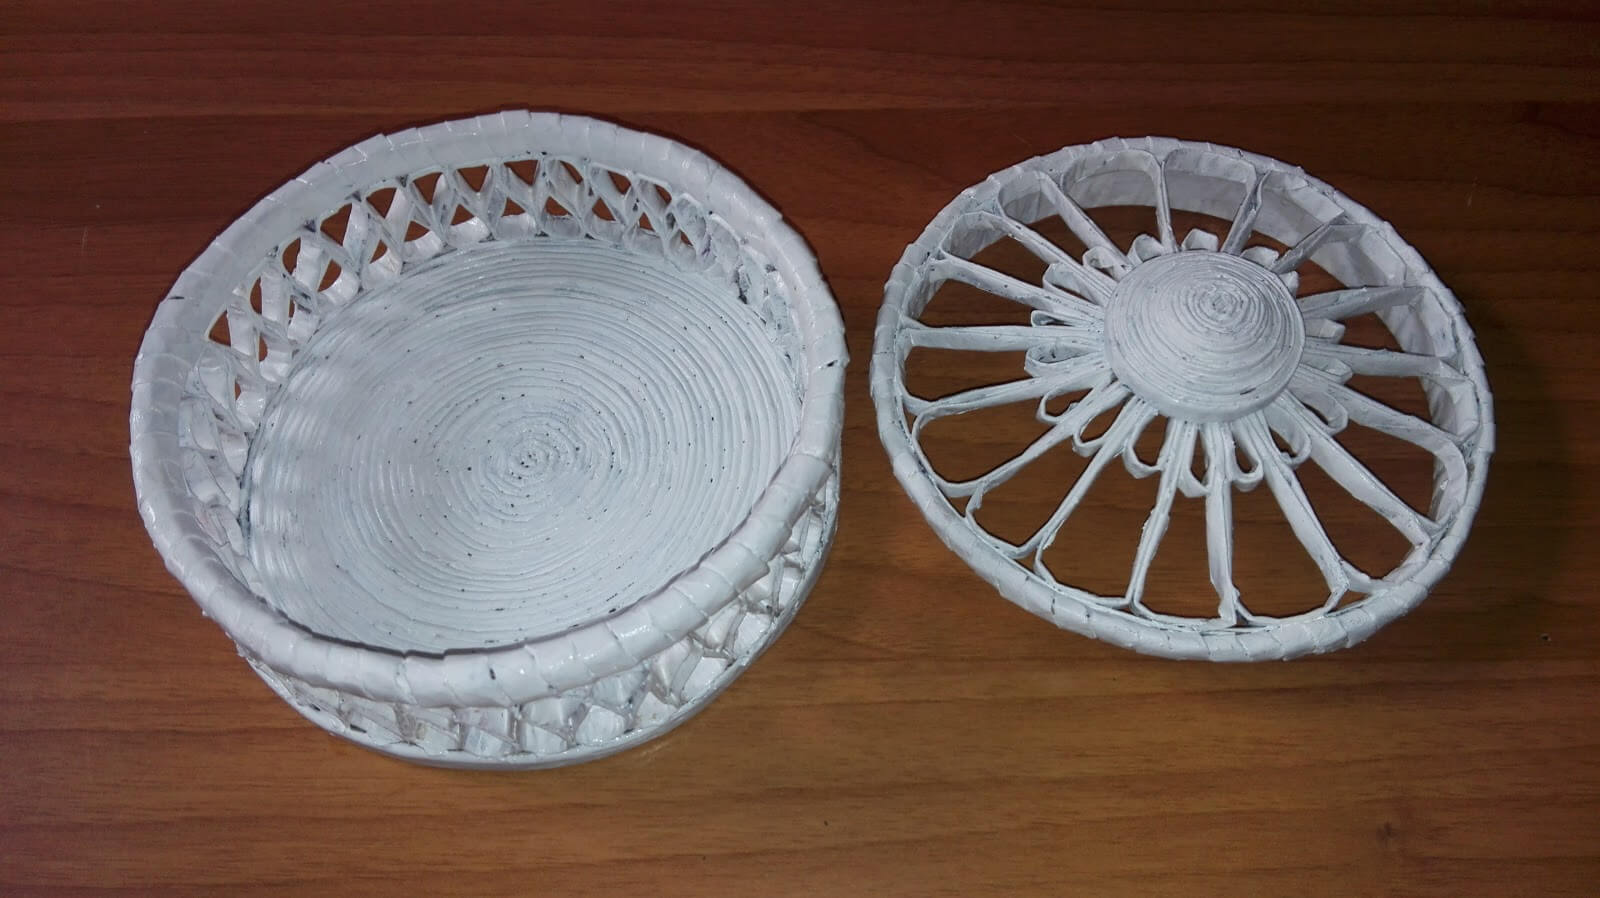 I again painted the box with the brown leather color I then soiled with a dry brush darker brown.
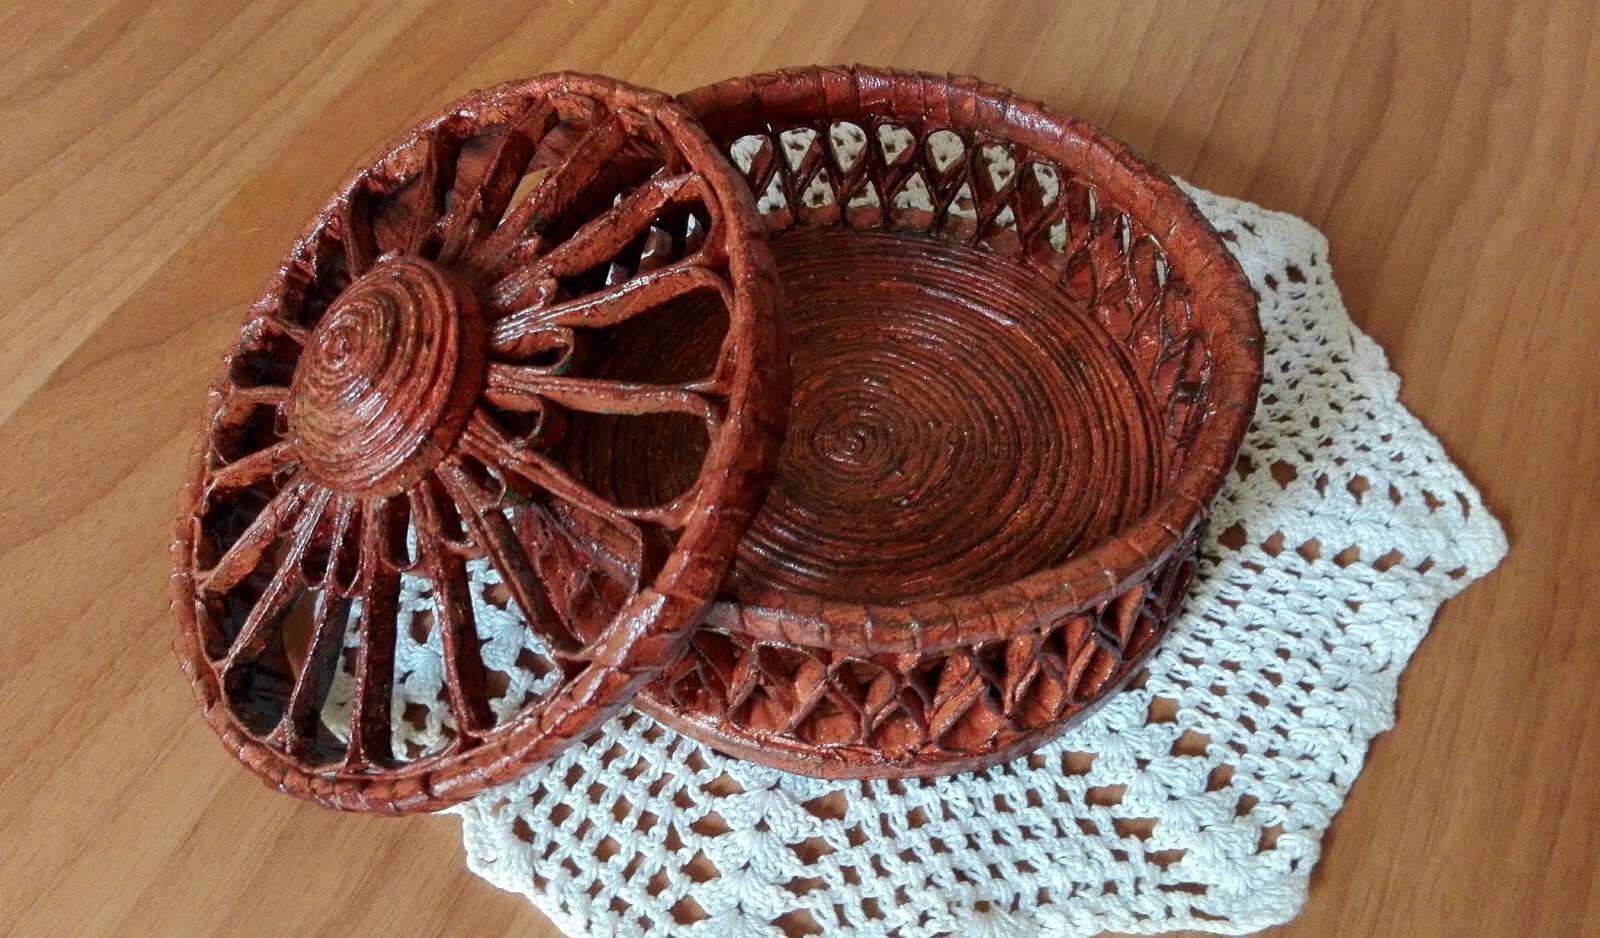
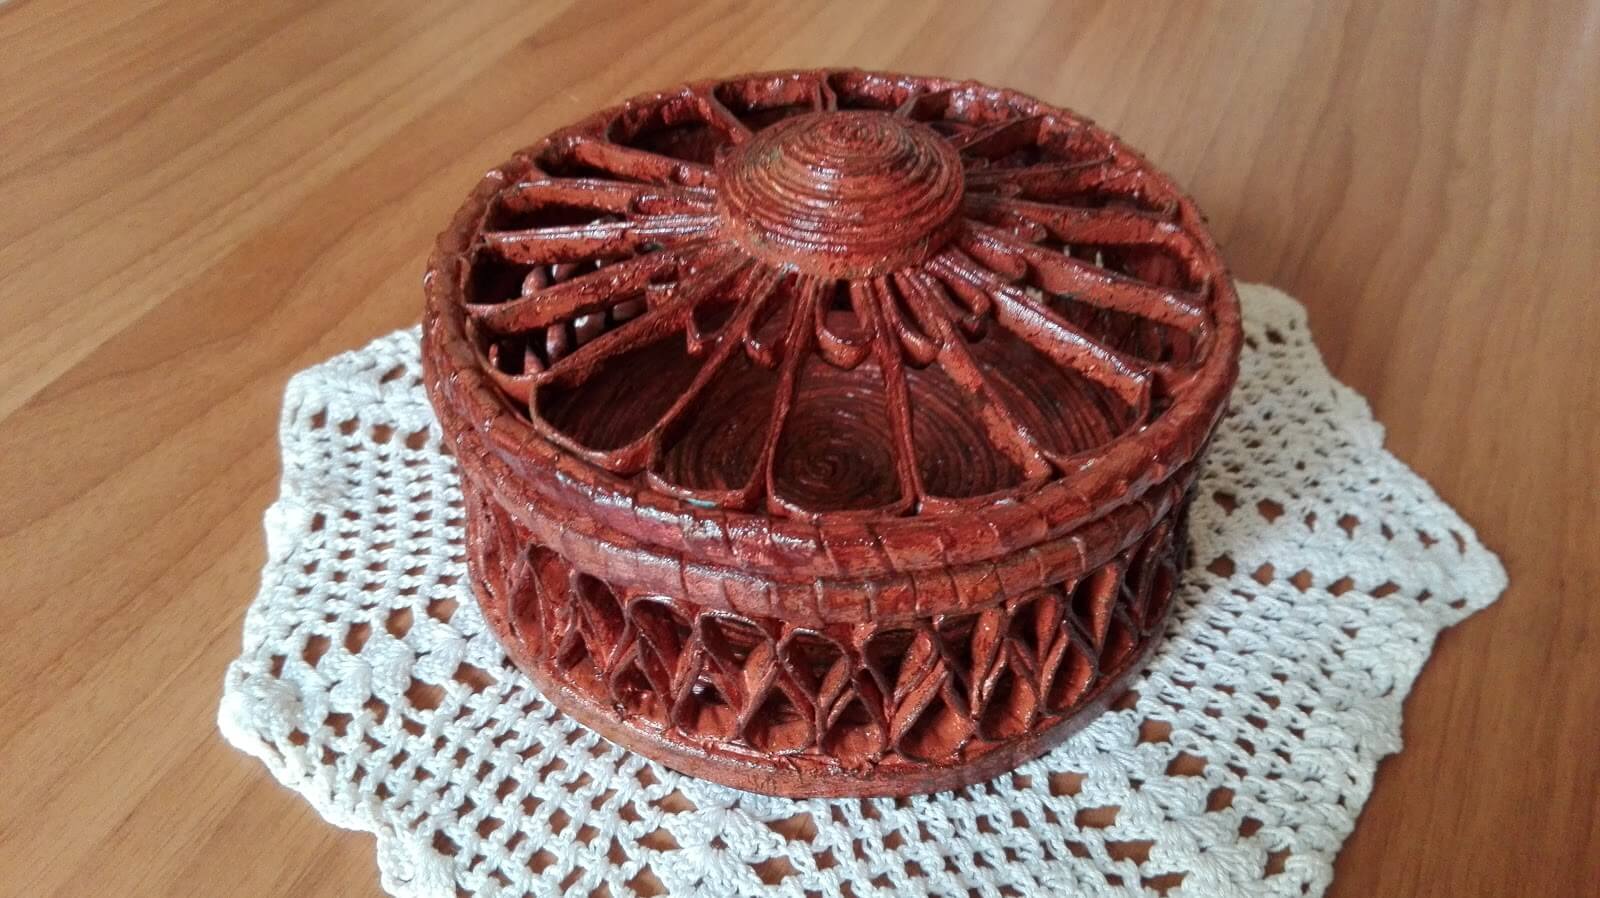
I really like and you?
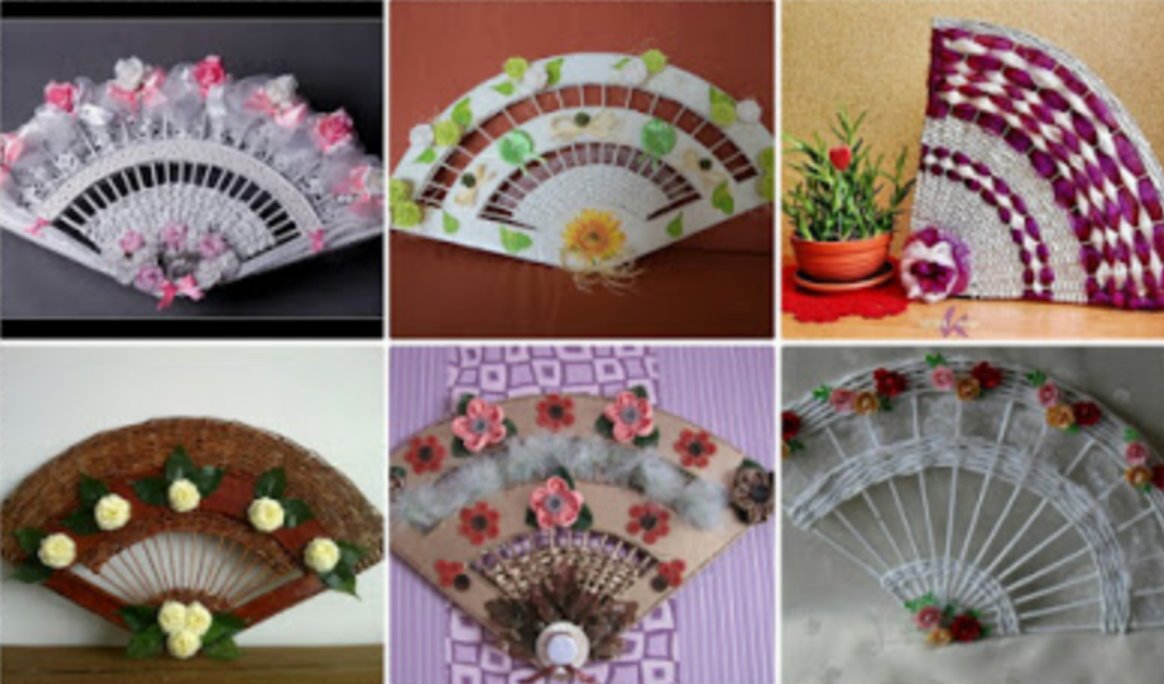
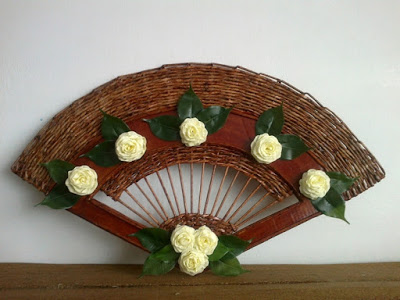
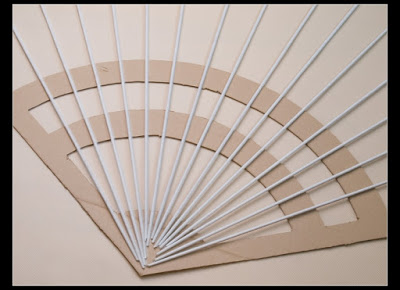
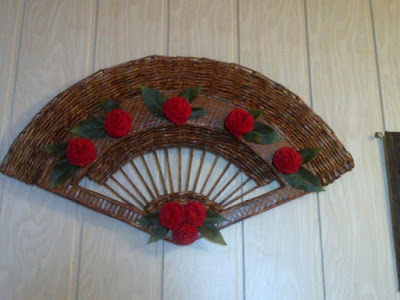
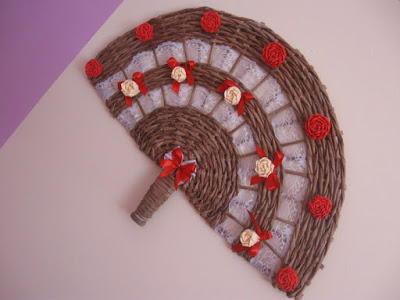
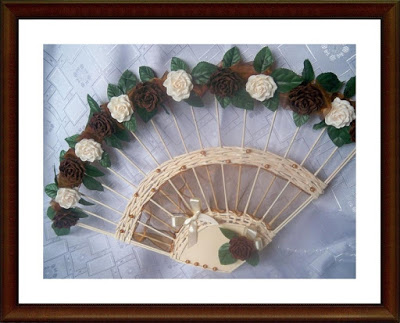
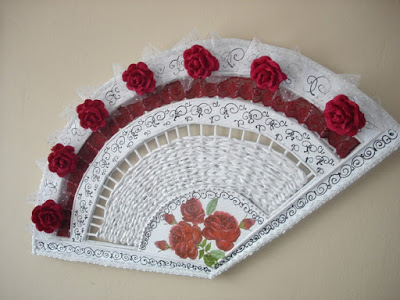
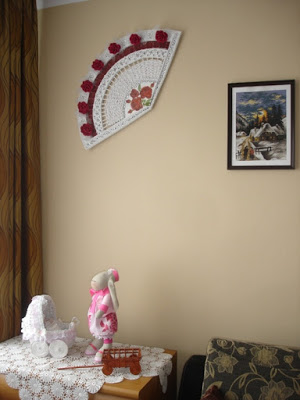
show you how smart fan can be made of cardboard and newspaper tubes. It turns out a wonderful decoration for the interior or a present for the little princess. Below you will find a lot of ideas from the pages of Internet and detailed photo workshop by Anna Kruchko to create a fan. You will learn how without a compass and a template with a pencil and rope, you can draw a semicircle, as well as how to turn the tube from the newspapers, that to this day remains relevant to many of my readers), I wish you all success in the weaving of the newspapers, and always good mood!

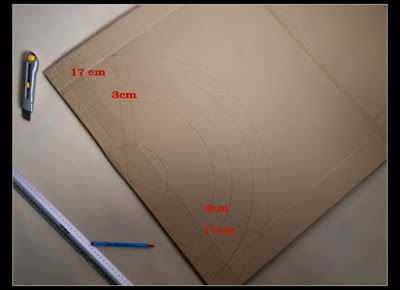
 Let’s start with a template for the manufacture of a fan. For work, we need cardboard, stationery knife, pen or pencil, rope or strong thick thread, ruler
 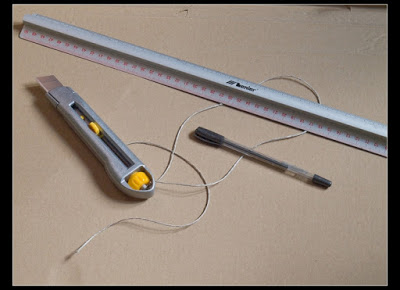 At the end of the rope tying the knot for the rod handle or a pencil
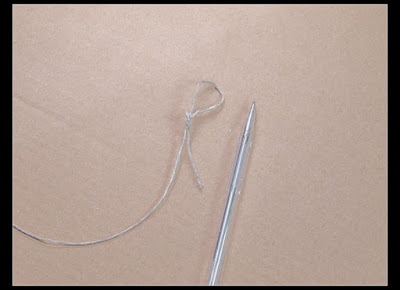
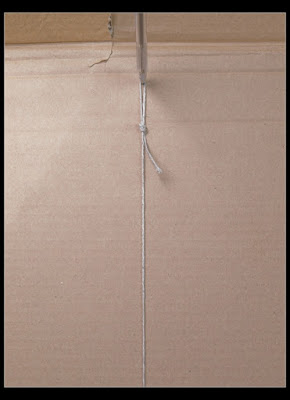 So, with this simple design is possible to draw a semi-circle of any radius. Measured from the center of 35 cm and draw a semicircle
 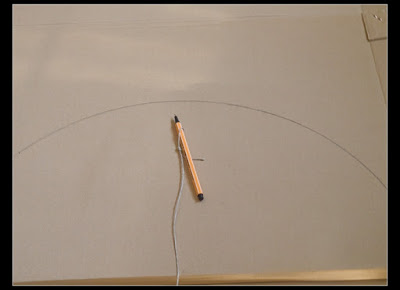 Another semi-circle at the height of 30 cm
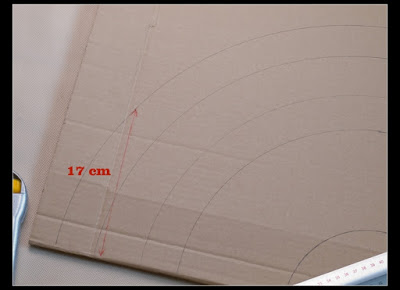
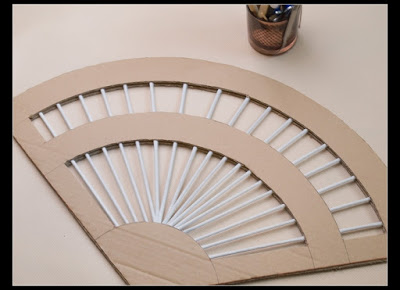
 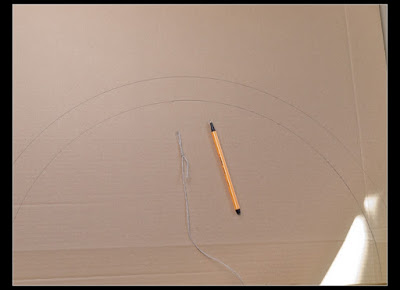 Draw two lines even at an altitude of 25 and 20 cm
 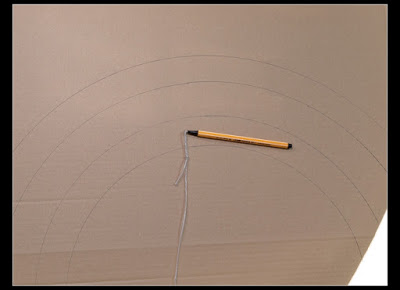 The last line – height 10 cm
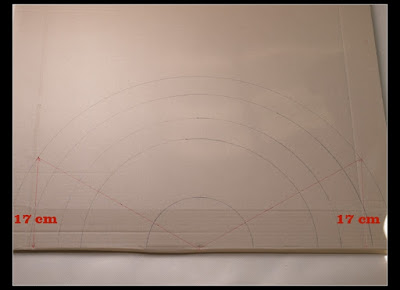
 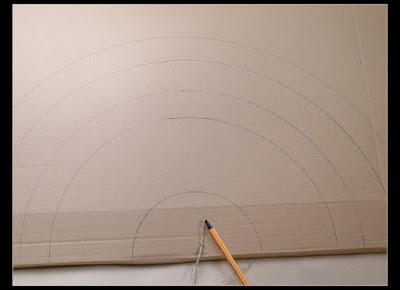 Marks the point at a height of 17 cm and draw a line
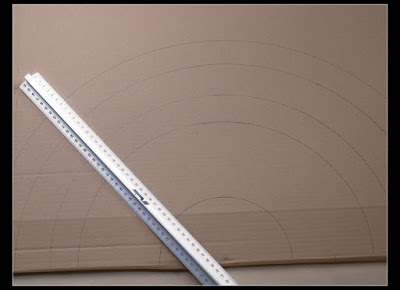
 From the line measured from the 3 cm
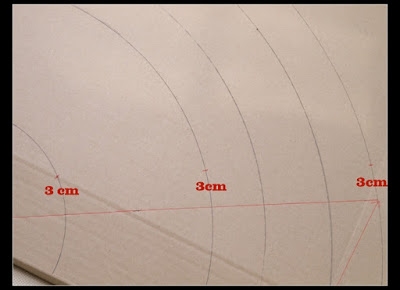
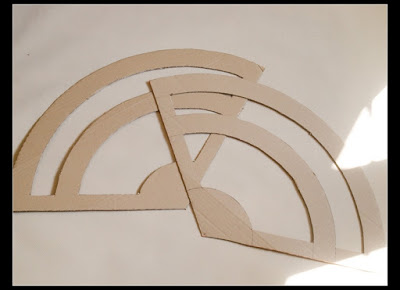
 So, now it is possible to cut out a template office knife
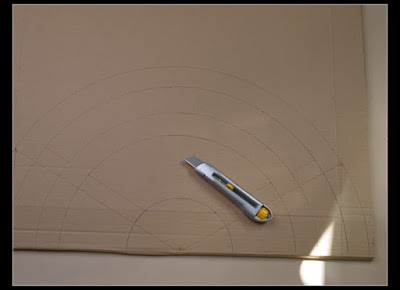
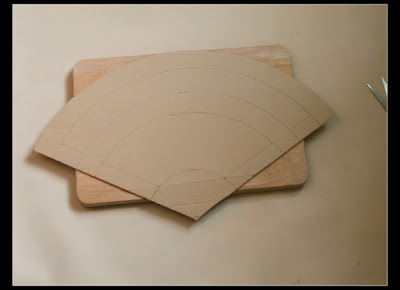
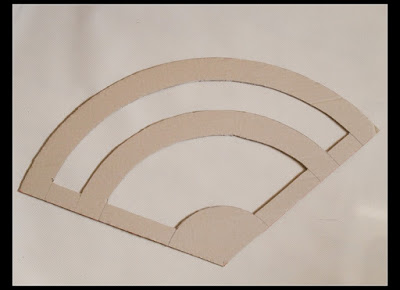 For fans, we need one more template
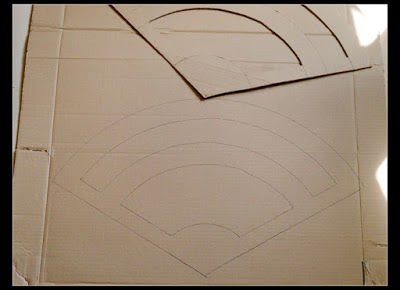
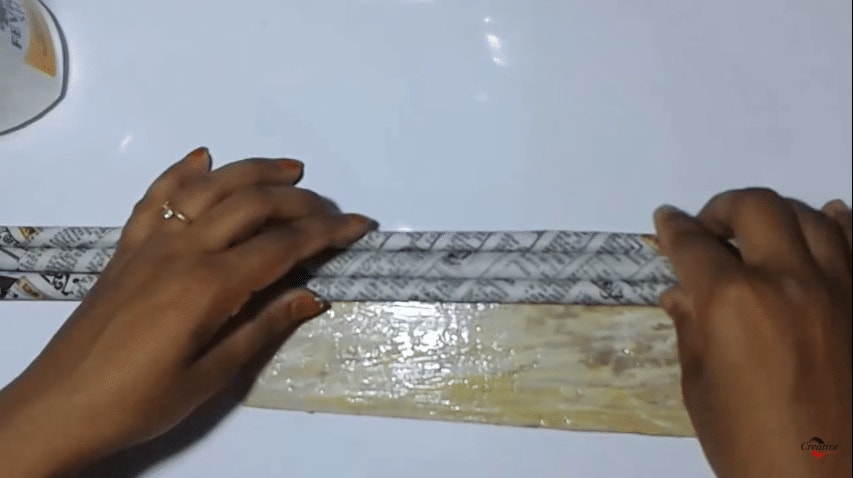
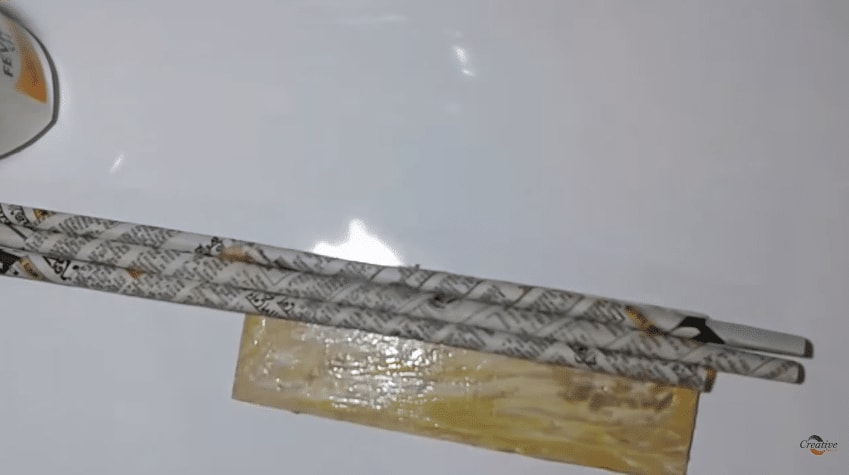
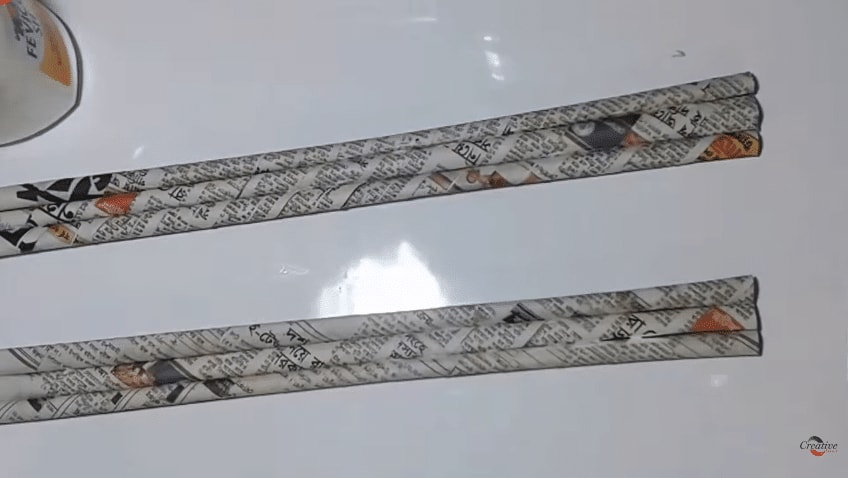
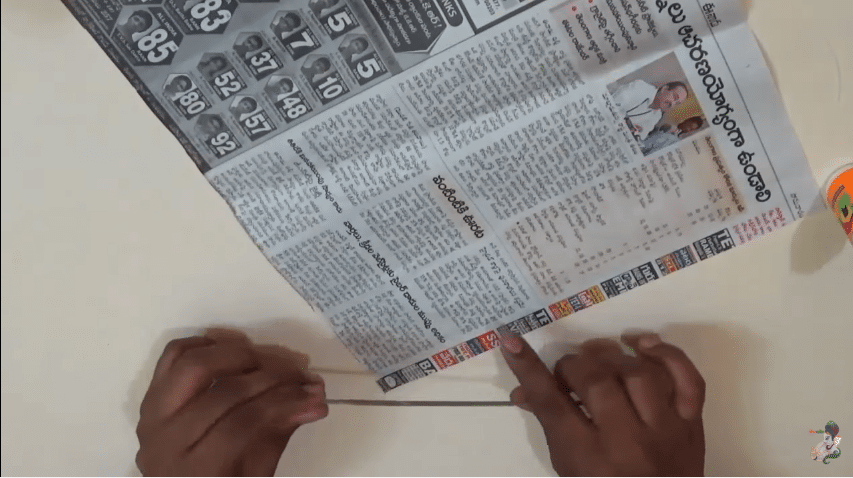
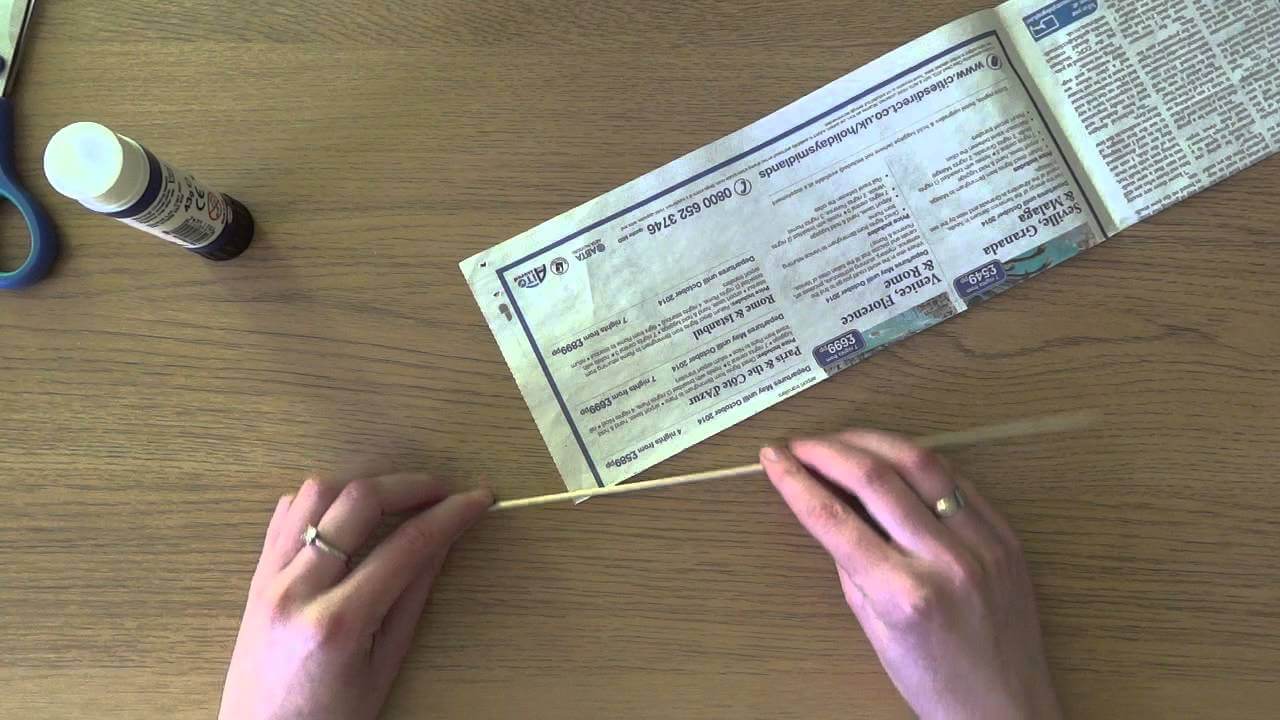
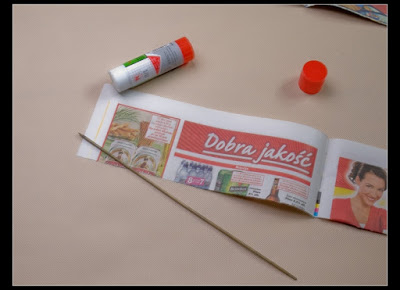
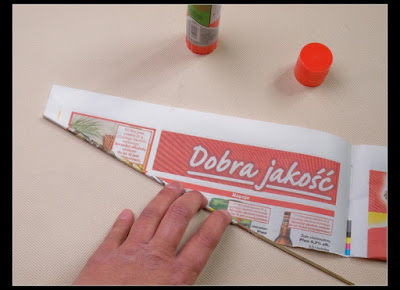
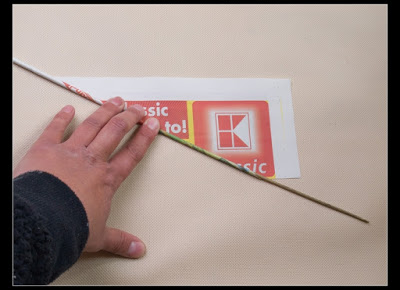
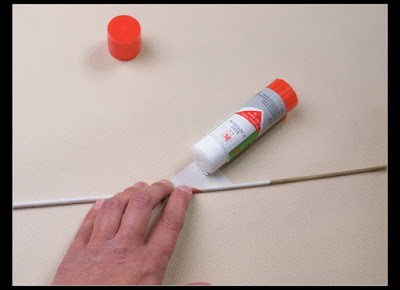
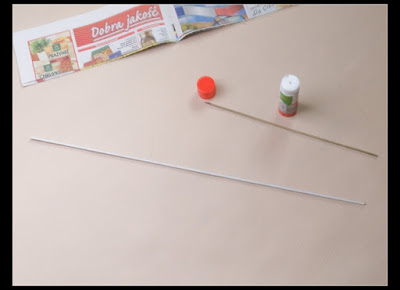
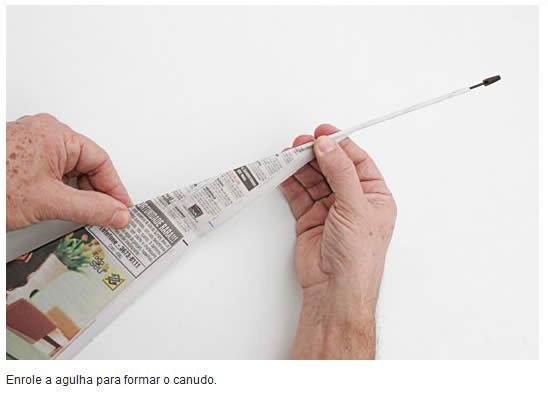
 Now look, how to twist the tube from newspapers or magazine pages
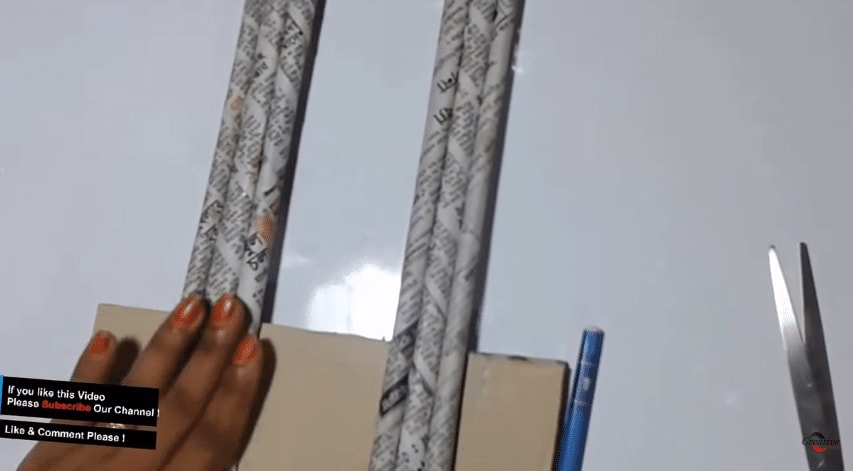
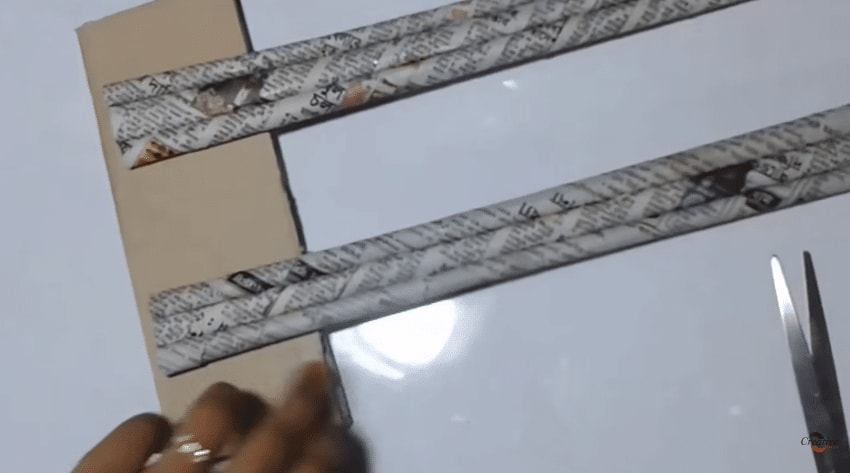
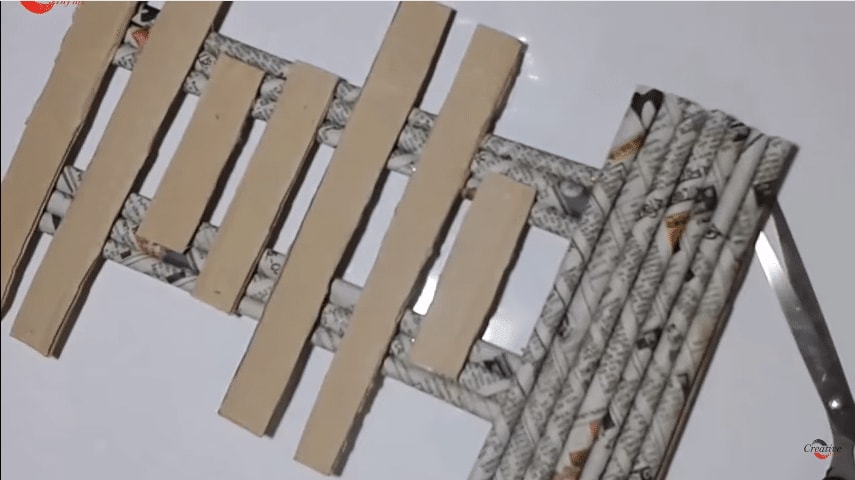
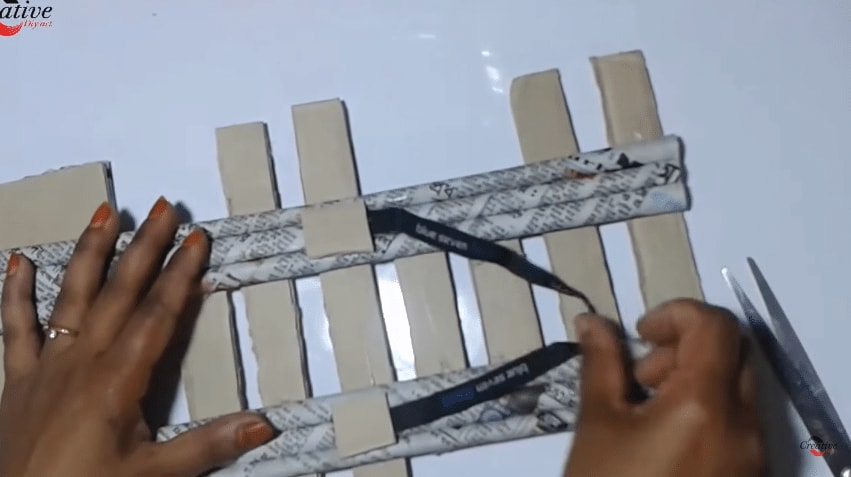
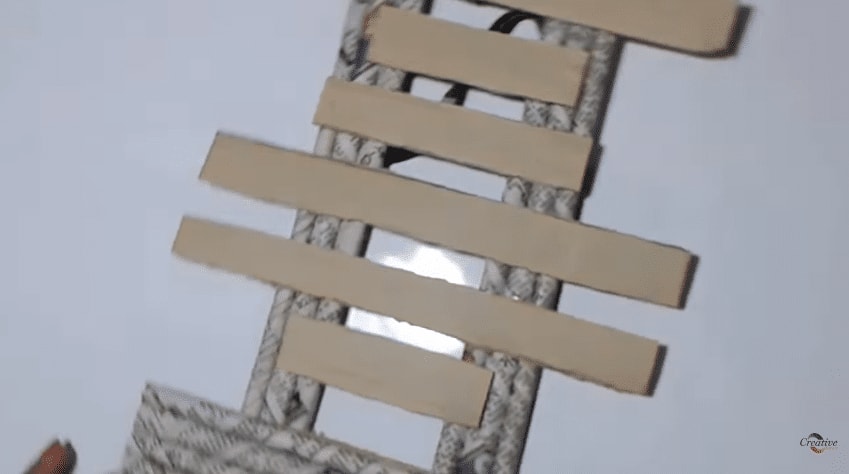
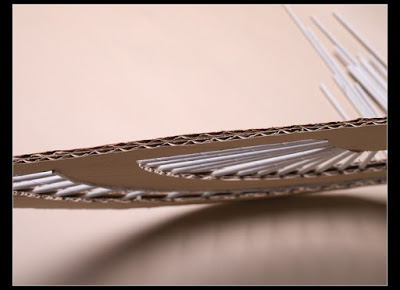
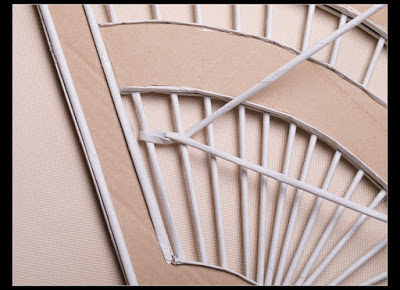
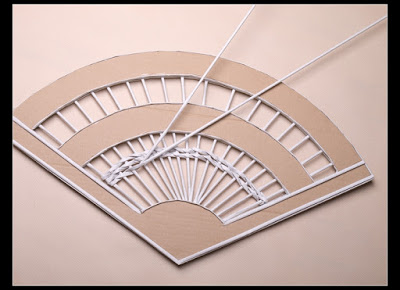
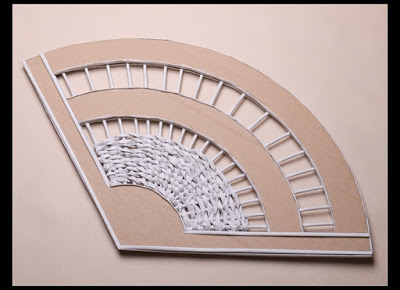
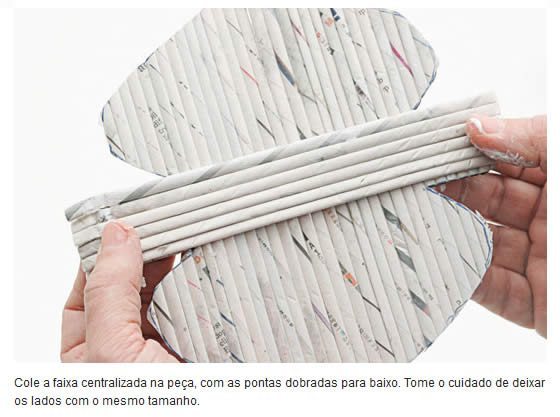
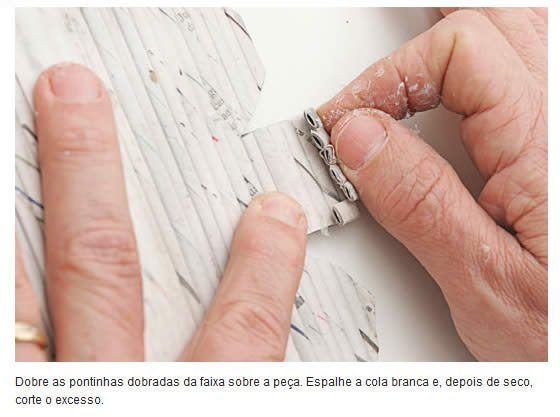
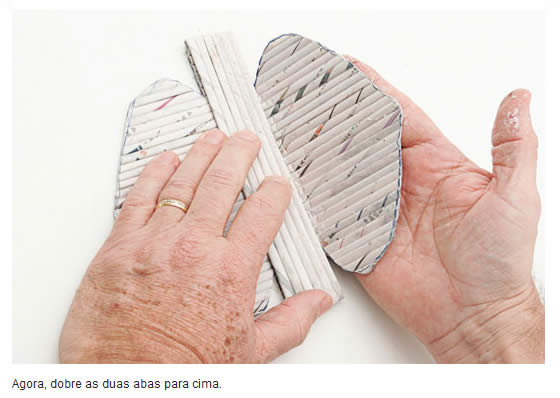
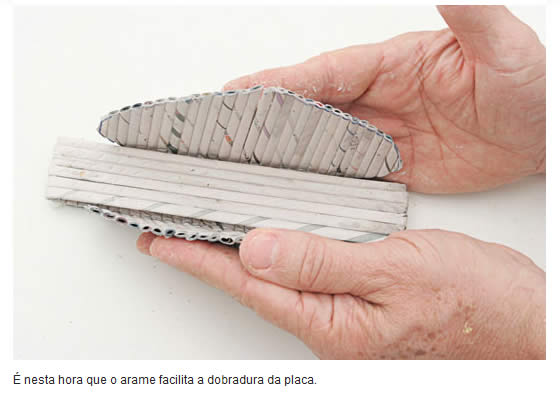
 templates ready tube also now begin to create a fan)
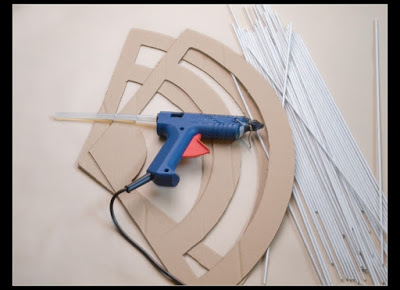
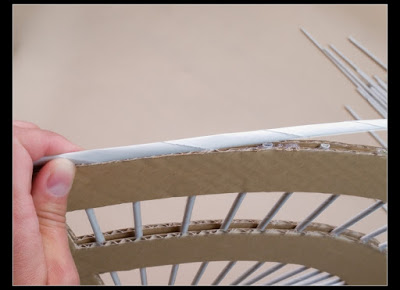
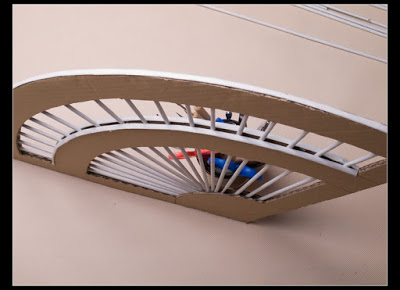
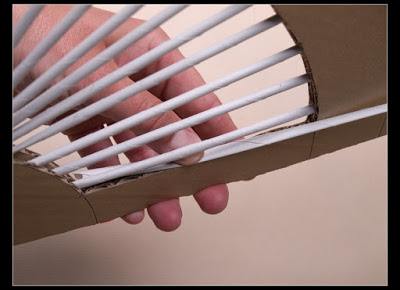
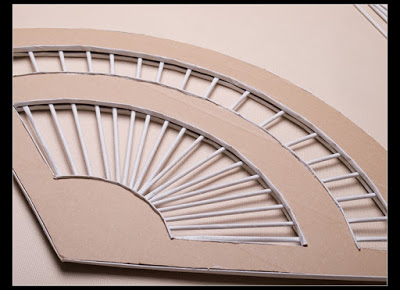
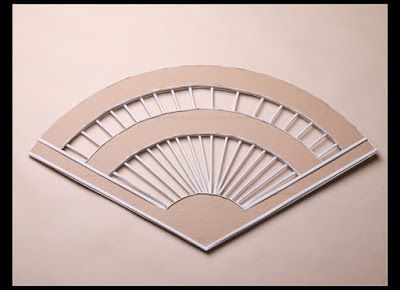


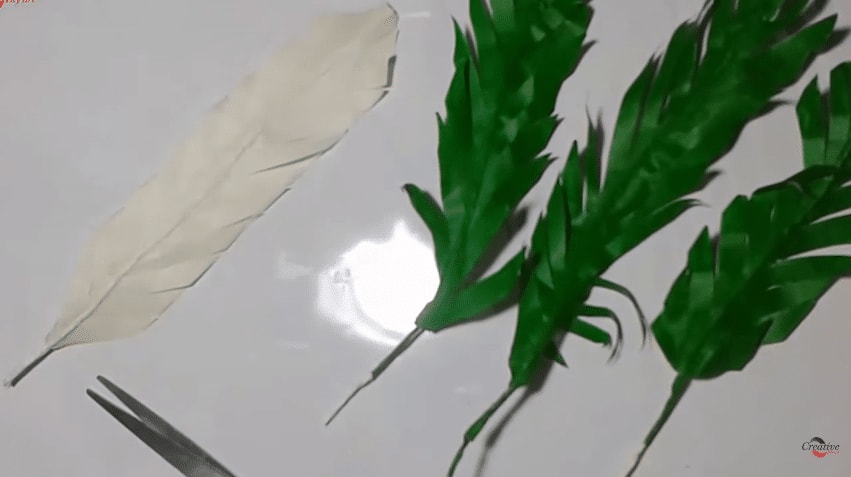
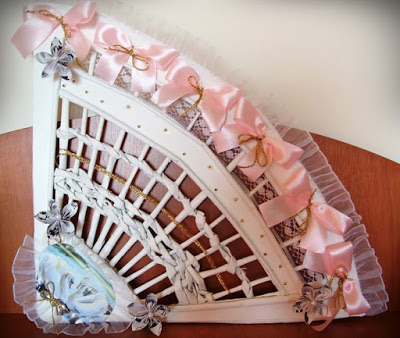
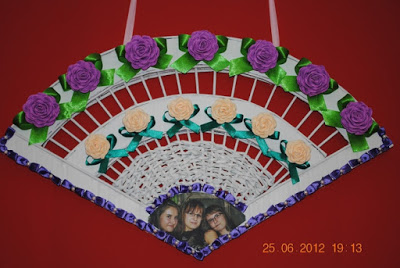
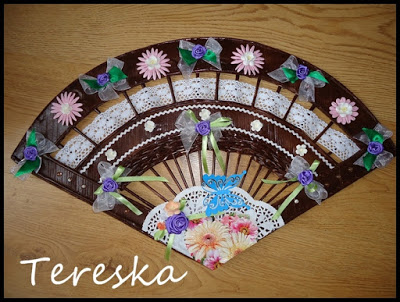
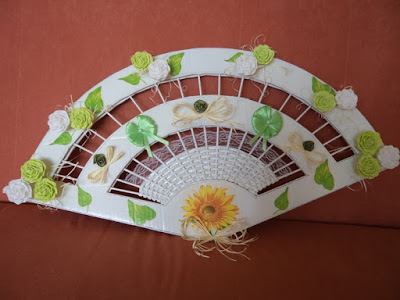
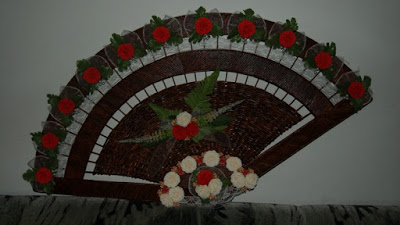
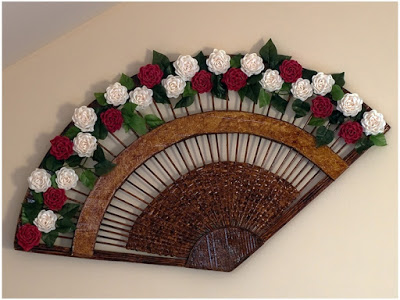
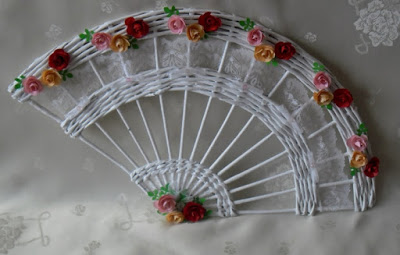
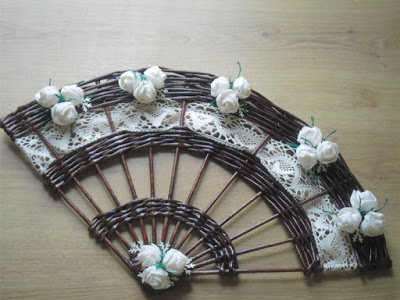
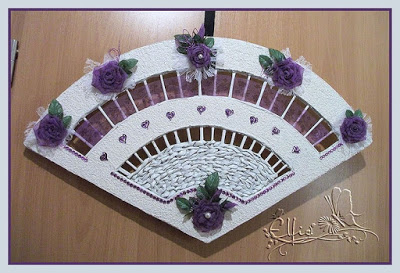
 That’s all, now you can paint, varnish and decorate to your taste
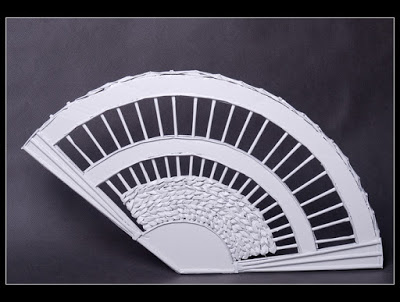


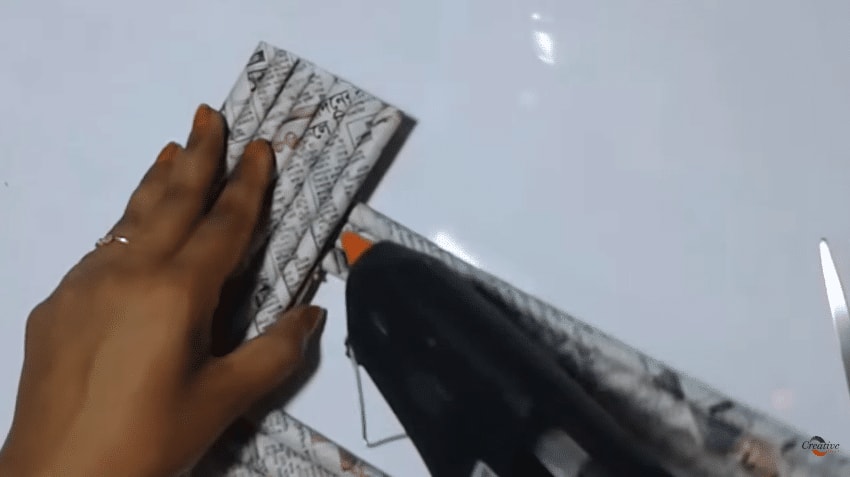
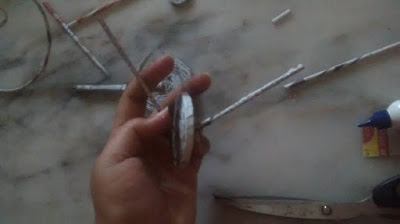
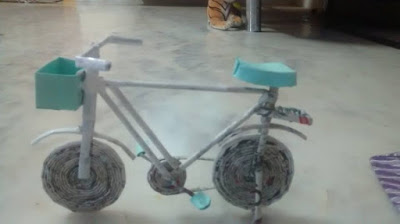
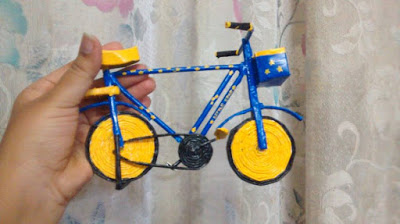
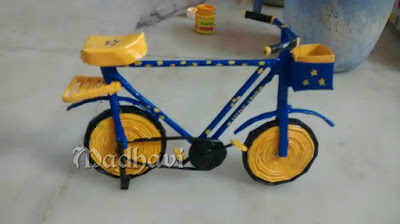
Make a beautiful bicycle from newspaper tube: Make newspaper rolls and roll it in a circle shape for 2 tyres
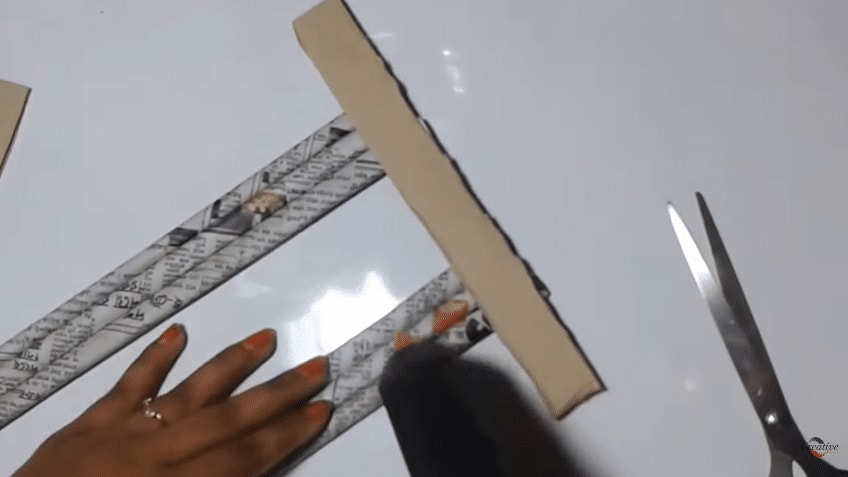
 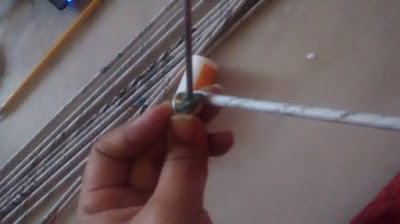 Make 3 such circles. 1 for chain part and 2 for tyres
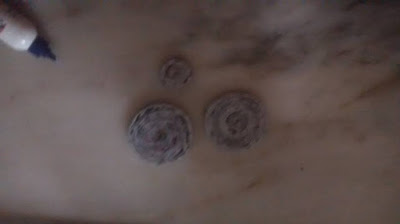
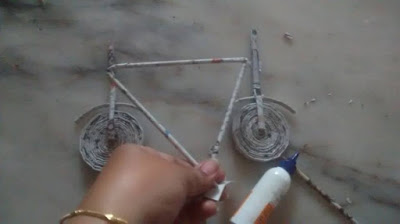
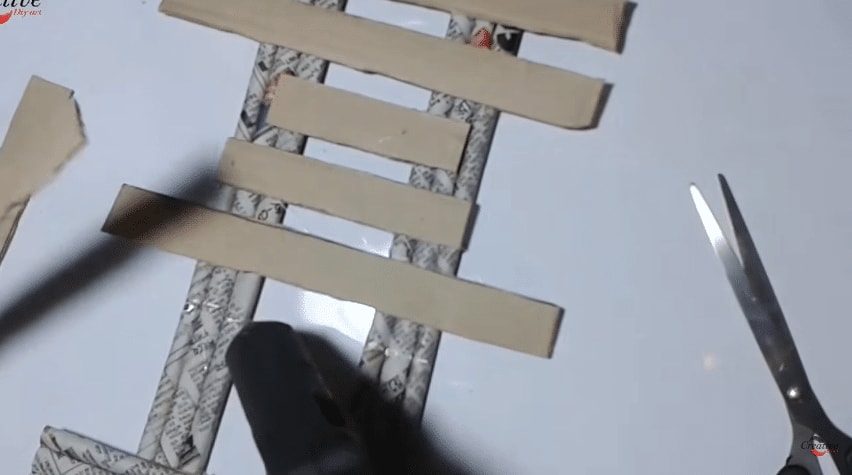
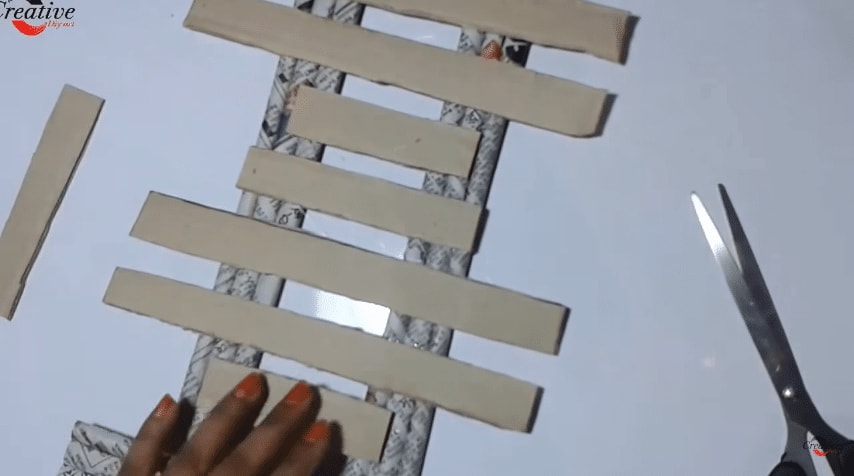
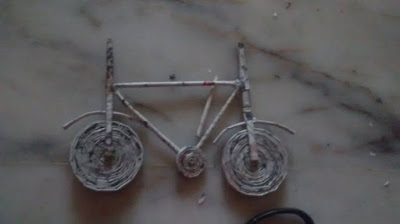 Use chart paper for seat and basket
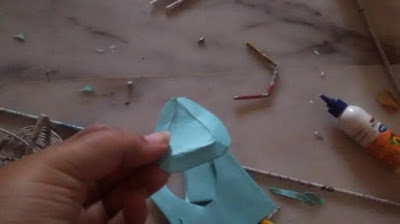
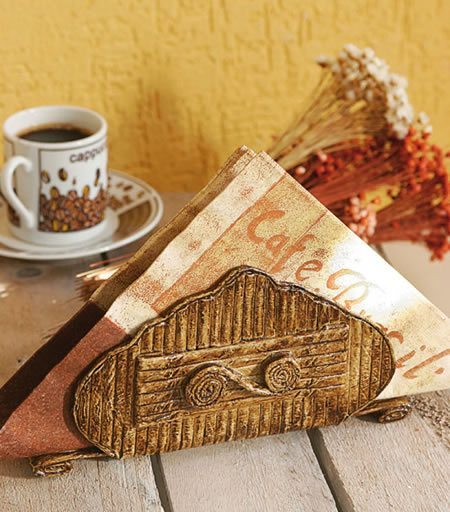
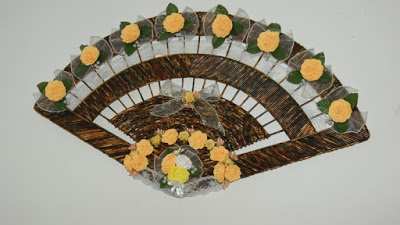
This craftsmanship is very classic and can be adapted to the decoration of events with a high refinement. Another option is to do to spruce up the home or office, leaving the environment with a much nicer face. And of course, there are those people who will want to do to market, because the result is very elegant. To learn how to create this work, just stay tuned for the next few tips. Learn and also make one such item to practice your hand skills!
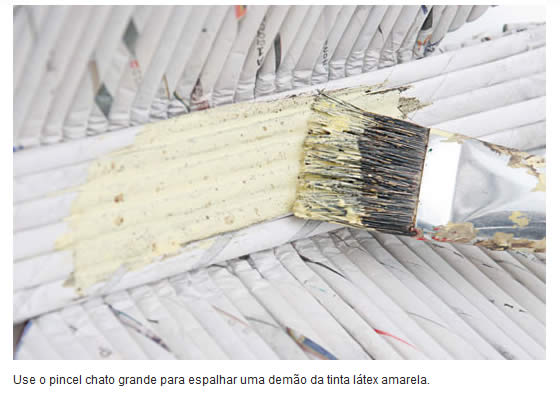
– PVA (Latex) ink in Canary-yellow color – Newspaper
sheets
– Large flat brush – Flat
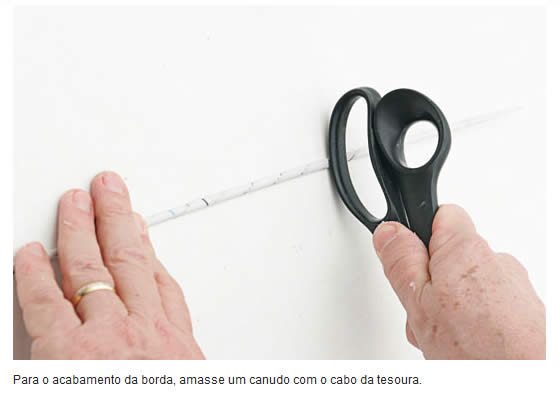
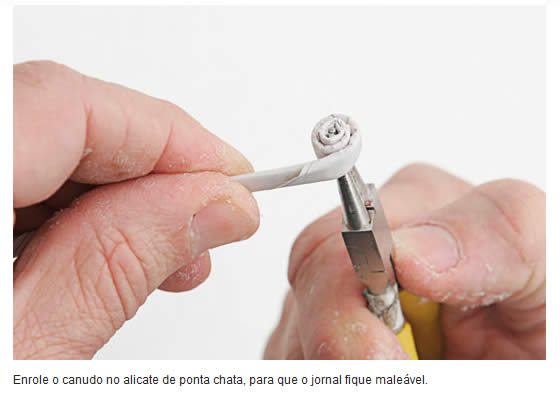
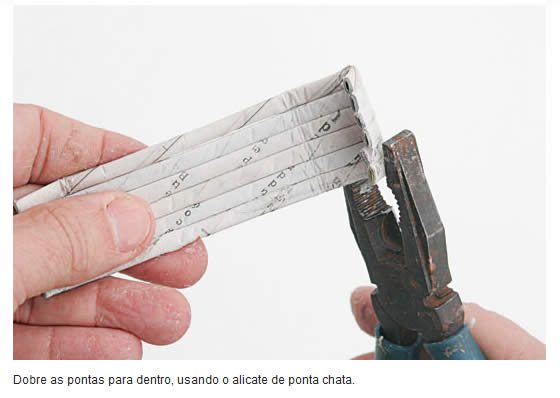
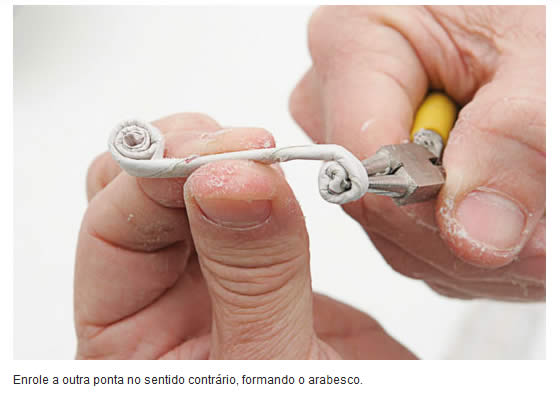
-nosed pliers
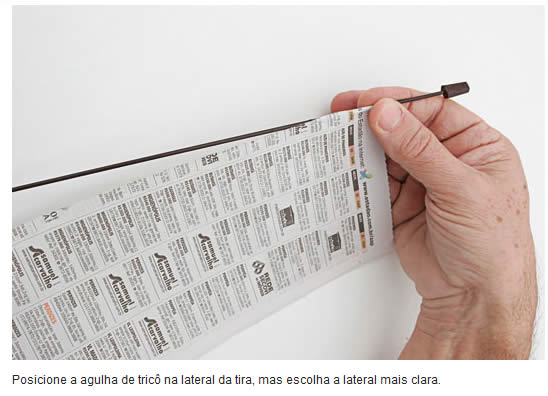
– Knitting needle # 2
– Marine varnish
– Fine wire
– Crepe tape
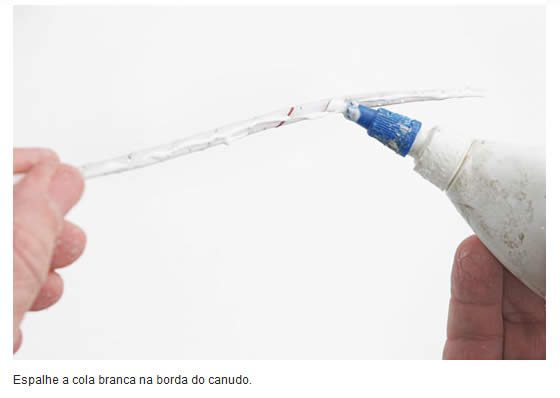
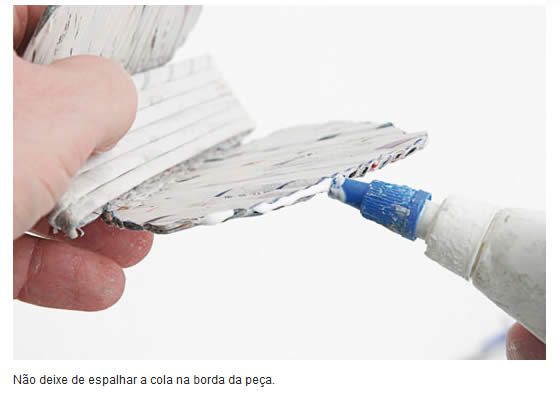
– White glue
– Scissors
– Bitumen
– Ruler
– Pen
– Mold
See how it can be useful to invest in the making of this handicraft. The creation and execution is by Tadeu Roveri, the photos are by Emilio Roberto and the production was by Regina Cavenaghi. The following are the images and instructions for the composition of the craft work.
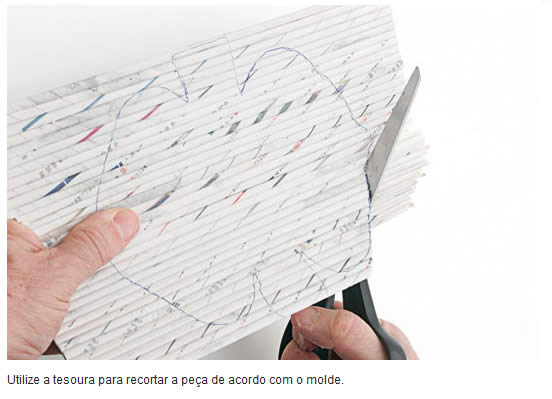


 (Image Source: portaldeartesanato.com.br)
It looks beautiful right? I hope that you enjoyed. Also do and surprise your little friends with this beautiful creation. Until the next tip!
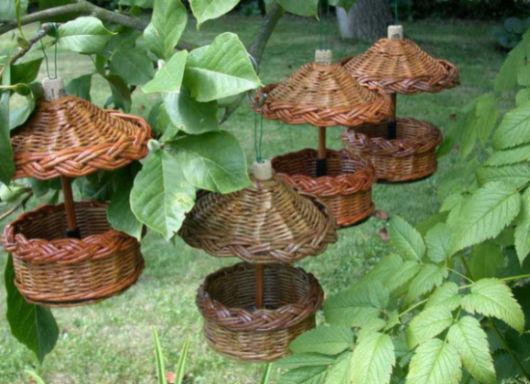
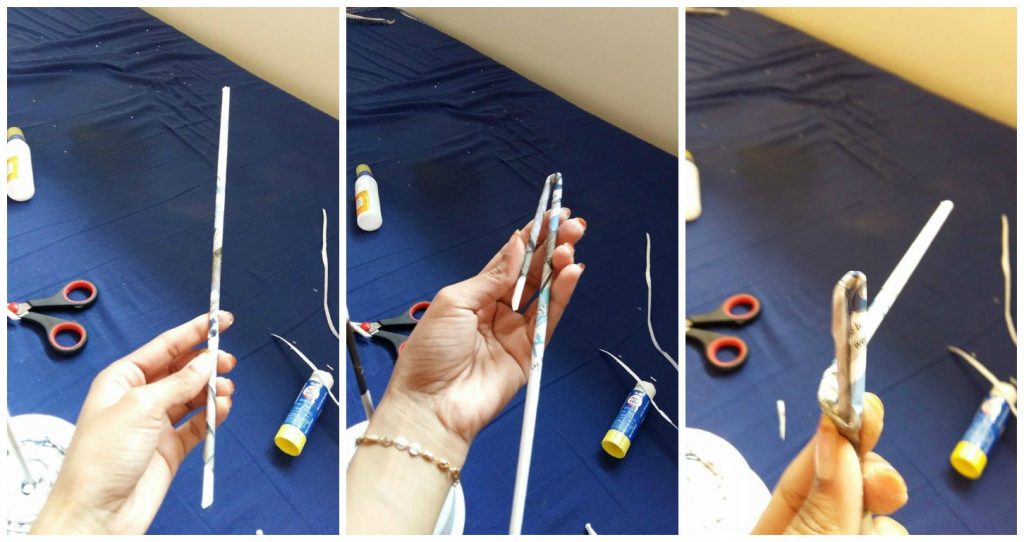
Your home may become the favorite spot for round birds if you make several of this bird feeder with newspaper, you reuse other recyclable materials as well as beauty and support for birds to eat, you still prevent more litter from being thrown in our planet.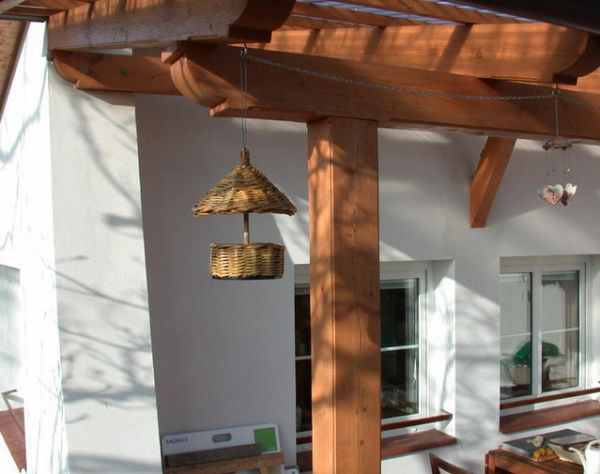 To make this beautiful piece you will need:
Start by sawing a piece of the tube from the CD case.
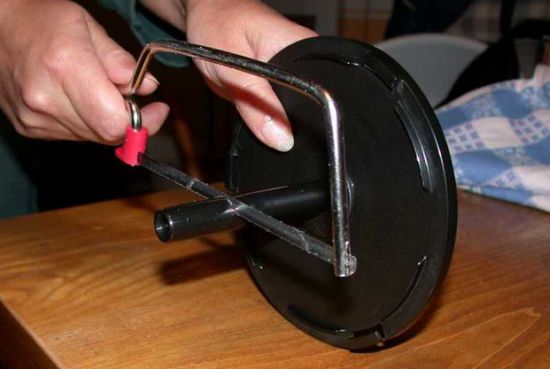
Then drill holes around the cap with the aid of the drill, and even number.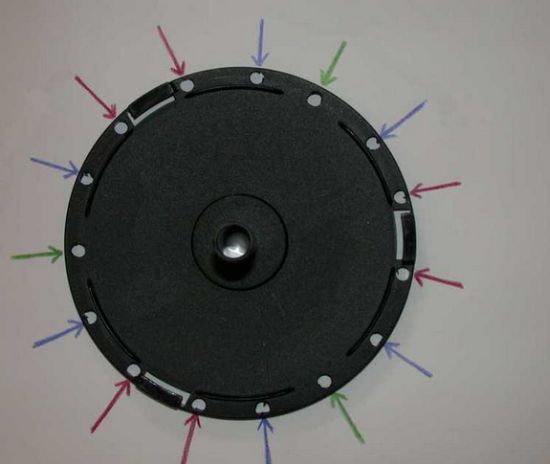 Then, using the pliers, remove the spare edges of the CD case.
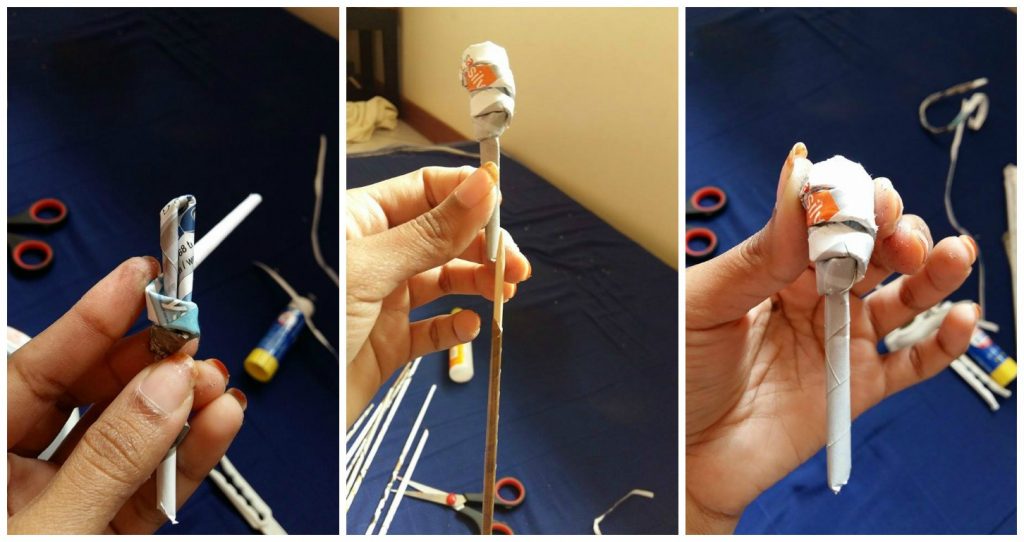
 Now, position the large screw on the carton tube and screw the nut on the outside of the carton.
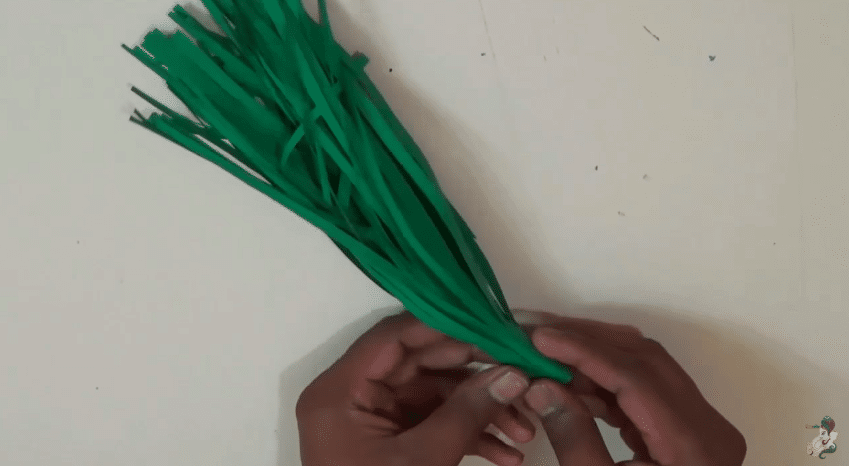
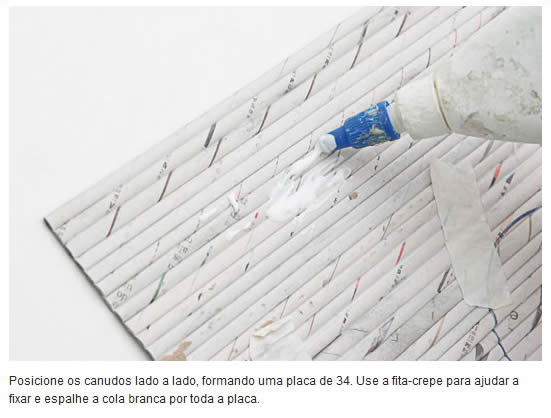
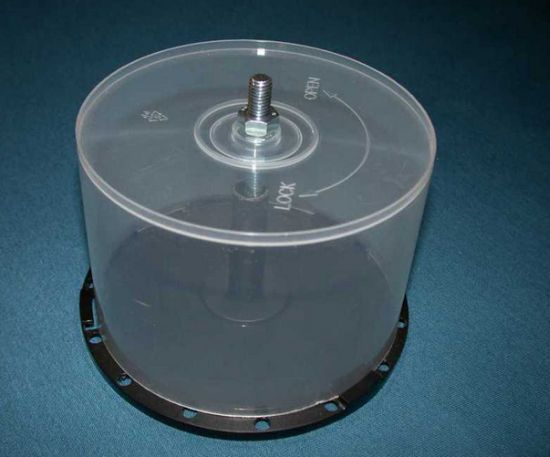 Then make newspaper straws and position on the lid of the box forming double.
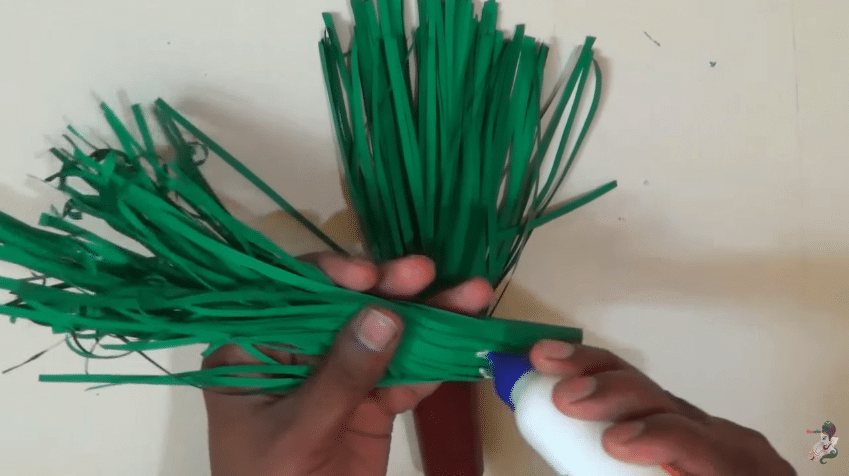
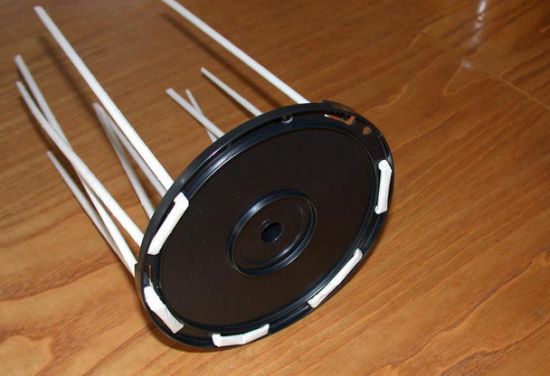 Soon after, trance other newspaper straws for the doubles previously achieved.
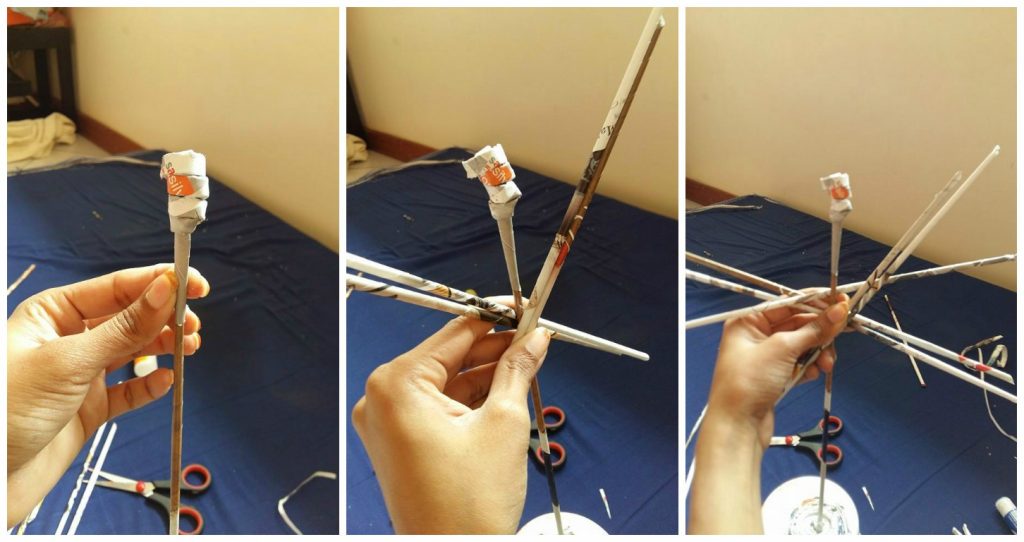
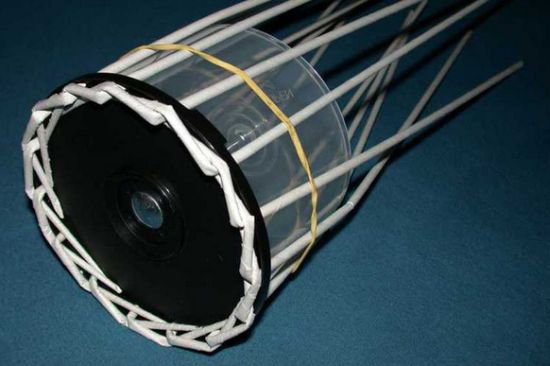 Now, with other newspaper straws, trance the body part of the feeder, using the CD box as a base.
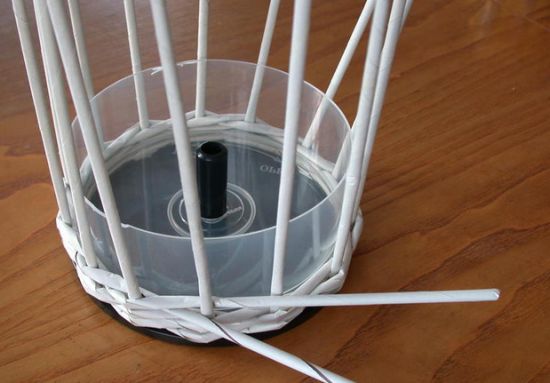 Then, remove the CD box and finish the newspaper straws at the edge.
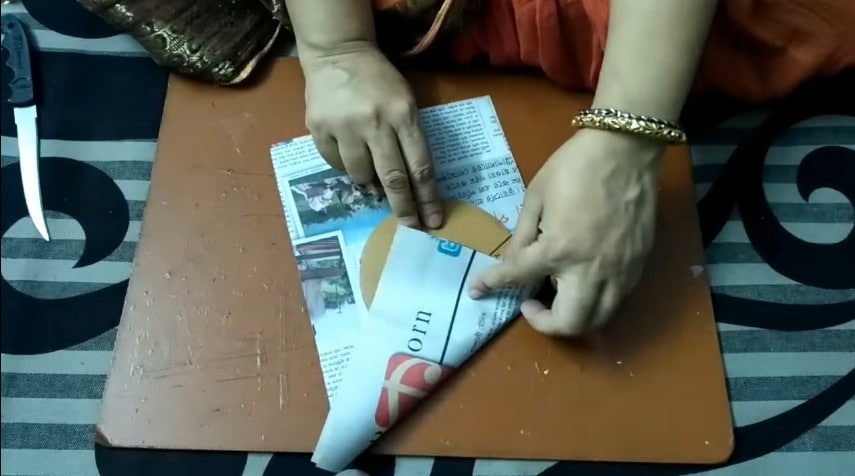
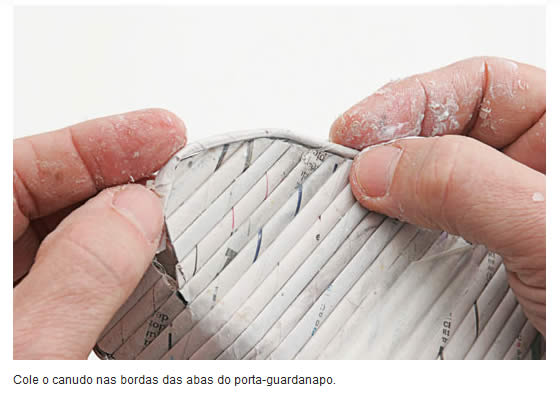
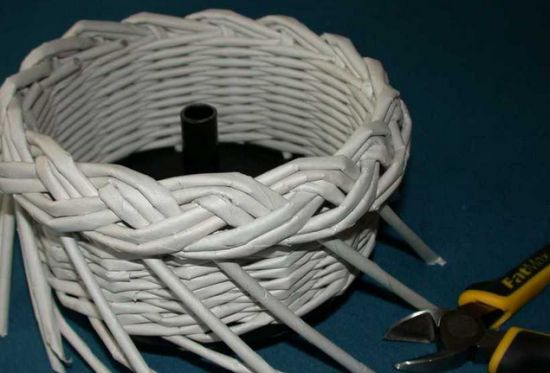 Afterwards, make a very wide cone with the piece of cardboard, pasting the ends. Attach the cap of the pet bottle with the plastic nail on the tip of the cone. Position newspaper straws and trance these straws.
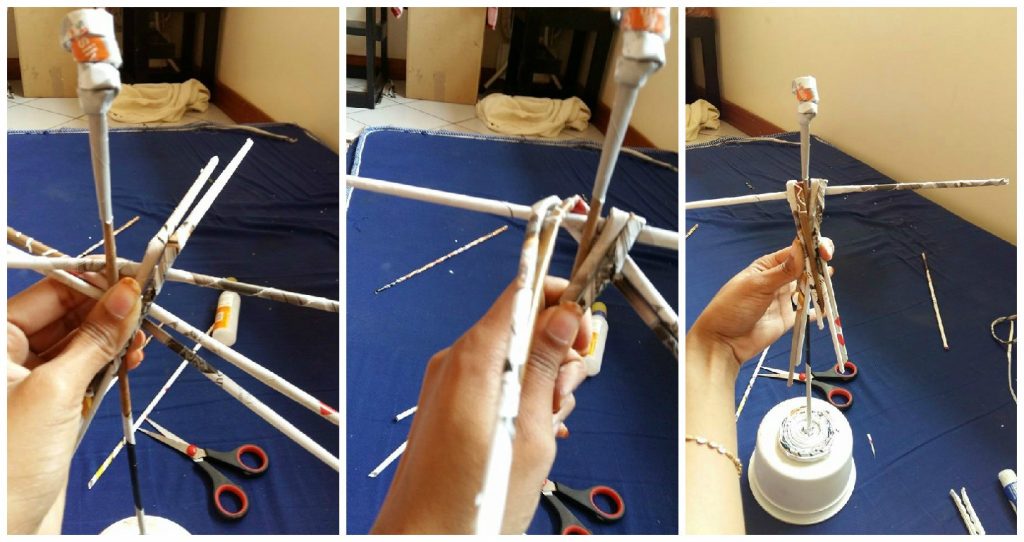
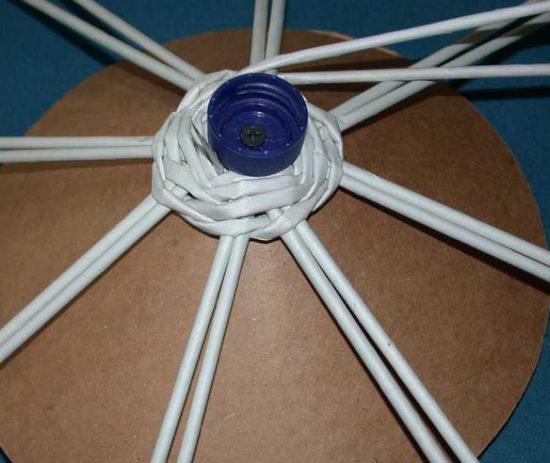 Now, trance up to the size you want and do the finishing on the edge.
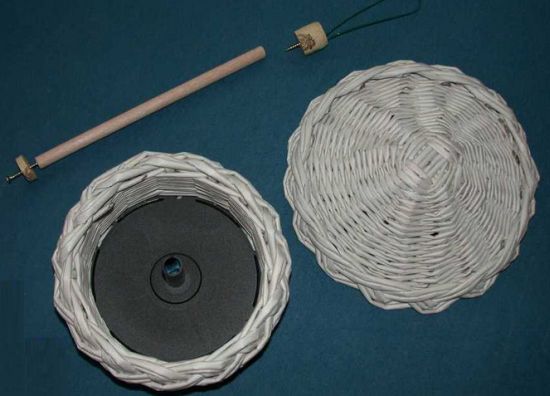 Then, secure the wooden cylinder with the smaller screws and the stopper on the top of the “roof” of the feeder.
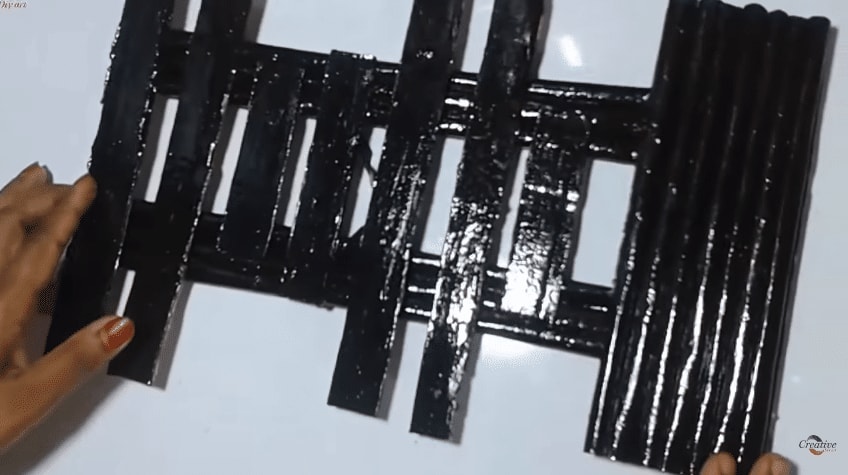
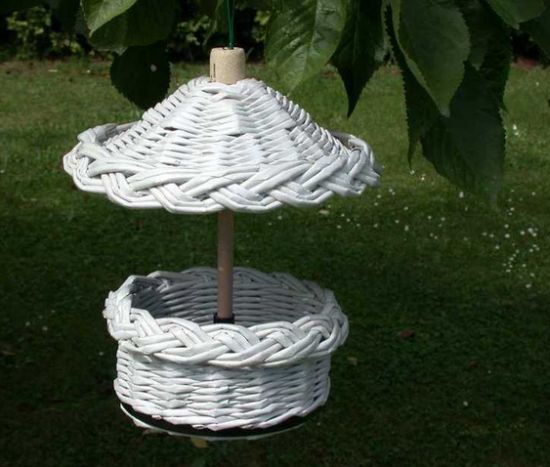 Then, to finalize your piece, paint with your paintbrush and brown paint all its feeder and when the paint is dry, spray the spray varnish. And it’s ready! Now just put the cord and hang your feeder.
 (Image Source: geteasyfreshideas.com)

To decorate a picture frame, a mirror frame or the decorative piece you want, you can make newspaper roses, which are very cheap to make, since you can use old newspapers that you own at home, they Guarantee that special touch the more that everyone looks for the decor of their home.
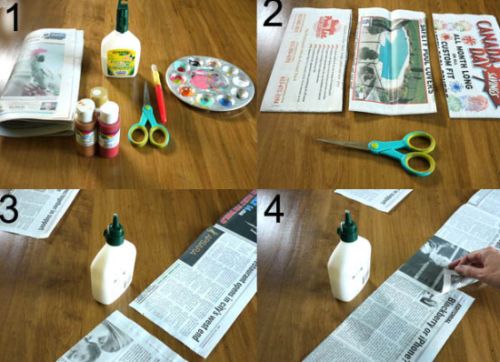
To make these beautiful roses you will need:
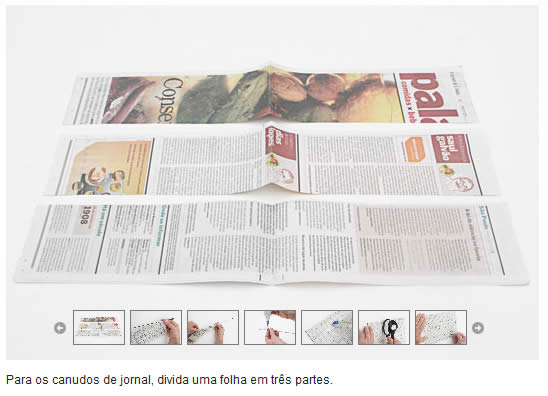
Start by cutting the newspaper sheets into wide, wide horizontal strips. Separate three strips. And then glue these three strips together, along their ends, forming a long strip of newspaper.
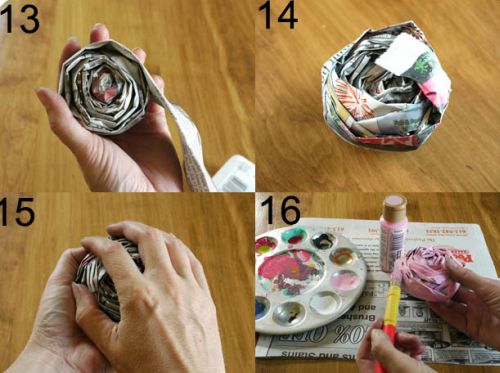
 Then fold the long strip in half to crease. Unfold and fold the sides of the newspaper strip inward. Fold in half again. And now you’ll have a long, but sturdy newspaper strip to make your rose.
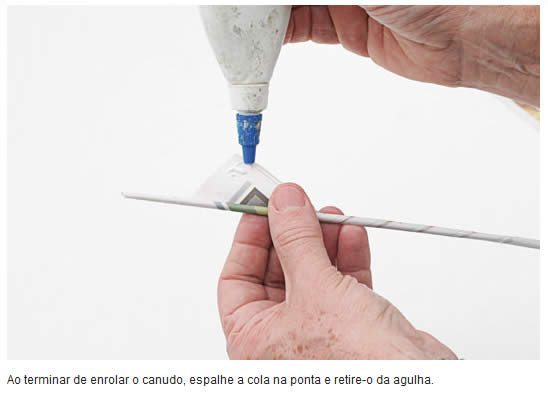
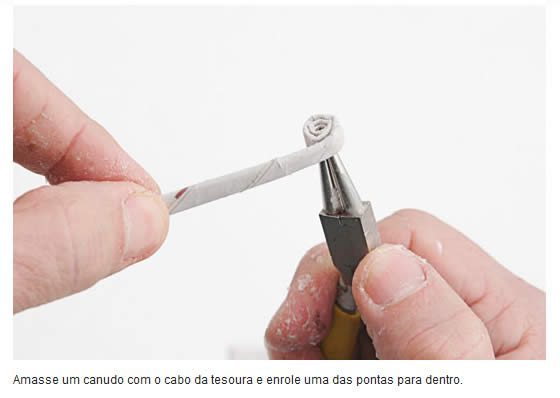
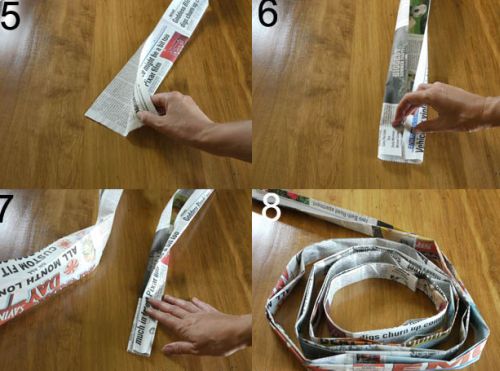 Soon after, form the crux of your rose, kneading and curling the beginning of the strip. Then continue to wrap the newspaper strip around the created core, turning it gently from time to time, to create asymmetry, as in the original rose. And add a little glue on the inside of the strip to secure the piece.
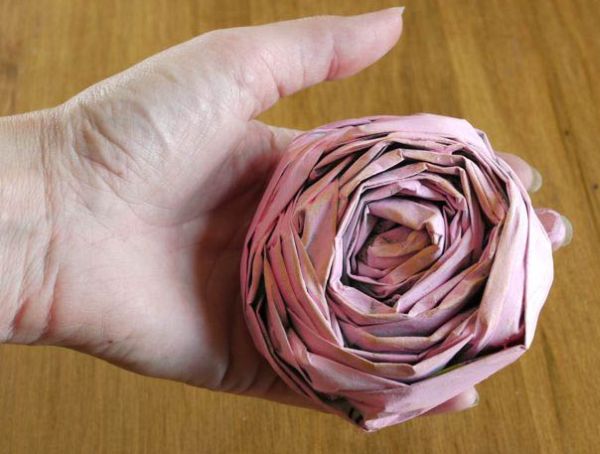
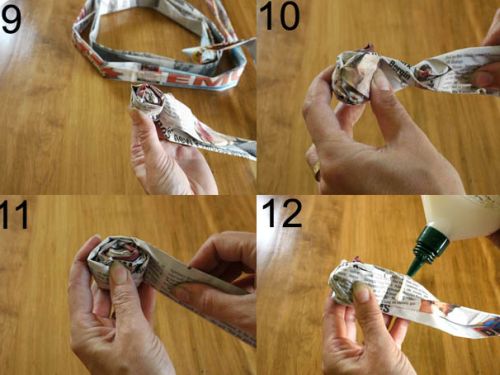 Now, continue rolling the rose and crushing it in your hands until it reaches the desired size. At the end, stick the tip of the newspaper aunt to fix. And paint and your rose with the color of your preference and the aid of the brush. And it’s ready!