DIY Miniature Fairy Garden Terrarium – Enchanted Mushroom Lights

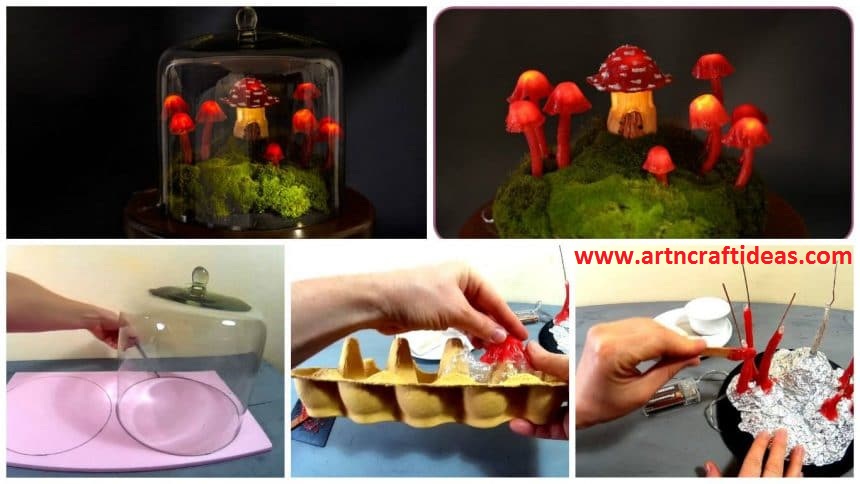
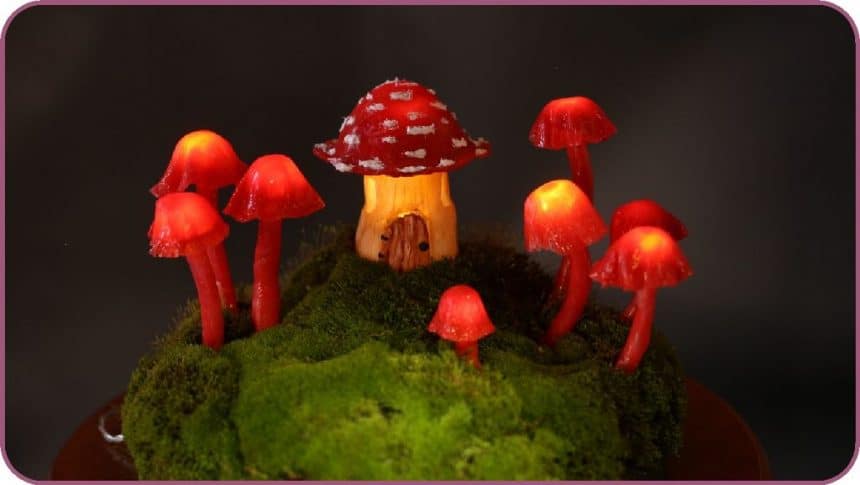
Hi, in this tutorial I made a fairy garden terrarium with mushroom lights and a fairy mushroom house. I used some extruded polystyrene (xps styrofoam), battery operated led lights, transparent sanitary silicone sealant, tin foil, copper wire, hot glue, a little bit of polymer clay, moss and acrylic paint. I also used a glass cake cover. 
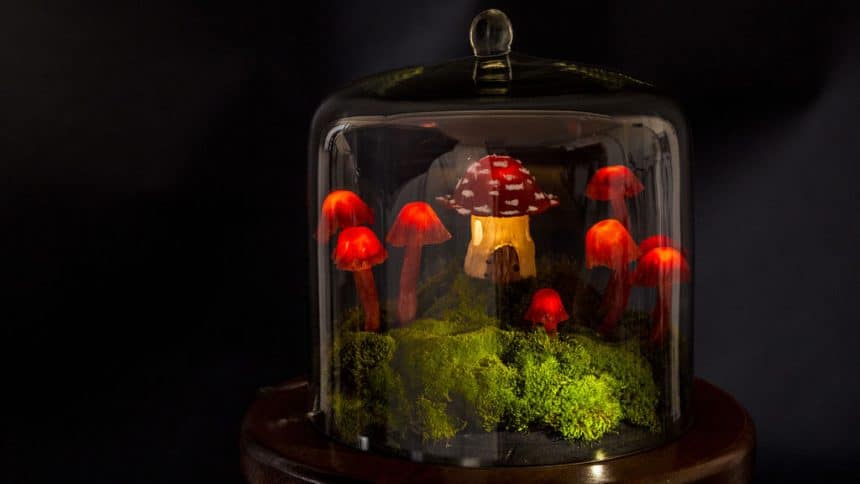
Step 1: Preparing the Board 
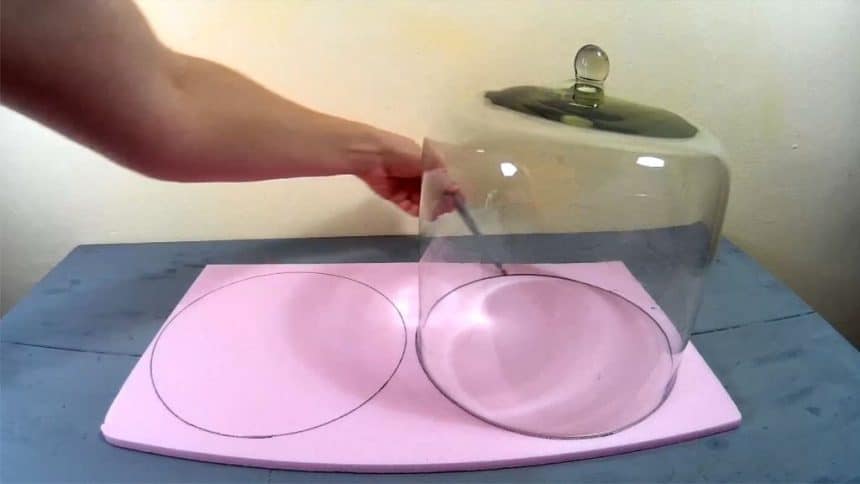
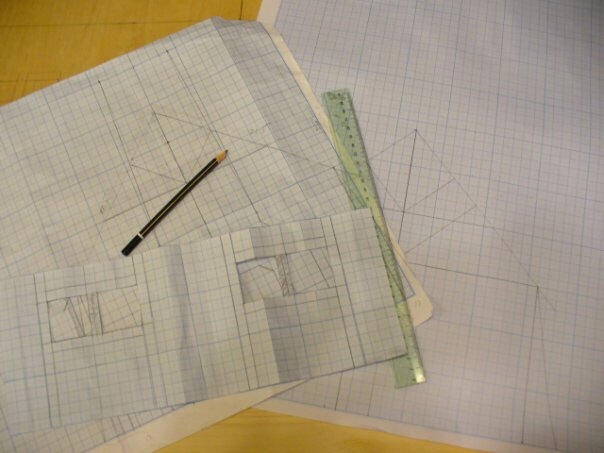
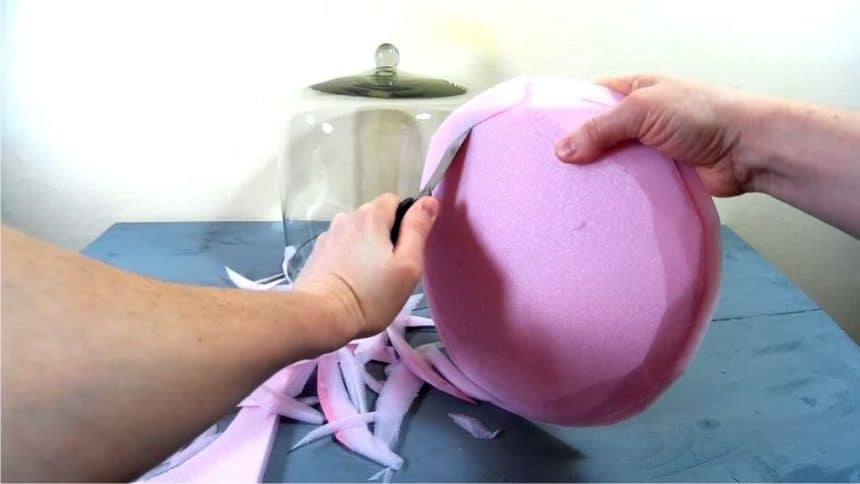
I first cut the styrofoam board to fit the glass cake cover. I adjusted the corners with a cutter, then I painted it black. 
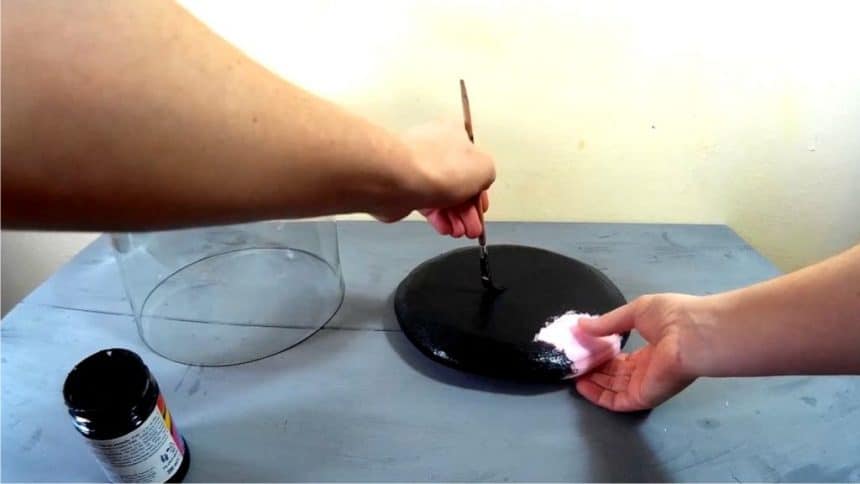
Step 2: Adding the Lights


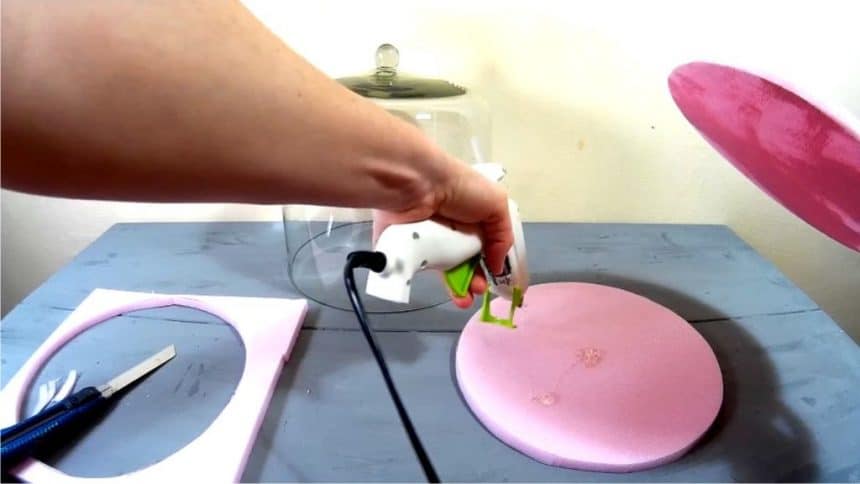
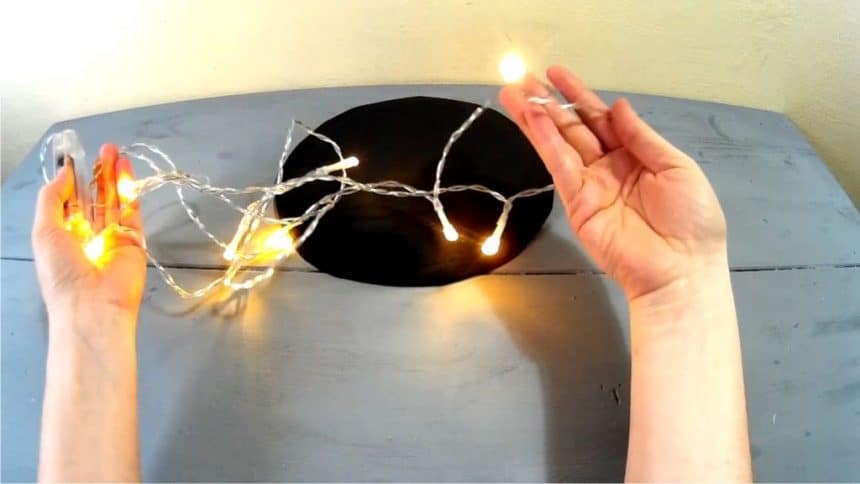
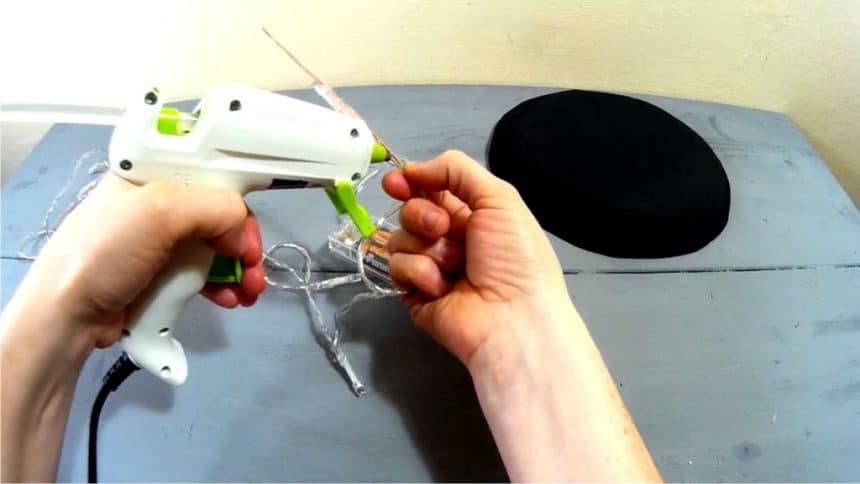
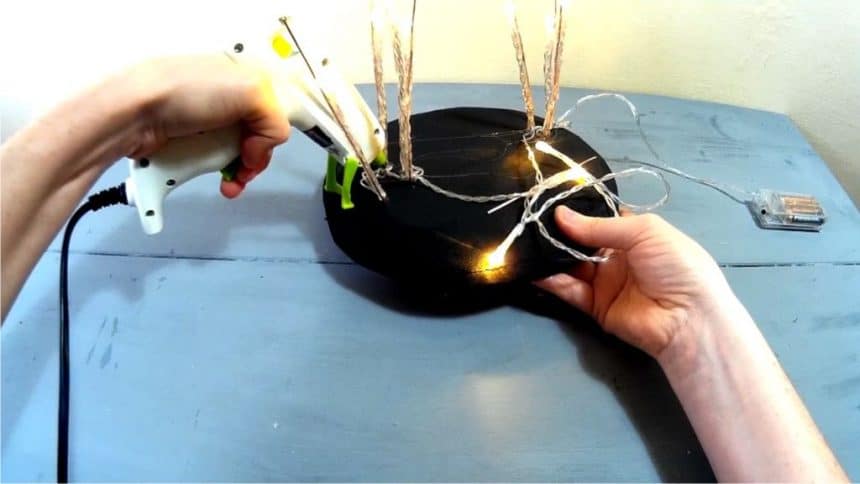
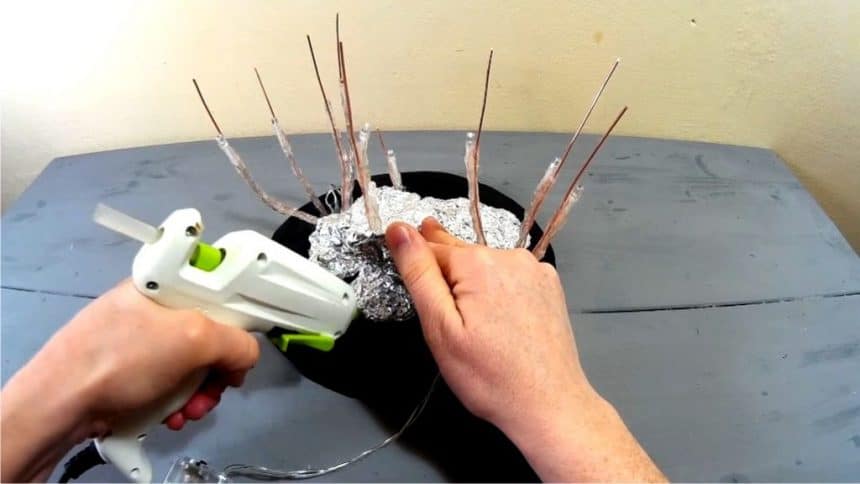
I then glued the lights to some pieces of copper wire. I made the wires in different lengths and also left more wire on the upper side (that will be helpful when making the mushroom caps). I glued the copper wires to the foam board with hot glue. I added some volume to the board using tin foil and hot glue.

Step 3: Making the Mushrooms

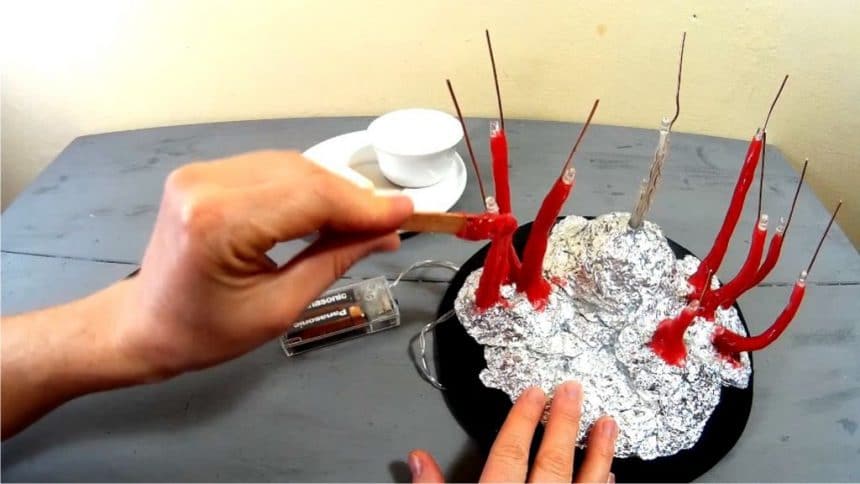
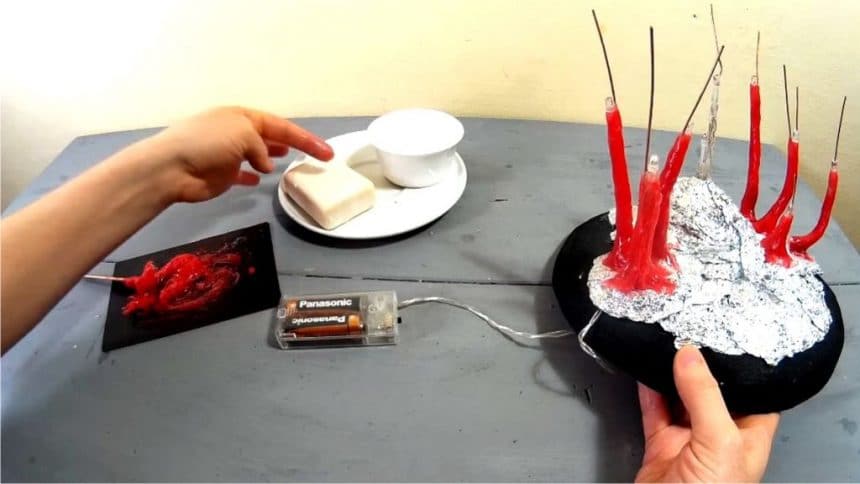
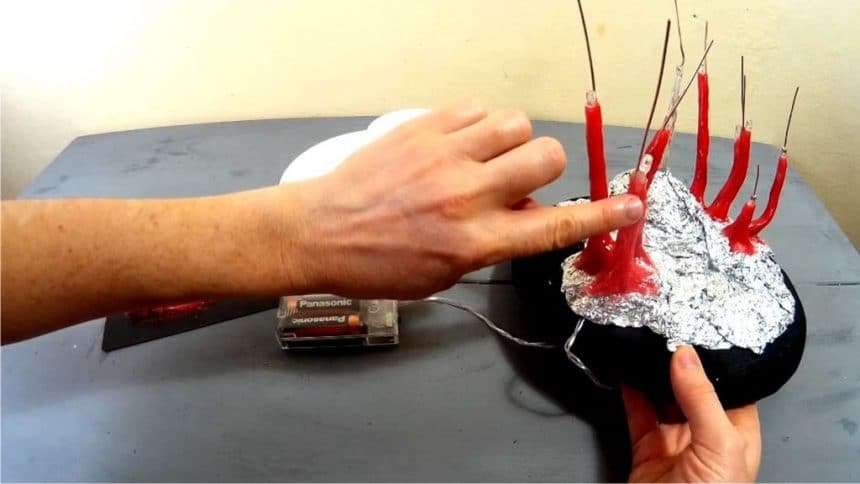
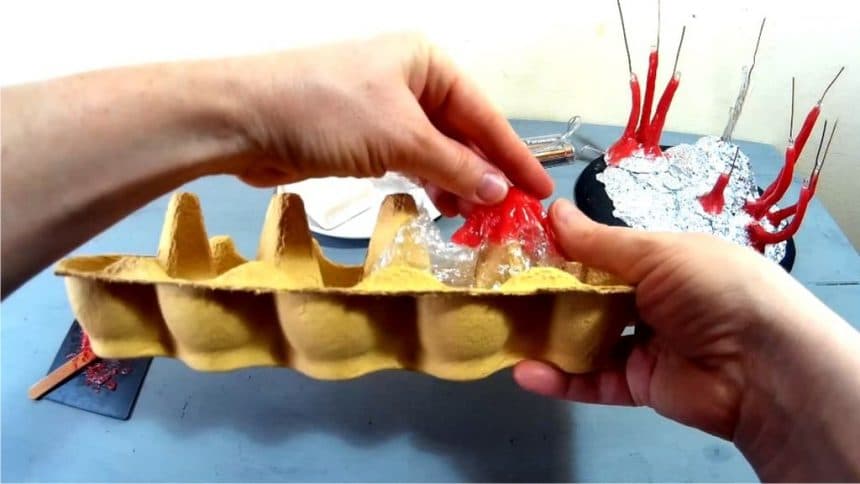
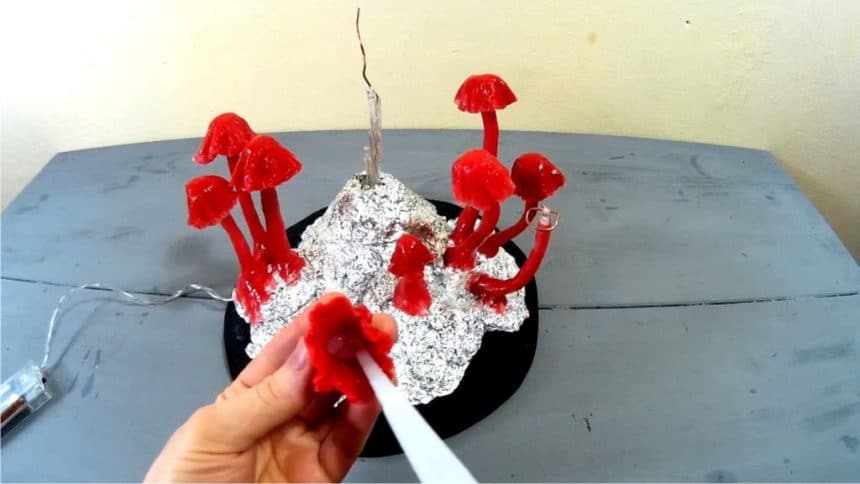
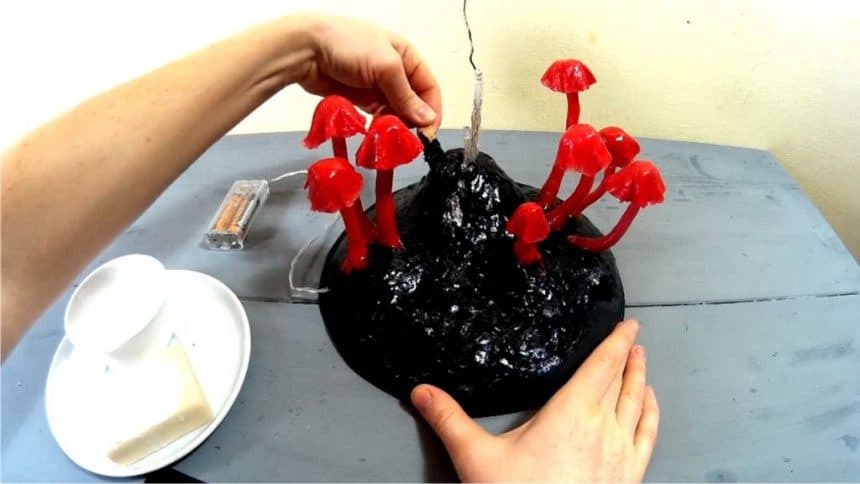
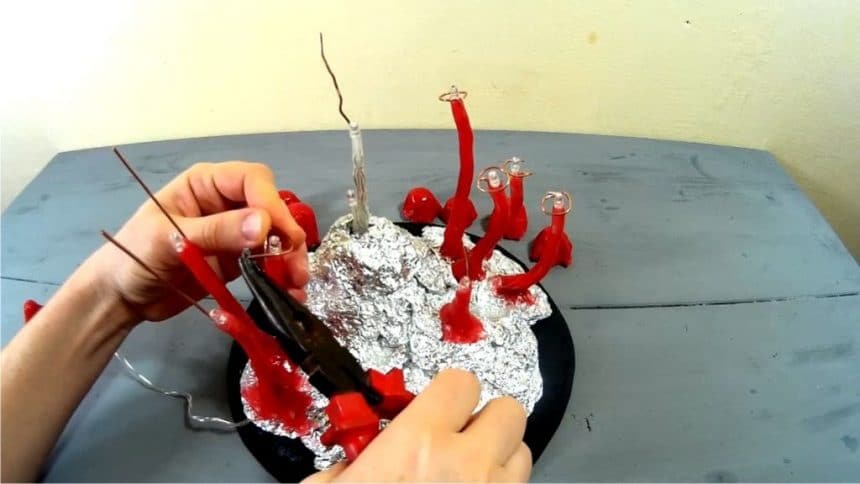
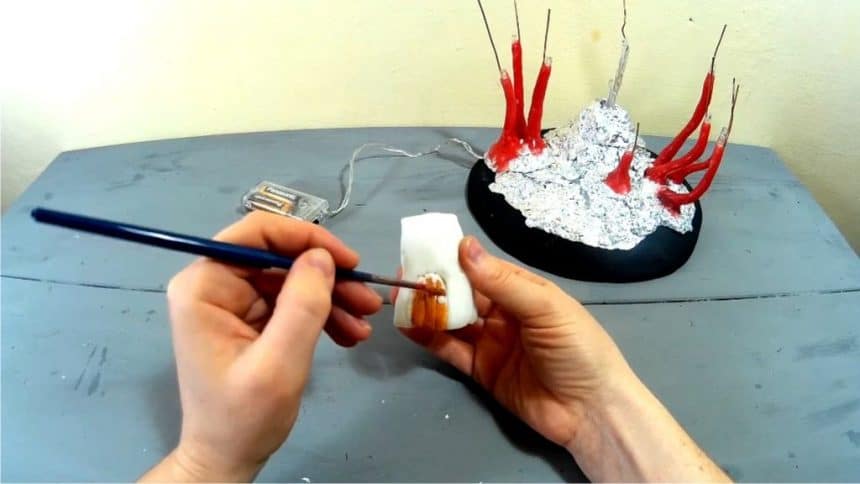
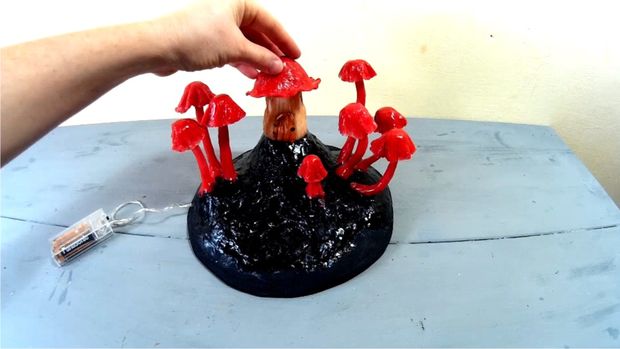
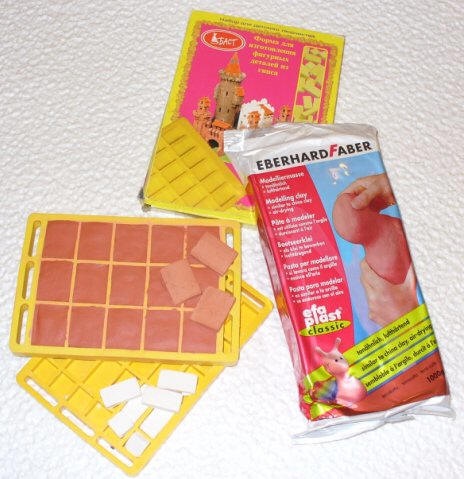
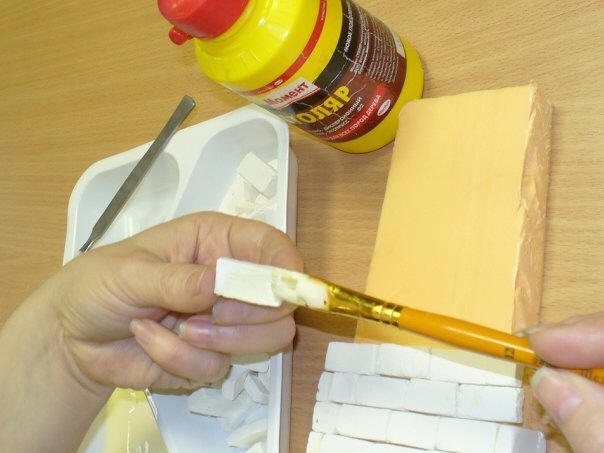
I mixed some red acrylic paint with silicone and made a paste. I applied the paste on the wires and leveled it using soap and water. For making the mushroom caps I used the silicone paste and wrapping foil. I applied some paste on the plastic foil and covered it. Then I started shaping it into a mushroom cap. For making the round shapes I used the cones inside of an eggs carton. I also covered the tinfoil base using the same silicone paste in black. Using some tin foil I made a cone and covered it with polymer clay. I sculpted a little house, baked it and painted it with acrylic paint.

Step 4: Moss and Details

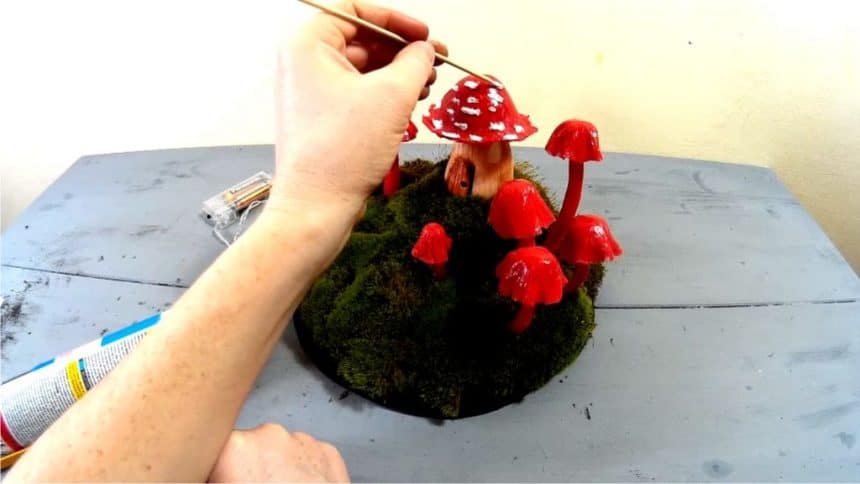
I placed the moss over the board, carefully mixing the patches and used toothpicks to fix it in place. I also made some cute white dots on the house using white silicone.
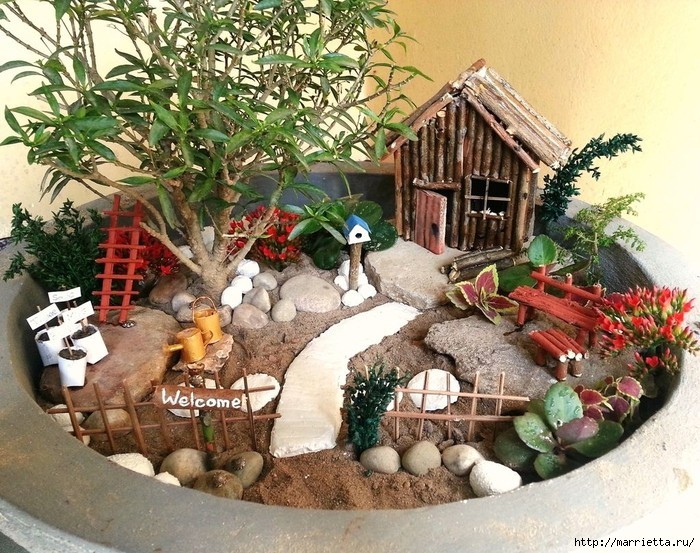
I love the result!

DIY Miniature Dollhouse From Straw

learn this very easy doll house made with straws for barbie life in the dream house. How to make Paper house or doll house with straws. Dollhouse with straws. Awesome doll house with straws. Miniature doll house. How to make a house using paper and straws. Awesome house for Barbie dream life.

How to make a miniature garden terrace

How do a miniature garden terrace 1

Miniature garden “planted” in a large flower pot made of concrete can be used and concrete planters. As they do with their hands – I have a Blog mass master classes. If anyone should be, too lazy to look), write, skins can credit. The idea is perfect for placing in the garden vernde in the country, on the balcony, and even on the kitchen window sill – if you use small pots.

So, how to make a miniature garden with his own hands. For work, we need:

  • a large flower pot made of concrete – must have a drainage system (the hole), that there is no excess water in the pot,
  • a mixture of earth and sand,
  • Plants suitable for a miniature garden,
  • twigs,
  • paperboard
  • paper,
  • stationery knife,
  • Hot glue or glue,
  • lacquer for wood,
  • cement mix,
  • pebbles and stones.

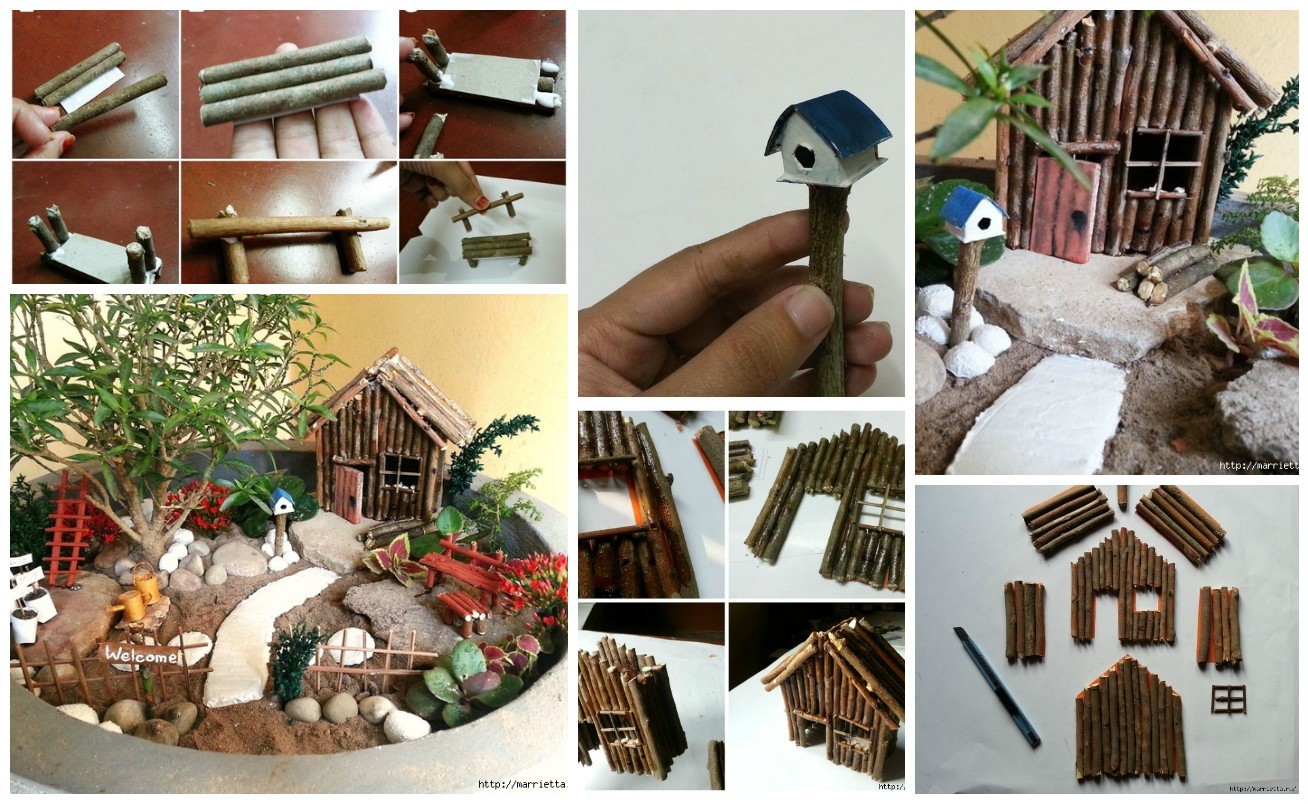
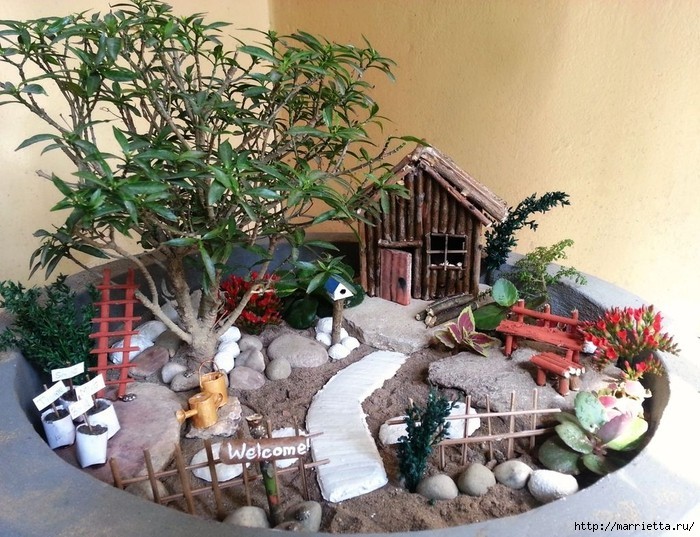
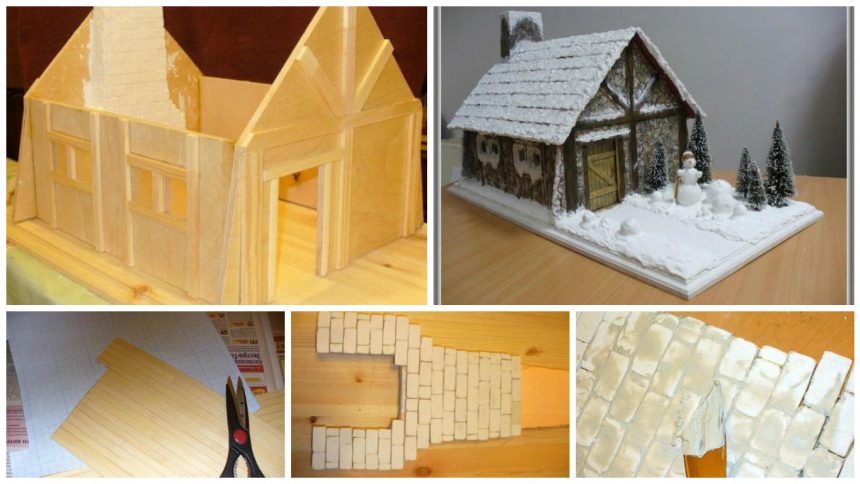
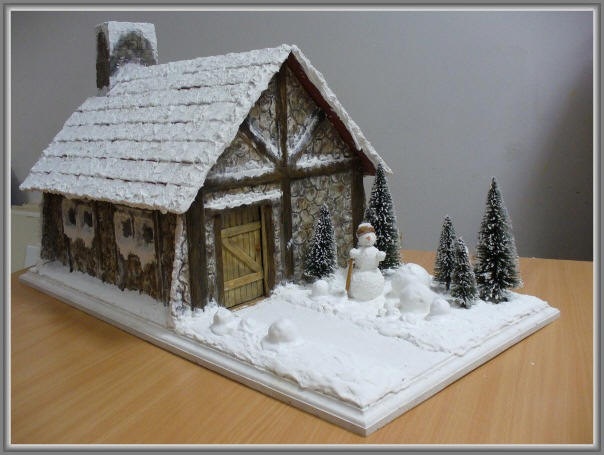
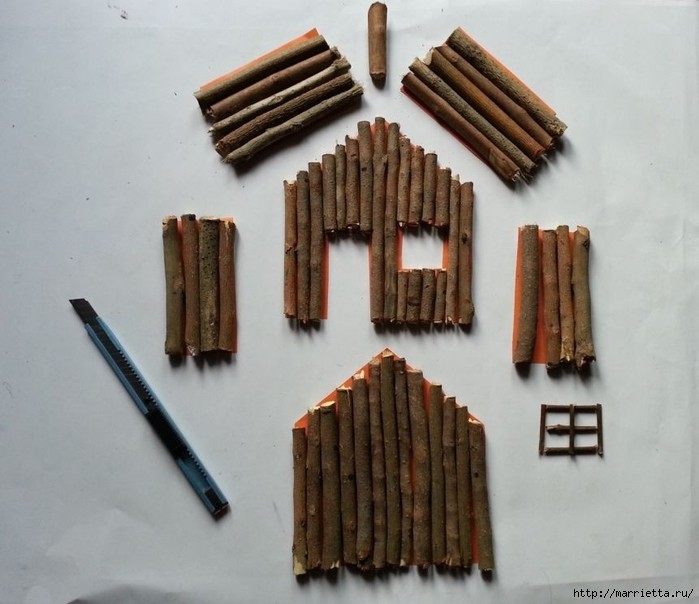
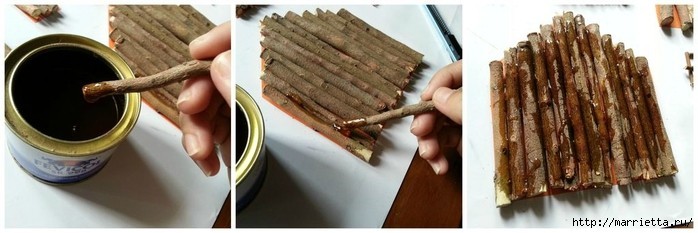
How to make a house of twigs: 
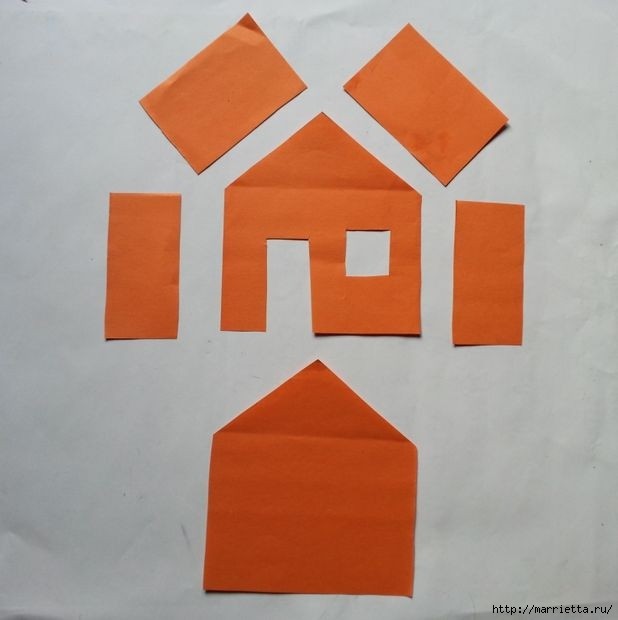
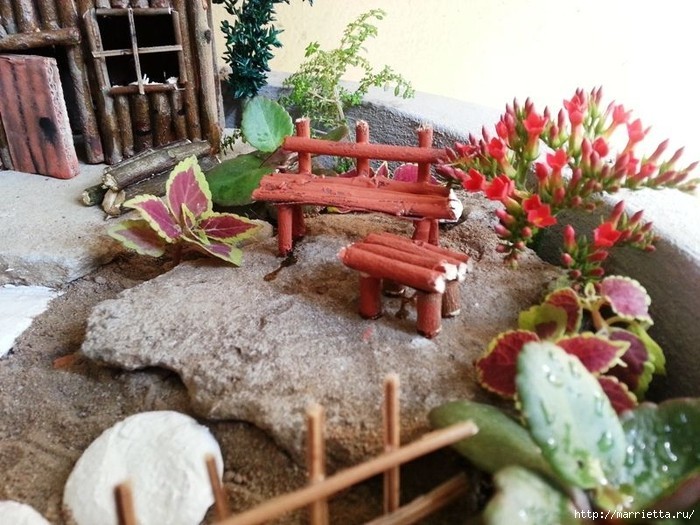
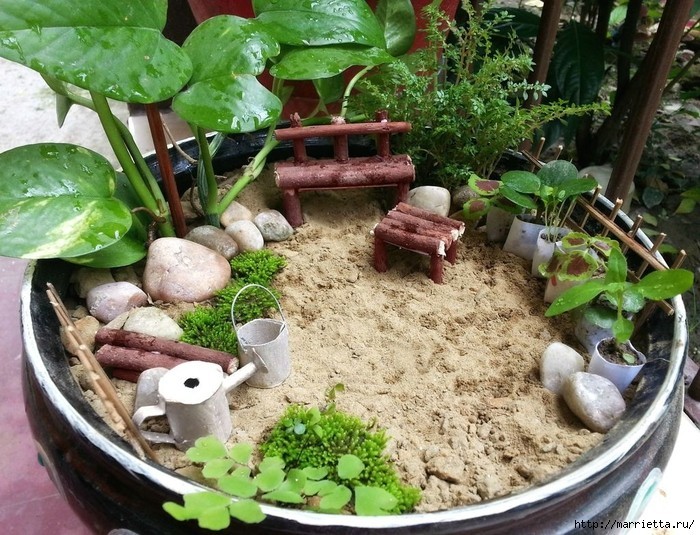
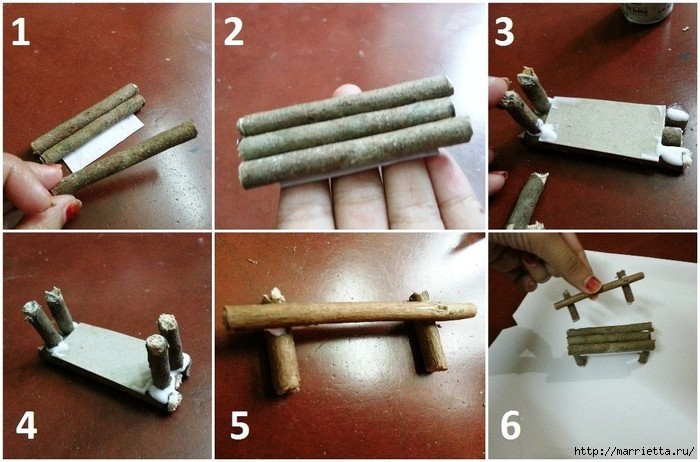
How to make a garden bench made of sticks or branches: 
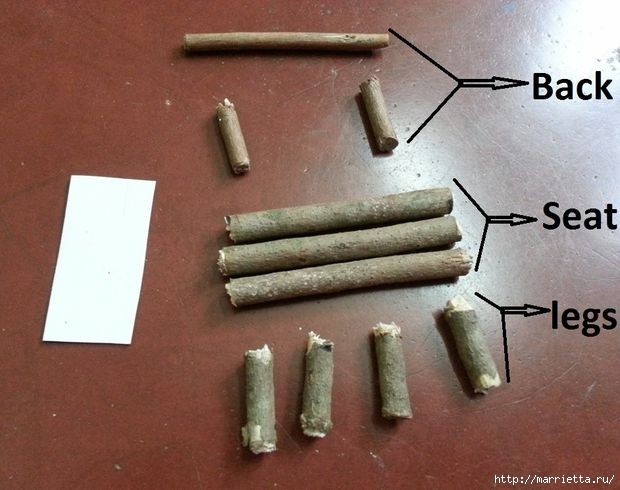
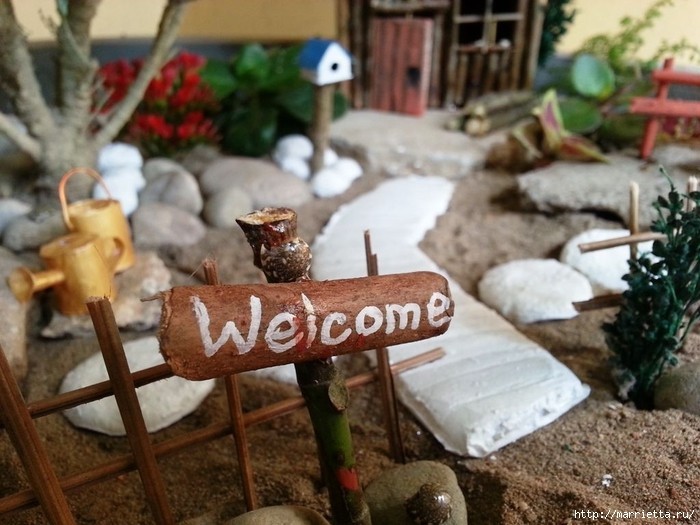
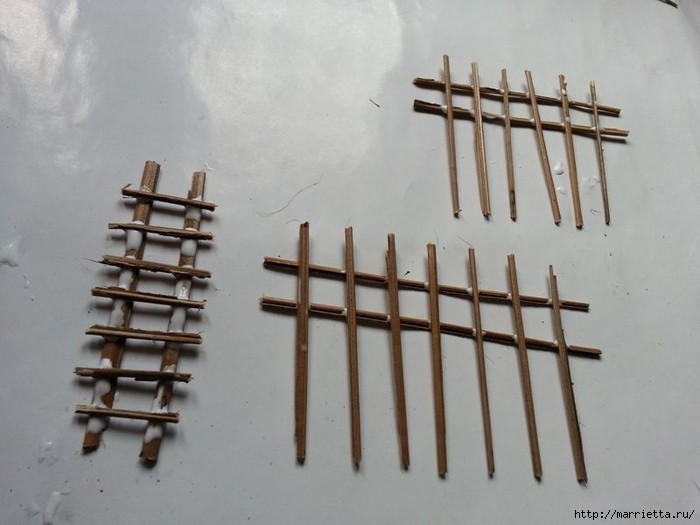
How to make miniature fences and stairs: 
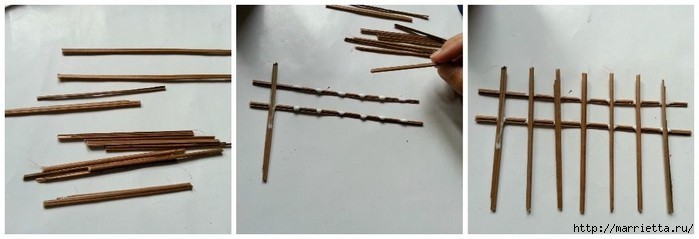
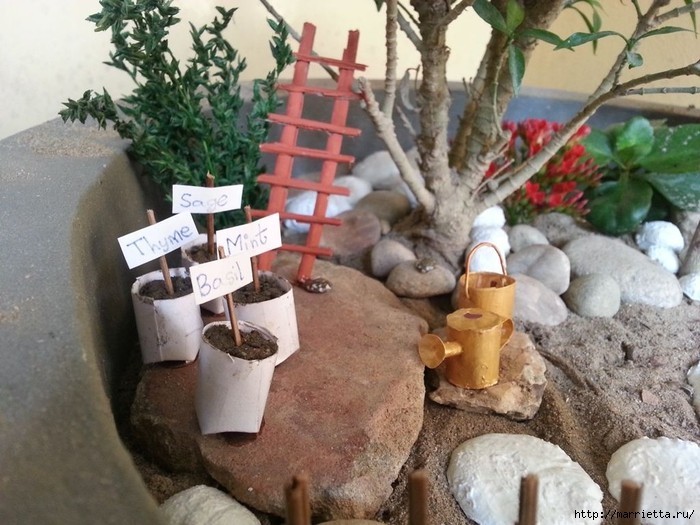
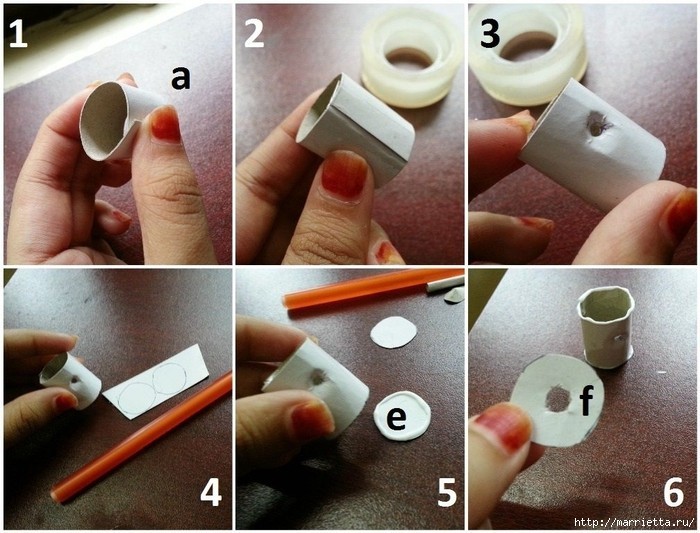
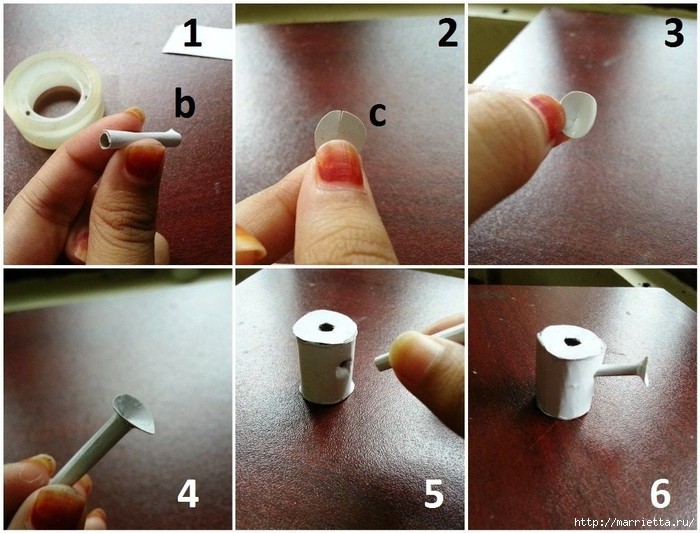
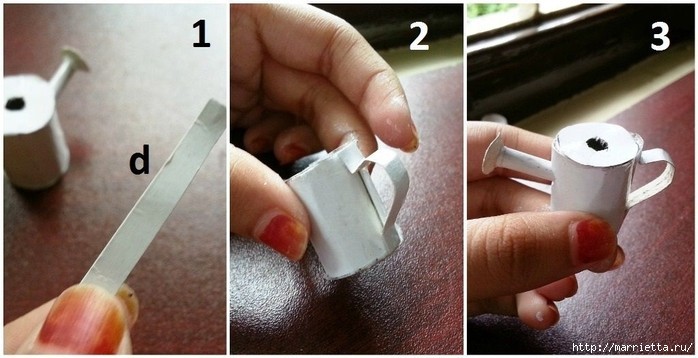
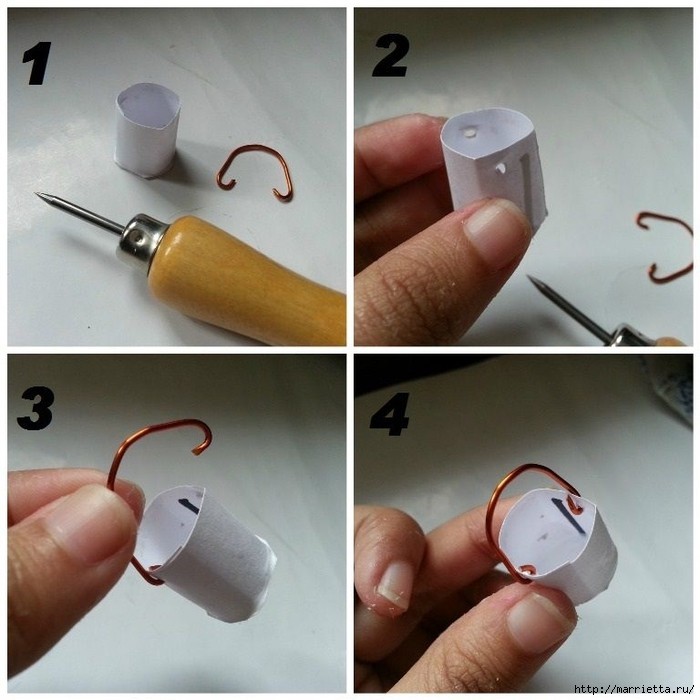
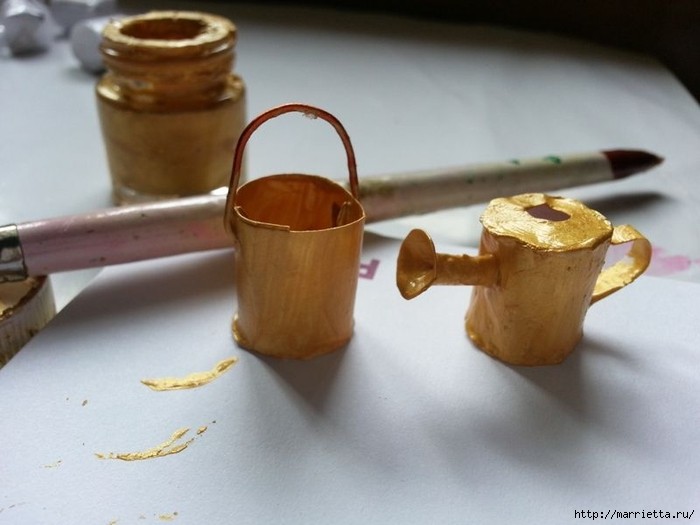
Miniature garden tools: 
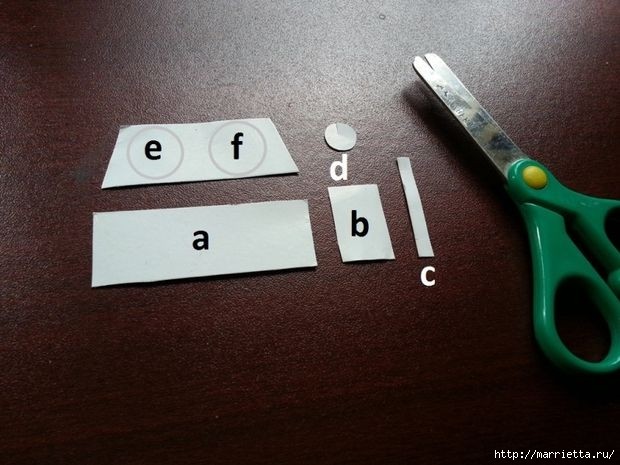
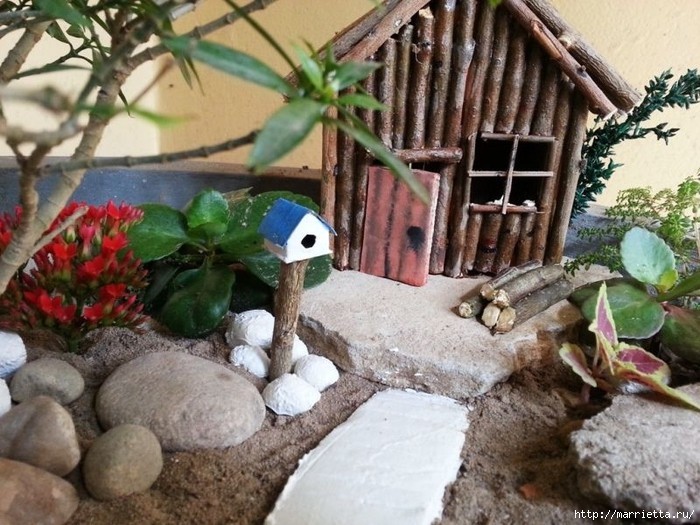
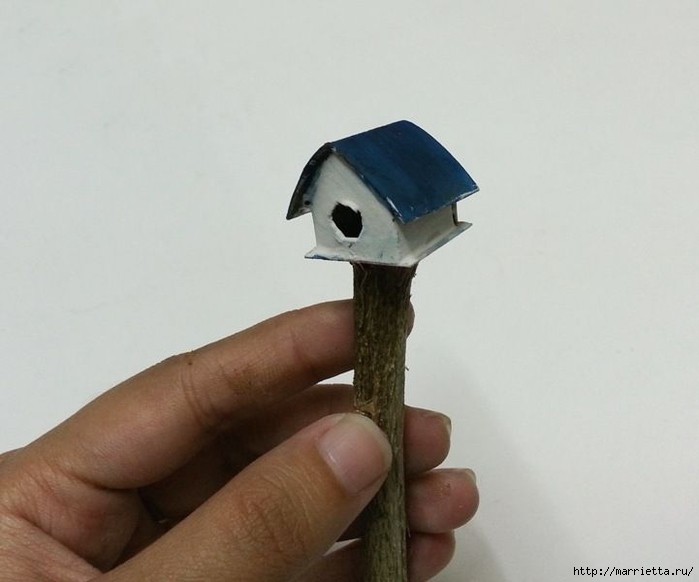
How to make a miniature birdhouse: 
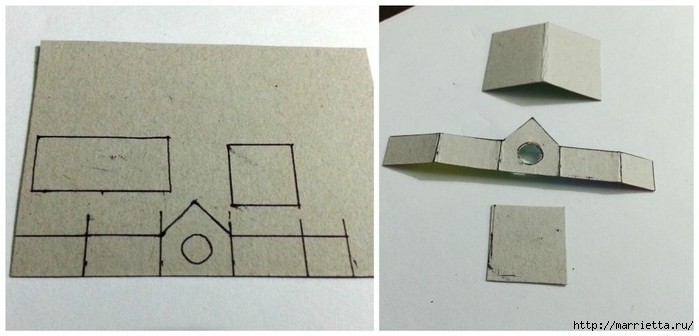
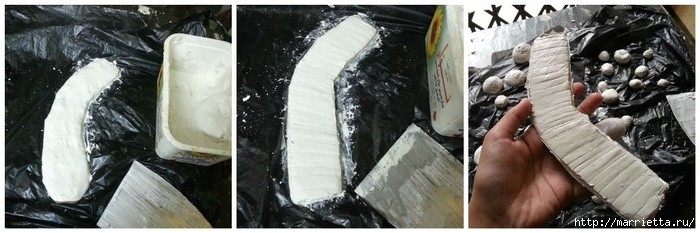
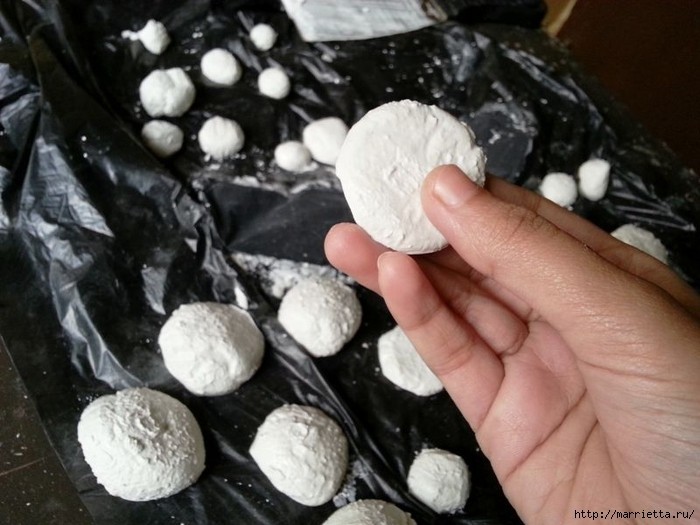
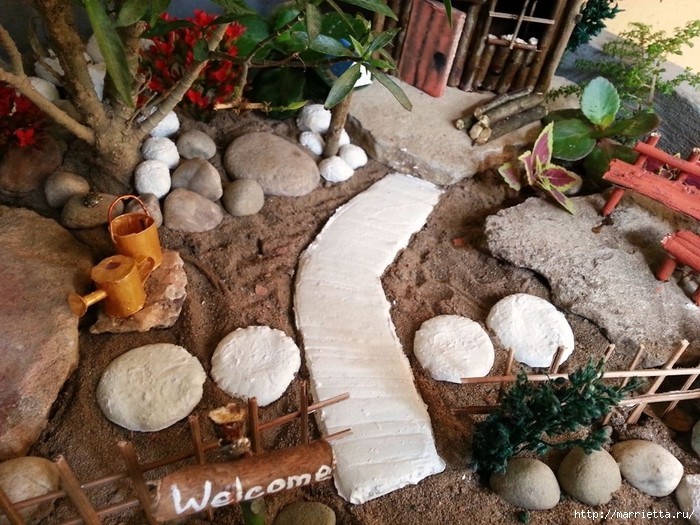
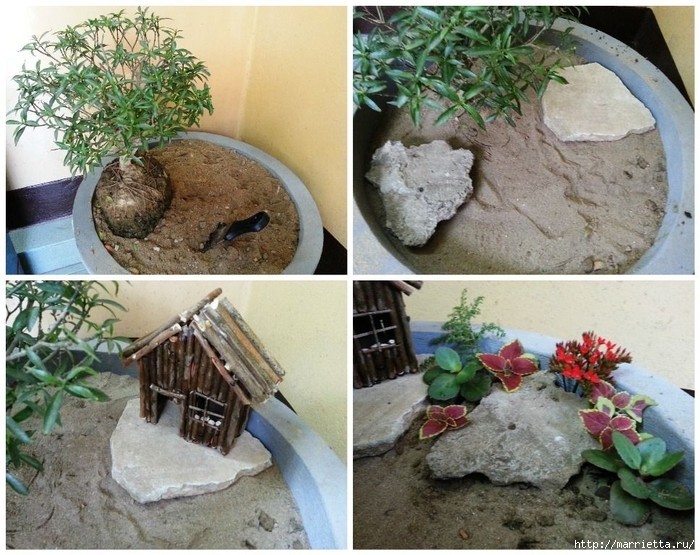
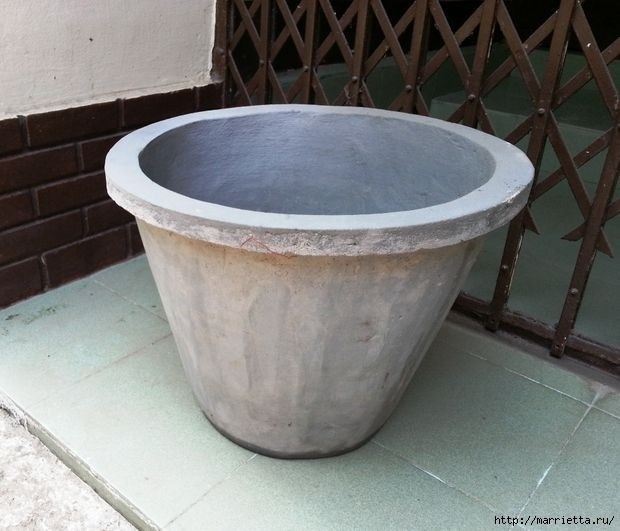
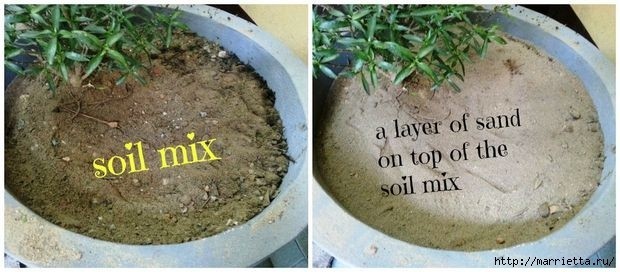
Accessories from the dry cement mixture:

How to make a miniature alpine hut – Step By Step

miniature alpine hut. 1

Required Materials:
· Plywood 8mm thick and 4 mm.
· Pine array to stand.
Plastic self-hardening.
PVA glue joiner acrylic
paints.
Putty for wood acrylic.
Paints and coating simulating snow.
Thick foam.
Wooden slats of various sizes.
Screws made of brass.
Hinges.
Tools:
Forms for the casting of the gypsum – lock.
Jigsaw manual and electric.
Brushes.
Stacks for sculpting.
1. To create the world in miniature, consider the story and style of the future work. In my case – is to create a miniature fantasy, the plot, which will be the scene of the life of a hunter dragons in the winter. For this master class, I chose to create a medieval hut. It is necessary to consider what materials and what tools we work. To our cabin looked plausible, we rely on history. In the Middle Ages, there were no paints and tools for wood, especially in the woods. Construction material was stone, wood, and clay. we will simulate in our construction. Since the Middle Ages, severe and ascetic time. Pamper our hunter we also will not.
2. In order to build a house, you must make it a sketch, it is more convenient to do it on graph
paper. The size of our house is:. Width 35 cm, length 36 cm, height 29 cm 3. Our roof is covered with tiles and a fireplace in the house is made of hewn stone. Prepare to do the required number of pieces of self-hardening plastic. 4. Make the foundation for the fireplace from a dense foam. Cut her with a knife Prototyping. 5. On the basis pasted with glue, PVA harvested and-dried bricks 6. The gaps between the stones, fill diluted with water self-hardening plastics. 7. From the plywood thickness of 8 mm cut out the wall for the house. From 4 mm thick plywood cuts roof 8. The walls do an imitation beams. Glued a plastic plate instead of glass in the window 9. The fastening walls of the house with the help of PVA wood glue and brass screws. 10. Imitating the walls of stone masonry with the help of self-hardening plastic. Before applying the plastic wood joinery is necessary to go with white glue. A thin layer of 3 mm put on the surface of the plastic and squeezing her figure imitating brickwork.

11. painted brickwork and beams with acrylic paints. To bring the stone shine after painting, oil the places on the convex plastic colorless shoe wax, and after drying, rub to a shine. 12. The miniature doll made, it is possible to look inside the house. Therefore, we will do our roof hinged to one side of the opening. This will allow us to change the exposition inside the house. We connect the two parts of the roof loops. And sticking the prepared tiles made of terracotta-colored plastic. On the one hand fastened to the roof of the glue and screws. 13. To bring the winter effect paint the window paint simulating snow. 14. putty and white paint decorate the stand under the house. On the PVA pour imitation snow, borrowed from friends lovers of miniature railways, they also acquire a miniature Christmas trees. Roofs and chimneys as well decorate paints under the snow. Well, our hut is ready. Now you can do accessories and a resident of the house. But that’s another story. Making interior decoration of the hut. Materials: Reiki wooden Bamboo Floor Putty Acrylic Acrylic paints. PVA glue joiner. 1. Floor covering cut out from a bamboo cover. 2. On the wall is pasted by a joiner PVA ornamental cornices. 3. The door also decorates bamboo cover 4. On the walls using a palette knife and acrylic fillings do texture surface 5. From the plywood slats and furniture manufacture. 6. Use acrylic paints and waxes, paint the walls and beams. 7. Furniture and utensils, produce several accessories.

DIY Miniature casket made ​​of plastic canvas

Miniature casket made ​​of plastic canvas 1

A miniature casket made ​​of plastic canvas. Plastic canvas – a fantastic material for many kinds of handwork. It is dense, come in different colours, white, cream, Gray, black and clear. The advantage of this canvas is that she is not afraid of water, has a beautiful smooth edges that do , not wrinkled, suitable for 3D embroidery. Plastic canvas for sale size A 4 and has a different number of holes per inch: 5, 7, 10, 14. Canvas 14 holes per inch has small holes and embroidery looks at this canvas is much more elegant. Therefore, take this box of embroidery canvas. More will need: a needle, thread type floss, scissors, pencil, paper, glue, staples.

Embroidery consists of simple squares of embroidered stitches. Based on this scheme can determine the size of the box. Choose the length and width of the finished boxes, using the template as a guide. The bottom cover makes a little more bottom boxes to cover can be put on the box.

You can embroider on the whole sheet and then cut side, during embroidering knit knots, and tighten the tail for embroidery.

Example embroidered caps and side boxes.

So it seems the bottom and sides of the box.

On the front side of the box double thread sew the seam was tight.

Sheathe edge boxes and covers.

Inside the box lid and paste paper or cloth. This box can be used to store small items of jewelry.