The idea came after a trip to the store with the chandeliers and the like. I saw there a beautiful ceiling lamp in the form of a balloon for children’s, everything would be fine, but that’s standing is a miracle as much as 2.5 thousand. Although it was clear that to create something like that would be very difficult not to! Since then he lit up and slowly began to buy all you need for a chandelier.
Materials:
– Shade Regola for IKEA pendant lamps
– Cord suspension Hemmi from IKEA white
– A small basket, for example, a basket for writing utensils from IKEA
– Small linen white cloth
– Satin ribbons: turquoise thin (1.5 m) wide turquoise (1 m) and red wide (3.5 m).
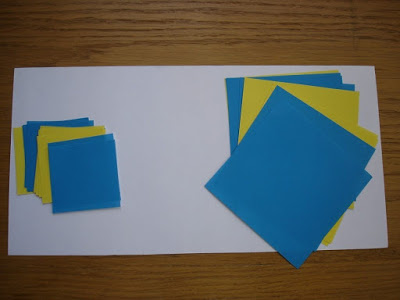
– Multicolored felt thin (4 colors)
Instruments:
– Sewing machine (optional)
– Scissors
– Glue gun
– Stapler
– Matches
Getting creative.
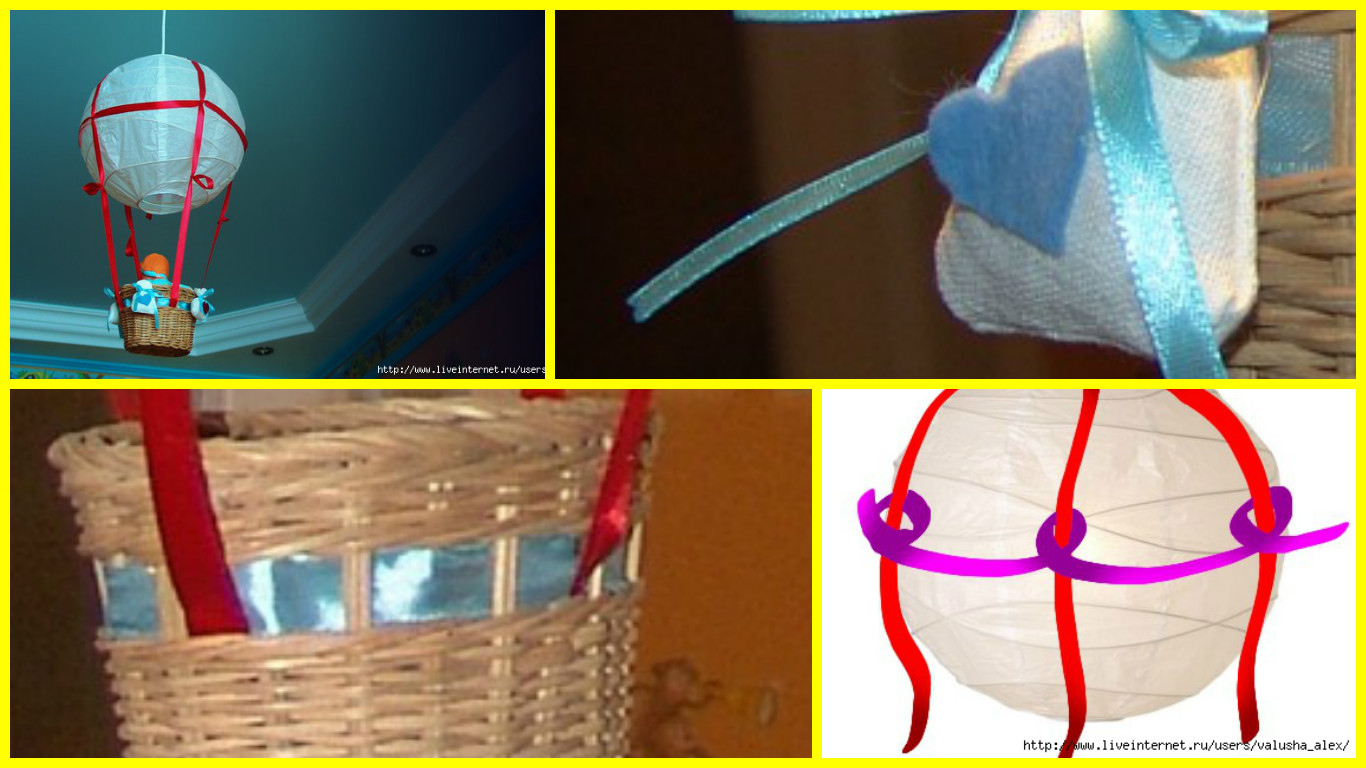
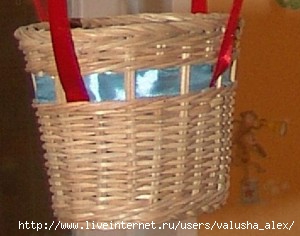
1. Basket: Since I took the basket from the IKEA (she is a decorative line of the holes on the top edge), I decided to decorate its broad ribbon of turquoise color. Just slipped the ribbon through the holes on the top edge of the basket. The end of the tape led to the basket and secure the adhesive gun.
 2. Bags: fabric cut into 4 rectangles 12×5 cm – and sew them from plain bags under the scheme:
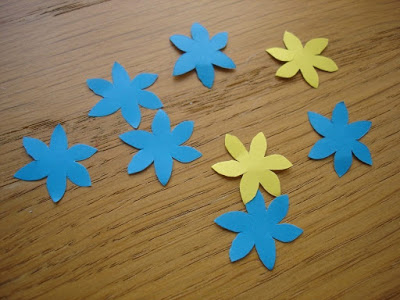
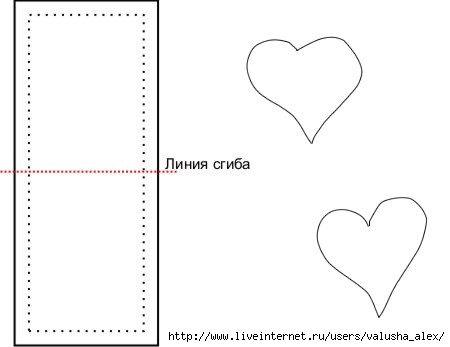 Once the bags are sewn, fill them with filler (wool or pieces of fabric). Slicing thin turquoise ribbon into equal segments always burns the tips of using matches and tying the bags on the bow. Then, cut out of felt 4 freeform heart for every heart the color of felt. Hearts glued to the finished pouches using the glue gun. Something like this, you should get:
Then the bags to be glued to the basket in a circle.
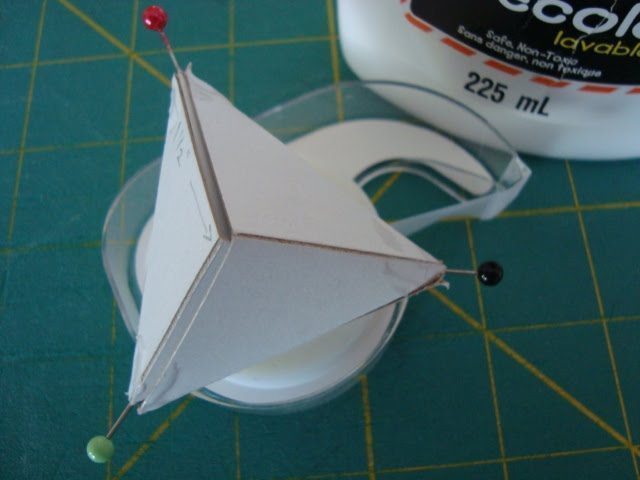
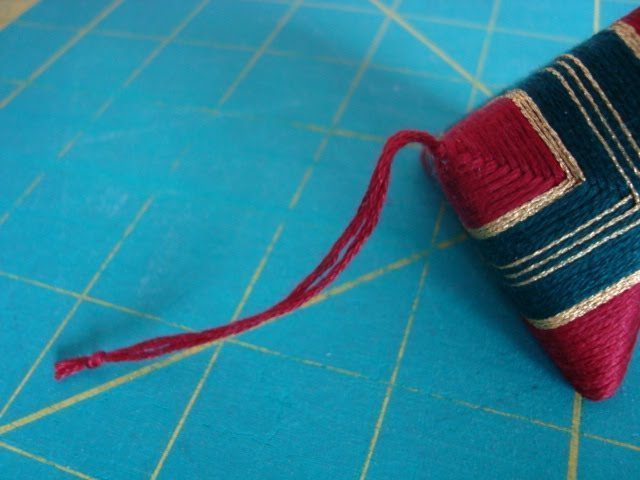
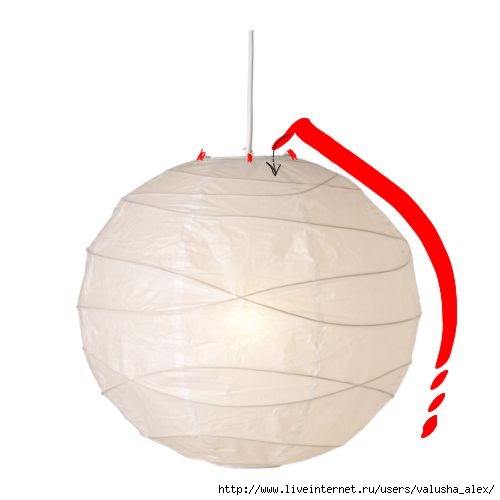
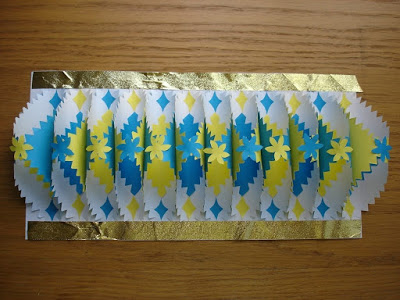
3. Shade and bands: For starters, you need to measure out 4 lanes wide red ribbon, it will be the main holders of our baskets, ribbons length to suit your taste. You can estimate, putting the tape one end to the upper point of the lampshade, and the other to the basket and thereby decide which length suits you. Do not forget to burn the edges of the tape! In the eyes divide the upper opening of the lampshade into 4 pieces and put a notch, take a tape edge and Bends it to resection short tip inside the lampshade and a stapler (preferably the smallest), attach the ribbon to the paper lampshade. Repeat the operation with the remaining three segments of the tape.
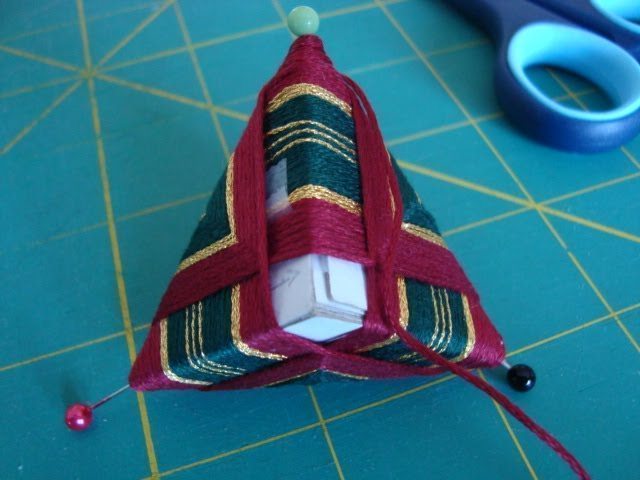
The lower edge of the Ribbon Factory inside (as shown in the first figure) of the basket at the 4th parties and secured by a glue gun.
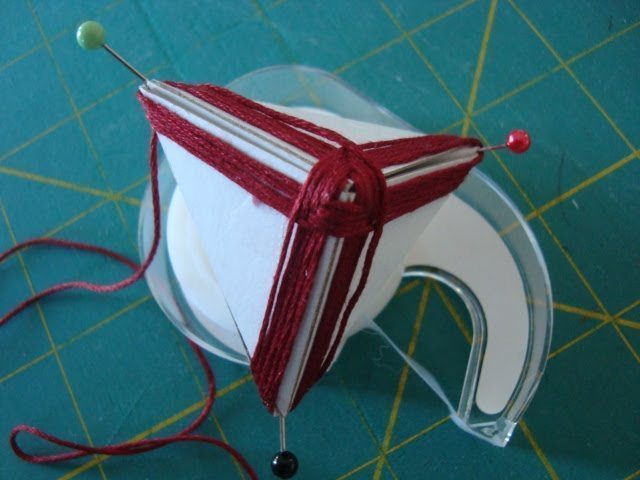
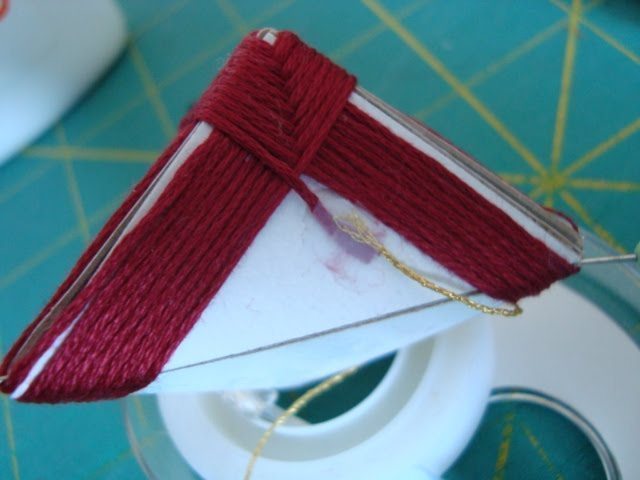
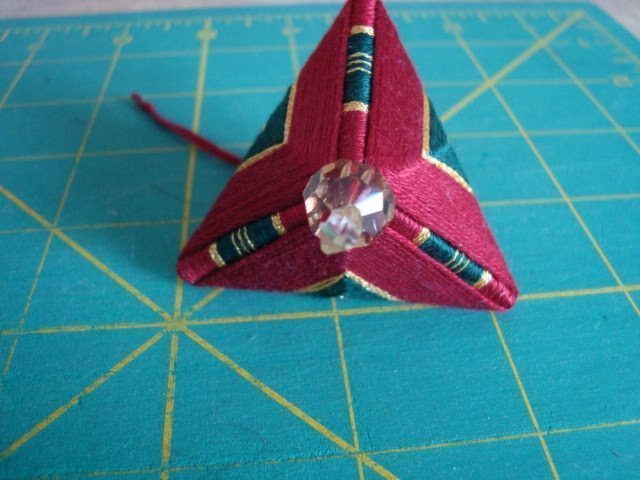
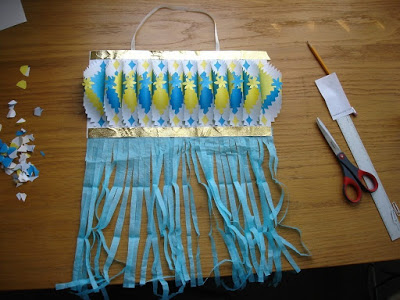
Then, take the tape equal to the circumference of our lampshade + 25-40 cm. Additional centimeters will go to the bow and nodules. In the middle of the eye we define our “lampshade-ball” and Tinea his belt, as follows:
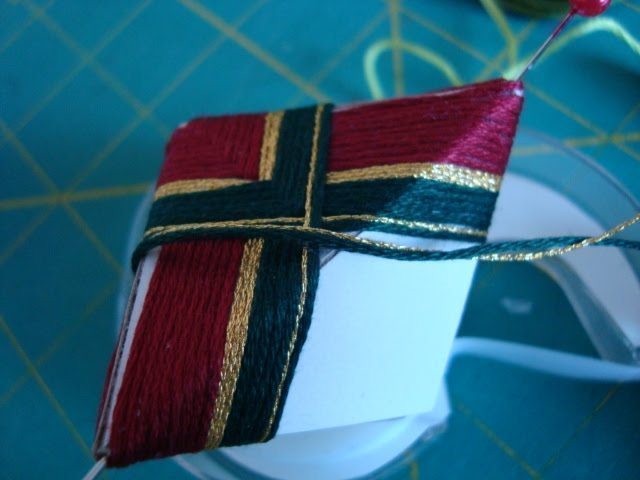
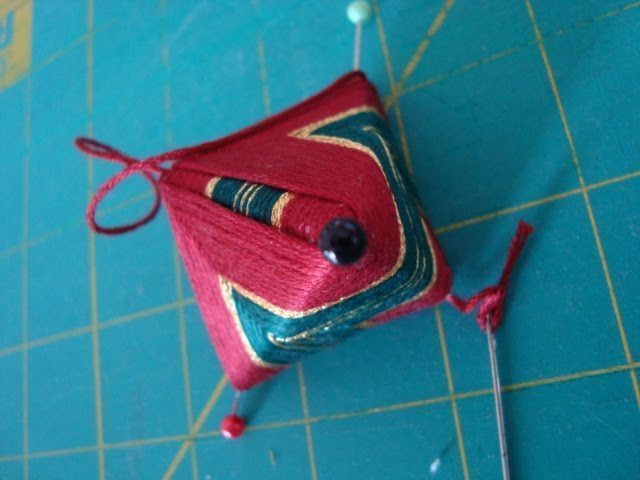
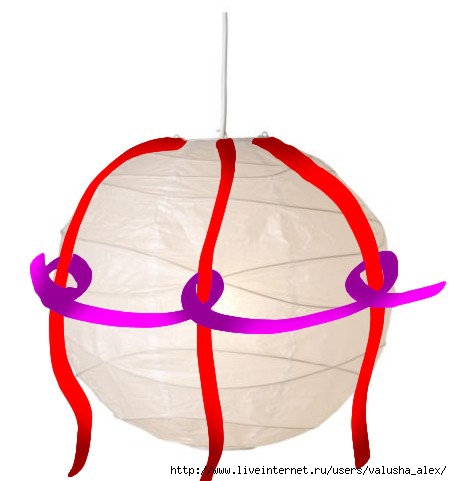 On the ground, with vertical ribbons crossing do nodules, nodules will be 4:
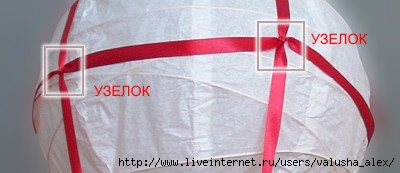
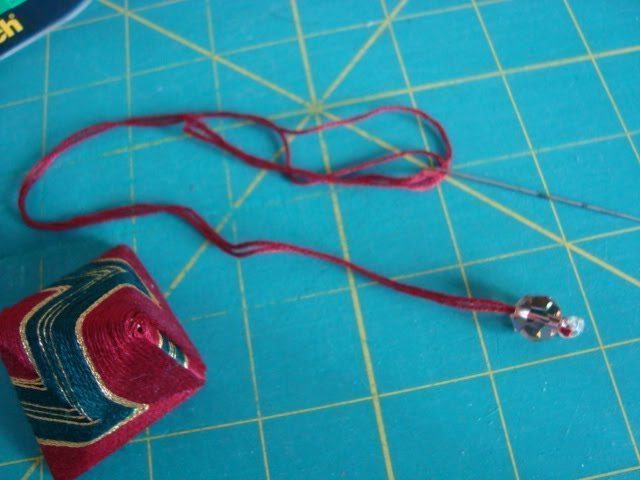
Tape ends are strung together in a beautiful bow.
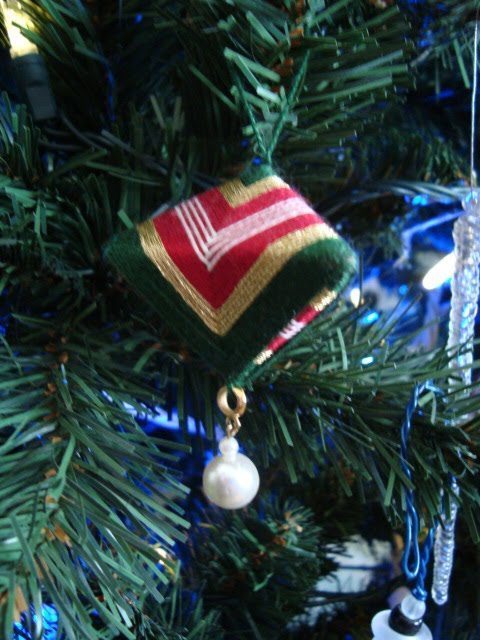
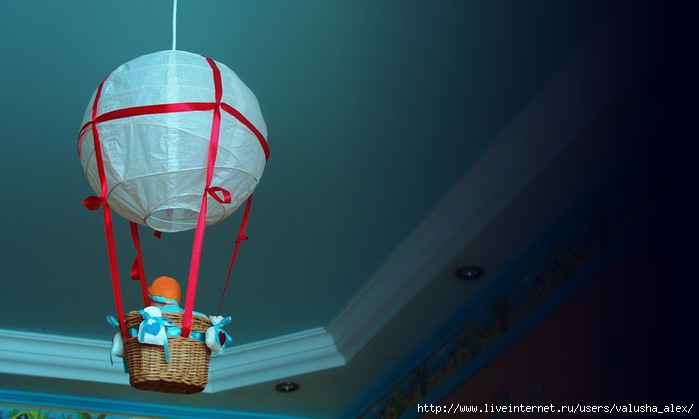
Actually, that’s all we get as a result of a wonderful lamp for the nursery, with his own hands:

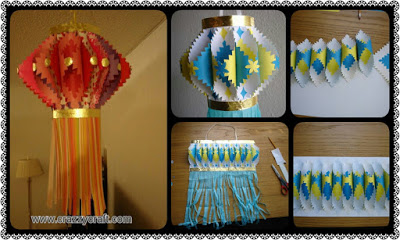

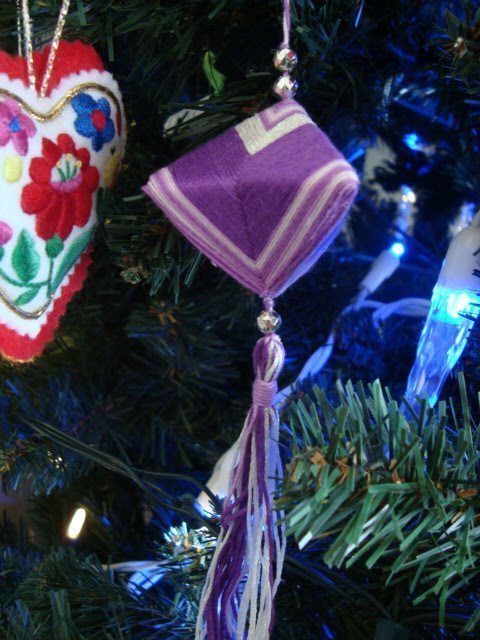
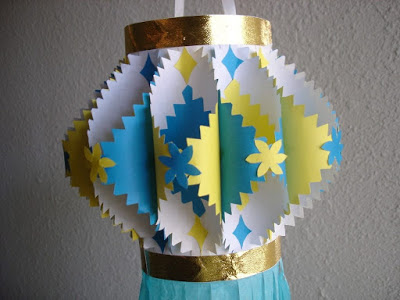 Another lantern with different color:
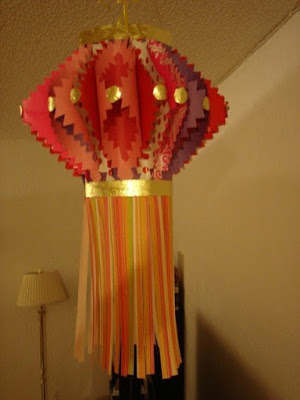 Source