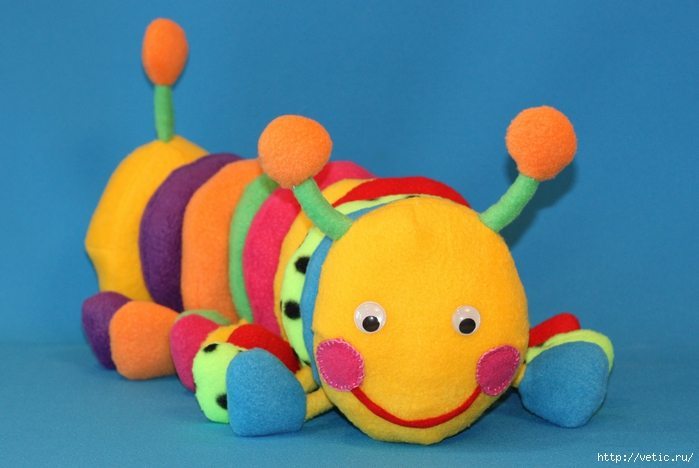
I saw in a Japanese magazine for needlework picture caterpillar toy. She looked so bright and cheerful, that I could not resist and went to the store for a fleece. It wanted to make a caterpillar for my son’s close friend!
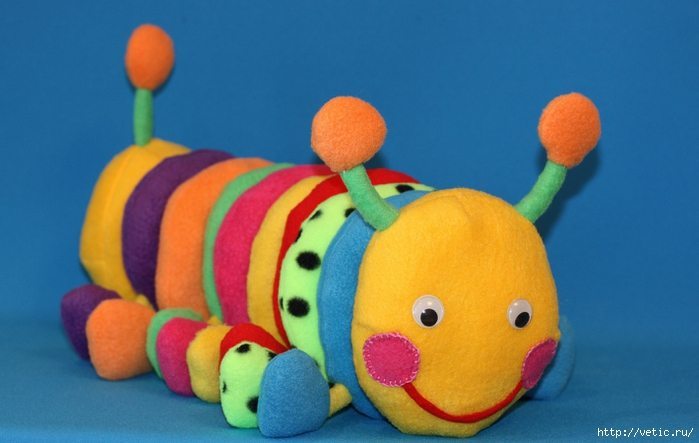
If this is a nice, friendly creature had to your taste, I tell you details about all the stages of its creation.
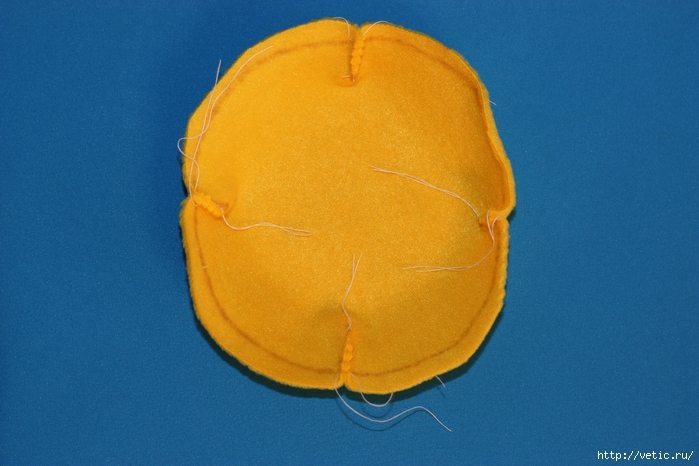
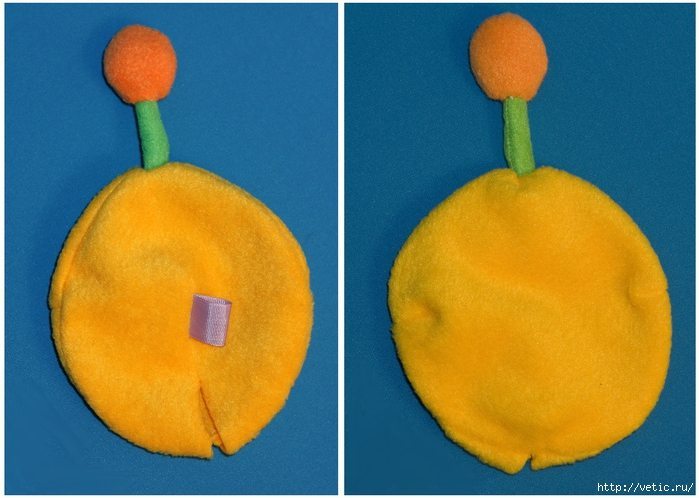
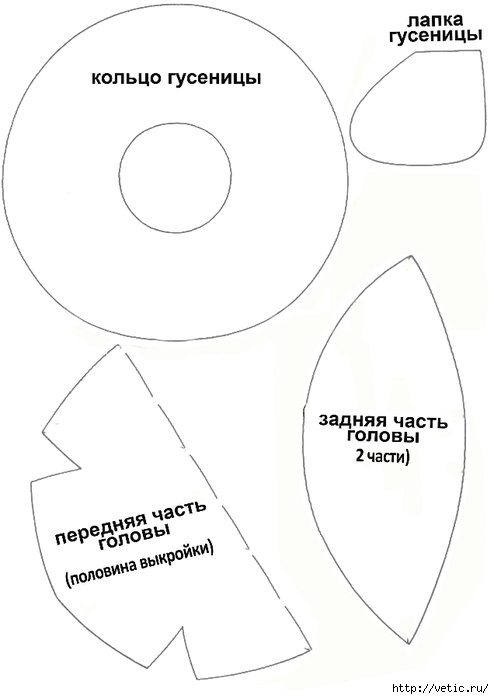
First I cut the pattern head caterpillar (the final segment of the body sewn on the pattern of the same) and scribbling darts.
Then determine the height of horns, cut them out of the fabric, wrenched and stuffed with synthetic padding.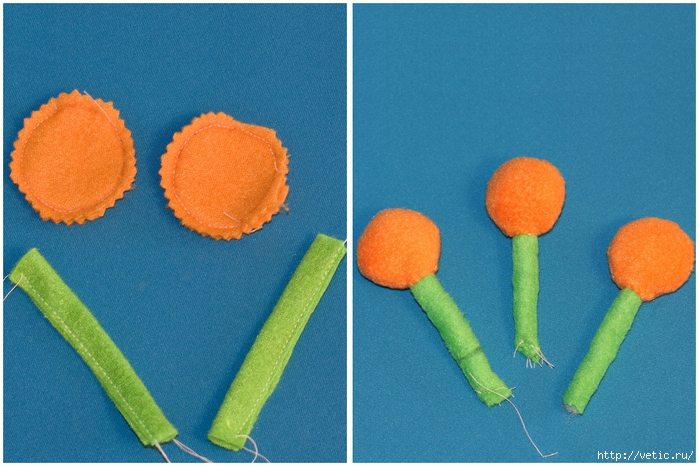
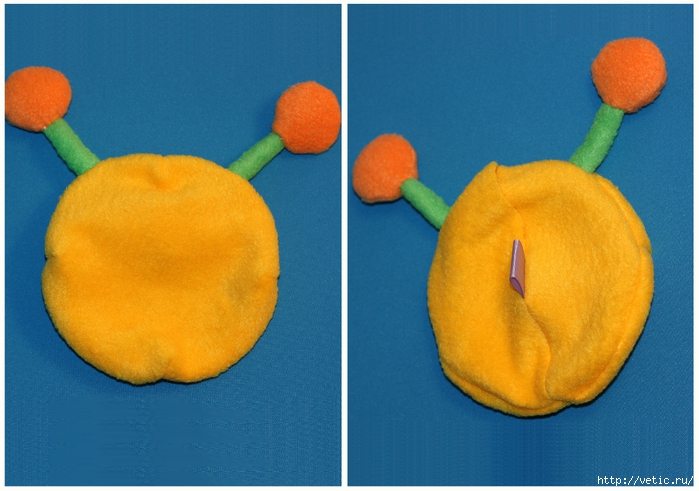
Pins cemented horns on the front side of the head and the tissue along the contour of the pattern sewn two back of the head segment.

As the loops, which is tacked to the trunk, I used rep tape. Subsequently, the eyelet is attached buckle, so it is very important to select the material for it was strong and does not stretch. It will be subjected to high loads. Loops should be sewn into the center of the hole for eversion. loop size is arbitrary, it is selected empirically.
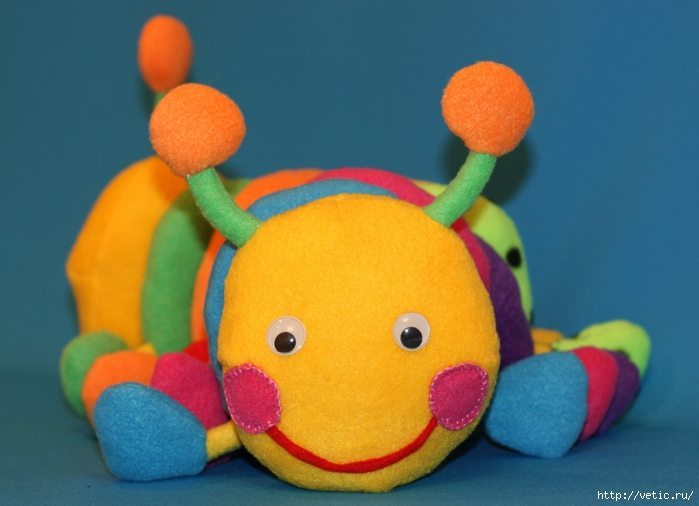
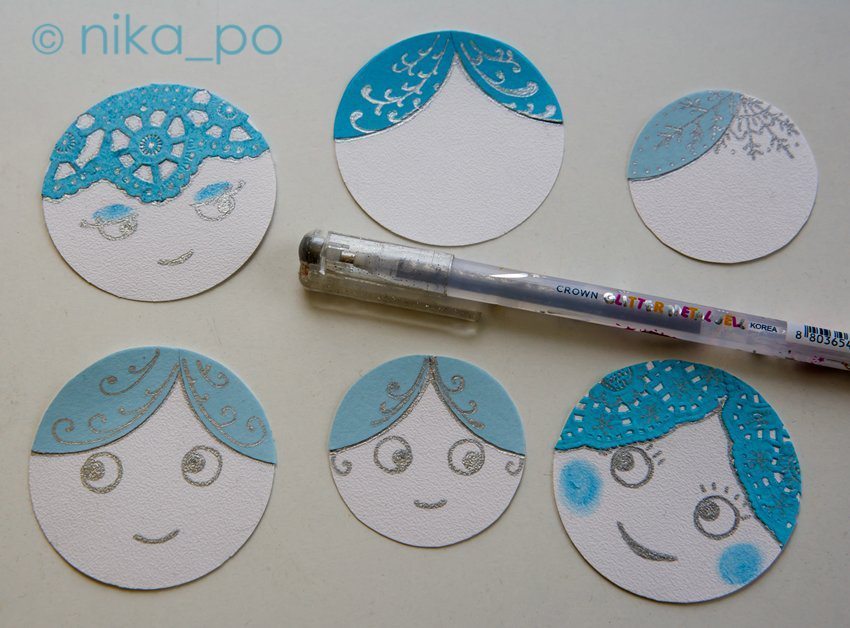
It looks like the head of a caterpillar.
And this is – the final segment of the torso.
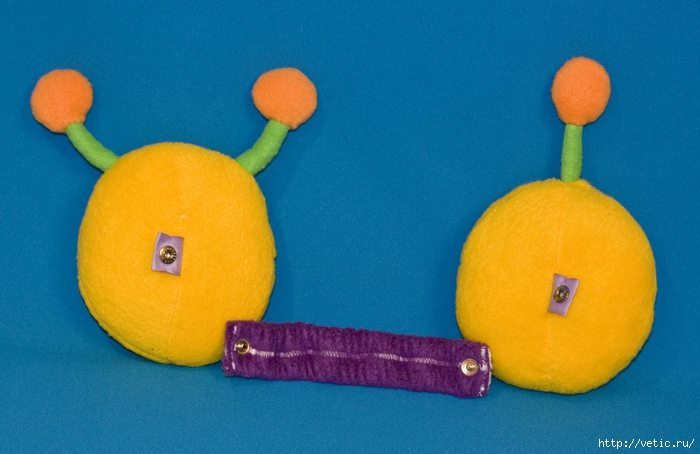
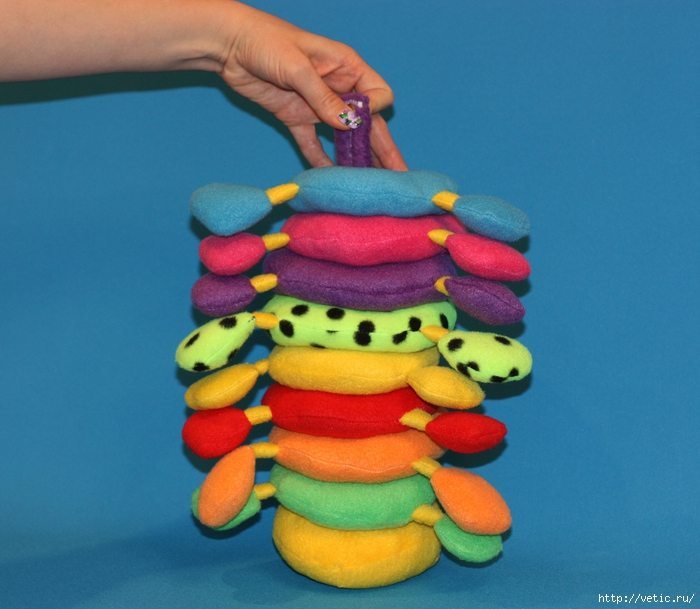
I decided it would be more convenient if the segments of the body tracks are worn on a wide elastic band. Elastic good stretches and shrinks. its compression effect do a good job in keeping with caterpillars bull ring. Porous surfaces fleece will not let slip rings and gum will firmly push the segments to each other and do not give them to fall apart in different directions. Taurus will look unified and whole.
To the kid was nice to keep the gum in his hands, I sheathed her fleece. As an attachment, it was decided to stay on the buttons. They are quite durable and reliable. Besides the buttons fasten the child more comfortable and faster than buttons or hooks.
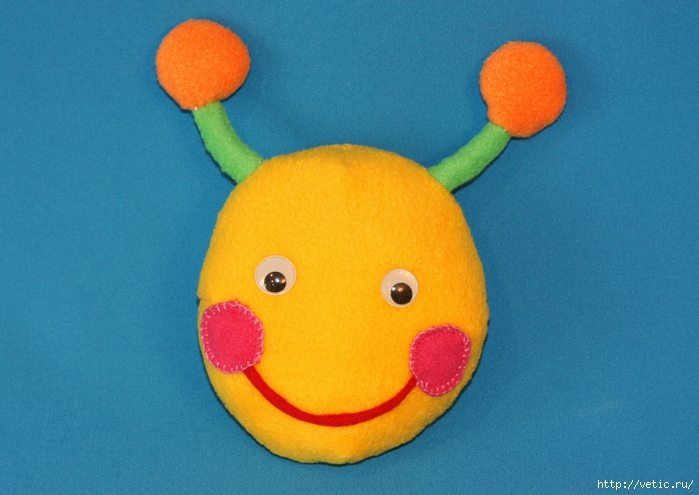
To caterpillar expression face constantly changing, I decided to stay at the plastic with little eyes darting pupils. Eyes glued, and blush, and mouth sewn securely.
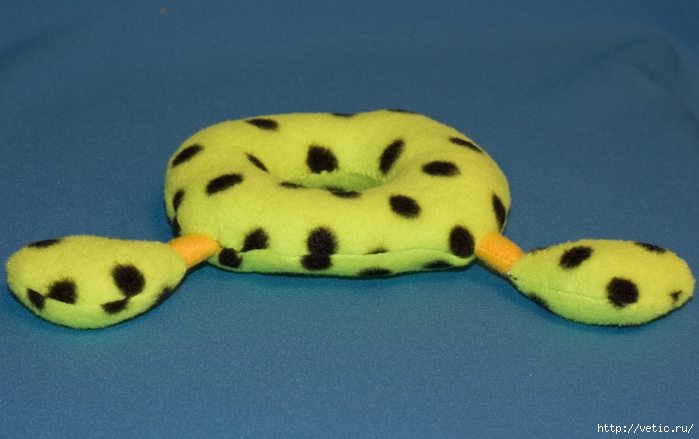
During the crosslinking-ring segments, I was faced with the unexpected difficulties that had to be overcome by experience. The challenge was to maintain the shape of a circular segment, even after tamping, despite the ability to stretch fleece in different directions. As well as avoiding unnecessary seams are also tightening the fleece. Having tried a few options, I stopped at the next.
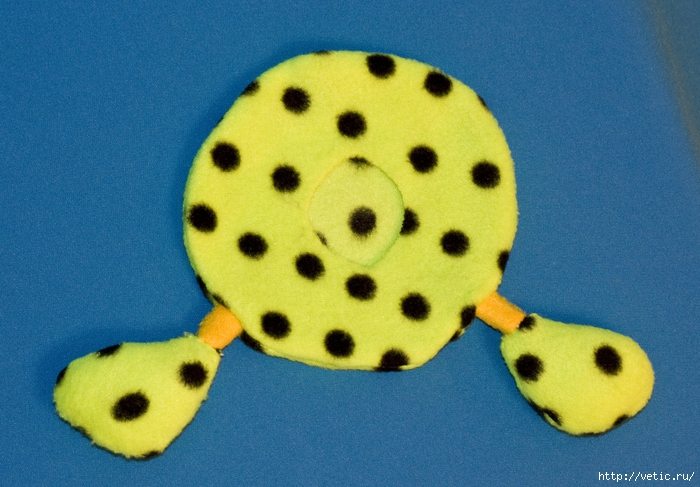
Be prepared to foot tracks of the same color as the ring to which they will be sewn. Decide which direction extends fleece. It is important to make all ring patterns so as to keep the same direction of the traction material, otherwise ready to ring skewed in opposite directions.
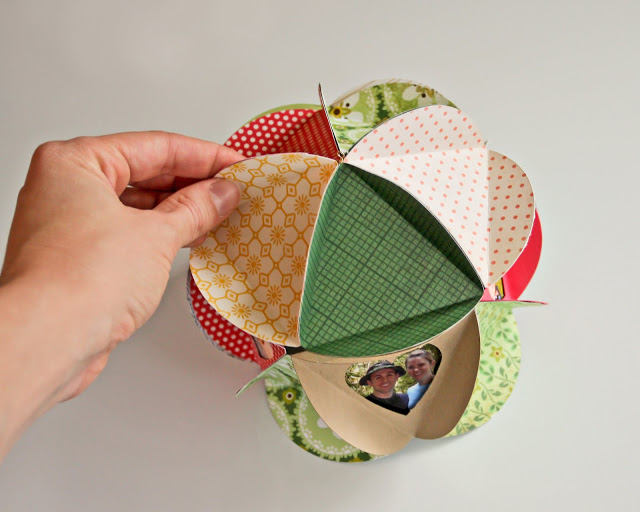
Cut fabric ring with one hole in the center (the same as in the pattern). On the front side of the fabric, place the foot. After trying a few different options, I determined that the best distance between the legs of 12 cm and kept it on all the rings. Secure the legs on the fabric using pins. Cut a second ring, but without a central opening. Apply the pattern face down on the first lap with legs. Fully sew the two circles on the outside to the outer contour.
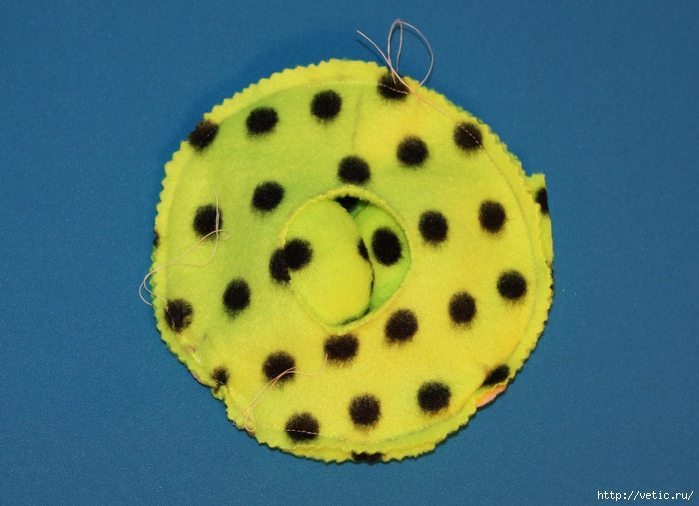
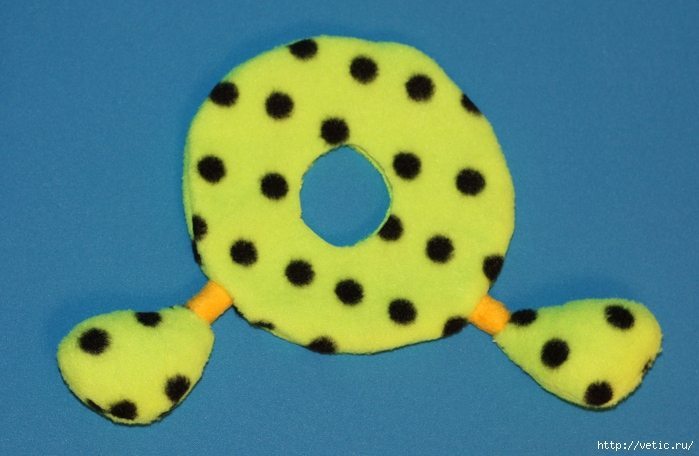
Remove the work piece through the central hole.
The marker on the fabric circle contour of the central opening in the second round, and cut it out.
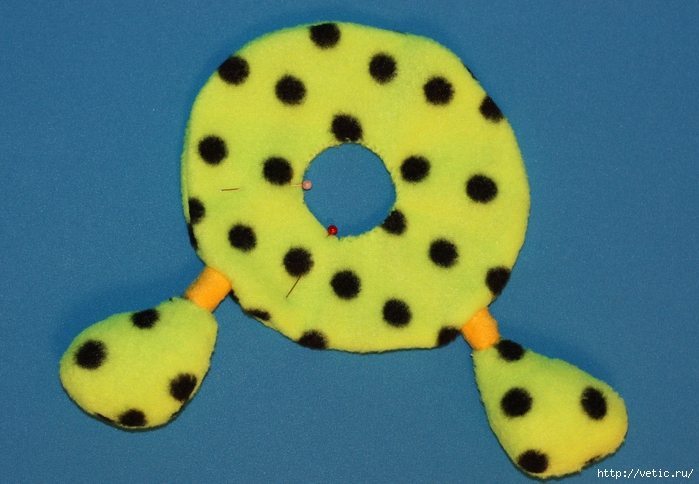
Note the pin segment, through which you will fill the workpiece and sew a hidden seam contour of the inner circle.
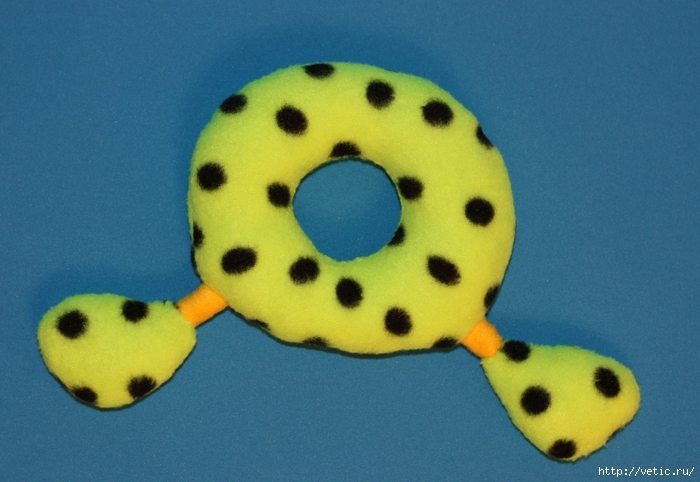
Firmly tamp the filler workpiece and sew the remaining hole.
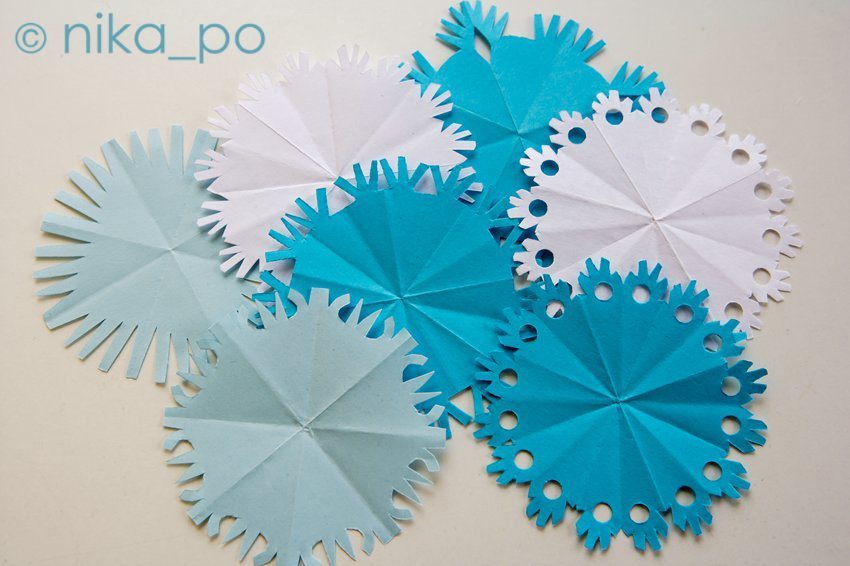
Prepare multiple rings of different colors.
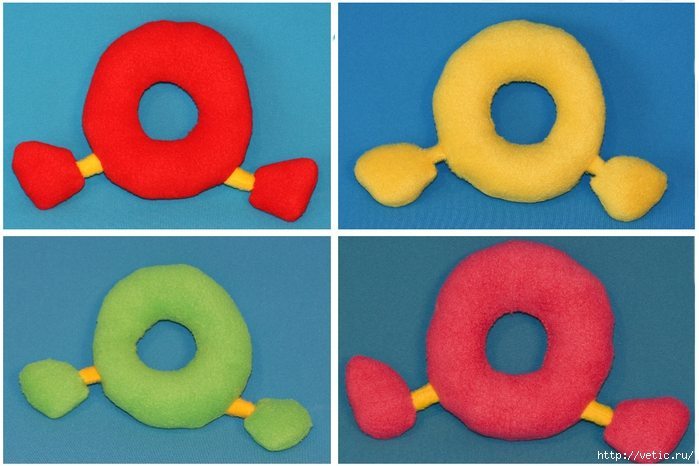
It seemed to me that for a given size of the tracks (including a slight compression rubber rings) will be the most appropriate 8 rings.
 Still needed caterpillar. One end of the gum is tacked to the final segment. All subsequent rings are put on it in random order.
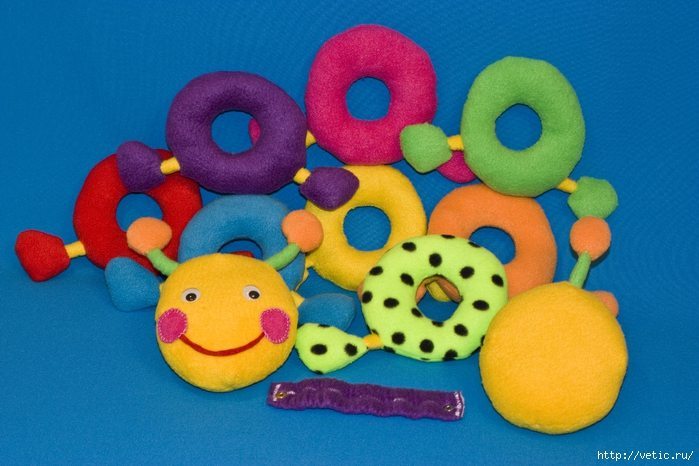
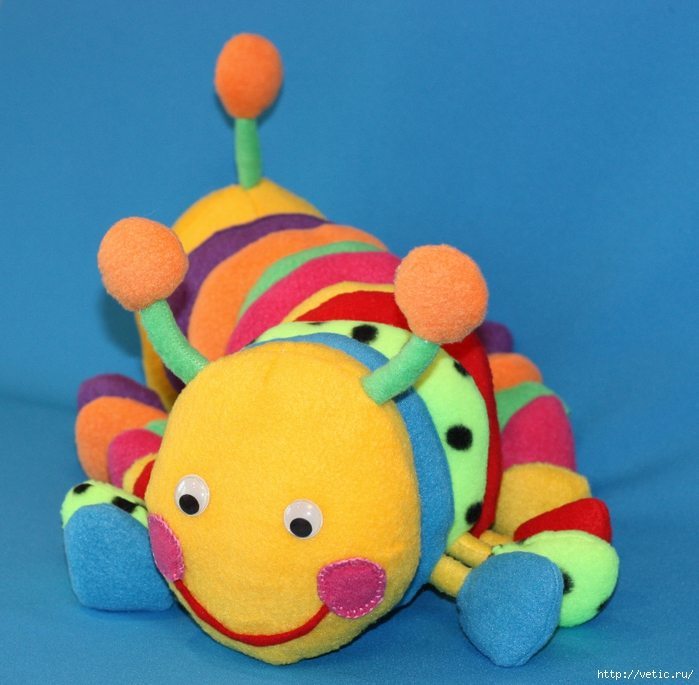
Pristegnёm head and the game can begin!
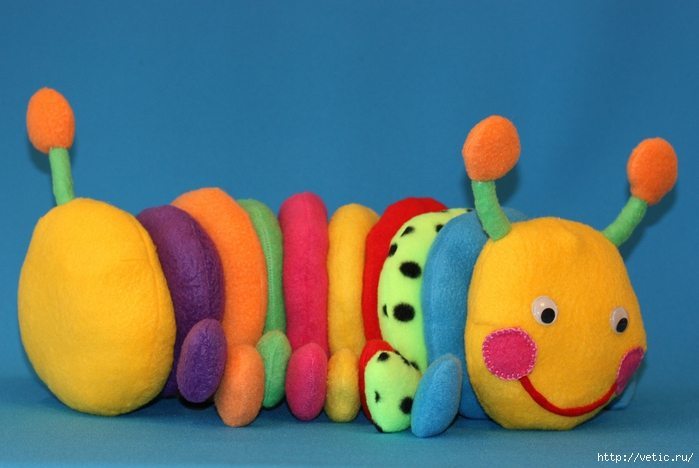
Due to the unfastened segments of the caterpillar’s body can squirm.
 This sweet creature becomes not just a good kid and a soft toy. From caterpillar fun to learn colors, to determine their sequence, change the order of colored rings. You can try to count them, to learn of the caterpillar body and come up with a lot of other fun games.

If you like the track as well as I do, I suggest you the pattern that I borrowed from a Japanese magazine and slightly modified for more smooth and round rings.

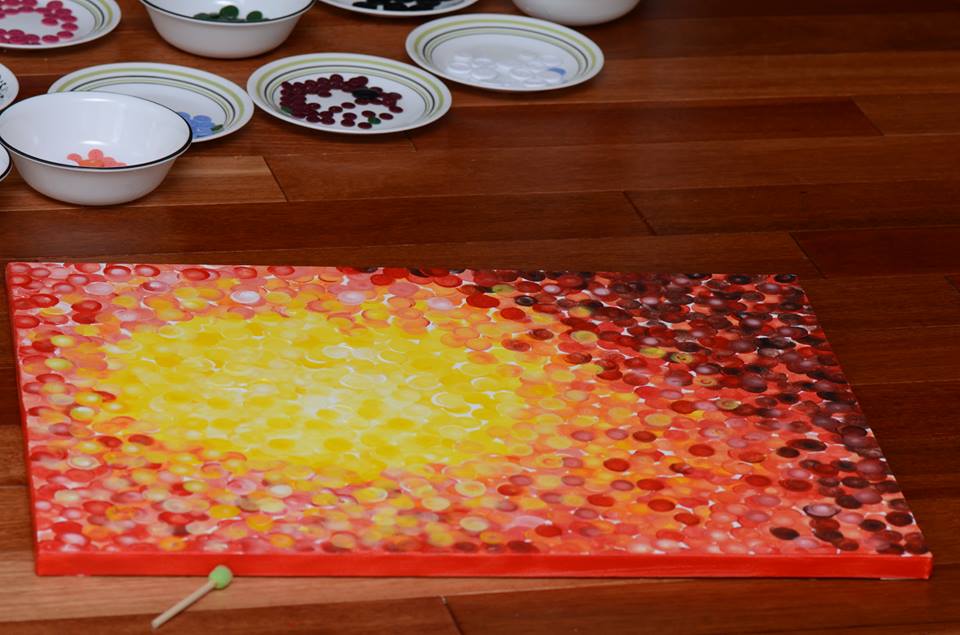
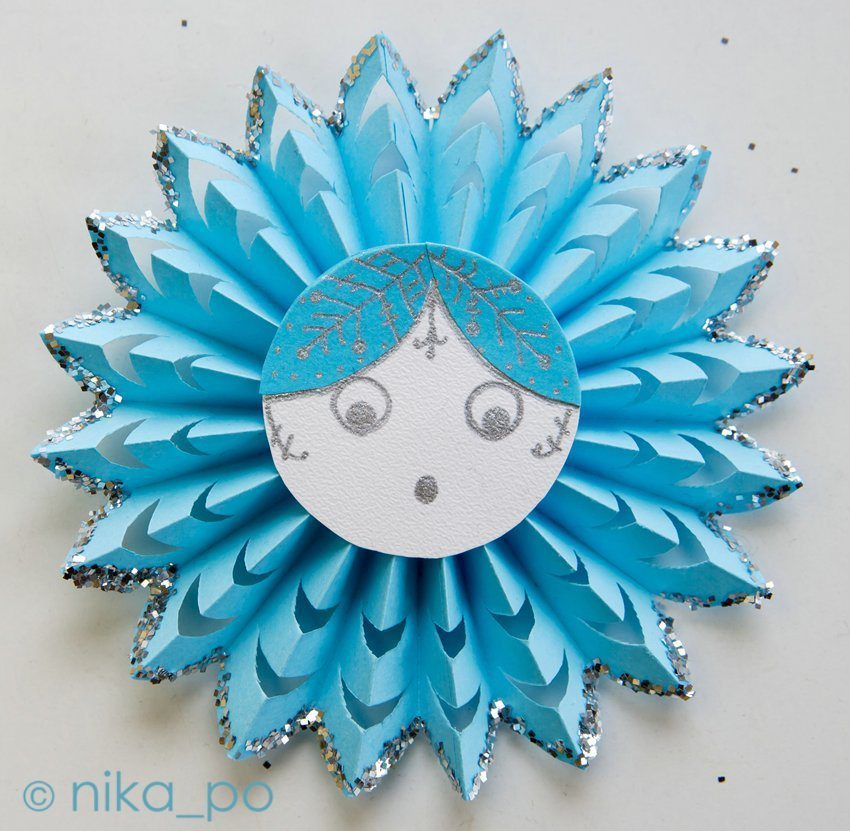
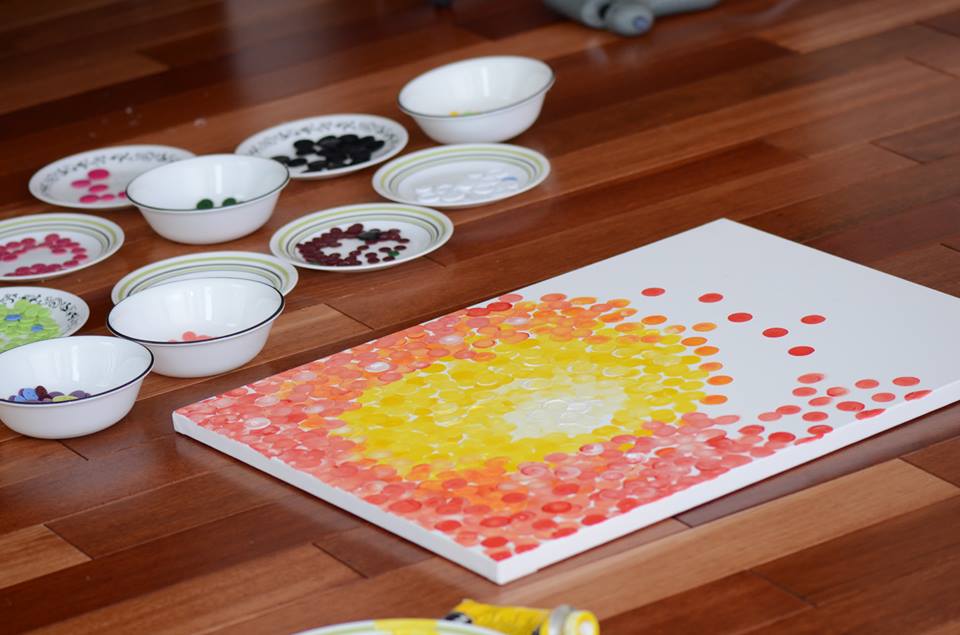 I used round flat tip sponge brushes(pouncers) for the background.. I was after bokeh affect of a sunset scene..
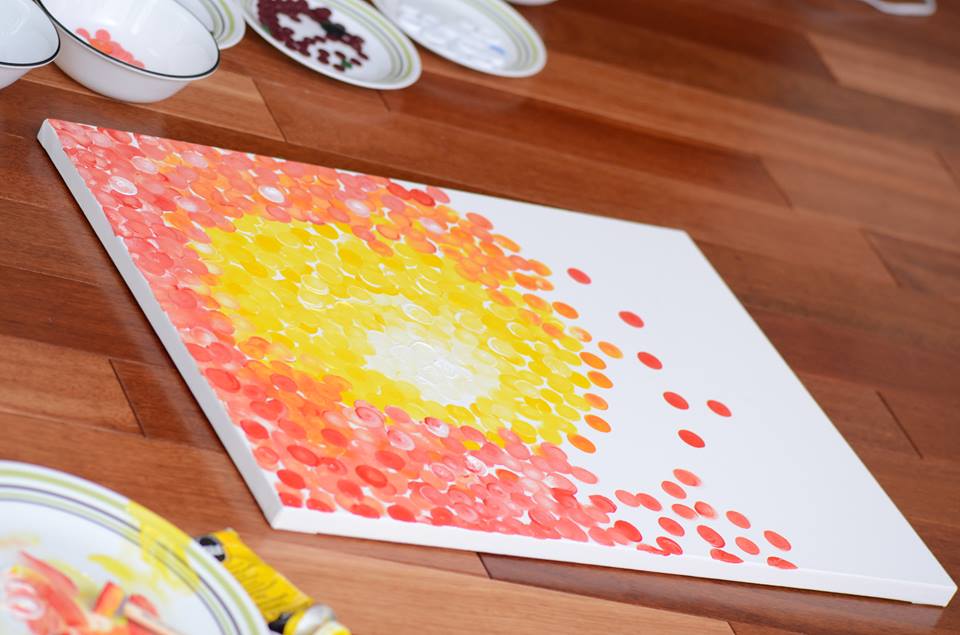
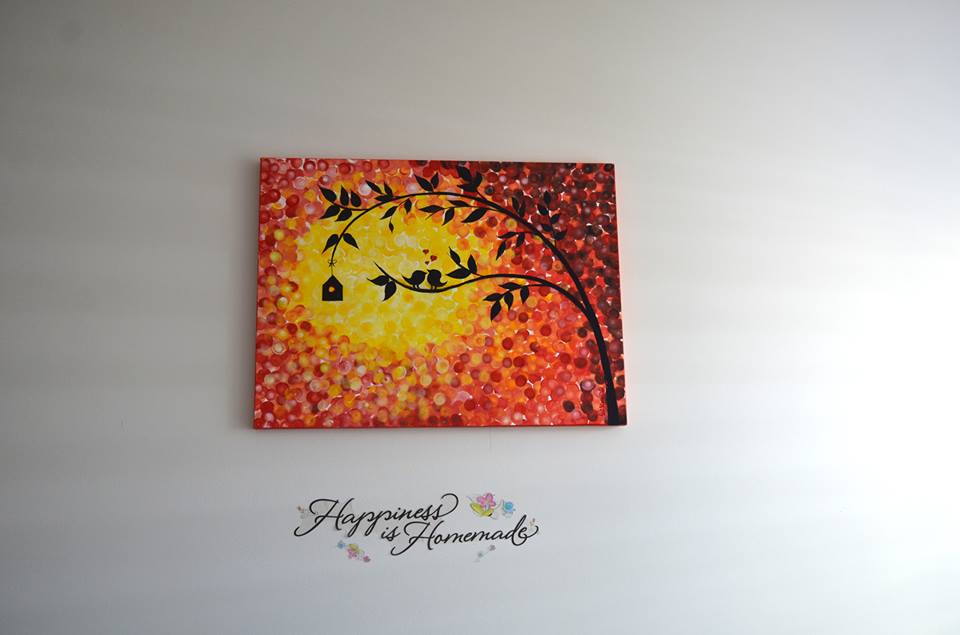
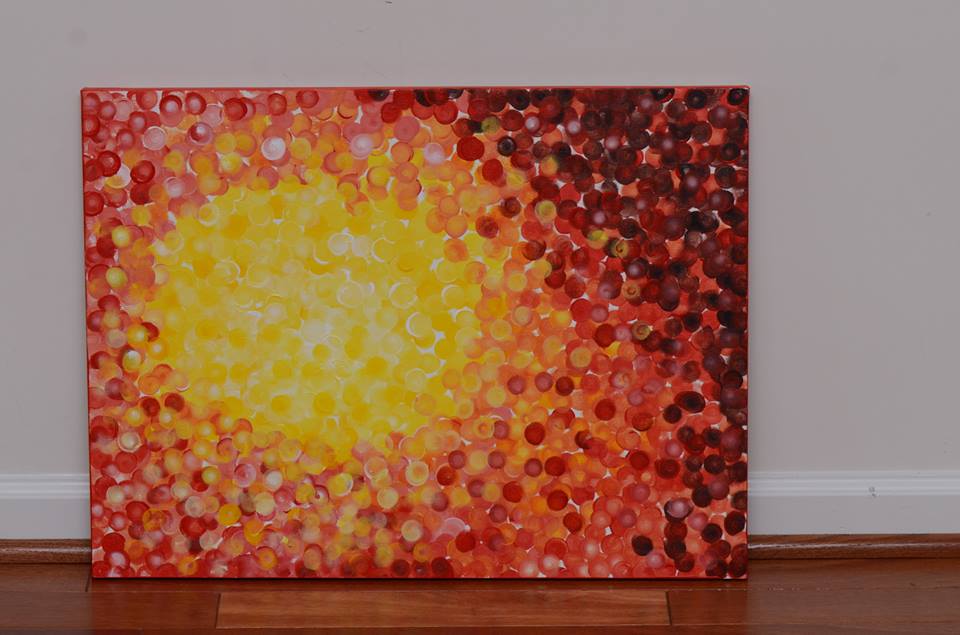 Finished version – After adding a simple silhouette of a tree with love birds.. it gave a real dimension to the background..
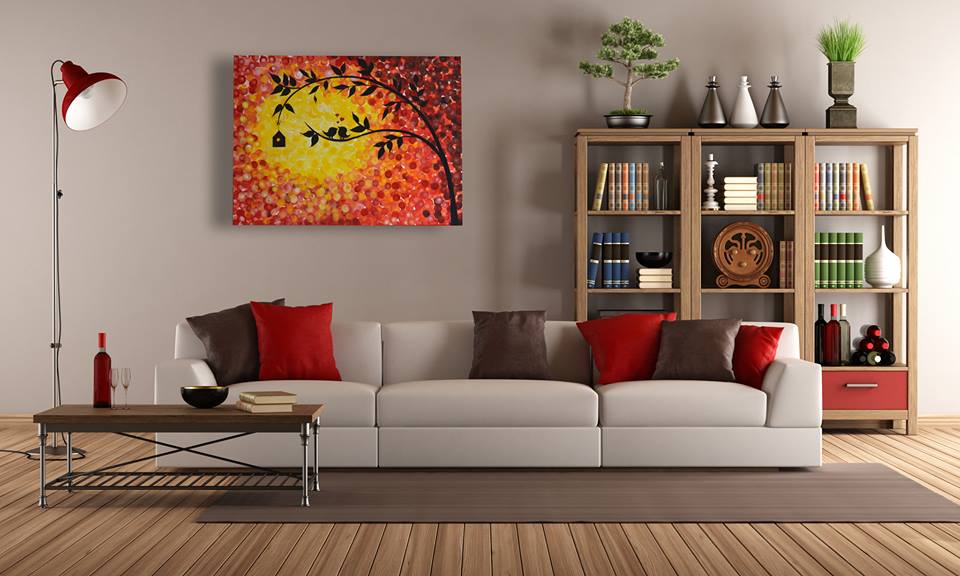
  Just an illustration done in adobe to see how would the painting look on a wall…


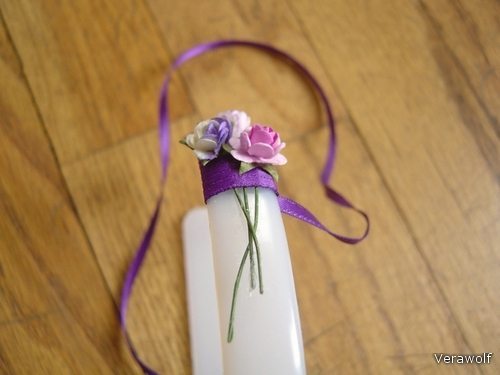
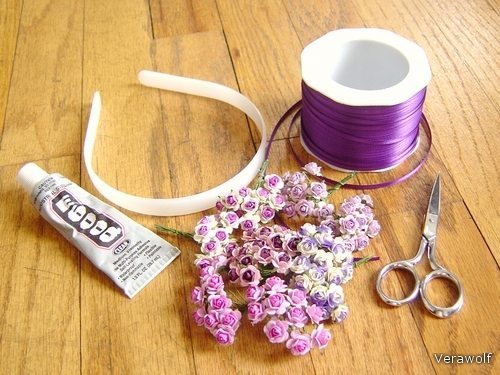 Glue the ribbon end on the back of the headband, let it set up for at least 15 minutes. You want it to be in a position to start wrapping around the headband as close to the end as possible. If you’re using a single sided satin ribbon be sure the pretty side is out.
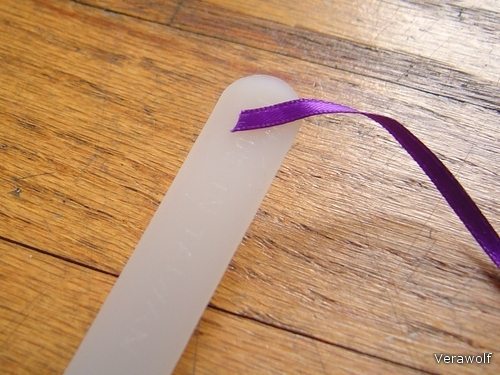 Start wrapping the ribbon around the headband, overlapping it slightly and gluing it on the back of the headband, until the point you’ve decided to start your flowers. Again give this some time to set up. Make sure that every wrap of ribbon is glued in place. You may be experiencing some web-like glue stands, try to minimize them as much as possible and you can clean off whatever is left when you finish the headband.
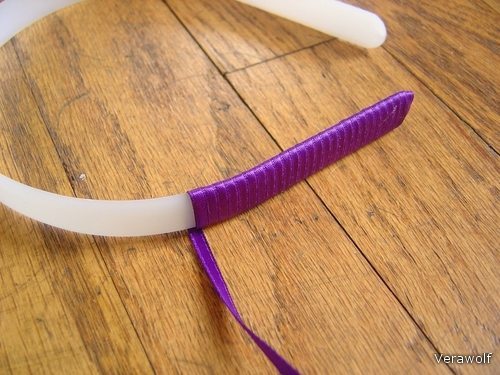 Prepare your flowers by bending the wire at a 90 degree angle to the front of the flower. This is so that the flower will face up when the stem is tucked under ribbon.
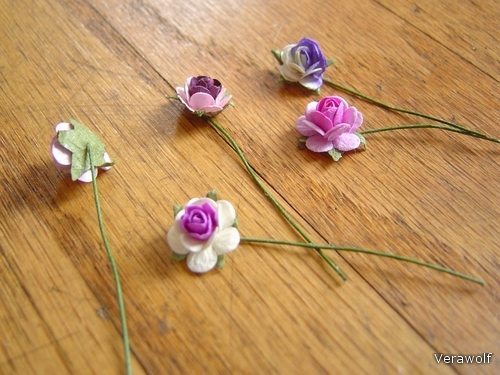 Place a flower on top of the ribbon that’s already wrapped with the stem on the unwrapped part of the headband. You can use a bit of glue to hold it if you need to. Wrap the ribbon around the stem, and glue it on the back. If you’re using 1/16” ribbon you’ll need to wrap it one or two more times, if you’re using 1/8” ribbon you probably won’t. Add another flower, wrap again. You might need a flower for every wrap, or more flowers/wraps depending on the materials you are working with and how densely packed you want the flowers to be. Continue placing flowers and wrapping until you get to the point at the other end of the headband where you want the flowers to end.
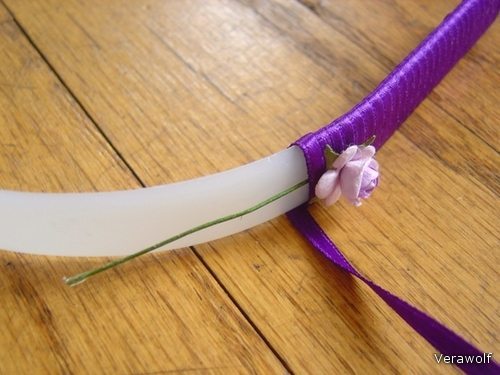
 Wrap the ribbon the rest of the way, continuing to glue it in place on the back of the headband, until you get to the end. Cut the ribbon and firmly glue the end of the ribbon on the back of the headband.
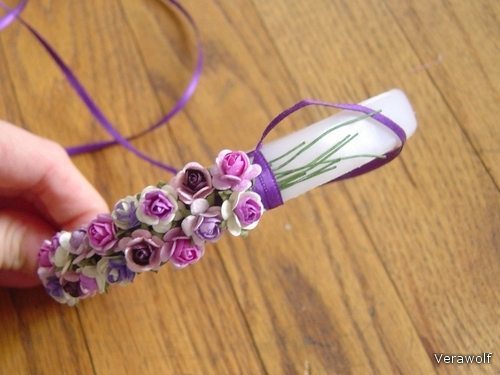
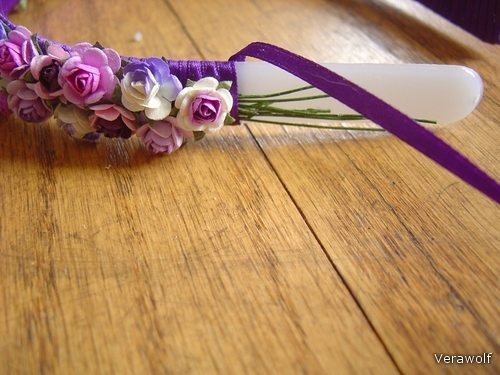 Allow to dry for at least 24 hours before wearing. E6000 glues ribbon to plastic, it will do an even better job of gluing things to your hair.
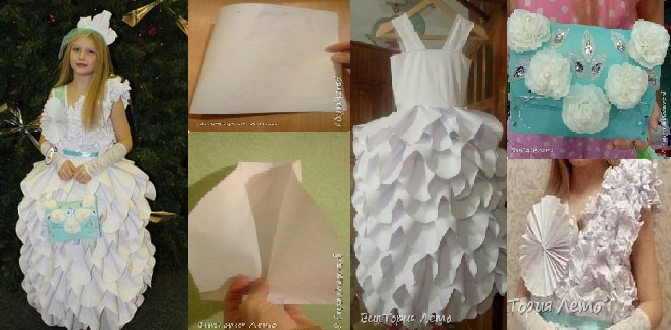
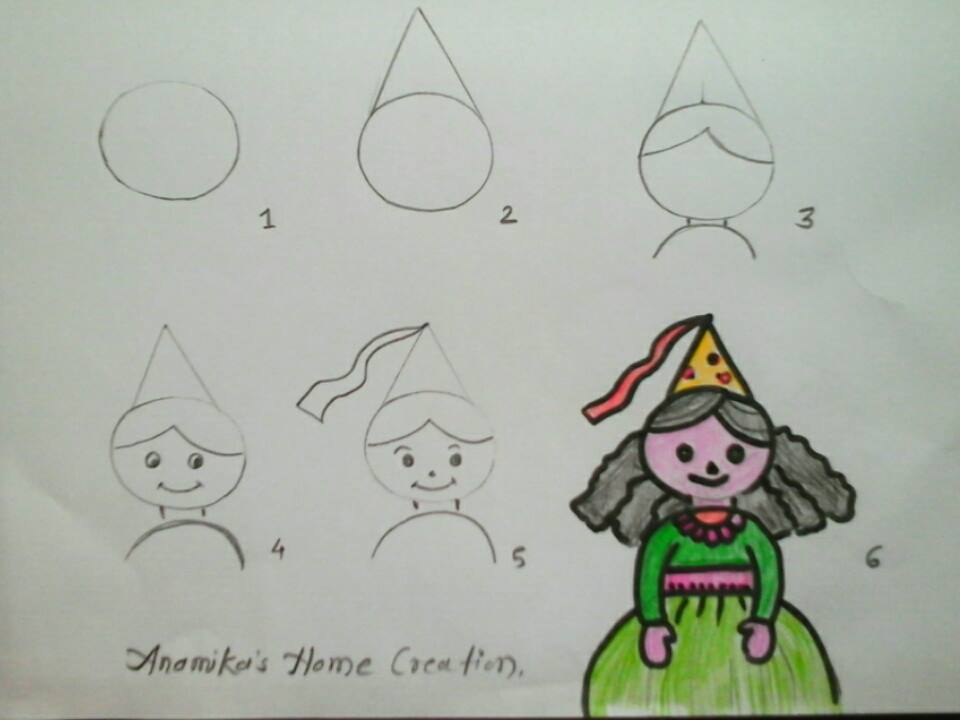
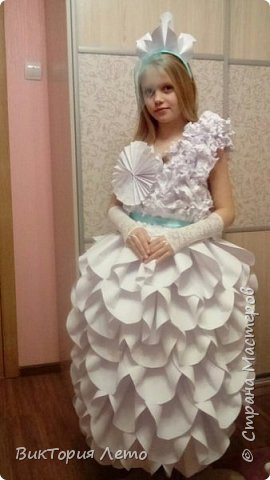 The skirt of petals from here …How to make paper frock for fancy dress competition.
 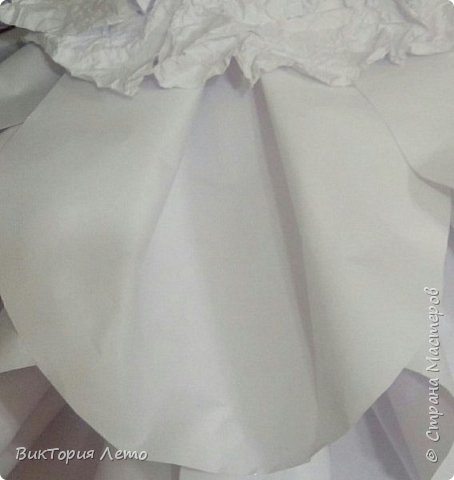 A4 sheet of paper
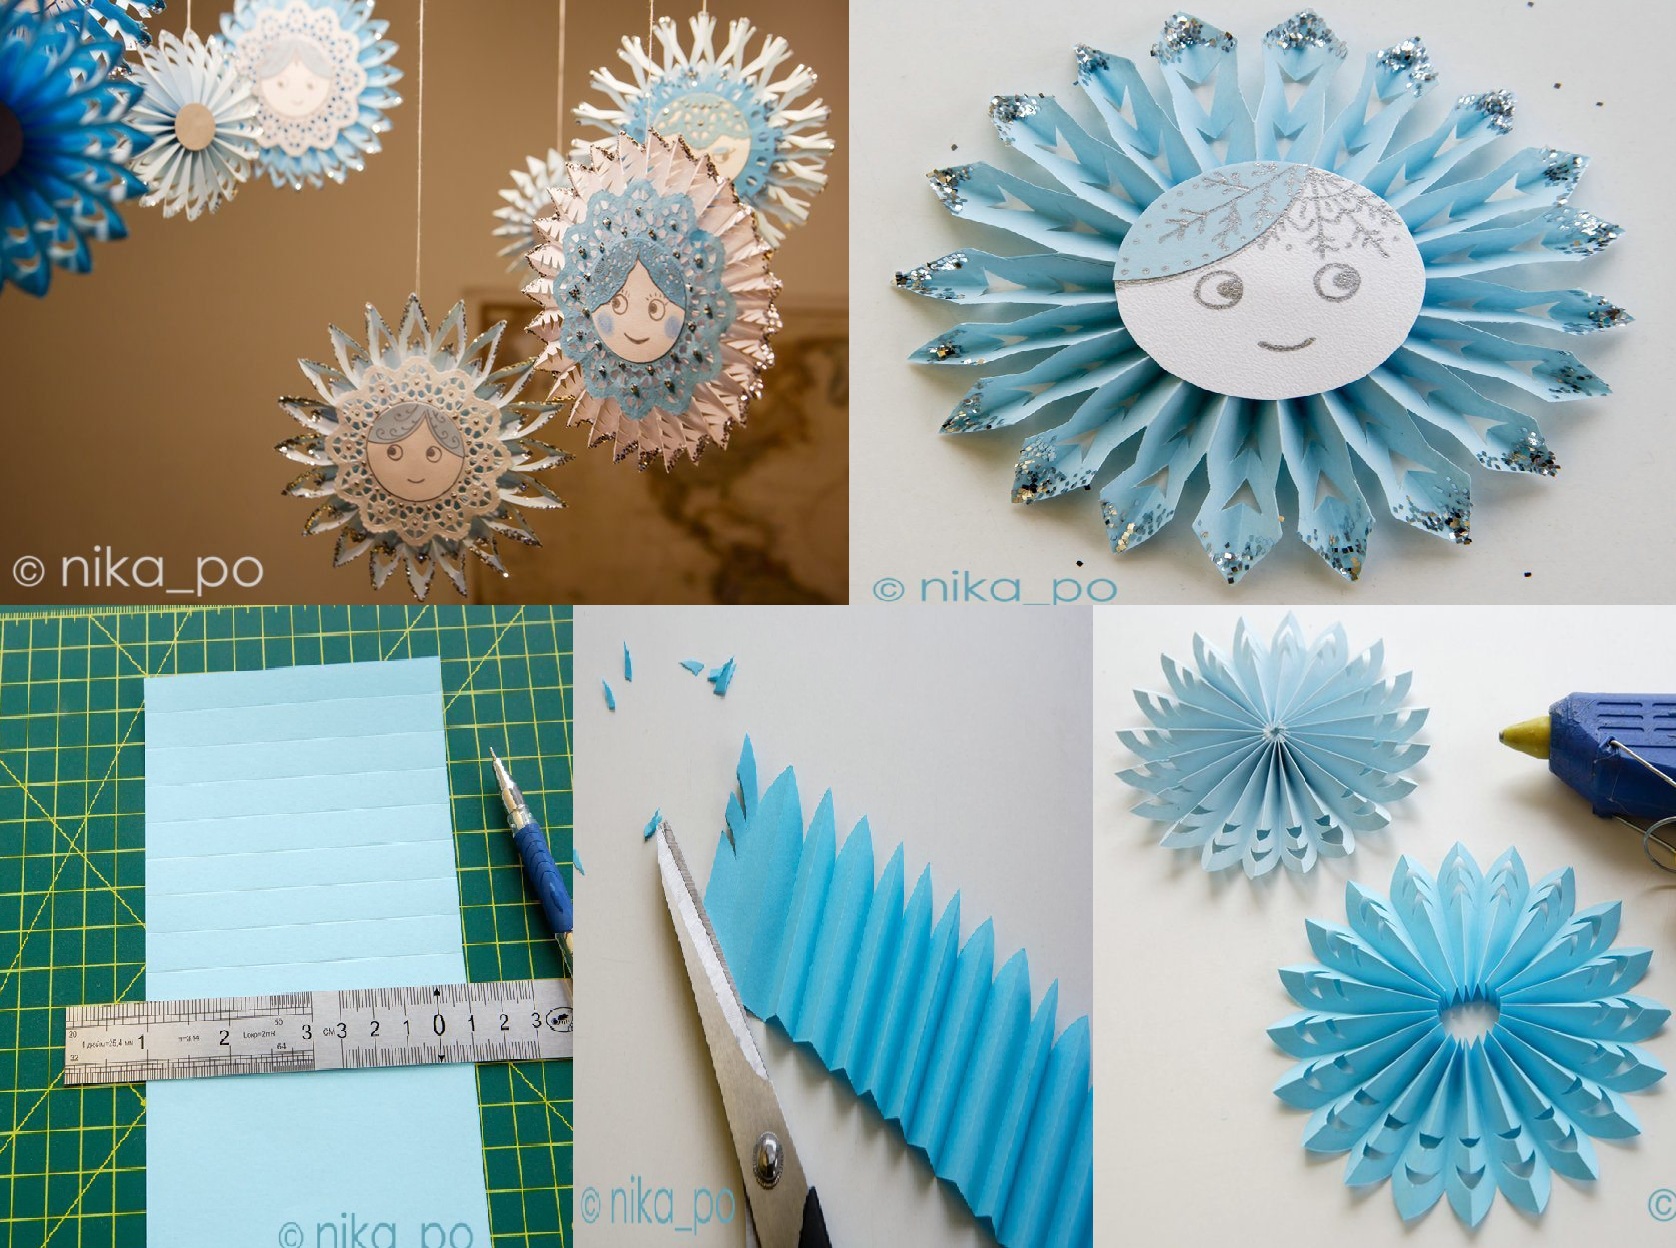
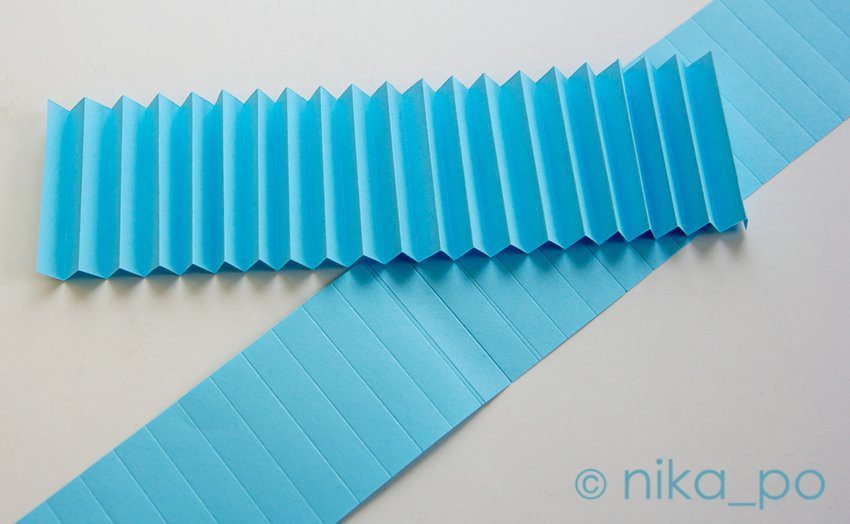
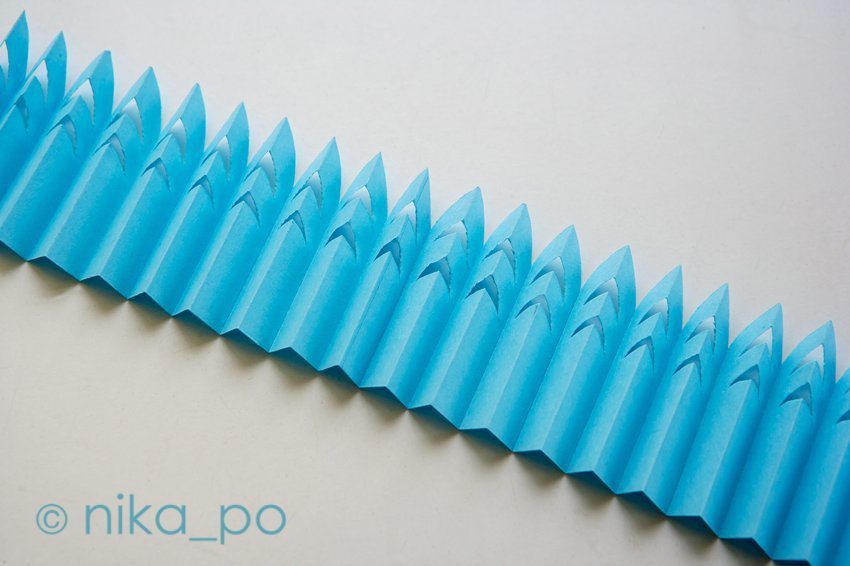
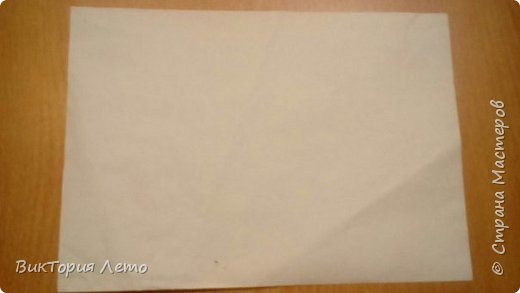 Half, but do not bend, and the bottom just outline the position slightly bend the middle of a flattening, so that was a trace
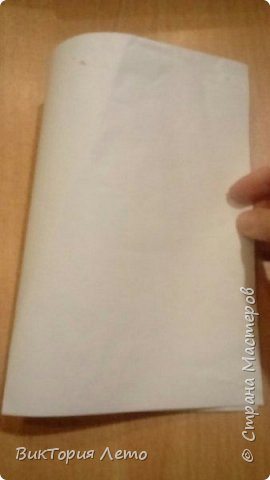 By the middle, bend the sides of the sheet, and also do not wrinkle and fold denote places
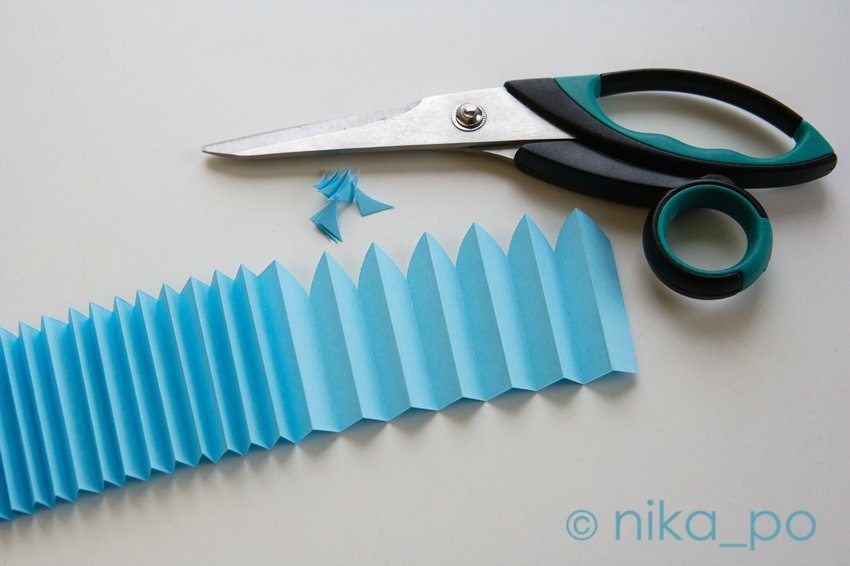
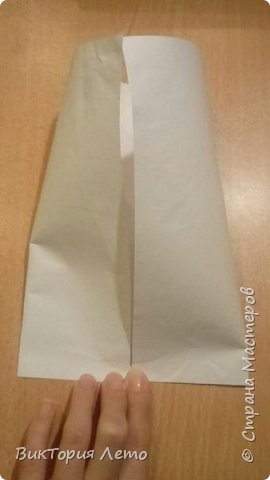 Leaf half and cut here so smooth corners
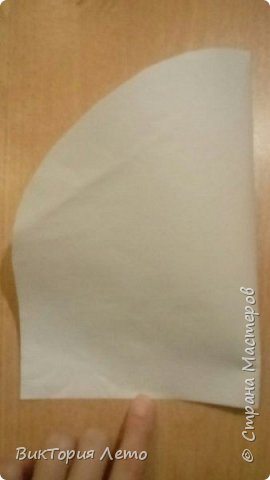 In expanded form like this
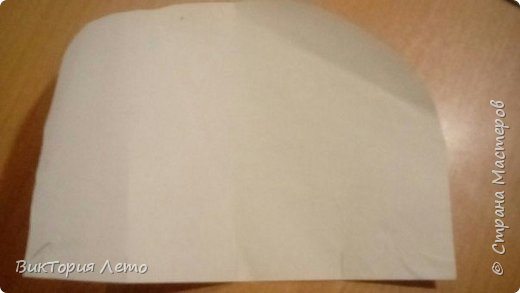 Now connect the planned locations of bends. Those. extreme bends connect with secondary and fastening stapler.
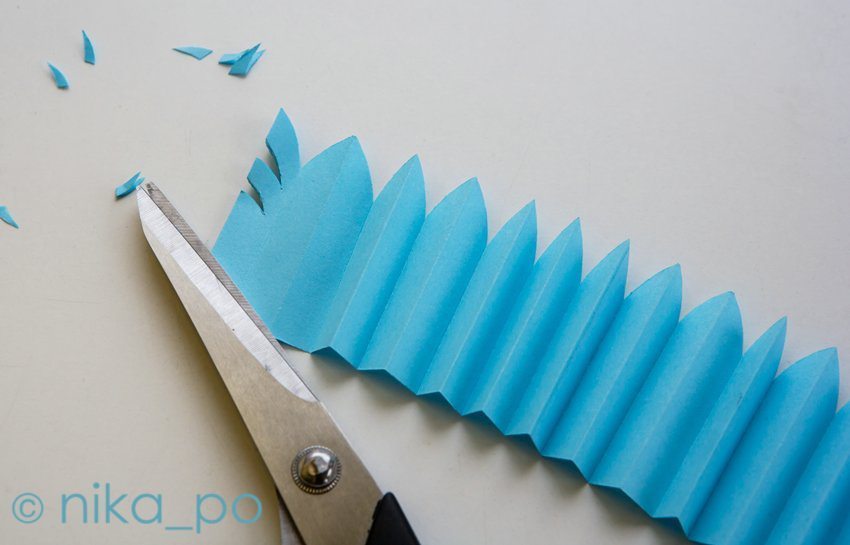
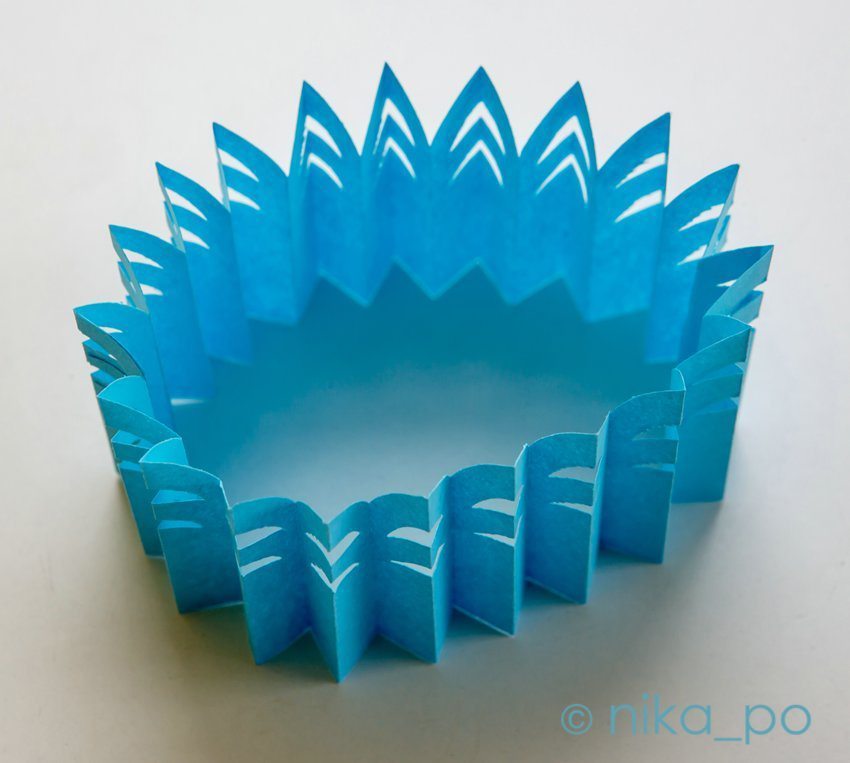
 And our tab for the dress skirt. You see it is not crushed, and the volume at the top.
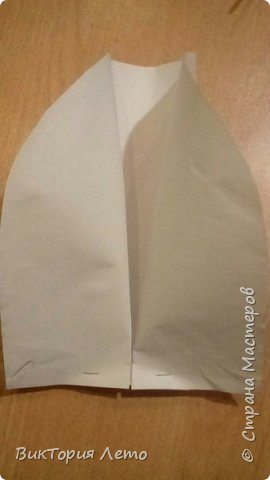 Blanks made of pieces 70. It depends on the size of the child course
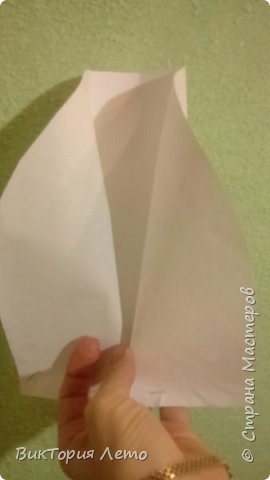 Harvesting dresses. Make it possible in any way to your child just the usual dress … one mom even did everything in sequence. I attach all. Those. then someone in that much.
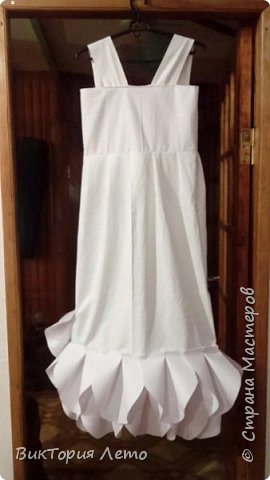
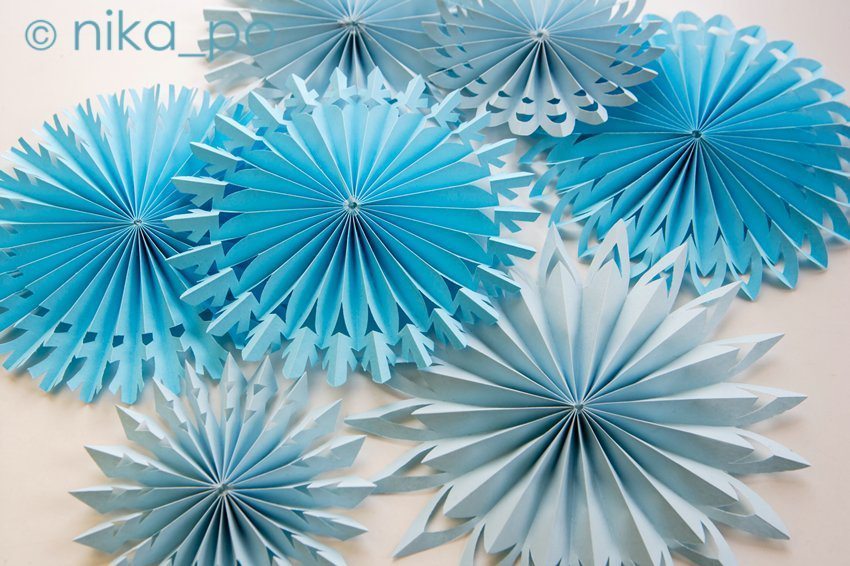
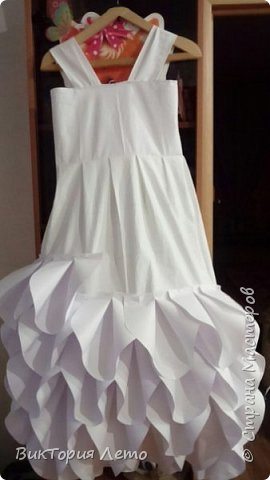 That skirt is ready.
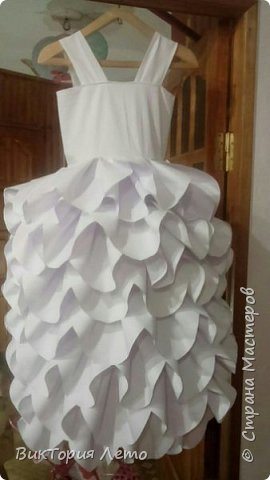 The sketch was gone. But while it slightly redesigned.
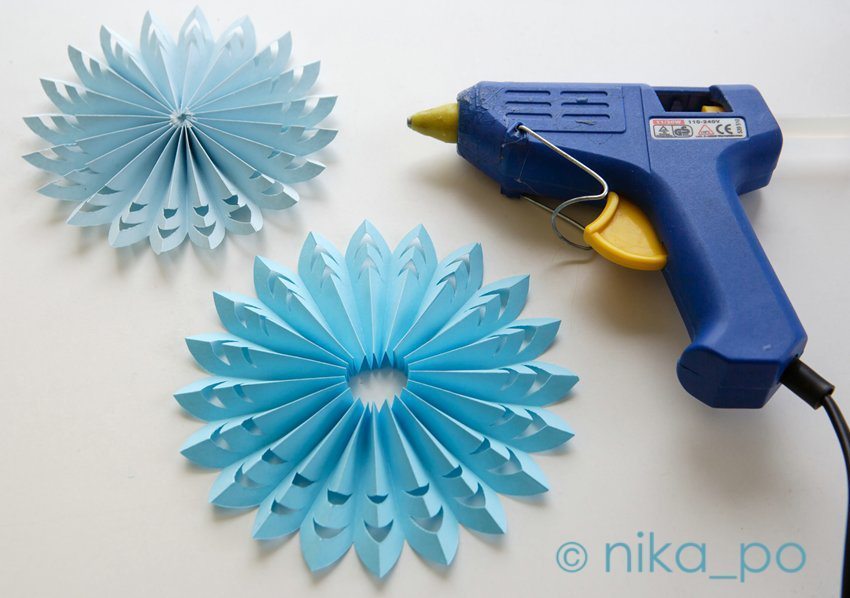
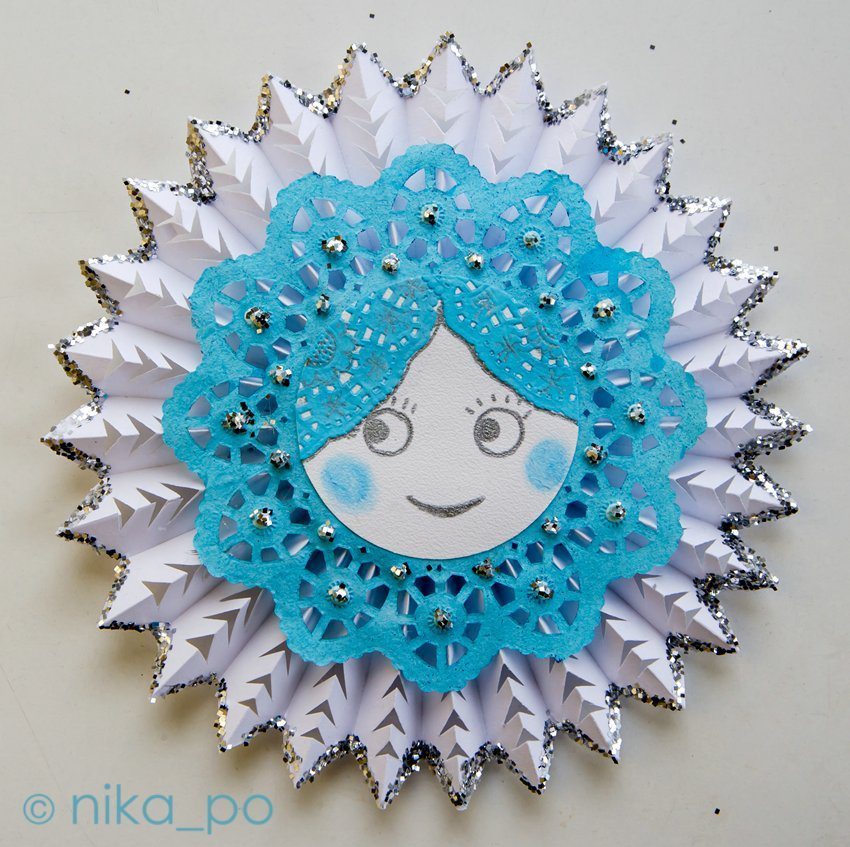
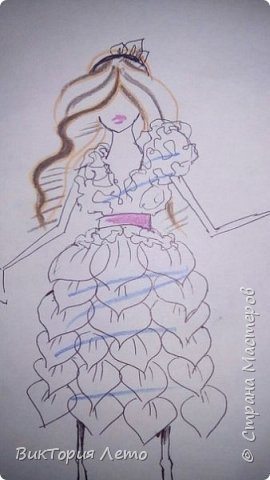 Top is a highly compressed paper. Glued to the bodice of her gor.kleem and formed rosettes zhatye or fancy flowers. There is already allowing fantasy.
 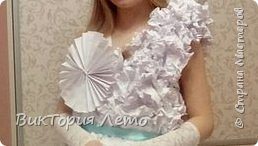 Here are sewed perchatochki of guipure. There were pieces of trailing guipure, just come in handy.
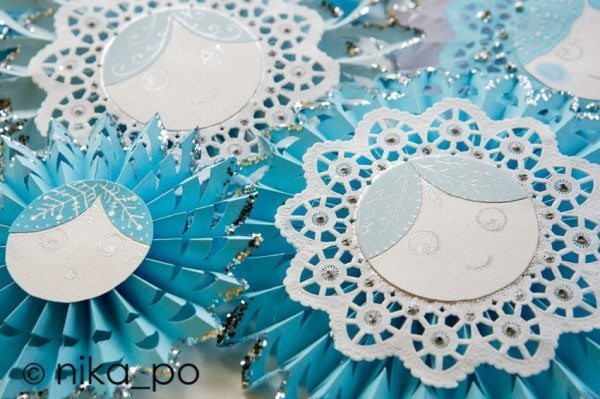
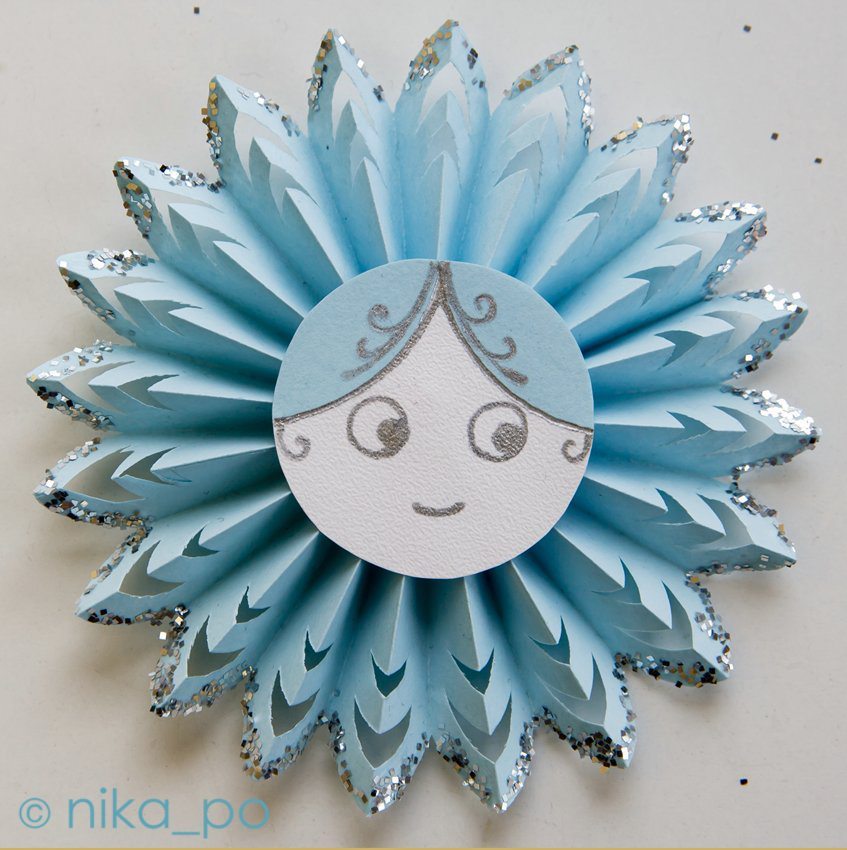
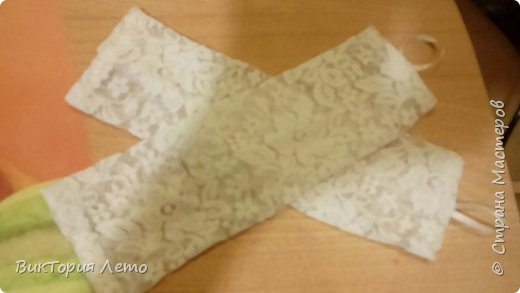 Crown. Petals in the same way as a skirt, just sheets to take less of course the size.
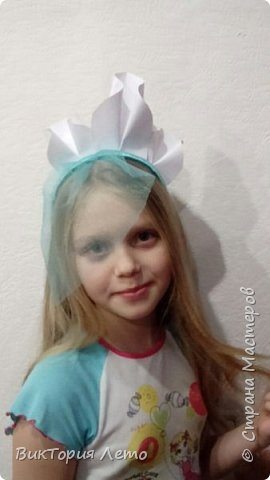 And the handbag to a dress, too, made in color.
 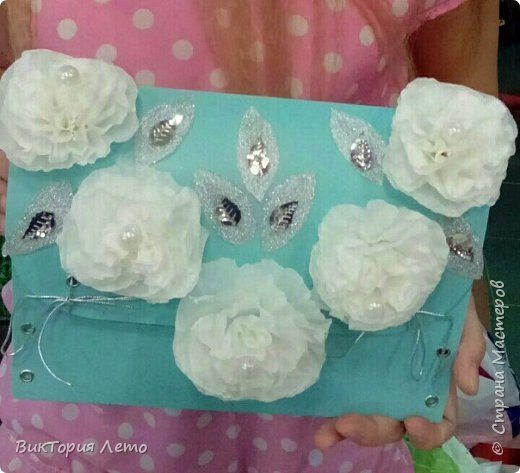 And now she’s a model. Dress sprinkled with silver glitter paint, ie. it casts serebrom.Na photo certainly does not pass. It’s a pity.
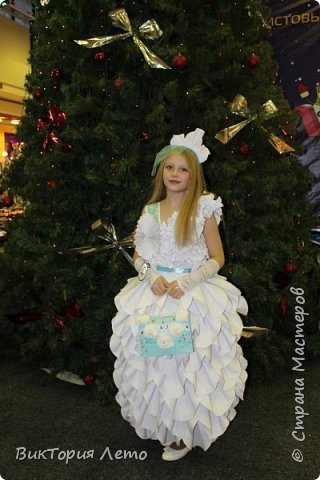


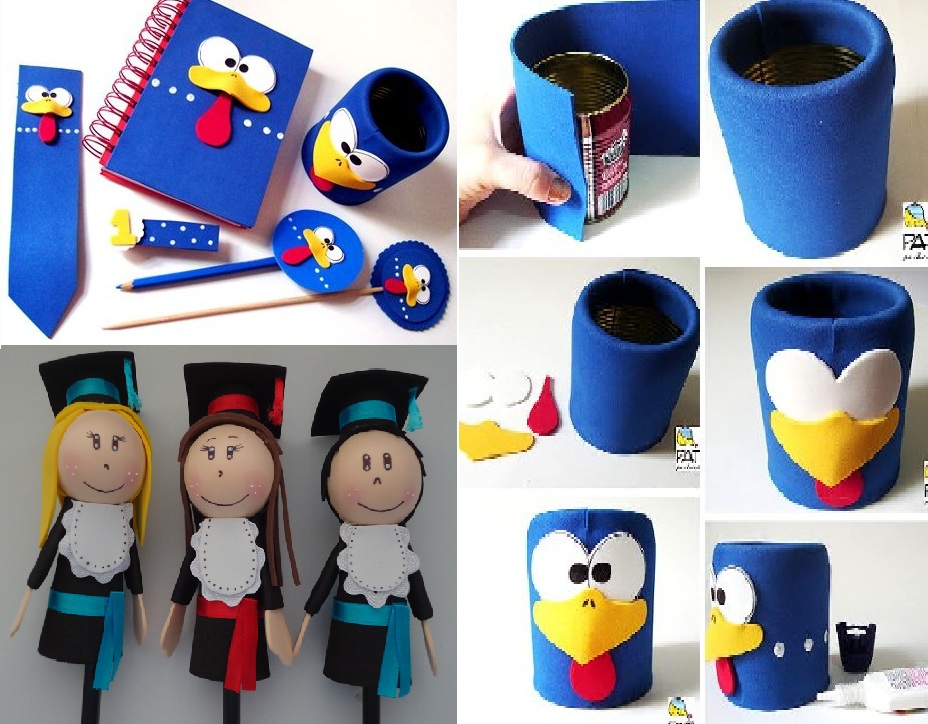
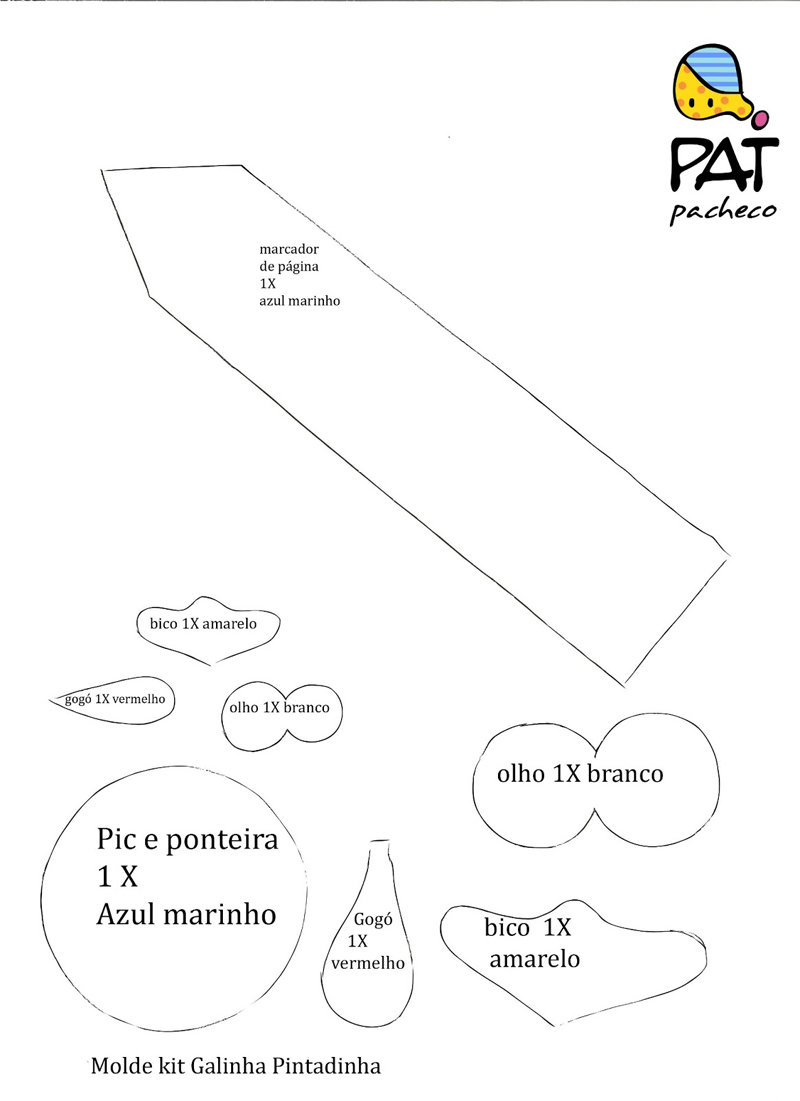
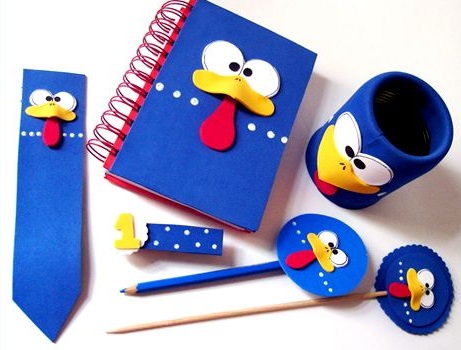
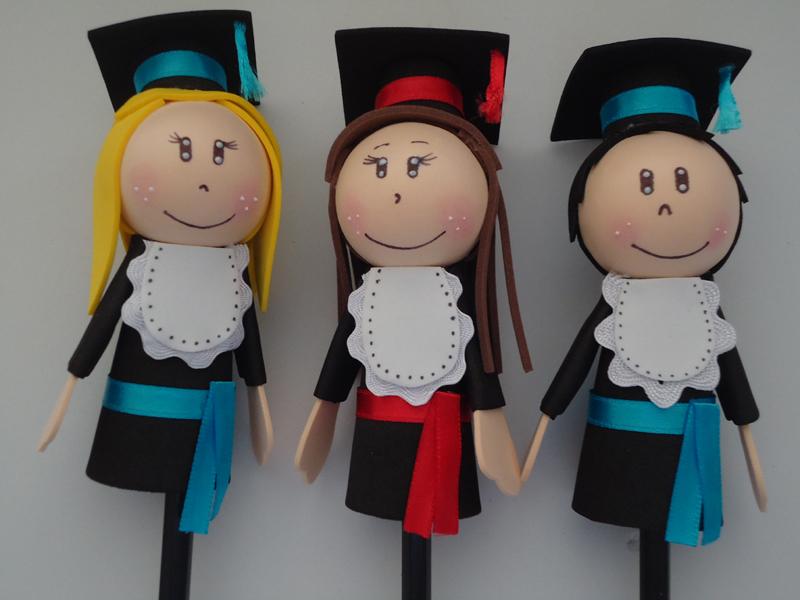
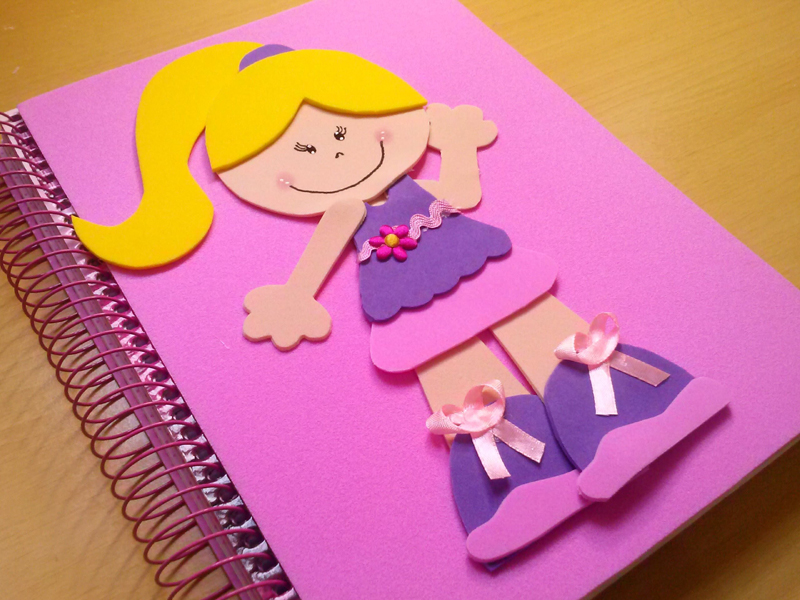
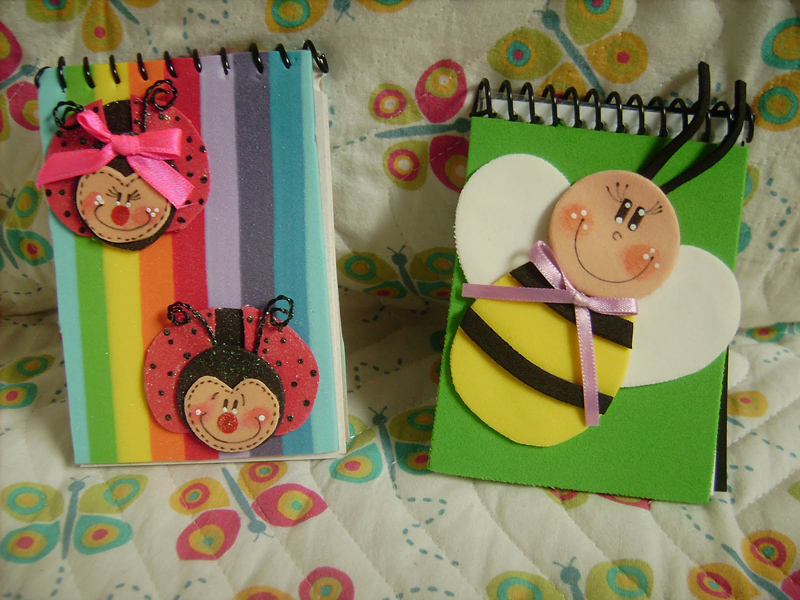
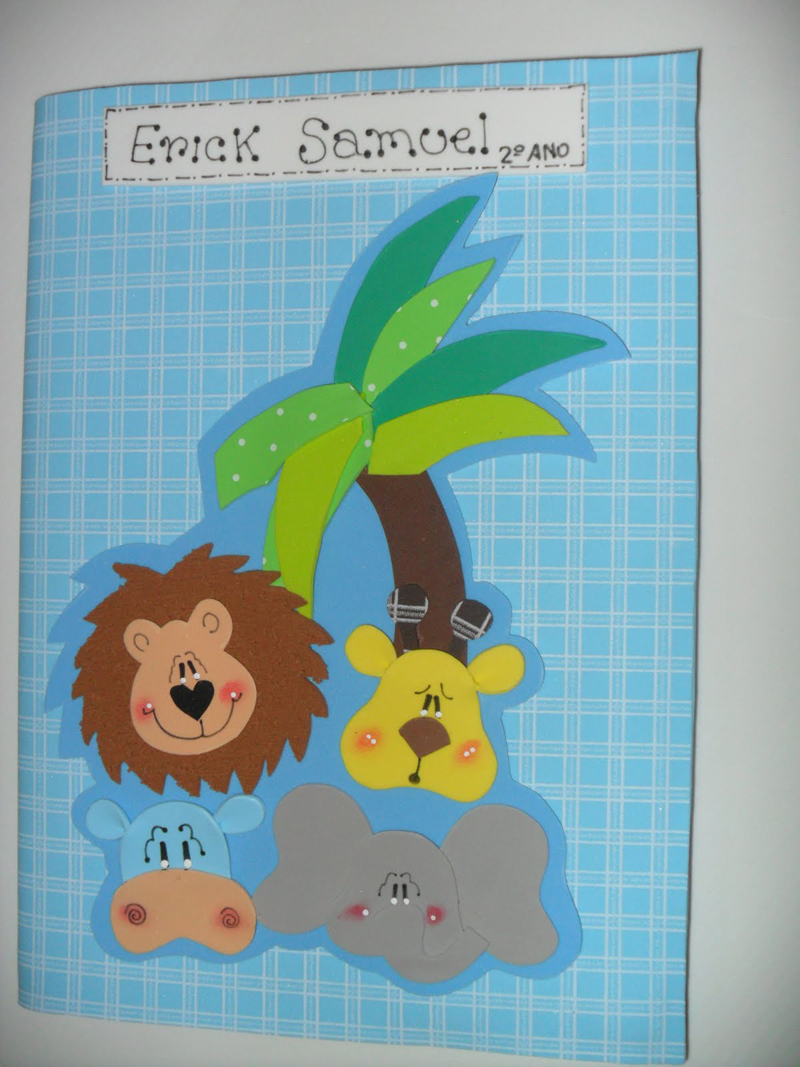
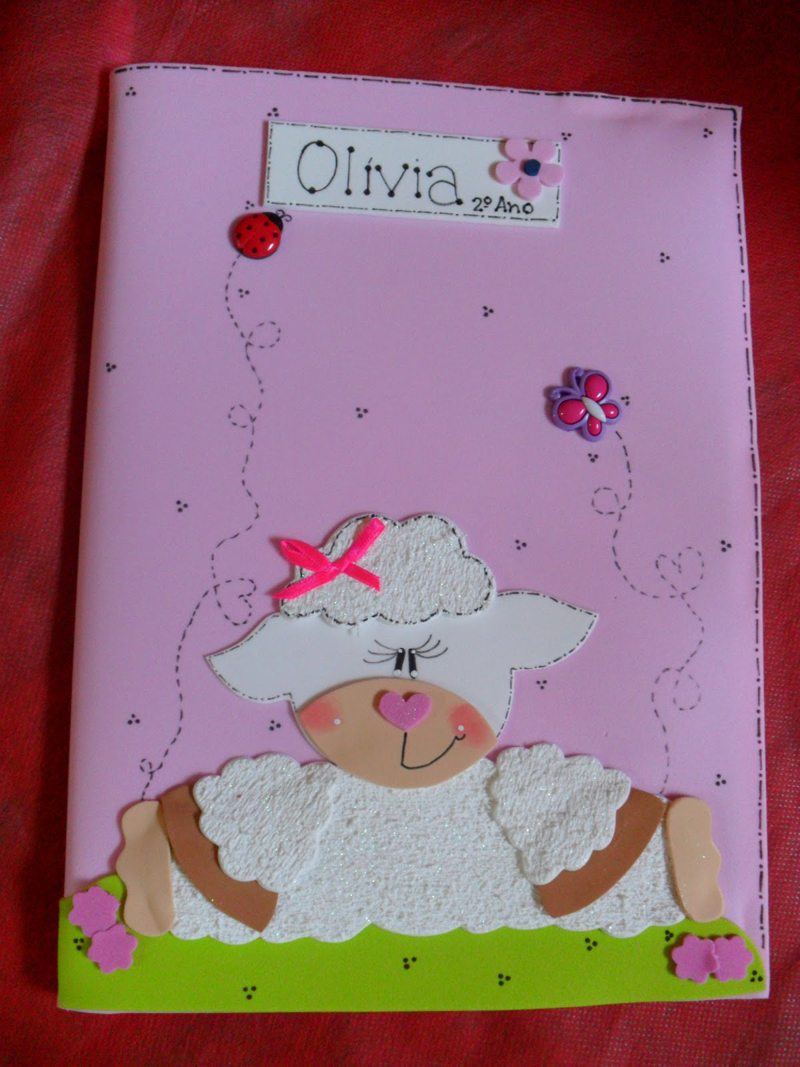
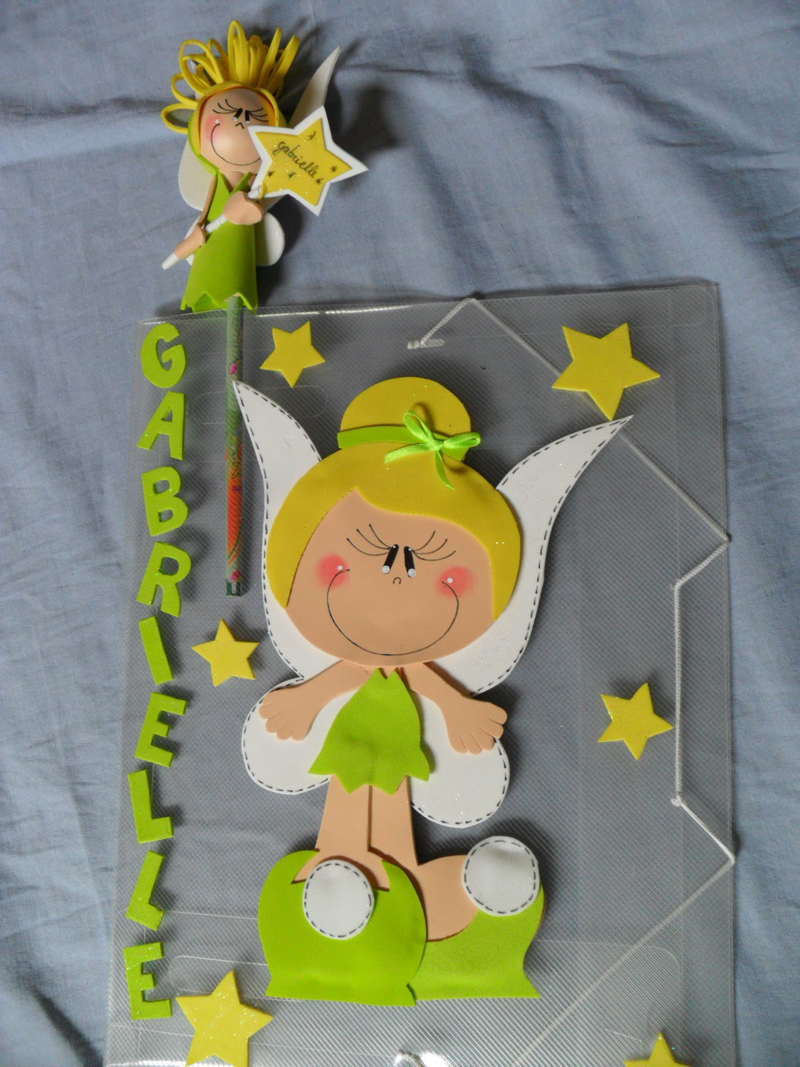
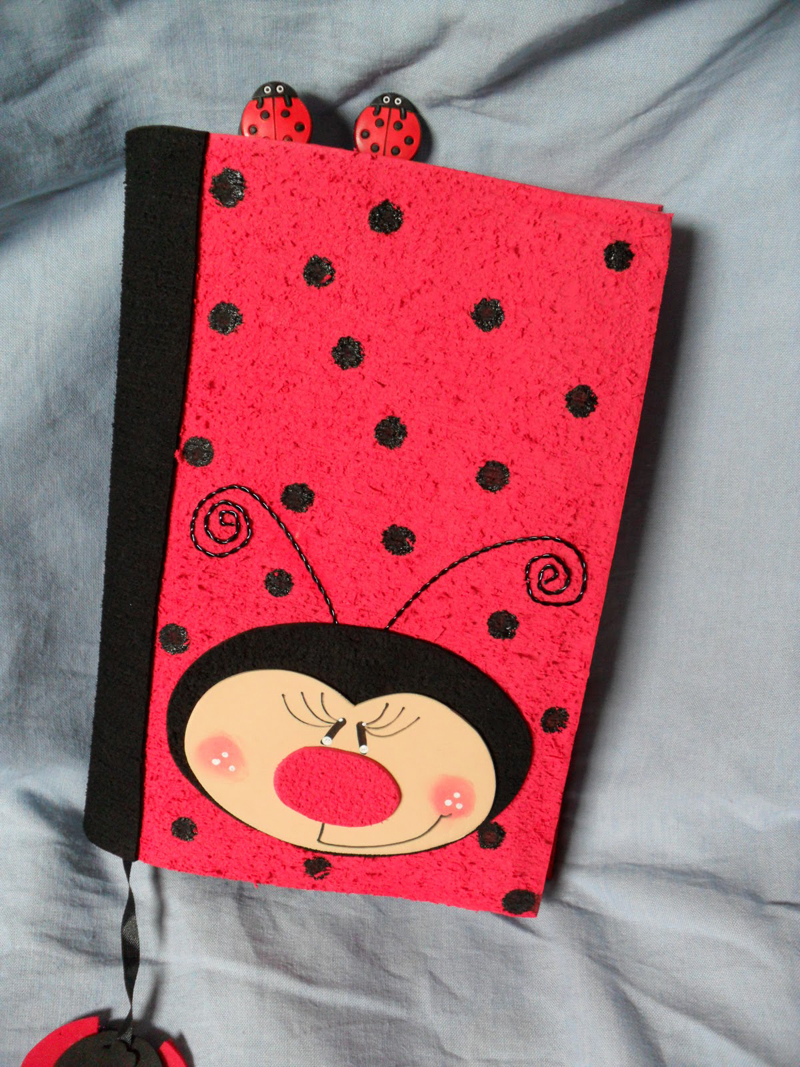
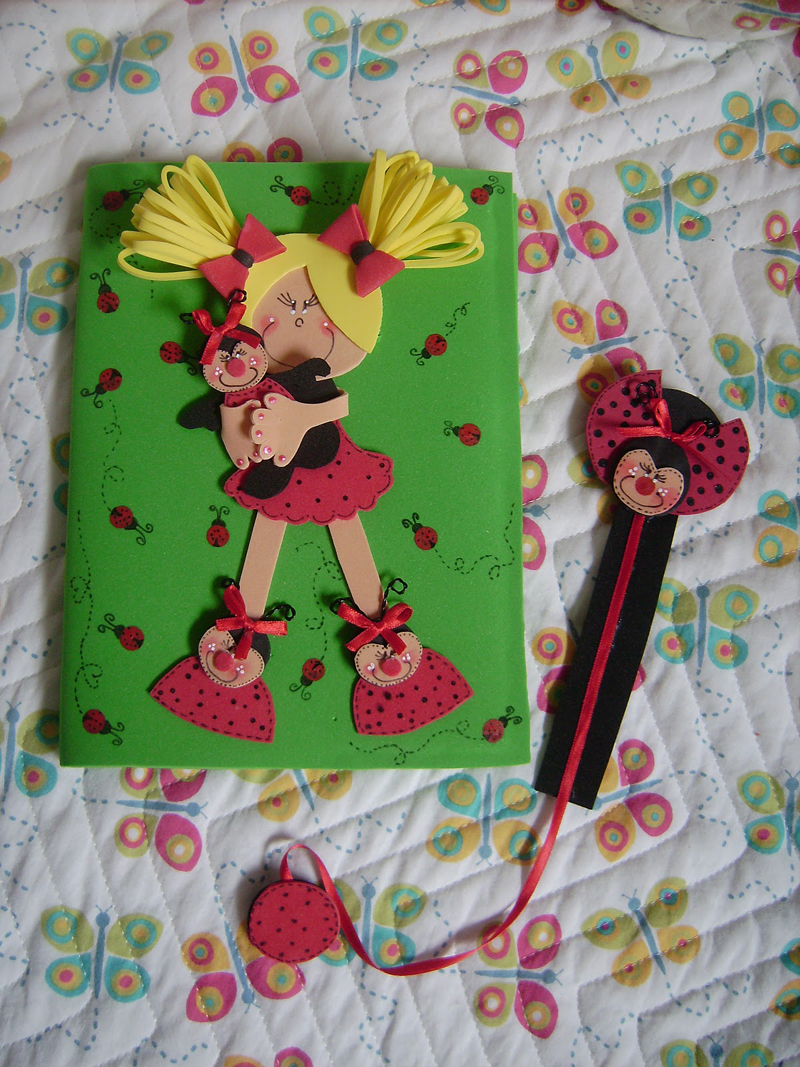
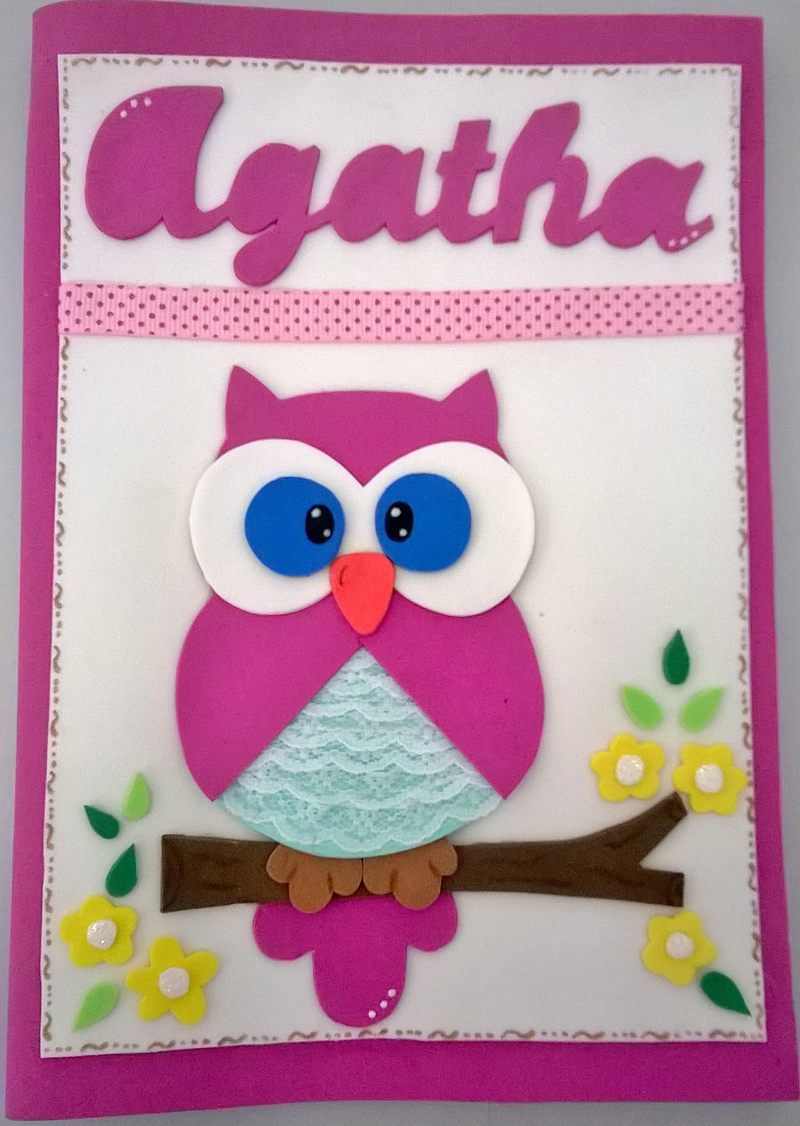
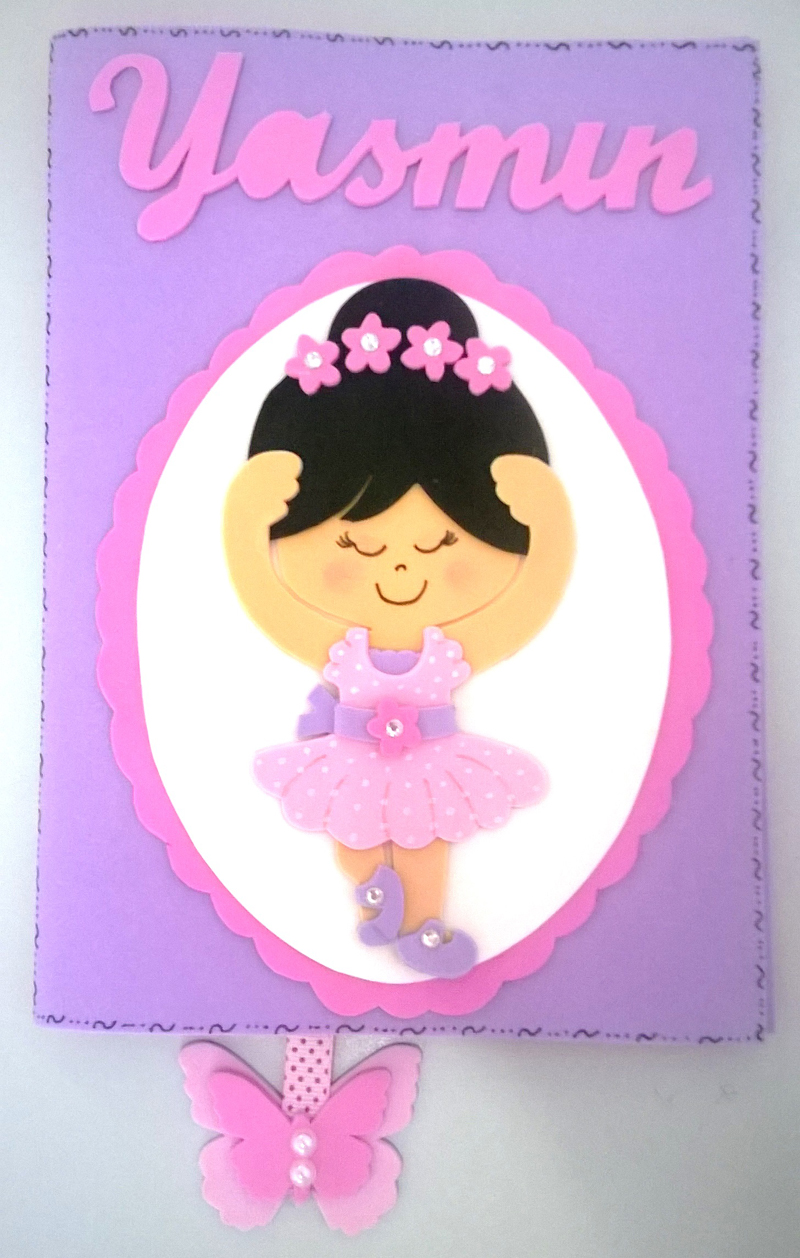
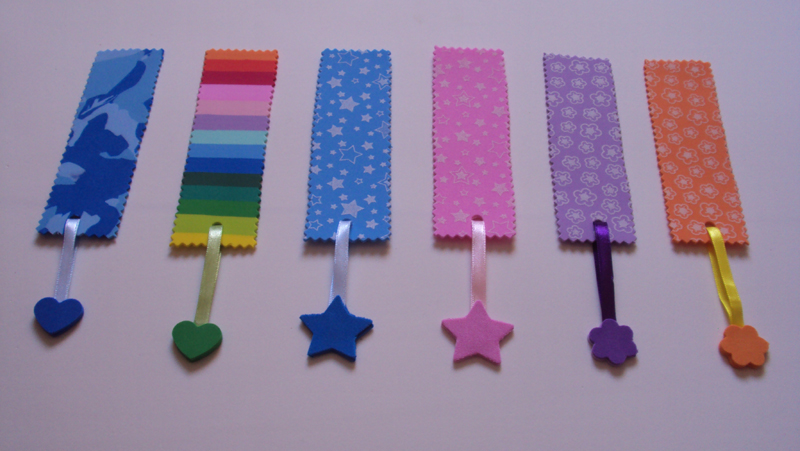
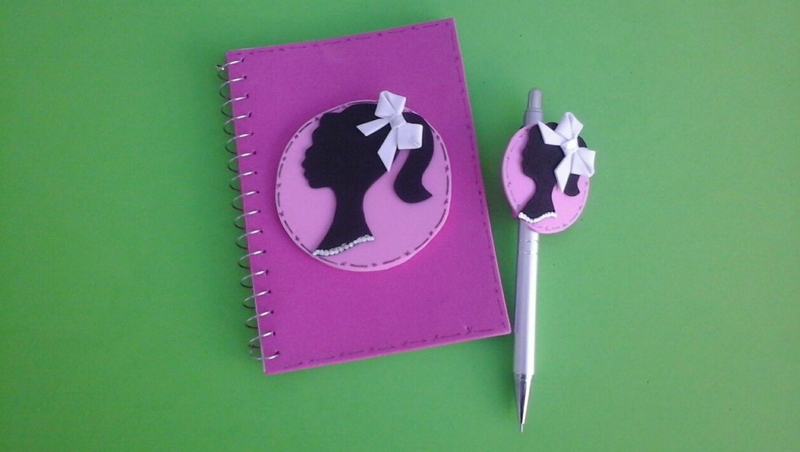
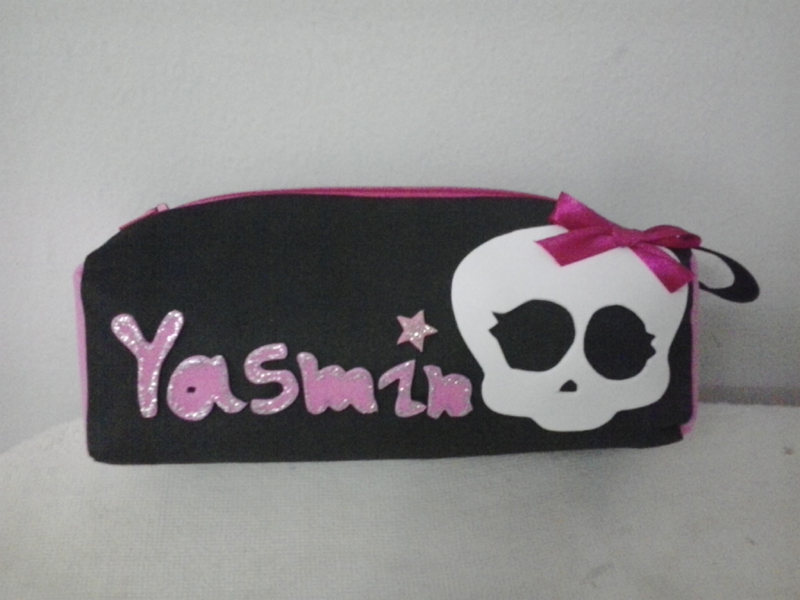
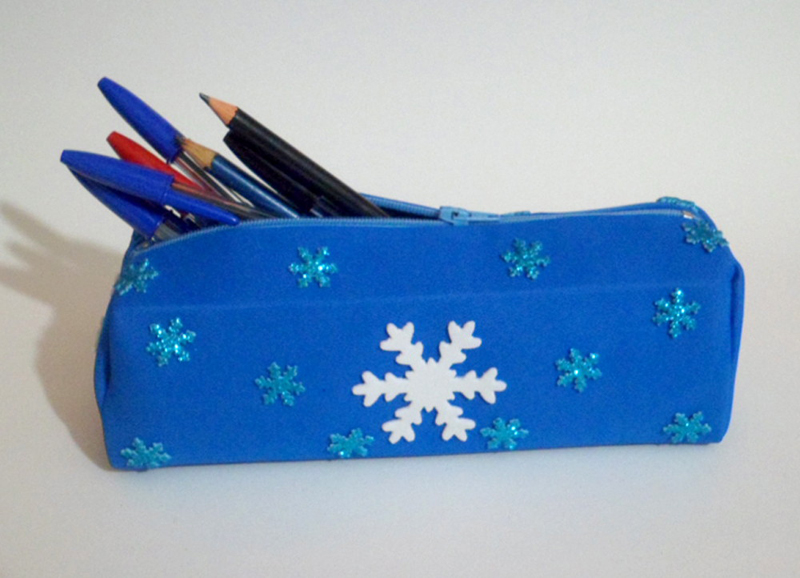
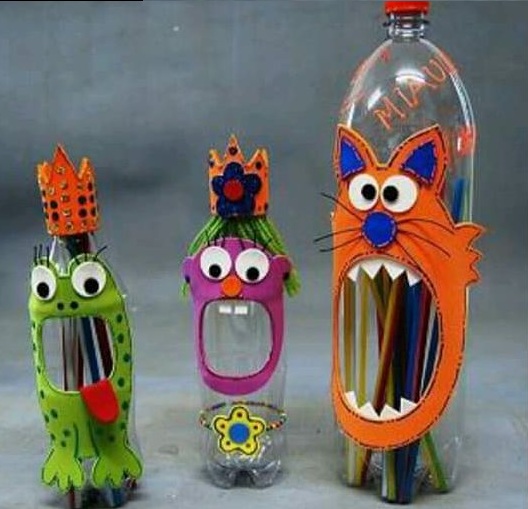
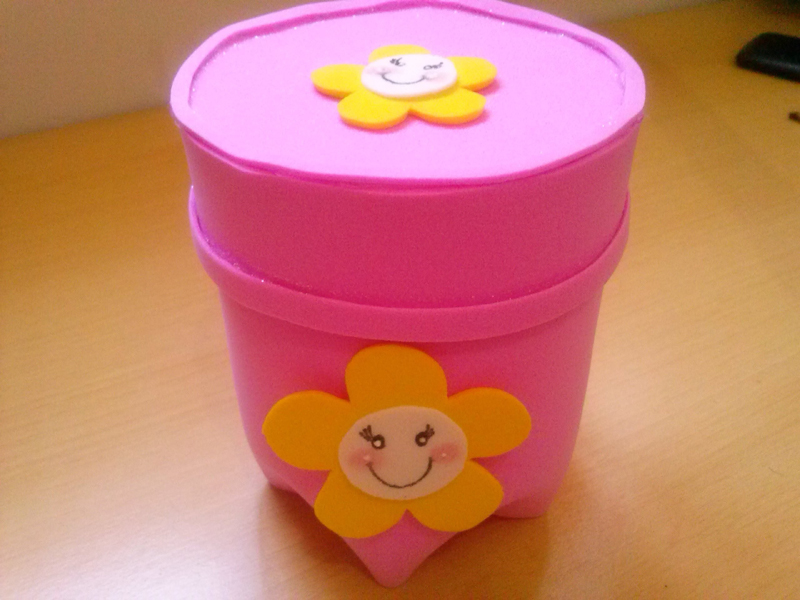
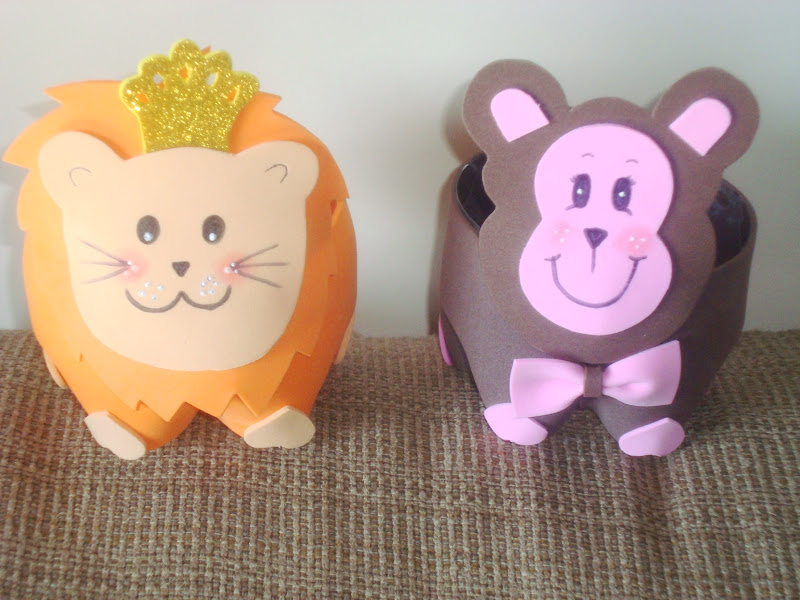
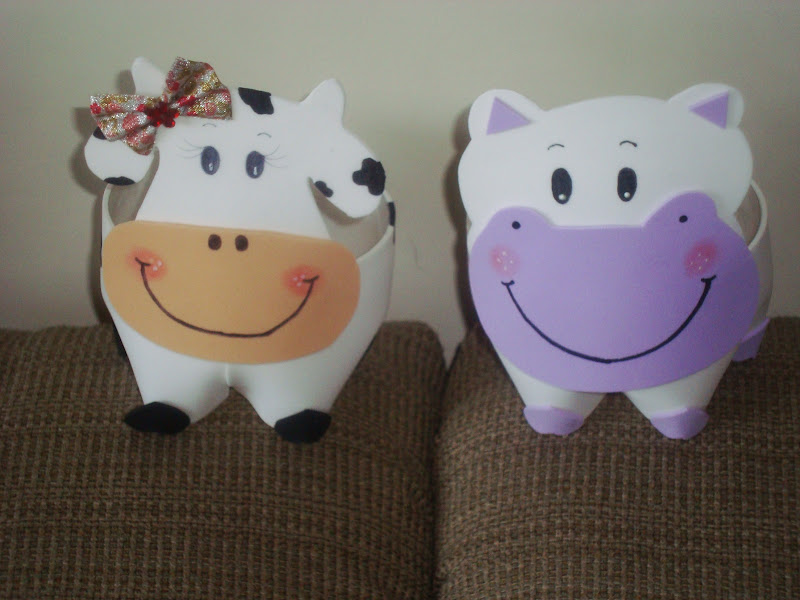
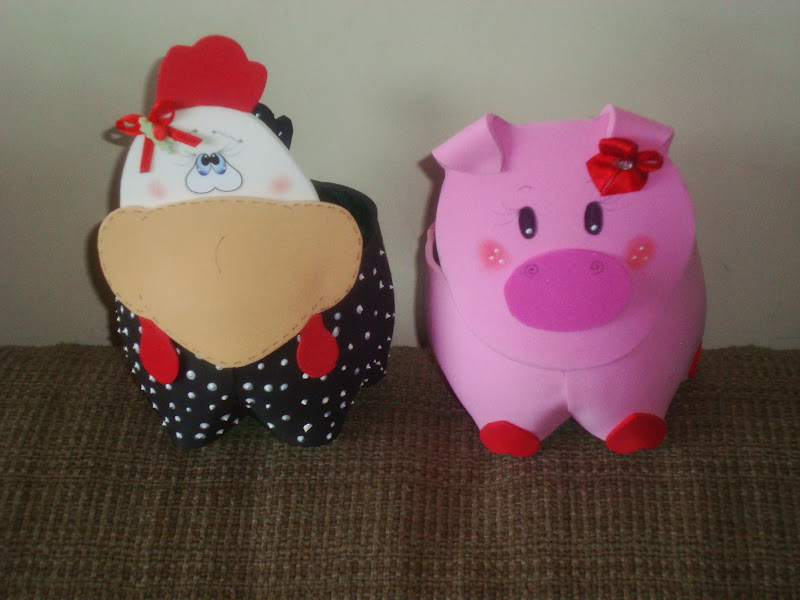
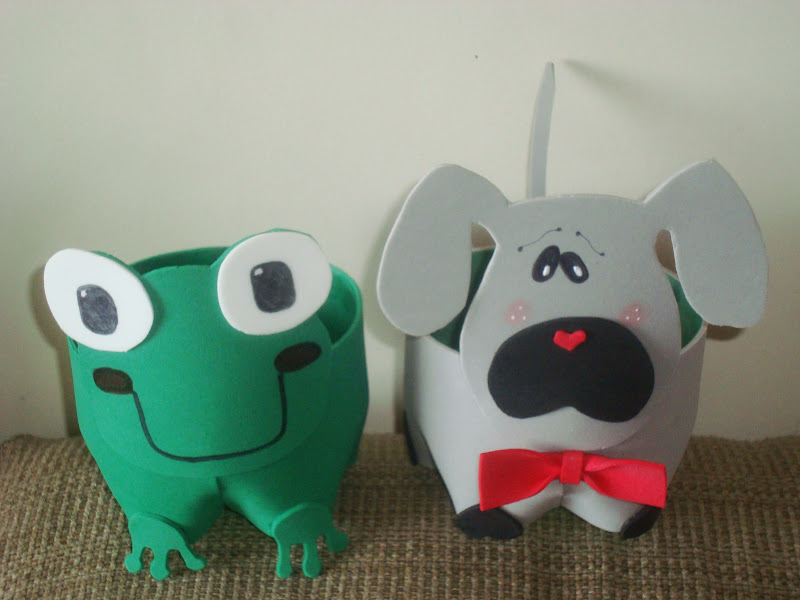
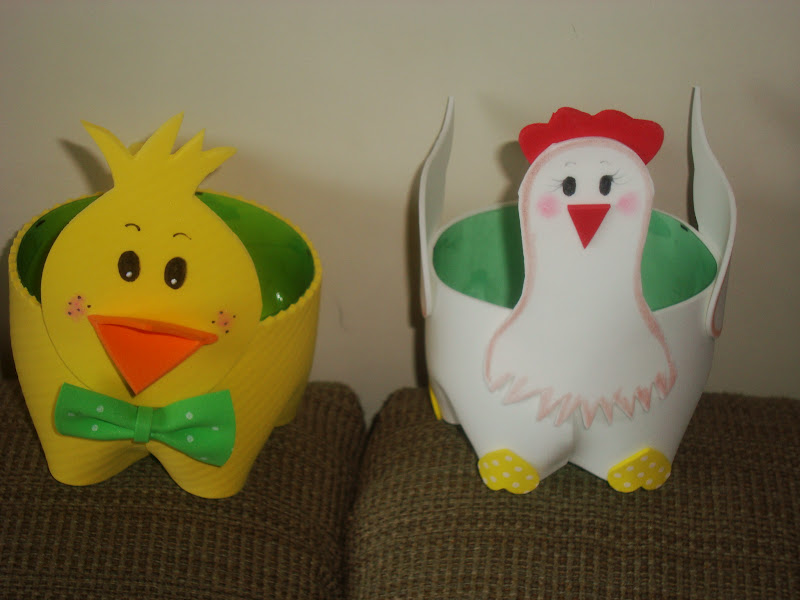
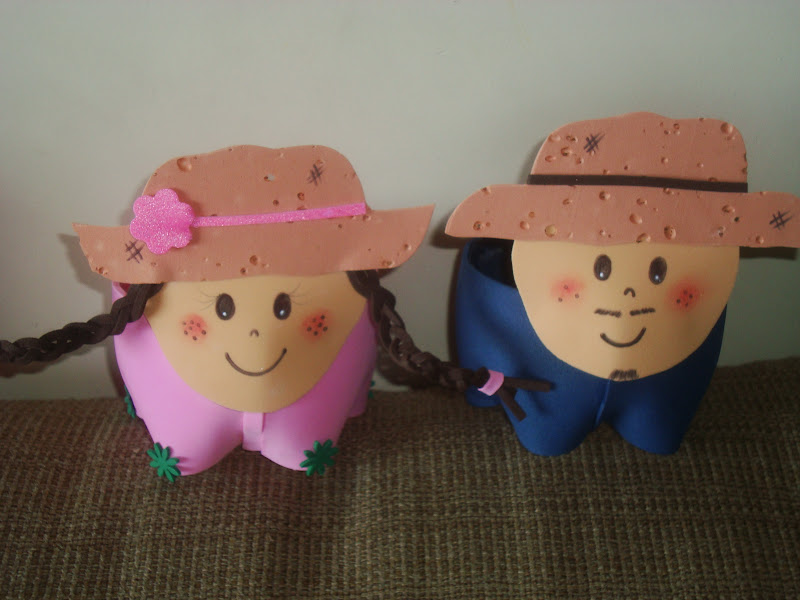
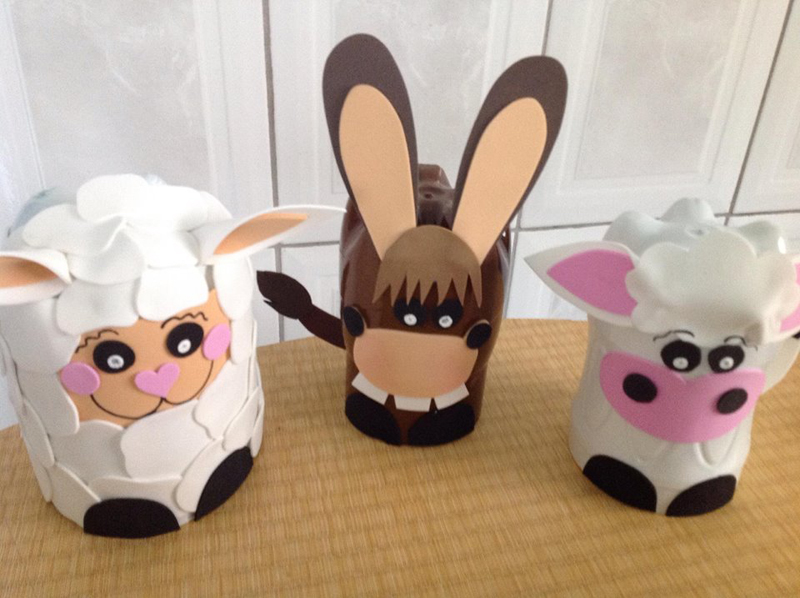
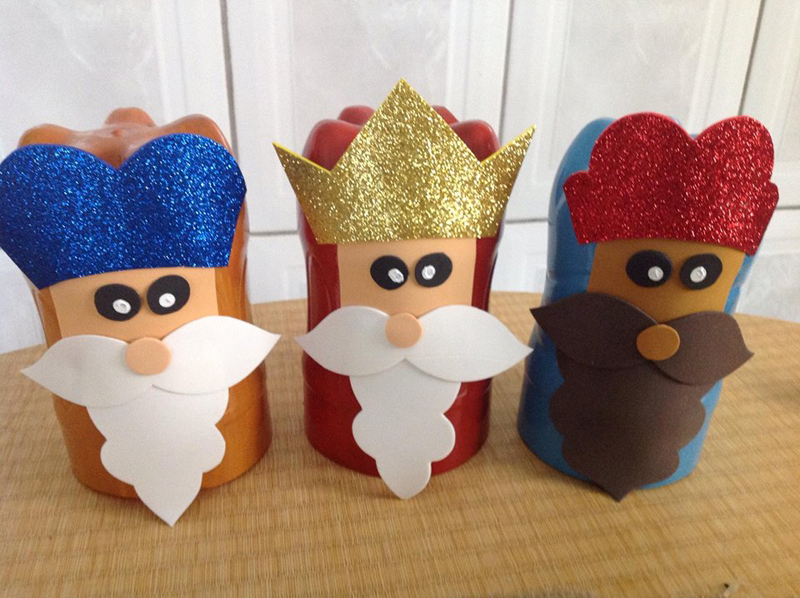
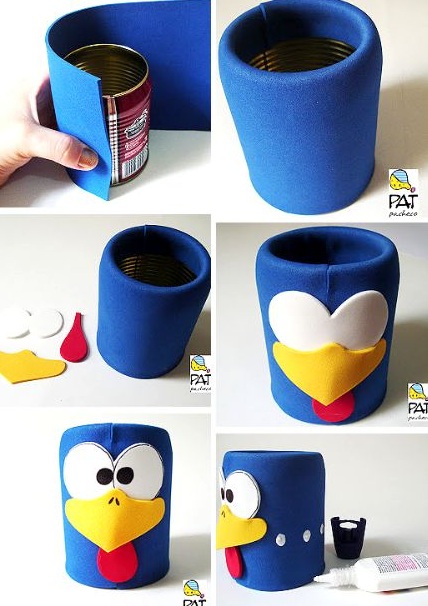 See more EVA back to school craft ideas to do at home.
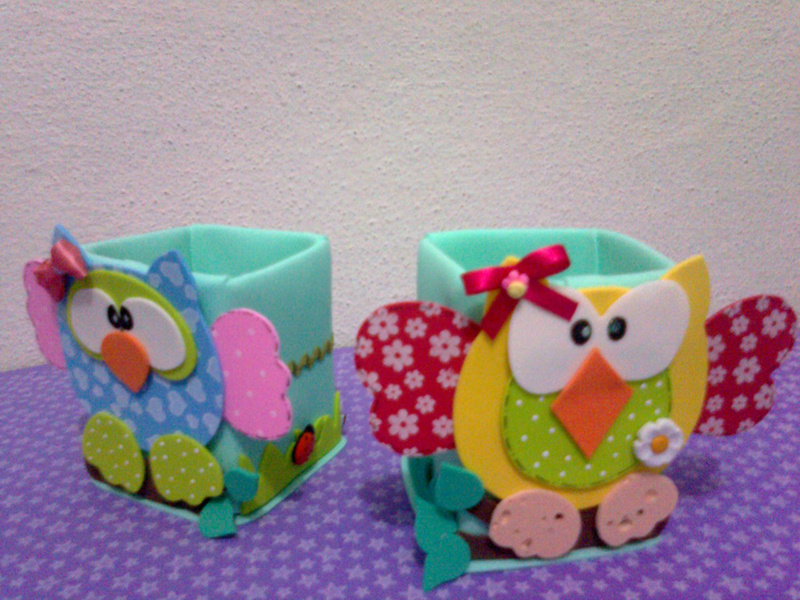
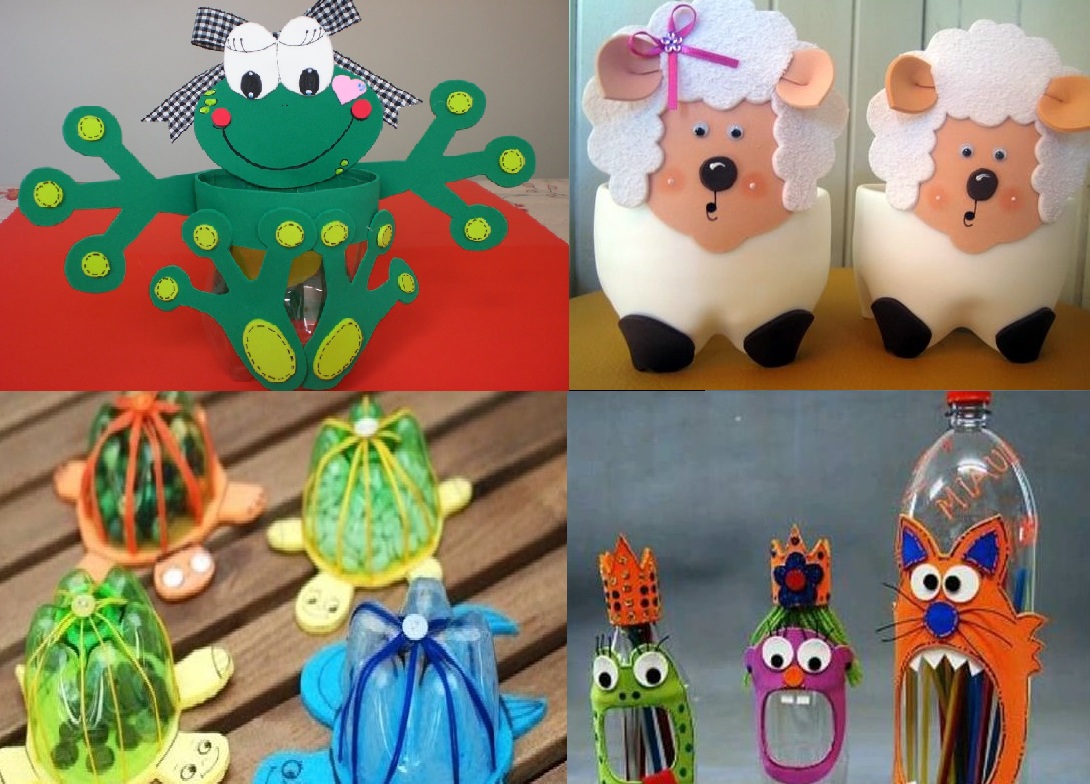
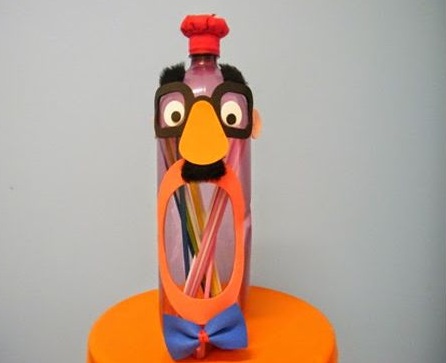
 To gift differently and still value your souvenir or gift, make a bottle of pet and EVA. Cut the straight part of the Plastic bottle, fold in order to create the packaging. To decorate your packaging, cut a strip into an EVA and make EVA flowers. Glue everything with hot glue. This packaging can also be used for party favors.
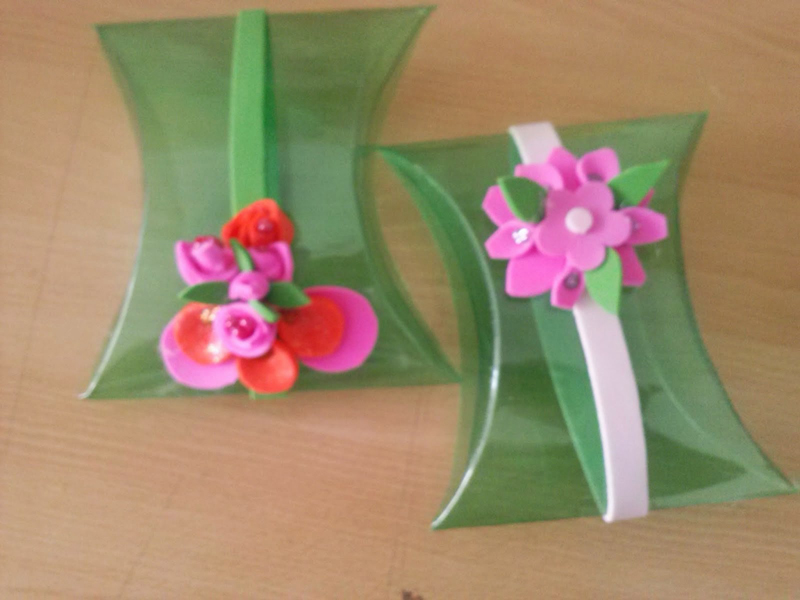


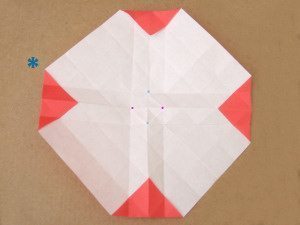 Fold the corner inside.
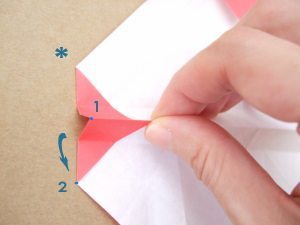 Win the song.
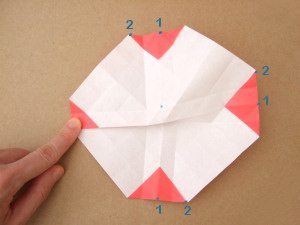 Do the same with the other songs.
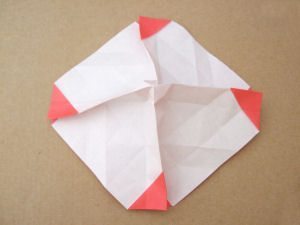 Raise the center of the part.
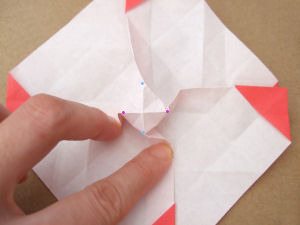 Also link the center.
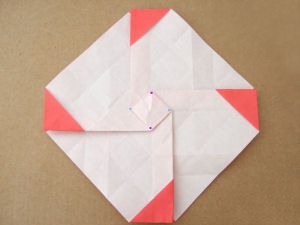 Part behind the piece.
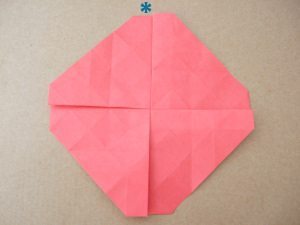 In one corner, take the center and some side folds.
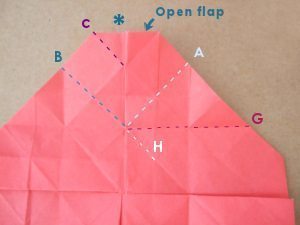
 Raise the other part.
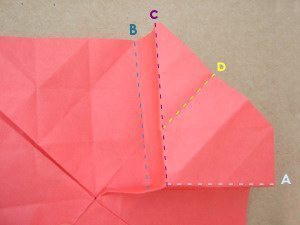 Do the same with all the songs.
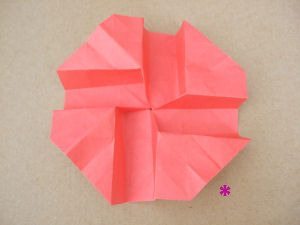 Take the recessed part of one of the corners.
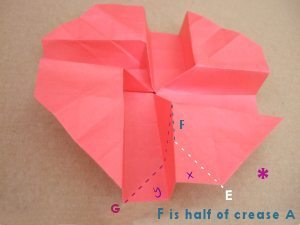 Fold this part.
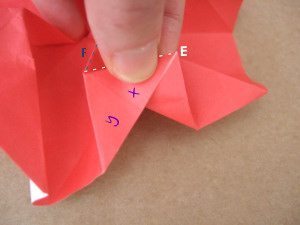 Tape the bent part.
 Do the same with all the corners and “twist” the piece. Your rose is created. The leaves for your roses can have the template you want and you can glue the leaves at the base of your roses with the aid of ordinary white glue, double-sided tape or stick glue, depending on your preference for glue to work With paper.
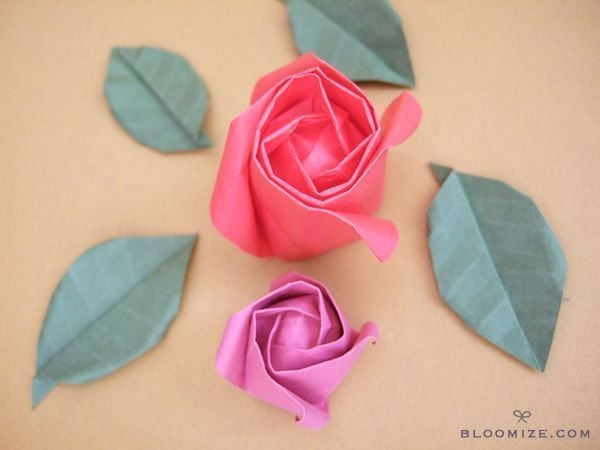
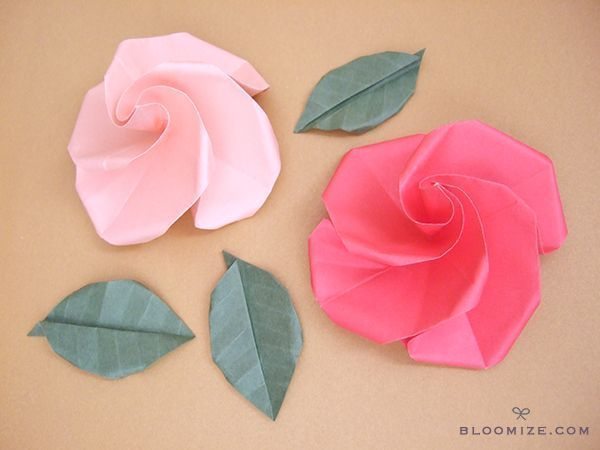 To make the button, fold another square of paper, but with smaller size, wring the sides, raise the center and twist.
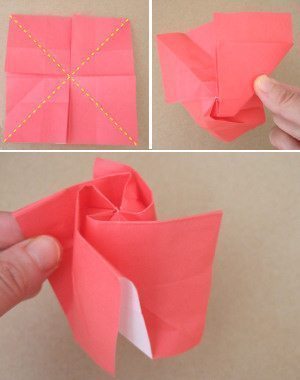
 (Photo: bloomize.com)