Many of us aspire to, to make toys for the children with their own hands.
Strictly speaking, it’s very simple. Only need to stock up on patience to allocate free time, as well as a hundred percent, use their imagination. This toy will be a child more expensive the purchase, because he watched every step of its creation, and older children can participate, or even do it yourself according to our instructions.
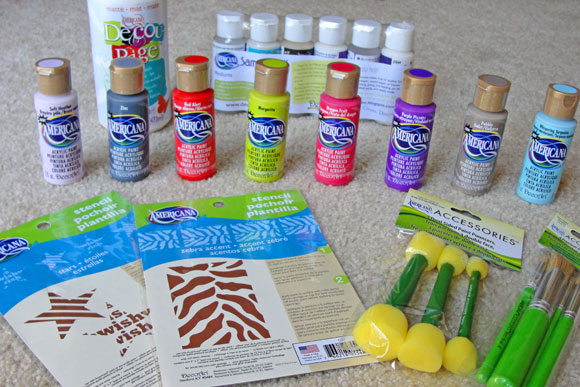
Required Material:
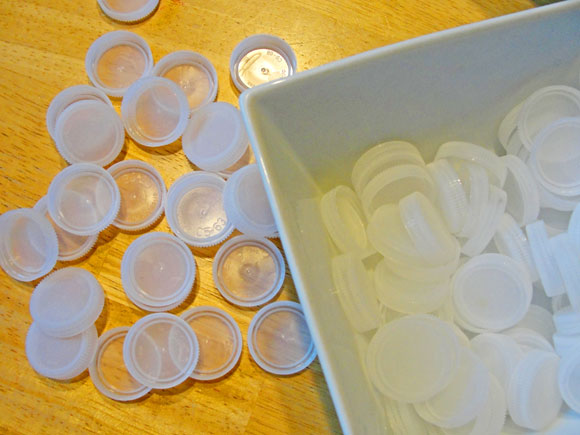
– box of yogurt or sour milk thoroughly washed and dried;
– Glue “Moment”;
– sticks of ice-cream;
– putty;
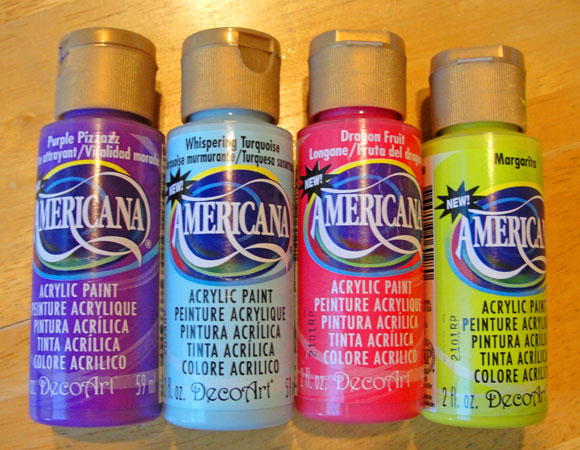
– paints;
– scissors;
– thread;
– beads;
– ribbons and so on.
So we have to carry out the following work steps:
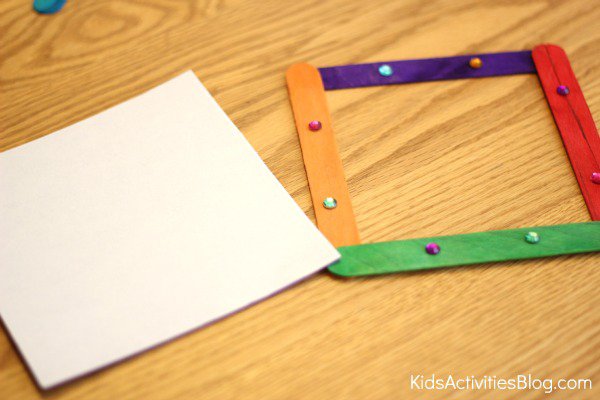
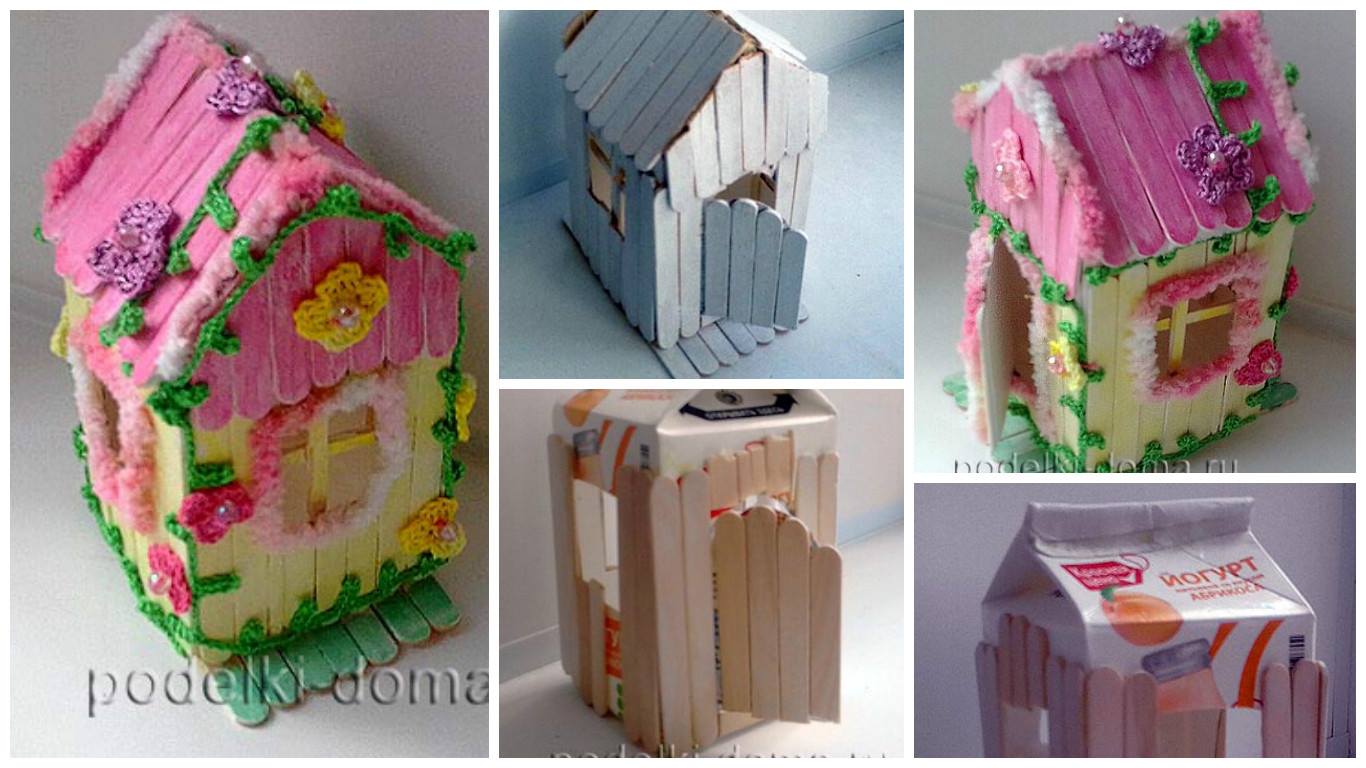
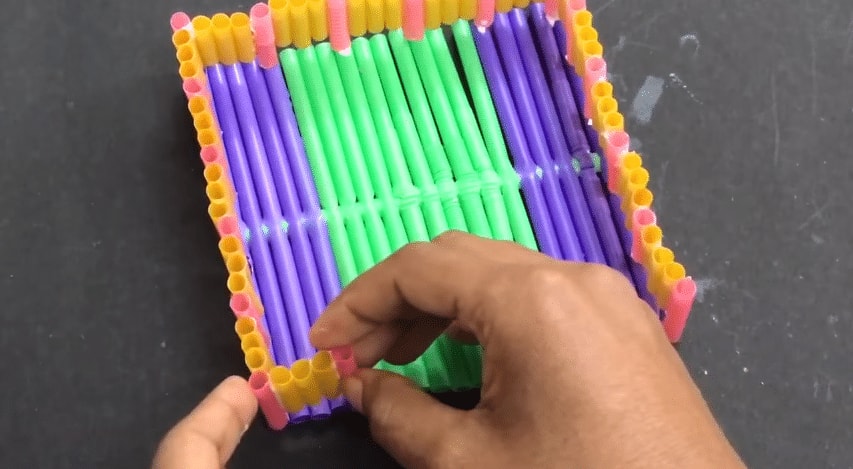
Step 1. Gluing sticks
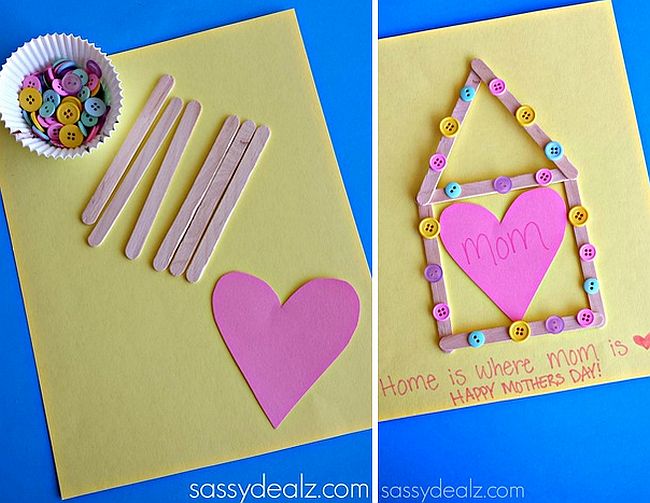
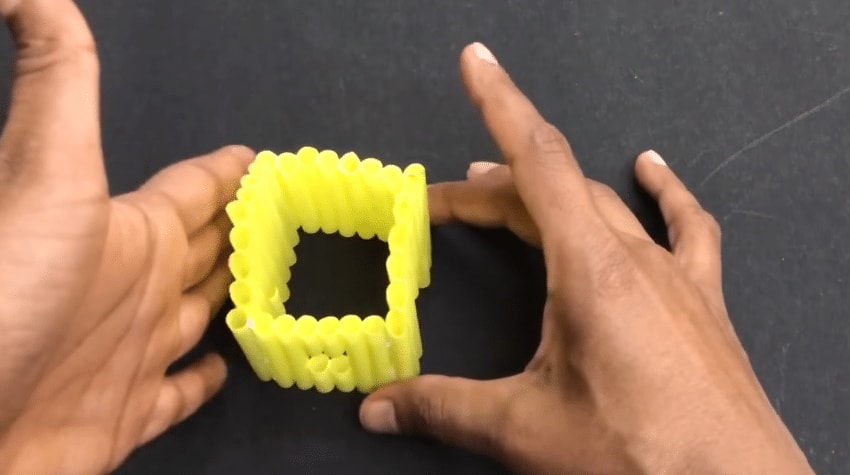
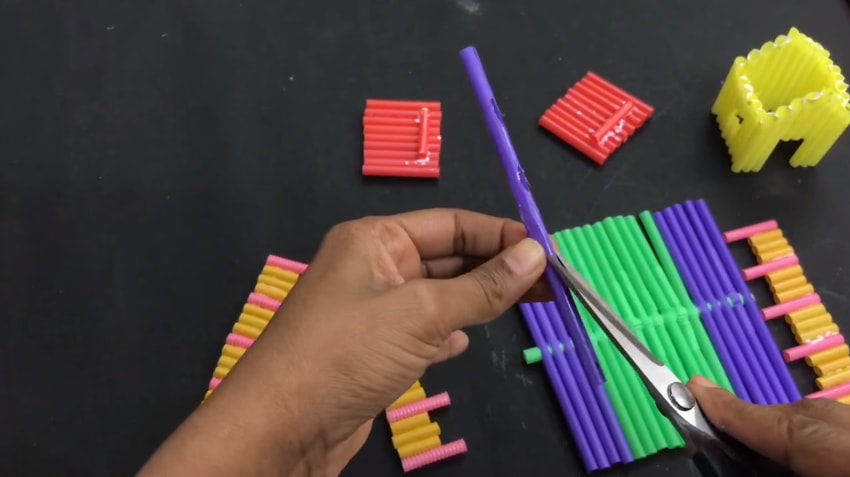
Take an empty box and cuts it with scissors three windows and one door.
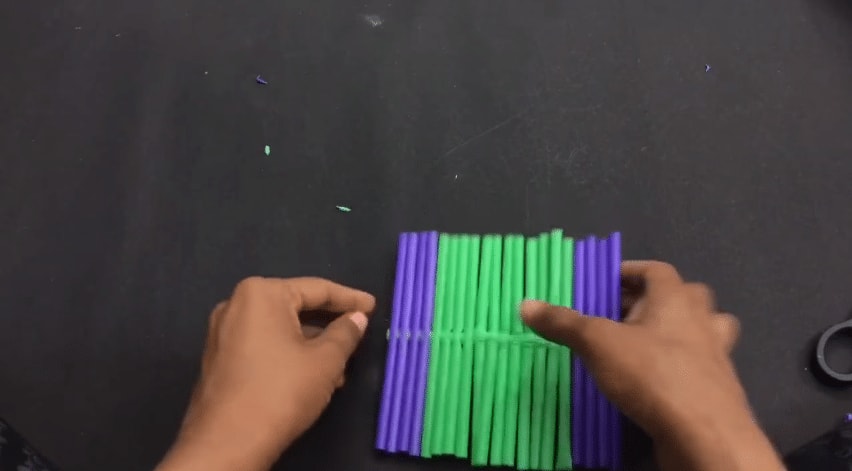
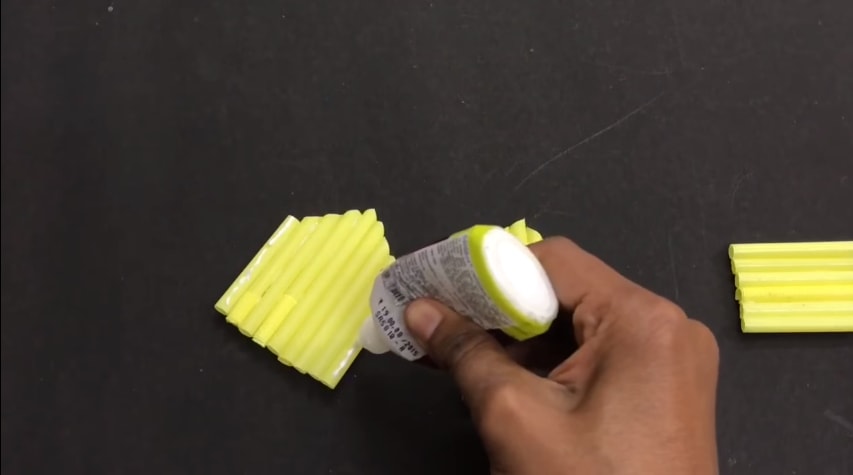
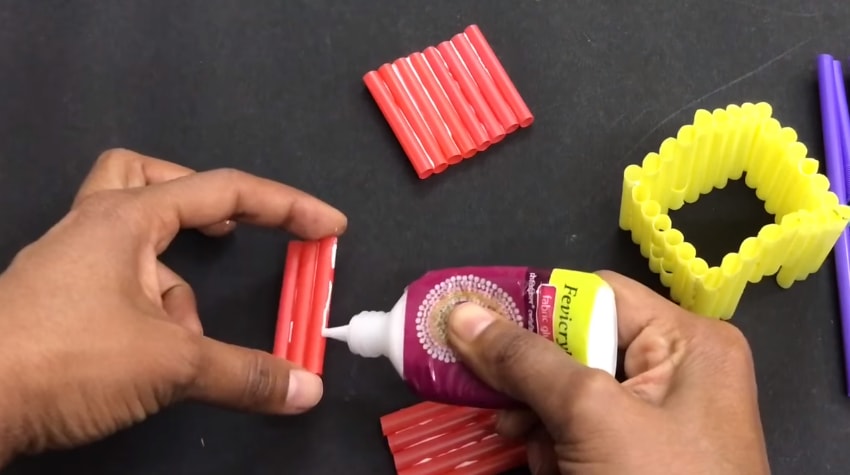
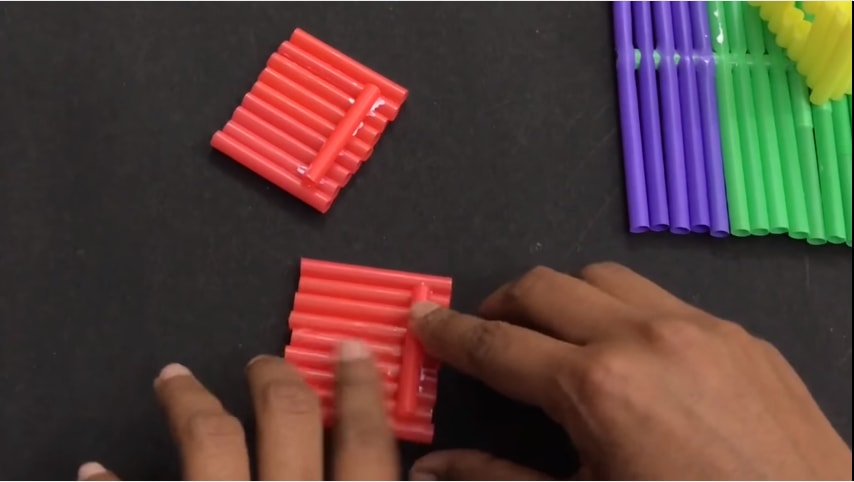
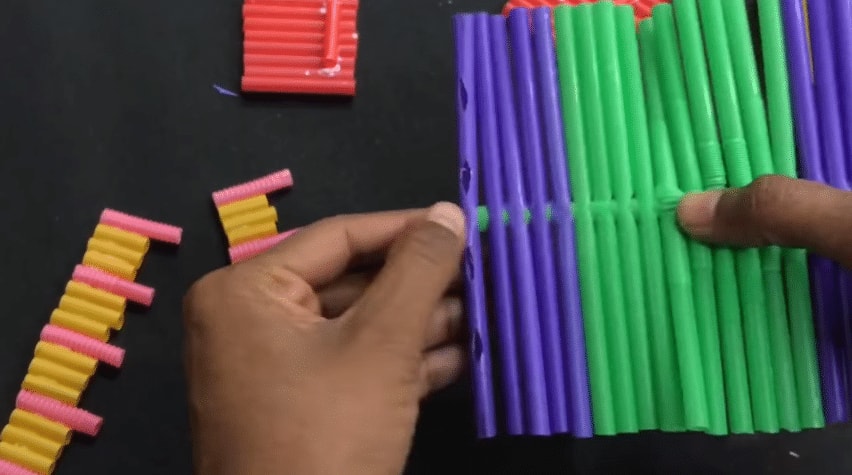
Then take a stick and start to stick them to the outer walls of the box.
It turns out something like this.
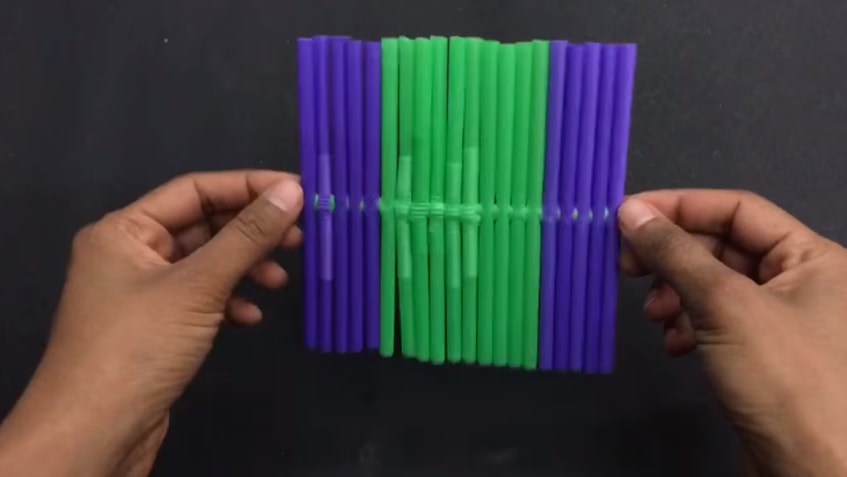
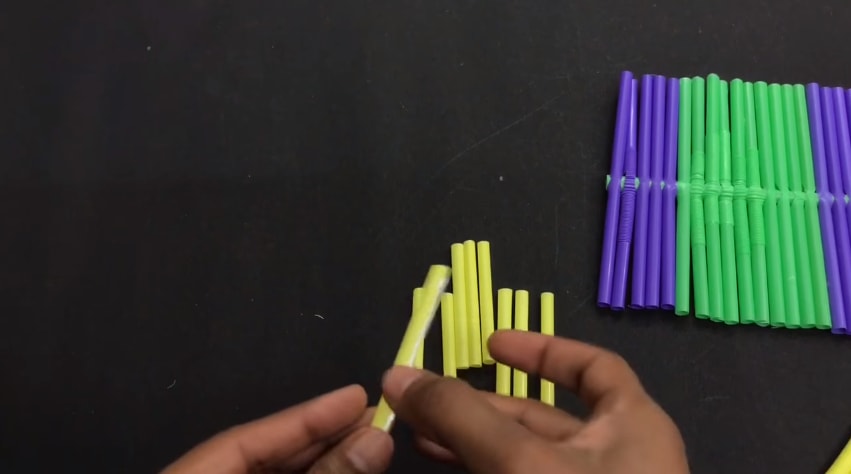
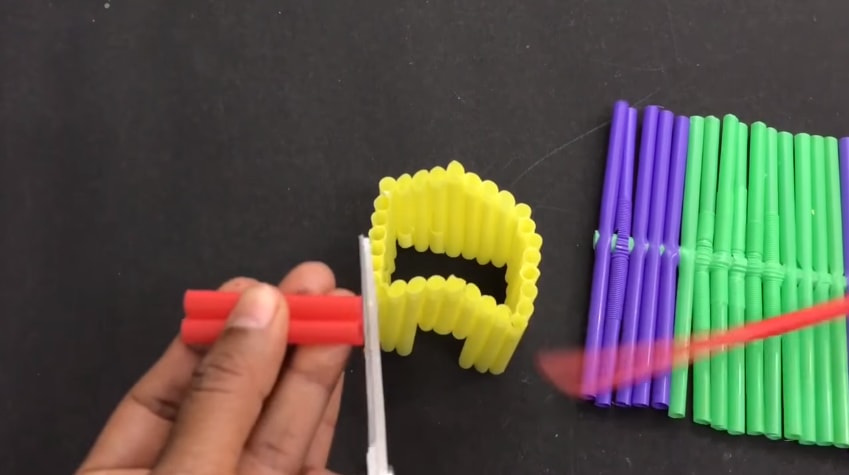
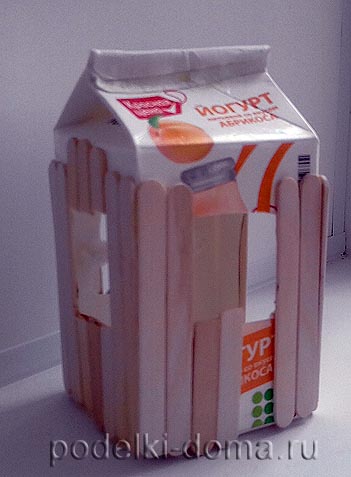 Some sticks have to be cut because the distance of the window to get a little.
 Next, in the same way, you need to paste over the door, here such it will be.
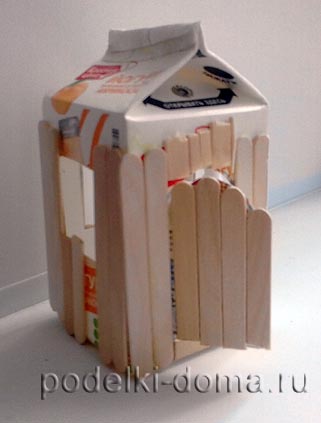
Step 2. Primer
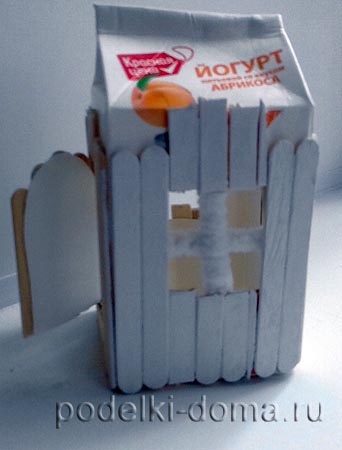
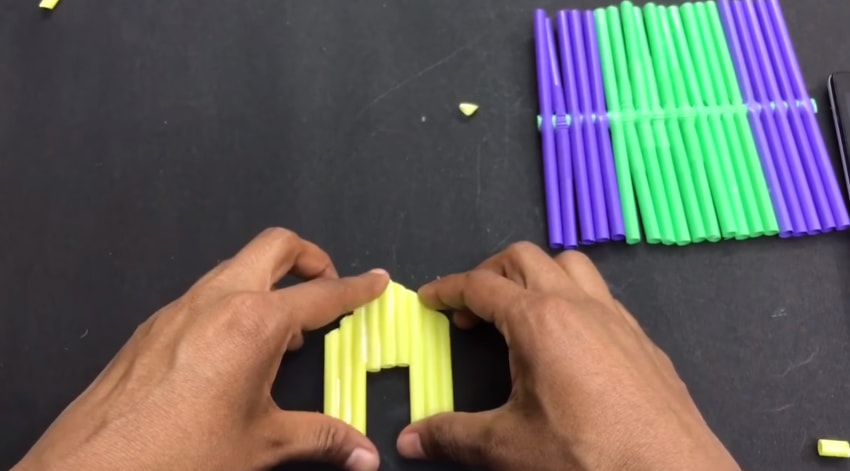
Now we do two important things: First, take the matches, glue them crosswise and attach to the windows. Secondly, we take a first coat (acrylic paint, or ordinary bar to correct inaccuracies in the text) and start to paint it white, our sticks.
It turns out something like this.
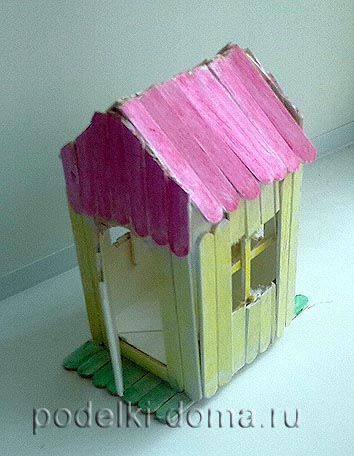
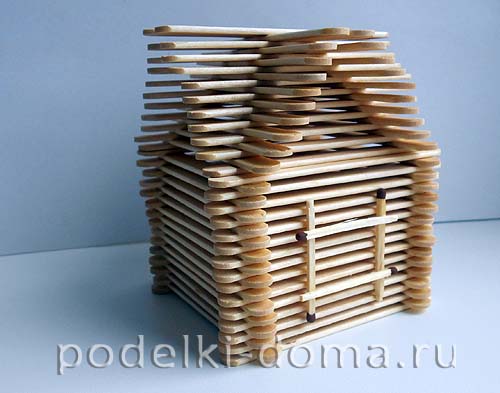
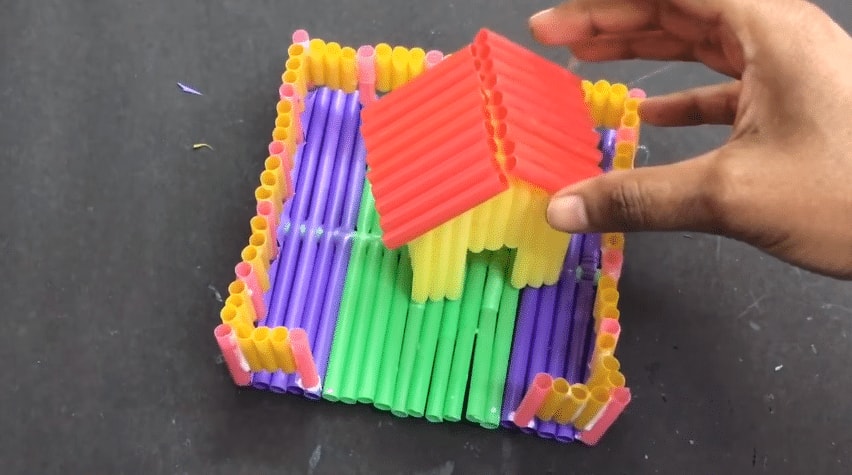
Then do the roof. To do this, glue sticks on top, wait until the glue is dry, and then paint them with white paint. That’s what we do.
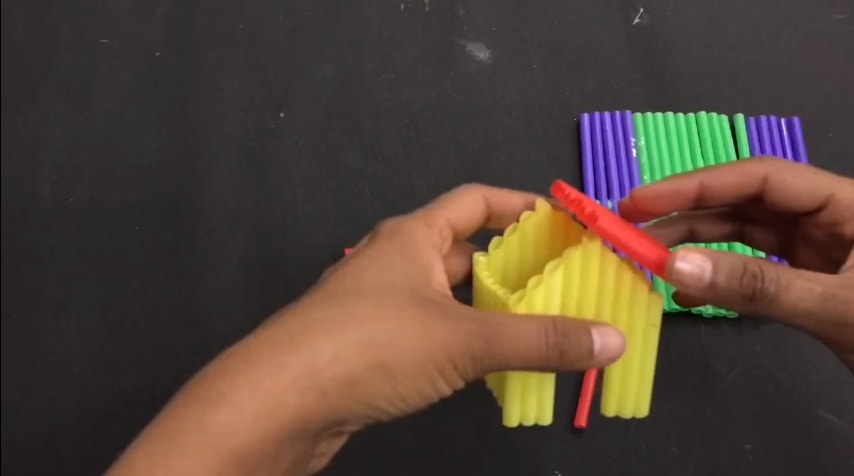
Then, from the sticks, we do a kind of basis for our lodge.
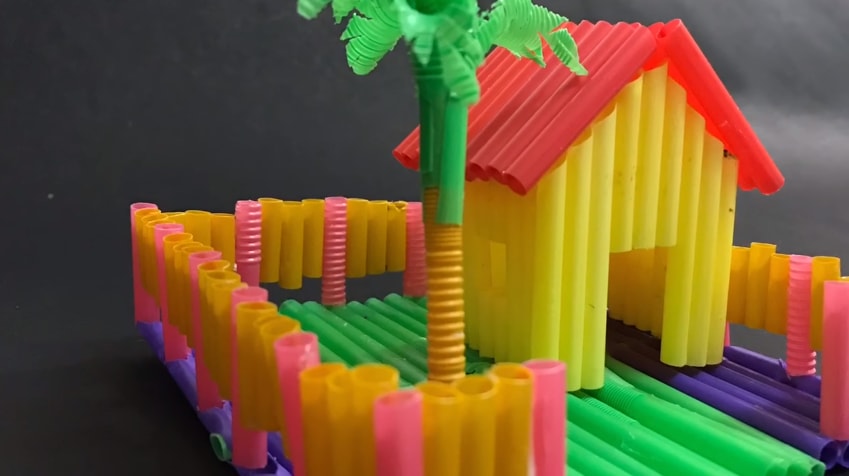
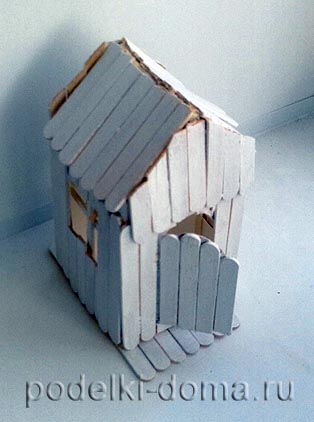 It turns out a pretty white house.
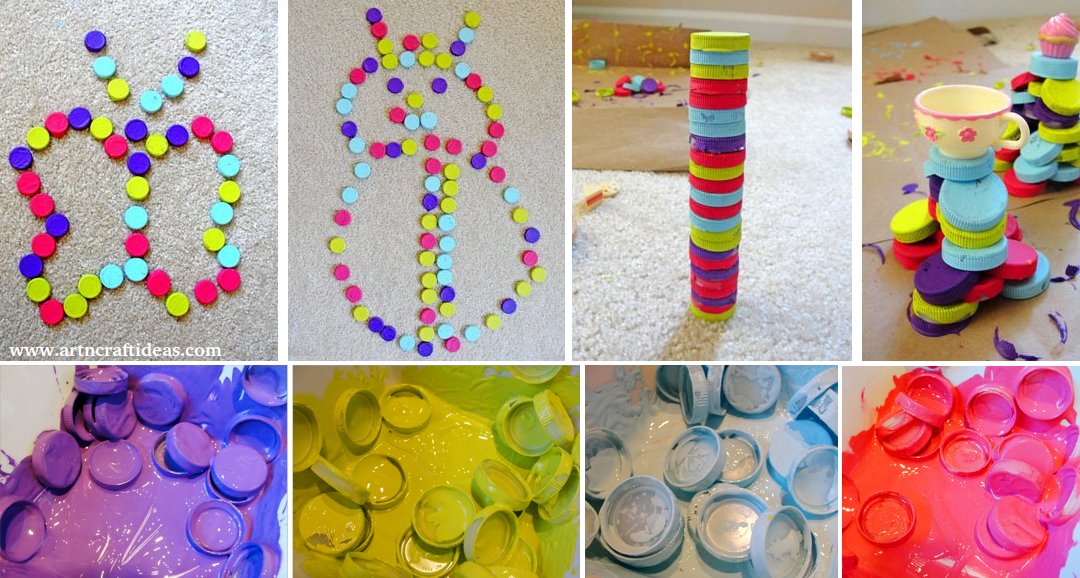
Step 3. Prettification and decoration
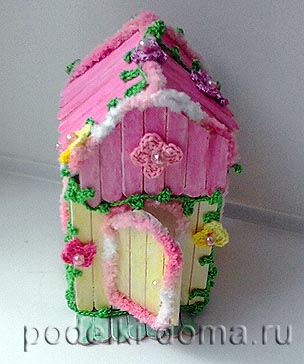
Now it’s time to decorate our house. You can use ordinary ink: gouache or watercolor. Choose any favorite color and proceed to our work.
 And then, when the paint dries, boldly take the hands off the hook, thread, beads, ribbons. We begin to glue them to our house. So we do our creation is simply unique.
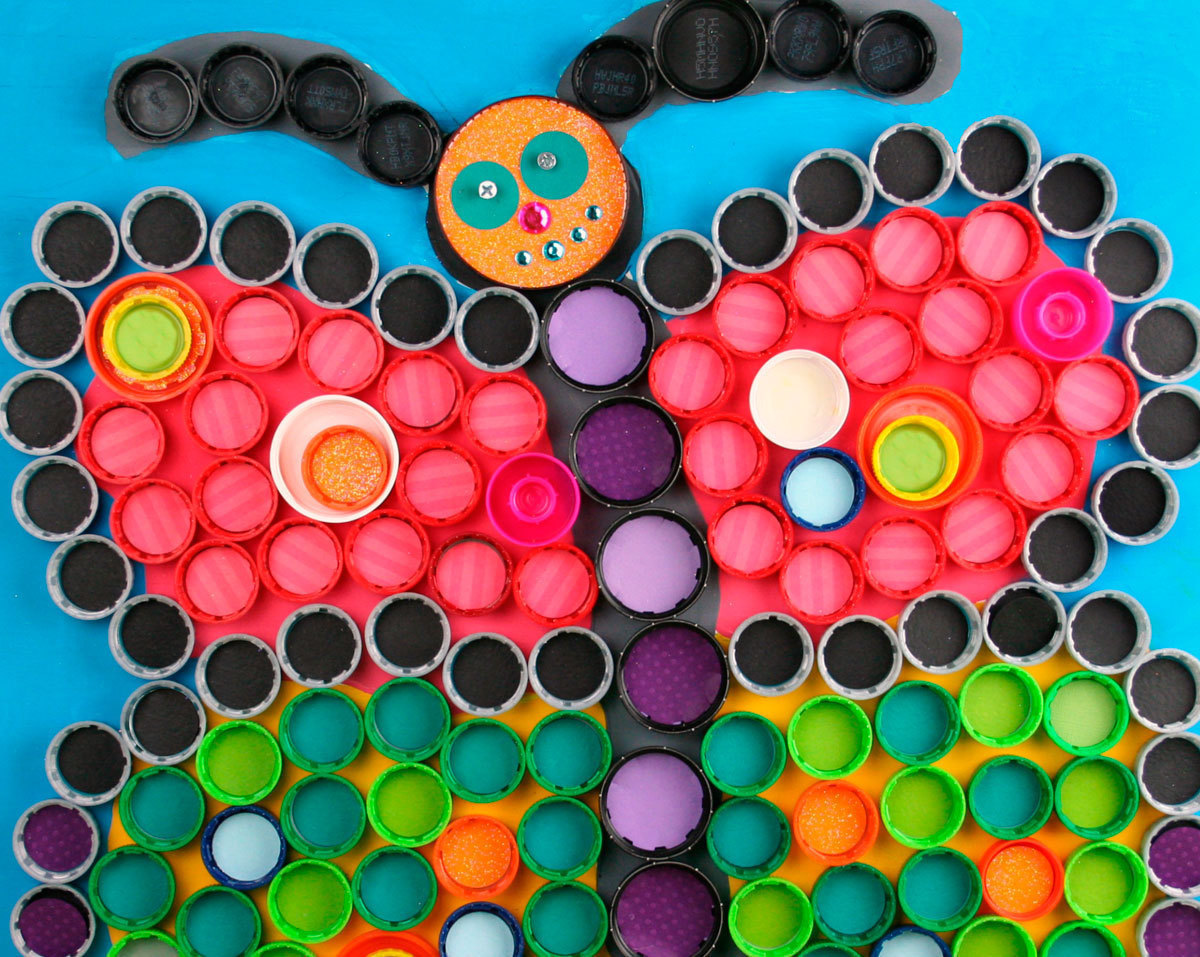
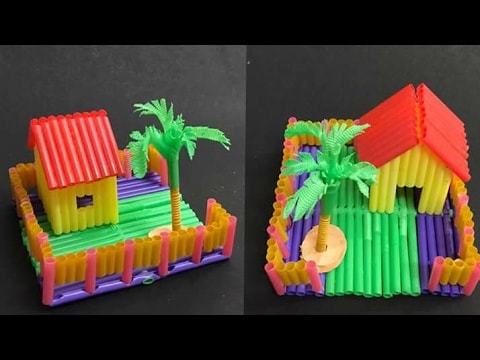
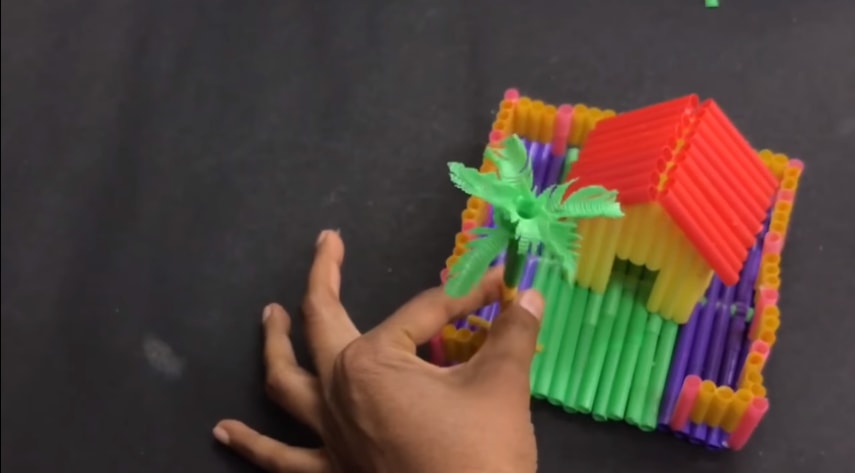
See how the house was transformed!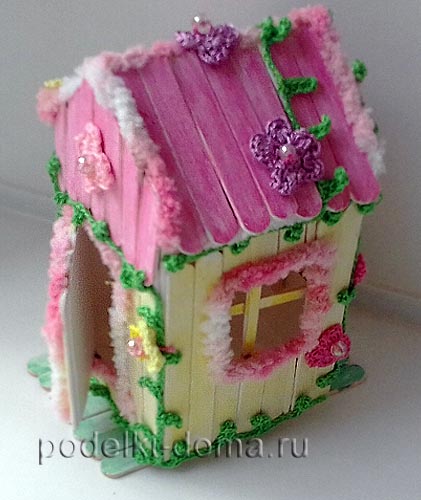
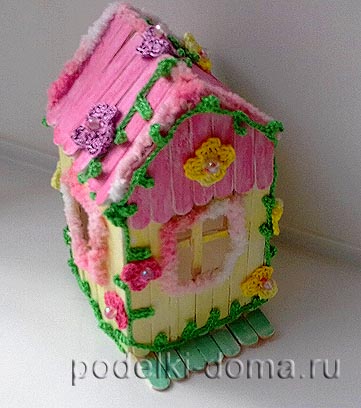
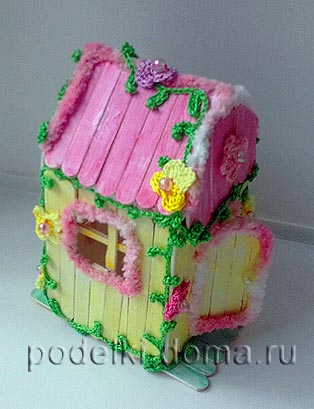
And such a miracle, you can make your own hands, spending is about 3 hours time. At the same time, you get a finished toy for your child, as well as through contact with the world of beauty experience real aesthetic pleasure!
Go for it, you will succeed!
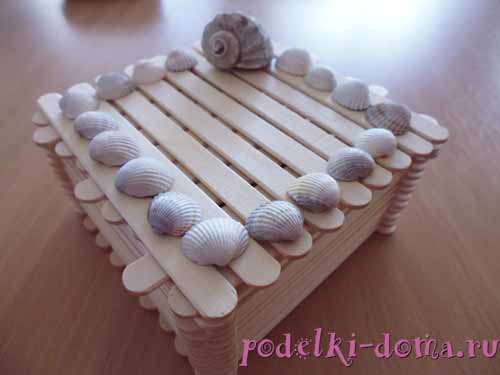
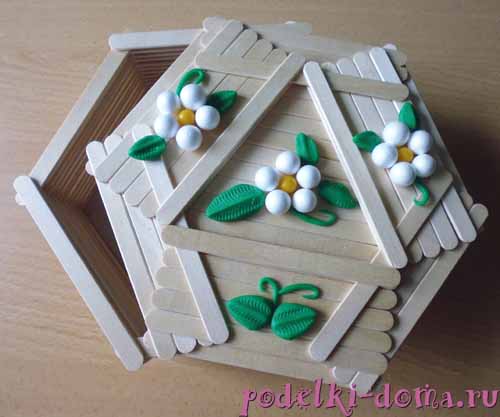
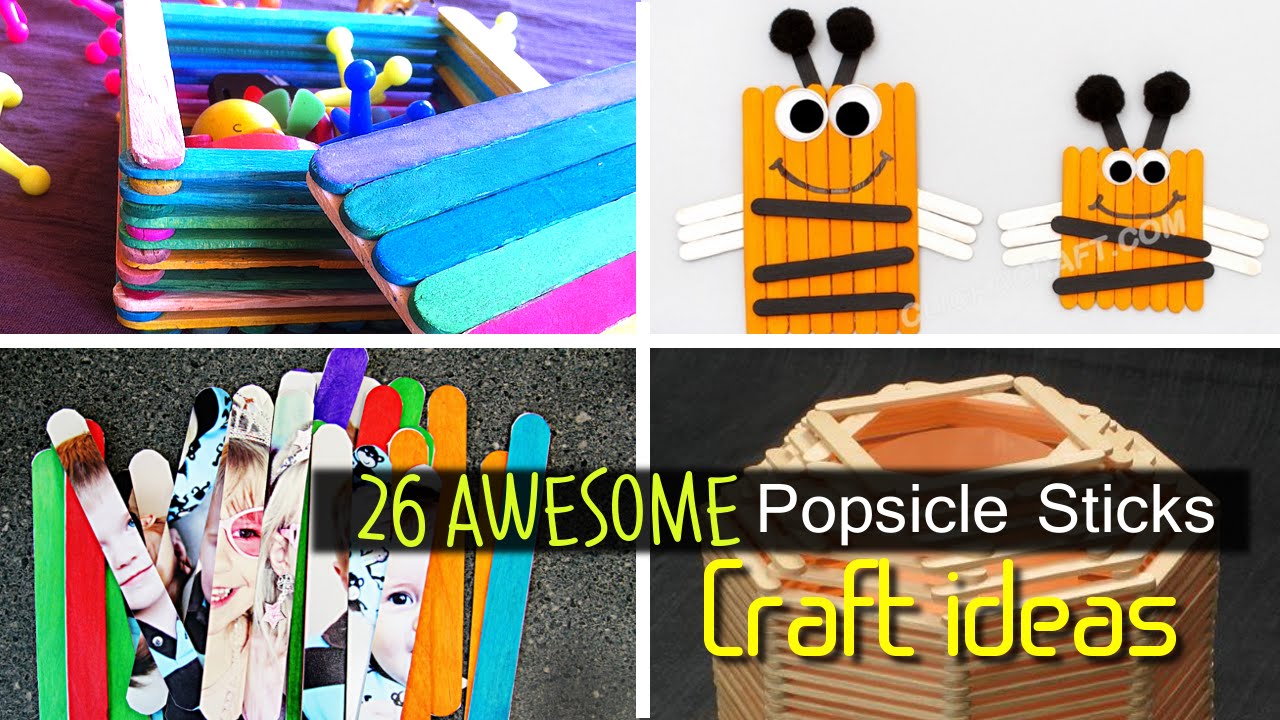
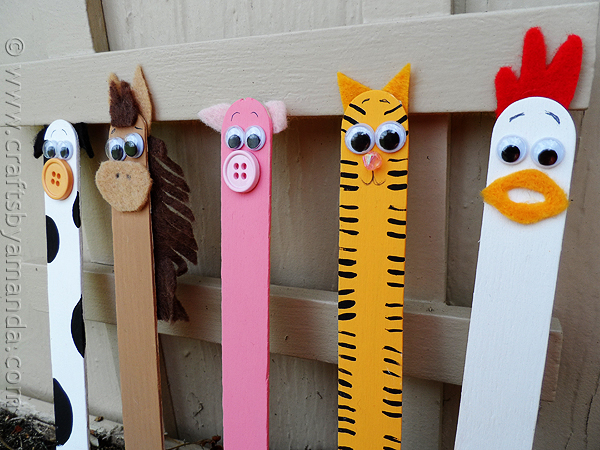
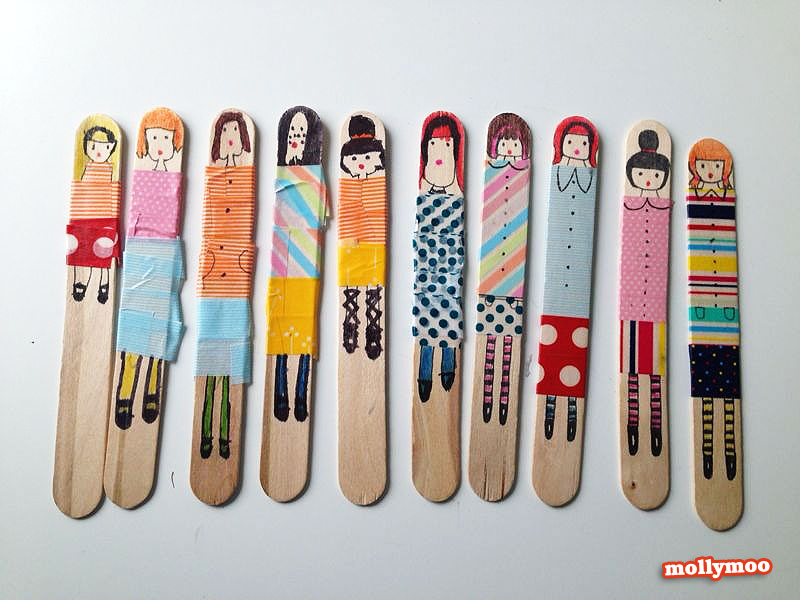
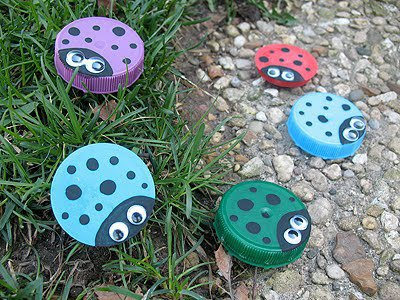
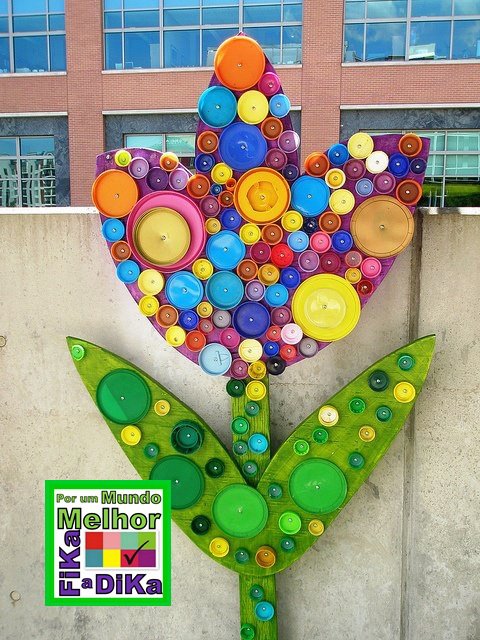
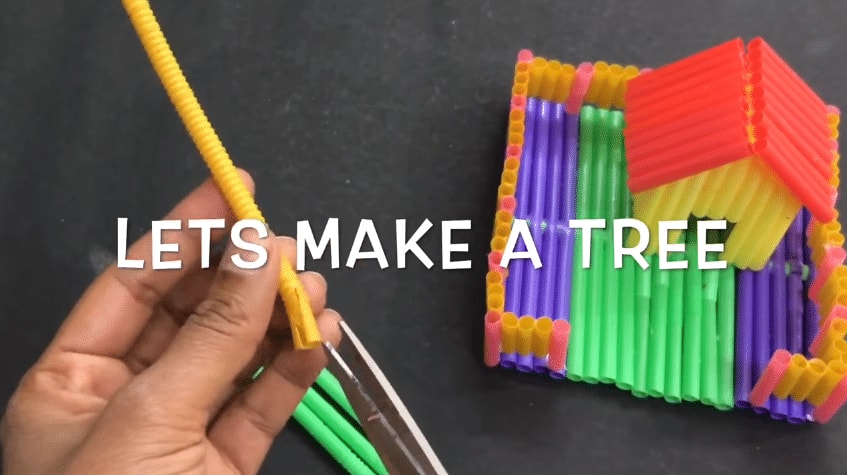
From sticks of ice cream, you can do a lot of interesting things.

courtesy: podelki-doma


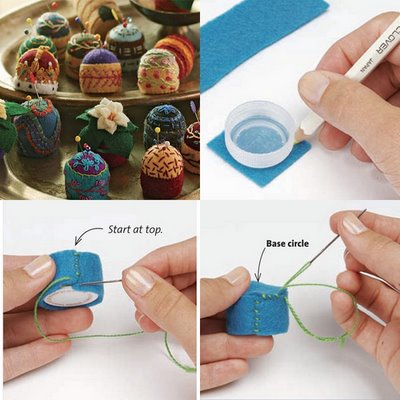


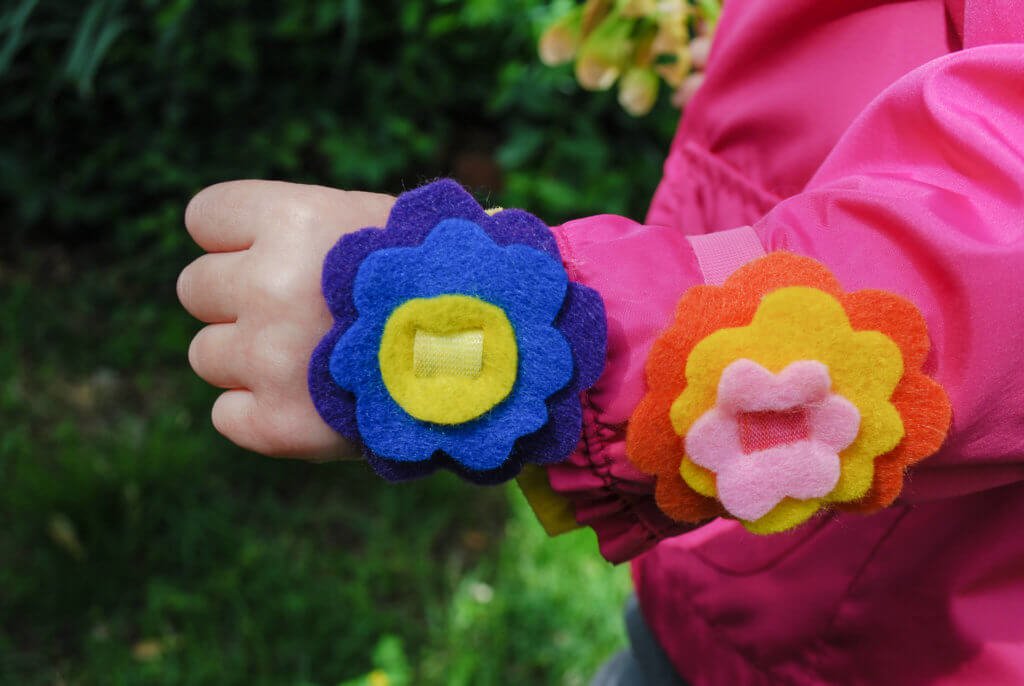
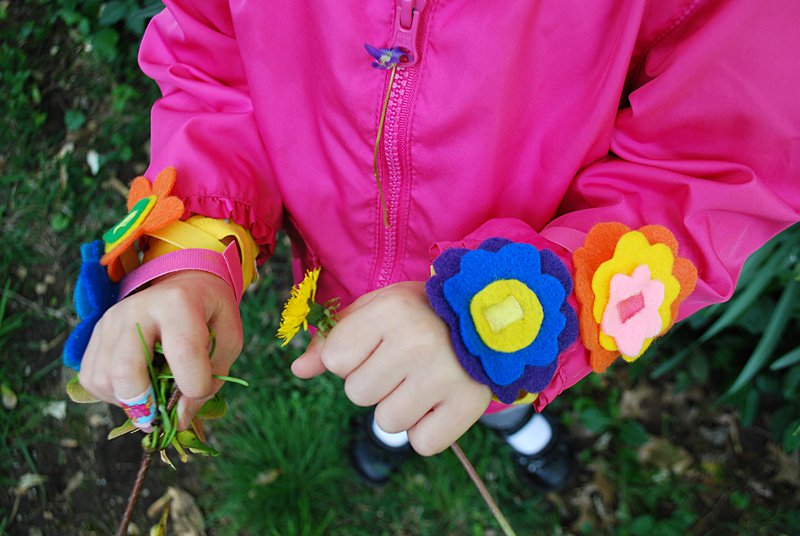 I love how cheery these no-sew felt flower bracelets look. And it’s nice to be able to make a cute project without having to drag out my sewing machine.
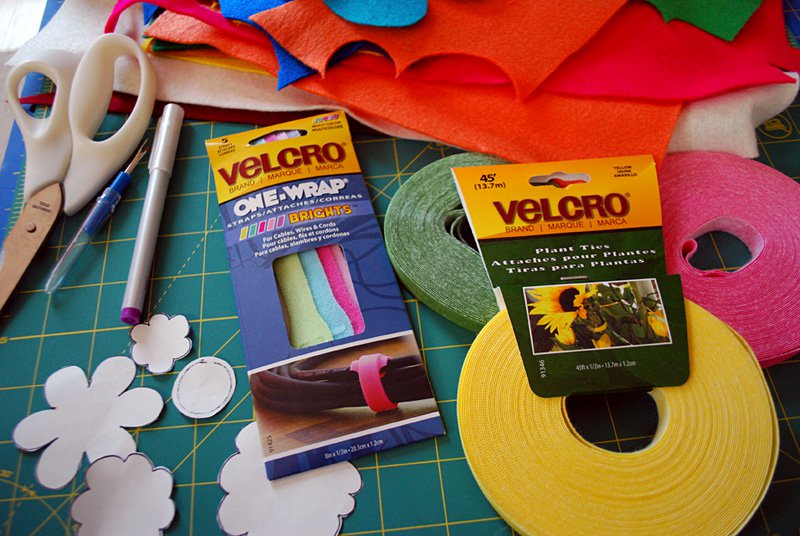
 The trick is VELCRO® Brand Plant Ties. So what are plant ties you ask? It’s basically a roll of colored thin VELCRO® Brand fasteners (I have these in yellow, pink, green and red and they also come in blue and black) that sticks to itself. Yep, IT STICKS TO ITSELF! So cool. You’re supposed to use to tie up your plants in the garden which I did last year to help my peas hang onto their trellis.
 I liked the
 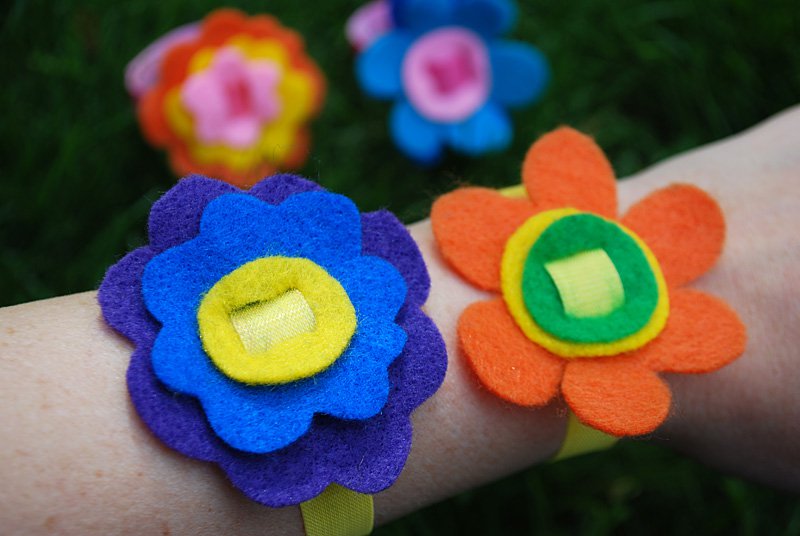 You could also make this project using VELCRO® One-Wrap Straps OR VELCRO® Get A Grip Straps in Multi-Colored, which are basically the same stick-to-itself concept that are used to keep cords and wires looking neater. Either way it’s a kid-friendly, no-sew craft to brighten your spring and summer days exploring outside.
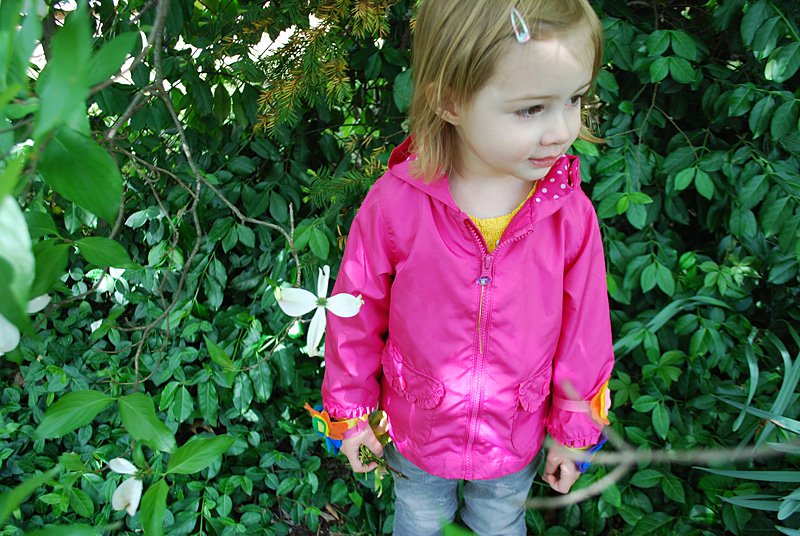
![How to make Easy DIY felt flower bracelets free no-sew pattern. Cute spring and summer craft activity to do with kids! [spring craft ideas| summer craft ideas | kids craft ideas | Easter craft for kids | no-sew crafts | felt crafts | DIY jewelry]](http://www.merrimentdesign.com/images/easy-diy-no-sew-felt-flower-bracelets-free-pattern-2-1024x686.jpg "How to make Easy DIY felt flower bracelets free no-sew pattern. Cute spring and summer craft activity to do with kids! [spring craft ideas| summer craft ideas | kids craft ideas | Easter craft for kids | no-sew crafts | felt crafts | DIY jewelry]")


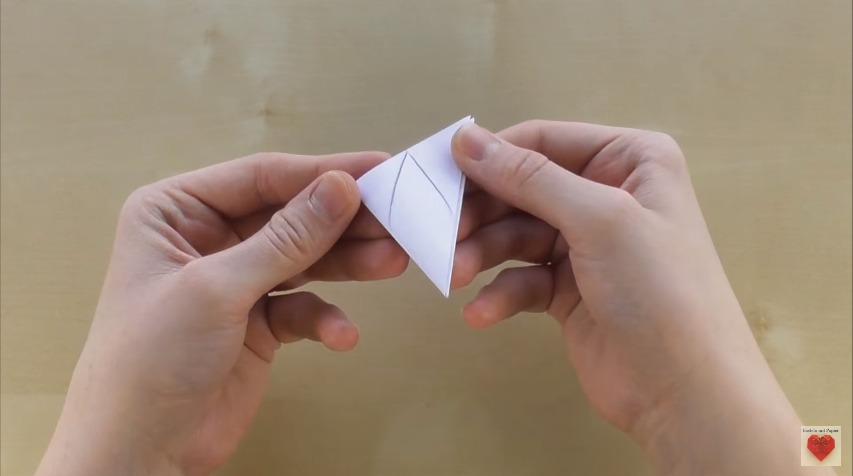
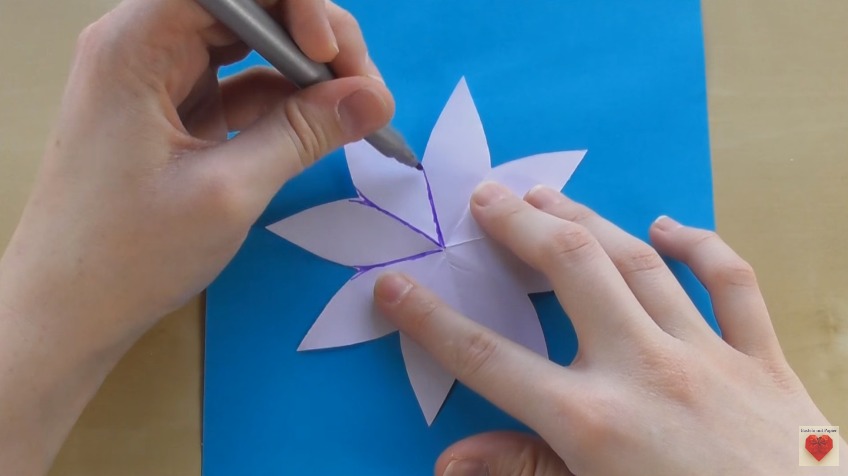
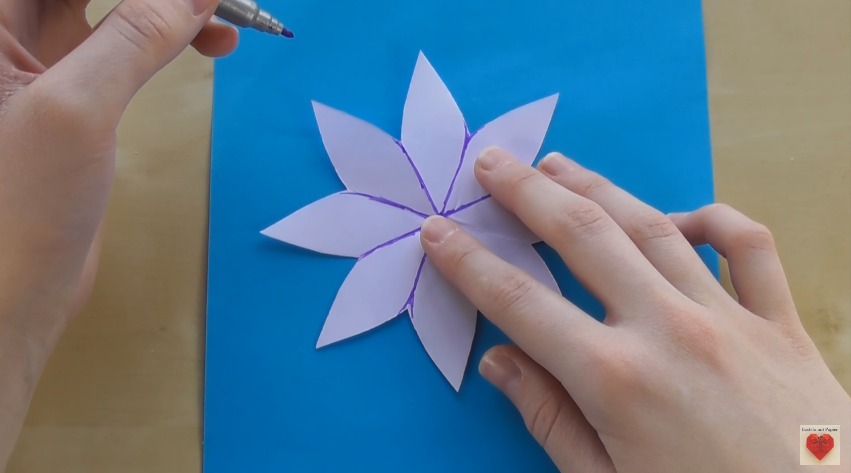
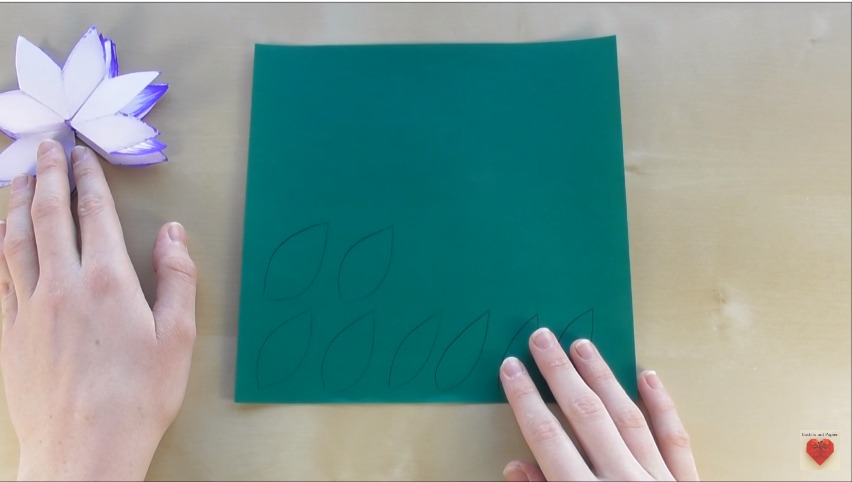
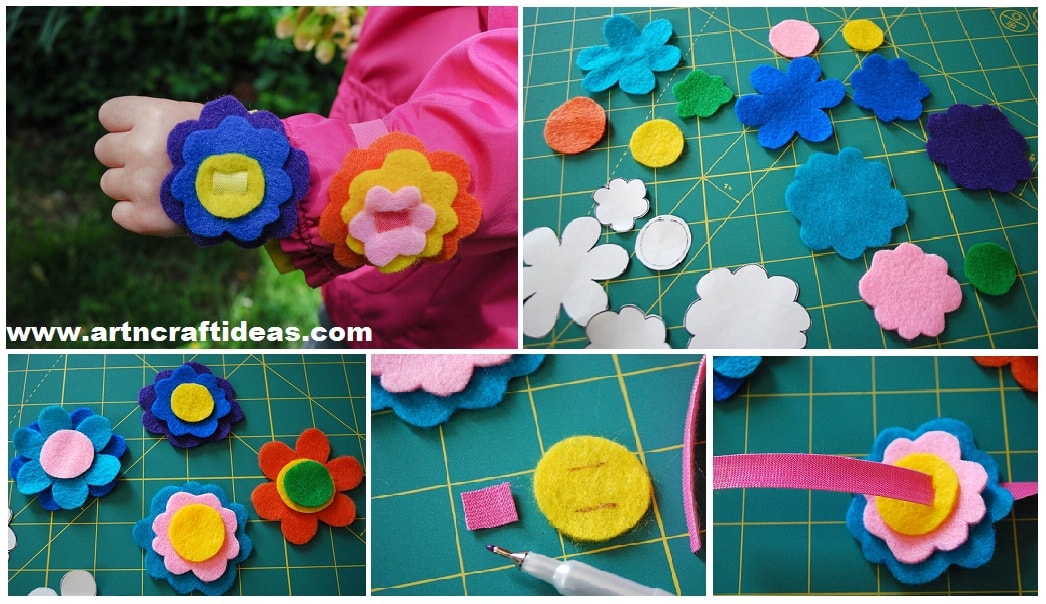
 Cut out flowers pieces in assorted felt colors. You can trace the pattern using disappearing ink pen onto the lighter colors, and for darker colors, just hold the pattern tightly to the felt and cut. No need to be perfect. You can even free-hand some pieces without using a pattern at all.
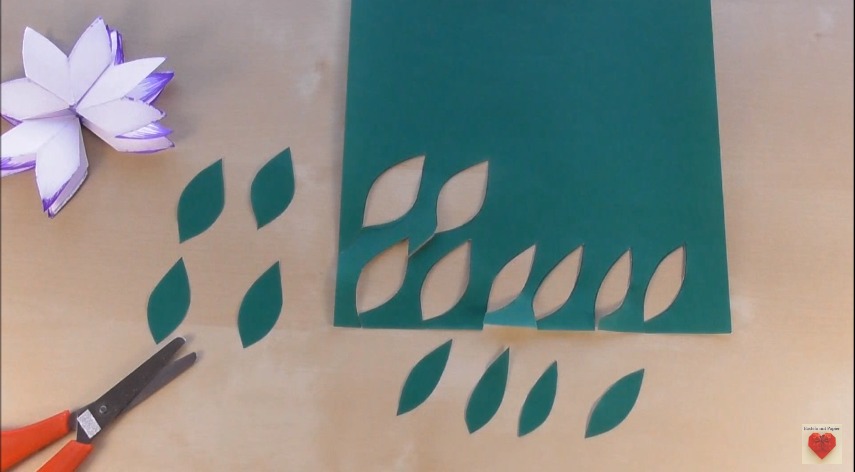
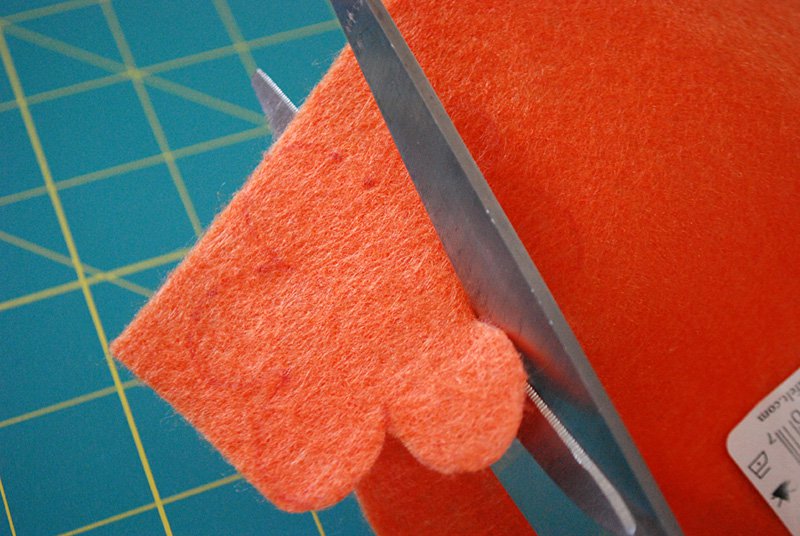 See all the cute felt flower pieces for the bracelets?
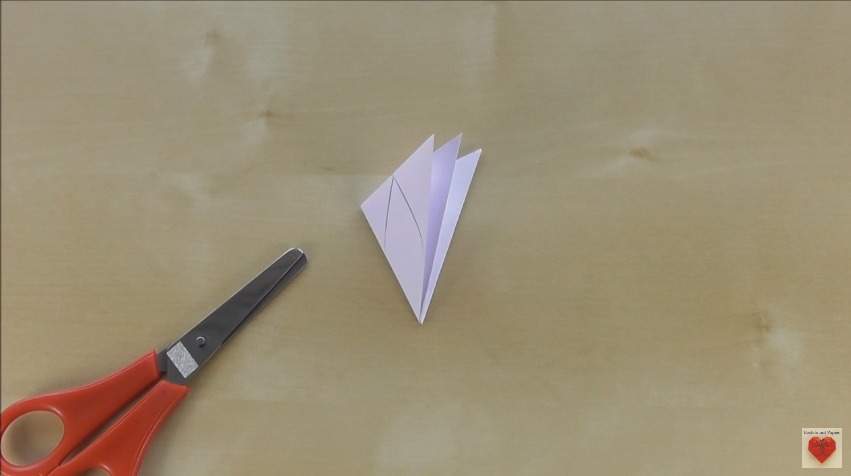
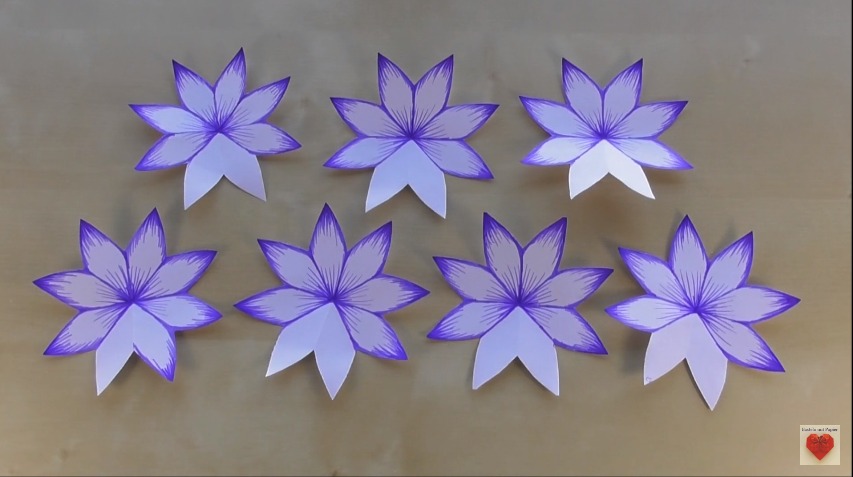
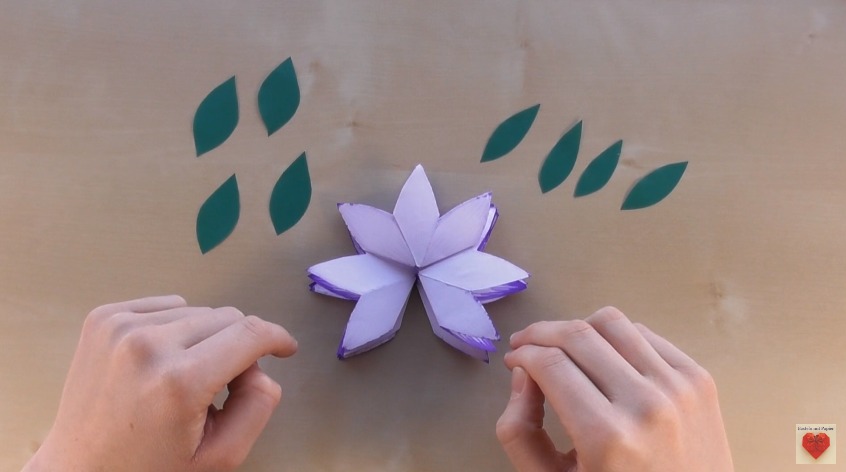
 Now just layer them up. Cut more as needed and play around to make the cute flower stacks for the bracelets.
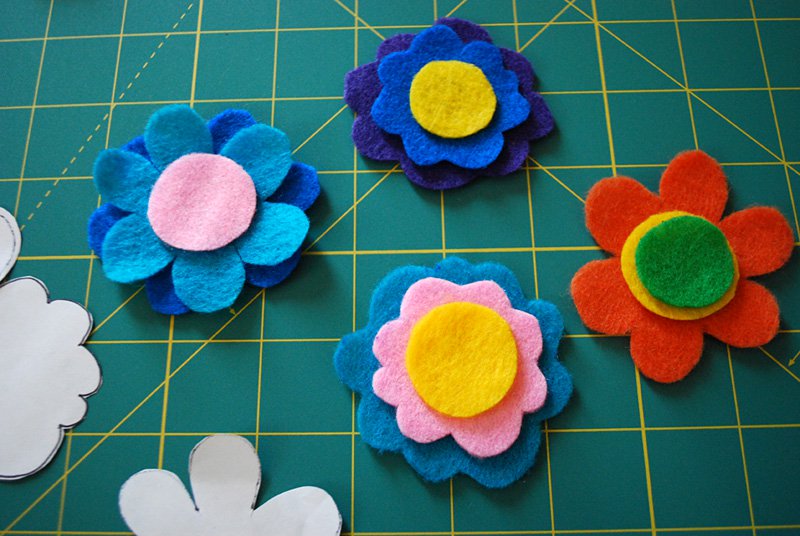 Cut a piece 3/8″ piece of VELCRO Plant Tie as a pattern for cutting slits in the felt flower pieces. Center it on your flower piece.
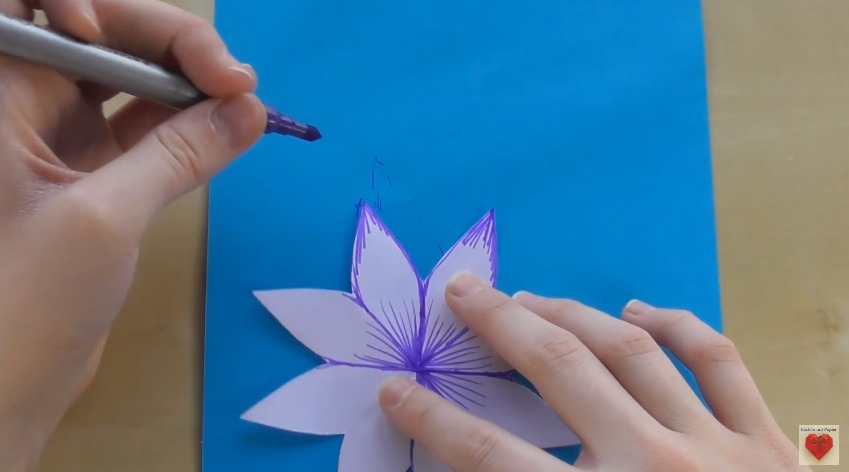
 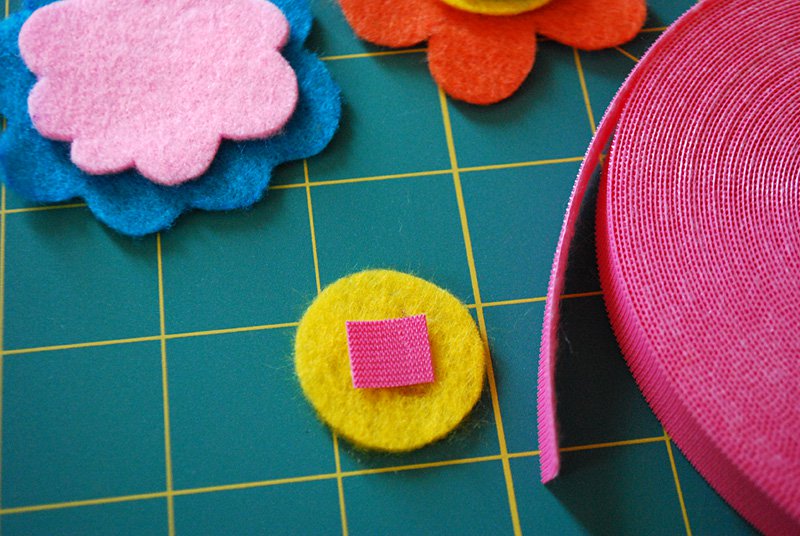 Mark slits above and below the pattern using a disappearing ink pen.
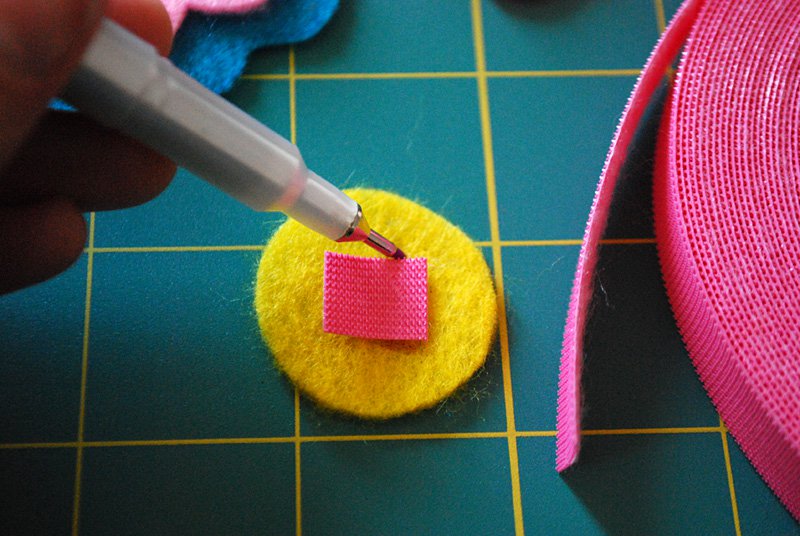 Now it’s time to cut the bracelet slits. First I tried using fabric scissors and I overshot big time – they’re just too big for me to handle on such a small cut.
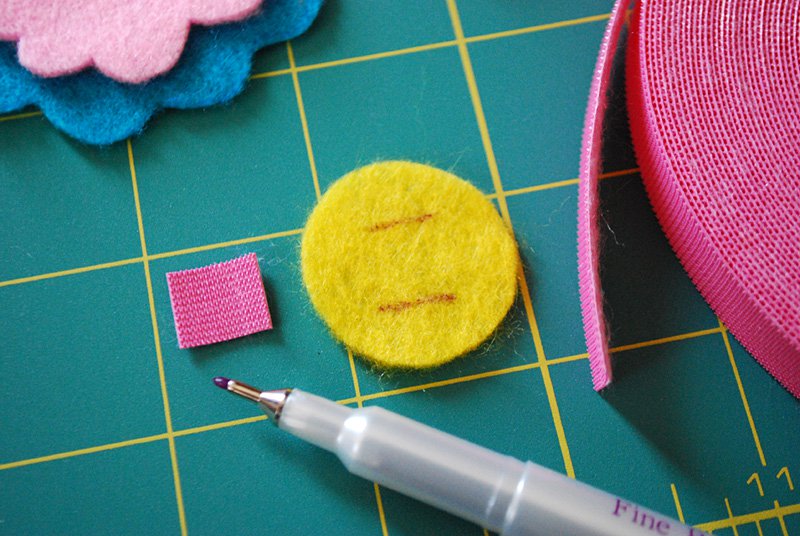 So then I used a seam ripper to get the bracelet slit started on each ends and followed up with tiny embroidery scissors to cut through the middle and it worked really well.
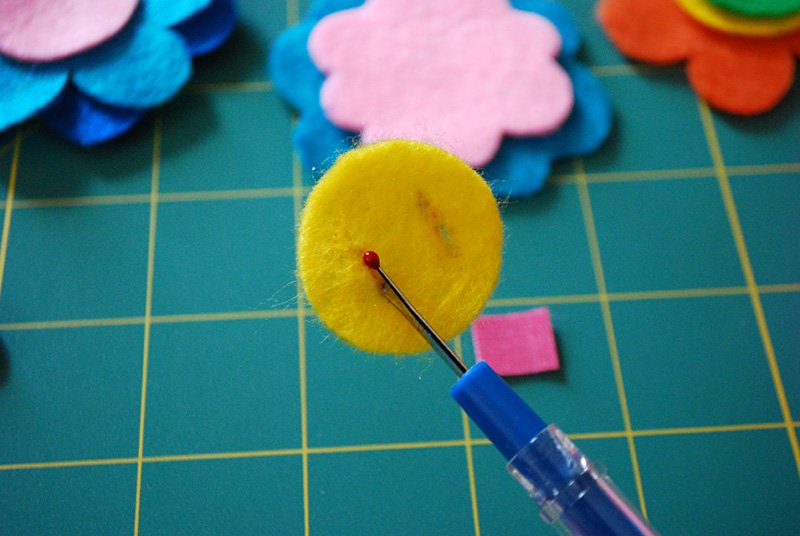 Repeat on your other flower pieces.
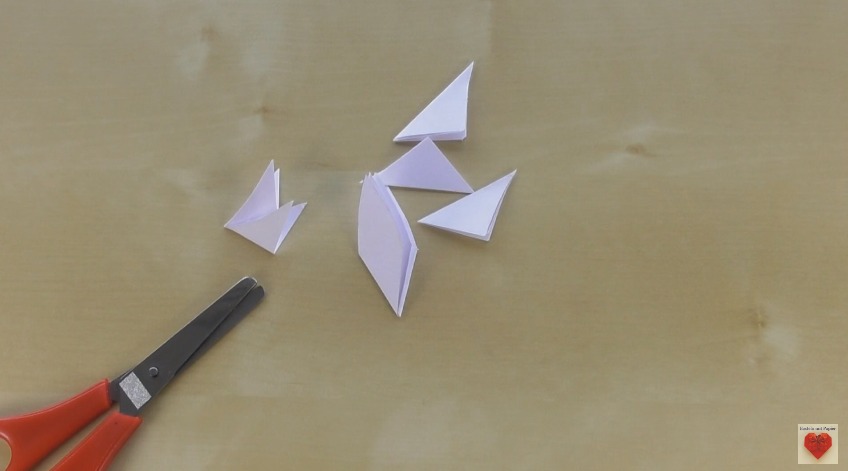
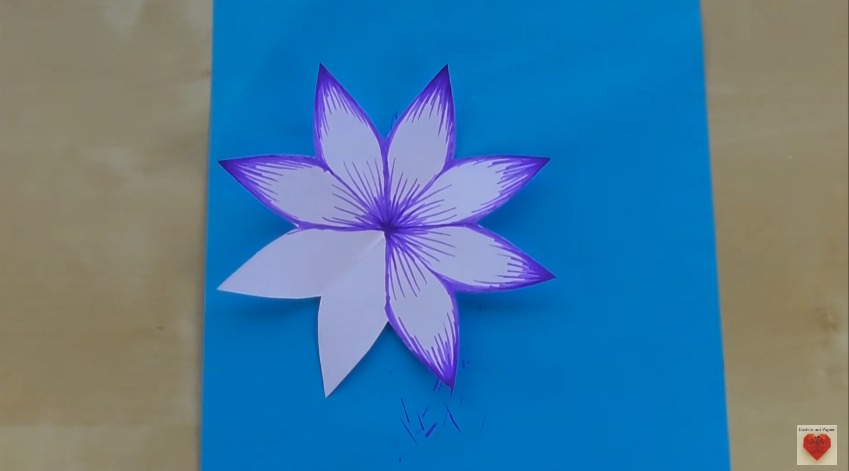
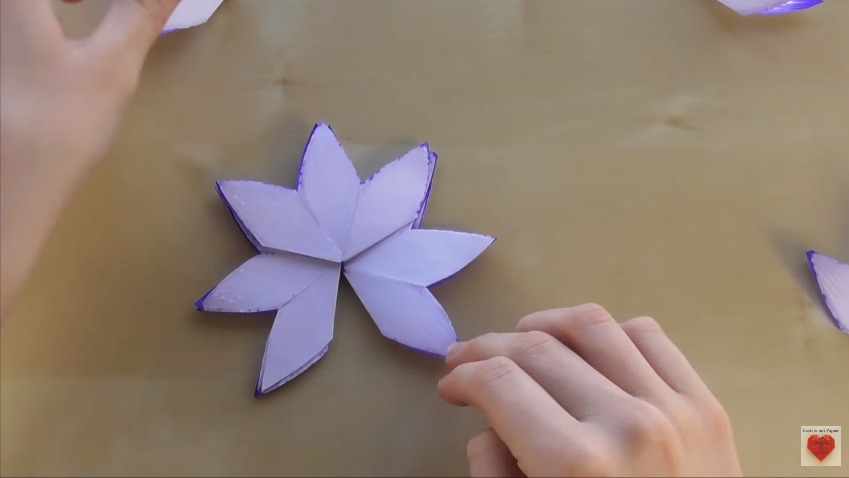
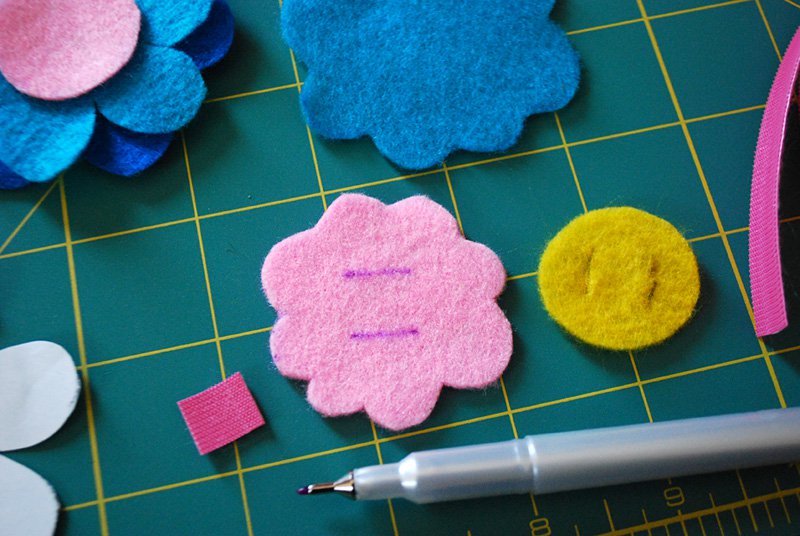 And here are three pieces ready to become a flower.
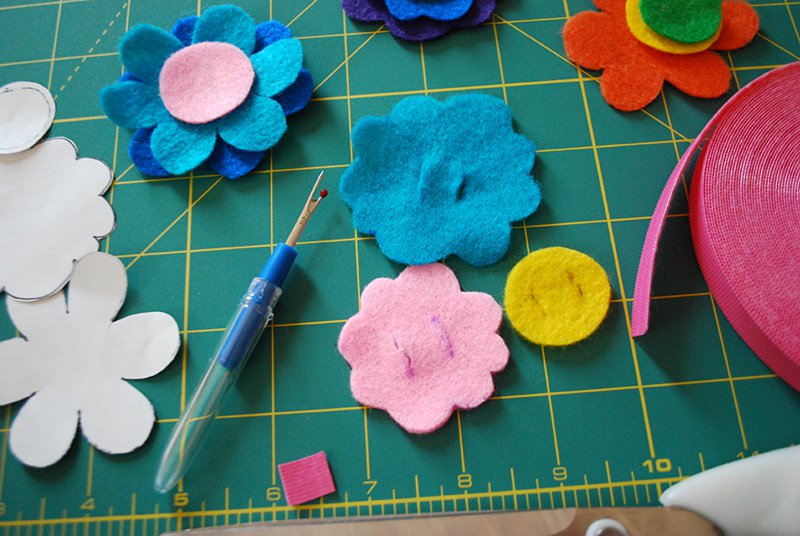 Measure your wrist and add about 1.5″-2″ to it for threading through the flower and overlap to close on your wrist. This batch of flower bracelets were for my 2-year-old Elise.
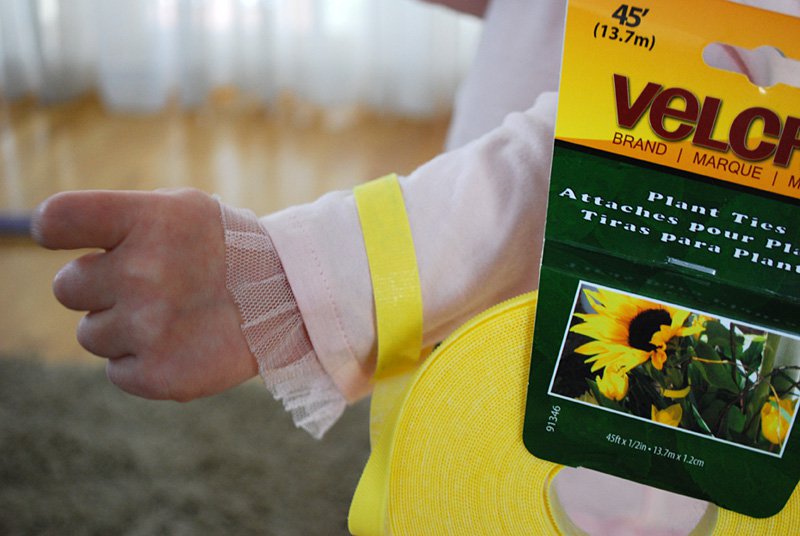 Cut a piece of VELCRO® plant tie to this length.
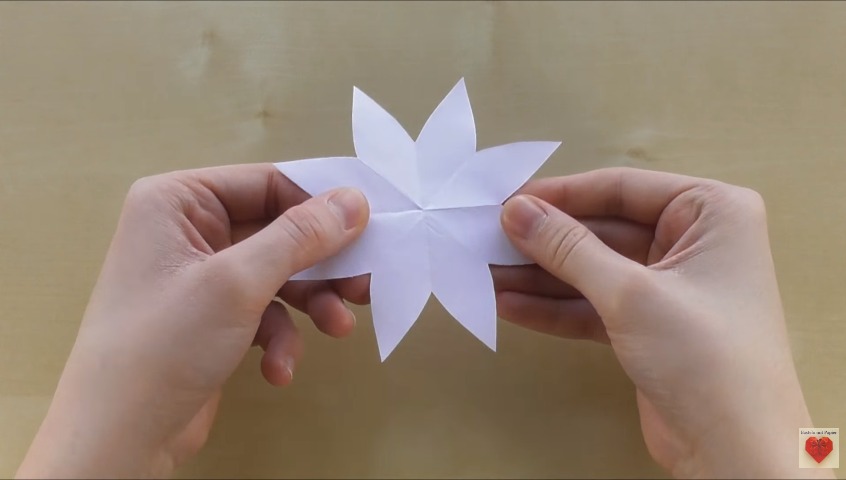
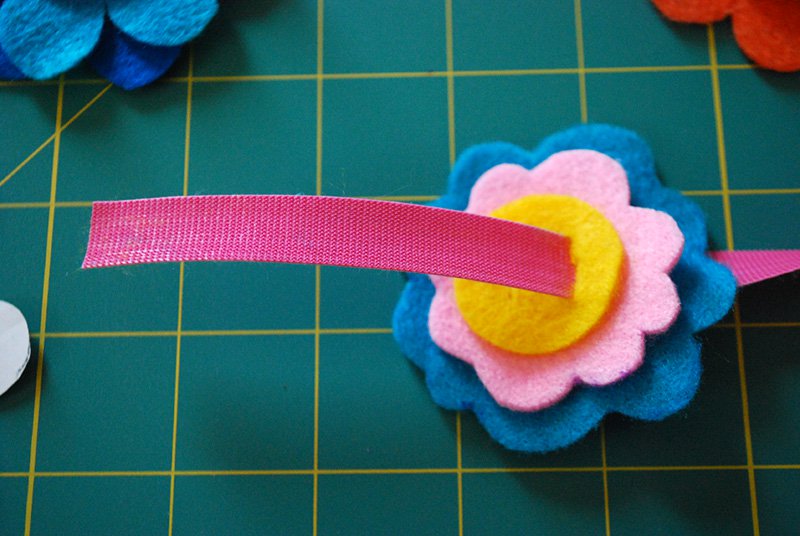 Now thread the end back through the other slit stack, which will make a cute little color in the middle of your flower. You can either try to match the color to your flower middle or choose a cute contrasting color. Now just wrap the felt flower bracelet around your wrist and overlap the VELCRO® Plant Tie to close. You can snip off any extra as needed.
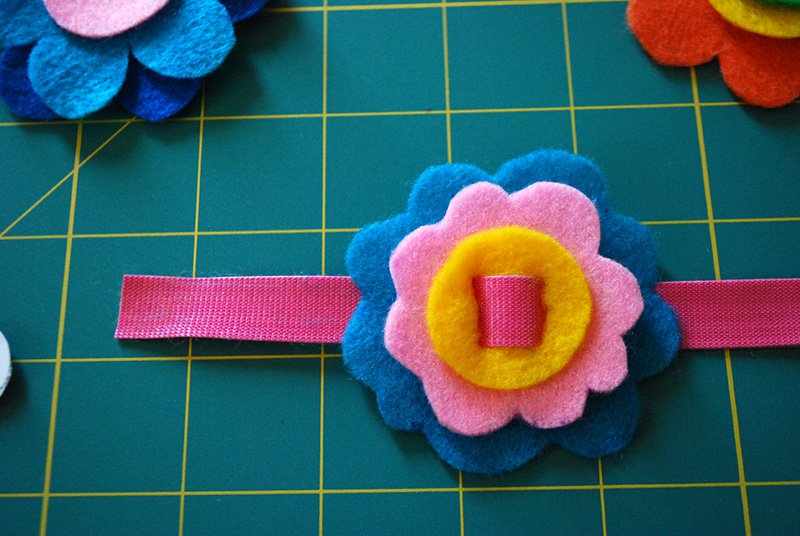
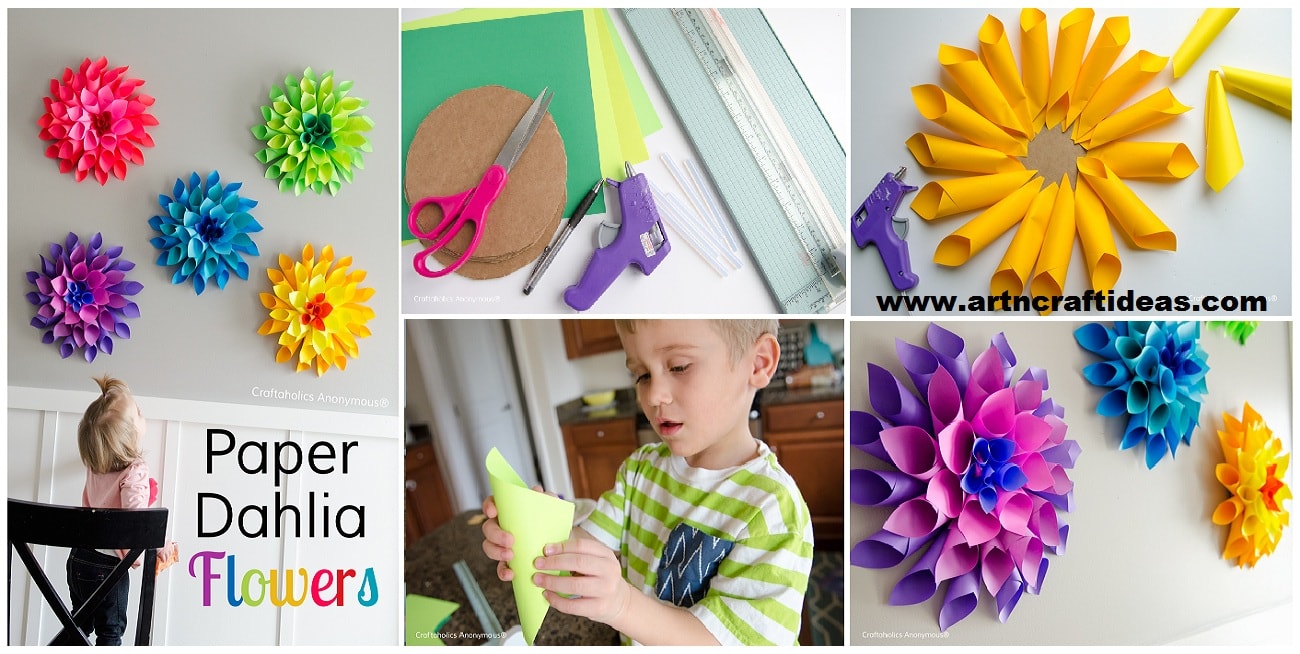


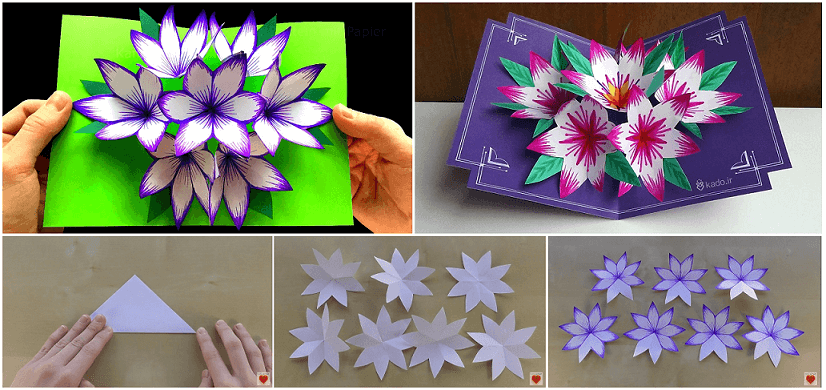
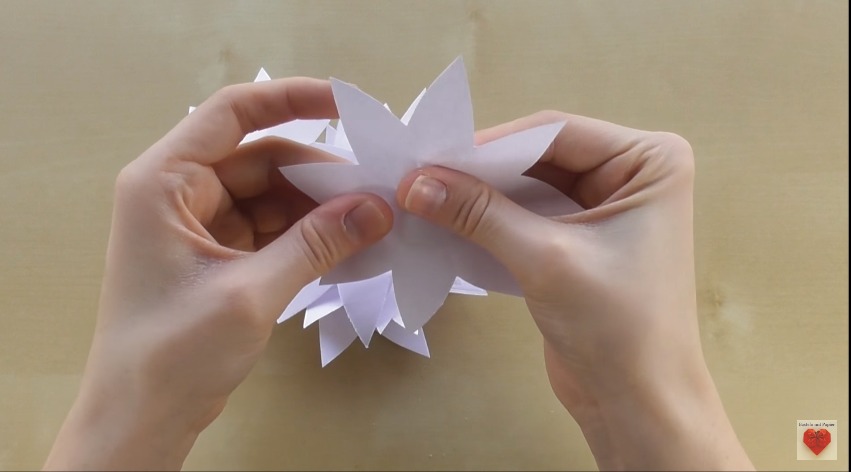
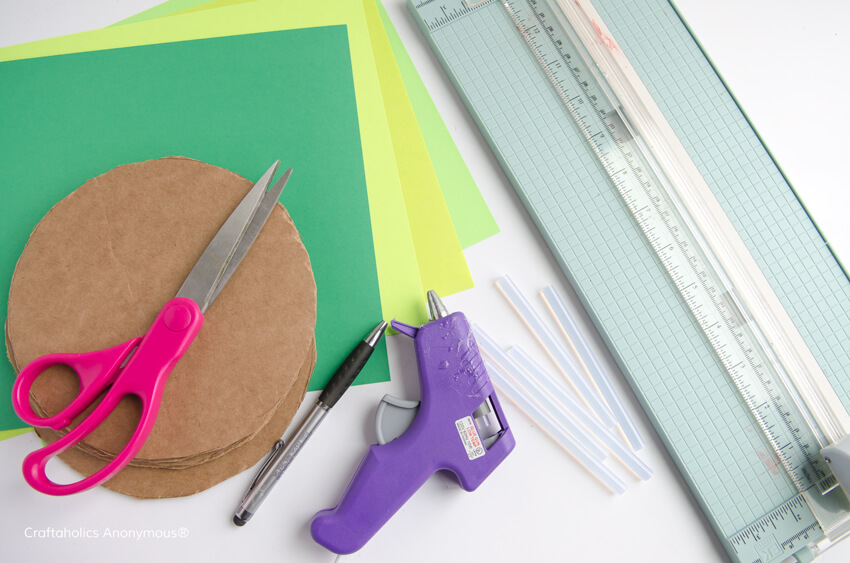 1. Cut a 6.5″ circle out of cardboard. I used a bowl and pen to trace a circle on the cardstock and then cut it out with scissors.
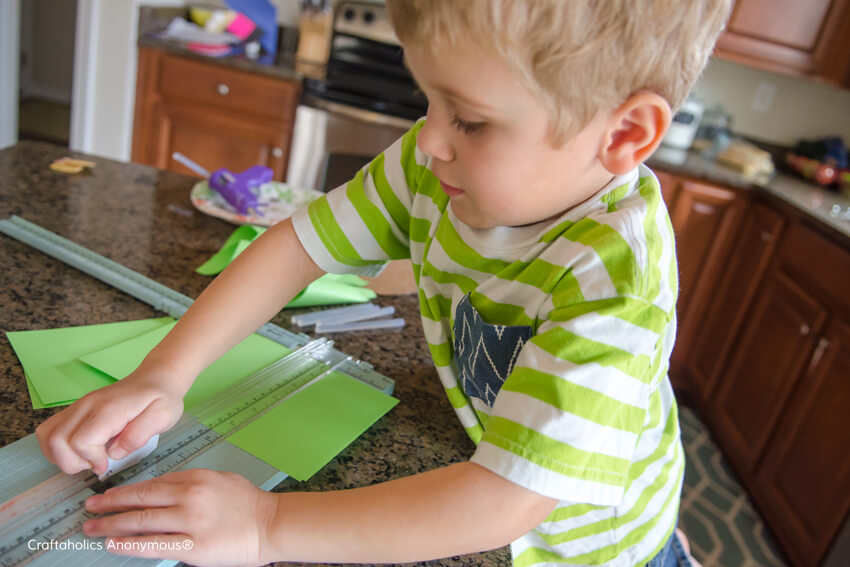 2. Use your paper trimmer to cut your colorful paper into rectangles. I cut all pieces of paper into 4.25″ x 5.5″, which is basically an 8.5×11 into fourths. My 4 year was great at helping me cut the papers. I would measure and then he loved to run the blade across to cut it.
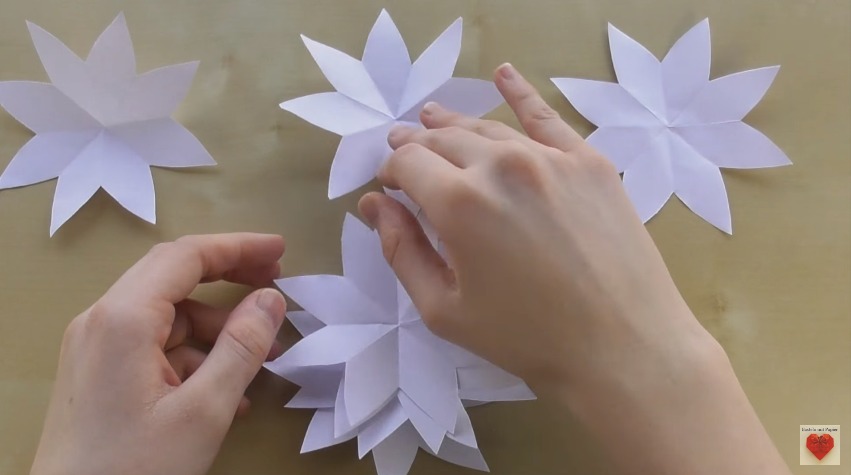
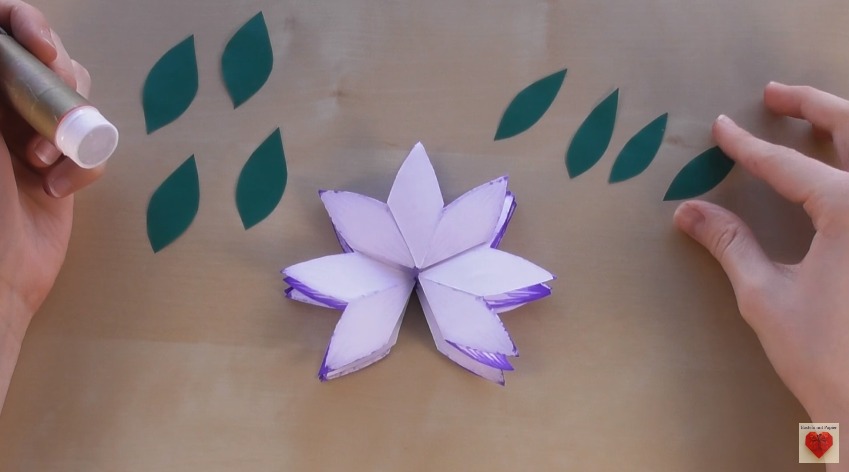
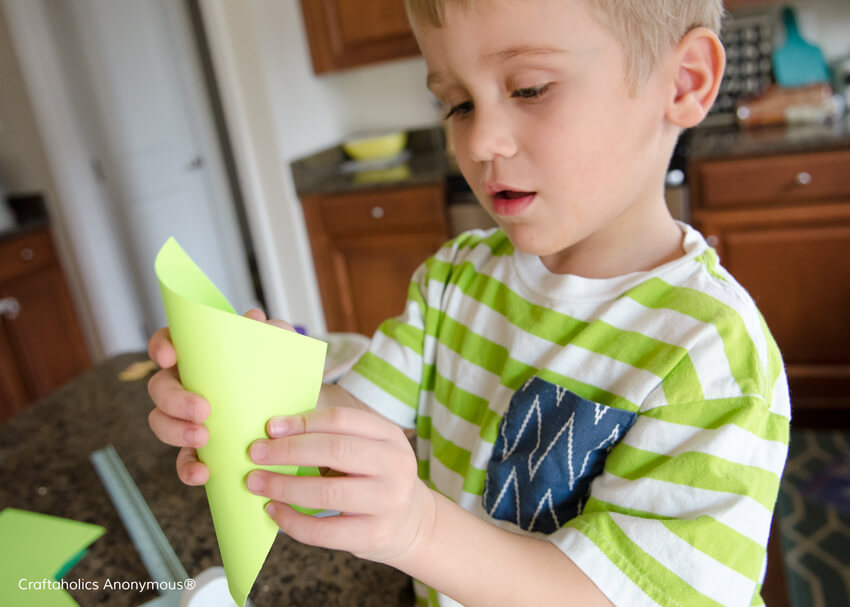 3. Then roll your pieces of paper into cone shape with a point in the center of one end and use a small dot of glue to hold in place. If you have kids helping you, I very highly recommend using a low temperature glue gun. Glue gun burns are not fun!
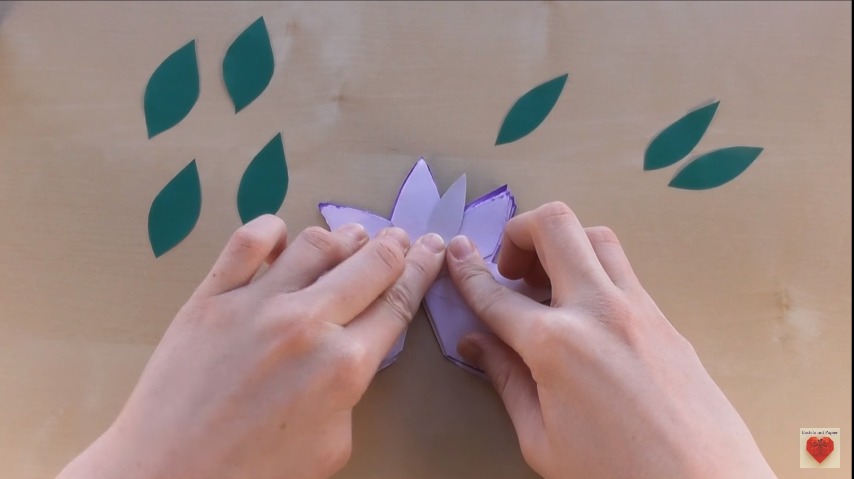
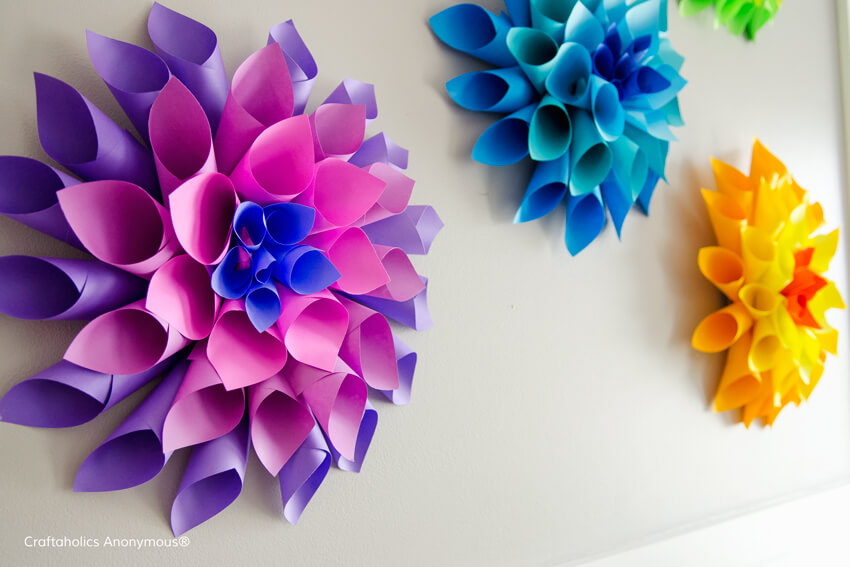
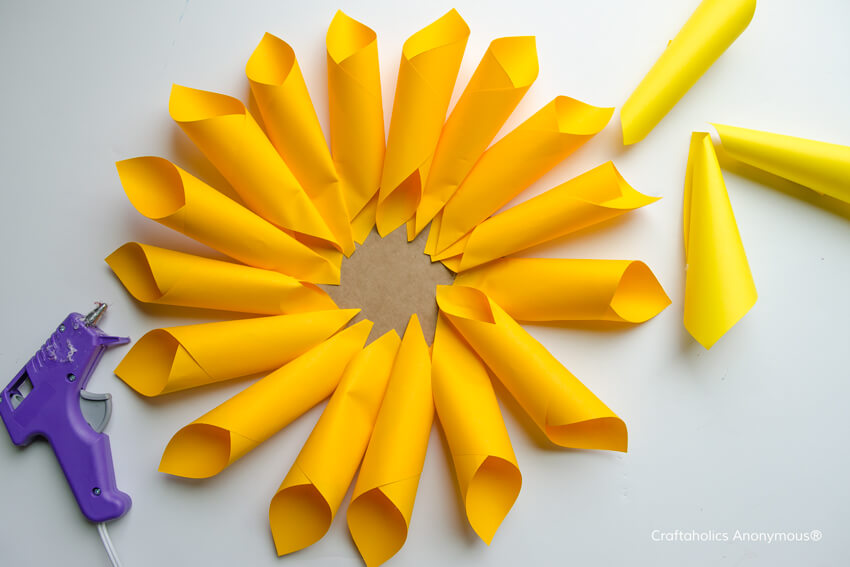 4. Then I started glueing the first layer of cones all the way around the edge of the cardboard circle. The next layer I glued the cones around a little inside of the outer layer, without cutting or trimming them. For the third layer, I trimmed off about 2-3″ off the cone before gluing them on. And then for the center, I cut off the tips of the cones and glued them into the center of the flower.
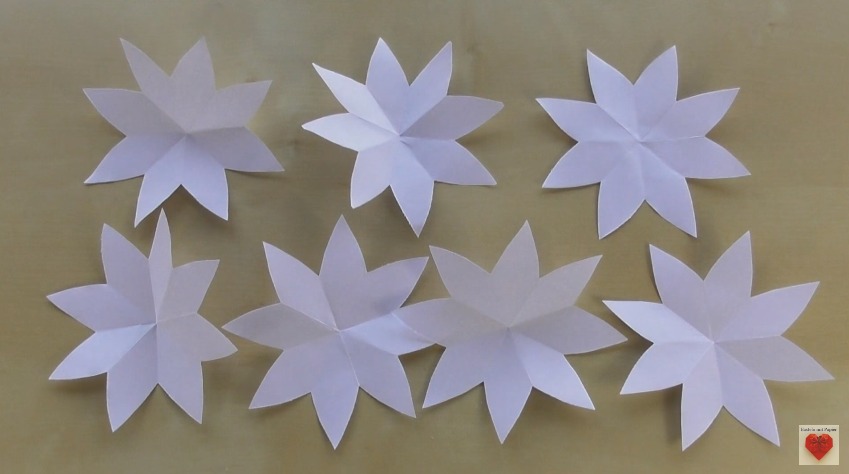
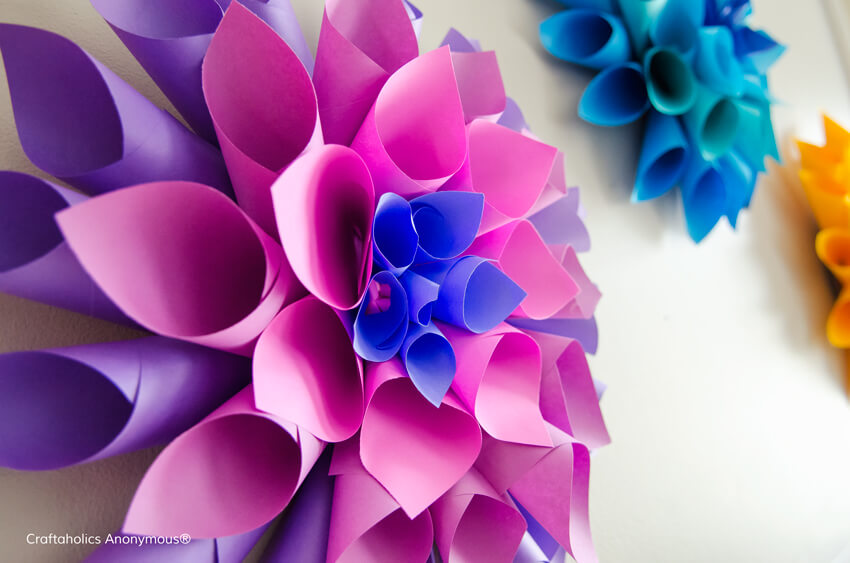 I love the texture and color these bright, happy paper Dahlia flowers offer as Easter Decor! My kids love looking at them