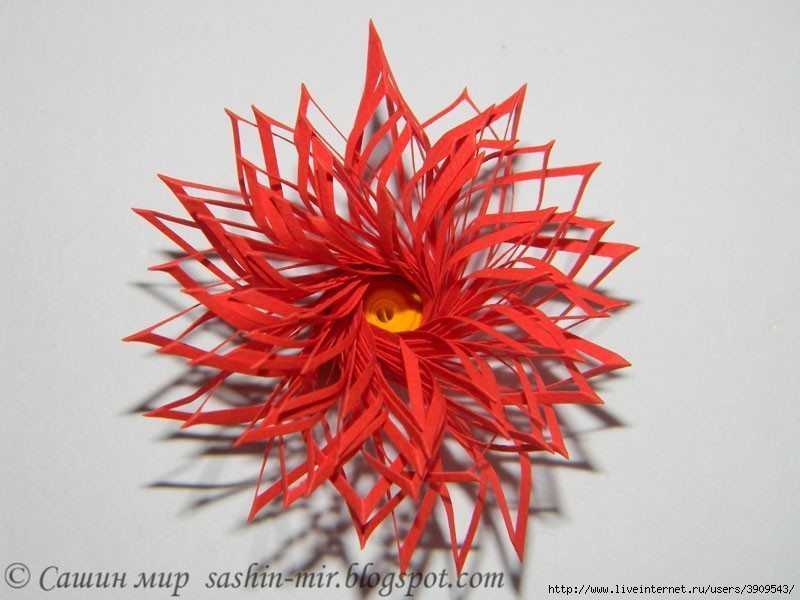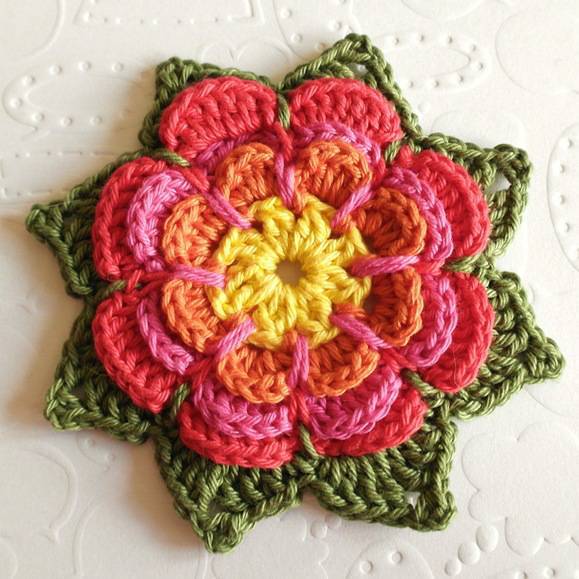

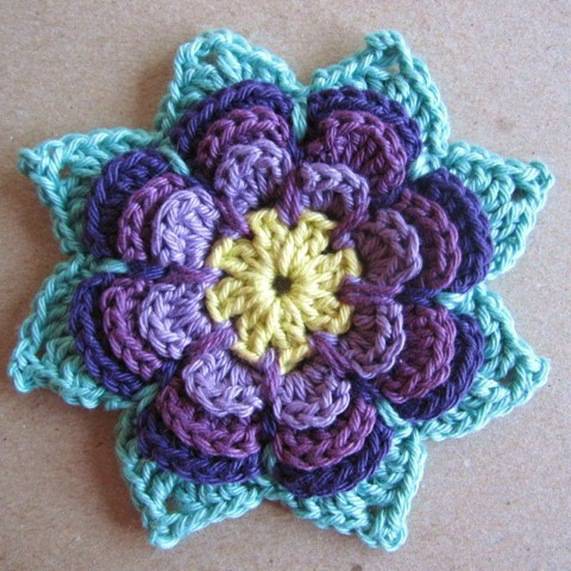
Beautiful Crochet Mesh Flower
Get Daily Art and Crafts Ideas & Tutorials…


 Required Materials:
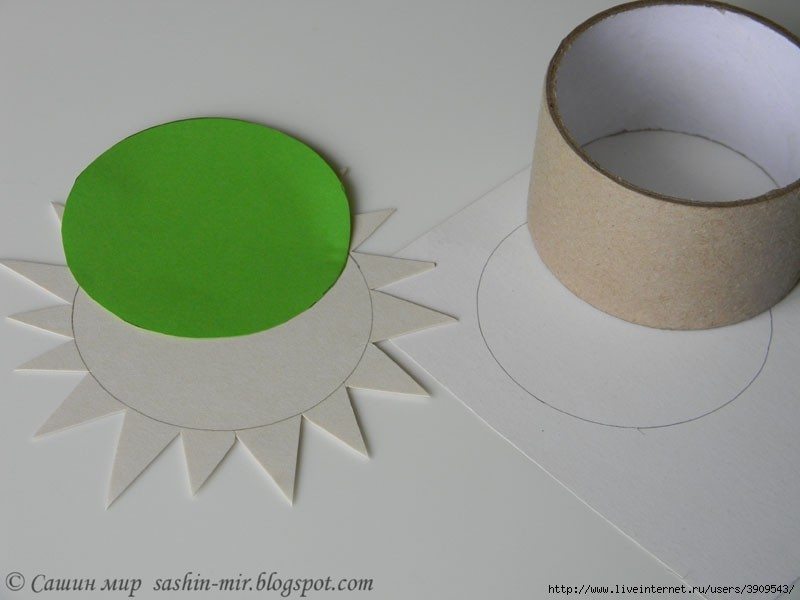
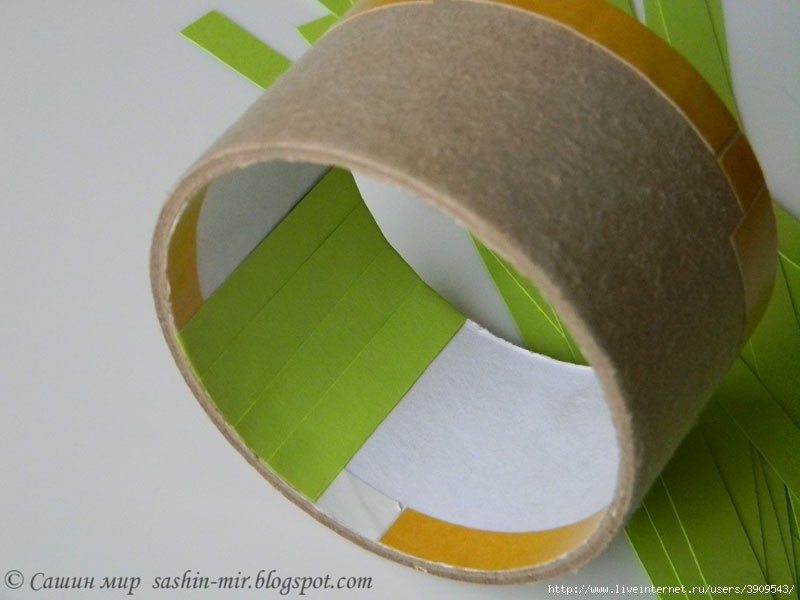
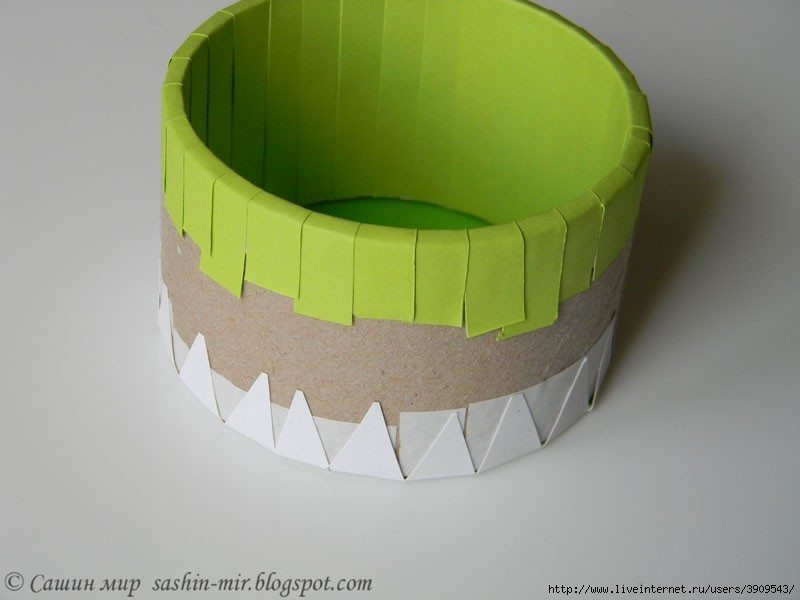
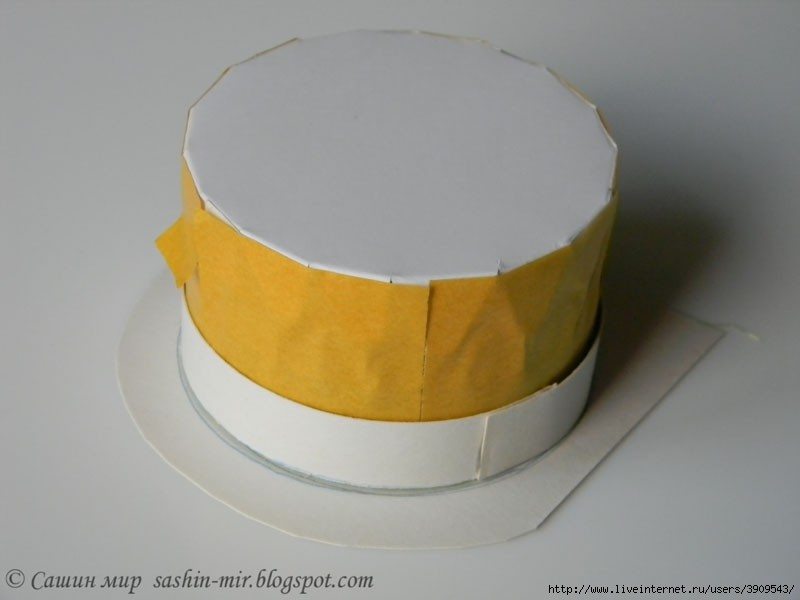
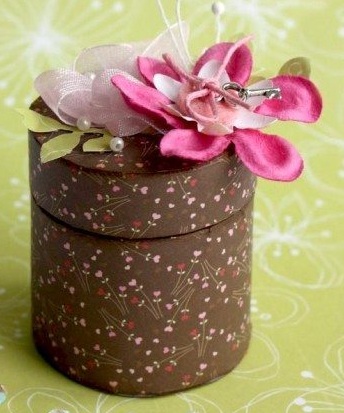
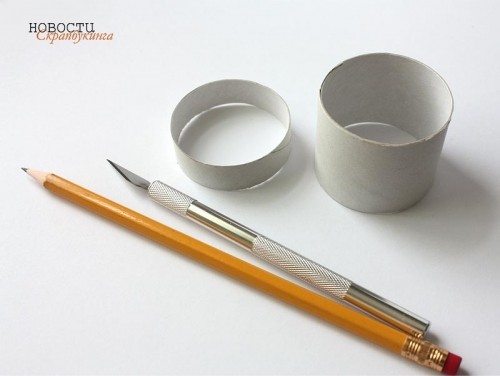
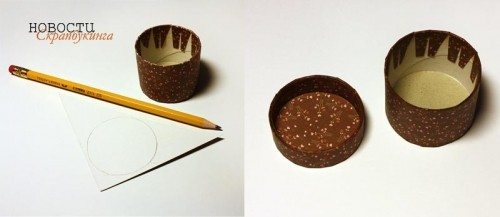
– cardboard tube of foil or paper towels
– cardboard
– scissors, pencil
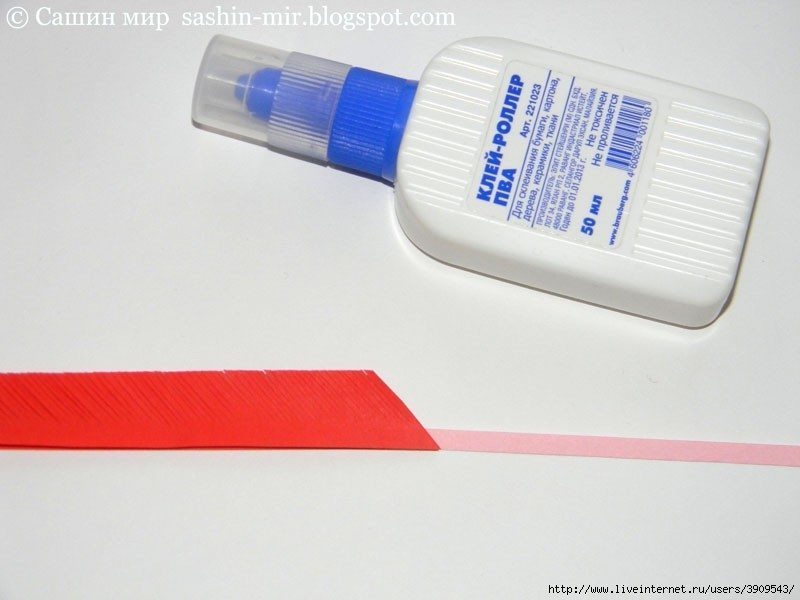
– glue or double sided tape
– Printed Papers


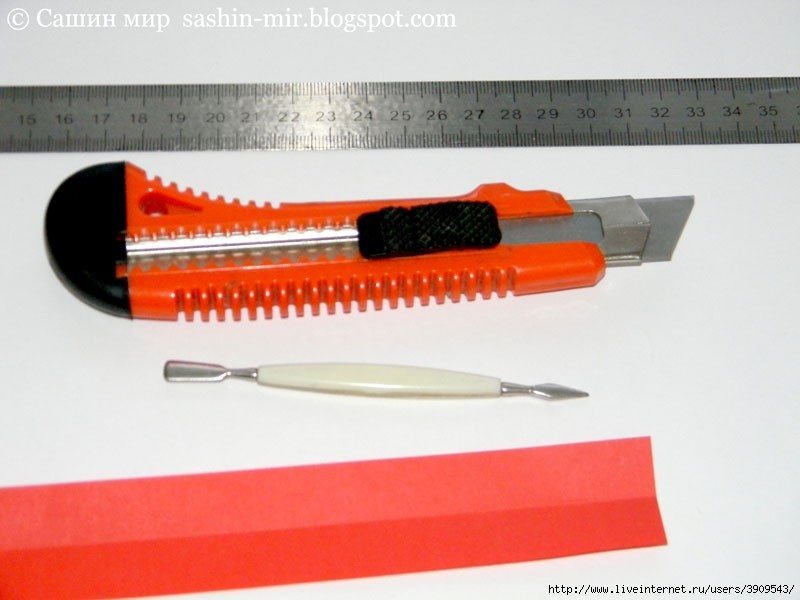
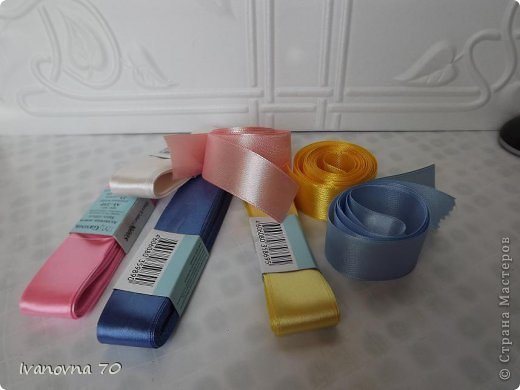
 For work, we need the traditional kanzashi set of materials and tools: tape, glue, candle, scissors, wire, tweezers.
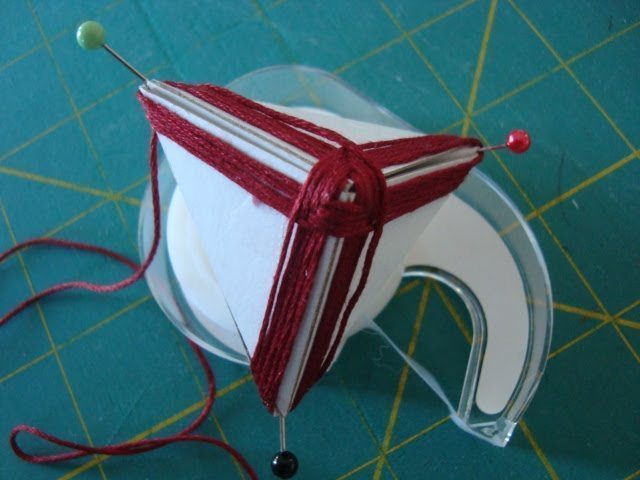
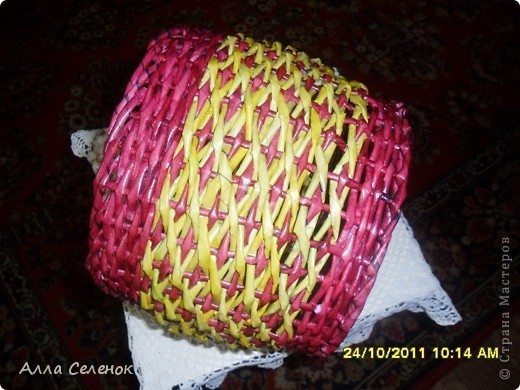
The picture just tape them today protagonists on our pink ball.
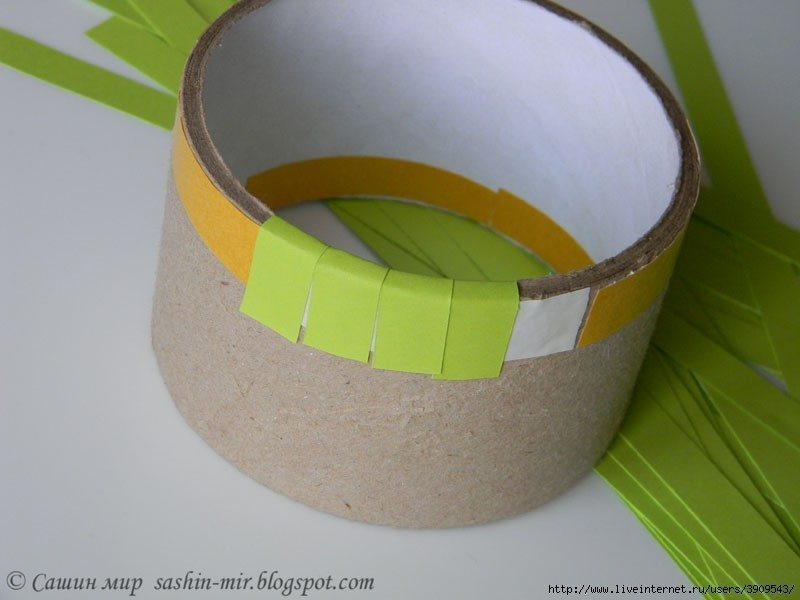
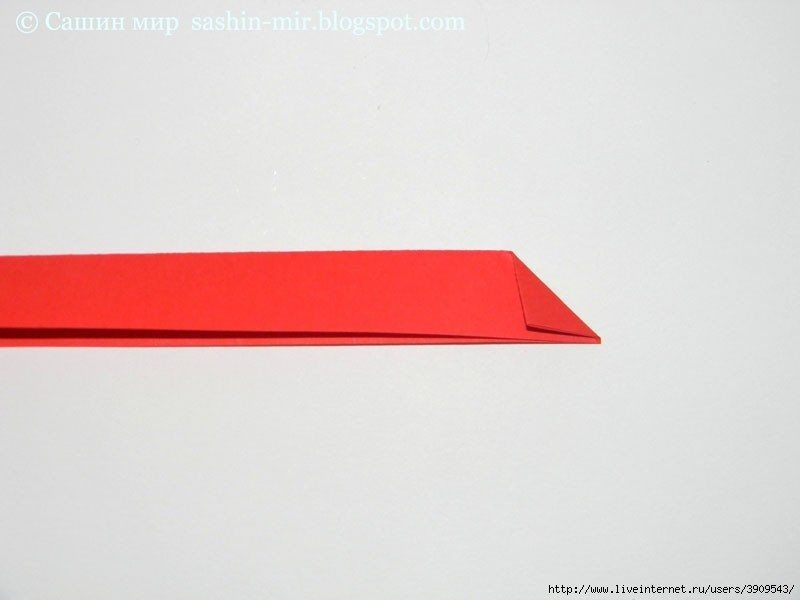
I have them 2.5 cm wide, and can be 5 cm .
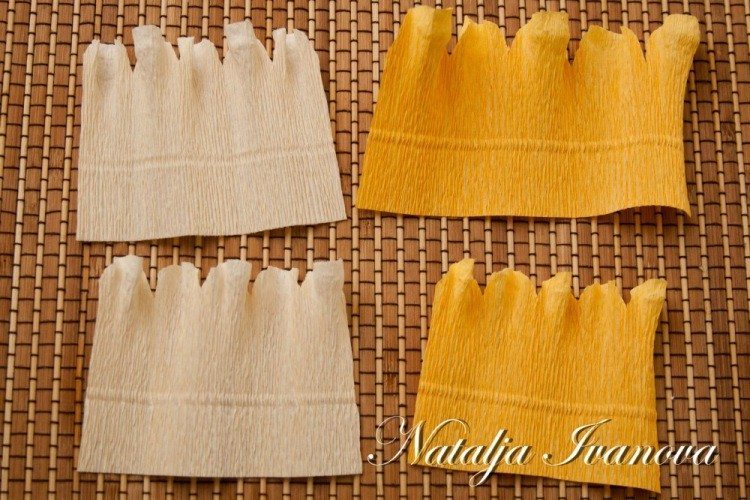
 The most time-consuming for me has always been cutting … yes … the pattern decided to do without shabolonov !!! Take several strips of different colors, I cut “by eye” of approximately 2 cm in one pile. To make it clear, at all stages of the photos spread out in rows.
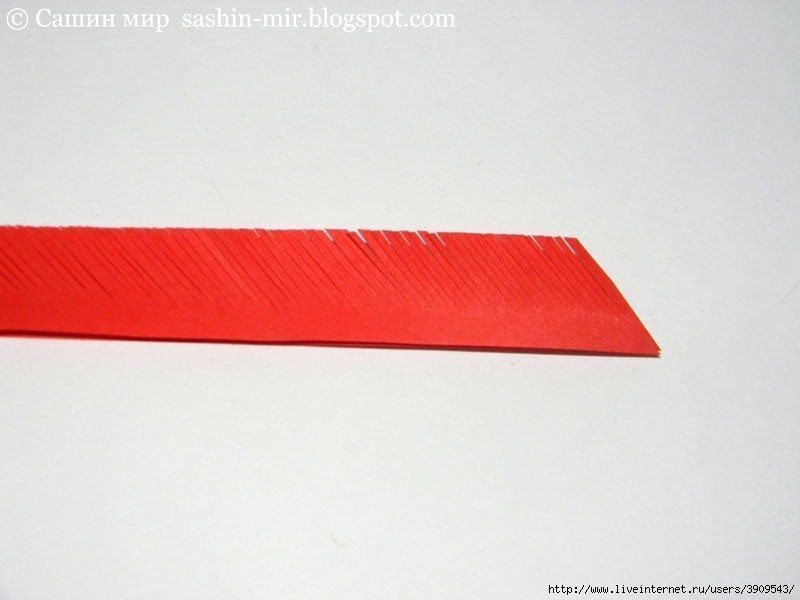
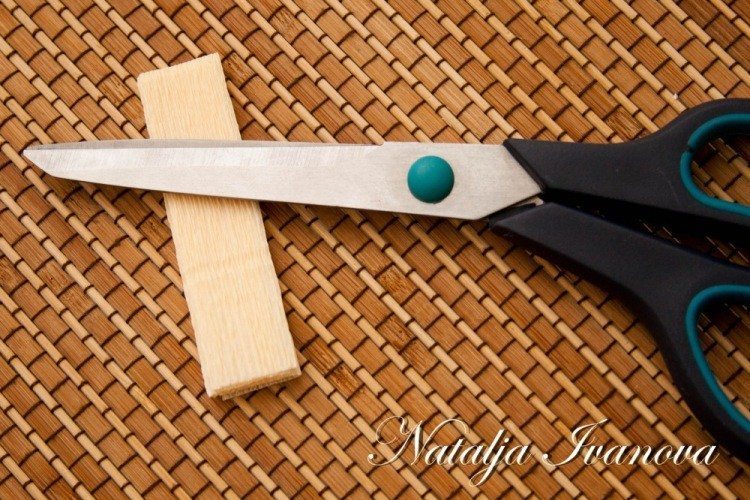
1ryad Cut several strips.
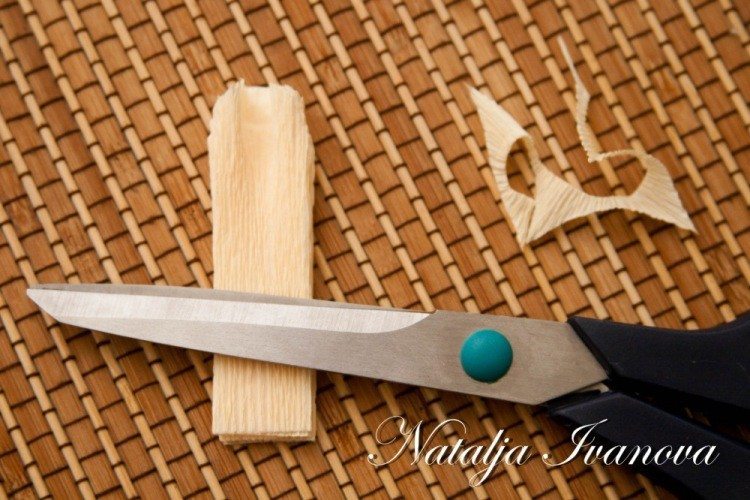
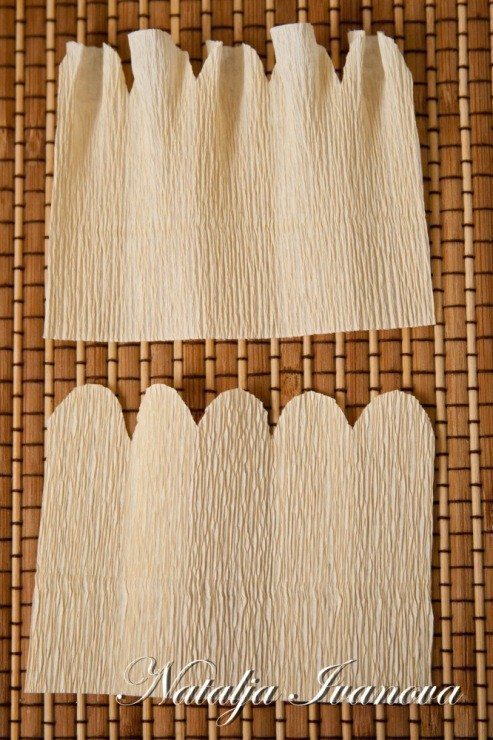
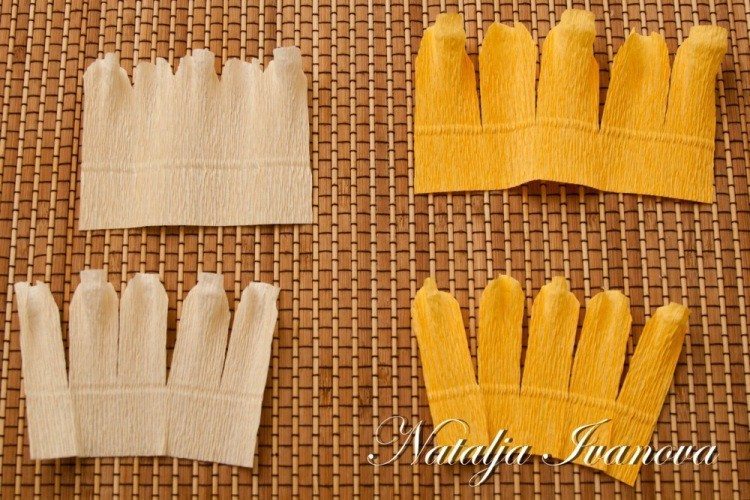
2ryad Slightly round out the two brackets (also pile at once). Note that the tape edge is always the side and top and bottom sections.
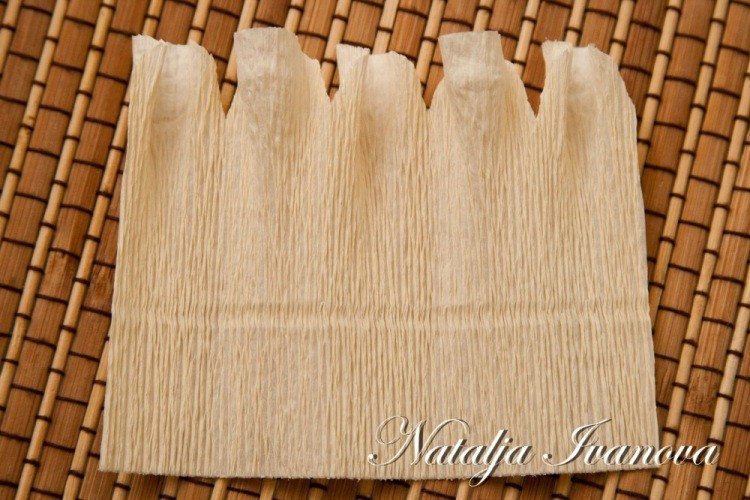
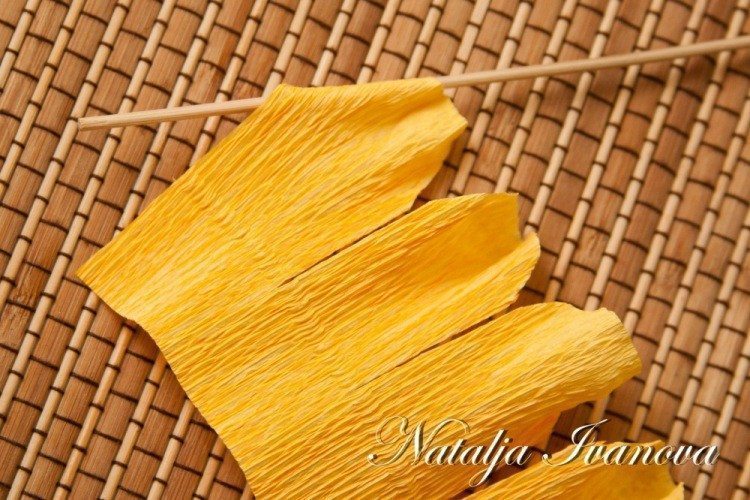
3 row melted over fire. Horoshenechko melted so that the petal slightly curled. Bottom nado.Vidno not melt the front side.
4 number of petals.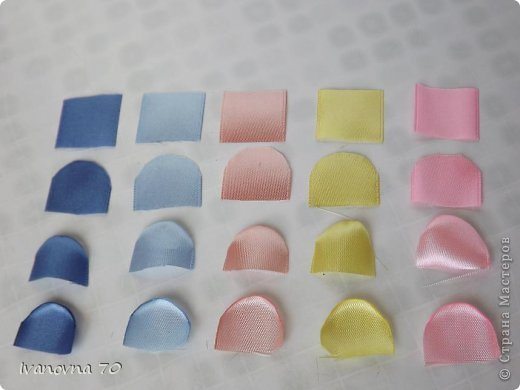 Do not be afraid number. It’s not scary and not long! Melted need only one side.
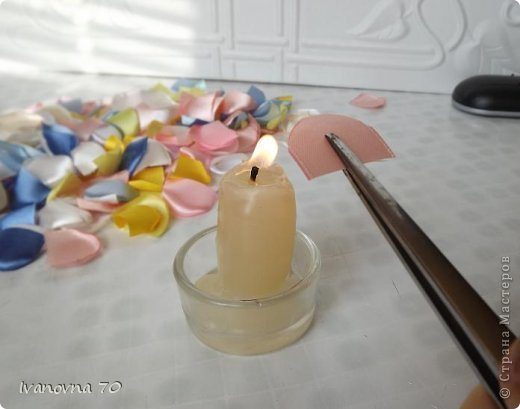 That’s all done! We do not even tired!
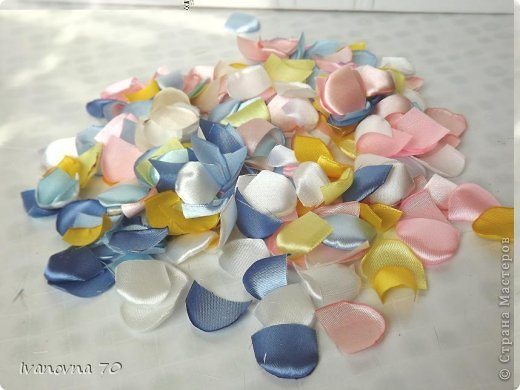 You remember that we’re going to the prom?
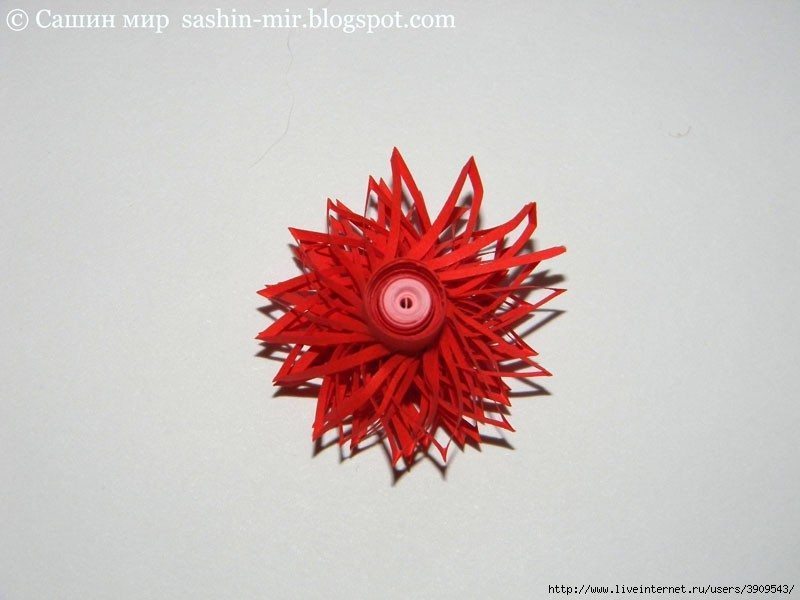
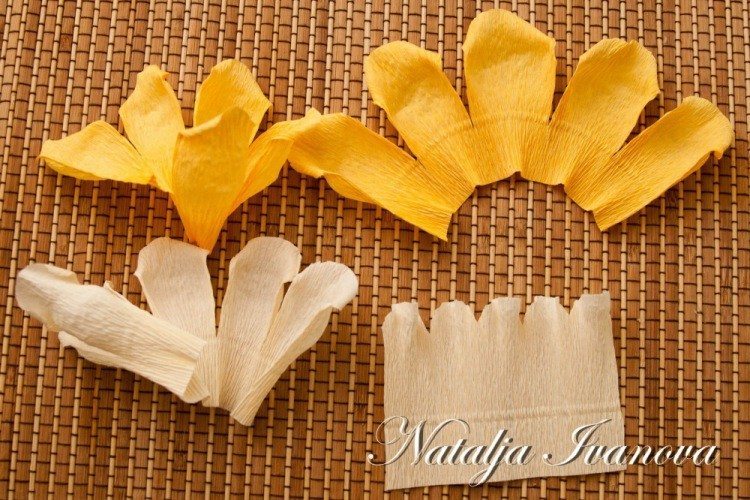
We select outfits in color. At each rosette I need 12 petals. You can do a little more or less. When I cut the ribbon advance’m rough count to 12. While the glue is heated counted out the petals …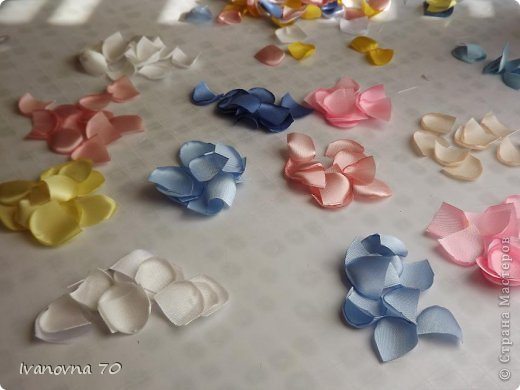 The first petal curl up into a tube underside.
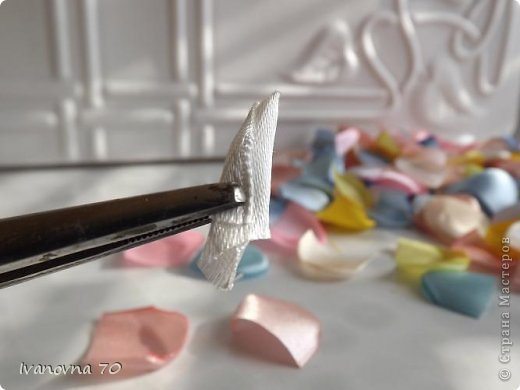 On the second and all following petals drip two tittle glue … on the front side.
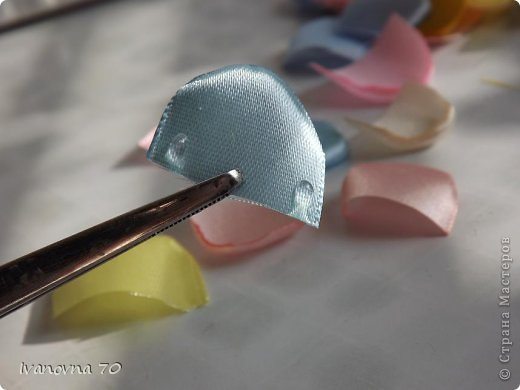 … And wrap our “straw.” Follow to 1lepestok not appeared above 2. Otherwise, your roses will be long-nosed.
I collect the sample onto a different color.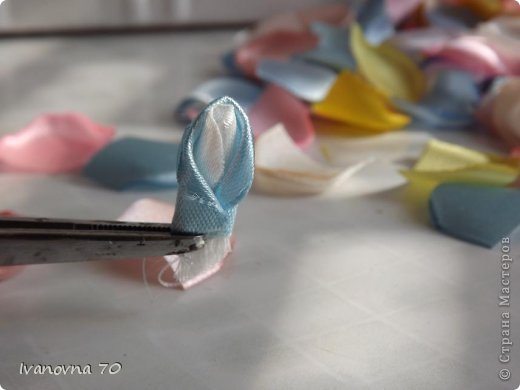 Again – glue and third petal embrace the first two.
At the bottom of pussies do not pay attention.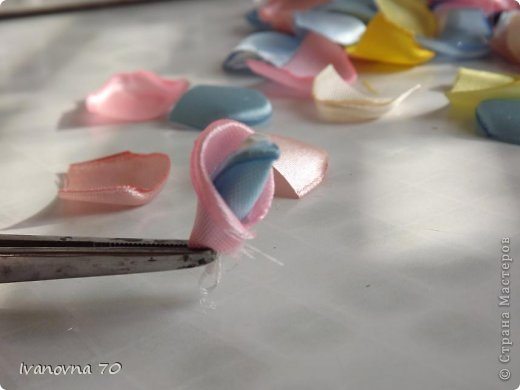
 … More …
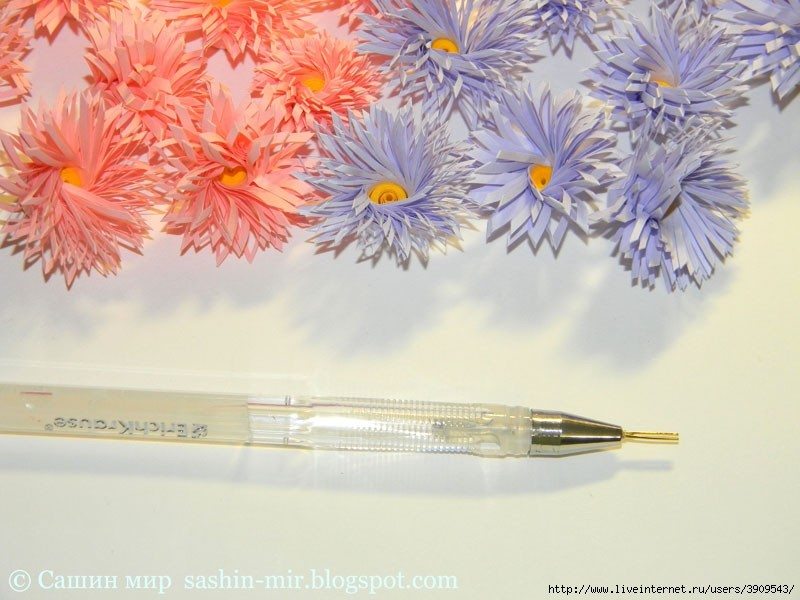
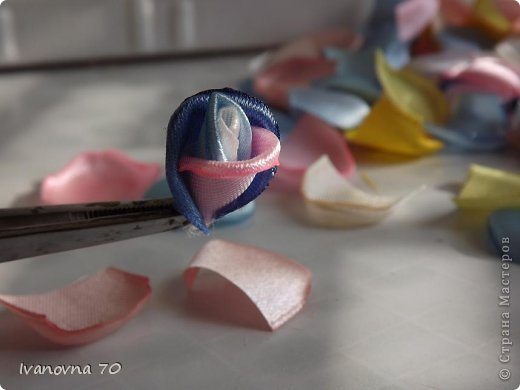
So, until all 12 are not embrace.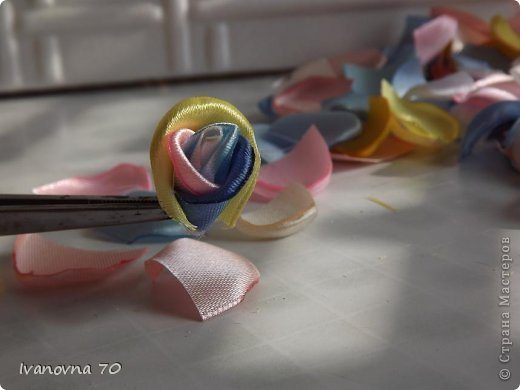 Here they are already ready to waltz whirl.
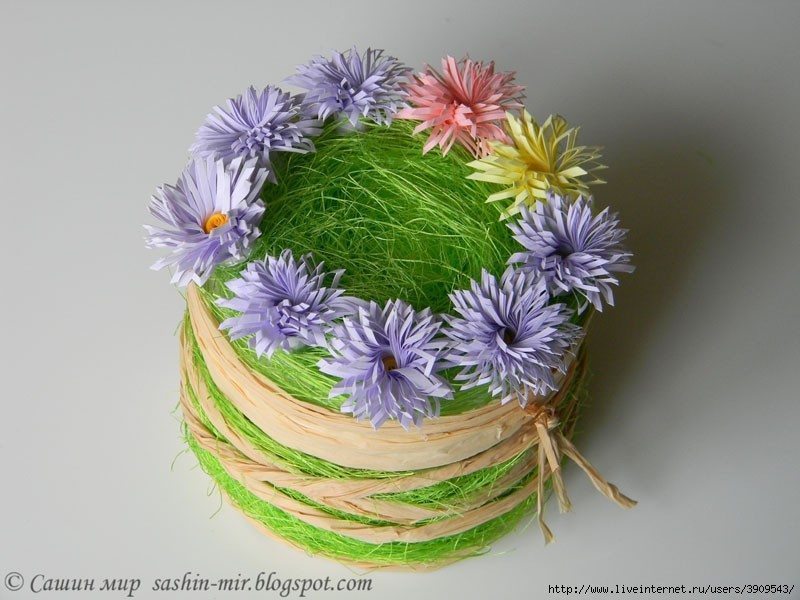
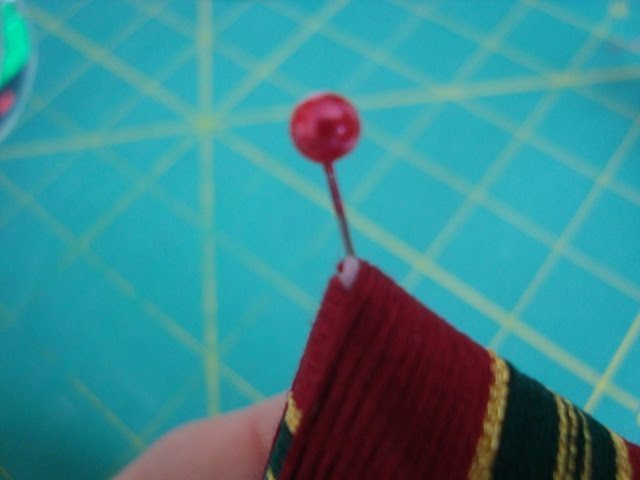
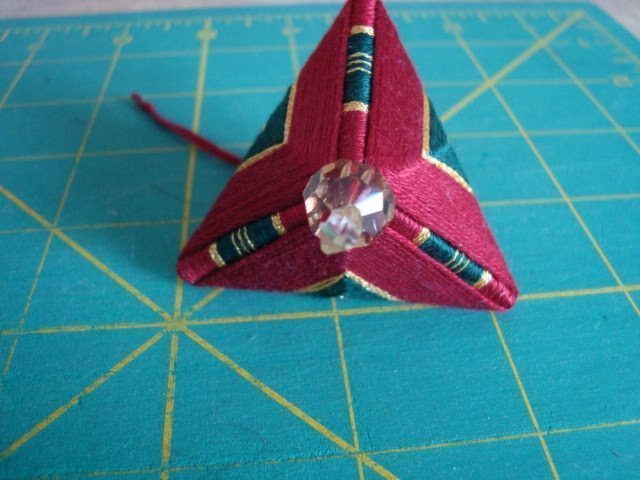
Look what little nose peeking out seredinok.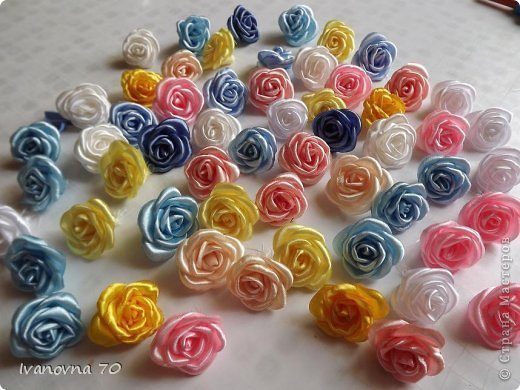 This “tail”. Right Shaggy and they stick out length of the cone, and I left them shortened. So stick to the ball easier.
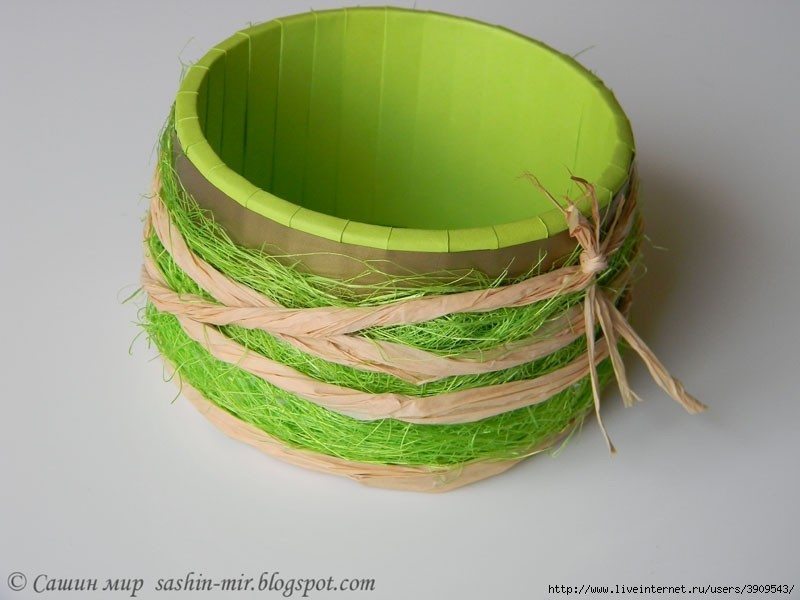
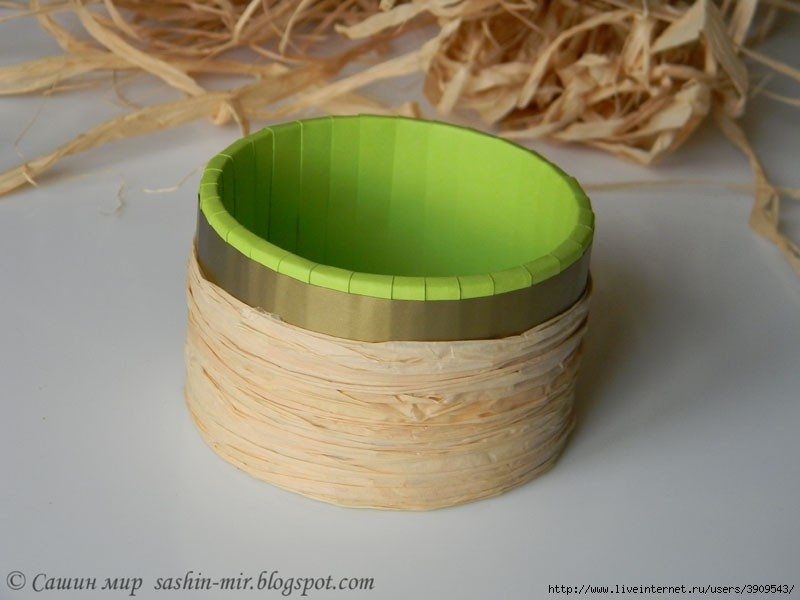
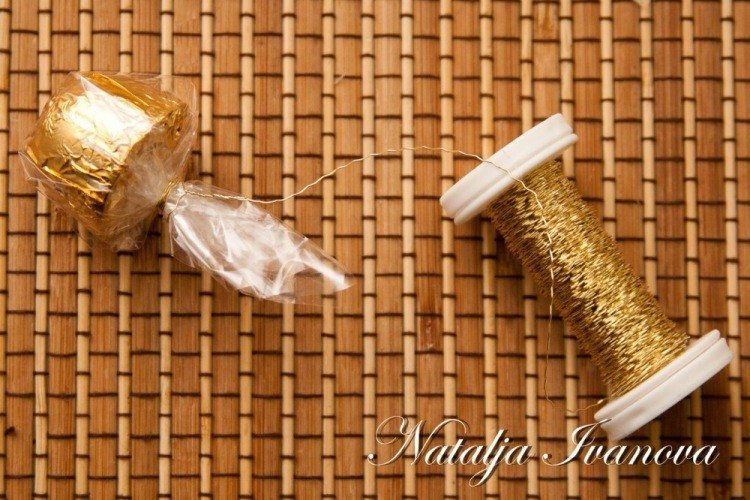
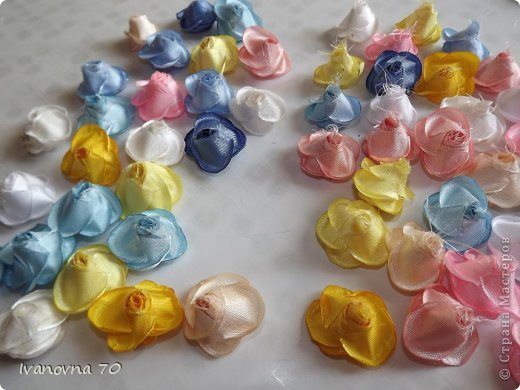 Now prepare the basis for the trees. Can Christmas ball, and you can collapse Bun paper and wrap the thread. Threads are no sizing, because hot glue when gluing roses and leaves all fasten tightly. The length of the wire is determined by taking into account whether we Stalks bent or straight.
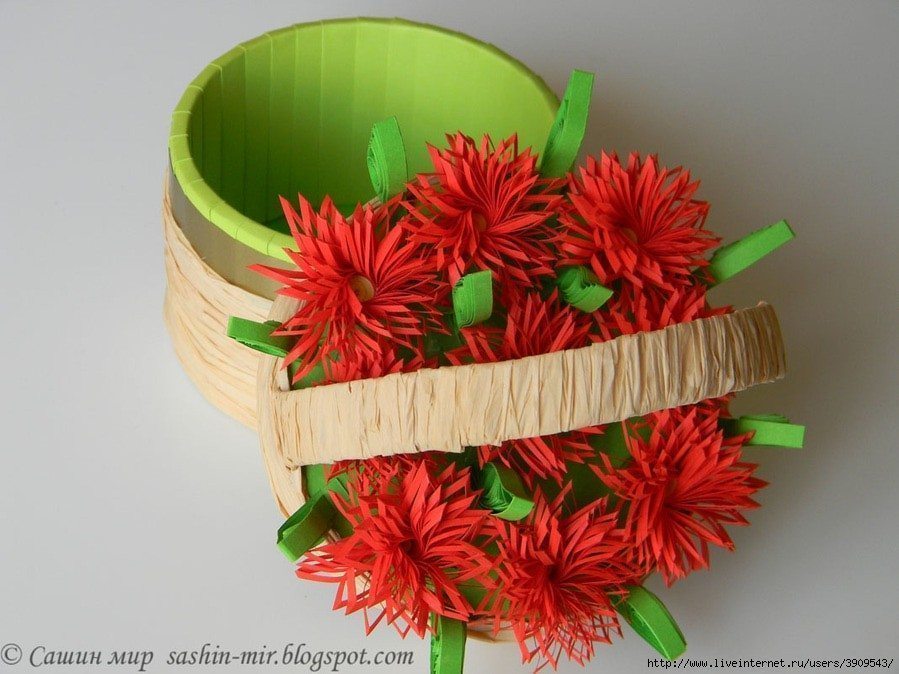
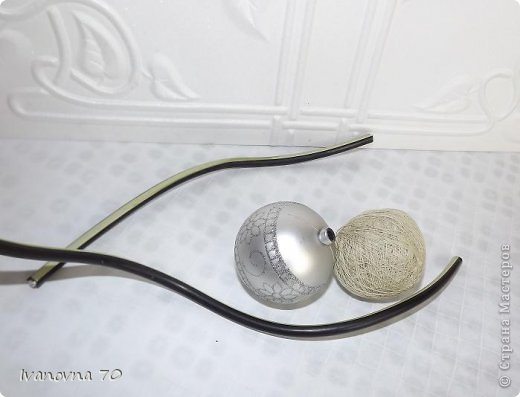 Before gluing flowers foot -cool, sticking to the bowl and wrapped with a tape 1 cm. Wide, securing with glue.
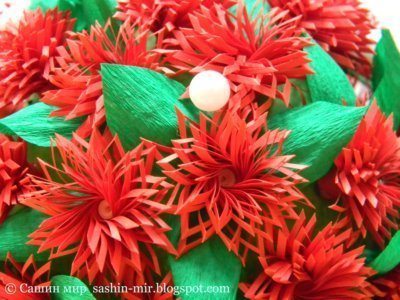
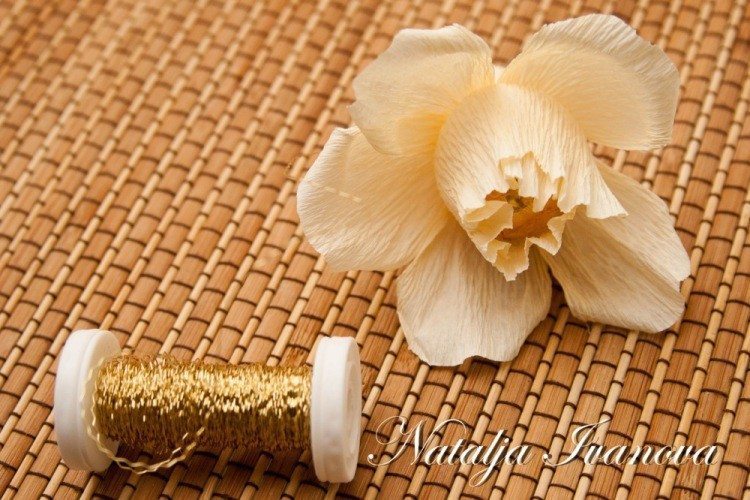
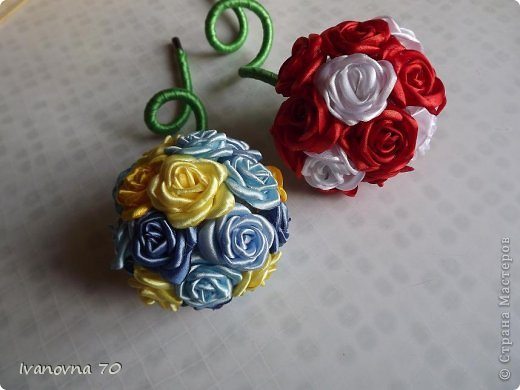
 Here they have already gathered all together!
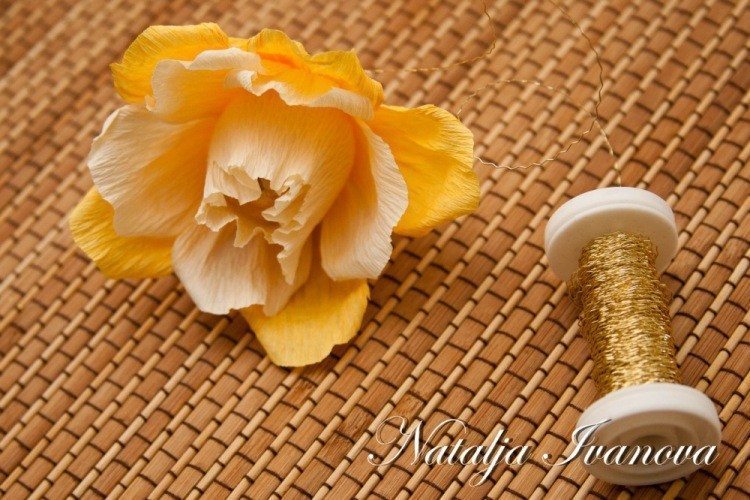
But so far no green leaves. For leaflets and samples. This trimming of the floral organza. As I like it! Mohnatenkaya such … With glitter silk interesting combination is obtained.
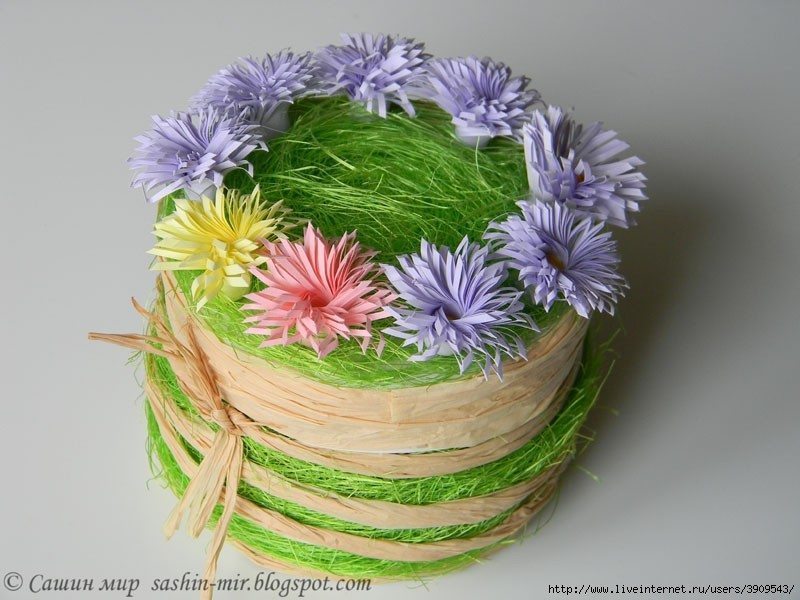
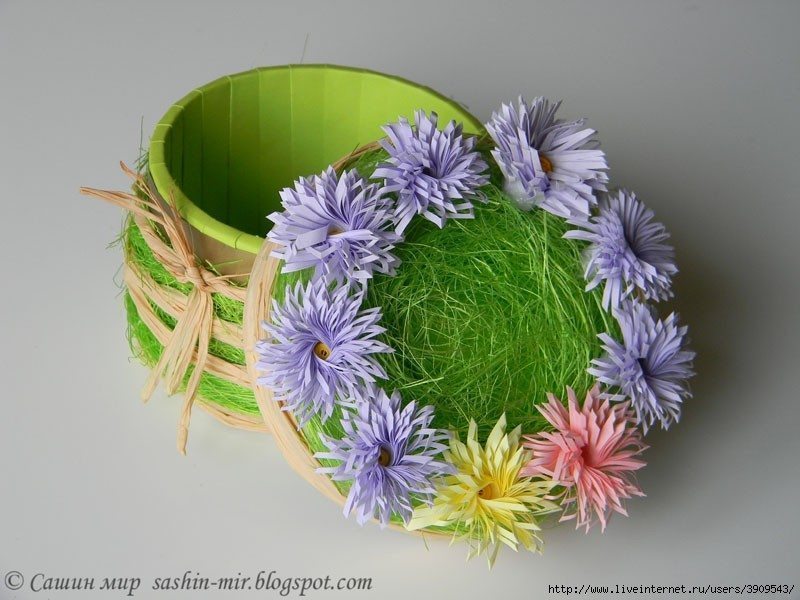
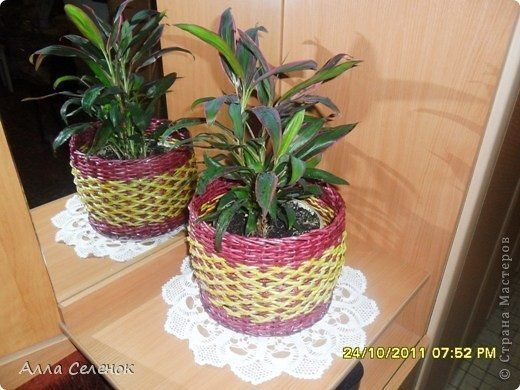
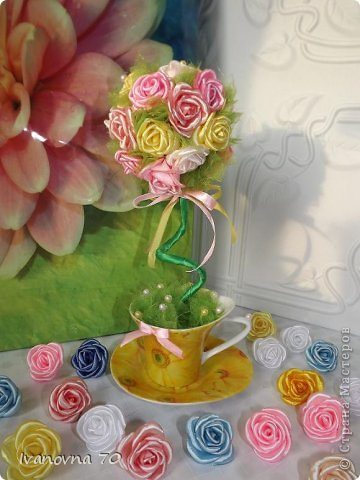
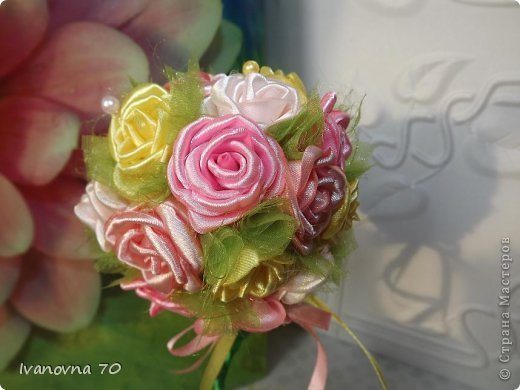
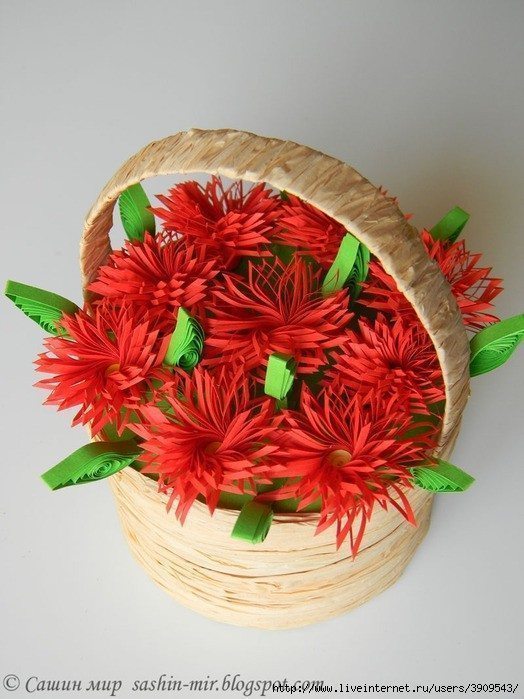
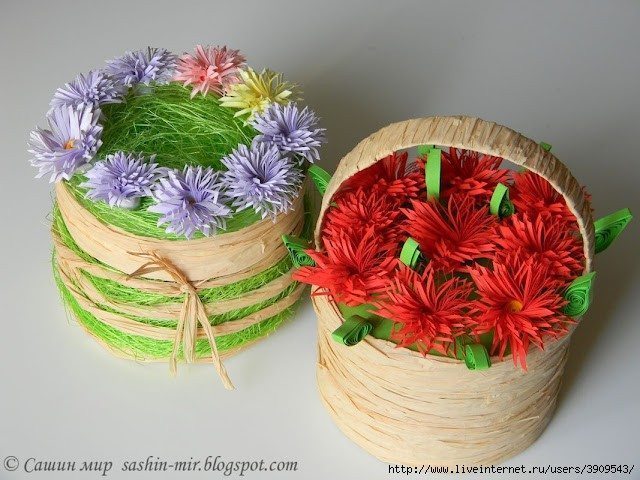
Now they need to find suitable pots.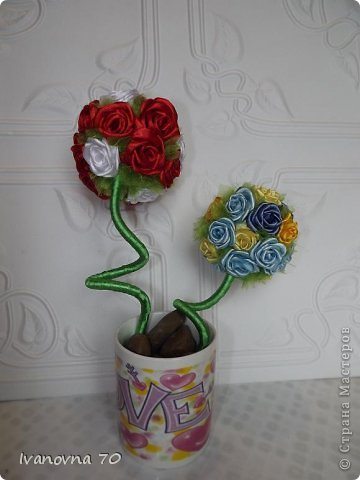 Well, my Crank your house warming already right.
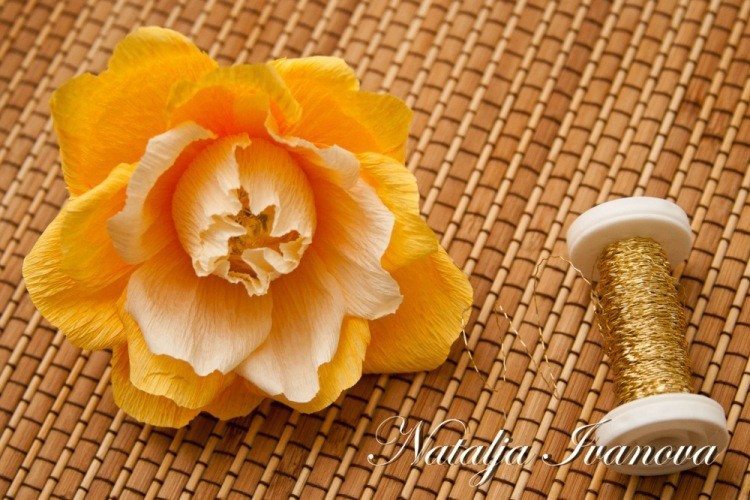
 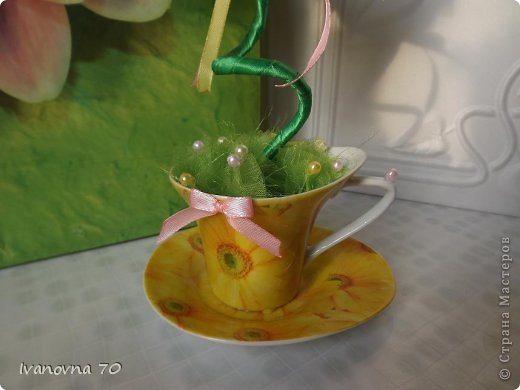 Here it is in all its glory. … Soon they will scatter your sapling.

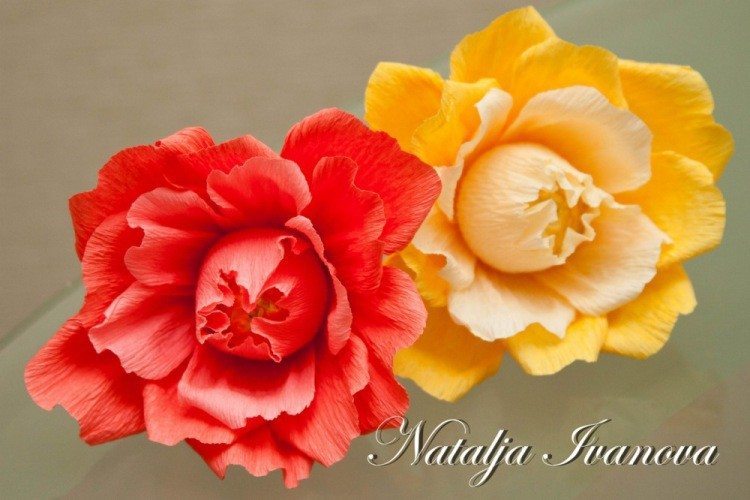
So today I will show you how to make a chrysanthemum of awesome stuff foamirana or plastic suede.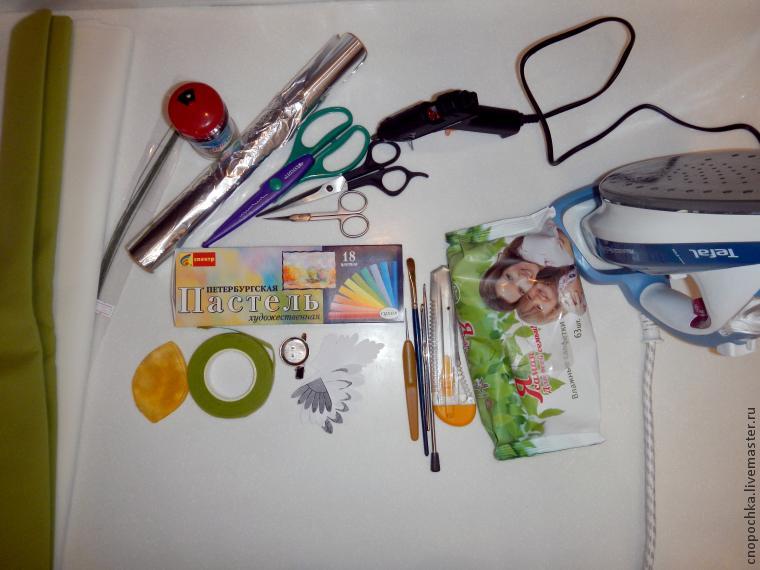
Required Material:

Print out the pattern. Transferred to the paper size separately each petals encircle and cut. Copy only the left half of the circle III to VII numbers of petals. Apply a template to a brighter foamiranu and draw out a toothpick (or a sharp stick, or NEpishushey handle). Just five sizes lerestkov to 11 pc. I cut the entire petal scalloped scissors and then cut into narrow lobes. So quickly. But you can simply cut with scissors on the pattern. More light foamirana cut out a strip of 13h2 cm and two circle diameter of 4 cm and a green circle with a diameter of 6 cm. The green circle and strip incision narrow petals.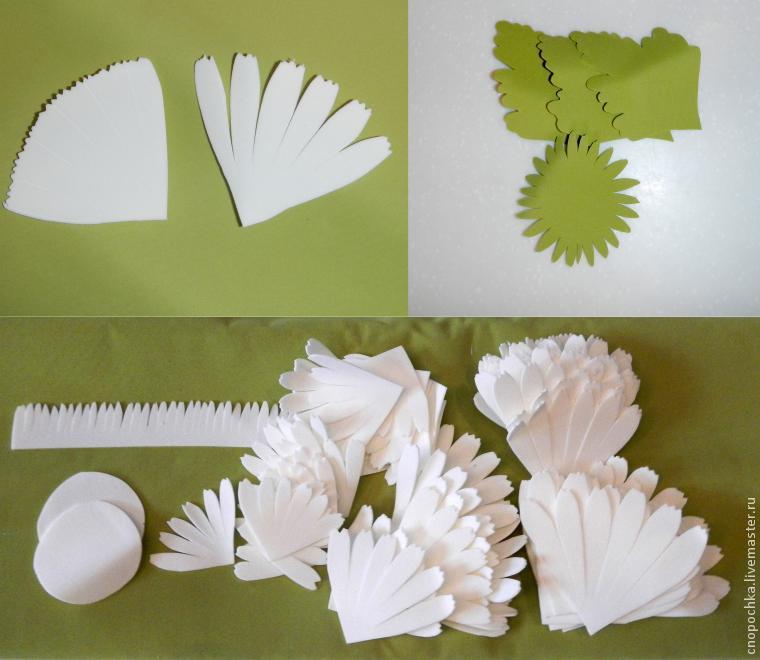
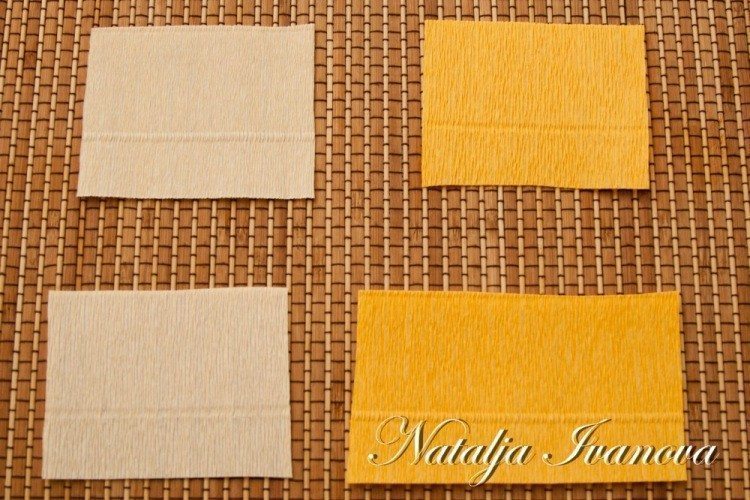
Toning petals. I picked up two yellow, dark and light. Circles, stripes and the smallest petals will be toned dark yellow. Pastel finely planed office knife, dipped into the chips damp cloth and paint petals. Petals are comfortable to hold for the area and paint from the center to the edges, unpainted area in the flower will not be seen. The next size petals toning already light yellow, but well stained. Following the petals are not so much paint, and at last a little tint tips. Green pasting little zatoniruem dark green.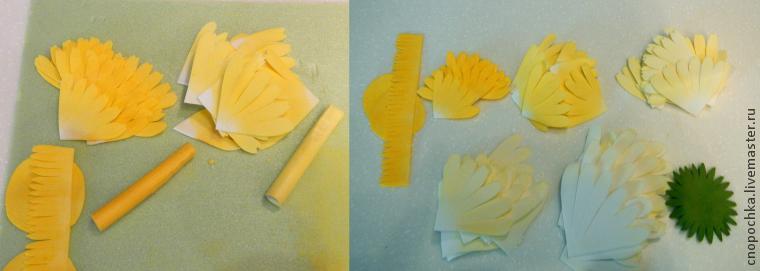
Making the veins on a leaf. If not Mold, you can simply draw a toothpick. If the MDL is, putting a piece of iron to a couple of seconds and still hot pressed to the mold. Then, the leaves can be toned dark green pastel, then veins will be more visible.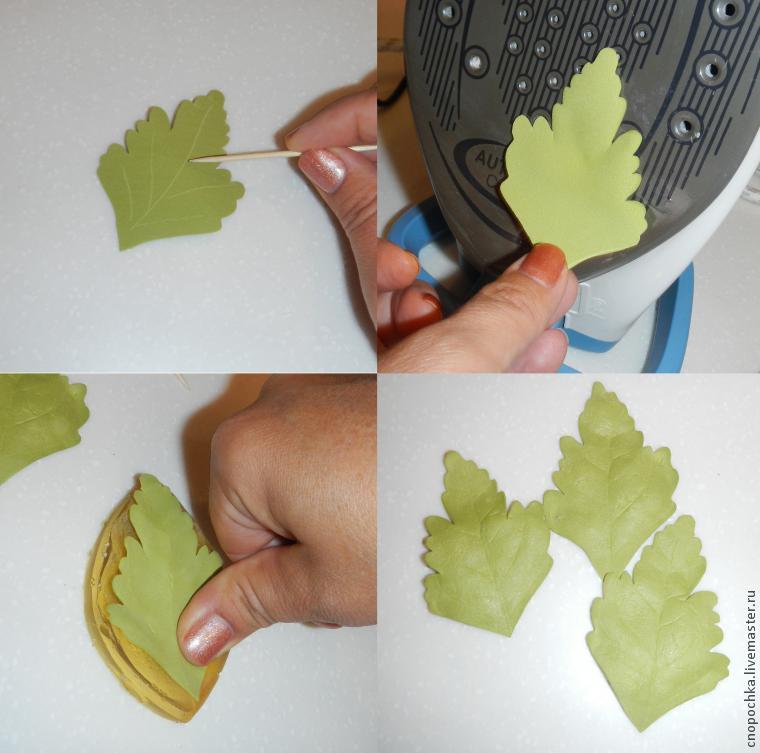
Getting modeling petals. Apply a strip to the iron, the petals themselves skukozhivayutsya little and bent inwards. Small petals is also applied to the iron, then quickly on the palm and dent stick or stacked along the petal almost to the tips to form a depression in the ground. Stack of little curls around the axis in one direction and then in another direction, pressing the tab on the palm. Then heated area and also folded the petals inside it. And so four sizes of petals.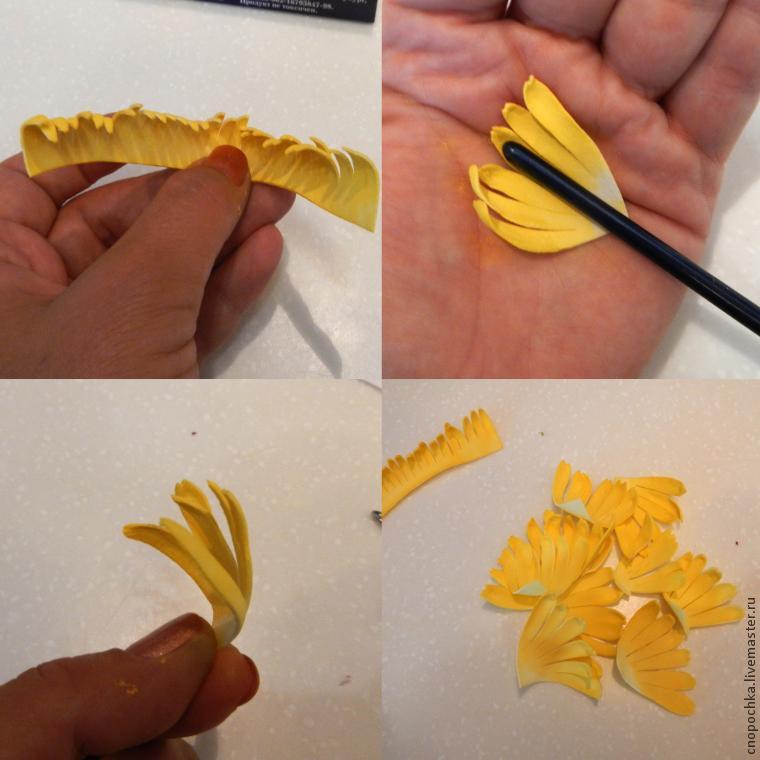
Biggest heat the petals not entirely, and by parts. Stronger drive stack from side to side, thereby thinning petal. Then add up each individual lepestochek half and carefully stretch the fold place, thus giving him a convex shape. Heat the corner, tuck into a petal. Green pasting also apply to iron and slightly twist the ends of your fingers.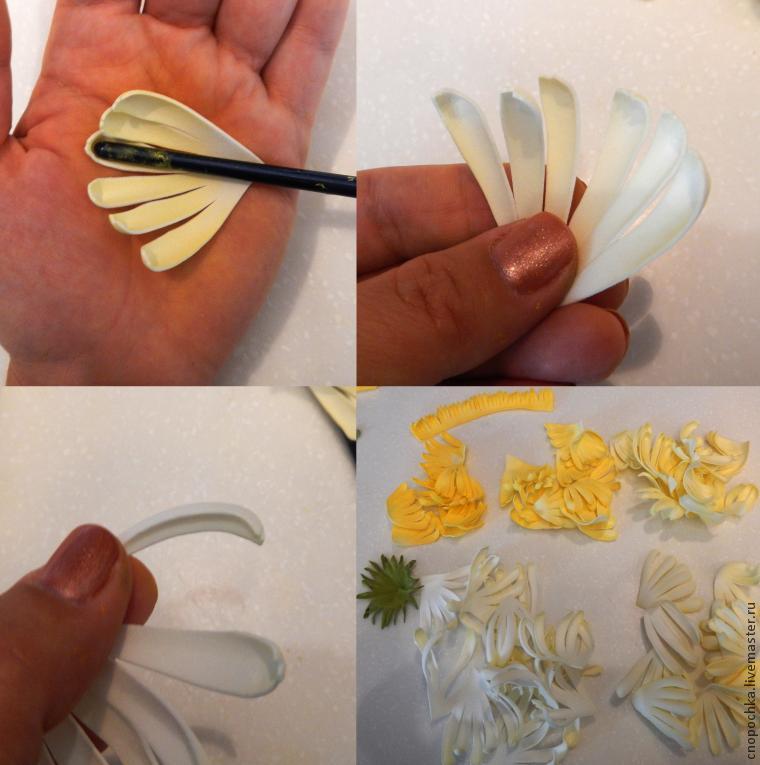
Cut a piece of wire, make a loop on the end and stick to it a piece of foil. Foil rammed into a ball with a diameter of 2 cm. Heat the Melt. One of the yellow circle and glue smear middle of the circle to the ball, a little stretching. Cut a circle in the corners and glue the remaining pieces to the ball of foil. With the next yellow circle Do the same. It turns ball pasted two layers foamirana.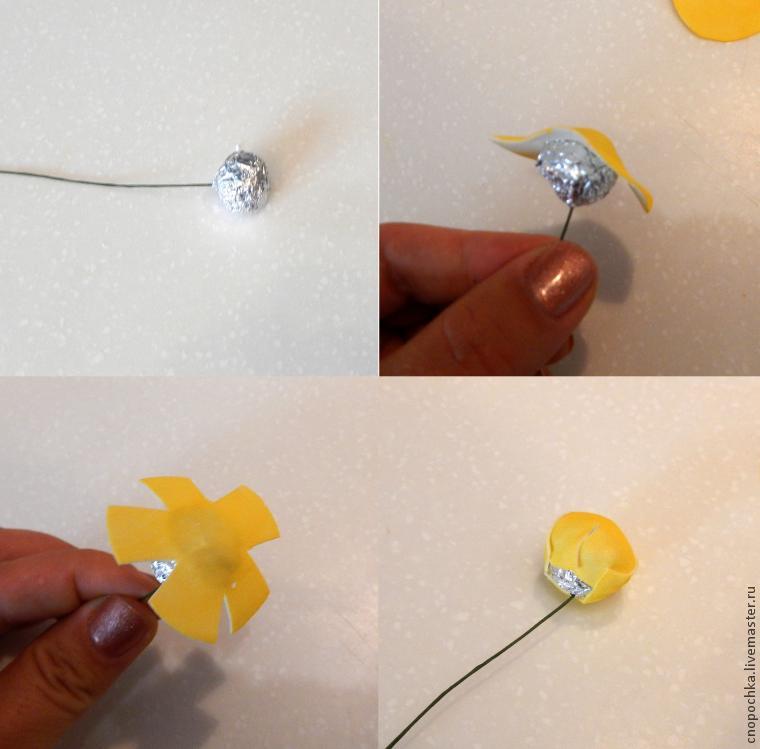
Take scissors with sharp edges and very carefully cut the top layer of a small corner. Then take a strip with petals and start to stick her in the middle of the ball, so that the edges of the petals converge at the top. Striped wrap twice around the ball, gradually podkleivaya glue. Middle, turned the flower.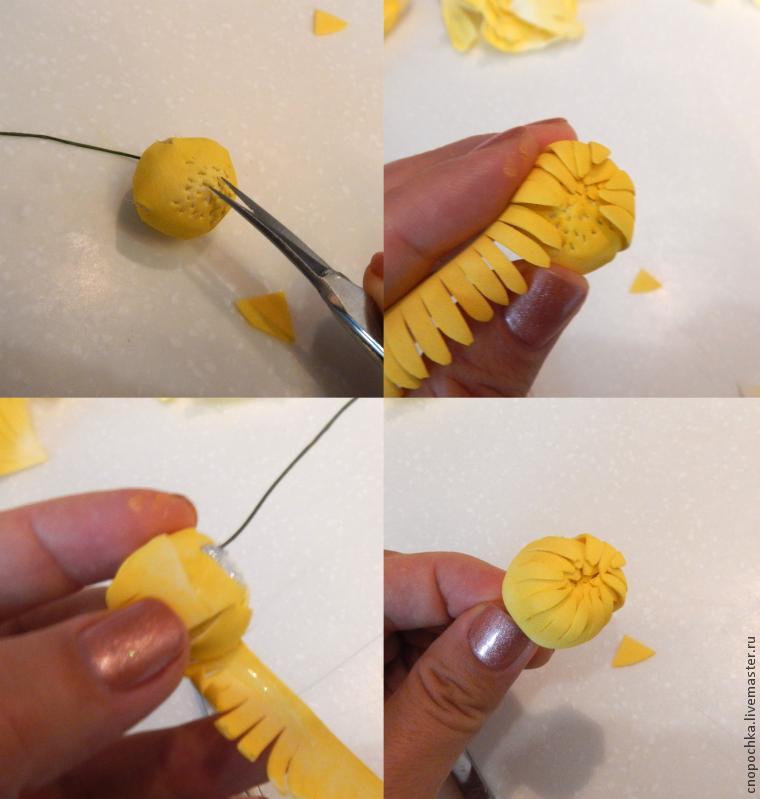
Take the smallest petals, first try on them on top of the flower, retreating from the previous row by 1mm. Hold onto the hand turn over the ball, turn down corner and glue the petal from the corner to the middle of the petals, so he stuck to the edge of the strip in the previous row. Next petal glue around the circle, making the overlap on one small lepestochek. And so on.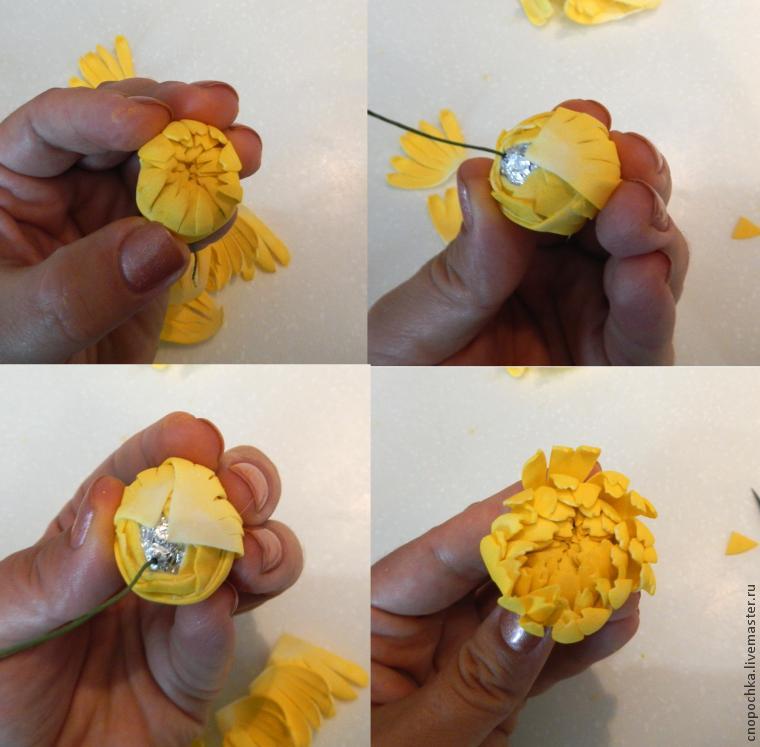
Continue to glue the petals, just aligning the tips first, shifting them from the centre 1 mm and forming a tip, and then glue the bottom corner just a petal. And so, until all the petals are completed. Cut the wire close to the flower and green glue pasting, closing the lower part of the flower.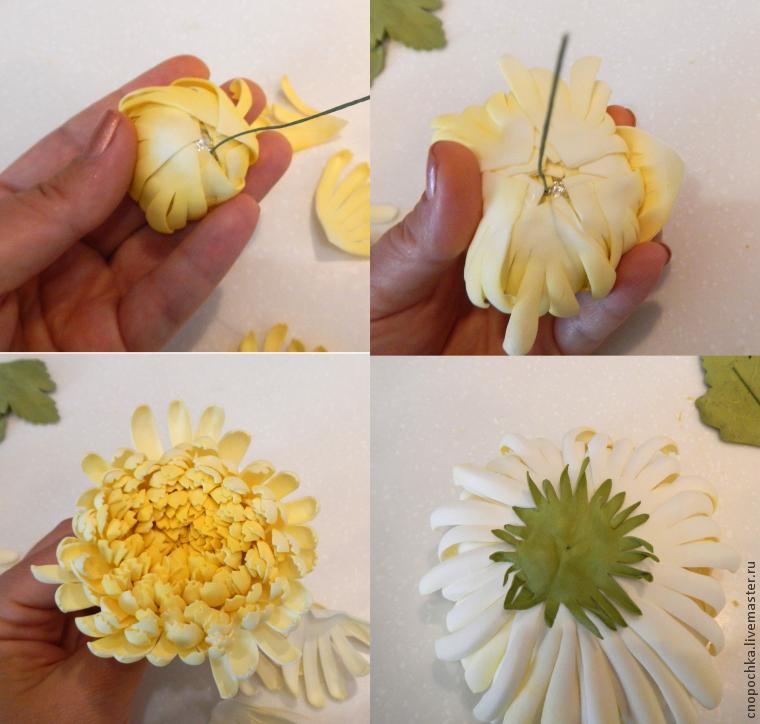
Middle leaves from the back side glue pieces of wire 10 cm long. If there is no floral wire, you can take an ordinary thin wire and wrap teip-tape. Careful turns stick with superglue. Then coated with glue and wire edge is glued to the leaves of the flower. The final stage – we take a basis for brooches or pins, I have a universal, well we coat it with glue from Melt and glued to the bottom of the flower.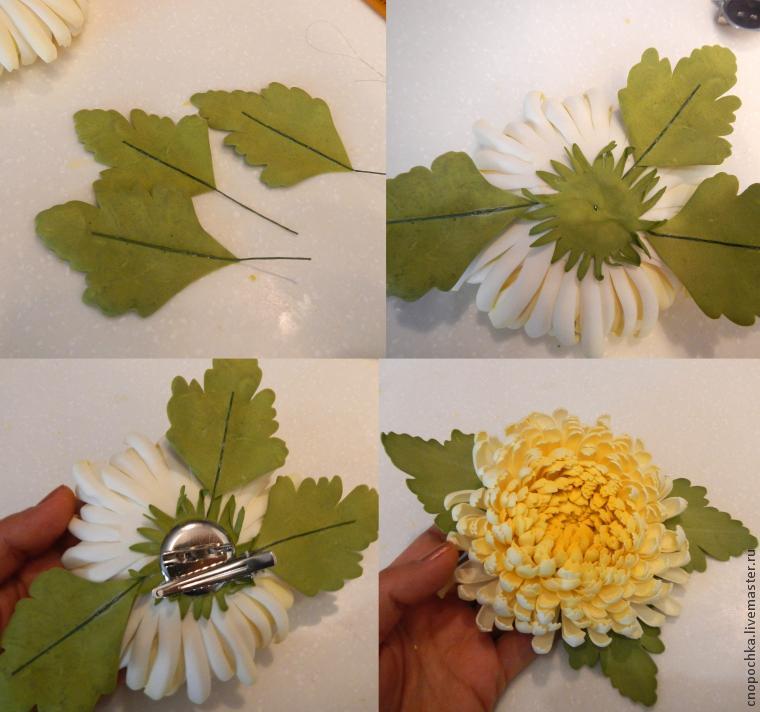
That’s all. You can wear it! I wish you the autumn, full of love, warm colours and the smell of carnations …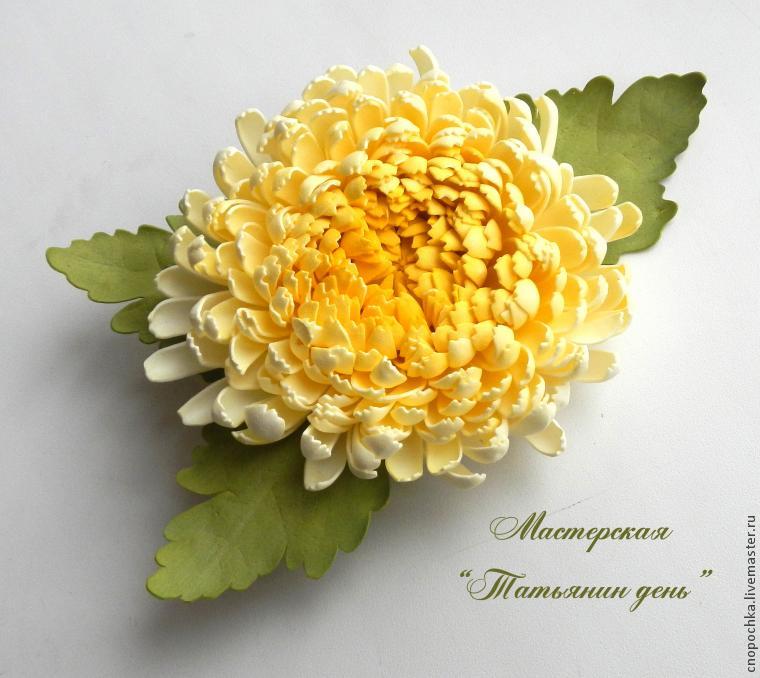
Required Material: