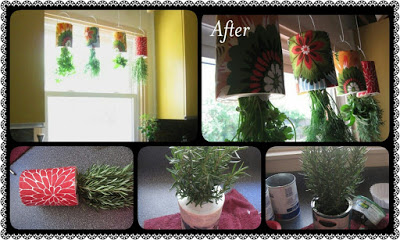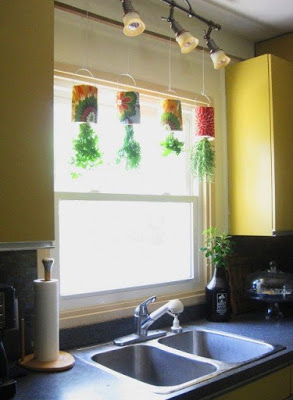
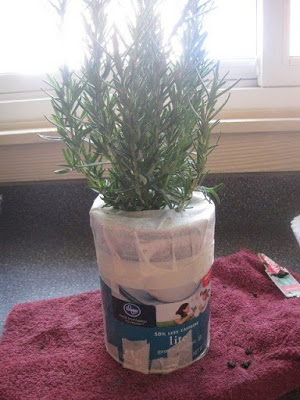
Growing your own herbs at home – a great way to save money, always have fresh herbs for salad and green the kitchen interior. Especially if the kitchen garden hung from the ceiling by organizing their own hanging vertical gardens with their own hands .
We Need:
- cans with plastic cap from tea, cocoa, coffee or other products
- herbs (basil, rosemary, parsley, dill, coriander) with the ground
- wire or rope for fixing
- scissors, knife, nail, hammer
- adhesive tape or adhesive tape
- coffee filter or similar material
- cloth, paint and glue for decor
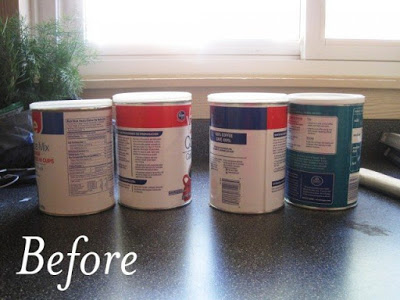 Once you have cleared the bank, remove the bottom of the opener and with the help of a nail and a hammer, tamp it 10-15 holes.
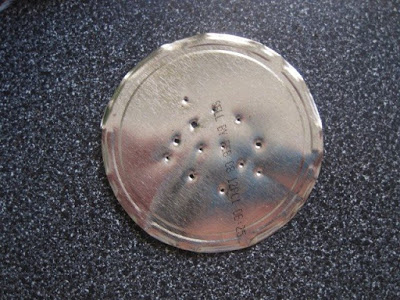 Then place the bottom back to the bank holding the other side. Adhesive tape stick to the edges of the bedplate so that a couple of centimeters to the left edge, as shown in the photos. On both sides of another two punch holes, through which the entire structure is suspended from the ceiling.
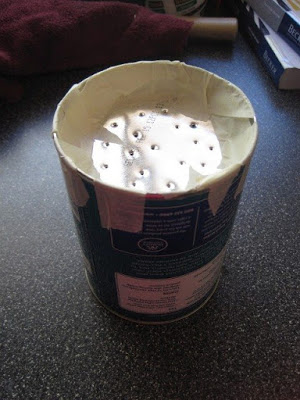
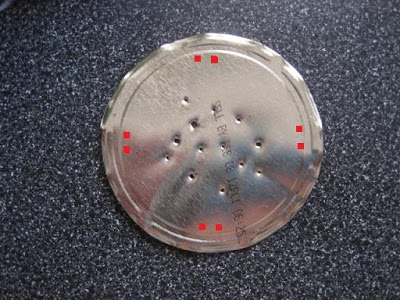
I think you can not complicate the whole crafts thus cutting out the bottom and sticking it back. All this is intended by the author, apparently in order to penetrate the two holes for further fastening.
Alternatively, it is easier and faster to break through the 10-15 nail holes for drainage, while not cutting bedplate, and two holes on opposite sides, closer to the edge, so that through them you can thread the rope or wire for hanging. So (in red):
 Turn the jar and carefully place to bush grass with soil.
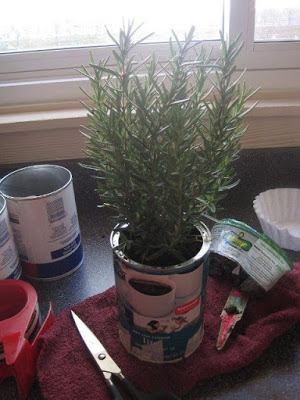 Then you need to cover the top soil so that when you turn the jar, the land is not drizzled on the table. To do this, the authors use a coffee filter, but I think that for such purposes will suit whatever breathable material. Cut a small hole in it with a cut to the end, Wrap around grass and good seal with tape or duct tape.
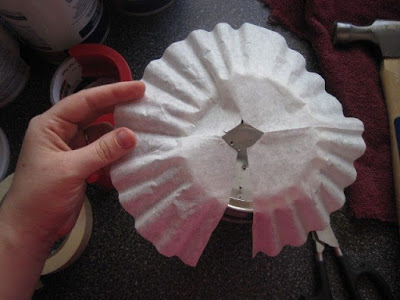
 That, so to speak, to consolidate the success and the soil in place, use the rest of the plastic cover from the banks, also cut a hole in it the size of the corresponding bush. Carefully miss the grass through a hole in the lid and put it firmly.
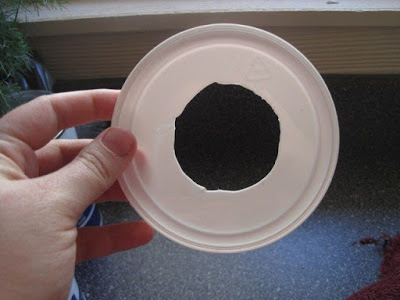
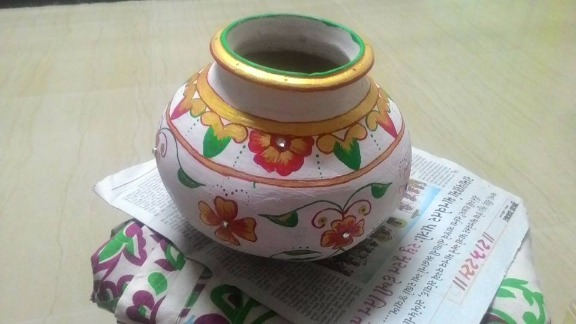
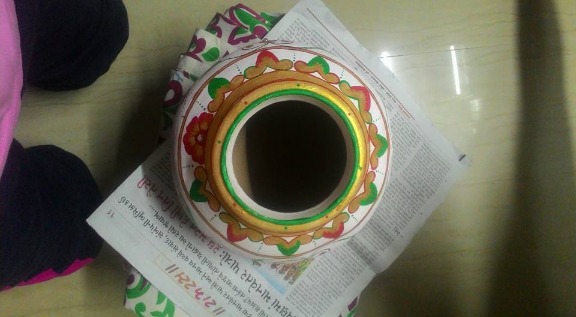
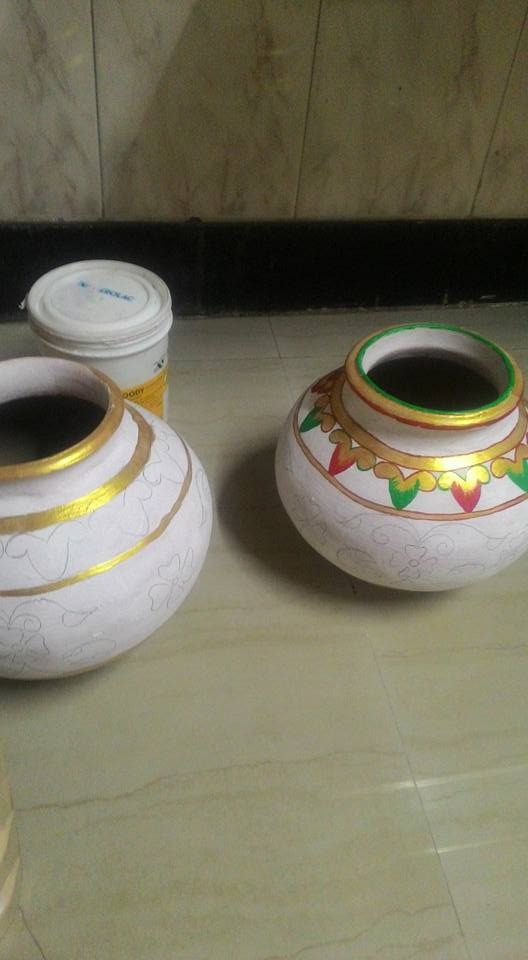
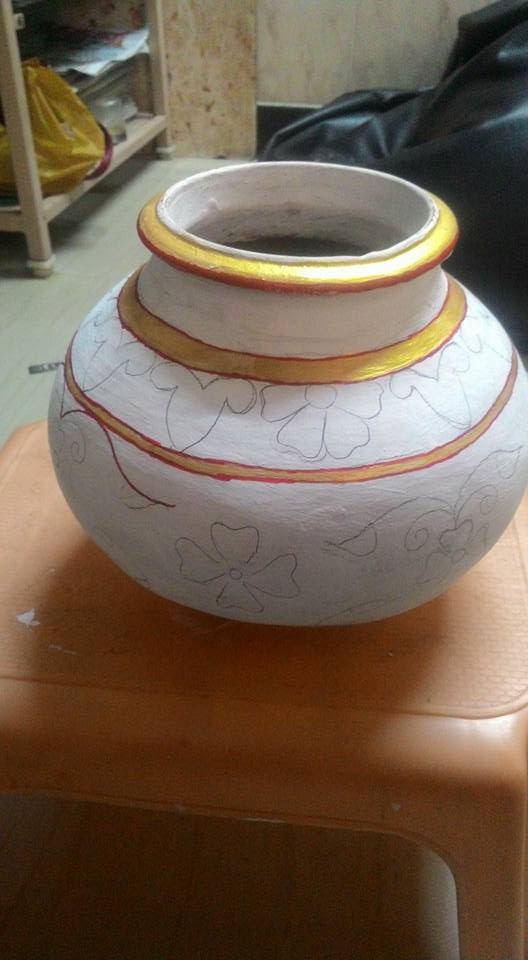
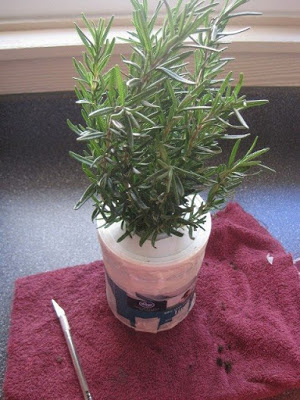 In general, the main work is done. Turn the jar and check whether the open under the weight of the soil cover, and whether the land is on the table, not getting enough sleep. To decorate a pot, you can use paint or a piece of cloth.
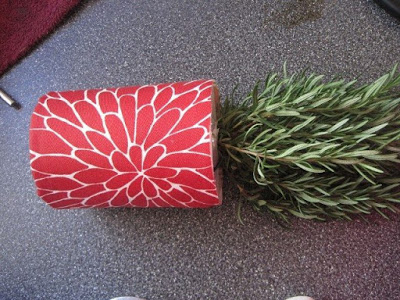 And the final touch – hanging from the ceiling, cornice or a bar. That’s what we need, and are pre-punched holes. Through them you can skip rope or wire, then the whole latter-day flower pot with herbs, spices hang up roots.
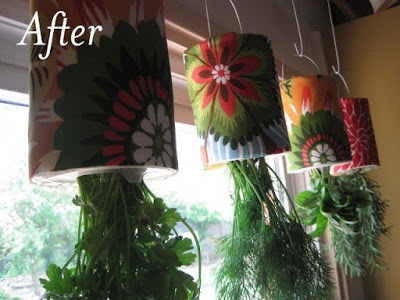 Watering neatly on top of small portions that remained green longer fresh, pleasing to the eye, and then the stomach and as a seasoning and garnish.
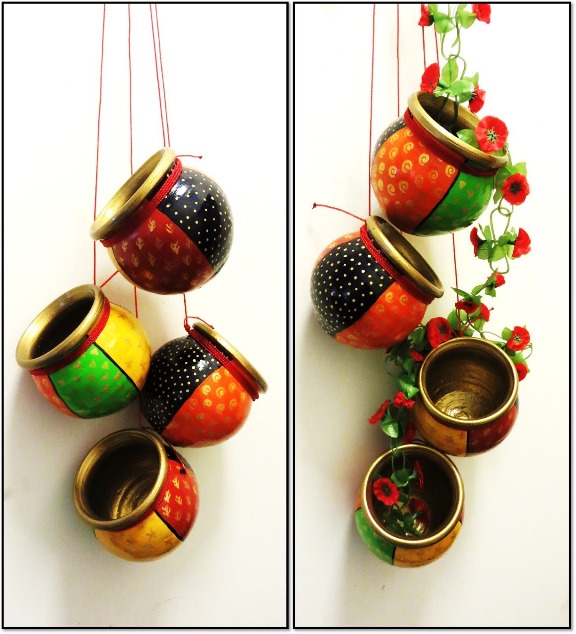
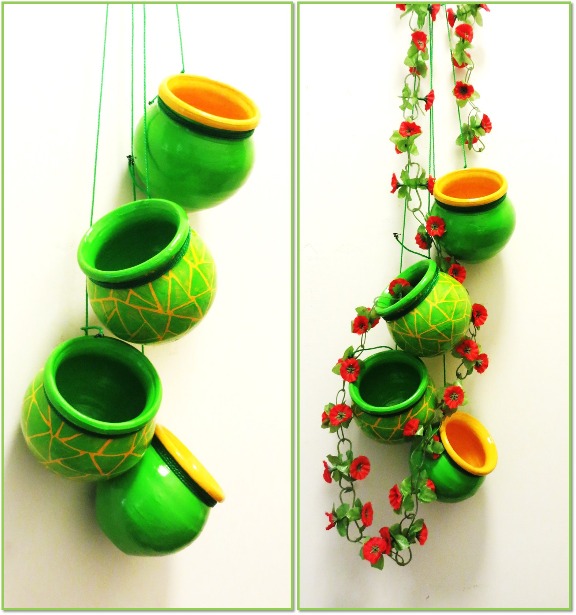
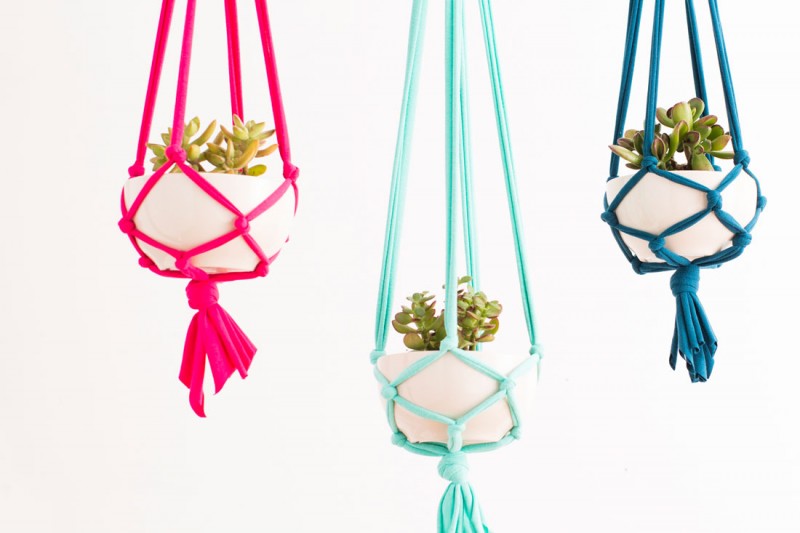
 Who says the mosaic look can be achieved only through broken tiles! Here is a nice way to get the same look on your pots and keep your surroundings bright. This set has 4 hand painted terracotta pots which are 9 cm in height, 10 cm in width and 130 gm in weight each. This simple hand-painted beautiful hanging can be used to decorate both your interiors or exteriors, as the colours used are water safe. This can be a beautiful colourful addition to your garden greenery or monotonous interiors or can spruce up the patio area. These pots can also be used as planters.The pots can be hung in same or different levels by adjusting the strings attached, as per your choice.
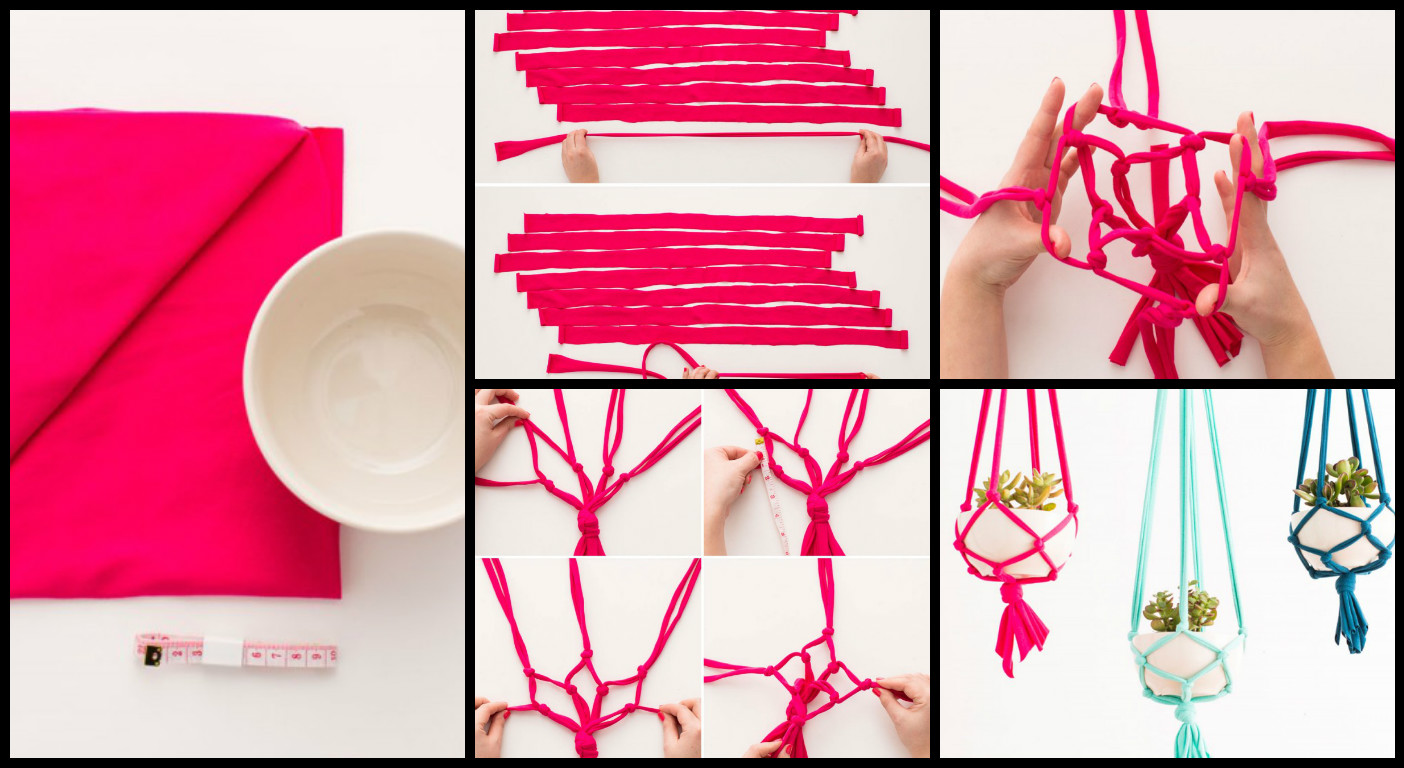
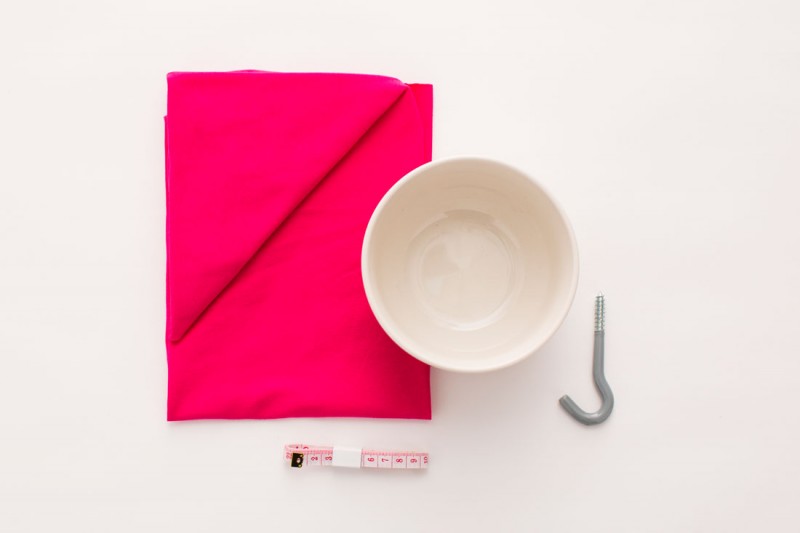
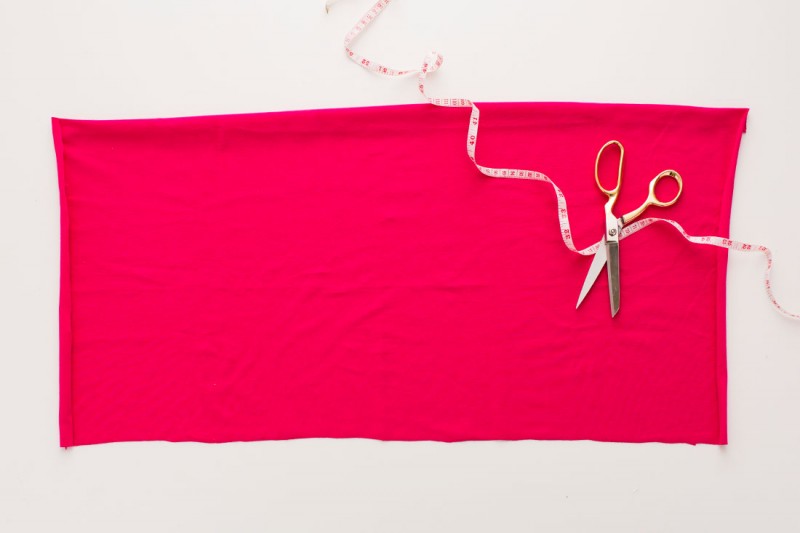 We have 8 strips on three centimeters wide. The length of strips depends on how long should be potted. The girl in the photo uses inches and cut the strips at 40 centimeters in length.
 Stretch the strip.
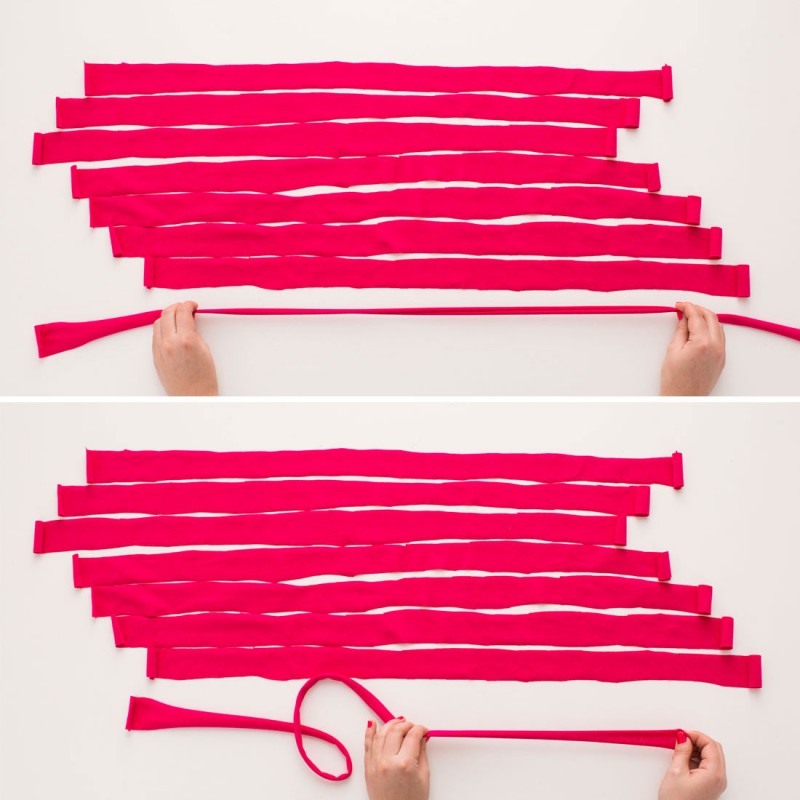 The result should look like this.
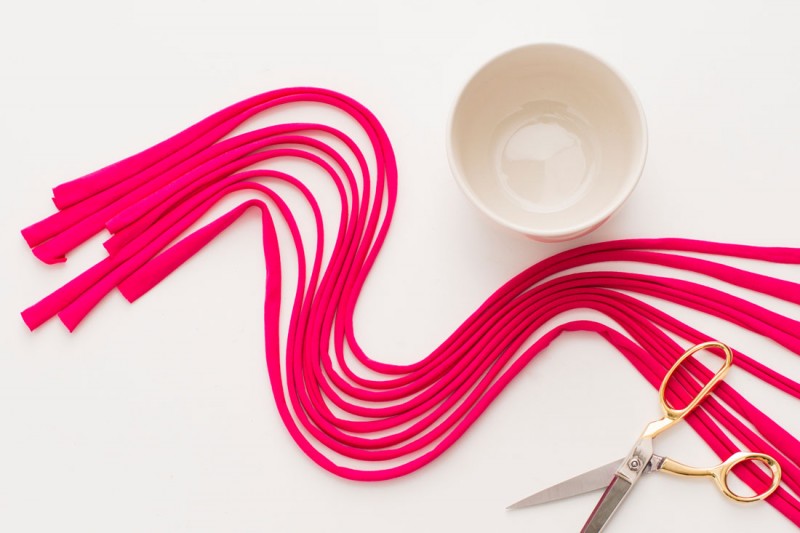 First, tie all the strips into one big knot. Tighten properly.
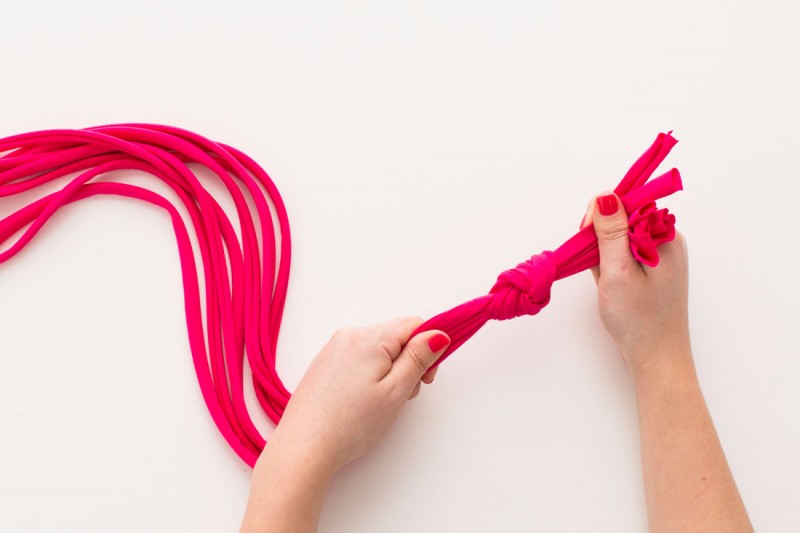 Now divide the beam into four pairs. Measure out about 5 cm from the main unit and fasten by nodules on each pair. Do not tighten too tight – you can do so when the pot is inside.
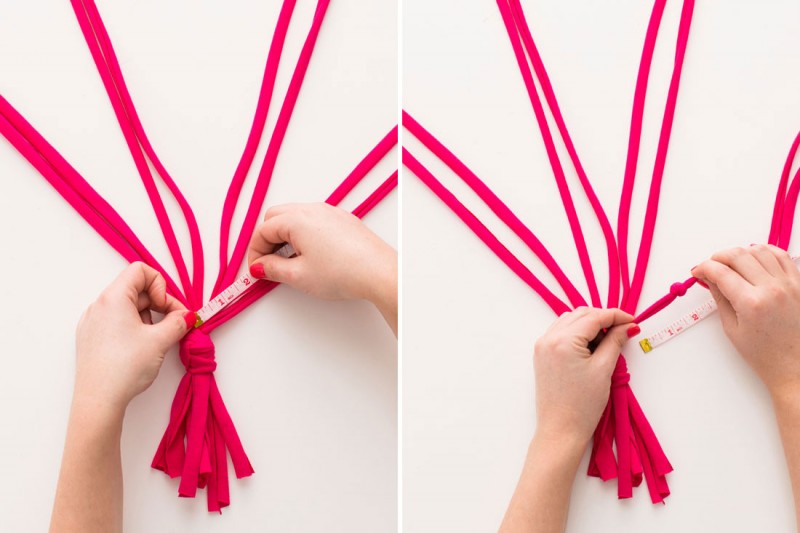
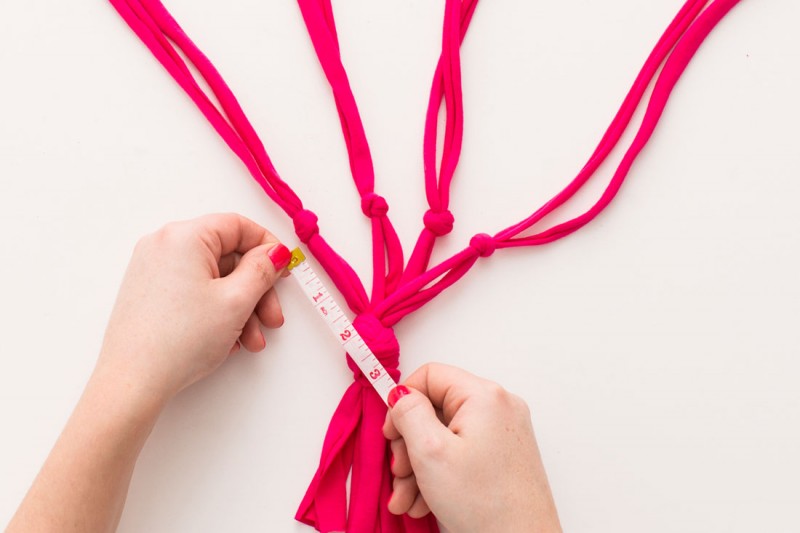 Now, again, divide the strips into pairs and tie knots, to get here are the diamonds.
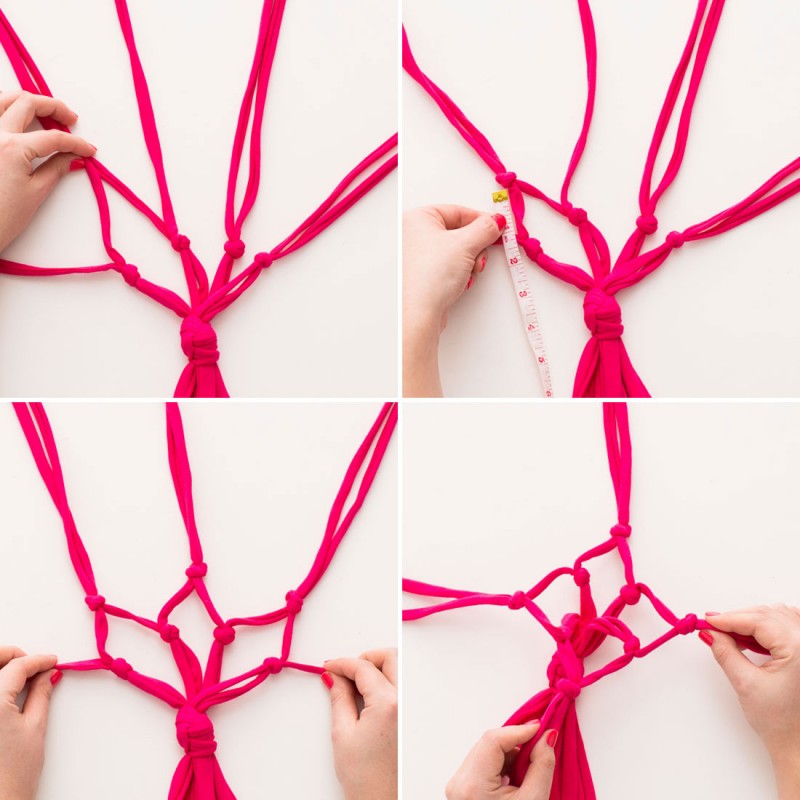 Repeat over and over again, departing at 5 centimeters from the previous node.
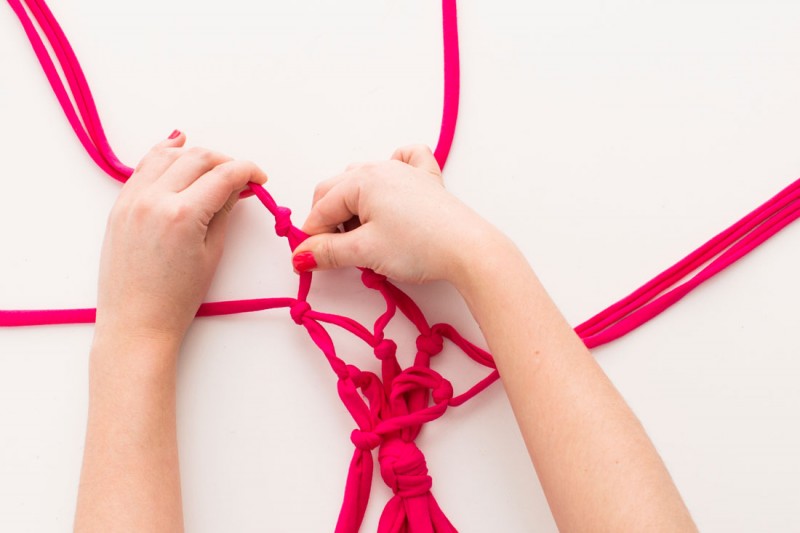 For a small pot, as in these photos, it will be enough three levels.
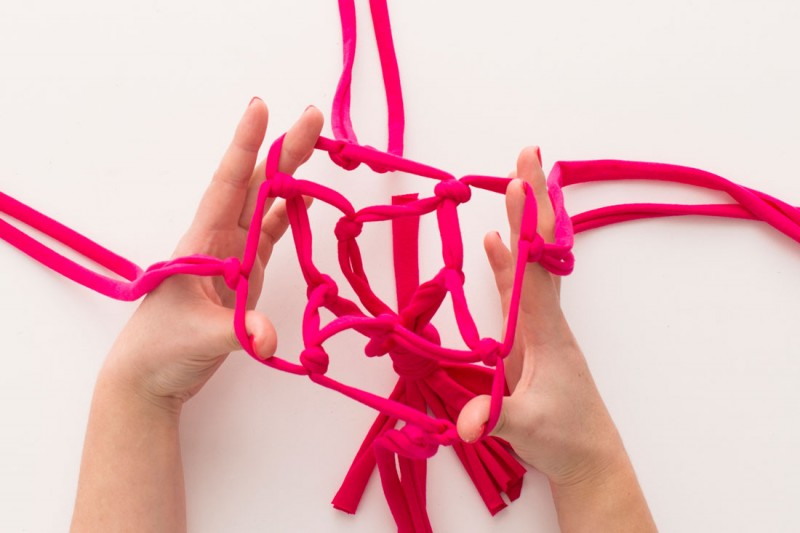 When macrame ready, put into the pot. If you like the nodules are located, you can tighten them tighter.
 Now the upper edge can be tied in a knot. Make sure the pot is hanging straight.
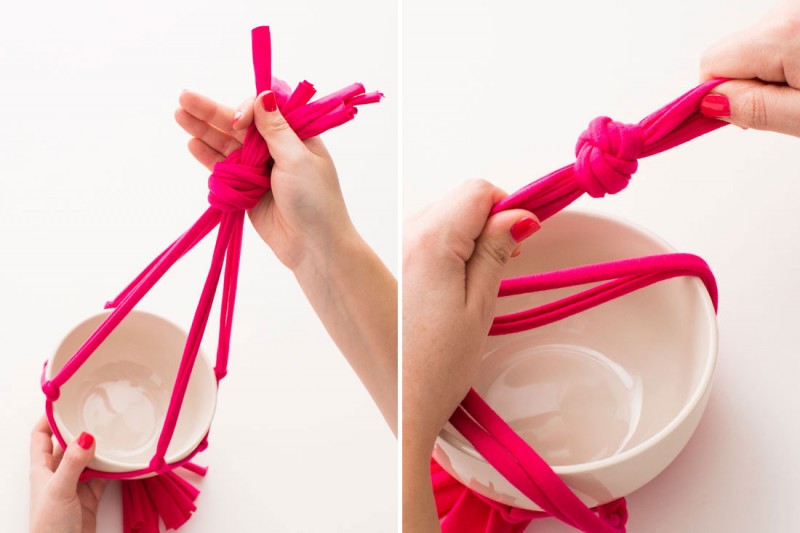 Done!
Done!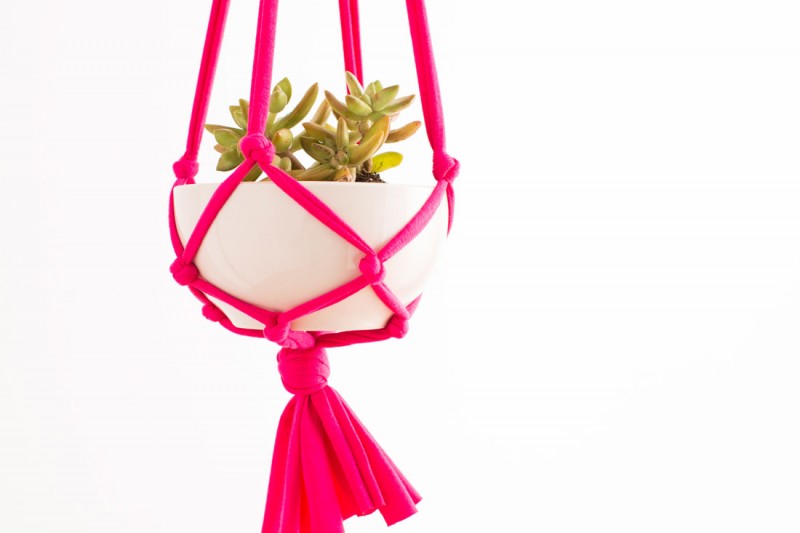 The color and length can be different.
 Elementary and very beautiful!