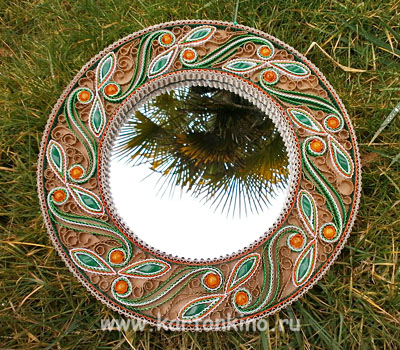
Greetings, friends! I present to your attention another master-class on the creation of decorative frames made of cardboard, prepared by a great expert in this matter.This time Marina tell you how to make a round frame for a mirror . The new workshop will undoubtedly enrich your perception of cardboard and corrugated board within the possibilities of a whole. And following the laid down in it hints and tips, you will be able to do with their hands delicious interior decoration – for the joy yourself and loved ones.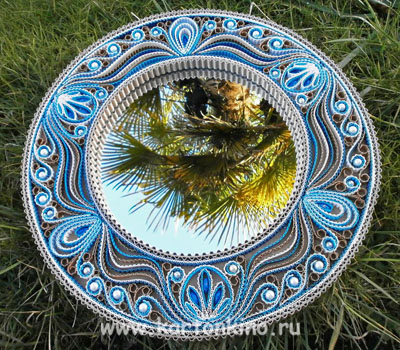
Materials and tools:
– Three-layer corrugated board thickness of 0.4-0.6 cm
– soft corrugated board (dual-layer)
– color double layer micro corrugated: white, green, orange, brown
– a sheet of paper or thin cardboard (for the template)
– the color of the markers of micro, to paint sections (if necessary)
– the orange and green beads
– a pencil
– a compass
– stationery knife
– scissors –
dressmaker pins
– tweezers (for the convenience of placing strips and decorative elements)
– glue for cardboard (important the adhesive was of good quality and when dry – transparent)
– double sided tape
– a hook for the frame
– a round mirror (or photo)
1. Preparation of the frame .
I had two small mirrors, so for them, I decided to make beautiful frames. The size of the frame is determined based on the size of the mirrors or pictures (but note that the photo of the scope of this design then does not remove).
The diameter of my mirror – 20 cm Optimum width of field frames -. 6-7 cm , but you can do more. Thus, we need a circle of cardboard with a diameter of 20 + 7 + 7 = 34 cm .
We draw on the cardboard circle compass required diameter or, if there is no compass, draw out some round object of appropriate size. I found a lid on the pot diameter 35 cm.
We draw another concentric circle whose diameter is the diameter of the mirror.
From cardboard cut out a circle of 2-3, one (bottom) – a rear wall of the frame, one or two others made a circle with a truncated central part – the window for a mirror or picture.
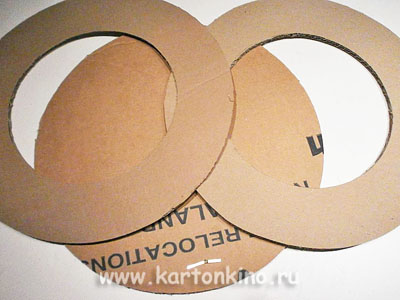
On the back wall of the right anchoring hook (if it is inserted through the hole in the wall).
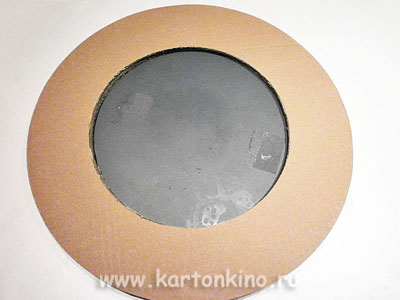
Check if our mirror included in the carved window to correct, if necessary. A number of cardboard circles with windows depend on the thickness of the mirror and cardboard thickness – mirror should be slightly pritopleno (pictured below mirror turned up the rear surface).
Merge layers of cardboard.
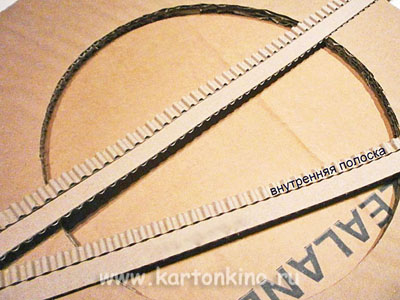
We make the outer edges of the frame. The process I have described in detail in previous workshops (for example here ), so I do not allow myself to repeat.
In short, this frame I pasted two glued strips of soft (two-layer) corrugated board. The width of the outer strip of the sum of the widths of all the layers of cardboard 0.6 cm (height and width of the inner rim strips). The lengths of the bars are equal to a circumference of the frame with a small allowance.
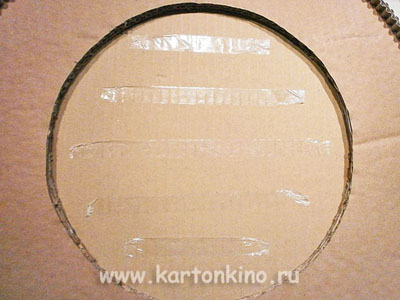
 Then glue the mirror. One can choose different ways. I taped it to the double-sided tape, but you can use glue. If the frame is not to be used for the mirror, and for a photo or image, it is better, of course, is to use an adhesive tape.
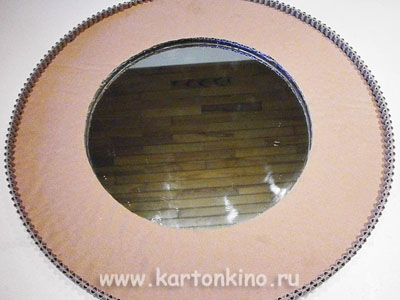 Once the mirror is glued, paste over the inside edges of the frame, as well as external – layer cardboard strips.
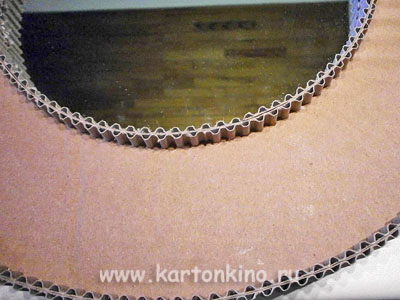
Already at this stage, you can start to decorate the frame of a different color, for example, paste a strip of double-layer micro color between the two strips of brown corrugated cardboard. I did not do it in this box but then plastered bordyurchiki and external, and the internal circles of orange and green strips of corrugated cardboard (below it will be seen).
I remind you that all the internal strips for edging and decoration should be the width of 0.6 cm .
2. Decorating frame .
This preparatory work is completed. Getting started decorating the inside of the frame. It is a creative process, and you can do it to your liking. I think that those who are engaged in a classic Quilling could well draw a frame in this technique because the paper is thinner and plastic and has greater opportunities for decoration.
Well, we, corrugated lovers will not be deflected to the side and remain loyal to our favorite material – corrugated cardboard. ?
The entire surface of the circle, I divided into 8 parts. This is easily done if you cut around template out of paper and put it on the layout. The same range of paper is useful for sketching.
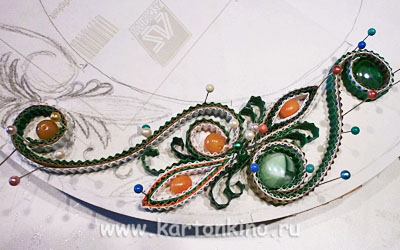
Design, as a rule, undergoes changes in the course of 2-3 – this is normal.
For long curls, I snapped (green, white, Kraft), length 22 cm , but you can make them a little less. If you have a different diameter of the box, specify the size of the elements on their own, according to the situation.
Adding 3 strips together, spin, first one way, then the other end turned in another direction. it is not necessary to glue together the strips as they are moved relative to each other, so they should be free when tightening. They just need to give the desired shape to make it easier to glue on the surface of the frame. Even better glue them individually, but I realized only then when all done.
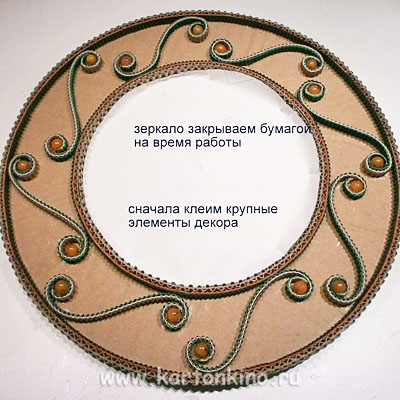
Glue the curls at the scheduled place, causing a small amount of glue on the lower sections of cardboard strips. We make sure that the colors are arranged equally.
If you are going to use beads, immediately make curls on their size.
Here in the photo still curls in the original version, I later made changes and added more slips.
 Making the petals. The order of colors from the center to the edge and their length: White – 7-7.5 cm , green – 8.5 cm , orange – 9.5 cm , white – 10.5 cm in the center, I taped green oblong beads.
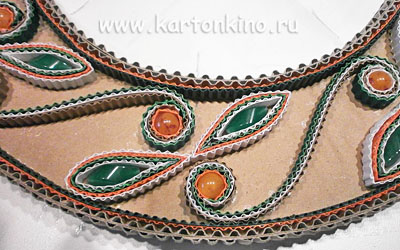
If you do not have beads or you do not want to use them, you can leave the middle of a blank tab. Or you can make the roll, lightly dismiss it and flatten the edges so that it fills the space inside the petals.
Next, I filled all the remaining space in small curls of different shapes of gofropolosochek natural (brown) color, but when I looked a general view, I realized that something was missing. For a long time looking for the option you want, and finally realized that the main curls at me too tight. So I even one green strip on both sides of each curl. Curls are wider and better look.
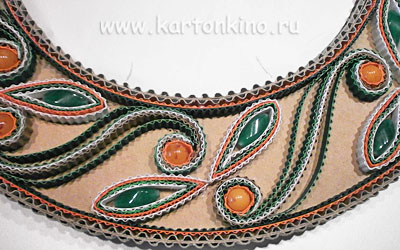 The remaining space on a frame, I filled the curls of any form of natural corrugated cardboard. And so I turned to the mirror frame.
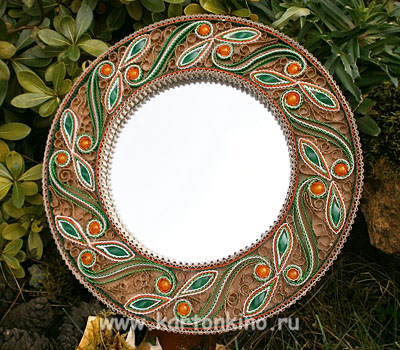 Good luck and inspiration!
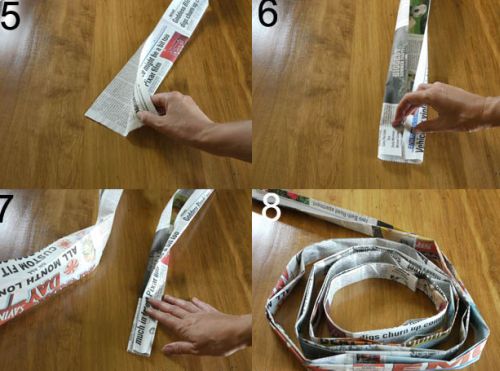
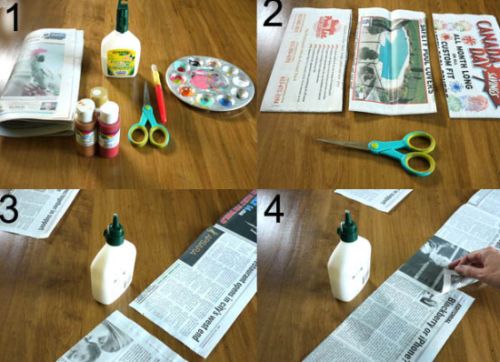 Then fold the long strip in half to crease. Unfold and fold the sides of the newspaper strip inward. Fold in half again. And now you’ll have a long, but sturdy newspaper strip to make your rose.
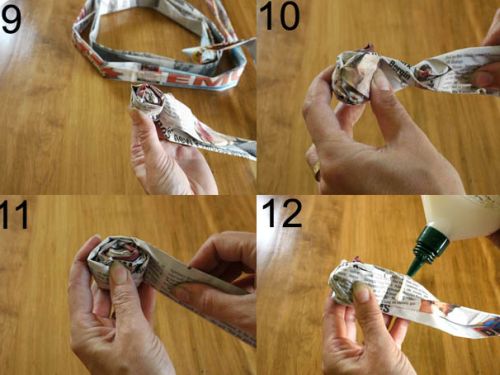
 Soon after, form the crux of your rose, kneading and curling the beginning of the strip. Then continue to wrap the newspaper strip around the created core, turning it gently from time to time, to create asymmetry, as in the original rose. And add a little glue on the inside of the strip to secure the piece.
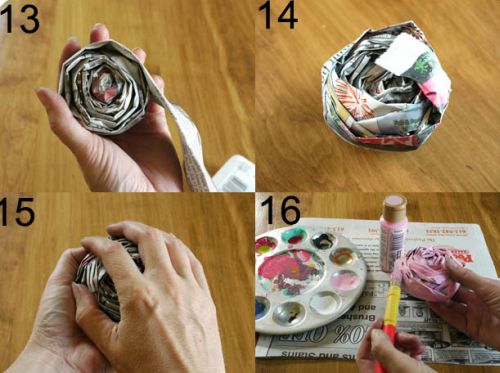
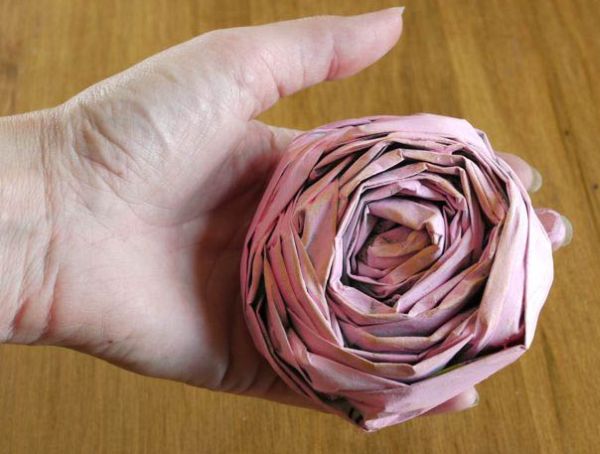
 Now, continue rolling the rose and crushing it in your hands until it reaches the desired size. At the end, stick the tip of the newspaper aunt to fix. And paint and your rose with the color of your preference and the aid of the brush. And it’s ready!
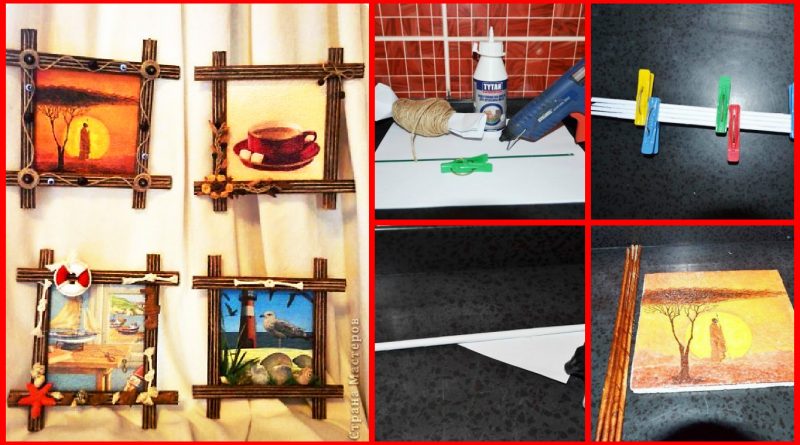
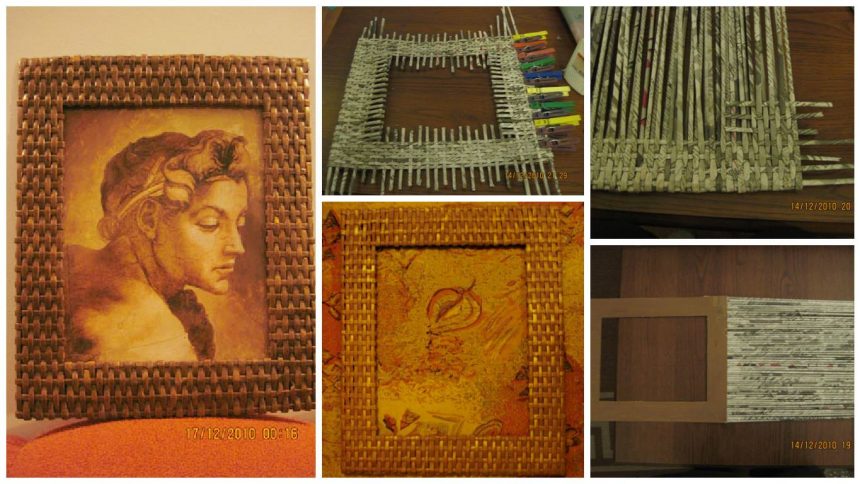
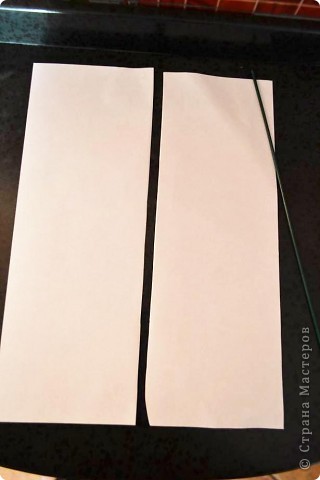
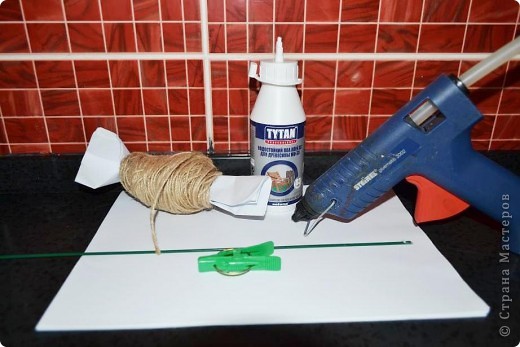 The sheet cut into two parts and twist the tube at an angle of 45 degrees.
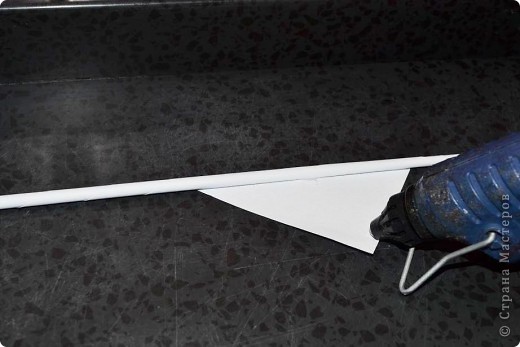
 Tip with maximum precision sizing glue gun. If this is not done carefully when you’re painting the stained tubes, it does not lie flat.
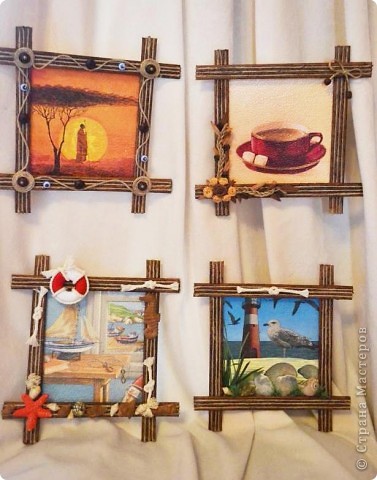
 Here’s what happened
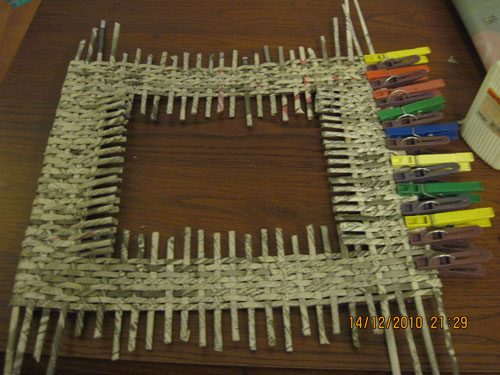
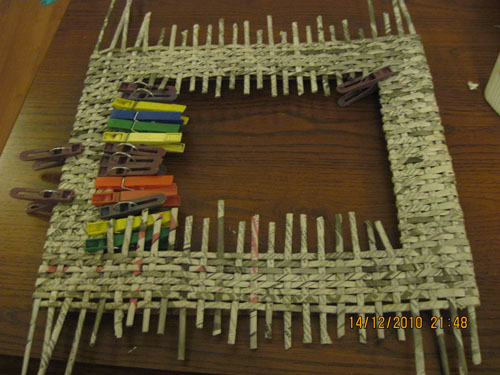
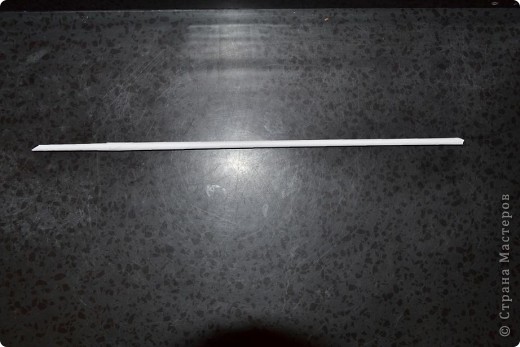 This is one side of the frame. There should be 4.
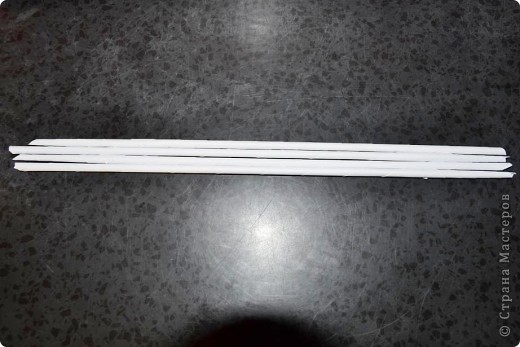 When you add duct alternate thick and thin tip. To obtain a clean strip width.
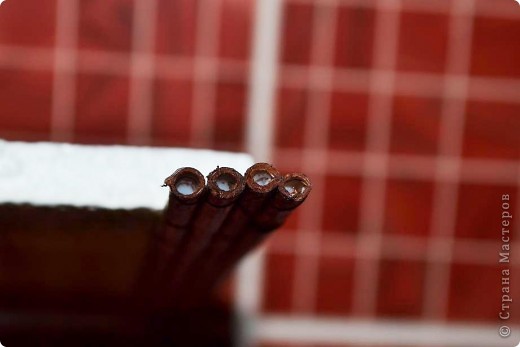
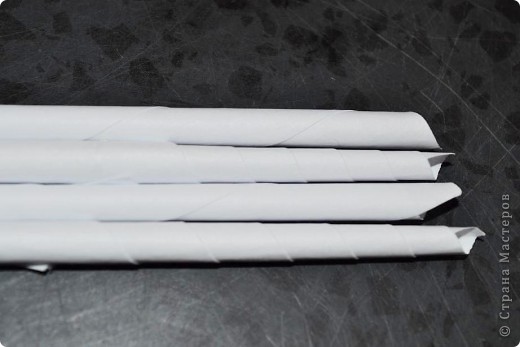 Overturn the tube glue tip top. Cut small strips of paper. And we stick to our paper tubes.
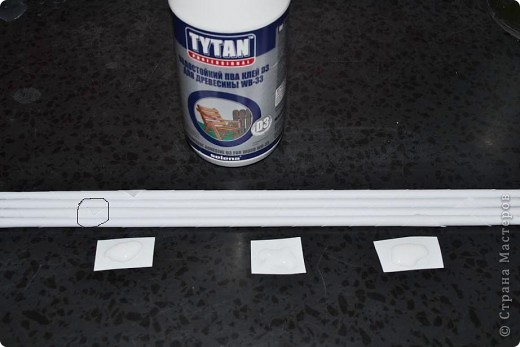
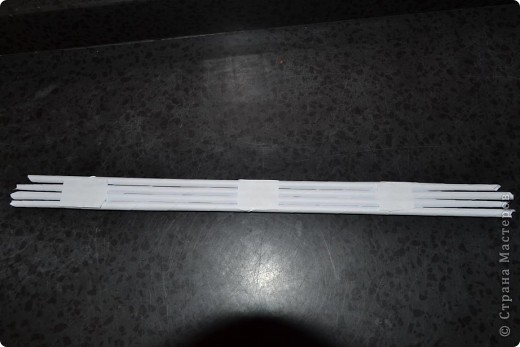 Fasten duct clothespins most densely pressing them to each other, until completely dry.
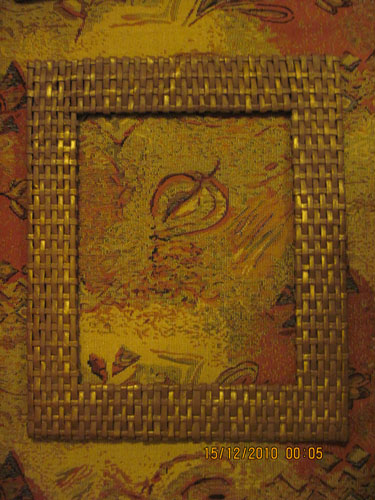
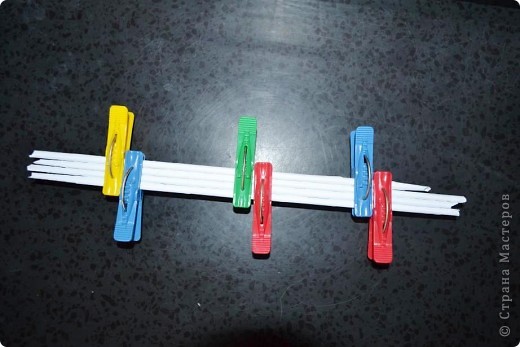 Done
Done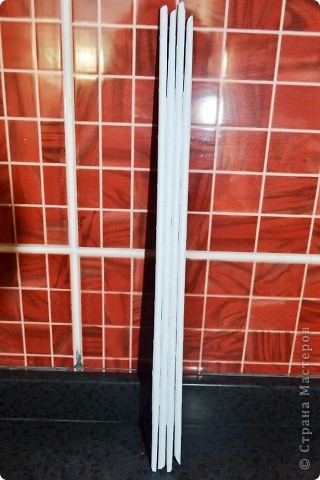 Doing these 4 and cover their stain.
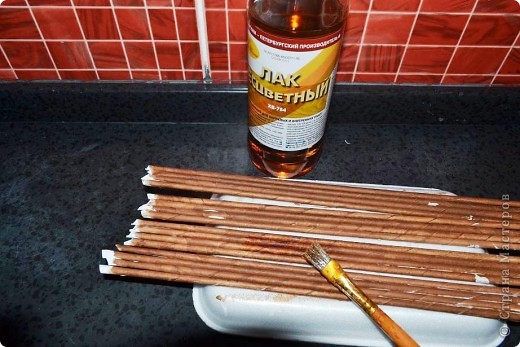
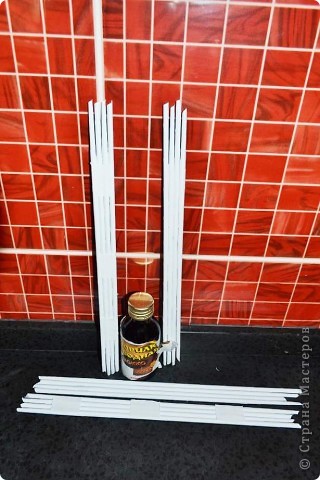 dry them
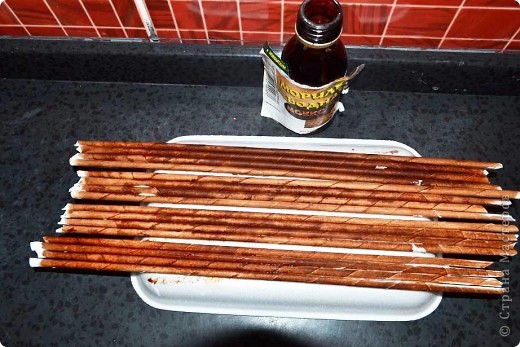 Then place a layer of varnish 2 3 sushi
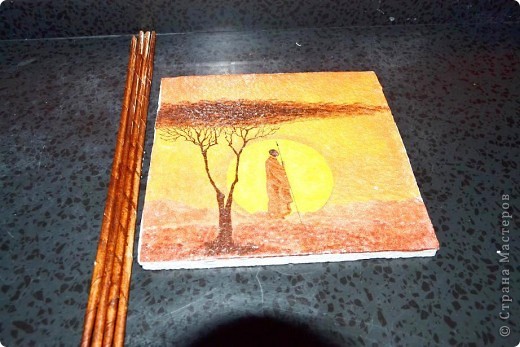
 Dried strips of the thermal glue gun to our panel.
 Like this
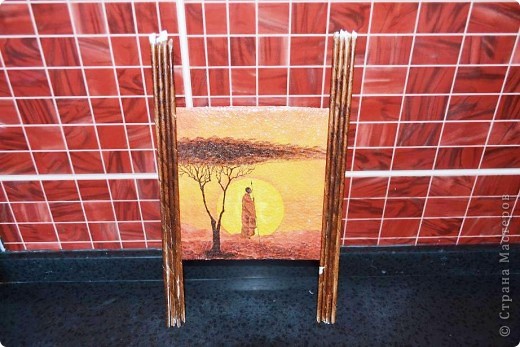 With a sharp knife or scissors, cut off the ends.
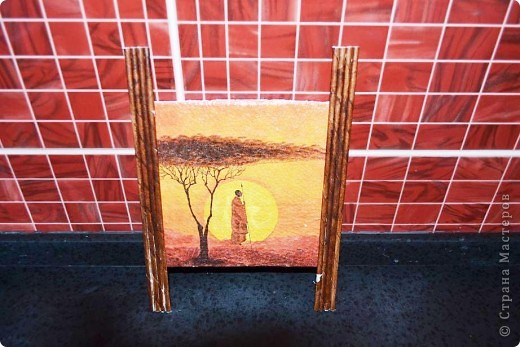 Between the gun, tubes Apply a thin strip of glue and glue quickly our splits. The tips are clipped.
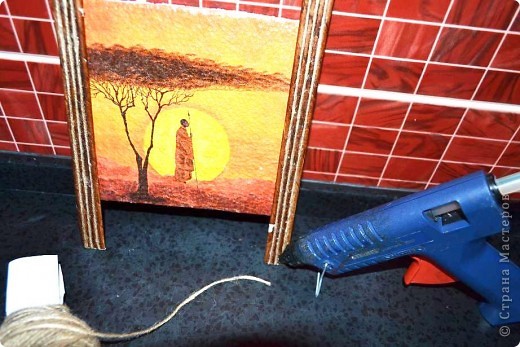 Glue gun our top and bottom of the frame. Cropped ends.
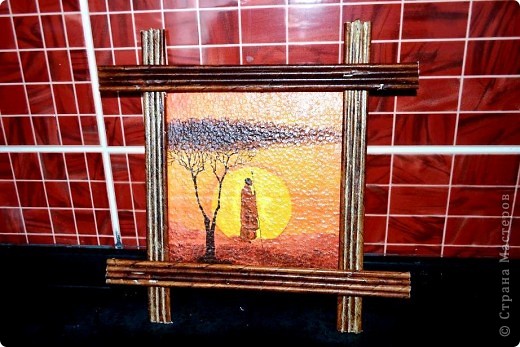 Just glue the twine it will close all the technical mistakes on our frame.
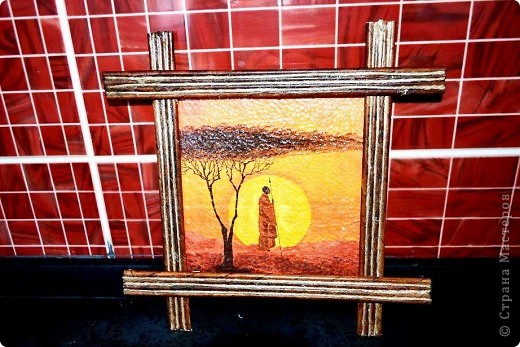 Done. You can take a decorative cord and paint our example gouache tubes. I have wood. Color stain “Mocha”
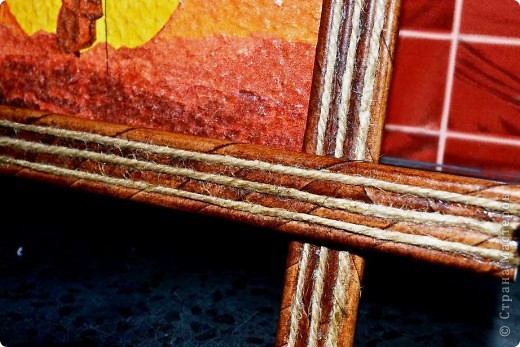
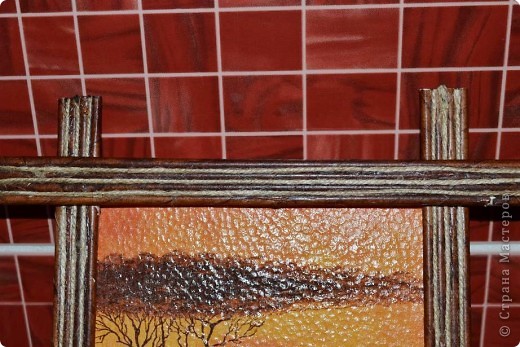 The tips of the painted stained, and some just scorched by fire (turned more brutal)
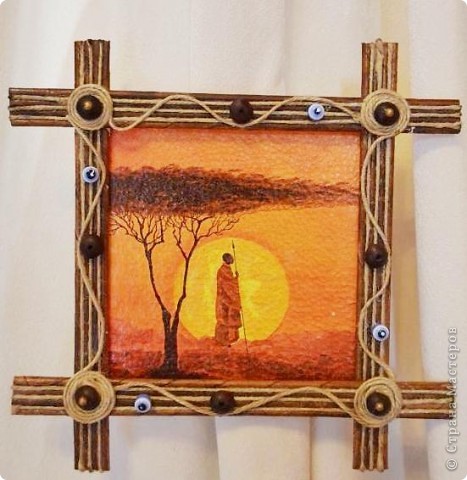
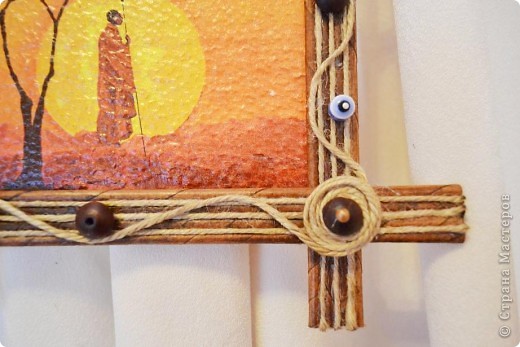
 And with decor
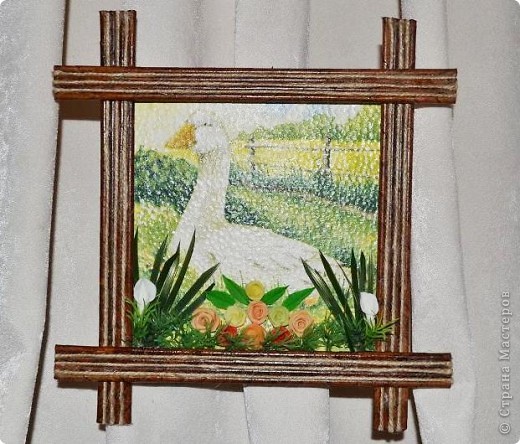
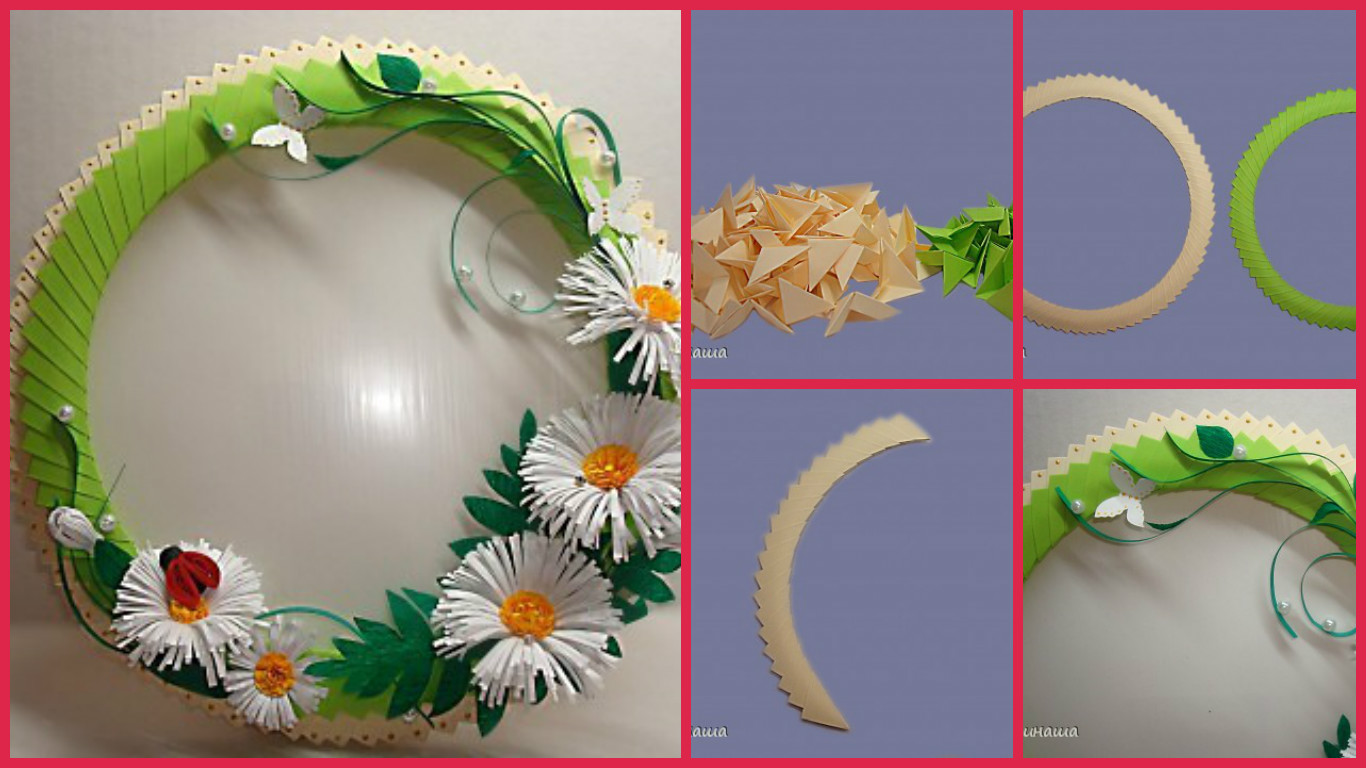
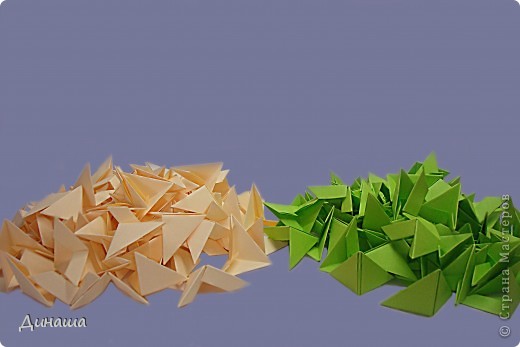
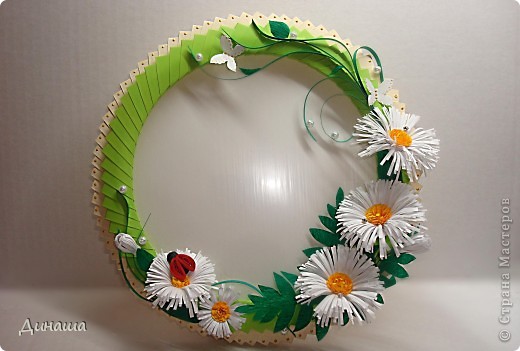 For the manufacture of frames with a diameter of about 21 cm., We need five sheets of pale yellow and 5 sheets of green paper format A-4 for triangular modules. From a single sheet obtained 16 rectangles measuring 5 cm to 7 cm. So, for the yellow blanks necessary to wind the 80 modules for the green-70.
 We connect the modules to each other, rounding them up and slowly forming a circle. The fastening is not very tight! Clay did not use!
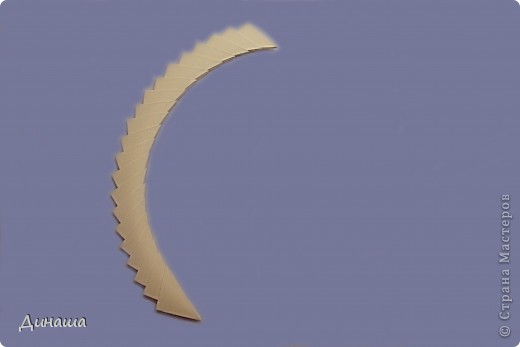
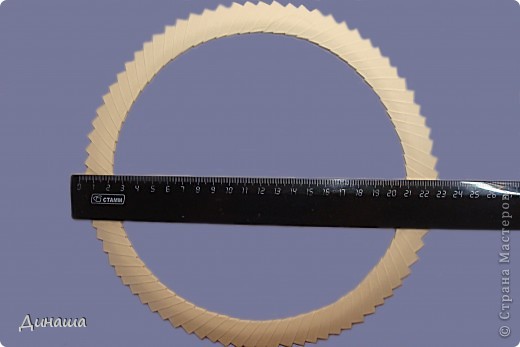
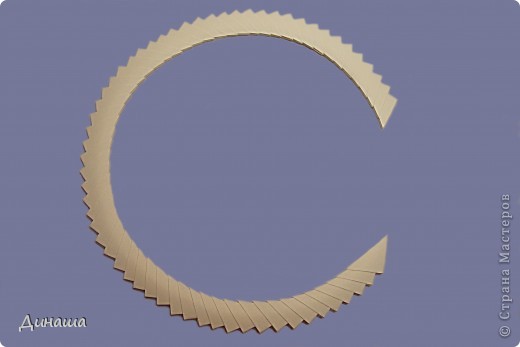 The diameter of the resulting circle is equal to approximately 23 cm. Furthermore tightly connect the modules. The circle becomes smaller, about 21 cm.
 Likewise, we do green preform. It consists of 70 modules and will be less. Its initial diameter of 21 cm., And the final 19-cm.
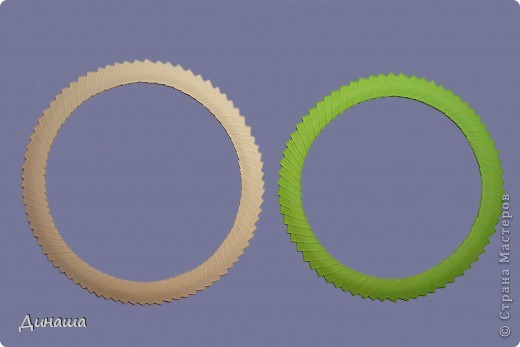
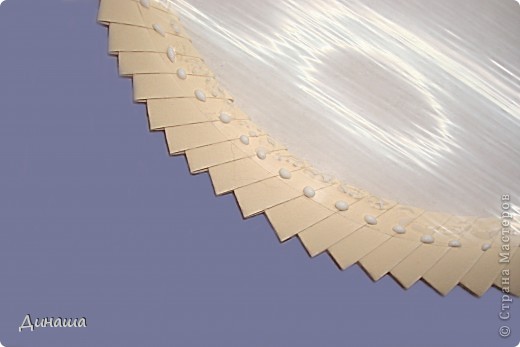
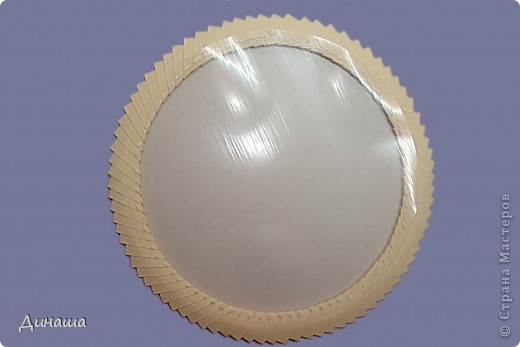 Glue the transparent circle. Smoothes everything to be exactly. PVA glue allows this, it is not directly grasped, and in which case, an error can be corrected. On top of the transparent film to apply the adhesive, so that it fell on the “glass”, and modules.
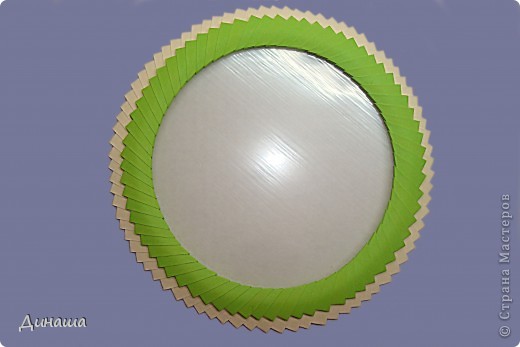
 Top glue green procurement. Presses more tightly to the glue grabbed. This is the front side of the frame.
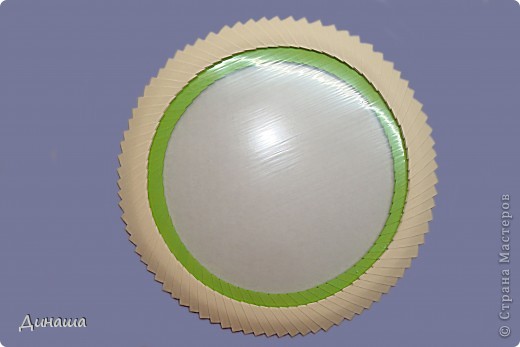
 And wrong side.
 Further, the cardboard cut out a circle of diameter 19 cm. Cut curved scissors that looked spectacular.
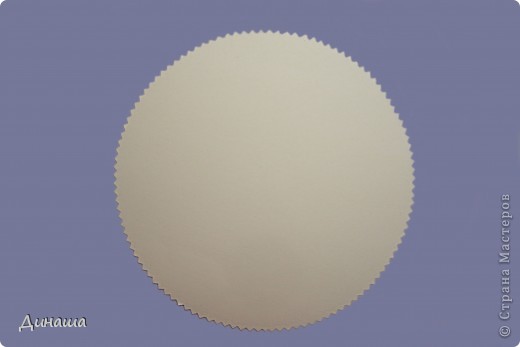 Apply glue along the contour of the frame from the inside, but only half (pictured ruler marked limits application of the adhesive).
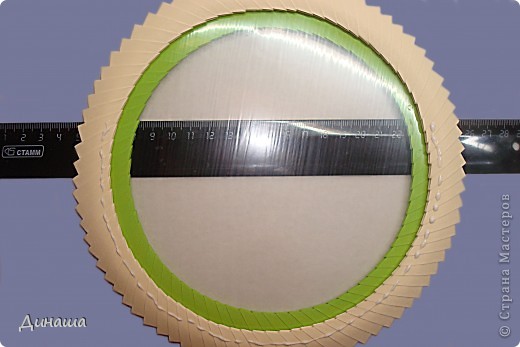 Glue.
Glue.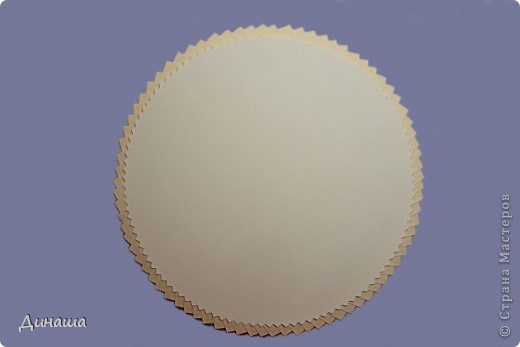 In the final frame should have a window. This picture will be inserted.
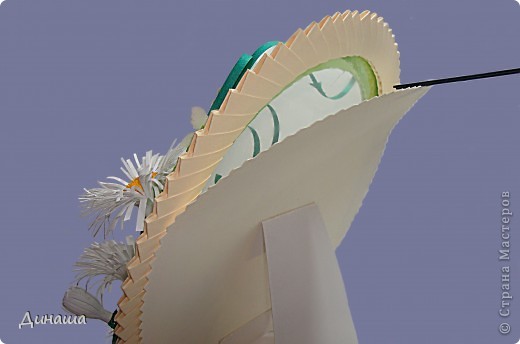 The last step pedestal. I’m doing it here on such a scheme.
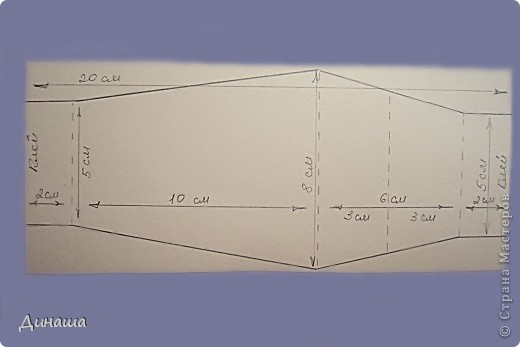 Cut along the lines outlined. The dashed-line fold line. Bend like the picture.
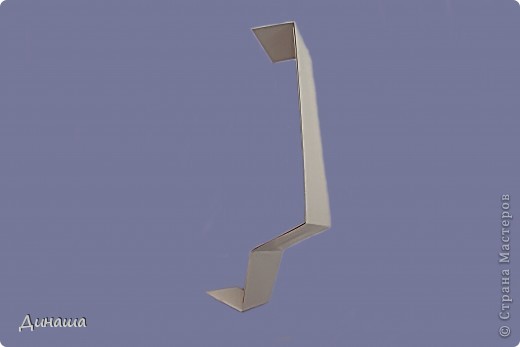 To stand is desirable to take a thick cardboard. I board not tight, so do double. Bend, apply the adhesive and glue.
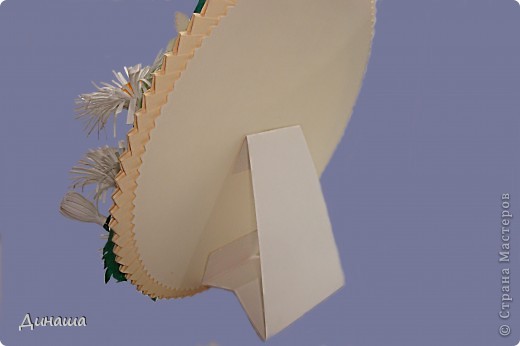
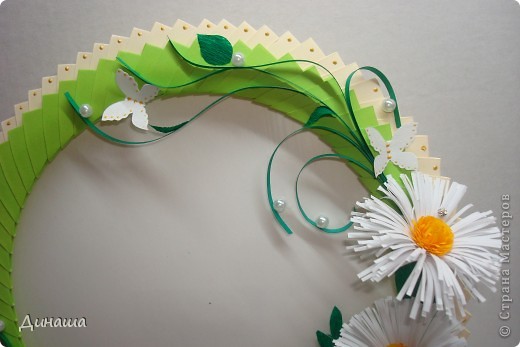
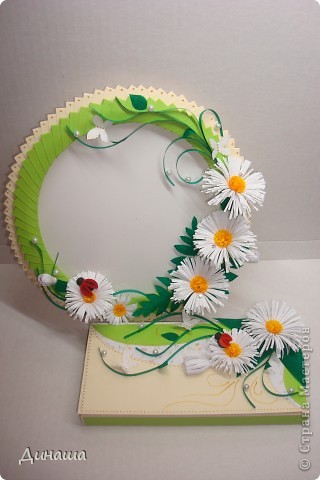
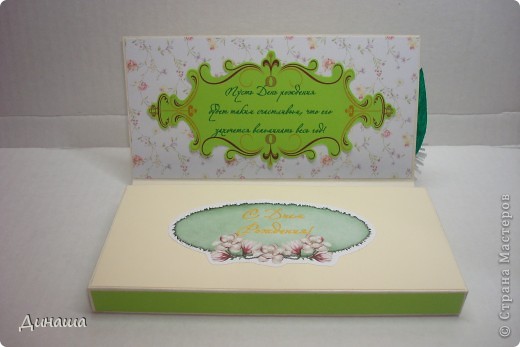
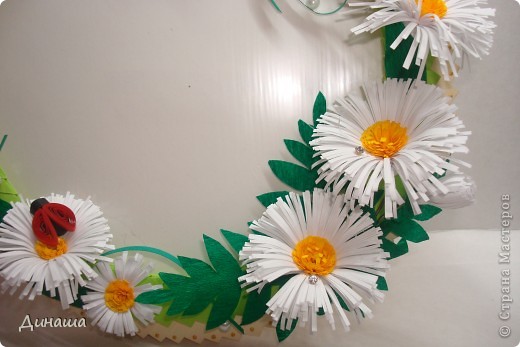 Frame made complete with packaging for chocolates. That’s a set turned.
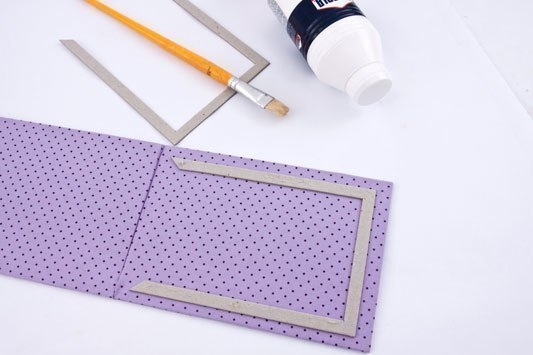


 Then glue the mirror. One can choose different ways. I taped it to the double-sided tape, but you can use glue. If the frame is not to be used for the mirror, and for a photo or image, it is better, of course, is to use an adhesive tape.
 Once the mirror is glued, paste over the inside edges of the frame, as well as external – layer cardboard strips.

 Making the petals. The order of colors from the center to the edge and their length: White – 7-7.5 cm , green – 8.5 cm , orange – 9.5 cm , white – 10.5 cm in the center, I taped green oblong beads.
 The remaining space on a frame, I filled the curls of any form of natural corrugated cardboard. And so I turned to the mirror frame.
 Good luck and inspiration!
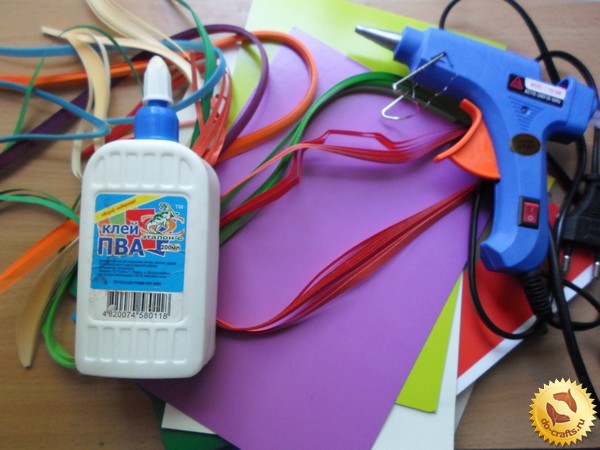
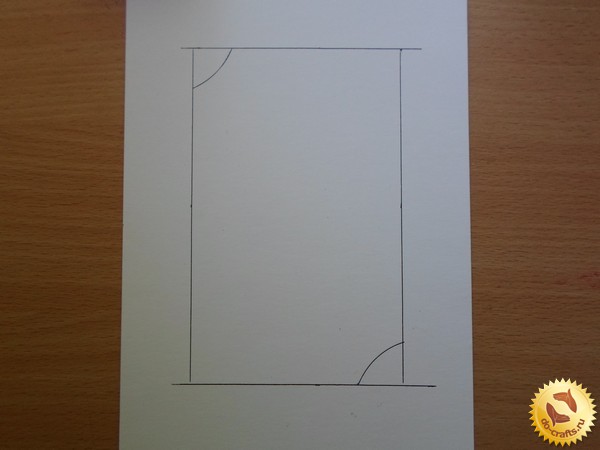 Then take the knife and carefully cut the frame.
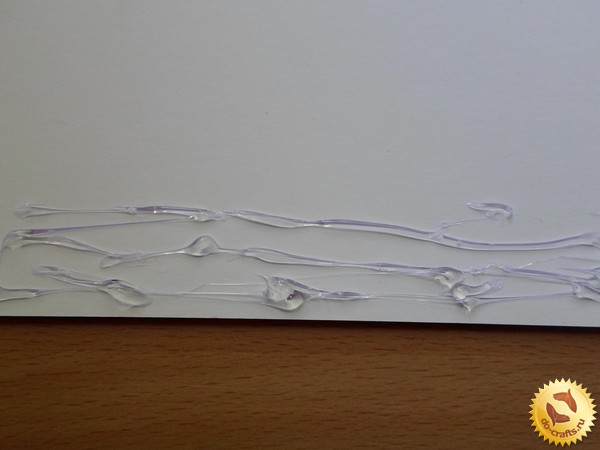
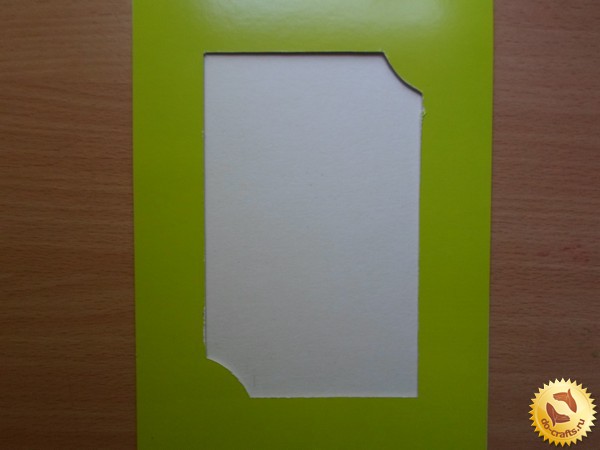 Now we need to take the glue gun and glue together a piece of cardboard and a blank for the frame. Apply glue should be at the very edge of a board that had a place to put pictures. What’s more, plus the use of glue gun, it creates a small space between the sheets of cardboard, where he will continue to post pictures.
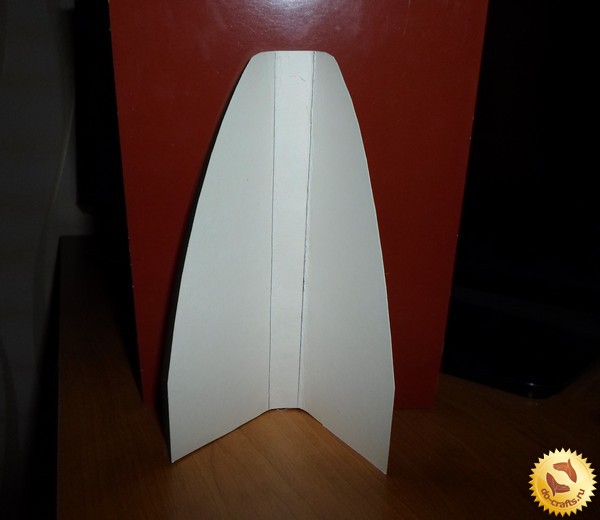
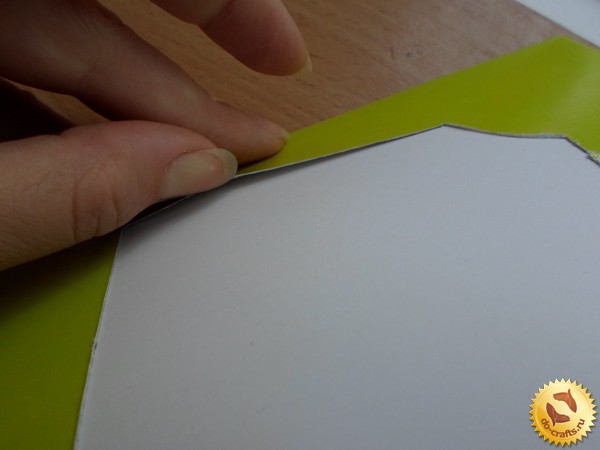 Now you need to make a stand for the frame. To do this, take the cardboard and cut the shape out of it as shown in the photo.
 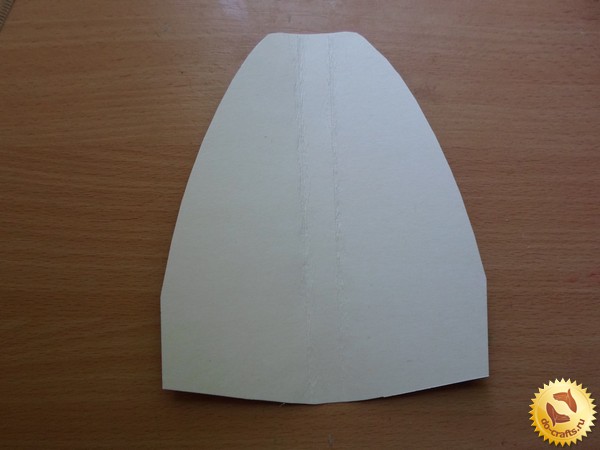 On the back of mid-Apply glue and glue the base to the frame.
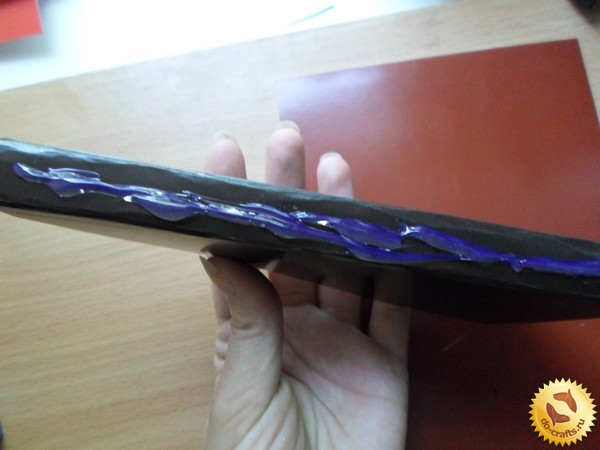
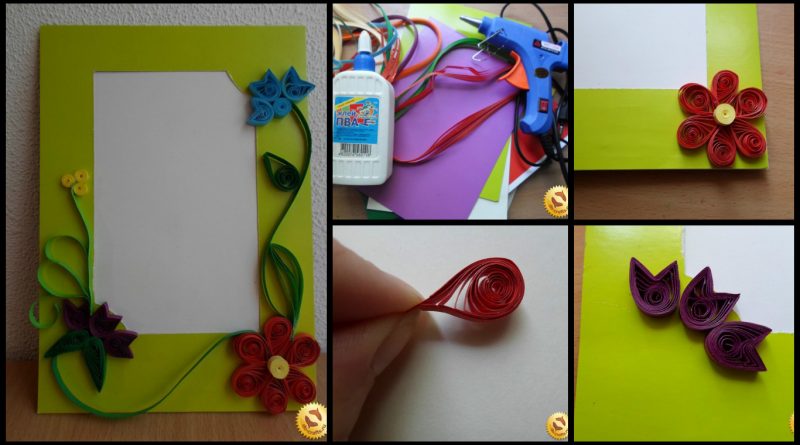
 Now we can proceed to the decor, which is made in quilling techniques. To do this, we need to take a quilling tool. If you do not exist, it can be very easy to do out of the ordinary toothpicks.
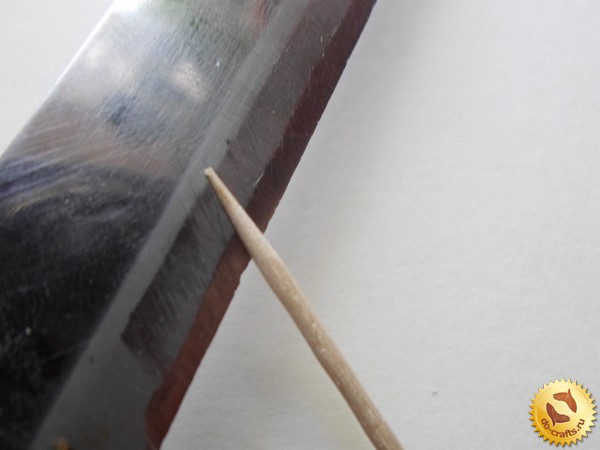
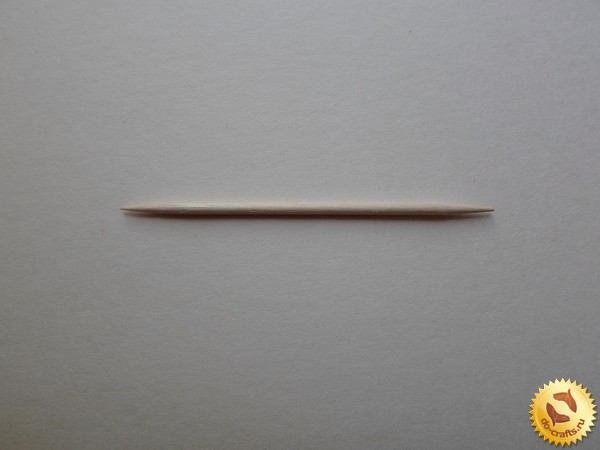 To do this, take a knife and carefully cut the edge of the toothpick. The tool is ready.
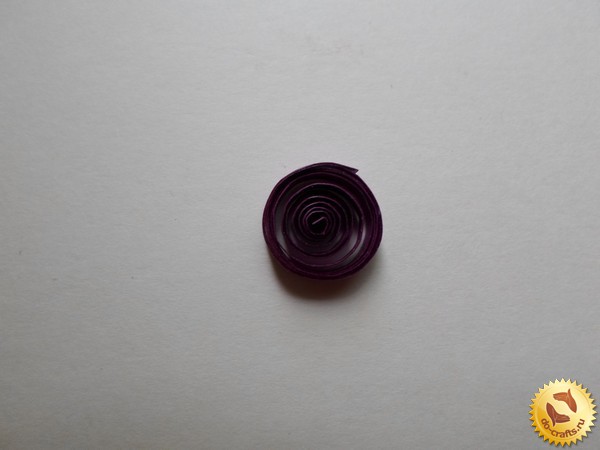
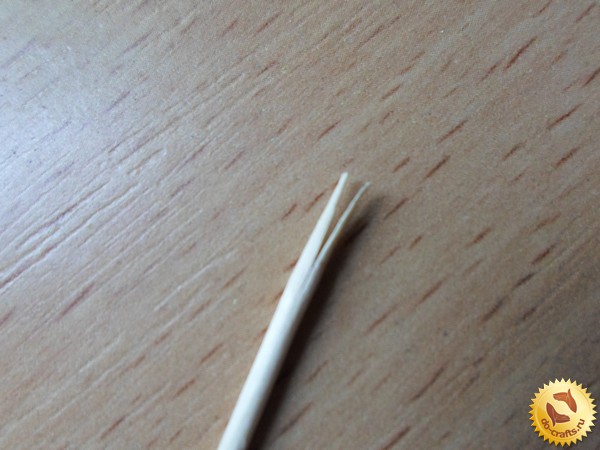 Now we start to do the flowers for this we press the edge of the paper to the toothpick and turn loose circle.
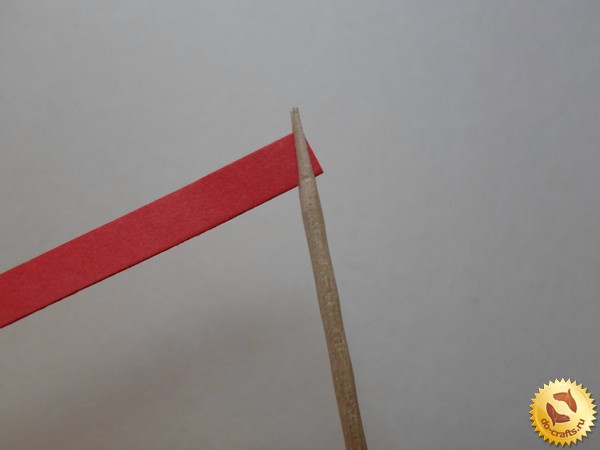
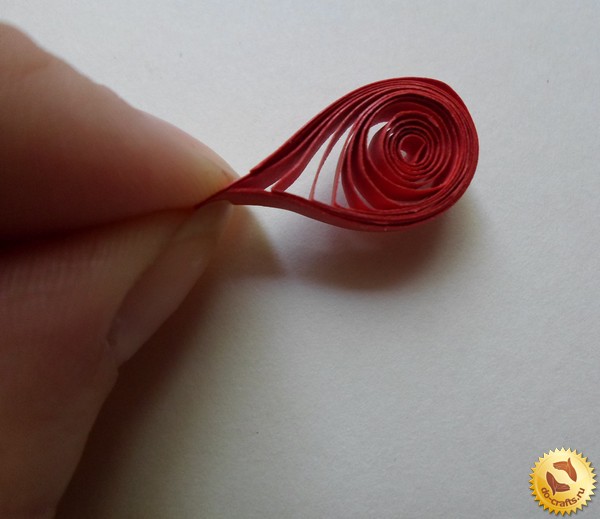
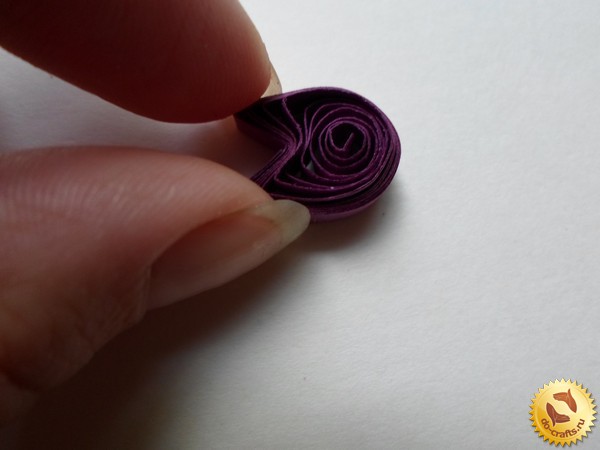
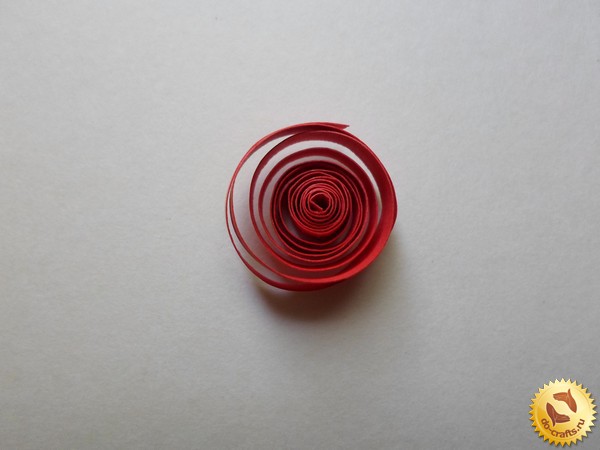 Then presses one edge of the circle to get a drop. This will be our petals. Do not forget to glue the edges of the paper PVA.
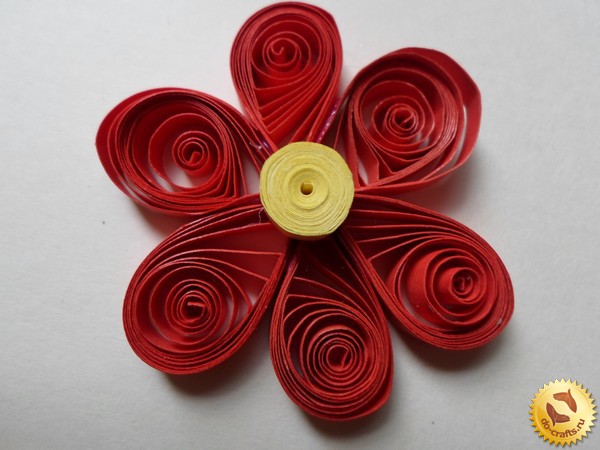
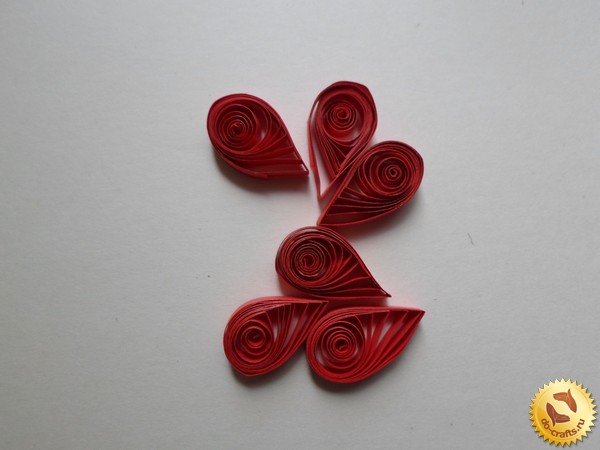 With the help of glue, PVA collects flower of six petals and decorate the middle of a simple yellow circle.
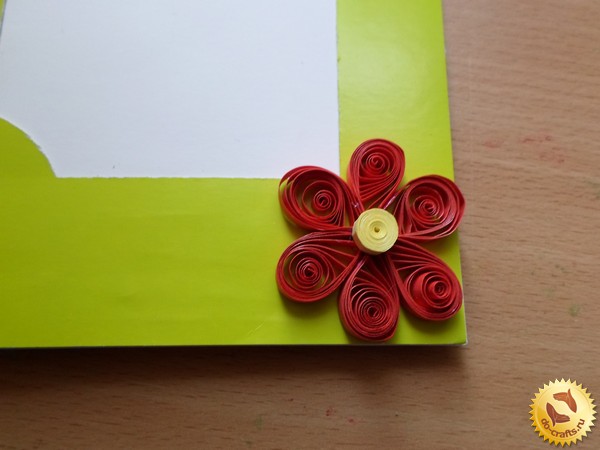
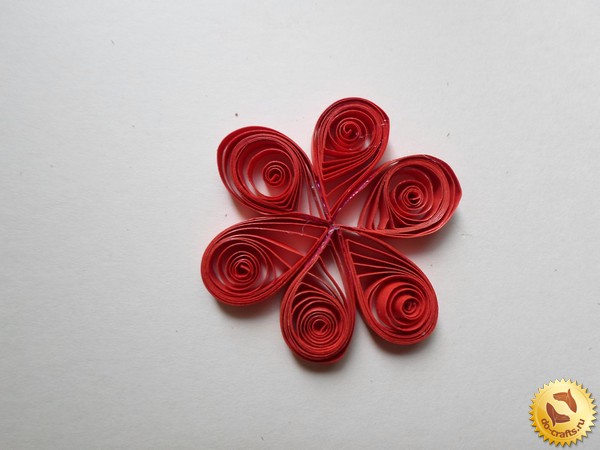 Sticking flower to the frame.
 Making other flowers. To do this, twist the loose circle, and then Fold the two edges up, pressing the middle inside.
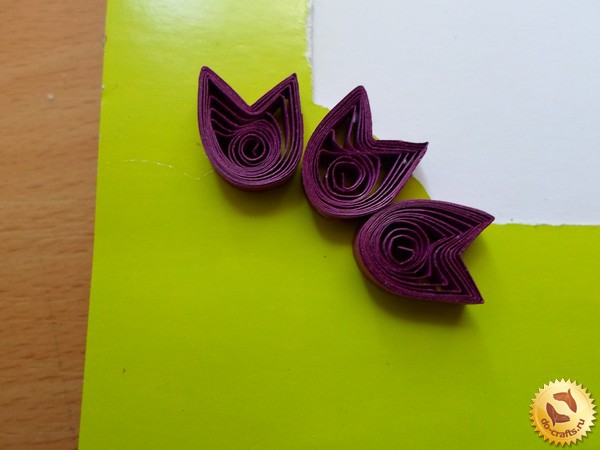
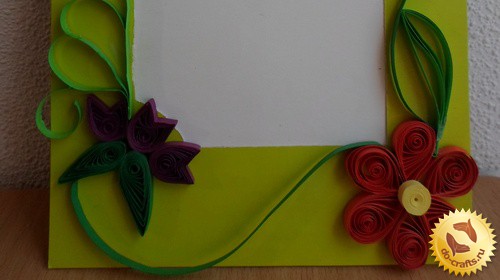
 We supplement this flower with green leaves, drops and connect it with another flower strip of green paper.
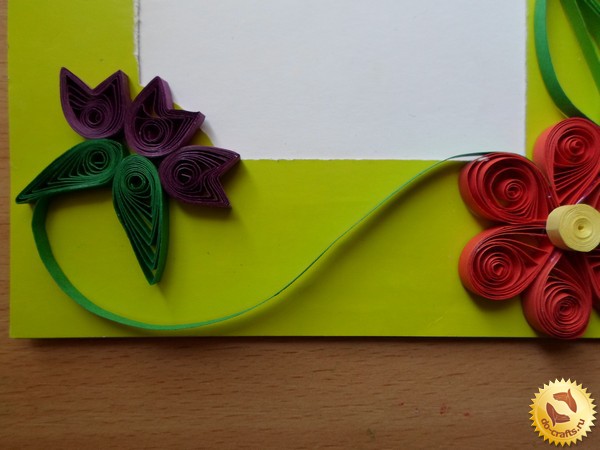 In the same way, we do the flower of a different color and fasten it at the top of the frame. Of the green paper, folded together a few times, do list, which is attached to the bottom of the flower and composition complement one another leaf and twig.
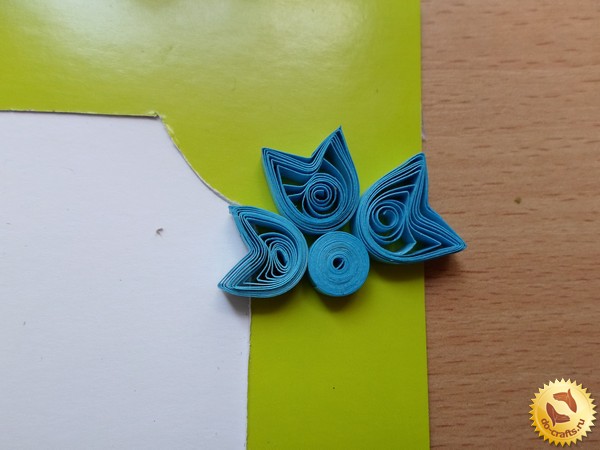
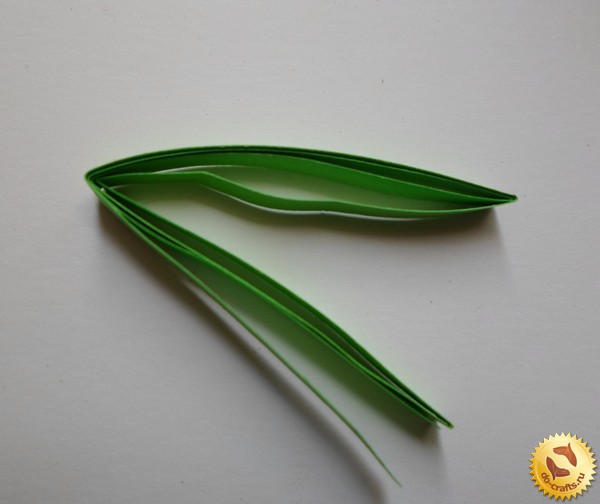
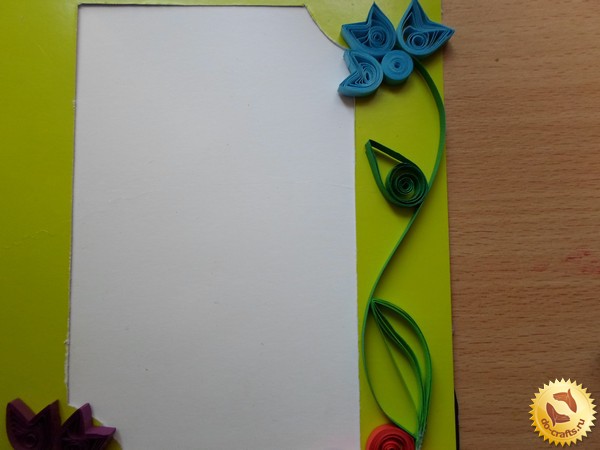 We glued together several strips of green and fasten them to the bottom of the flower. Fold the branches, simulating the vine. Do not forget to capture all the glue.
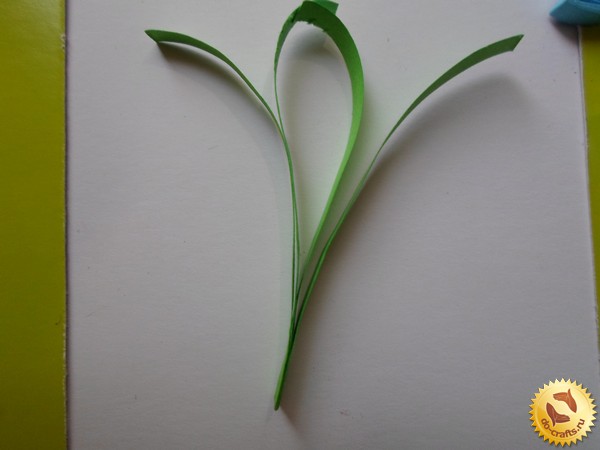
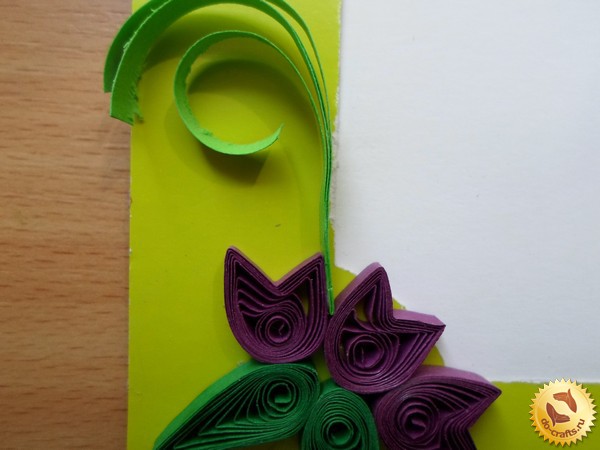
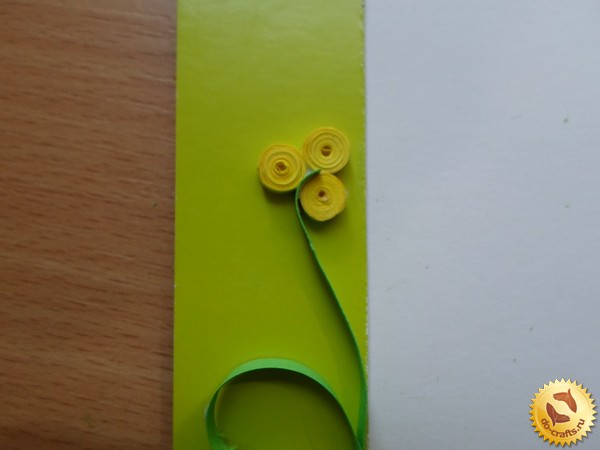
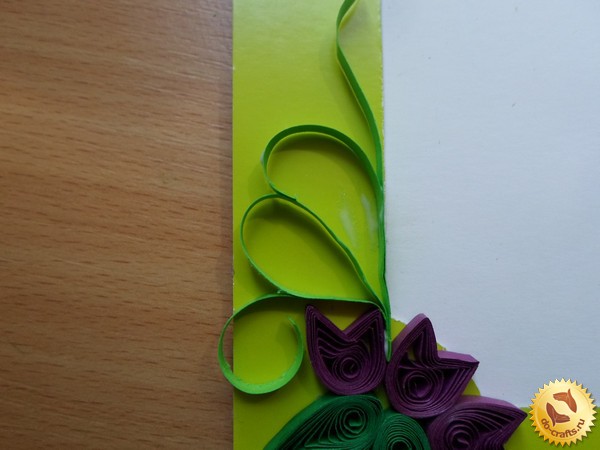 At the edge of the upper twigs fastened little flower from simple circles.
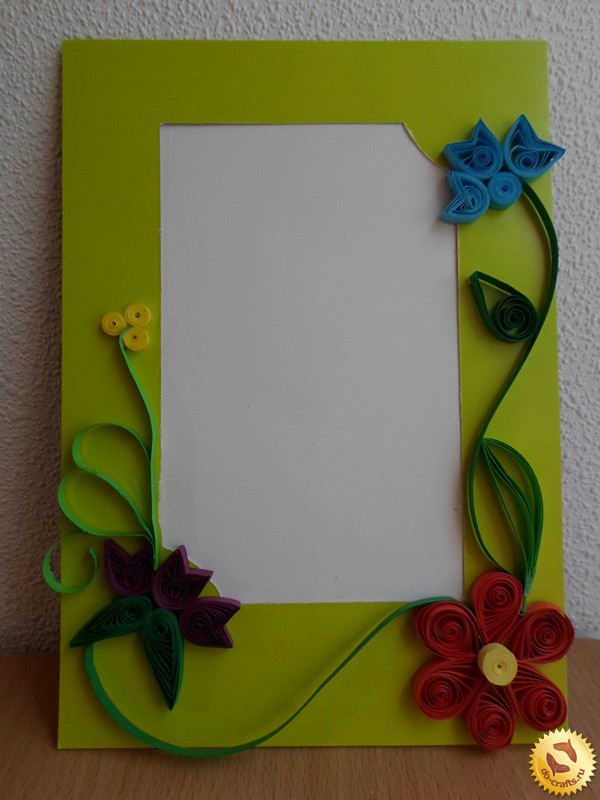
 The frame is ready. If you wish, you can complement the decor more details.
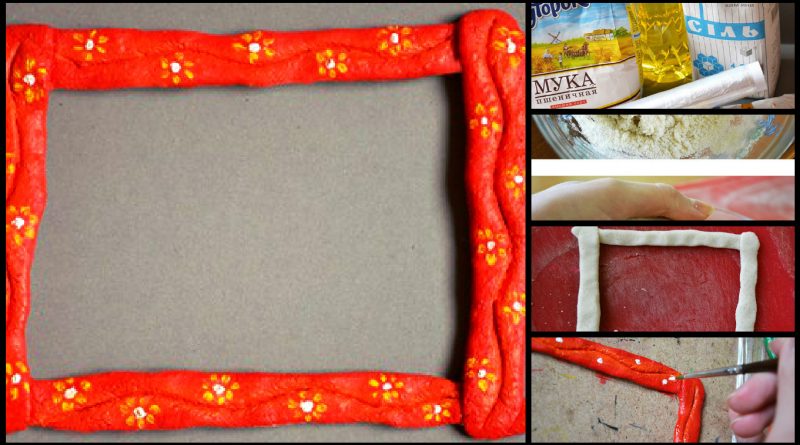
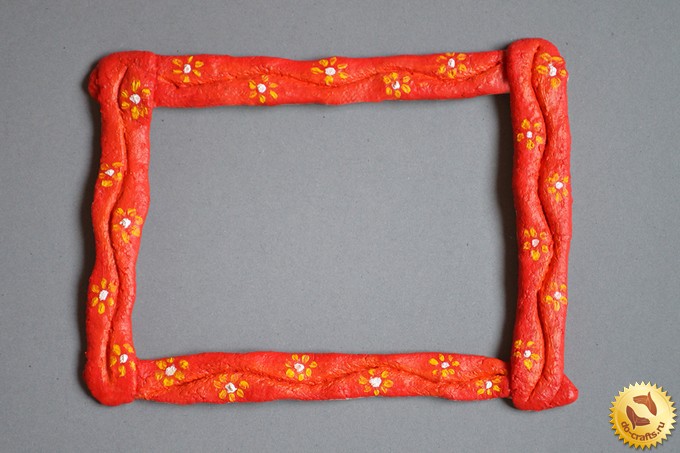
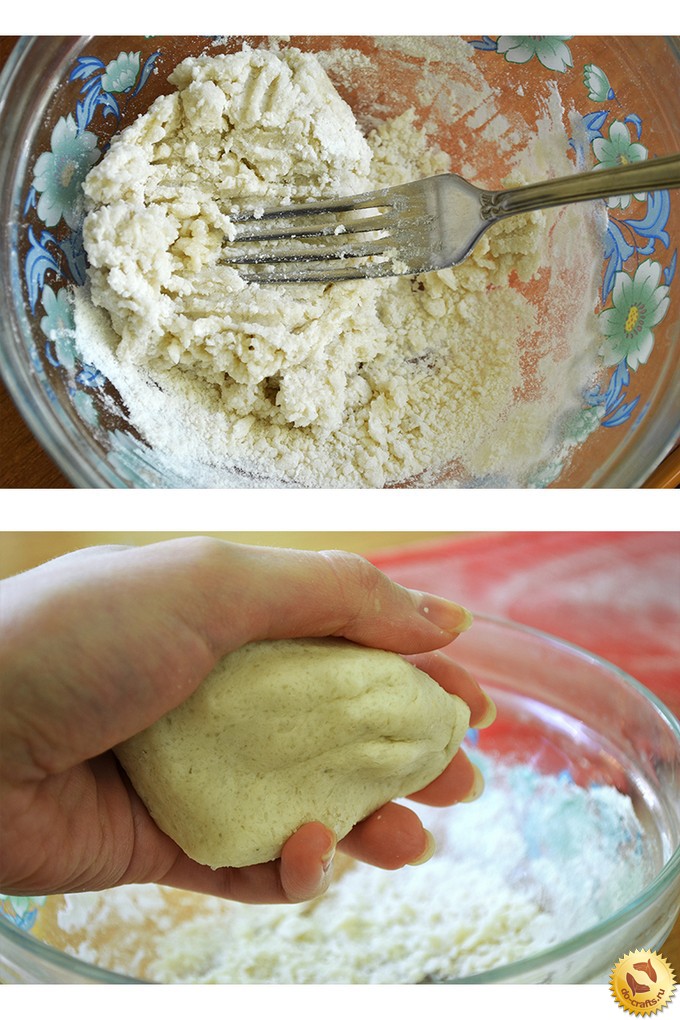 2. Further, the obtained sausage dough do four, two of which must be slightly shorter than the second pair.
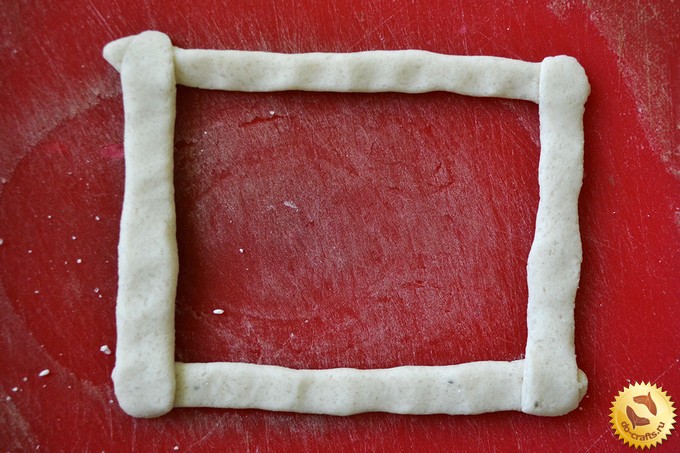
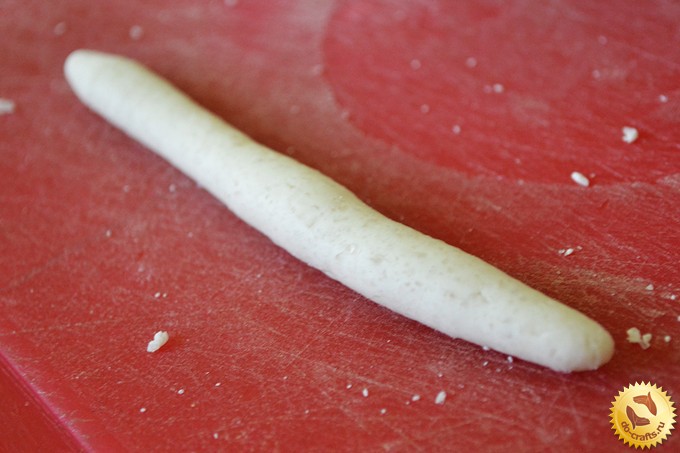 3. Push the sausage fingers, thus making them thinner. Thereafter applying them perpendicular to each other.
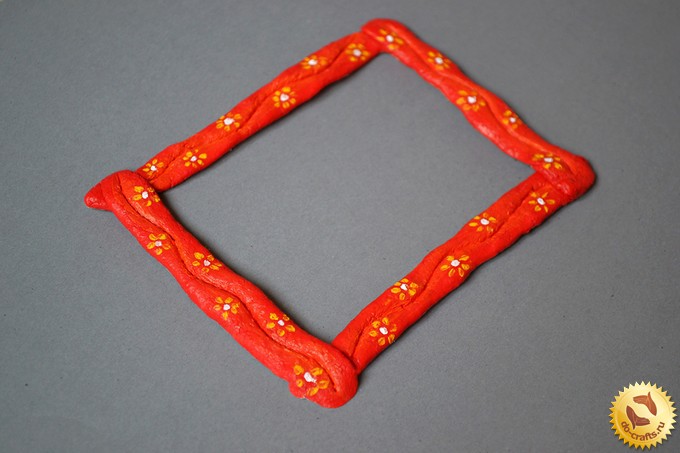
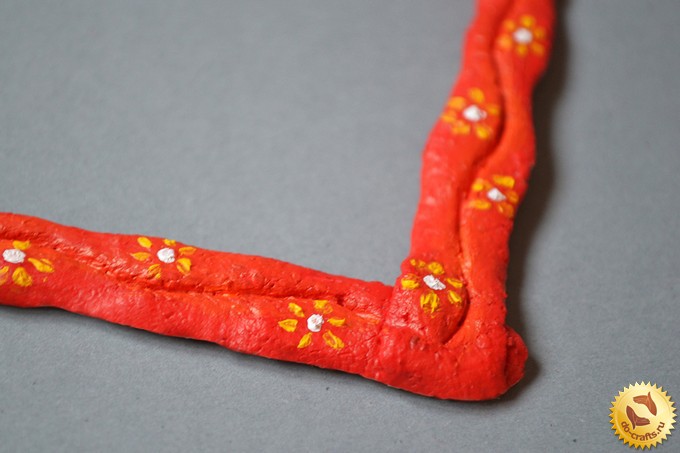
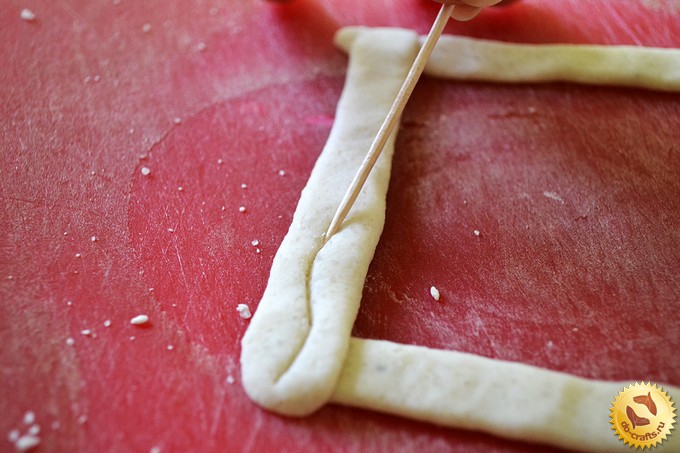
 4. Take a toothpick and cut through the wavy pattern along the sides of the frame.
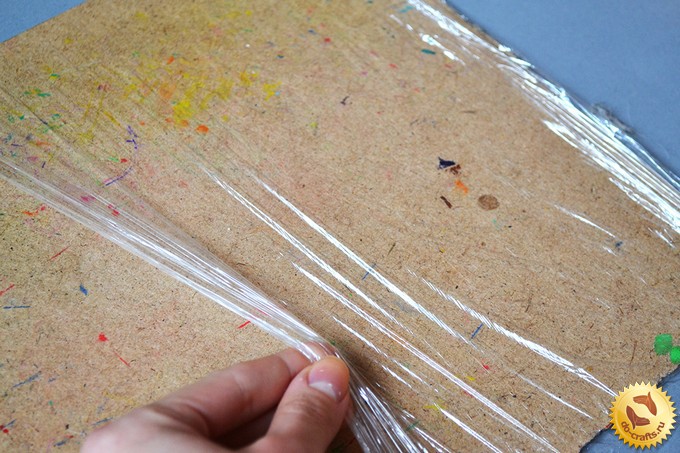
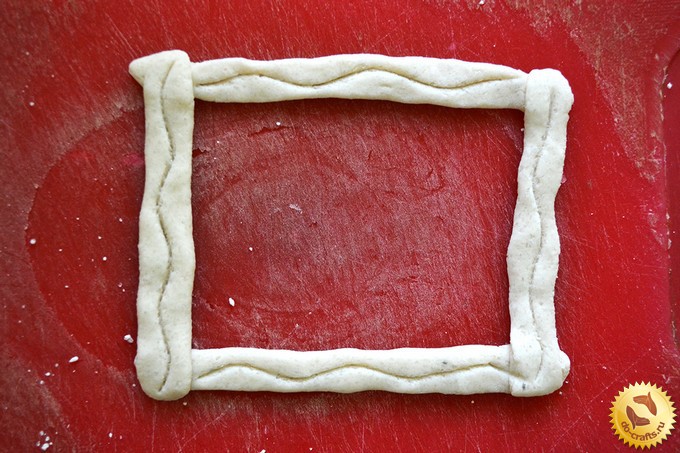 6. Now wrapped with cling film surface on which we paint the picture frame.
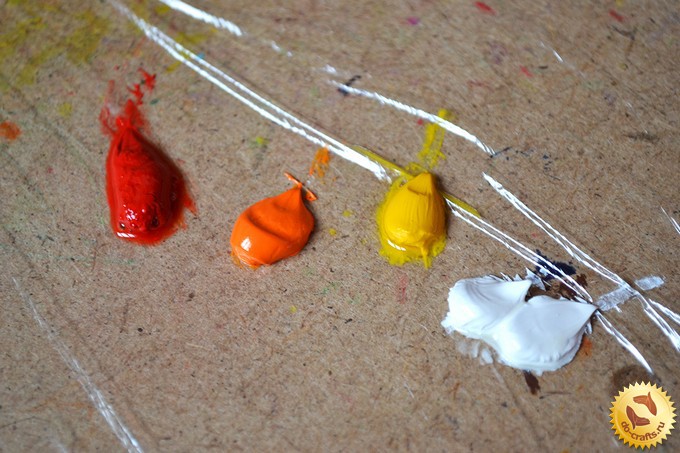
 7. squeezed from tubes of red, yellow, orange and white paint.
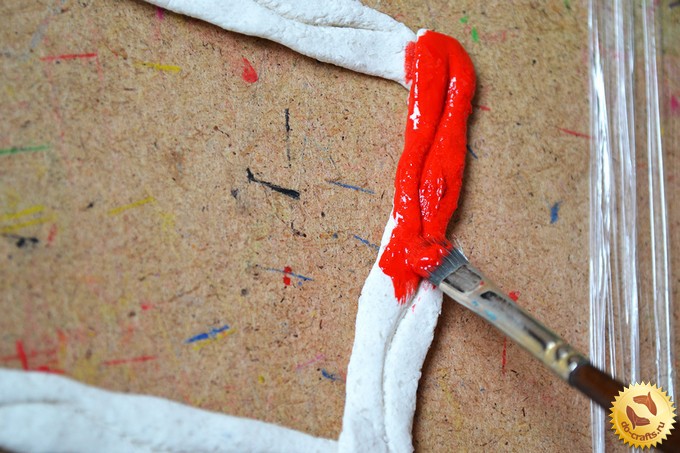
 8. We take a broad brush and paint the frame in red color (occasionally damp brush in sunflower oil).
 9. We look to have been painted over all the edges.
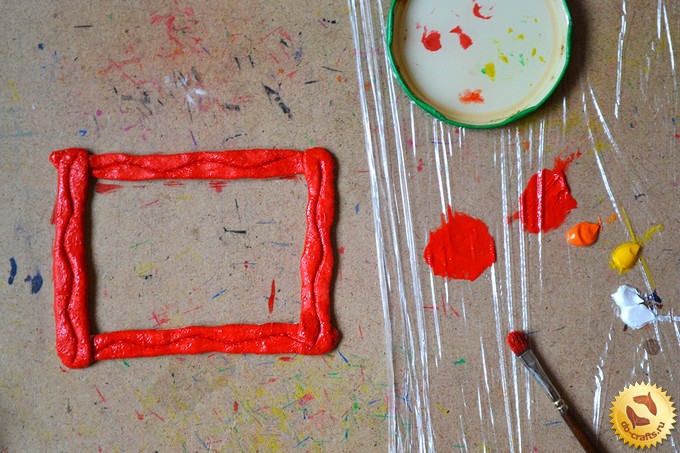 9. We look to have been painted over all the edges.
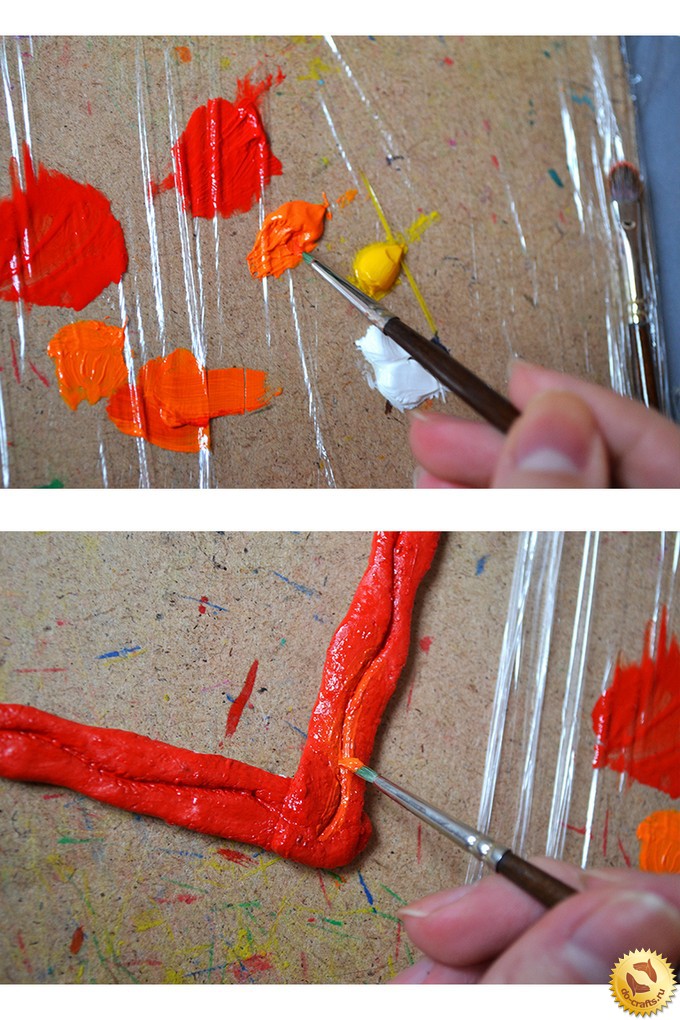 11. Wait until the frame is dry (for several days). To expedite the process, you can bring a table lamp.
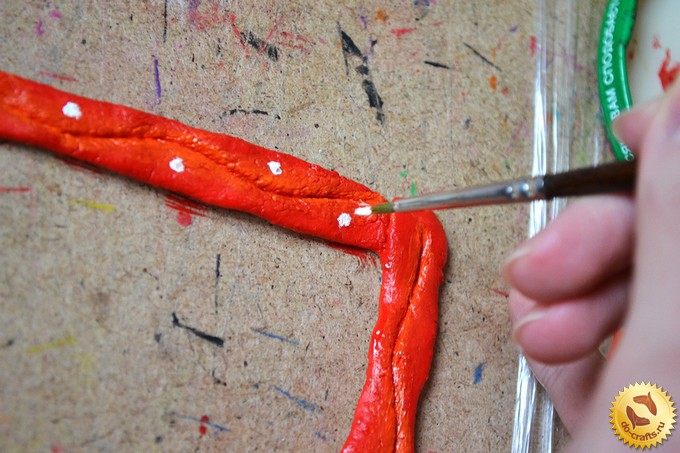
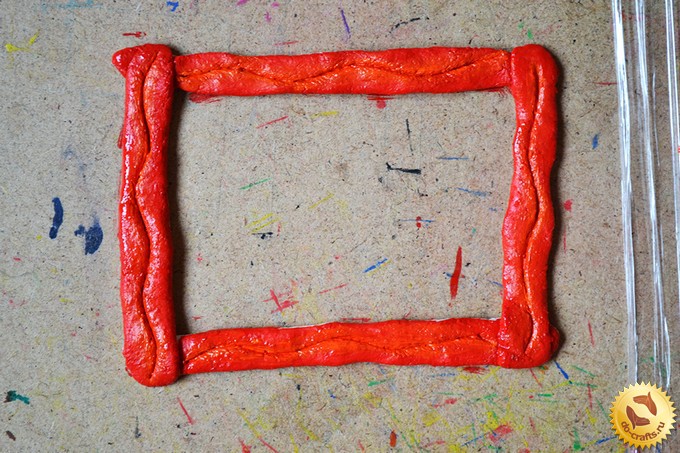 12. Further, the thin brush set white spots along the wavy pattern.
 13. After that, take the yellow paint and paint the petals of flowers.
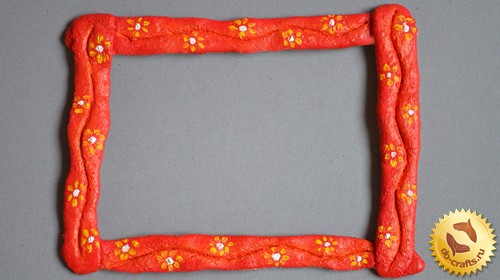
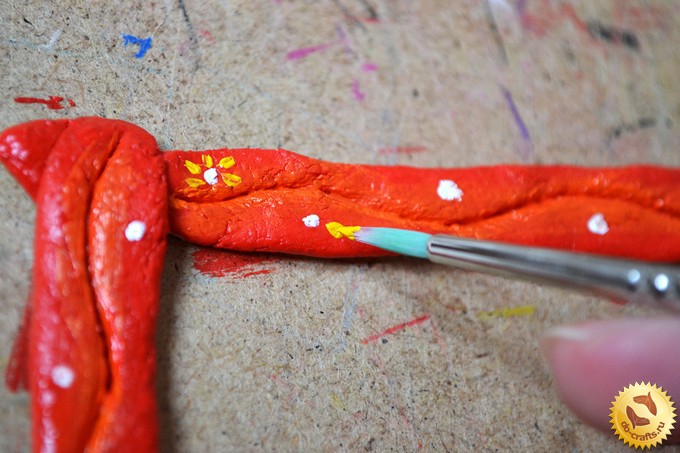 All the work is done. We are waiting for a couple of days, then you can paste a picture framed.