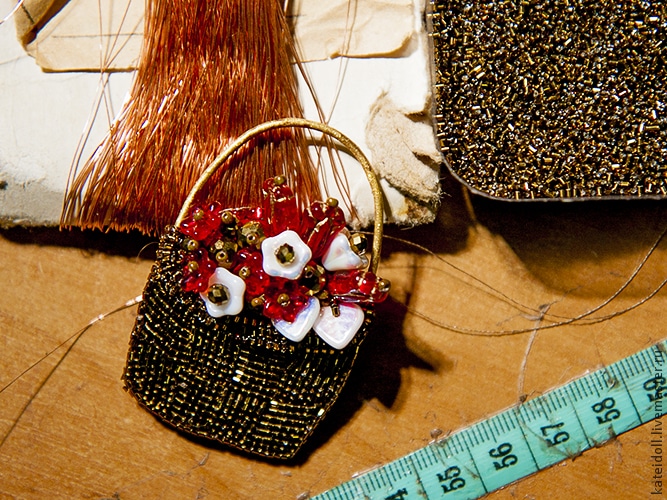
Today I want to show you the production of a small brooch in the form of a basket with flowers.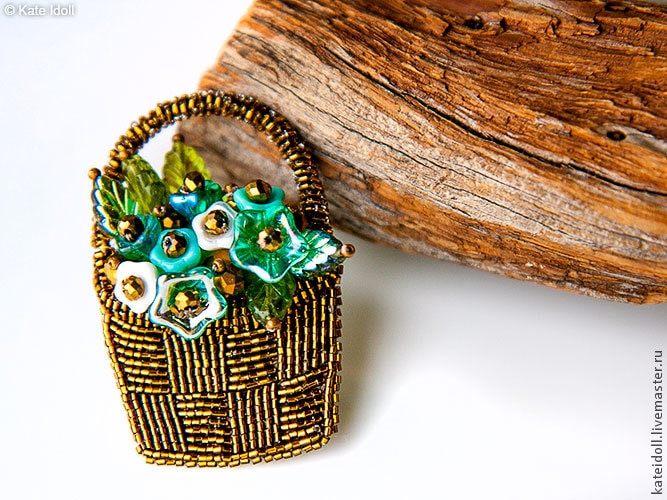
Required Material:
– cutting beads brown №12, №10 beads round brown beads round number 9 red (instead of white in the photo);
– crystal beads 4 and 6 mm;
– glass flowers and leaves;
– buckle for brooches;
– the basis for embroidery – Felt black and red;
– the skin (a small piece);
– copper wire of 2 mm and 0.3 mm;
– glue;
– cardboard;
– thread for embroidery;
– band-aid.
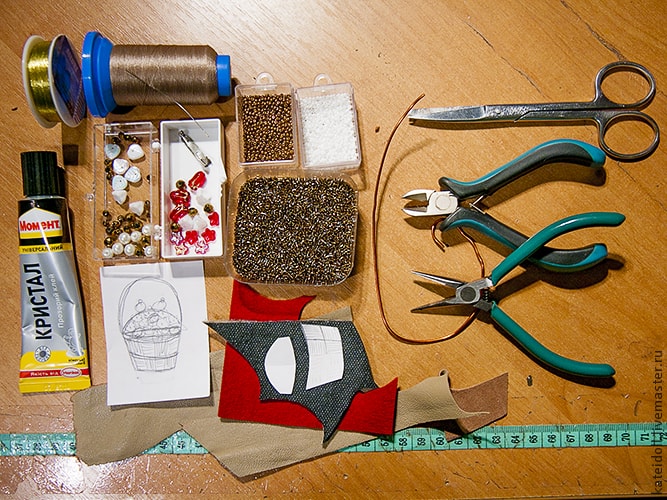
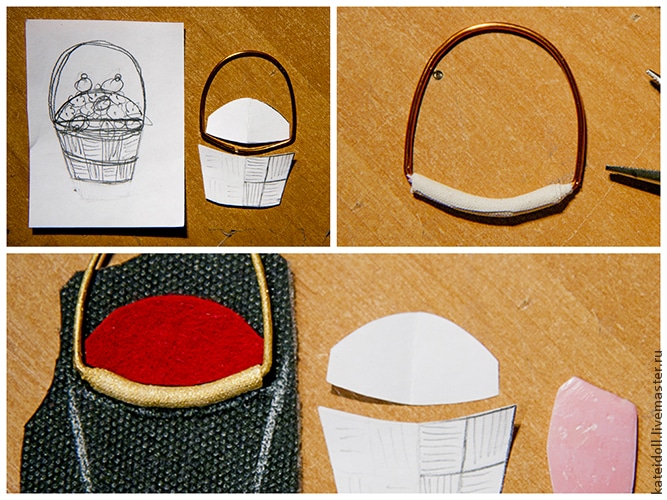
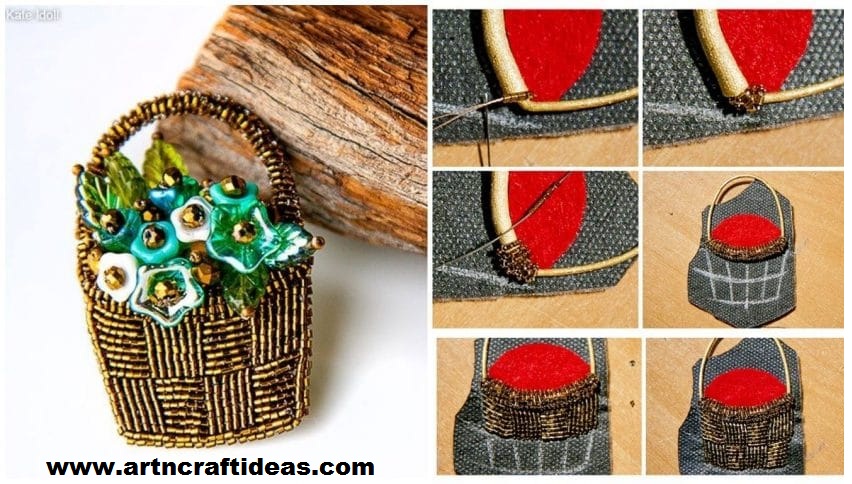
The first thing we draw the sketch. Separately traceable basket and playground for flowers.
Heavy wire arches handle baskets. We attach a form for her to handle lay between the parts of the pattern.
Place cut reserve bottom, wind a couple of times with a plaster. After that I paint detail golden acrylic paint (you can not paint if the beads are not very different from the color of this part).
Red felt cut-outs platform for colors, glue parts to the base for embroidery.
 Sheathe small beads basket handle, starting from the bottom corner ledge surround is obtained
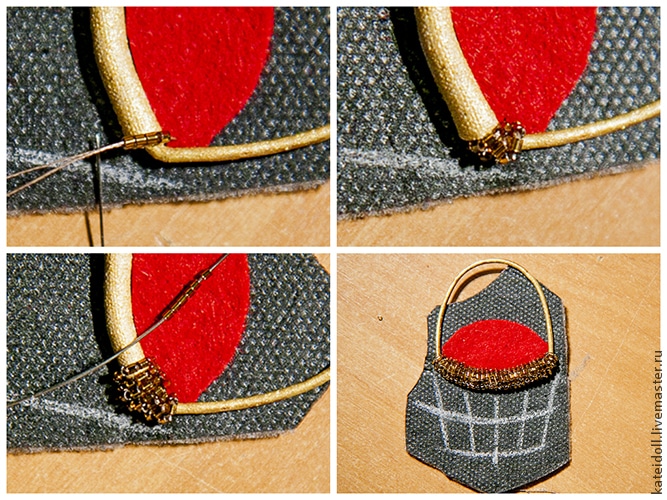
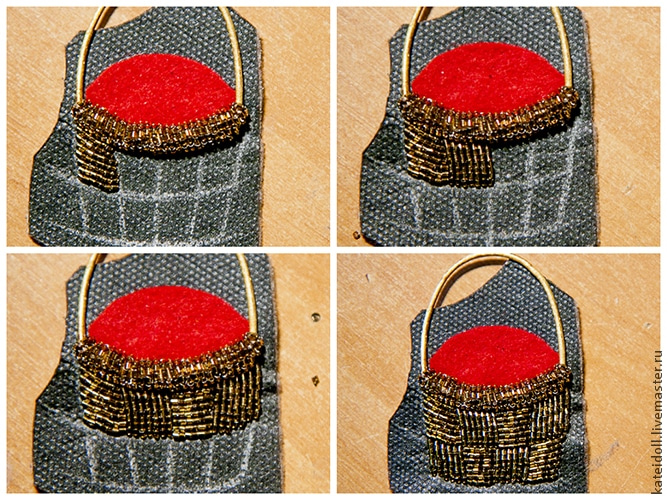
Rascherchivaem cells basket, fill them with embroidery.
Due to different directions of embroidery in the cells it creates the effect that the wicker basket.
 Now fill the basket leaves, flowers and crystal beads
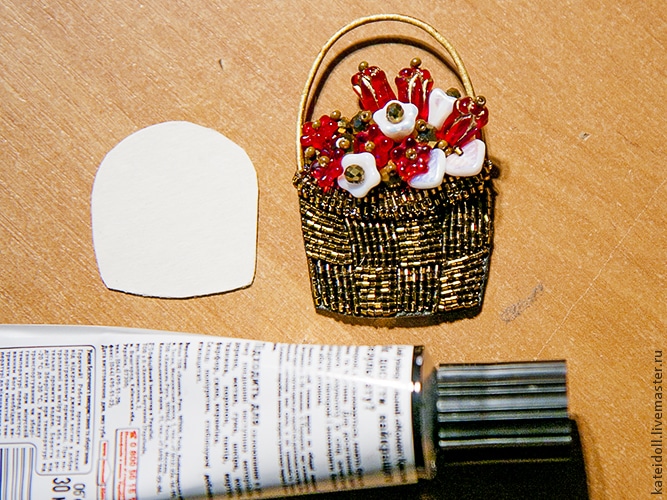
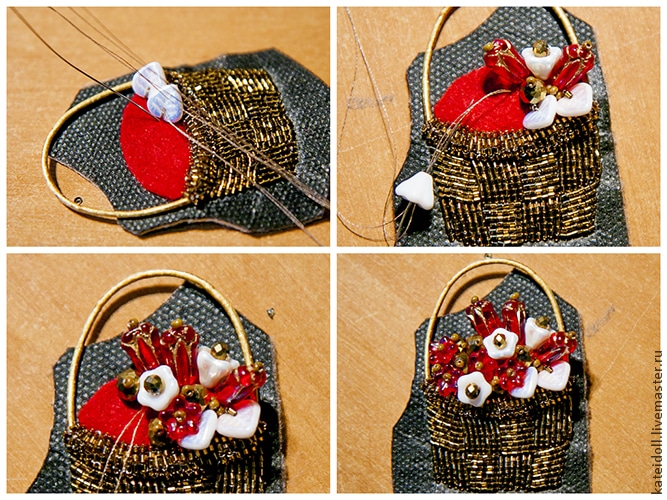 Carefully cut off the excess felt. Sticking a piece of cardboard inside out – for rigidity.
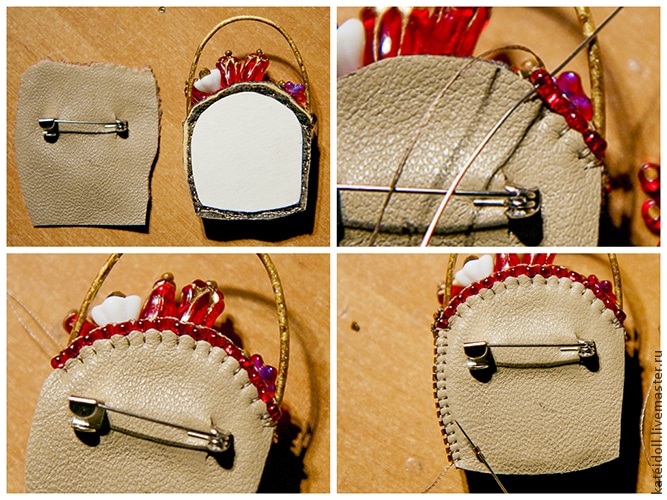
The skin incision is made and a piece of threaded fastener into it for a brooch. Skin sticking buckle and cut off the excess.
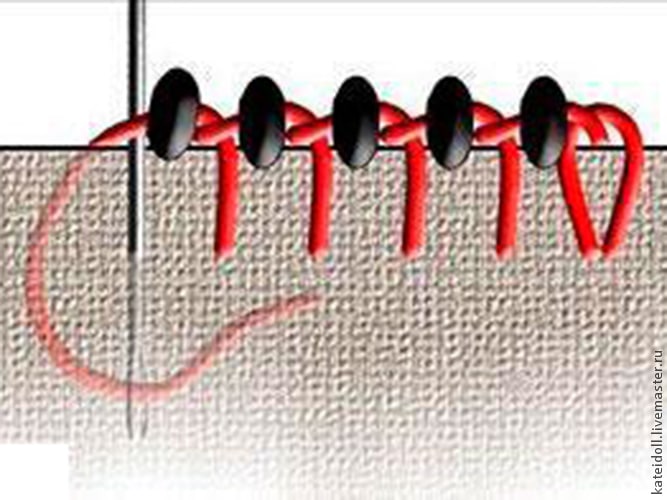
The upper edge of the flowers I sheathe red beads on the scheme 1.
Sides and bottom of the basket – small brown in Scheme 2.

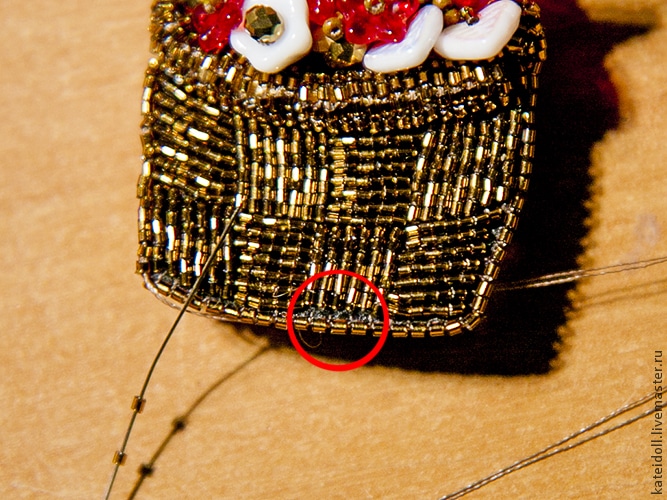
 Between embroidery and edge I stayed clearance. To close it, I’m doing another series of beads around the embroidery.
 Now go to the decor of the handle. To do this, attach a length of thin wire in the corner of the pen close to the embroidery, dial the wire beads and wrap the handle.
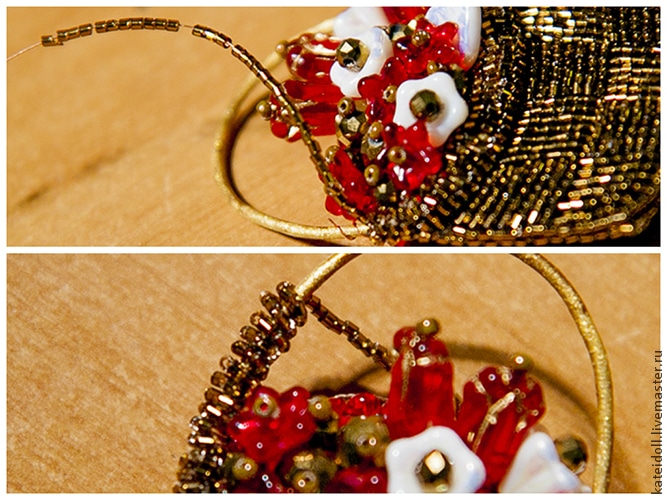 And the final touch – add a few leaves on top.
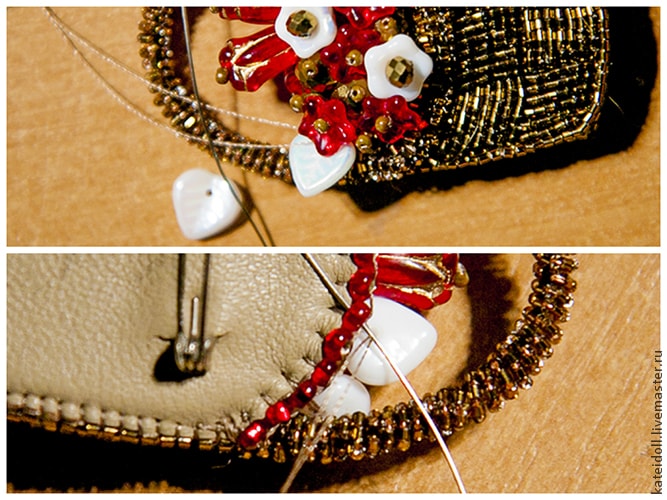 Brooch ready.
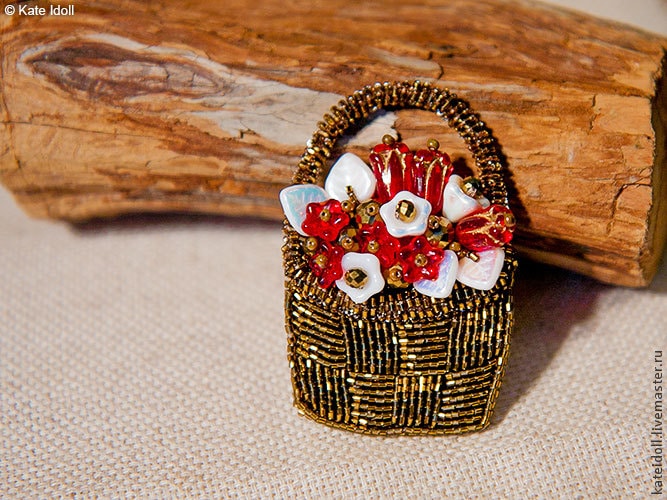
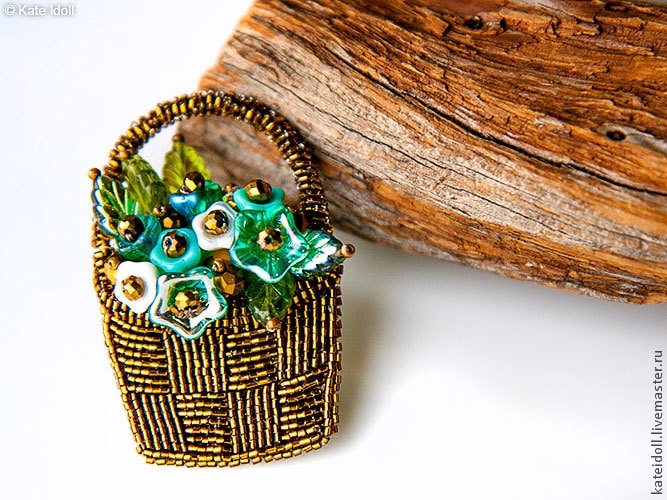
That’s all!
I hope my idea is useful to you. 🙂
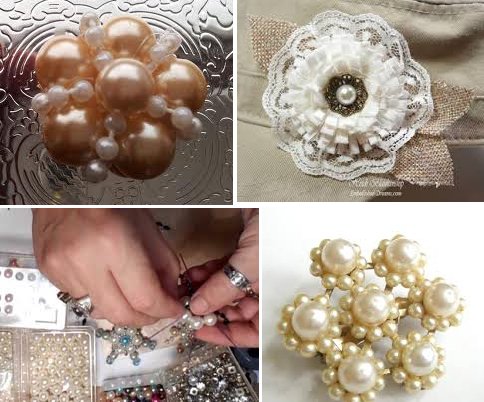

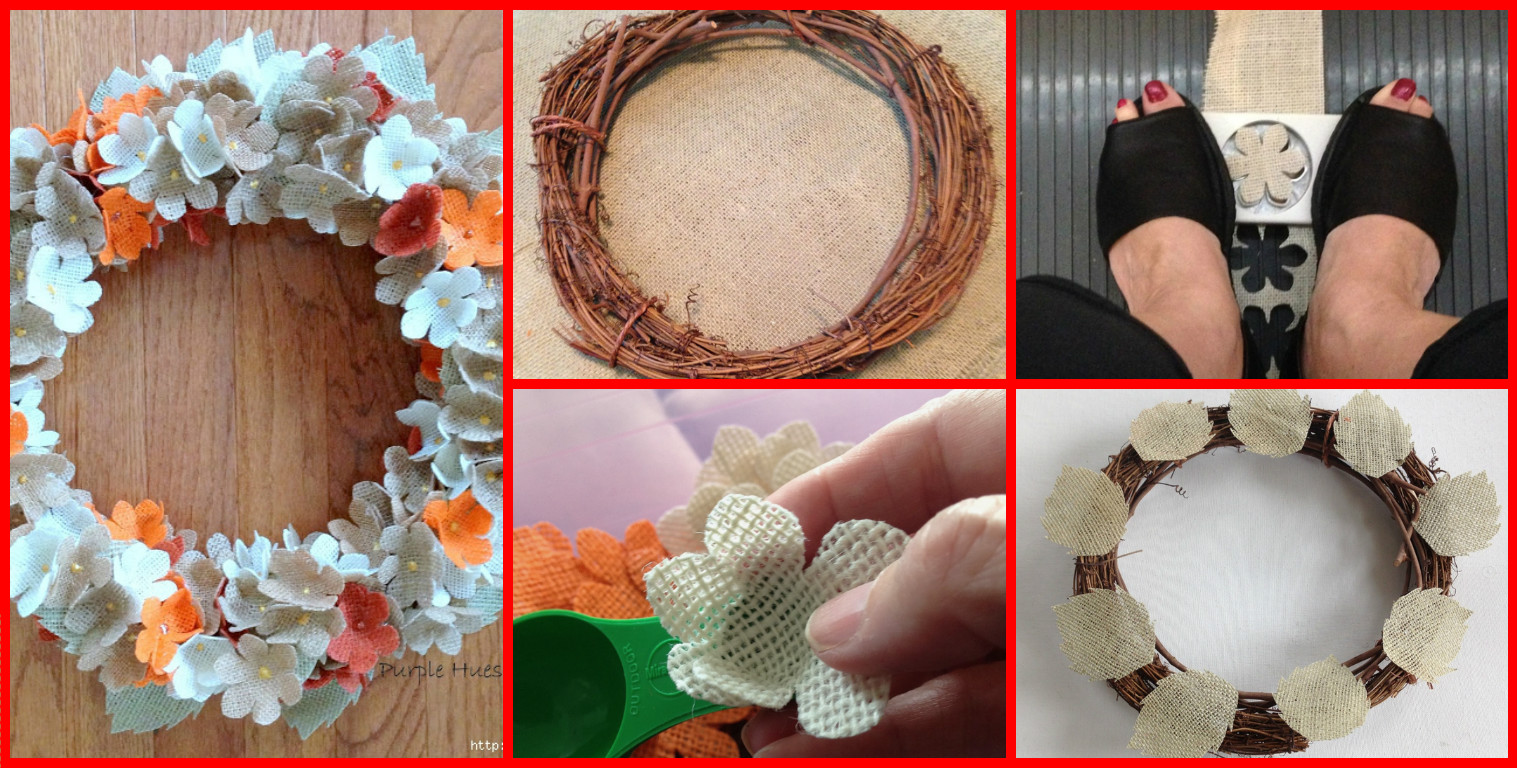
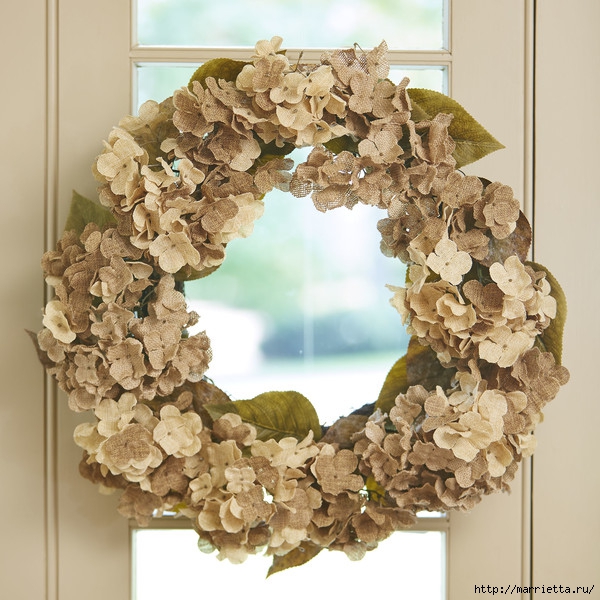
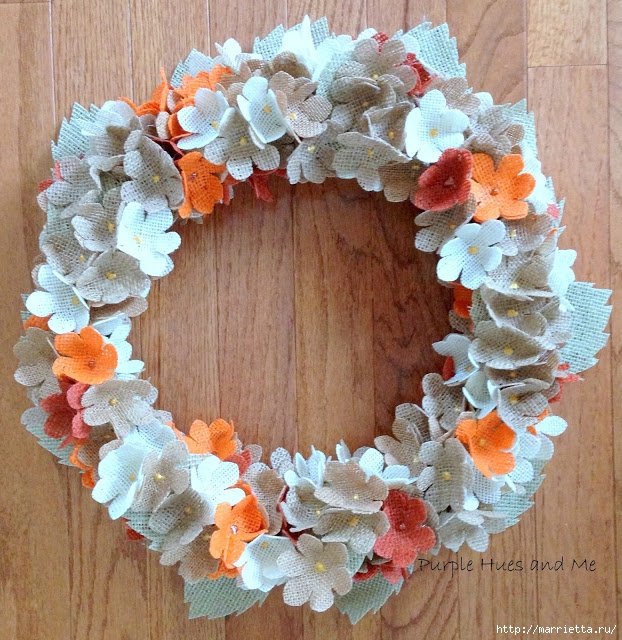
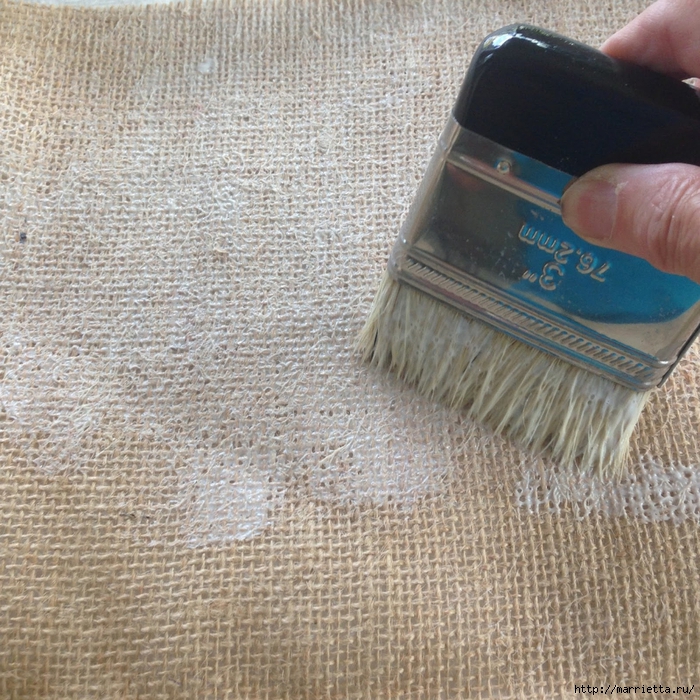
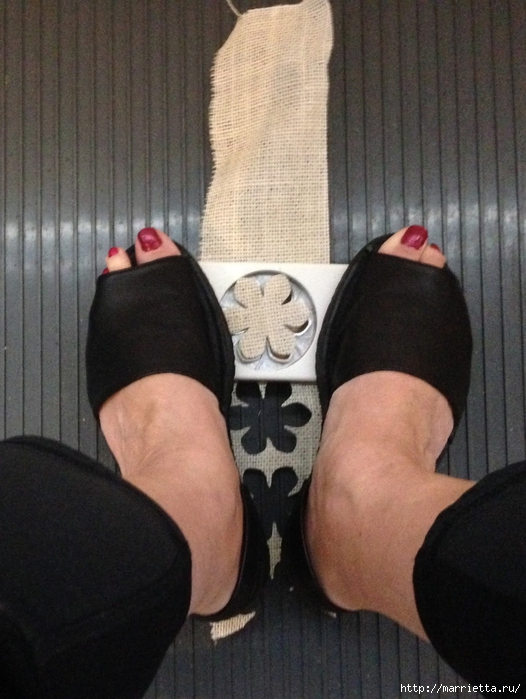
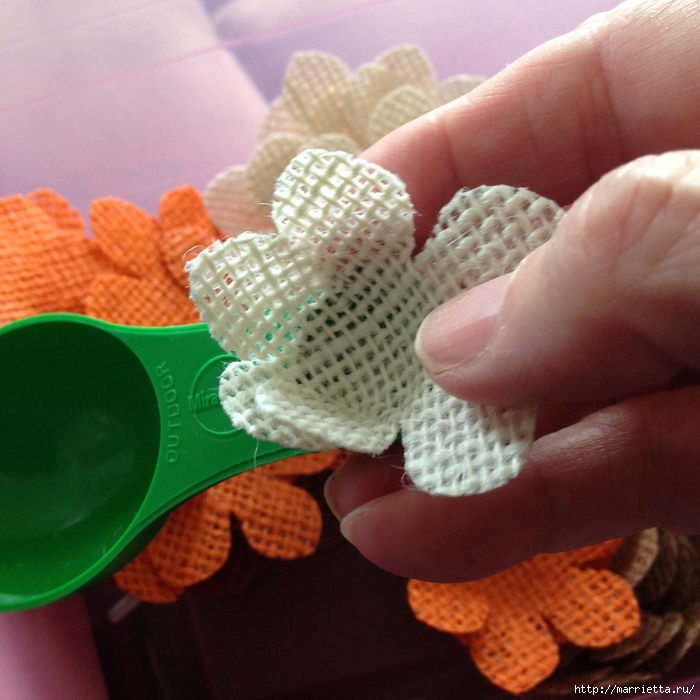
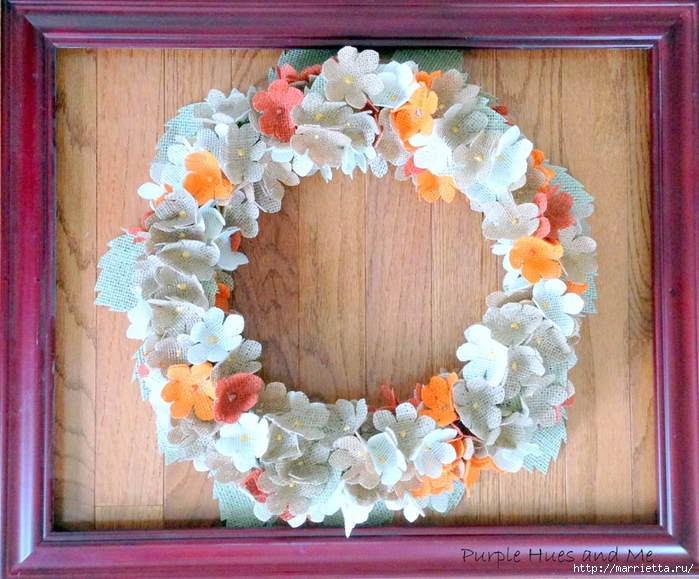
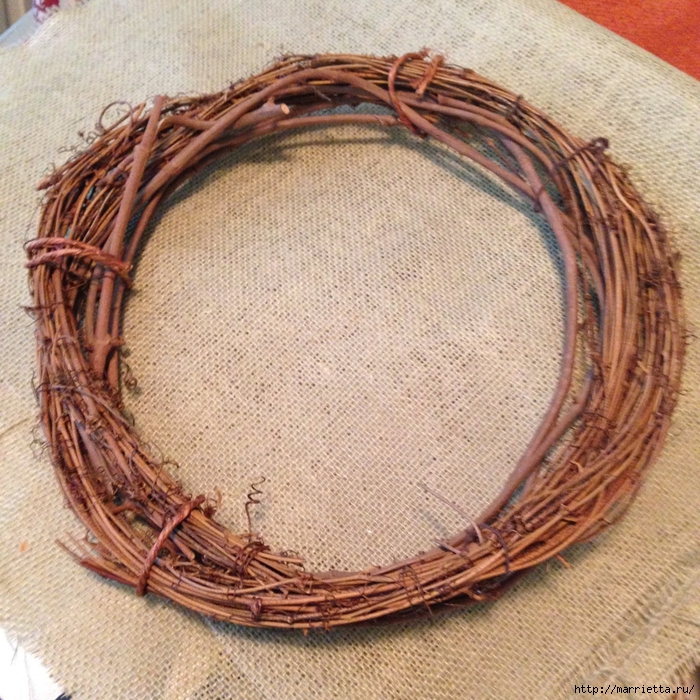 Now we take the burlap and cover it with an adhesive layer for decoupage Mod Podge or PVA glue. We wait until the drying treated burlap. With a stamp for scrapbooking cut out flowers. If not, cut the hydrangea flowers with scissors. With the help of a plastic measuring spoon attach the flowers form.
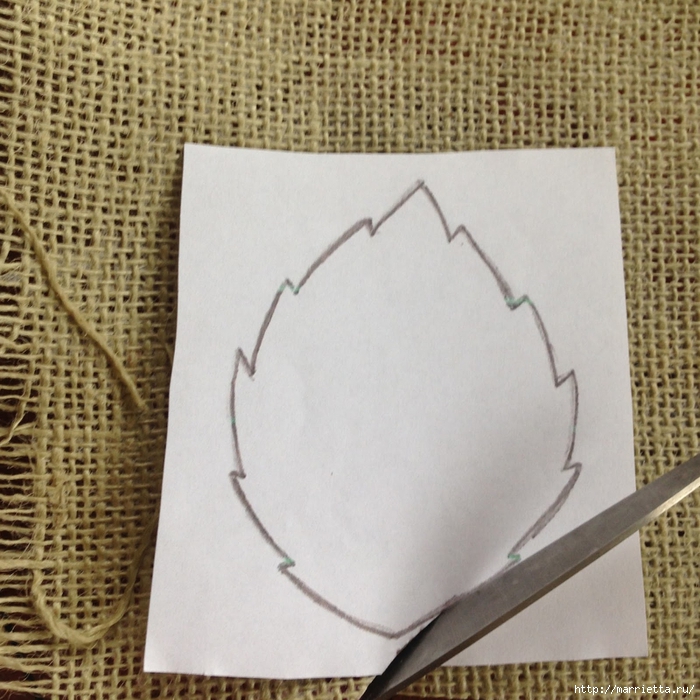
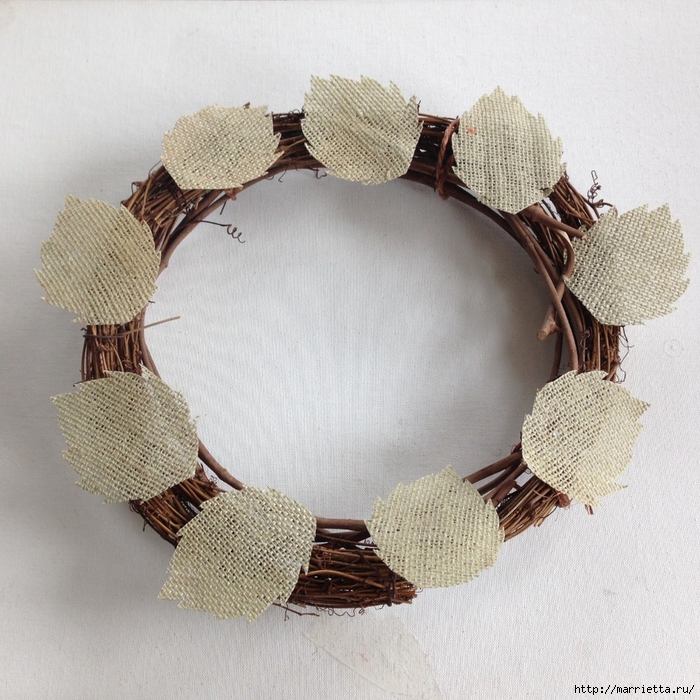
 Now cut out the leaves of burlap previously created a template from the paper.
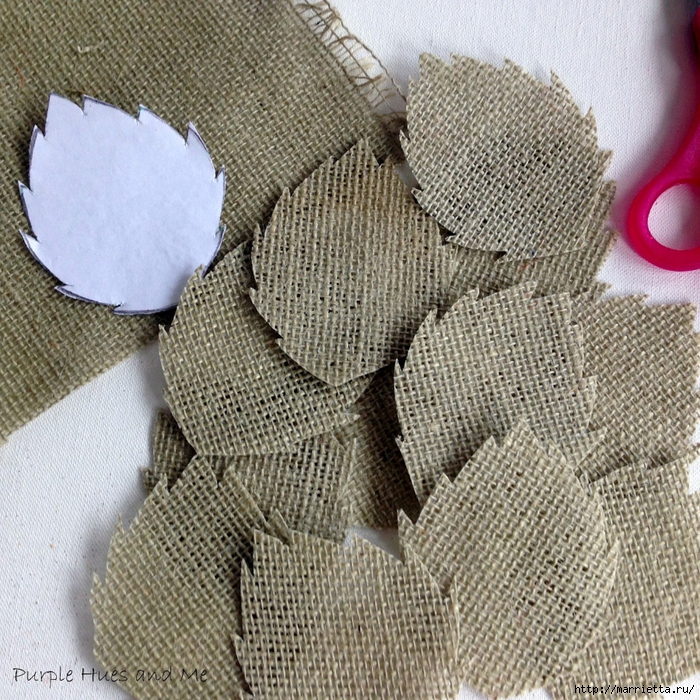 Glue the leaves to the wreath with hot glue
 Next, glue the flowers:
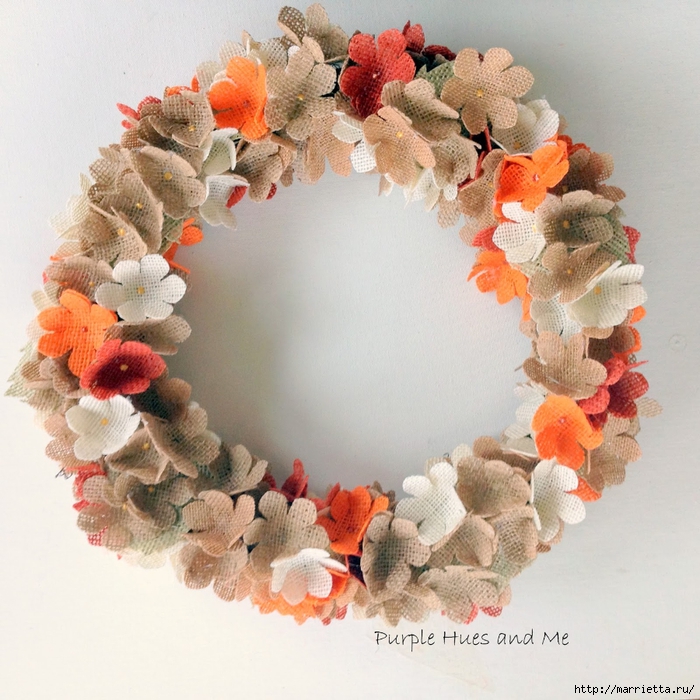
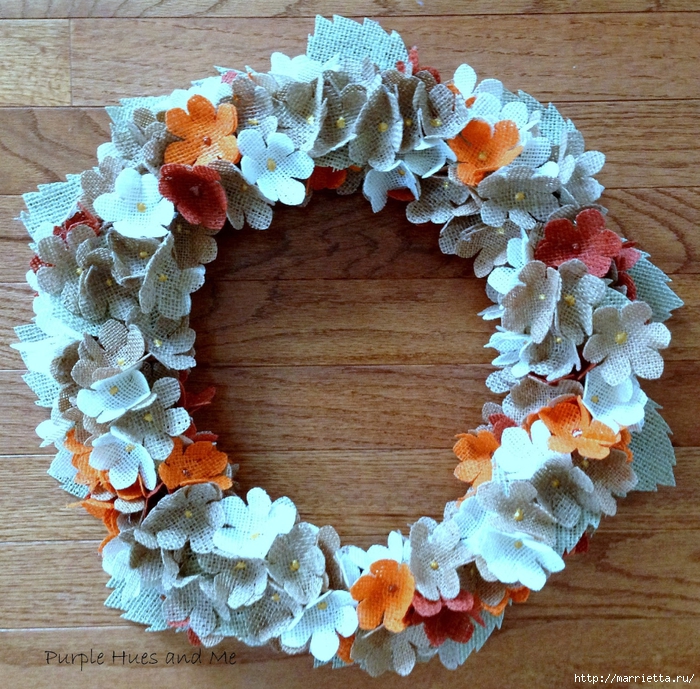
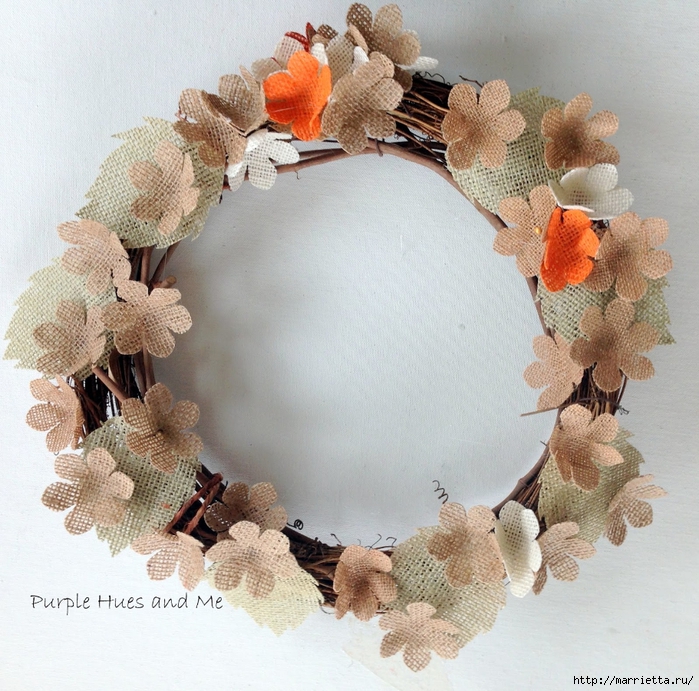 The shutdown circuit note midway flowers.
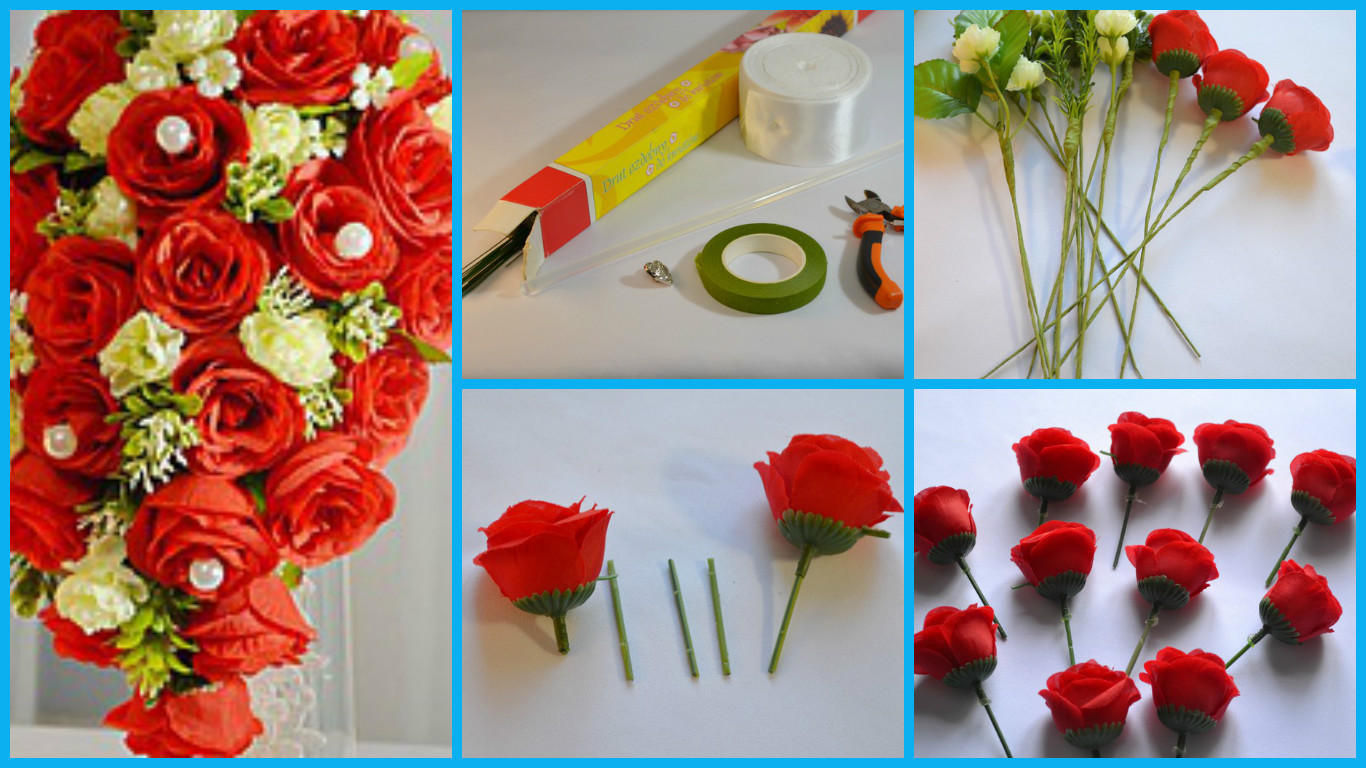
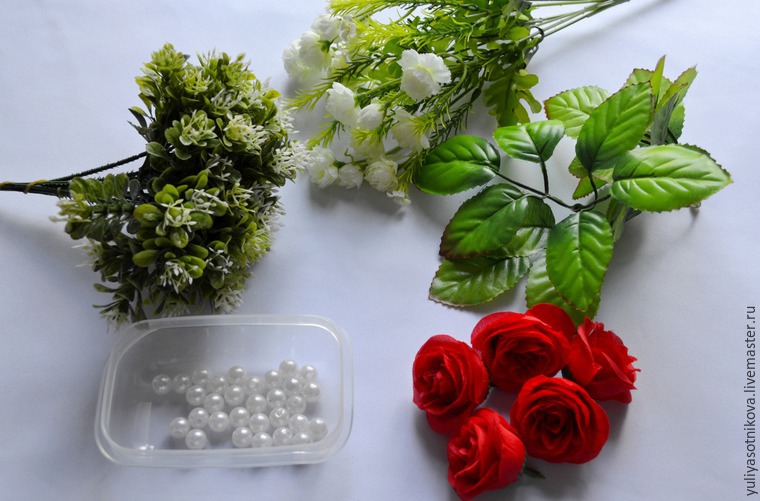
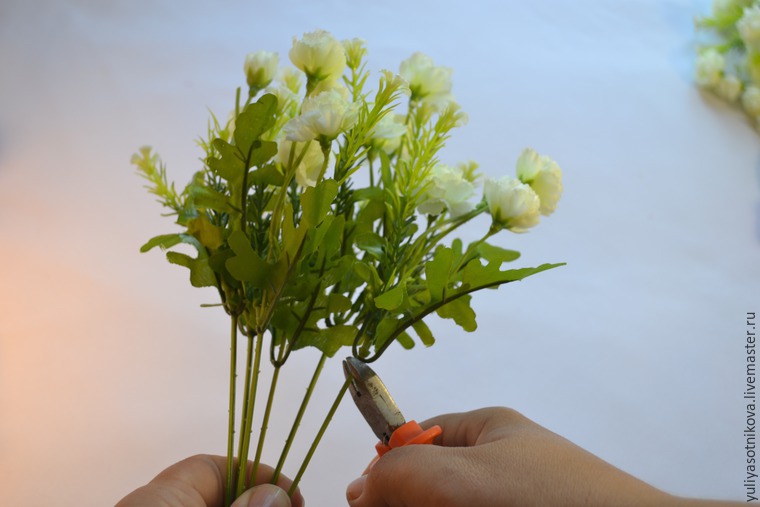
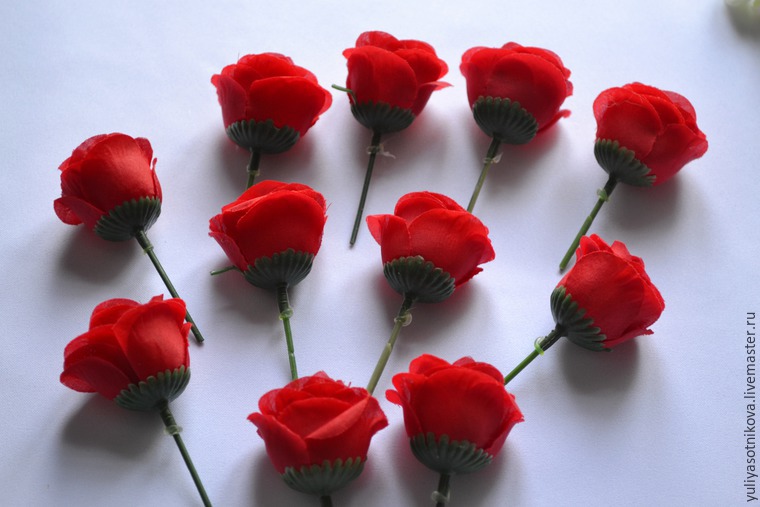
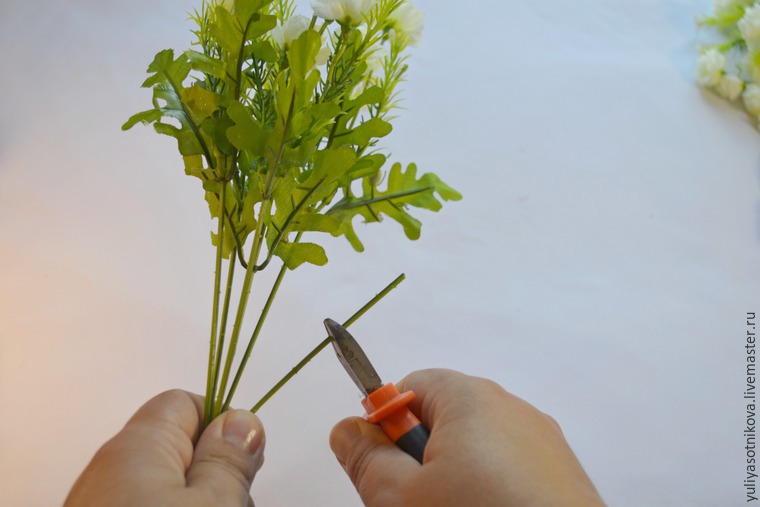 Cut it into pieces, centimetre 4-5. Such pieces will need as much as the heads of roses we’ll use.
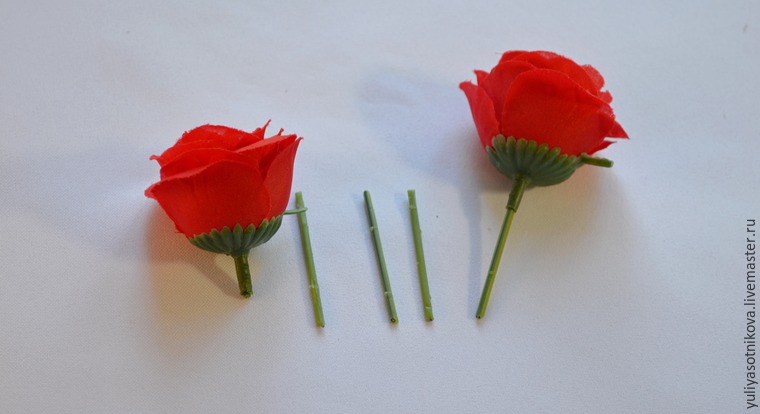 Next, we need to put on the head of the wire segments roses. To do this, we are on the tip of the wire we put a drop of glue and put on our roses. It looks as follows:
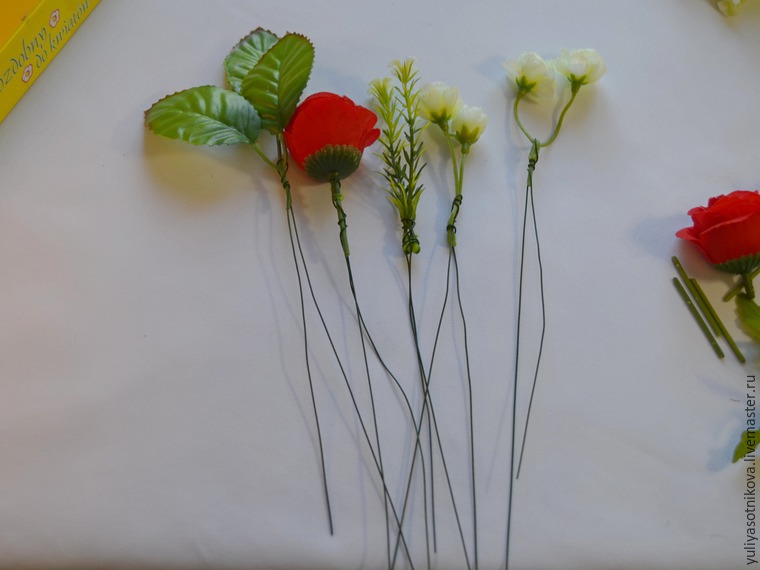
 We continue to form stems. Take the wire and florist primate it to our legs so that the ends of the wires were down, prolonging the existing legs. In the same way we do with the rest of the flowers and greenery.
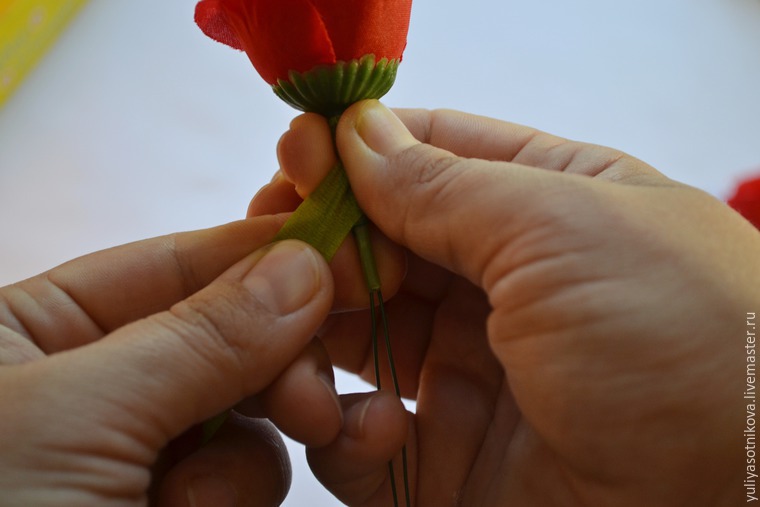
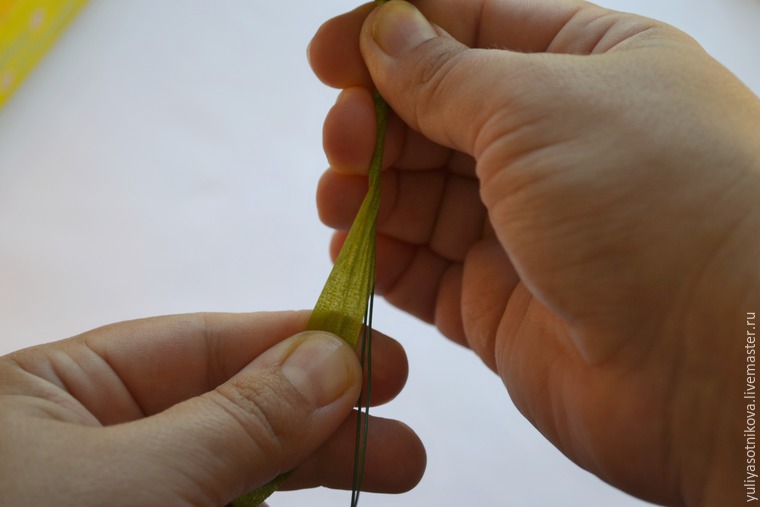
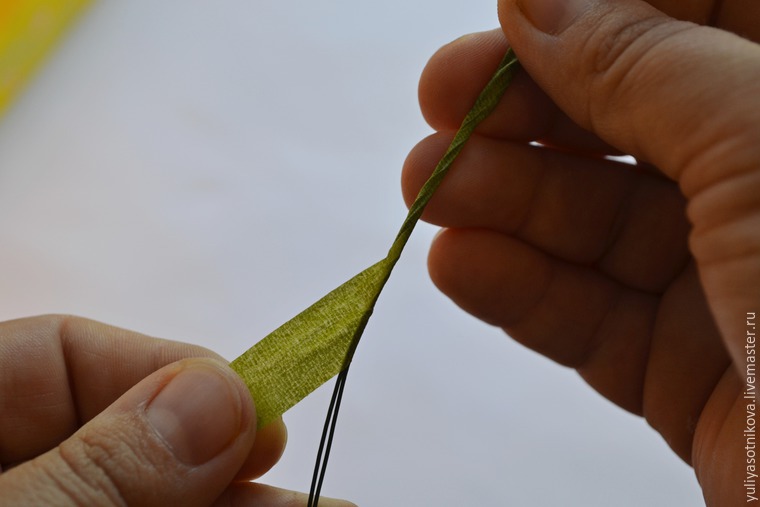
 Now we need to wire propitiate. To do this, take the tape and from top to bottom, a little stretching her tight and carefully amalgamate she ends our wire. That’s legs and ready. At first glance, someone who has not worked in the technique of taping, the process may seem long, but when “the hand is already packed,” it is done quickly.
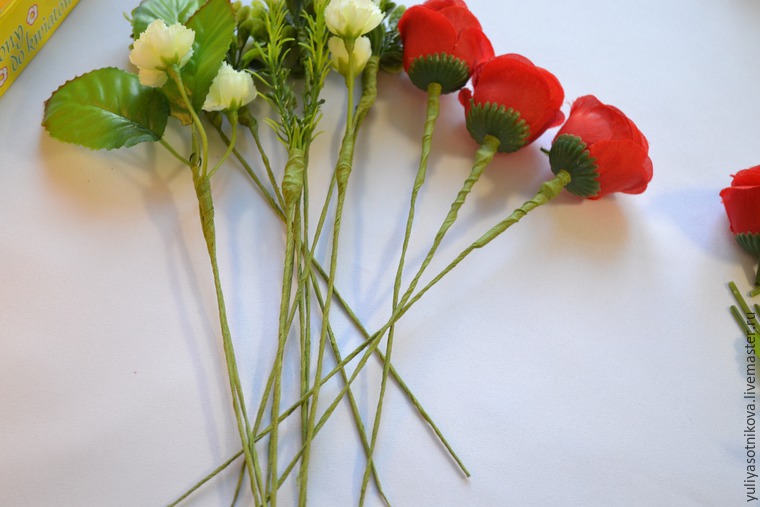 Now you are ready to assemble. Take one at the flower and begin to put them together to form a “cap” of the bouquet.
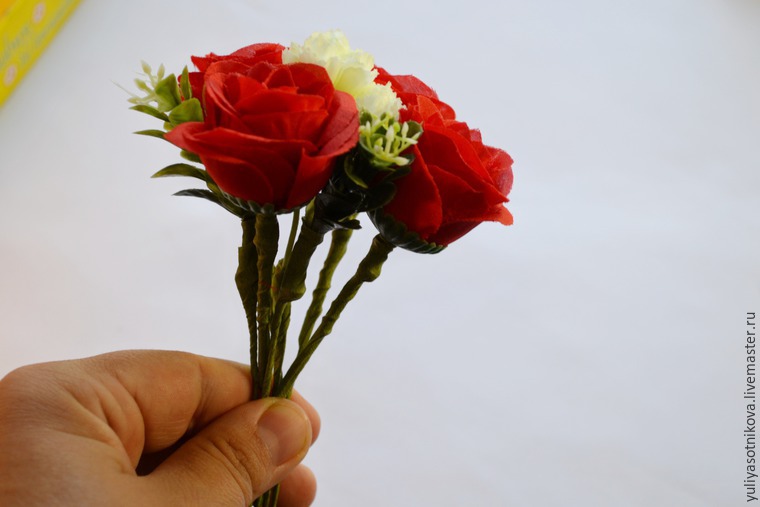 It is better to do so: lay down a few stalks, tap-recorded tape. Then added another and again recorded.
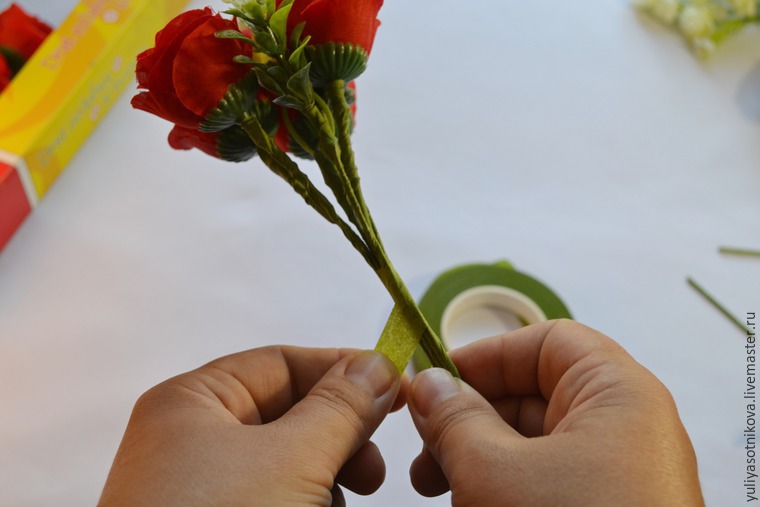 So we continue to put a flower in the flower, alternating red and white and adding a small green, trying to give the bouquet shape of a hemisphere.
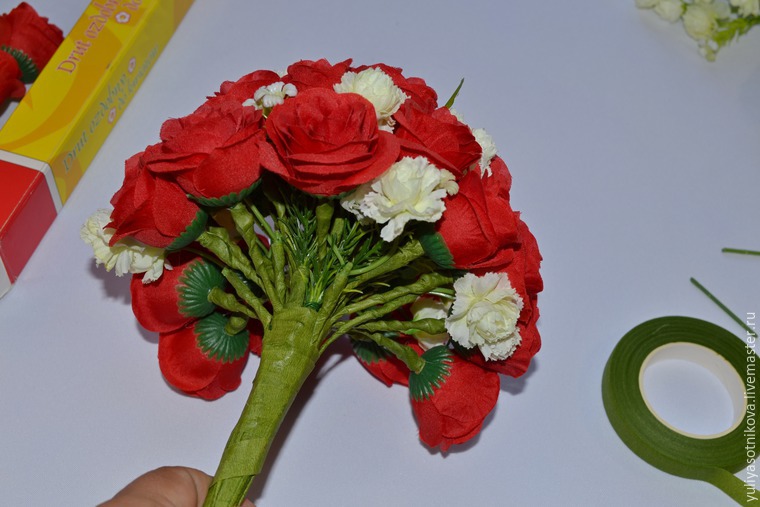
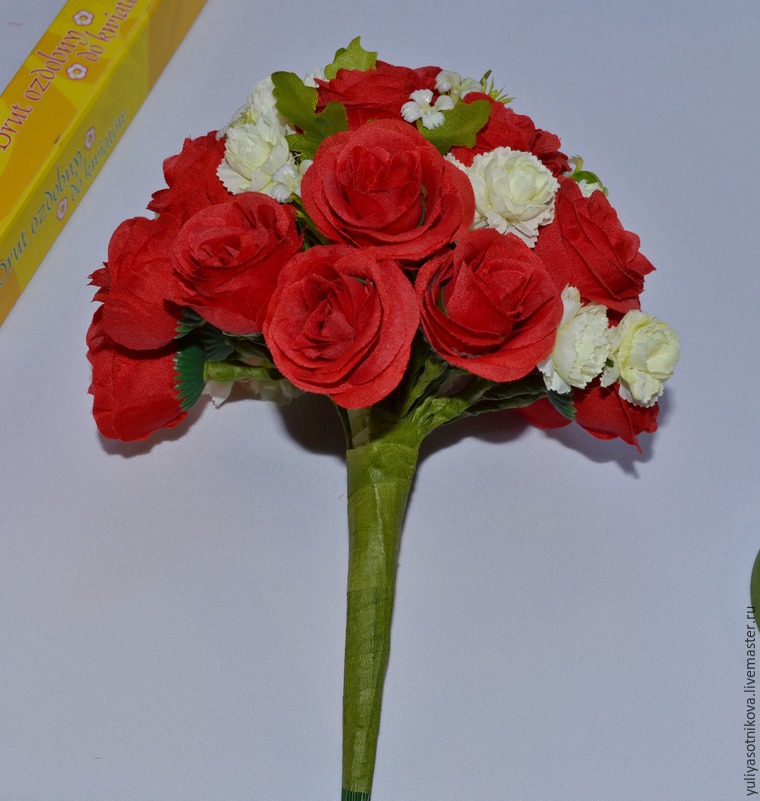 Here it was possible to stay and start to decorate the handle of the bouquet, but as he we should be cascaded, we will form a part of its drop down. To do this, take in hand a rose, then, below (below the height of the head), are putting two other roses. Below them three pieces. In between, do not forget to insert a carnation and greens. And since several rows depending on how long we want to make the cascade. In form it resembles a Christmas tree.
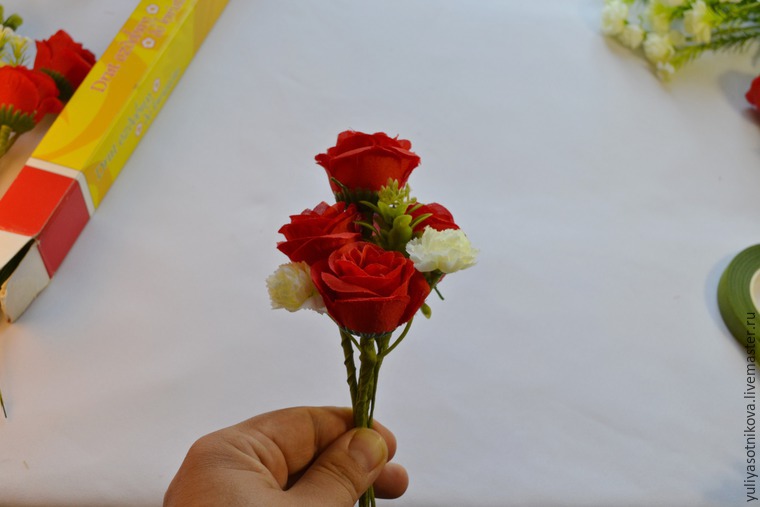
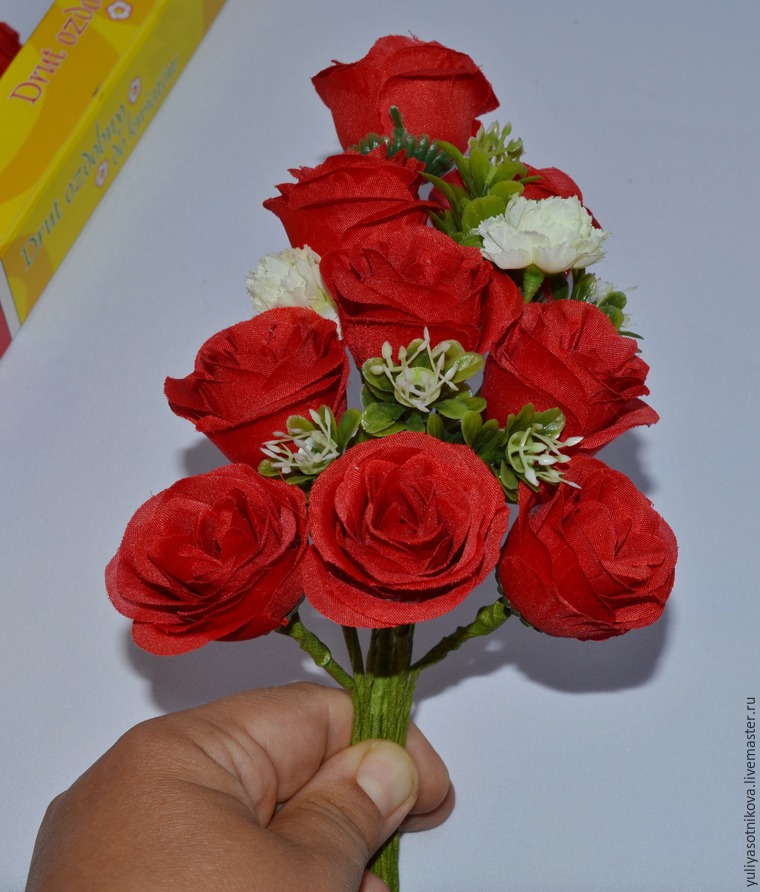 Next, you need to connect the top and bottom of the bouquet. To do this, we bending the lower part and are putting it to the top so that together they constituted a single unit. We fix tap-tape.
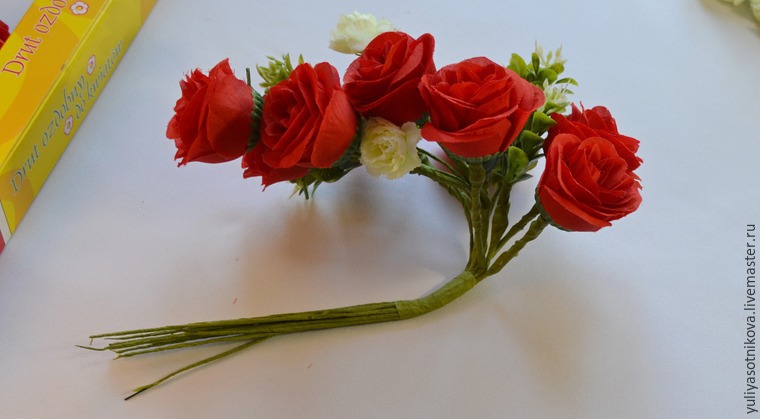
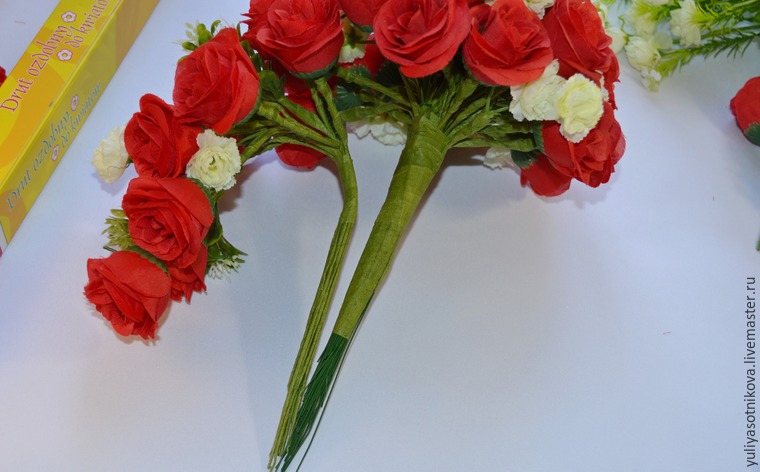
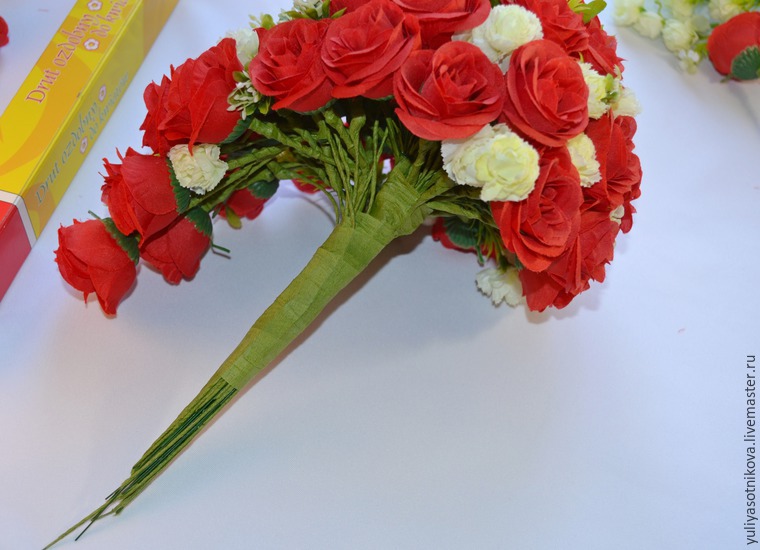
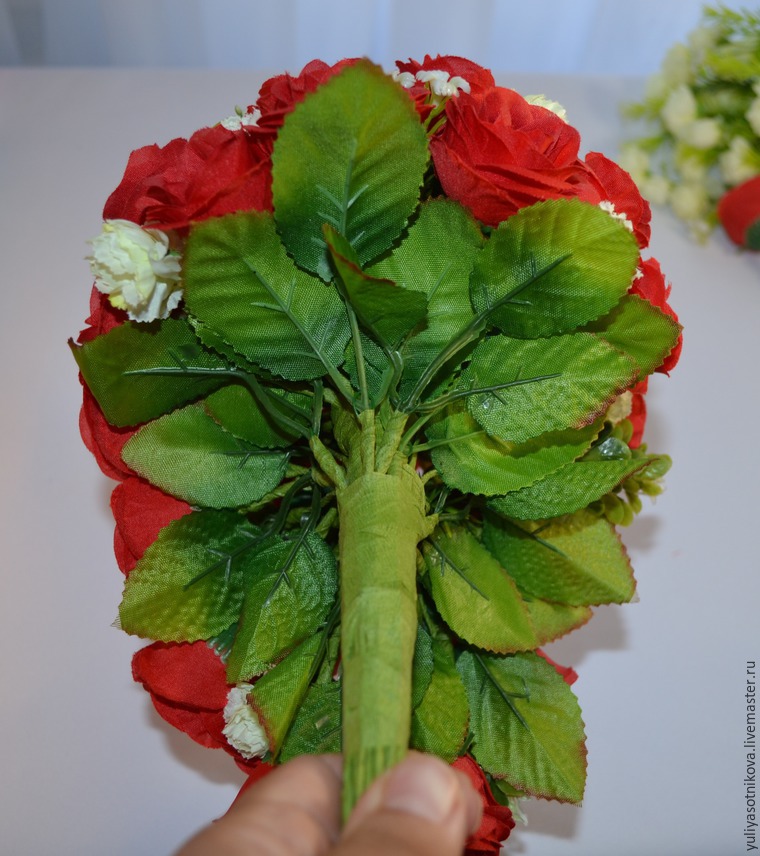
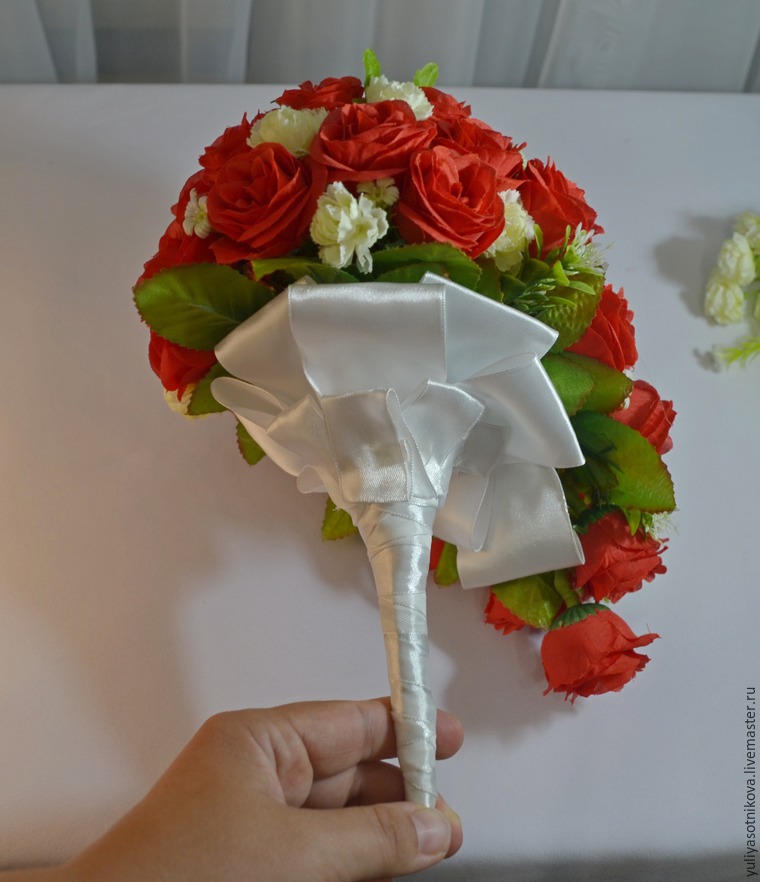
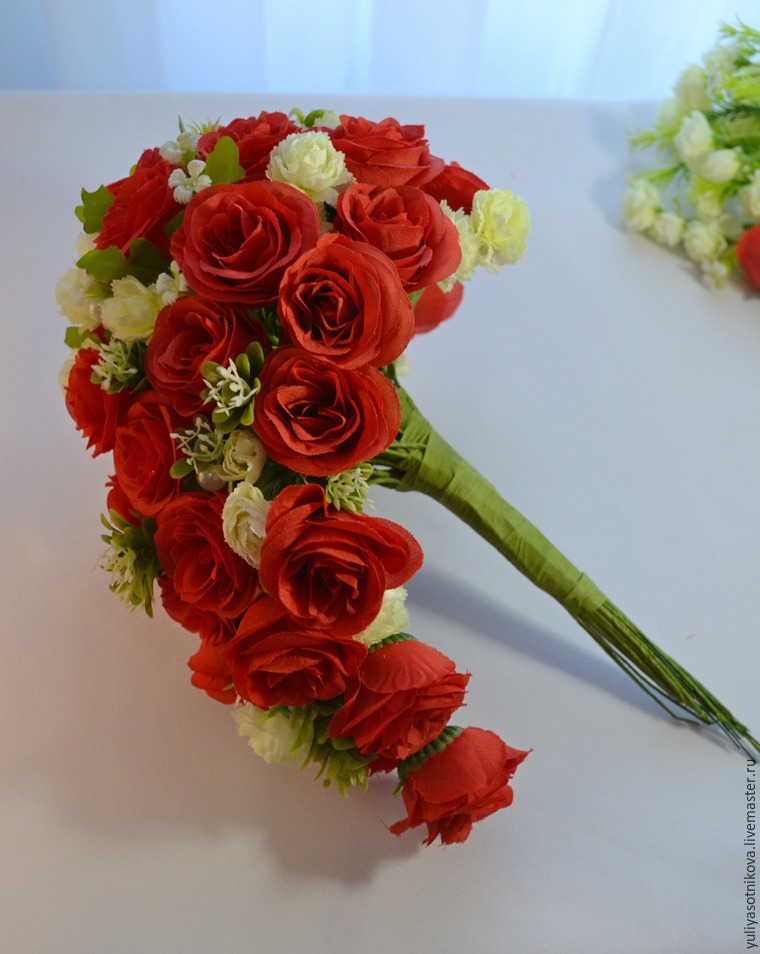 Now start to decorate the stem of the bouquet. First, on the edges of the leaves of roses surrounded by cushioning the foot and again fix tap-tape.
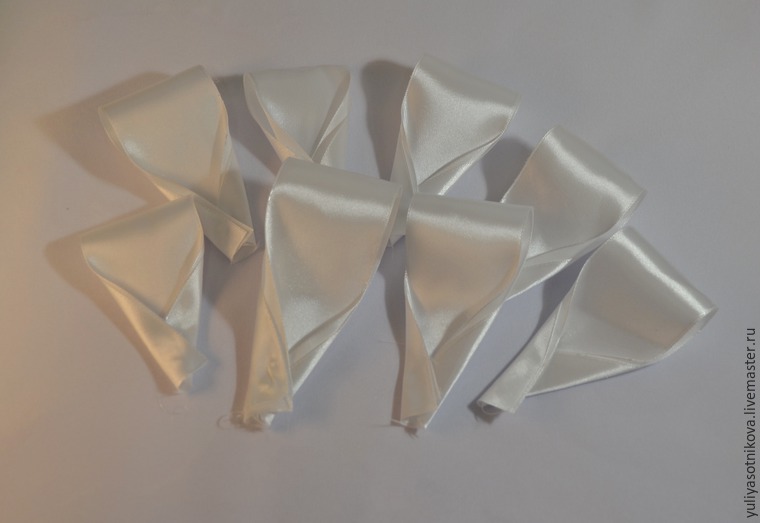
 Satin ribbon width 4 cm cut into 8 pieces of 10-12 cm. Each leg folded in half are bent, as shown in the photo and fix with glue.
 These blanks around the perimeter of foot paste bouquet.
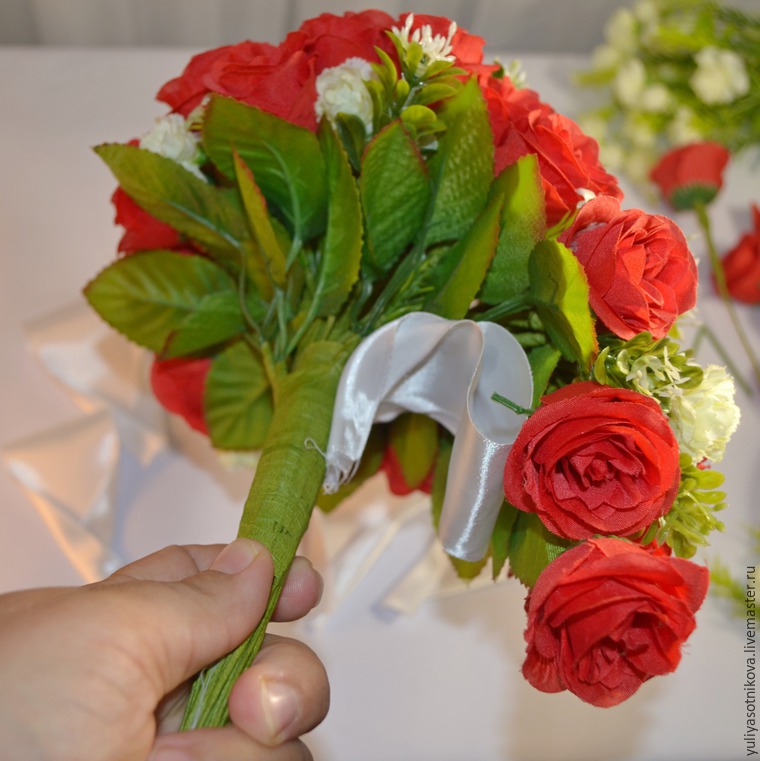
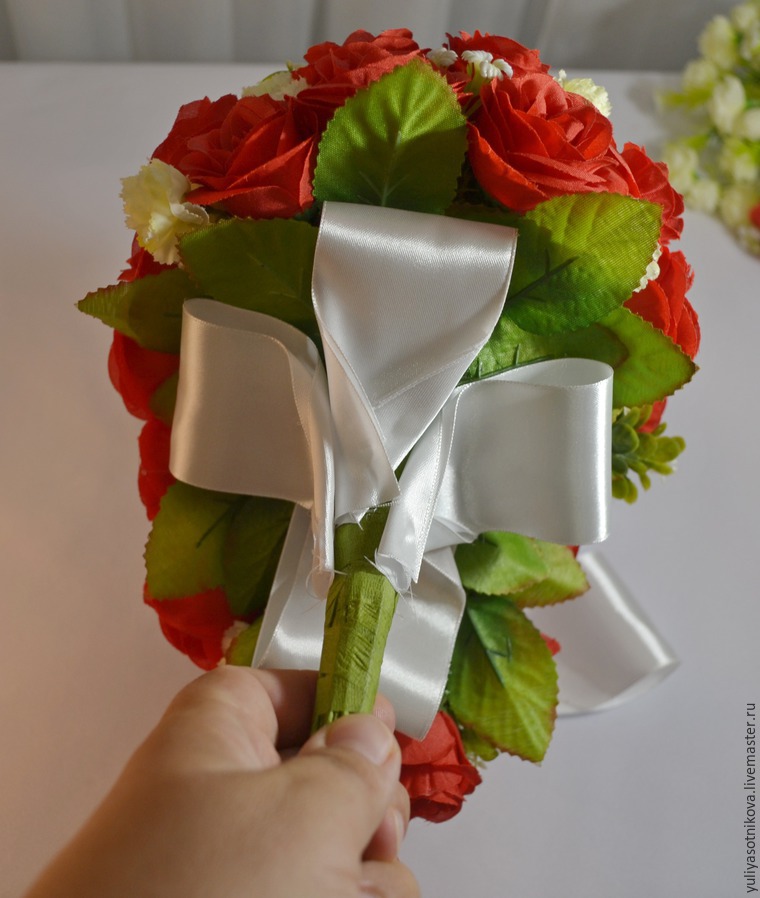
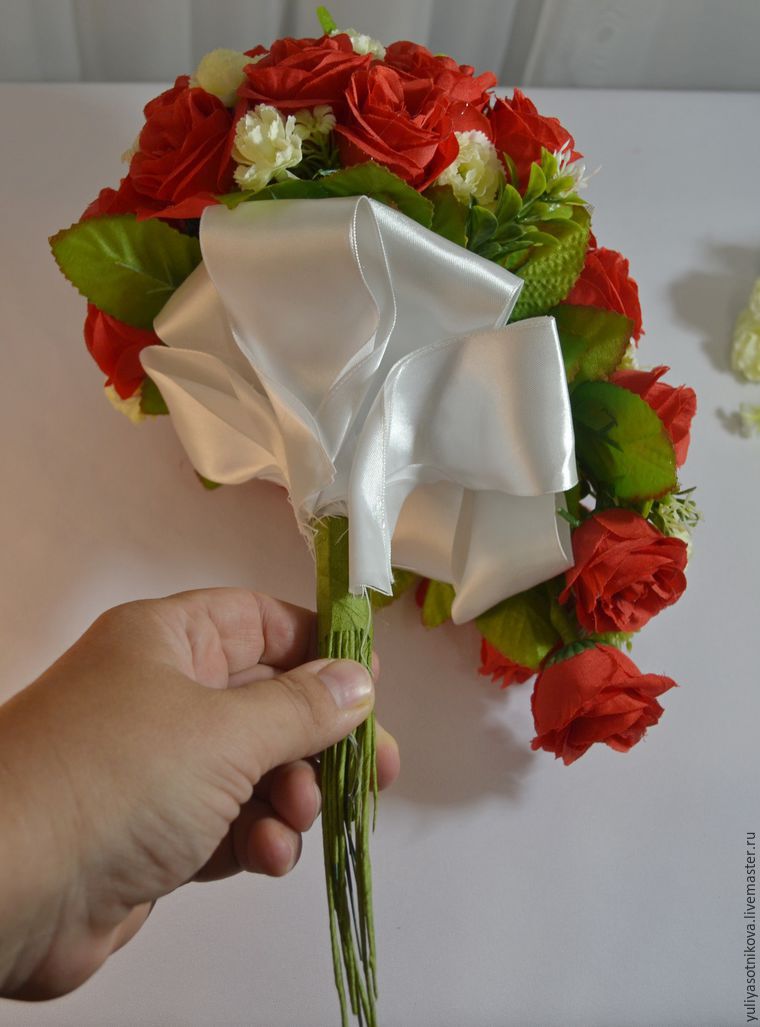 Determine how long we want to leave the leg and cut the excess stems clippers. Again, fix their tap-tape.
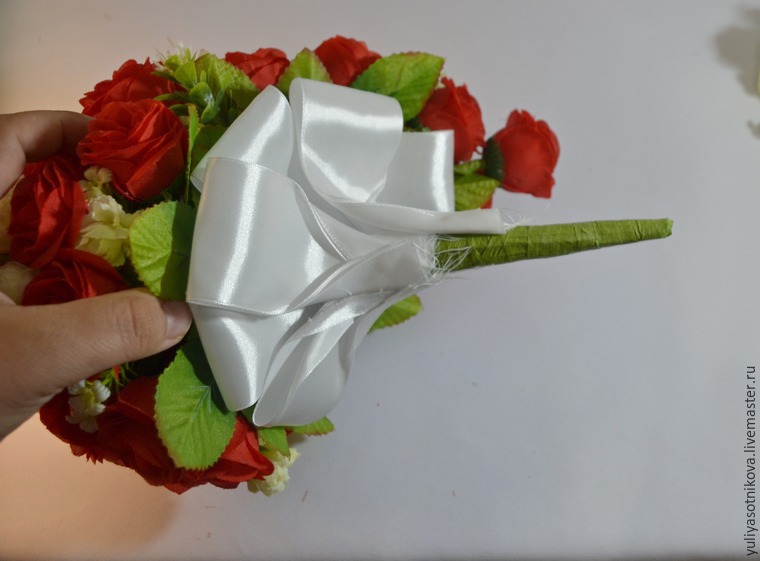 Then decorate the leg across the length of the ribbon width of 2.5 cm.
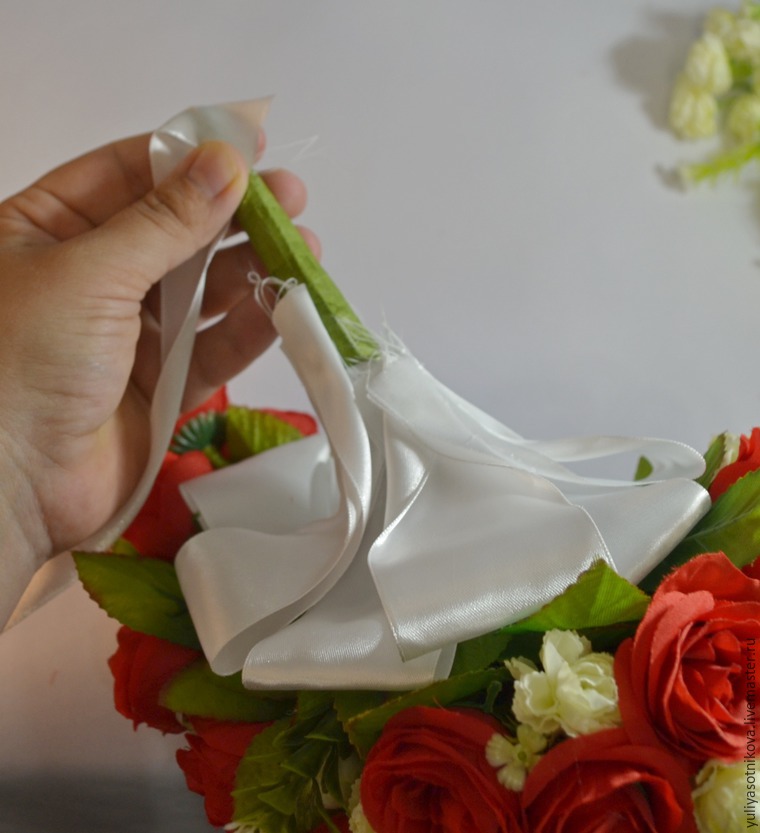
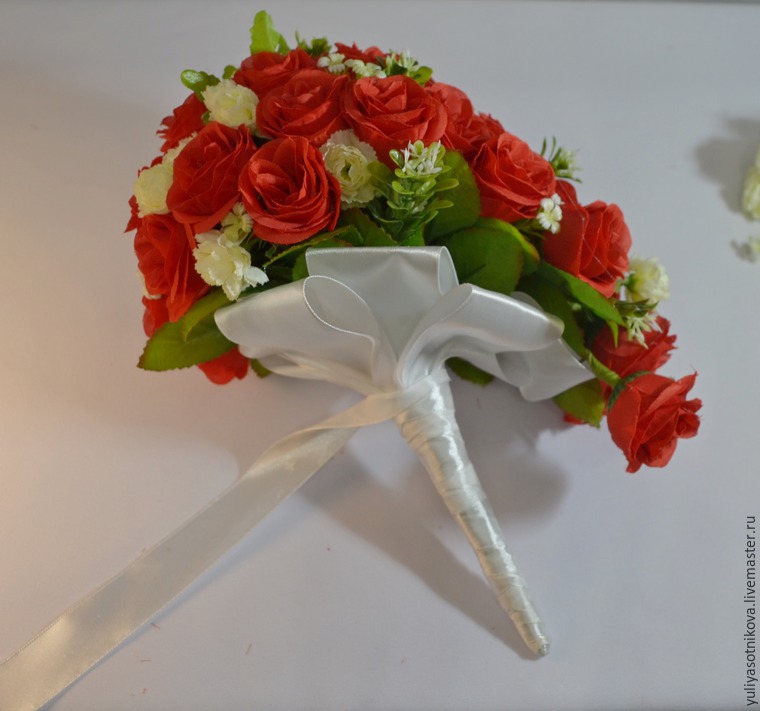

 In the centre of some of the glue in beads roses. On foot, the top we tie or glue lace ribbon and decorate with decorative buttons.
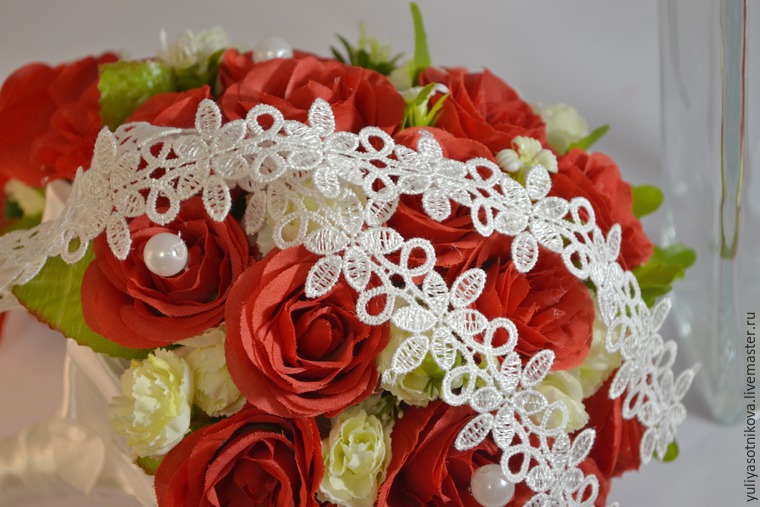
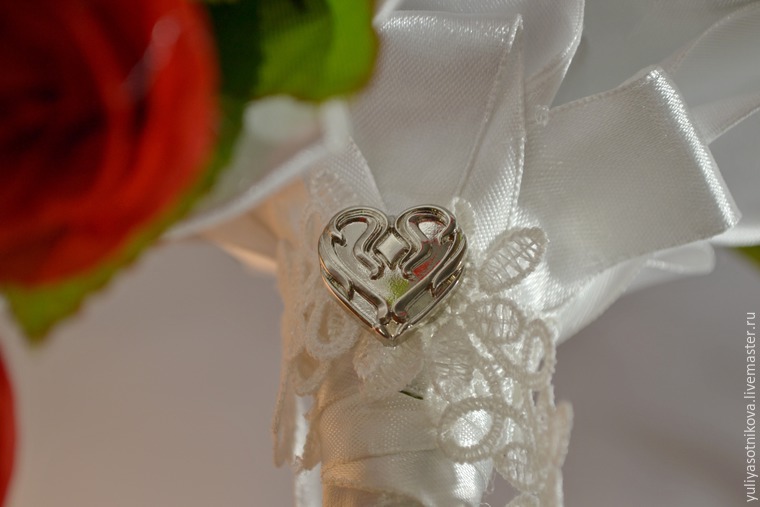
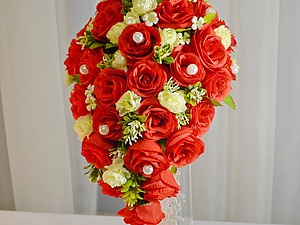
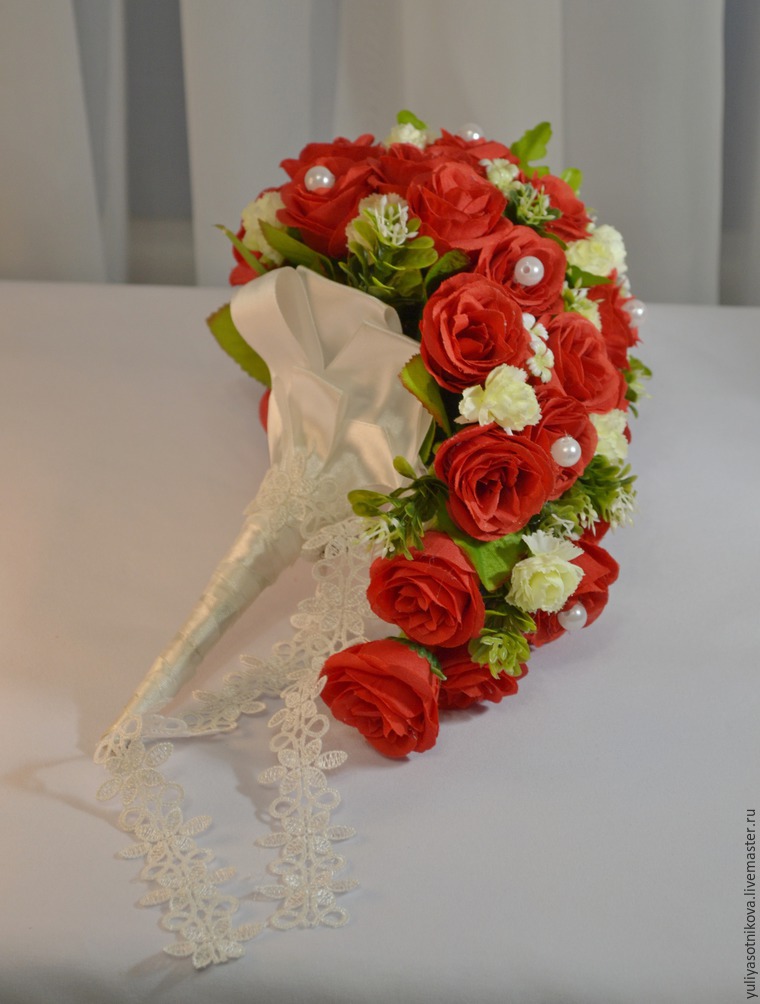 Well that’s all, our bouquet is ready! If my master class you like, or you find it for yourself something useful, please click ‘like’, because he is involved in the competition.
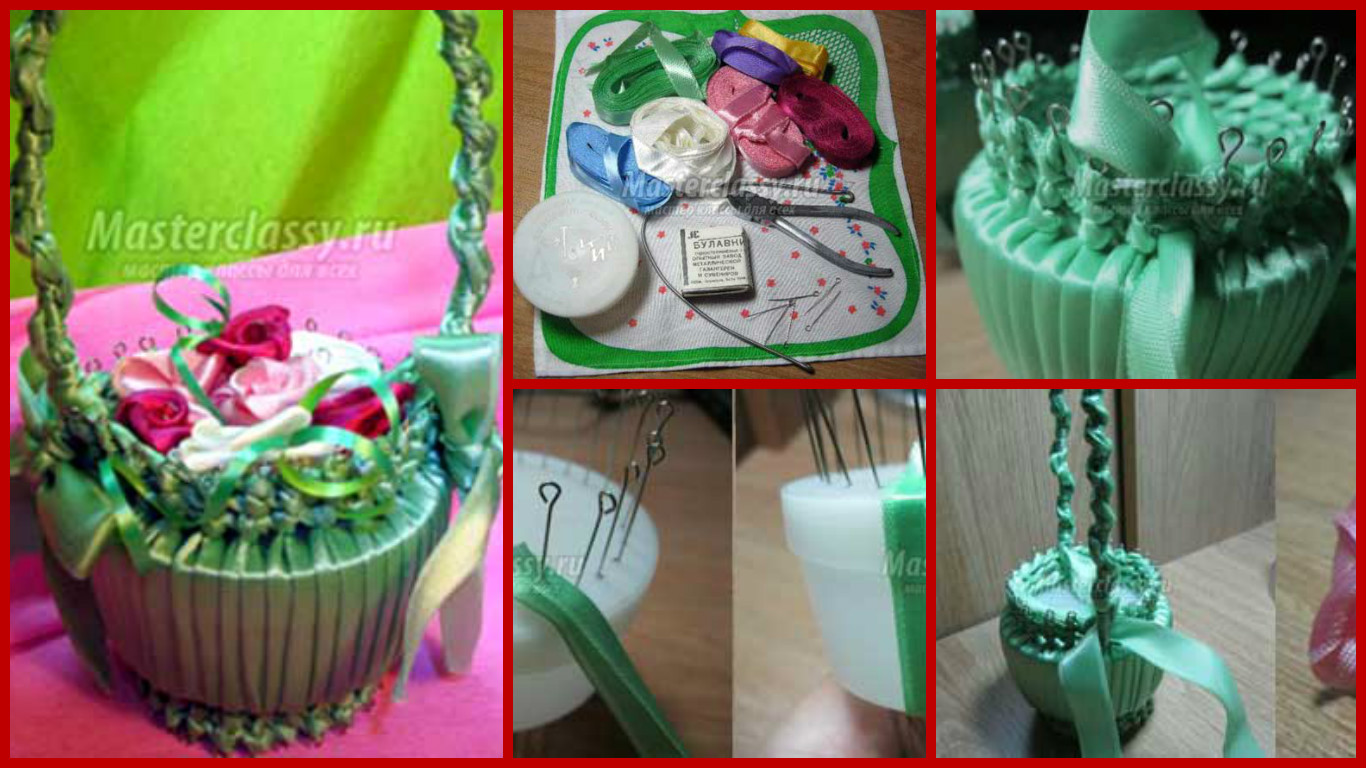
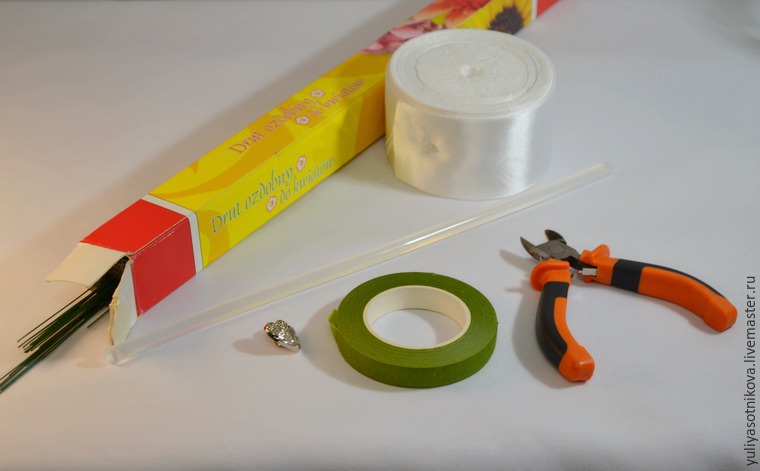
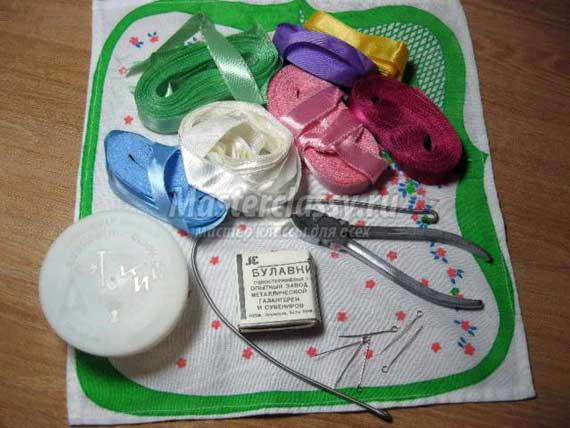
 Materials and tools:
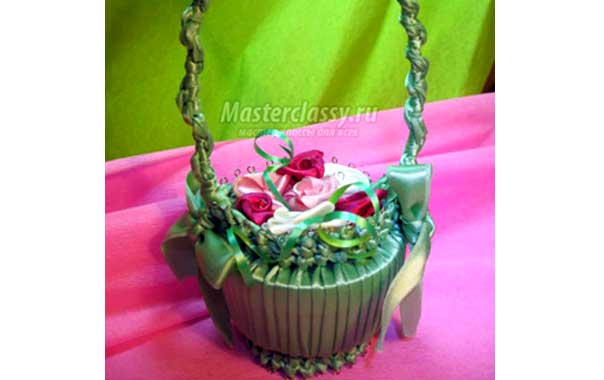
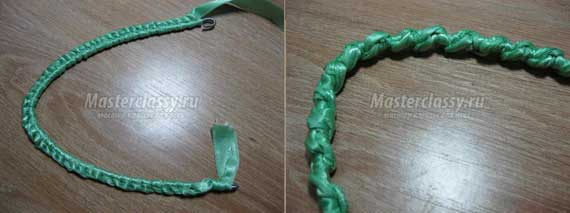
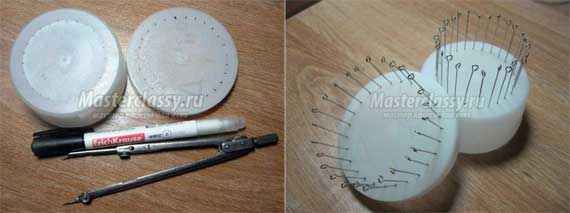 Bending the tape in half, fasten it with a pin. Begin braid a box, watching to fold the tape was sent to one side.
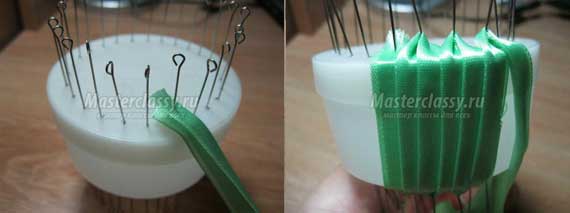 When he reached the first pin, not crisscrossing it, go to the bottom pins and begin to braid their knots (clockwise).
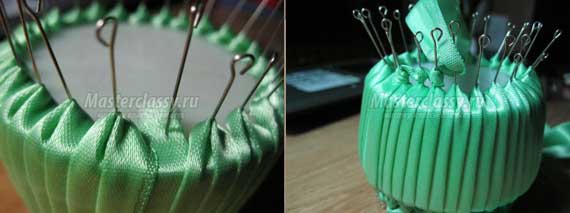
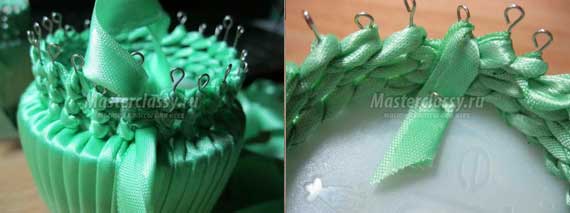
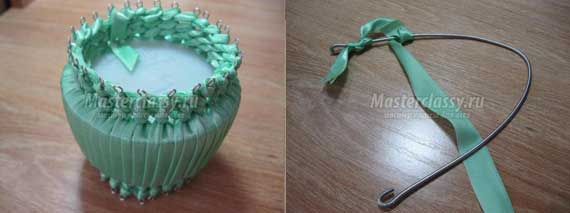 Is twisted braid to create a bump better to do it right, do not crisscrossing the entire pen.
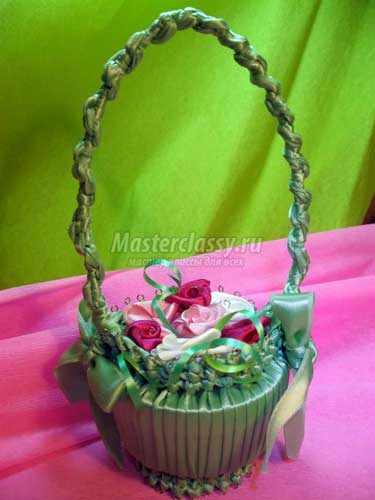
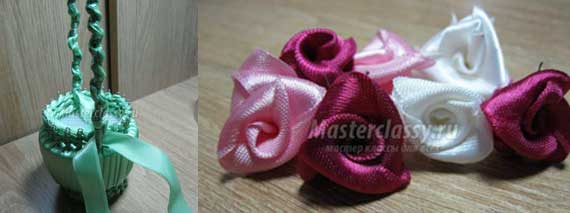 With the help of pins fastened flowers in the basket.
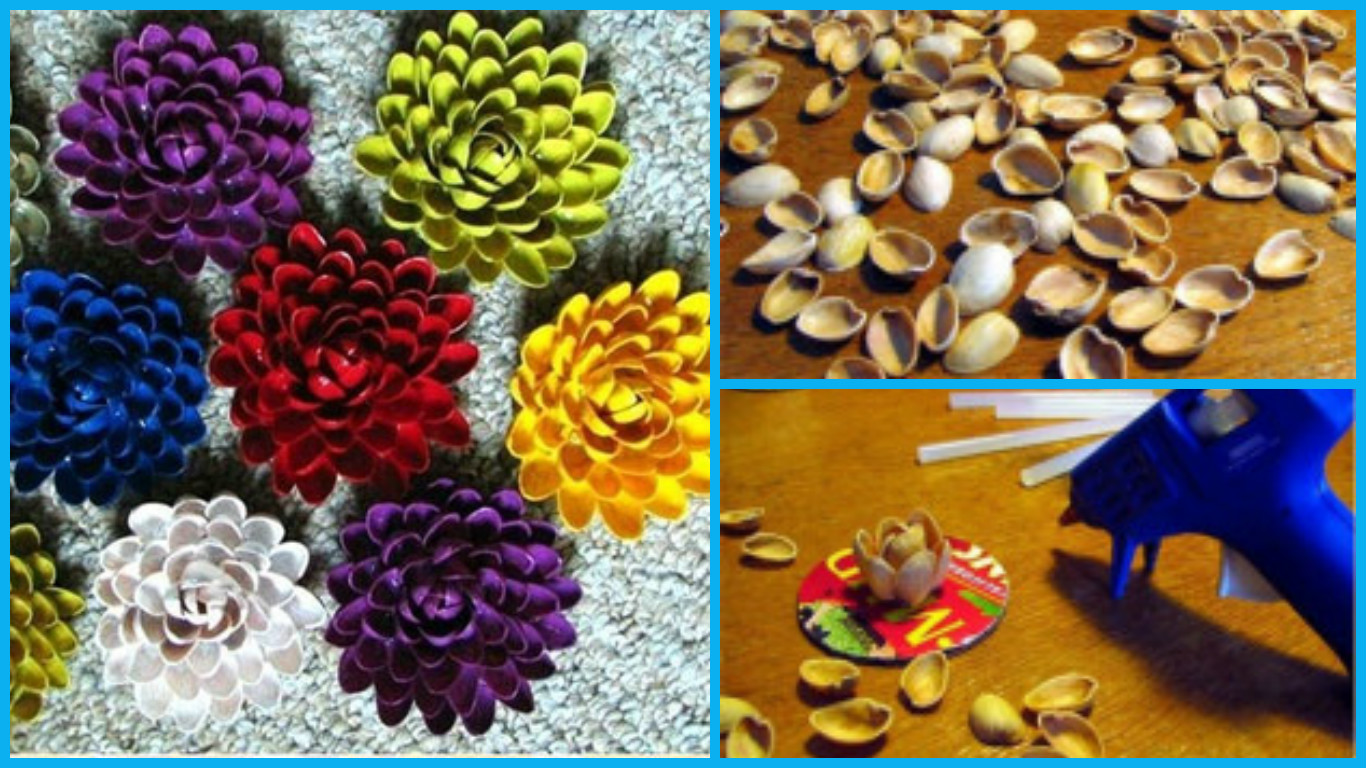
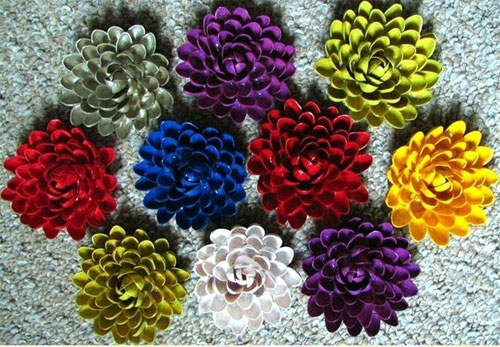
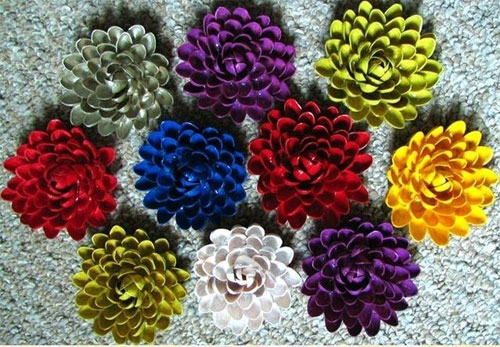 The flowers are collected from the shells by means of hot glue. The basis of the flowers is a CD. Ready to paint the flowers will remain only.
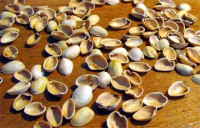
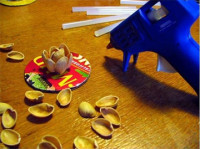
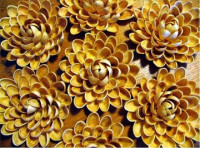
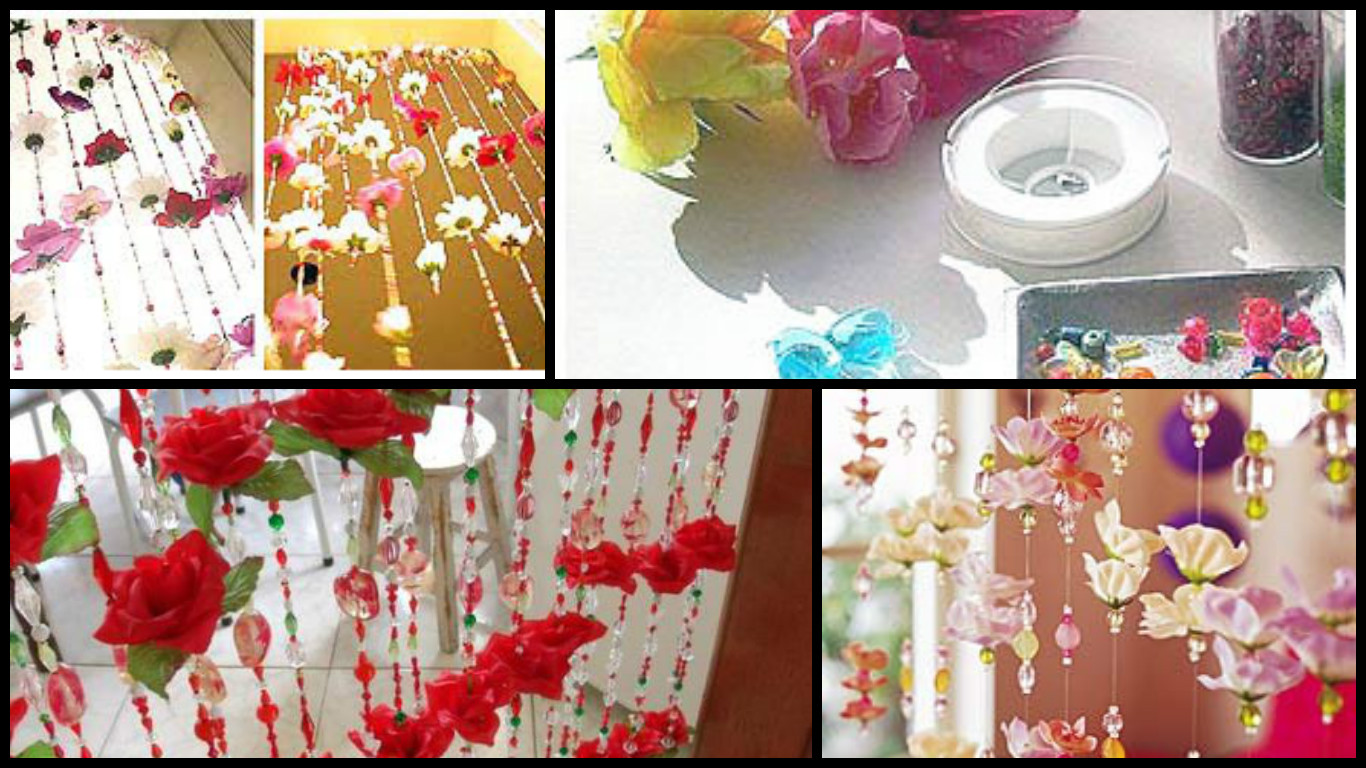
 So here’s what we need to work:
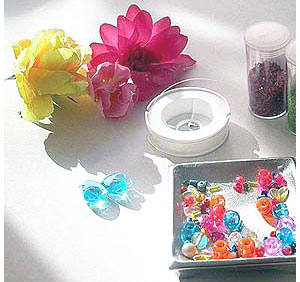
 Thread the fishing line through the heart of the flower., Then re-stringing beads. We continue to alternate colors and beads until there is 15 cm of line.
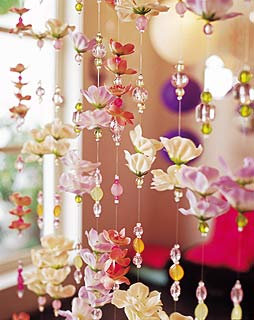
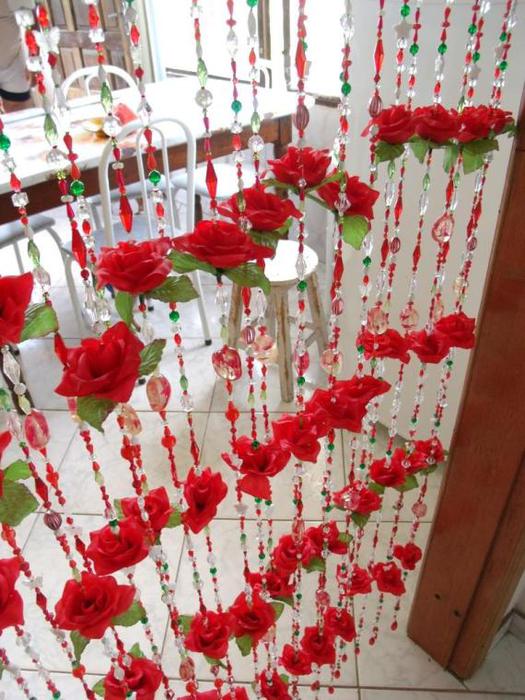
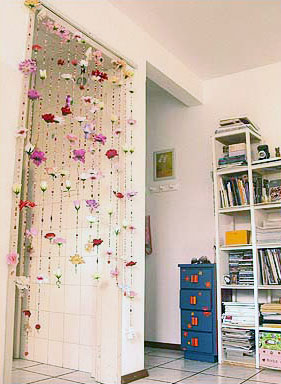
 So do the required number of threads. For mounting use wooden batten desired length, the holes drilled in it at a distance of about 10 cm from each other. You’re ready to tie the thread to the rail and our original floral curtain is ready!
