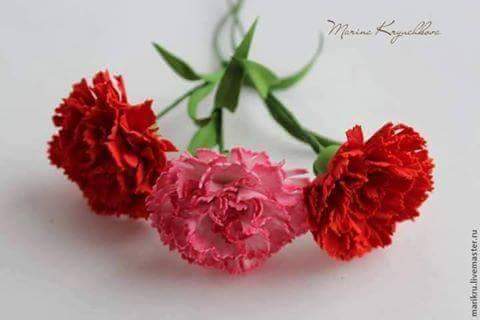
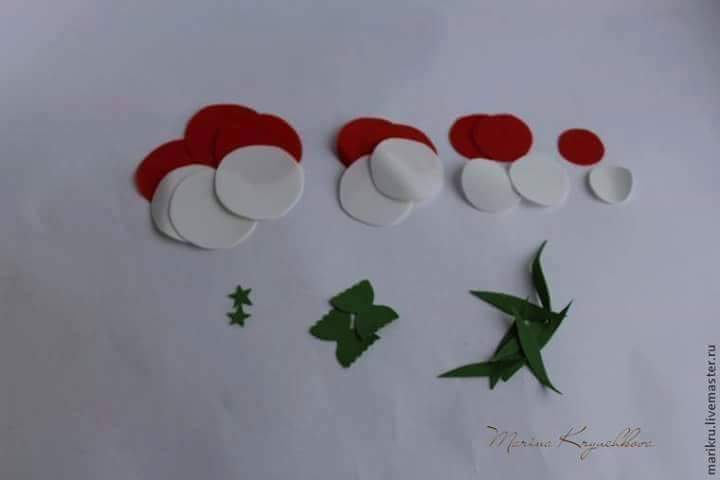
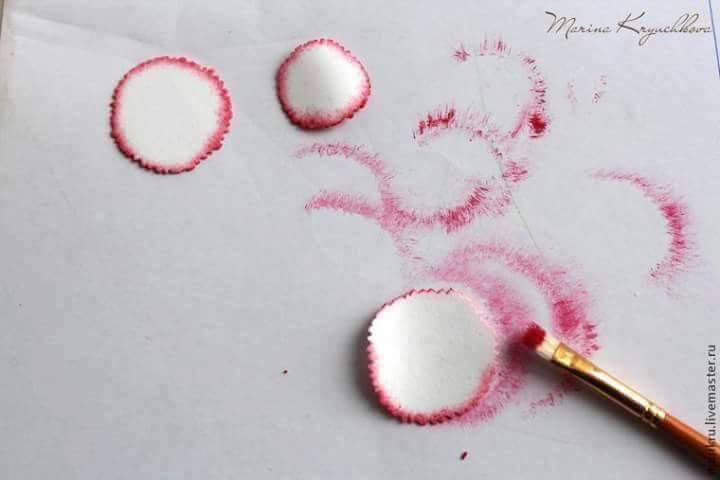
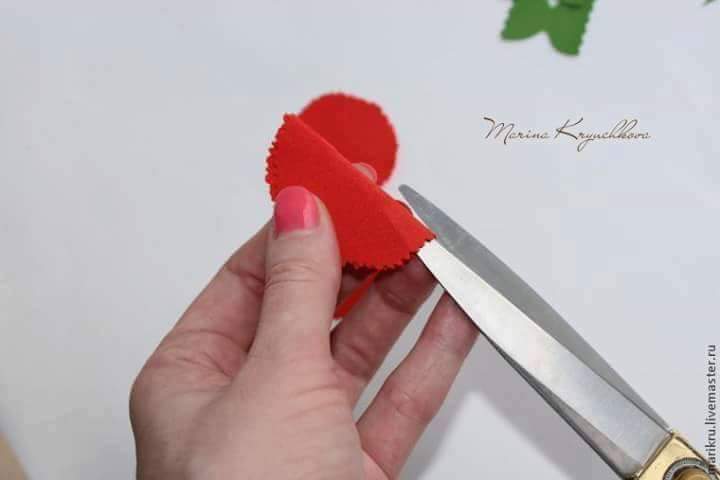
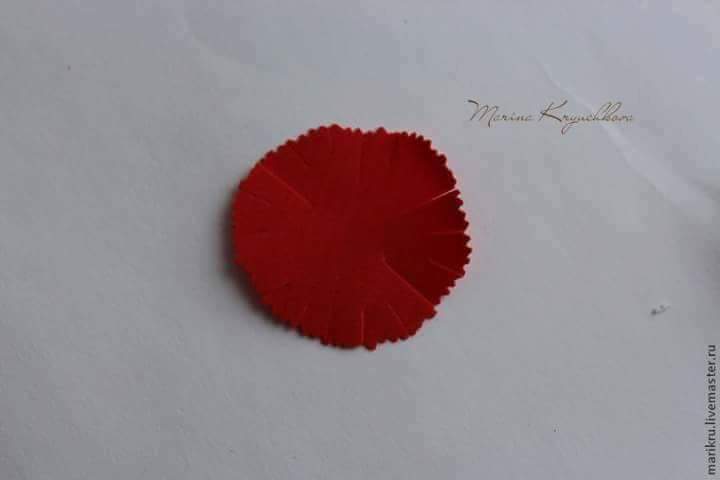
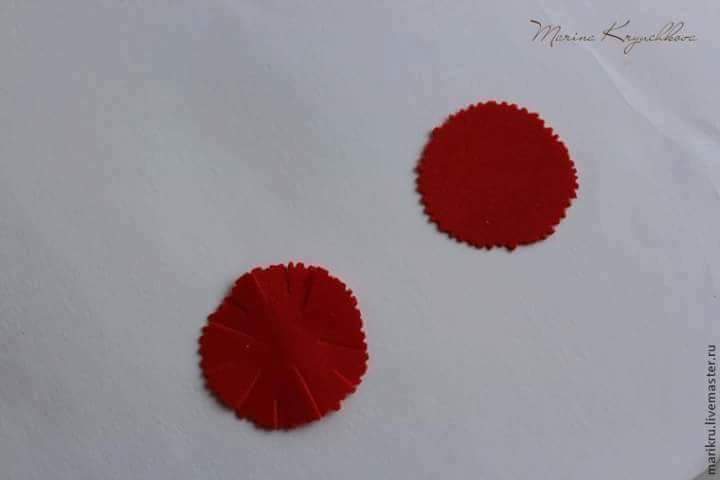
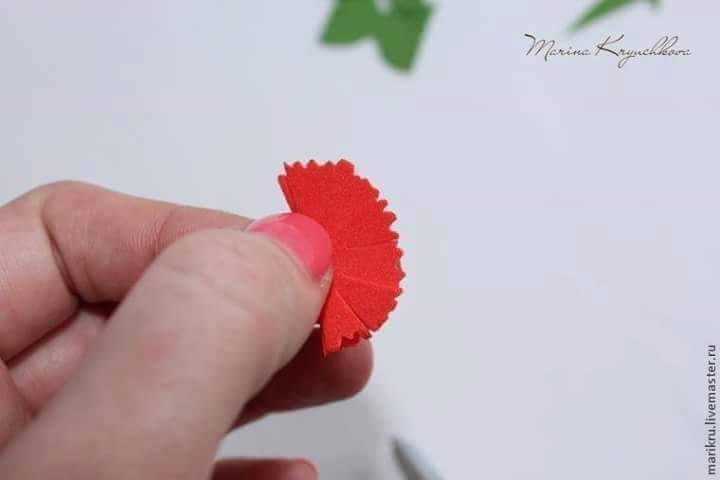
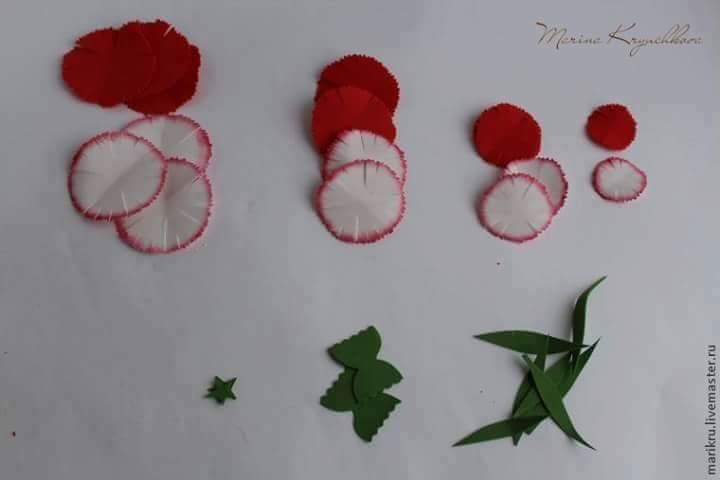
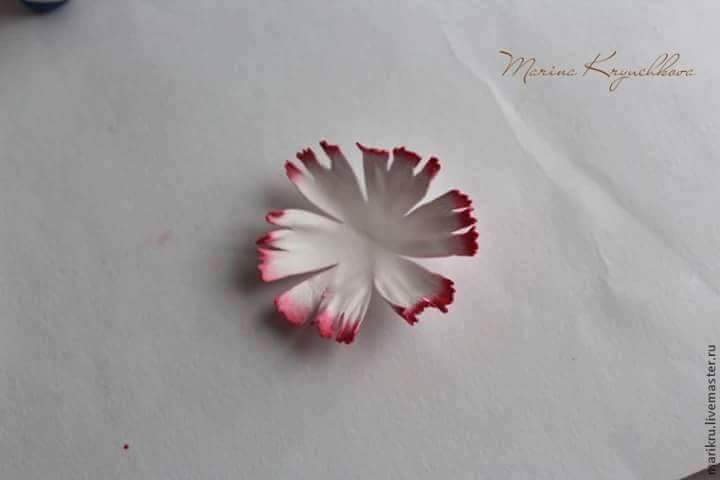
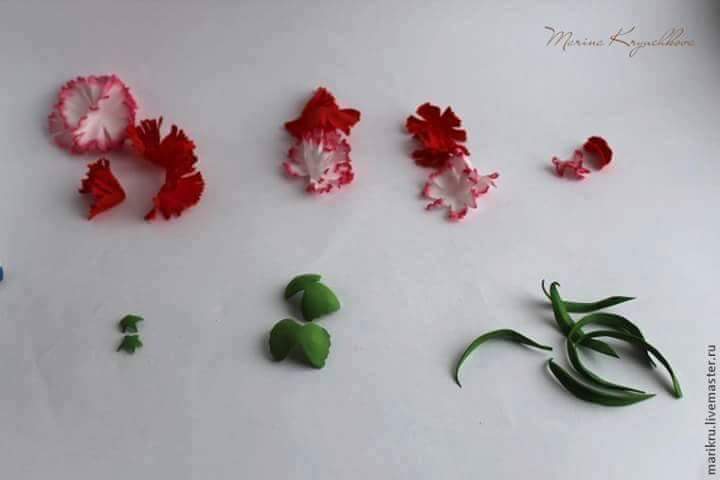
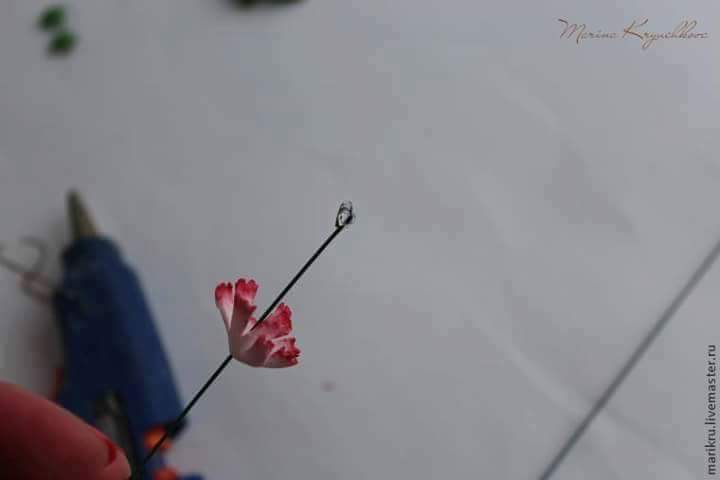
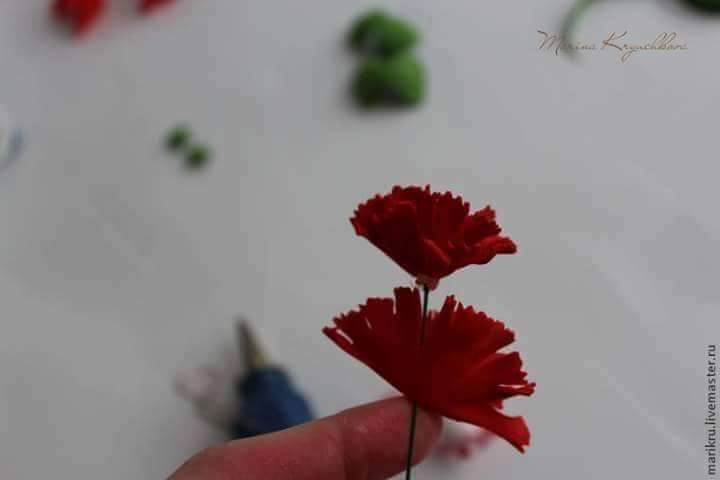
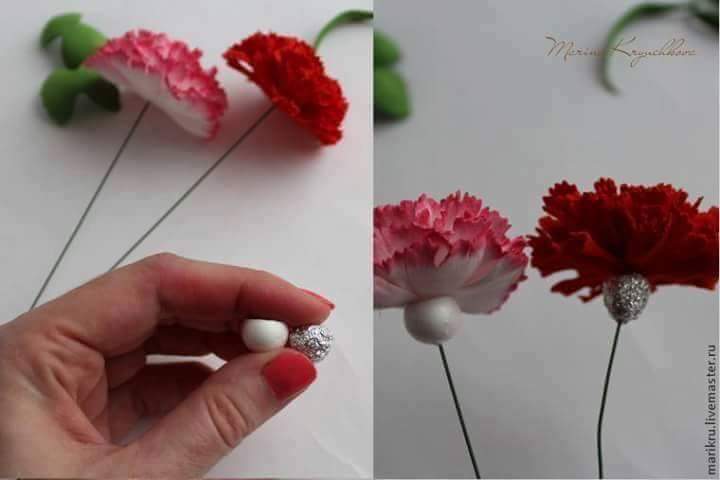
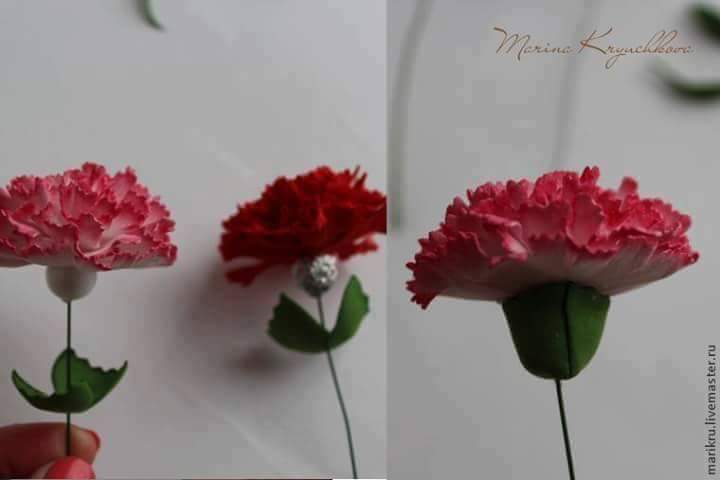
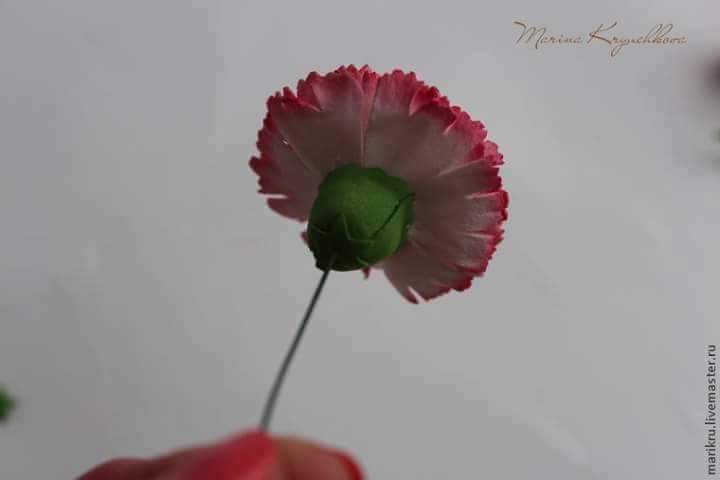
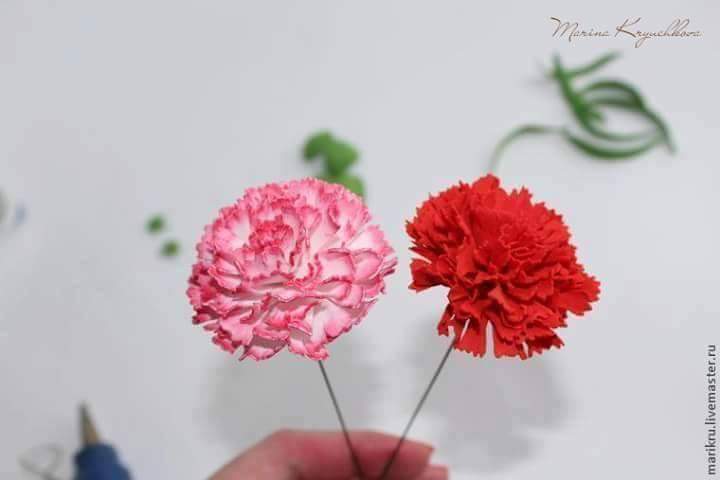
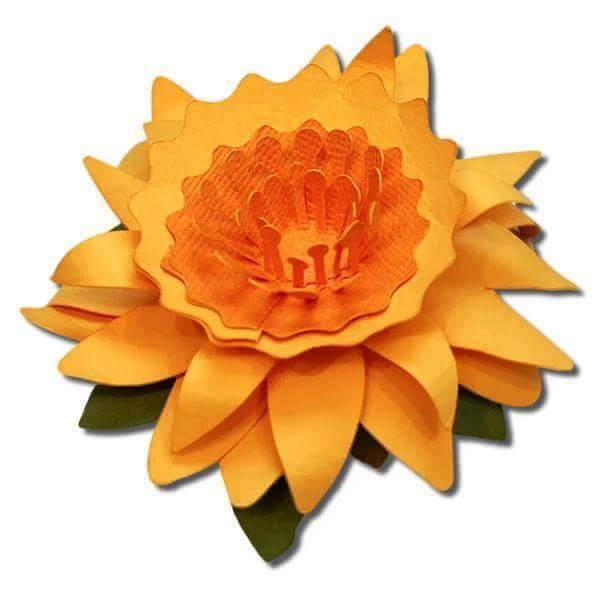
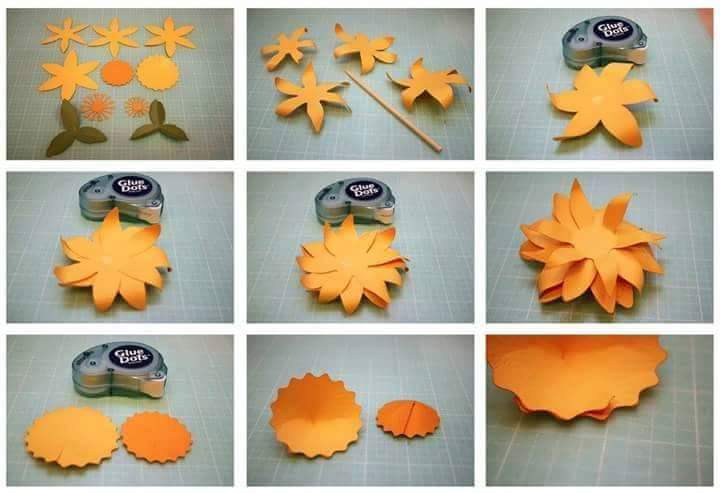
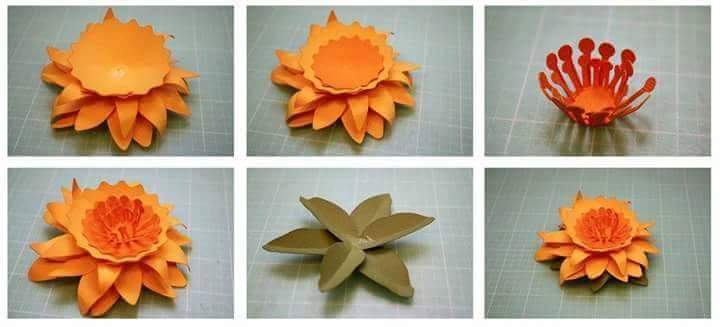
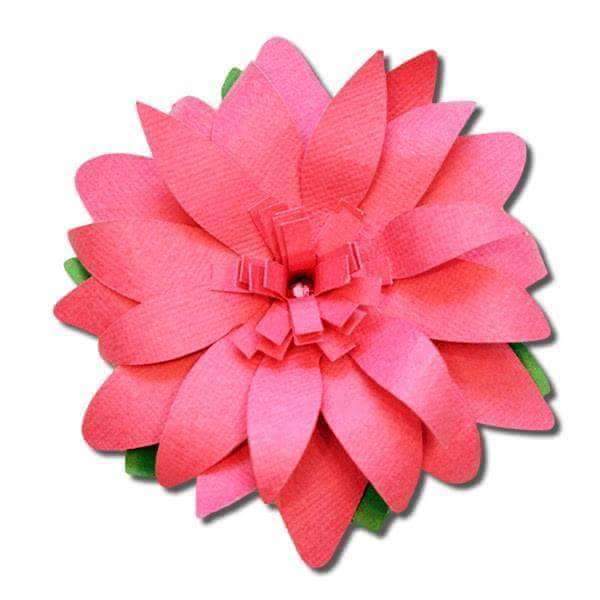
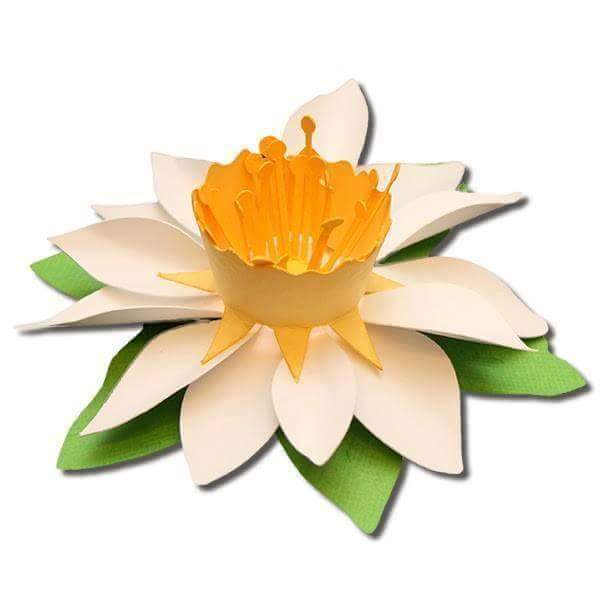
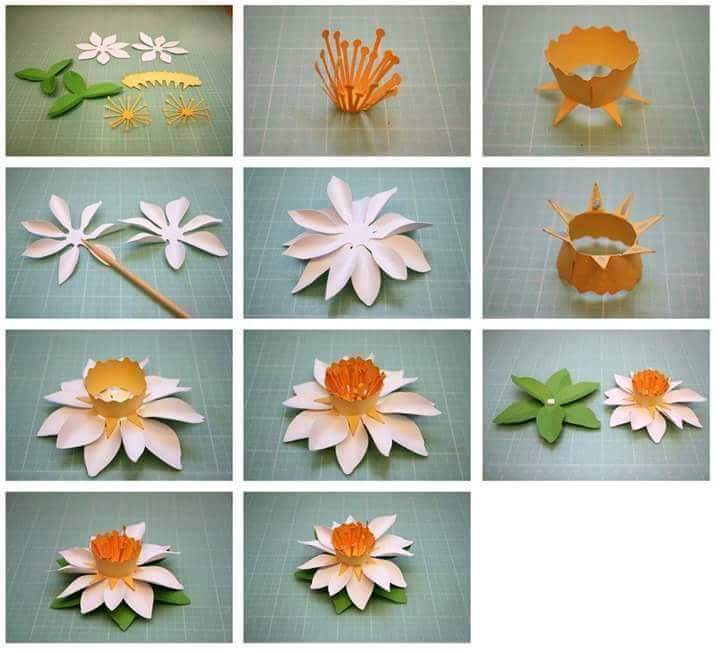
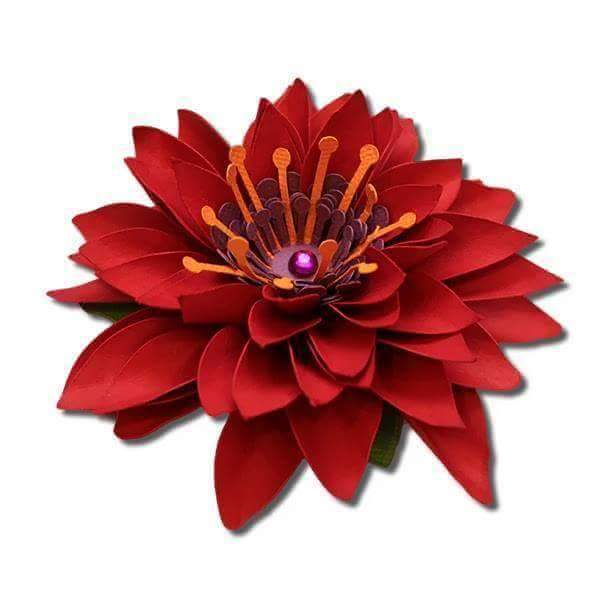
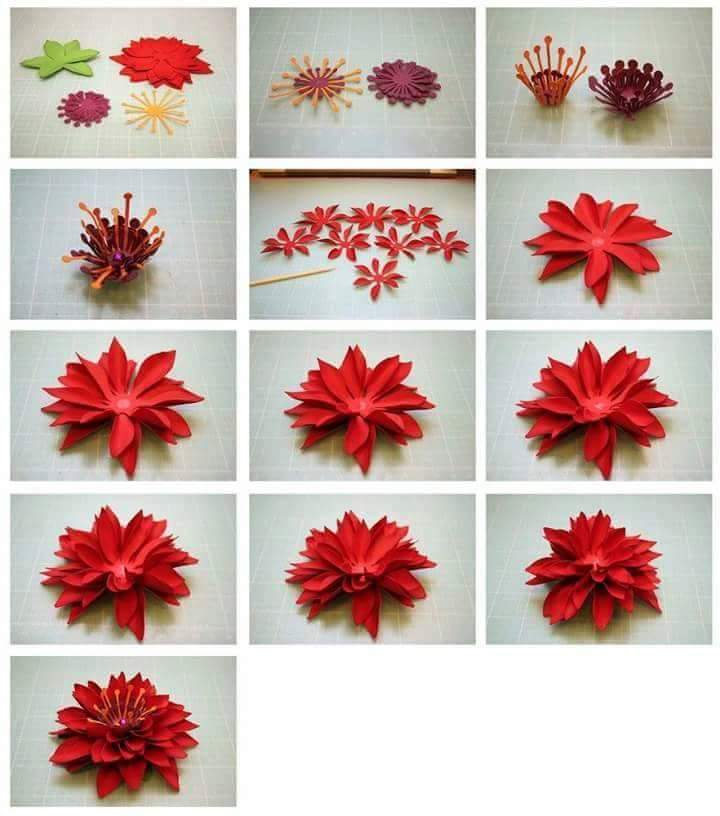
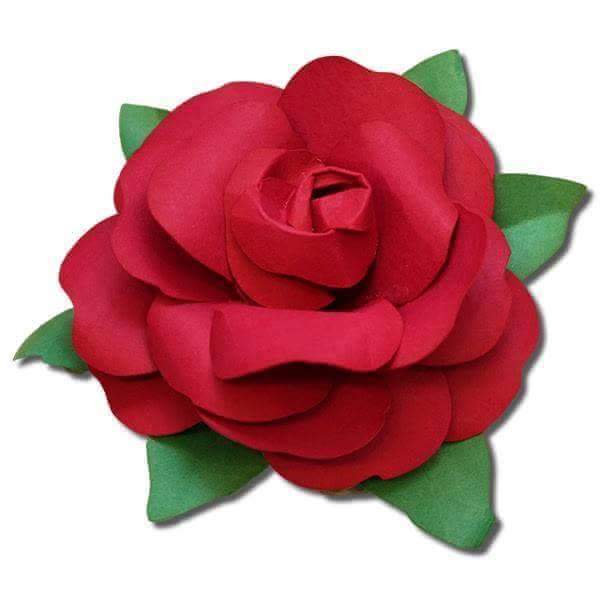
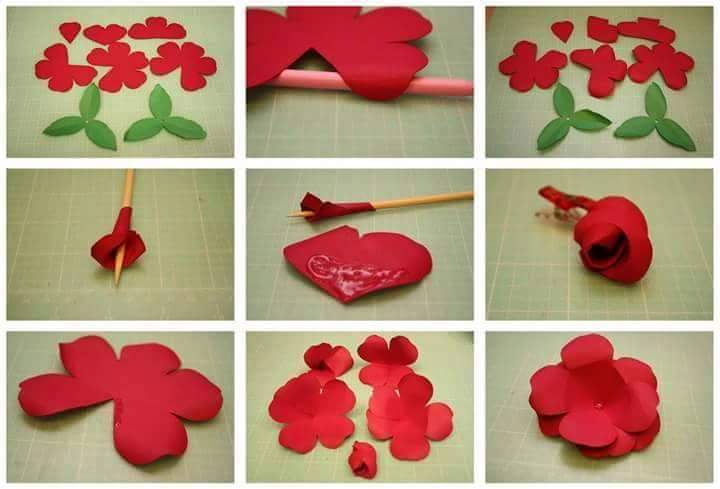
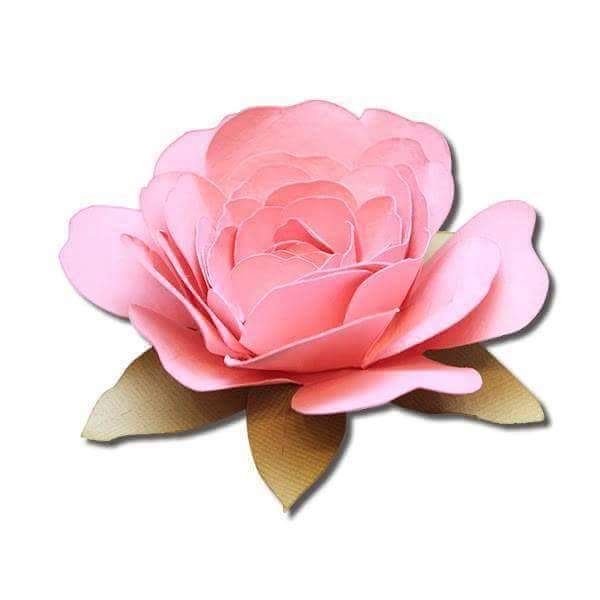
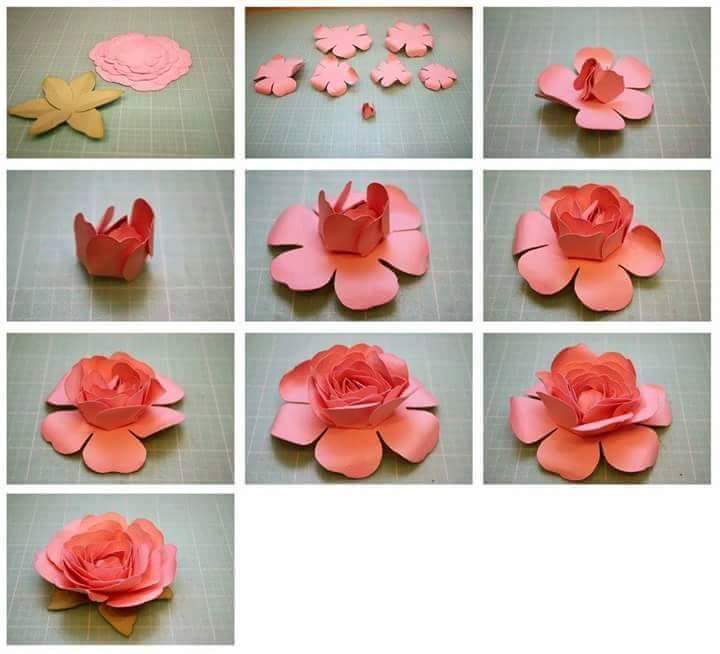
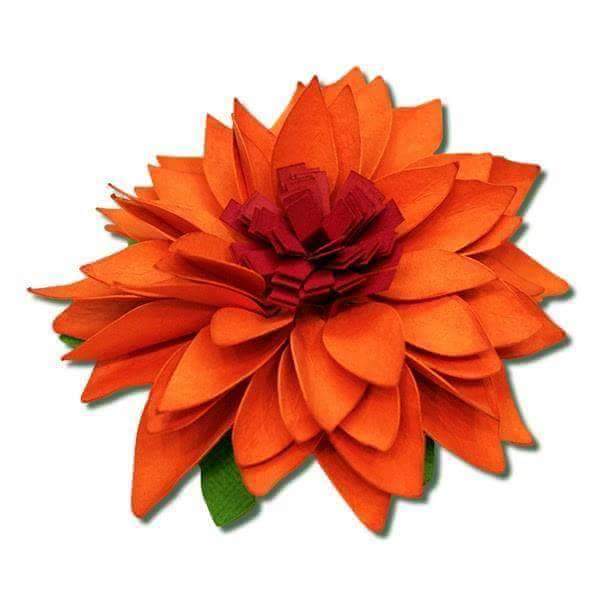
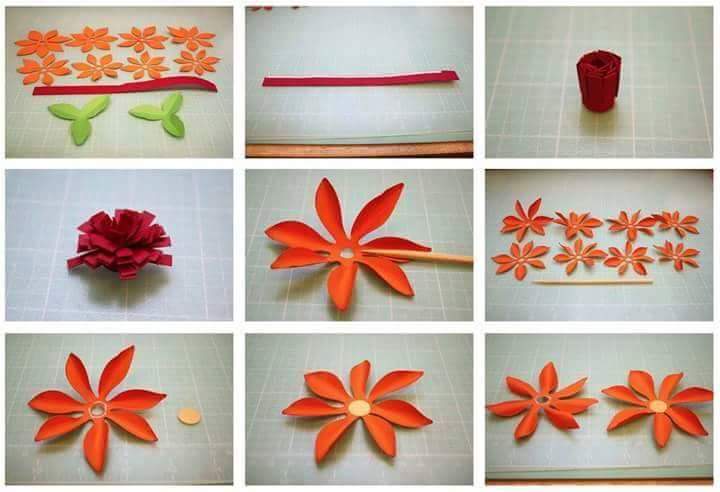
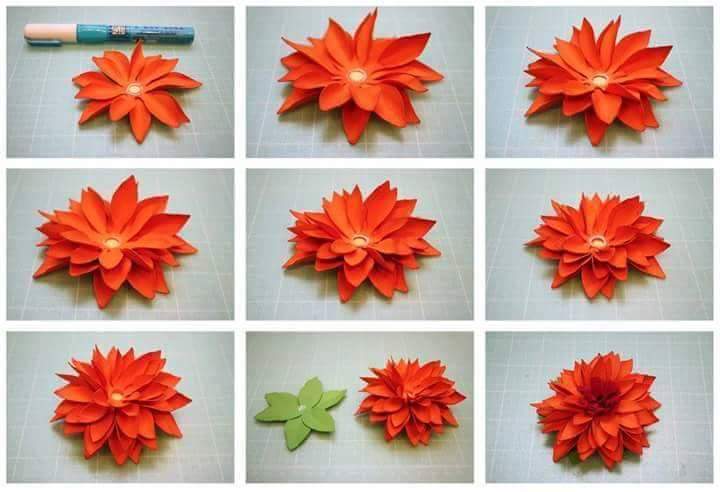
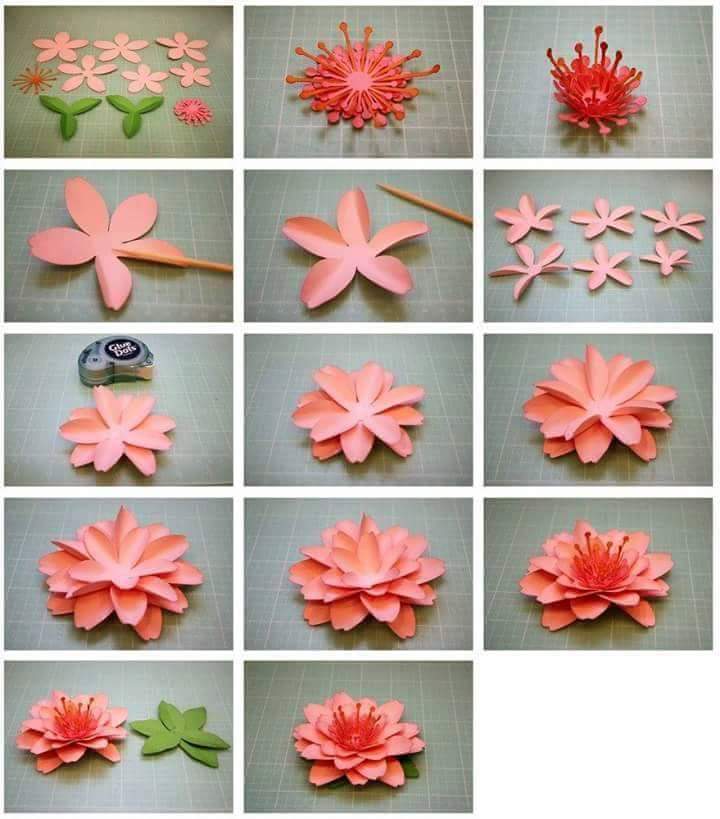
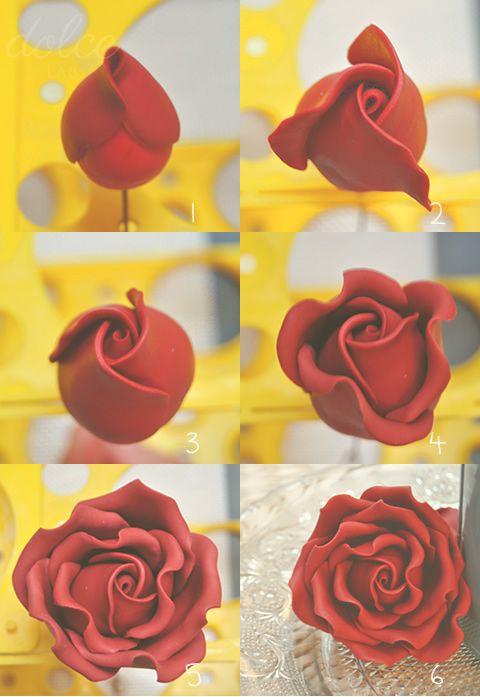
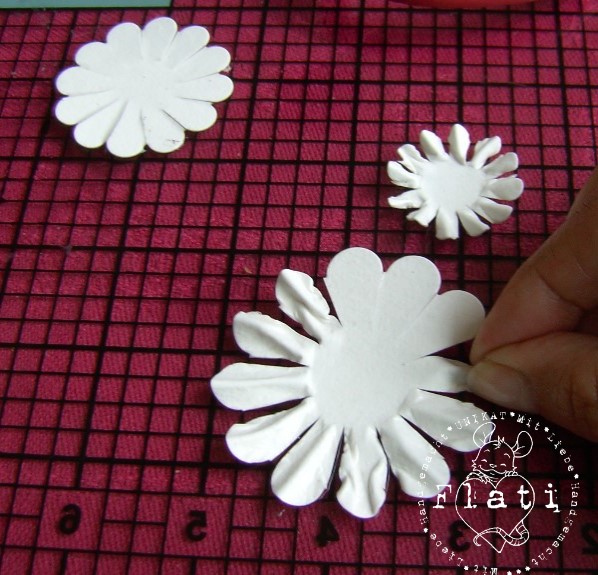
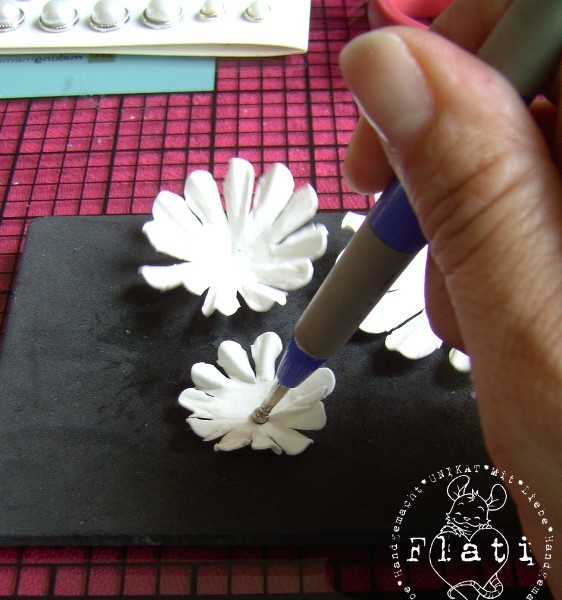
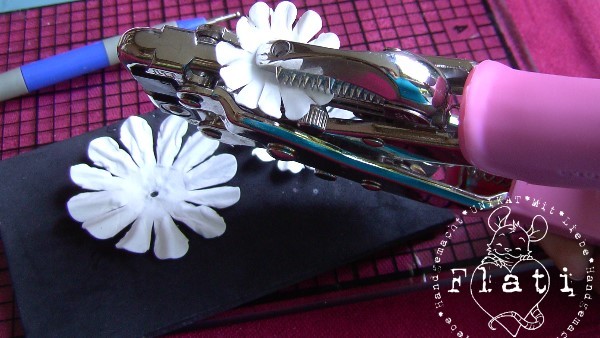
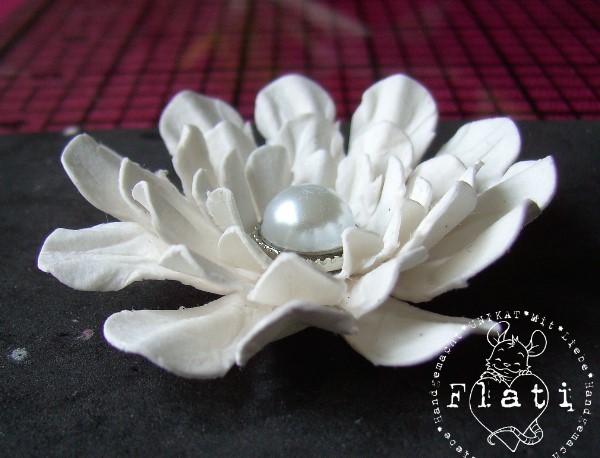
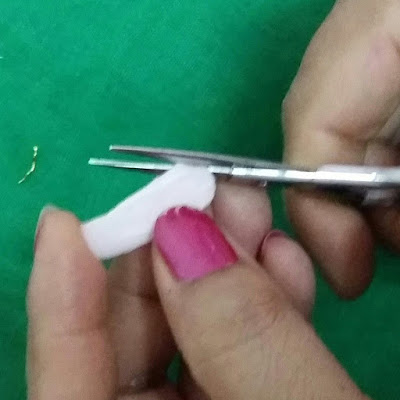
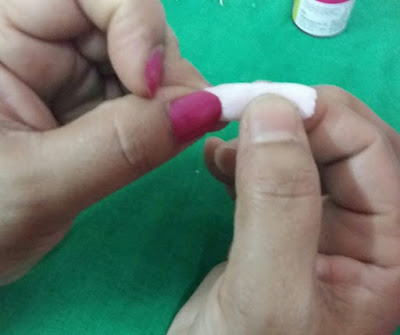
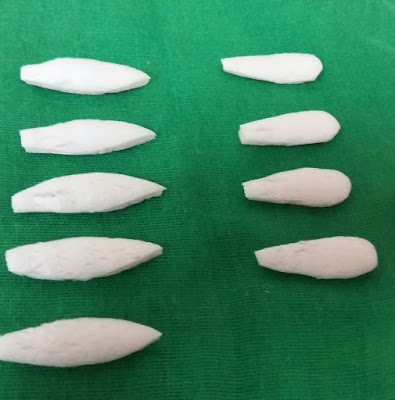
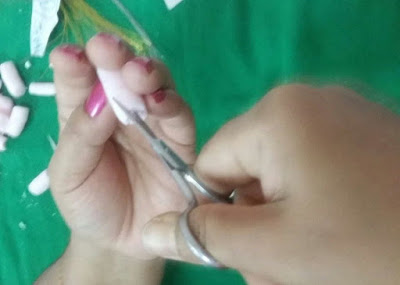
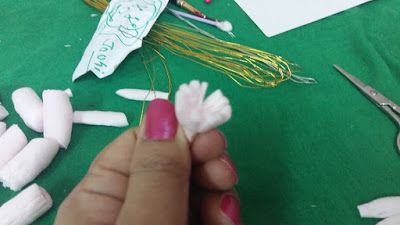
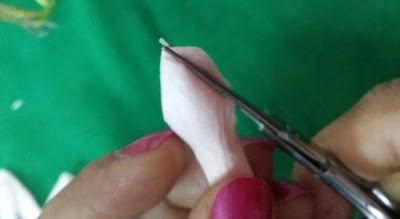
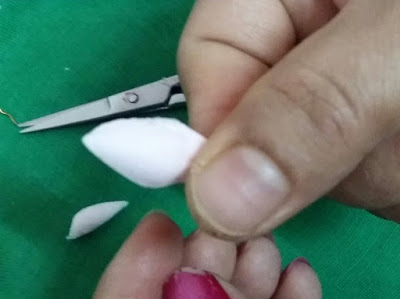
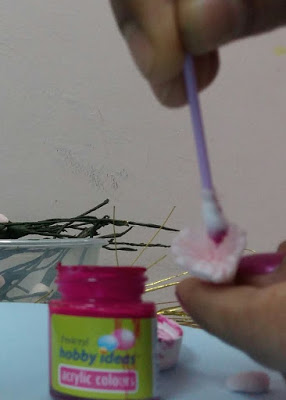
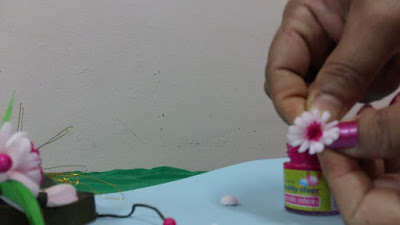
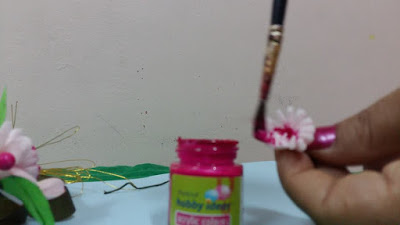
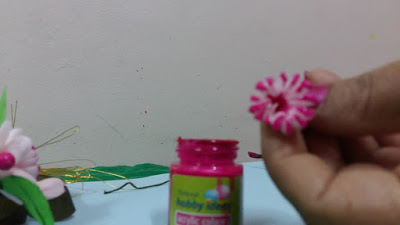
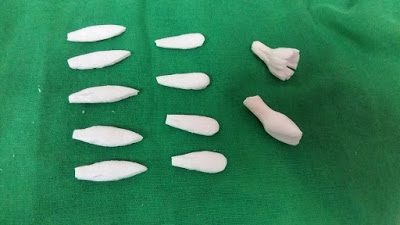
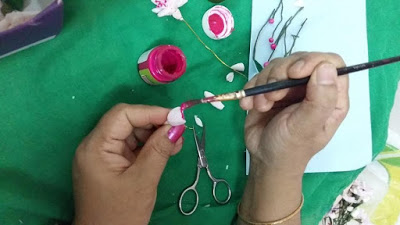
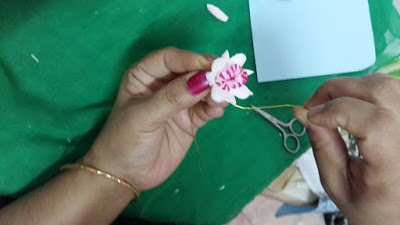
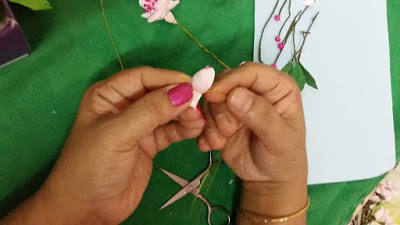
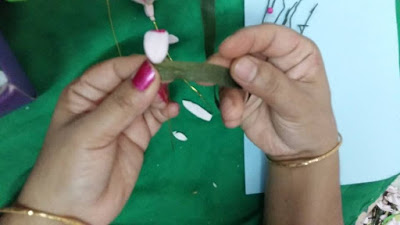
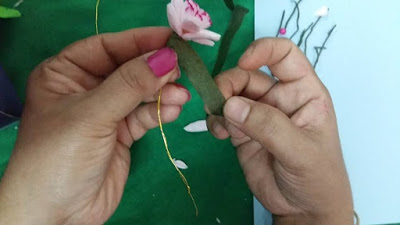
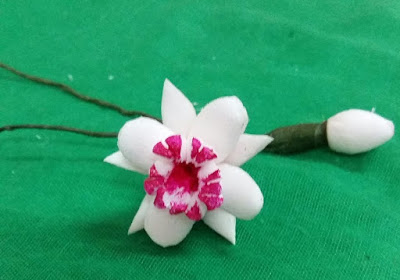
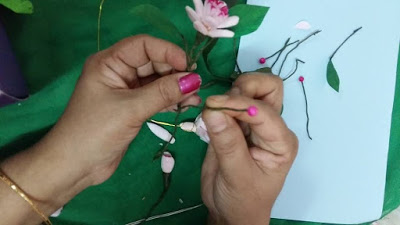
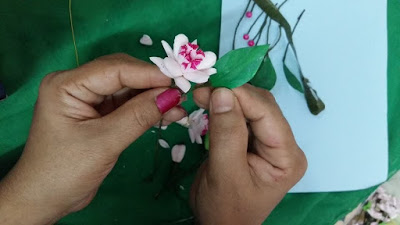
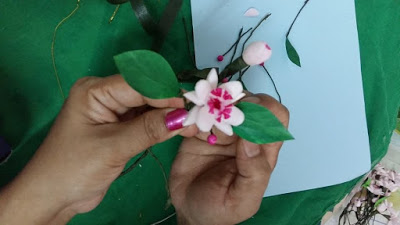
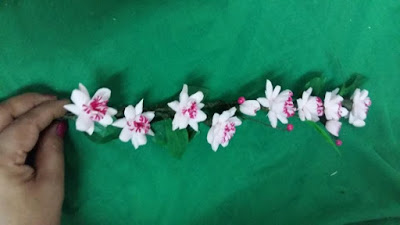
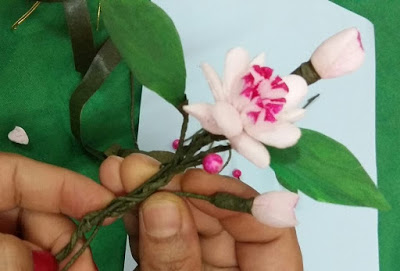
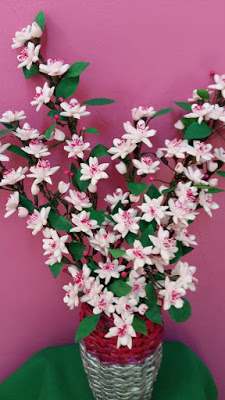
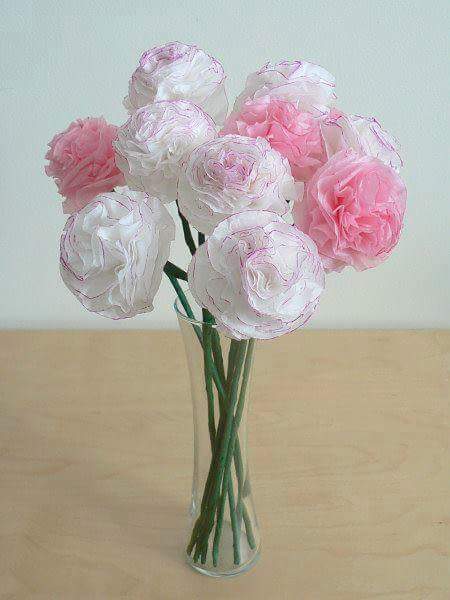
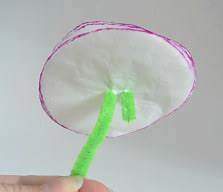
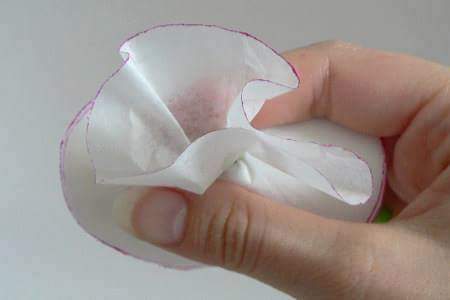
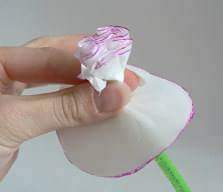
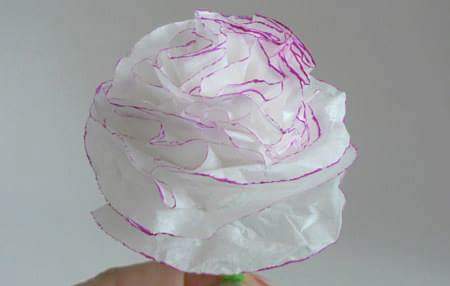
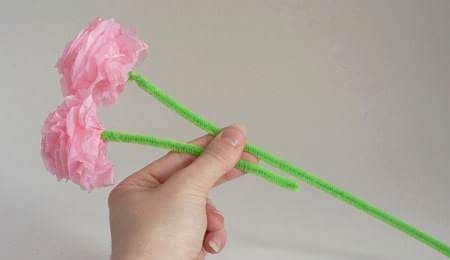
This tutorial shows how to make such pretty and realistic carnations from tissue paper. As well as beautiful decorations or gifts, these are perfect for weddings: make everlasting boutonnieres, table decorations and even bridal bouquets, and keep your wedding flowers forever as a memento of your special day.
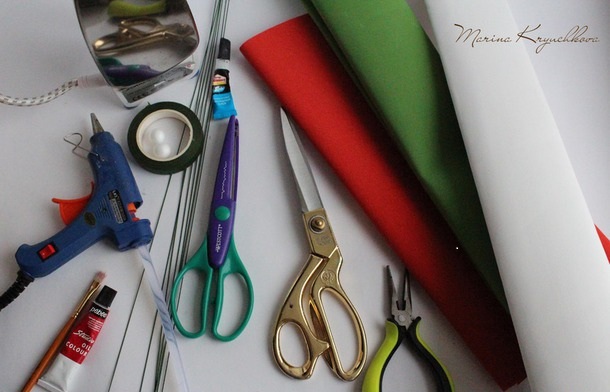
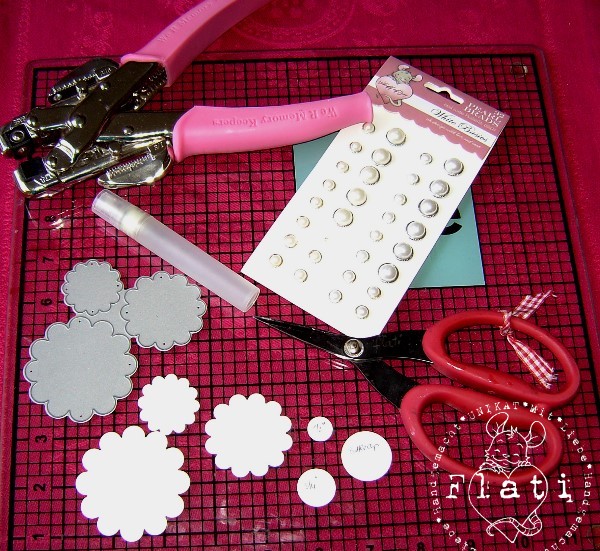
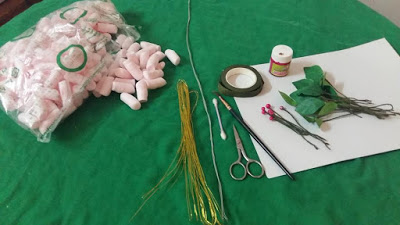
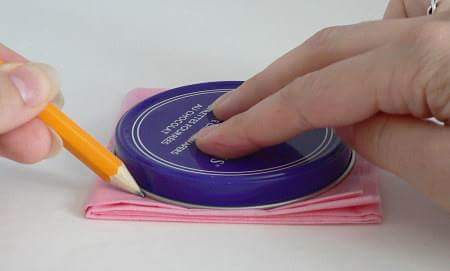
You will need:
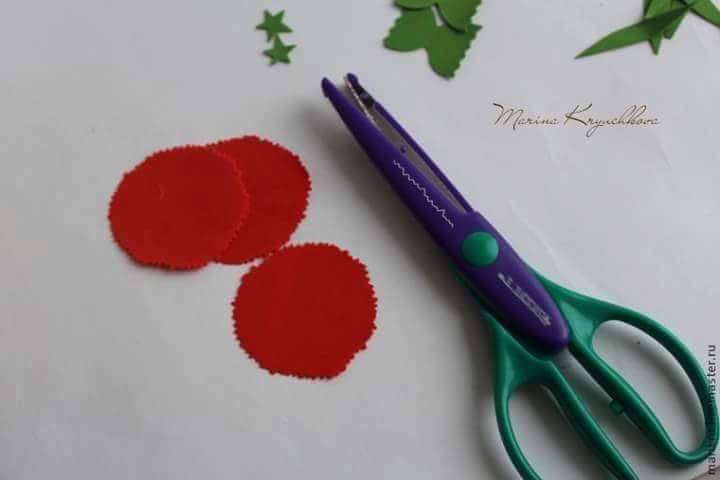
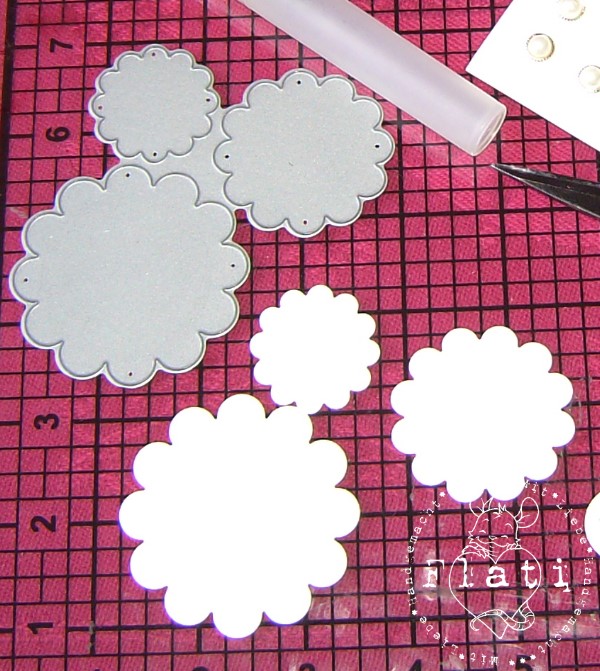
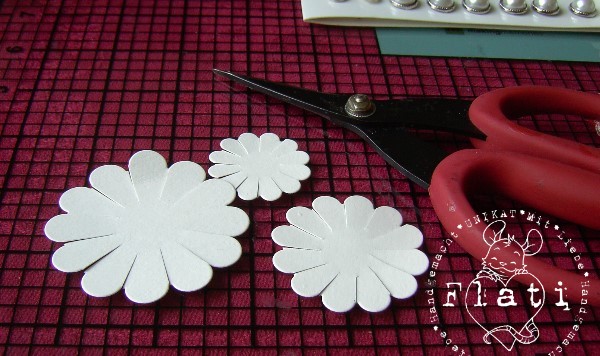
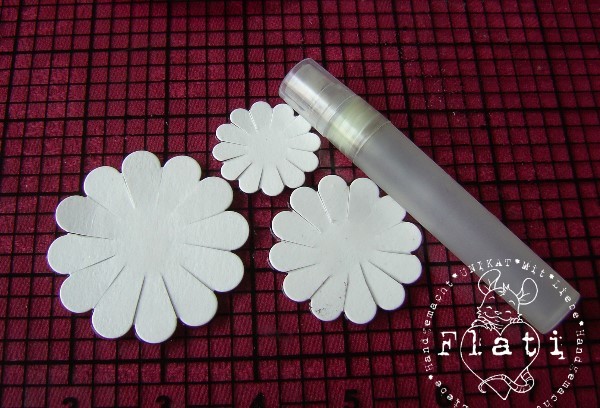
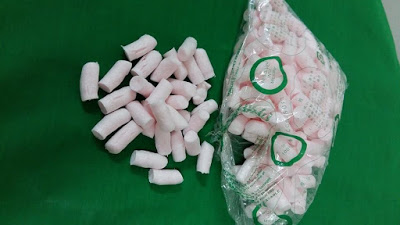
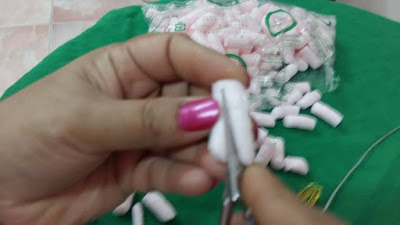
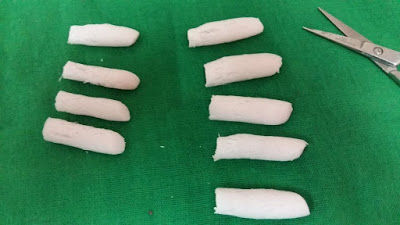
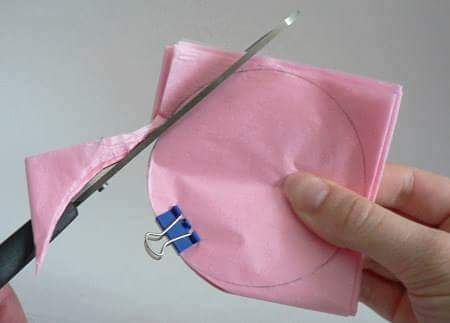
- Tissue paper
- Scissors
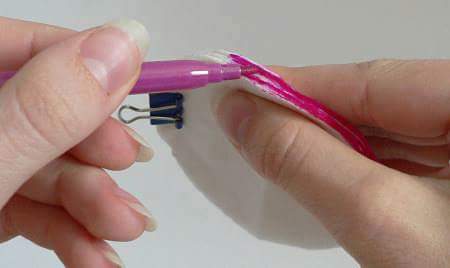
- 2 large paper clips
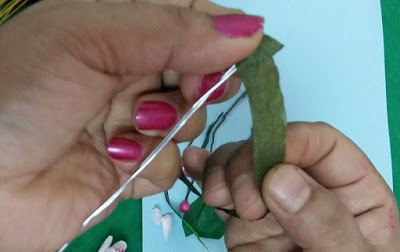
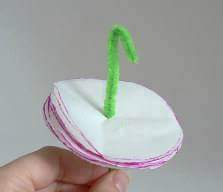
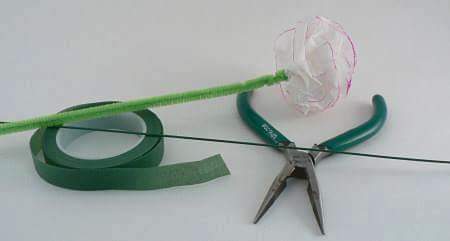
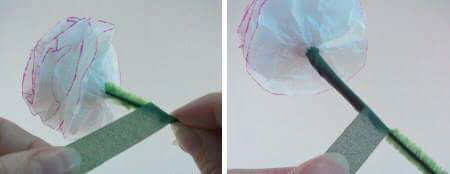
- Pipe cleaners (chenille stems) or floral wire
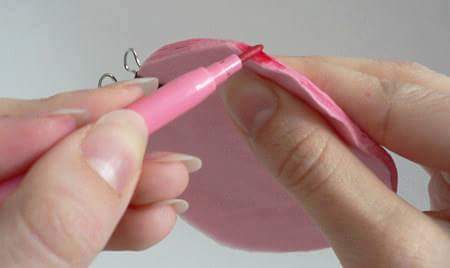
- Coloured marker pen
- Optional: floral wire, floral tape, wire cutters

Hope you like this paper flower tutorial.
We would love to hear your thoughts in the comment section below. And be sure to like us Facebook for more ideas!
Thank you for visiting our website. Keep Creating with Art & Craft!