This is a simple skirt, which can be made with low to intermediate sewing skills. Total costs: about 15 euros.
I apologize in advance for the poor quality of most of my pictures. My camera had a lot of difficulty with photographing black fabric.
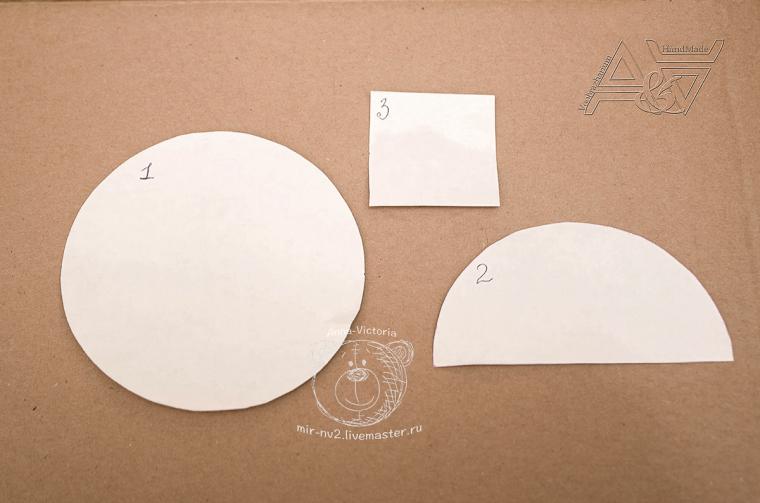
 Step 1: The Pattern
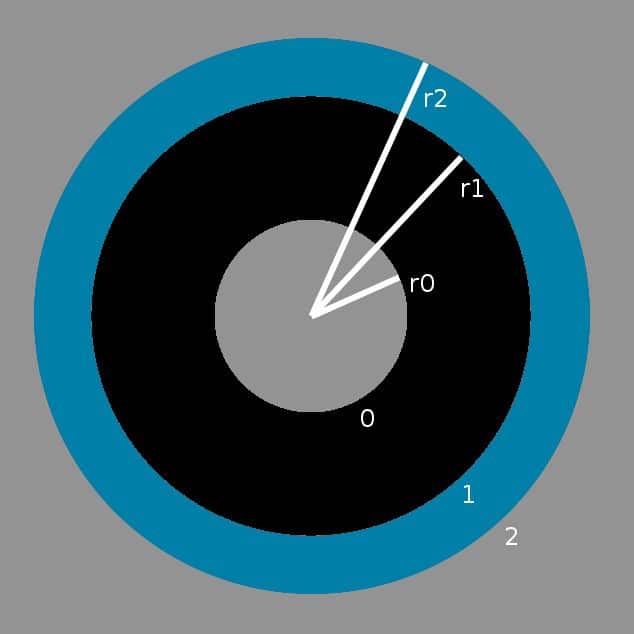
Of course, first, you need to make your pattern. Thankfully, this is super easy. You can use the figure as a guide. So here’s how to make the pattern.
First, you need the hip measurement of the person you’re making the skirt for. My friend is very small and has a hip measurement of 84 cm. Since the skirt is made of lycra which is very stretchy, the actual skirt needs to be smaller. I estimated that a skirt circumference of 70 cm would be OK. I will call this 70 cm the hip measurement from now on. You also need to decide on a total length. Following the example of the skirt in my photo, I chose a total length of about 40 cm. Note that this pattern does not include seam allowances.
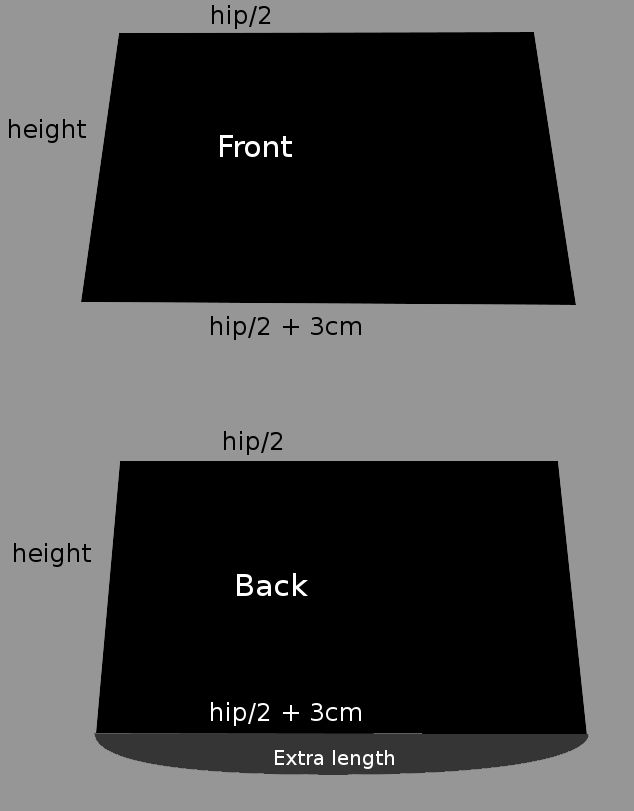
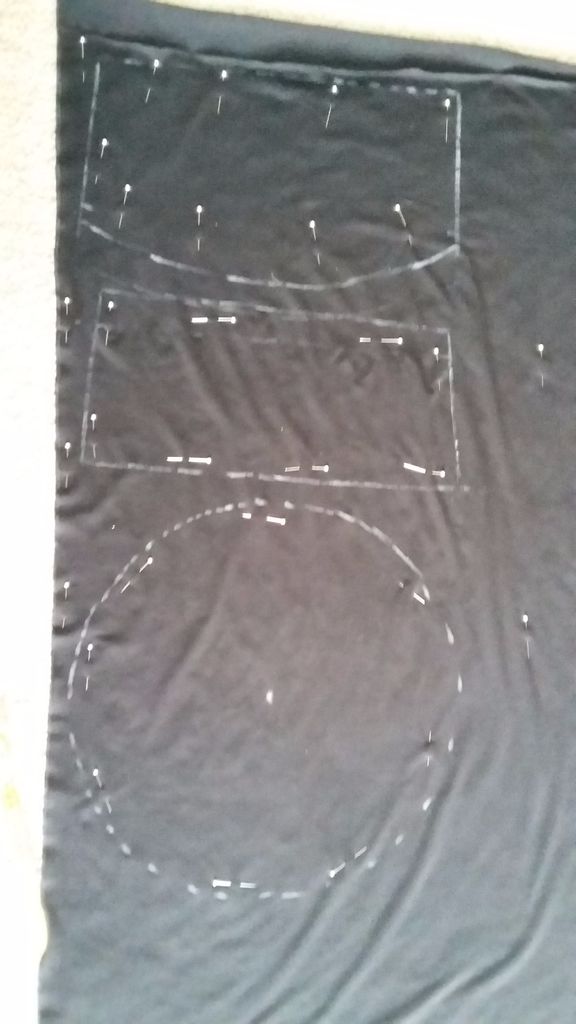
The skirt consists of two parts. Two trapezoids at the top, which I will call the base, and a wide, hanging part, which is made from four circles, which I will call the frill.
The base consists of two trapezoids, where the back part has a bit of extra fabric at the bottom. This is in place to make sure that the bum of the dancer stays hidden while dancing. The top width of the pieces is hip/2 ( =35 cm), and the height is the total length/2 ( =20 cm). The extra length is about 5 cm, depending on the bum of the wearer. The bottom of the trapezoids is a bit (about 3 cm for each panel) wider than the top edge. This will stop the skirt from riding up.
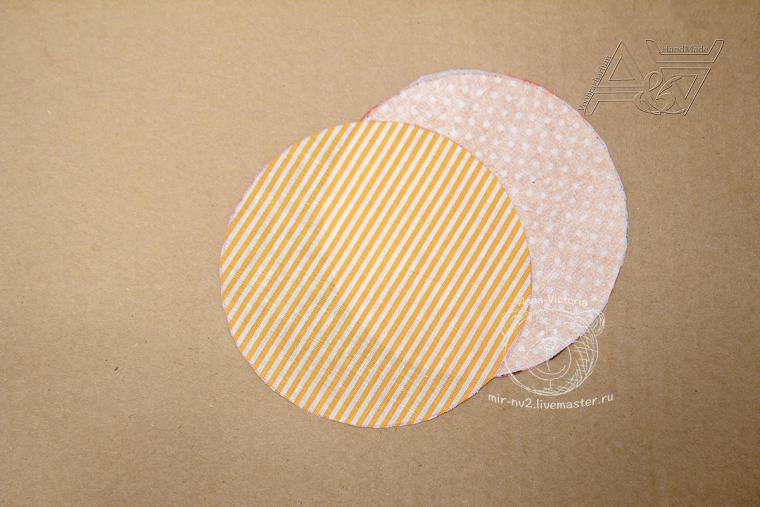
The frill is made out of four circles, with a circle cut out of the center, as shown in the figure. The black circles need to be a bit smaller than the blue ones, but they must have the same inner radius since the inner edge will connect to the base. The inner circumference of each circle (c0) must be 1/2 of the hip measurement. This means that the inner radius (r0) must be r0 = c0/(4π) = c0/12.6. So for me, r0 = 5.6 cm. The radius of the blue fabric needs to be 20 cm longer, so r2 = 25.6 cm. The black fabric must be 3 cm shorter, so r1 = 22.6 cm.
Step 2: The Fabric
It is easiest to draw a rough sketch to get an idea of how much fabric you will need. Key point: do not confuse radii and diameters! If you make a skirt with the same sizes as me, then you should have plenty if you get 60 cm of blue (at 140 cm Wide) and 1 m of black. I got 1 m of both.
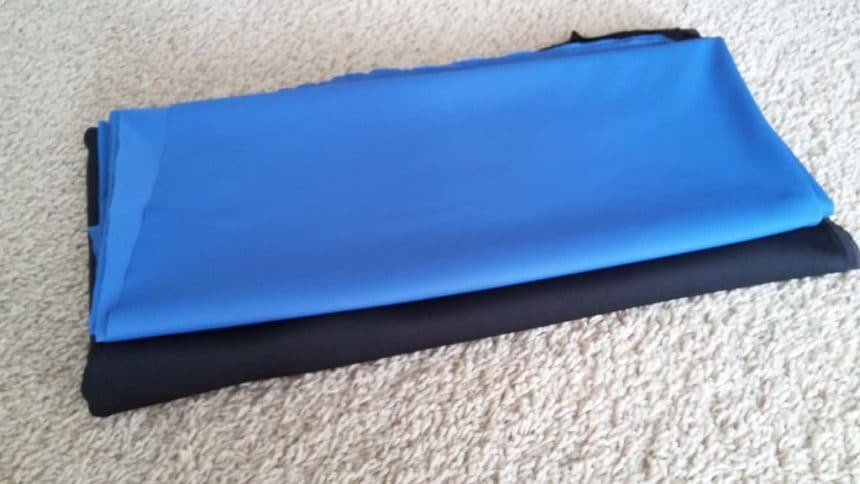
I got a light quality lycra. Try to get the blackest black you can, and a color that really pops for the lower layer. Bright green, red, or even a glittering fabric would be really cool. It’s an accent, make it stand out!
There is a lot of lycra available online, but in the end, I got it at my local fabric market. I prefer to see and feel my fabric, so there are no surprises in the thickness, color, and quality.
Step 3: Drawing
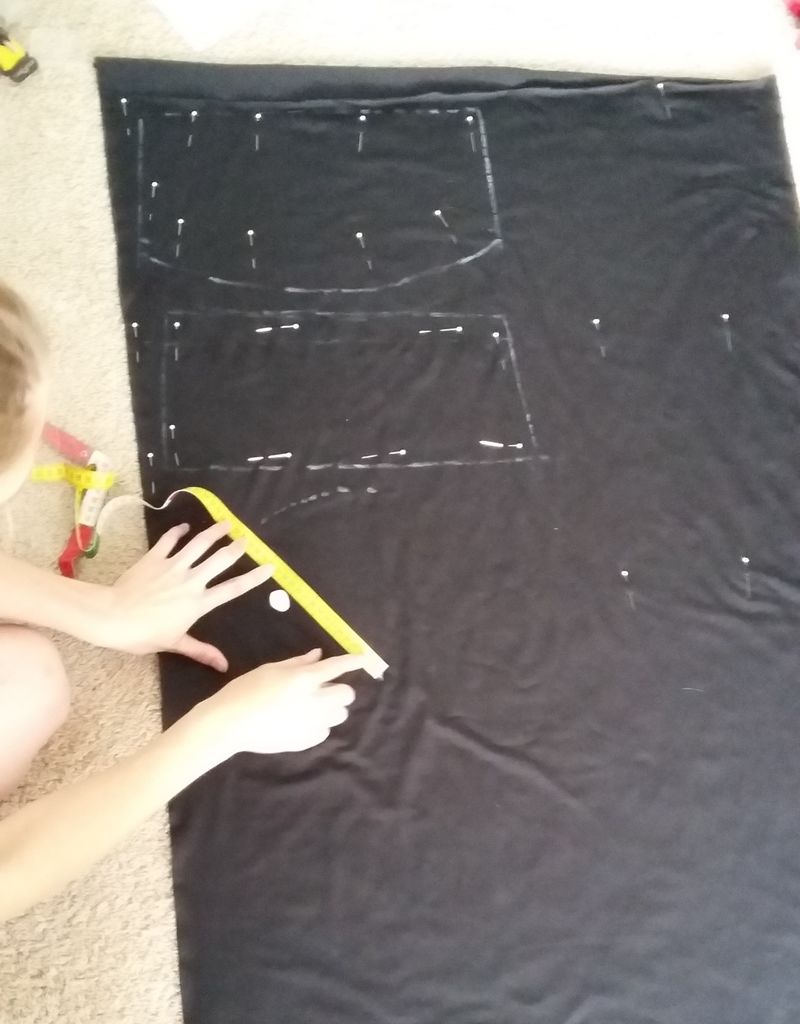
You will need a piece of dressmaker’s chalk, a cup of water, and a lot of pins and patience. Lycra is slippery, which makes is tricky to work with. If you dip the edge of the chalk in water before drawing a line, it will release a lot more chalk, making the drawing easier.
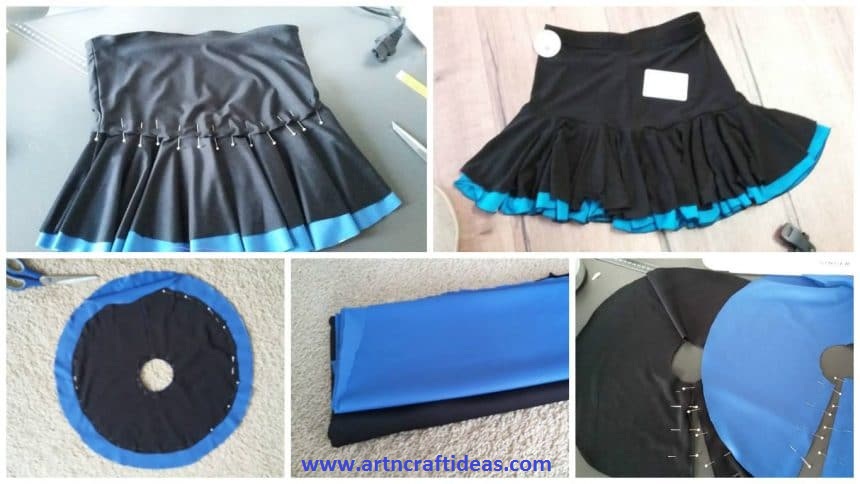
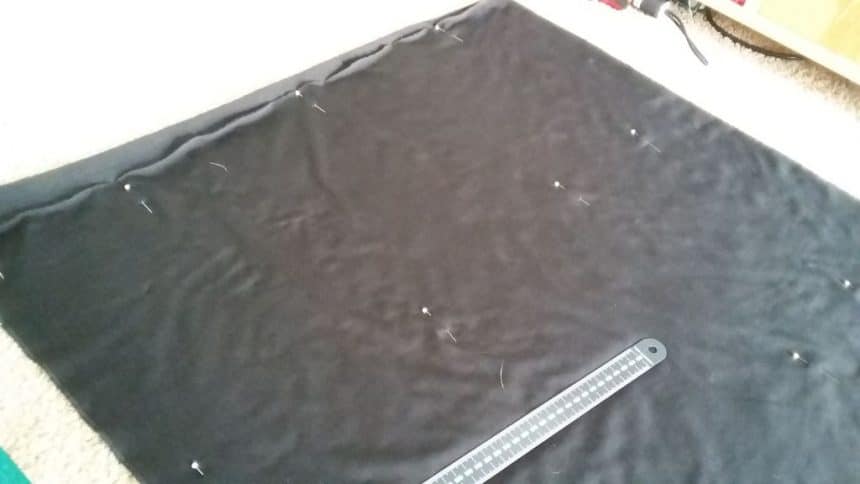
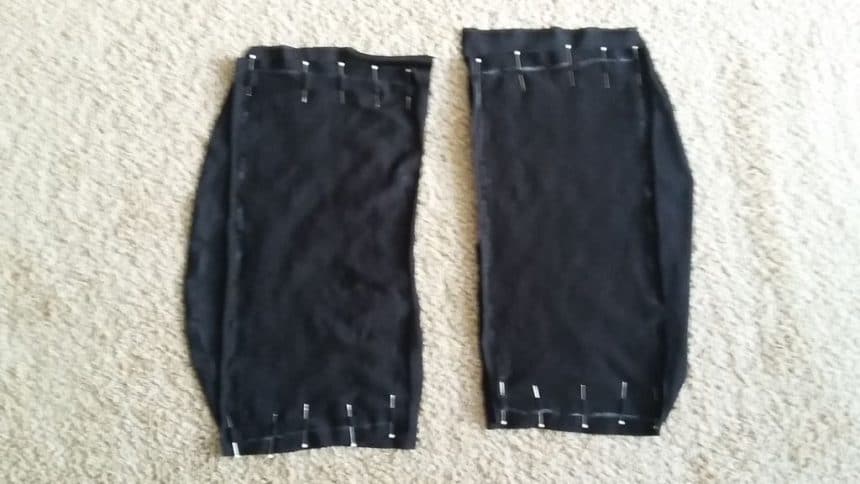
My lycra is reasonably thin because I wanted the frill to be light. Due to this, I decided to make my base out of two layers. So draw both pieces of the base twice, or once on folded fabric. If you work on folded fabric, you need to pin the two layers together, as shown in the picture.
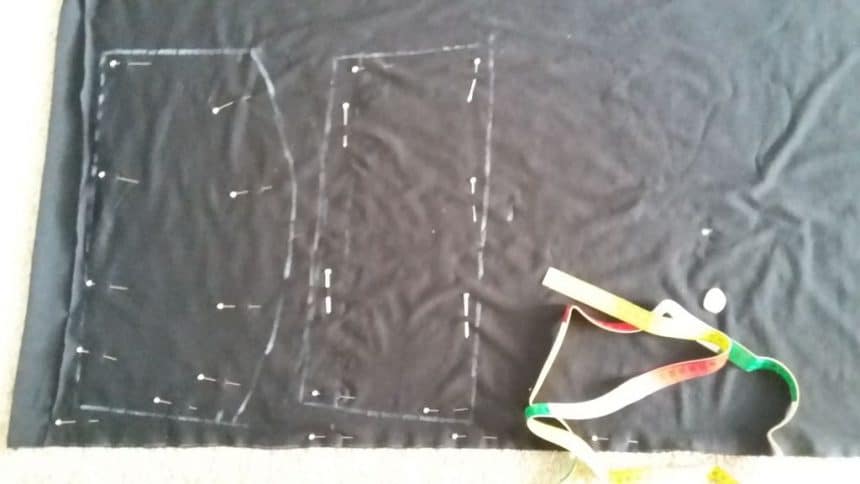
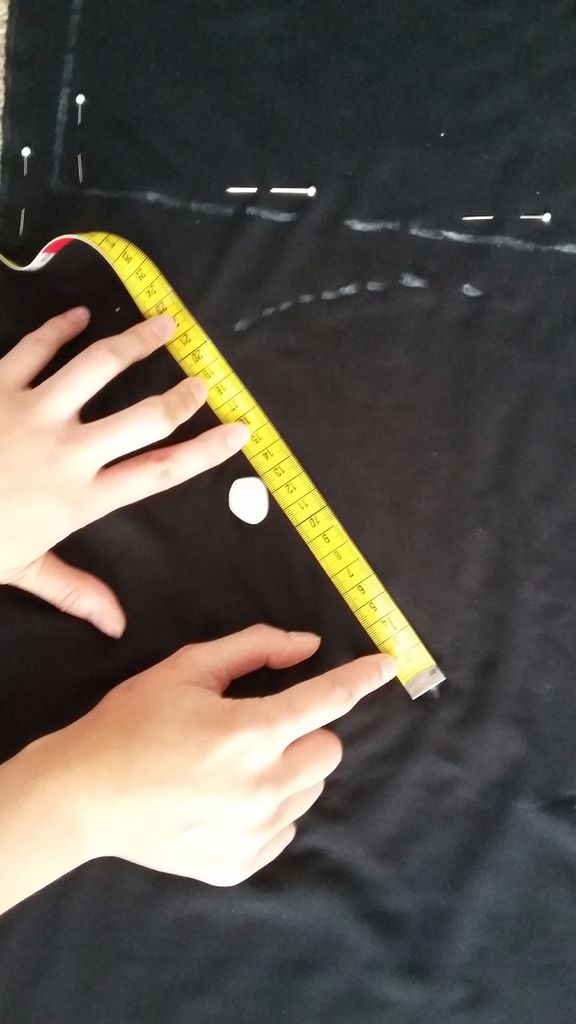
You will also need two circles of each color, with the right radio (black smaller than blue). I did this by drawing a dot at the place where I wanted my circle, and moving my tape-measure around that dot to draw a circle, as shown in the figure. Also, draw the inner circle with radius r0.
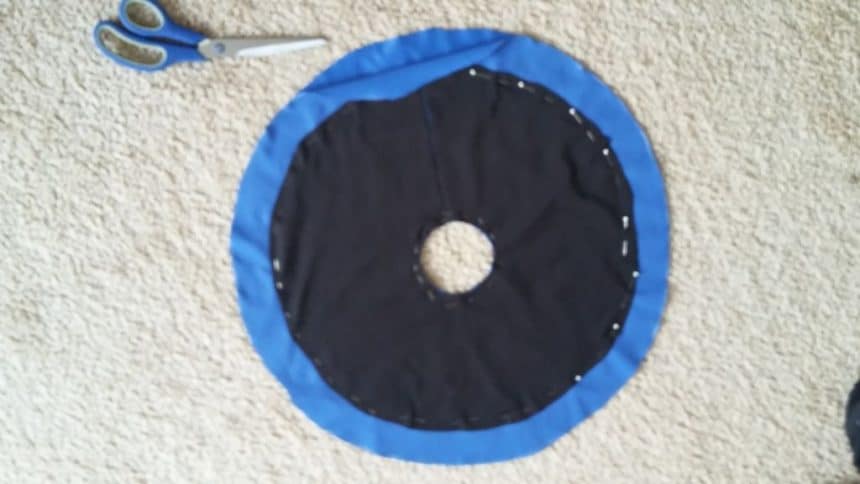
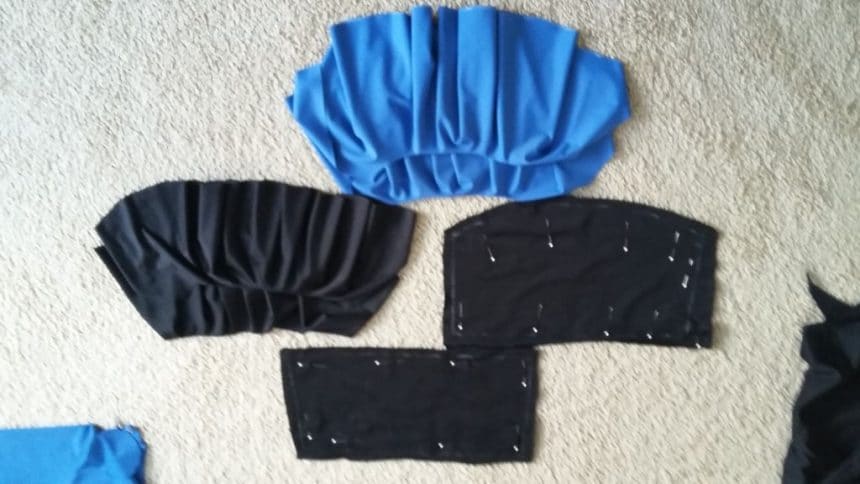
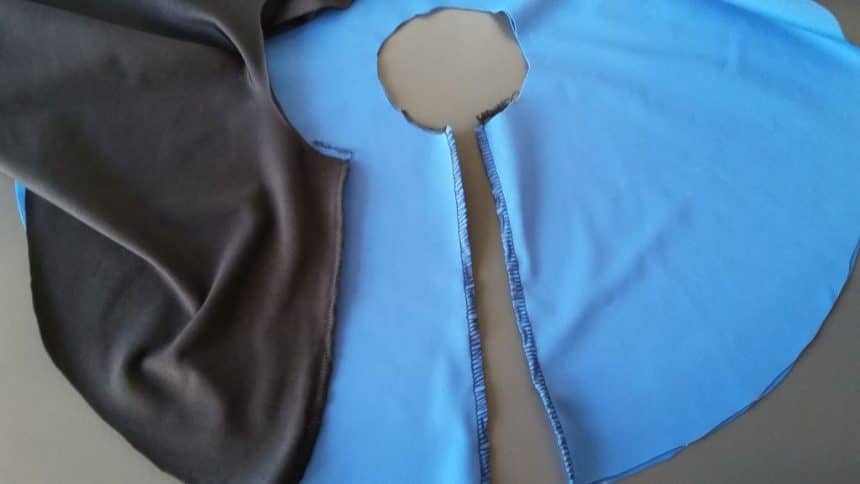
Cut all the pieces (2x front panel, 2x back panel, 2 black circles, and 2 blue circles). Leave a 1 cm seam allowance around the base. Do not leave seam allowance around the inner edge of the circles, or the circumference will be too small. Instead, leave a small allowance around the outer edge. Lycra will not fray, so you will not need to hem the outer edge frill. Cut a straight line from the outer edge of the circles to the center. The figure shows the pieces you now have.
Step 4: Making the Base and the Frill
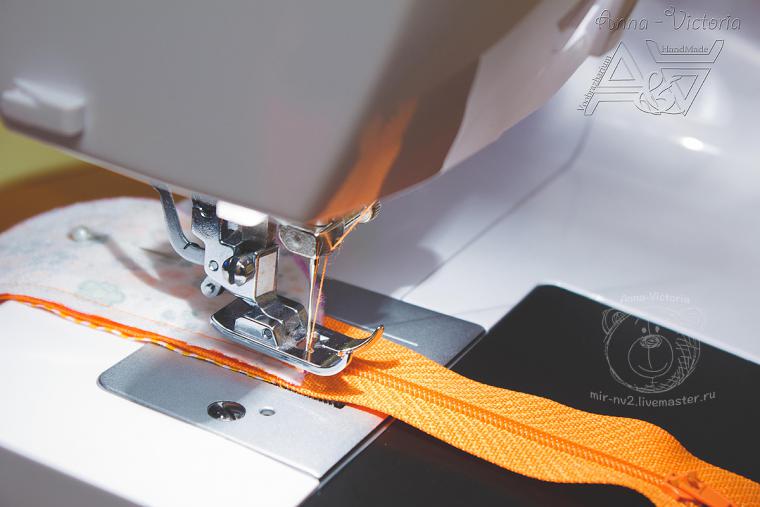
Sew the front pieces of the base to the back pieces, good sides together. I used an overlock machine with the most stretchy stitch. If you are using a regular sewing machine, make sure you are using a stretch needle and a stretch stitch. Sew the pieces together.
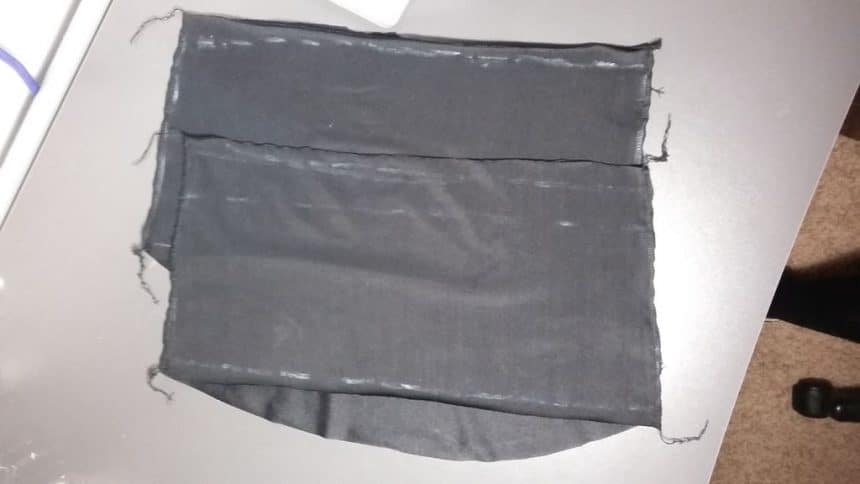
Now turn one of the two bases right side out, and put it inside the other one, so all the good sides are touching. Sew around the top edge to close it off, and turn the good sides outward. Now only the lowest edge of the base is bare, and the edges of the top and sides are neatly tucked away.
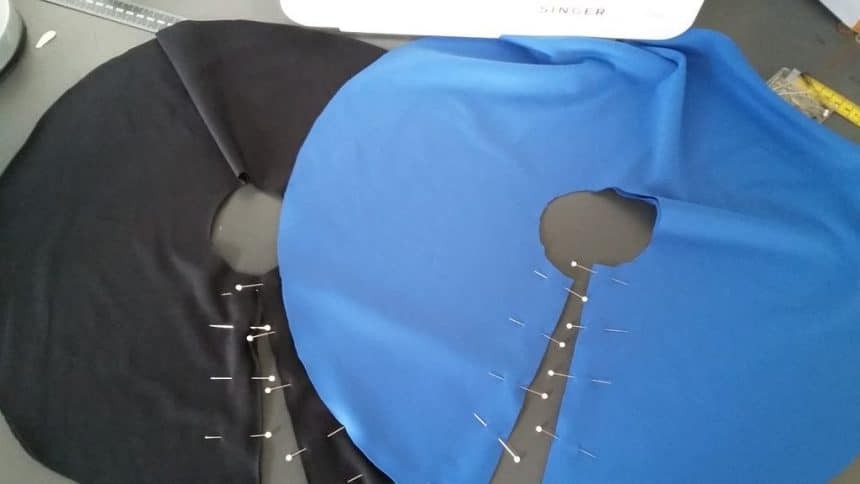
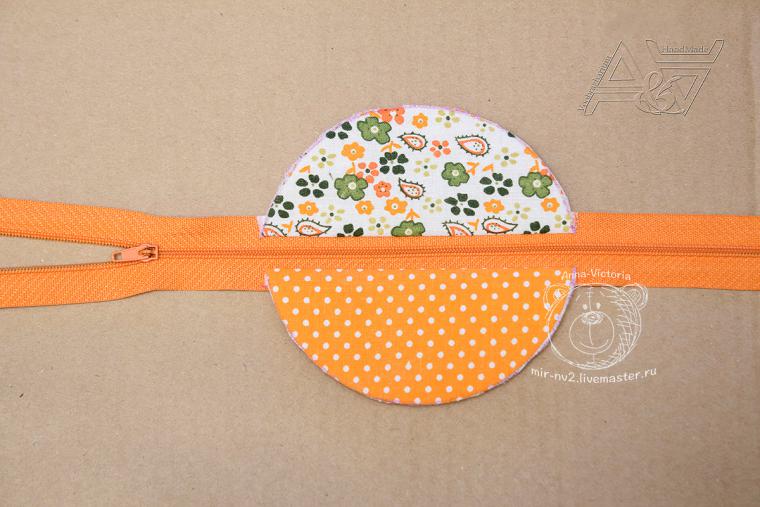
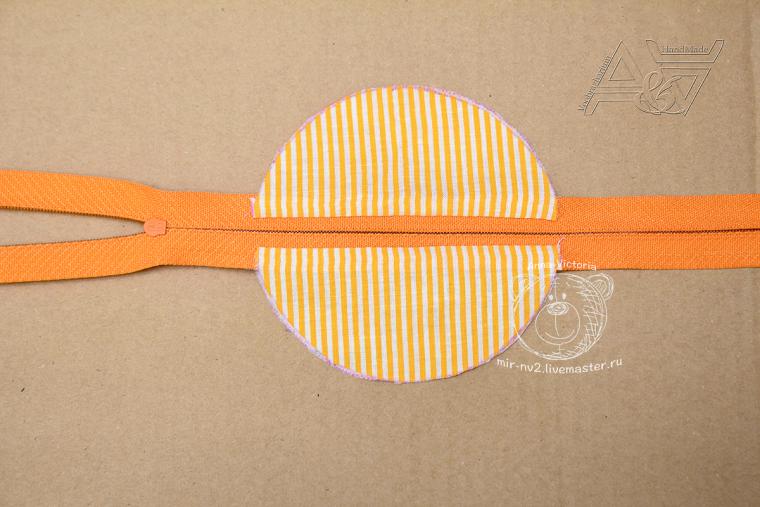
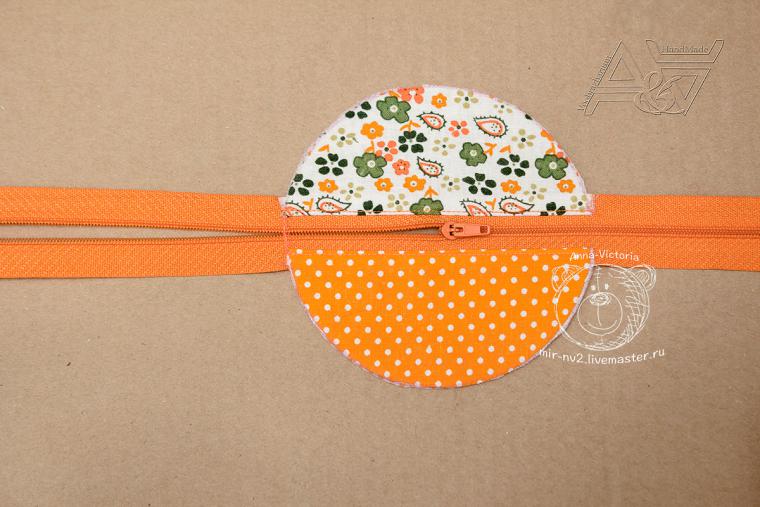
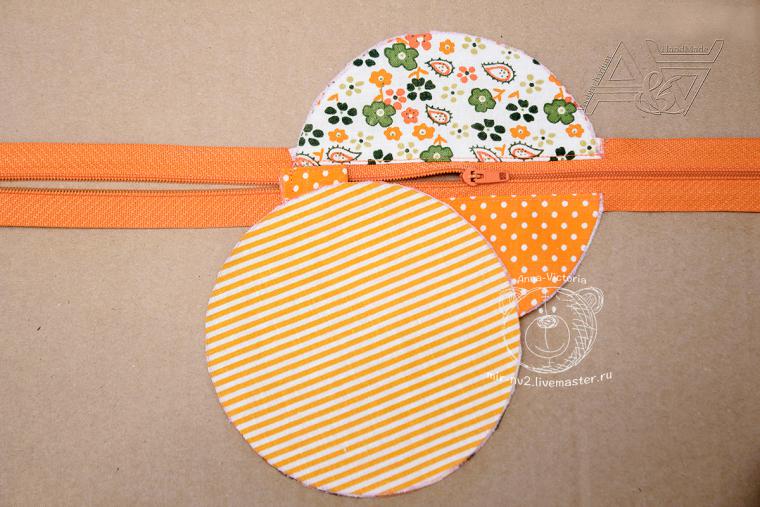
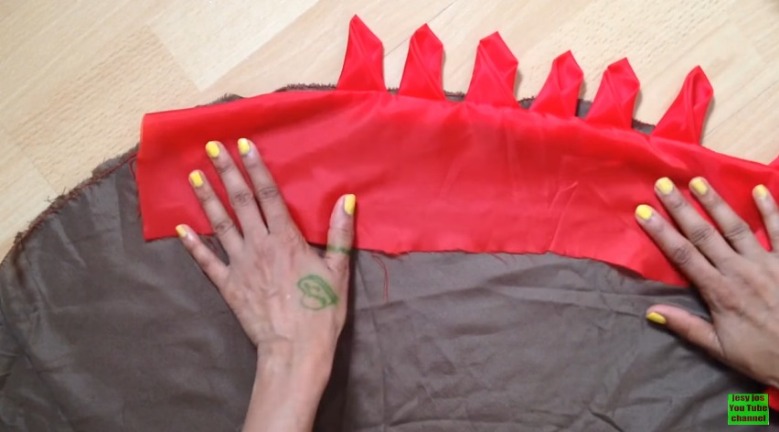
For the frill: Put the good sides of both colors together and sew the cut edge as shown. Lay them on top of each other, with both bad sides facing down (good side to bad side). Pin them securely together.
Step 5: Putting It Together
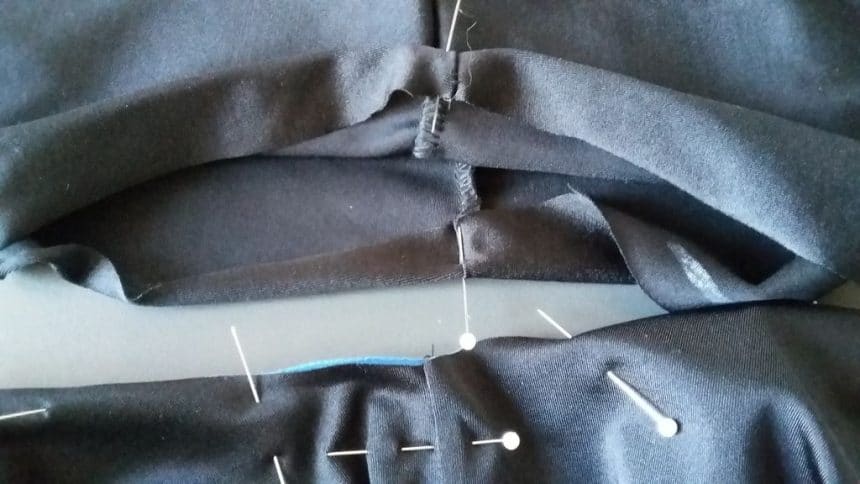
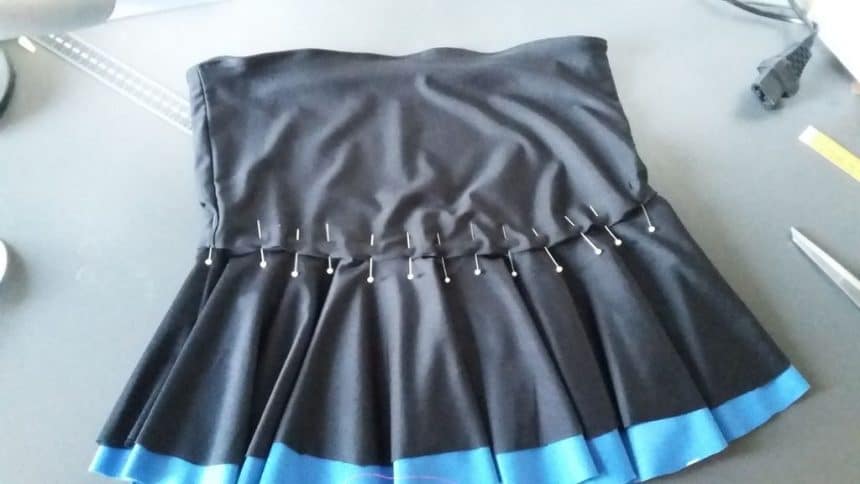
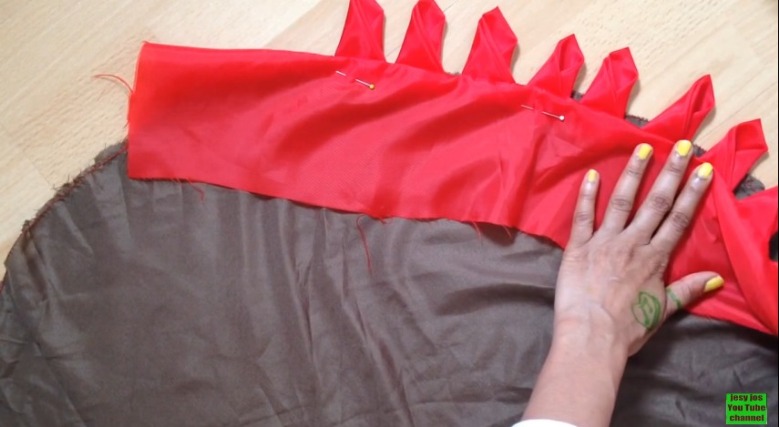
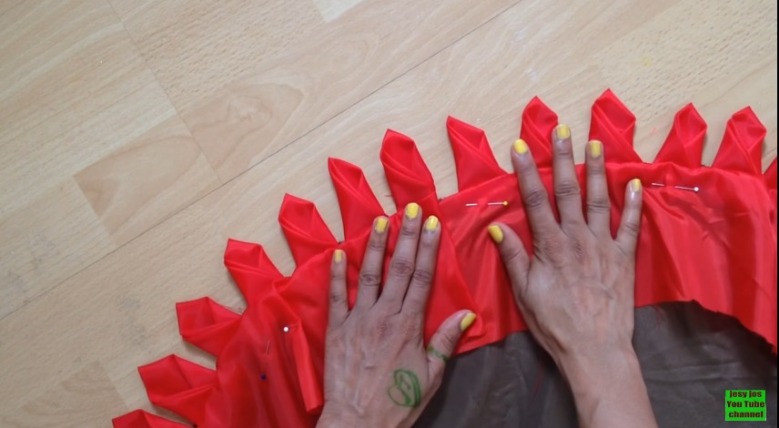
Now comes a lot of pinning. Fold the two layers of the base inward, and lay the top edge (or inner edge) between them, as shown in the closeup. Do not be stingy with pins, this will help a lot. With rough stitches, hand bastes it all together. Like I said, lycra is slippery, and this is a place where the stability of the basting will be a big help.
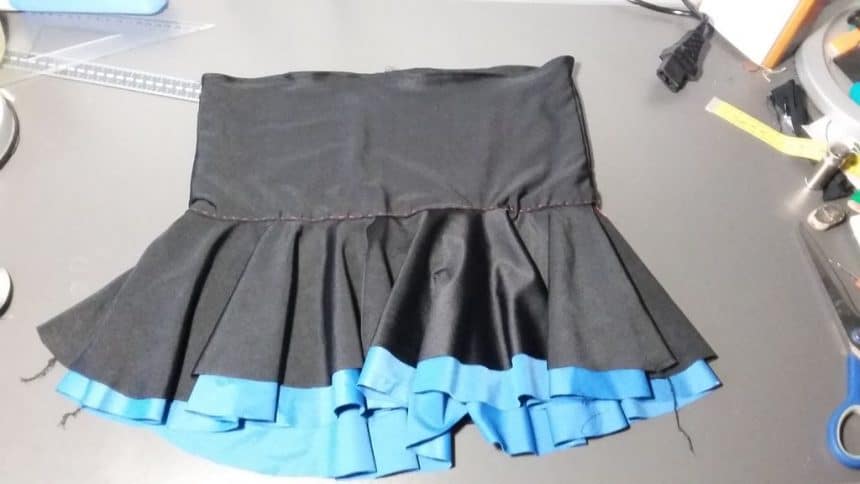
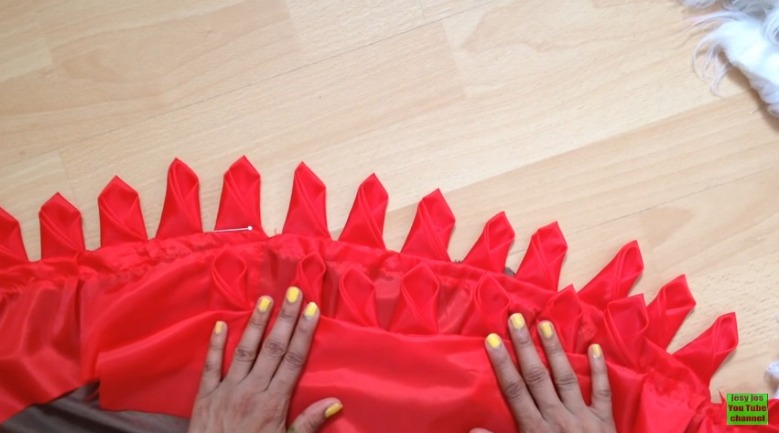
Using a regular sewing machine and a stretchy stitch, sew they base and the grill together.
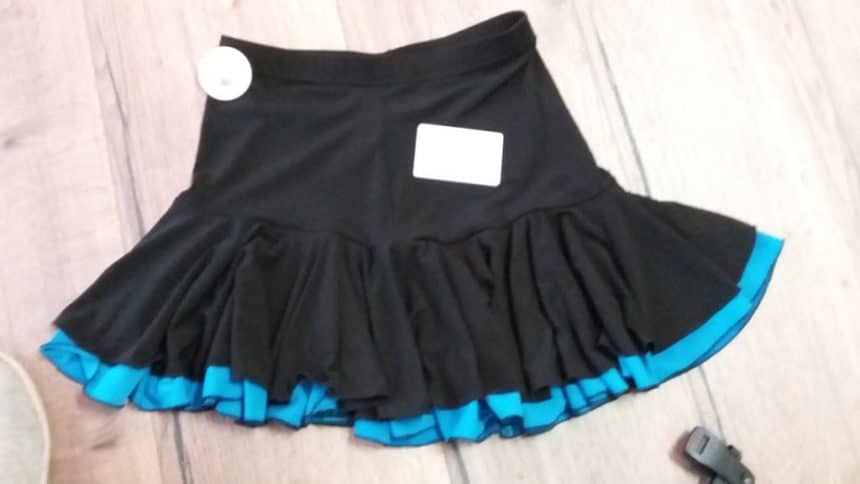
And that’s it! You’re done. You made yourself a beautiful skirt.
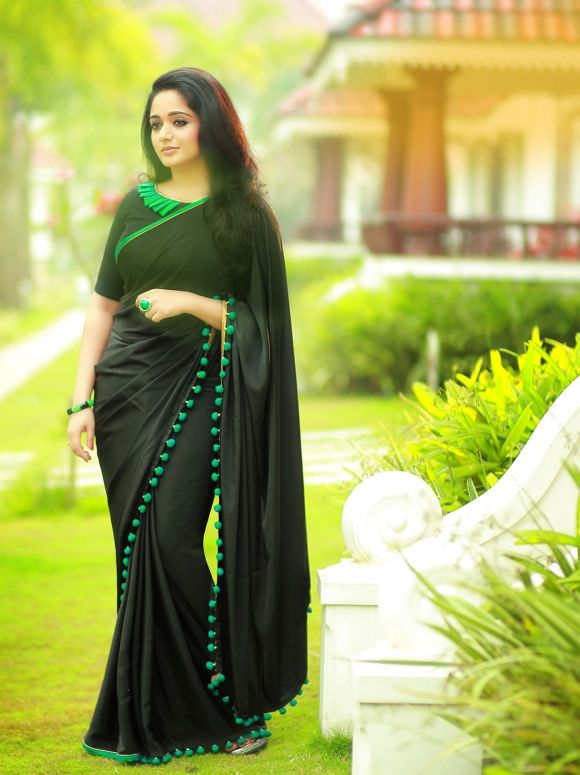
Step 6: Look at Her Shine!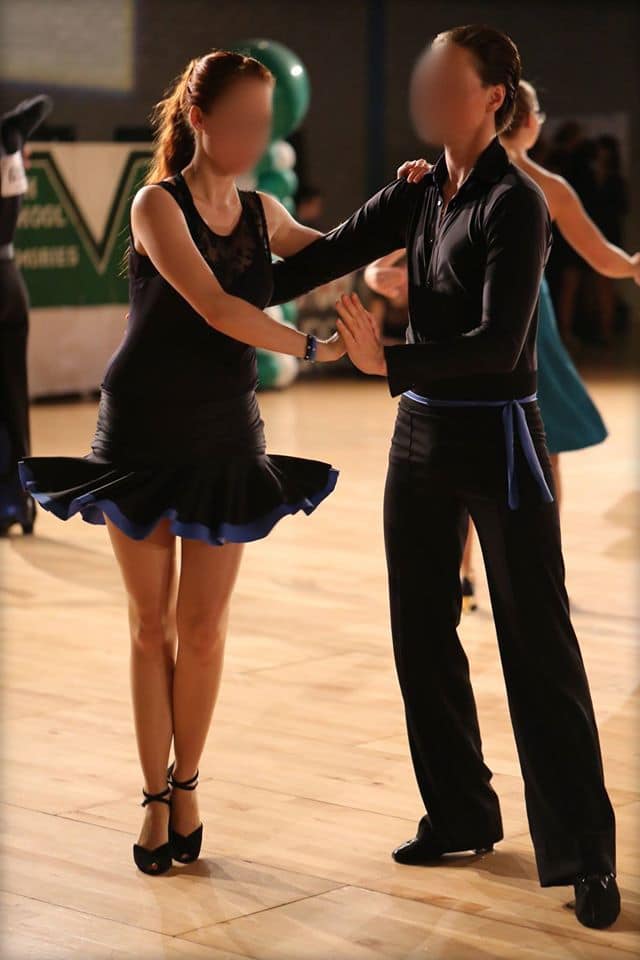
I’m happy with the result, and my friend is even happier. She’s a wonderful dancer, and the skirt enhances it. Her dancing partner modeled an accent for his own outfit from the scrap of blue that was left over.
Thanks!
courtesy: Frivolica


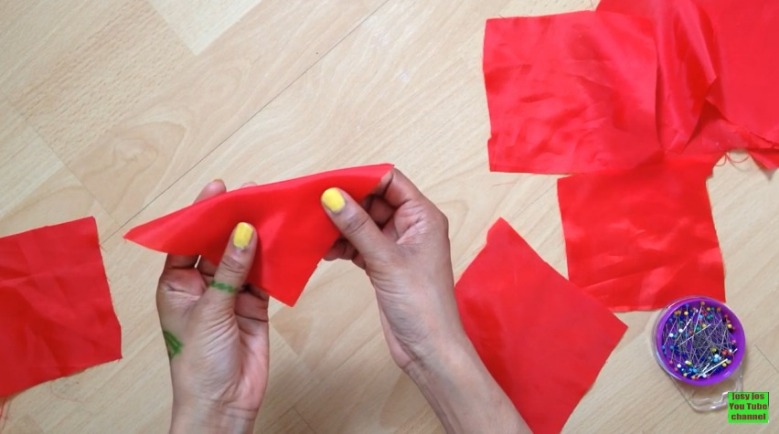
 What you’ll need : :
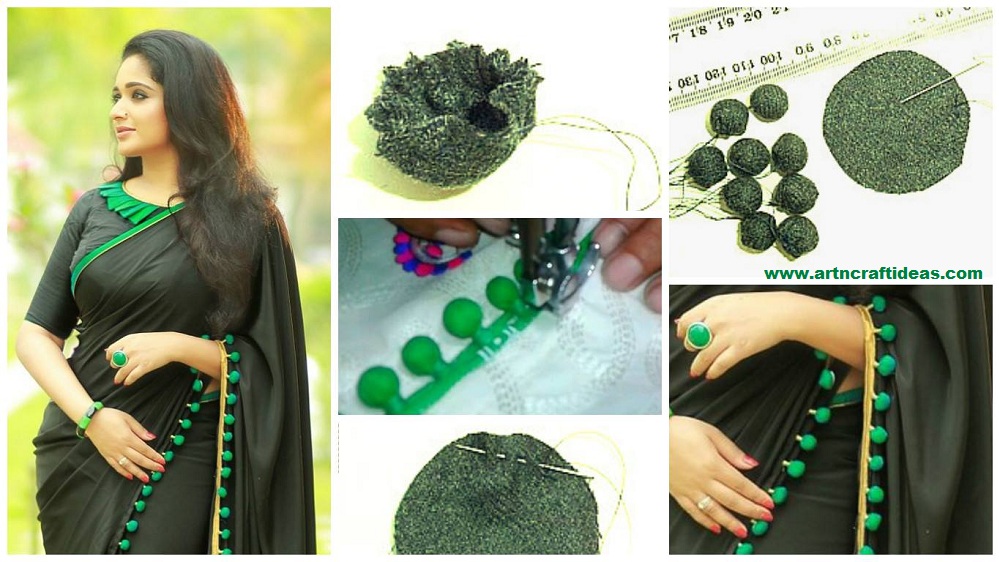
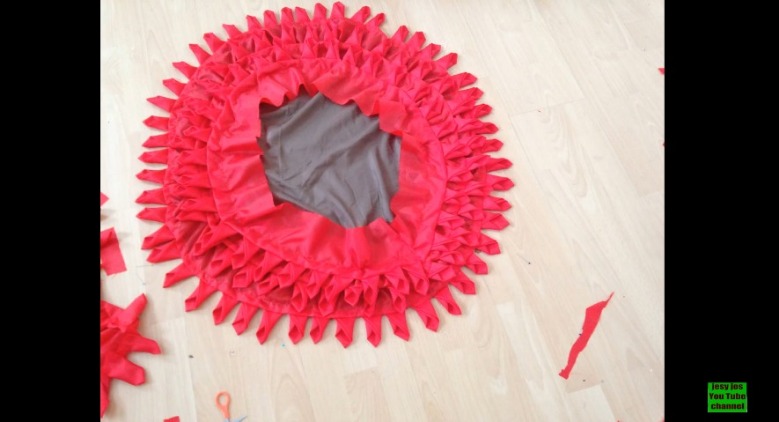
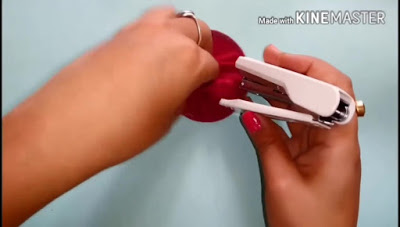
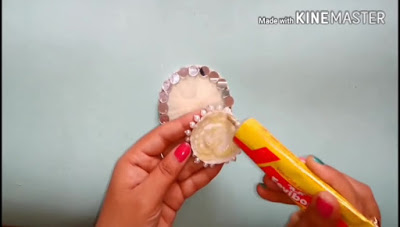
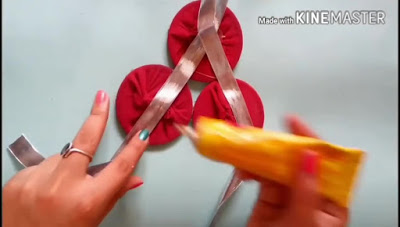
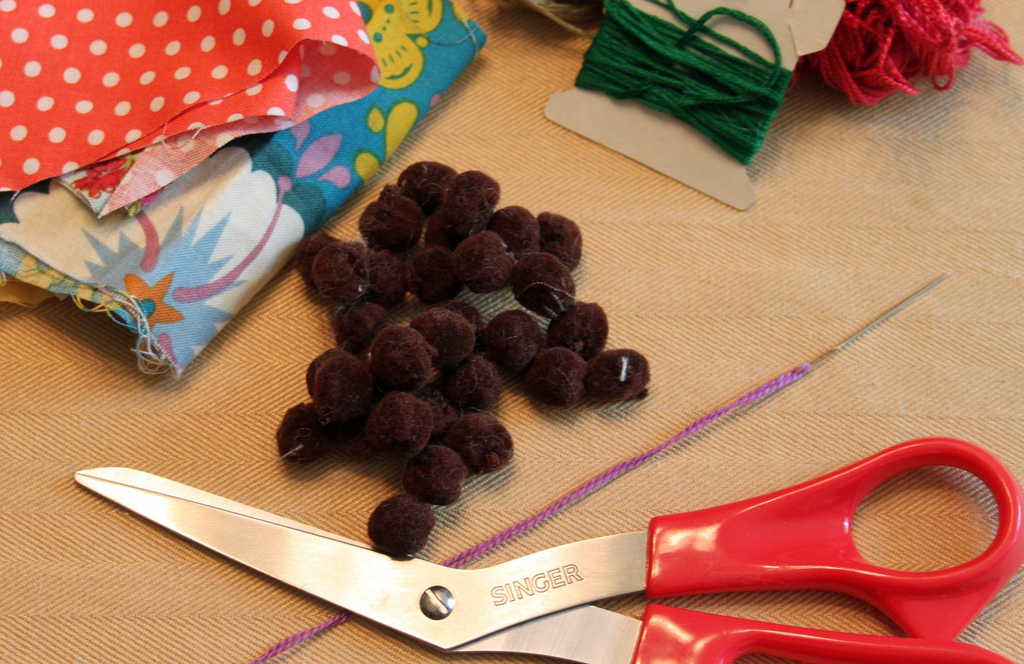 Making the Fabric Pompoms : :
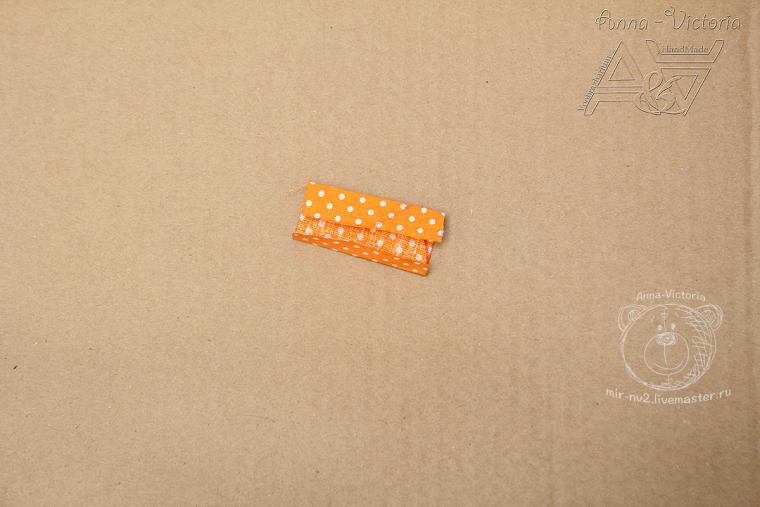
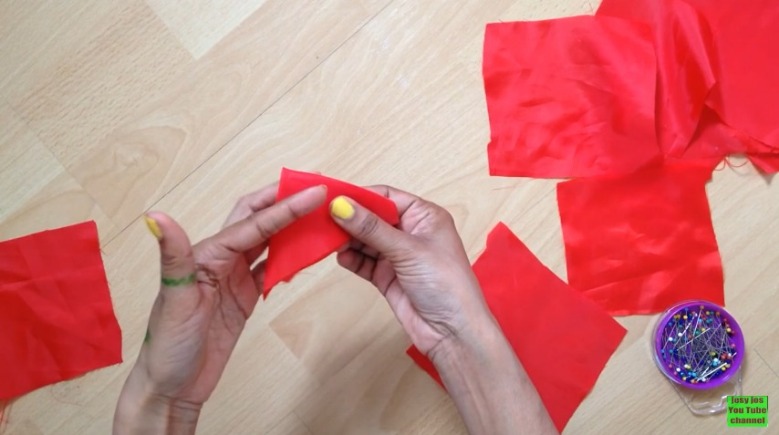
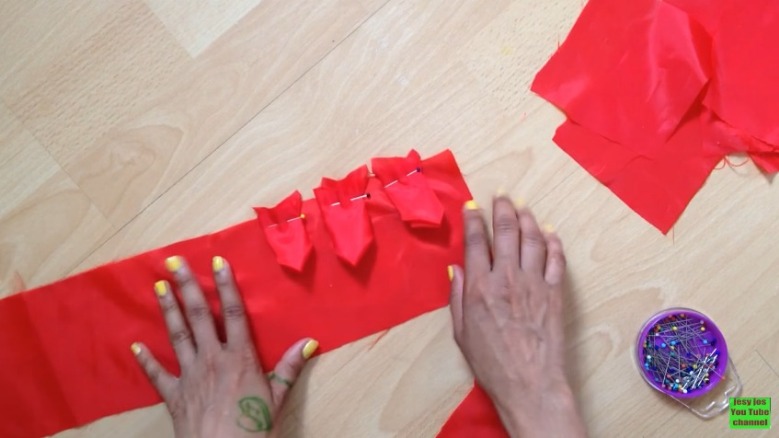
 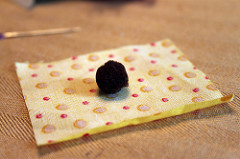 2. Fold the edges of the fabric up around the pompom
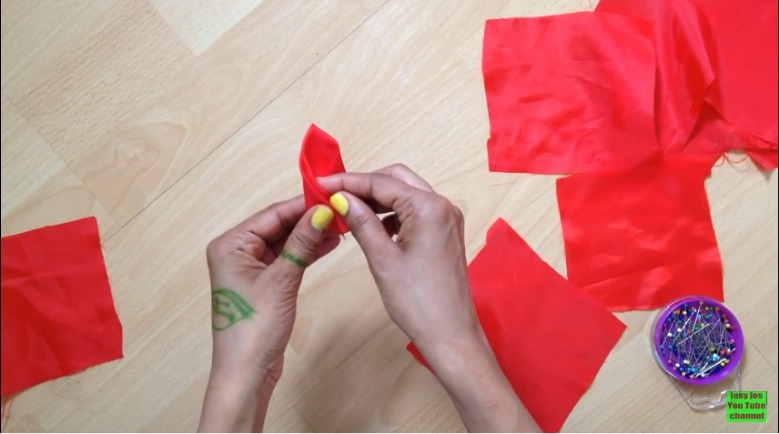
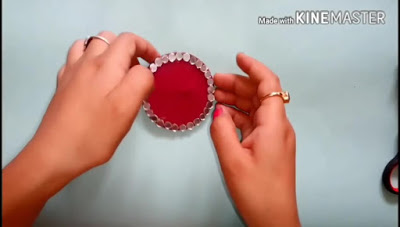
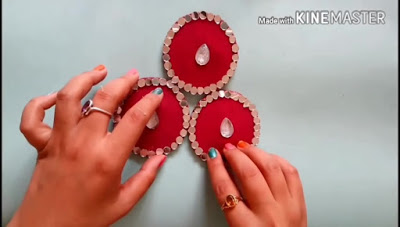
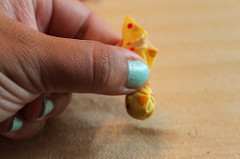 3. Wrap the floss around the fabric right above the pompom
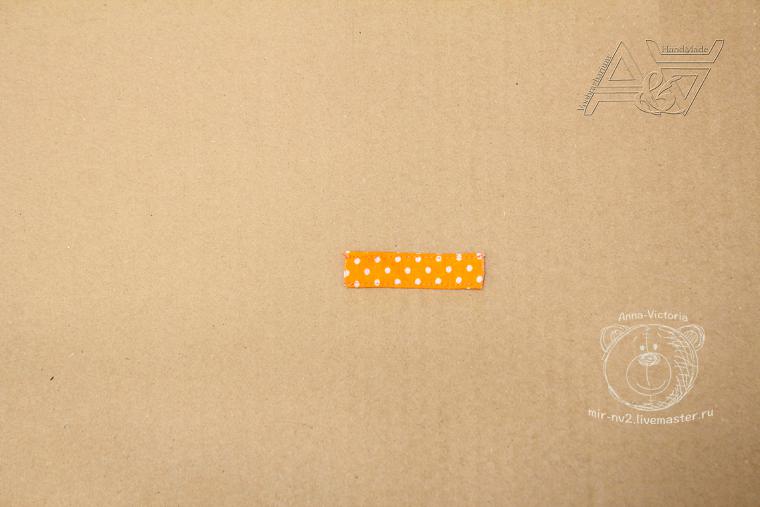
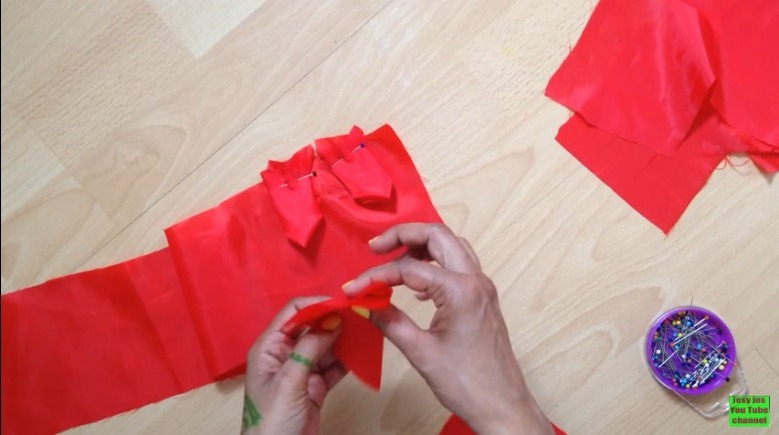
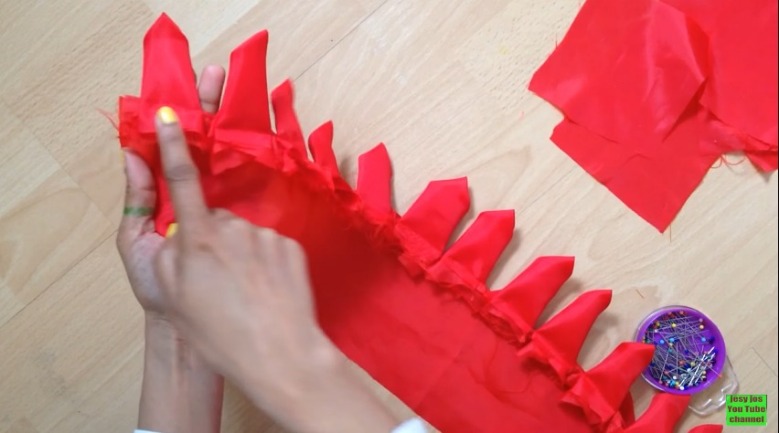
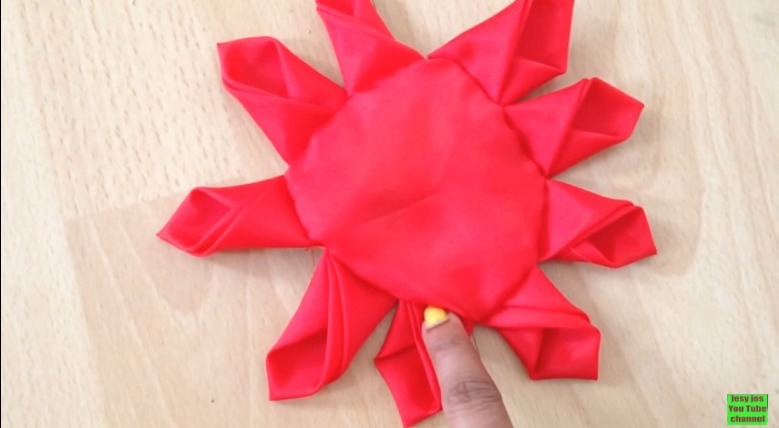
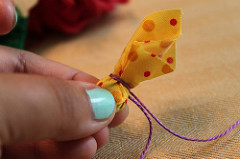 4. Knot thread ends together well, trim, and trim the fabric ends even
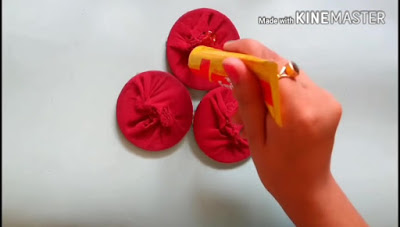
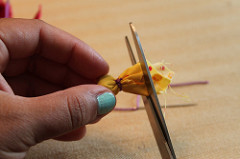 Continue making your Fabric Pompoms until you have the amount you need.
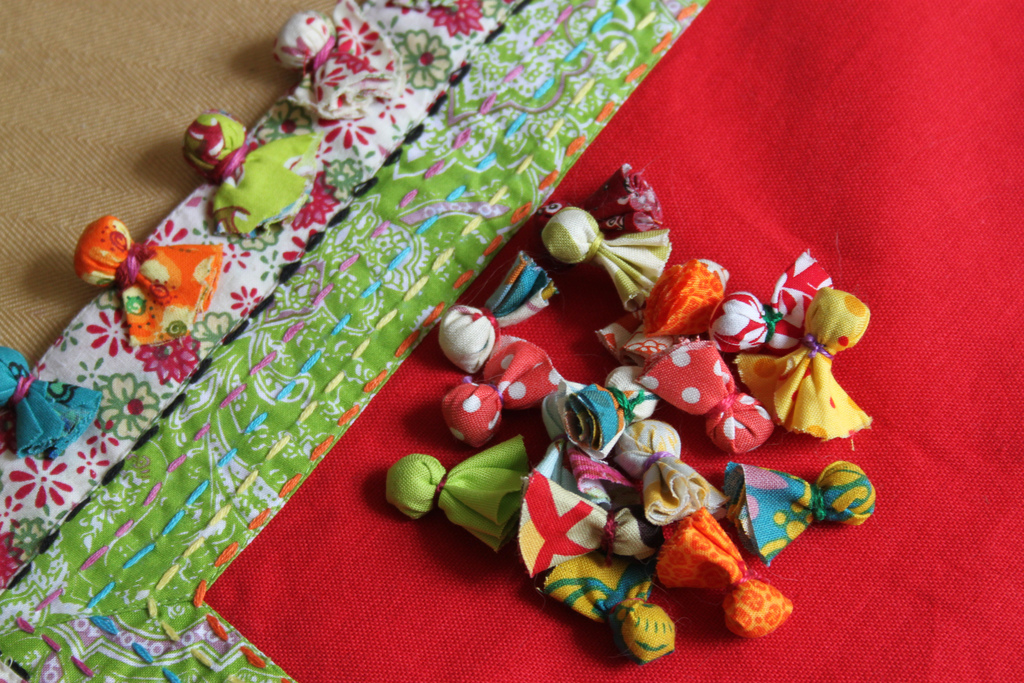 Fabric Pompoms Details : :
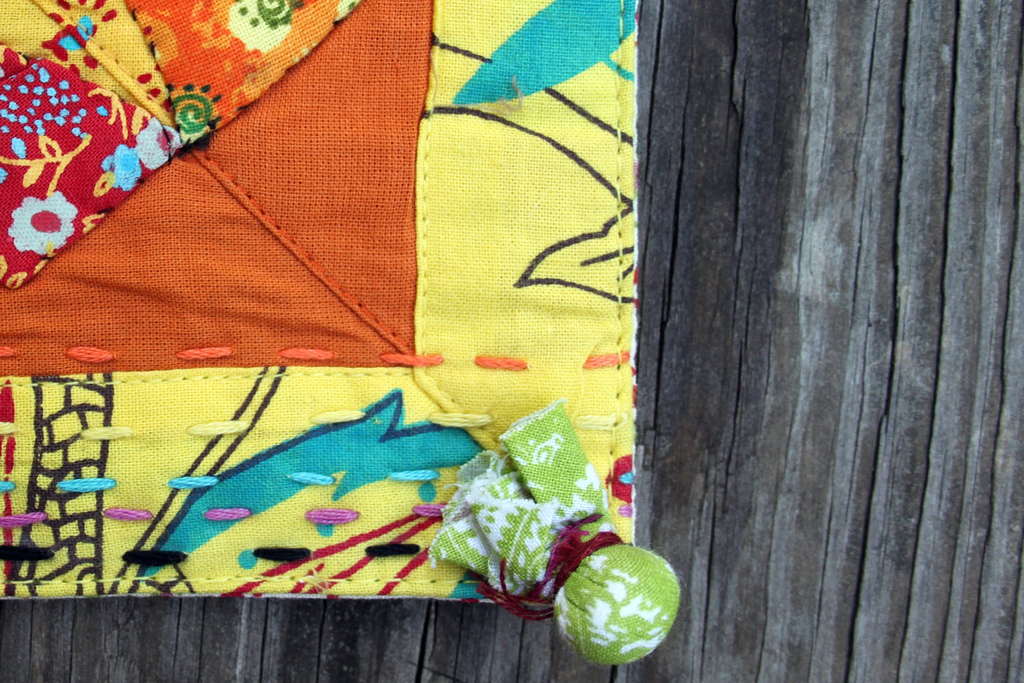
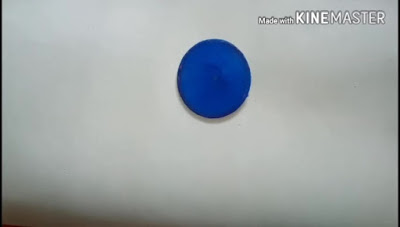
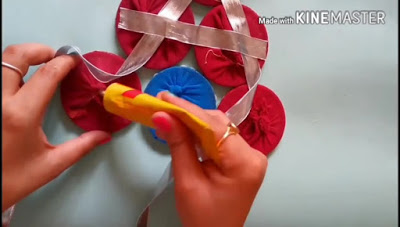
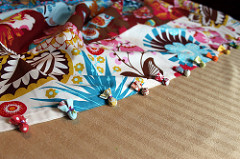 2. Place the Fabric Pompom onto the item
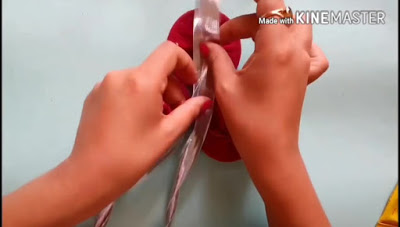
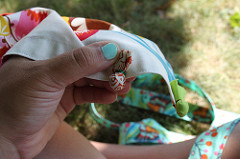 3. Using a needle threaded with floss and knotted at one end, insert the needle at one side of the pompom pulling up through the back of the fabric item
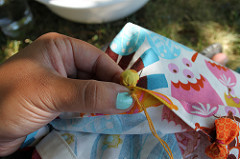 4. Pull thread all the way through until it catches the knot
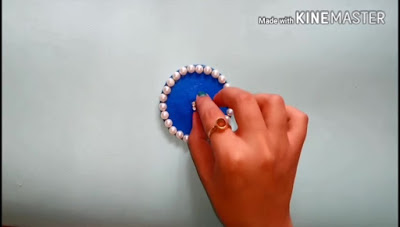
 5. Insert the needle on the other side of the pompom, pulling back though the fabric so the floss is holding the pompom tightly in place
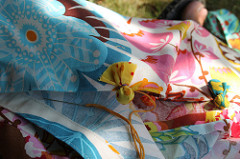 6. Knot well, close to the fabric, and trim away excess floss
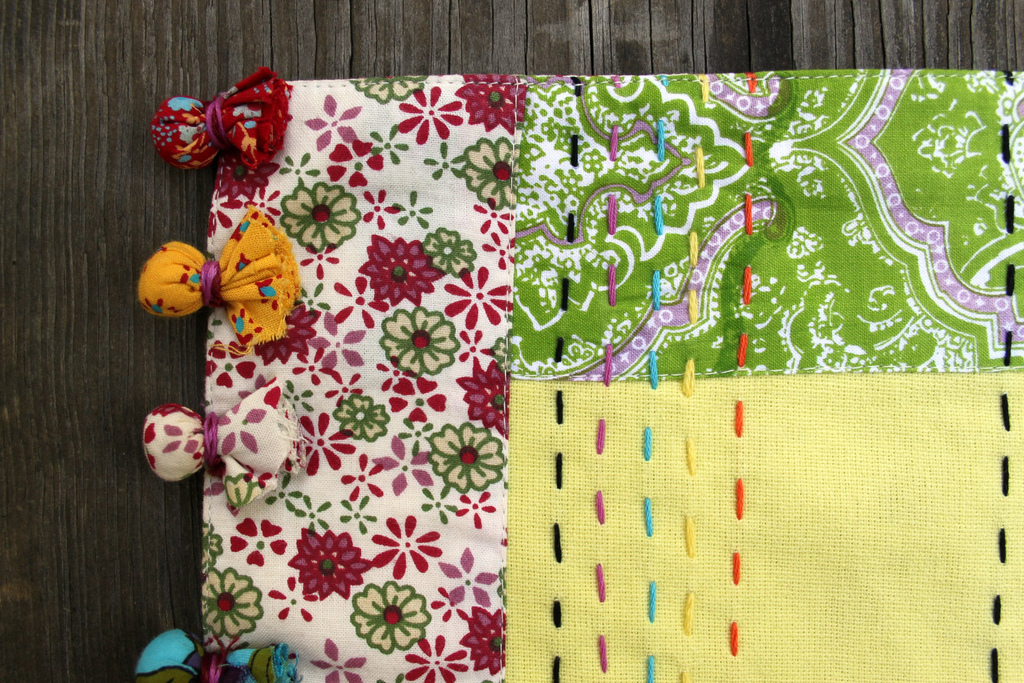
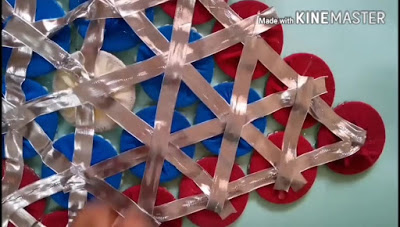
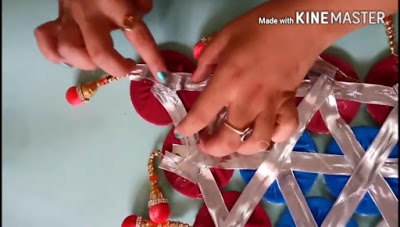
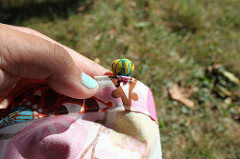 Continue until all of your Fabric Pompoms are attached.
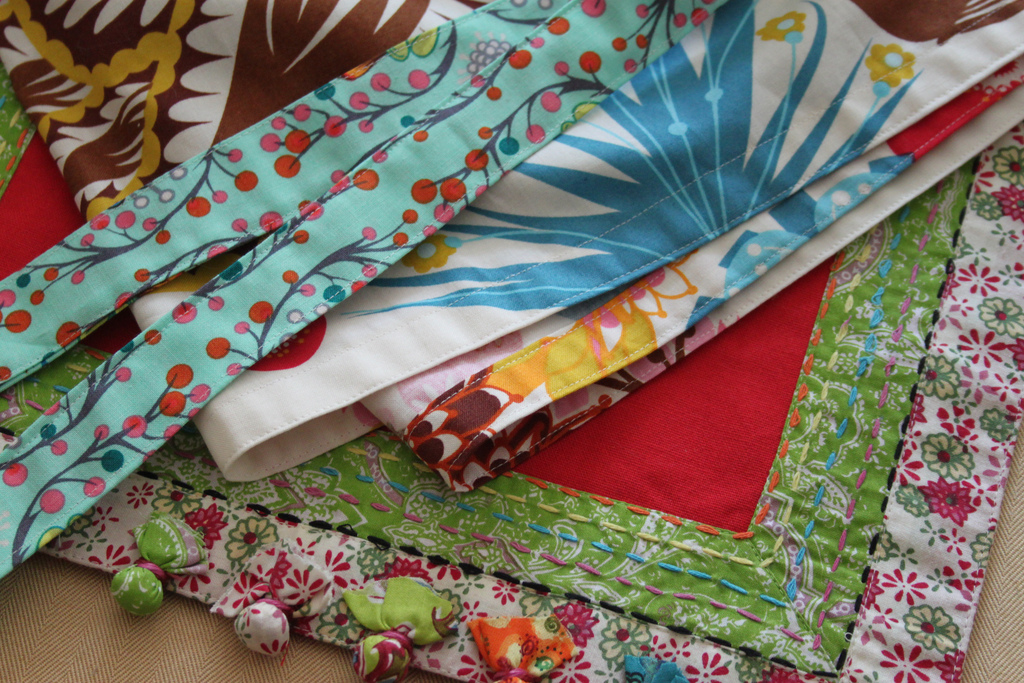
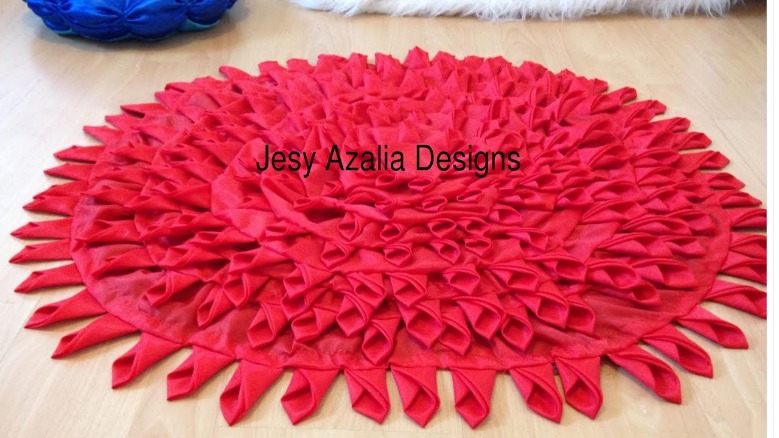
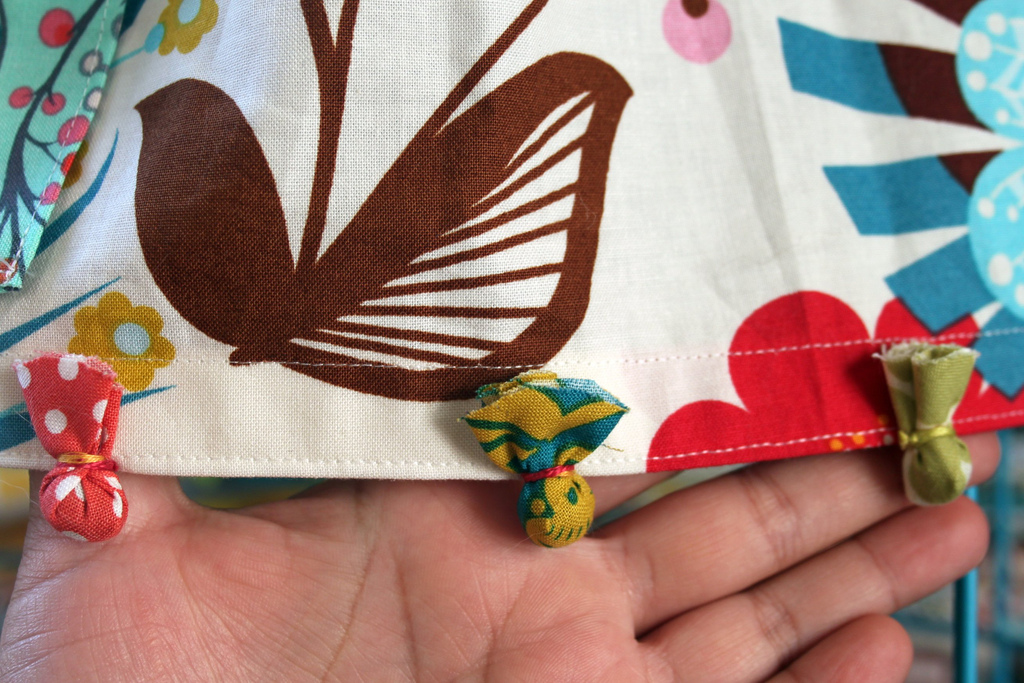 Voila! You’re finished!
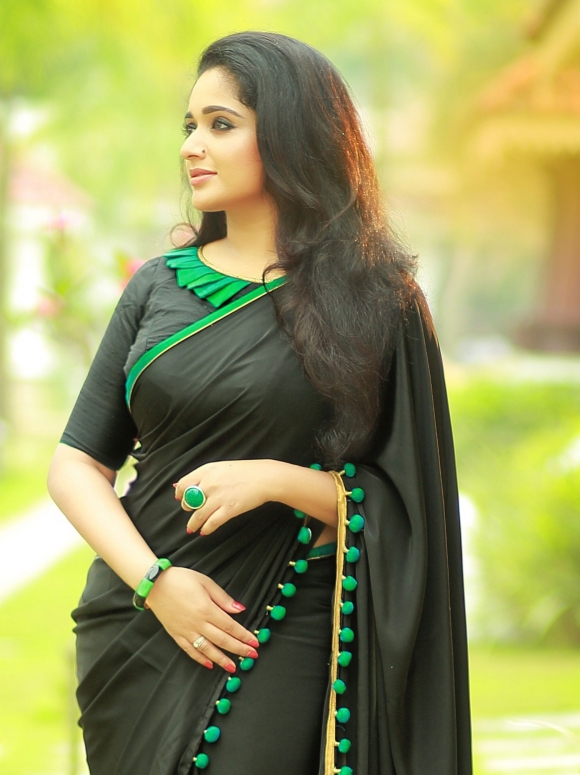
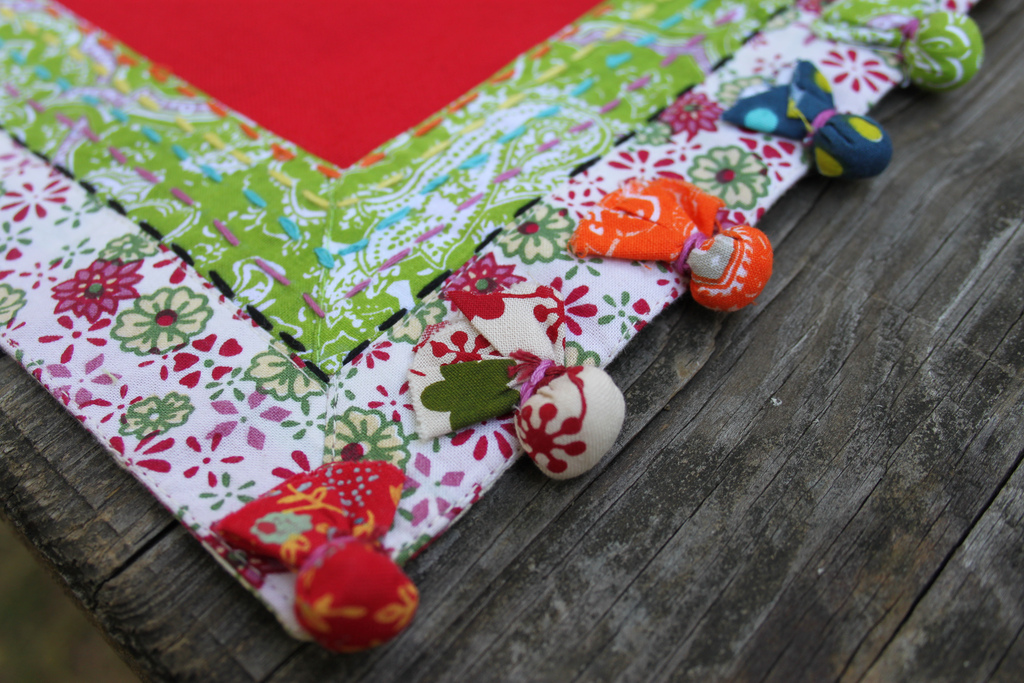
 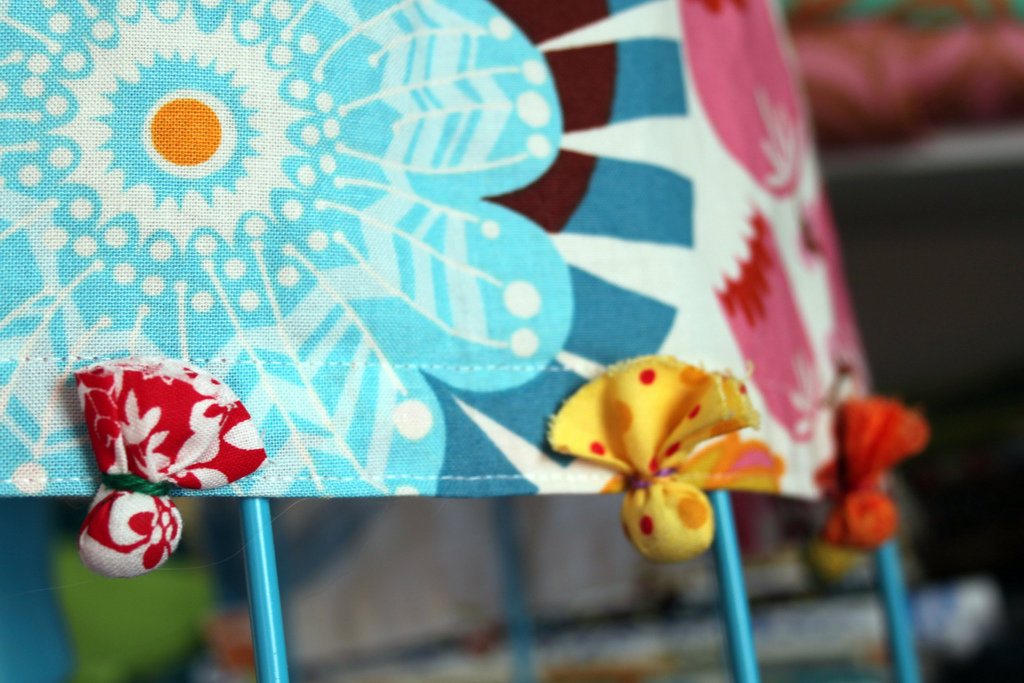 Variation ideas : : You can reverse how you attach them so only the Fabric Pompom ball is showing for a less funky look. You can add them to a pillow this way or attach these just as you would purchased pompom fringe. Here is an example of that on a pillow of mine from Pier1.
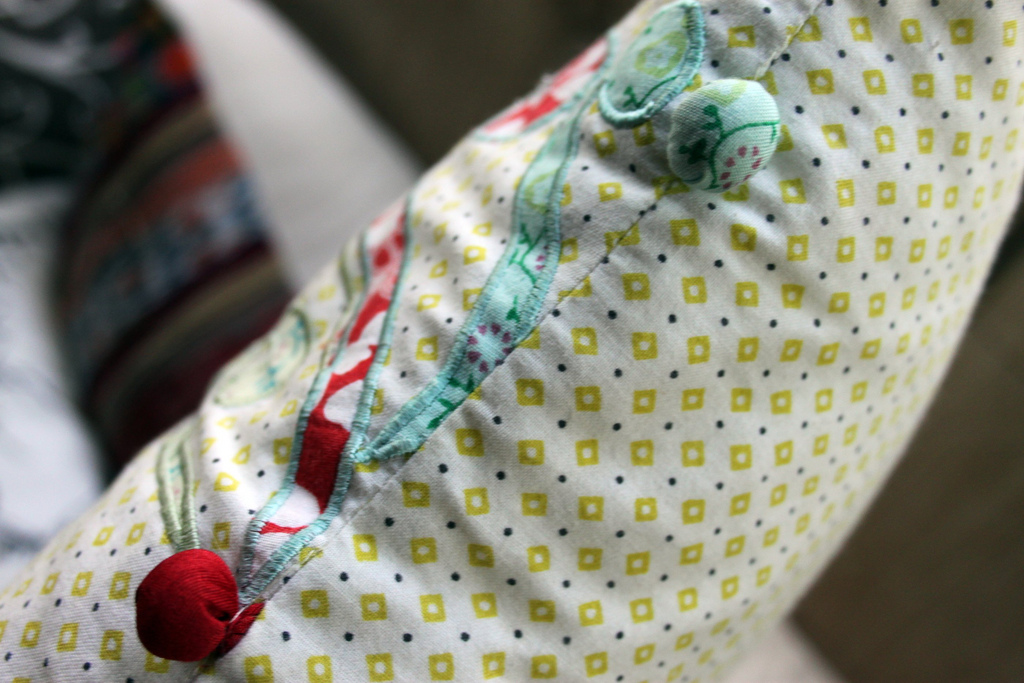
 I hope you enjoy this tutorial!!! This Fabric Pompom detail is something I’ll certainly be adding to the edges of many of my own handmades!
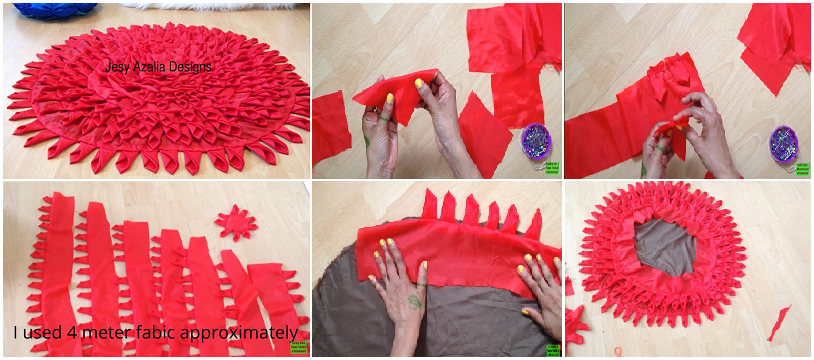


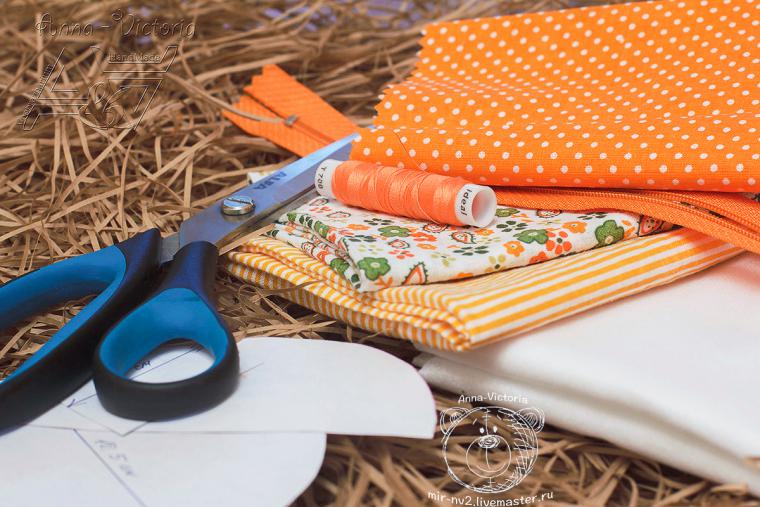
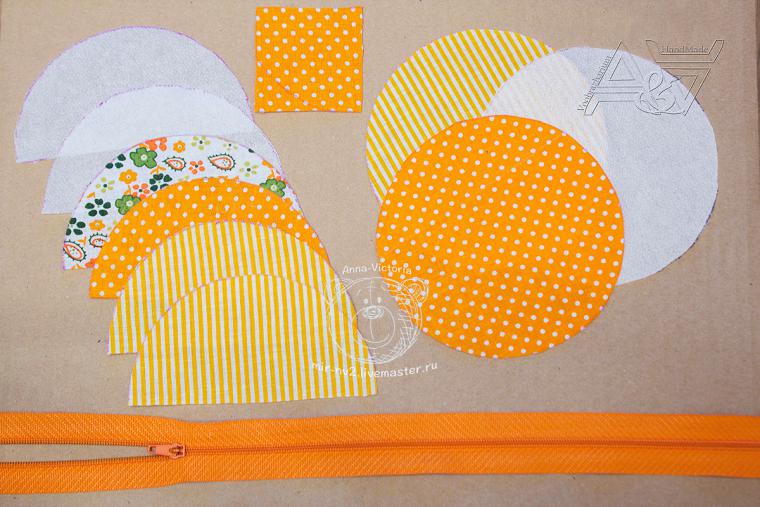
 Required Material:
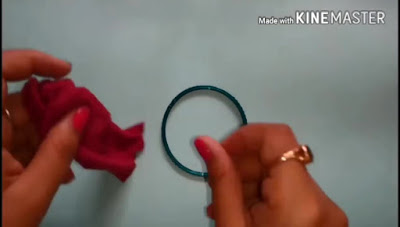


 Required Material:
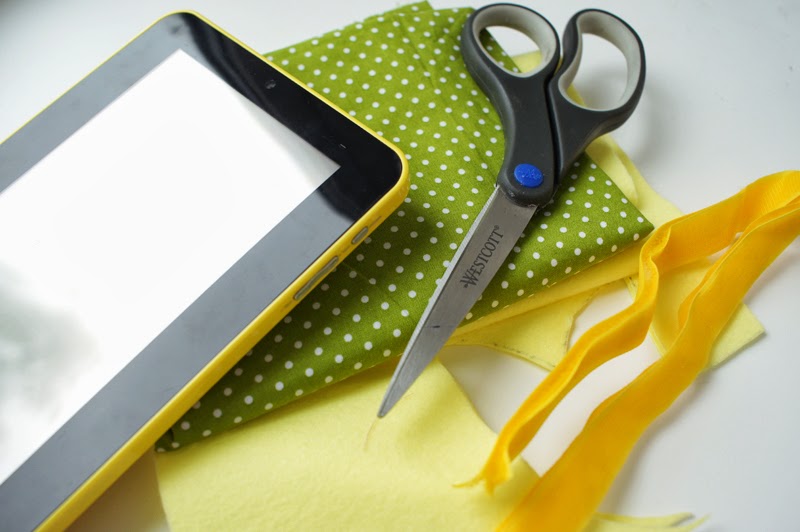
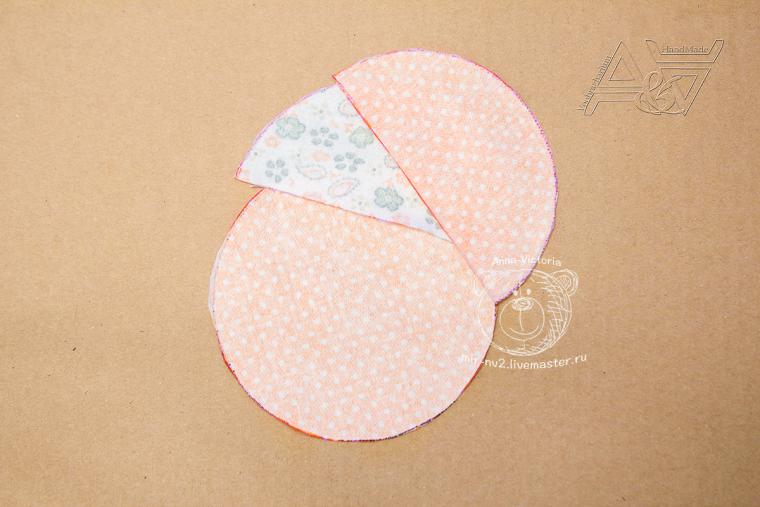
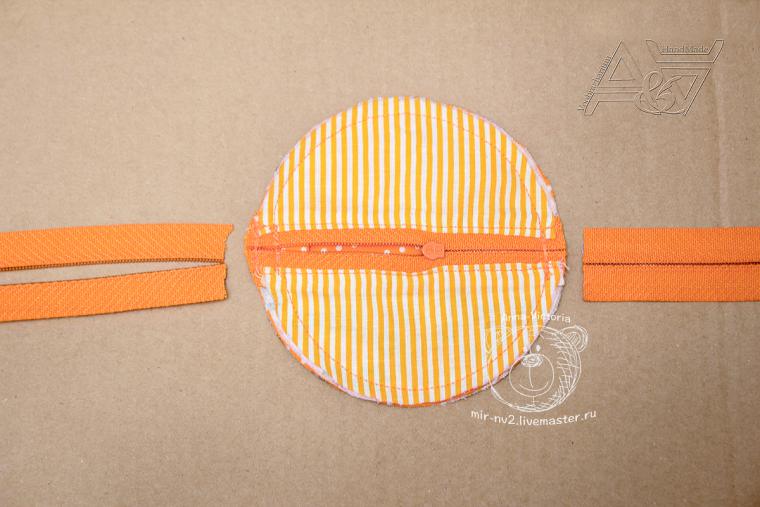
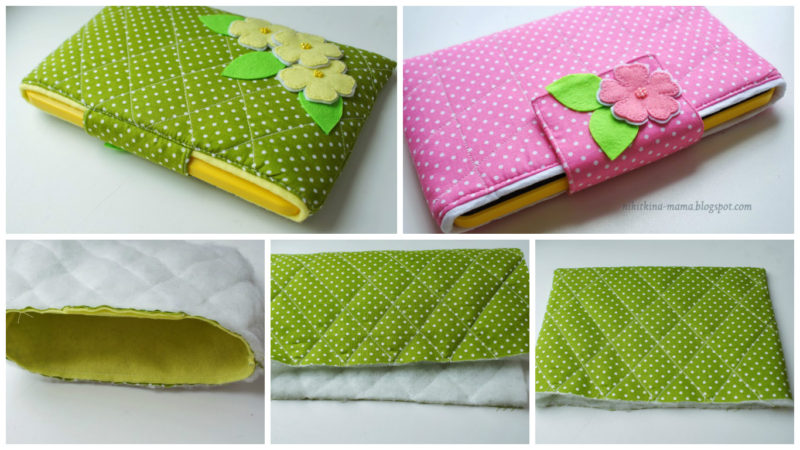
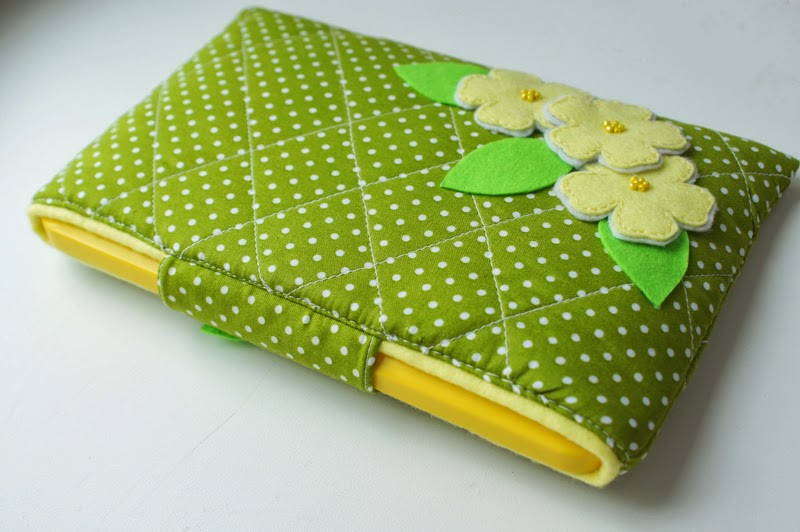
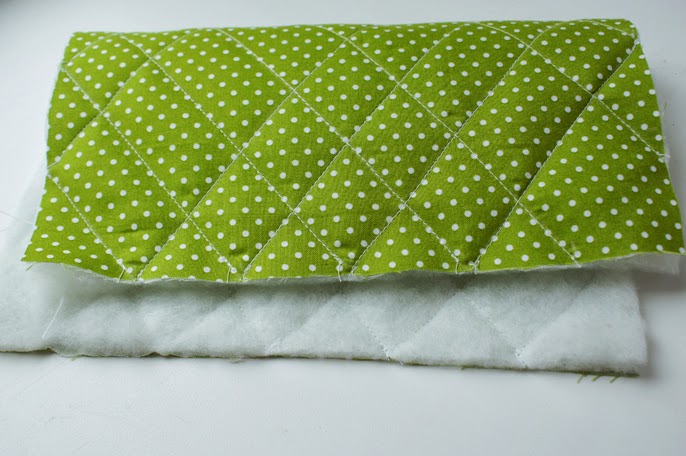 And sew cover on the side seams. Try on the resulting “pouch” on the plate, make sure that all the measurements done right.
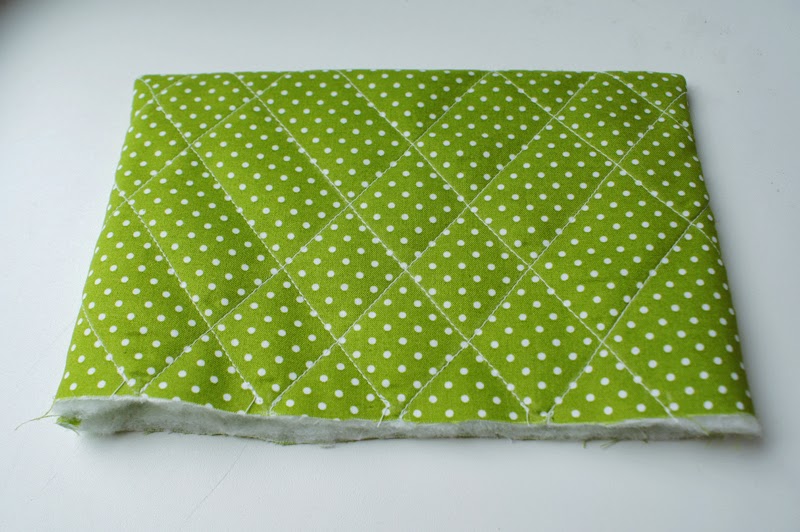 Now take the lining. We take the same height, as in the previous parts, but the width is calculated as the sum of allowances (I 1 cm) and the width of the inner part, which is obtained in the previous step. (The fact that the width of the pad will be slightly smaller than the width of the rectangle of the base fabric by padding polyester layer). Cut out the lining, sew along the side seams, while necessarily leaving nezashitym hole to cover then you can turn on the front side. Try on the tablet.
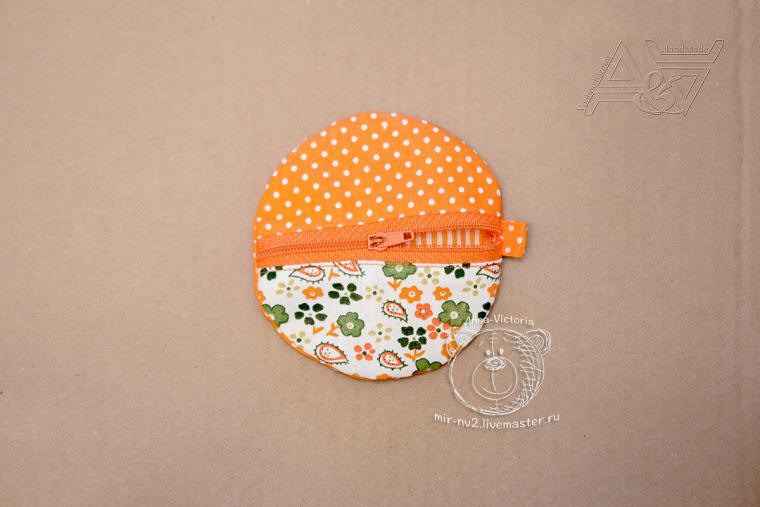
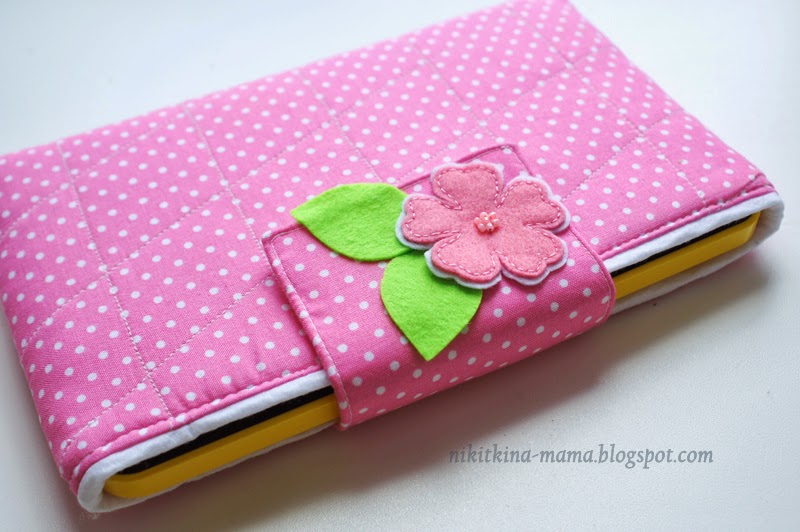
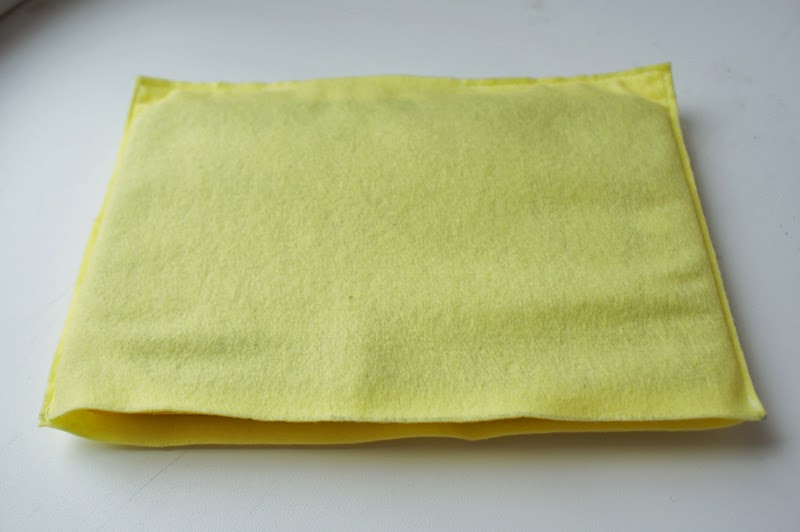 Time to reflect on how the case will zakryvatsya- can use a magnetic button, button, or, as in my case- Velcro. I carve and sew a small valve, which will shut case.
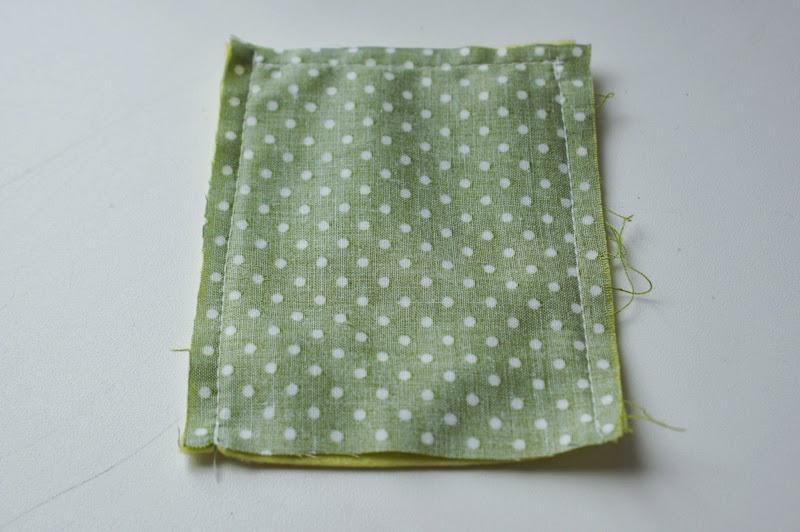
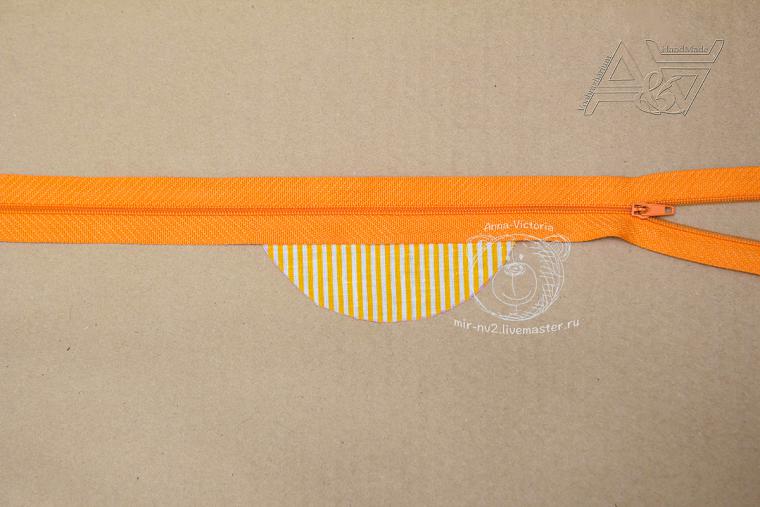
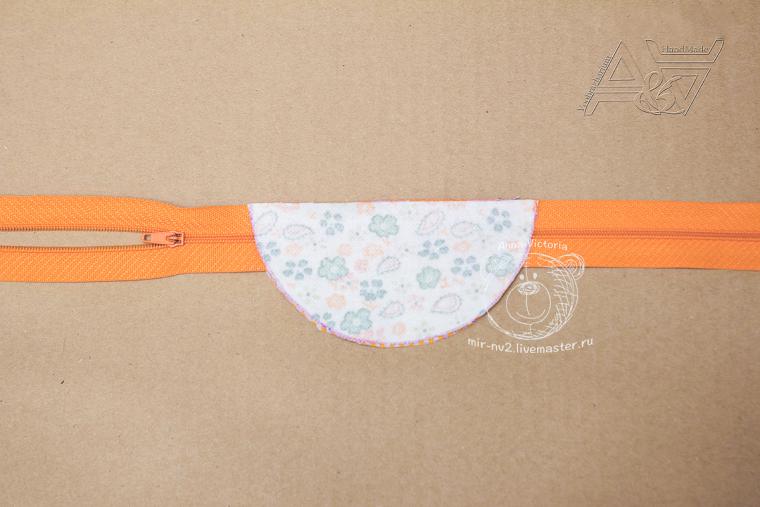
 We put the wrong part of the cover into the rectangle of the base fabric (make sure that the front of the items placed together), between them put the valve is sewn.
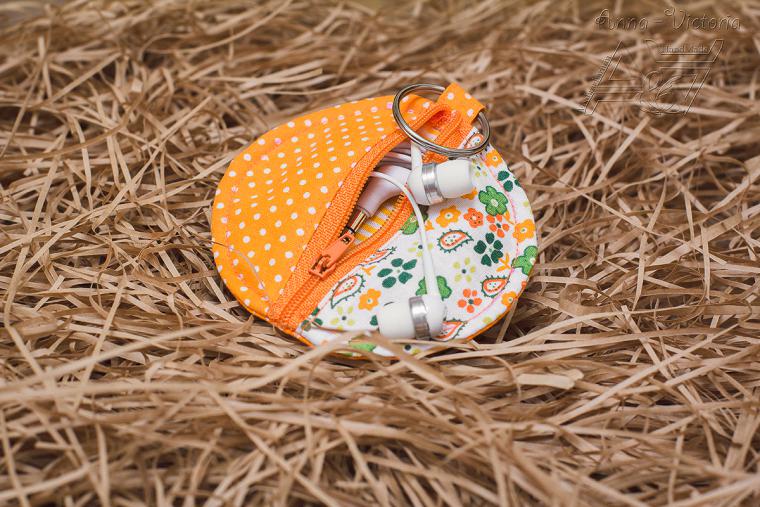
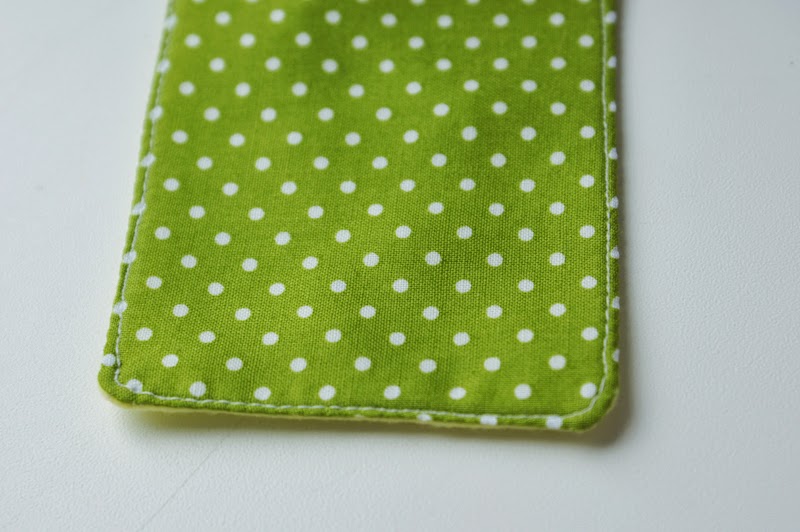
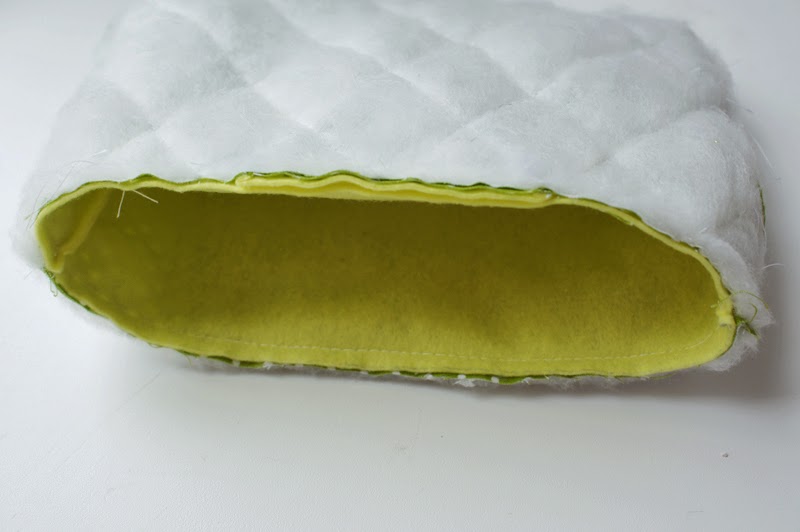 Wrenched the resulting cover on the front side (through the hole that was left in the backing parts), paving the decorative stitch along the top seam, and be sure to sew up the hole in the lining.

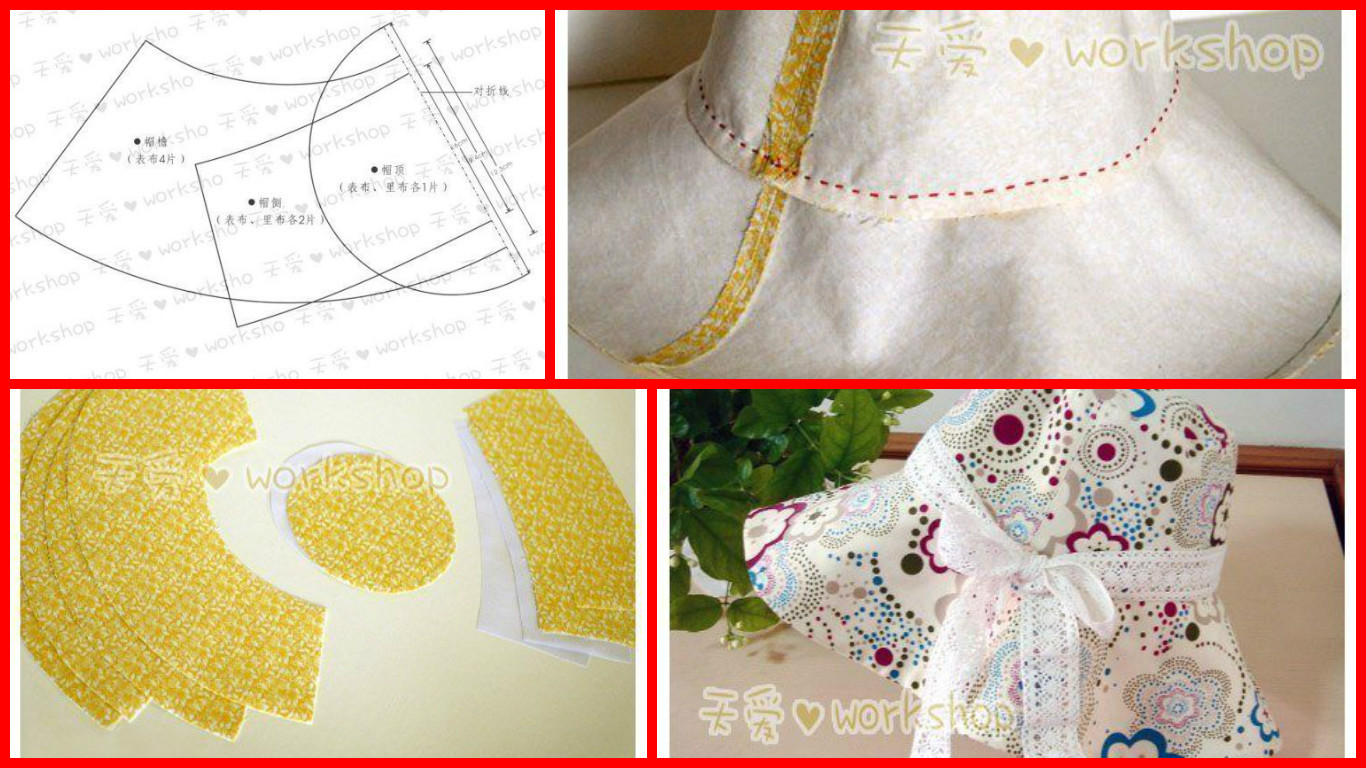
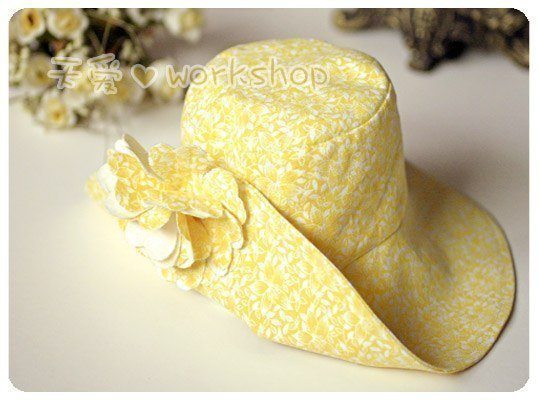
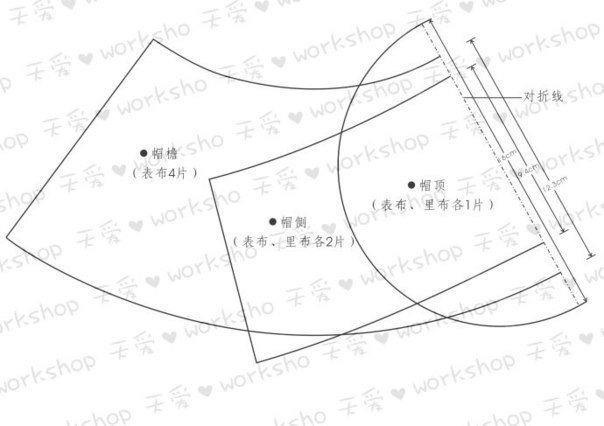
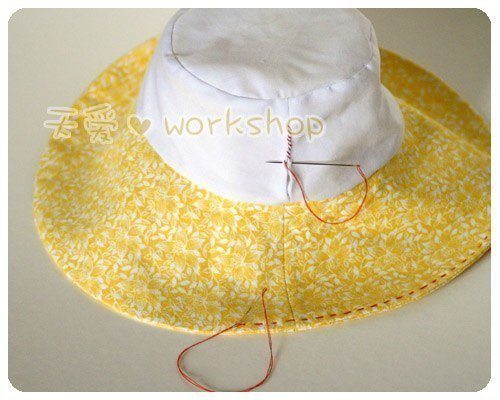
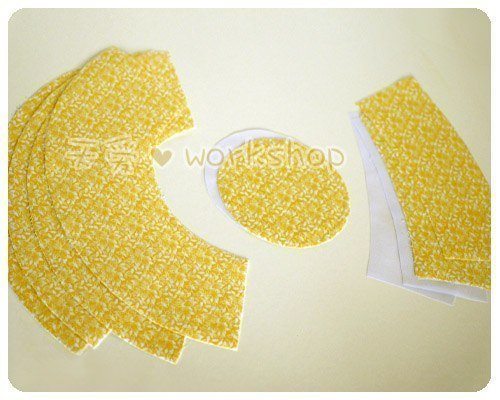 Then sew the flaps and the canopy.
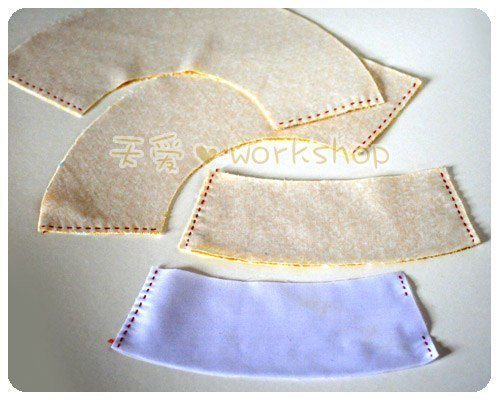 After that, mount the outside of his hat, sewing all parties. Keep aligned seams. The seams are with another line color for easy viewing of the walkthrough, but you should sew with a line with a color similar to the color of the fabric.
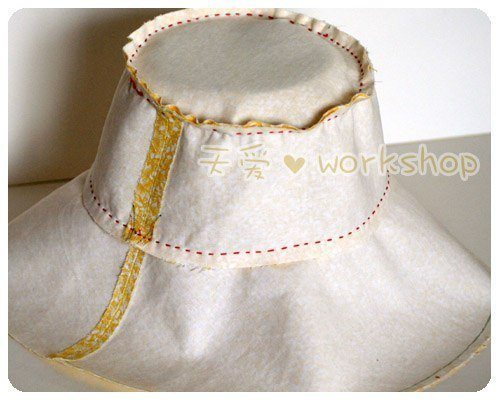 Now sew the lining.
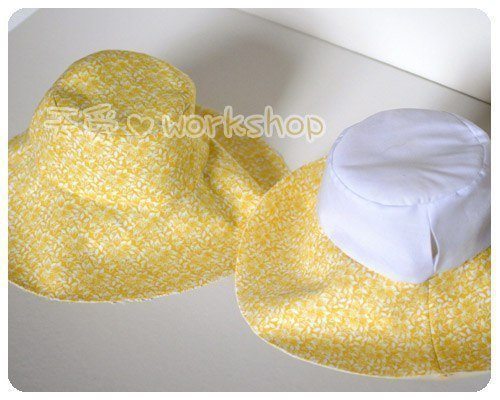 Then place a piece of work on the other, with the sides of the right of the tissues together, inside, and sew around, but leaving an opening.
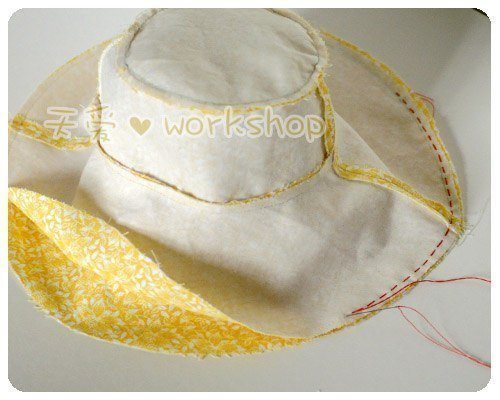 Soon after, to finish your piece, turn the piece to the right side of the fabric and close the opening with stitches by hand with the aid of hand needle and thread for sewing. Grace your hat with whatever you want. And you are done!