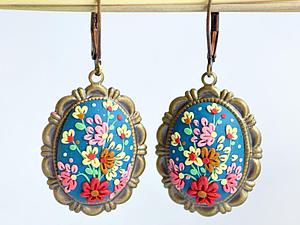
I am personally very inspired by her work, sometimes I dare to repeat her motives, but of course up to its level I still have to grow.
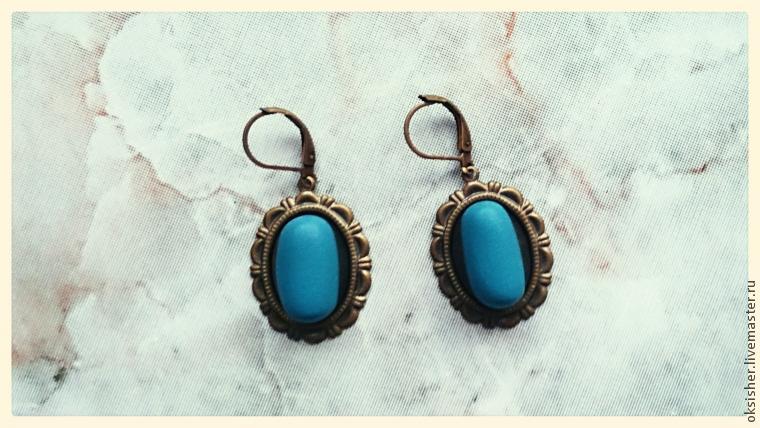
Today will tell and show you how to make my jewelry.
Create ornaments from polymer clay filigree technique or, in other words, the application requires: accuracy, patience, sense of color and skill.
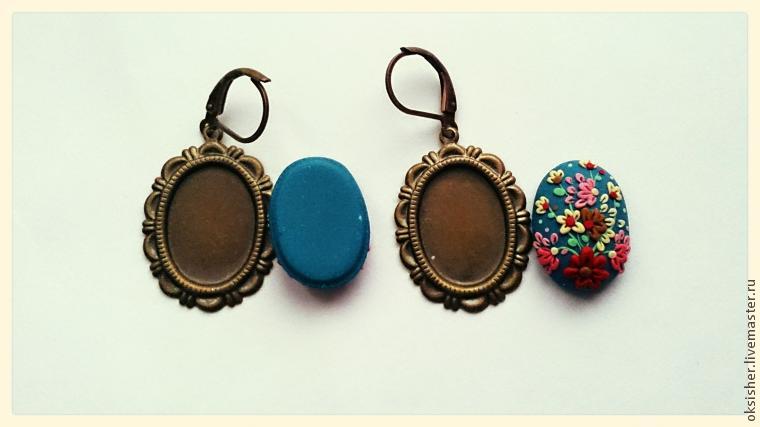
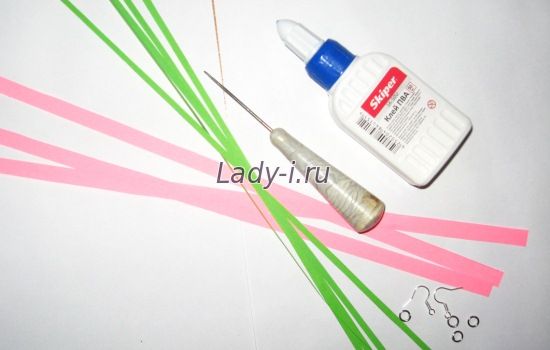
To create a view of earrings we need:
- metal base for earrings – 2 pcs;
* shvenzy – 2 pcs (I immediately took the assembled version of Basic);
* Bake polymer clay Fimo (in my opinion, it is best here). For the base colors that ar needed: blue with sparkles (I took Fimo Effect № 302), white and olive. For flowers chosen by mixing the following colors: rich pink, pink lighter, brownish-gold, cool green, dark red, light beige to yellowish. In the photo colors will be clearer.
* needle;
* stationery knife;
* solid smooth surface to work with clay (eg, tile);
and, of course, our pens 🙂
* Prerequisites: the purity of the hands and the work surface.
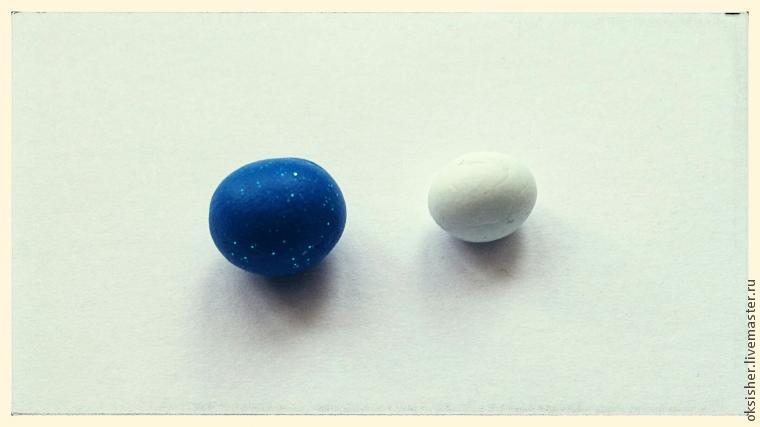
Let’s get started. Mixed colors for the base of the blue and white clay, roughly in proportions as in the photo.
 After adding olive green clay.
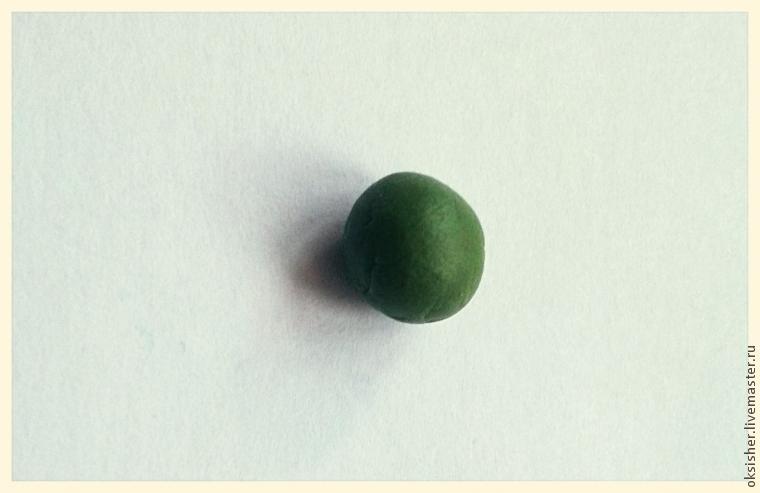 Adding it so much that in the end turned out here that color as celadon.
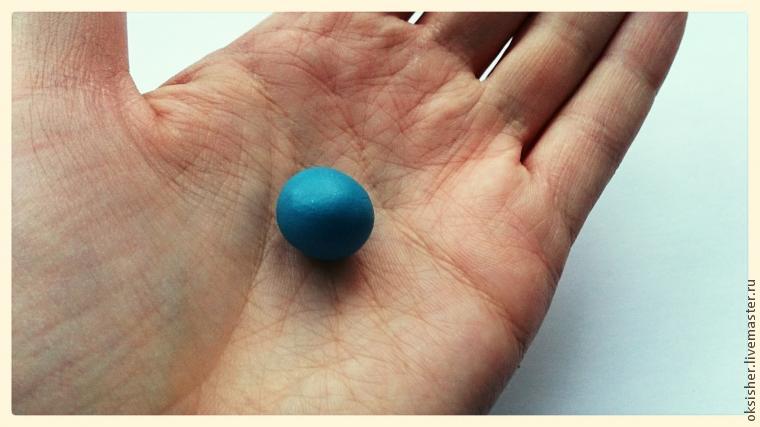 Take the metal framework for earrings and get the ball.
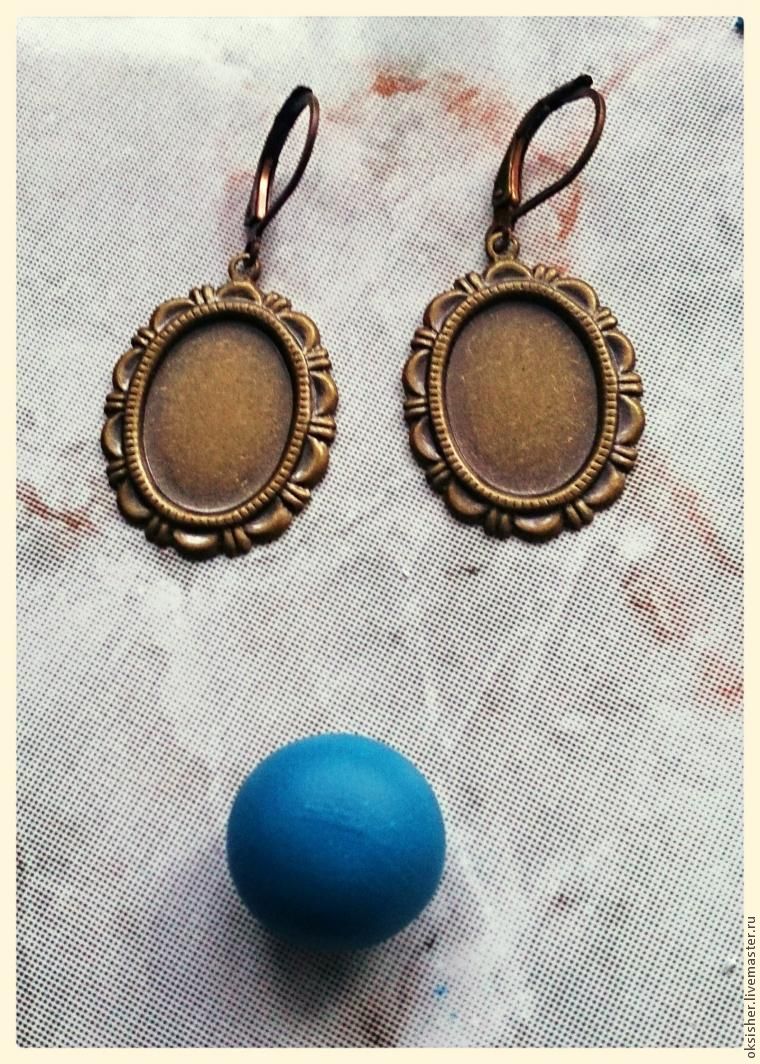 Now we need to share our ball exactly in half. To do this, we perform with a scoop of the following manipulations:
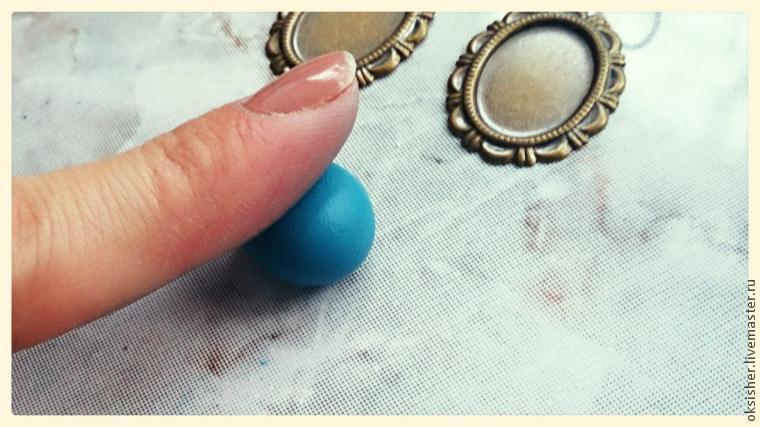
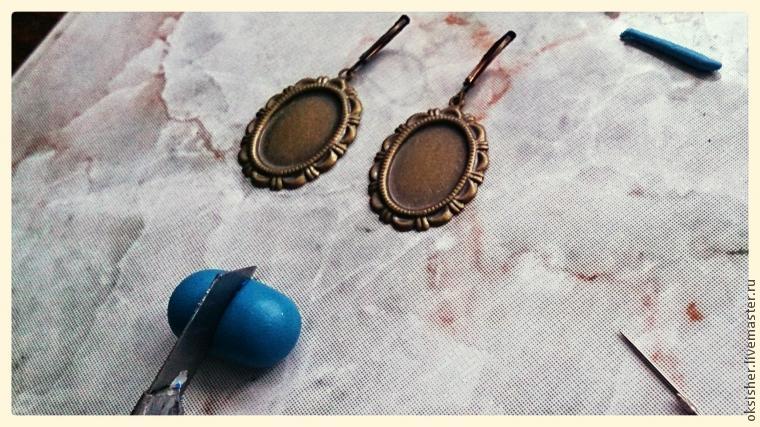 The resulting halves of the roll into two balls.
Now we use our fingers and palm as much as possible. Take one ball is rolled it between his palms up
domestic fundamentals size and attached to it. So with the second ball.
 Take the base with clay, the clay is pressed down the middle of the palm (where there is a small depression) and was equal to our clay finger on the edges of the frame (if necessary, crushing and rubbing a finger).
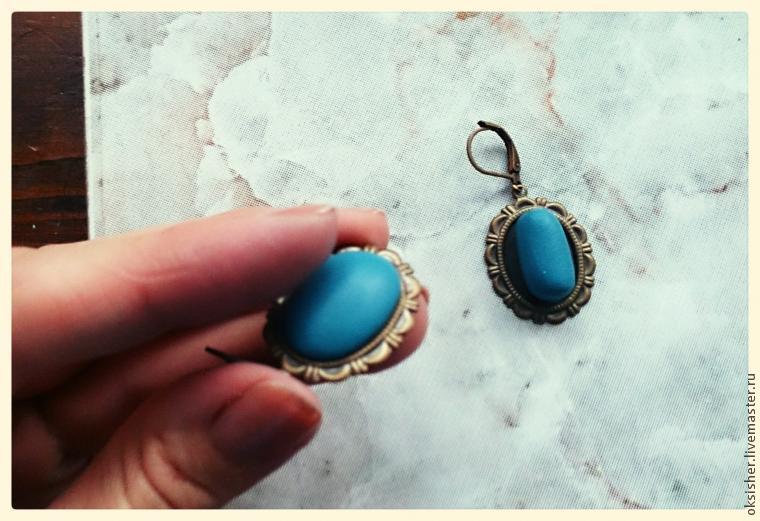 It is important to make sure that the clay is even across the surface of the setting.
 It is important to make sure that the clay is even across the surface of the setting.
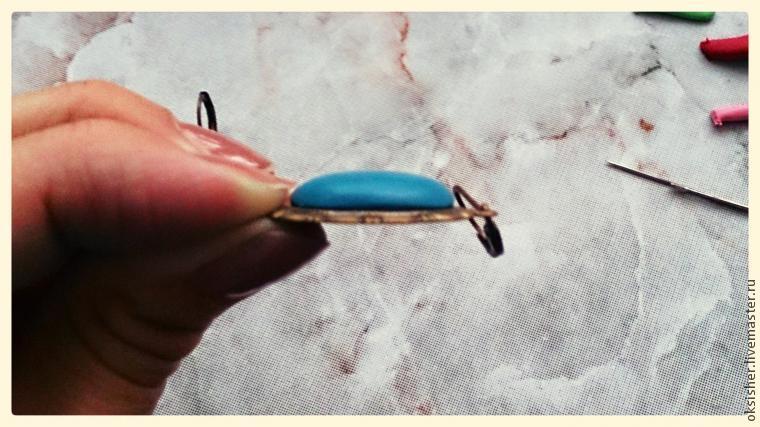
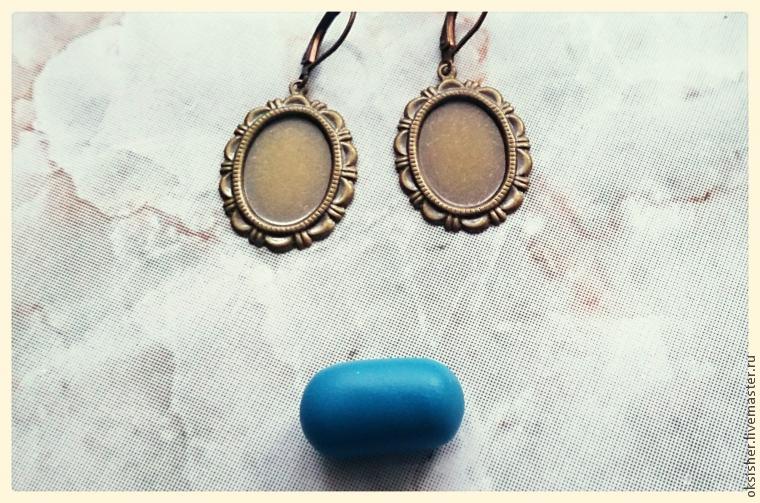
We perform all also from the second base.
At a forum on needlework, I read that some people think that is the flat and smooth surface of the clay is obtained only by pre-baking or sanding. In my experience, if you do the things as mentioned above, the pre-baking or sanding is required. Of course, the presence of the setting of the base simplifies the smoothing process.
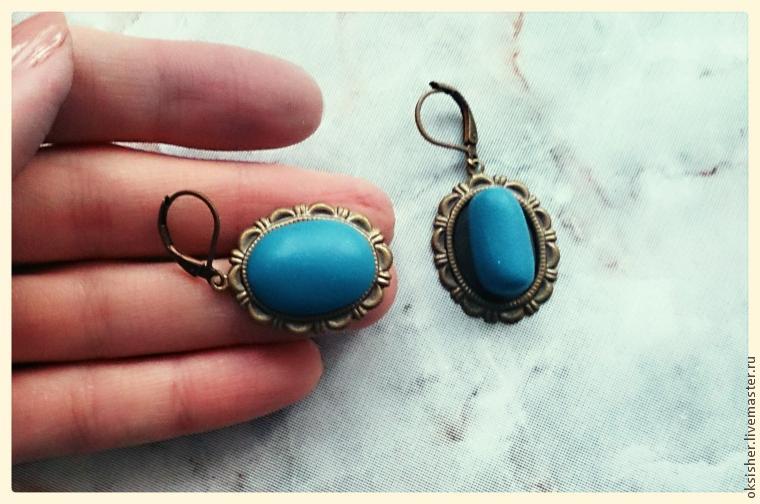
So we’ve got here are the “canvas” for creativity.
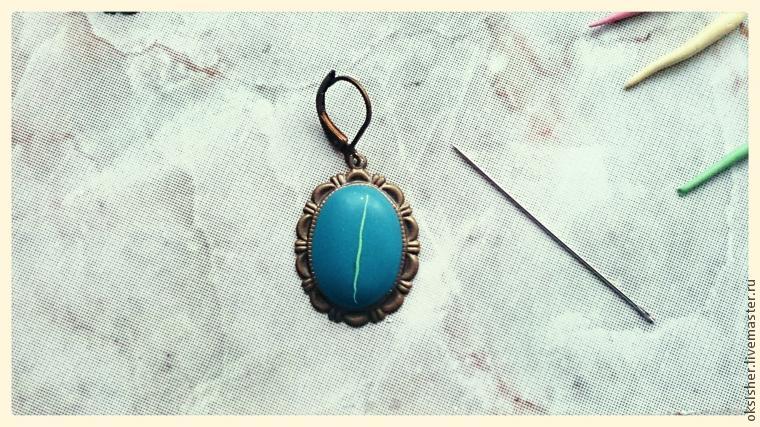
 I have prepared in advance such sausages we need colors.
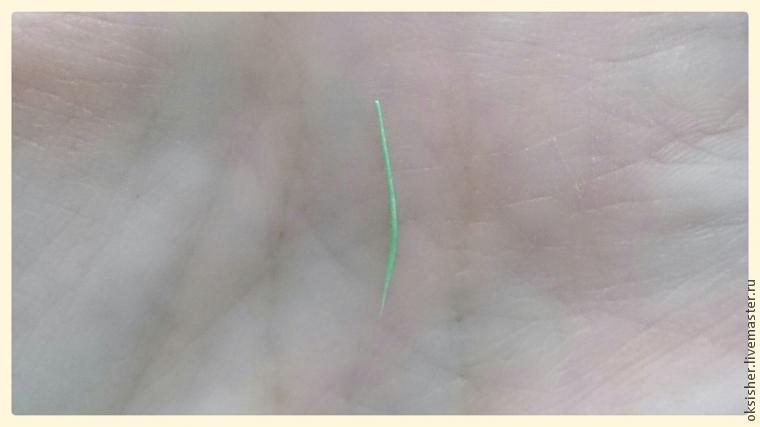
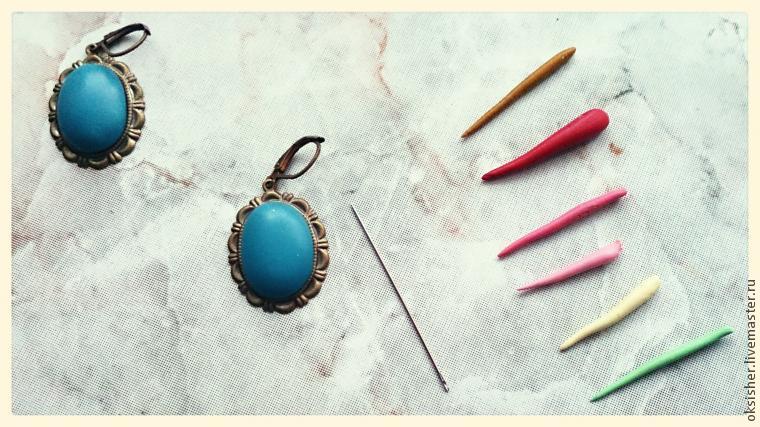 Take the needle green, in an amount such that it was possible to roll a thin sausage for the longest branches of our “flowers of the tree.”
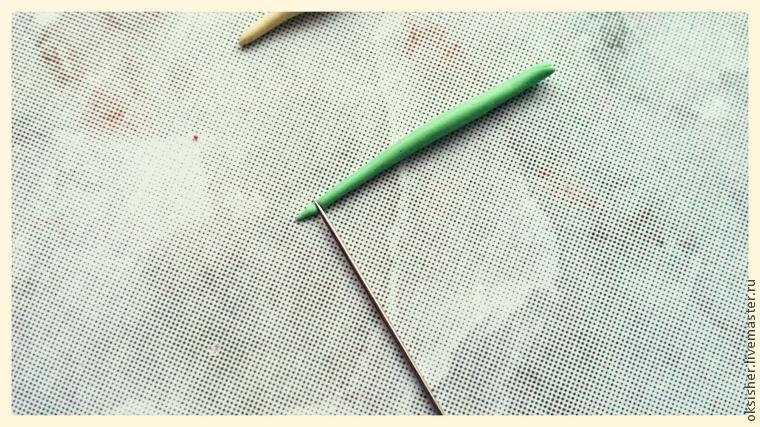
 Carefully take the sausage with a needle and using it and are putting our finger on the base of the twig. Use your fingernail to gently press down sausage along its entire length.
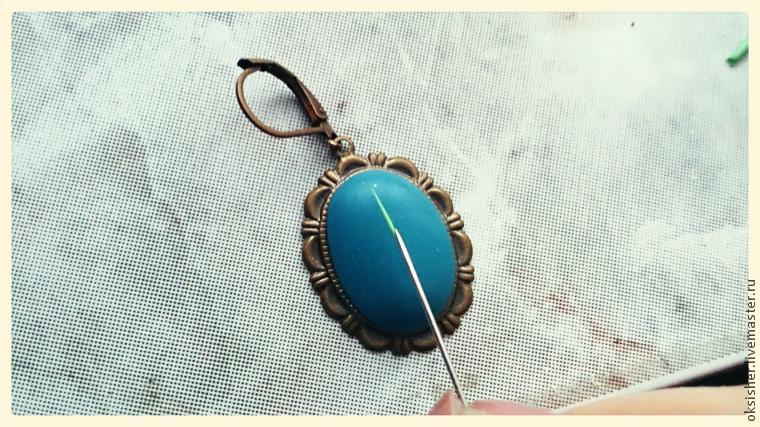
 In this way, we lay out all the “tree”, looking at the photos.
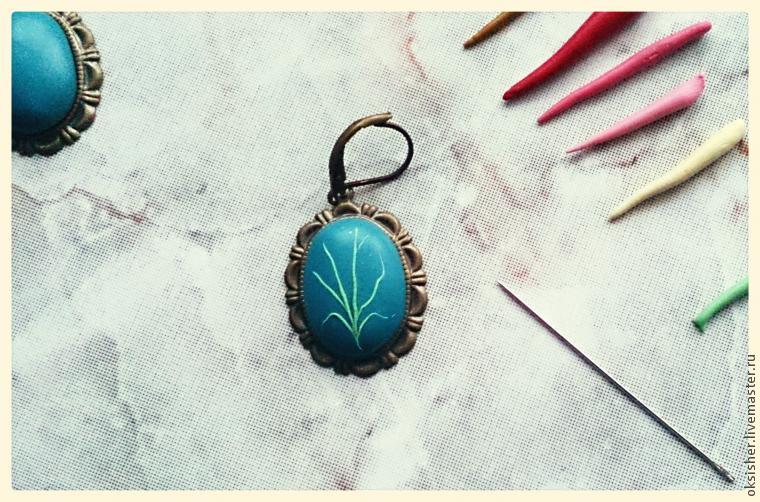
Repeat the process with the second substrate.
As a result, you should get something like this.
 Flowers I put upwards. Bottom increasingly large flowers are placed on top – small. The first flower is red. Take the needle red clay.
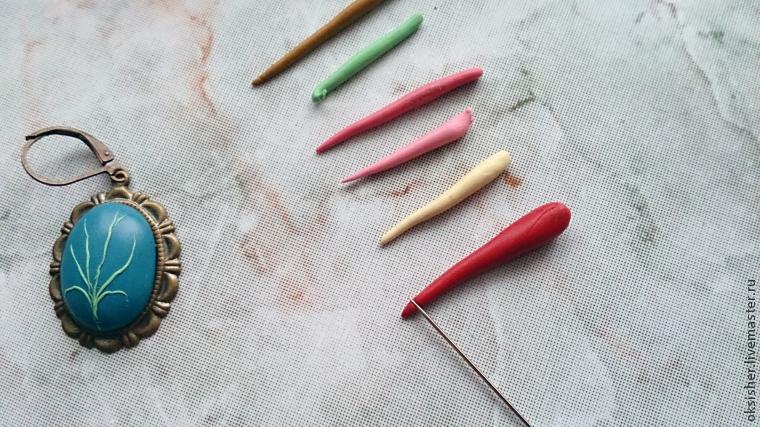 A small piece of clay slips into the palm of your finger. It is important that the clay was not homogeneous and crumbled! It should look like this.
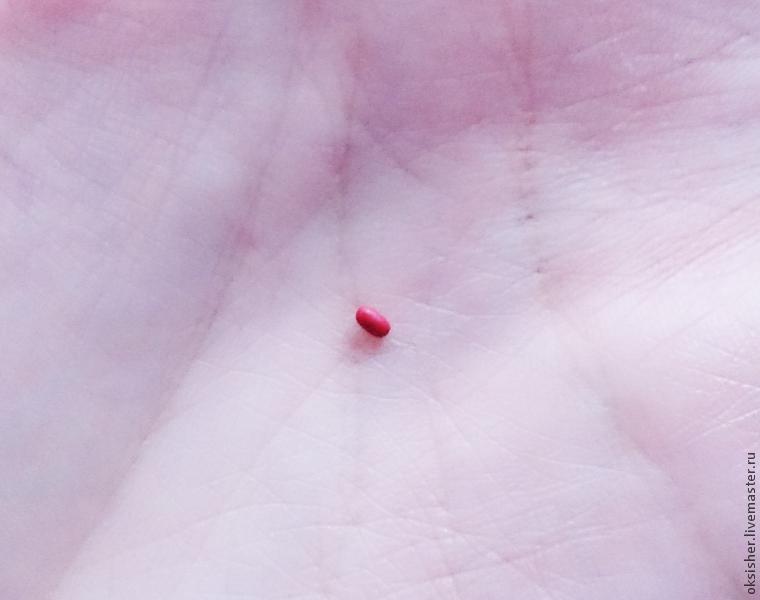 Take the needle and gently put on top of a “tree”, drawing from the middle to the end of the petals groove, thus pinning it to the base.
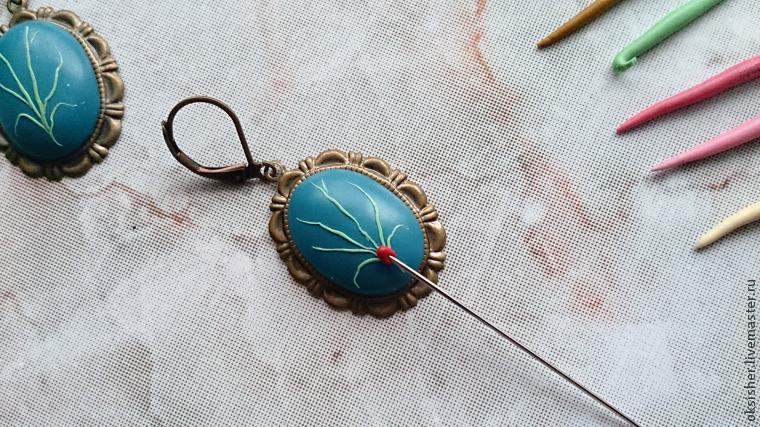 Further, as we put each petal circle. At the end of the flower gently press down with your finger.
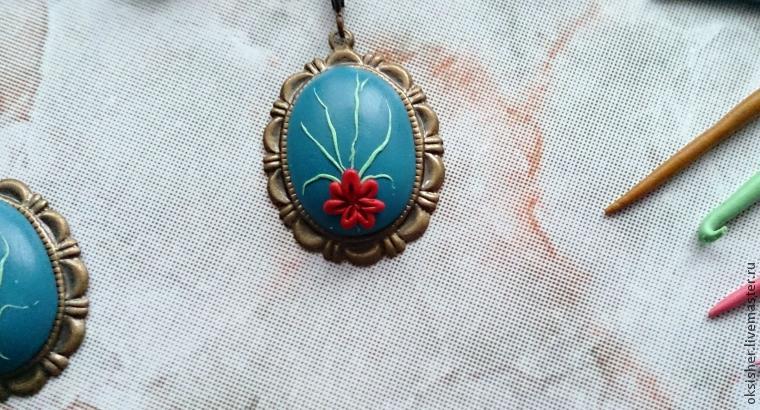 We continue to put the flowers from the bottom up.
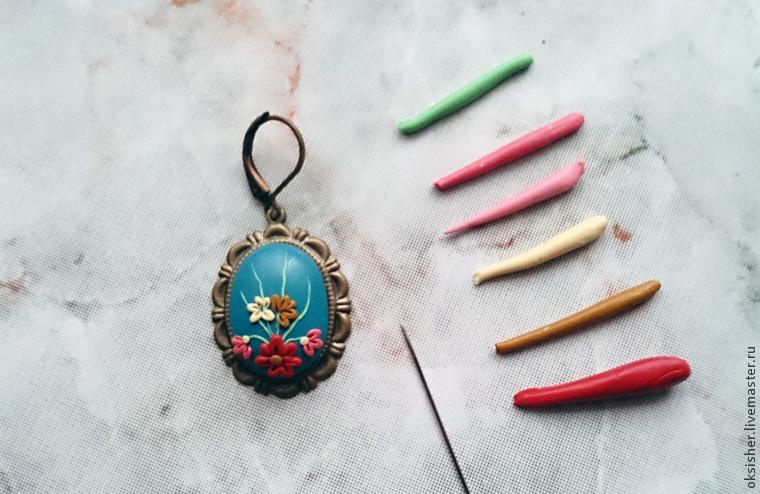 Lower pink flowers we put a dark tint, top pink flower – light. Serdtsevinki flowers do with a small ball of clay and press down gently with your fingernail.
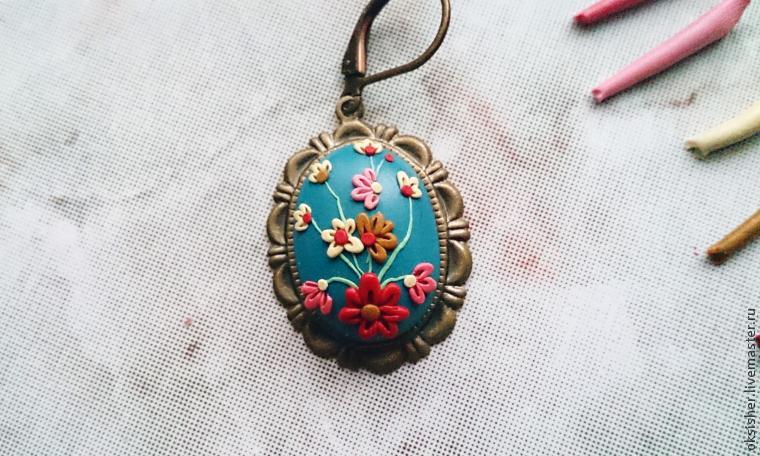 All the flowers in place. The painting looks unfinished. Apply extra petals tinged color light corresponding to each.
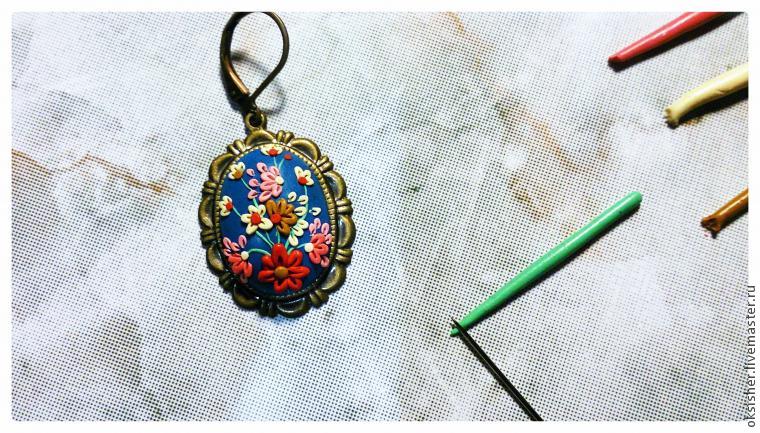 Prior to the full completion of the picture we put the leaves where they are appropriate, and we put the finishing touches in the form of small dots.
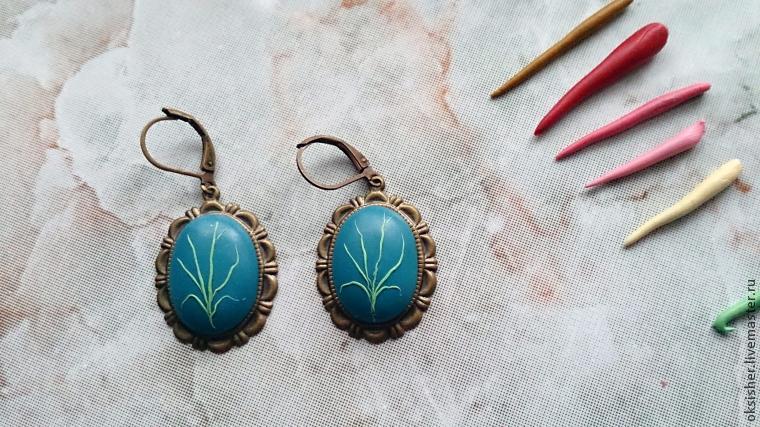
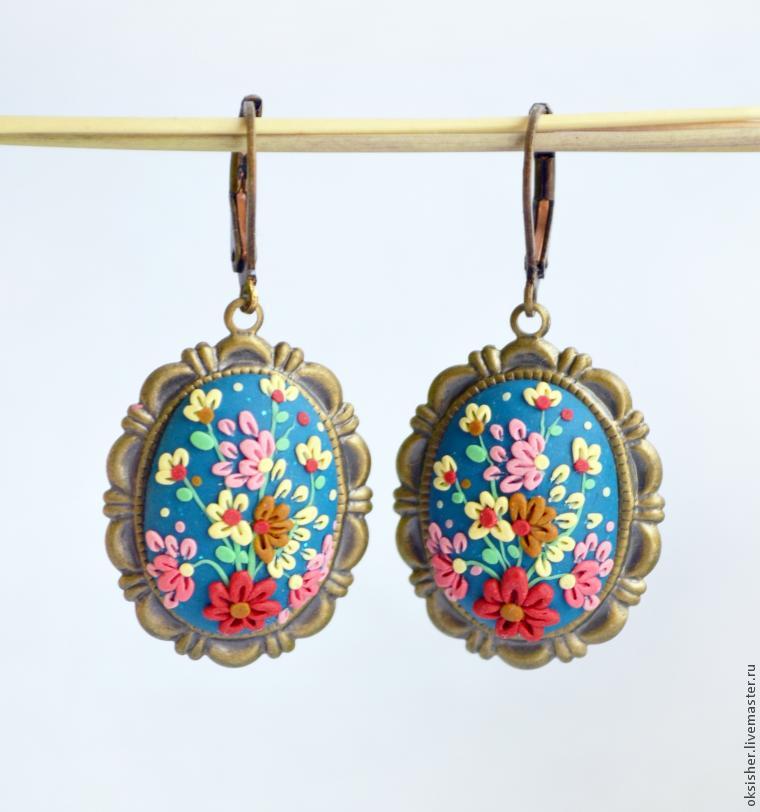
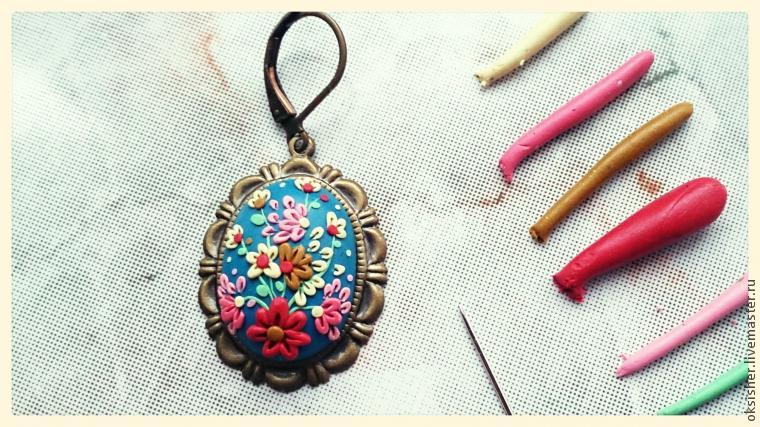 The picture is ready! We perform just as well and the second earring.
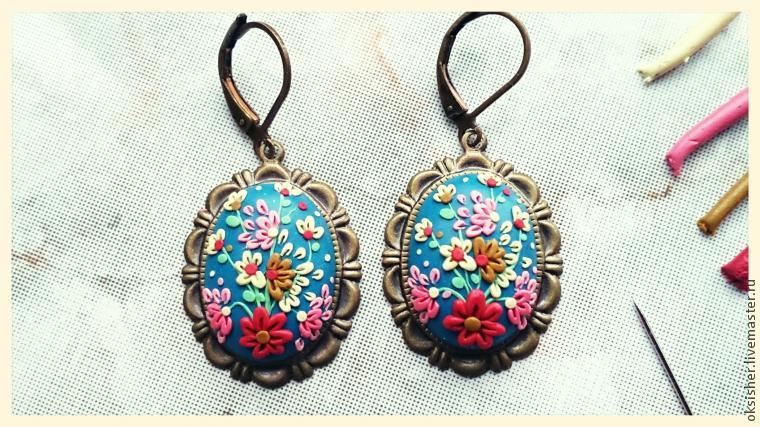
Differences in earrings will always be because we are not robots 🙂 But they look harmonious.
There has come step baking clay. We put earrings on a glass surface (or foil) and place in the oven, preheated to 110 degrees for 15 minutes. It is important to set a timer or put the alarm clock.
Take out of the oven earrings and give them cool completely. You can put them in cold water for rapid cooling.
Now separate the frozen clay on a metal surface. Sometimes it moves, sometimes to hook your fingernail or a needle, main is done carefully and in an inconspicuous place (eg at the bottom of earrings).
 Glue clay to a metal substrate using superglue or gel-adhesive polymer clay. It is important to apply the adhesive in a moderate quantity, so that when you press the glue leaked out.
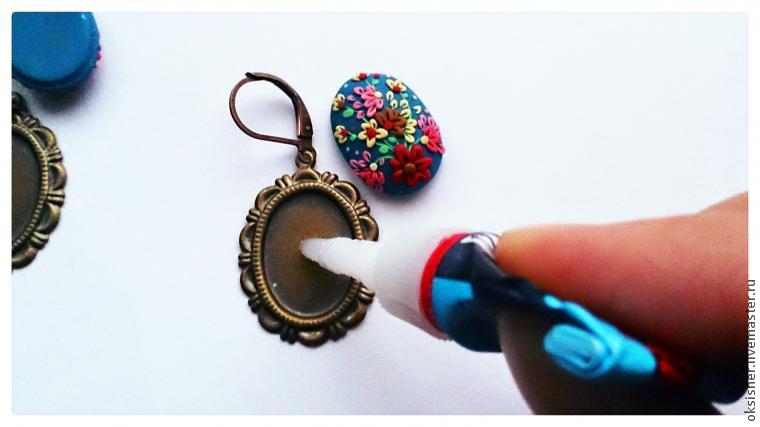
After applying the adhesive on the metal base are putting on top of the clay and pressed gently with your finger. Give time to grab – for about three minutes. It is important to make the clay just right, as the reaction proceeds rapidly.
And earrings are ready!
Hopefully, the lesson was useful to you 🙂
Thank you for attention!
Best regards
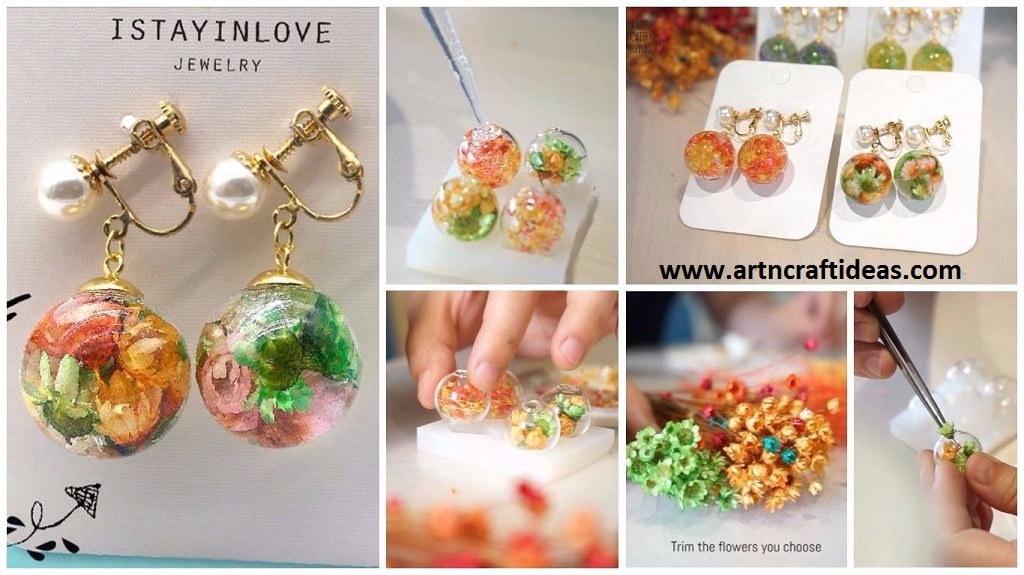
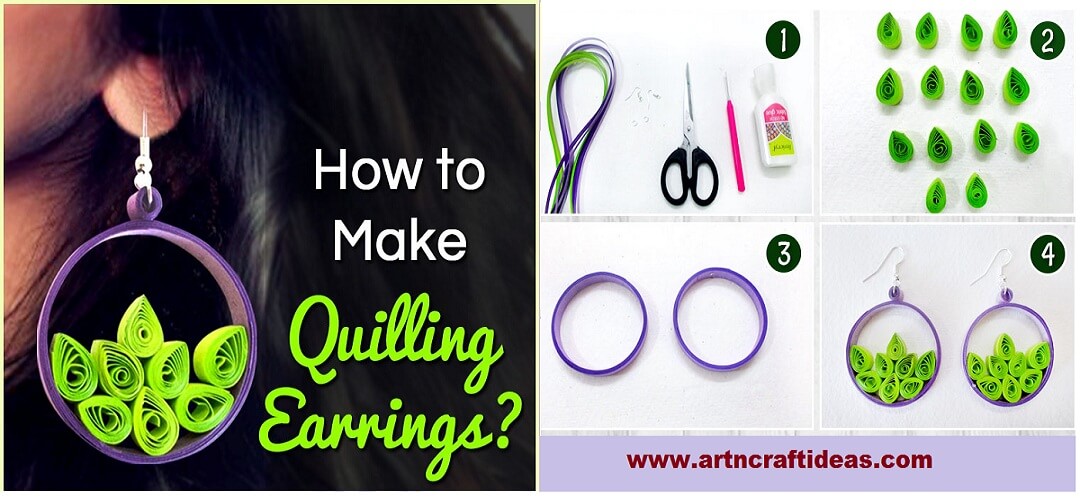
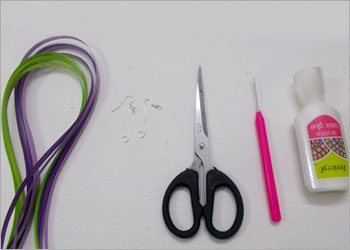
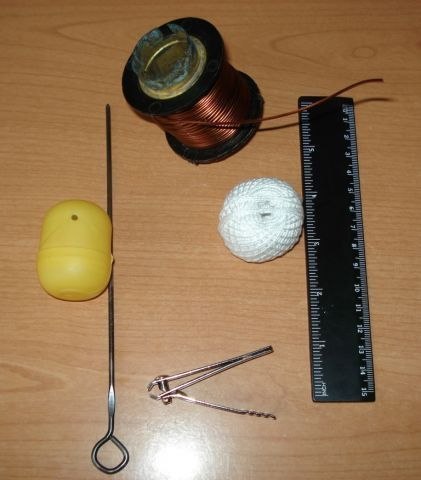
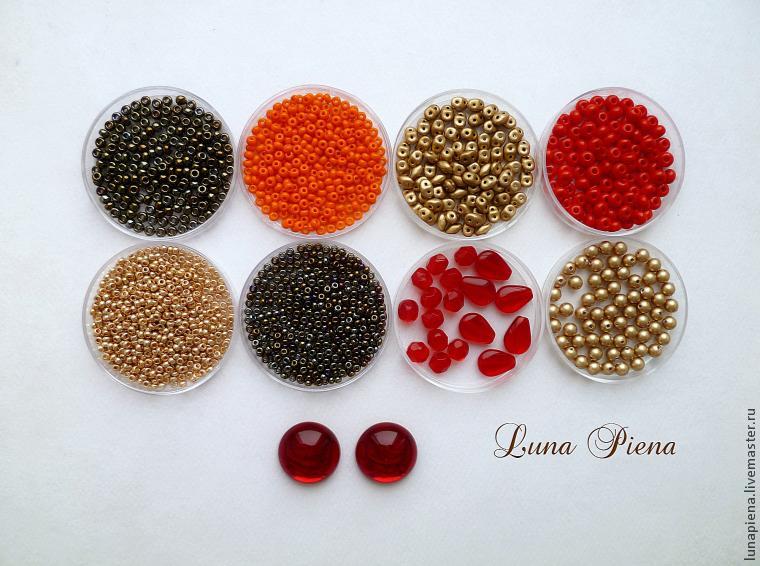
 Required Materials:
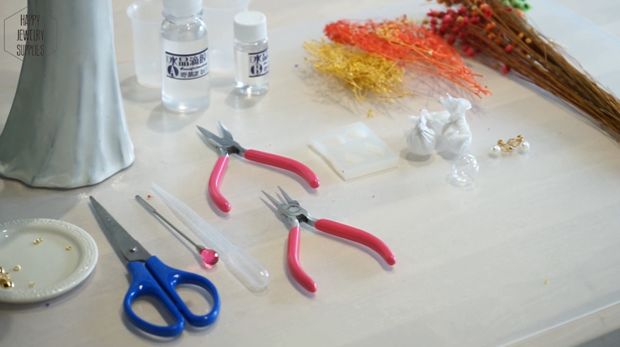 Step 1: Balance
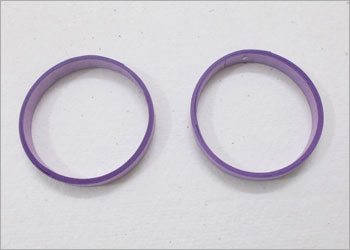
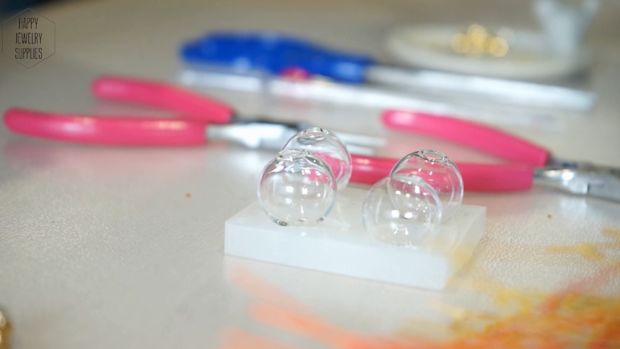
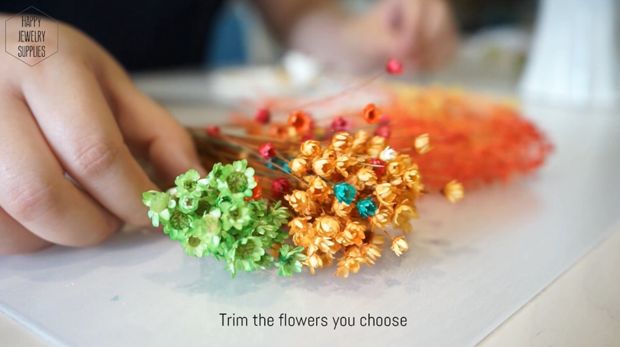 Step 3: Trim
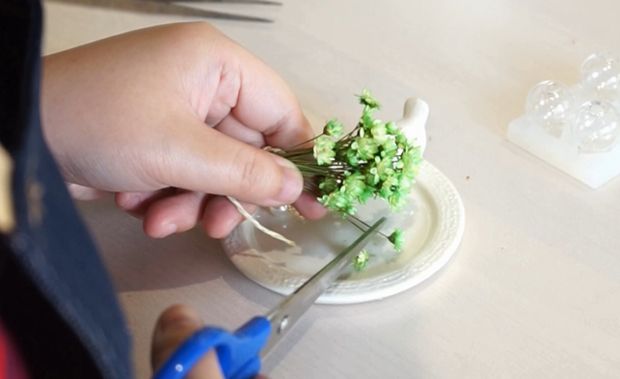
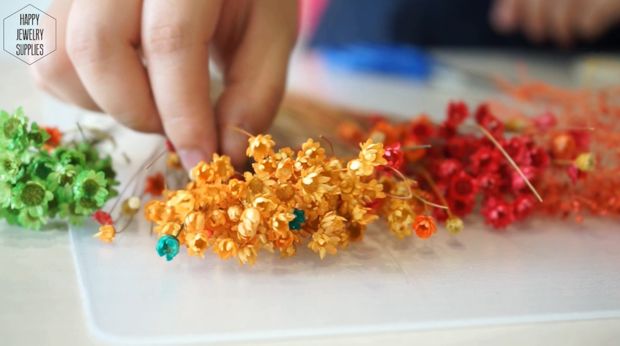
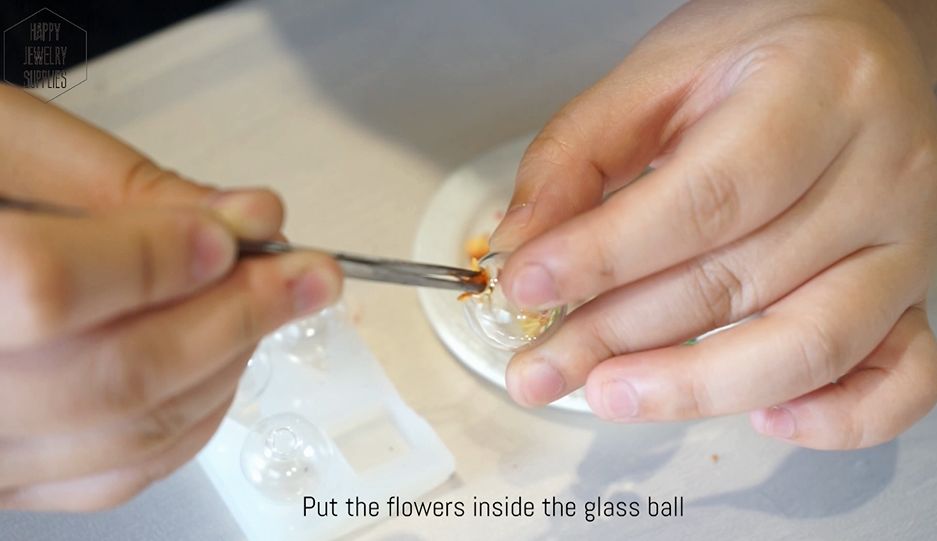
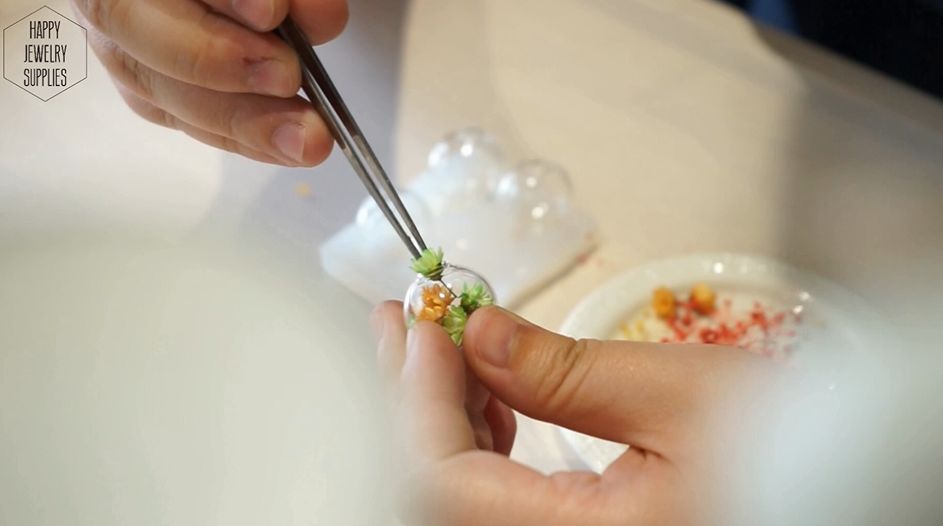
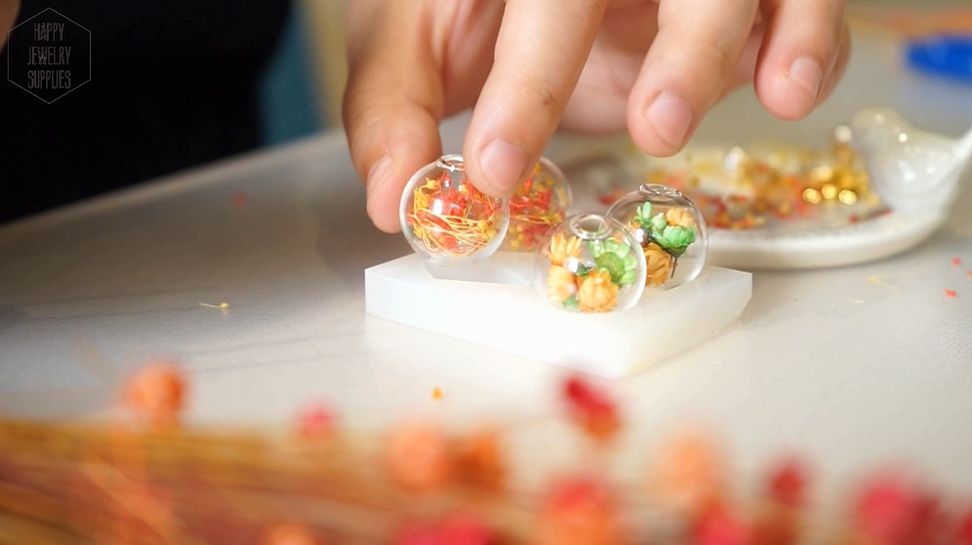
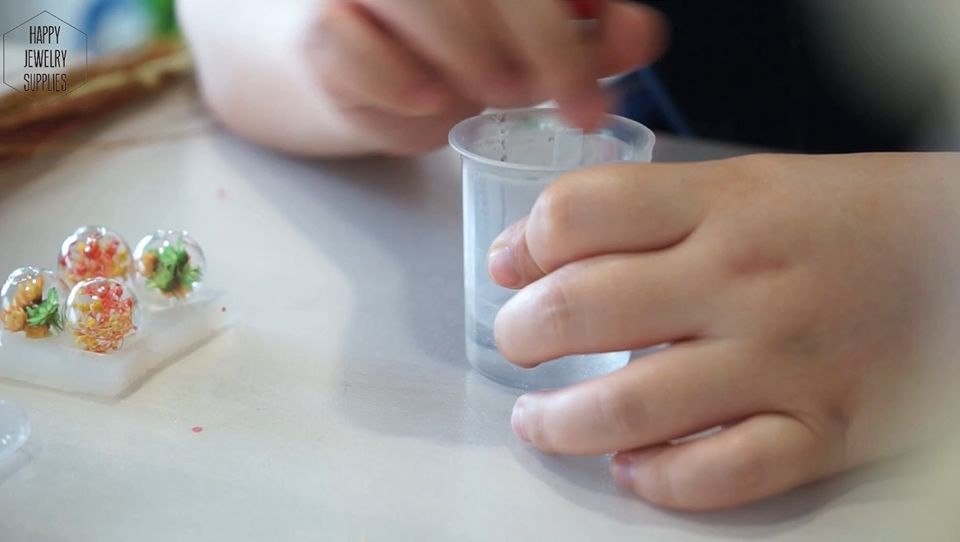
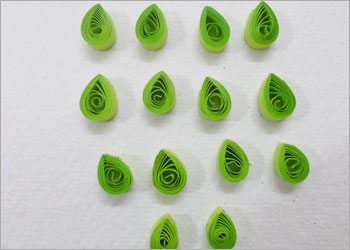
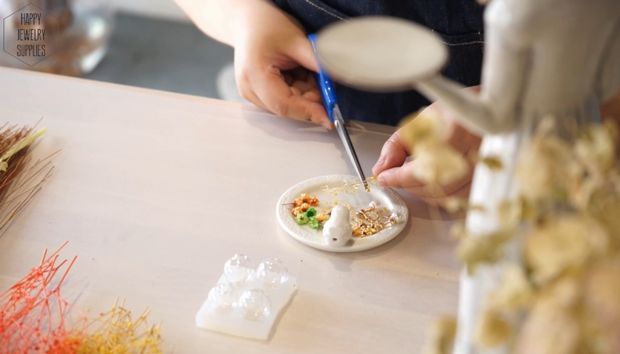 Step 4: Fill
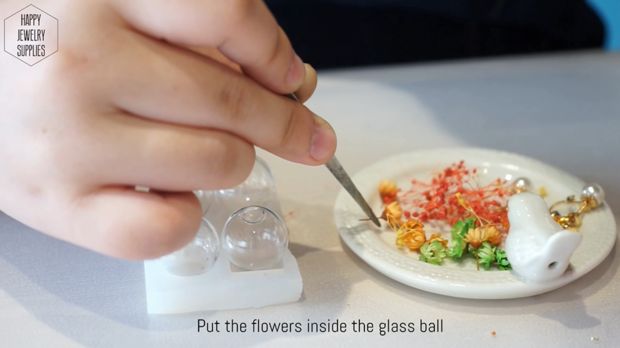
 Step 5: To Prepare the Resin Glue
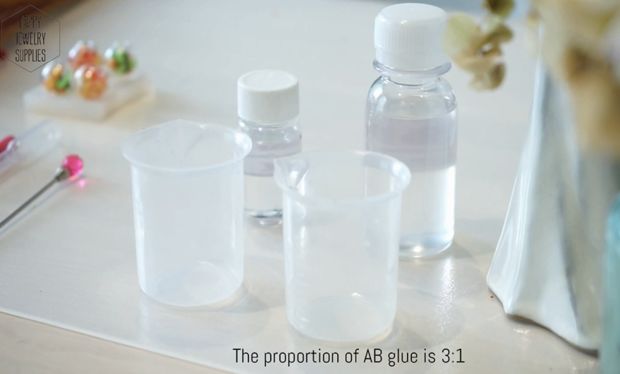

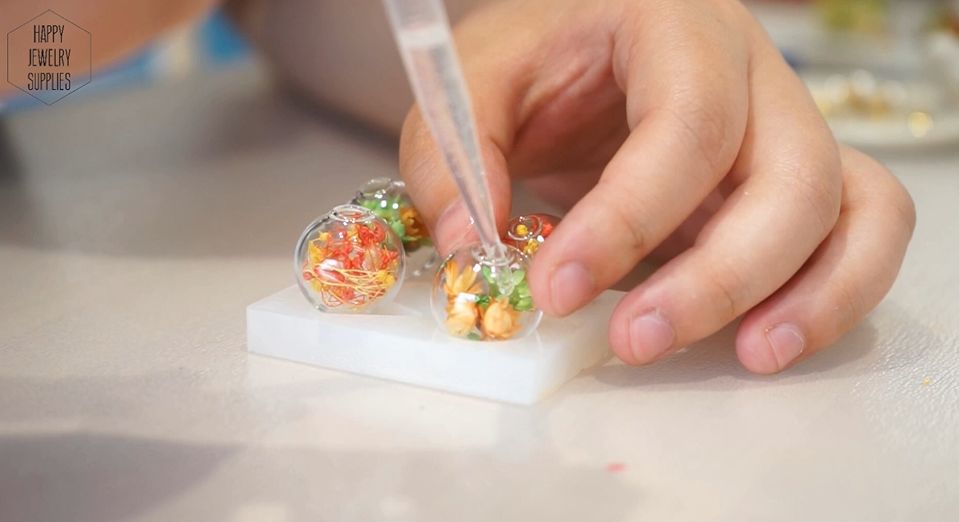
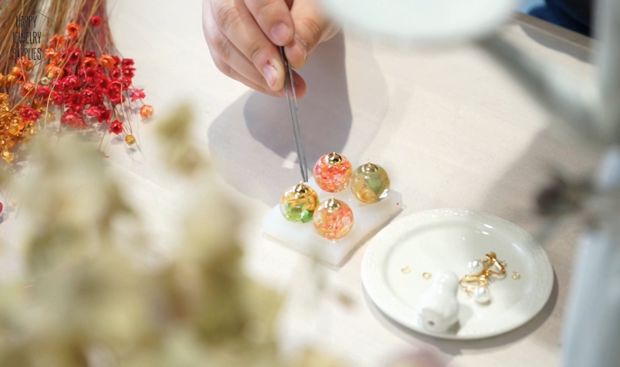
 Step 6: Fill the Resin Glue Into the Glass Bottle
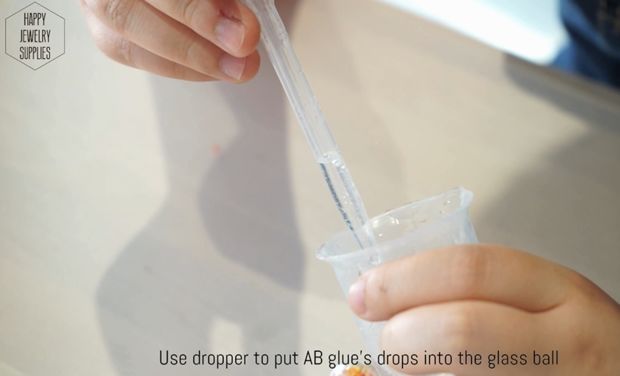
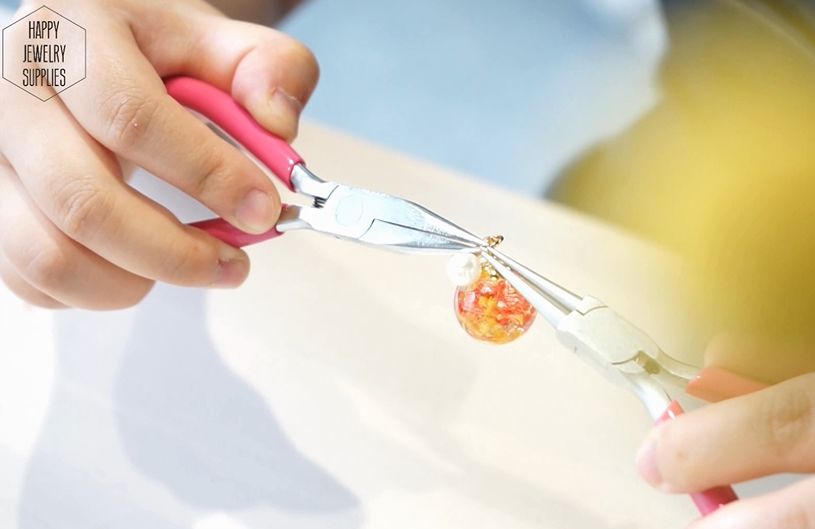
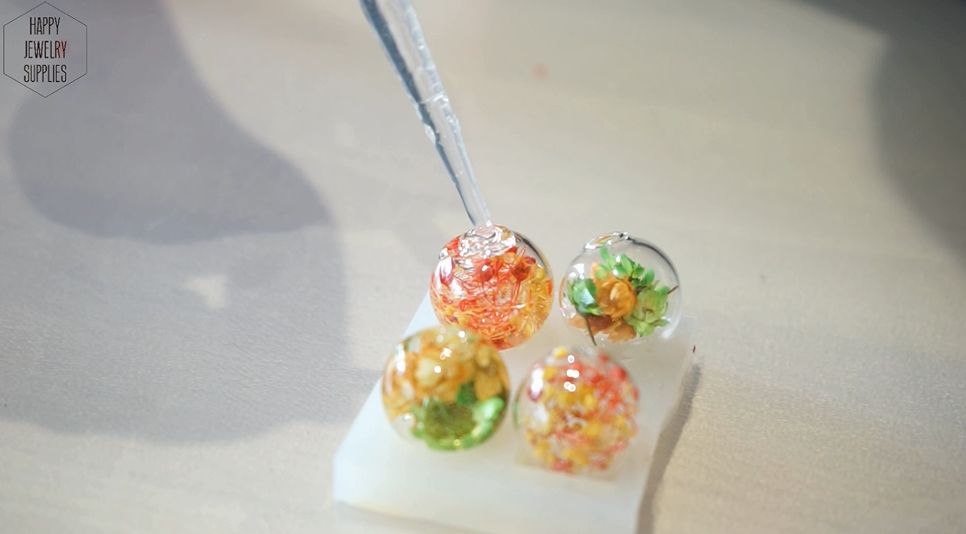 Step 7: Put on the Top Cover
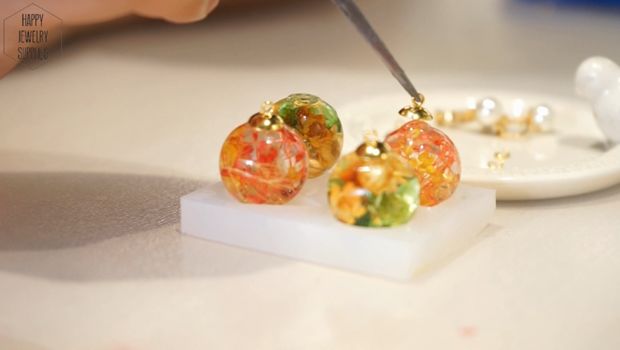
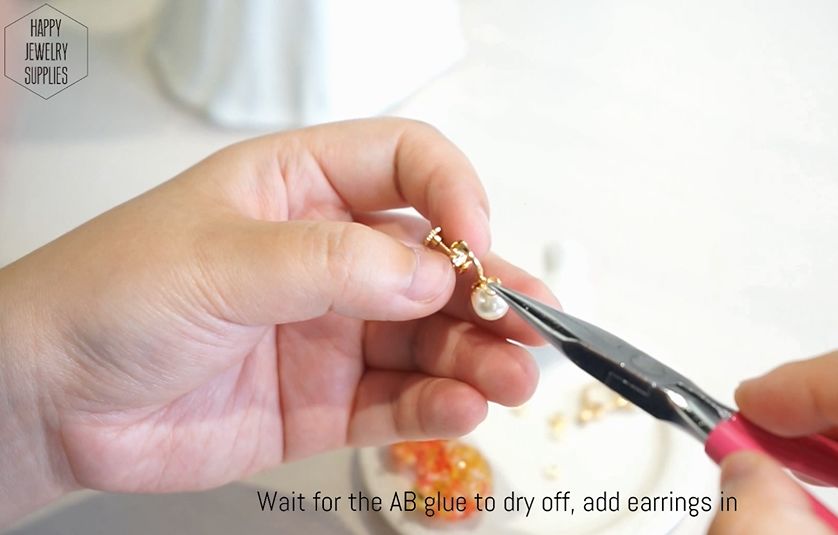
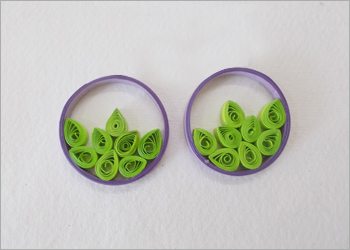
 Step 8: Combination Resin Glass Bottle and Pearl Earrings Stud
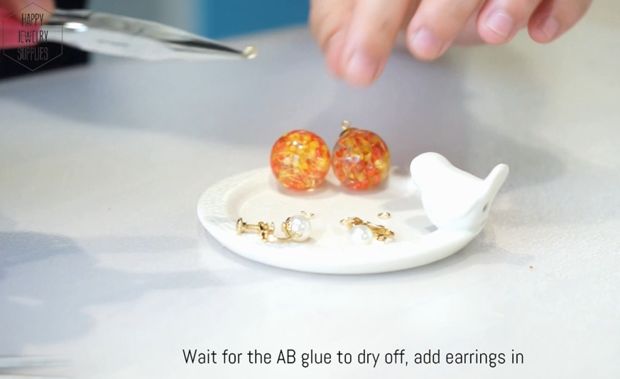
 Step 9: Packaging
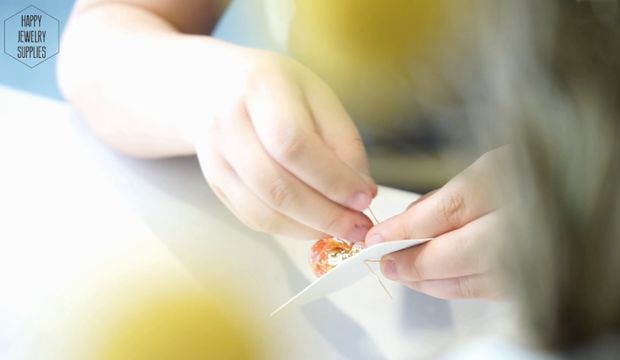 Step 10: Complete!!
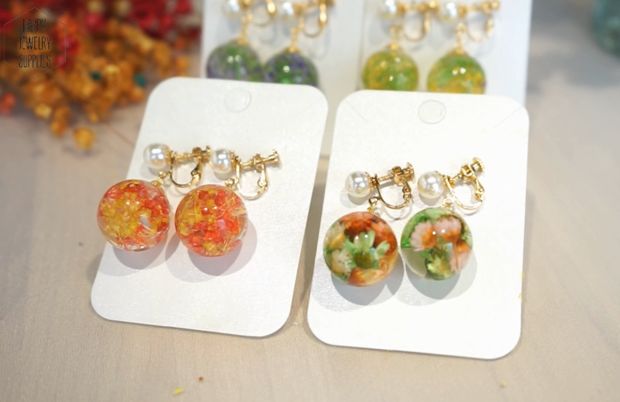


 Step 11: Pass an earring hook in it. Similarly, make another earring and complete the pair.
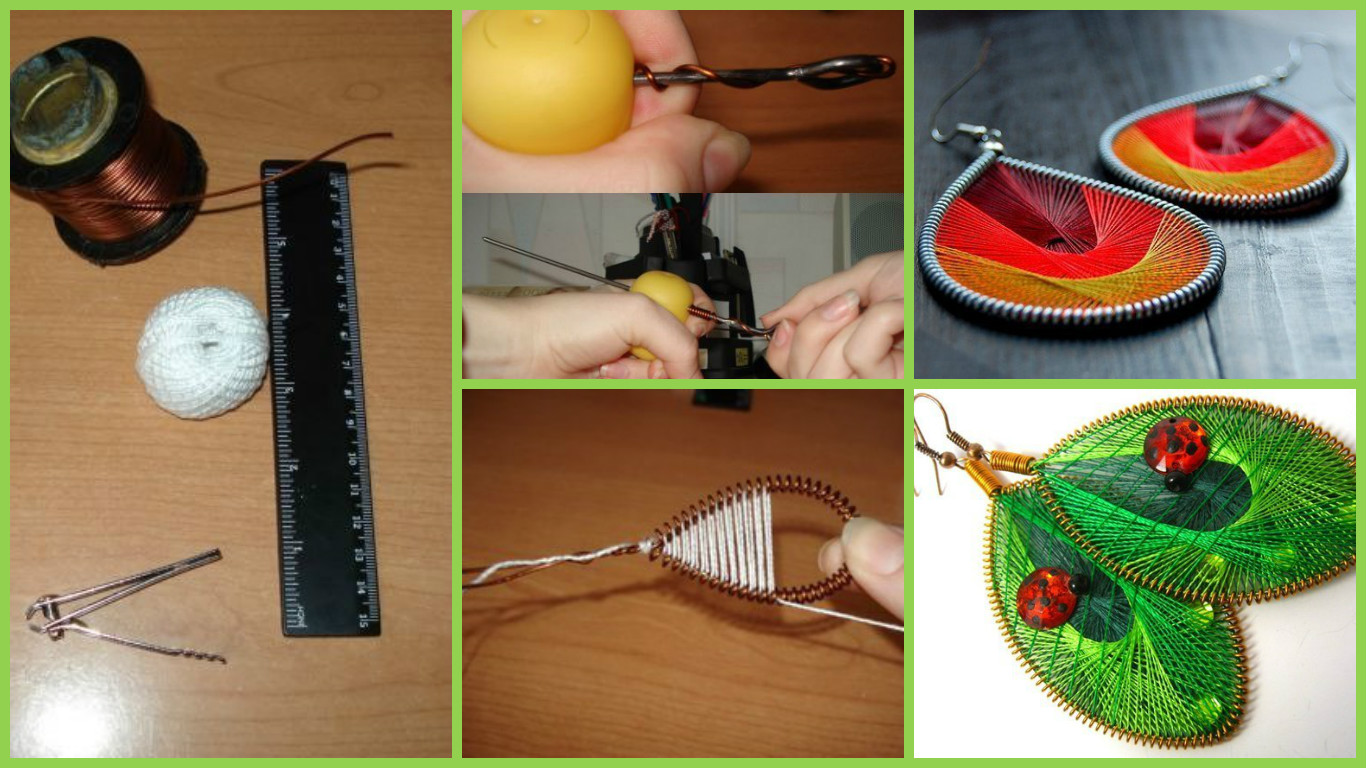
 Threaded needle into the egg, fasten
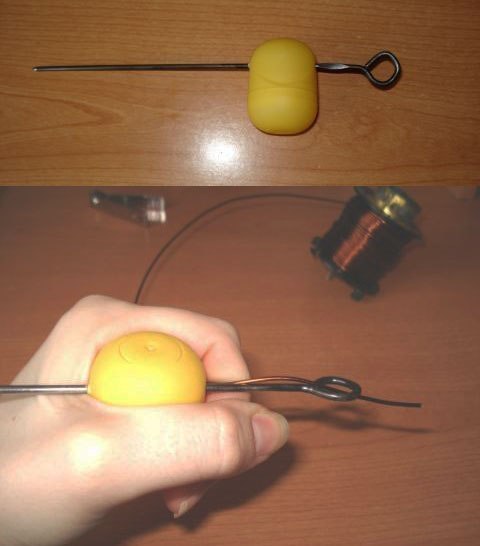 And proceed to the winding wire needle in a spiral. egg stop working in this business
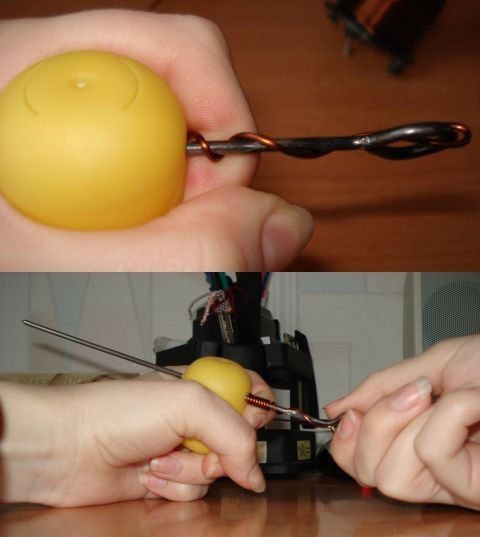
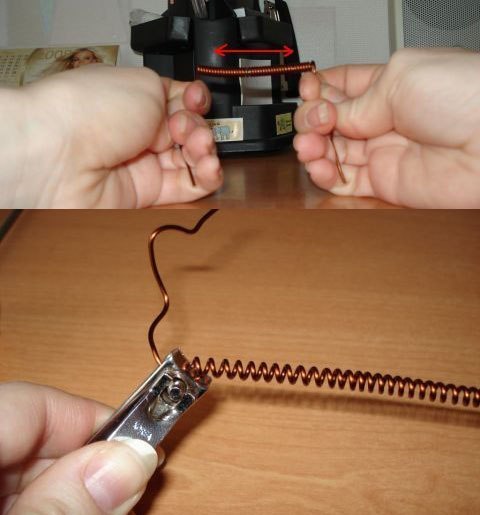 Now get put on a spring-loaded on a piece of a wire – it is necessary to give the earrings a particular shape, such as a circle or droplets
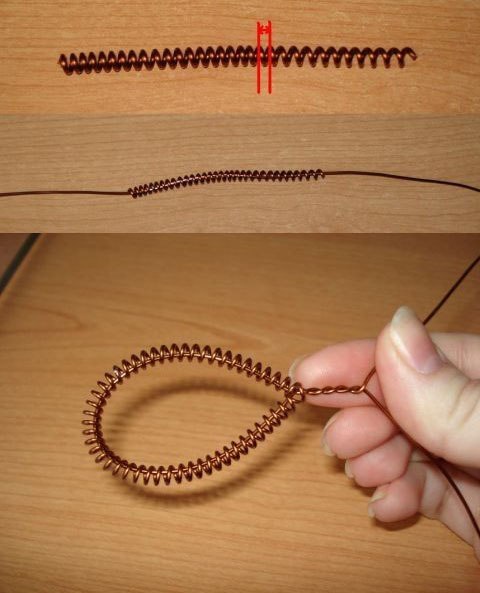
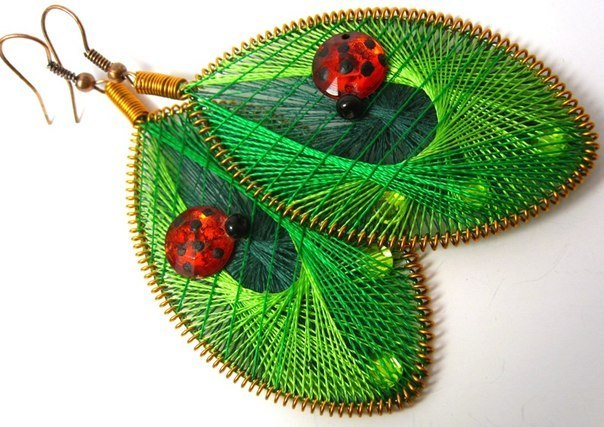
 You can wrap in different directions
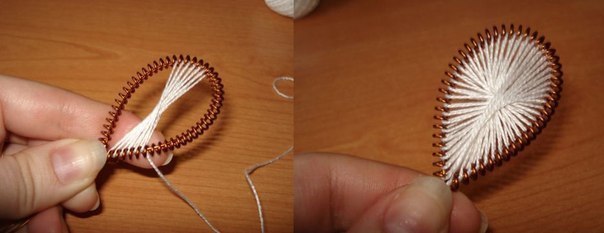 … And different colors
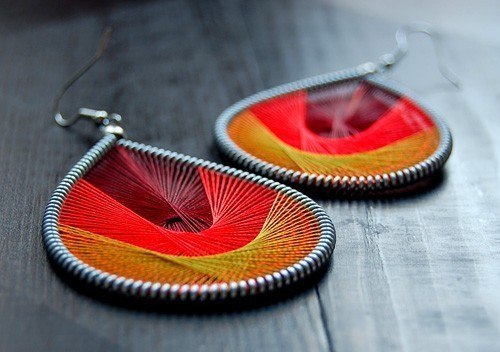 that’s such a beauty, we will end up – literally 5-10 minutes of work 🙂
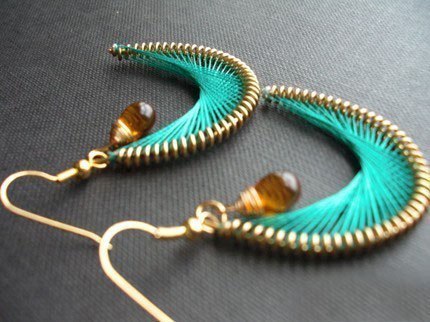 Then they can continue to further decorate – with beads, sequins, feathers, and of course, in the end, do not forget to attach to seventy earrings. All our work of art is ready! It can start to wear 🙂
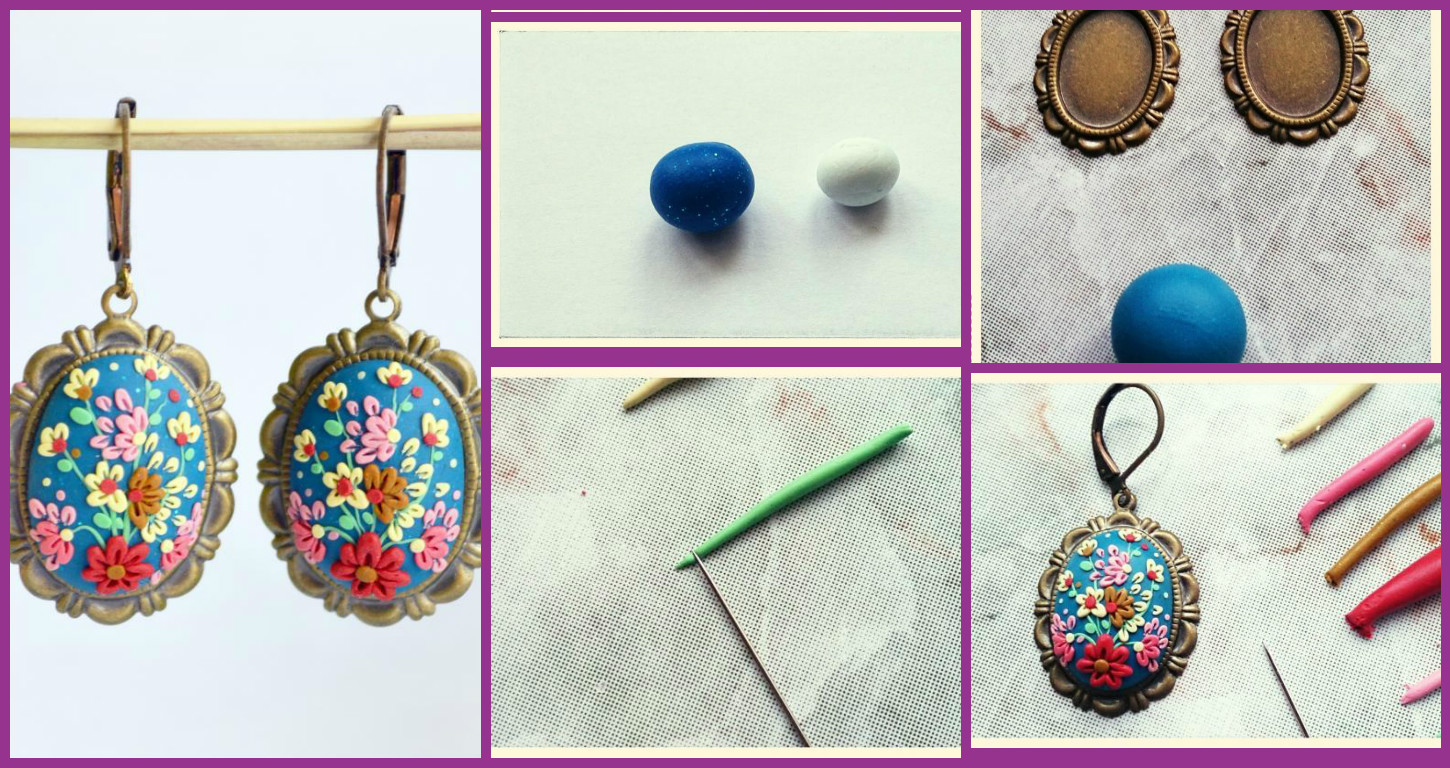
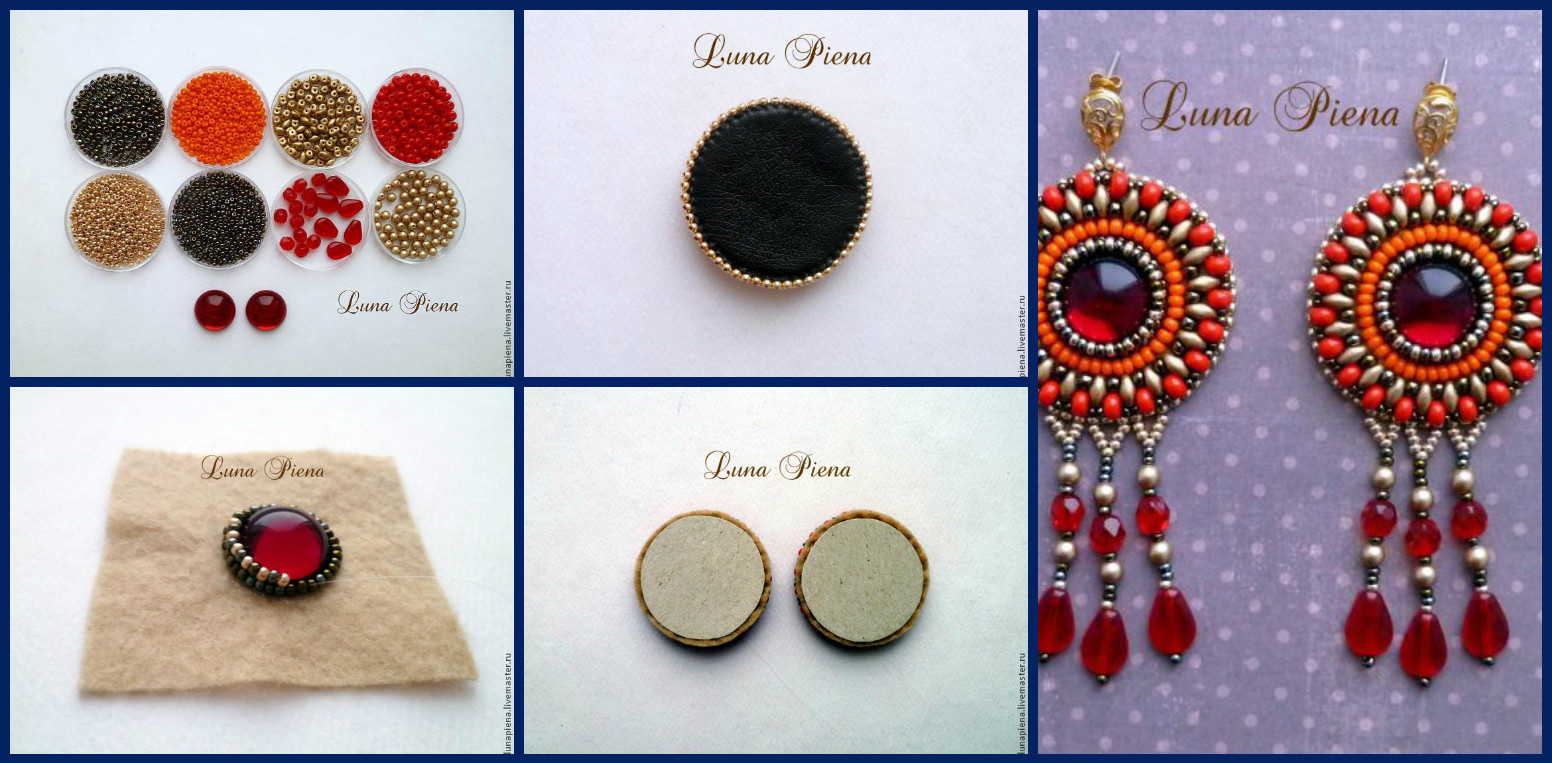

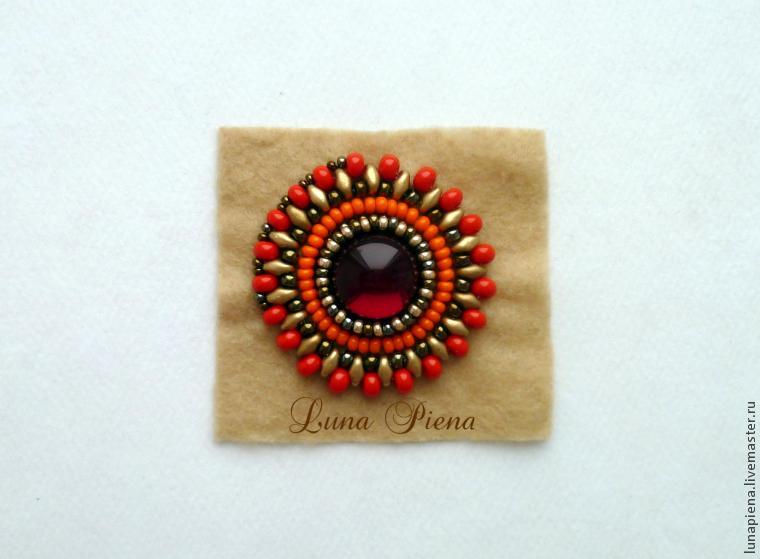
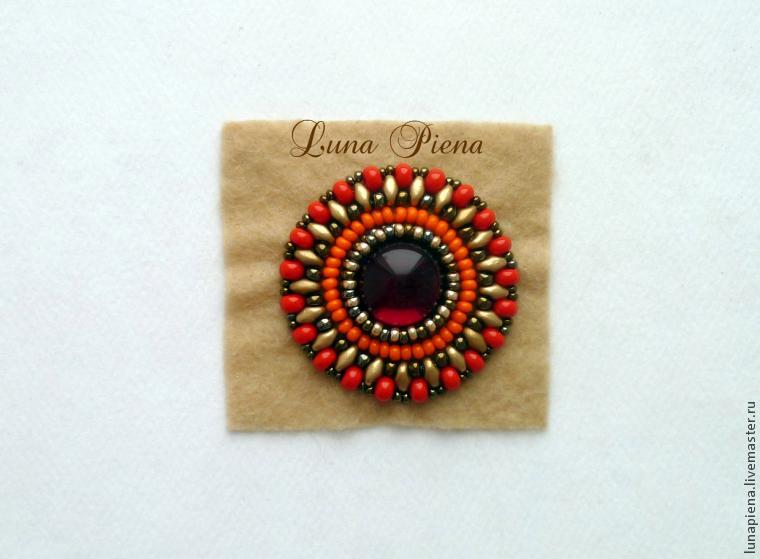
 Getting Started. Glue felt on the glass (I use superglue for glass) and is sheathed in the technique of tapestry weaving. I will not dwell on the description of this technique, The first row of sheathed with brown beads №10
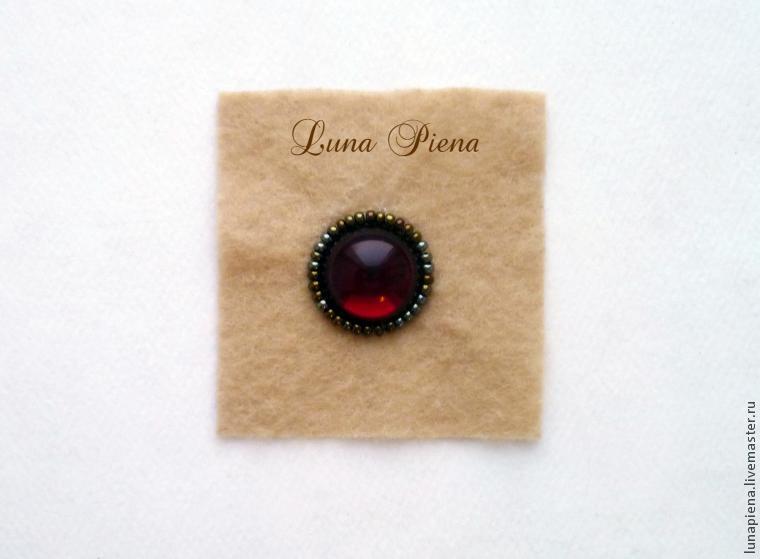 Further, alternating, sew beads №10 gold and brown.
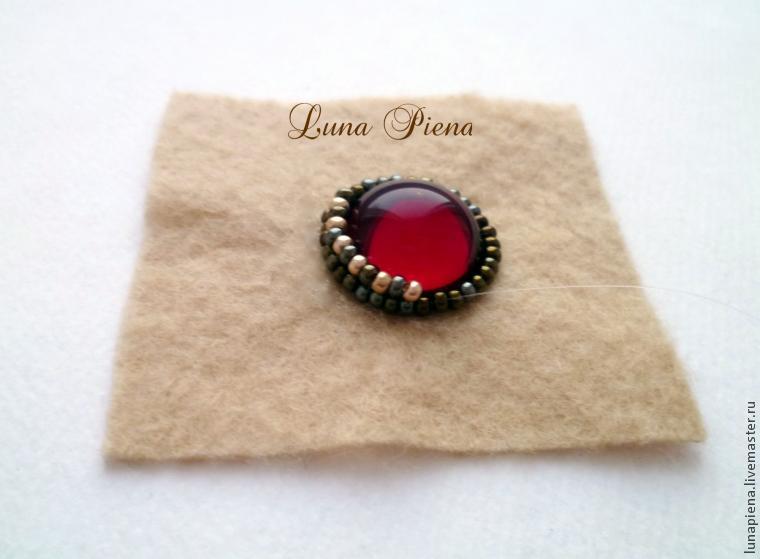
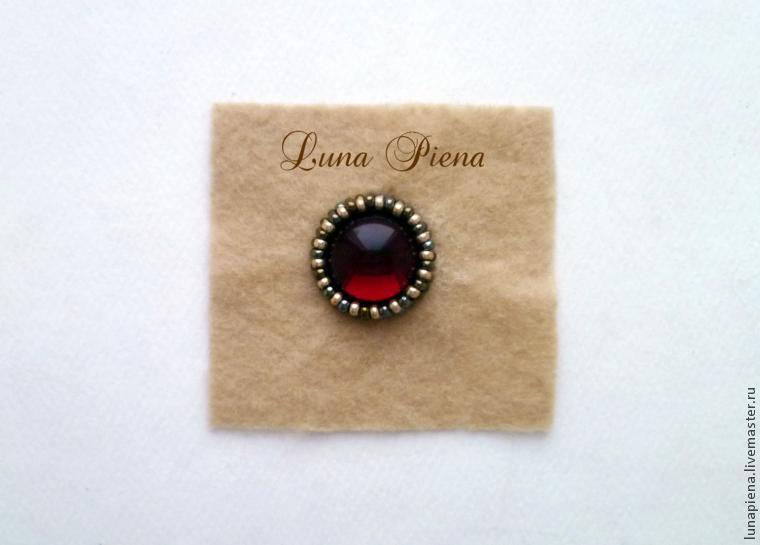 Here is the steering cabochon:
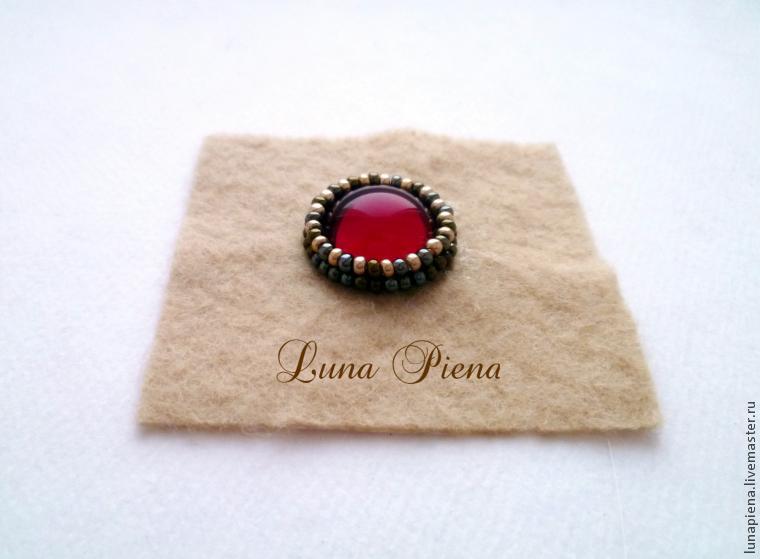 Around cabochon beads sew a number of №9 orange. I advise you to sew on a bead, so it will be smoother
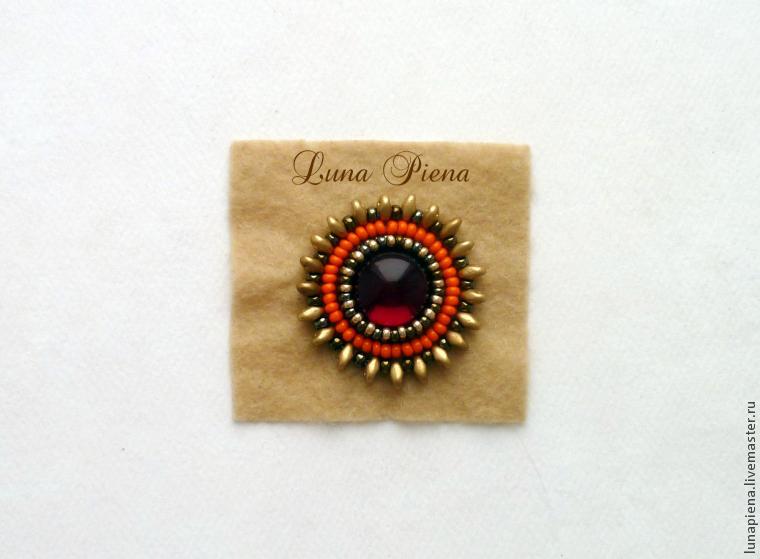
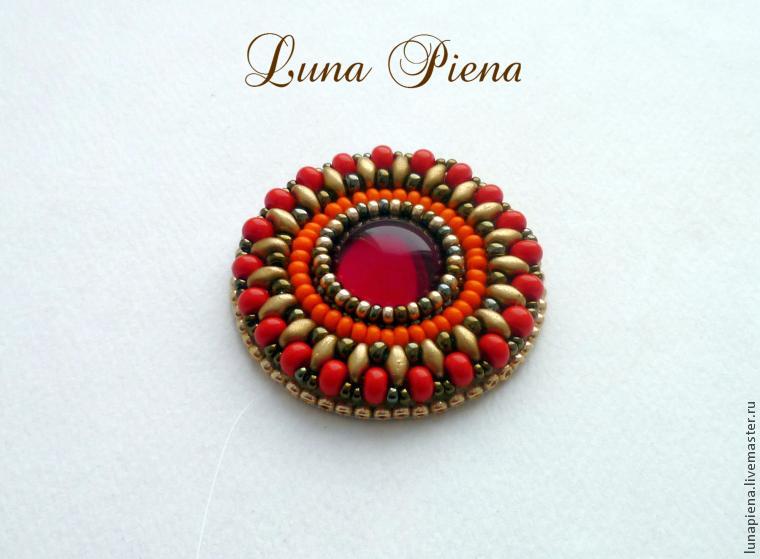
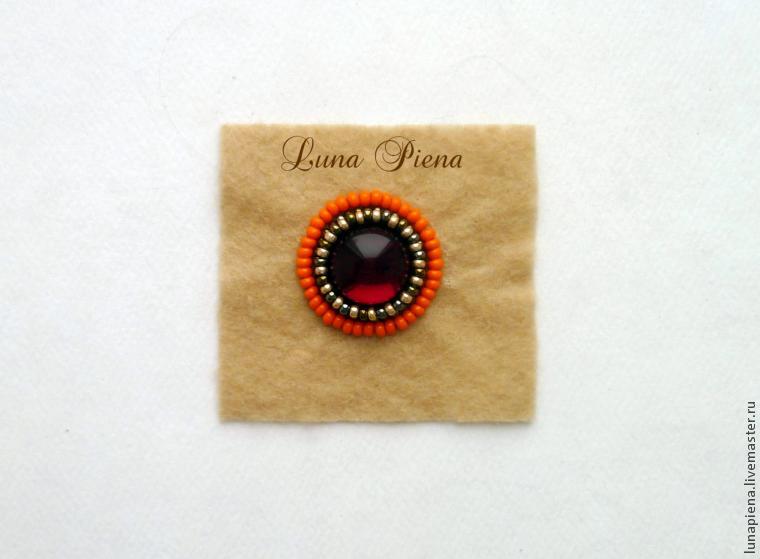 We proceed to the beads Superduo. Sew them, alternating with brown beads №8.
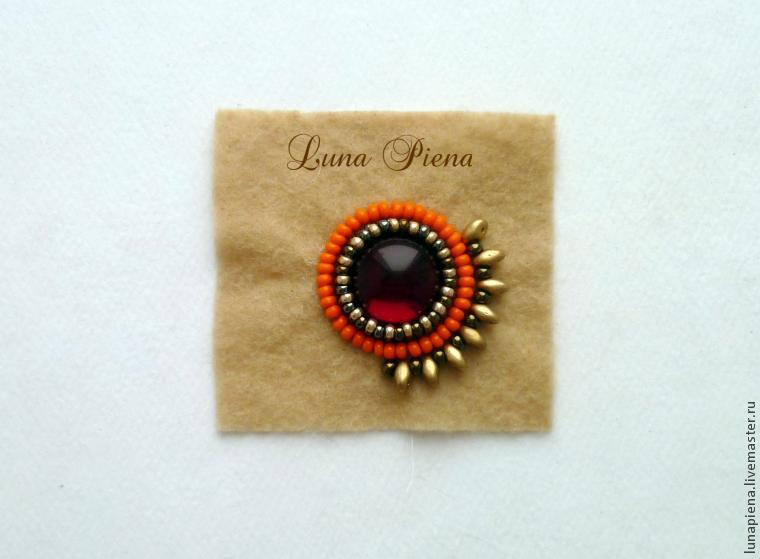
 Above brown beads sew red beads №6, passing through the second hole beads Superduo.
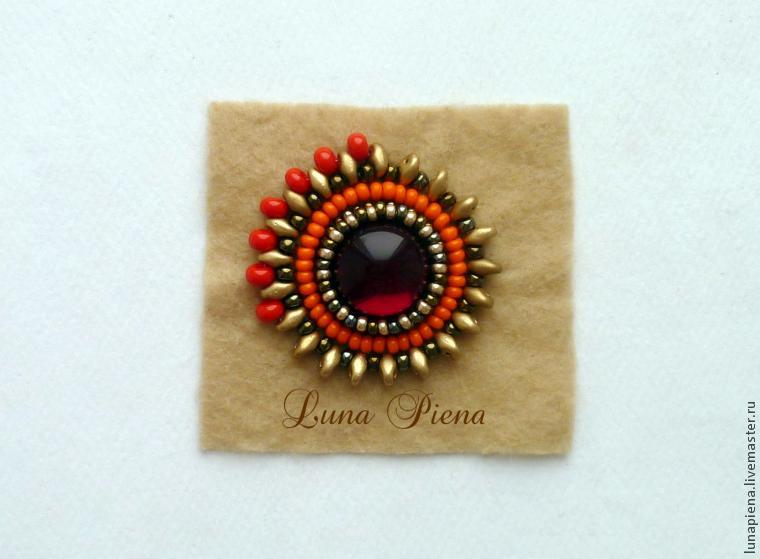 Over Superduo sew beads on the two brown beads №11, passing the needle through the large red beads.
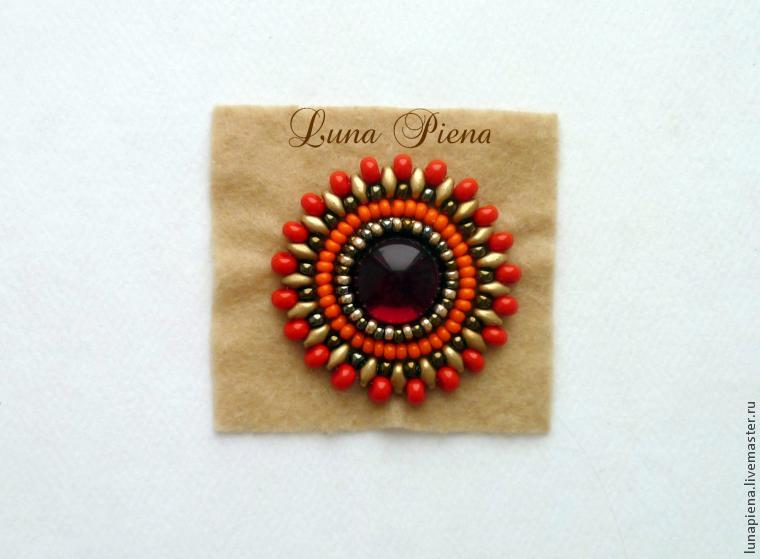
 Cut embroidered items and proceed to the wrong side. I stick to seal cardboard and then glued to the skin.
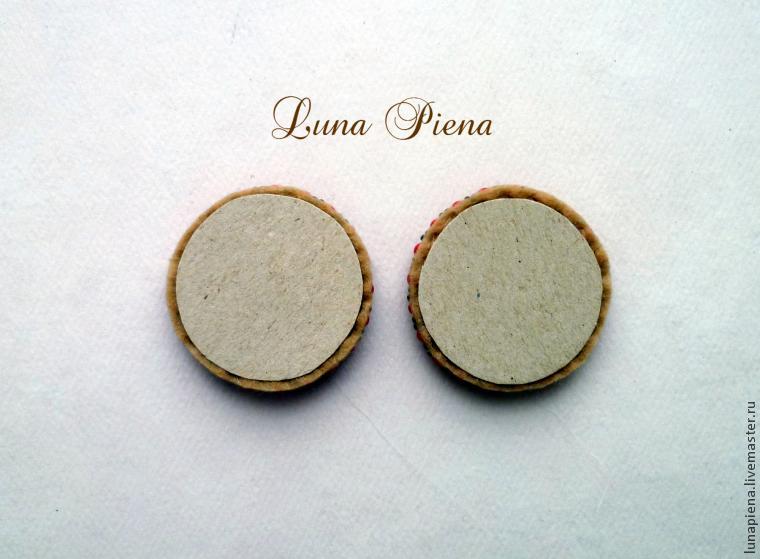 When the product is dry, carefully cut out and proceed to the processing of the edge beads №10 gold. Pass the needle through the beads strung edge products and display the needle from the front.
 Tightens and pass the needle under the beads from the bottom-up, so the entire edge sewn products.
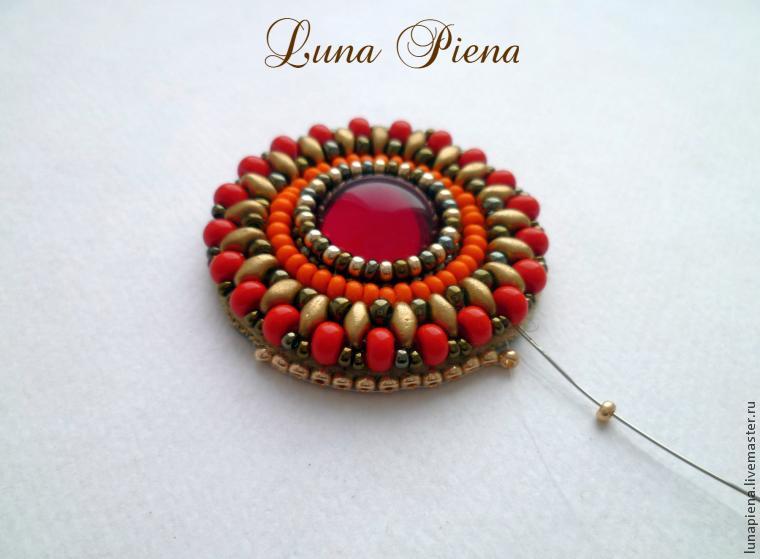
 It looks like the reverse side:
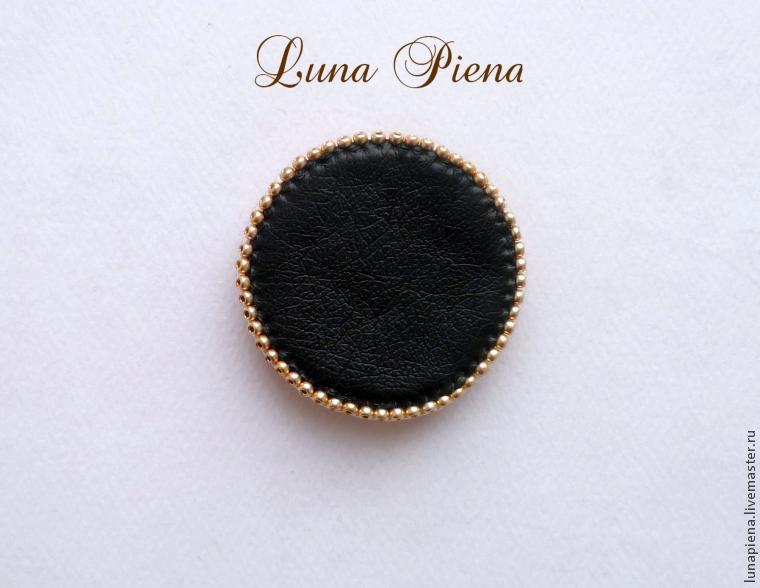 Fasten fastener. Draw the thread through the bead of the treated region. We collect two gold beads, fastener and again two beads. We form a loop and fasten.
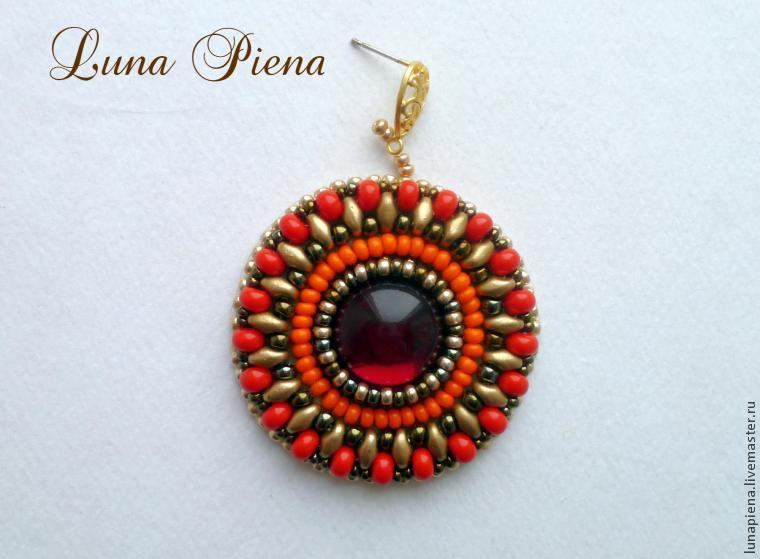
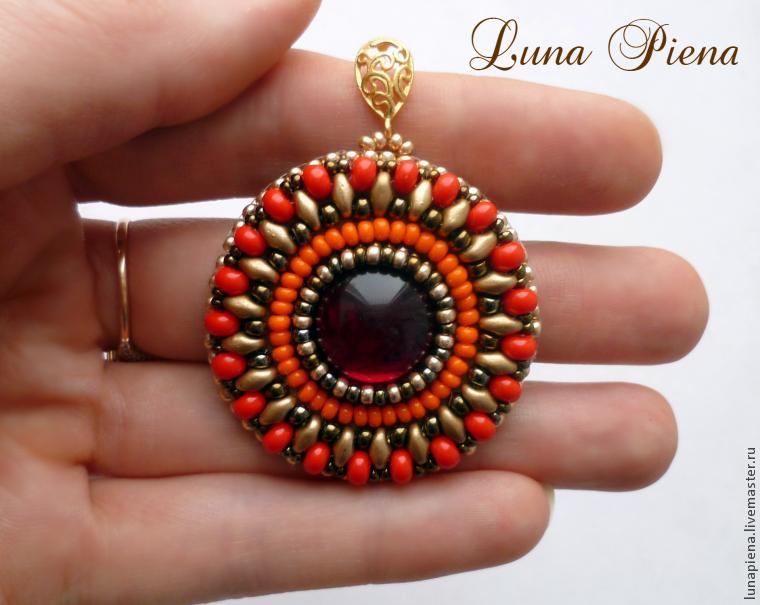 We proceed to the suspension. Earrings I embroidered monofilament Suspension is better to take the yarn (nylon, polyester). Draw the thread to the bottom of the product, visually outlining the location of the three suspensions. We collect beads and beads, as shown in the photo.
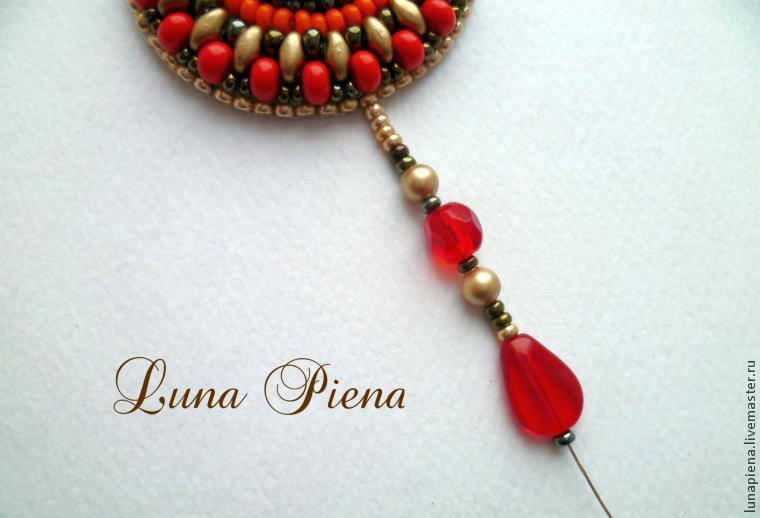 The second suspension will be slightly longer. Third legalize same way as the first.
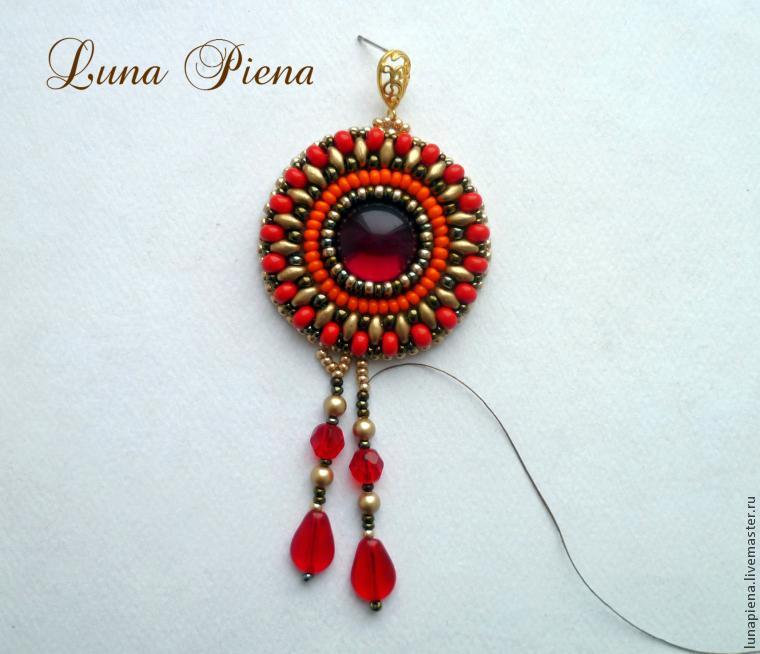 Finished with pendants, fasten thread. Our earrings are ready!