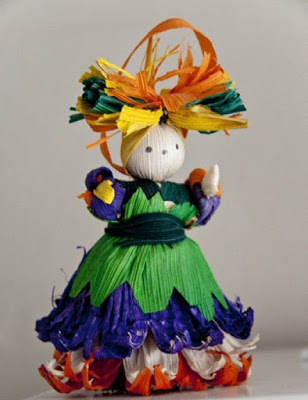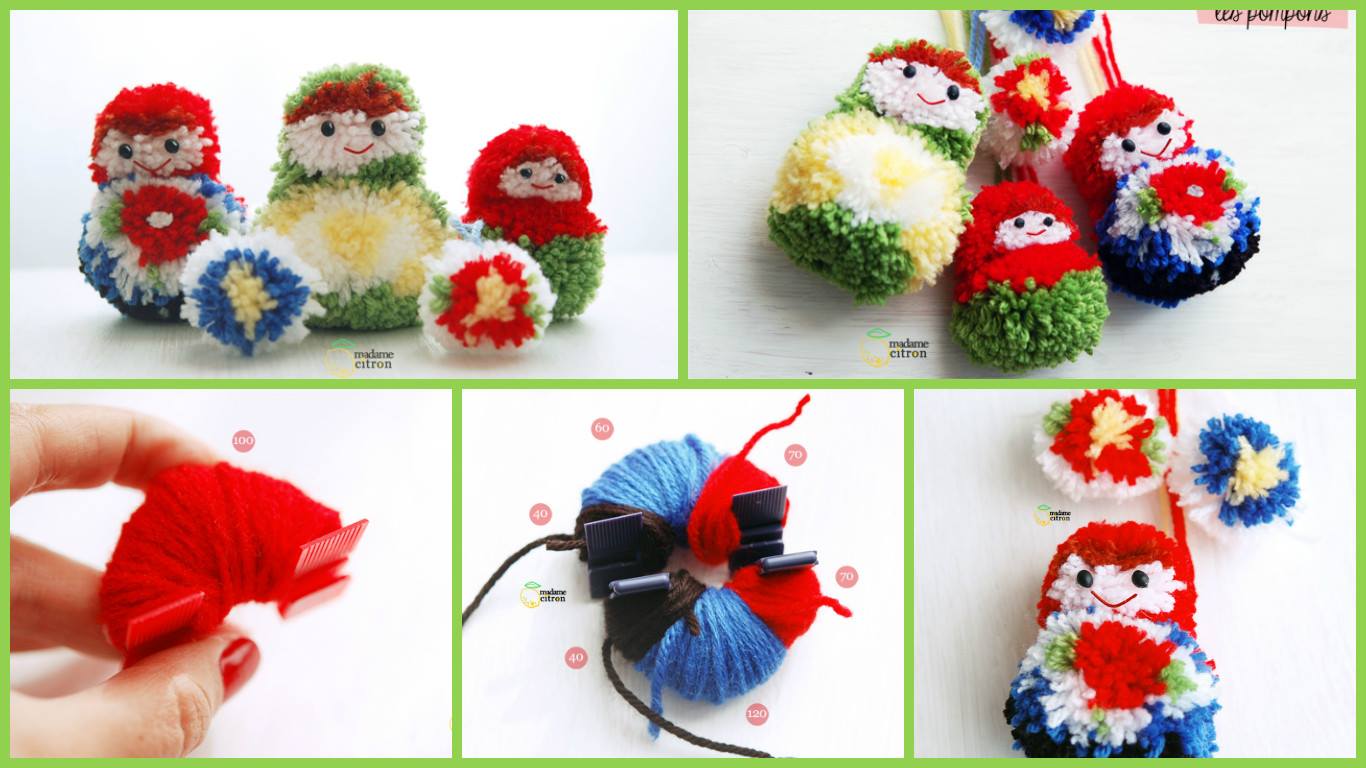
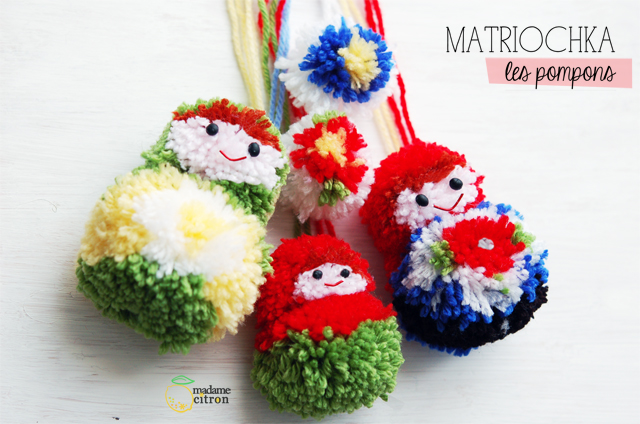
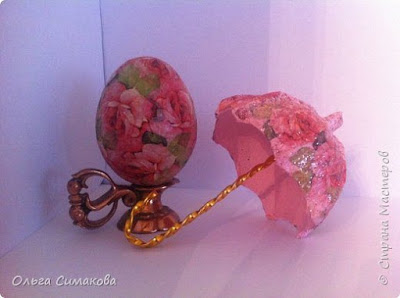
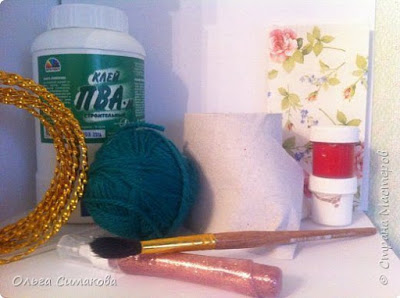
Today, we put Russia in the spotlight on the blog! And I propose to you to realize with me these pompous in the form of Russian dolls.
As you already know, I like to explore new avenues, new materials, new know-how.
My vogue this time is in the making of pompons in wool.
As you may have noticed, many American blogs propose to make pretty creations pumped: animals, flowers, letters, many themes are exploited there.
I looked closely at this technique to reproduce patterns using colored wool.
And to change everything you could see on Pinterest or elsewhere, here is my own tutorial in wool, matriochka way.
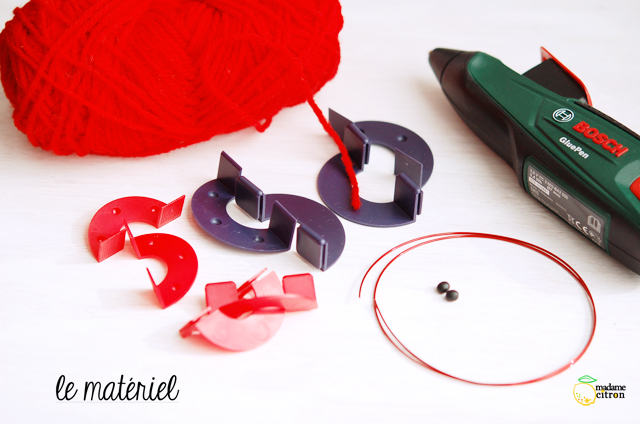
Required Material:
– pompom tools, which I found in haberdashery, but which you can also realize yourself. A circle of 6cm diameter and another of 4cm diameter
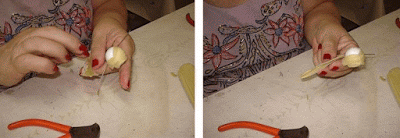
– red aluminum wire for the mouths of the dolls
– amigurumi eyes, available on the internet. I used here balls of black paste, but you can also take small round buttons instead.
– wool of different colors. I took 100% acrylic, the cheapest in haberdashery.
– to assemble all, a glue gun like here the Glue Pen of Bosch (which kindly was offered to me by the brand to test)
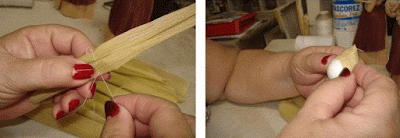
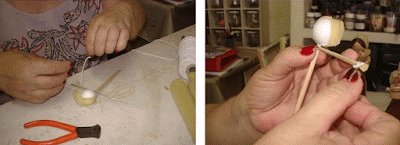
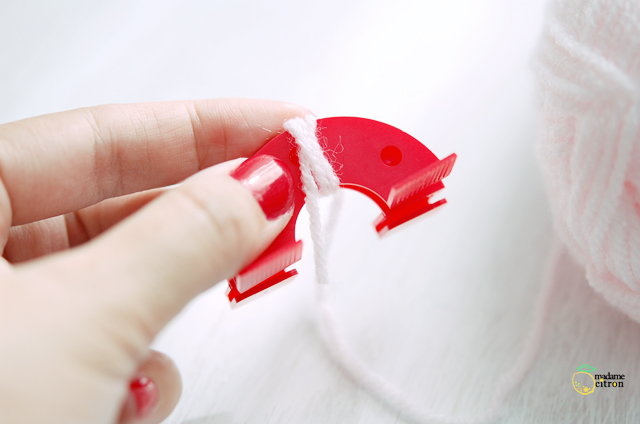
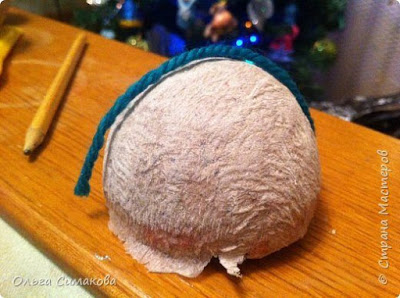
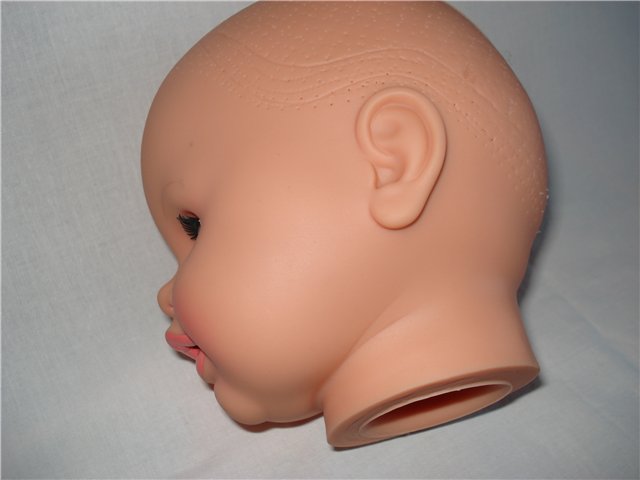
We will start with the head of the Russian doll:
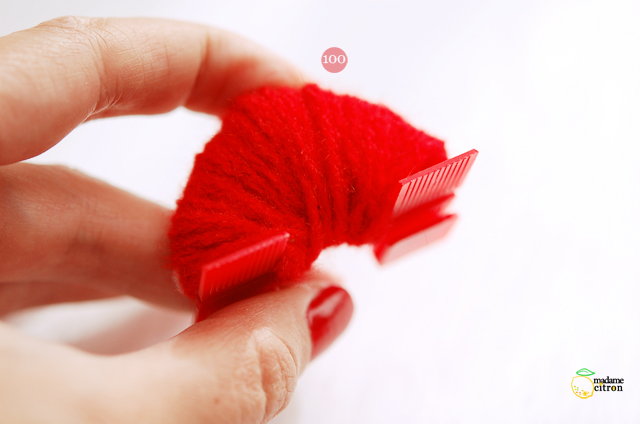
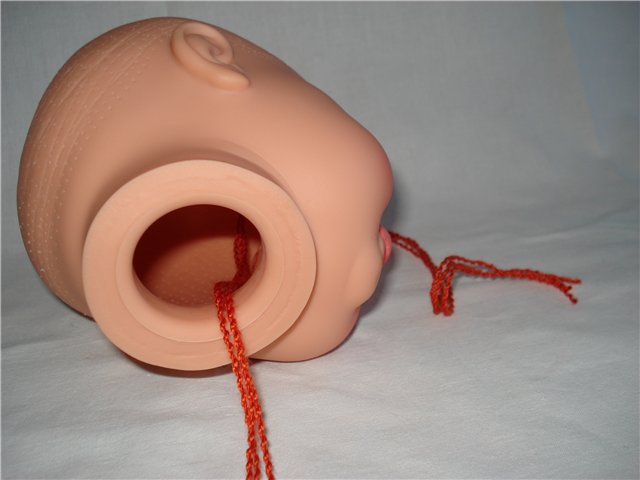
Begin by taking flesh-colored wool, and your tassel device 4cm diameter (the smallest).
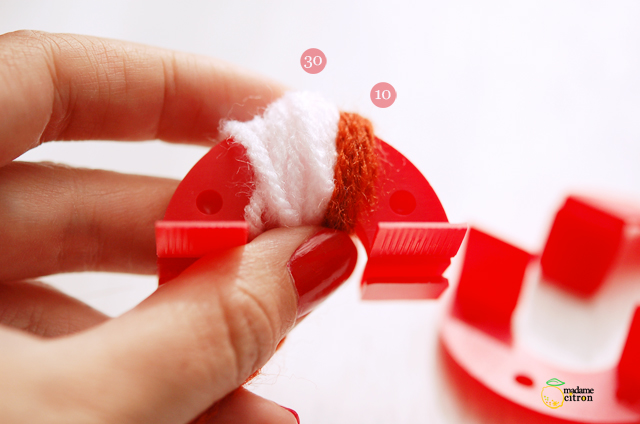
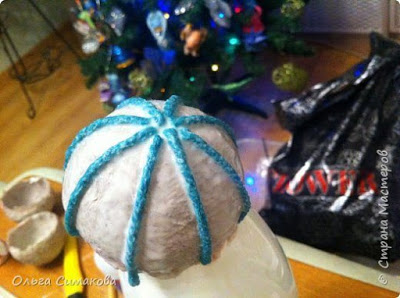
Counts the number of laps (the next picture details): 30 turns in the center color flesh for the face, then 10 turns next to the brown hair.
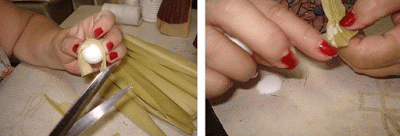
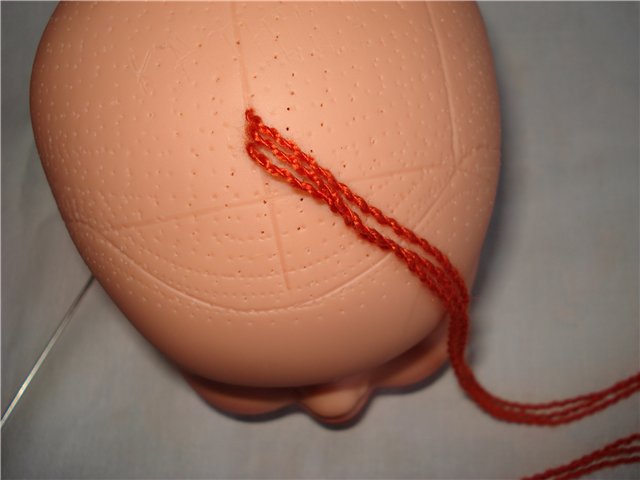
Continue with the matriochka headdress, wrapping the thread 100 times so as to completely cover the brown and brown wool.
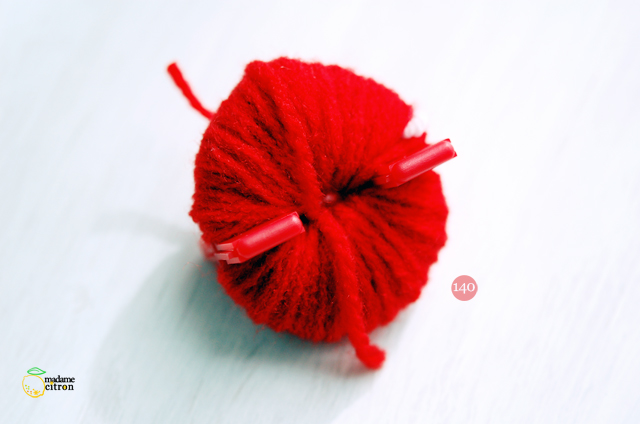
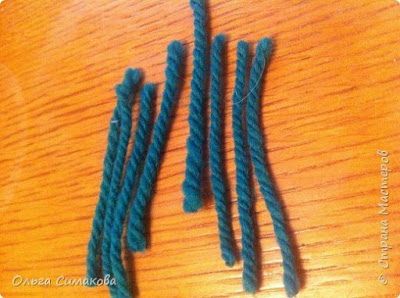
Then make the other half of the tassel by fully wrapping the red wool 140 times.
Assemble the two parts, assemble the clasps of the tassel, and cut all around with scissors.
At the end, insert a thread in the middle and not the tassel.
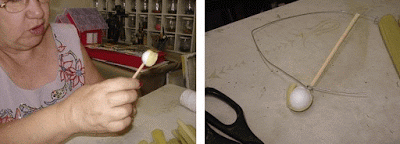
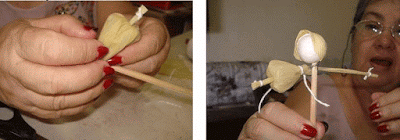
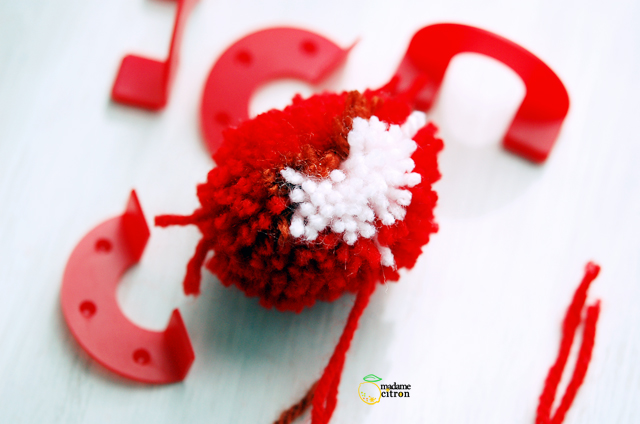
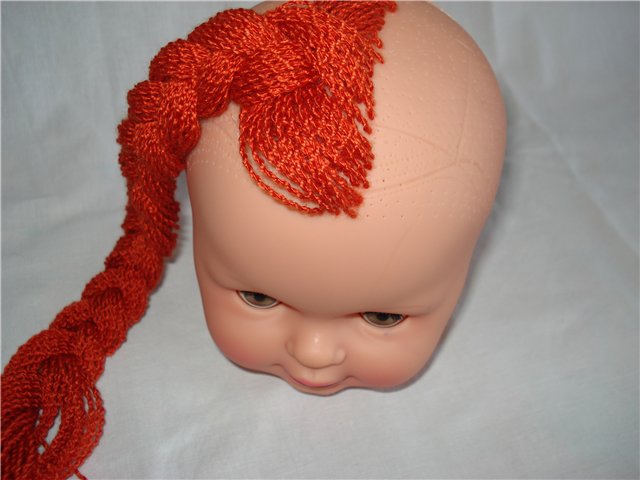
The head of the doll is almost ready.
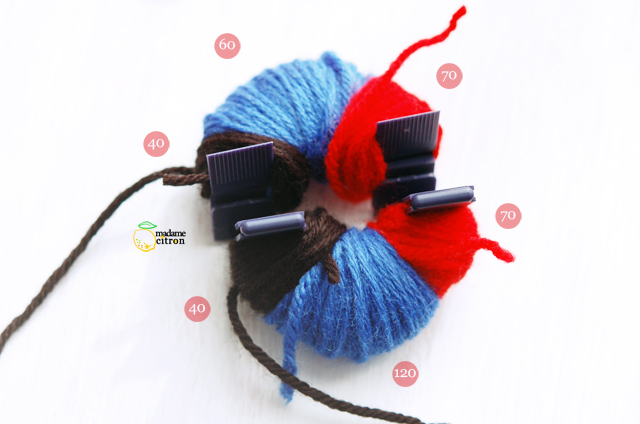
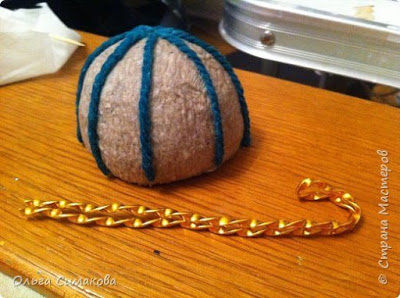
We continue with the body of the matriochka. To do this, it is now necessary to take the tapered template of the other dimension (6cm).
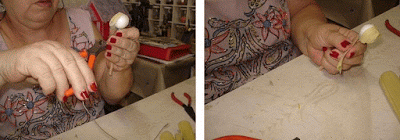
Begins by the stomach of the doll. Wraps 20 times a red wool in the middle. Then 10 times the green wire over.

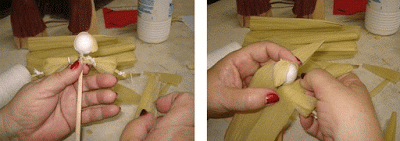
Cover the whole with 30 turns of white wool.
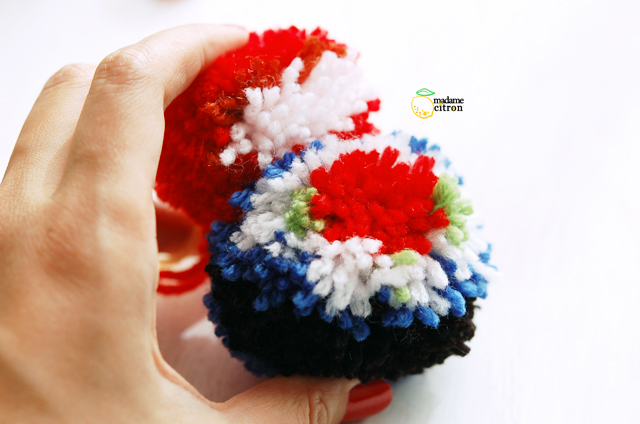
Then restart with 70 turns of red wool on the right, 60 of blue wool in the center and 40 of black wool on the left (as in the following picture)


For the other half sphere (which corresponds to the back of the doll), follow the instructions of the picture: 70 turns of red right, 120 of blue in the middle and 40 of black on the right side.
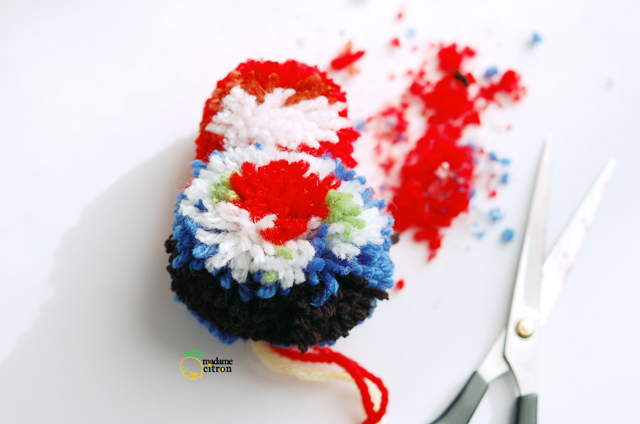
Assemble the top and bottom, cut your wool in the middle and tie a thread all around to hold the tassel.
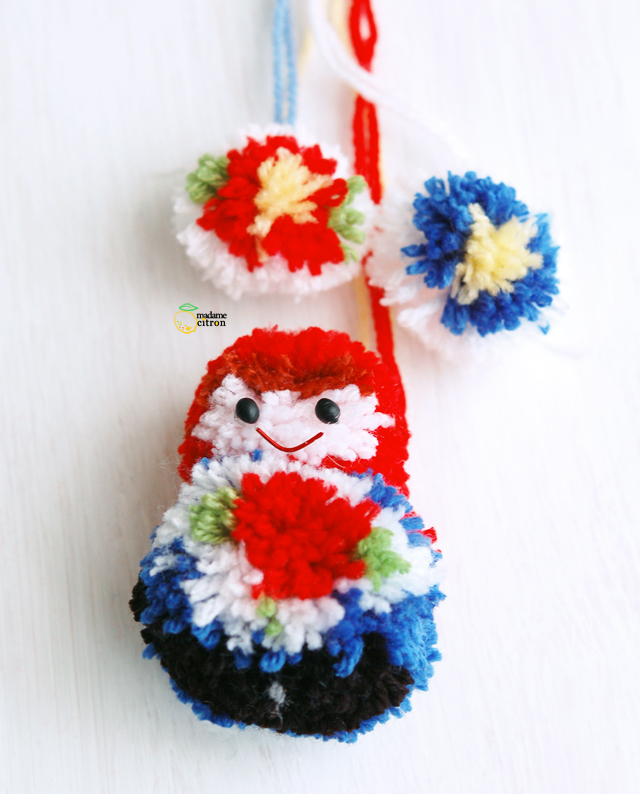
Come gather the head and the body.
Equalize with scissors.
Then glue your eyes and mouth with the Glue Pen.
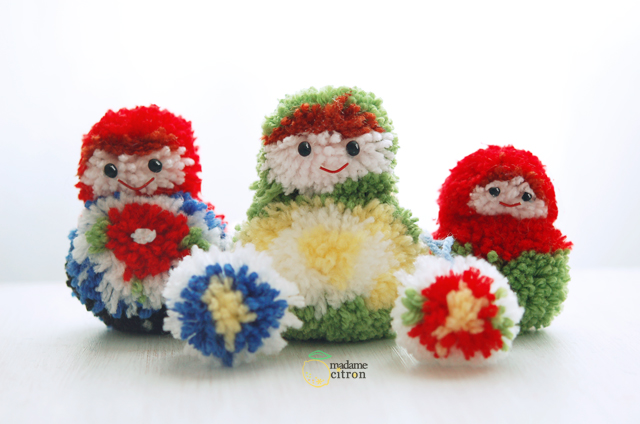
And here is your Russian doll ready to face the cold with her girlfriends!
Your pompoms can be used as pretty cuddly toys, but also decorate the ends of a scarf, a hair elastic, or be knotted as a key ring.’

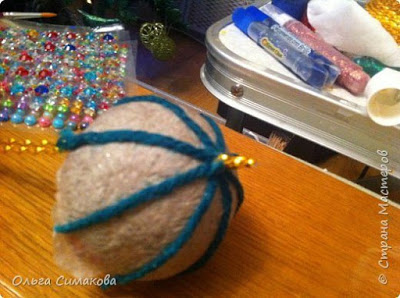
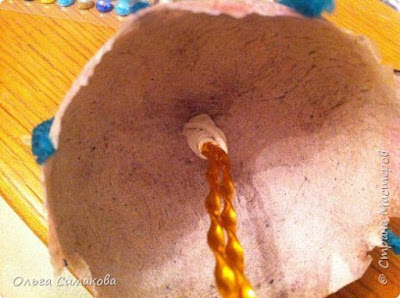
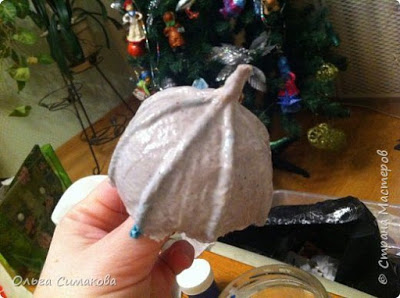
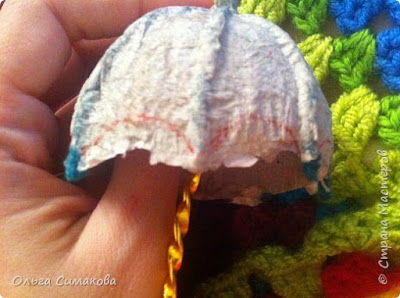


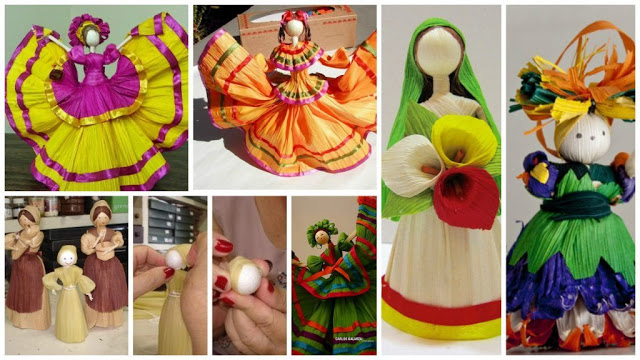
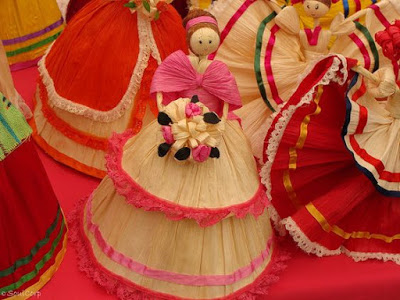
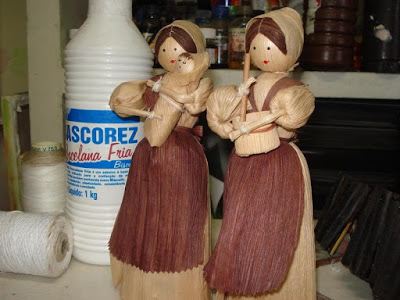
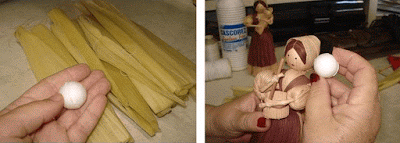
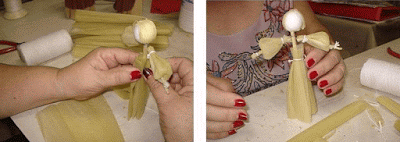
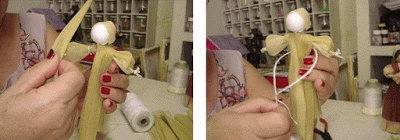
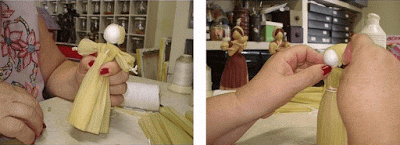
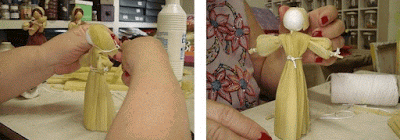
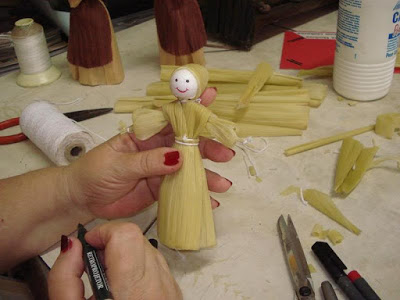
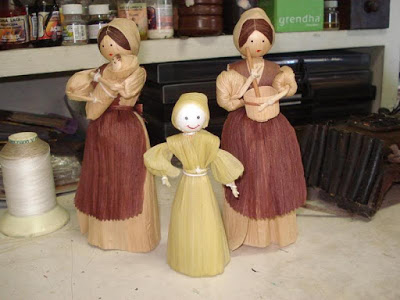
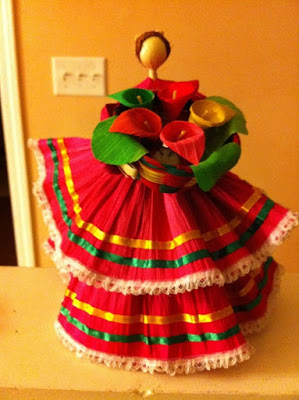
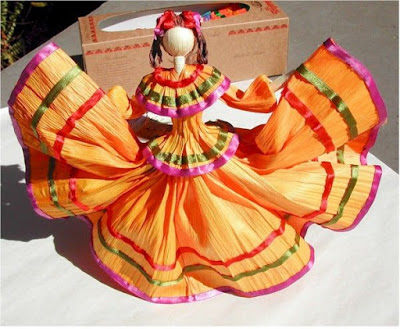
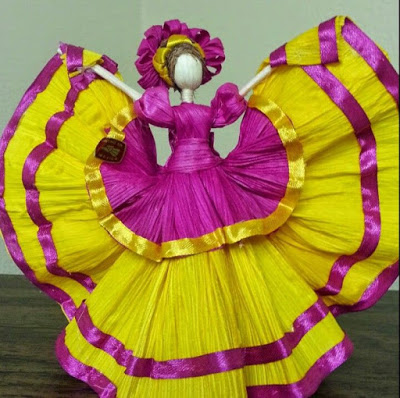
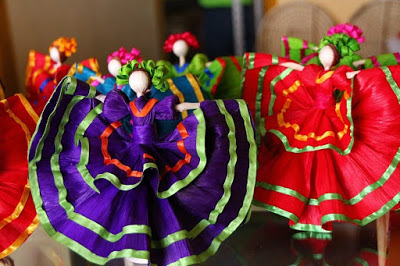 It is the Brazilian folk art. Released mess. First Ineys said that the leaves should be dry, but when we met, she used boiled leaves. Boil the leaves should be about 30 minutes. Inspiration were those two dolls that make Ineys in distant youth. Draw eyes and mouth. Wait for the complete drying of dolls and paint stain or potassium permanganate to her outfit. You can make the apron, you can handle in her something to give. Because the hand of the wire them hands, you can make some original position. This is a family of lines we have. I will say that we dry leaves and after drying, and many parts were bare steel hoses, flashlights are not as fancy, and at the hem bvysohlo so that the doll is no longer standing. I cropped hem, but the wound was not enough leaves.