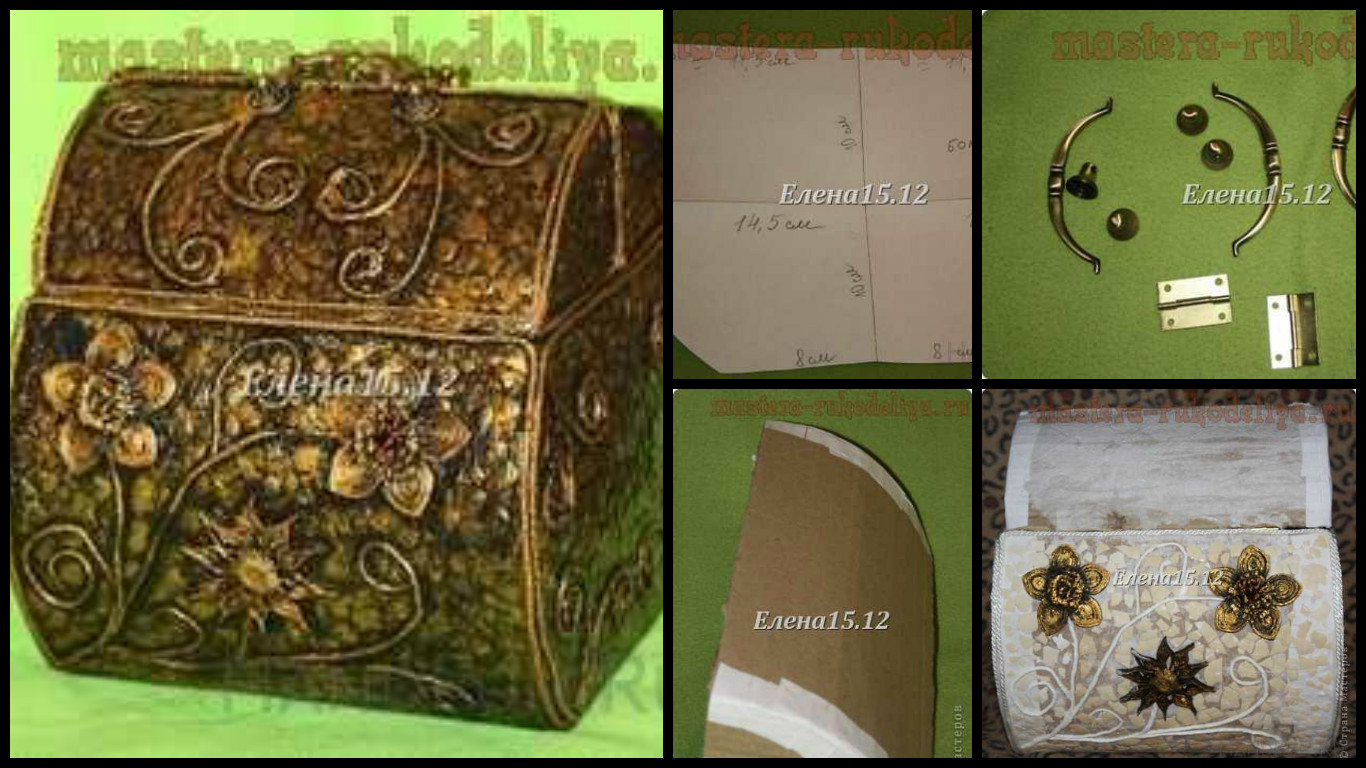
Bag-bag is performed using several techniques: cardboard, paper art, and quilling.
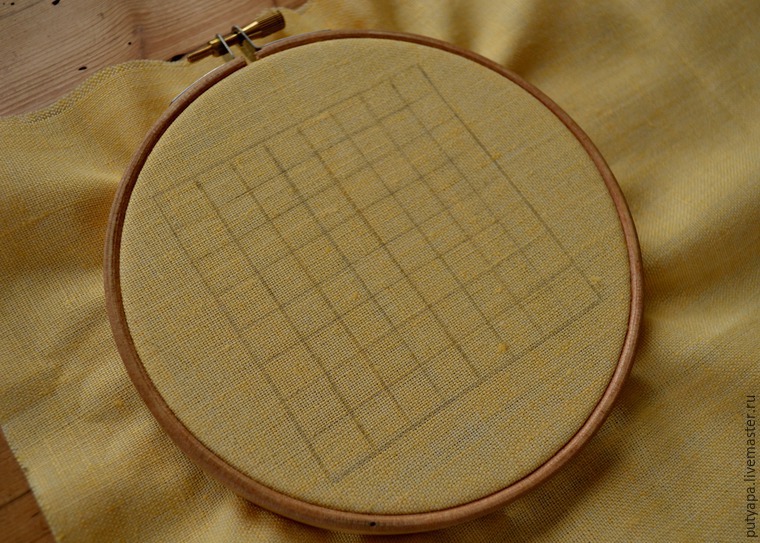
And now started with drawing.
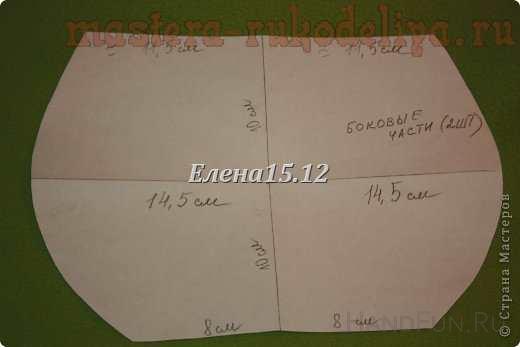 We connect with the front of the part consists of a rectangle 62cm 26cm. rectangle into 3 parts as follows-Face (23cm 26cm) – (16cm 26cm) -Face (23cm 26cm) leave facial parts gives bend to connect with the convex side.
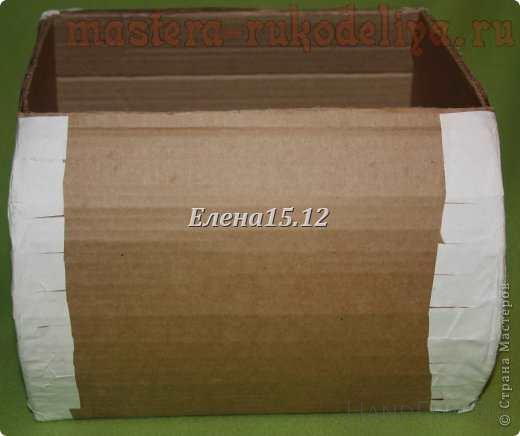 View from the clearly visible bulge.
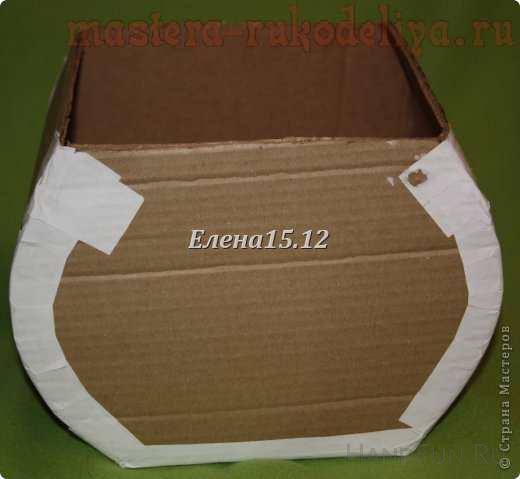 Now do the cover.
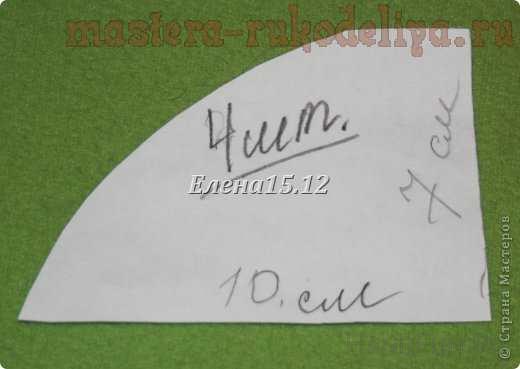 The central part of the lid.
 Connecting parts.
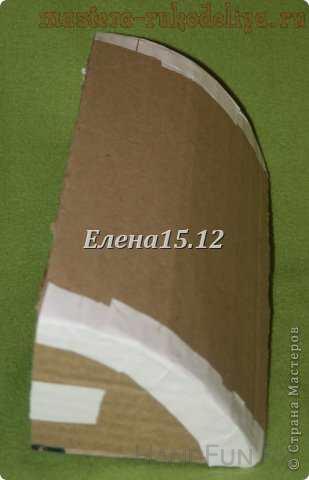 Consists of two parts.
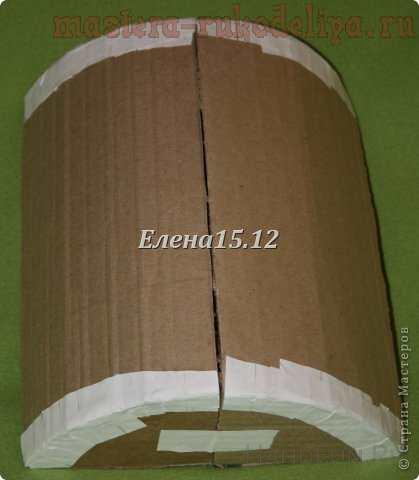 Inside.
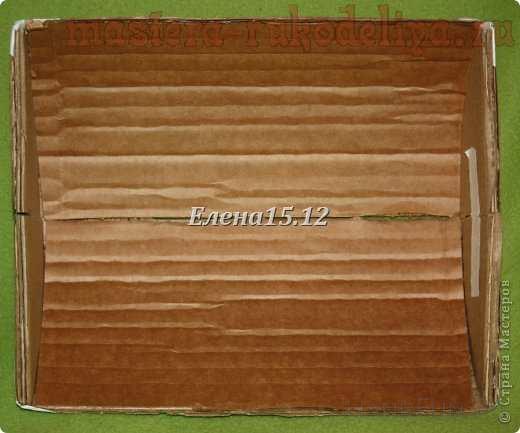 We do estimates.
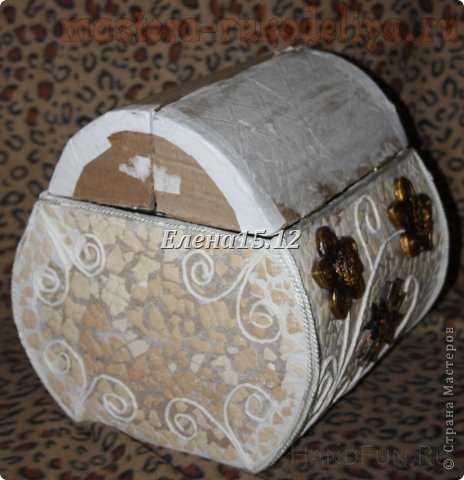
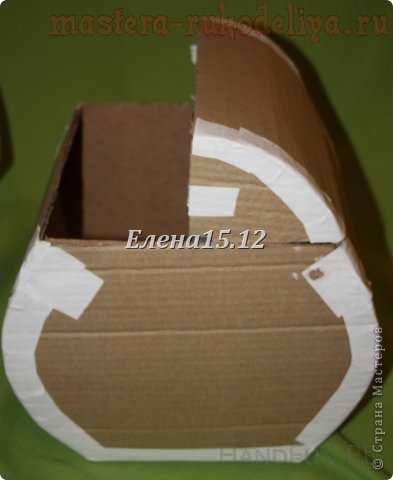 Well, ready to frame.
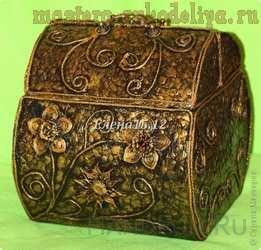
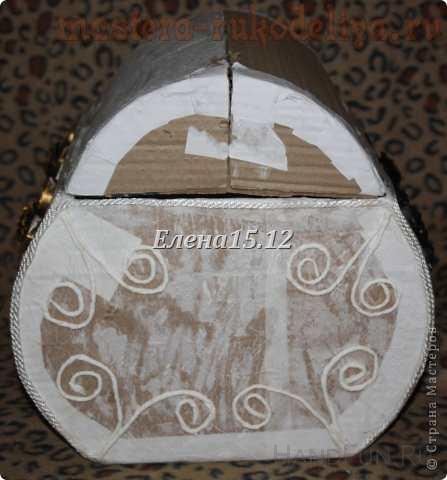
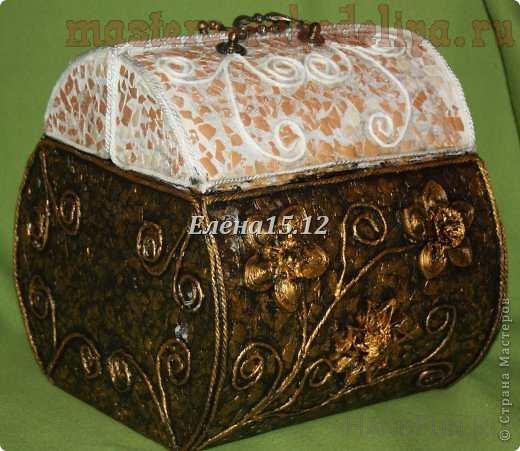
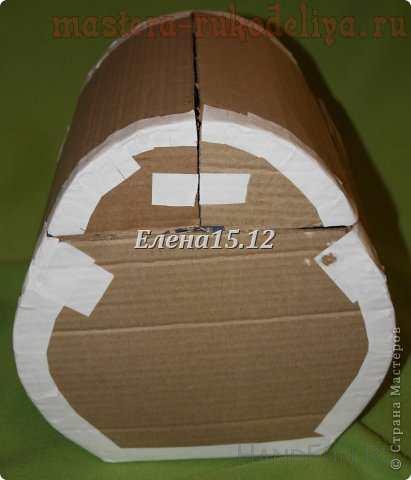 Front view.
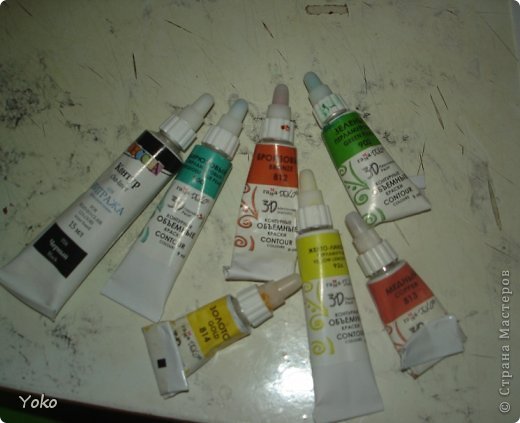
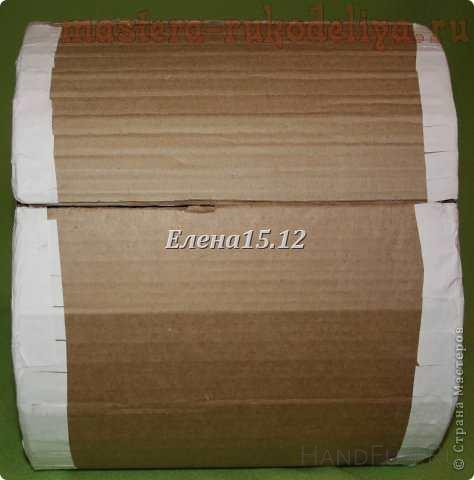 Houses a lot of flowers left by past work and I decided to find a use for them in the work.
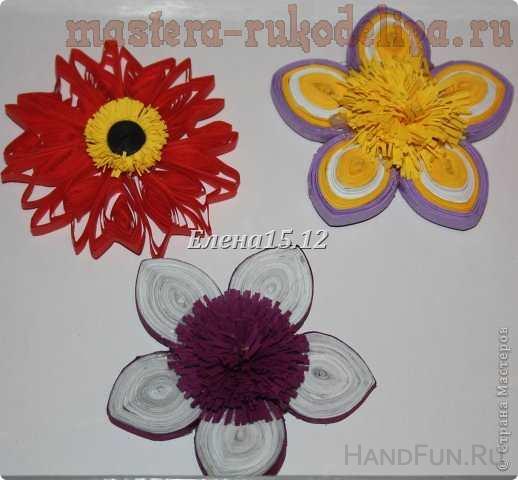 Black paint them with acrylic paint.
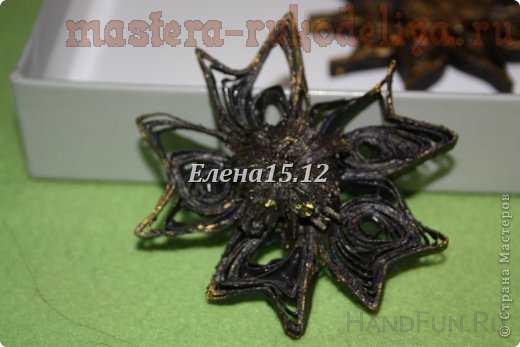 If gold acrylic covers, we obtain here are the flowers.
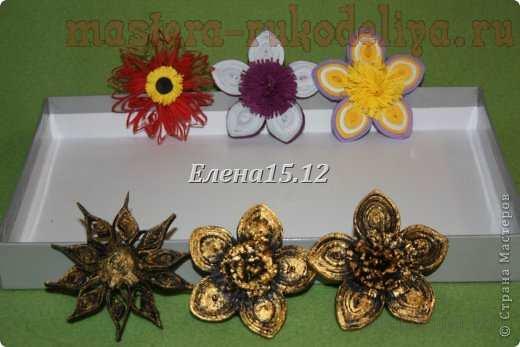 Accessories for 2 handles and 4 loops.
 Twine for a loop.
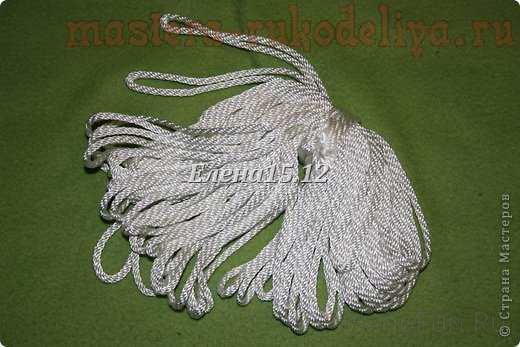 We put all the work cloth and glue along the contour. glue previously harvested flowers.
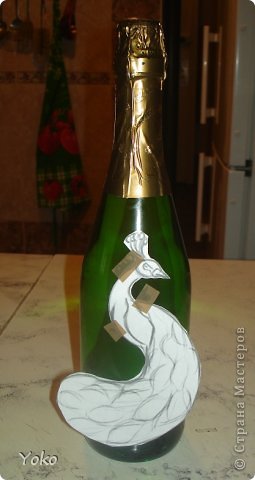
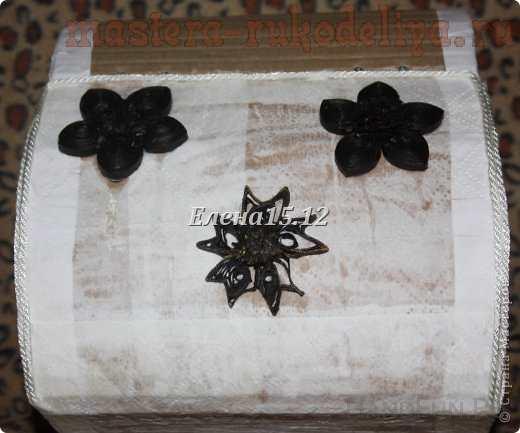 With the tissue of flagella spread pattern.
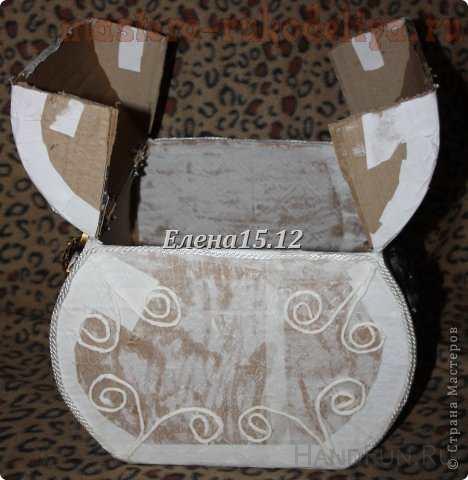 Inside, too, paste cloth.
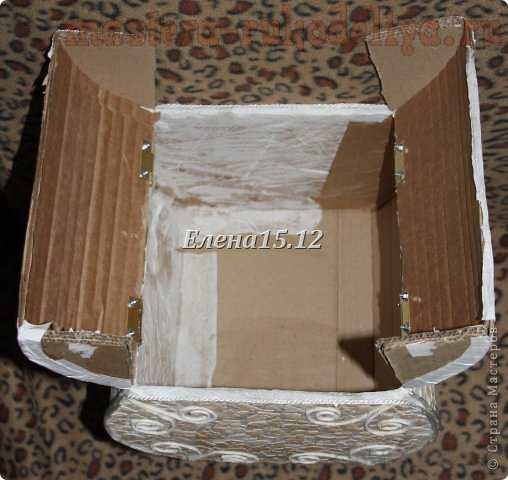
 Then all the empty spaces filled eggshells.
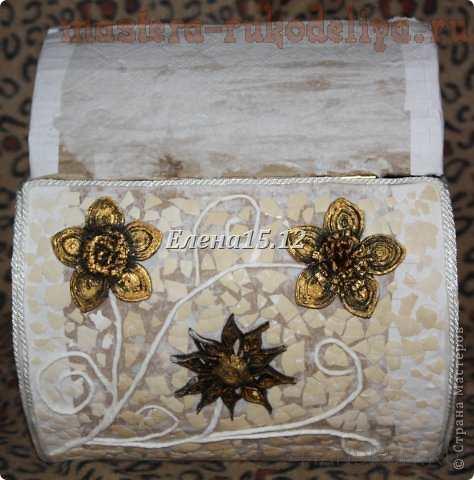
 On the cover put a pen.
 It looks like the cover.
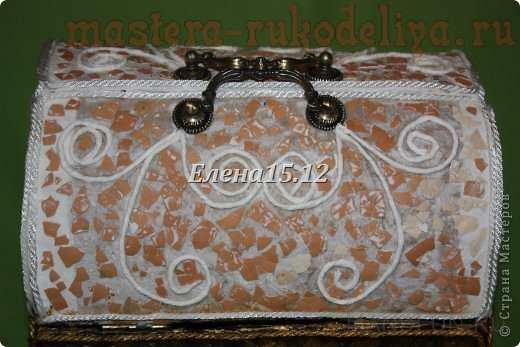 All work acrylic paint black paint and light touches of acrylic cover with gold.
 Inside, he painted and covered with gold.
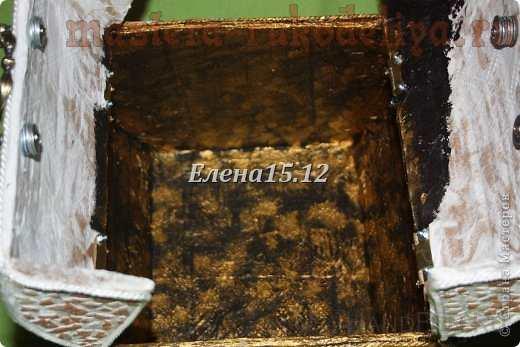 The entire circuit is framed with string.
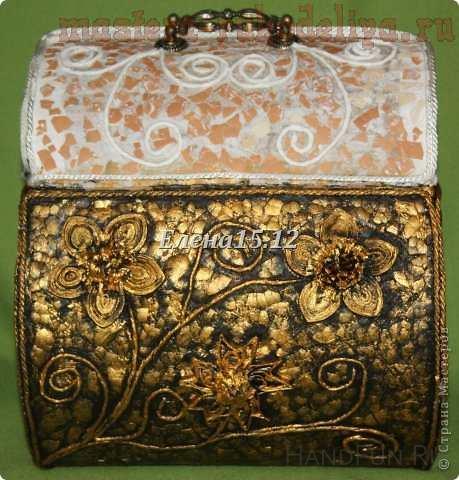
 And at the end of the product covered all acrylic lacquer.
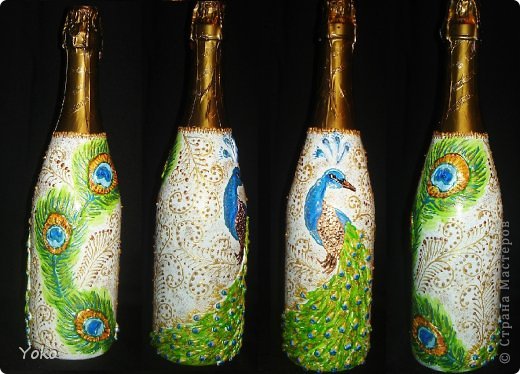
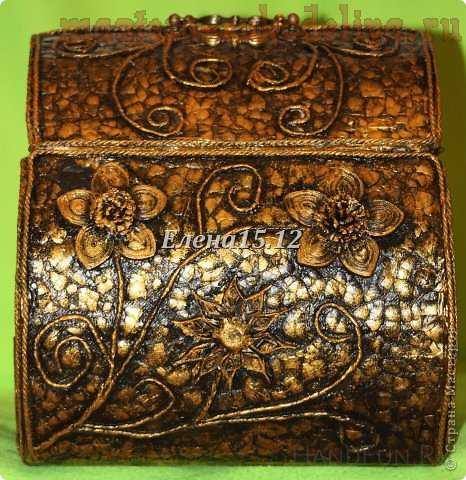 And once again the result in front of you.
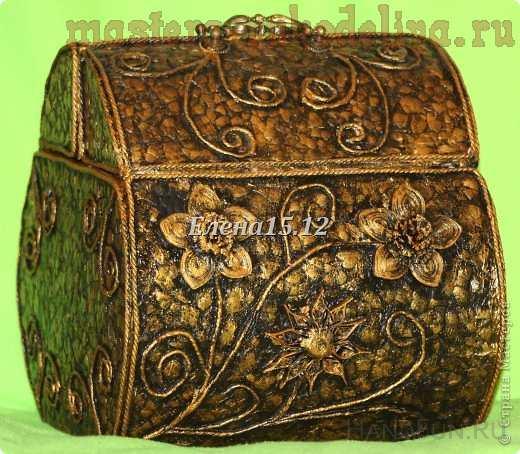 So it opens.
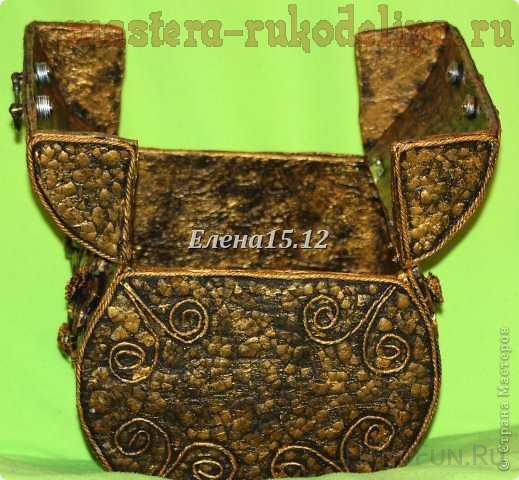 View from above.
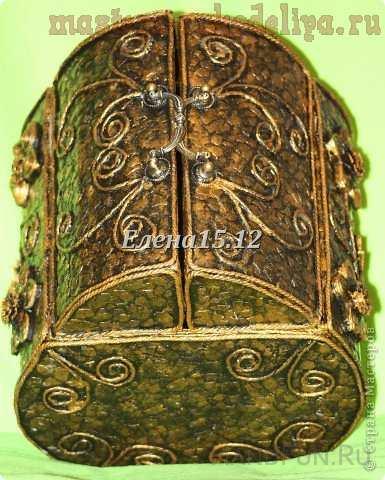 Side view.
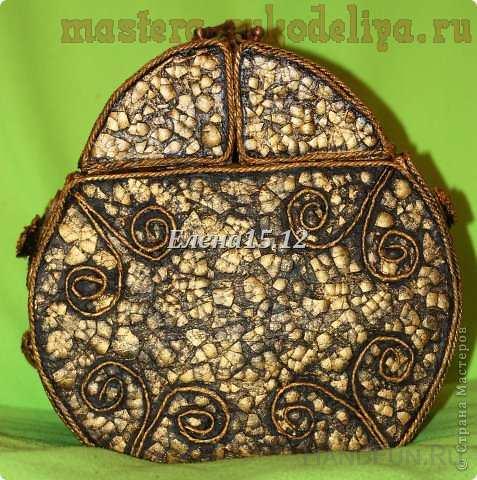 All many thanks for your attention. Hope is not lost in vain time, visiting my guest. I wish you all success and creative discoveries. See you soon
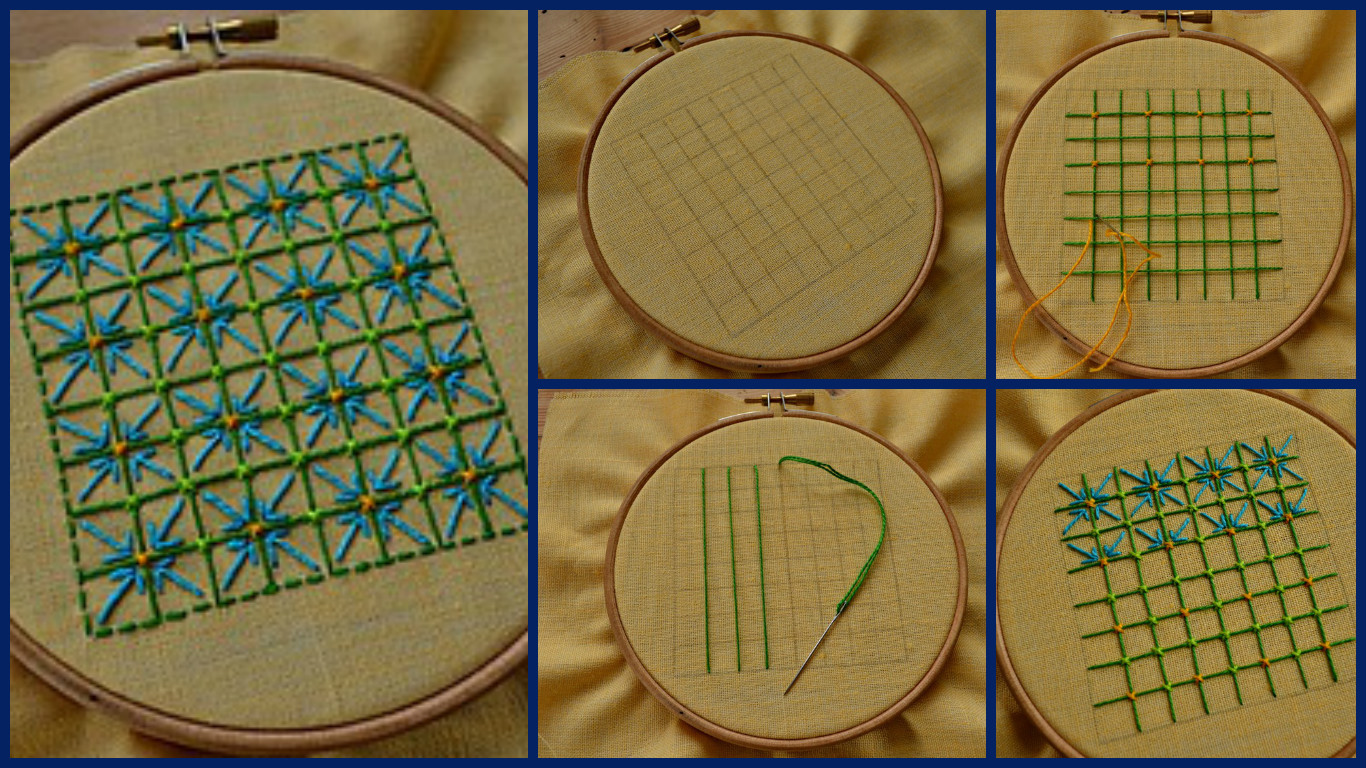
 Further along the planned lines stretch yarn from left to right, then top to bottom (or vice versa – does not matter). On the contour of a square thread does not stretch at the end of it seem. You get such a grid:
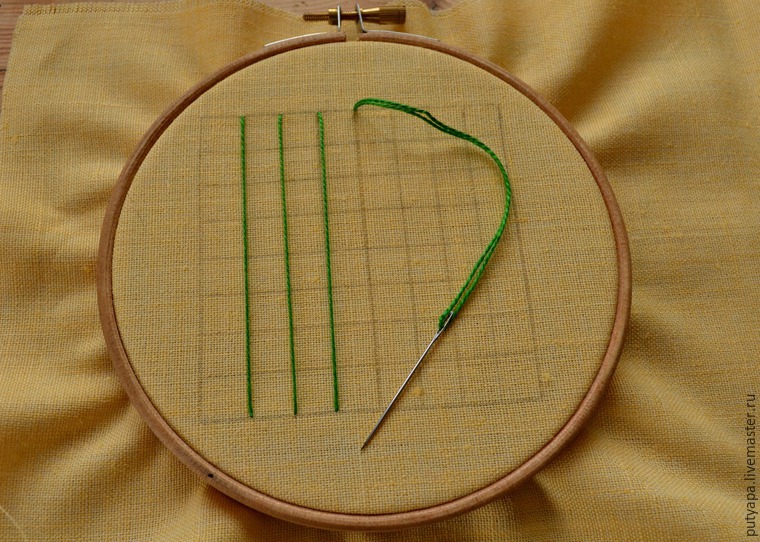
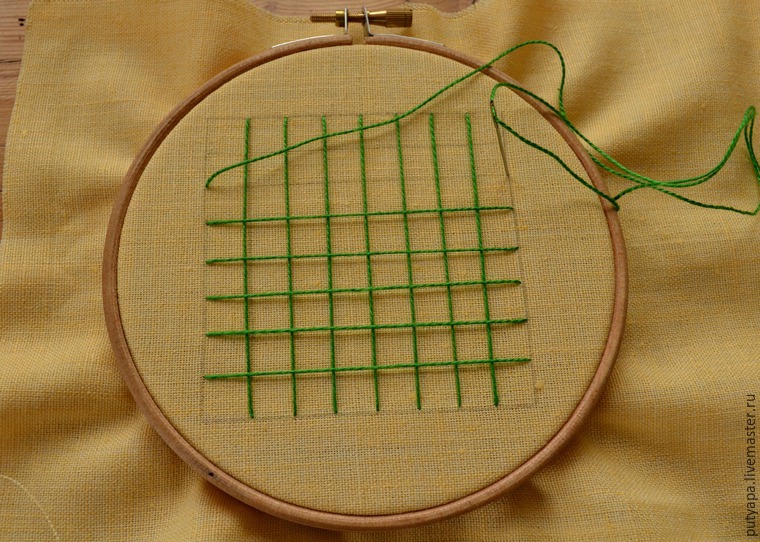

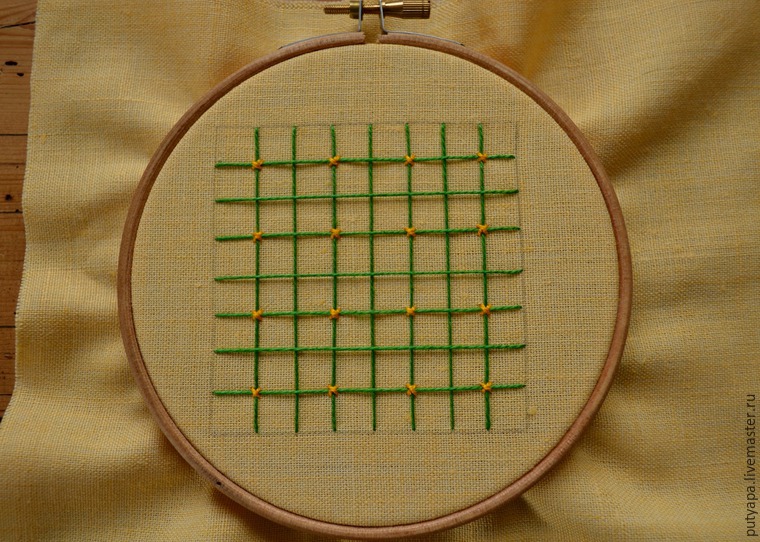 Then the rest of the crossing thread attach a cross thread of light green color. You get such a grid:
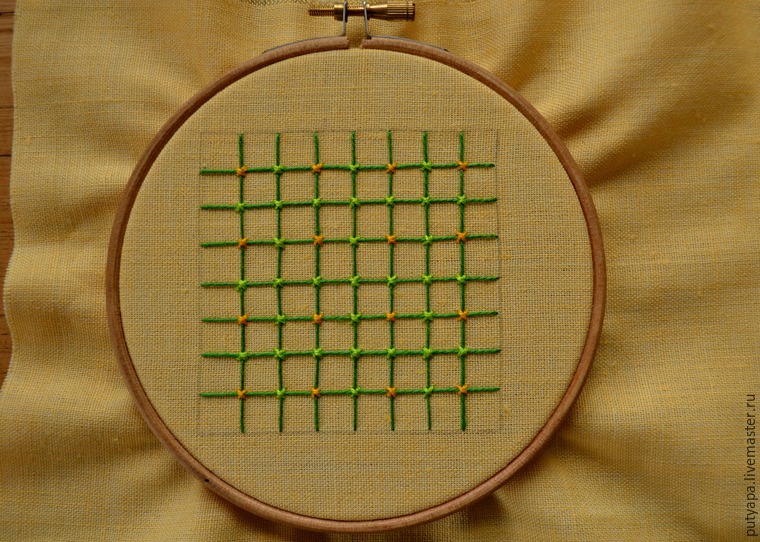 Now, in every cell of the resulting grid, we embroider cuts “legs”. This pattern is made of 3 stitches: 2 small stitches (approximately ) along the 2-sides of the square; and one stitch more – diagonally from one corner to another square. To “paws” to look nice and smooth, we make sure that all 3 stitches joined at one point.
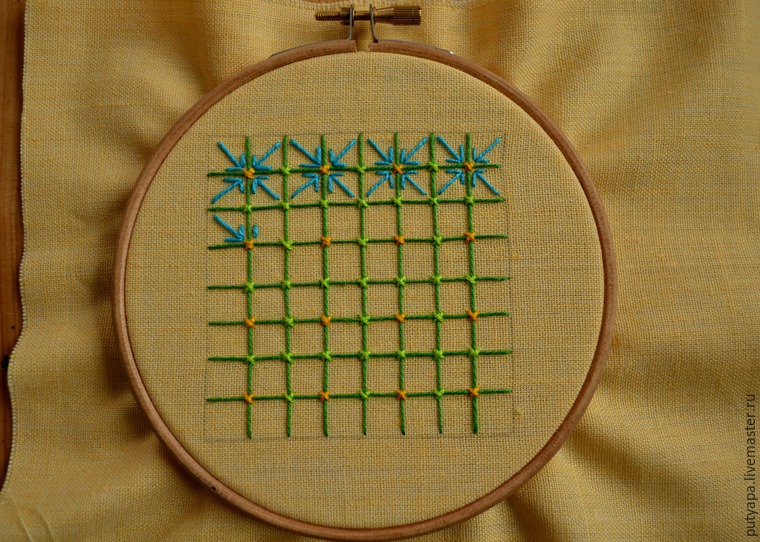
 Fill cells “tabs” from left to right, top row first flowers future, then lower.
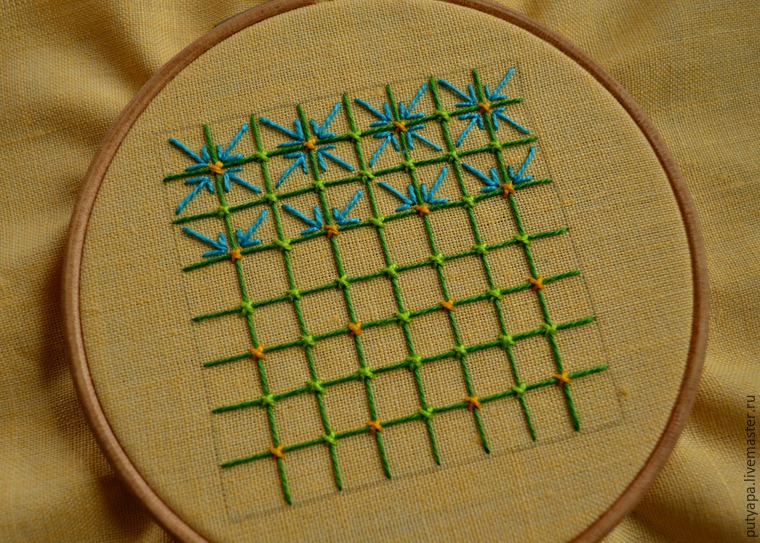
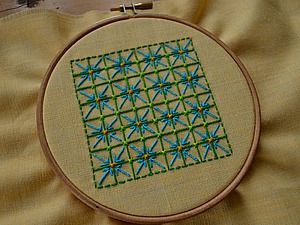
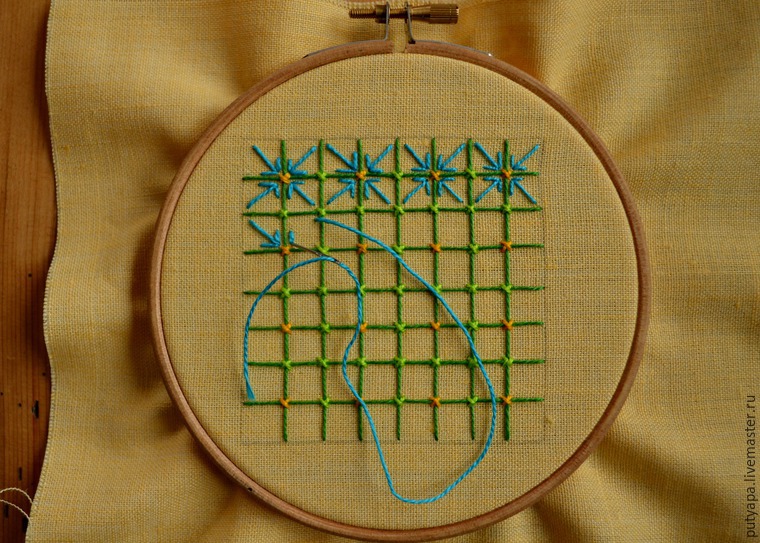
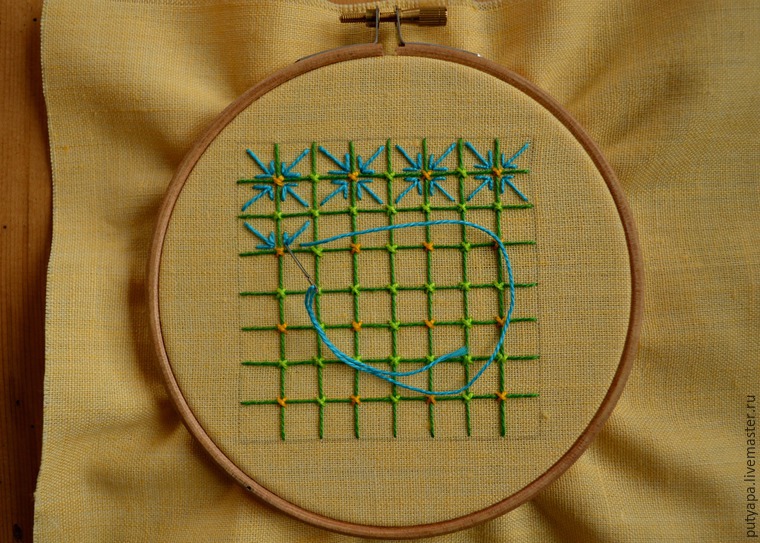
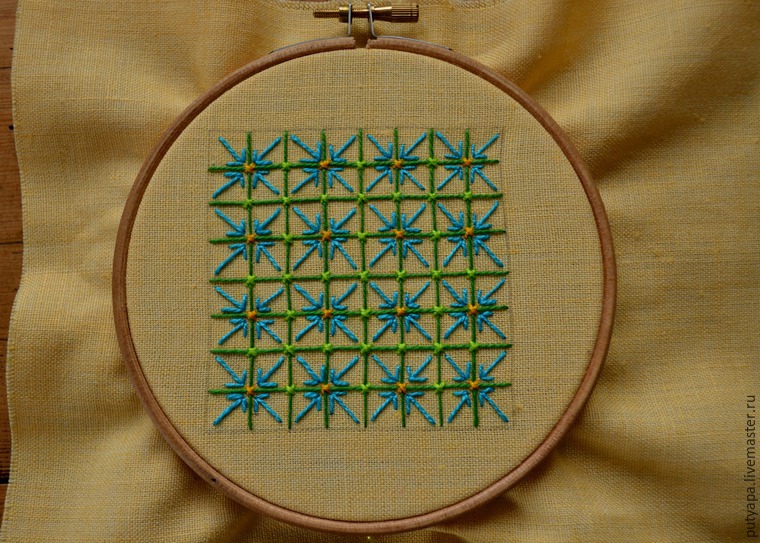 At the end of our work we are sheathed circuit stalk seam or seam “forward needle”. So, our job is ready:
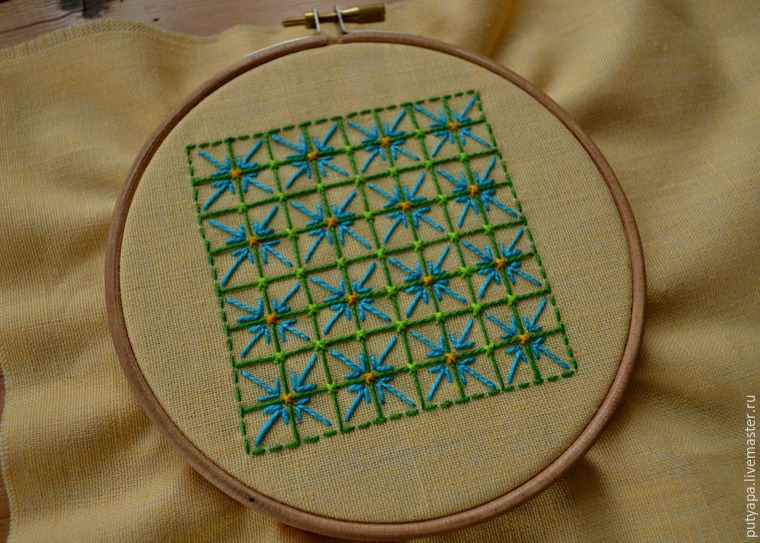 Here is an example of the finished product using this pattern – delicate daisies.
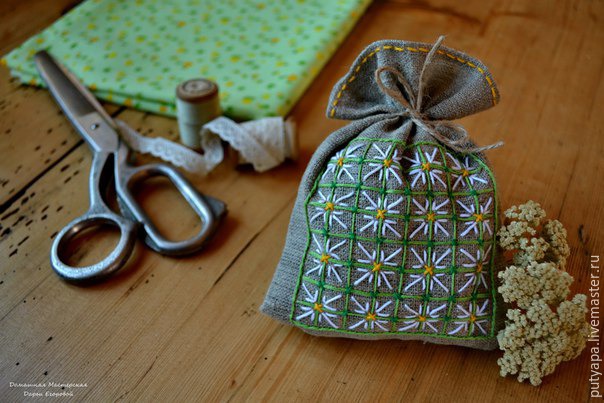 I hope my master class was someone interesting and useful. To be continued, Until we meet again!
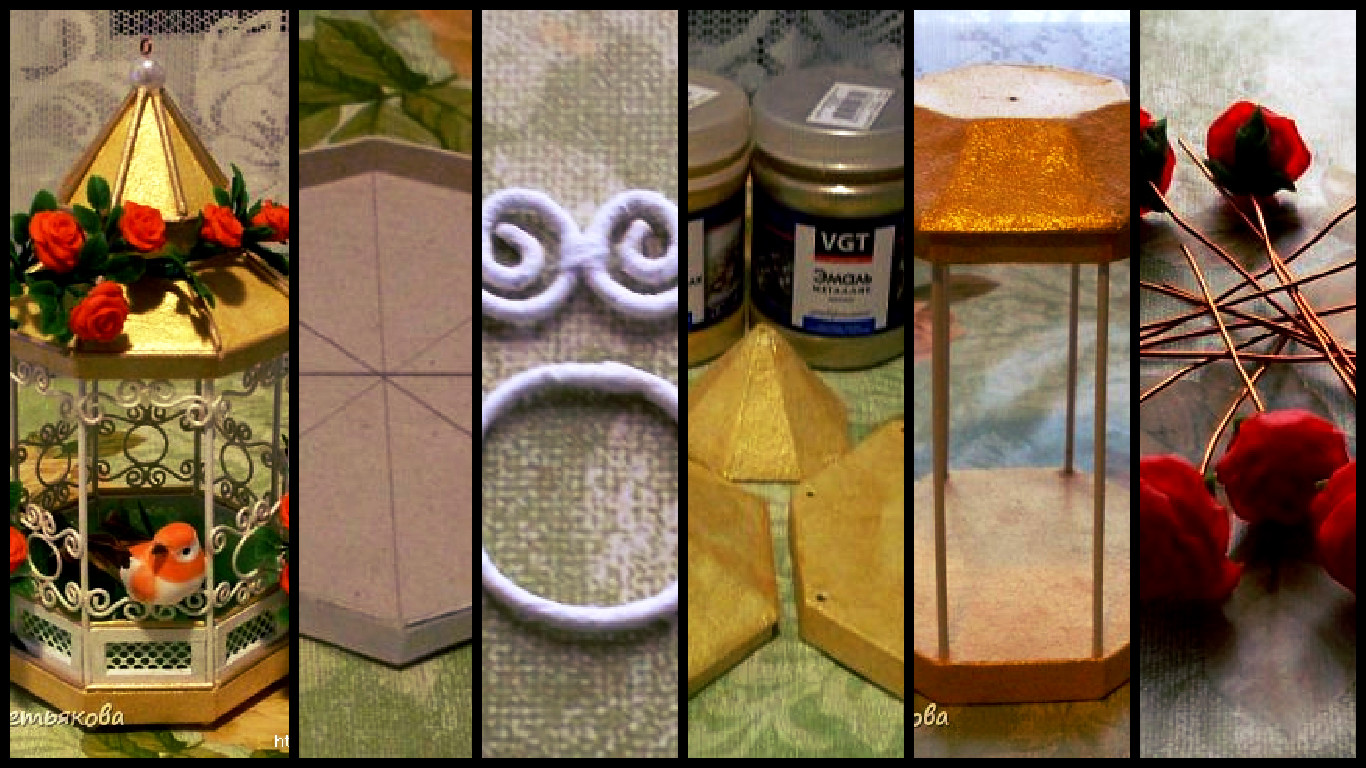
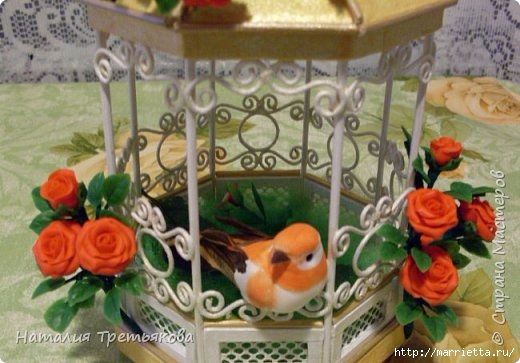
 We need: a simple cardboard (again I took a box of cakes and sweets), a thick boxboard to impart structural strength, bamboo sticks (skewers), wire, crepe paper, putty, paint, glue, Titan, PVA glue, homemade cold porcelain for molding of flowers, and of a decorative bird cage that was not empty.
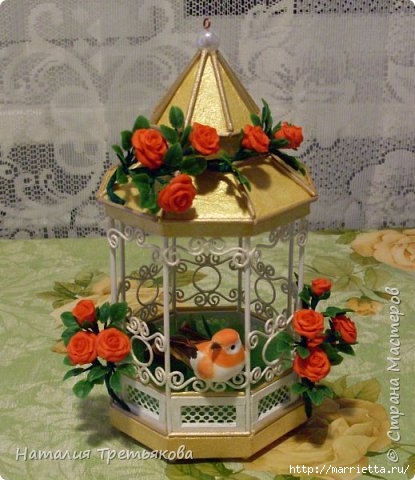
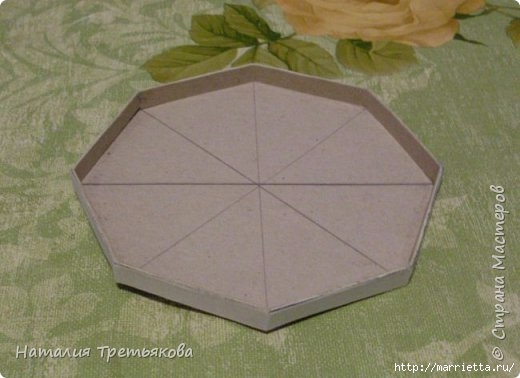 It has been plastered and primed blank roof.
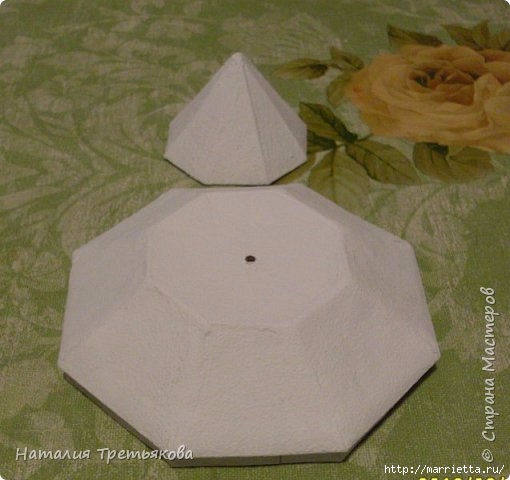 Here are a few not in compliance with the order of work. The roof had already been primed and glued blank with bumpers to the bottom of a large roof.
 It has been finished parts foundation and roof, painted in gold
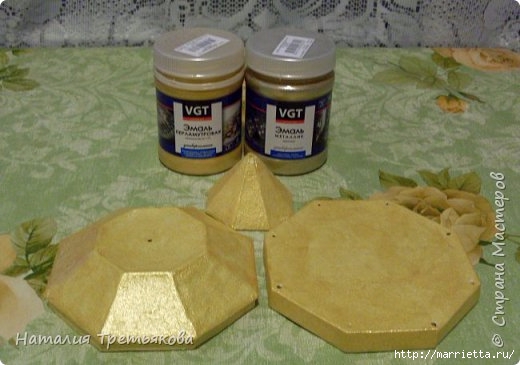 Paint skewers with white paint and glue to the base and the bottom of the roof.
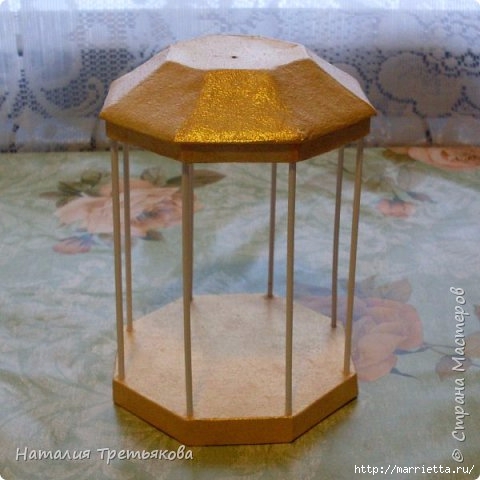 Then we do here are cardboard frames with mesh material on the size of the opening between the skewers.
 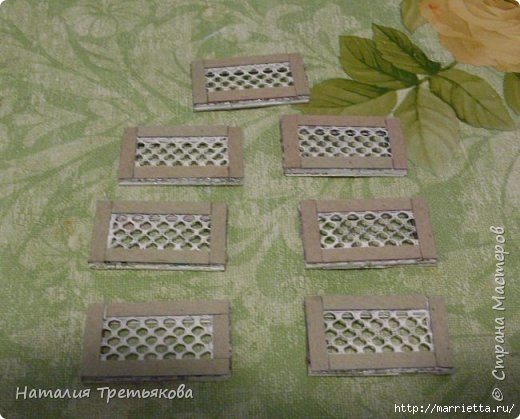 Frames with mesh painted first with white paint, and then gold Interferential paint to give a gold metallic hue (as painted all white cells details) But it can not do.
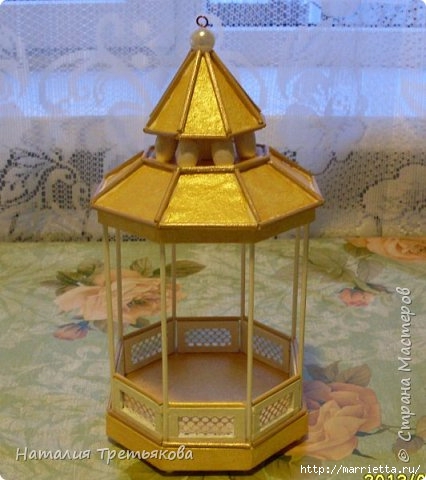 It stretches the wire through all parts of the roof and secures it from both sides of beads. The previous photo shows the upper bead with a wire hook and the next – lower. As well as using beads made little feet in the cells.
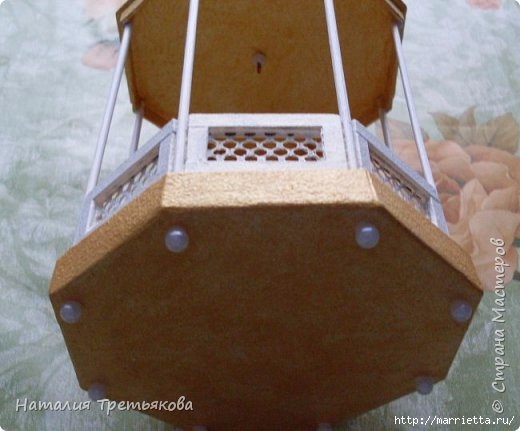 Decorate space within the cell, as later we will be difficult to do anything inside.
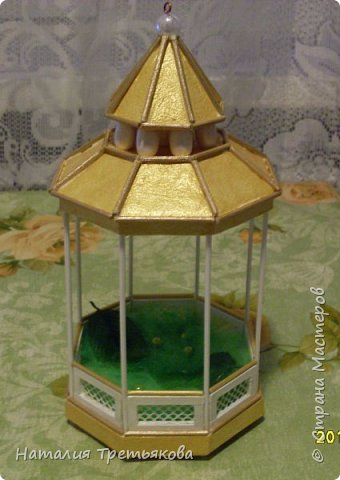 Wire wrapped white crepe paper and here are Gnehm Circuits, of which our grill will be.
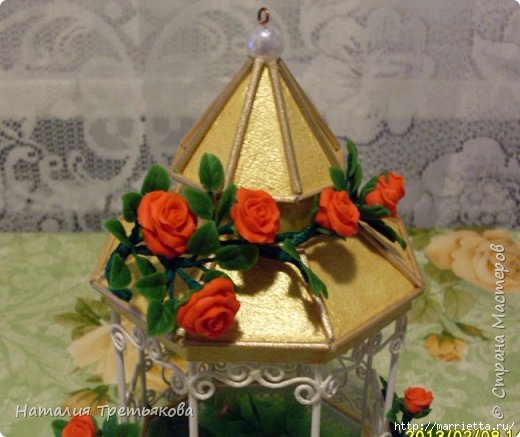
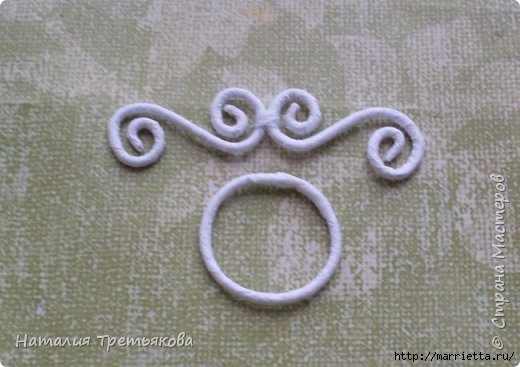 Then it has a very long and laborious work, and we have just such a decorative on the cage. All parts are glued to the grating Moment PVA carpenter (he is very durable). I decided that the decor inside the cell is not enough and even taped plastic flowers before creating . Immediately as such a delicate twisted was ready, I realized how not written here these huge wooden beads on the roof and I immediately has stuck their strip of cardboard. Sometimes it happens that you have to think out and redo some things on the fly.
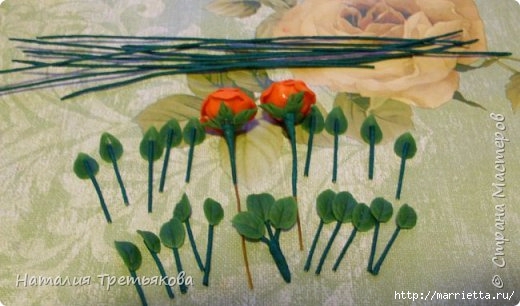
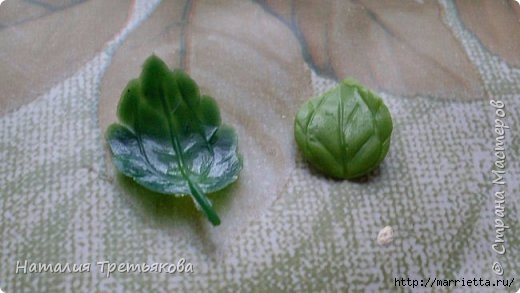
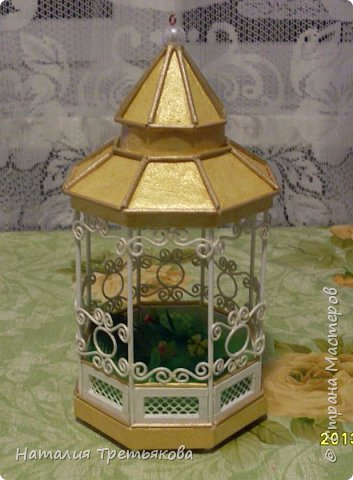 roses and leaves. To create roses do not use any Molde and boats, and for leaves using plastic leaves from the branches purchased. Very much I liked that the leaves can be quickly and easily to stick in this way.
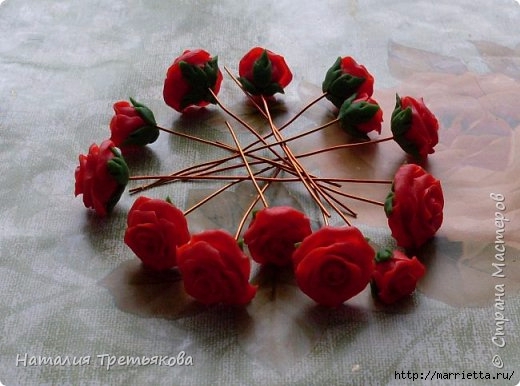
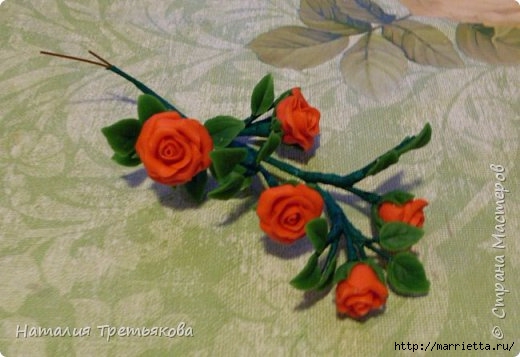
 I collect it all in the form of roses twine.