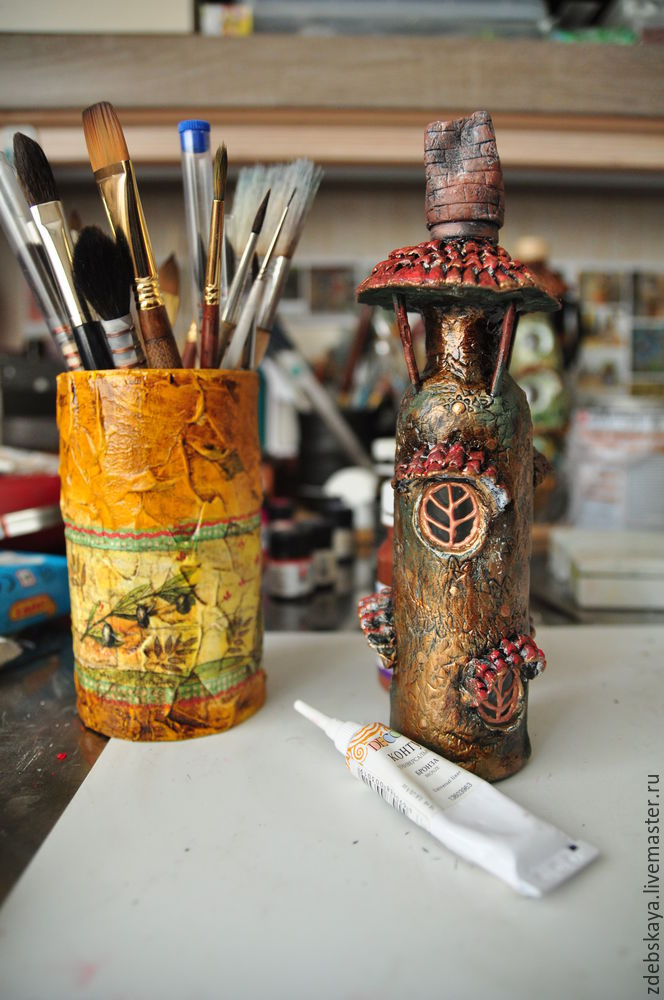
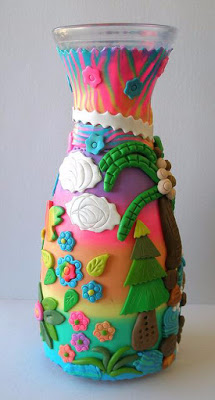
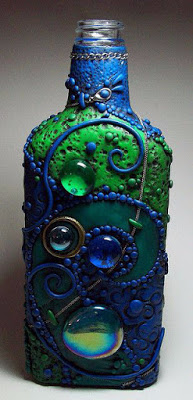
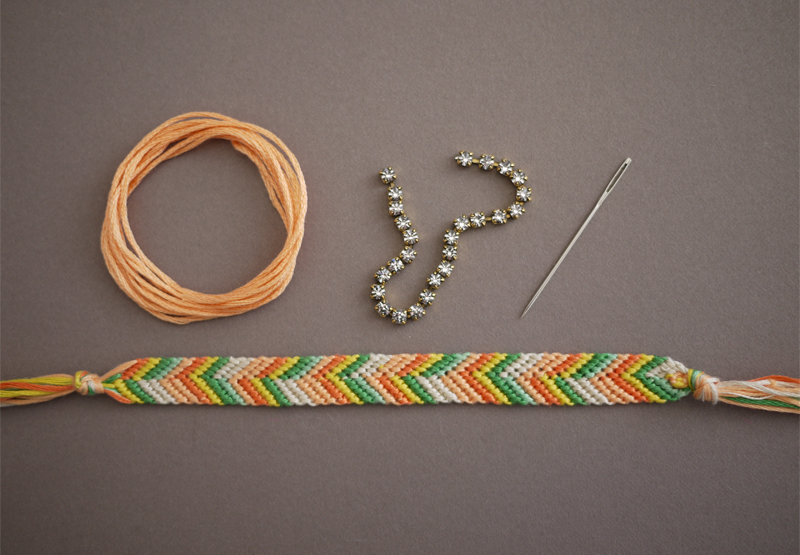
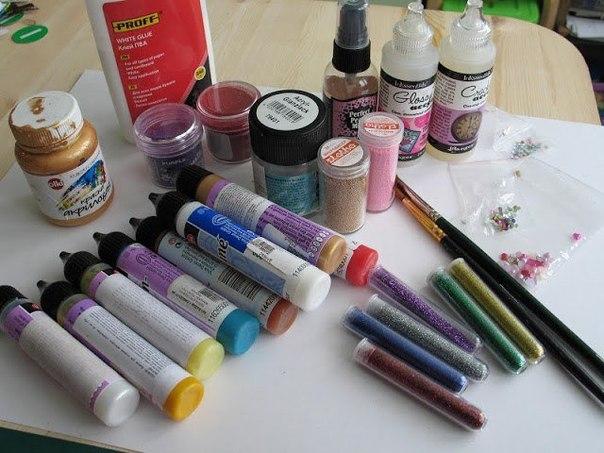
Required Materials decorating bottles:
1. Bottle
2. The self-hardening modeling paste on the air.
3. Ground.
4. Acrylic paint
5. Bed
6. The varnish bitumen and lacquer on wood.
7. The adhesive liquid nails.
8. Latex putty.
9. Patience.
10. A bunch of ancillary material, which is we need for every kind of decoration.
Getting Started!
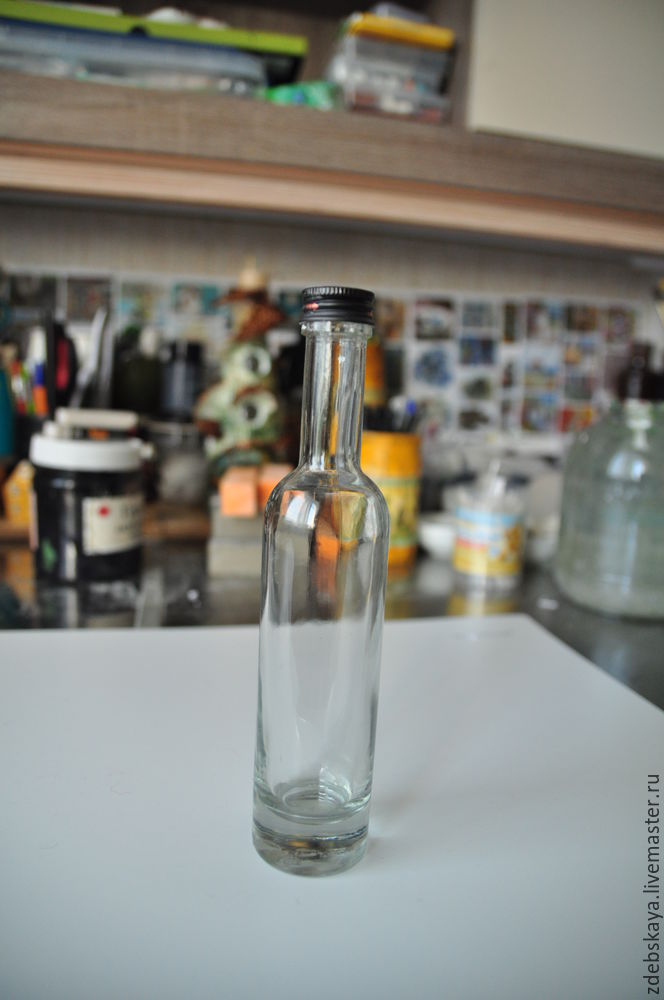
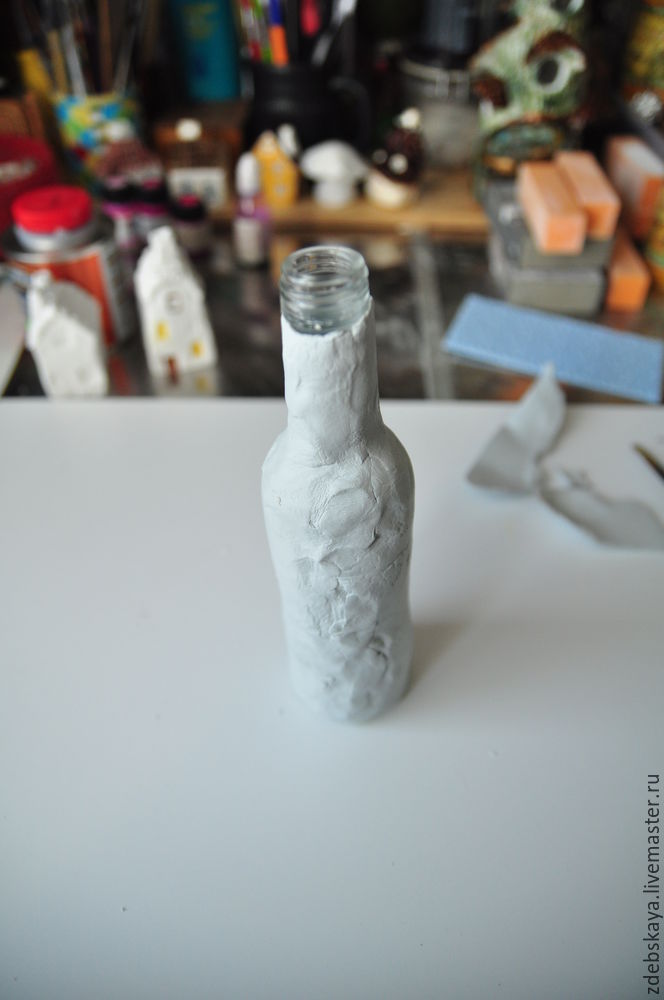
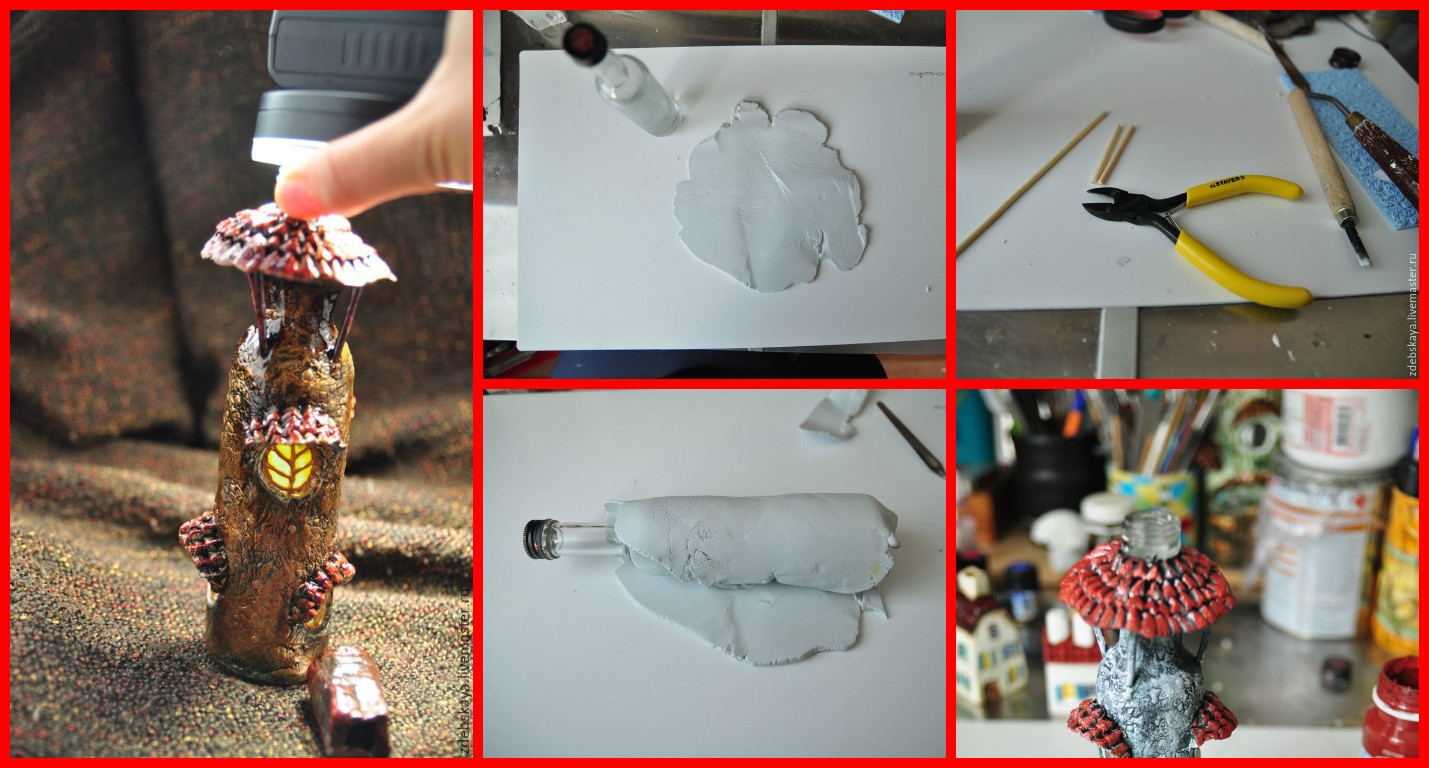
1. Take a bottle, from which we are going to do beauty. I have a small bottle of 100 ml. From bottle to decorate, remember, the longer the bottle, so it will be harder in the end! Were washed, stripped from it all labels, remove the traces of its past 🙂 then degreased her squeaky. And here we get a clean bottle!
 2. Then uncork pack your clay … it can be a variety of pasta. I have tried many, many, can do a separate review of pasta 🙂 But I will not, until … Well, take the pasta and make a cake thickness of 0.5 cm – much as possible, but thinner is not particularly recommended the paste dries crack.
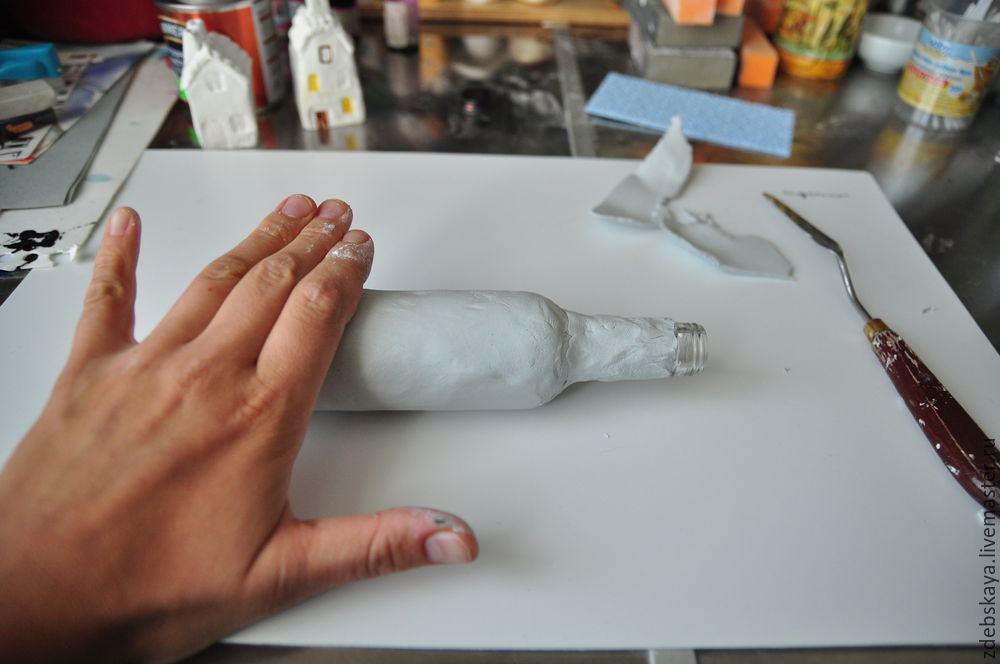
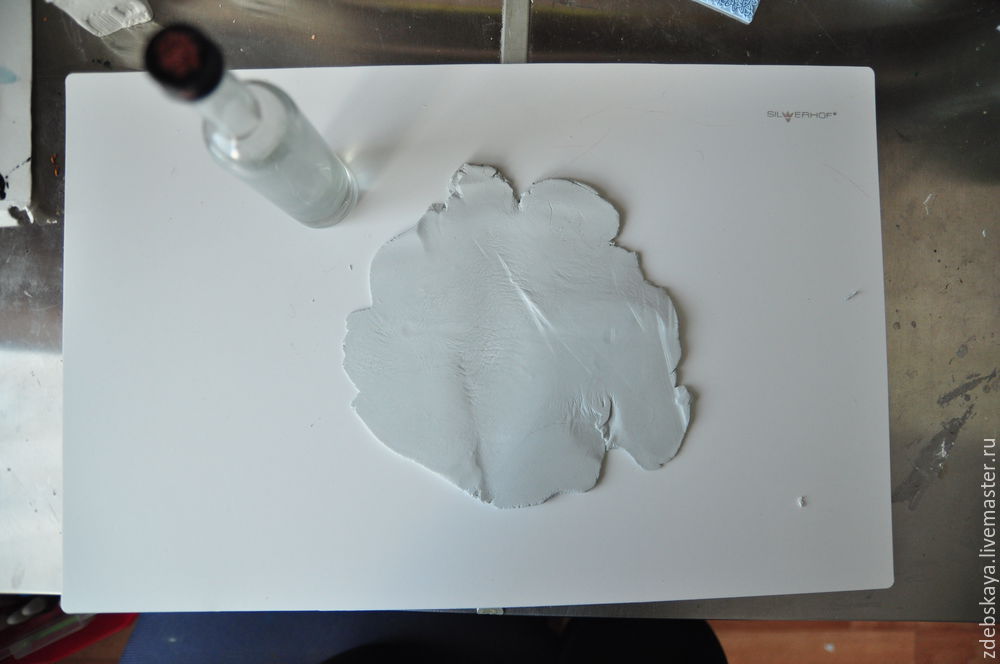 3. Roll out the cake bottle with a rolling pin.
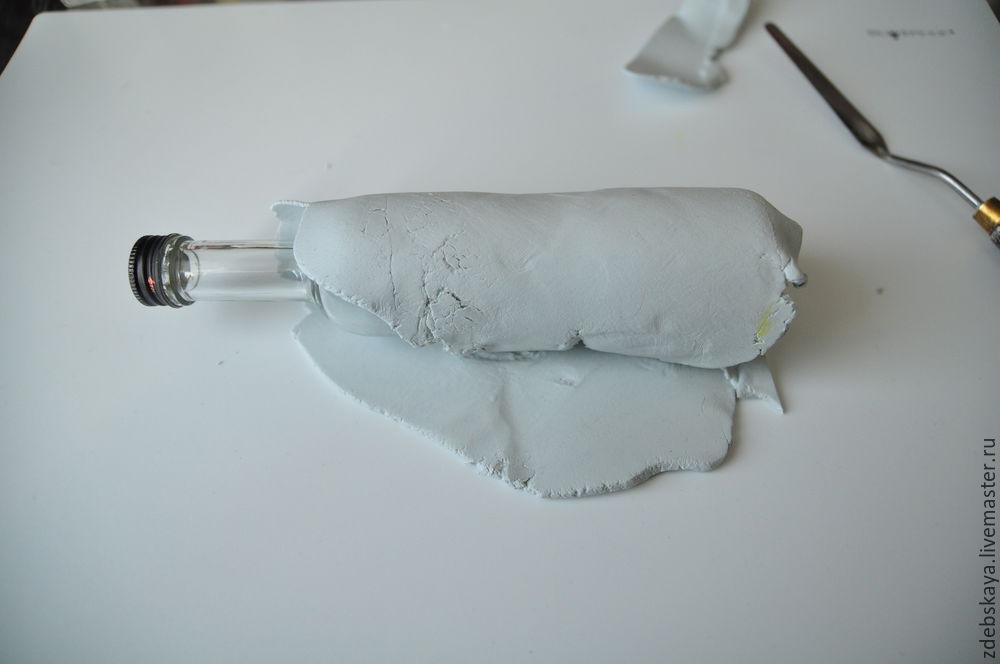 4. Then this bottle tortilla wrap.5. Excess tear off, cut and crush fingers, and then Roll the little bottle with the paste.
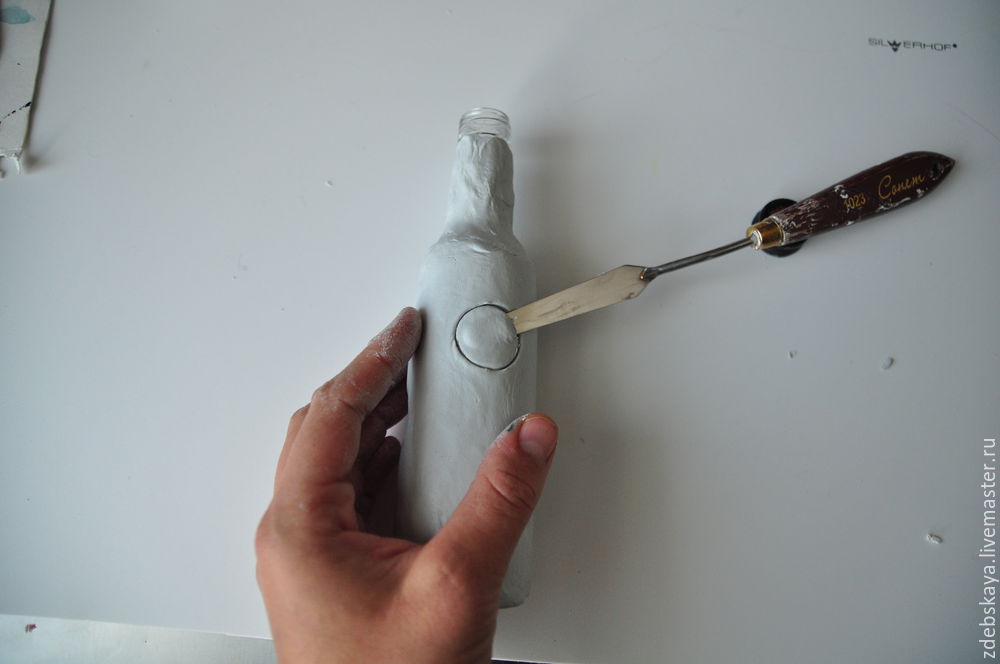
 6. Then take the cap off the bottle, it will we do windows
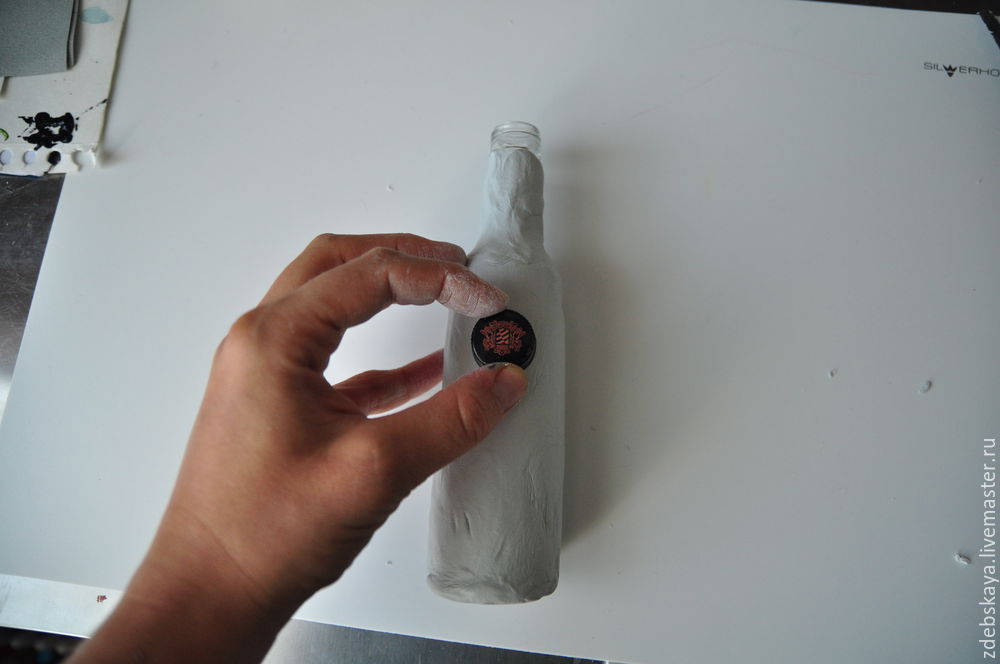 7. After forcing necessary to remove the paste – to dig, so to speak. How you do it does not matter, I do it with a palette knife.
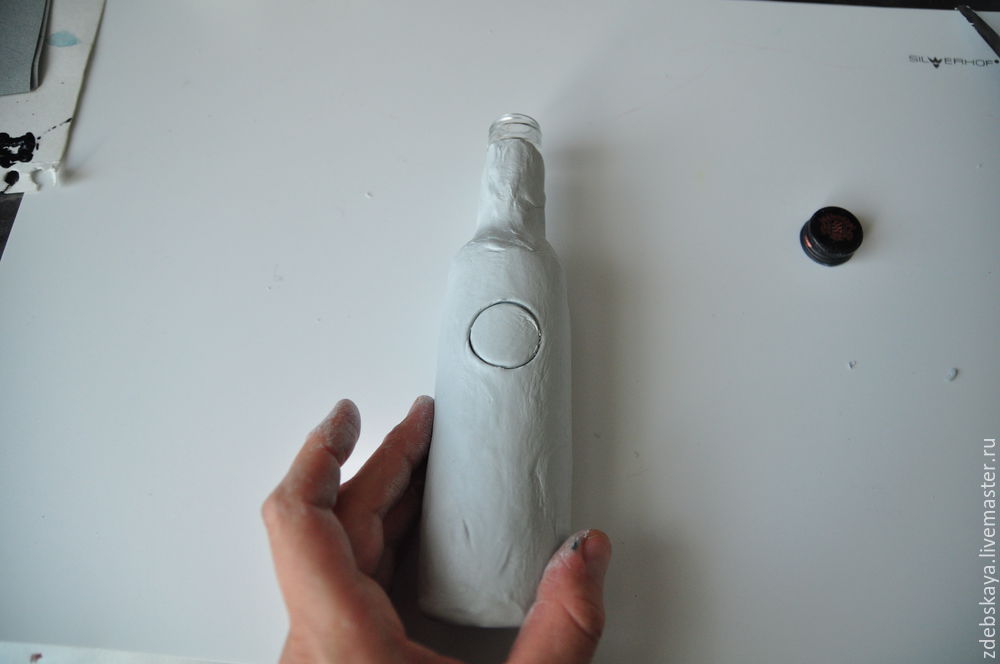
 8. Next, cut out the door. Well, the rest of the windows, and we get just such a thing:
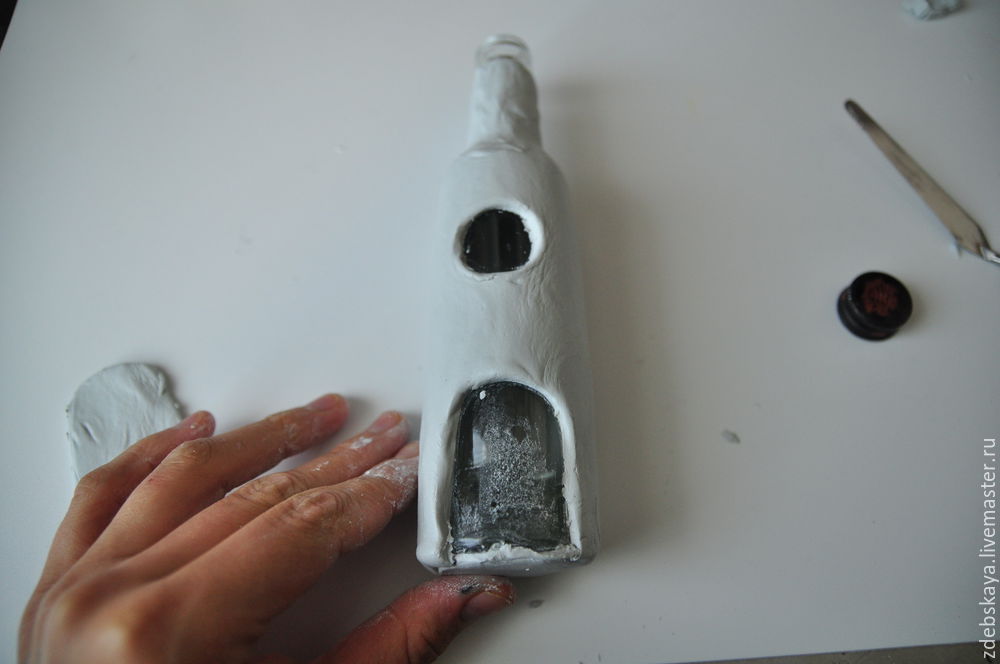 9. The door, which cut not throw out. Her I decorate separately. You can do it in a different way, but directly in this bottle, I’m doing it!
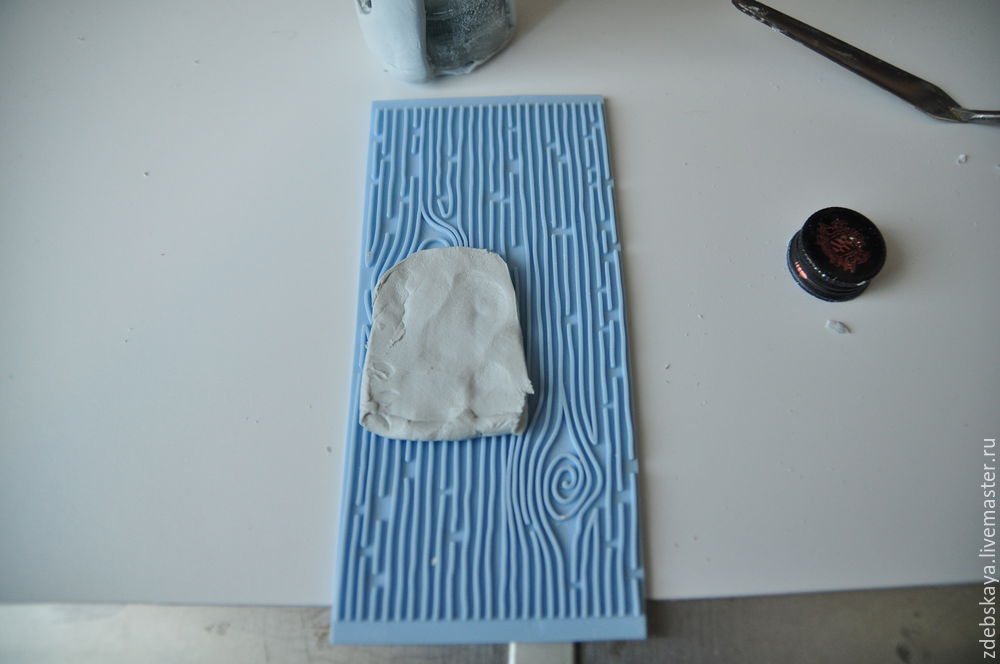 There is at my such things, they are not required, but doing the workplaces easier and more fun 🙂 Here I do not have photos, I laminated places the bottle on a blue plaque with floral ornament, and here was such a texture on the bottle itself. This time, I forgot to take pictures!
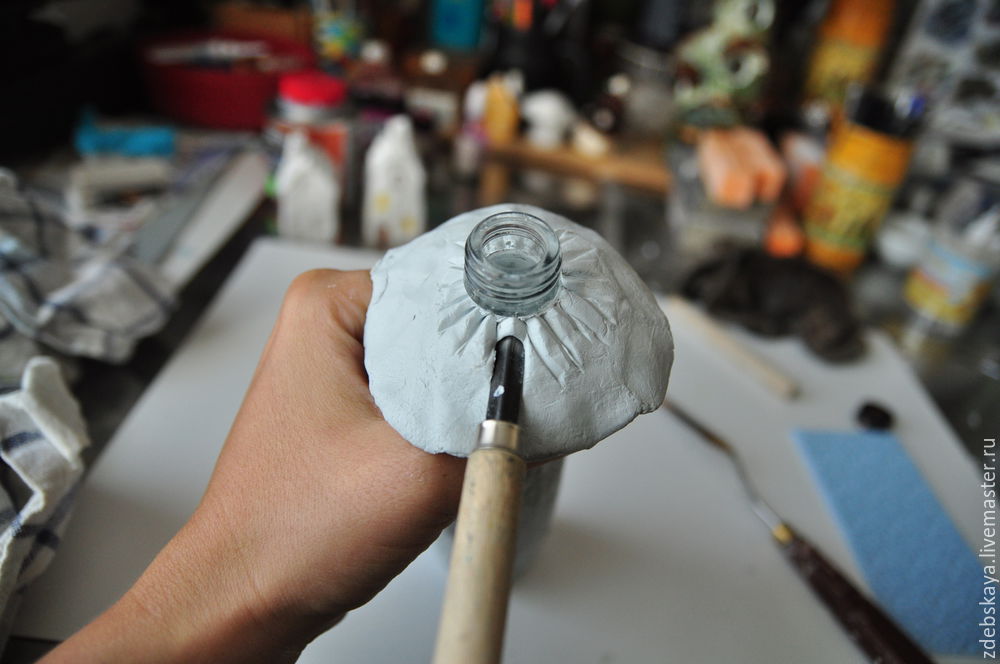
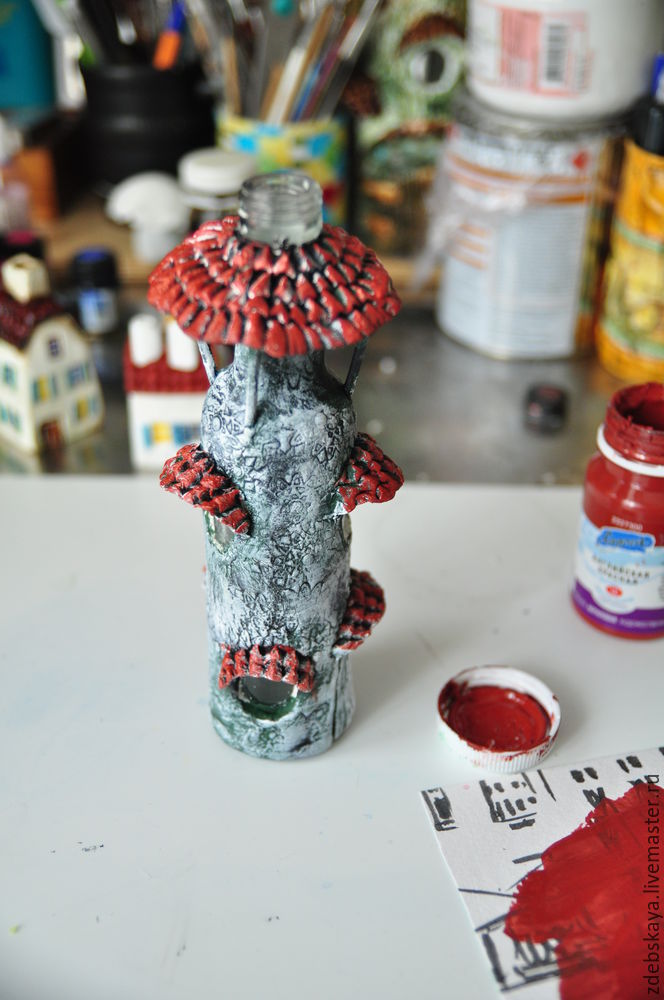
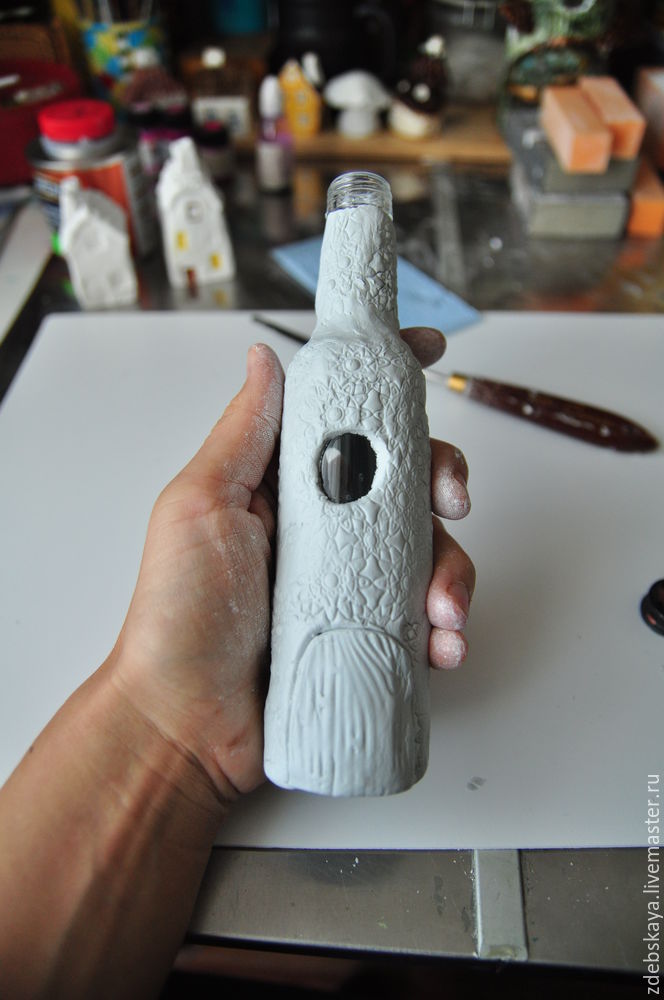 10. Then, my house shall be a roof. Her I do, forming a thick sausage and wrapped around the neck. Crush with your fingers, get the “mushroom hat”.
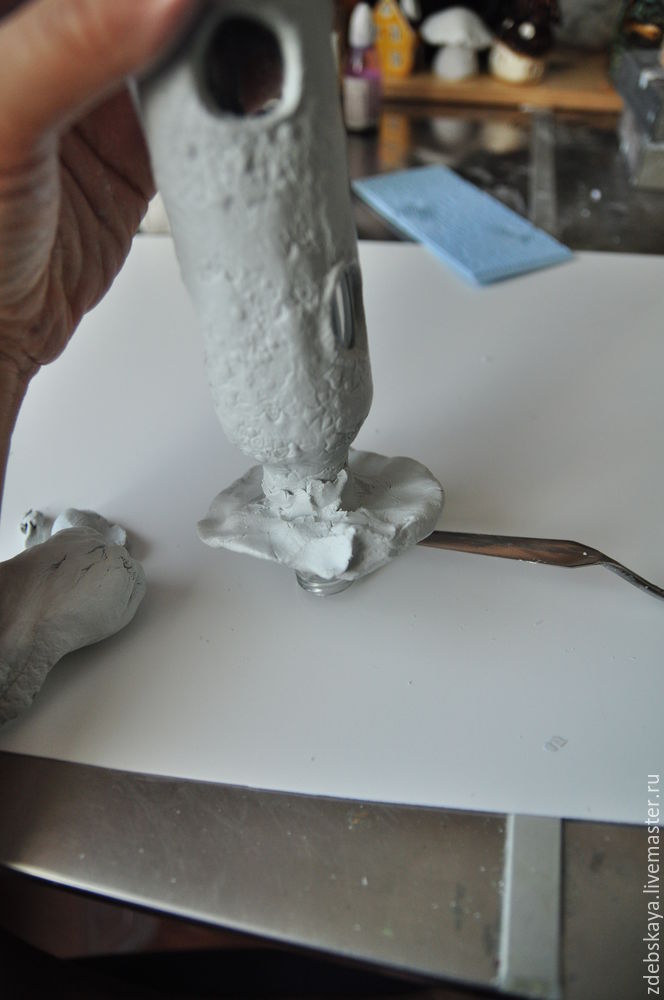 Hold your fingers, crush hat and bottom.
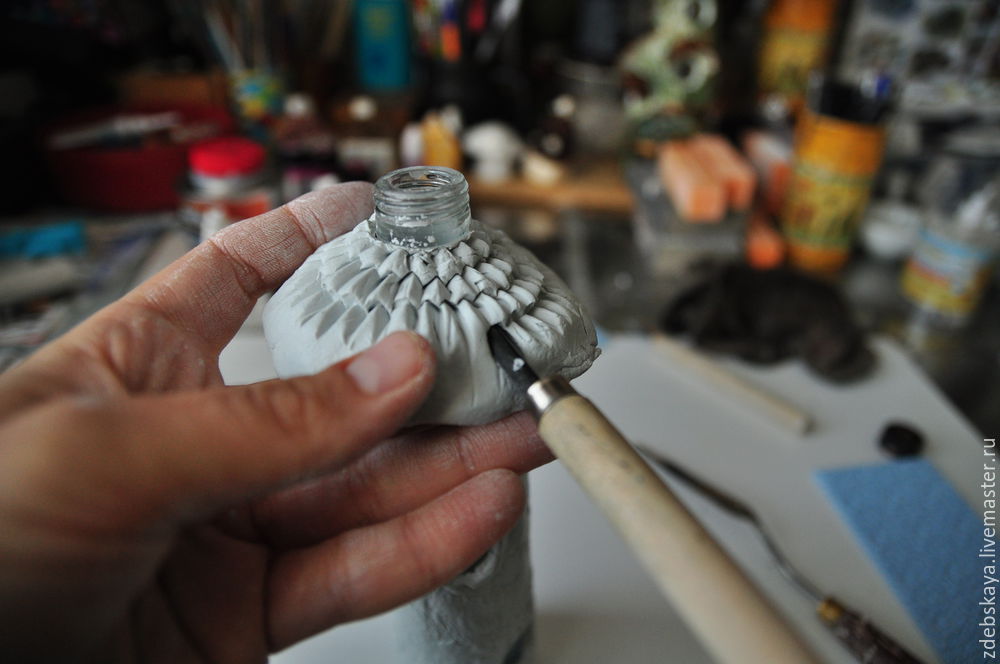
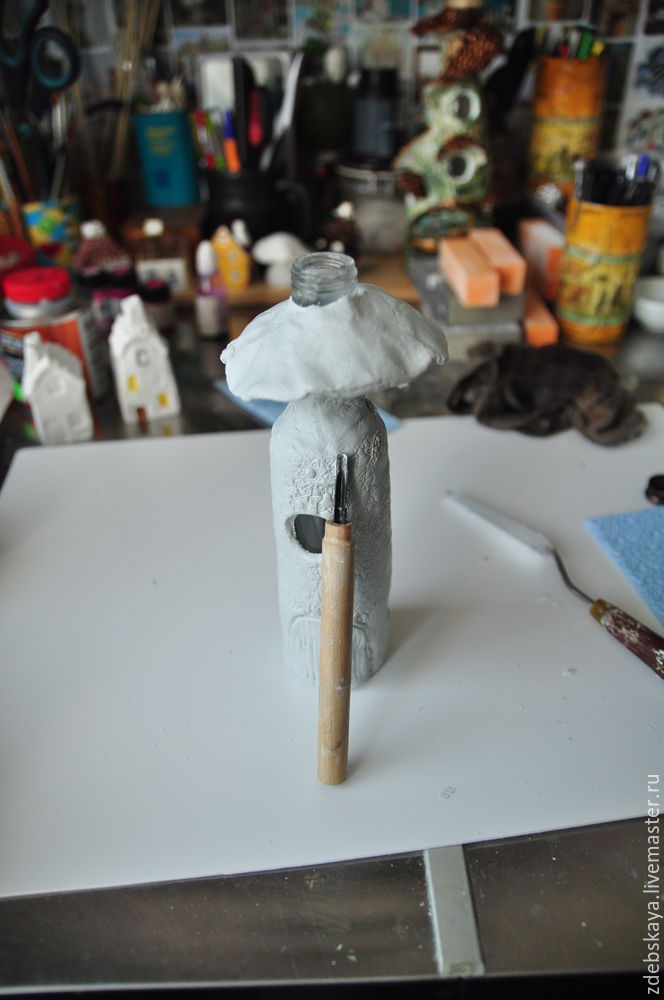 11. Then, take the tool, I have this tool on a tree, but I think that any angled do the task just as well. And start doing the roof. I will not describe, look at photos, I think it is clear that if the inquiry.
12. By the same principle do canopies over windows.
13. Next, I wanted to have this house were beams. The final project is not, therefore, do everything for the dictates of the heart!
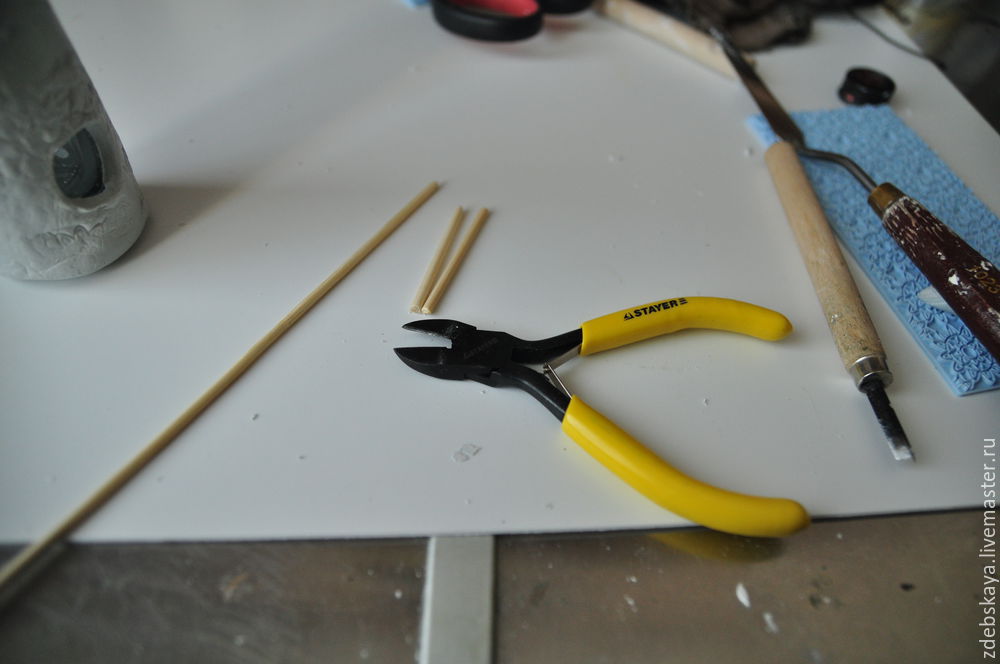 Chop a long stick on the beam, it is desirable that they were approximately equal, and stuck on the roof.
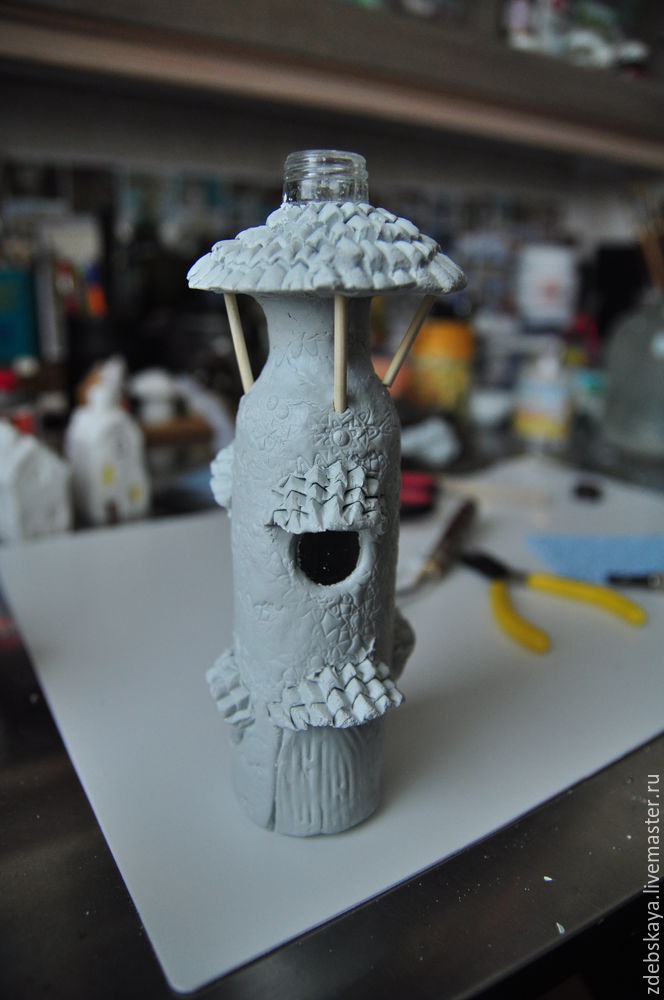
14. All are now allowed to dry for a day. It can be more. At first, until the paste dries, glances, some pasta pop very much. But then I tell you about methods of struggle with the cracked product location.
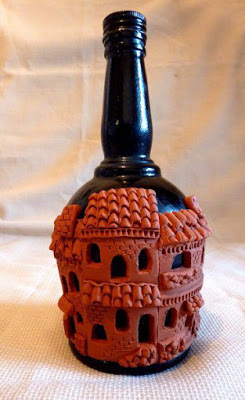
15. The evening of the second day, and I view the loss!
Here, one of the peaks in the window. To this end, I have liquid nails. visor attaching adhesive and pressed down. Checked, will hold a bang. Moreover, this adhesive can then be covered with paint.
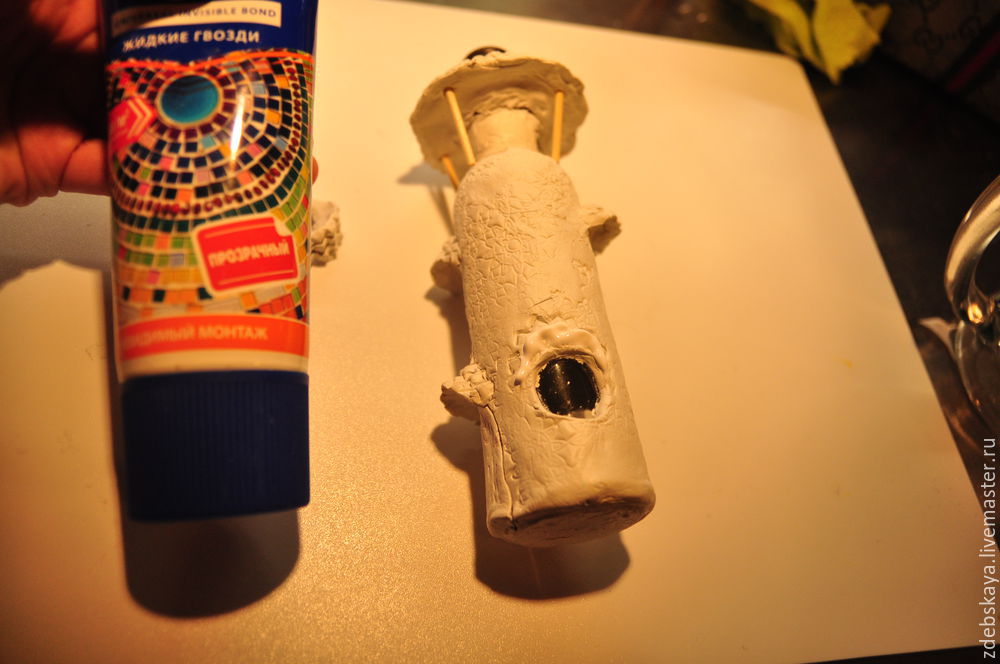
 16. Excess adhesive remove. A further view, where there is a crack.
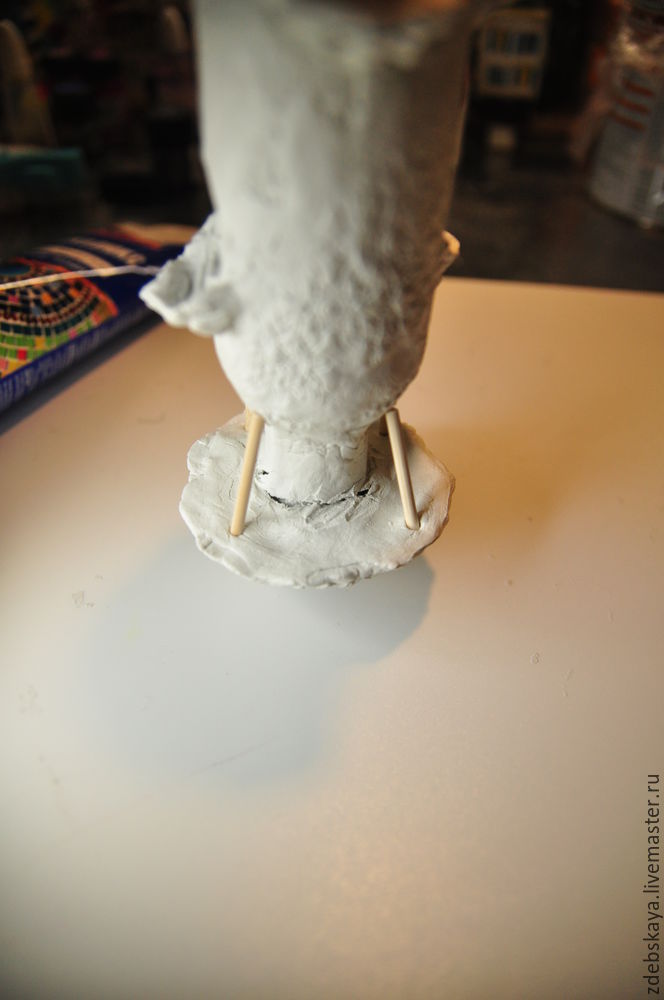
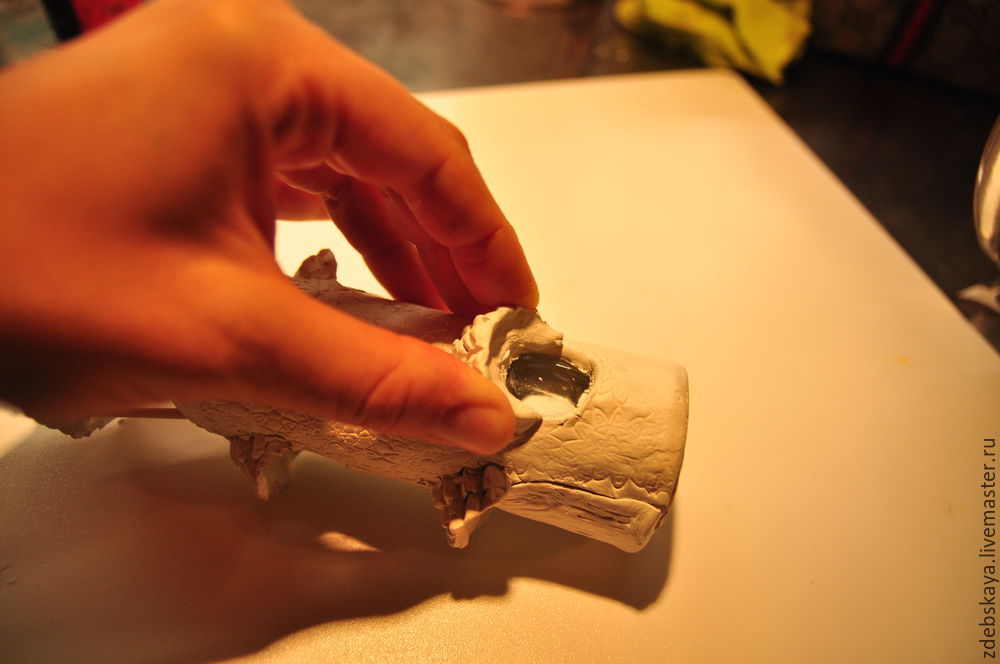
17. Here, it became clear that such defect should be clean. And we do it with latex filler. Because sometimes you have to put putty in remote places, I go it’s “shoving” syringe without a needle, of course, but it turns out very handy!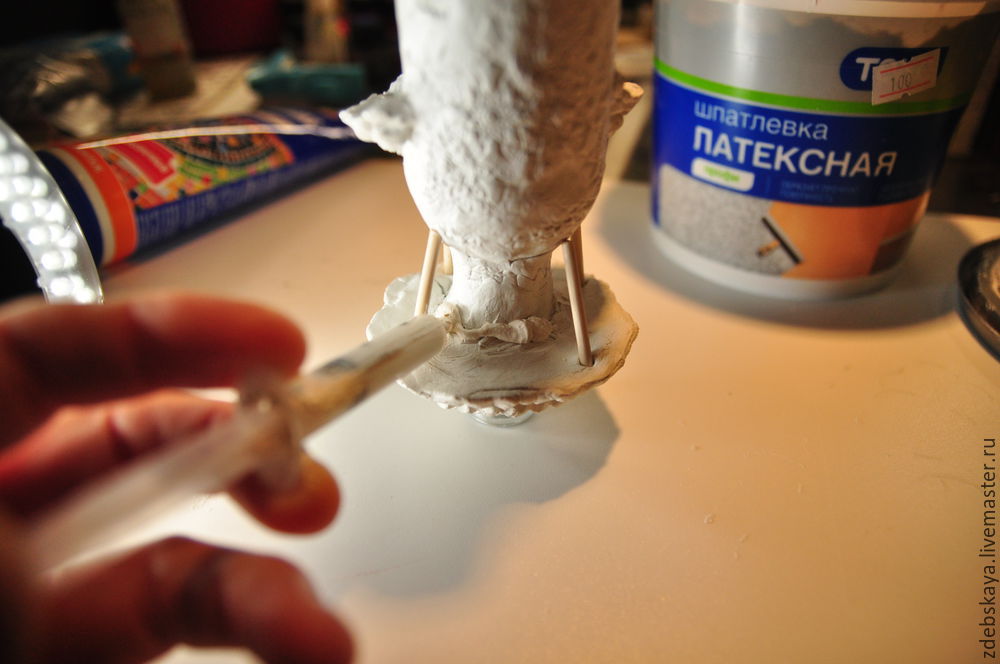
Then, crush fingers, smooth that came to hand, I have this latex paintbrush.
18. Stage primer. I’m a different soil house. At this time, I take a black ground. And proceed to the primer. Brush leaves the band, especially noticeable on large surfaces, so I bottle body sponge of soil and roof in a remote place with a brush, there are extra relief stripes – we are not a hindrance!
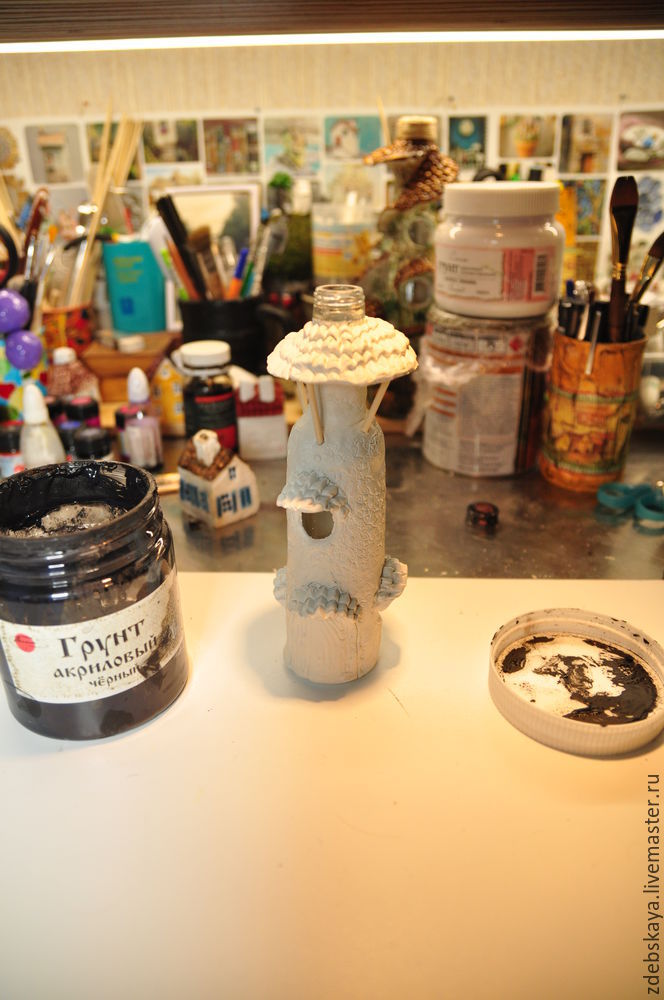
 We get an absolutely black bottle!
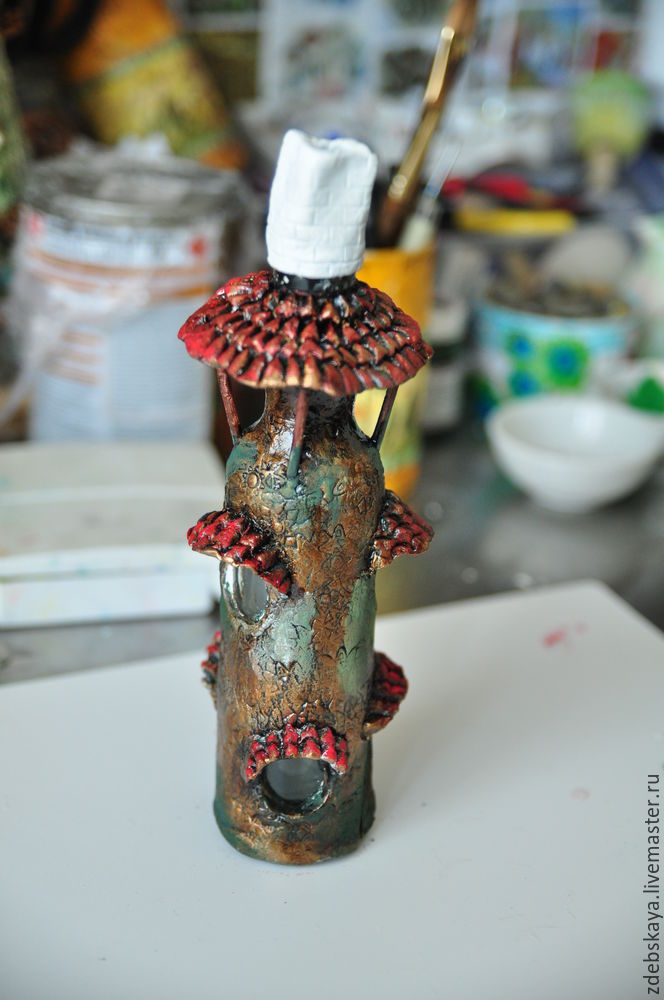
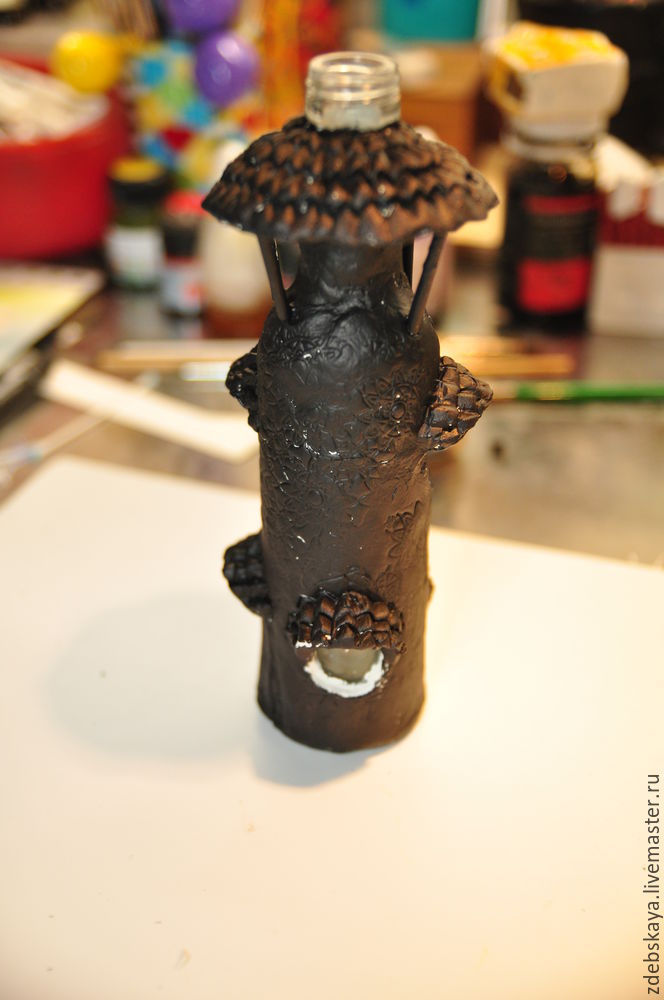 19. We continue to paint. Now I take just such a green acrylic. Acrylic dries quickly. While I paint, it dries on the brush, and not to run into the bathroom and wash the brush without end, leave them to soak in a jar of water, and the very next take the brush. So, the green paint. Solid is not painted, in some places, and it turns out:
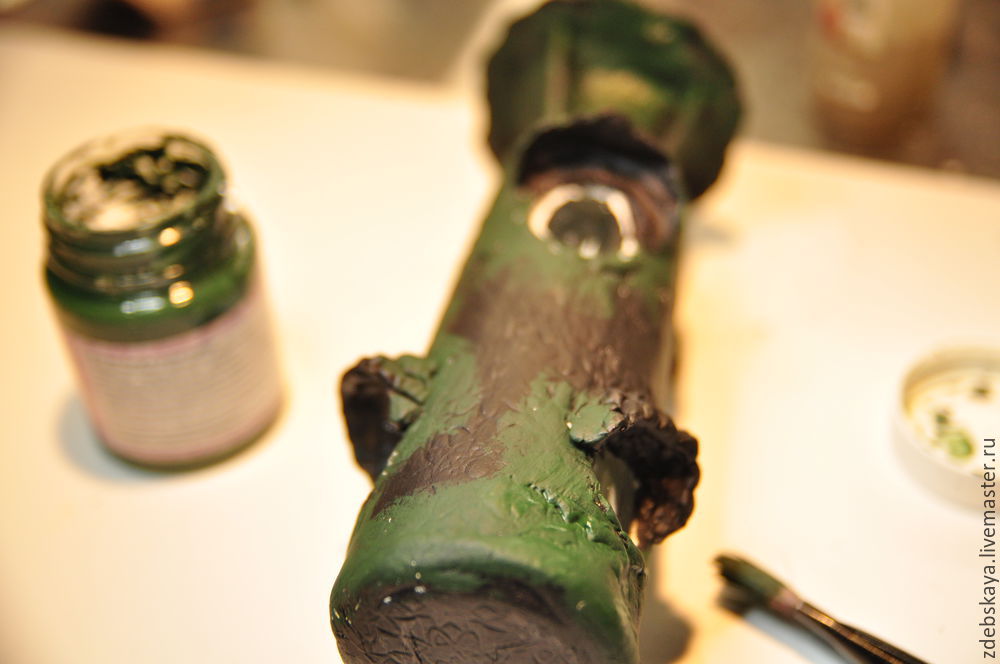 20. Then I put or render a surface, without rubbing white primer.
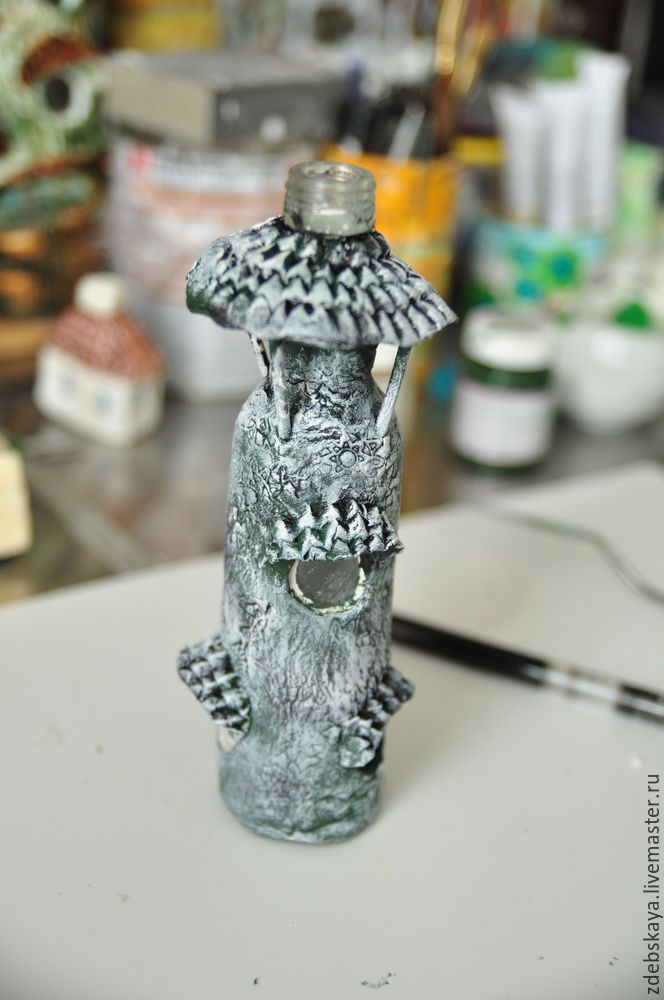 21. Coloring roof. They are red, you may have a different color.
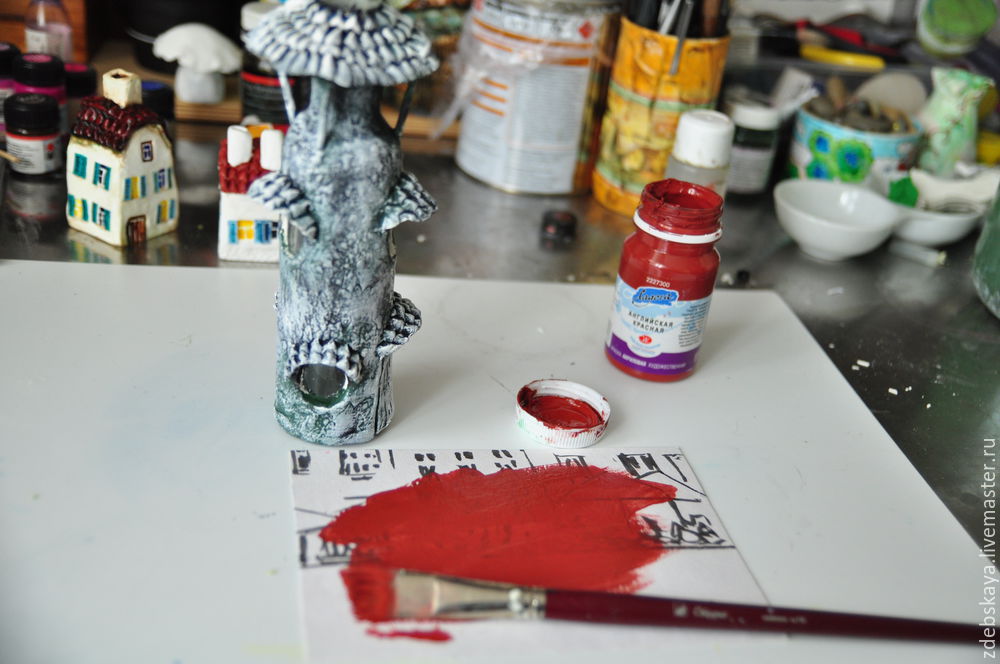
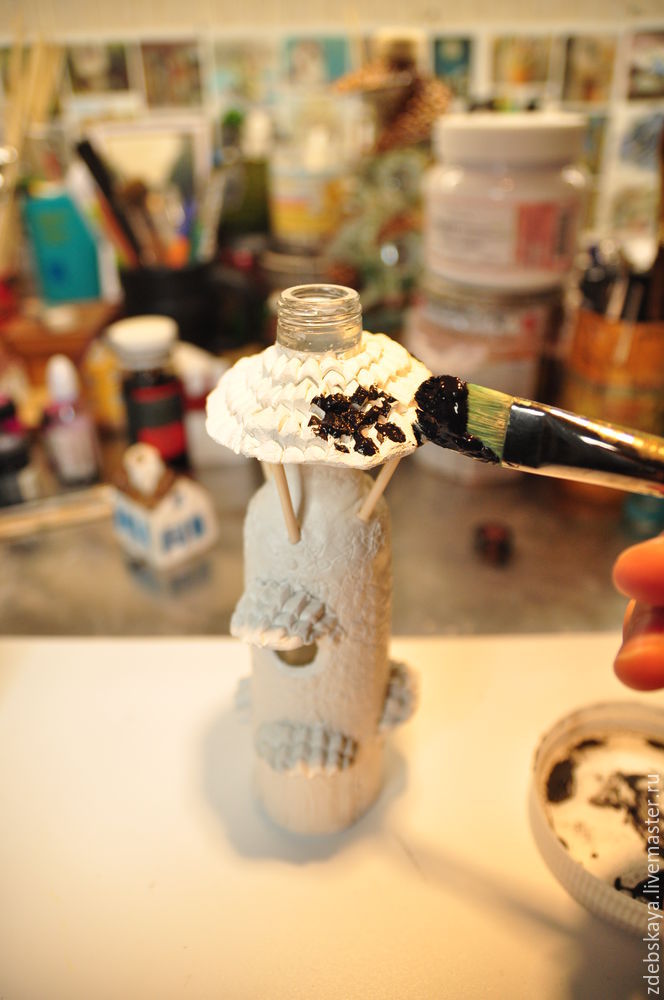
 22. Then take the bronze and thinly bronze acrylic, so that the apparent texture of the bottle. Excess paint on the brush palette and rented on any unnecessary piece of paper.
 23. Now remember that the pipes in the house no. Ah … it is necessary to fix it! Bottle drying, lipid pipe. In a similar manner as a bottle. Just expand on masonry.
 24. Then, take an old toothbrush and attach the texture of bricks … Well, can not they be smooth in our old fairy house!
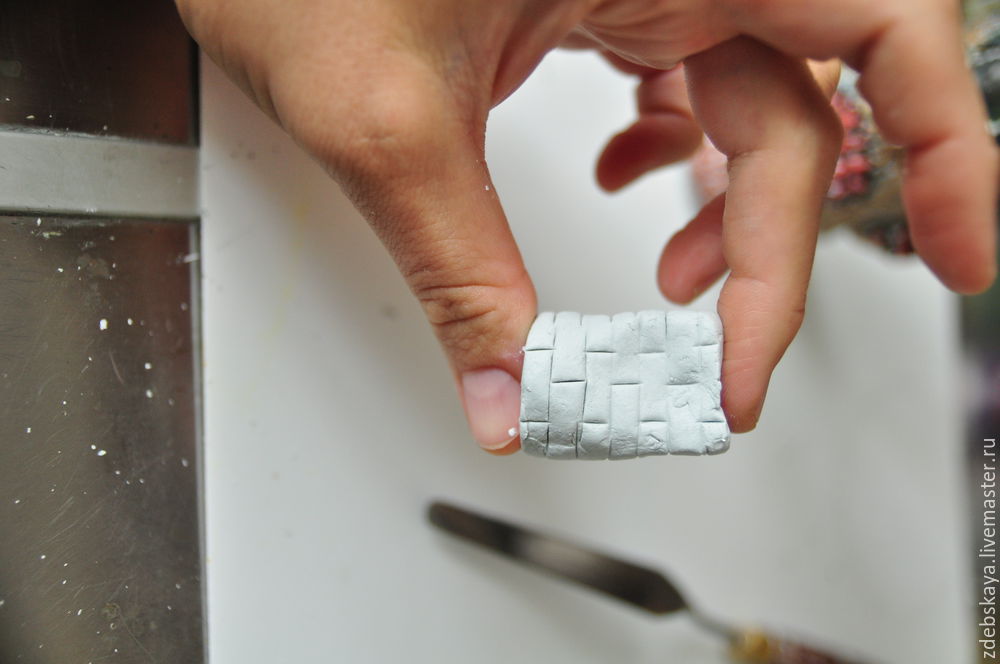
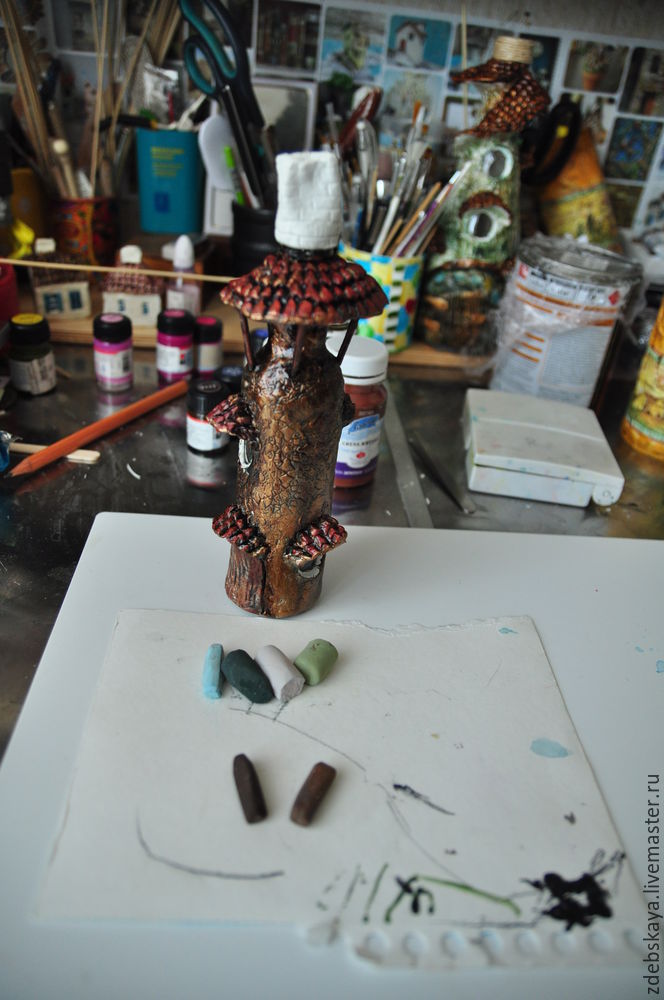
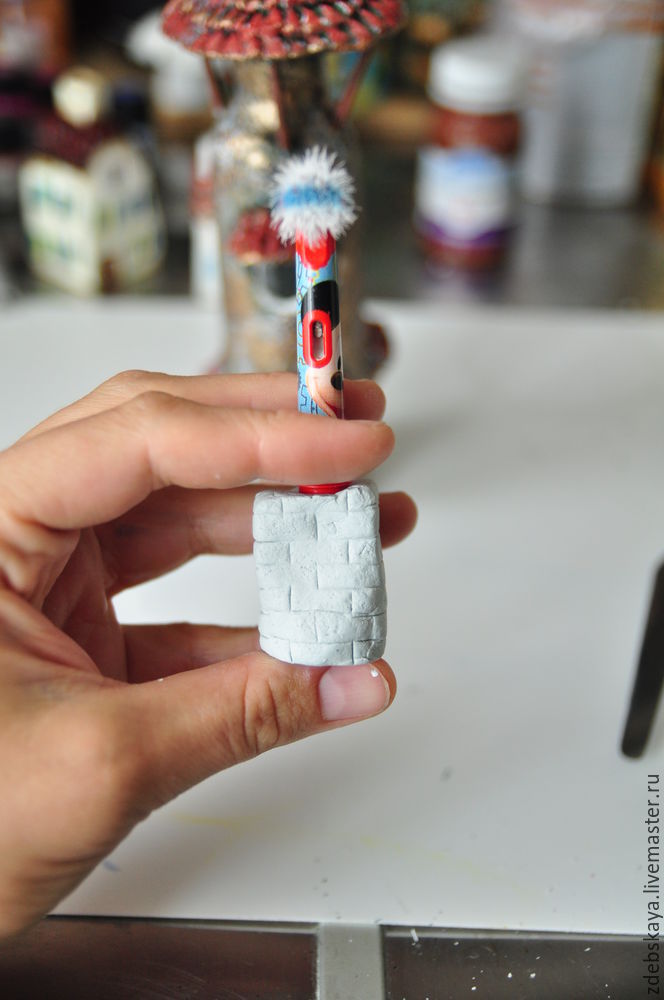 Then try on pipe-stopper on the bottle and change in its sole discretion. I, for example, wanted her little “grimaced.” I have so much fun. It turns out this way.
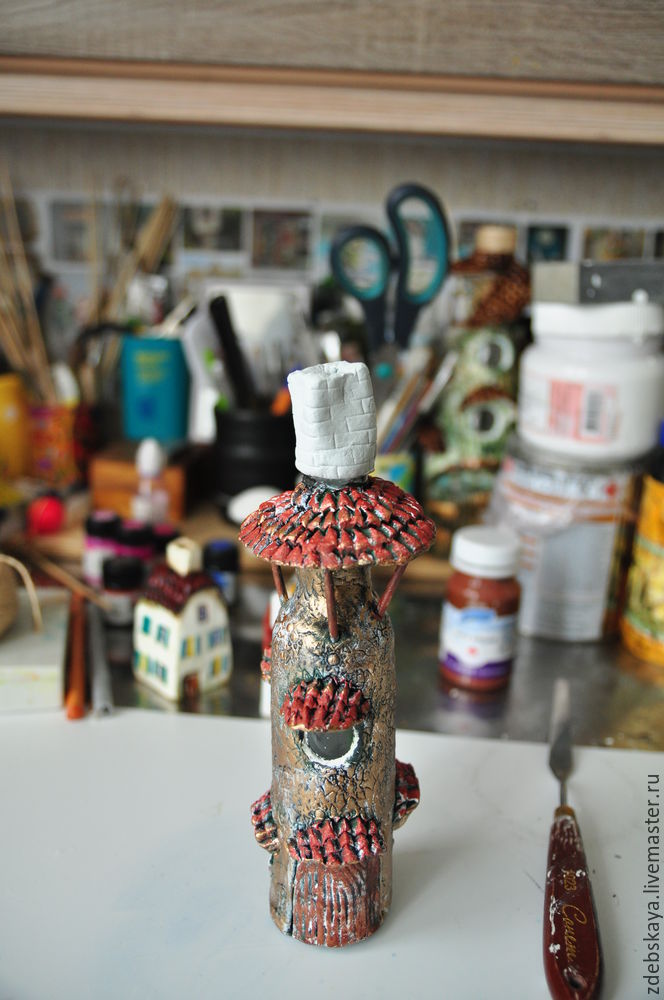 25. Now take my favorite bitumen varnish. When I opened it the first time, he turns up his nose, saying that stinking of varnish is not met. And now nothing at all to me, and it does not smell that strange 🙂
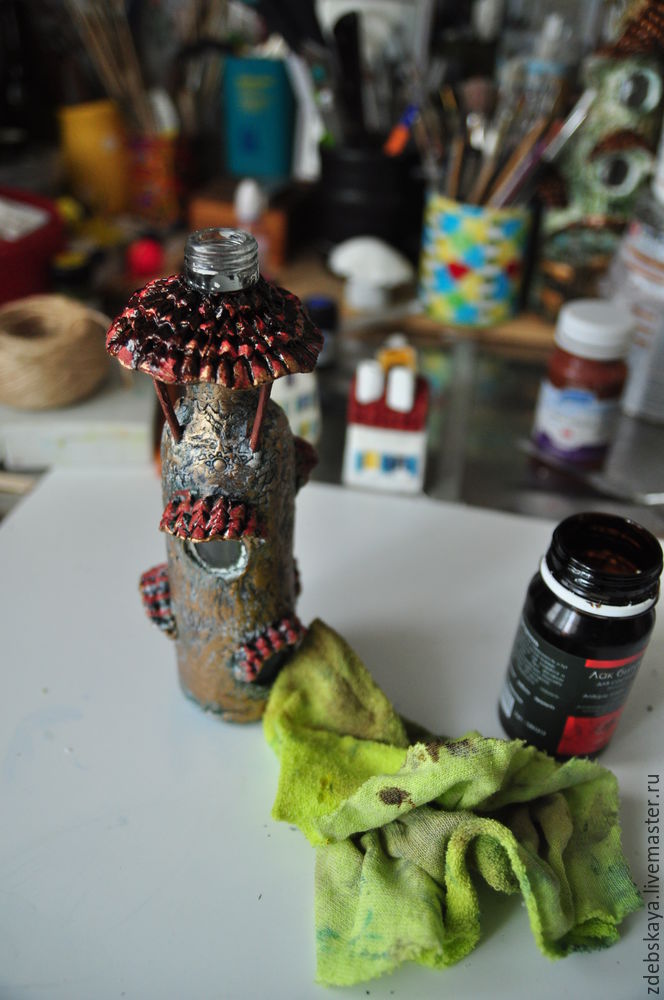 26. I start from the top down, that is, from the roof. I put or render a varnish, and then take off the excess with a cloth, lightly feathered at the same time!
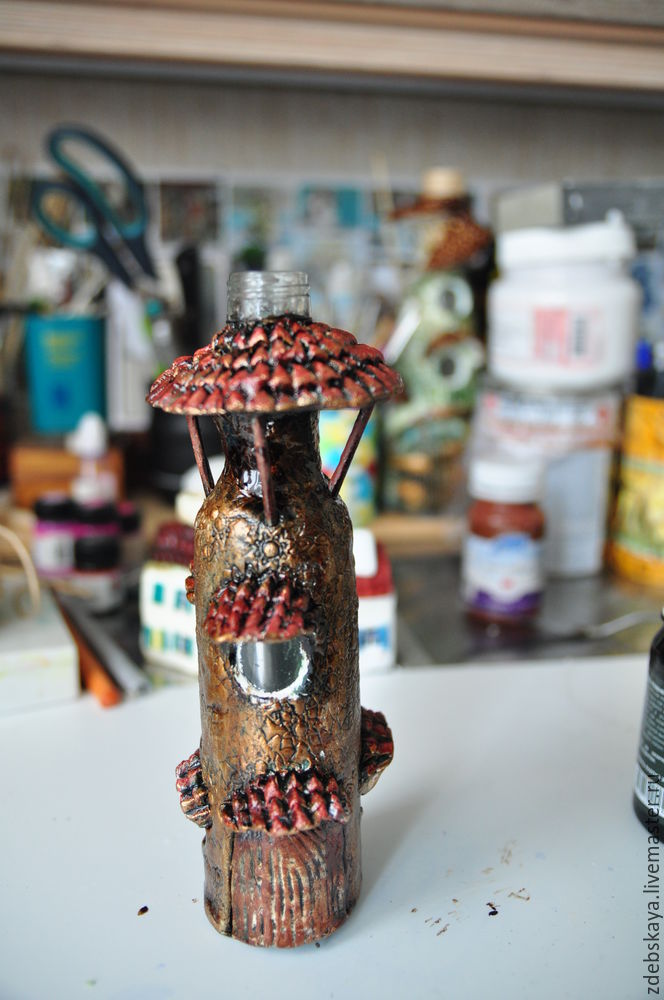
27. Leaving the bottle dry. Maybe the whole night, and I can get to it late at night.
28. toning pastels bottle, pick up the color I needed … and more!
29. Then take the cloth and rub clean excess pigment.
30. Then again taking bronze and allocate some space.
31. Then take the path and acrylic windows make the house. Circuit dries fairly quickly, but it is better to leave him alone for a few hours. And then spend it the line, and then when working with the product accidentally smashes … not tell how long it will go to fix 🙂
32. About the plug will not tell apart, it is clear that it passes all stages, as well as the bottle.
33. Then, the windows can be painted, and can be left as is, it is as you like 🙂 To paint the windows need a stained glass paint color that wishes your soul – the main thing that they were transparent.
34. cover the entire bottle of varnish or, as they say, professionals, reverse polish (I hearing this expression cuts, so everything is in a rural). And I leave it to dry for the time specified in the instructions.
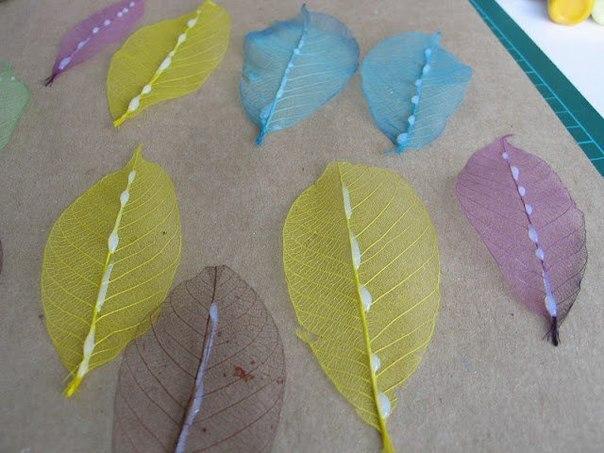
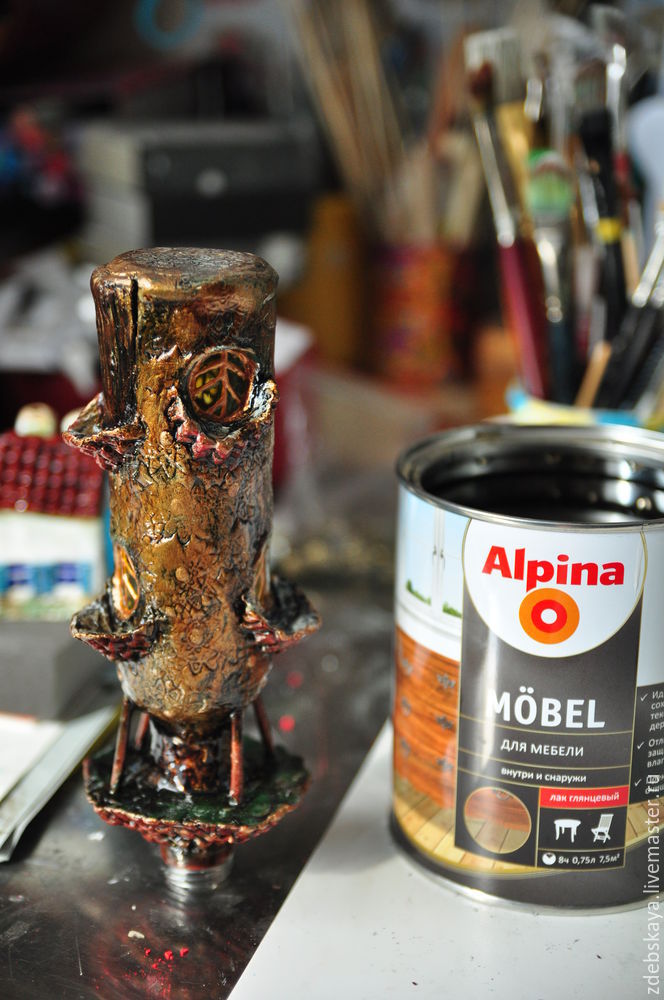 The varnish I take the tree. Look, I specially photographed icons in the lacquer. This paint does not smell. It’s important for me.
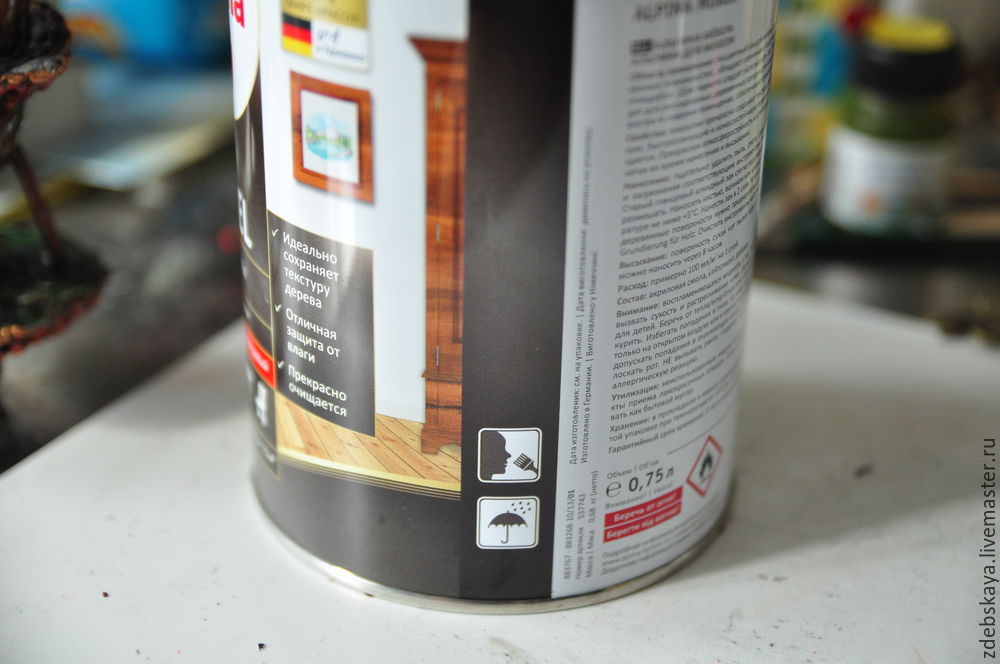 35. After drying varnish I stick to the leaf mounting adhesive. It keeps well and becomes transparent when dry. And best of all – an assessment of the result!
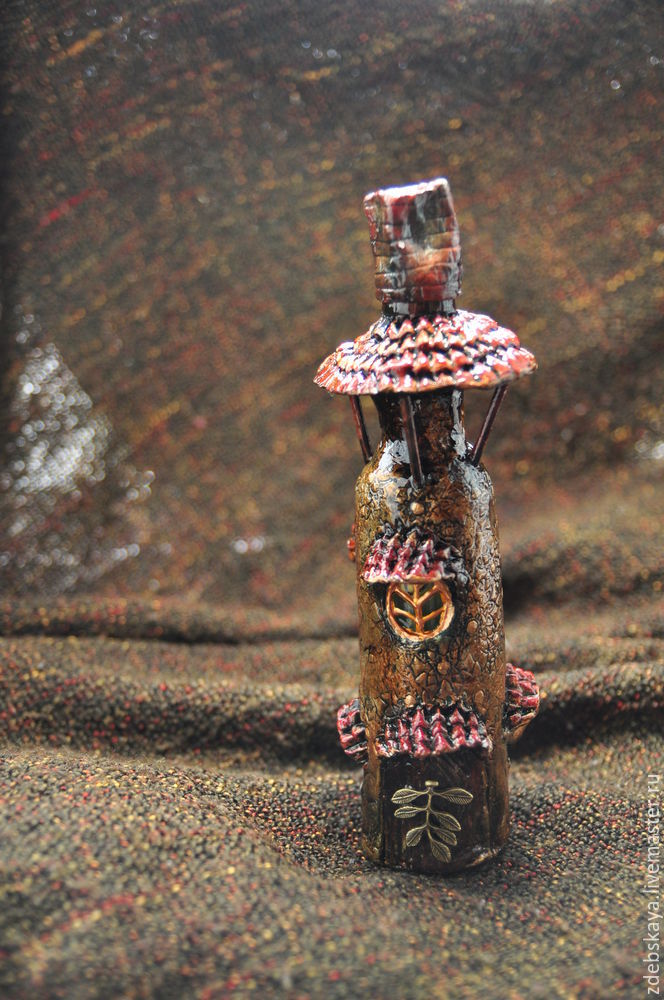
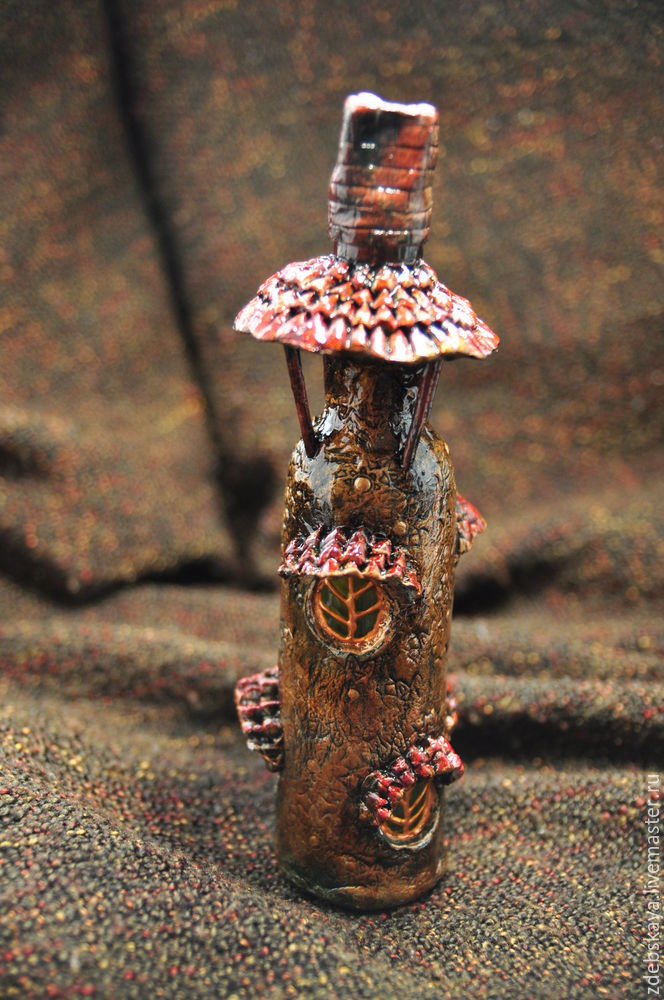 And as the light of the windows, when viewed against the light.
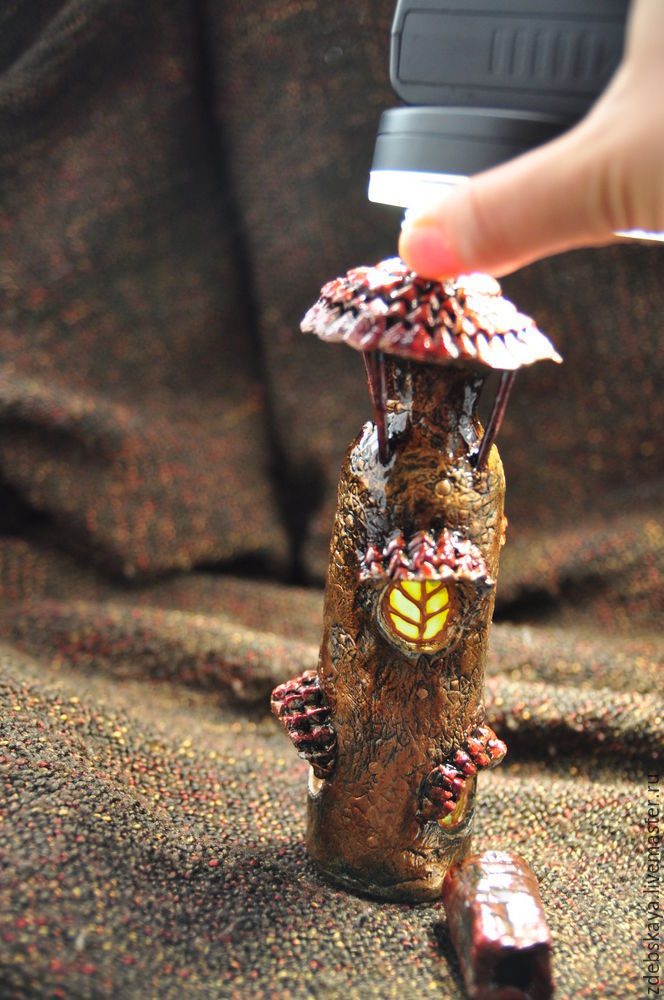 I think if you are in trouble with the electronics, it is possible to come up with a small battery-powered light bulb, then the house will be light. And so, quite a functional bottle turned out. It is possible to pour something, well, a tube or roll a note 🙂
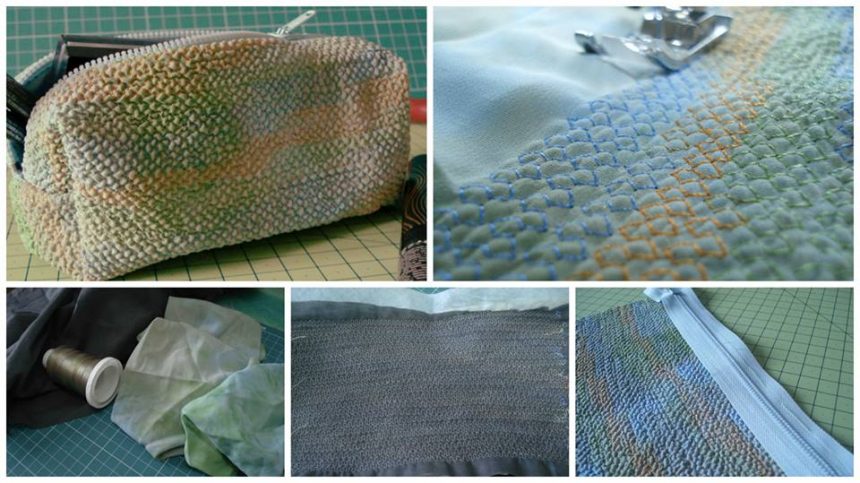
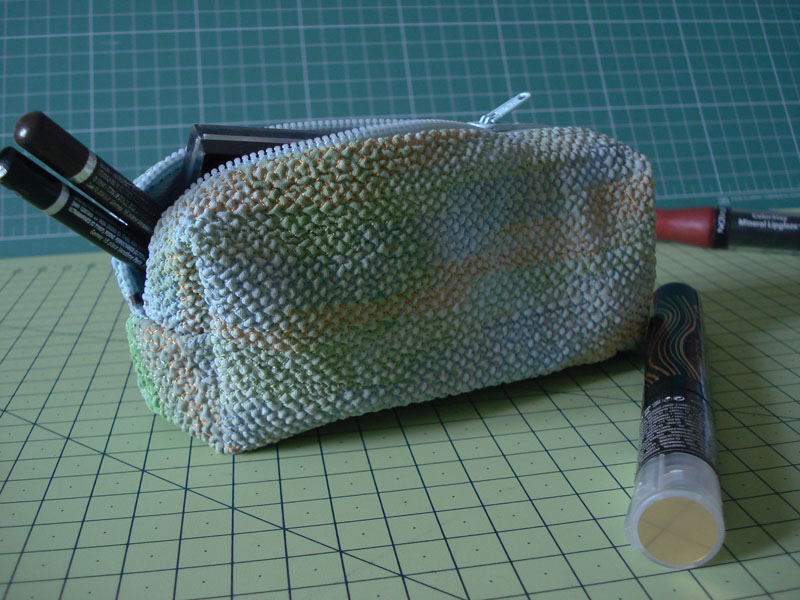
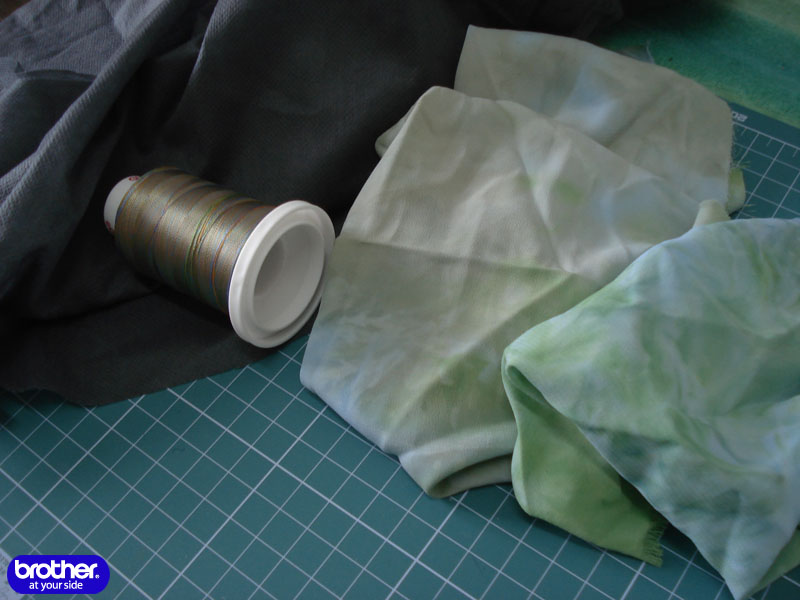
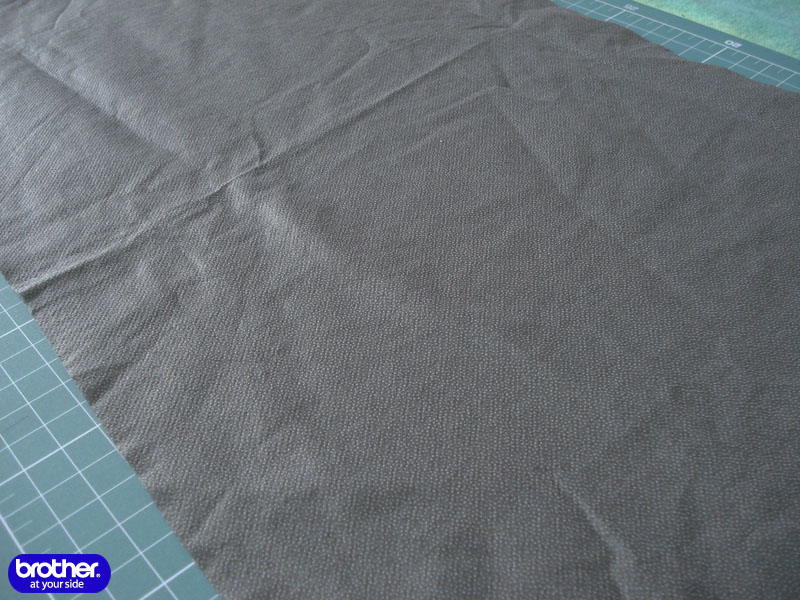
 Required Material:
 Step.1
 Step.2

 Step.3
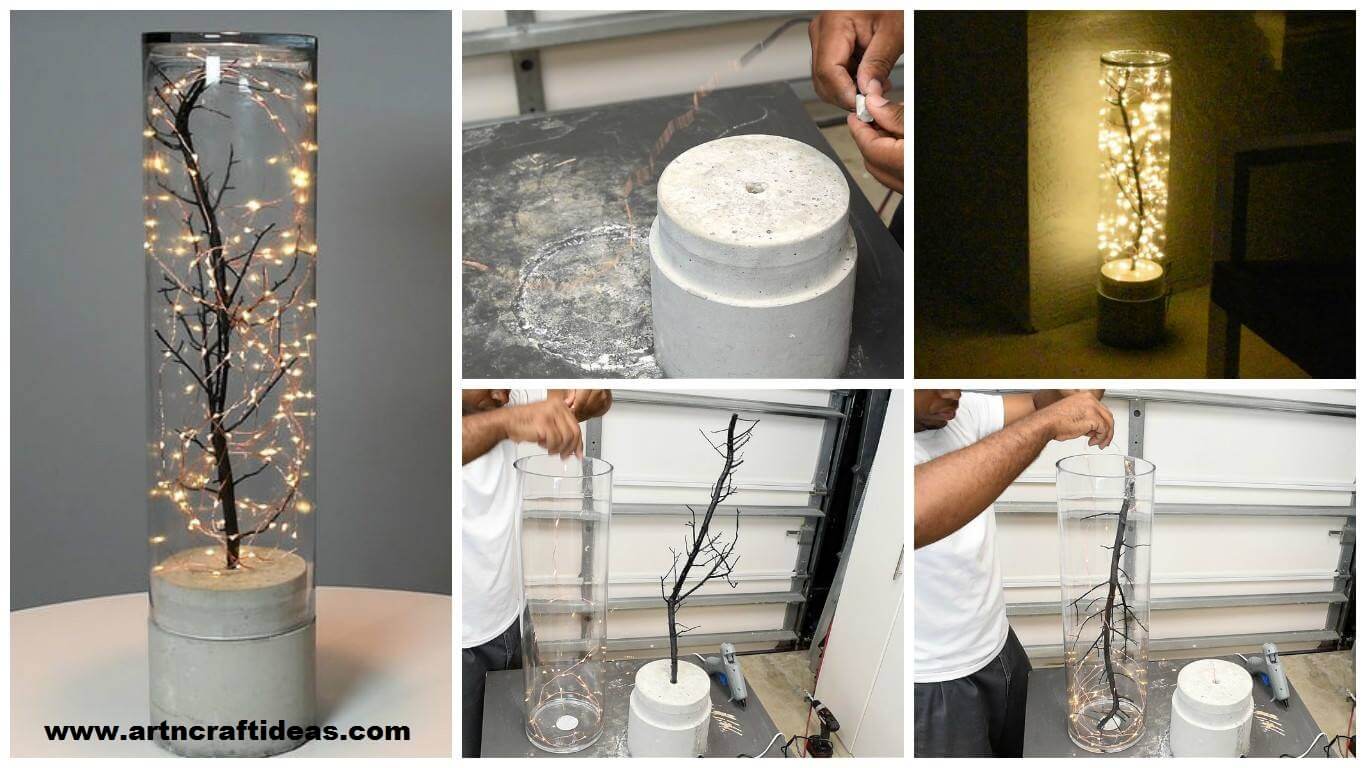

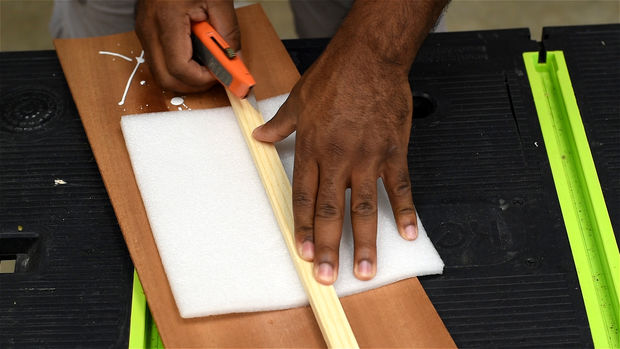
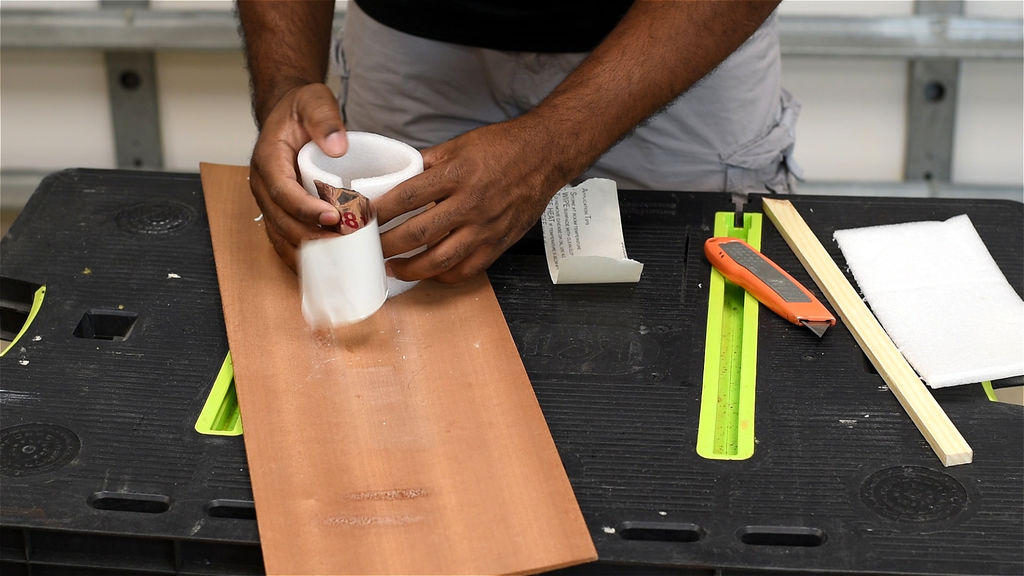
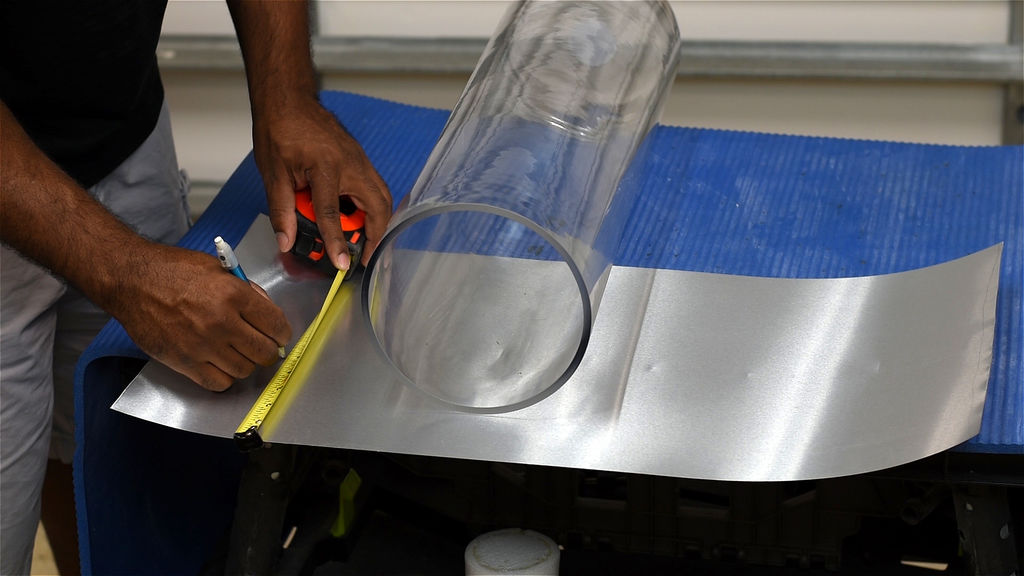
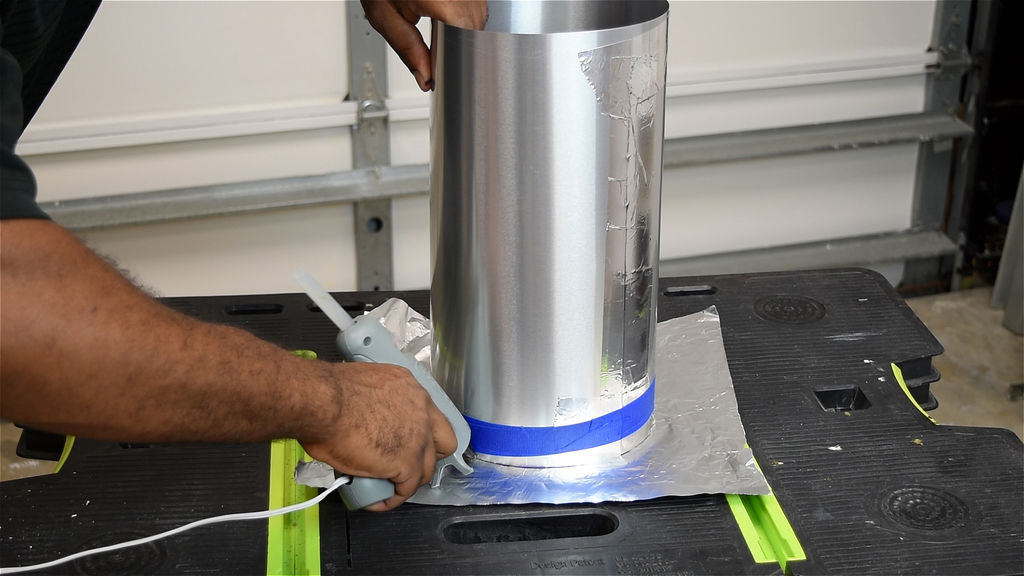
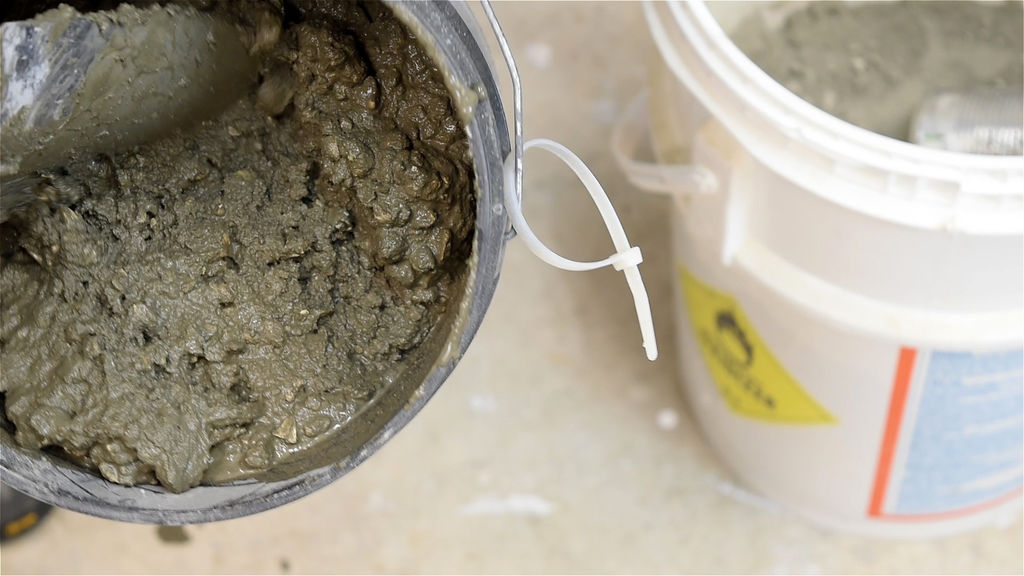
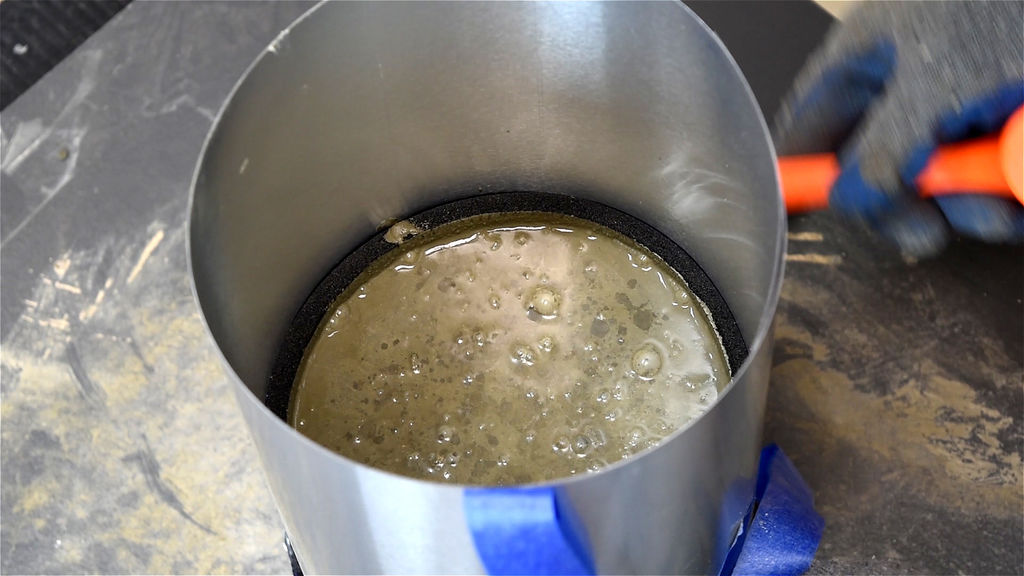
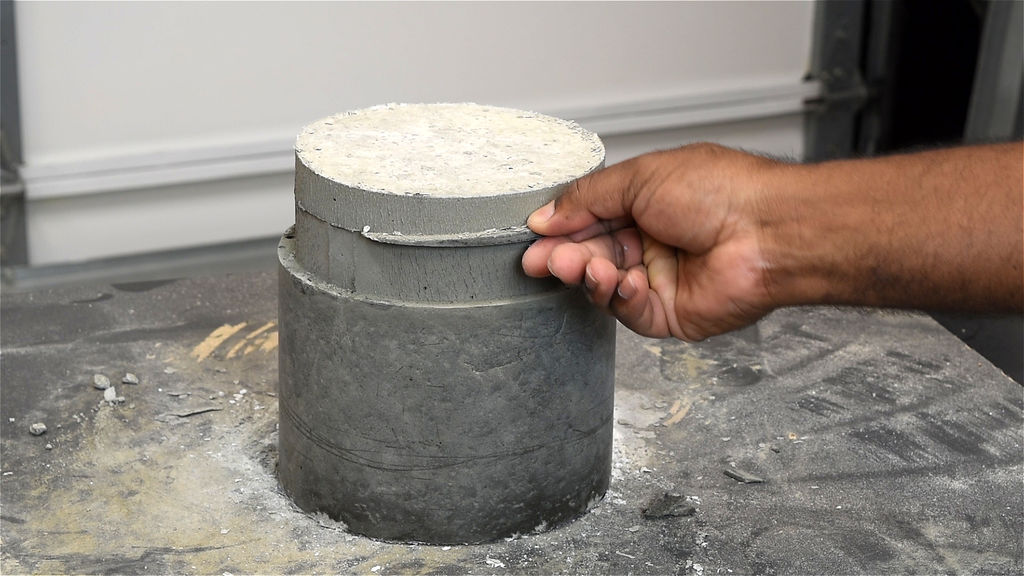
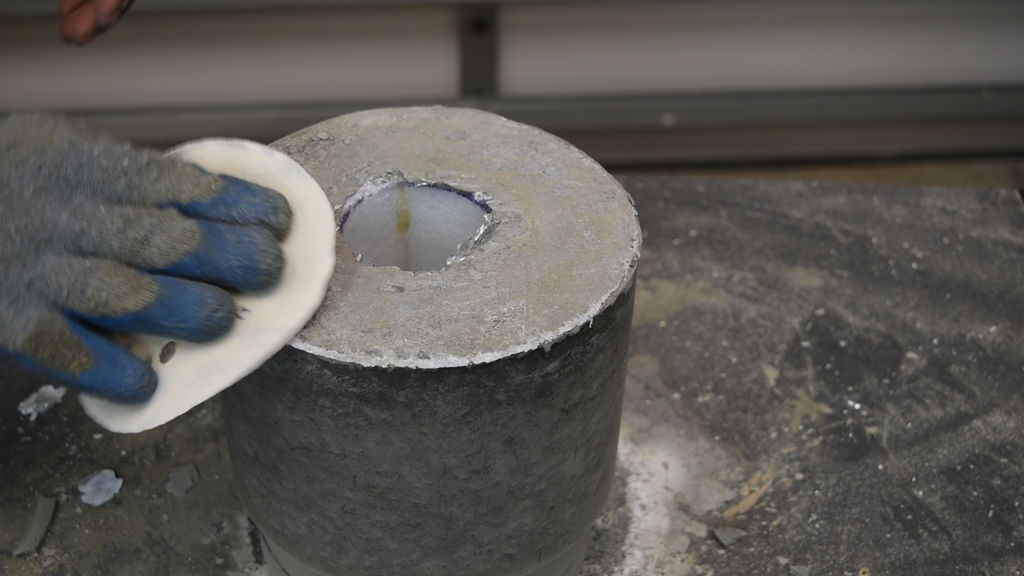
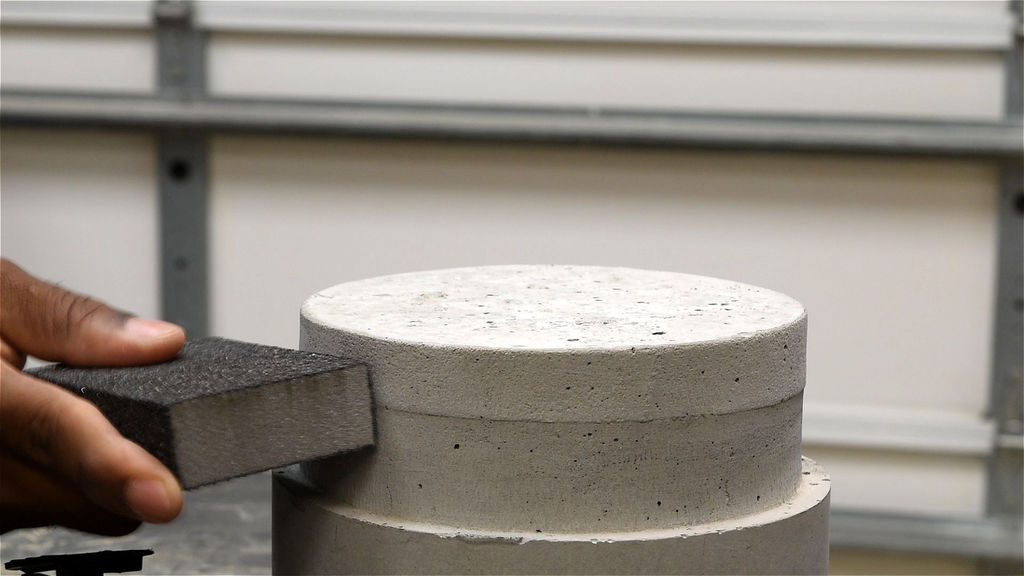
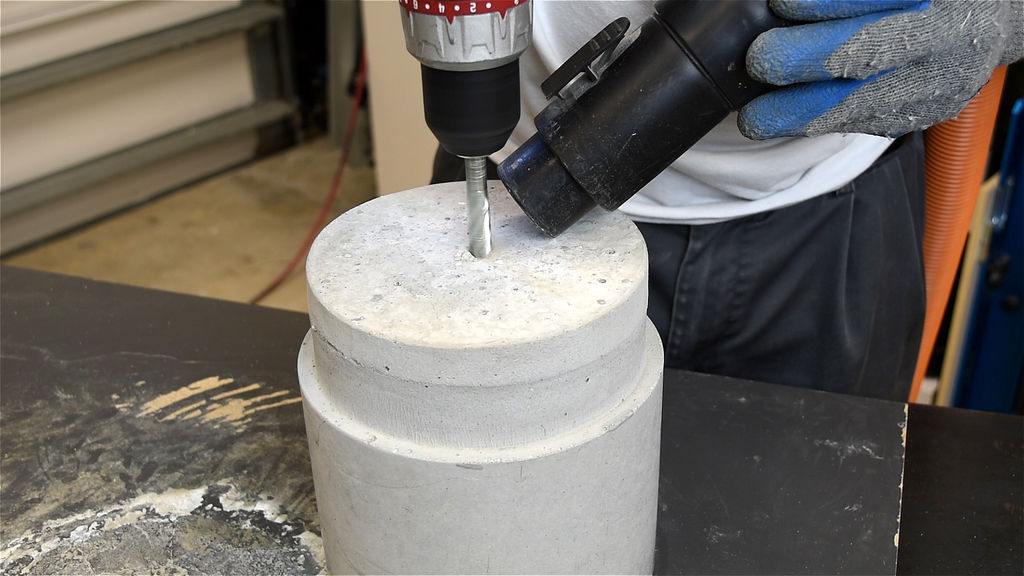
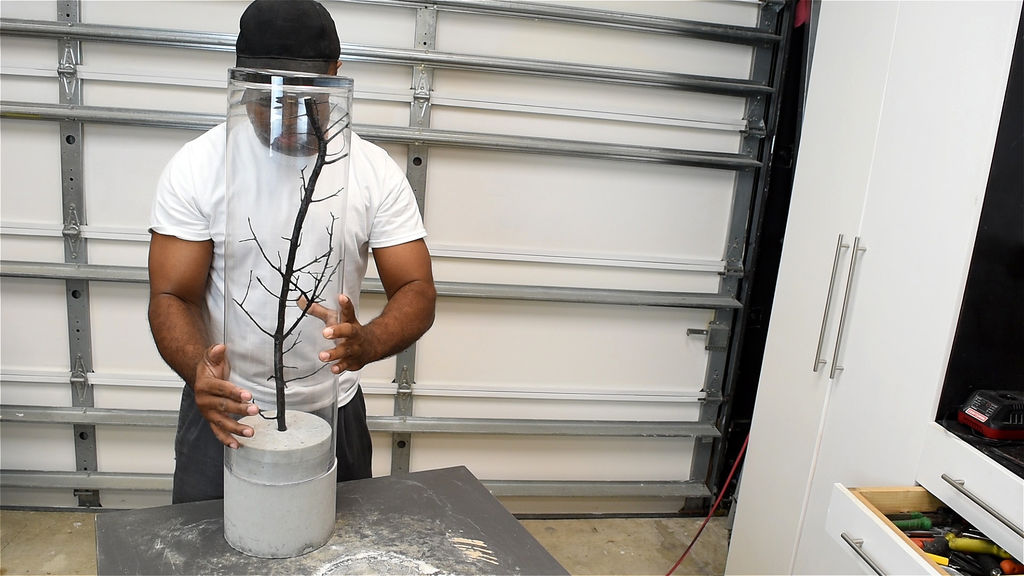
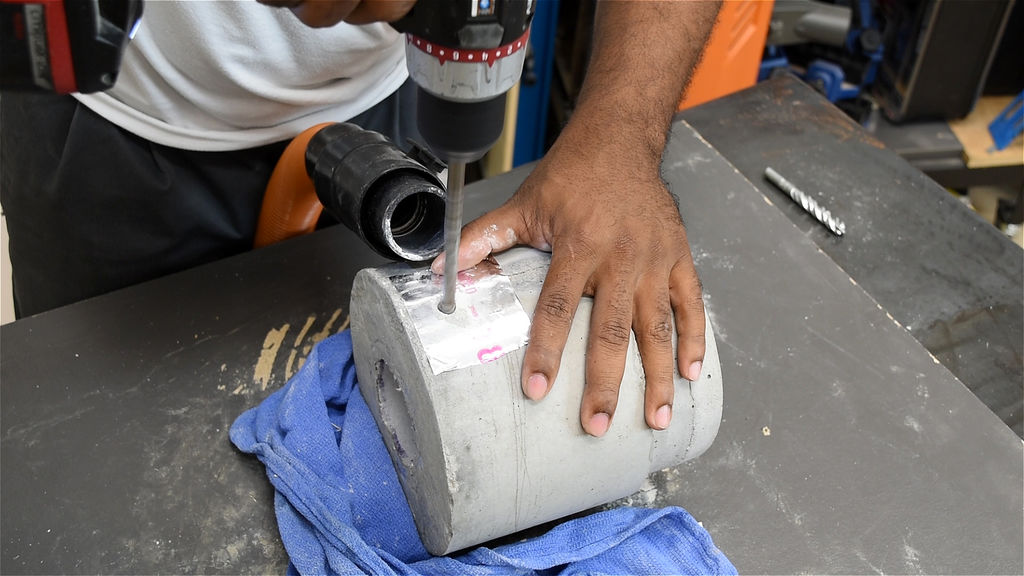
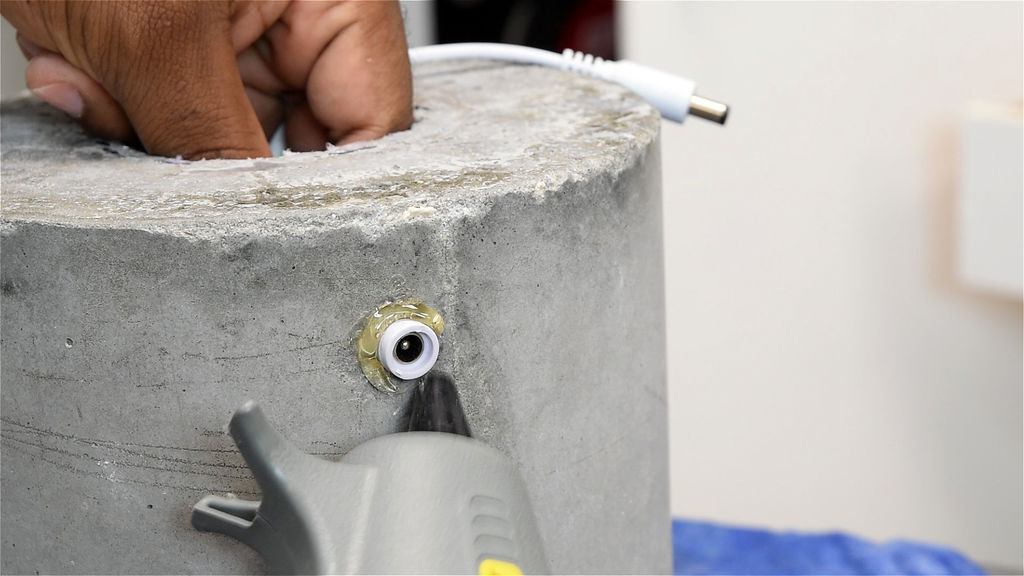
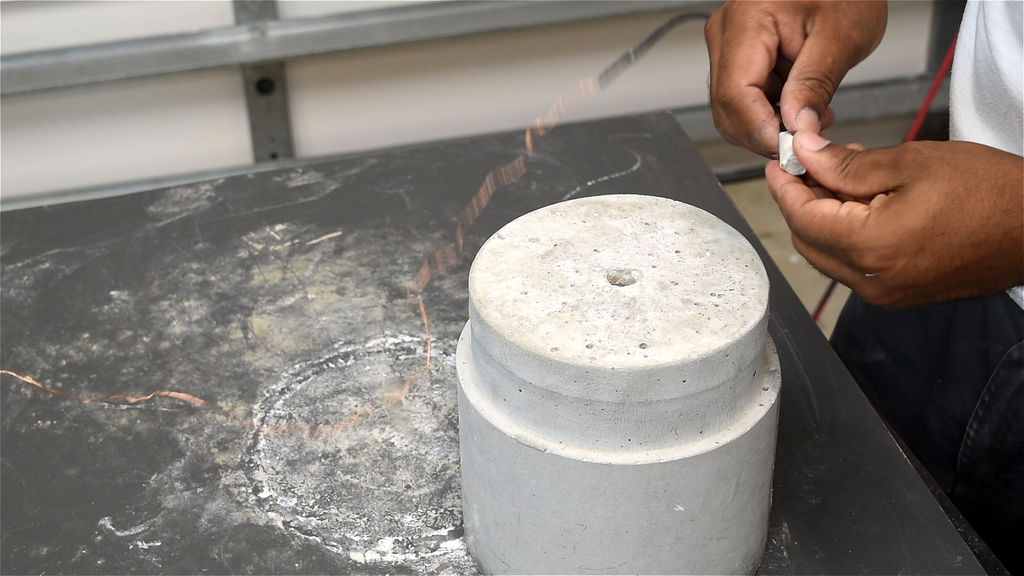
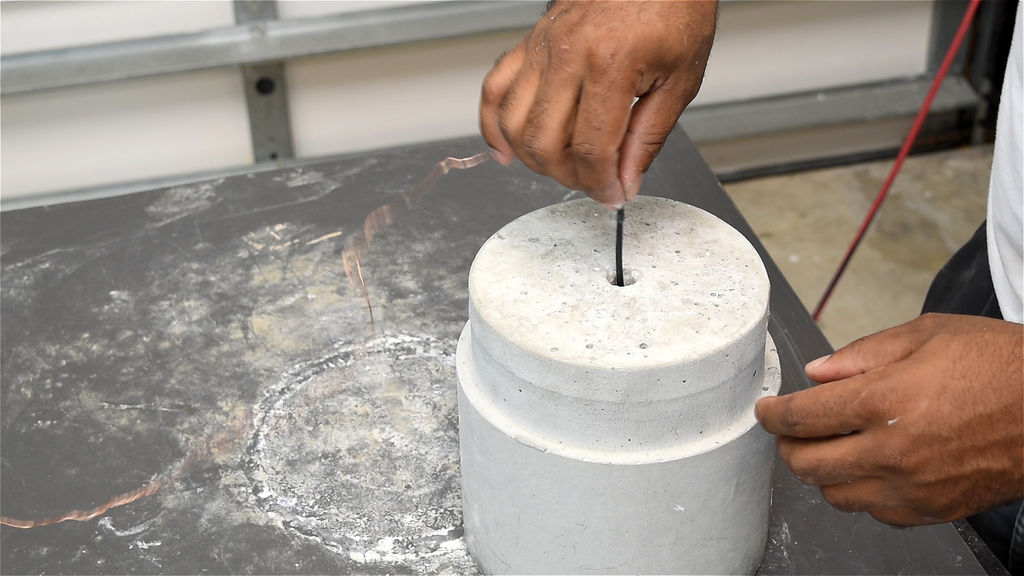
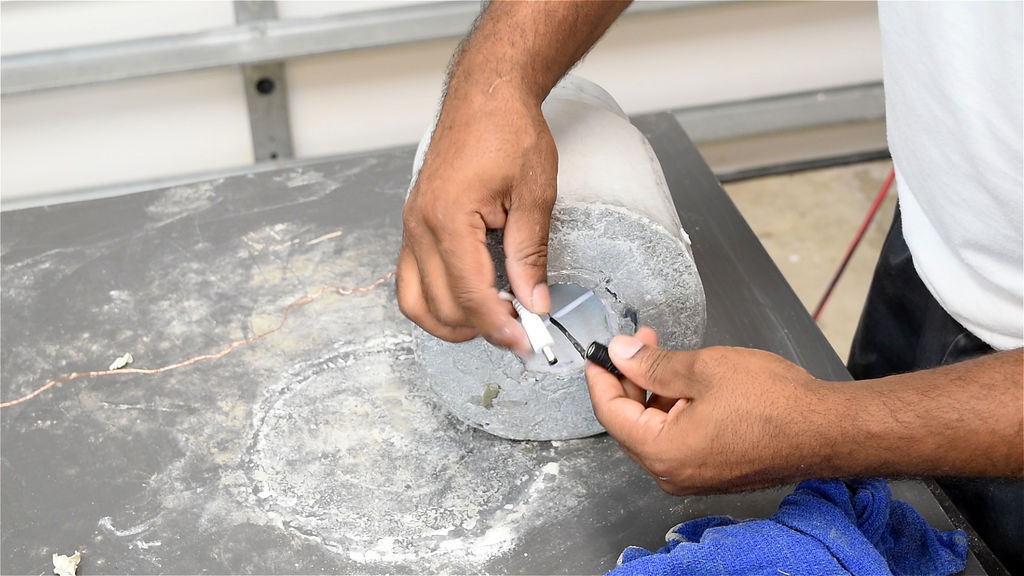
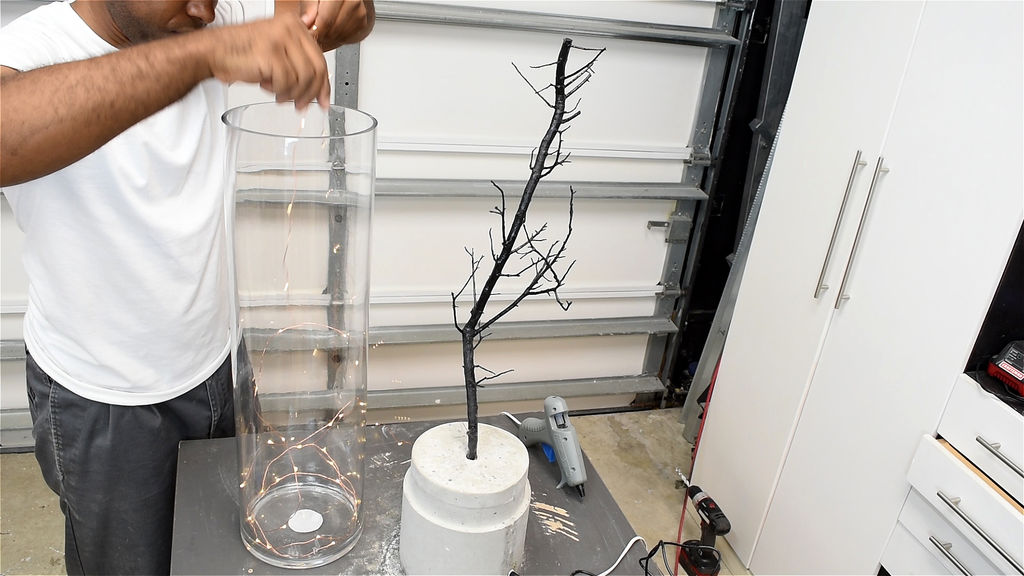
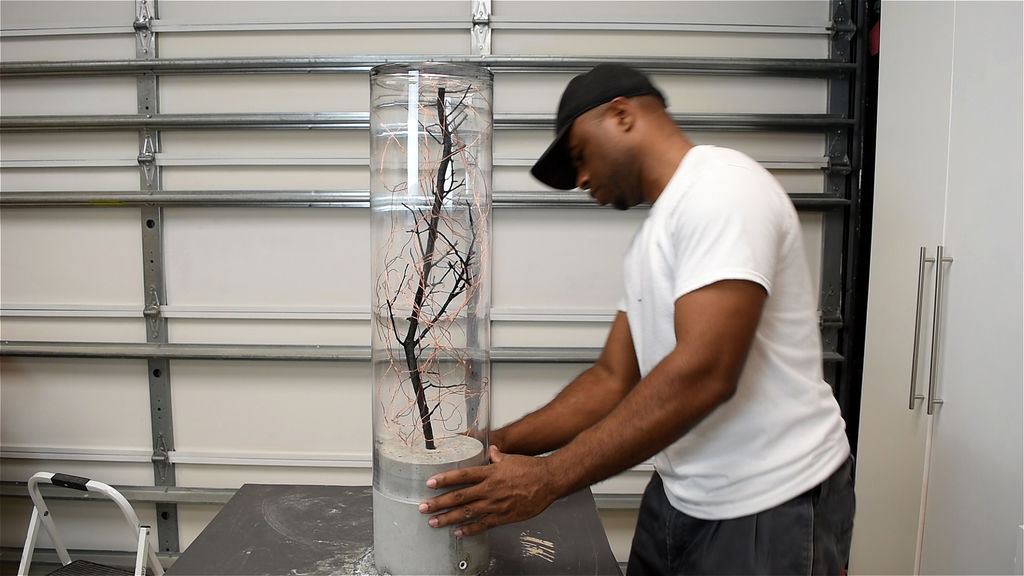
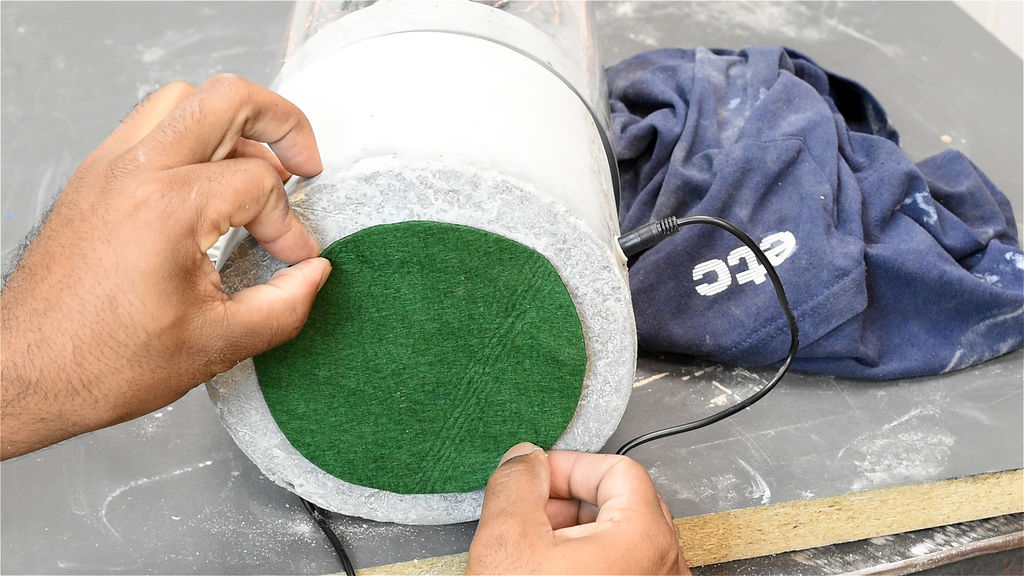
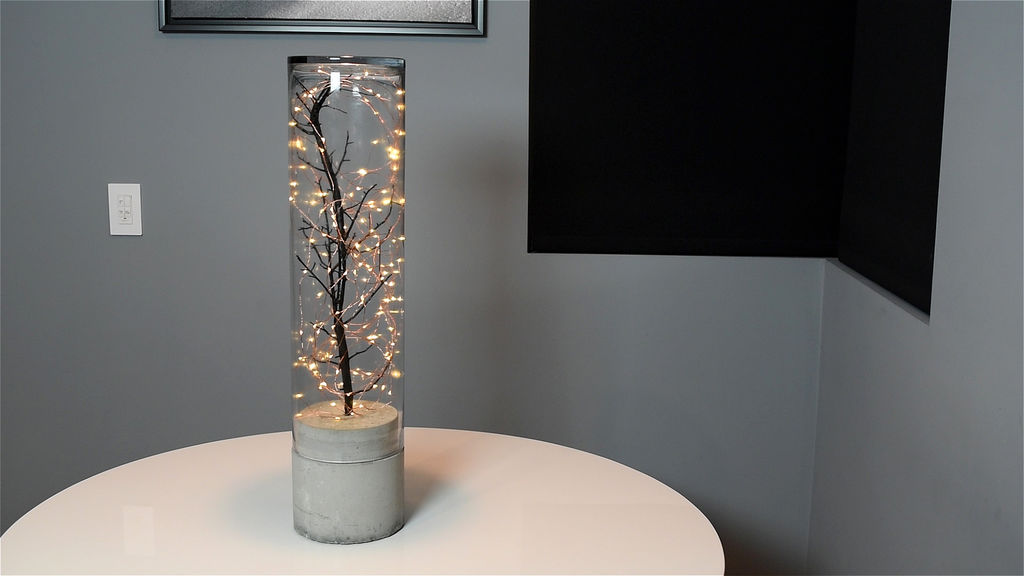
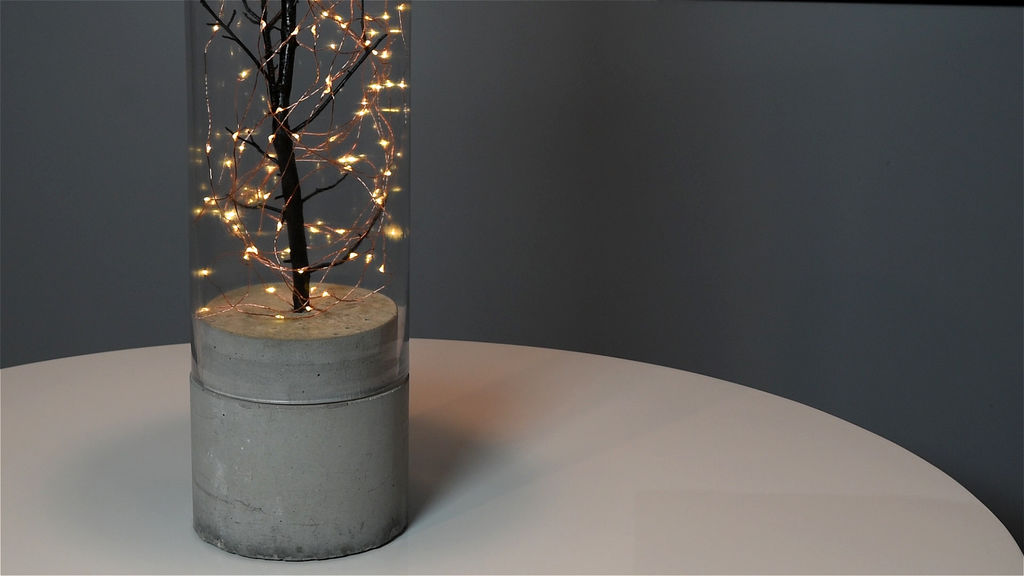
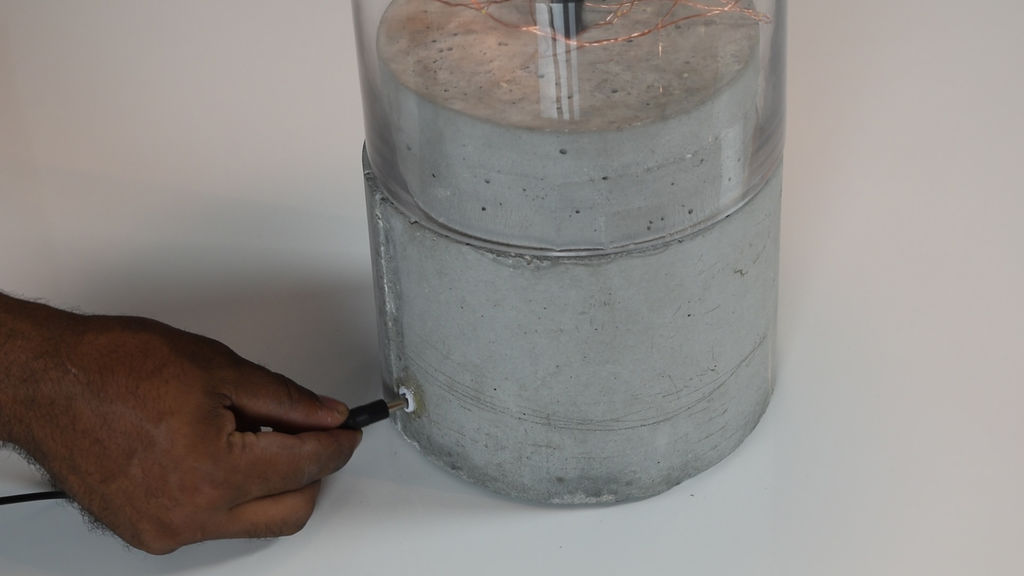
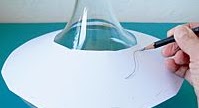
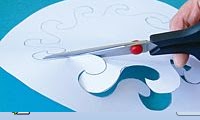
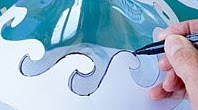
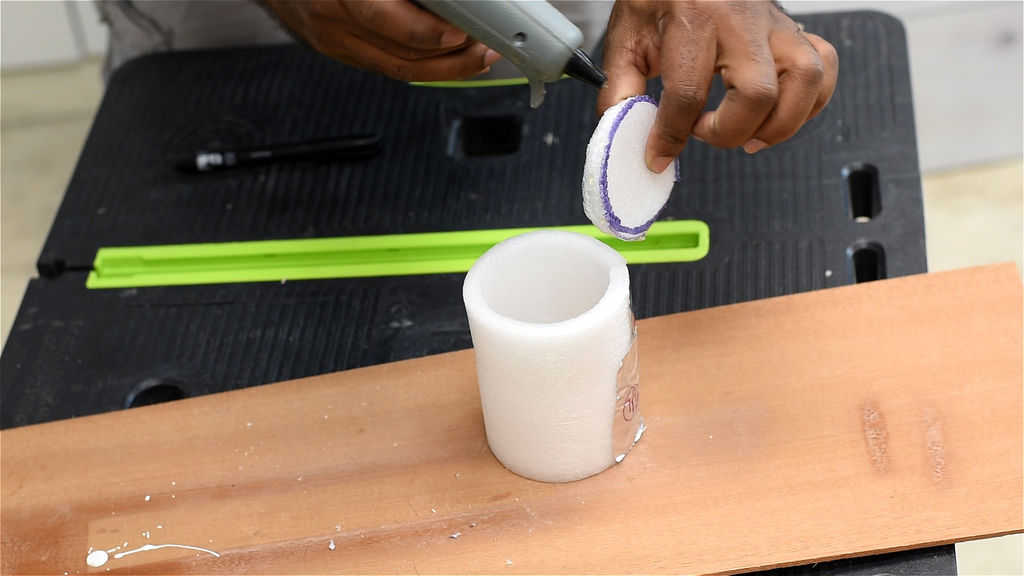 Creating the Concrete Form:


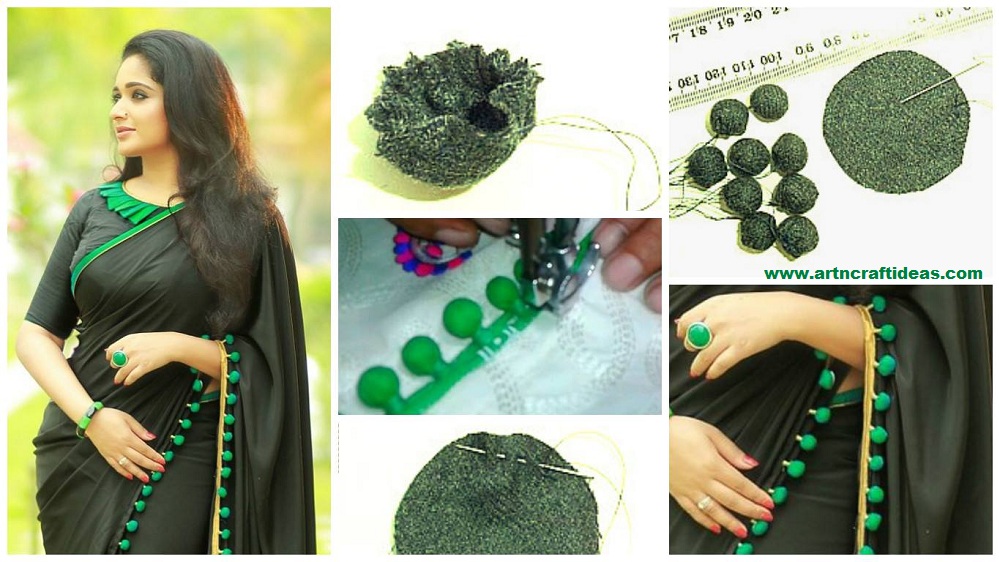

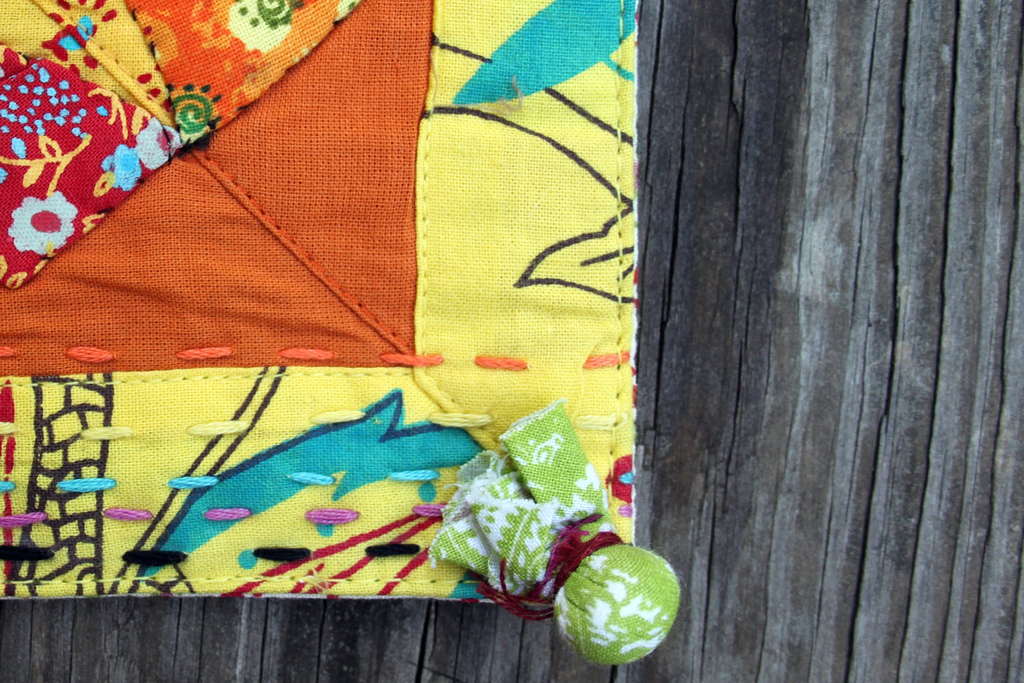
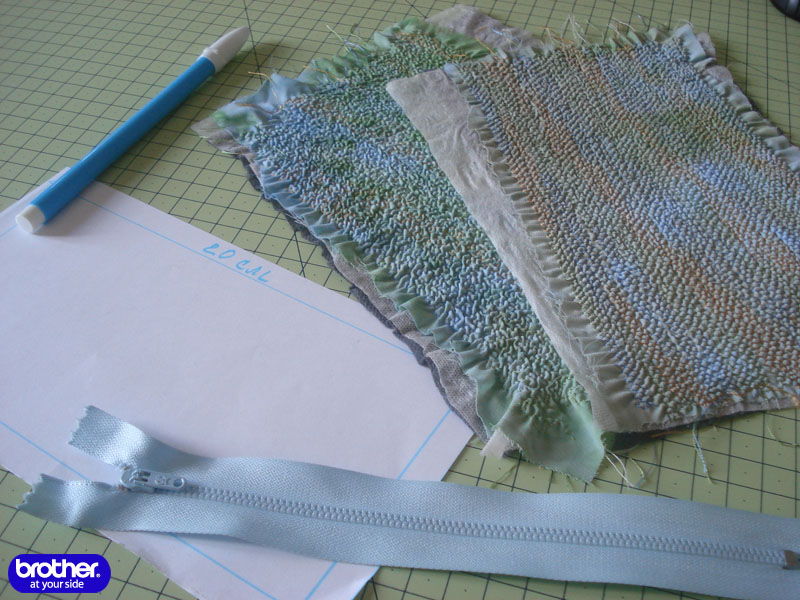
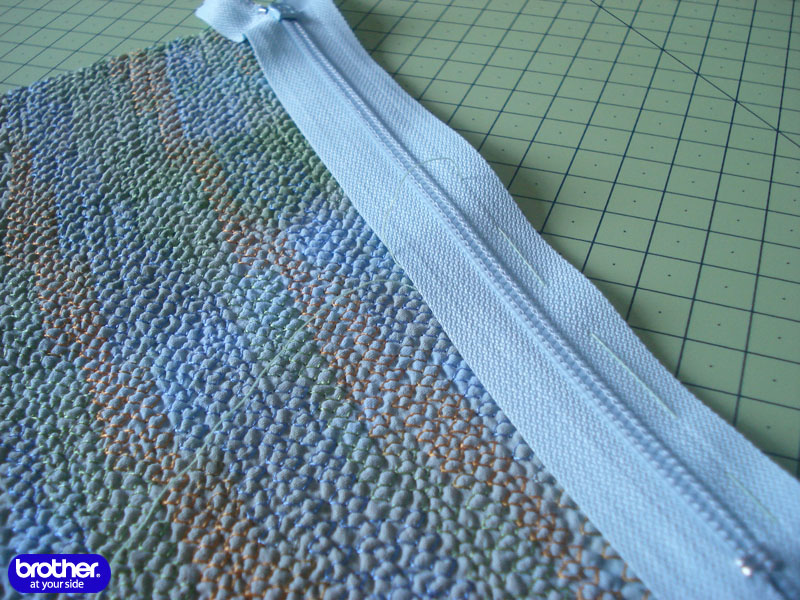
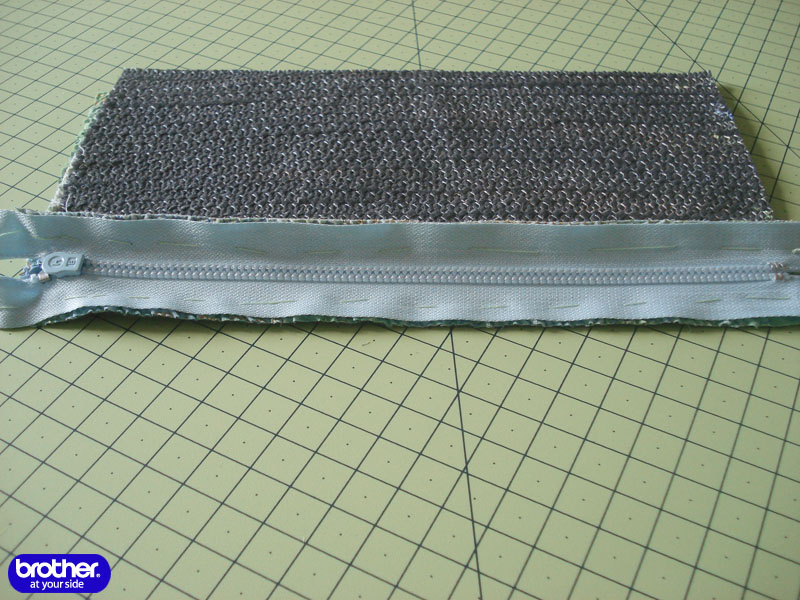
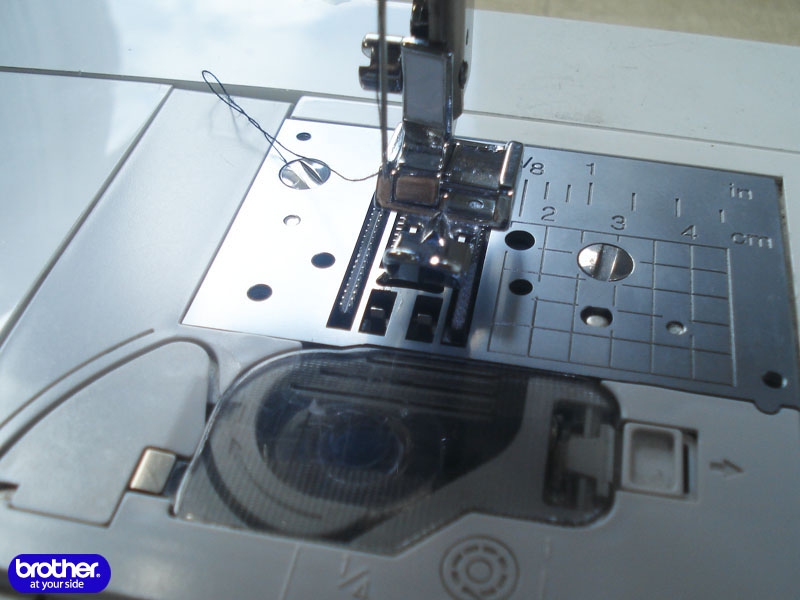
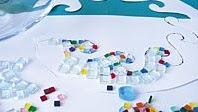
 What you’ll need : :
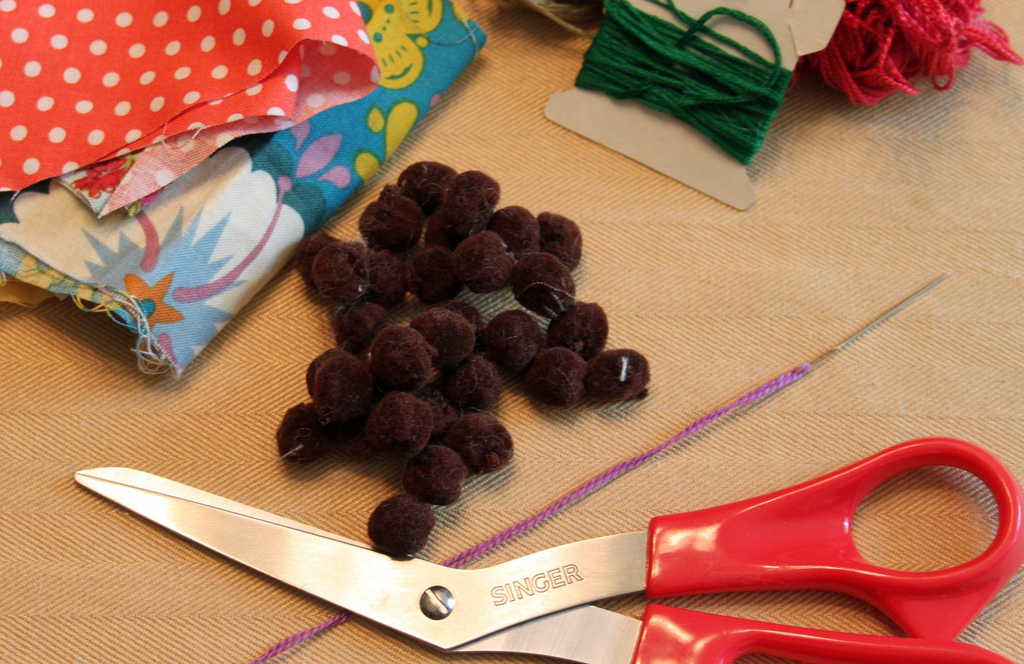 Making the Fabric Pompoms : :
 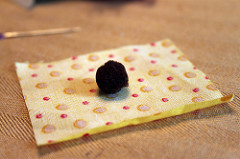 2. Fold the edges of the fabric up around the pompom
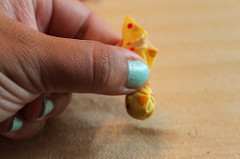 3. Wrap the floss around the fabric right above the pompom
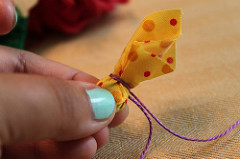 4. Knot thread ends together well, trim, and trim the fabric ends even
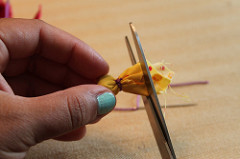 Continue making your Fabric Pompoms until you have the amount you need.
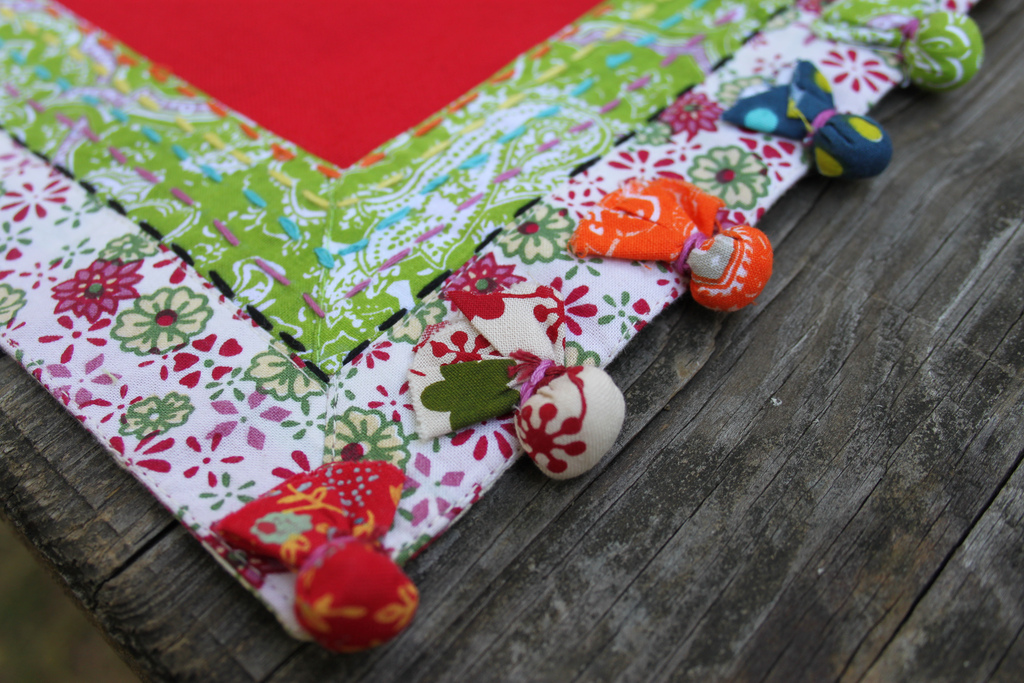
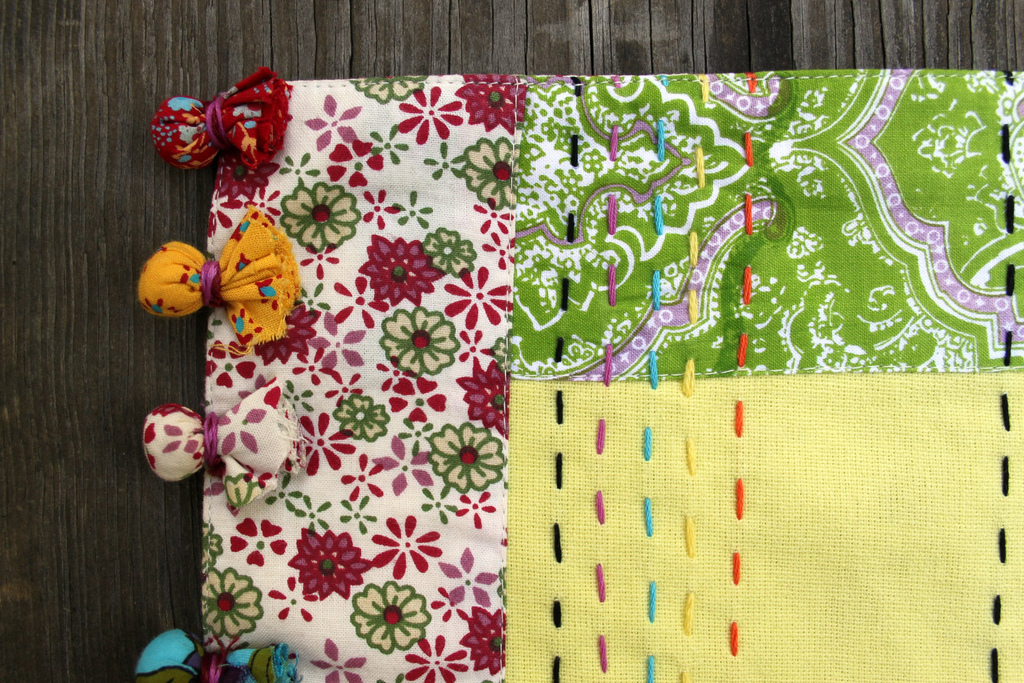
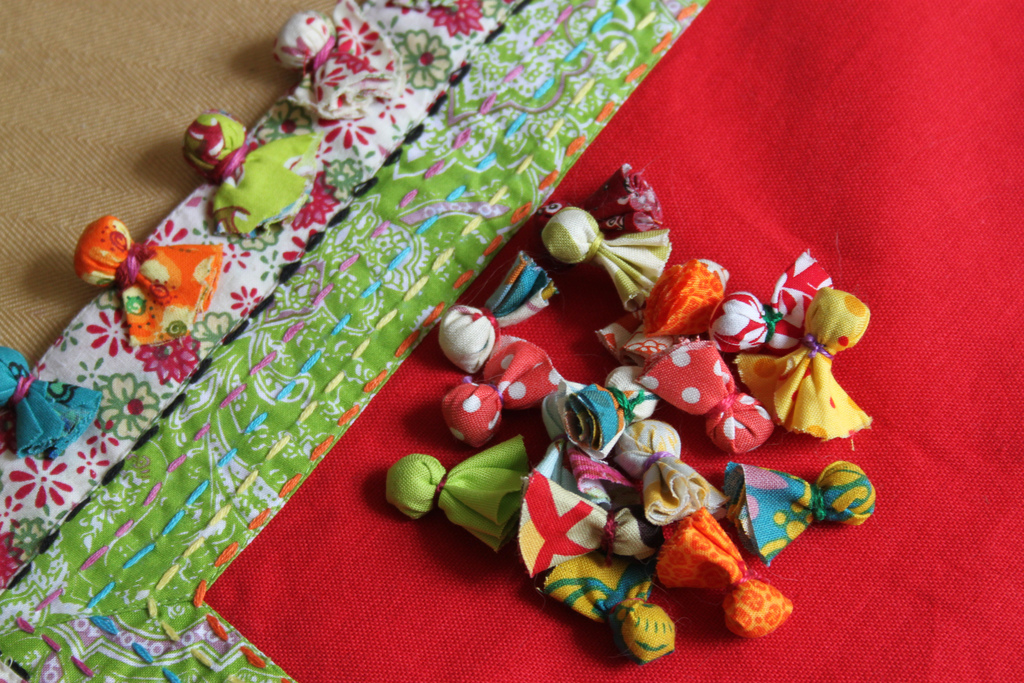 Fabric Pompoms Details : :
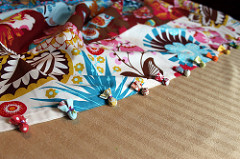 2. Place the Fabric Pompom onto the item
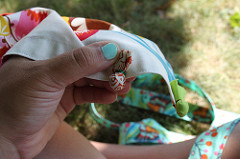 3. Using a needle threaded with floss and knotted at one end, insert the needle at one side of the pompom pulling up through the back of the fabric item
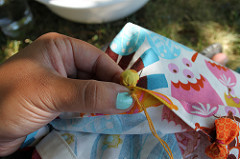 4. Pull thread all the way through until it catches the knot
 5. Insert the needle on the other side of the pompom, pulling back though the fabric so the floss is holding the pompom tightly in place
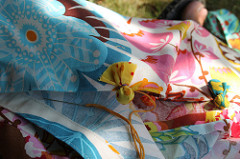 6. Knot well, close to the fabric, and trim away excess floss
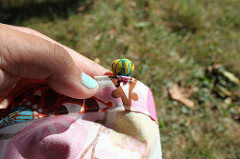 Continue until all of your Fabric Pompoms are attached.
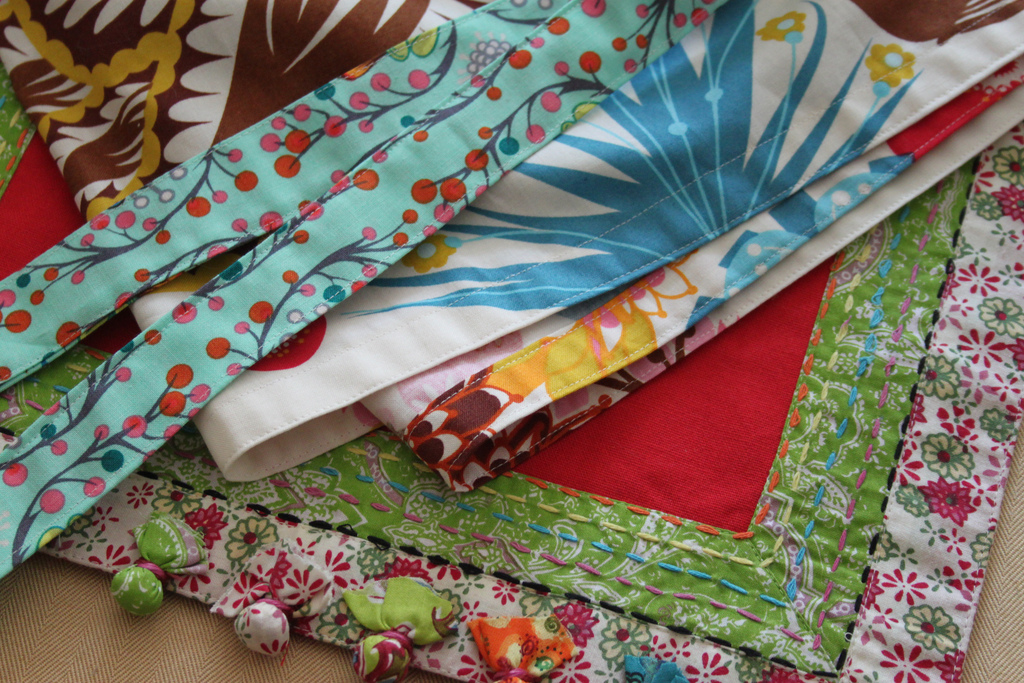
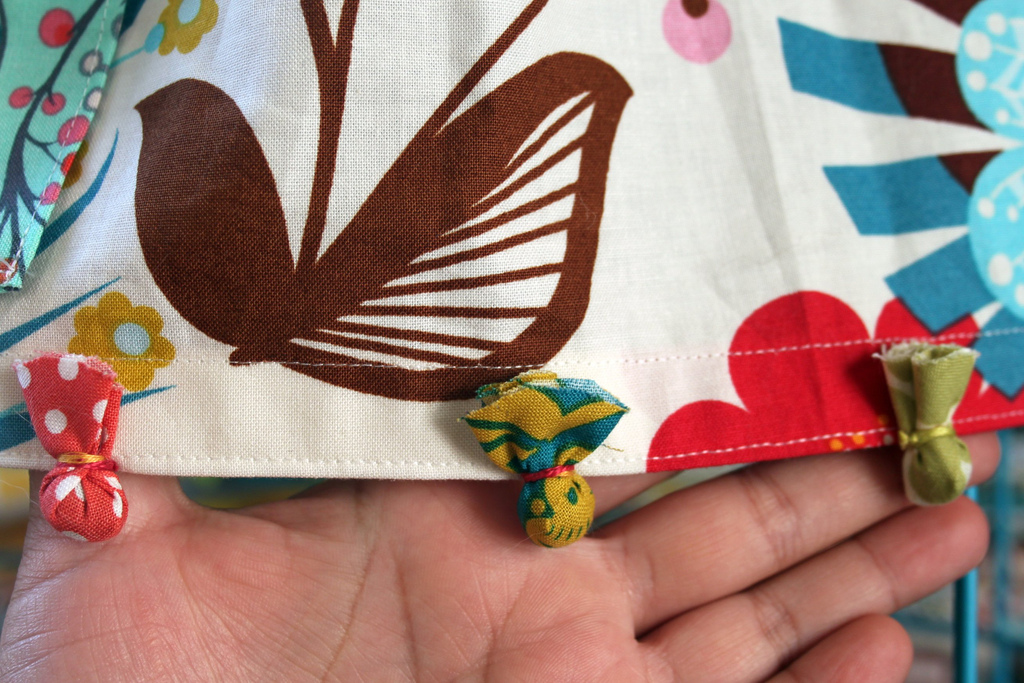 Voila! You’re finished!
 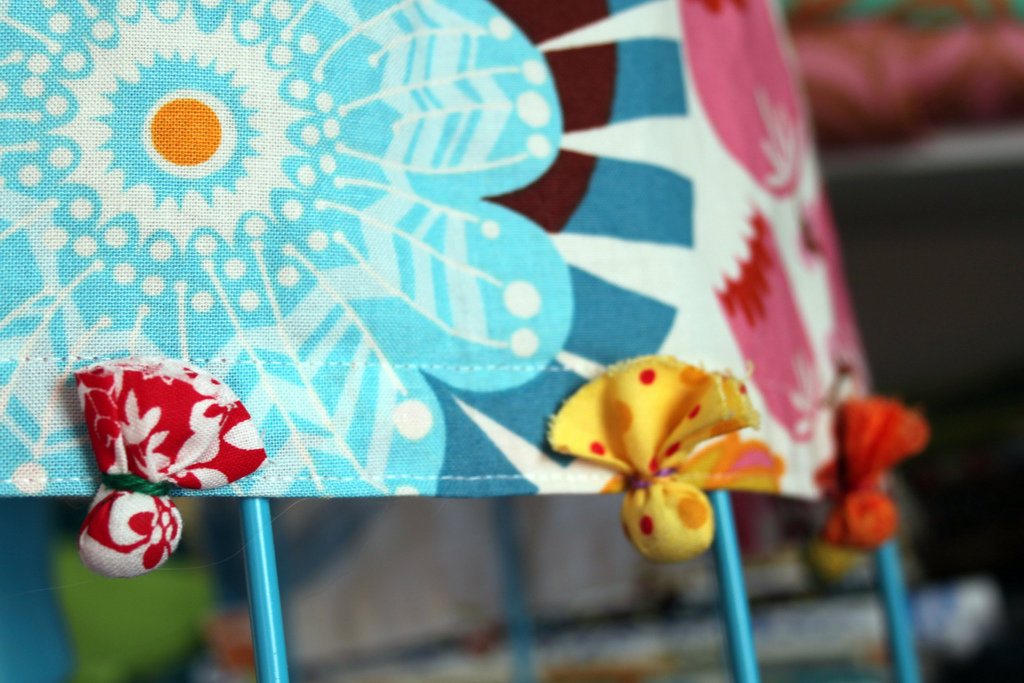 Variation ideas : : You can reverse how you attach them so only the Fabric Pompom ball is showing for a less funky look. You can add them to a pillow this way or attach these just as you would purchased pompom fringe. Here is an example of that on a pillow of mine from Pier1.
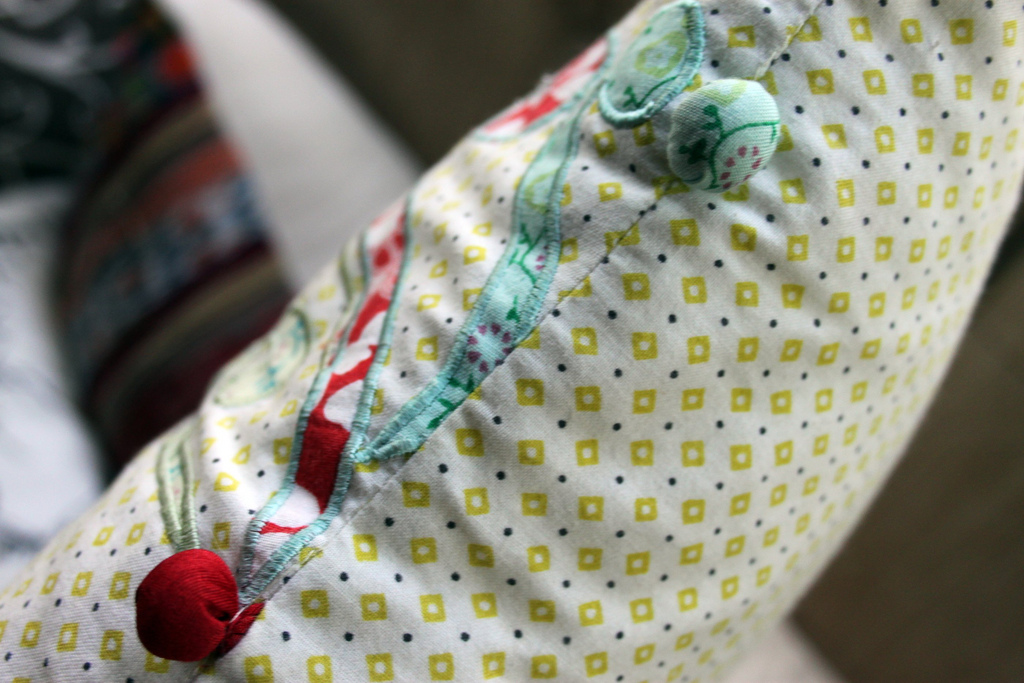
 I hope you enjoy this tutorial!!! This Fabric Pompom detail is something I’ll certainly be adding to the edges of many of my own handmades!


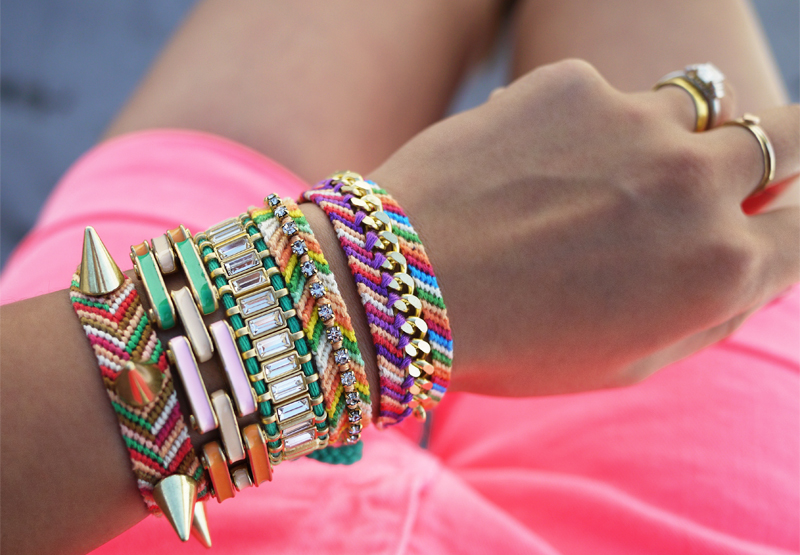
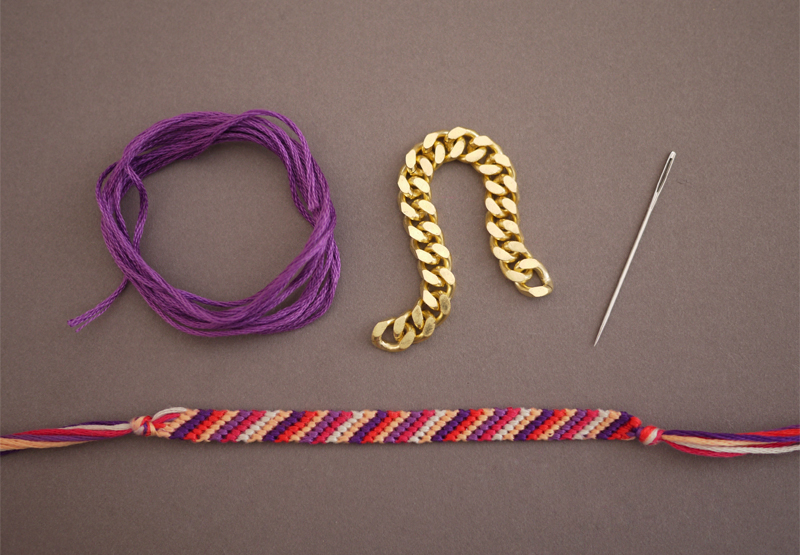
 Thread the needle with embroidery floss and tie the end into a double knot. Push the needle through the back of bracelet. Lay the rhinestone chain along the middle of the bracelet, using the chevron pattern as a guide.
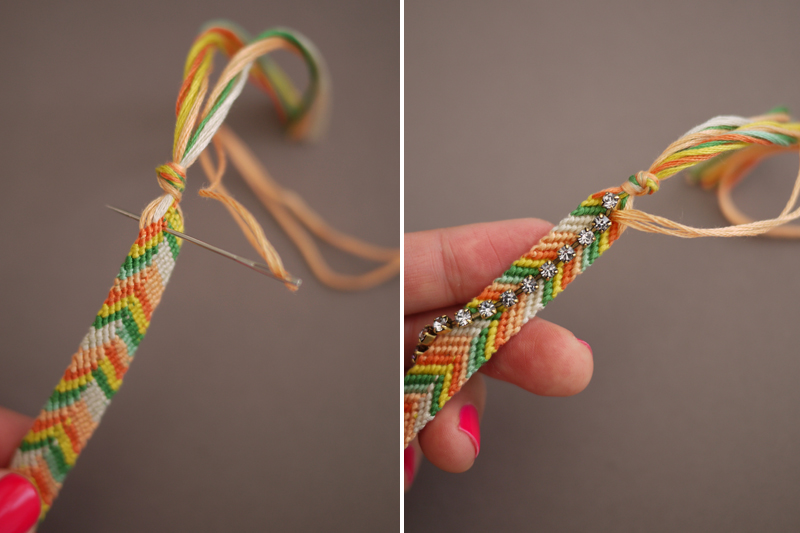 Stitch the floss between the first two rhinestone links, pushing needle out the middle of the bracelet. Bring the needle back through the middle, this time further down between the second and third links.
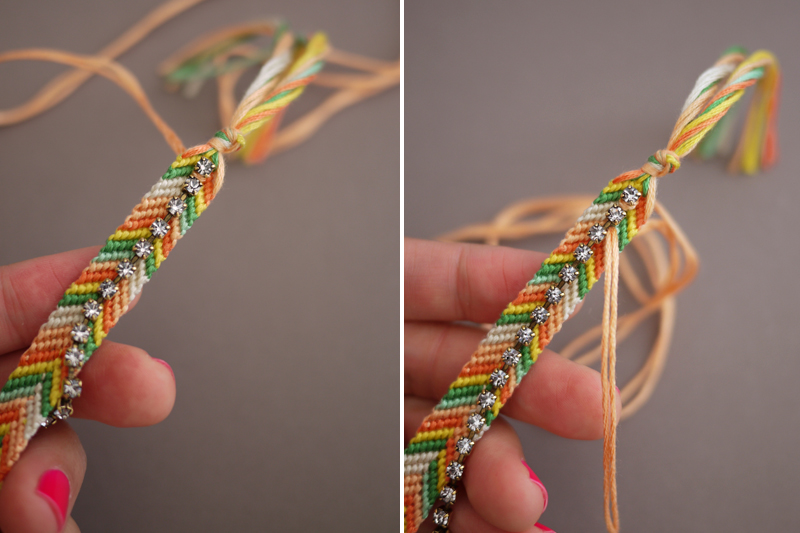 Continue stitching between the rhinestone links. After the very last stitch, tie a double knot on the backside and trim the ends.
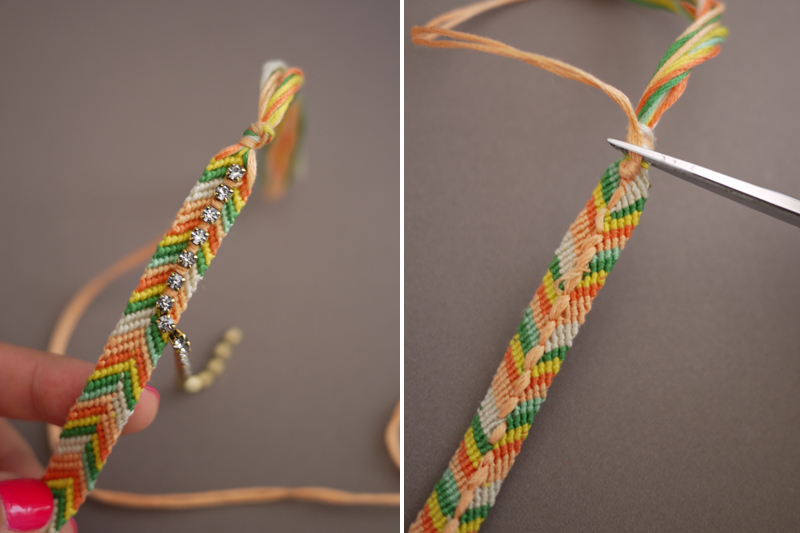 Your friendship bracelet is sparkling and finished!
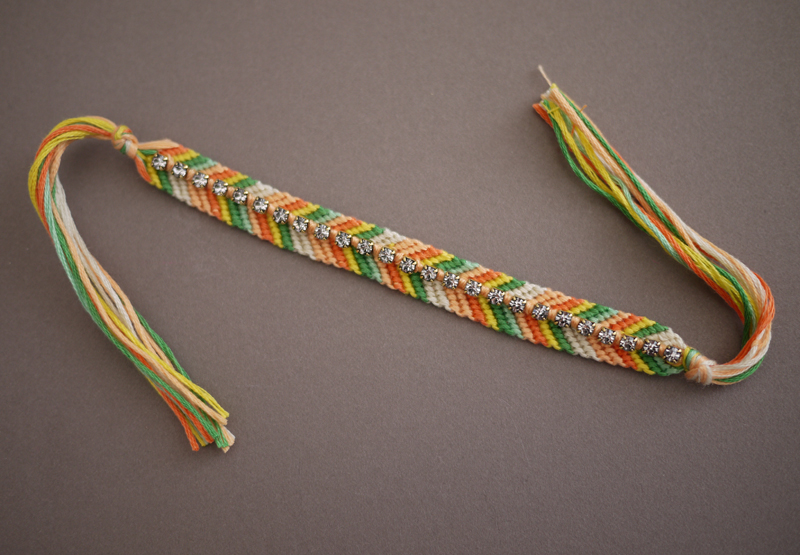
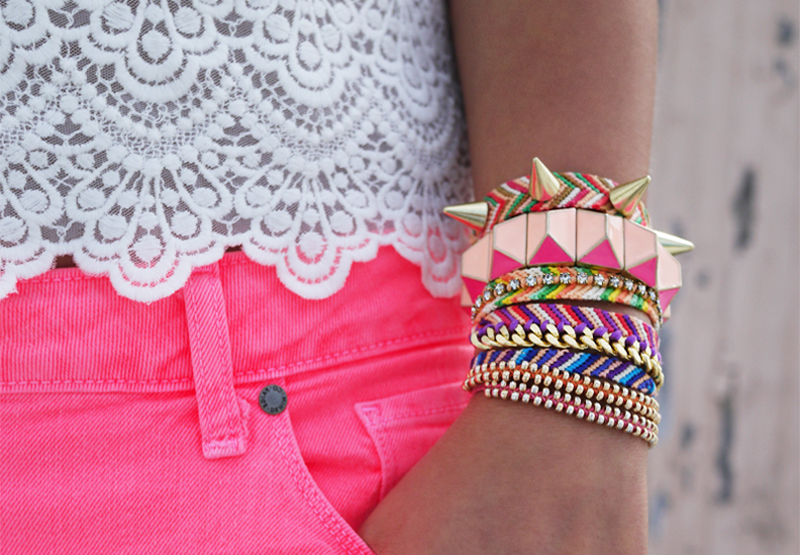
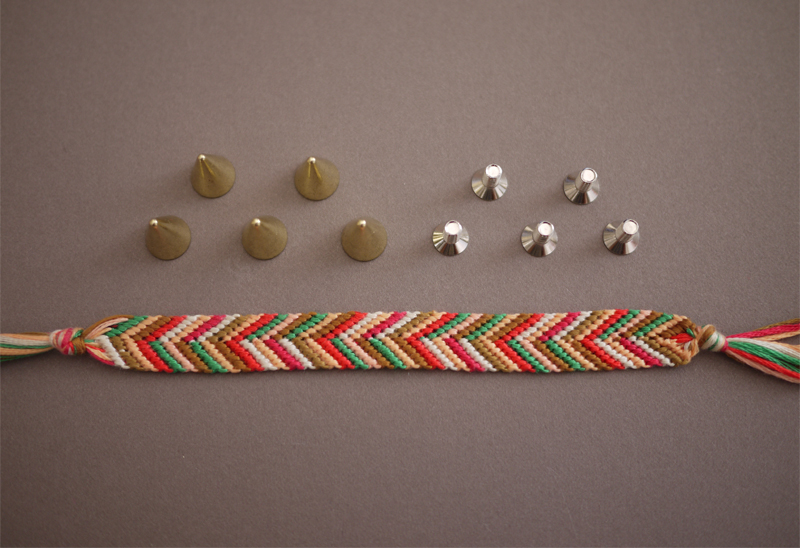 Use a Sharpie or marker to make 5 evenly spaced marks along the middle of the friendship bracelet. From the backside, push the point of the scissors through the mark to create a hole.
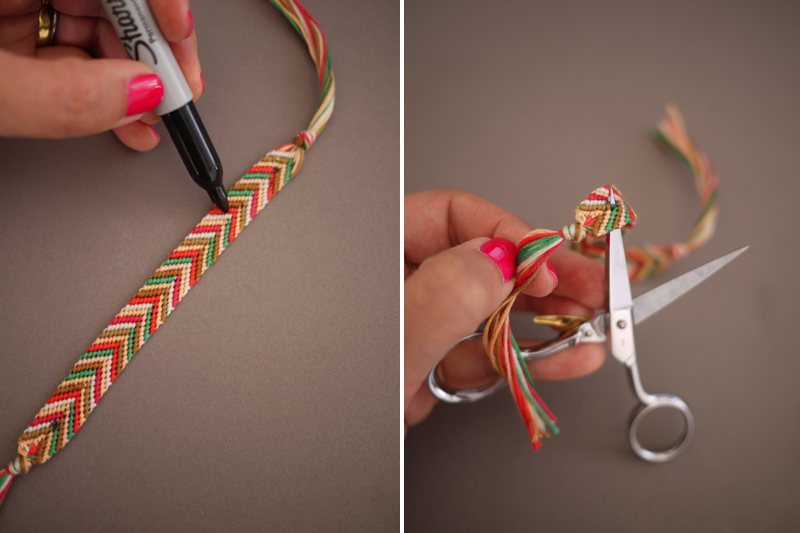 Push a screw through the hole. Twist the coned spike onto the screw and use a screwdriver to tighten.
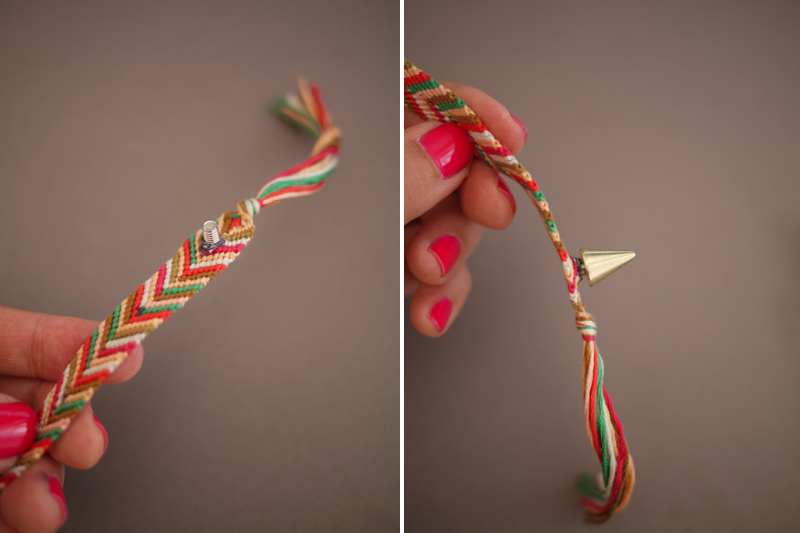 Repeat the steps with the rest of the spikes. Voila! Your friendship bracelet has a spiked spine.
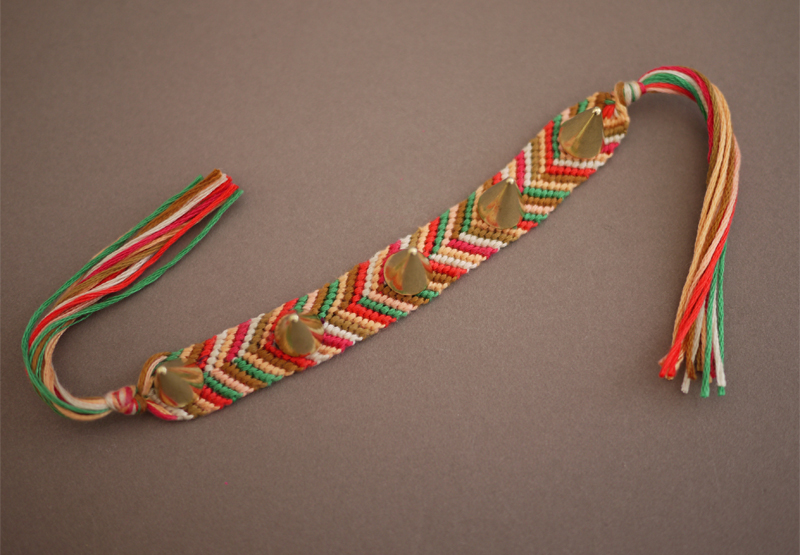
 Thread the needle with embroidery floss. Untie one end of the friendship bracelet and re-knot it with the tail of the threaded embroidery floss. Push the needle through the outer edge of the backside of the bracelet.
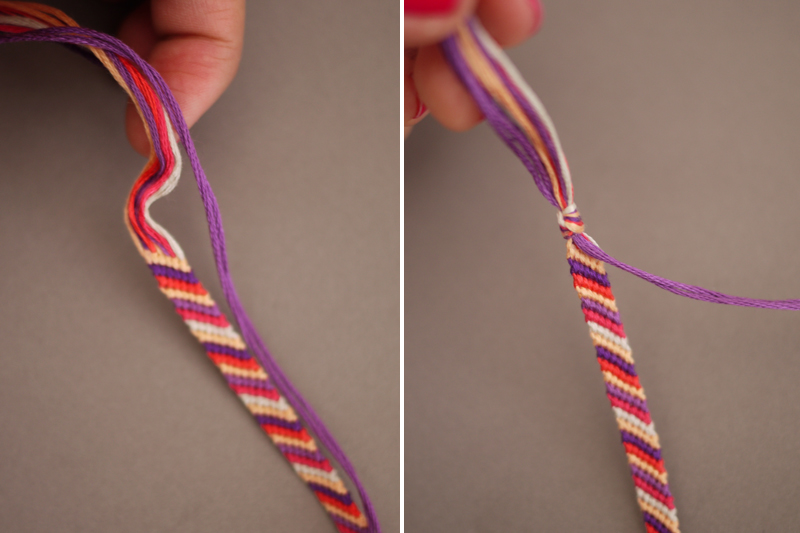 Lay the chain flat, against the edge of the bracelet. Thread the needle over and through the first link. Push the needle though the backside about two rows down. Depending on the width of each link, the row count may vary.
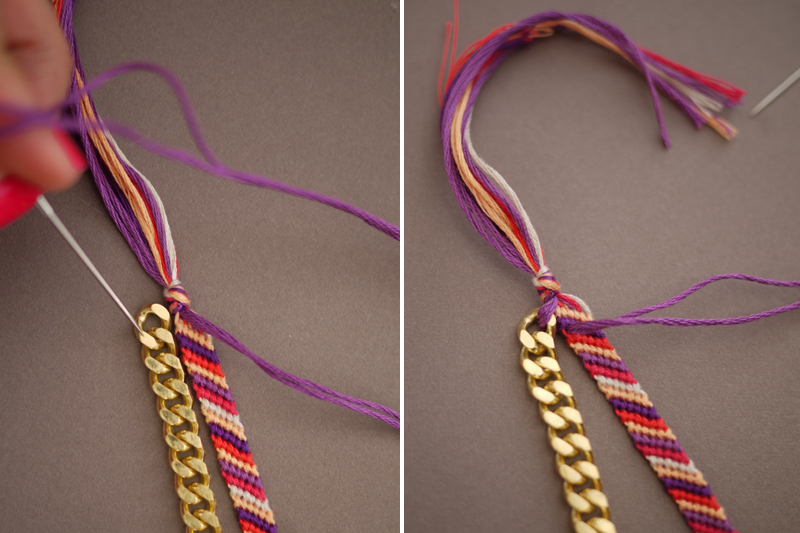 Keep stitching. Make two stitches around the last link, untie the knot and re-knot with the last of the floss. Trim away any excess.
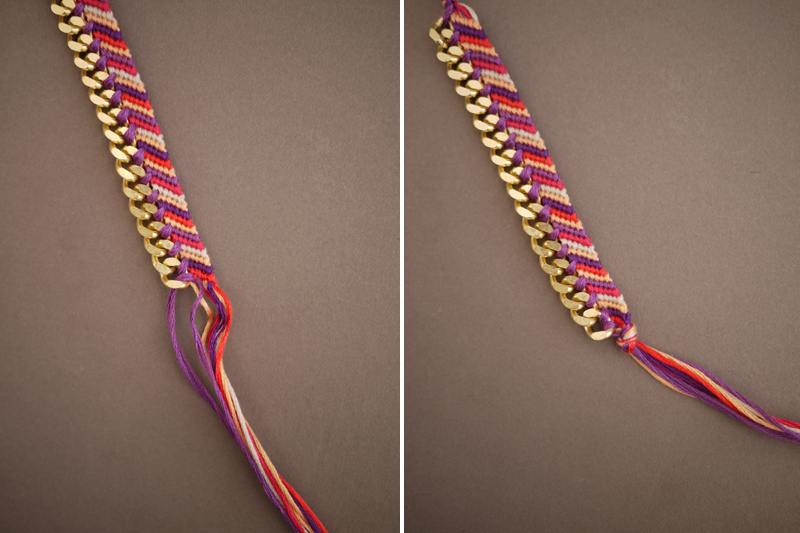 Your chain trimmed friendship bracelet now has an edge – how simple was that?
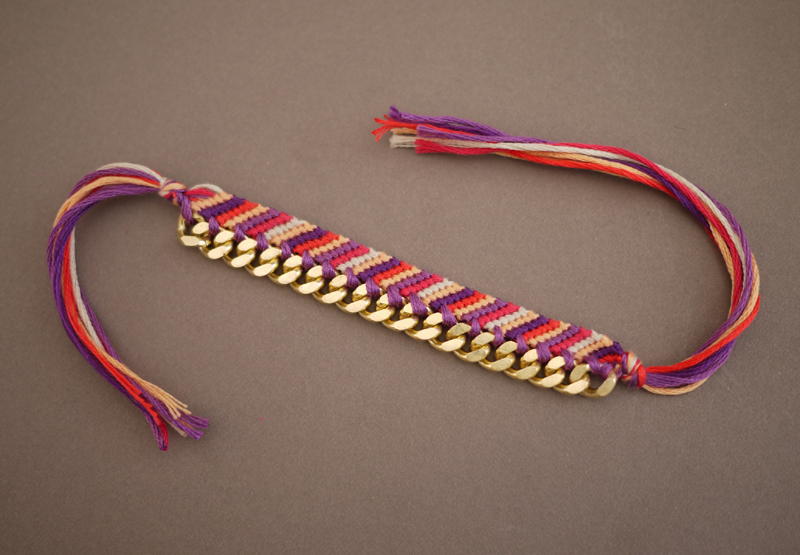 Stack ’em, give ’em away and you’re officially ready for summer.
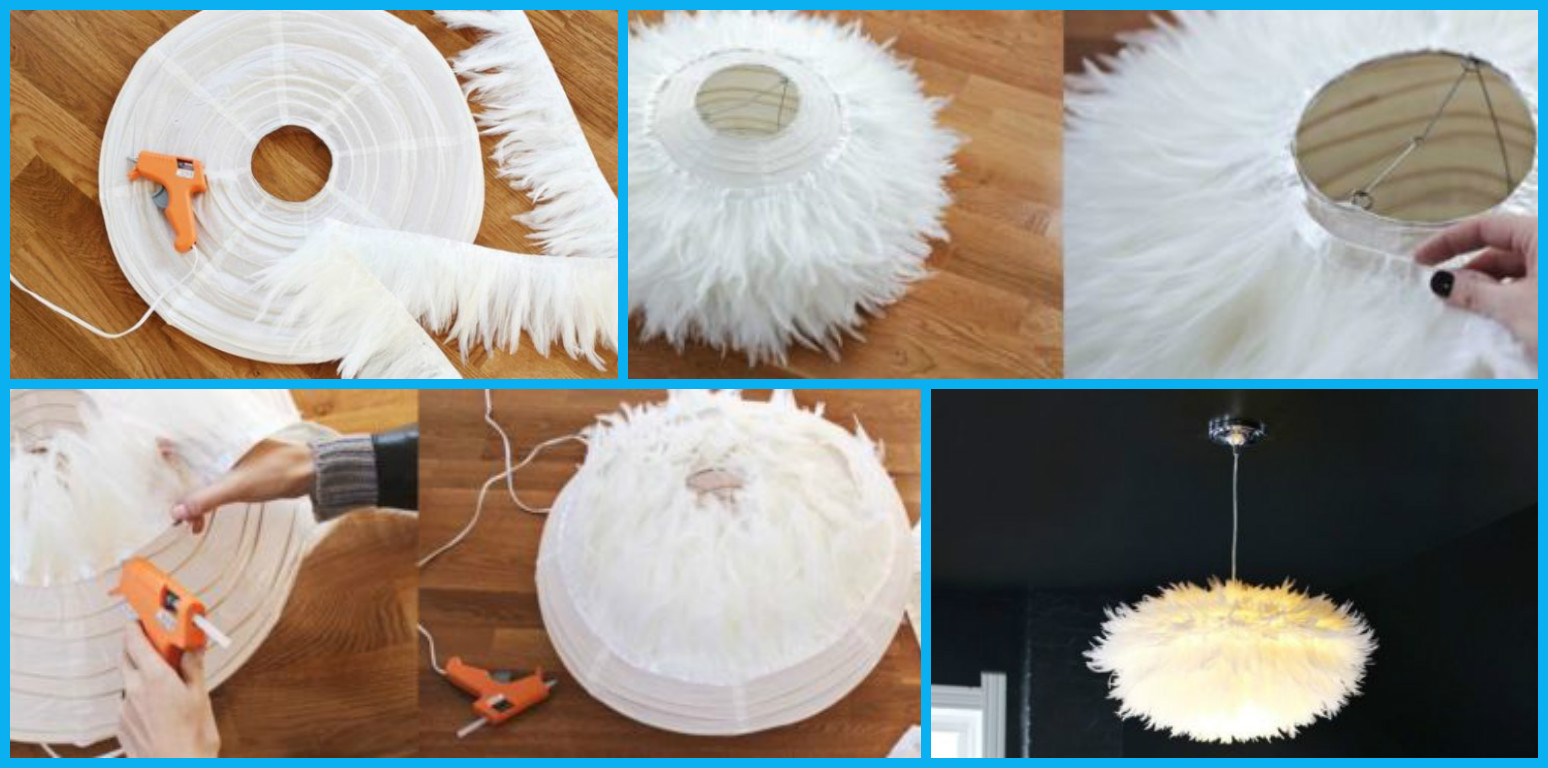
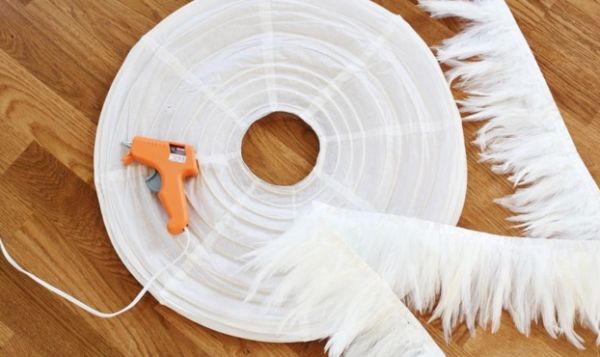 Then, apply a dab of hot glue near the edge of the bottom of your lamp of rice paper. Then position the tip of the cord down on the glue and start to stick the cord around the entire edge of a rice paper lamp, but letting the foot down, to make a good finish at the end of their work. Follow pasting your down cord around the bottom edge of your paper lamp rice, making layers of tightly closed and filled with feathers, not to let a glimpse of the color of your light fixture rice paper.
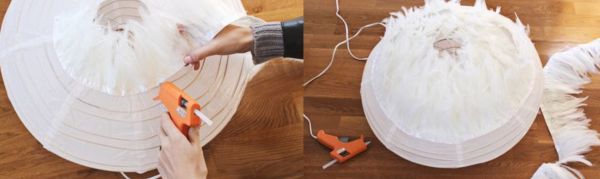 Soon after, follow pasting down cord around his rice paper lamp, well-filled way. When coming to the end, paste the cord down even more carefully, to make a good finish in his play.
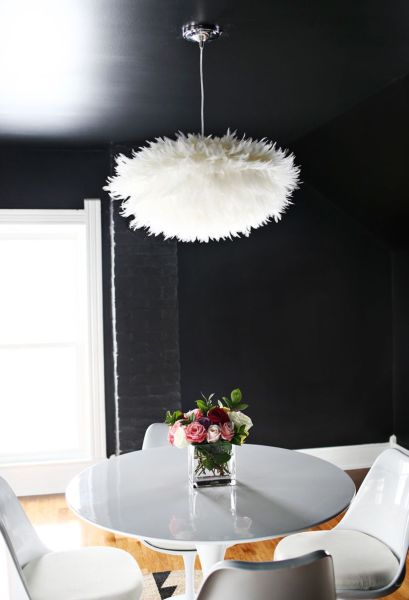
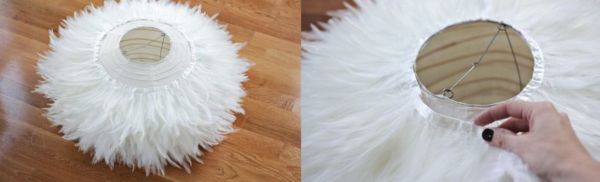 Now, to complete your customization lamp, finish paste the feather cord around the top edge of a rice paper lamp, cut the tip and glue the end doing a good finish. And you are done!
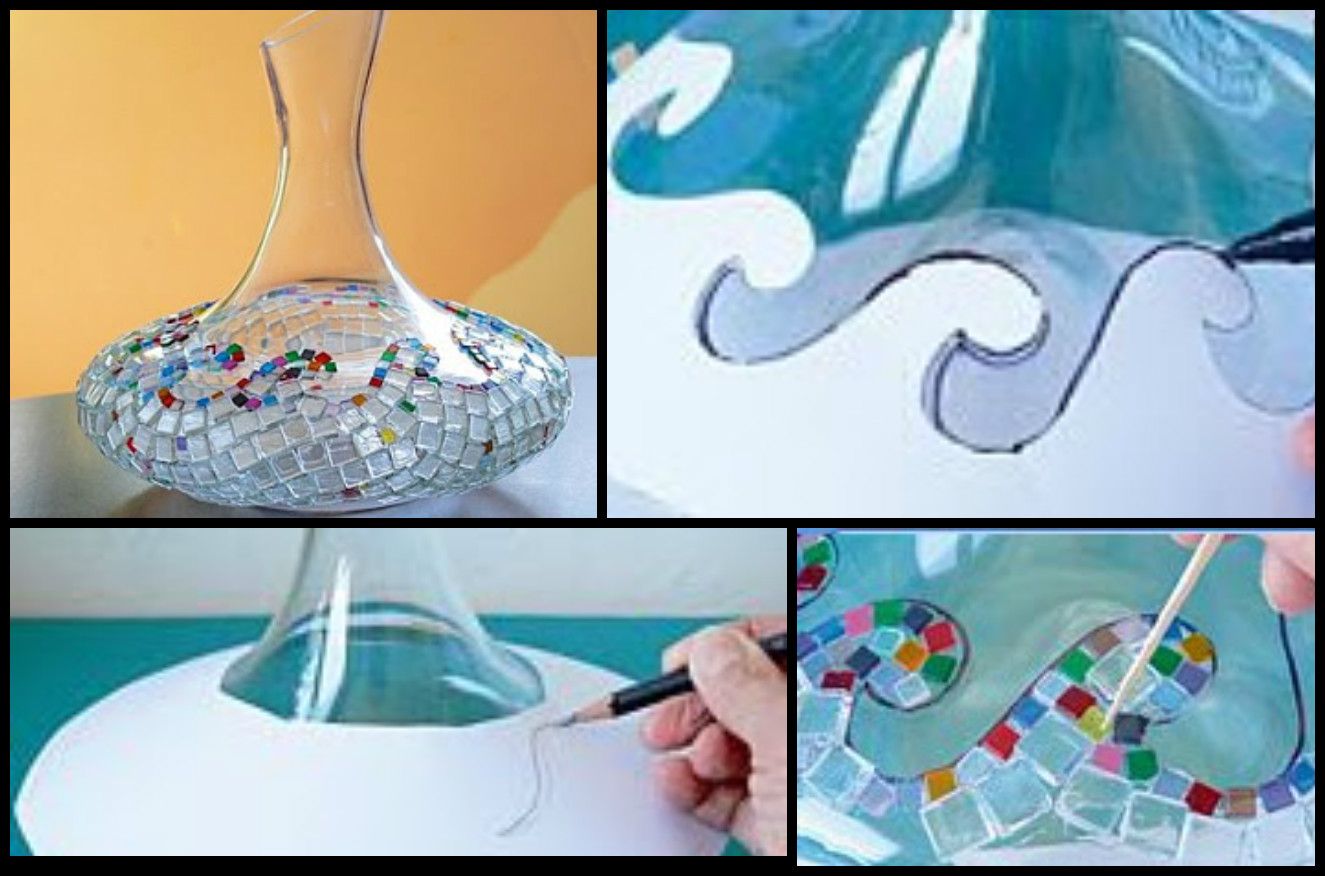
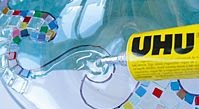
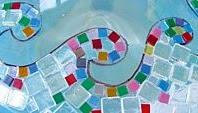
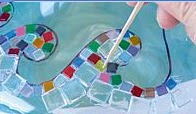
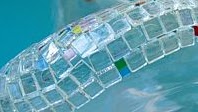

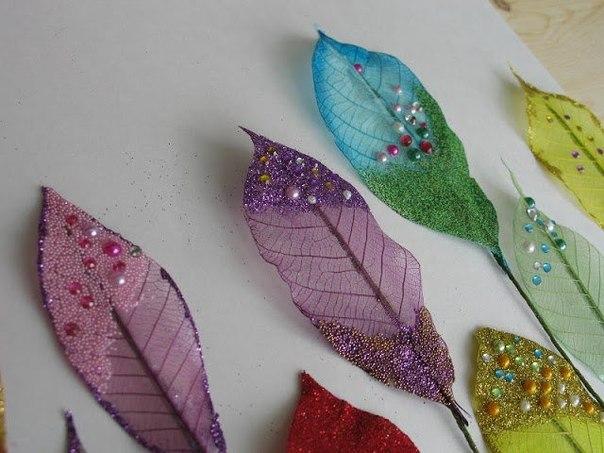
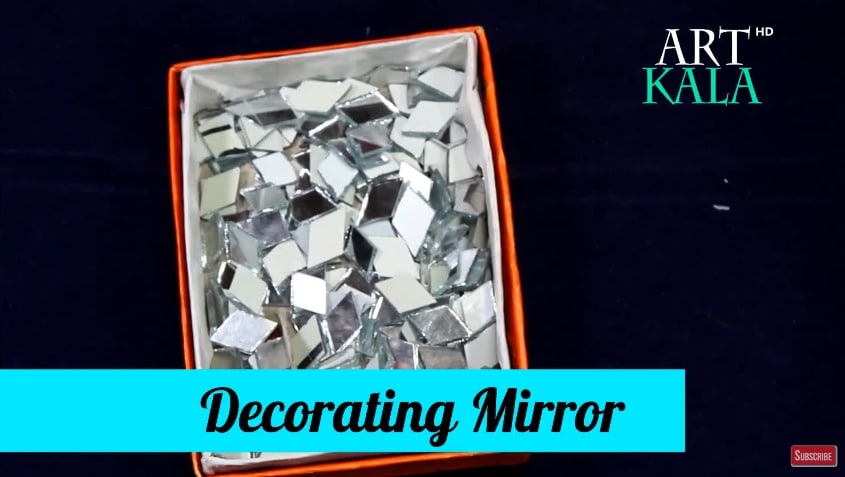
 When ready to inlay and glue has dried, can be covered with lacquer, in order to fix the result and give extra shine.
 Here and ready decoration. By the way, it can be used not only for further decoration objects, and as a separate element of the decor.