I remind you of what you and I have started to work.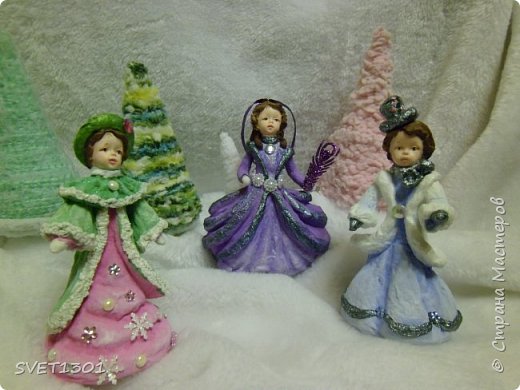
 Our basis for ladies and dry we proceed to the formation of clothes.
Please do the bottom (skirt-dress), and her top dress coat.
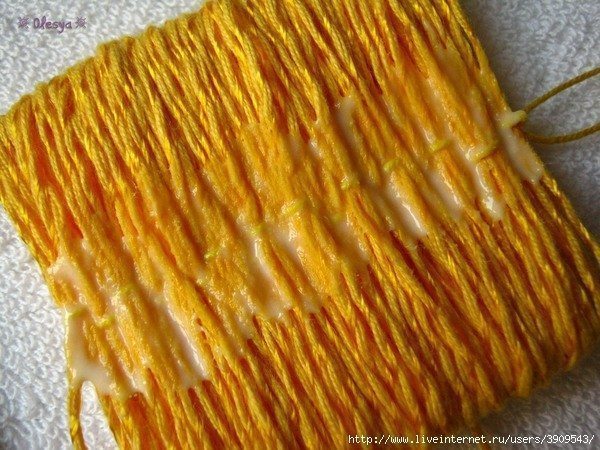
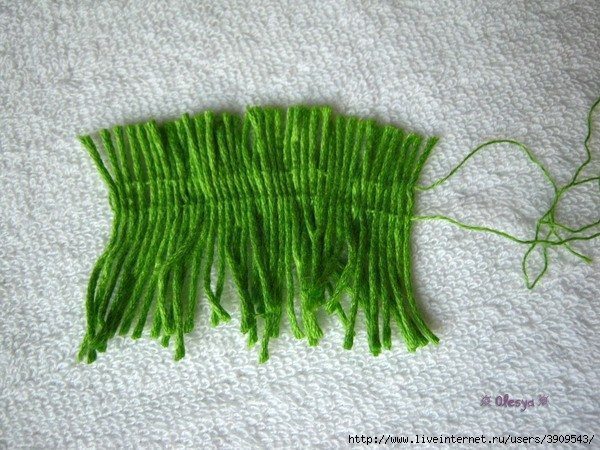
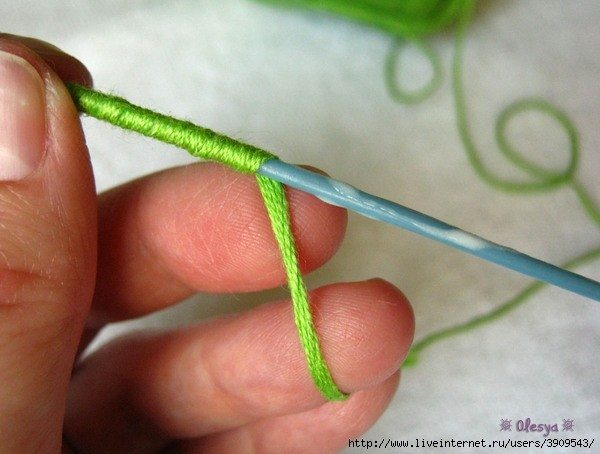
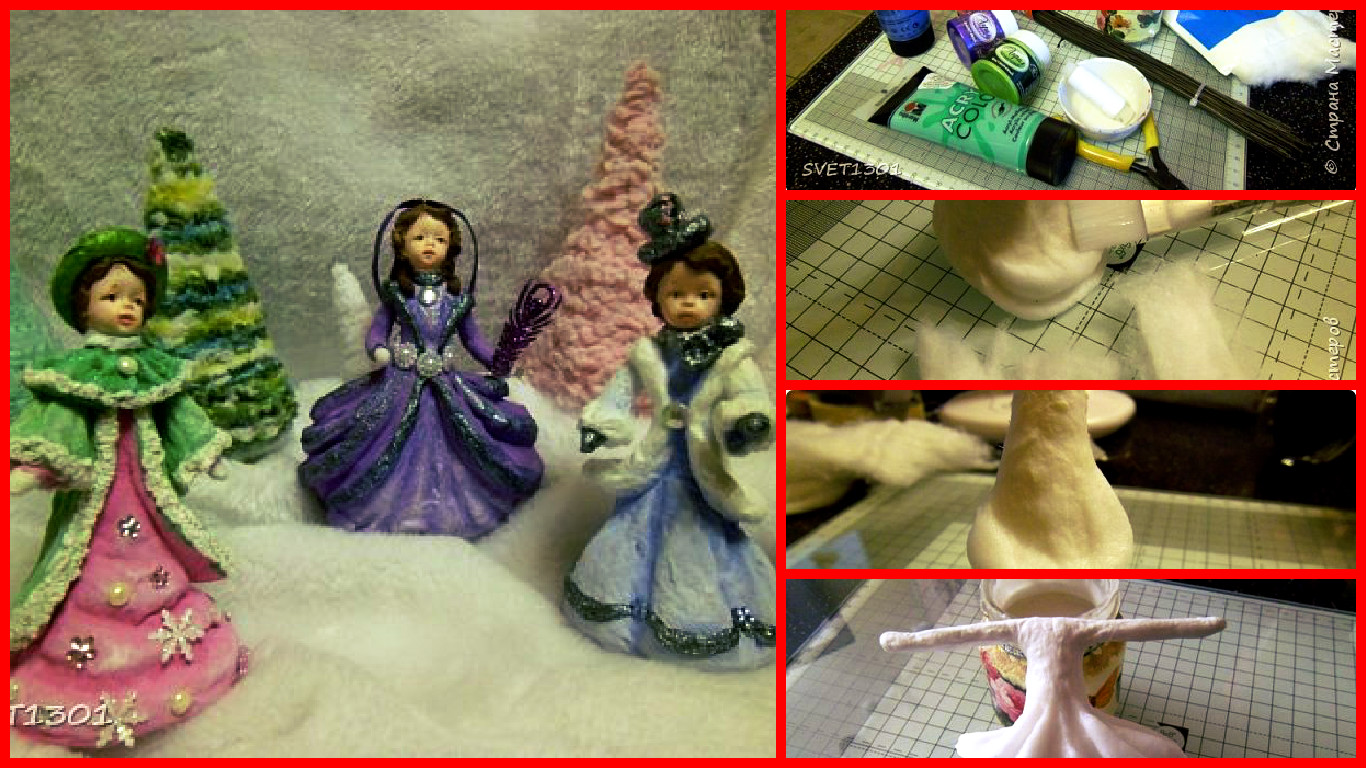
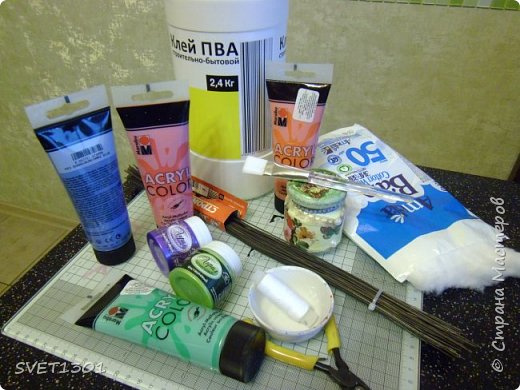
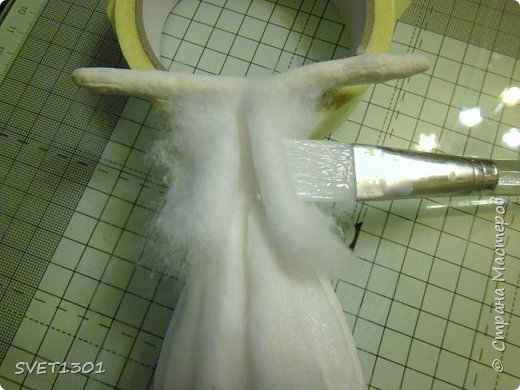
Just want to clarify the main points of how I work with wool, which would then not be repeated. I form the necessary me the details of the dry wool, and then brush with glue (abundantly) Smooth to the base, at the same time, if you need a flat part is on the hand press, and if you need a bulk item, brush lightly touches wool (only for that would leave her glue).
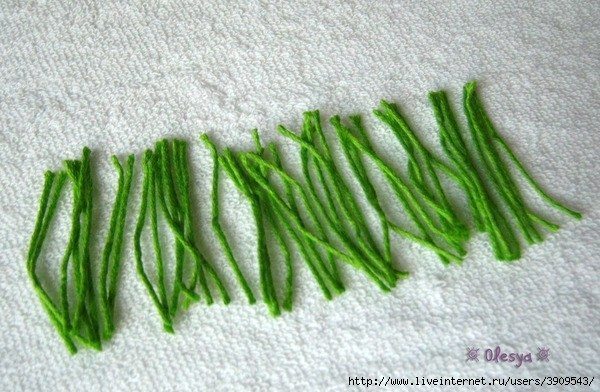
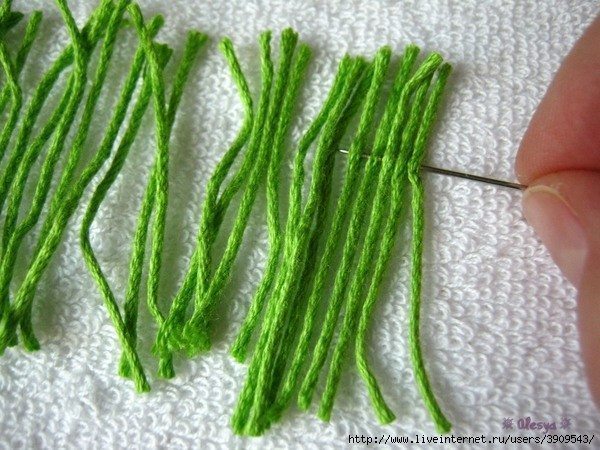
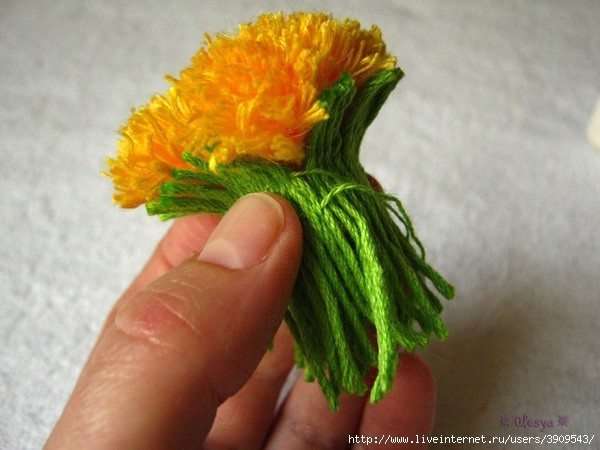
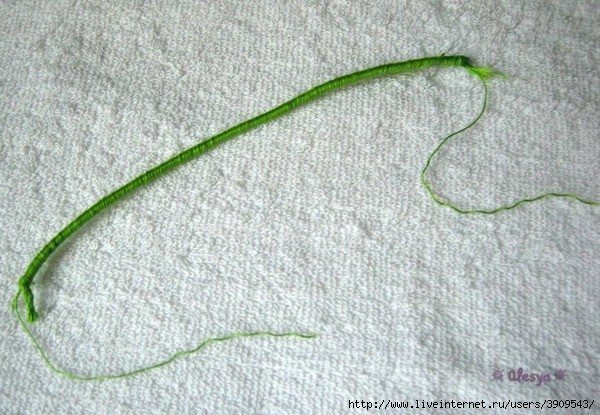
Of wool strips, I form a semicircle and smooth brush to skirt basis.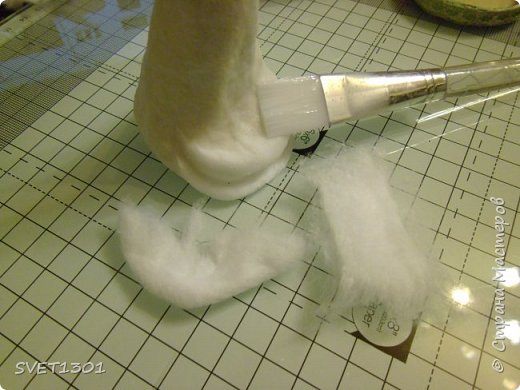 At the base of pressed and left on the edge of the volume.
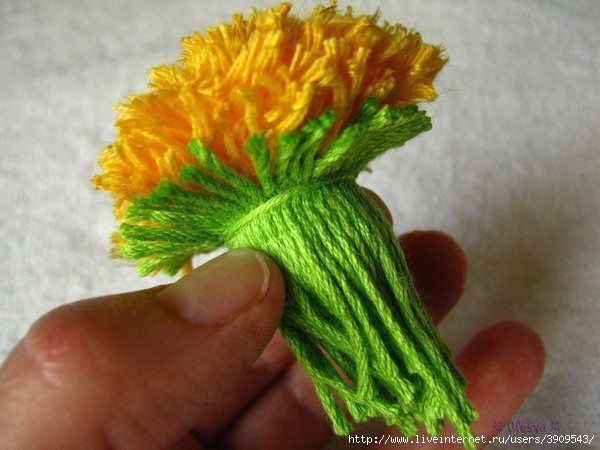
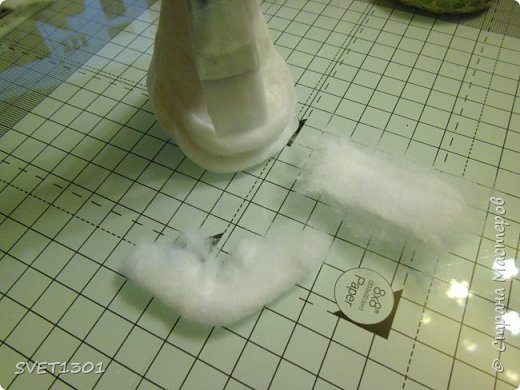 Such cylinders dialed as much as you want.
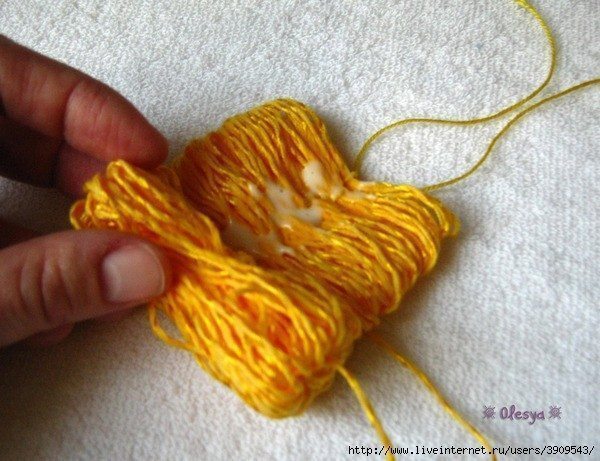
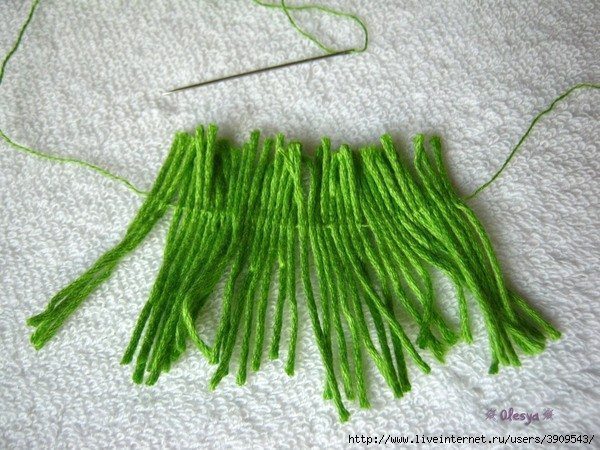
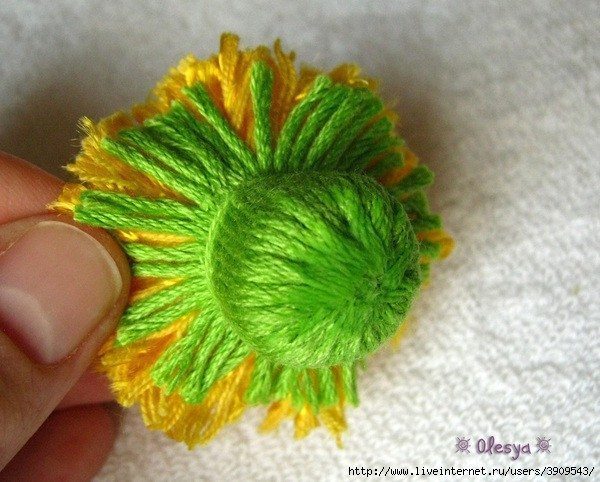
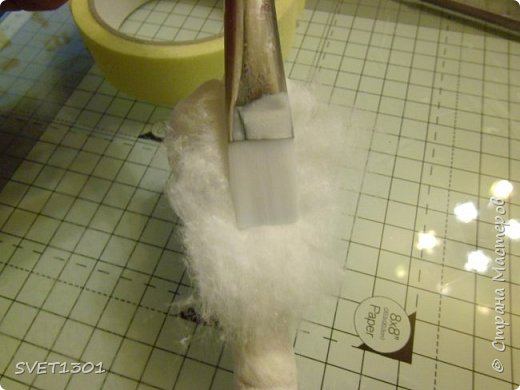
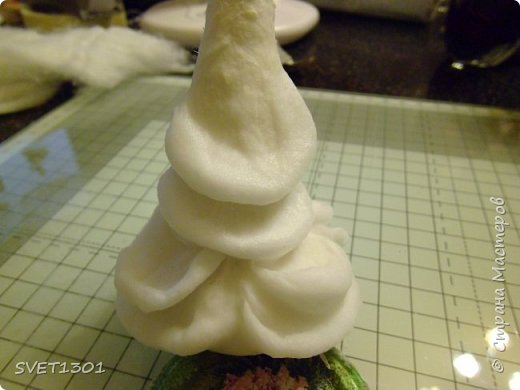 The lower part of the cover with a piece of cotton wool and smooth, that would be the bottom of the toy so it was neat.
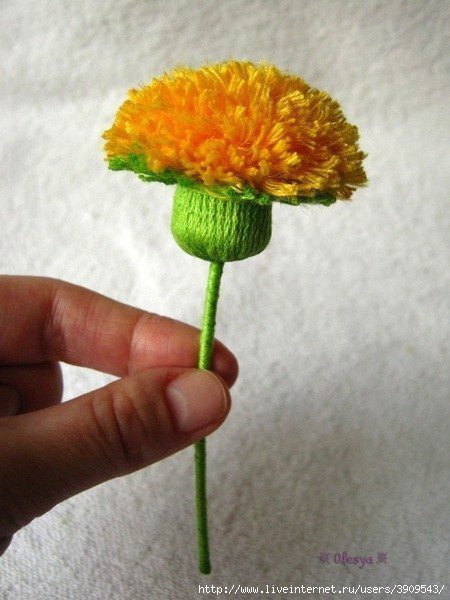
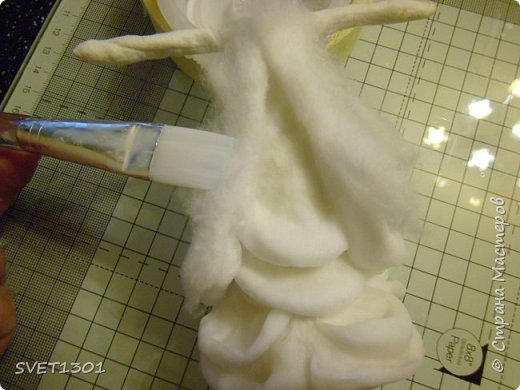
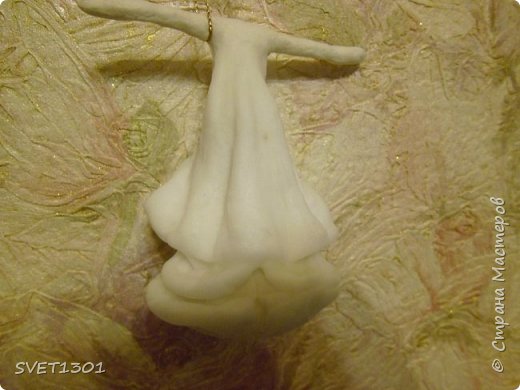
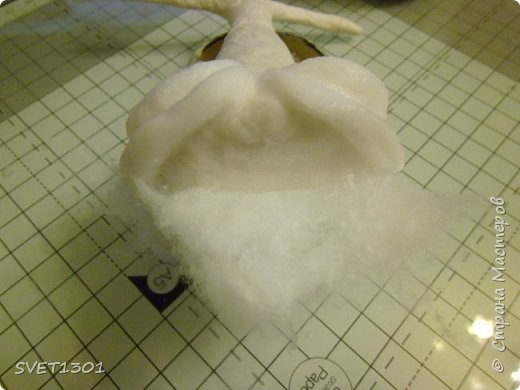 The top coat, I plan to make the folds so I form them from dry and smooth wool brush with glue, while at the crease did not click,
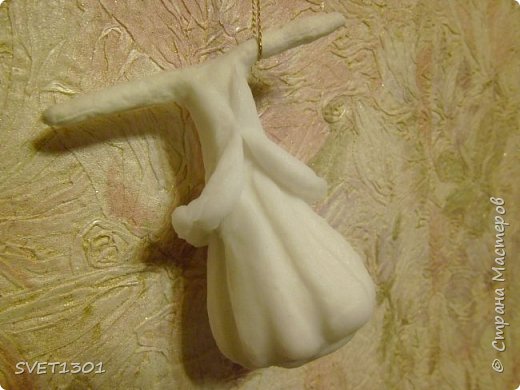
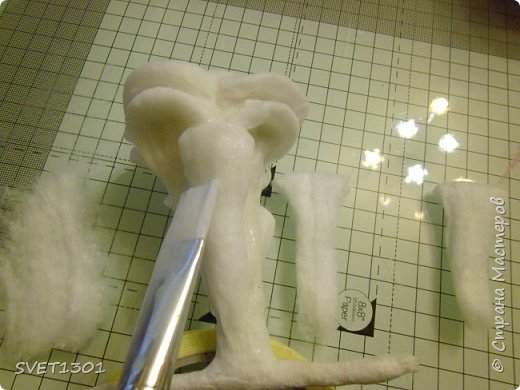 but I press on the sides of the brush, that would be visible pits folds.
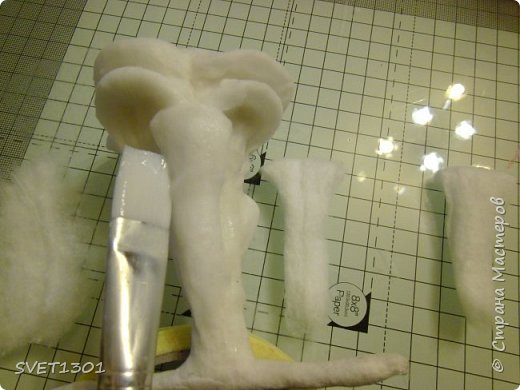 I do as much as I would like folds.
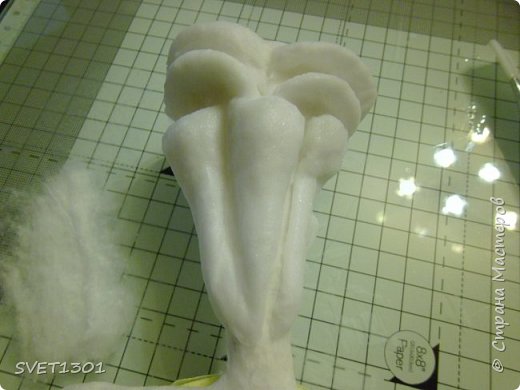 Whatever wrinkles are not looked rough, put a plate on top of wool and smooth, pushing the brush only in the pits
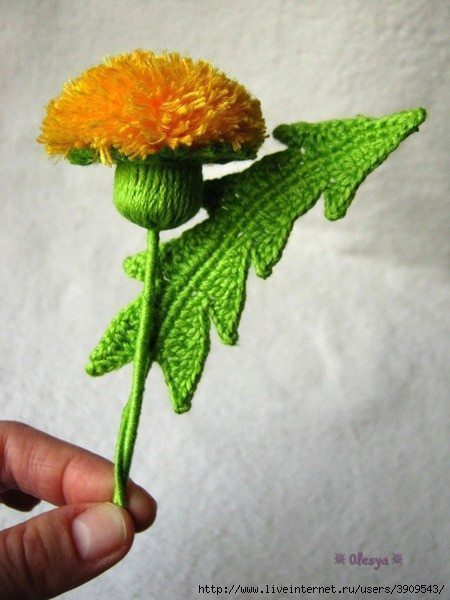
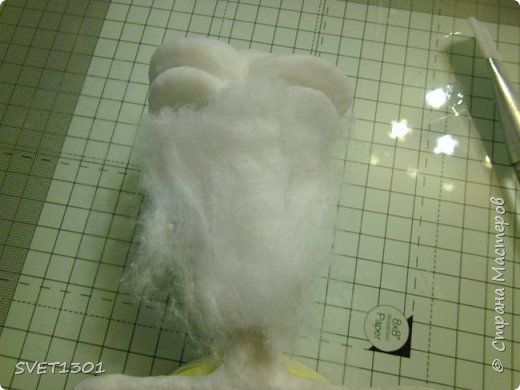 At the top of the reservoir and put a smooth, pushing the brush continued folds (remember that always brush glue)
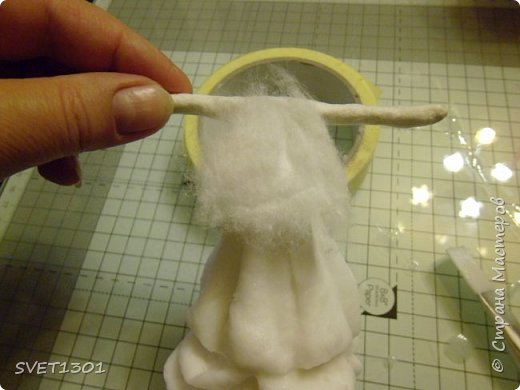 ven.
ven.
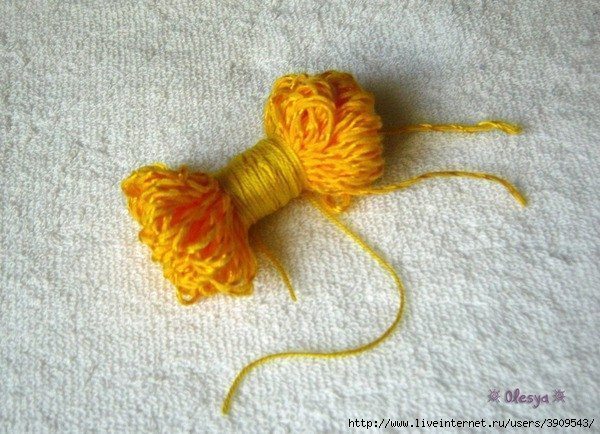
On the front of the coat do two rollers left and right and also smooth brush: press on the sides and in the center leave the volume, ie nano she glue and a brush are not pressed.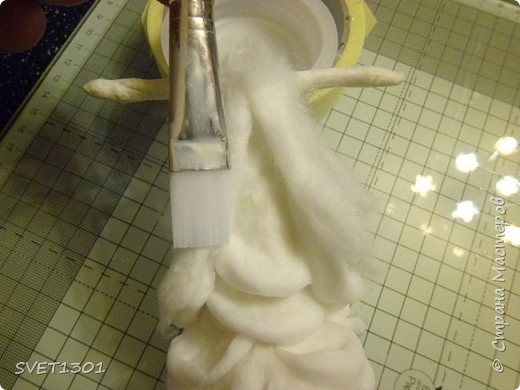
 Suspended on a rope -Let dry.
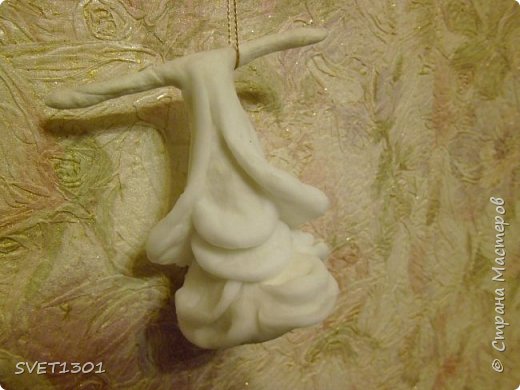
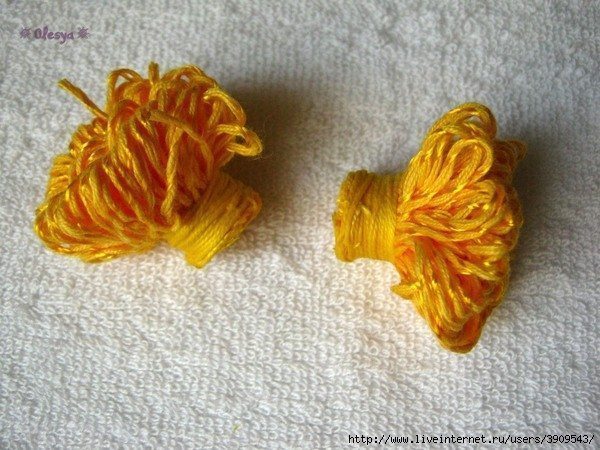
 Similarly, we are working with the second figure. Explanation of the same so followed by a photo without the text.
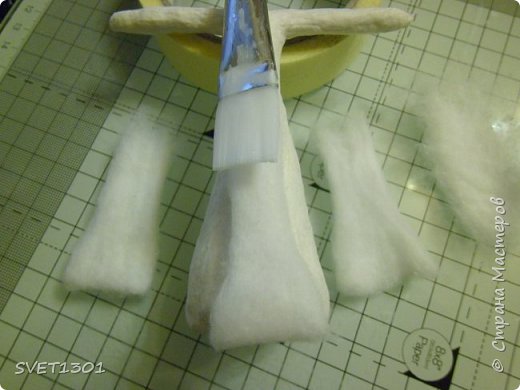 The skirt folds.
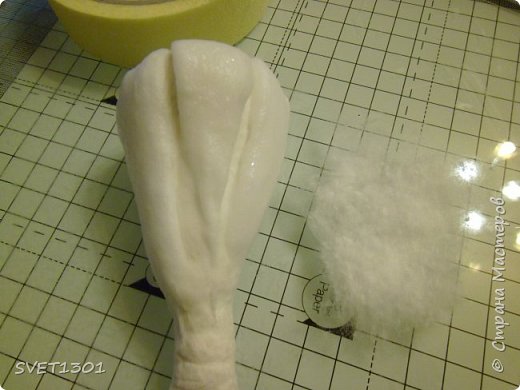
 Just send out to dry.
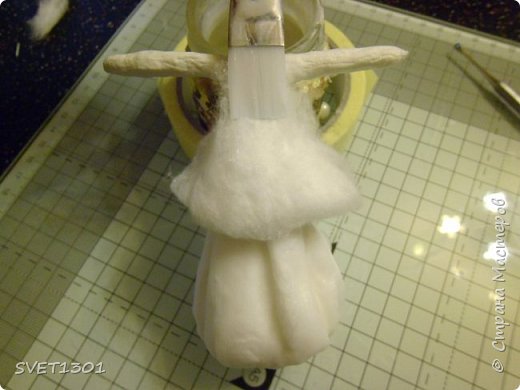
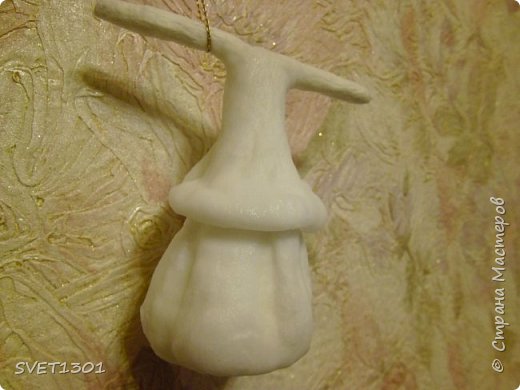 In the third all the same: only rolls and folds distribute differently. So you can think of many options combining the folds and ridges.
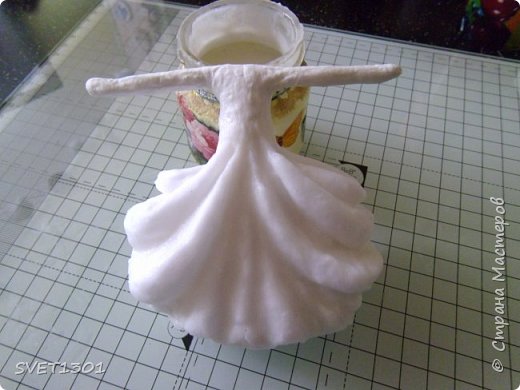

All the basics were sent to dry well and will continue to work tonight.
All good mood and success.