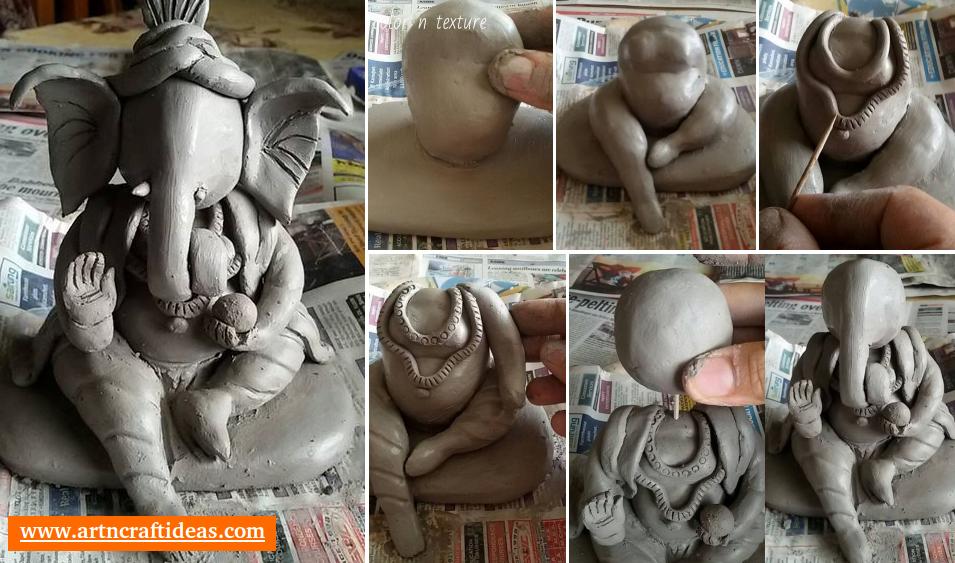
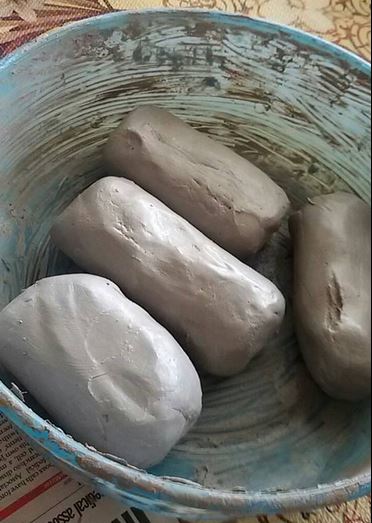
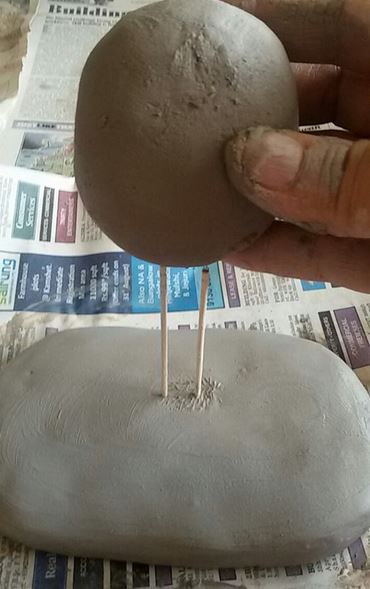
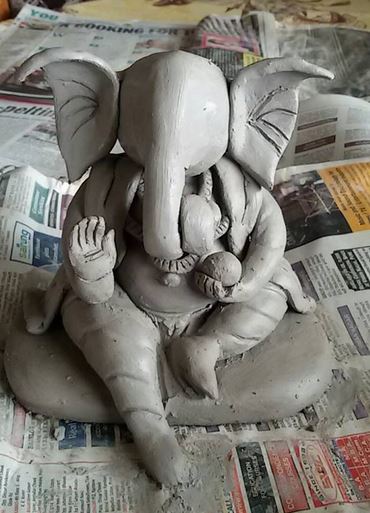
Ganesha is a much-loved God and making him out of clay is such fun! Here’s an easy, step-by-step tutorial for an eco-friendly Ganesh idol that you can make at home!
Indians celebrate Ganesh Chaturthi with great fervor and delight. Most of them bring Ganpati to their home. The Ganpati decoration at home begins well in advance. Traditionally made idols pose a threat to the environment. They cause lots of pollution and contaminate our water bodies. This year use eco-friendly materials to make Ganpati idol and non-toxic colors for decorating it.
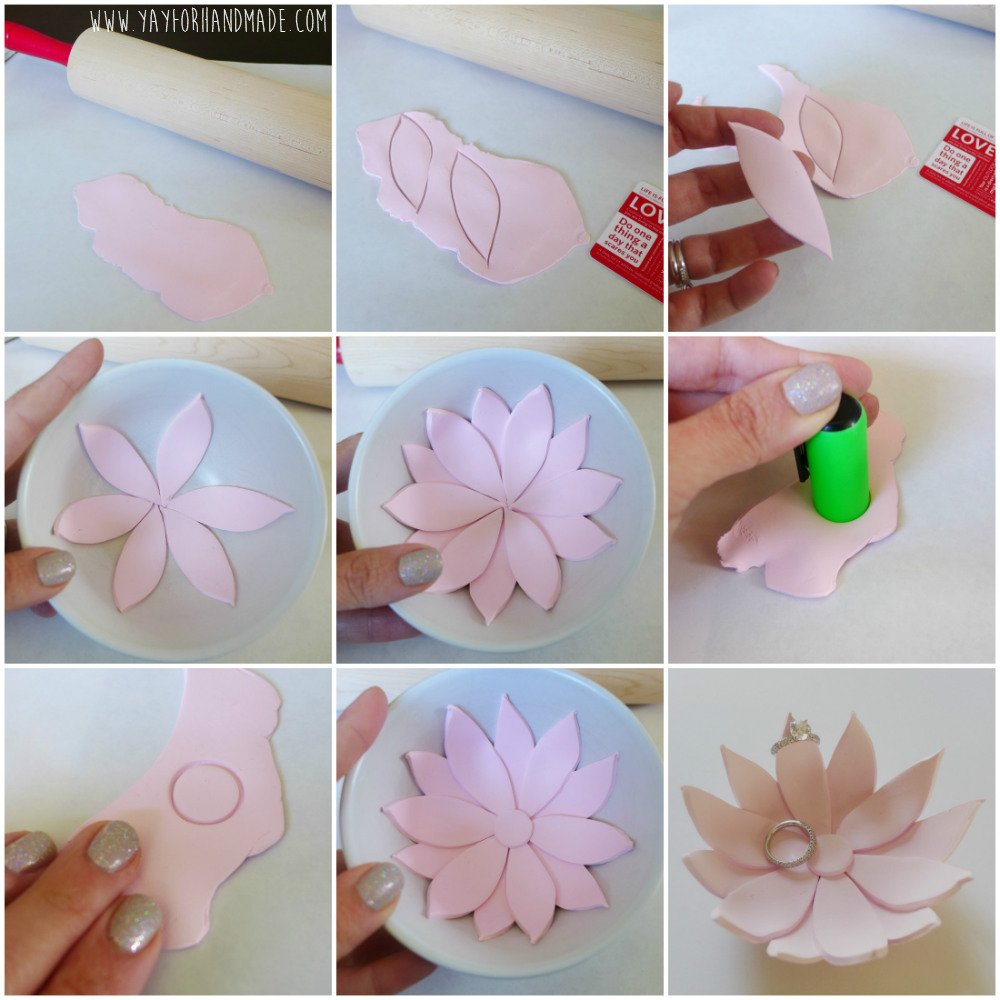
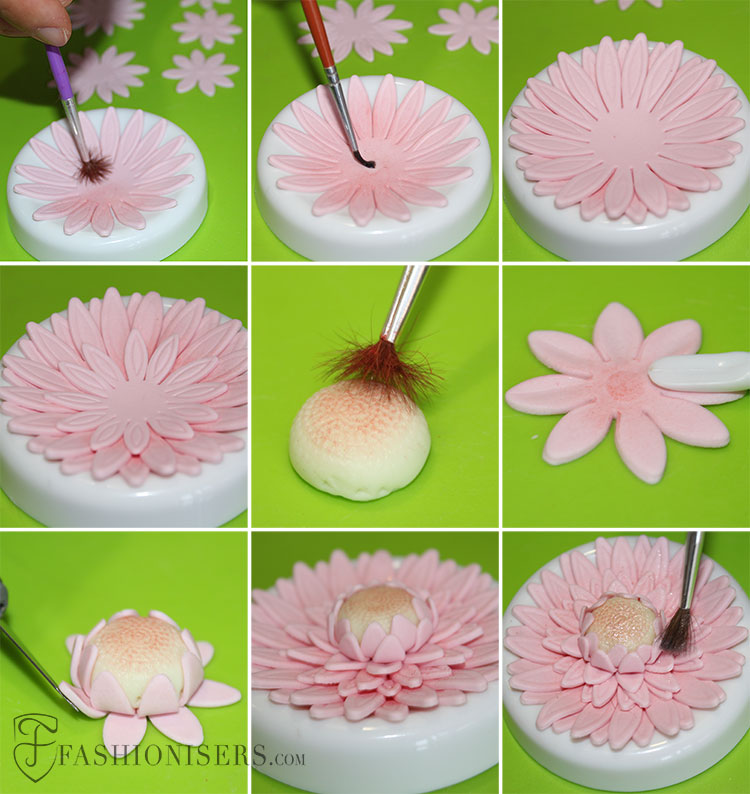
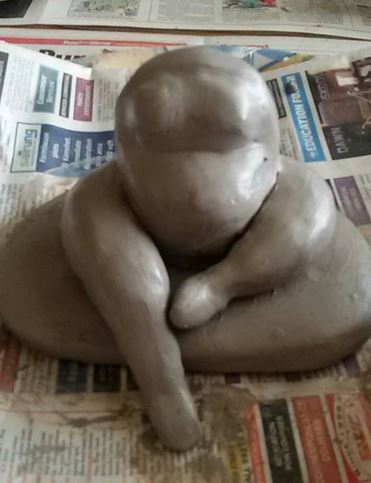
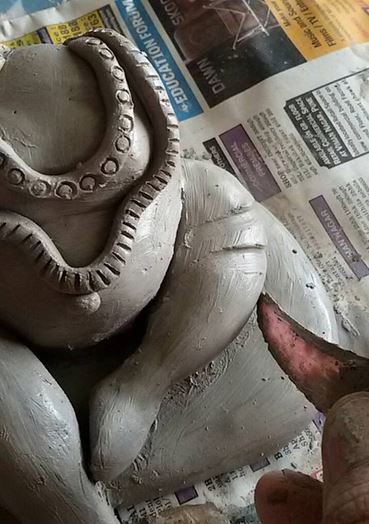
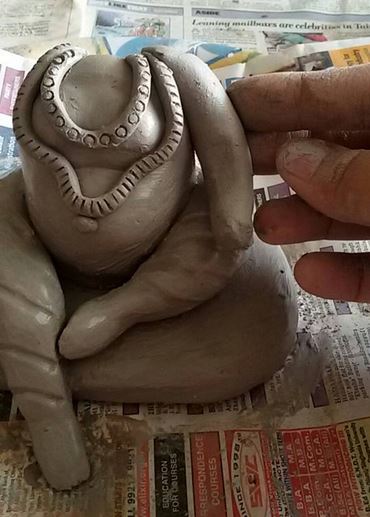
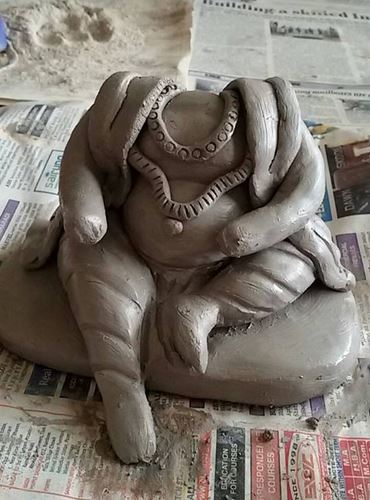
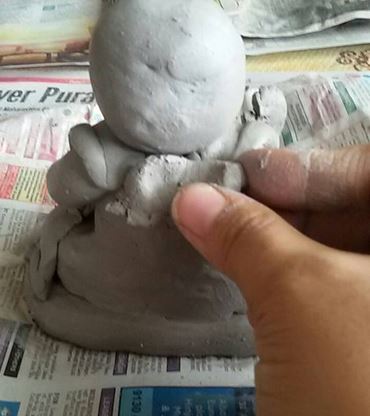
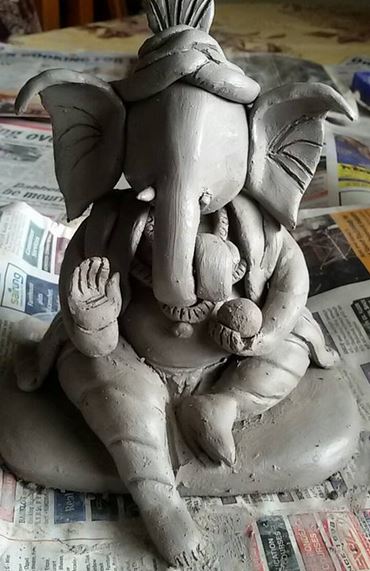
Step by step instructions for making a Eco-friendly clay Ganesha at home
In India, the festival of Ganesh Chaturthi is celebrated with great pomp and show. On this day, Lord Ganesha is worshipped as the god of beginnings and remover of obstacles. The ten-day festival culminates on Anant Chaturdashi when Ganesha idols, which are made of clay, are immersed in water bodies.
Nowadays, there is a growing awareness amongst people to celebrate Ganesh Chaturthi in an eco-friendly manner. There are many ways in which you can make an eco-friendly Ganesha idol at home.

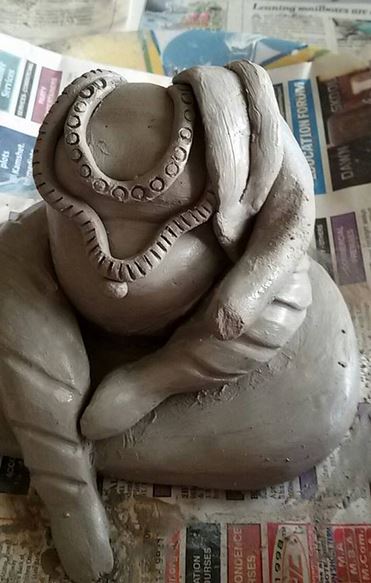
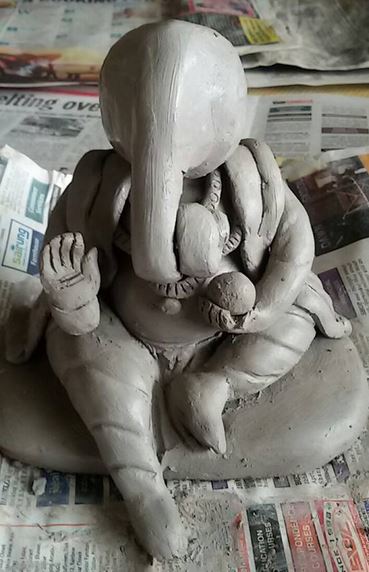
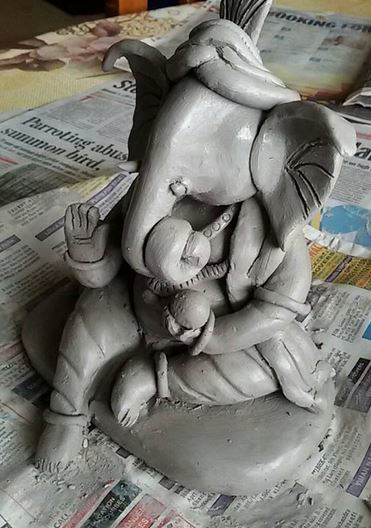
Hope you enjoyed this step by step making of Ganesh idol at home. Do try making one for yourself. But, remember to use Eco-friendly, non-toxic clay.
Watch Videos to Learn and Make Quilling Ganesh Idol at Home
Hope you like these Eco-friendly Ganesh Idol step by step tutorials.
Other Ways to Make Eco-friendly Ganesh Idol
One of the simplest ways is to make an idol out of paper mache. Paper mache is a paste made out of flour and water. To this paste, strips of paper are added. Once the paste dries, it hardens and can be moulded into any shape.
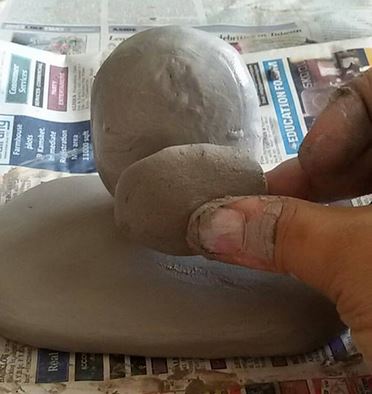
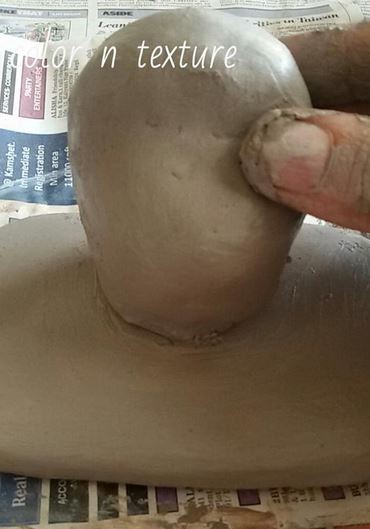
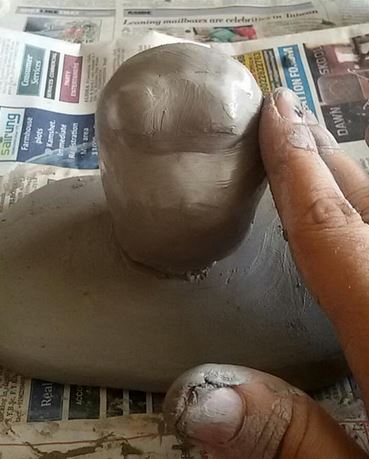
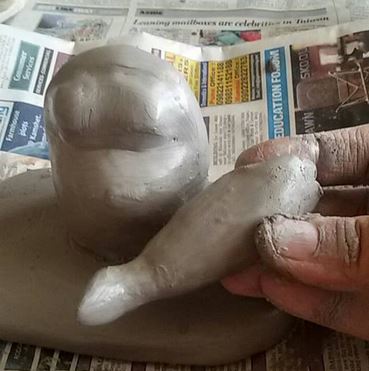
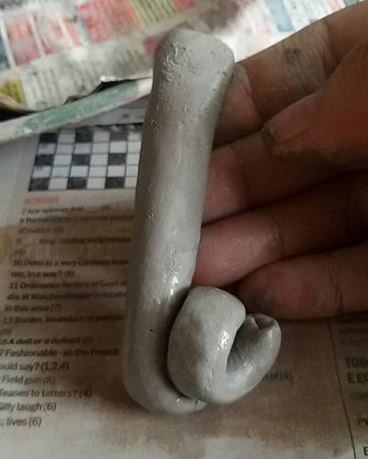
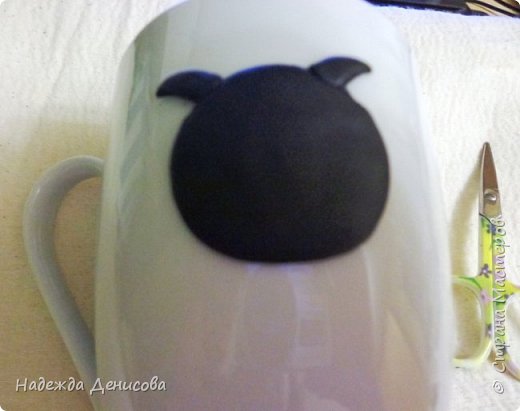
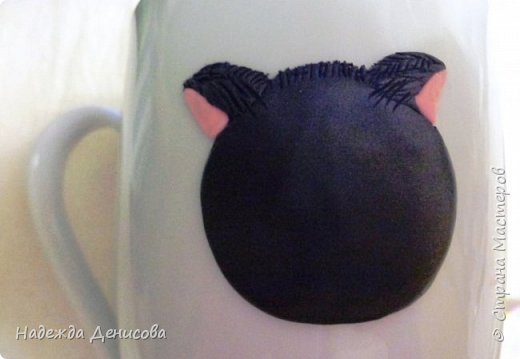
To make the idol, start by making a small ball out of the paper mache paste. This will form the head of the Ganesha idol. Then, make two smaller balls for the ears and attach them to the head. To make the trunk, roll a strip of paper mache paste into a coil and attach it to the head.
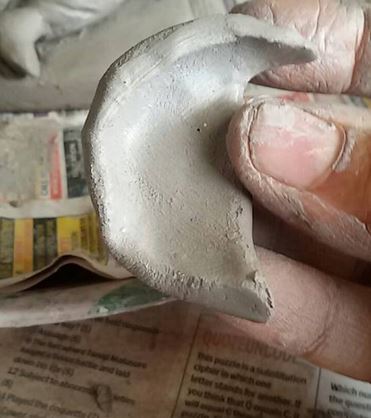
For the arms, take two strips of paper mache paste and roll them into thin cylinders. Attach these to the sides of the trunk. To make the hands, roll small balls of paste and flatten them. Make sure to leave a small hole in the centre of each ball. Attach these to the ends of the arms.
To make the legs, take two strips of paper mache paste and roll them into thin cylinders. Attach these to the bottom of the trunk. For the feet, take two small balls of paste and flatten them. Make sure to leave a small hole in the centre of each ball. Attach these to the ends of the legs.
Your eco-friendly Ganesha idol is now ready to be worshipped!
Another way to make an eco-friendly Ganesha idol is by using recycled materials. You can use old newspapers, cardboard, or even scrap fabric to make your idol.
To make an idol out of recycled newspapers, start by tearing the paper into small strips. Then, dip these strips into a paste made out of flour and water. Once the strips are coated with the paste, mould them into the desired shape.
To make an idol out of cardboard, start by cutting the cardboard into pieces. Then, use a hot glue gun to stick these pieces together. Once the pieces are glued together, mould them into the desired shape.
To make an idol out of scrap fabric, start by cutting the fabric into small strips. Then, dip these strips into a paste made out of flour and water. Once the strips are coated with the paste, mould them into the desired shape.
Your eco-friendly Ganesha idol is now ready to be worshipped!
Image Source: Homemakeover
We would love to hear your thoughts in the comment section below. And be sure to like us Facebook for more ideas!
Thank you for visiting our website. Keep Creating with Art & Craft!

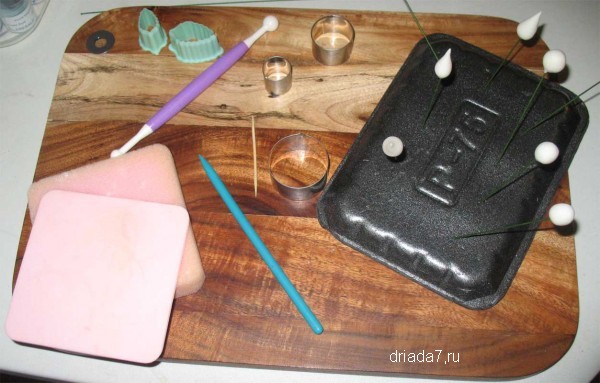
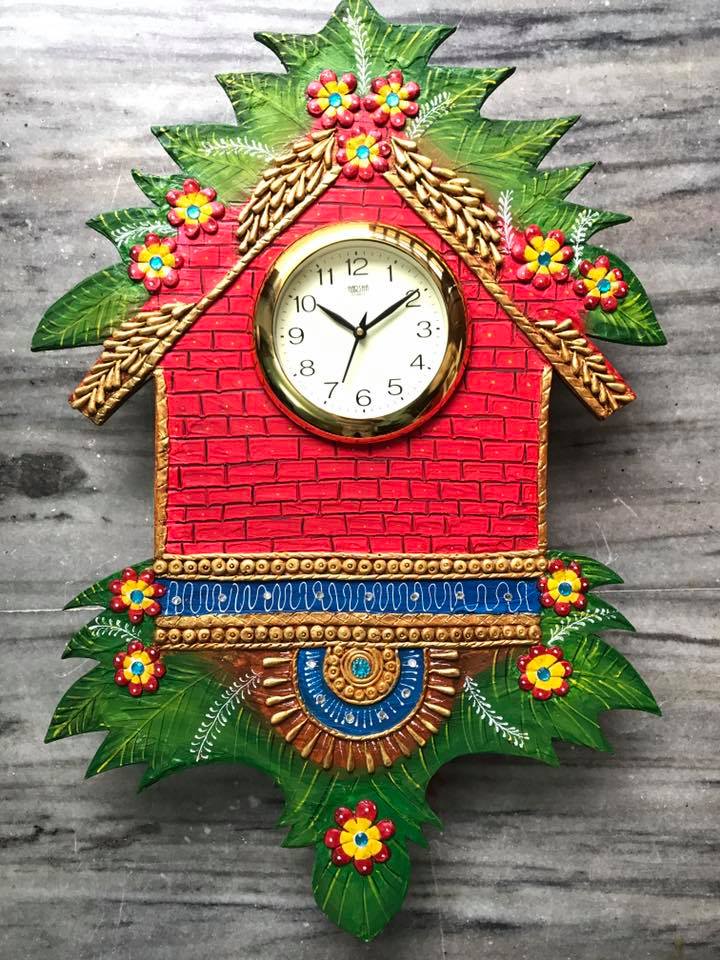 Take the desired clock base
 Prepare marble powder mixture
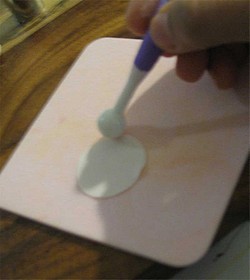
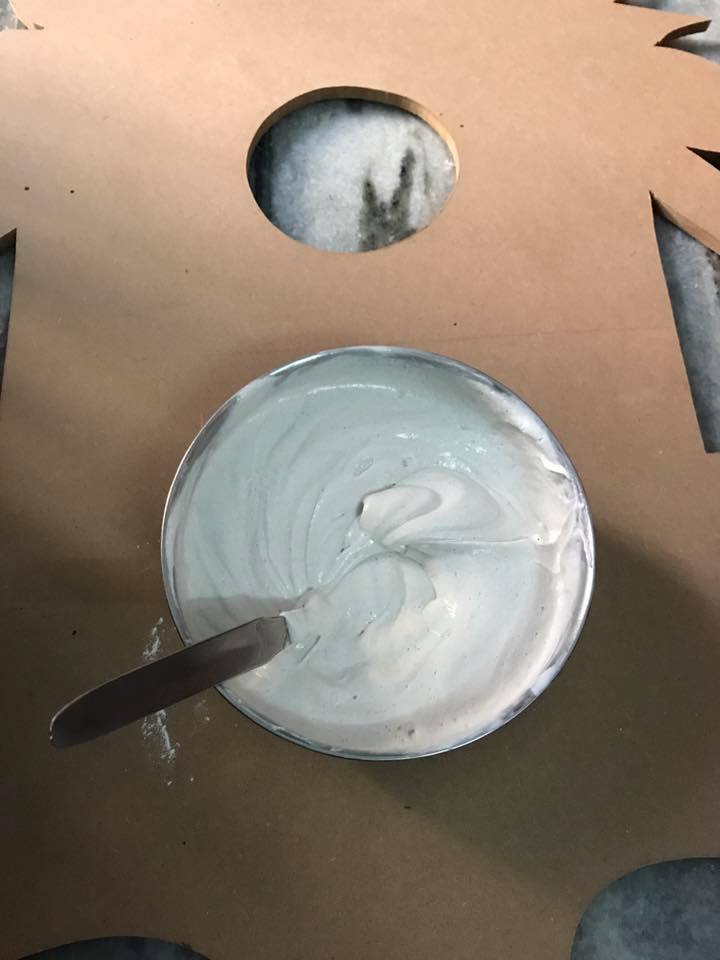 Apply the mixture and give texture
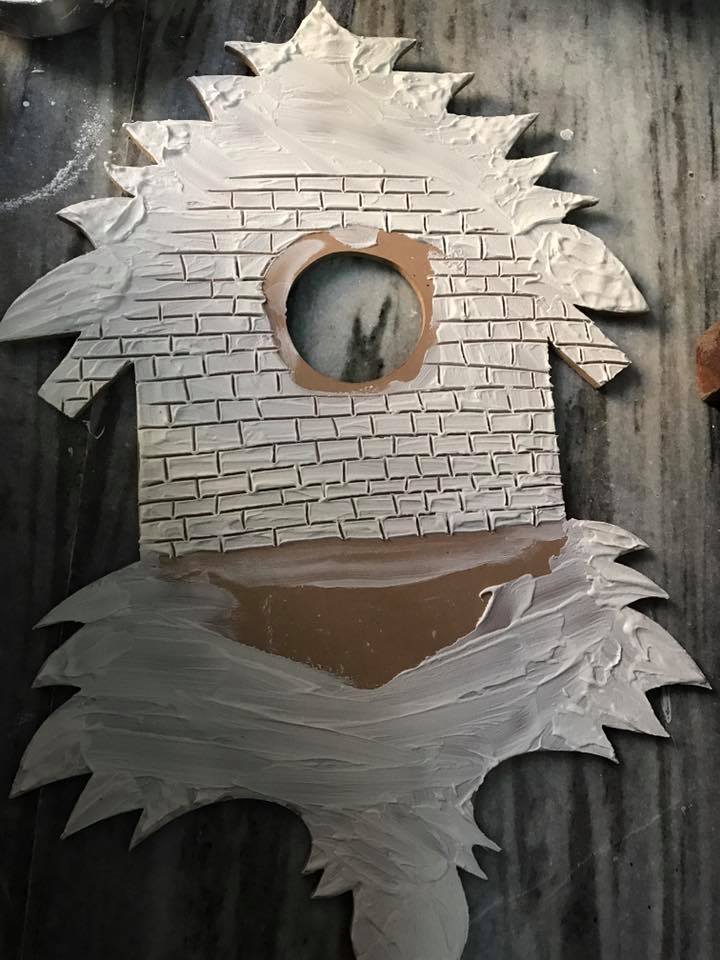 After it dries smoother the surface by a sand paper
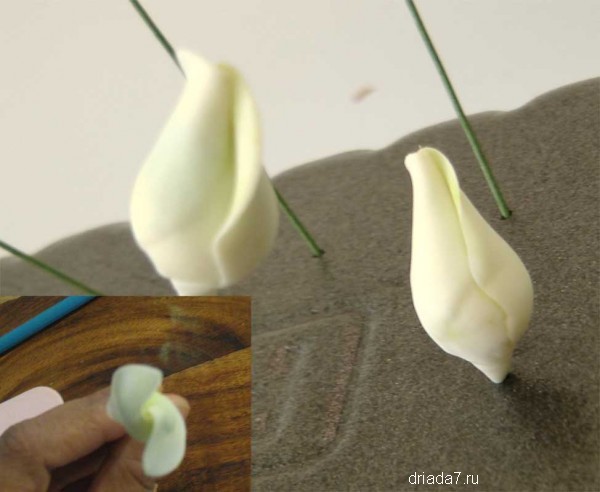
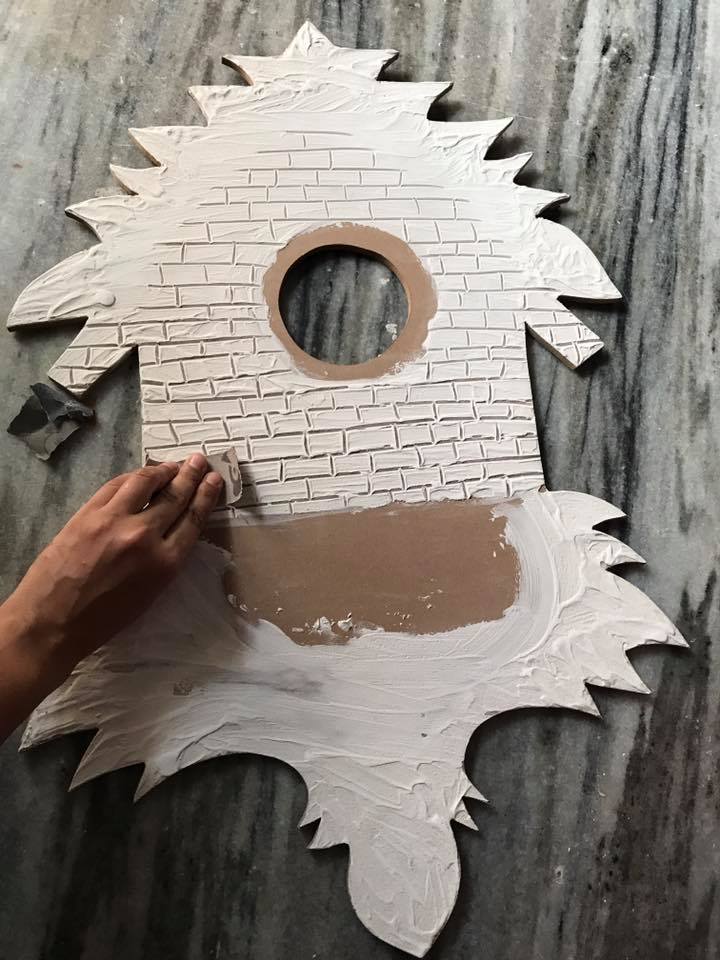 Make design with paper mache
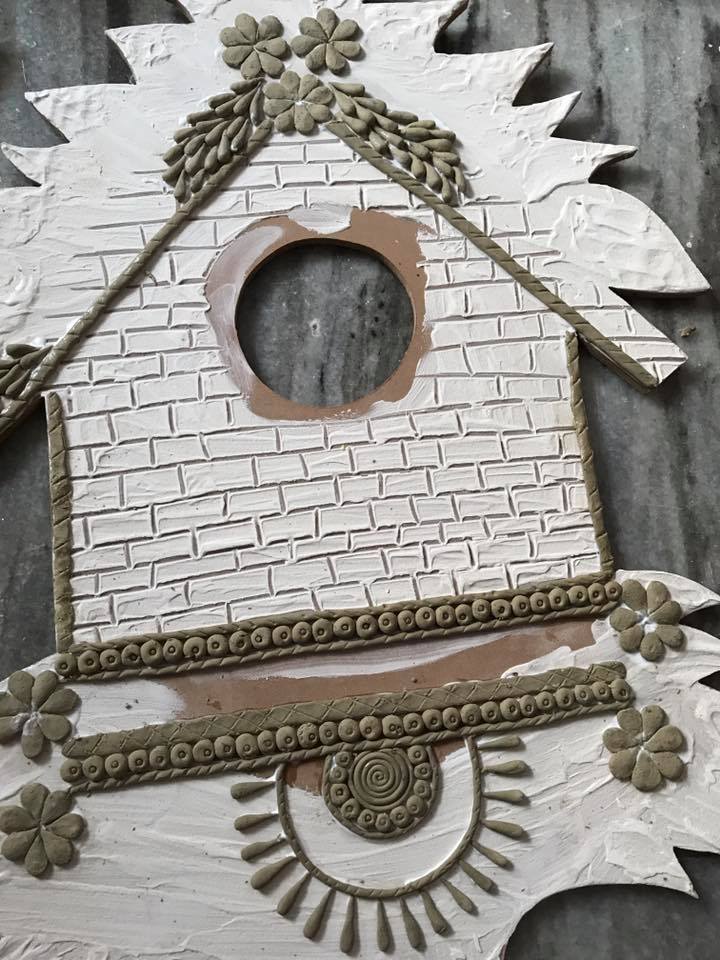 Apply primer on clay
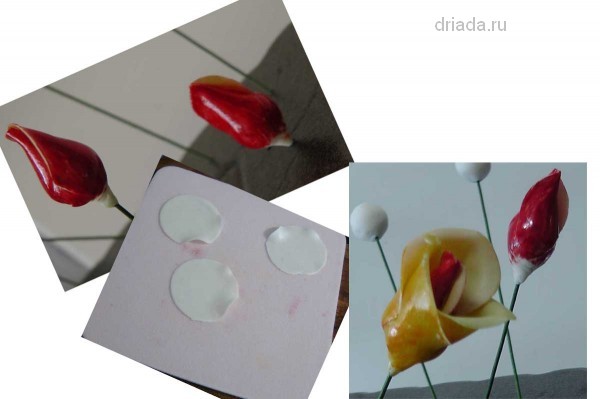
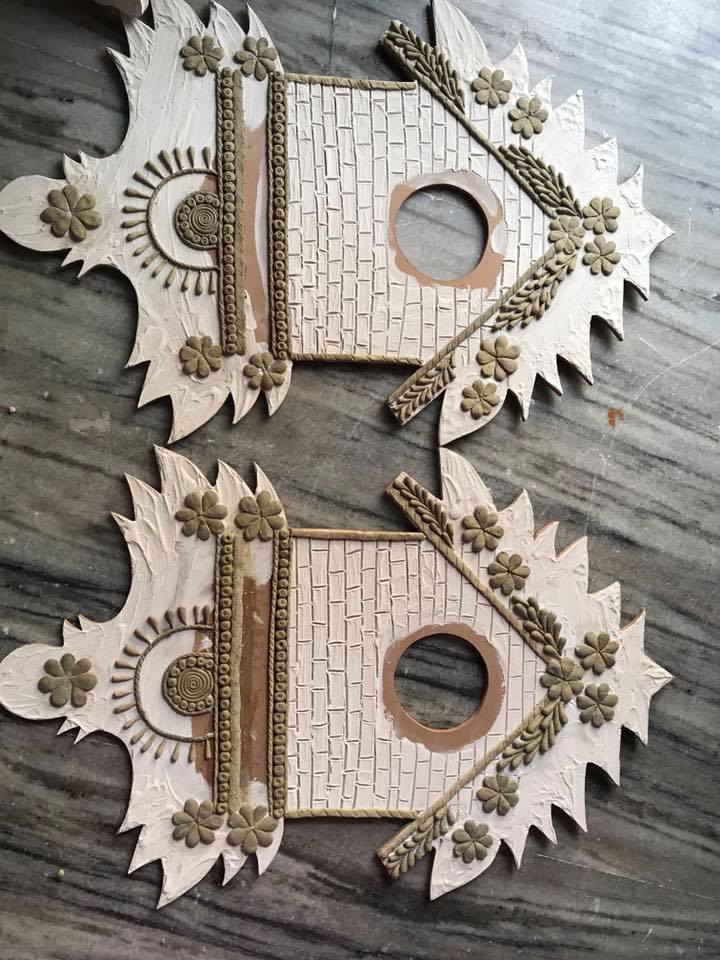 Add base colour
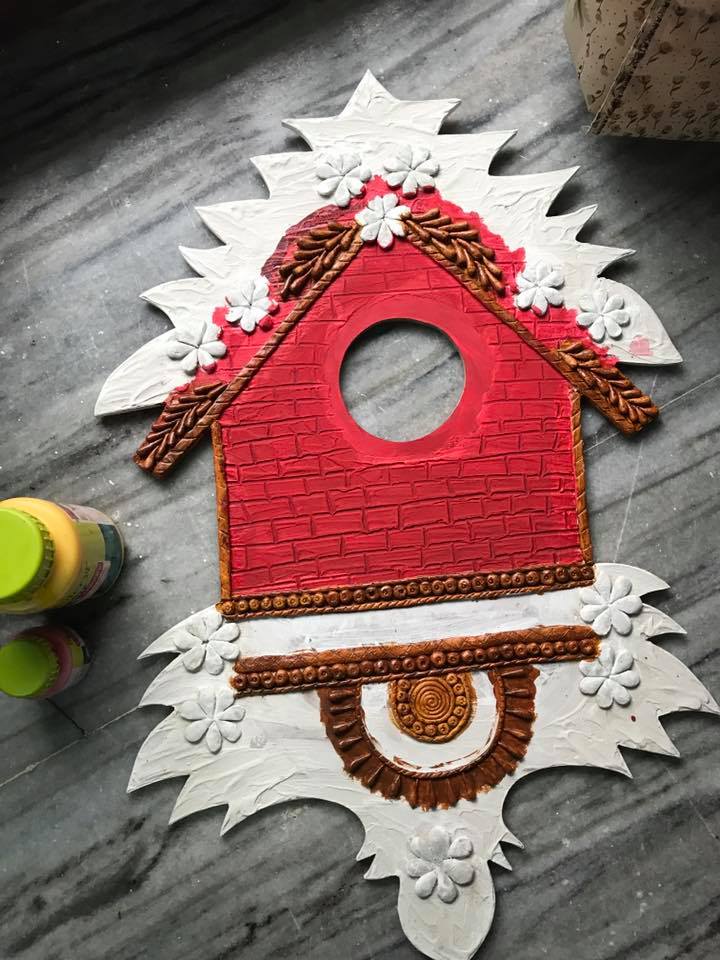
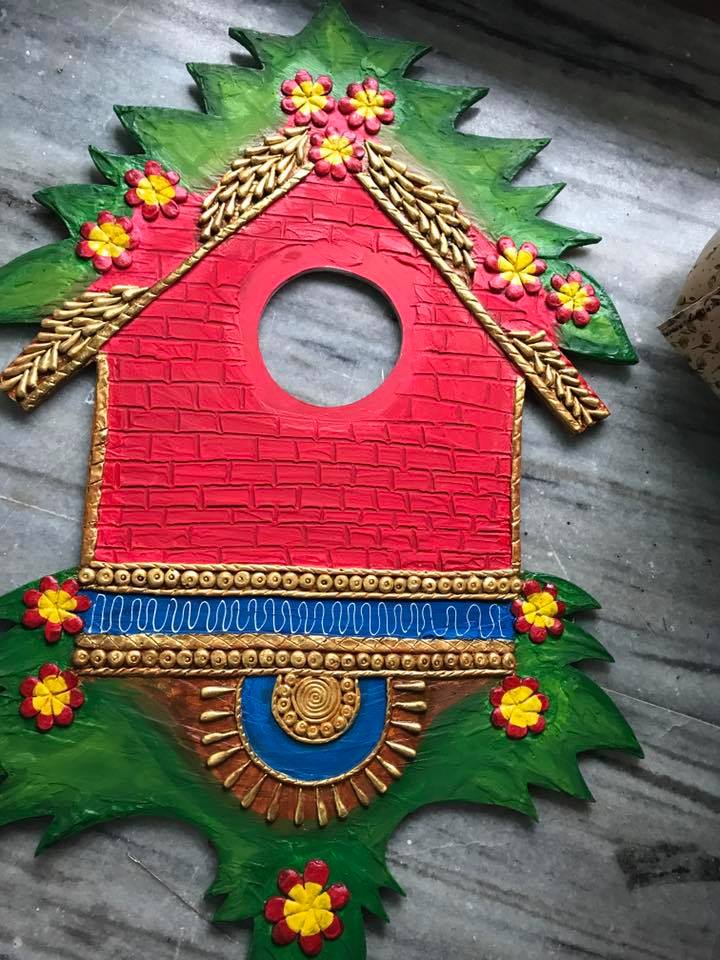 Do the details by outliner
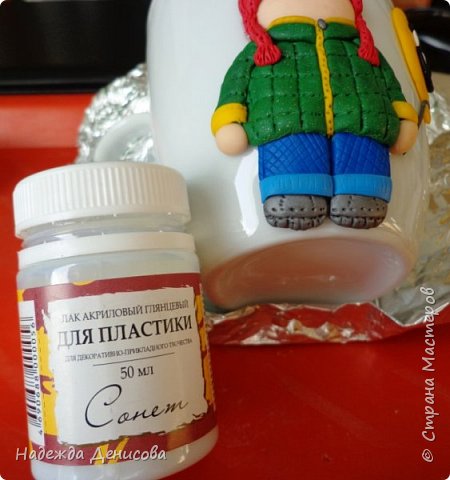
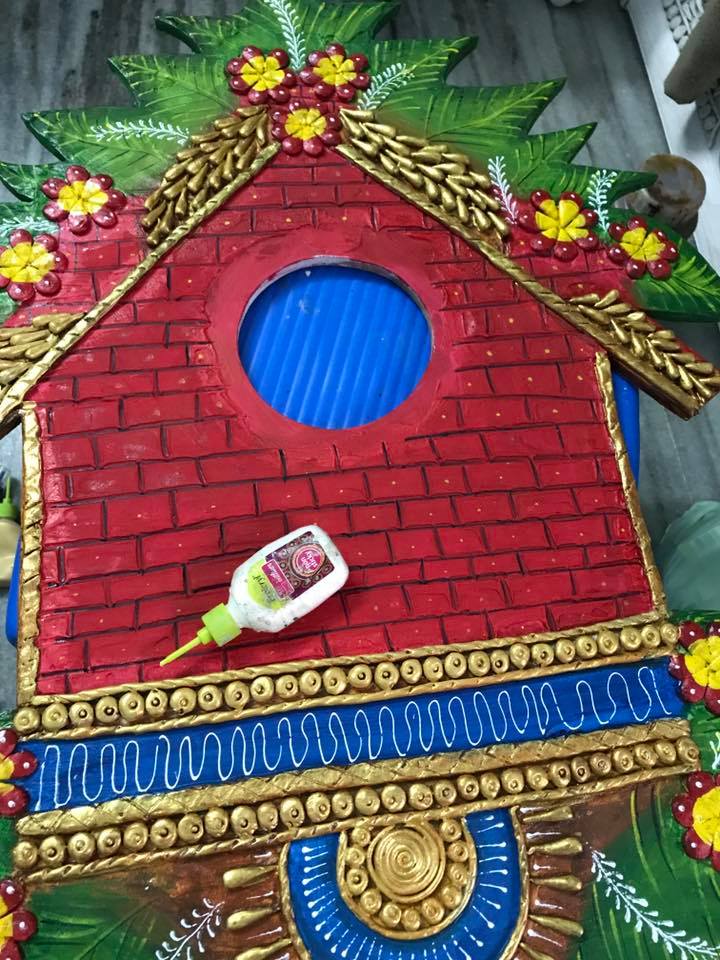 Apply varnish
 Paste the clock on the board

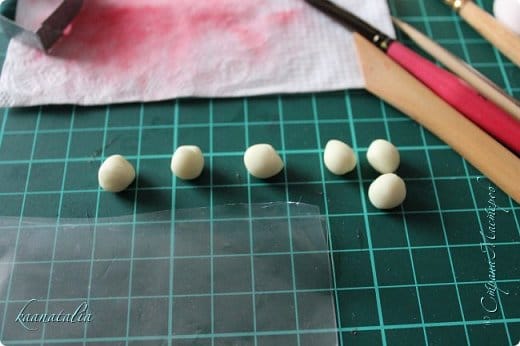


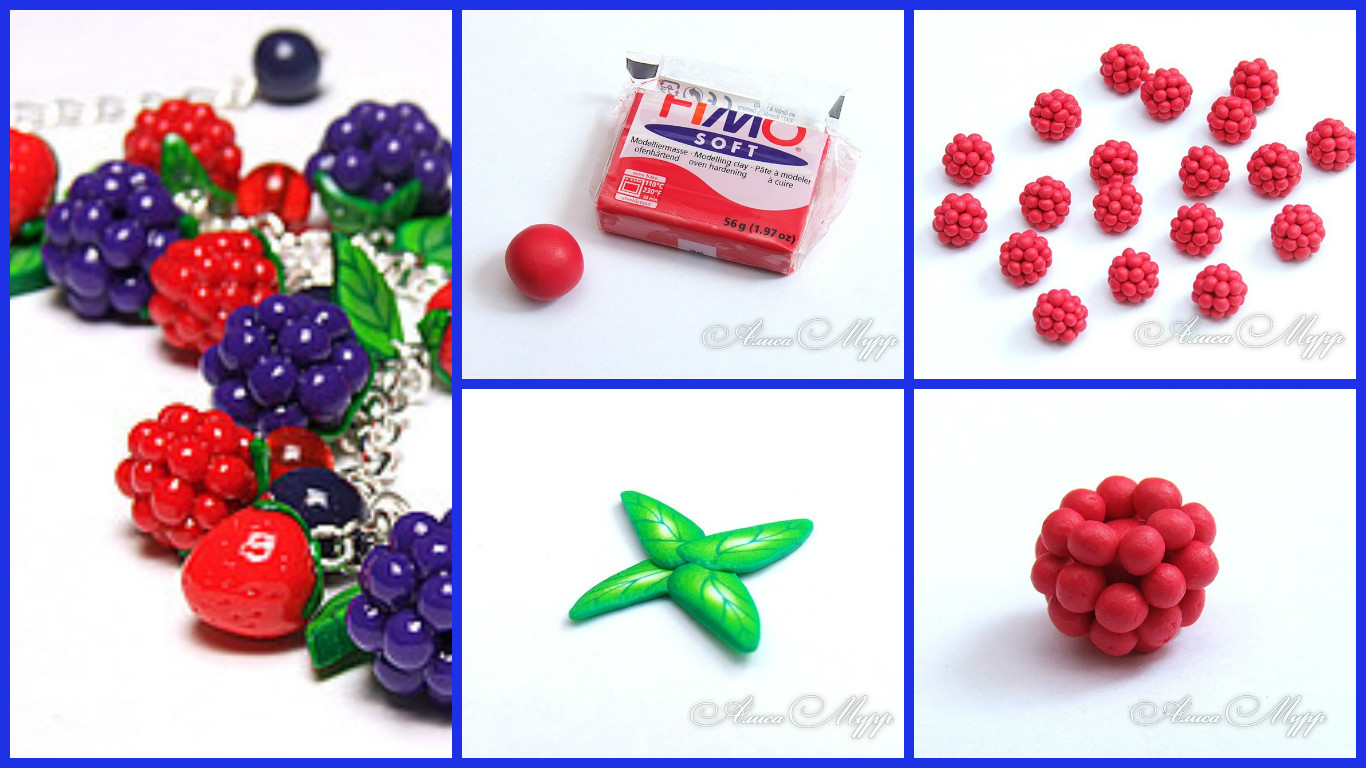
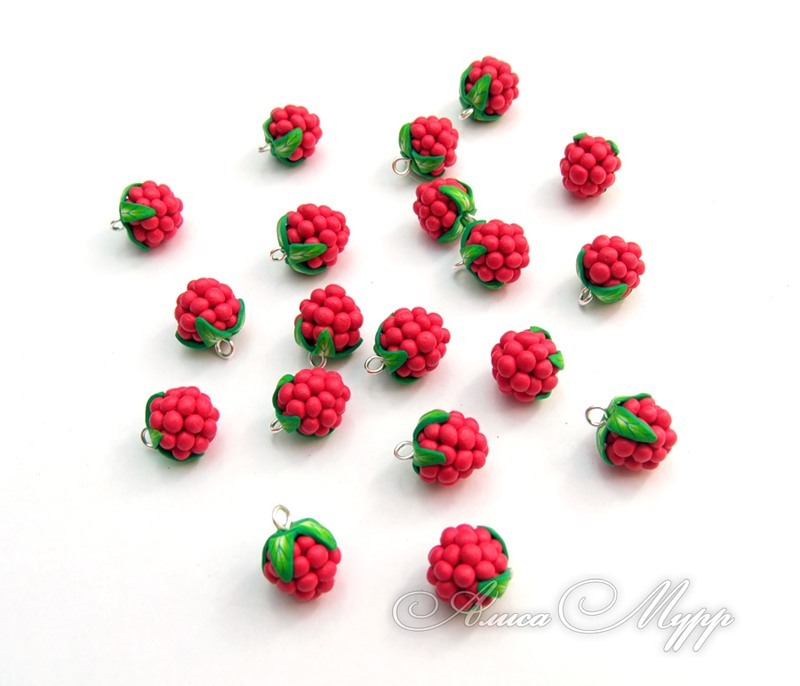
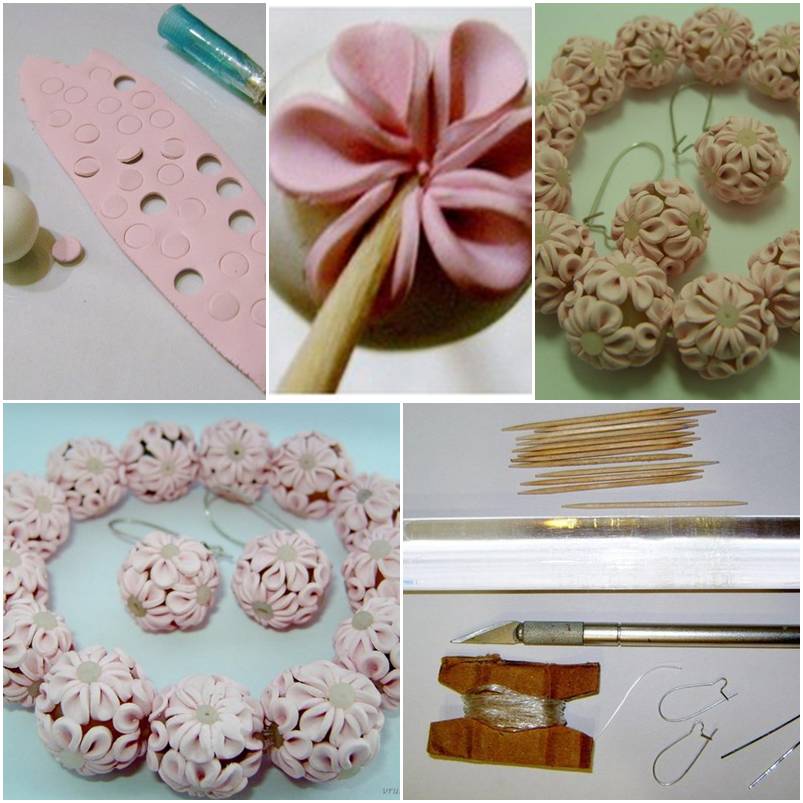
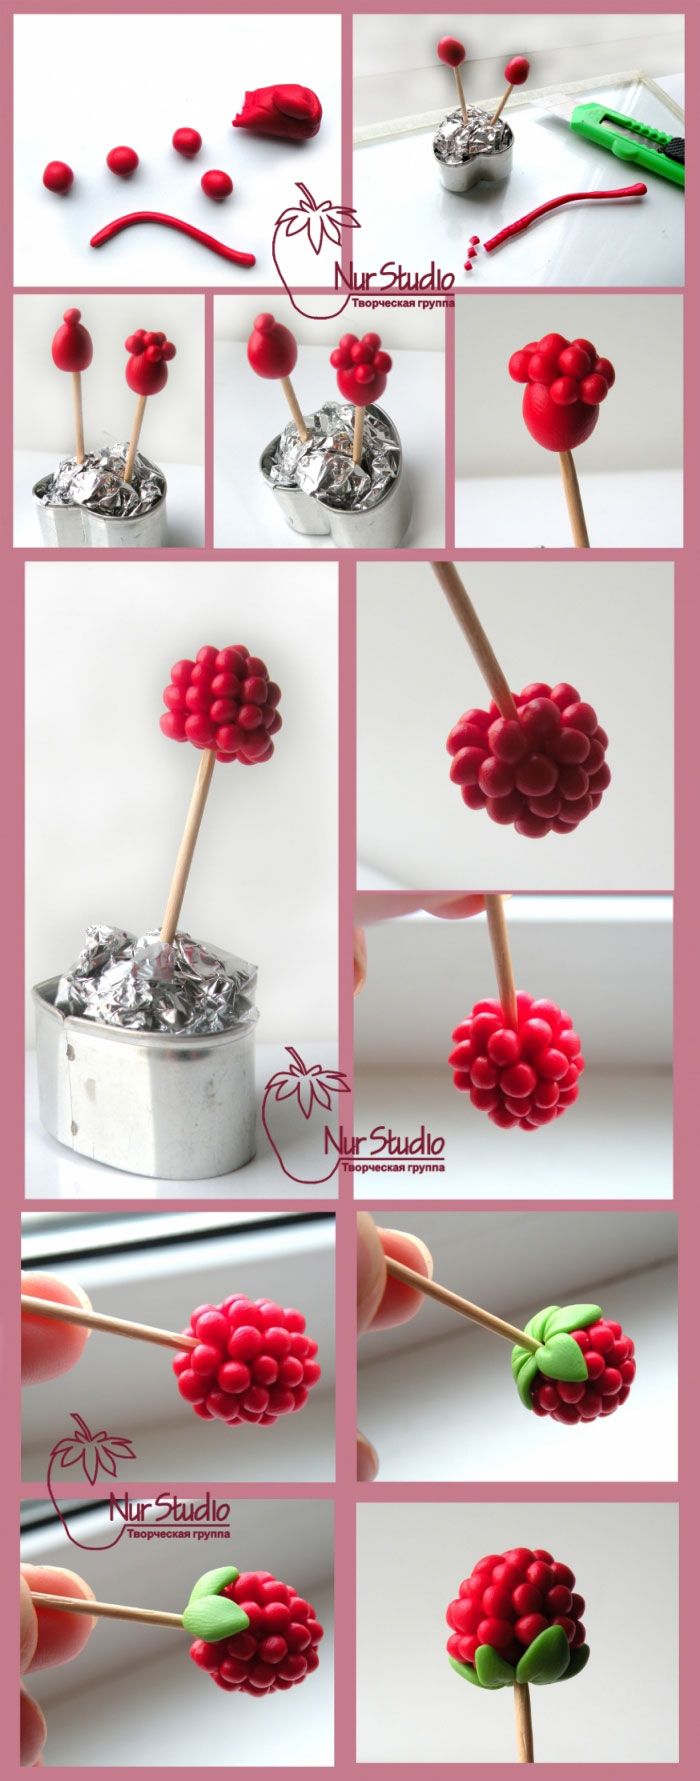
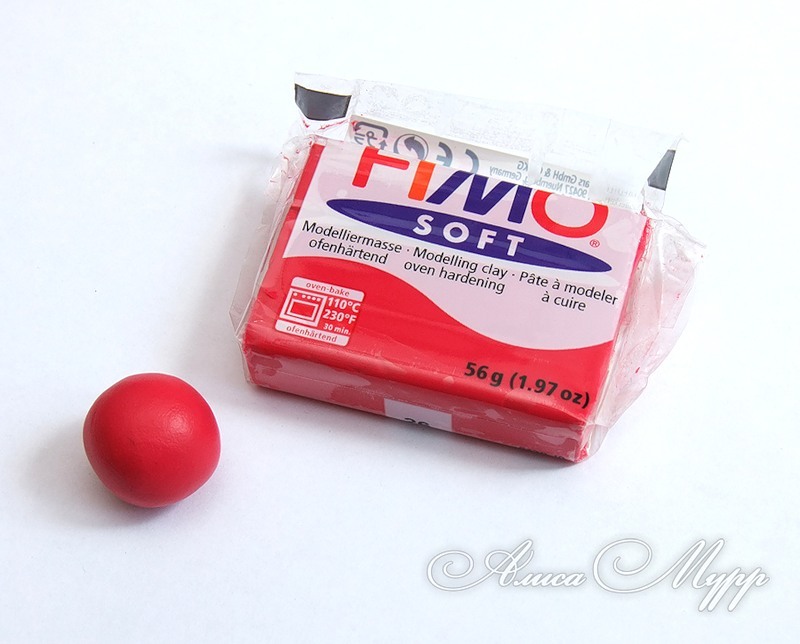 Now it’s tedious – to roll down small-small balls of mashed plastics sooooo much (one Malinka takes an average of 30 – 35 stuff).
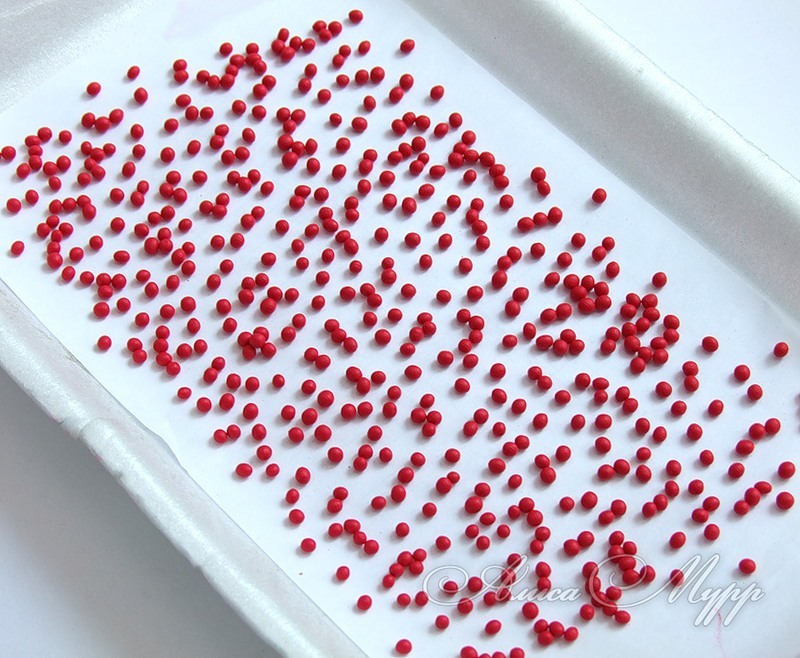 Now the work easier – a few balls larger. 🙂
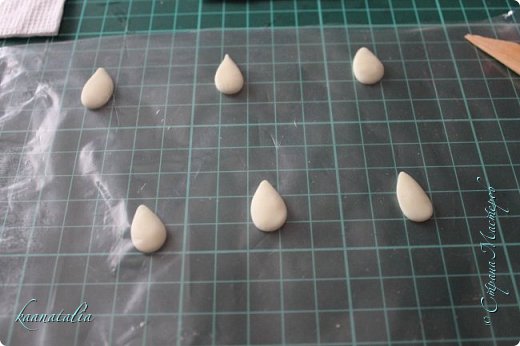
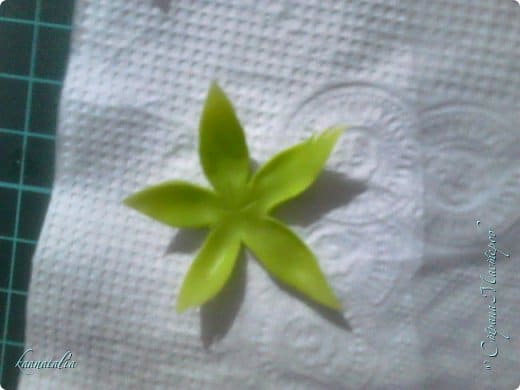
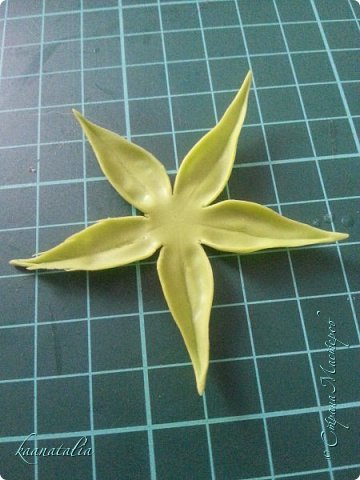
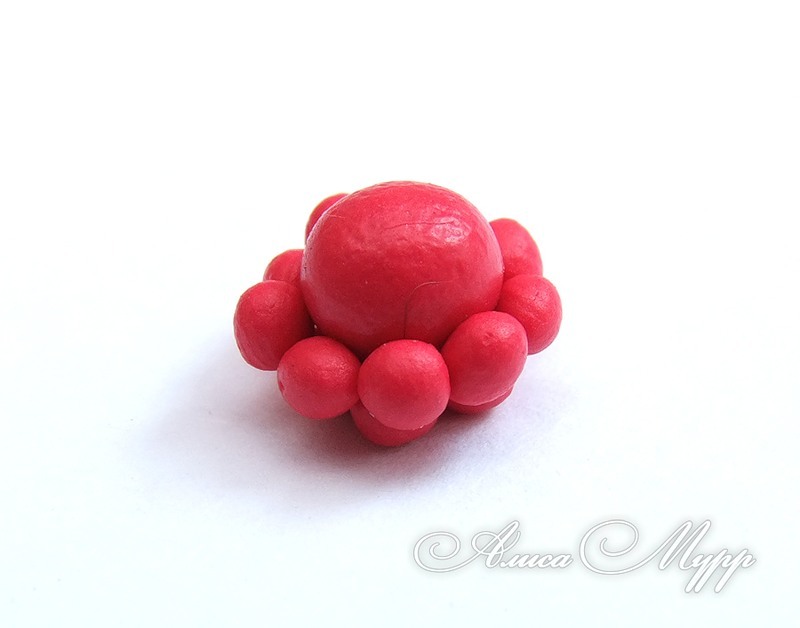
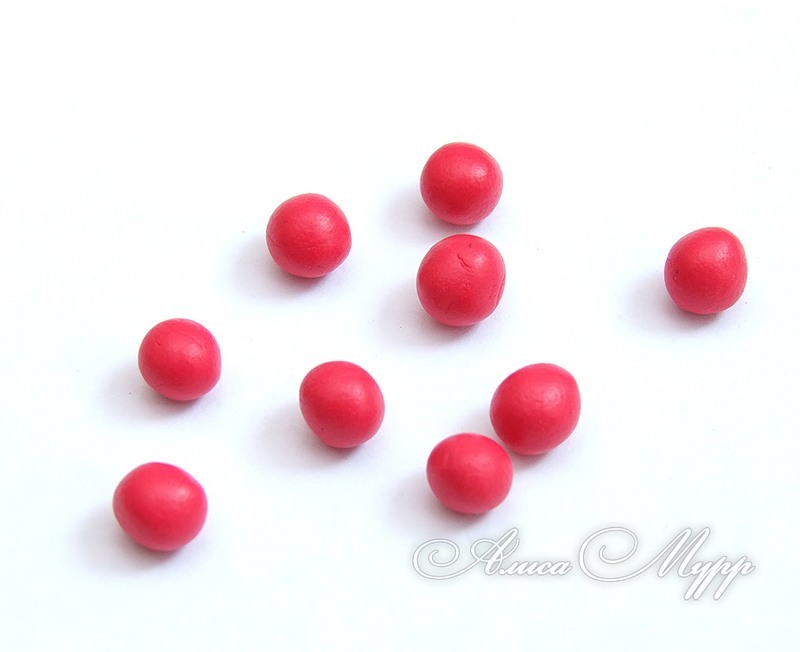 Of the five small balls make the foundation of our raspberries.
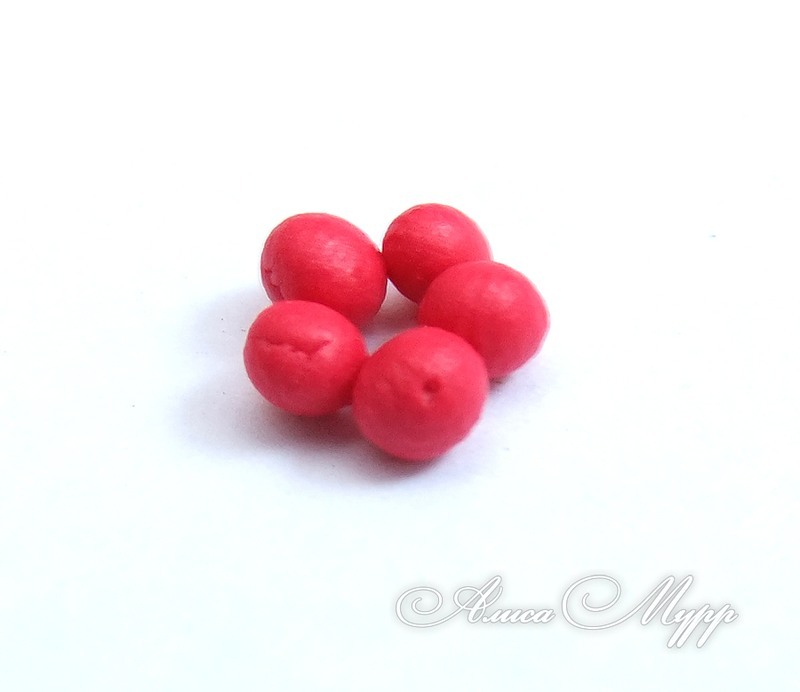 In it we place the ball bigger – it’s middle, to which we attach all the other small balls.
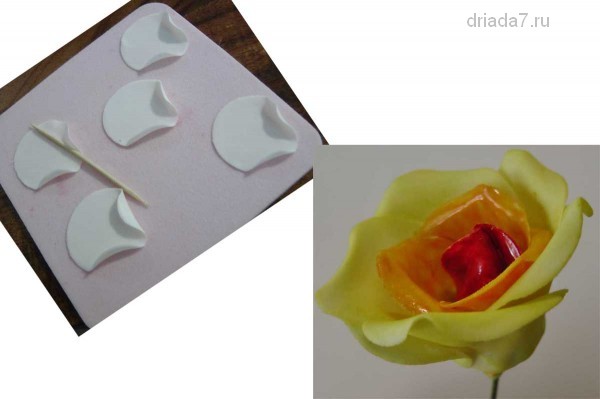
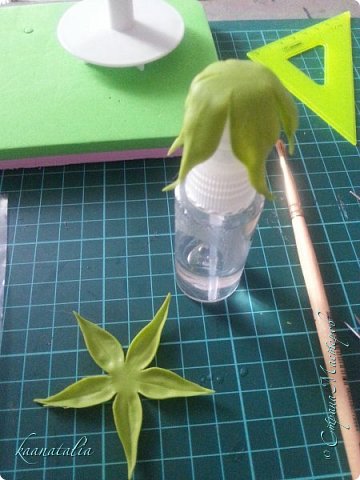
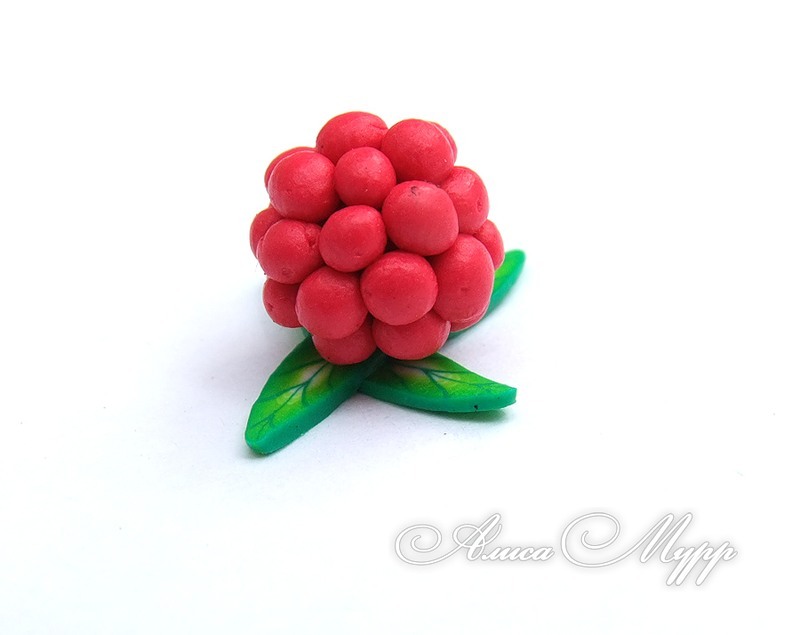
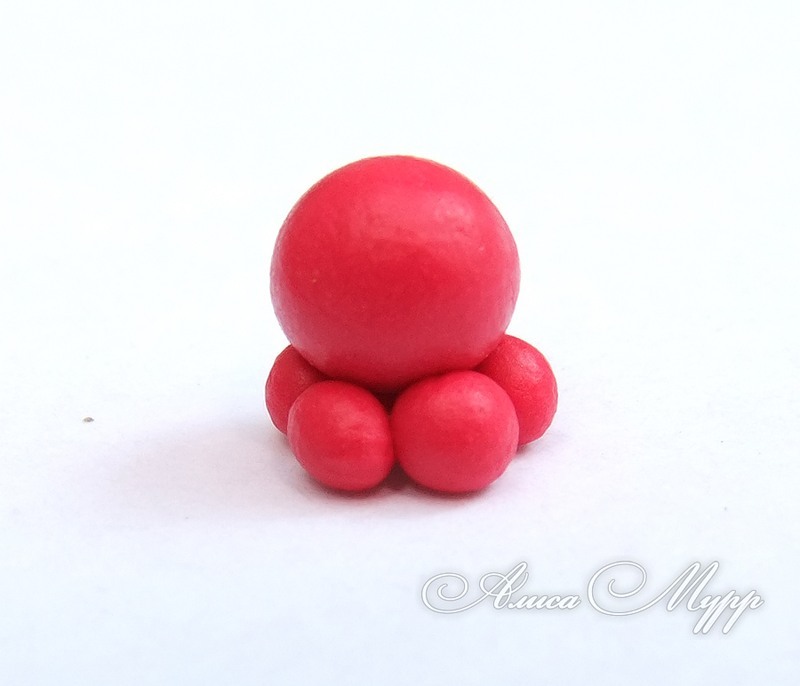 And gradually begin obleplivat future Malinka, row by row. I do it with a toothpick.
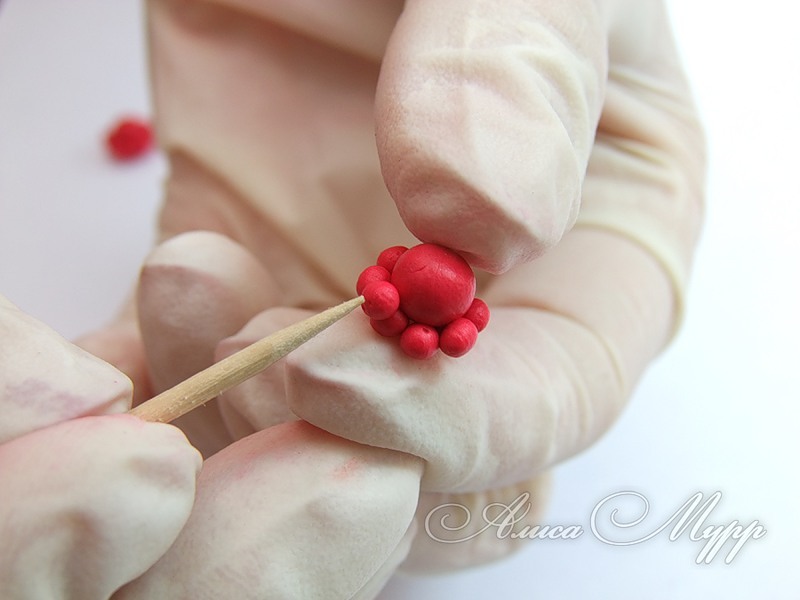
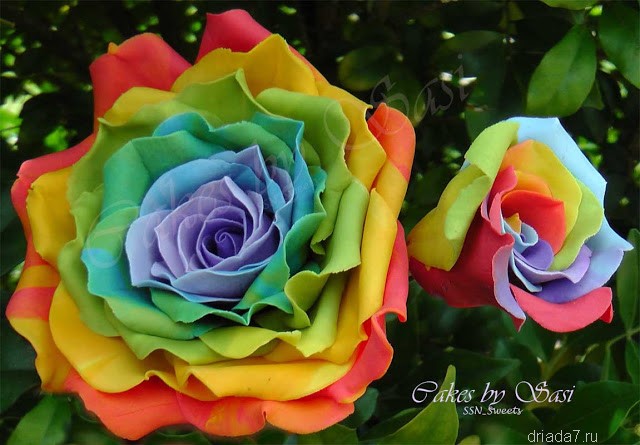
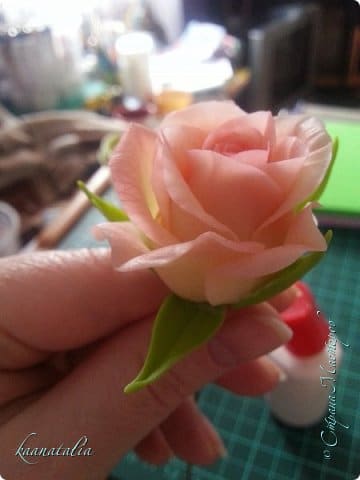
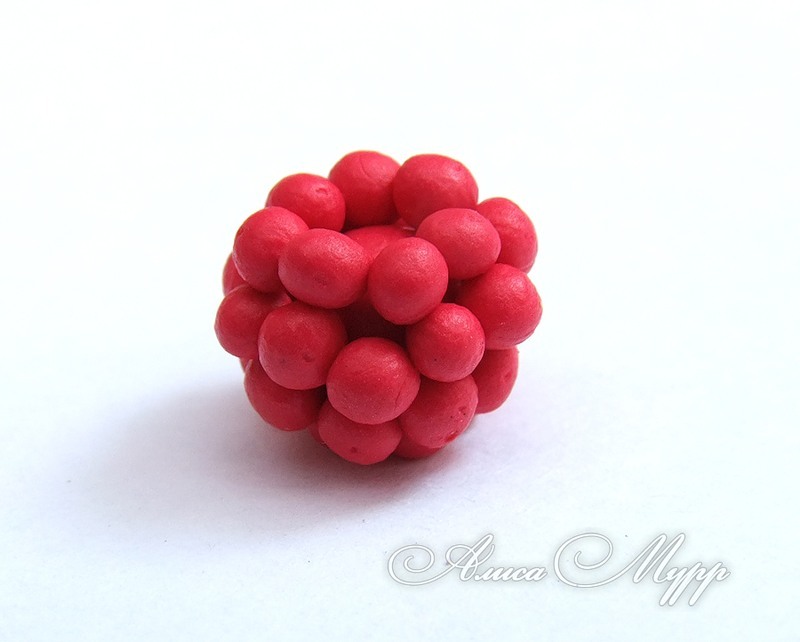 Well, here she is ready. 🙂
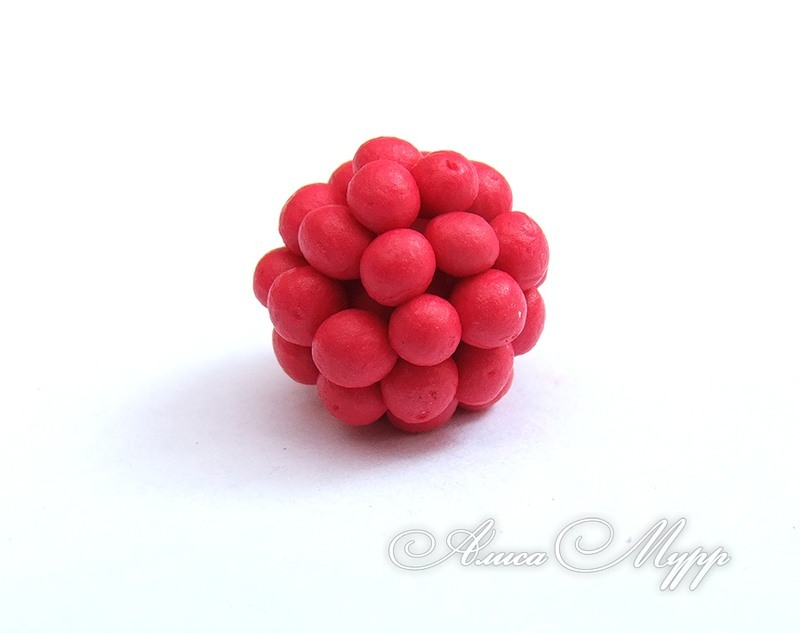 And it all. 🙂
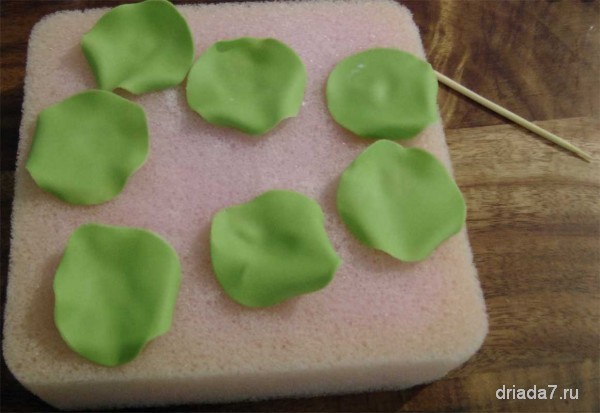
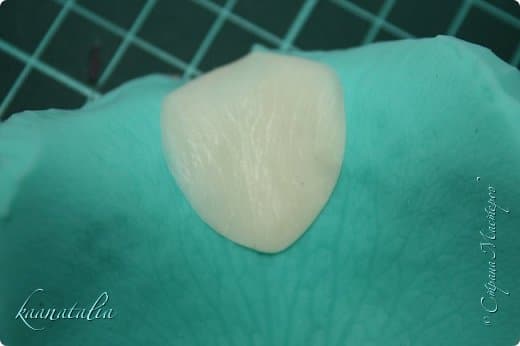
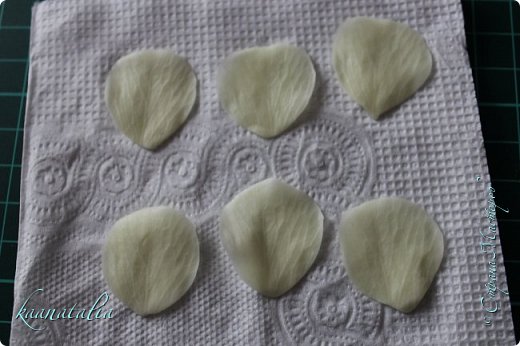
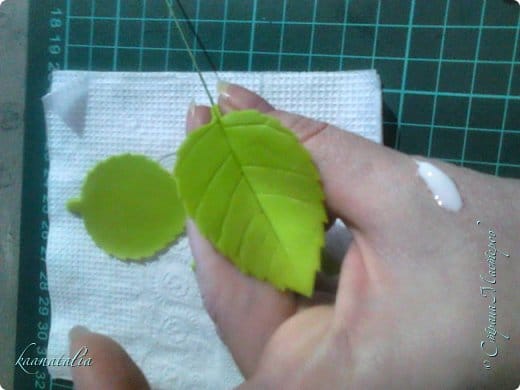
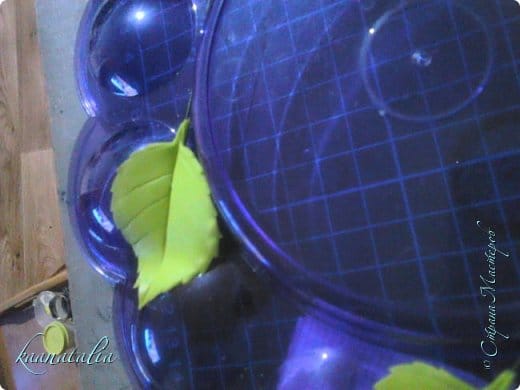
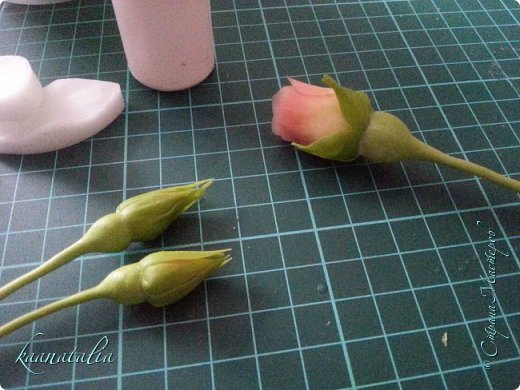
 Now you need to attach the leaves to Malkin ass.
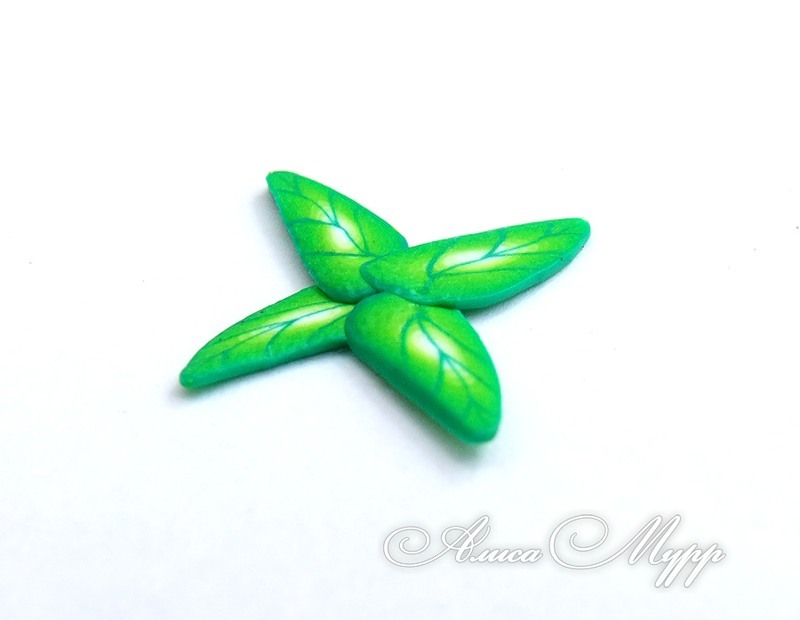
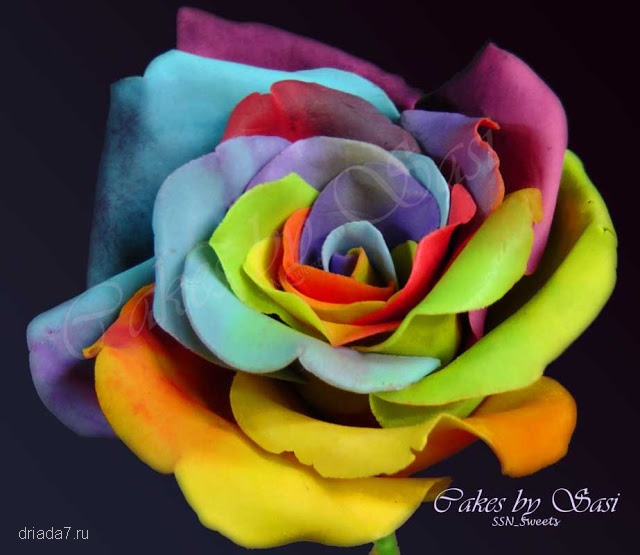
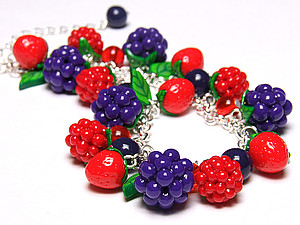
 And inserts the pin, so you could hang a berry on a bracelet or earrings. )))
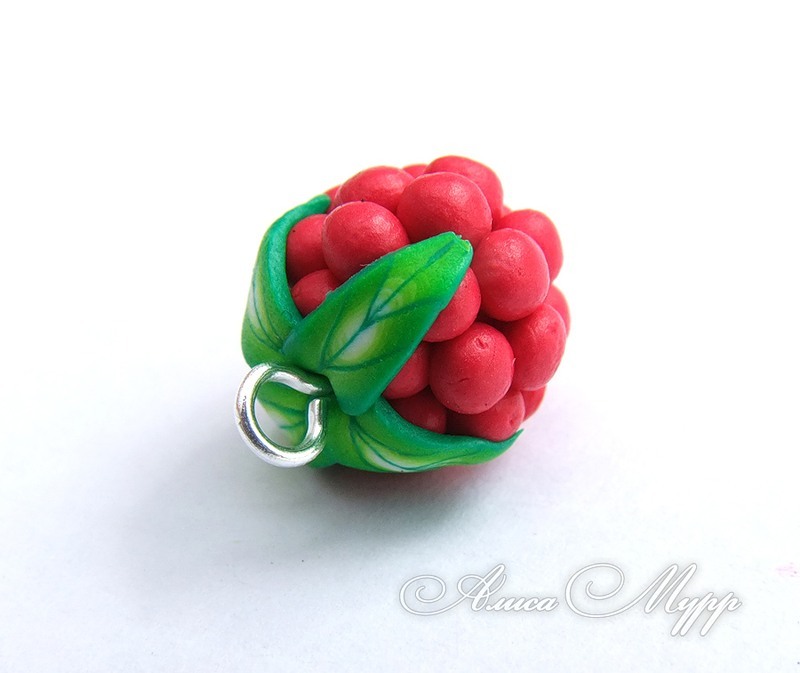 Well, that’s the entire crop