Hello, my dear !!!
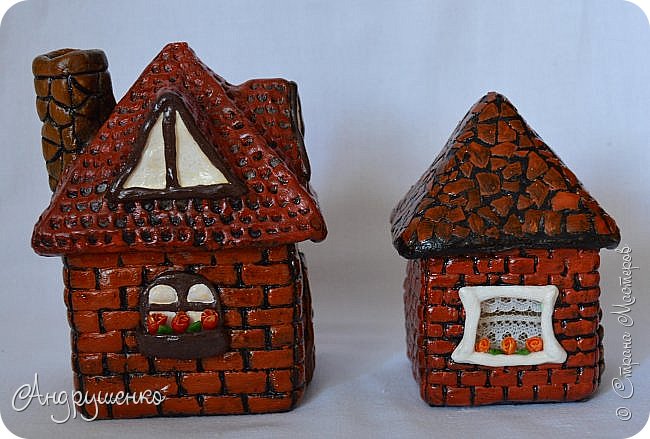
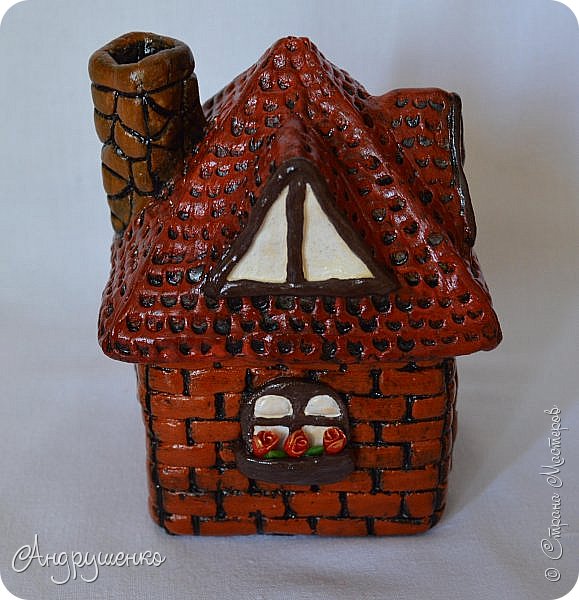
blindly here such houses. Height 12 cm and 10 cm.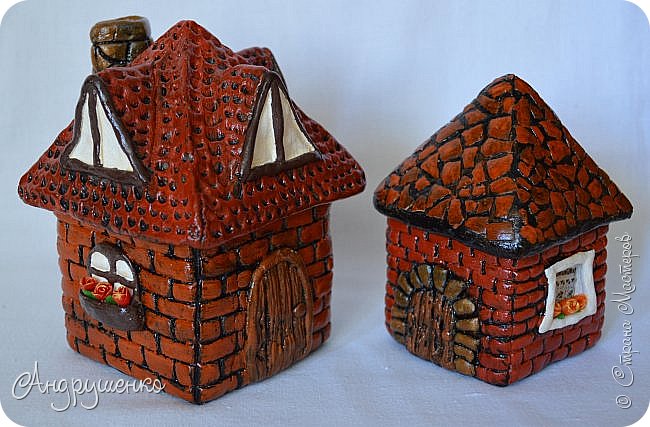 Now wander.
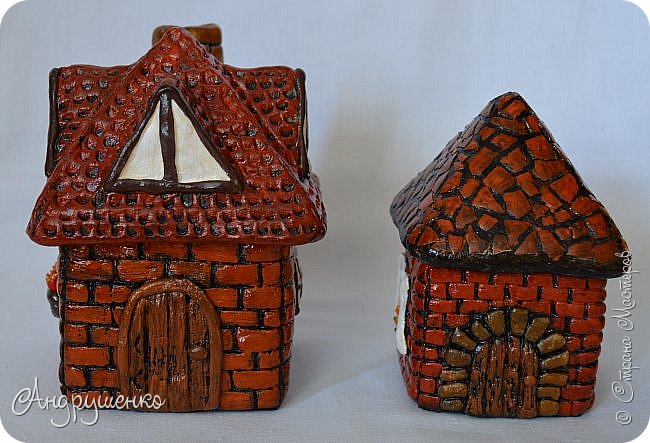 The windows.
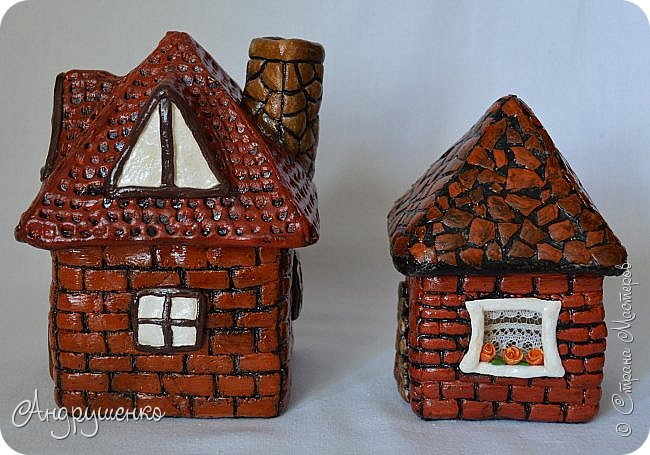

 View from above.
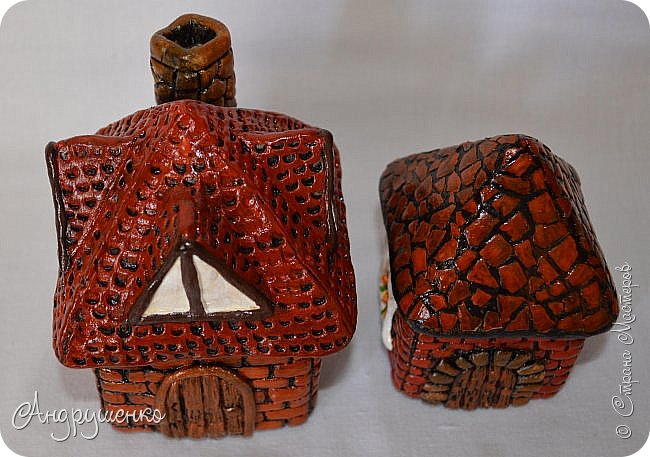 And on top.
Then I will try to show in detail how I made a house a little more. Little by analogy, only the roof easier.
Also, I’ll show you my experiments with shingles, I hope that will come in handy !!!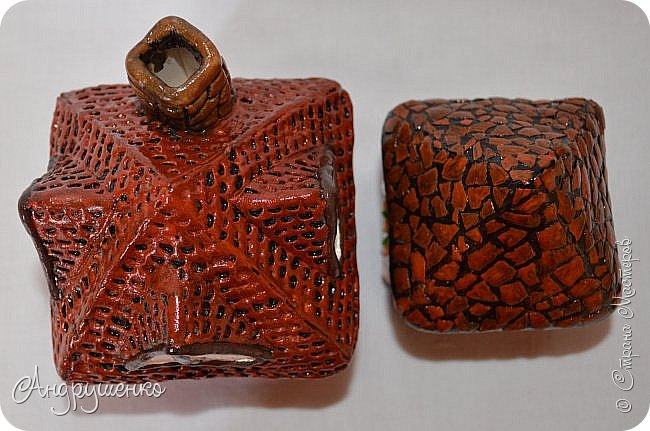 Required Materials:
– salt dough
– cardboard
-marker (or pen or pencil)
– masking tape
– scissors
– stack
– line
– useless little box (can be made of cardboard)
– cold porcelain
– lace (for little houses)
– eggshell (for a small house)
– paint
– paint
– brush
– PVA glue and resin
– toilet paper.
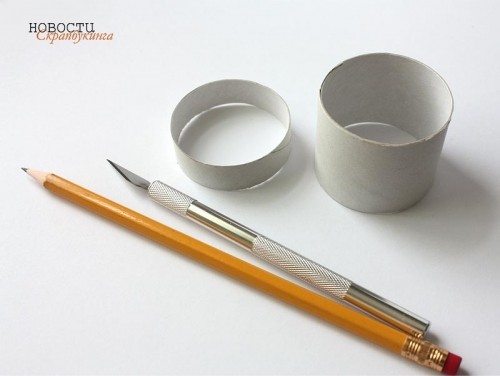
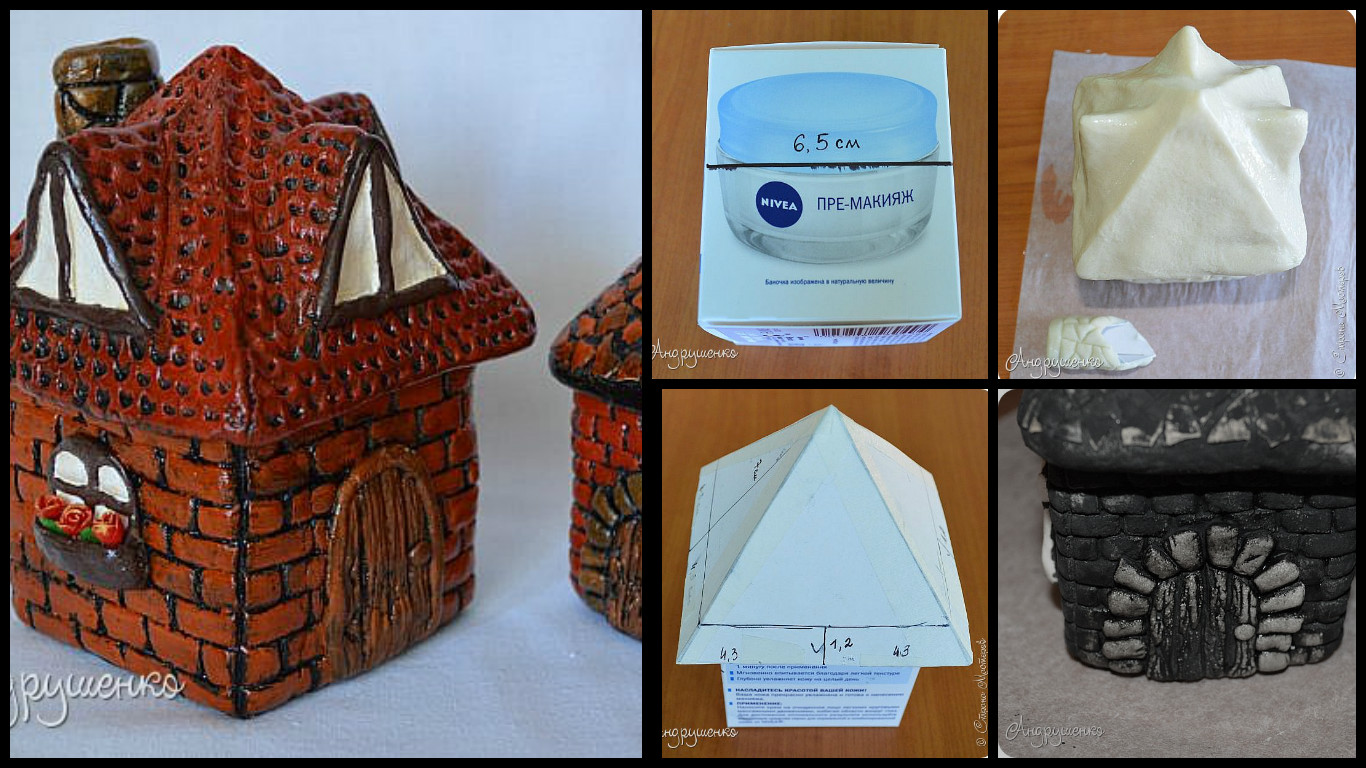
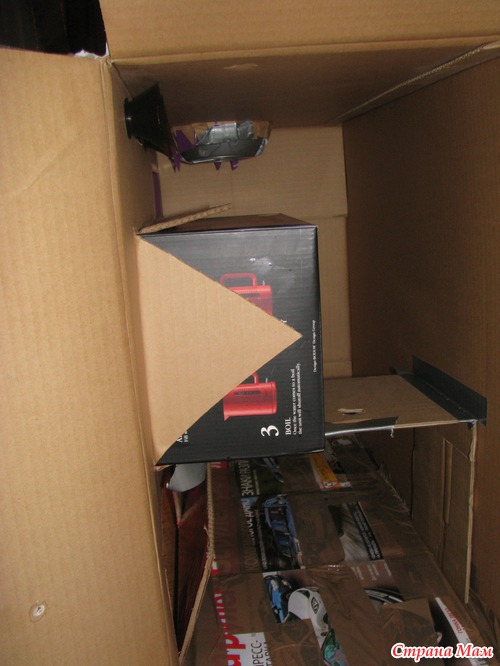
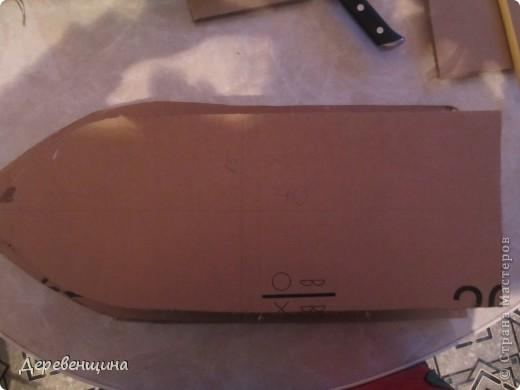
Let us proceed. I took the box from under the cream. It is necessary to measure the width of the wall of the house, and all the walls should be the same size, that is at the base of the house should be square (it is necessary to make a roof).
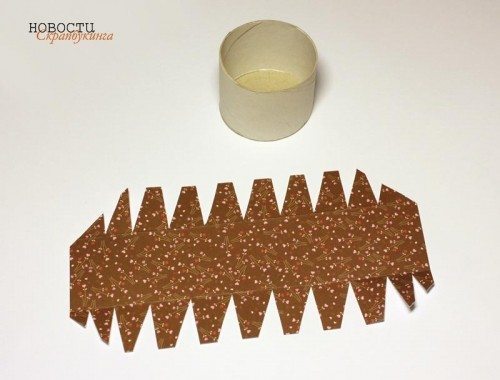
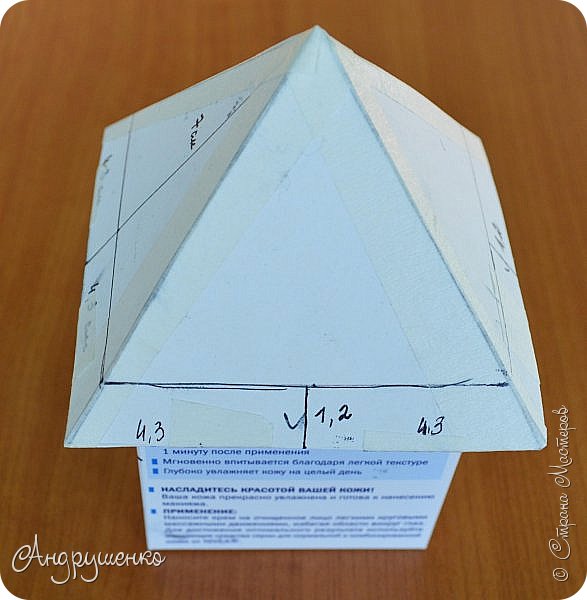
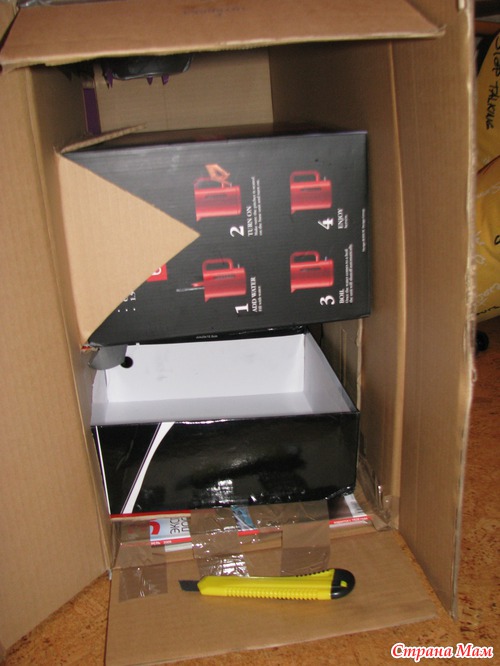
You can glue all the boxes instead of cardboard.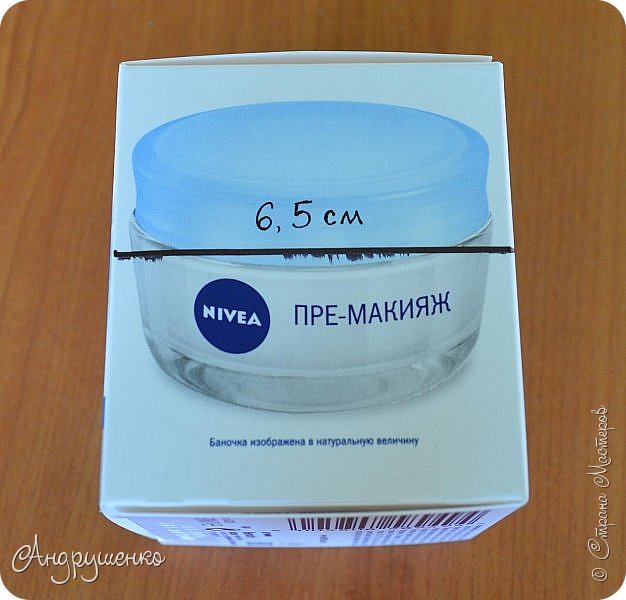 To cut out the roof 4 of a triangle, as in the photo – the base 8.6 cm (divide it in half), from the middle of conducting a height of 7 cm, and connect the line to the triangle.
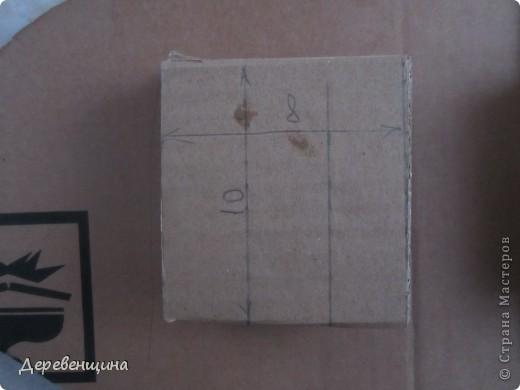
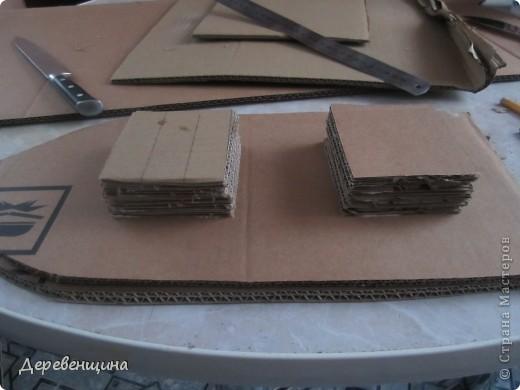
8.6 cm – 2.1 cm is greater than the width of our wall (6 , 5), it is necessary that this number is divisible by 2. If you have a different width, take the size of 2-3 cm more for the roof, it all depends on the size of the house.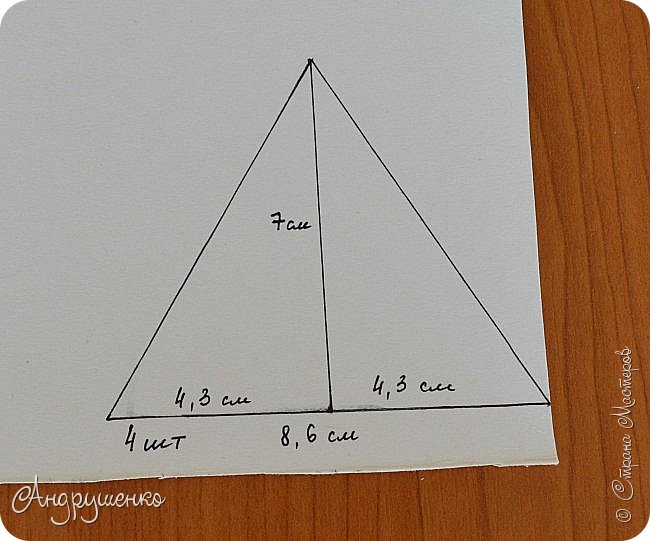 Here are our billets. The base mark the pen, as the parties have turned out almost identical (in millimeters difference mile), you can get confused.
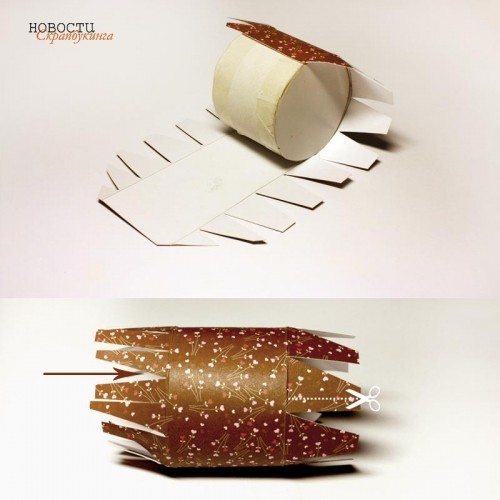
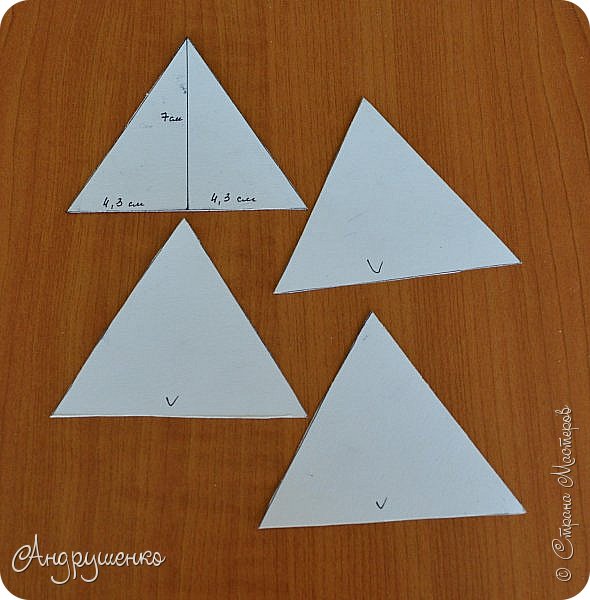 Merge all 4 triangles using masking tape.
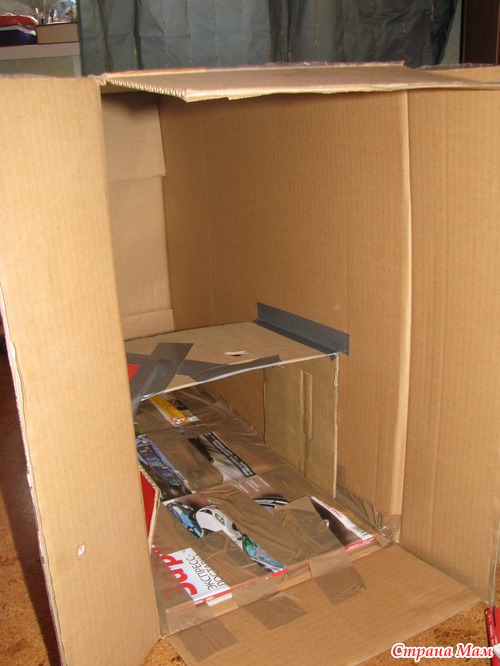
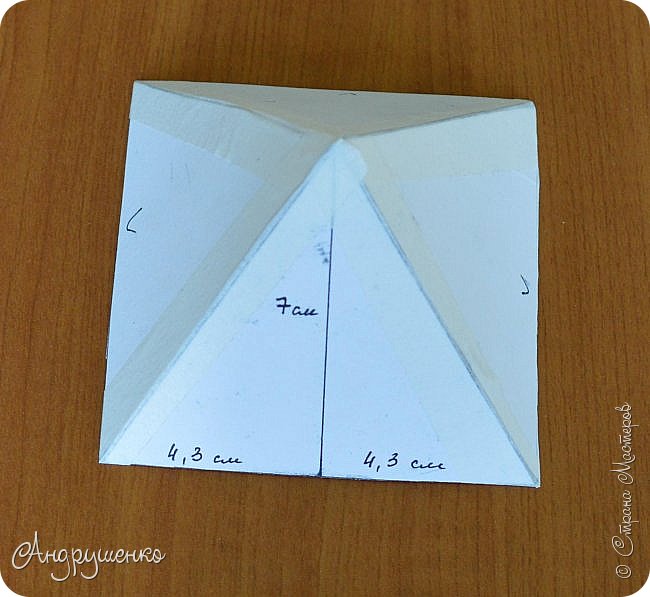 To box glue strips of masking tape to attach the roof.
 Like this. As the photo shows that those tape glued side of the box that open (top and bottom).
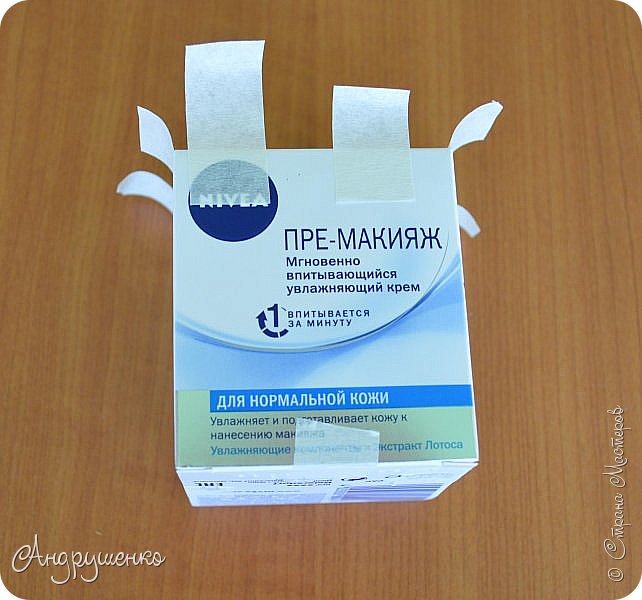 Glued roof.
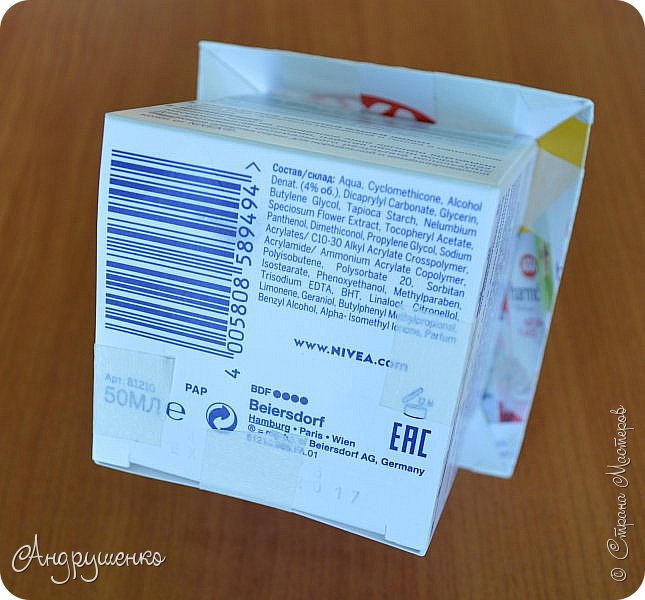
On the roof,
we draw a vertical line at a height of 1.2 cm and mark the middle of the roof.
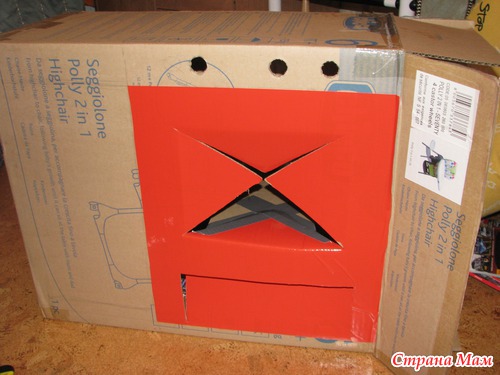
 Cut to the windows on the roof of the triangles, as in the photo. The first triangle 1 piece, the second – 2 pcs. And so for each window. We have them 3.
 And in the middle of our window glue mark. And so 3 times.
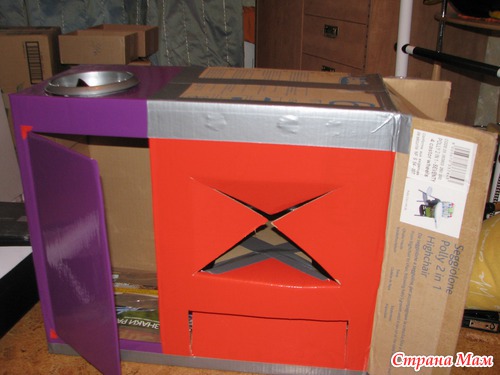
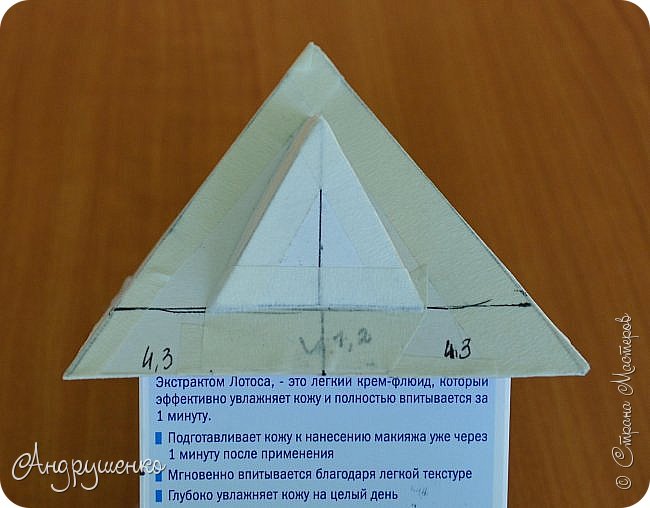 On the fourth side of the roof fastened smoker, but you can make the window 4, as anyone would like.
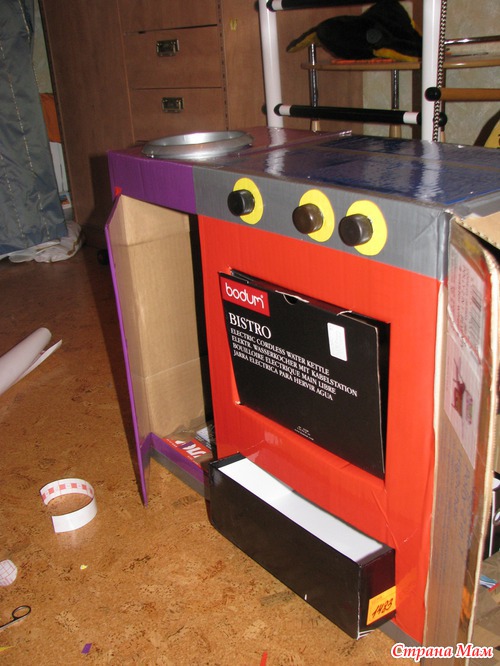
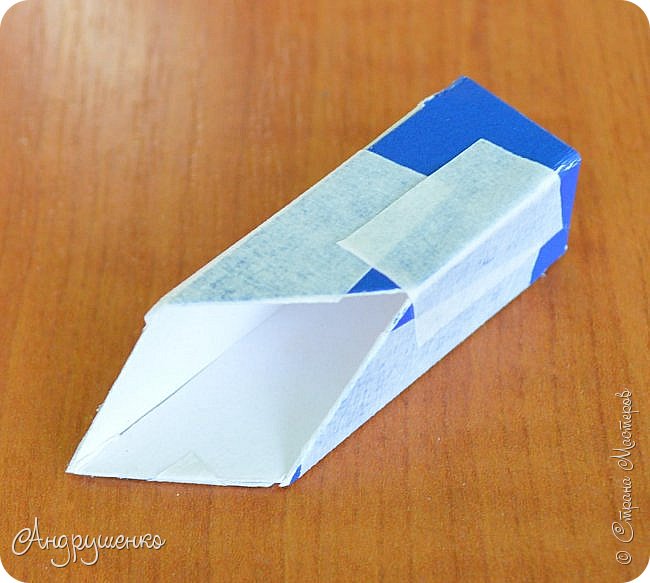 That just happened.
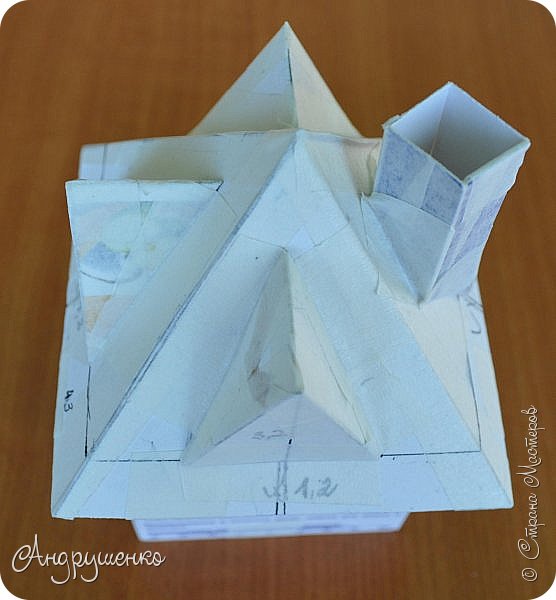 Harvesting is ready. Getting modeling.
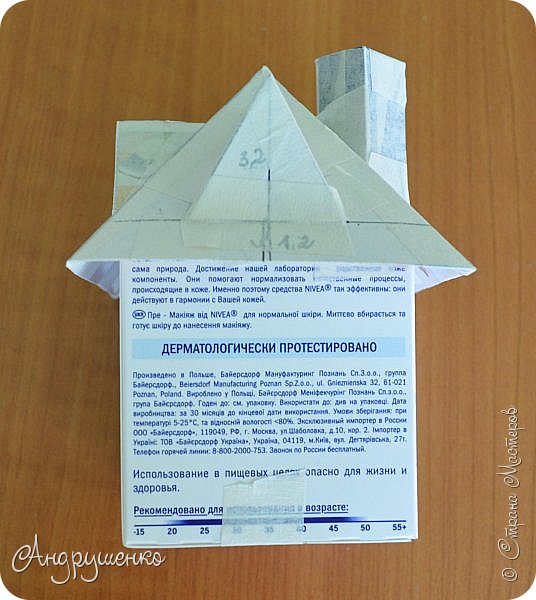 We stuck to the walls of the house first test of about 5-7 mm, splash stack of bricks. Then sculpt the doors and windows.
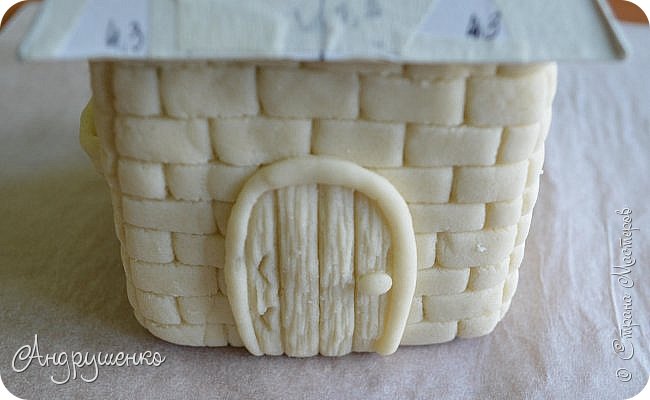 I have 2 of the window.
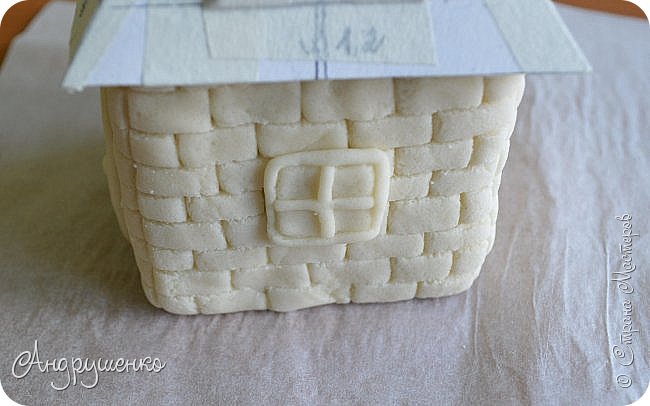 One such – for flowers.
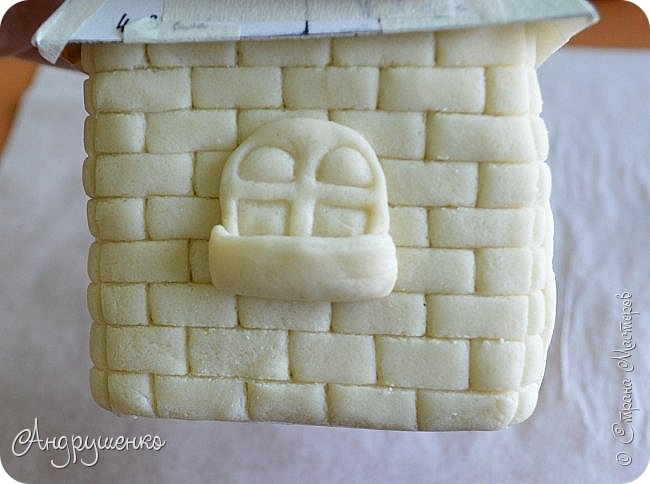 Go to the roof. Clung to test about 5-7 mm. Then moisten your fingers in water and straighten all the bumps. It was very difficult to stick round smoker (hard to find), so I had peeled off, clung to the test and draw the stack of stones. And then use the test fastened to the roof. It keeps excellent.
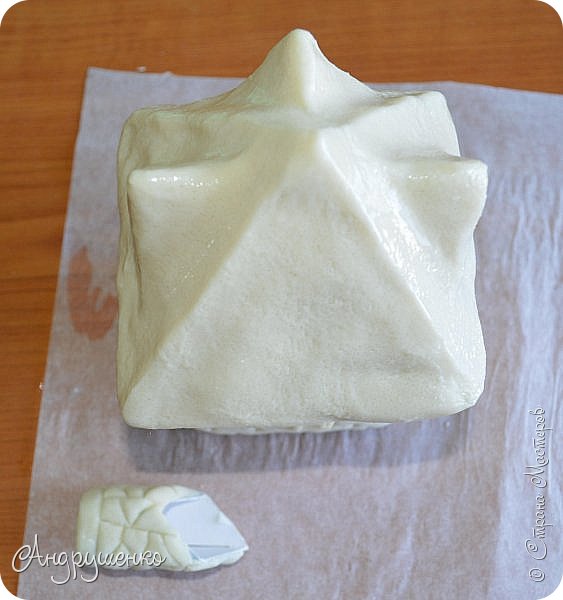 Like this.
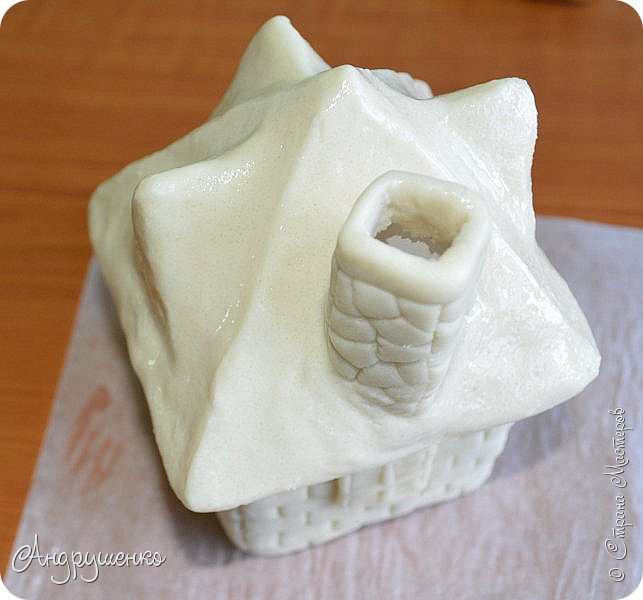 Draw lines on the sides of the roof and windows.
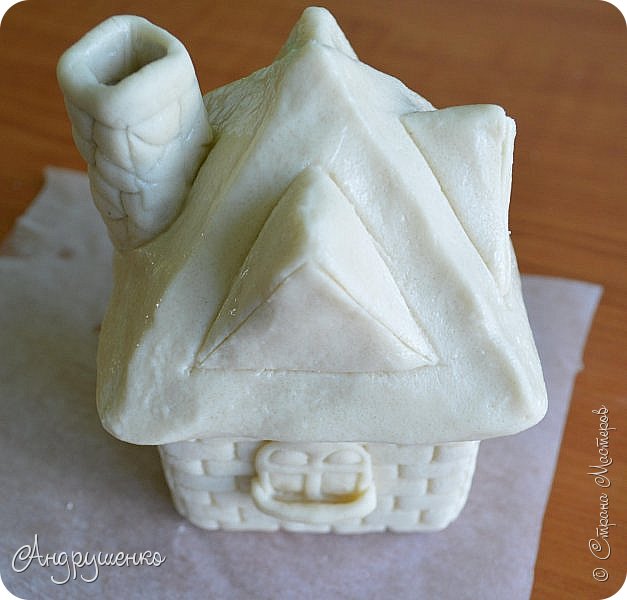 The photo can be clearly seen.
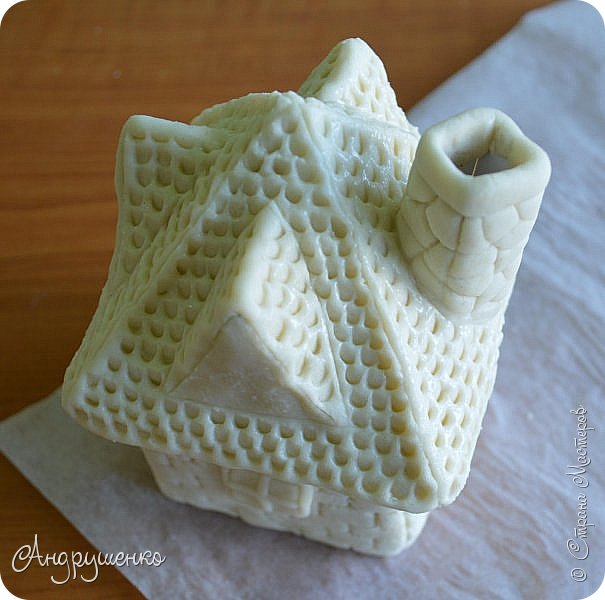
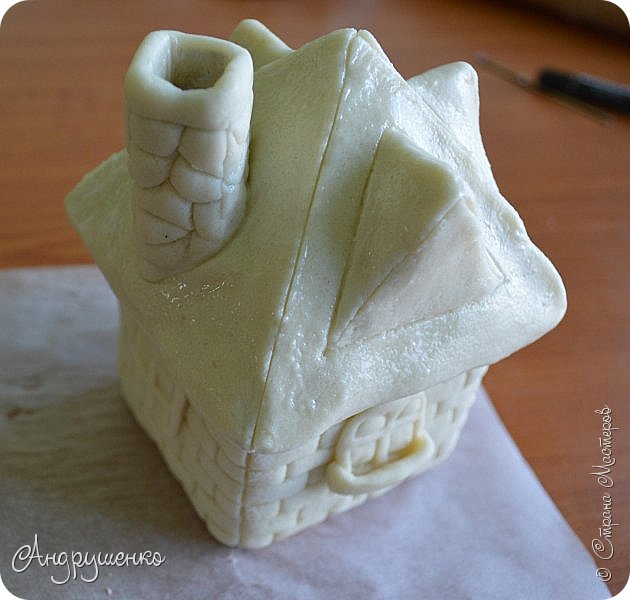 Simulating tiles – below I’ll show you how it’s done.
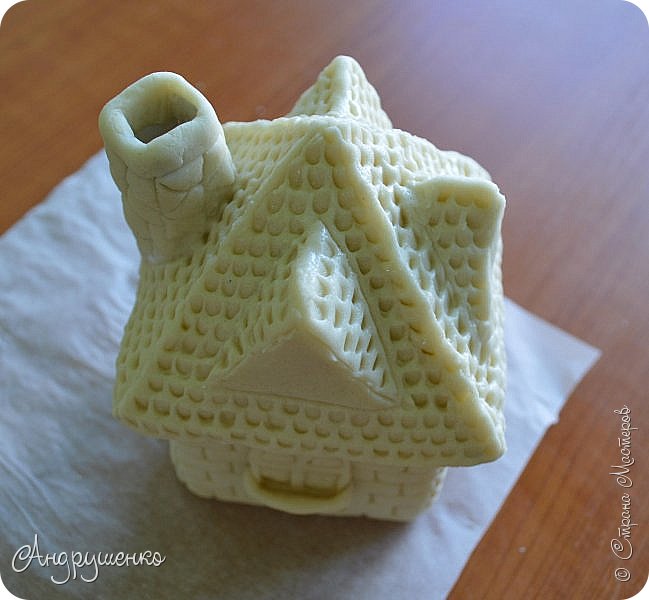
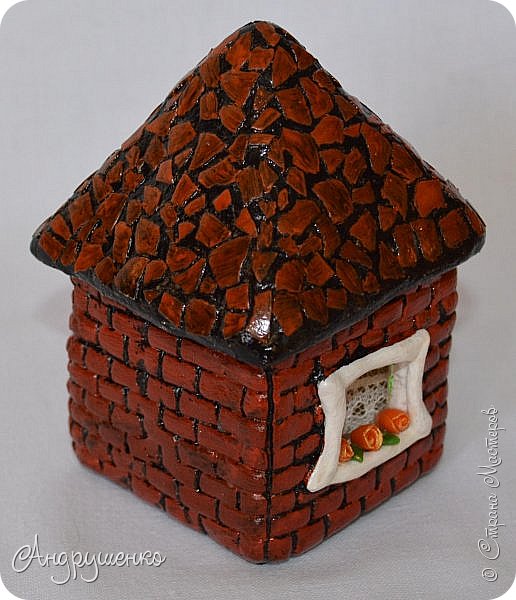
 It is a small house. He had almost dried up. The roof is simple, but after drying, I pasted its eggshell.
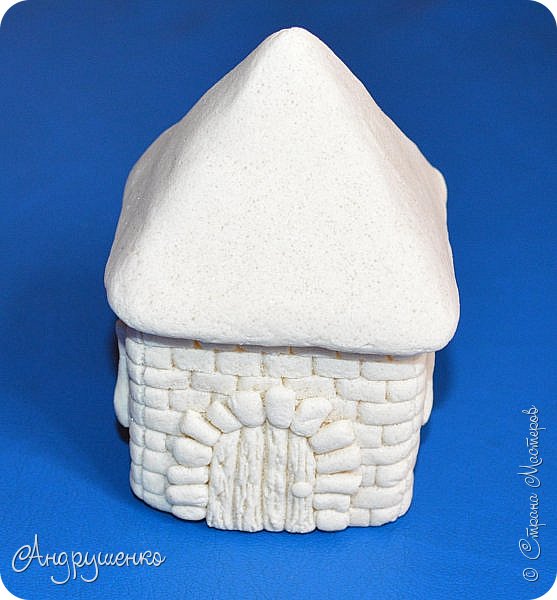 The windows cut out in advance, then opened the box and glued onto the polymer adhesive piece lace – curtain. Such windows 2.
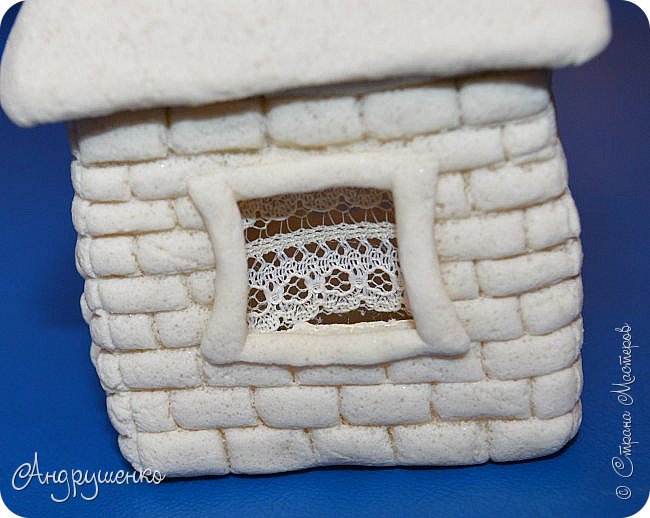 More photos.
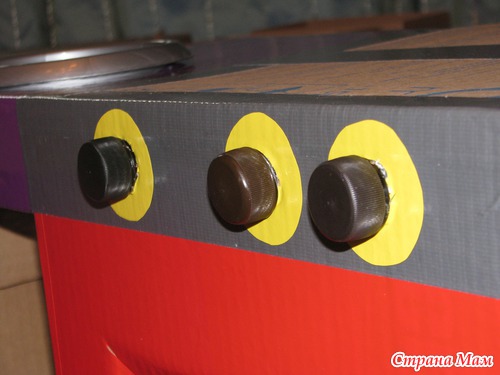
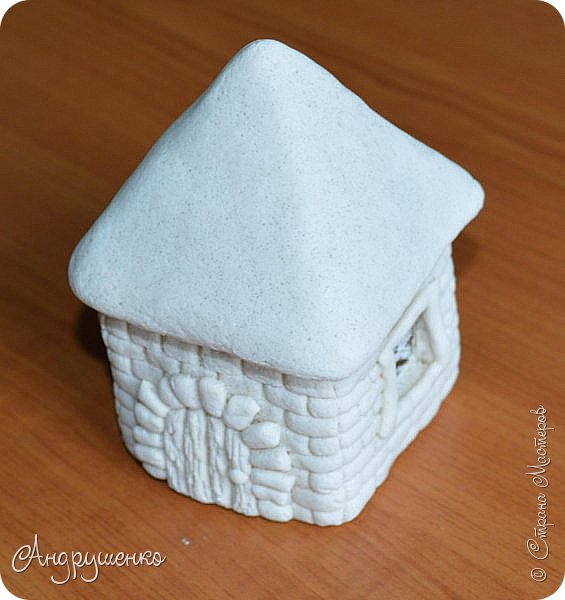 Next painting. Paint houses completely (except windows) black gouache.
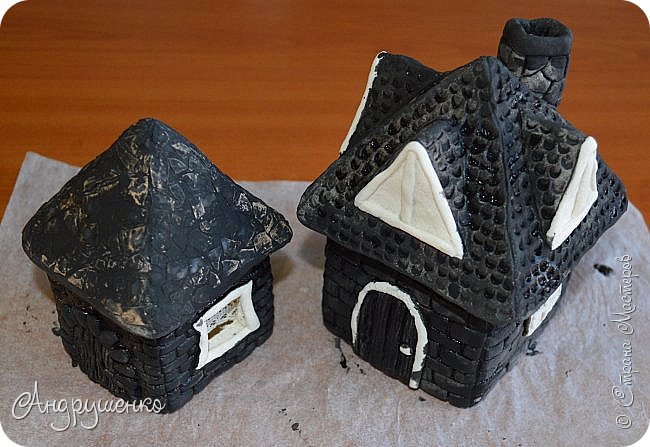 Doors and smoker I’m a little rubbed with a wet sponge, then turned to the color lighter.
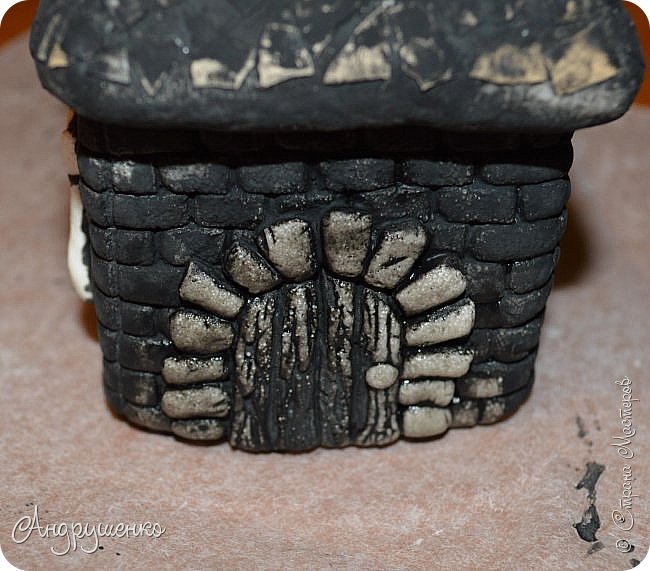 I paint the roof of a large house in a large and small blocks in a reddish-brown color. Brown paint doors and smoke.
Then paint the contrary from the roof of a small house, and a large brick in terracotta color. At the end of the window paint.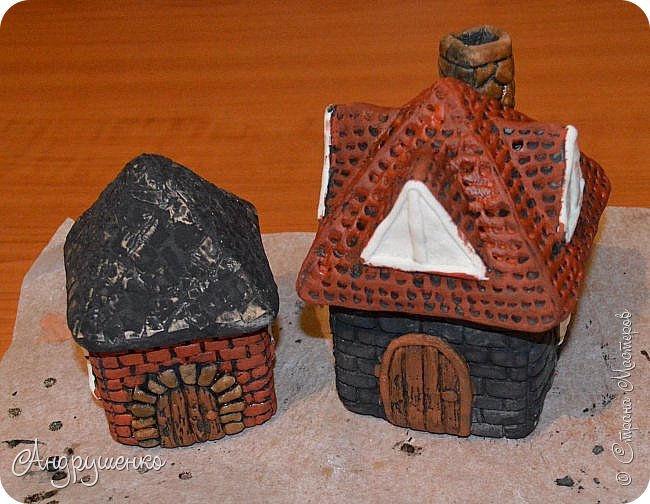 The bottom of the house is not stuck to the test, as long as will be dry with inversion. To strengthen the bottom, I pasted it into 4 layers of toilet paper with PVA glue. Then painted in black.
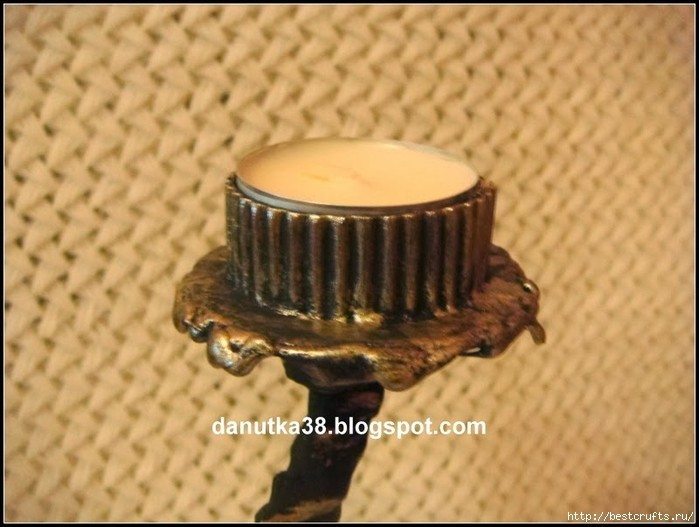
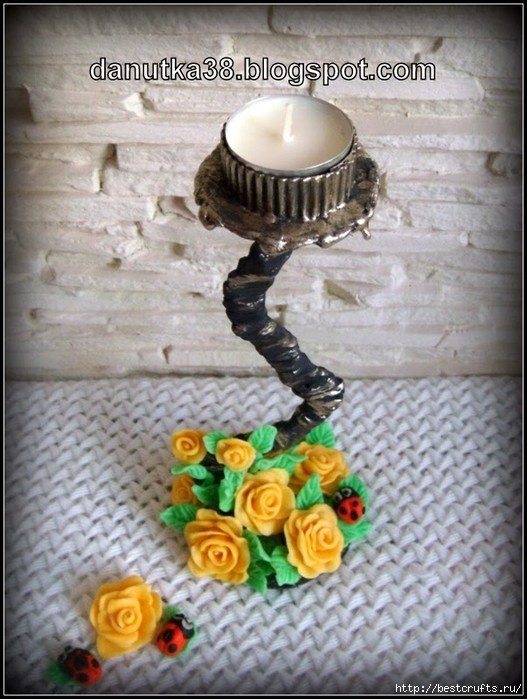
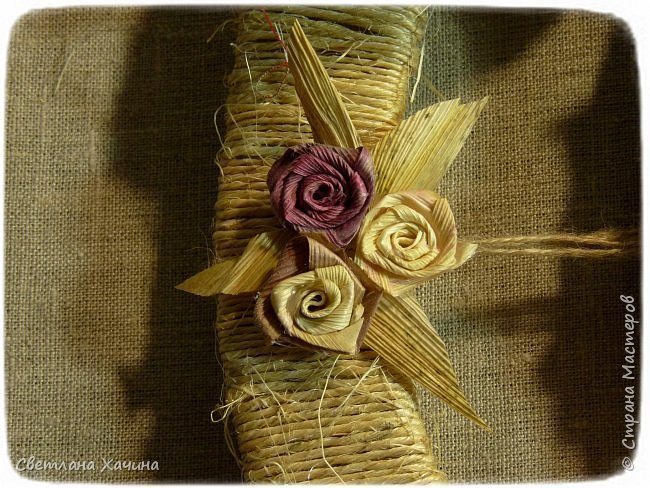
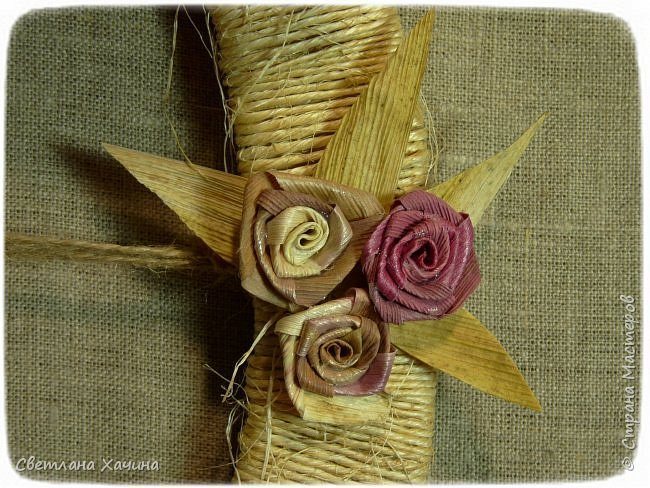
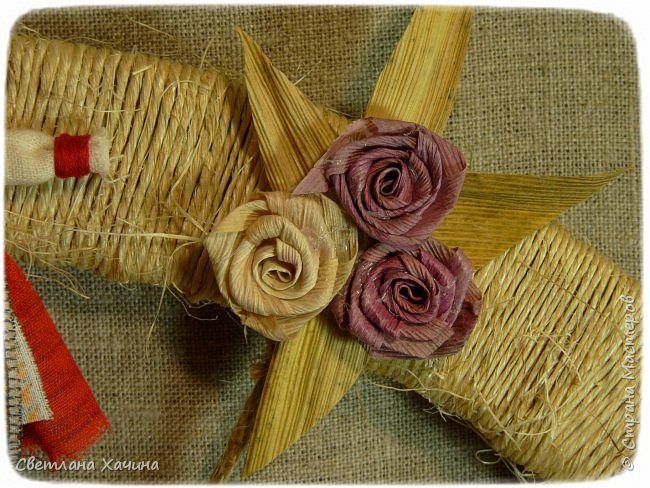
The houses covered with lacquer in 2-3 layers.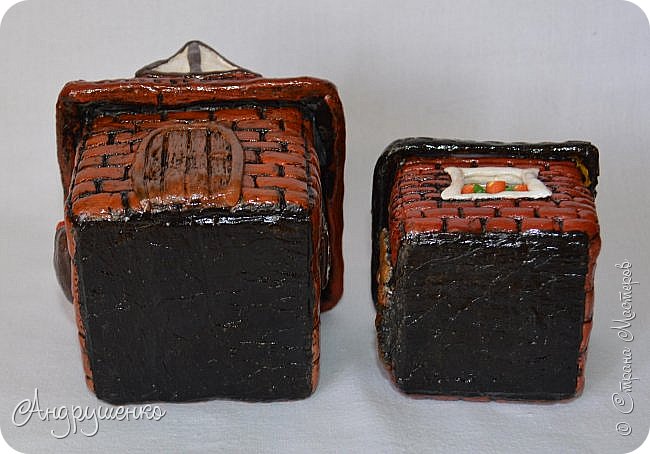 He is blind to the little house orange roses from HF and leaves, for a large house with red roses. I stick to the polymer adhesive. Roses on top of a little gold-colored acrylic paint.
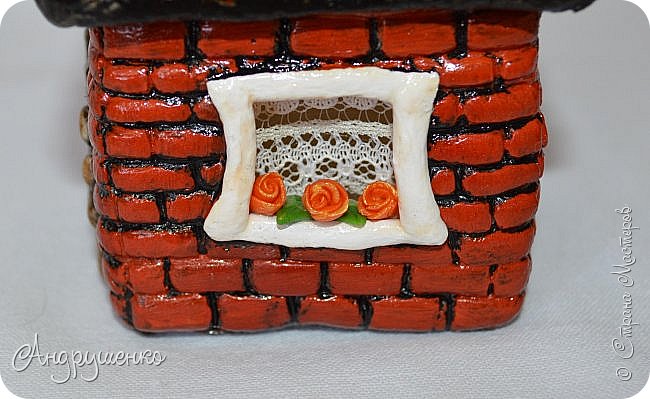 Houses are ready !!!
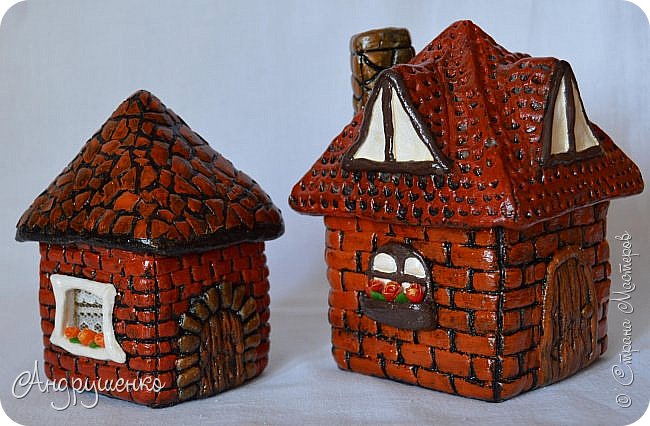 Now I tell how I chose the tiles.
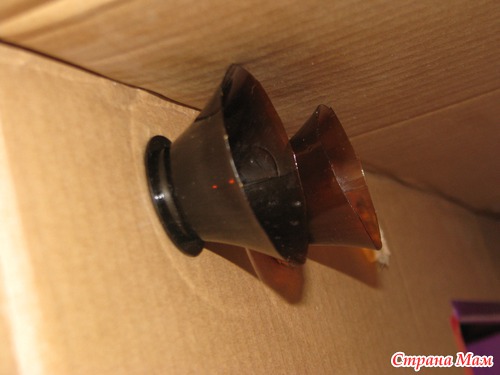
The left upper and left lower tiles made using the stack, which is sold with children’s plasticine. You can take a nail file.
The top right – with the help of the cap from the handle, bottom right – with a spatula from a manicure set (I do not use it). That last option I used to roof the house.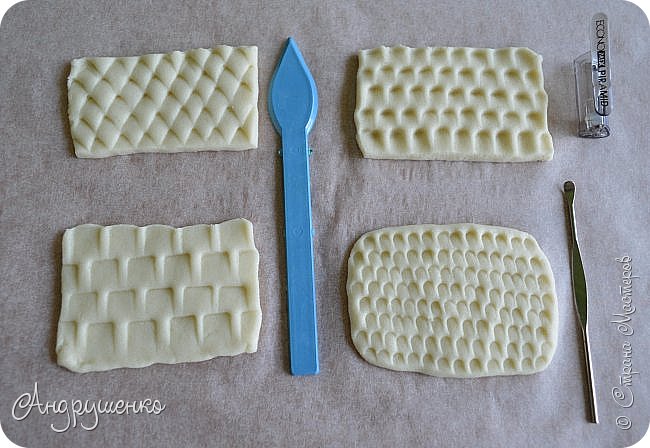 It has 2 options.
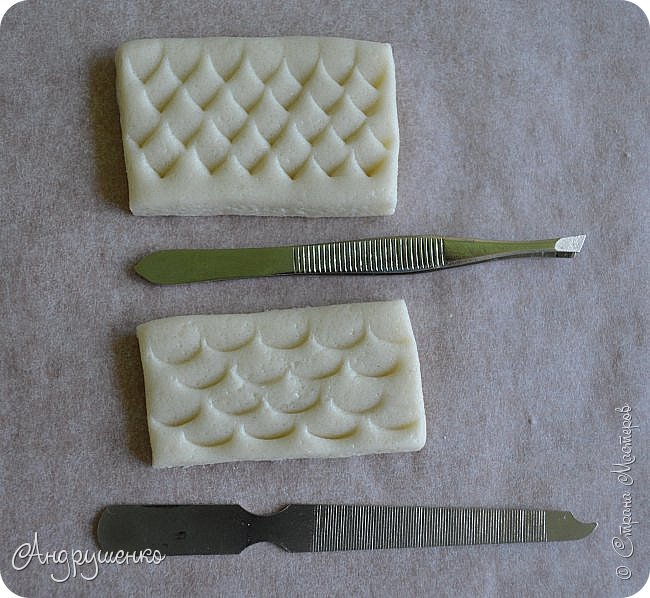 And this is done with a fork ( the stacks some effect will be on a toothpick).
You can use orange sticks, a knife, etc. Finally houses separately.
 Thank you all for your attention
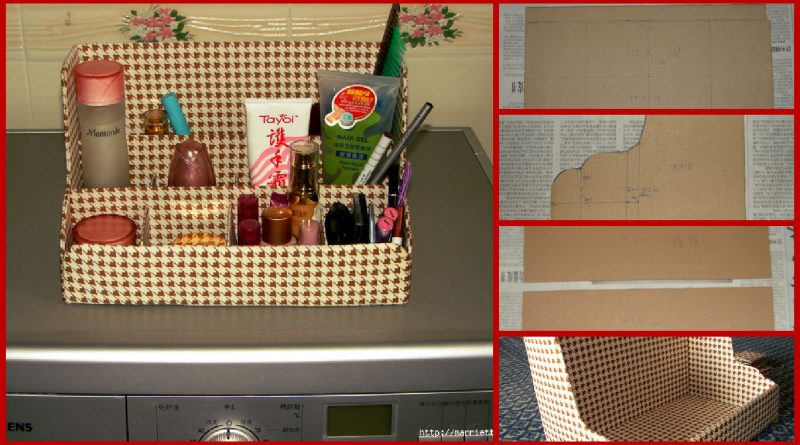
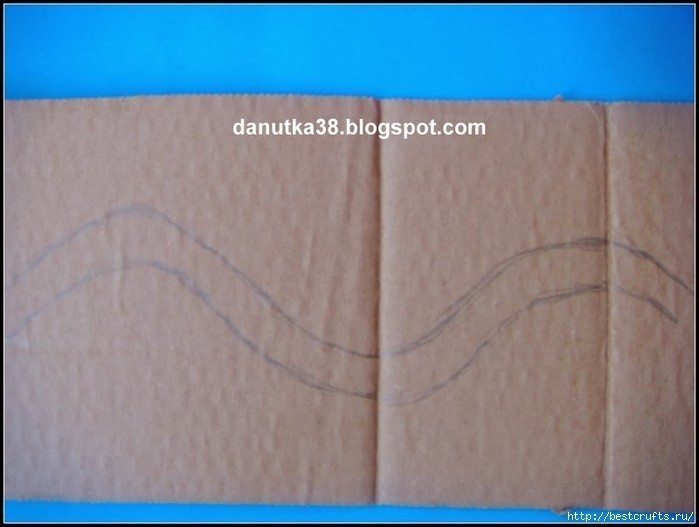
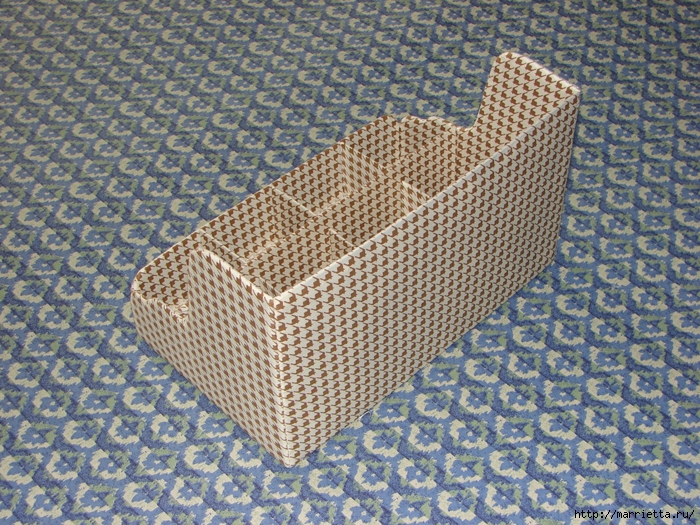
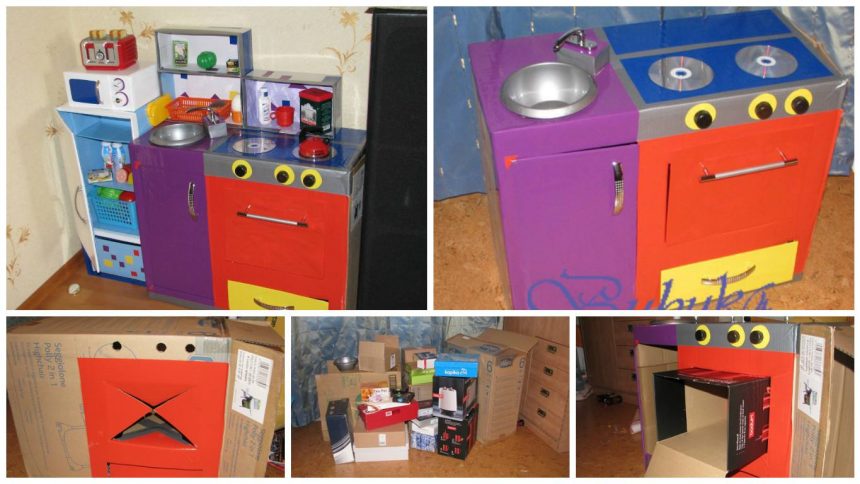
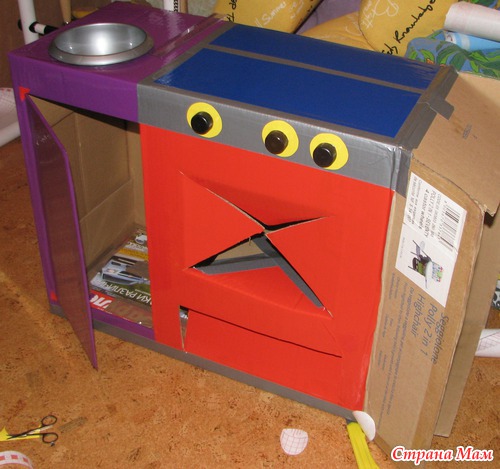
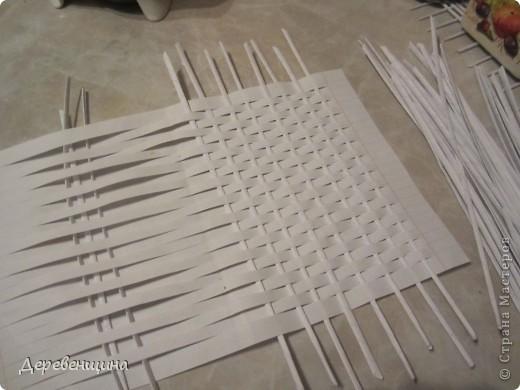
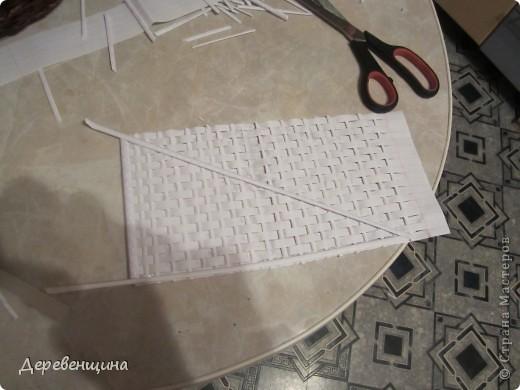
 cut out of cardboard two rectangles measuring 30 cm by 18, we get the bottom shelf and the rear wall
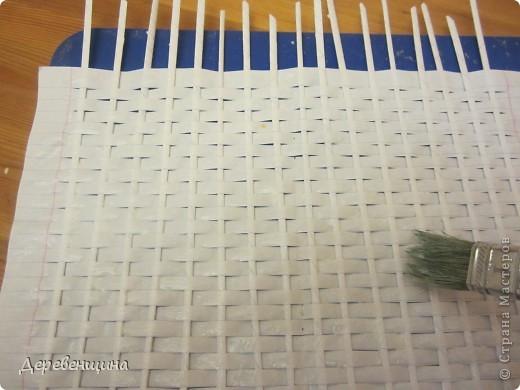
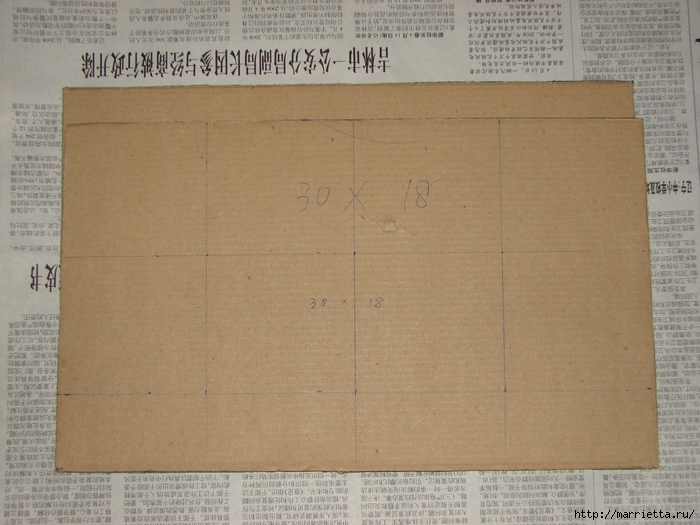 Cut 2 squares with a side of 18 cm and attach a decorative shape, as shown in the photo below. It shelves
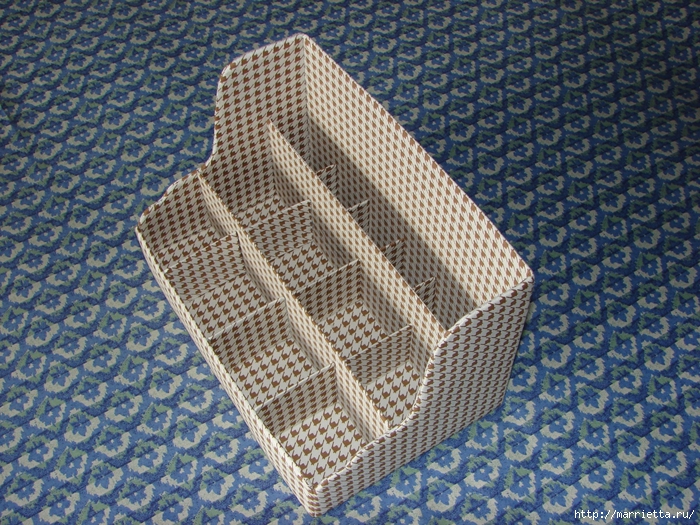
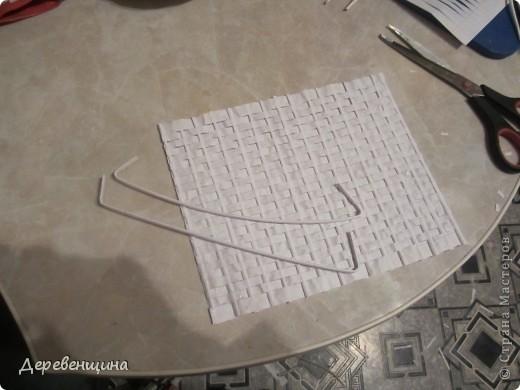
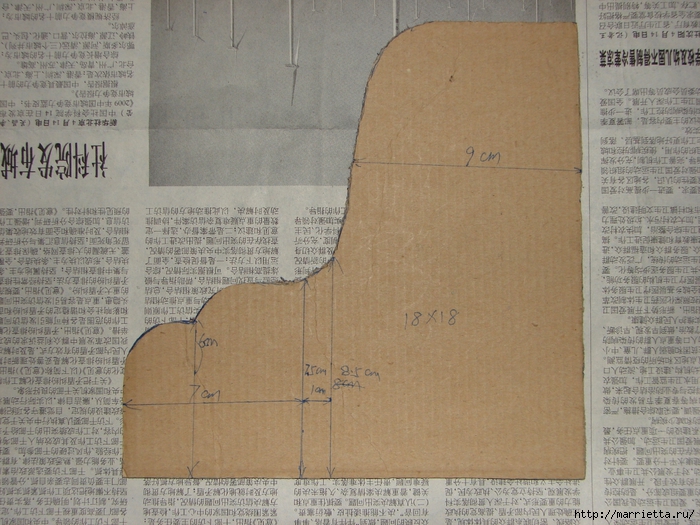 Cut shelf front panel 30 by 6 cm. Note the rounded corners on one side
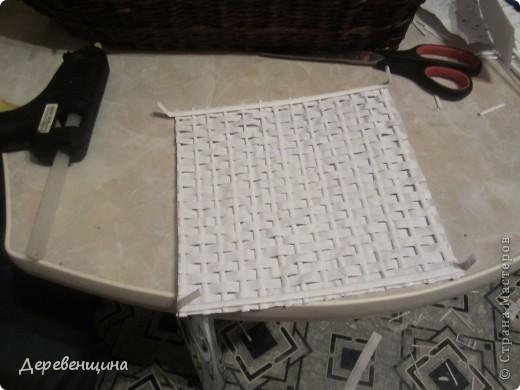
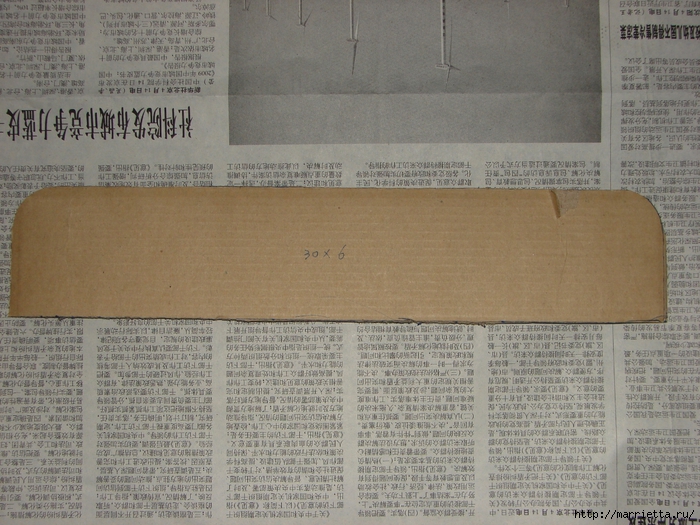 Cut two rectangles 30 and 10 30 cm by 8 cm, this will be the inner crossbeams
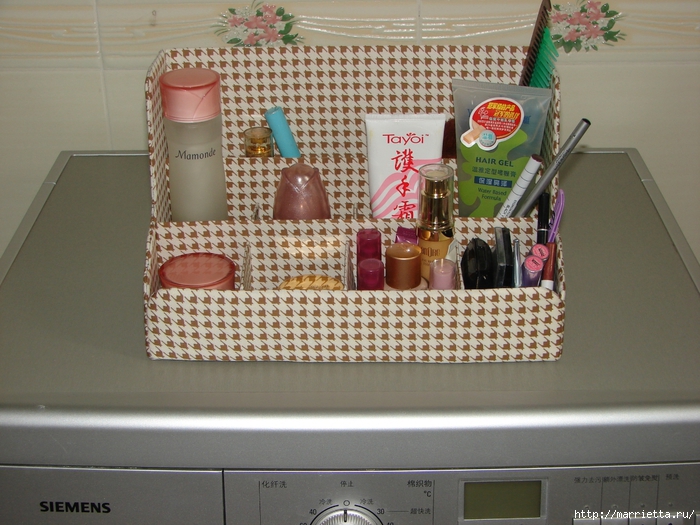
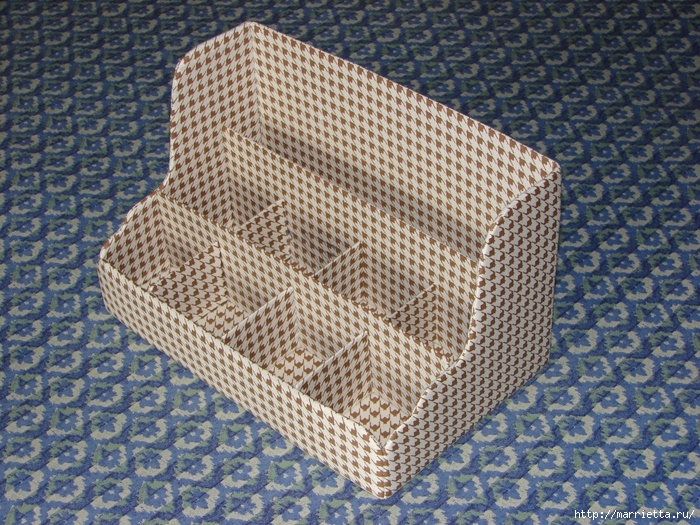
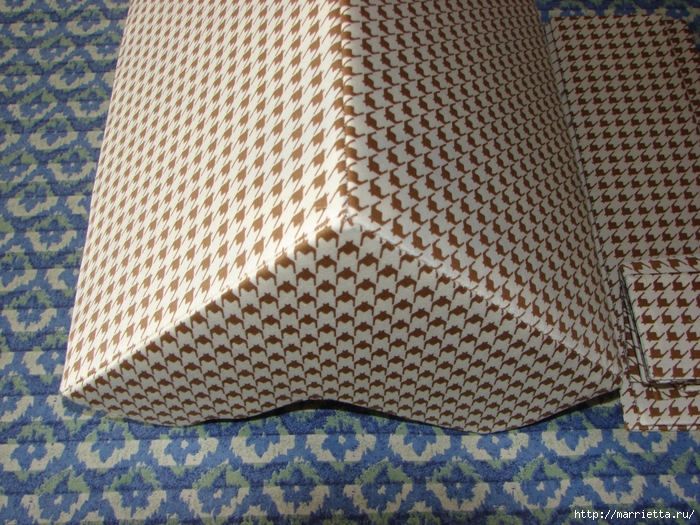
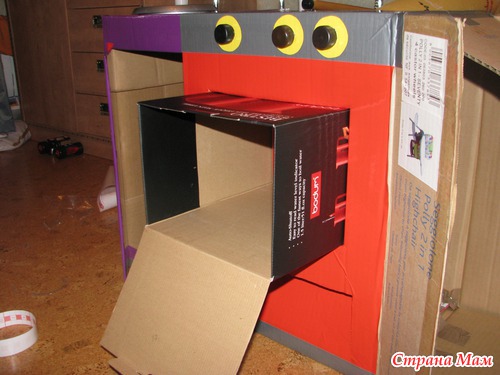
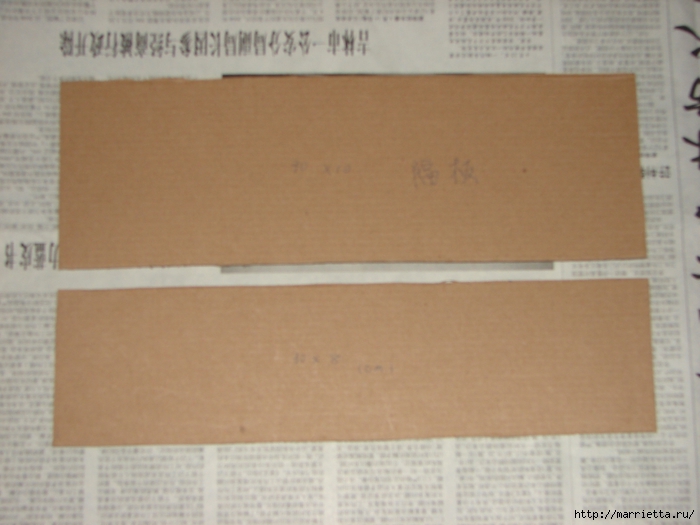 Every detail of the tight-fitting cloth with synthetic padding
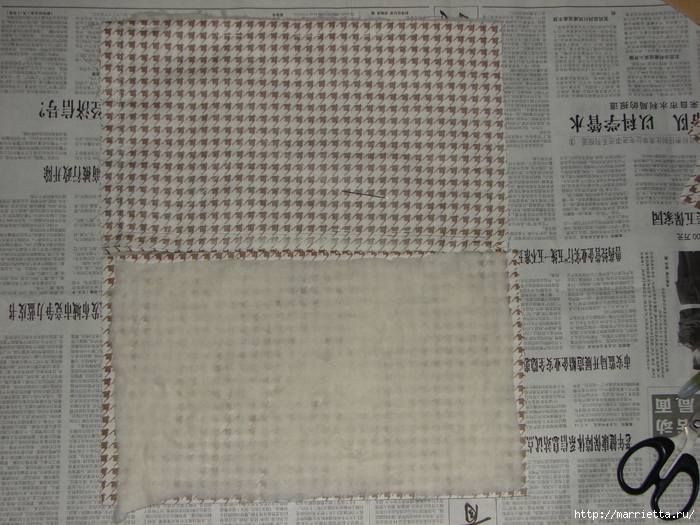 All items are sewn by hand, blind stitch. You can simplify your work, first build a shelf, cardboard, glue, etc.)
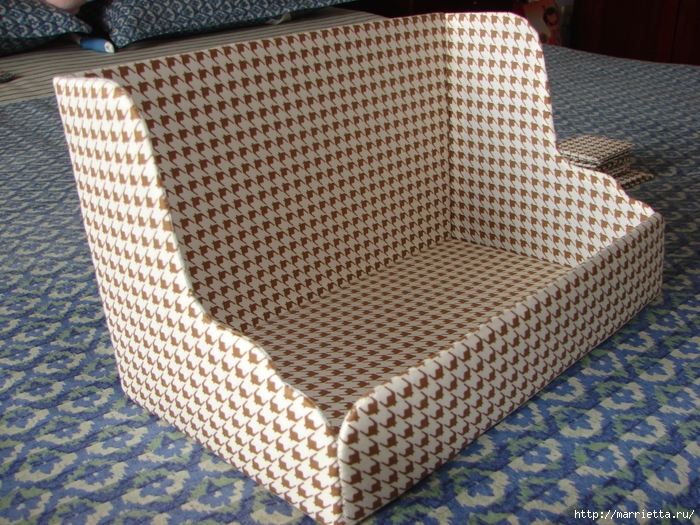
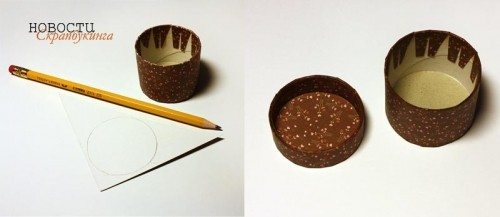
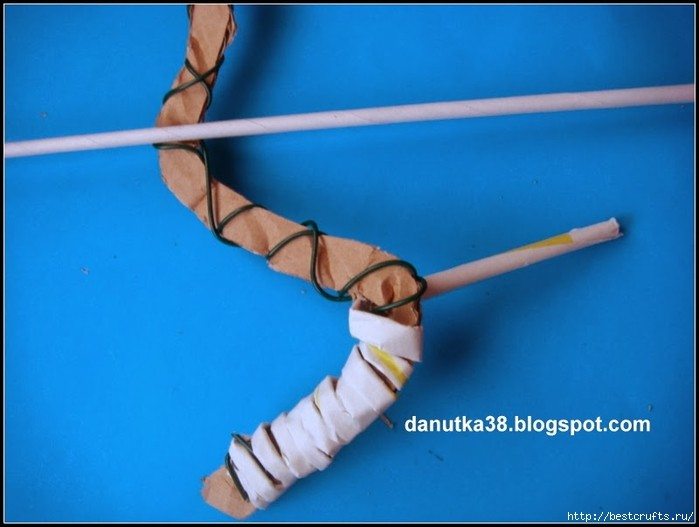
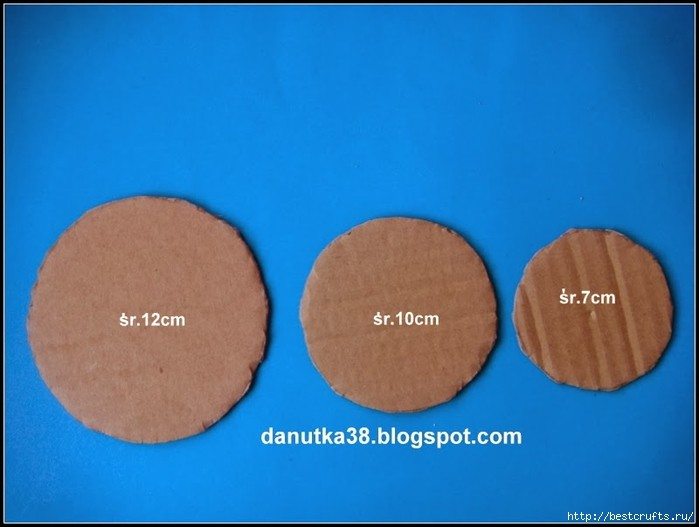
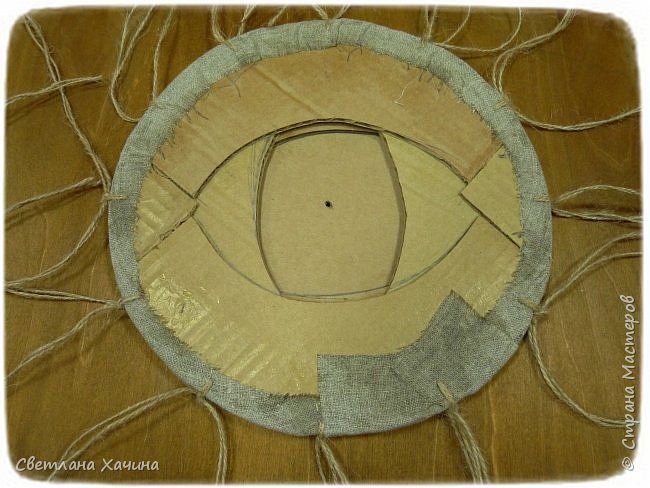
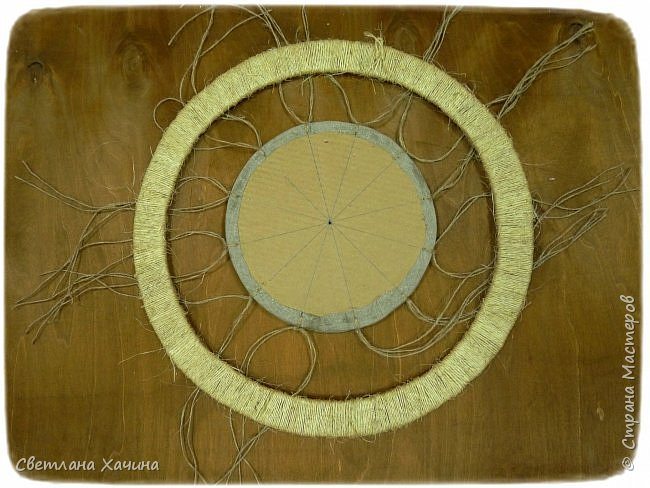
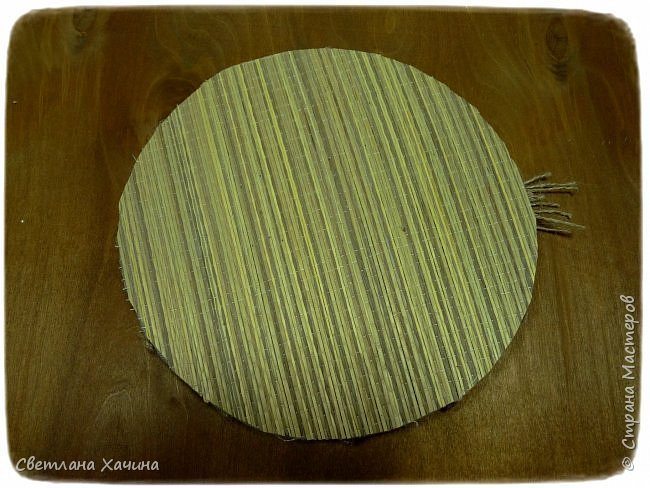
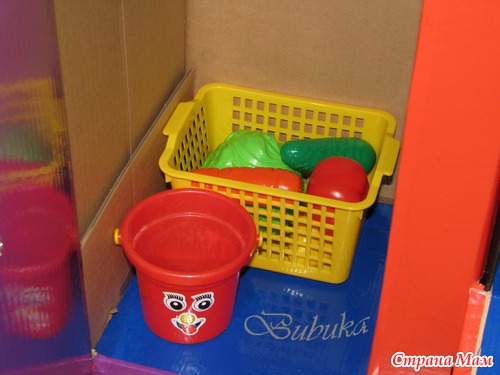
 Take the jar tighter and cardboard discs.
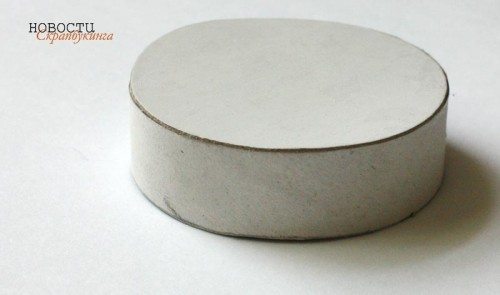
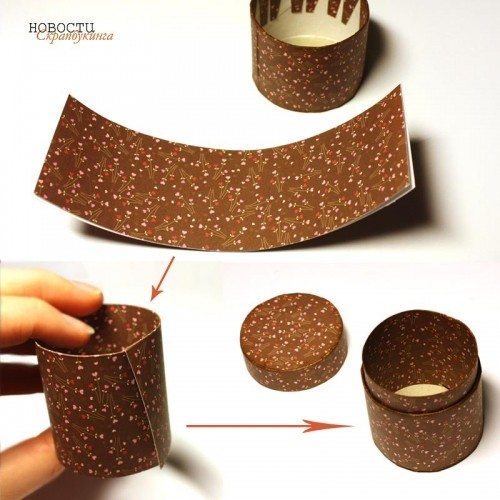
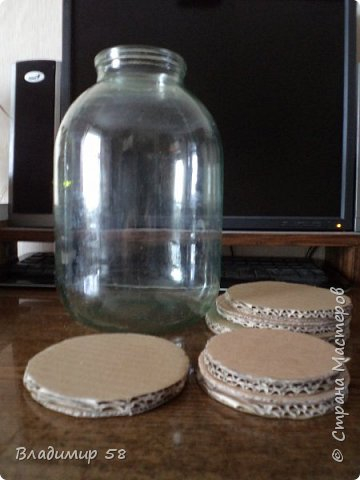 Merge truncated cone.
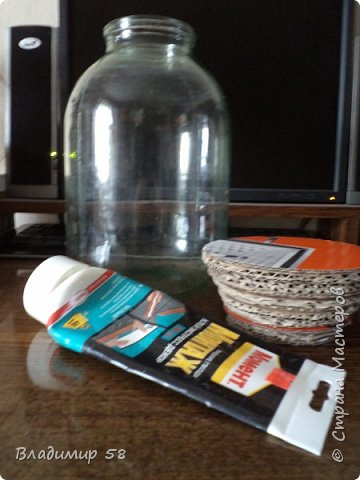 When the cone test and help make the bank above
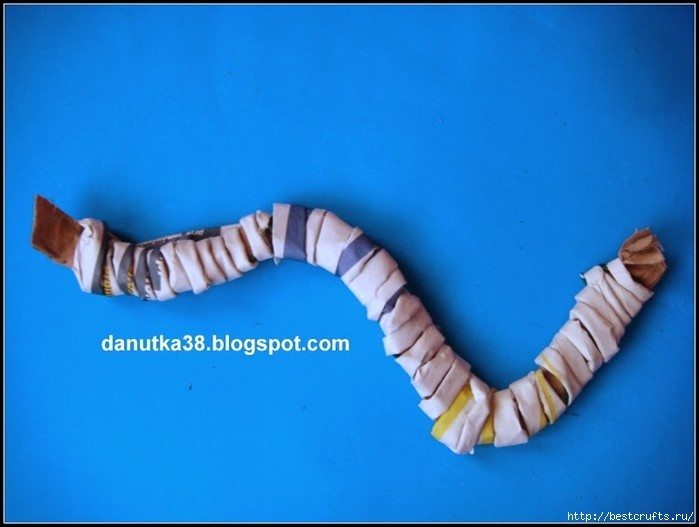
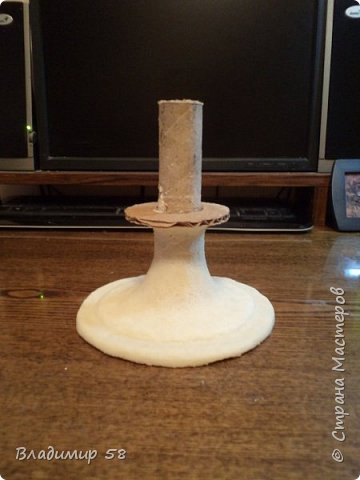
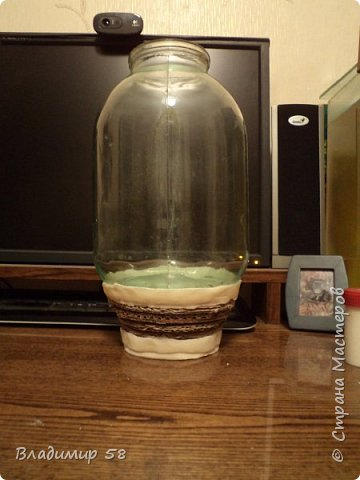 With the help of a plaster bandage begin forming the shape of our amphora.
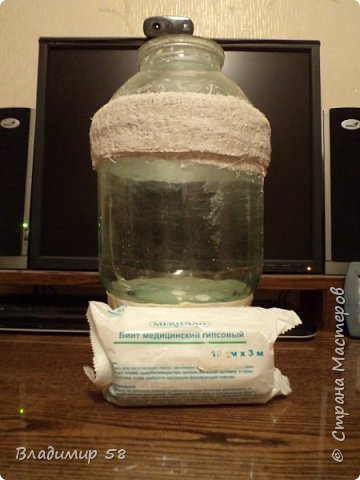
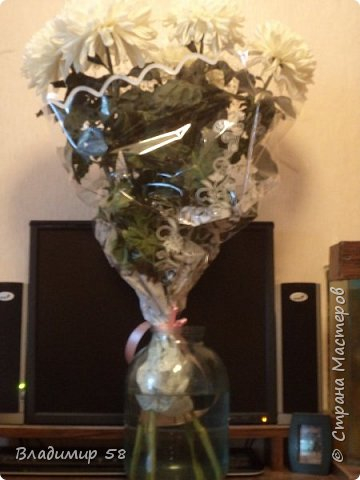
 Most Bank of mayonnaise is ideal for the formation of the neck.
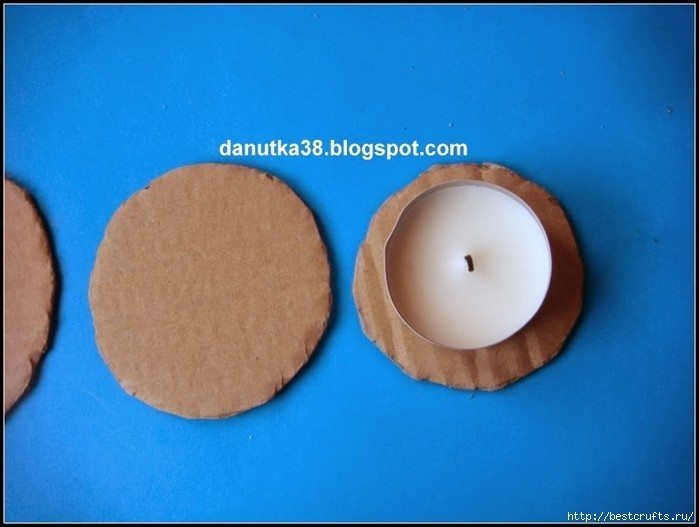
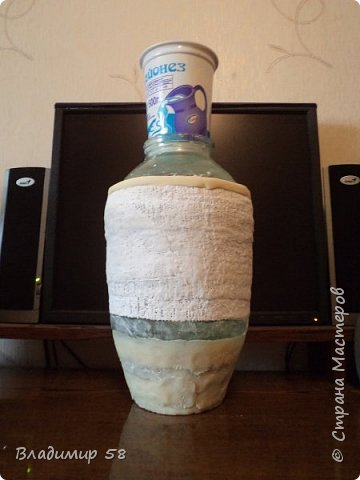 From cardboard collect the bottom of the vase.
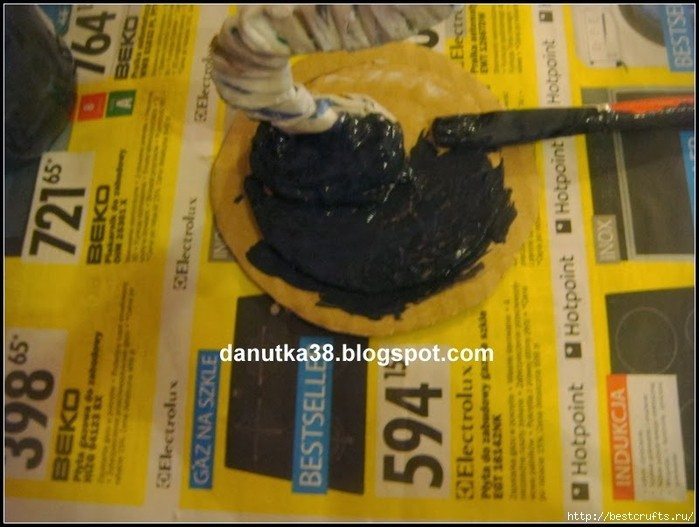
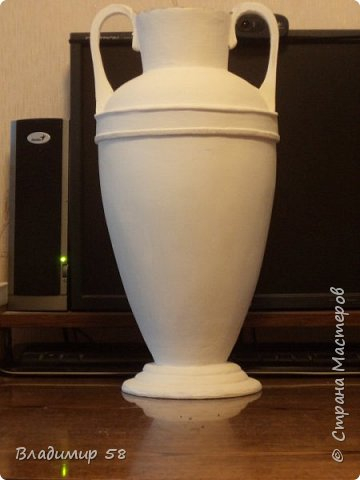
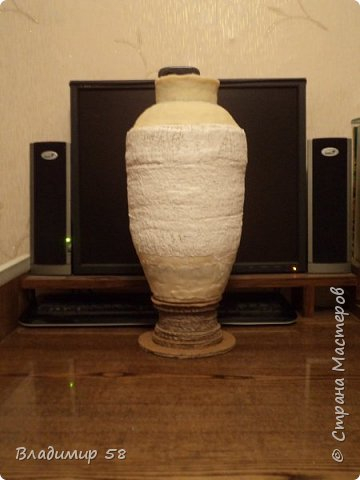 Fashioned treat and plastered putty.
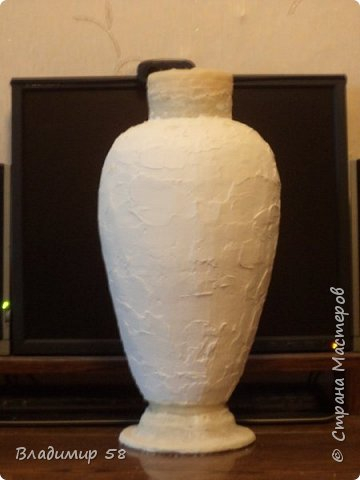 Vase turns so hard cardboard discs except for the reliability of the adhesive is twisted screws.
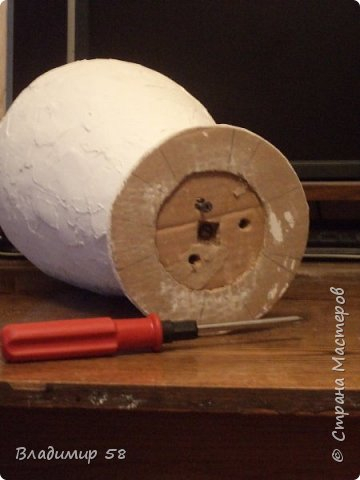 give us the necessary forms.
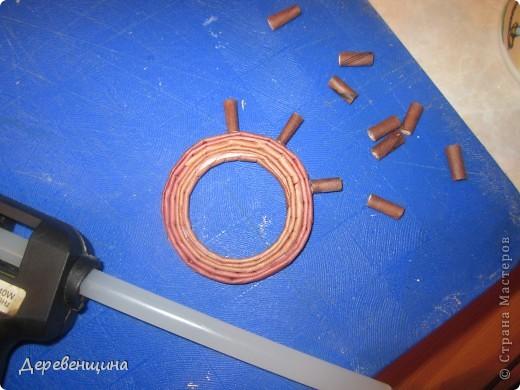
 Preparations for pens.
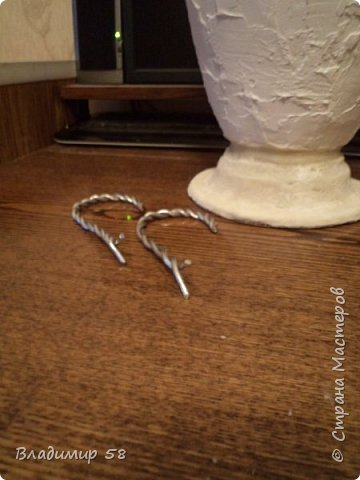 Fashioned from the test pen.
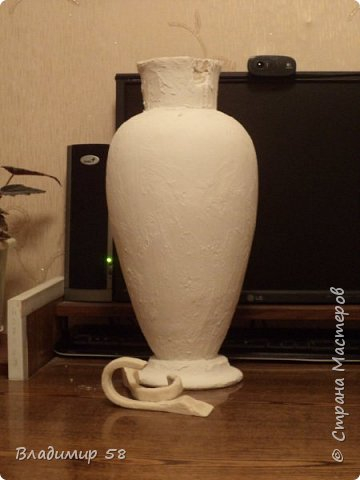 Glue Pens.
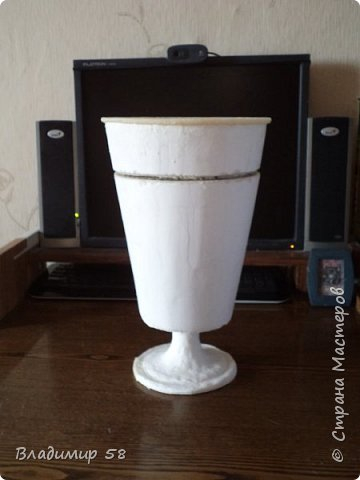
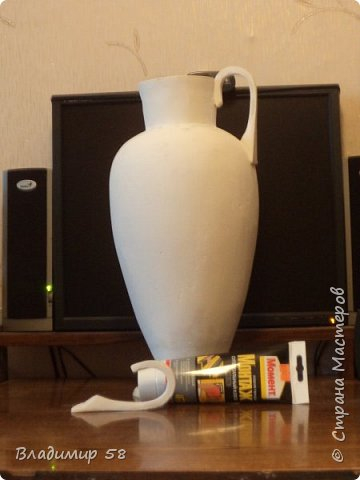 Make a rim under the ornament.
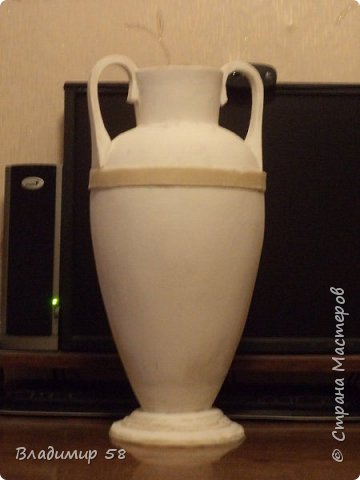
 Lepim ornament.
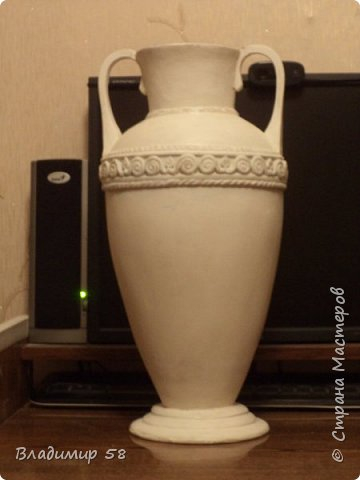 Neck cover several epoxy resin.
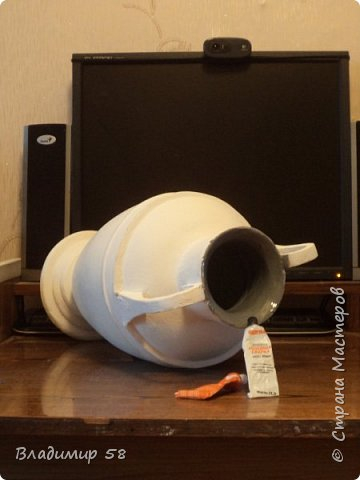 Prepare for painting the bottom of the vase.
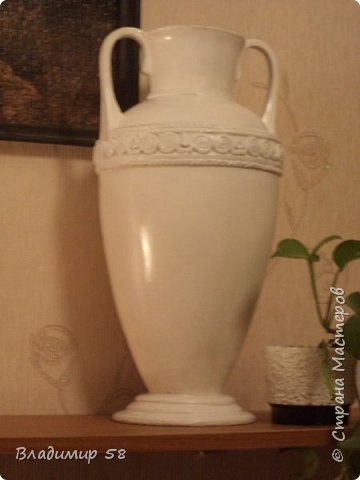
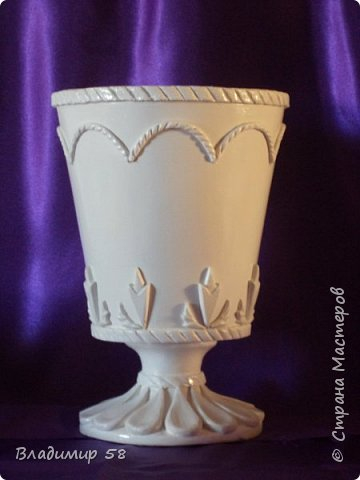
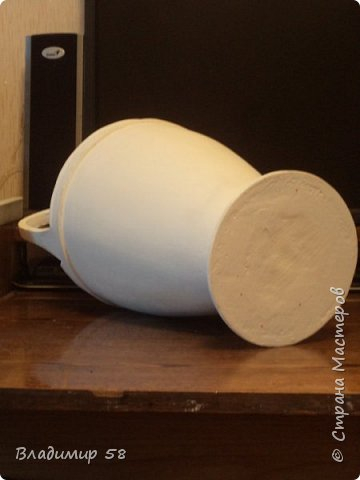 Vase after painting with enamel.
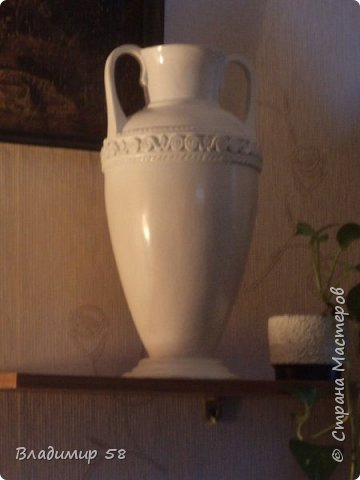
 Long wanted to radically solve the problem of garbage on the desktop. But the head is faster than hand so this work will be considered the first part of the next set.
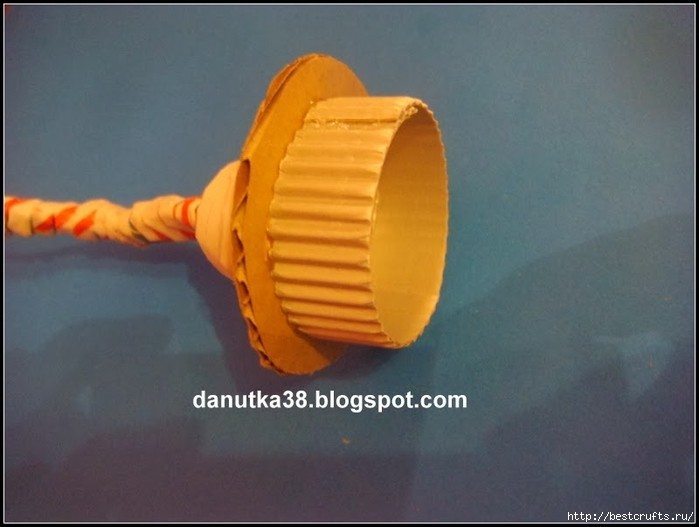
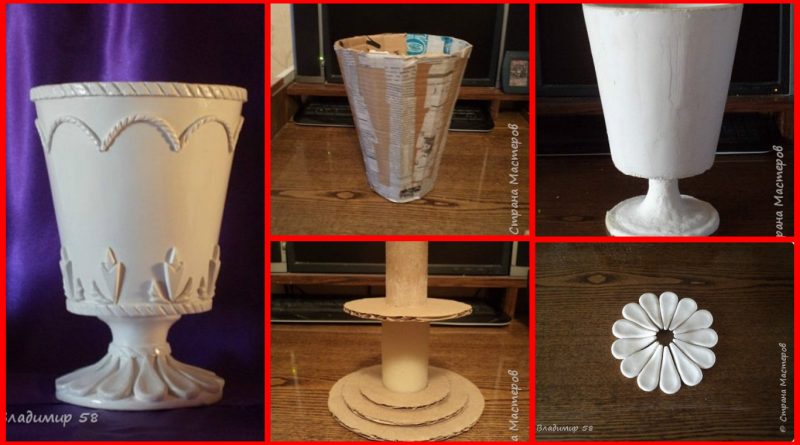
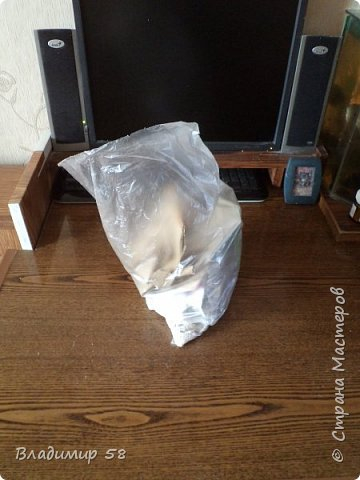 Sticking cardboard truncated cone.
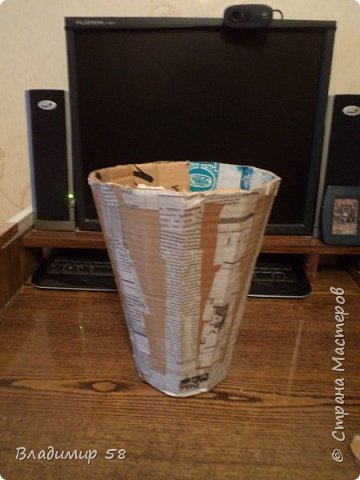 On both sides of the inserted discs for rigidity.
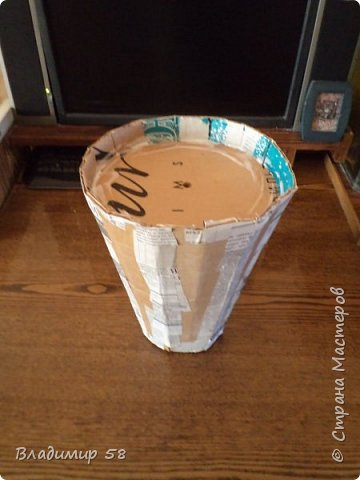 Getting paste dough.
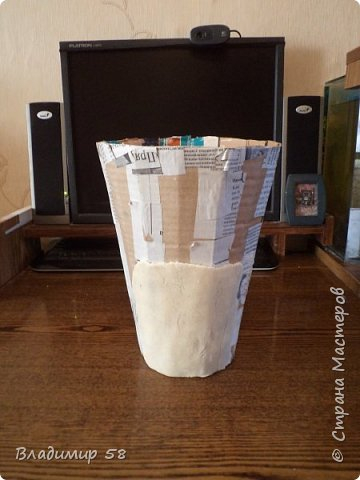 Tape off the test outside, after drying, remove the upper disc
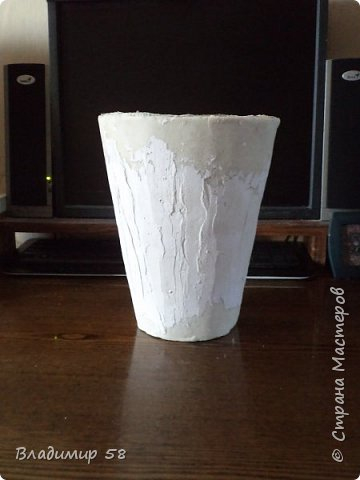 Now, plastered inside.
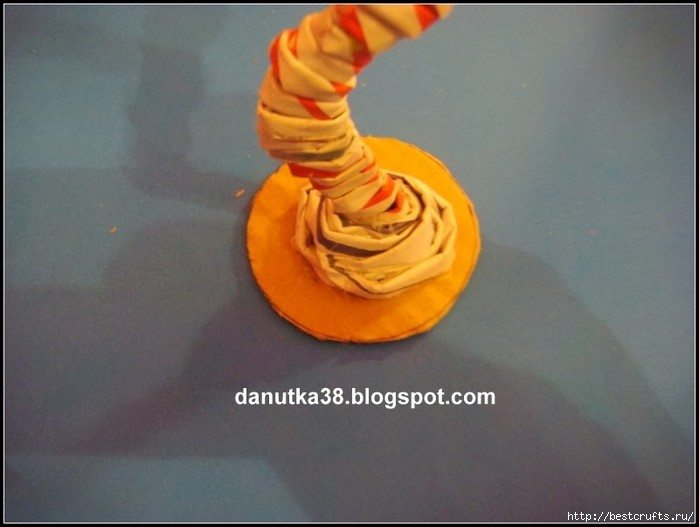
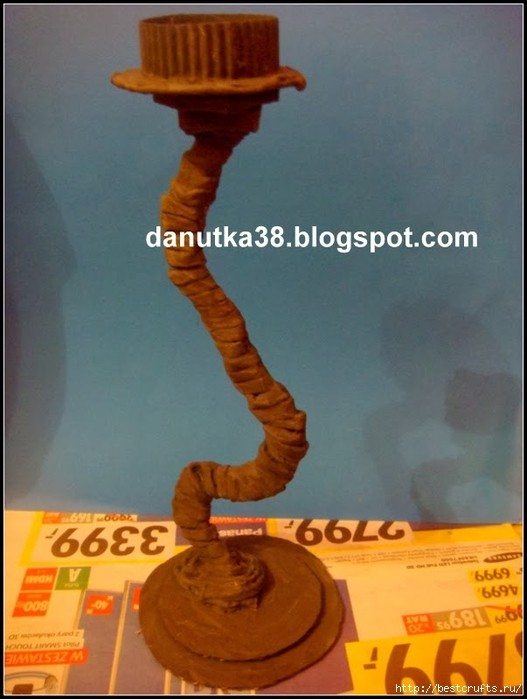
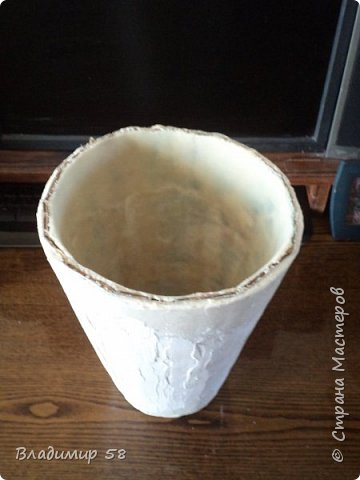 While drying our future vase, we do lag
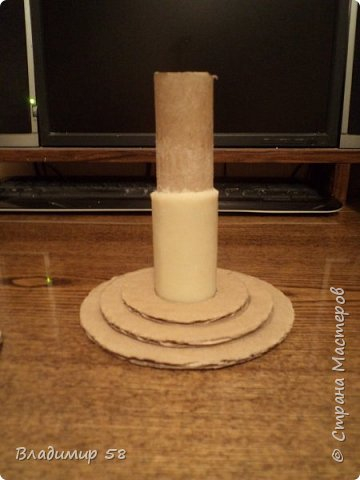 The foot is ready, you can collect a vase.
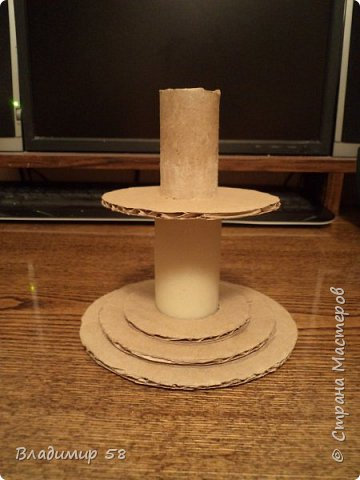
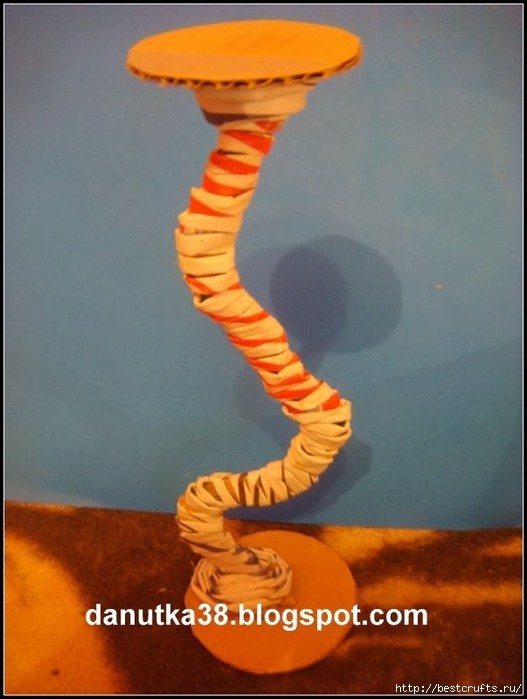
 The result was a tall, measured a height of two feet and once took a sip.
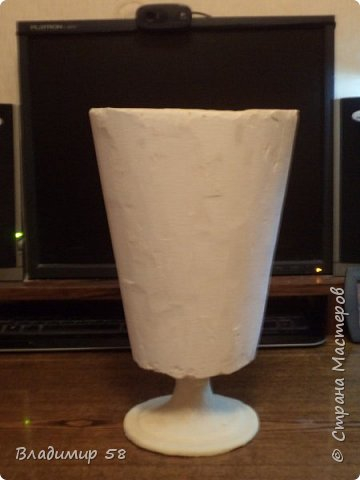
 Piece cut save for the future.
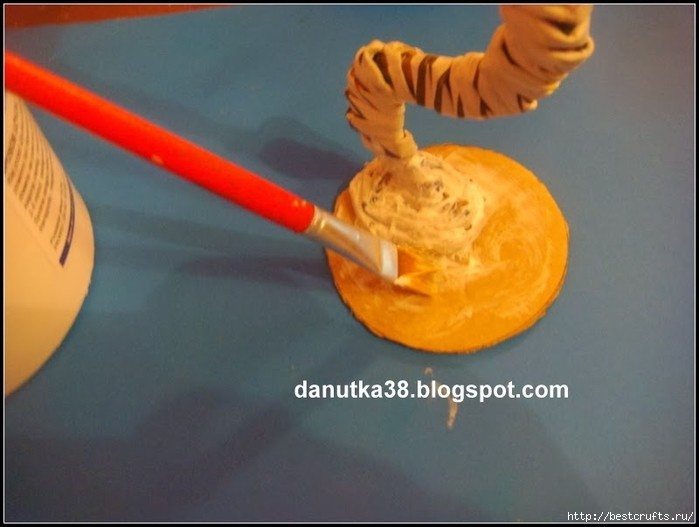
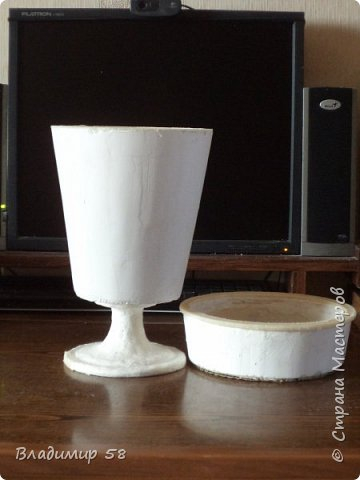 layer of putty.
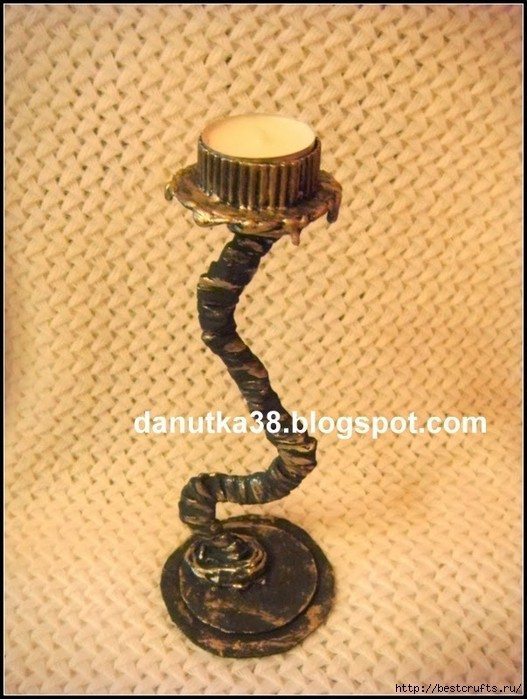
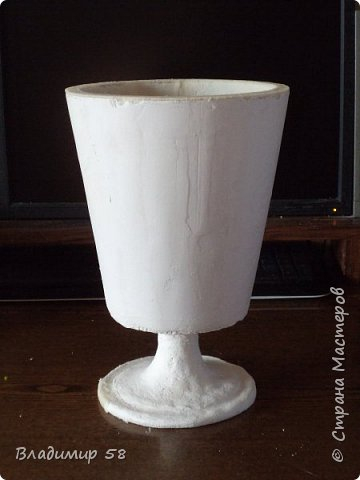 Are painted with two layers of thick paint
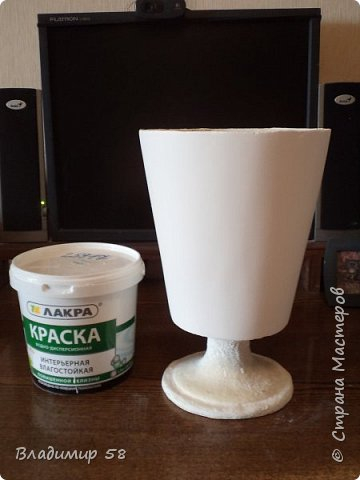 Lepim dough preform for mold.
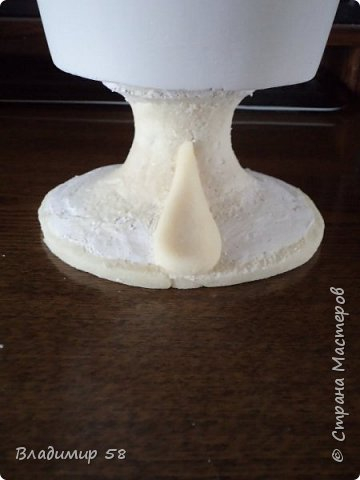 We produce mold.
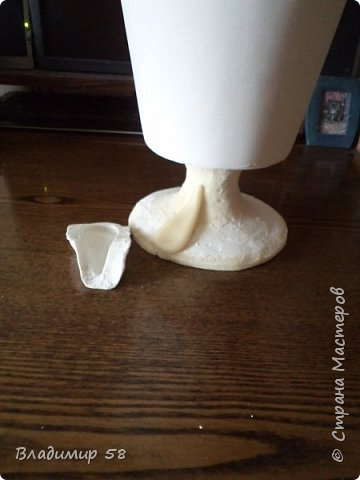 Mark up the leg of the first element.
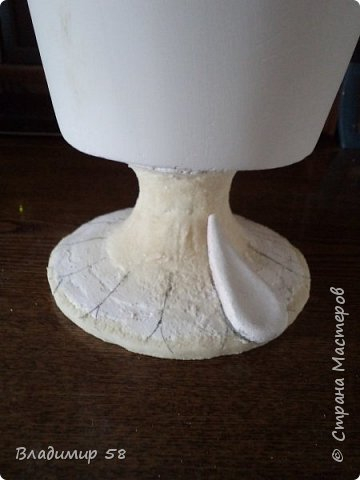 Cast all elements dekrativnye legs.
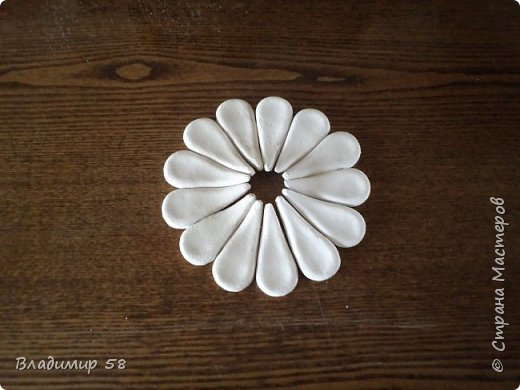 Glued gypsum blanks on PVA glue.
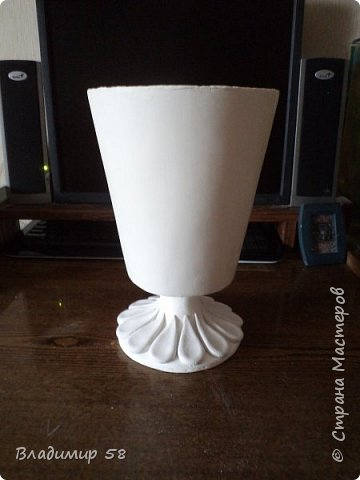 Similarly we produce other elements.
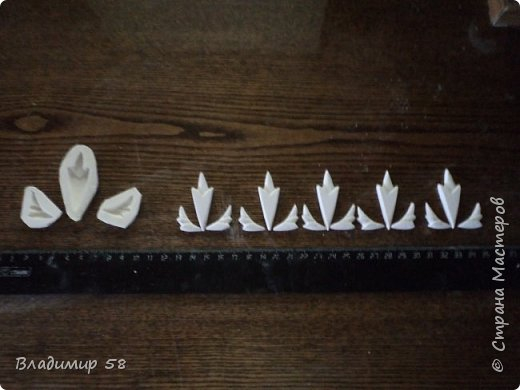 Mark up and nakleivaem.Lentochnye elements are made of expanded testa.Kogda all pasted enamelled bath.
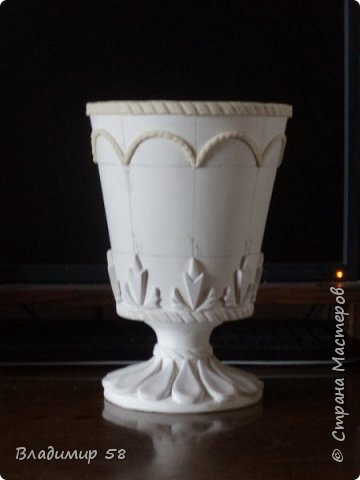 Garbage Problem solved.


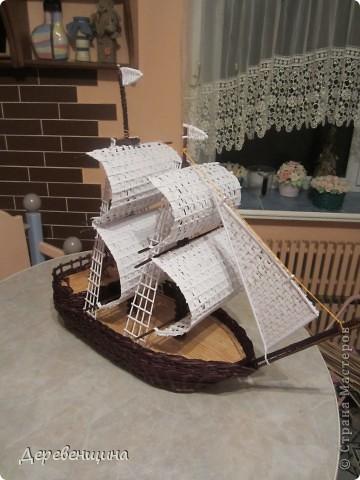
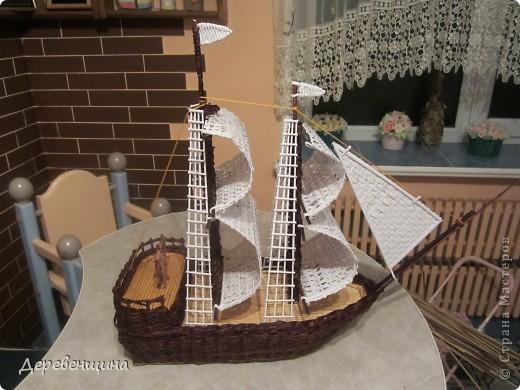
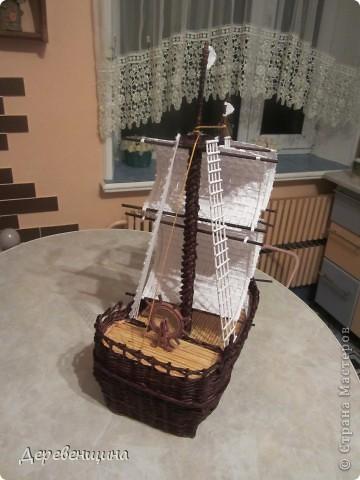
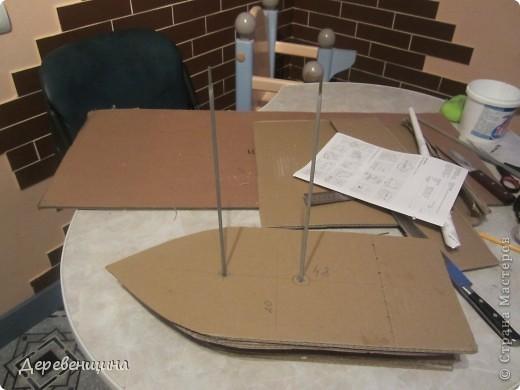
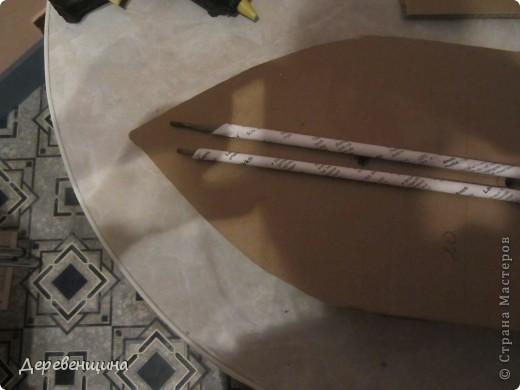
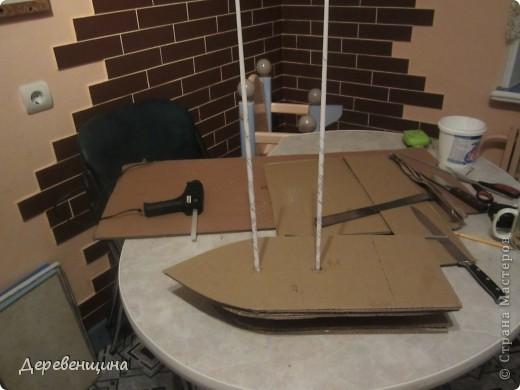
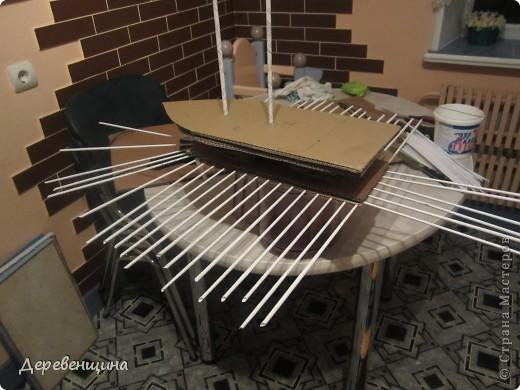
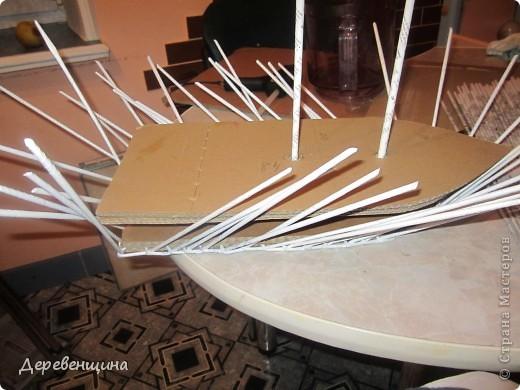
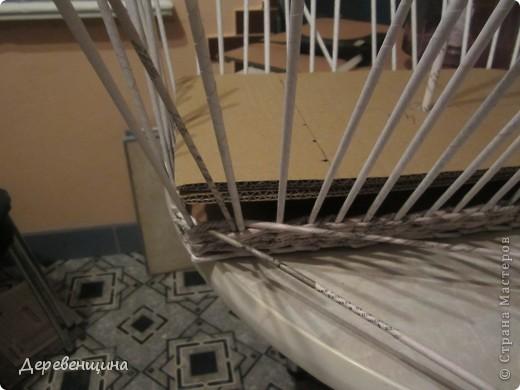

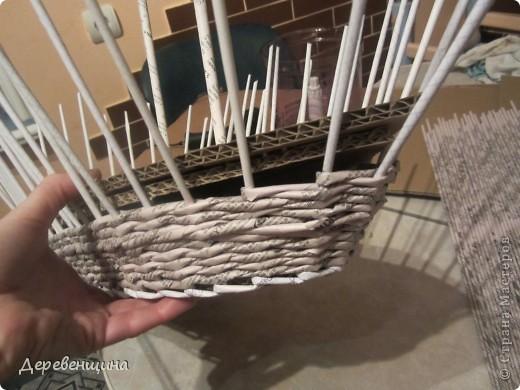
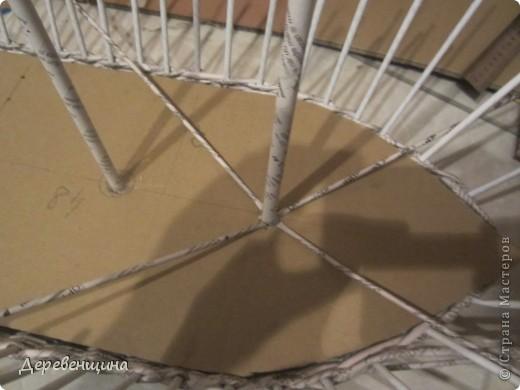
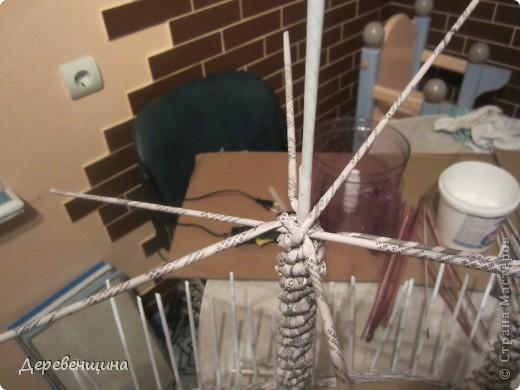
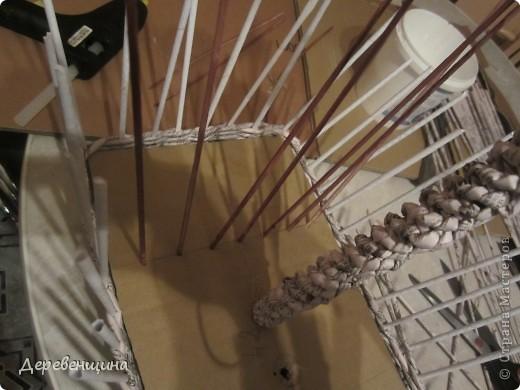
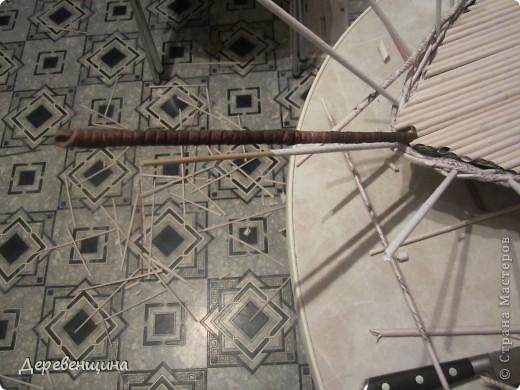
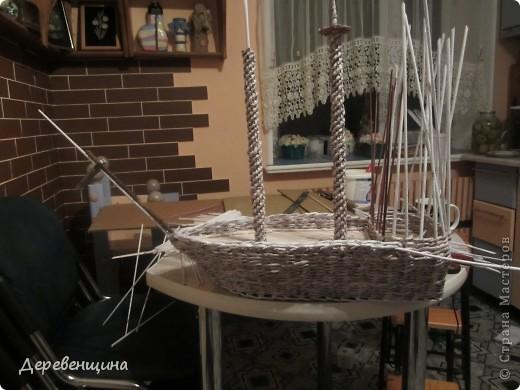

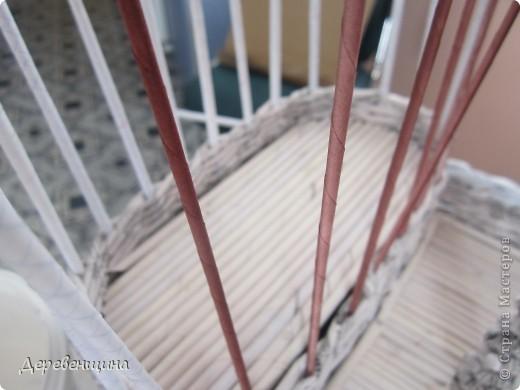
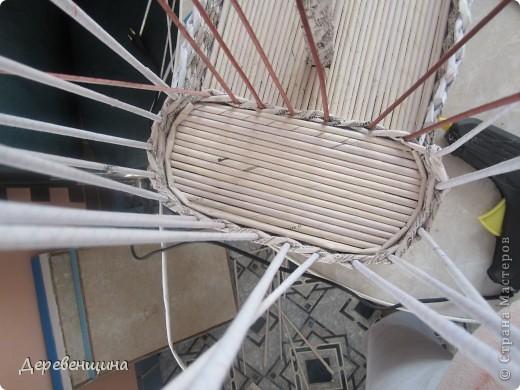
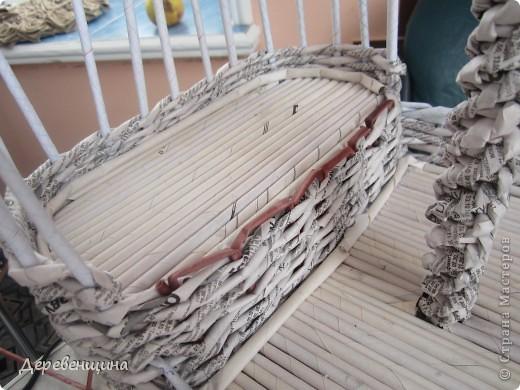
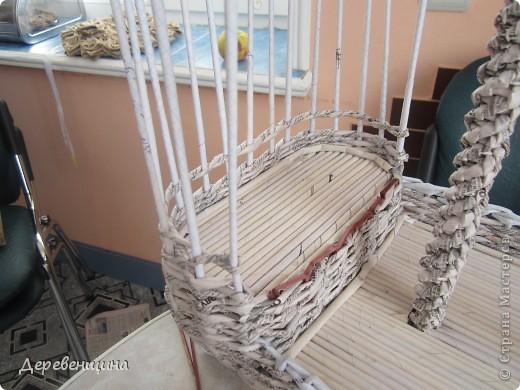
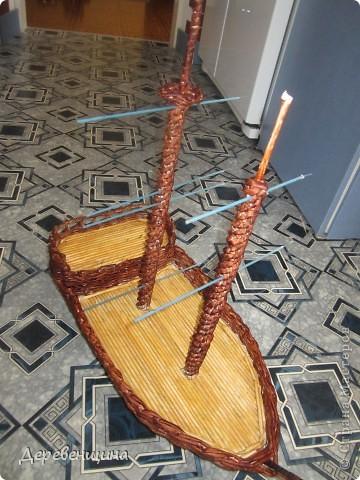
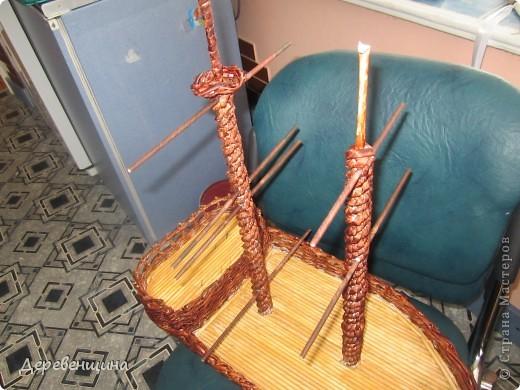
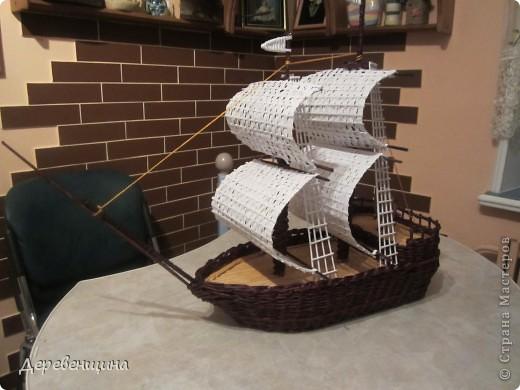
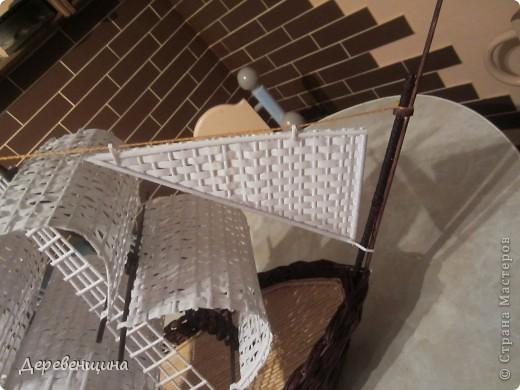
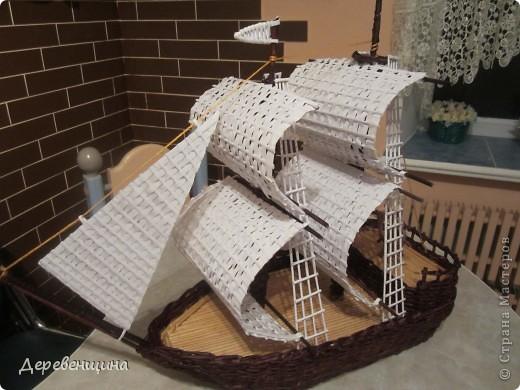
 Attach the sails to the newspaper ducts.
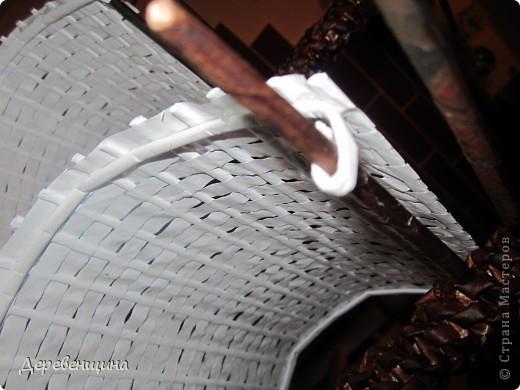

 Required Materials: