As a bookworm myself, I’ve always had a hard time letting go of books, even the ones I didn’t really like, or have outgrown. Good thing I found a way to breathe new life into them – by turning them into DIY book clutch!

Adorable DIY Book Clutch For Your OOTD!
Recycling different items to create something entirely new is one of the tenets of crafting! I personally get more creative when faced with old items I’m about to throw away. It also saves me from spending too much on gifts for family members or new purchases. I’ve even started upcycling my old clothes, from draft stoppers to skater skirts! But my favorite has to be turning old books into cute DIY book clutches, since I’m a self-proclaimed bag lover. Do you want to learn how? Read on below!
Required Material:
- Old Book
- Mod Podge & Brush
- Rice Paper Craft Sheets
- Glue Gun & Glue Sticks
- Cutter
- Bag Strap
- Leather Bag Clasp
- Cloth – any design you prefer
Step 1: Wrap The Book With Rice Paper
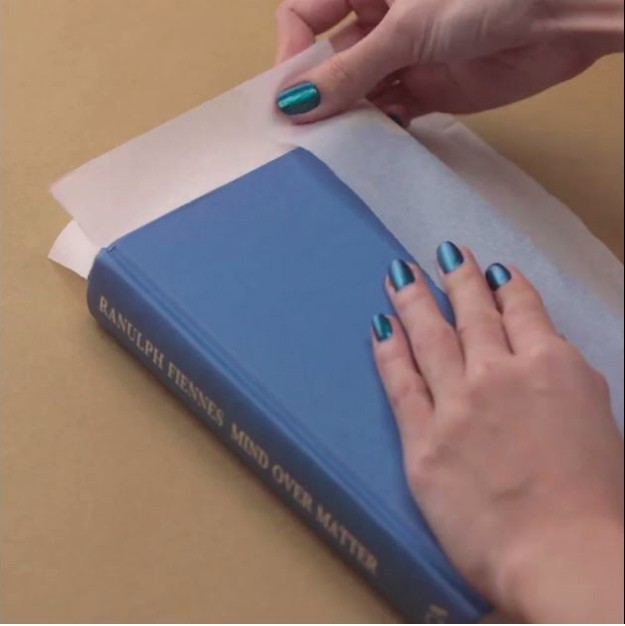
Insert the rice paper at the back of the front cover, middle of the book and at the back of the back cover. Make sure you’re covering the fore, top and bottom edges of the book and do this on both sides.
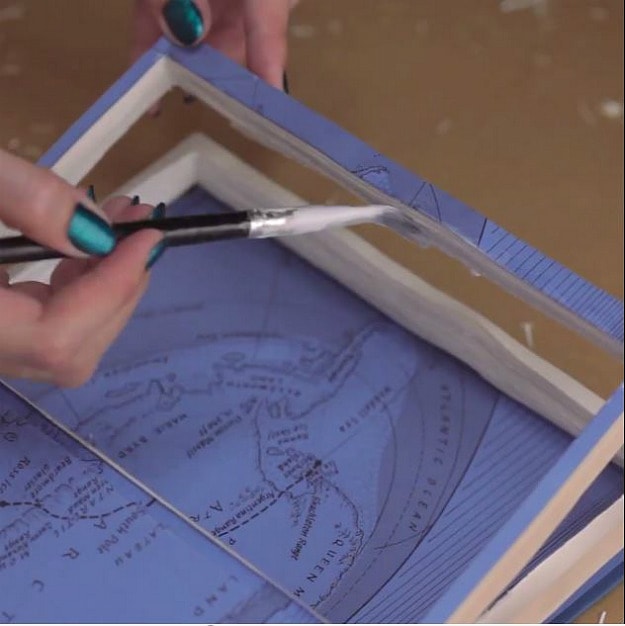
Step 2: Paint The Book With Mod Podge
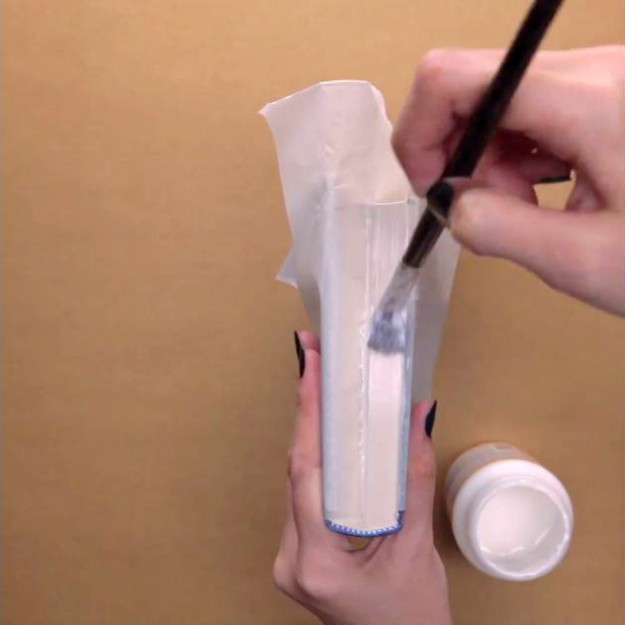
Using a brush, paint the edges of the book with Mod Podge so the pages would stick together. This would be the fore, top and bottom edges. Do this for both sides and let it dry for two hours.
Step 3: Trace A Rectangle

Remove the rice paper. Then, open the book on its first endpaper and draw a border. Use your ruler to measure the borders, at least 3/4″ on all sides. Start tracing the rectangle using a precision knife or cutter. Do the same on the end leaf of the back cover.
Step 4: Remove The Pages
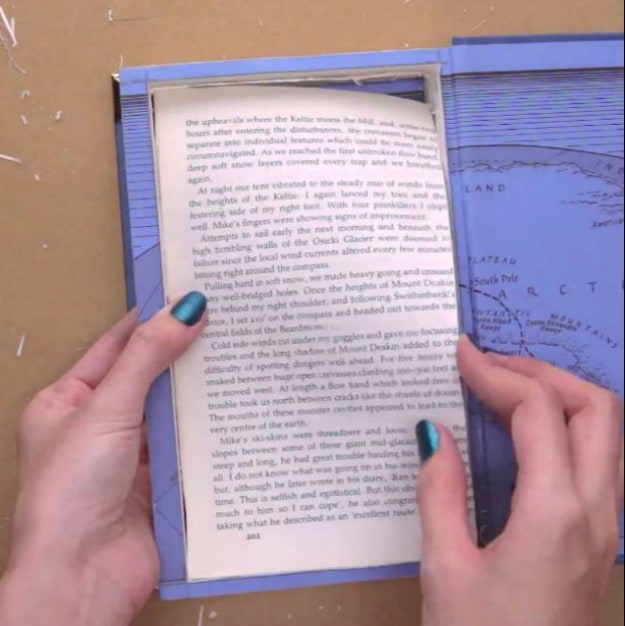
After cutting out the rectangle from the first page, hollow out the book.
TIP: This would be easy because of the cutout, but if you start to have a hard time, just retrace the edges with a cutter.
Step 5: Paint The Inner Borders With Mod Podge
Now you have a hollow book split down the middle with two frames. Paint the inner borders of the frames, this means the book’s inner spine and the sides of its edges. Place a rice paper between the frames and leave it to dry for two hours.
TIP: Make sure not to put too much Mod Podge to prevent the pages from wrinkling. If several coats are necessary, let each coat dry up before adding another coat.
Step 6: Glue The Bag Clasp On The Inside Of Each Book Cover
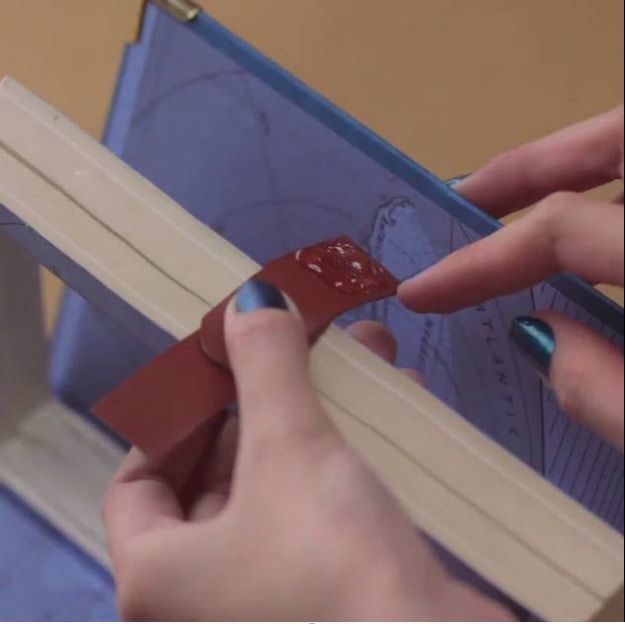
Take an old snap bag clasp, and make sure the leather strip has two separate pieces – one for the socket and one for the stud. Glue the end piece of each strip on the inside of each book cover. Make sure they are perfectly aligned by testing out if you could securely close the leather clasp.
Step 7: Glue The Edges Of The Frame On Each Book Cover

Using your glue gun, glue the edges of the two frames on each book cover. This will create a solid hollow book. Press the covers with your weight to get them to stick!
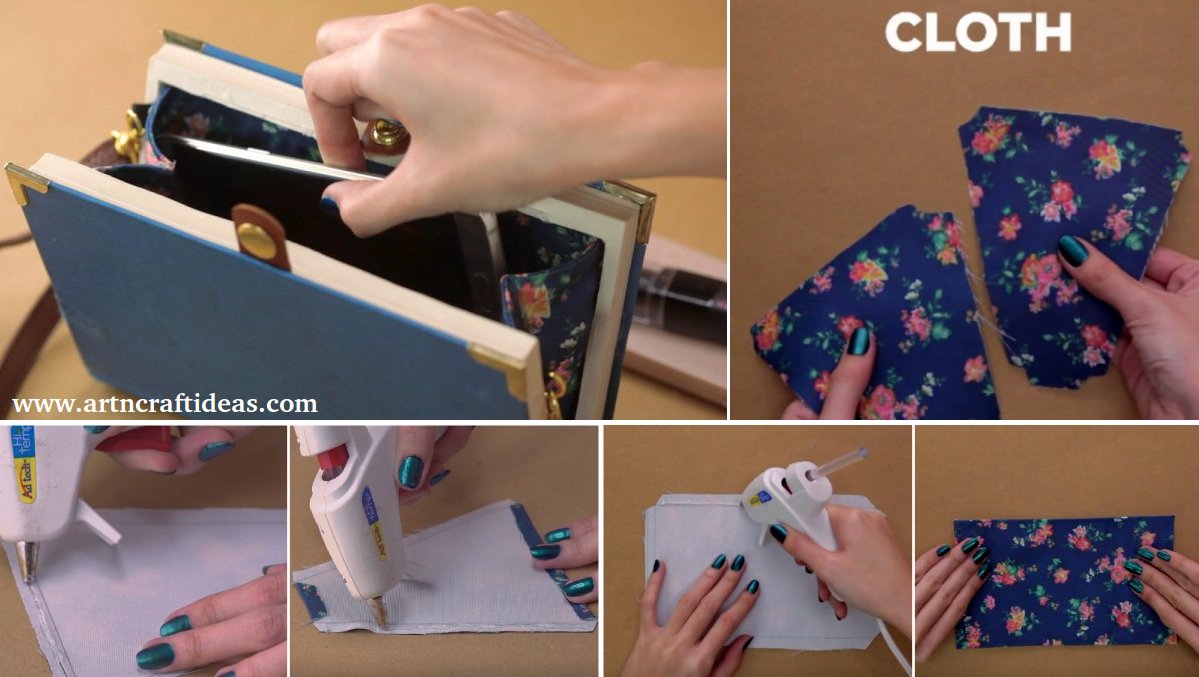
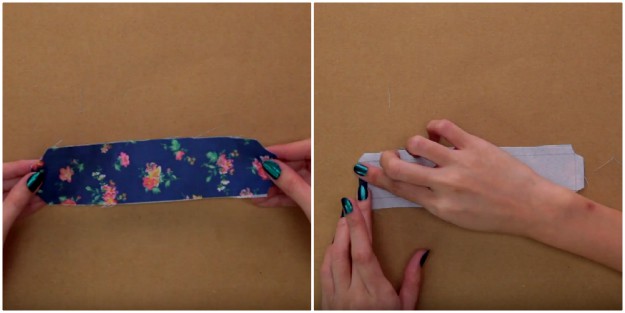
Step 8: Cut The Cloth
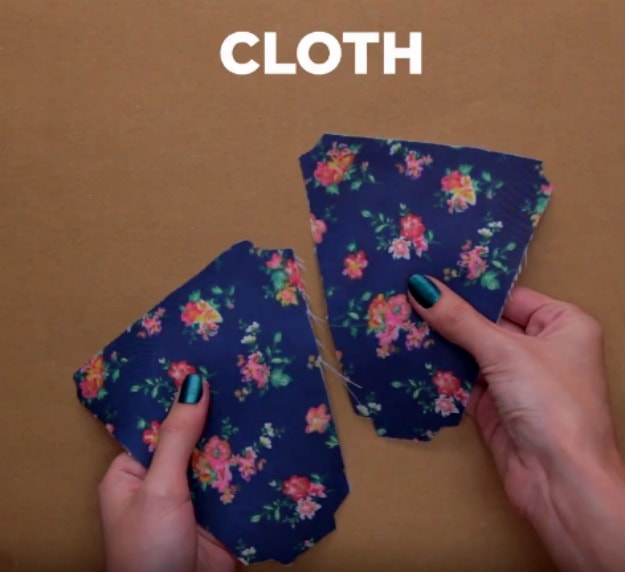
Cut two triangular pieces of fabric. To achieve the shape above, trace a parallelogram inside these pieces of fabric, at least a centimeter away from the fabric edges. Afterward, cut the two corners of the triangle as well as its last corner. After cutting the last corner, cut two slanted squares at its base.
Step 9: Fold The Triangle Cloth
Using a glue gun, fold the fabric following the guidelines made by parallelogram traced earlier. Only fold the shorter sides of the fabric. Press these sides to make sure they’re secure.
Step 10: Glue The Two Triangle Cloths Together
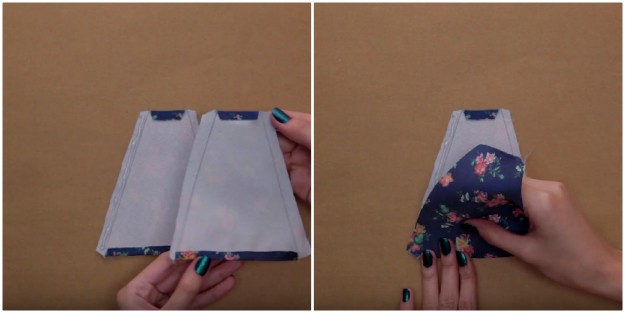
Glue the two triangular cloths by using your glue gun. Attach these pieces of fabric with their wrong sides facing each other. Glue all of the sides together and don’t forget to smooth it over afterward!
Step 11: Create A Secure Fold
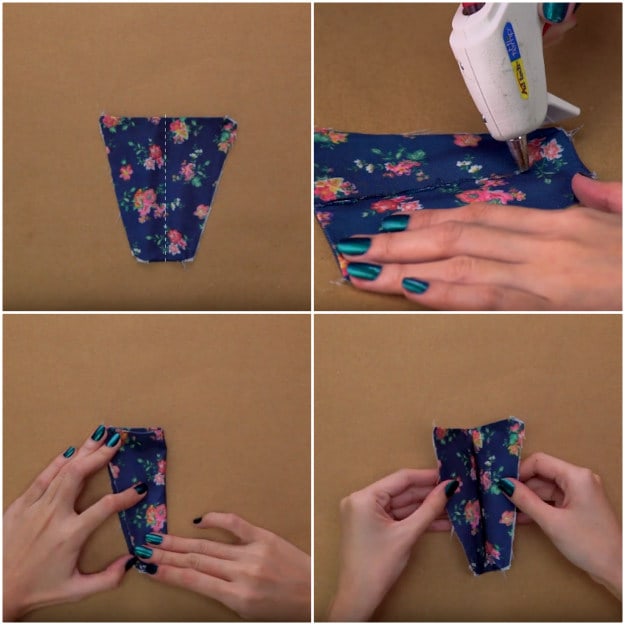
Flip the fabric piece upside down, with the shorter side at the bottom. Fold the fabric in half, unfold it and apply hot glue on the crease created by the fold. While the glue is hot, fold the fabric. This will result in a secure fold.
Step 12: Cut Two Rectangle Pieces Of Fabric
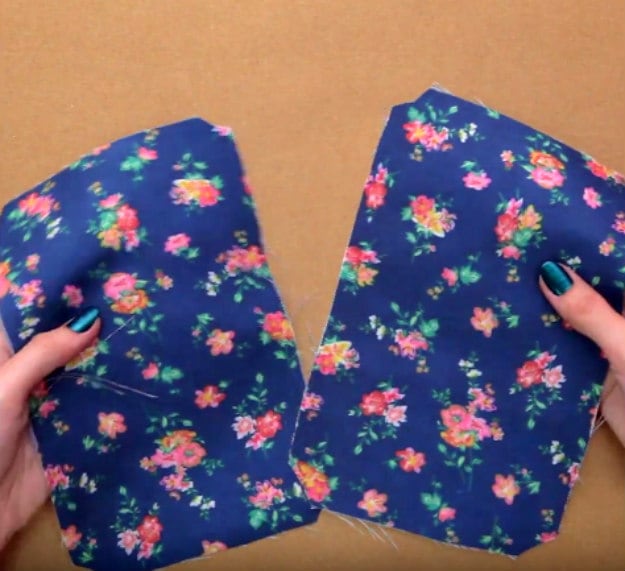
Cut two pieces of rectangular pieces of fabric. Draw a rectangle on the wrong side of the fabric, a centimeter away from the edges. Afterward, cut the corners of the fabric.
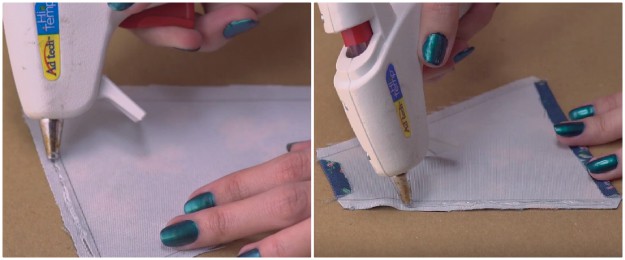
Step 13: Fold The Sides Of The Fabric
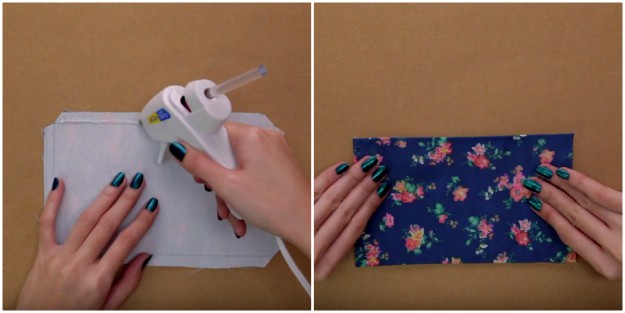
Apply hot glue on the sides of the fabric, outside the drawn rectangle. Following the guide, fold the edges and make sure they stick by pressing the fabric with your hands. Set this aside for later use.
Step 14: Cut A Long Rectangular Piece Of Fabric
Step 15: Make A Bag Strap
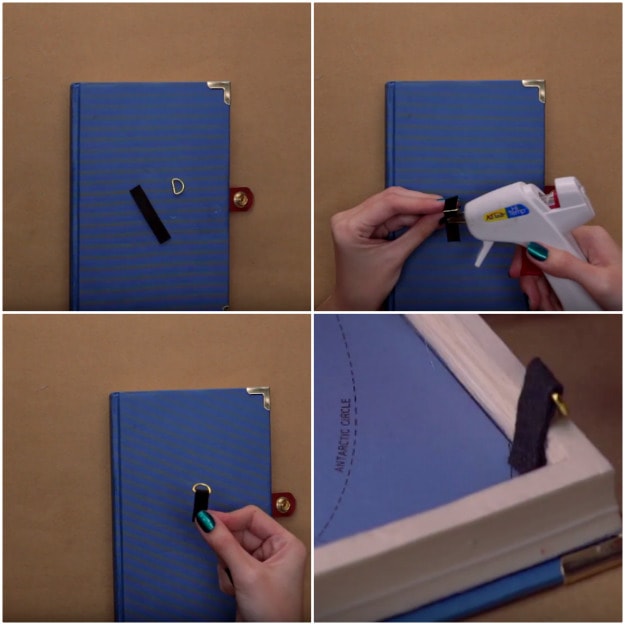
Insert the felt strip inside the d-ring and make sure that both ends are equal. Apply hot glue on the inner side of the felt strip and press the two ends together. Glue this at the inner corner of the book.
Step 16: Cover The Middle Of The Book

Using the long rectangular piece cut earlier, cover the middle of the book. Apply glue on the inner side of the spine, and then press the fabric.
Step 17: Glue Fabric On The Inner Edges Of The Book
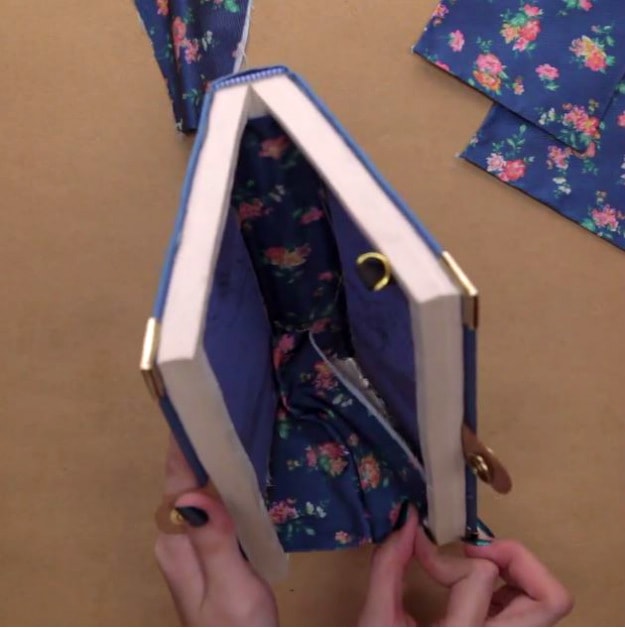
Use the triangular pieces you set aside earlier as inserts. This will bind the frames together. Do this by gluing the strips of fabric on the bottom and top edge.
Step 18: Cover The Insides of The Book Cover
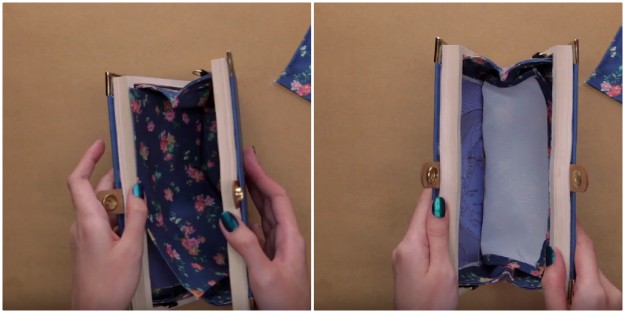
Cover each paste down of the book using the rectangular fabric you set aside earlier. Use glue gun to fix the fabric. This will create a polished and unified look in the inner part of your book clutch.
Step 19: Add The Bag Hook and Strap
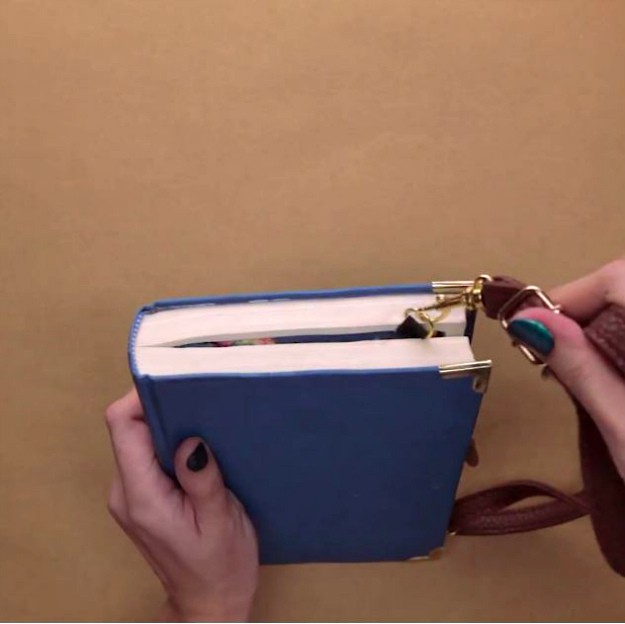
Finally, add an adjustable and detachable sling strap. And that’s it!
To get a more visual instruction, check out our video!
Hope you like this tutorial.
Source: diyprojects