The waterfall braid gets its ornate look by releasing sections of hair as well as picking up new ones along its path.
This technique isn’t particularly hard, but it can be arm-tiring and takes a bit of practice to get an even-looking result. Keep at it!
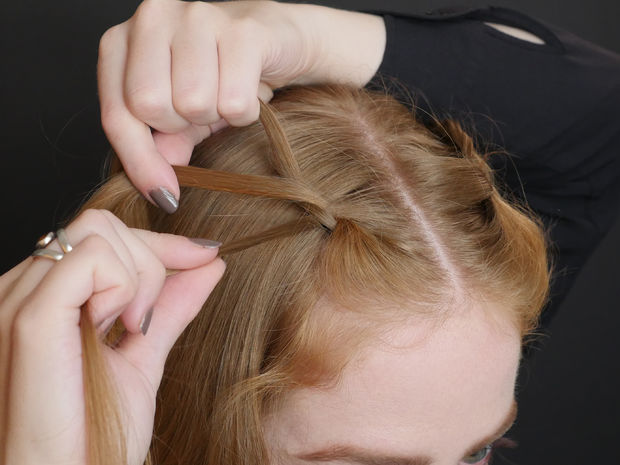
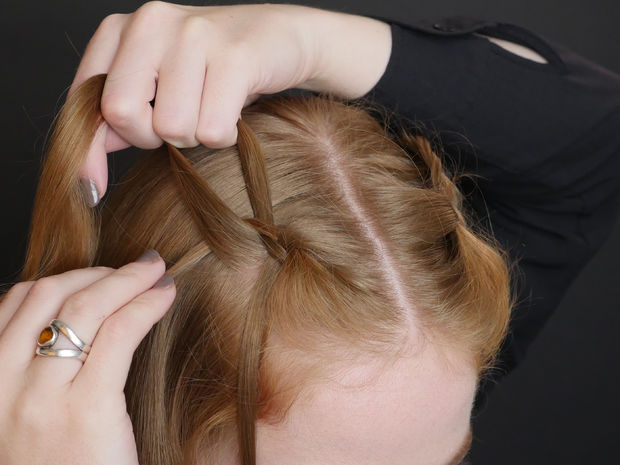
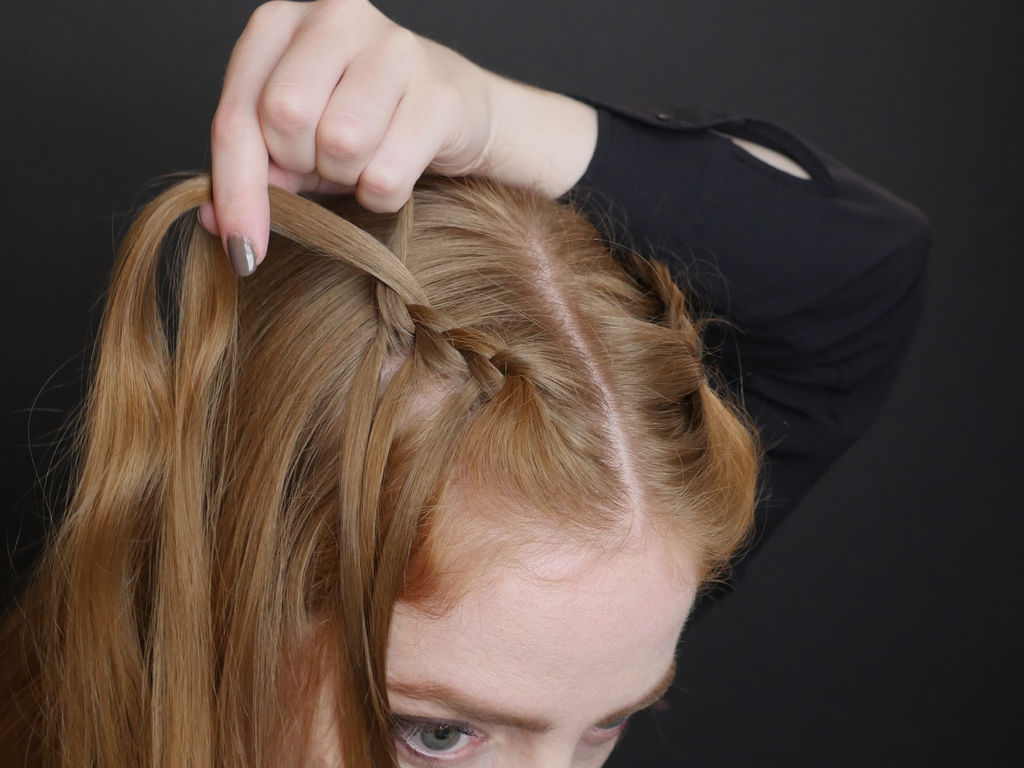
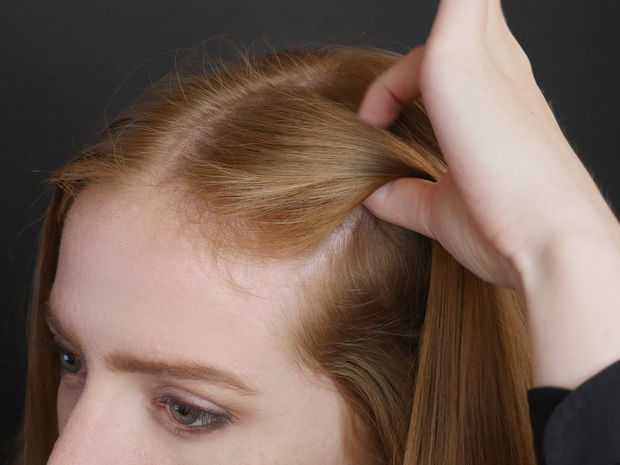
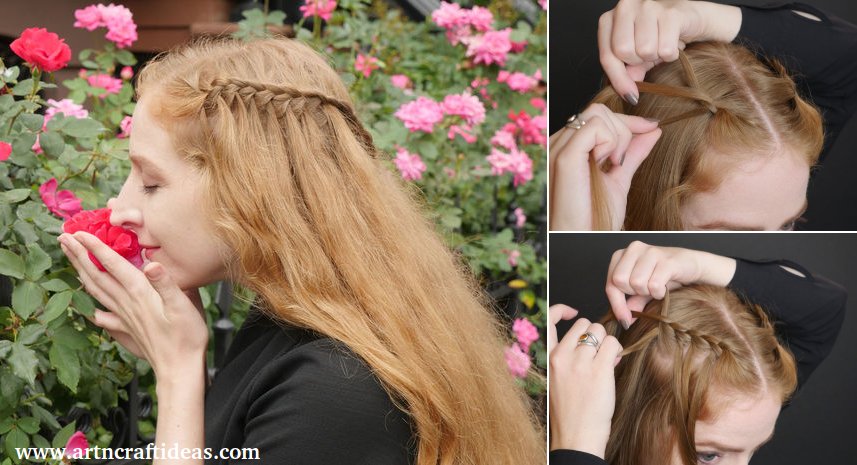
Step 1: Begin a Crossing-Over Braid
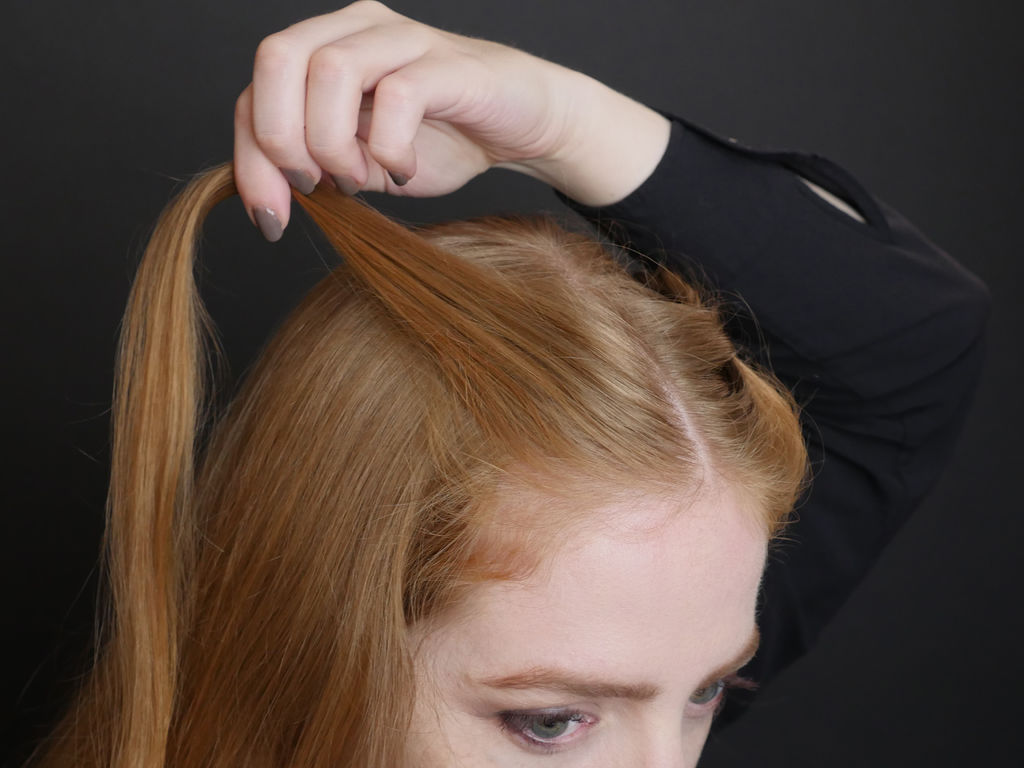
As you grew accustomed to doing in the first few lessons, part your hair in the middle and grab a small section at the front (on the left or the right), and sweep it back.
Divide into three sections and create a few stitches of a standard crossing-over braid.
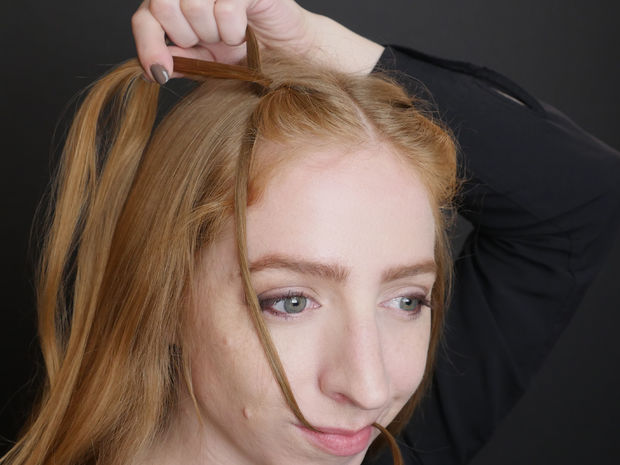
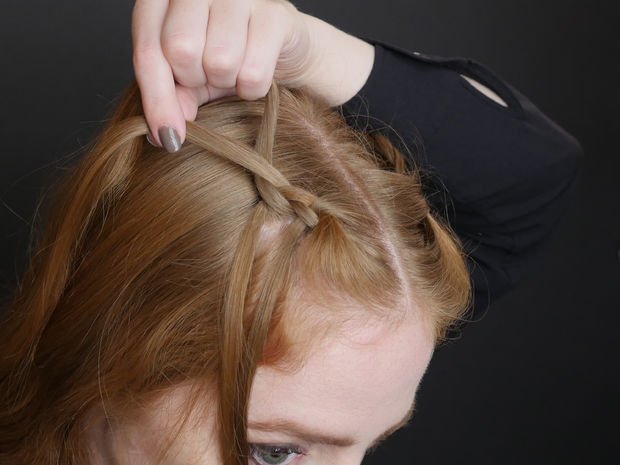
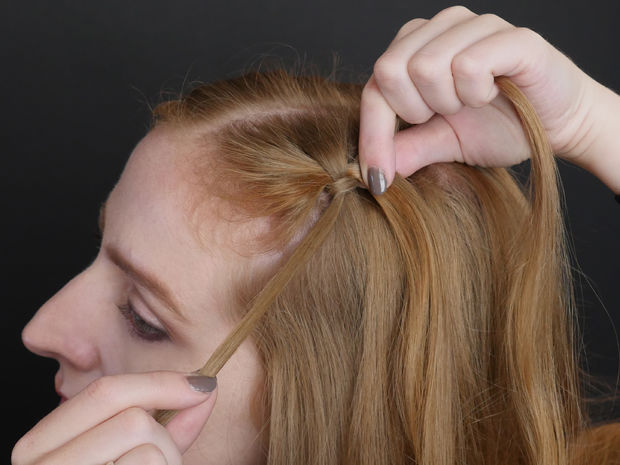
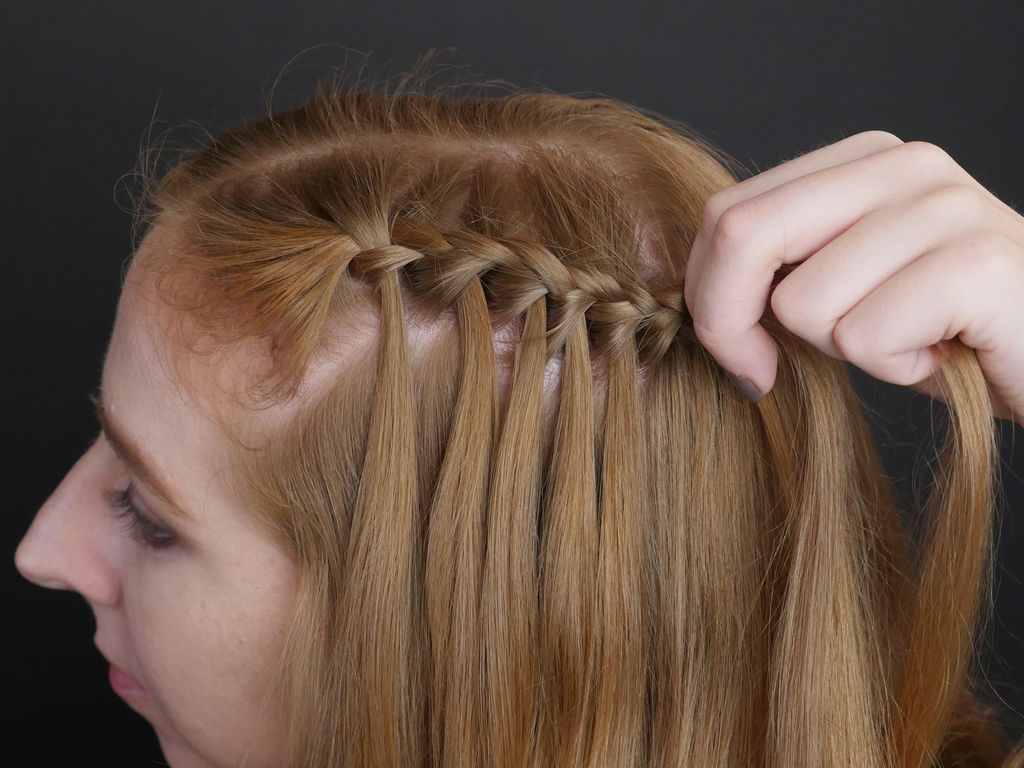
The next time it’s the lower strand’s turn to cross, set it aside instead by sweeping it forward. You can use a clip or your mouth to hold it.
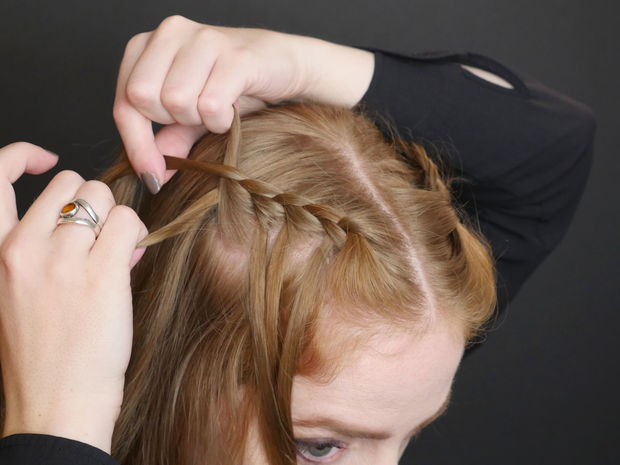
Next pick up a small section of hair from right behind the set-aside section.
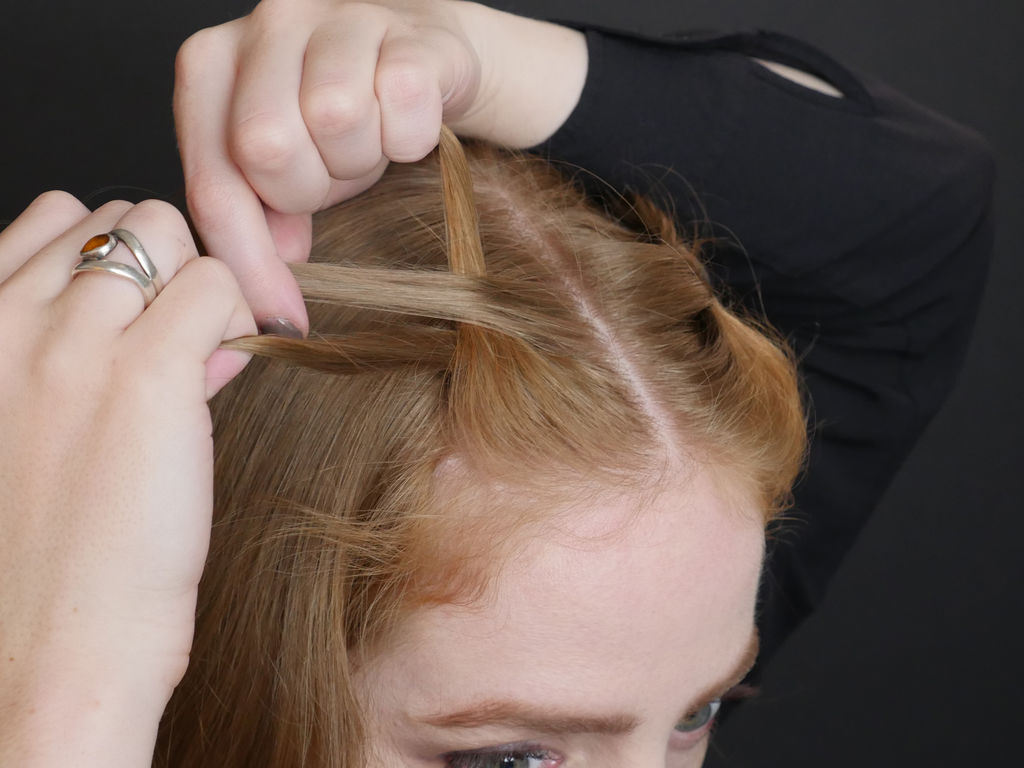
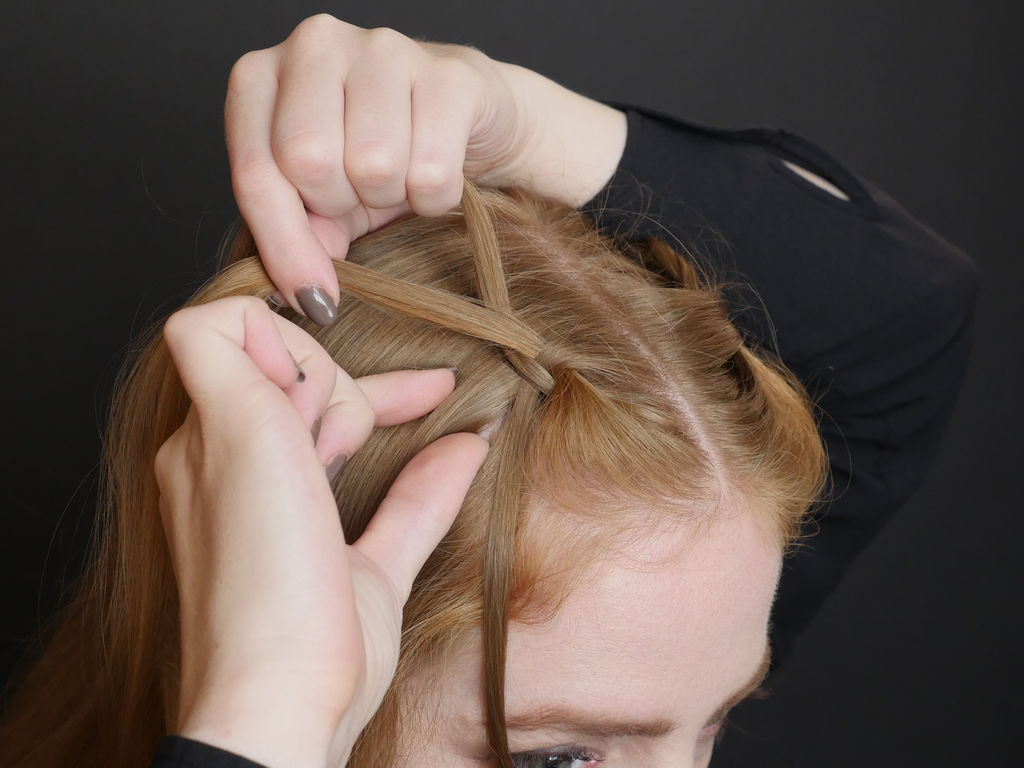
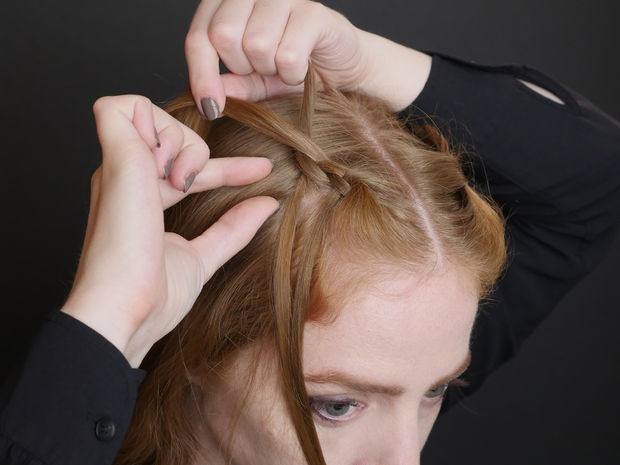
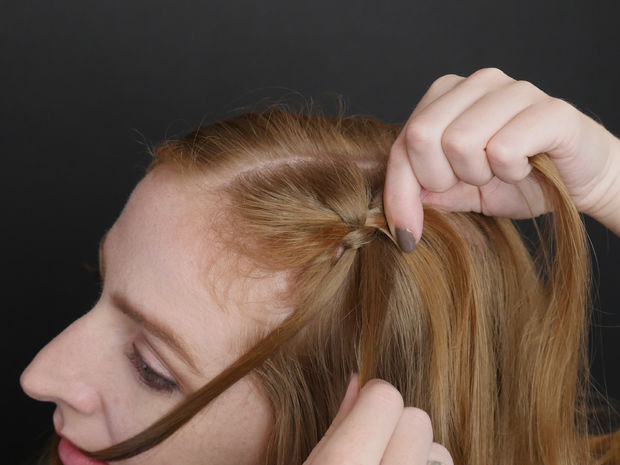
Step 2: The Waterfall Stitch
Carefully separate and smooth your new section from the rest of your hair, then cross it over the center section of your braid– this new piece acts in place of the liberated section.
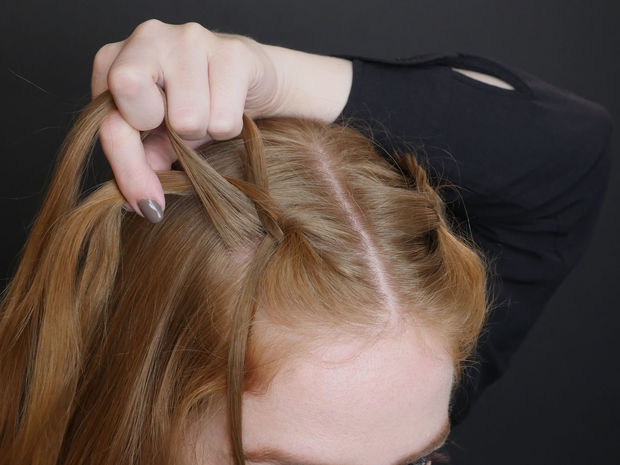
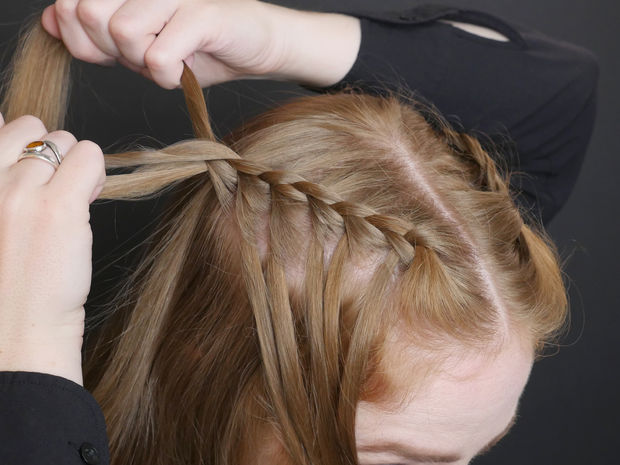
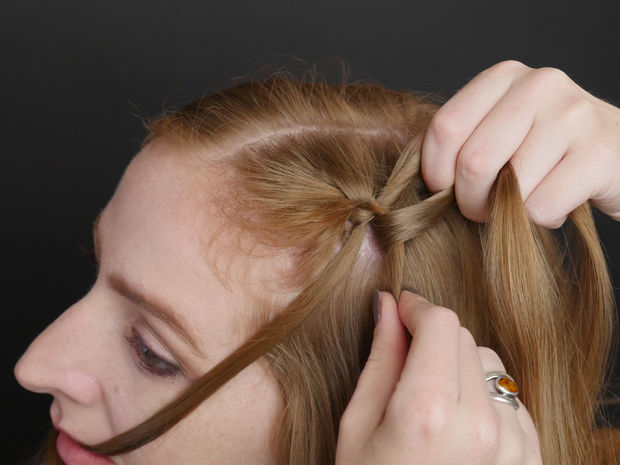
Cross over the part-side section like in a standard braid, then sweep and secure the lower section forward and away, like in the previous step.
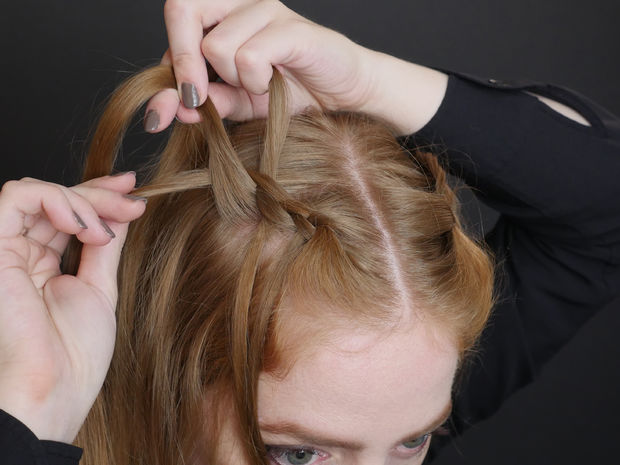
Again pick up a new small section of hair from right behind where the now-free section, and use it to cross over the braid.
Repeat this step to make as many waterfall stitches as you like!
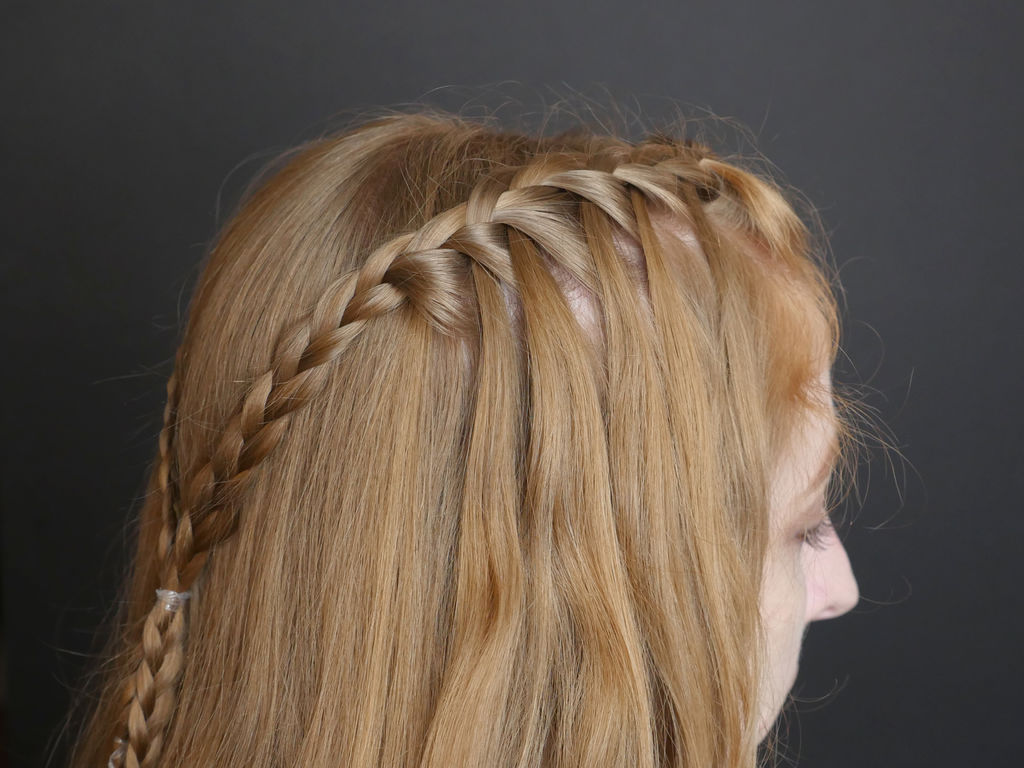
Step 3: Finish It Off
This technique can be extended to wrap around your whole head, but for this style, stop adding new sections when you get to the crown area (or when you stop being able to see what you’re doing clearly with one mirror).
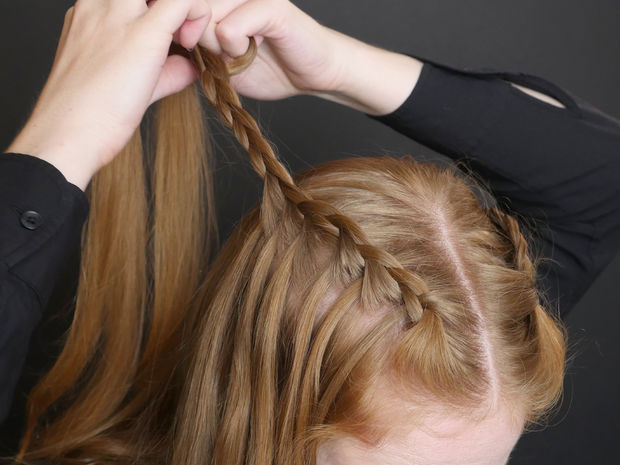
Now you can let go of the sections you were holding with your mouth or clip (any earlier and they would have been in your way). Use a standard crossing-over braid to finish up this side, and secure the tail with a small elastic.
Step 4: And Again From the Other Side
Repeat to make a matching braid on the other side of your head. Start braiding a small section, then each time it’s the lower section’s turn, sweep it forward and out of the way, then grab a small section of hair from right behind it to use instead.
Try to match the angle and stitch size to the first braid. Did you notice this technique to be easier on one side than another?

Step 5: Complete the Style and Wear It!
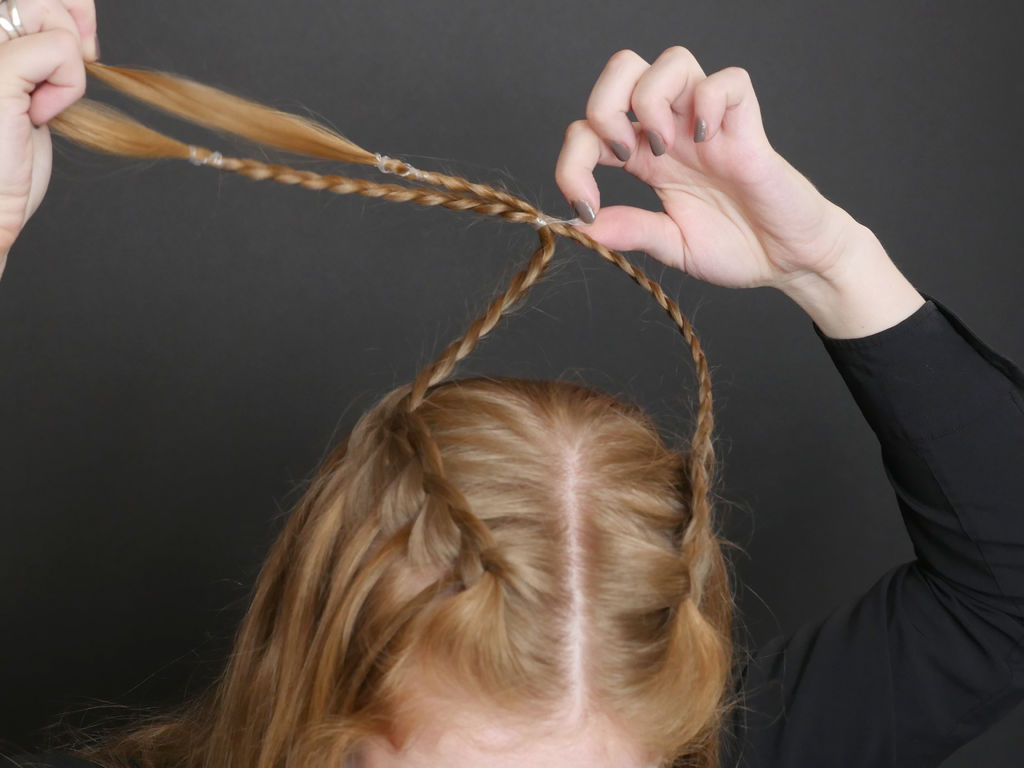
Tie the two braids together with a small elastic at the back of your head (don’t catch any free hairs from the rest of your head), adjust for symmetry, and optionally remove the braids’ individual elastics.
Smooth and style the rest of your hair (with a styling product if desired, such as a bit of hairspray, hair paste, or conditioning oil).
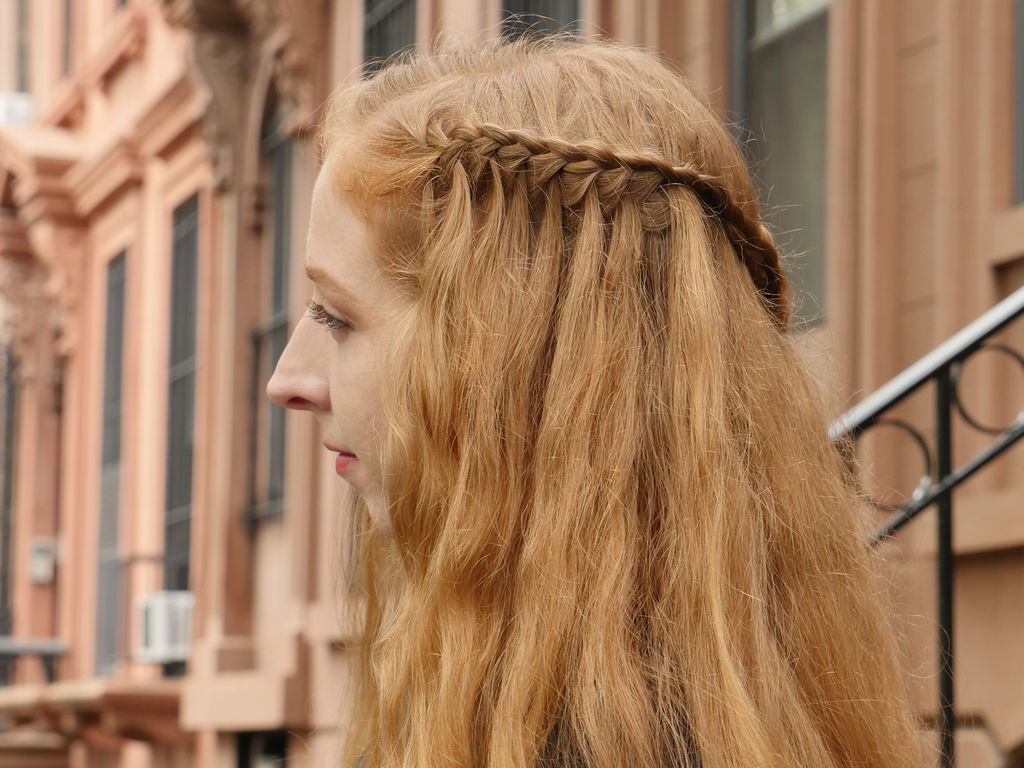
Now it’s your turn!
Hope you like this waterfall braid tutorial.
We would love to hear your thoughts in the comment section below. And be sure to like us Facebook for more ideas!
Thank you for visiting our website. Keep Creating with Art & Craft!

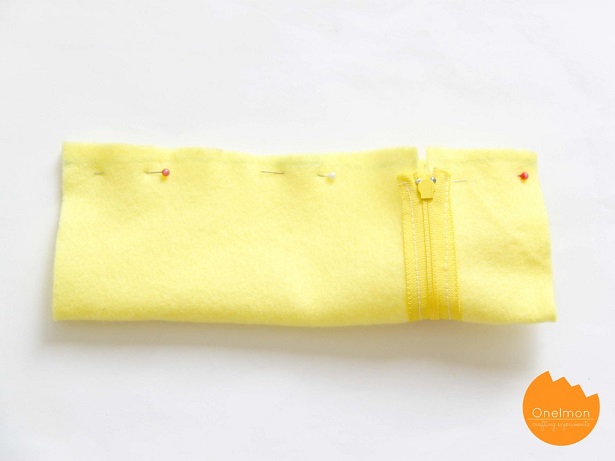
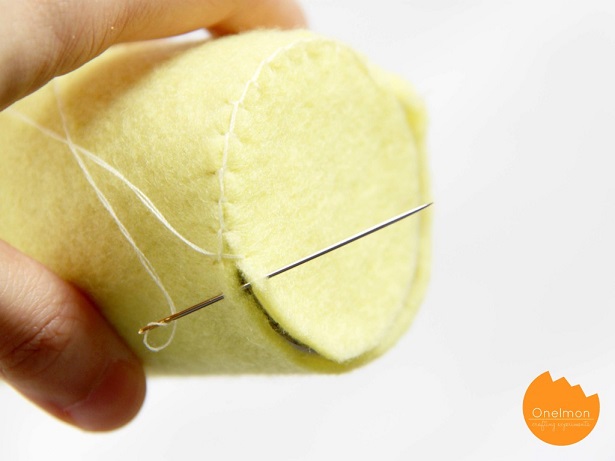
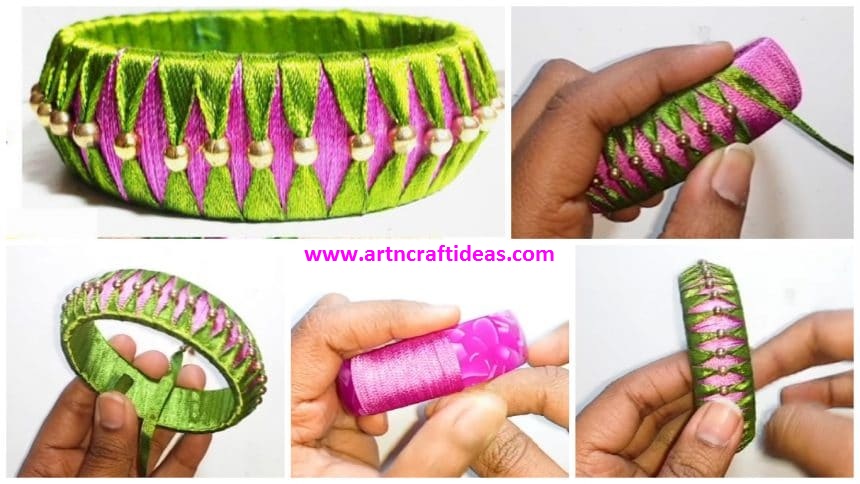
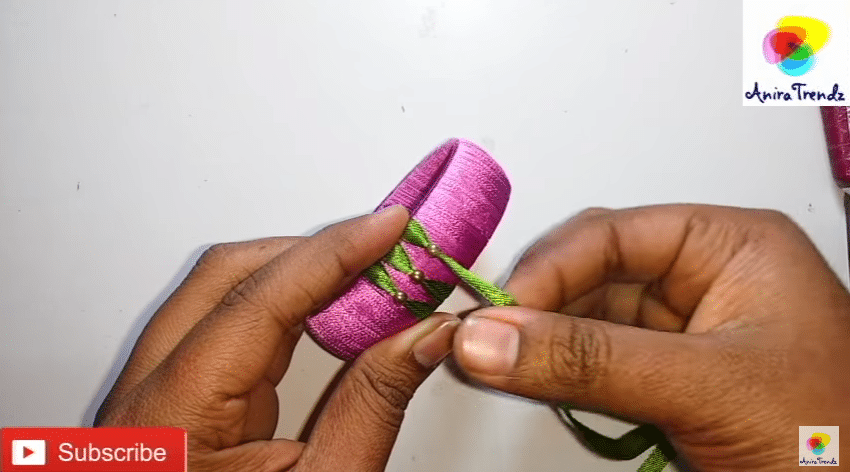
 Packaging in the circular start racing wire
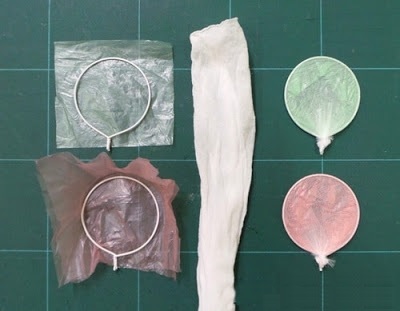 Giving those coated wire forms and a variety of well-connected strings at the bottom.
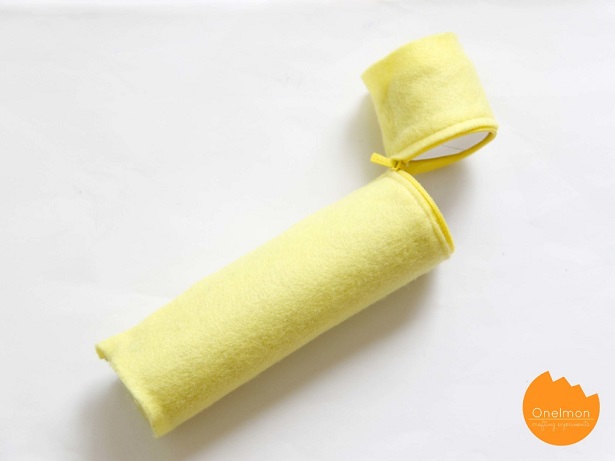
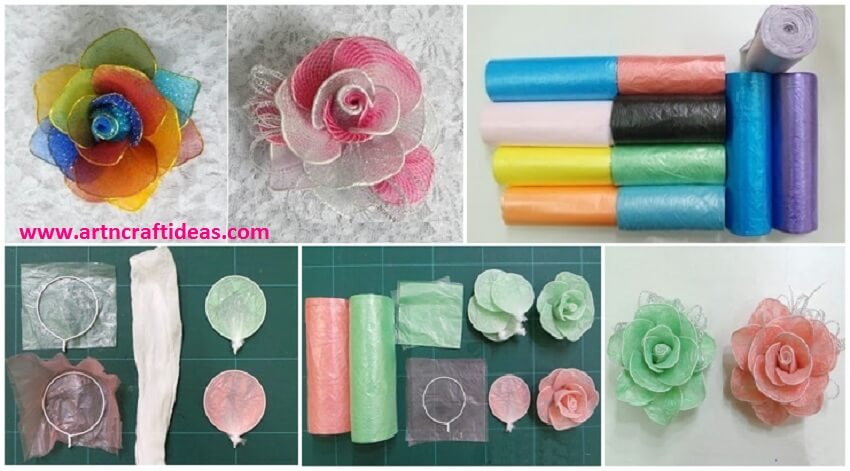
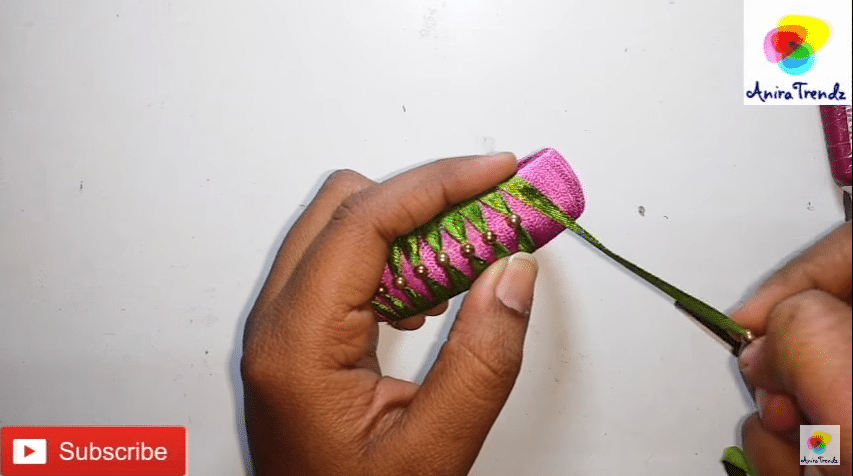
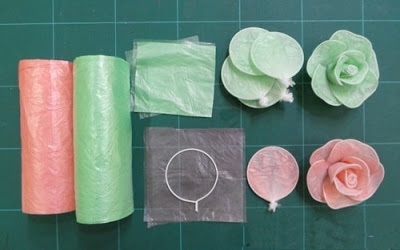 Continue to prepare all kinds of formats
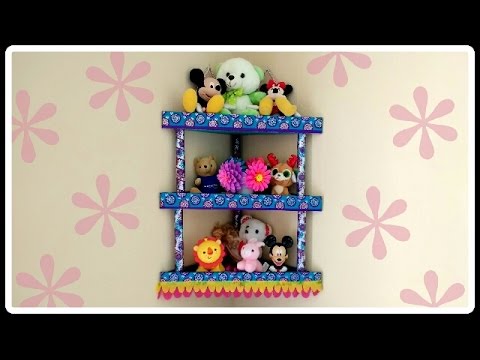
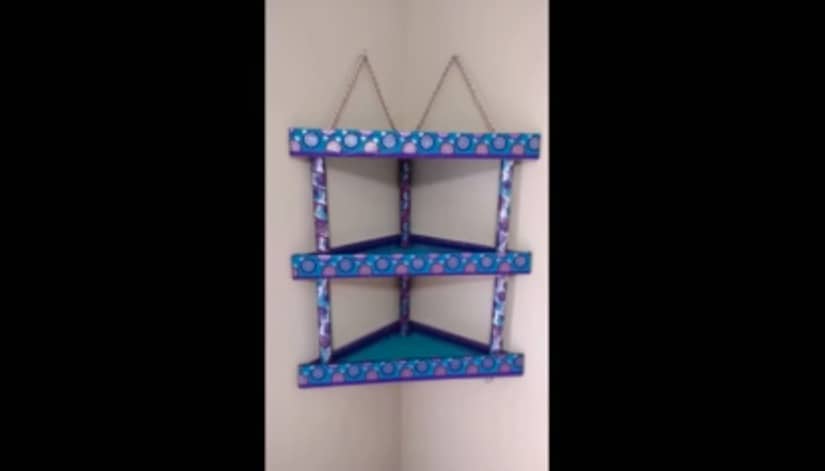
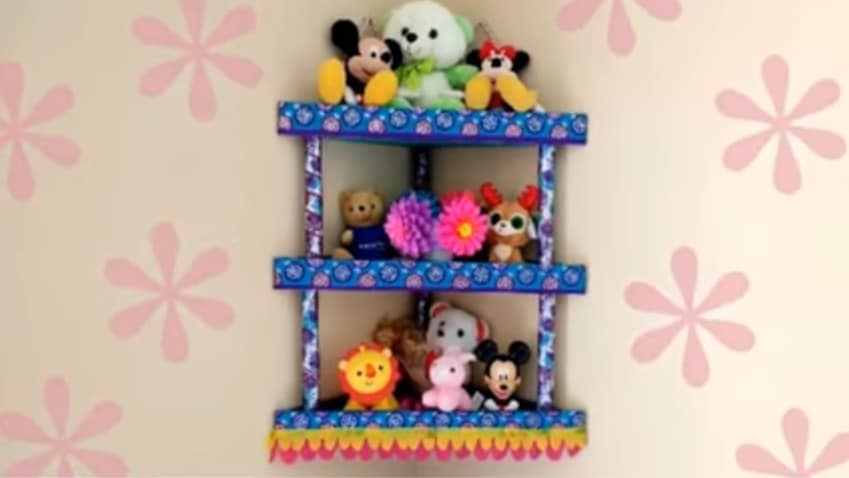
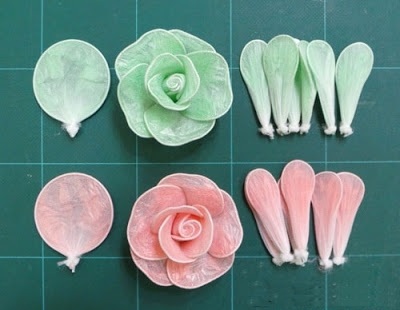 After you finish you get the following figure
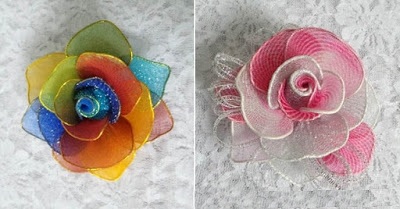
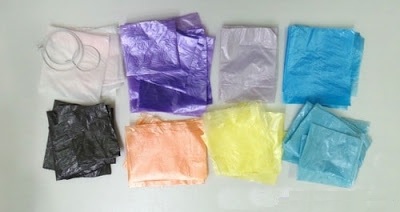
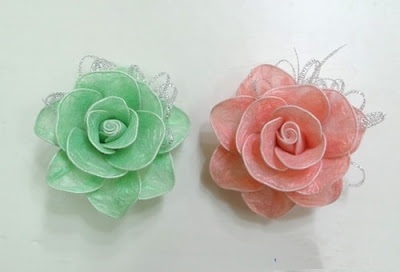
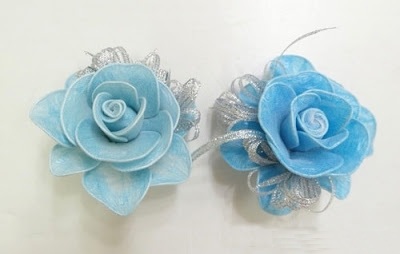
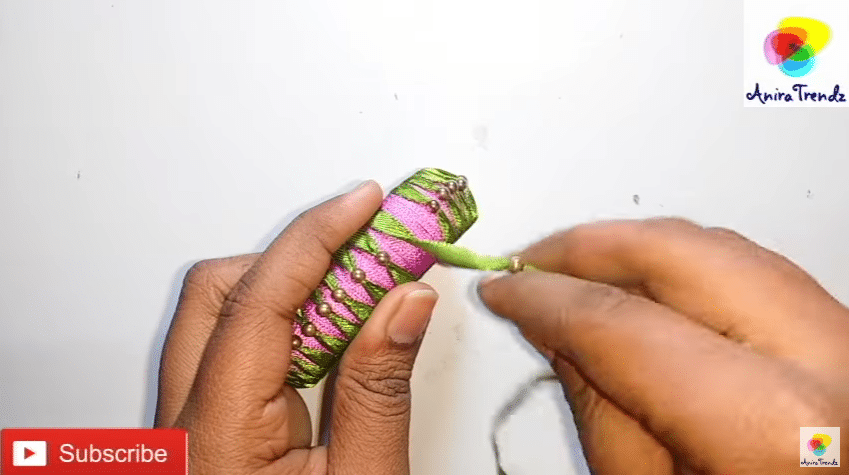
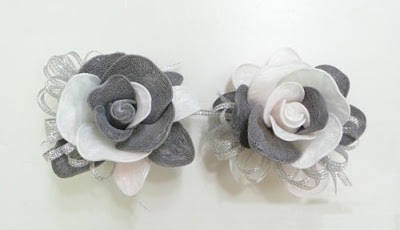 These are some suggested formats
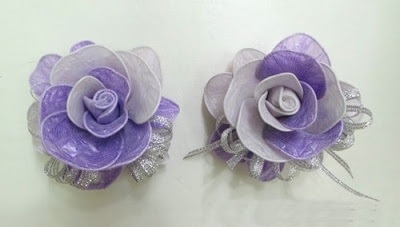
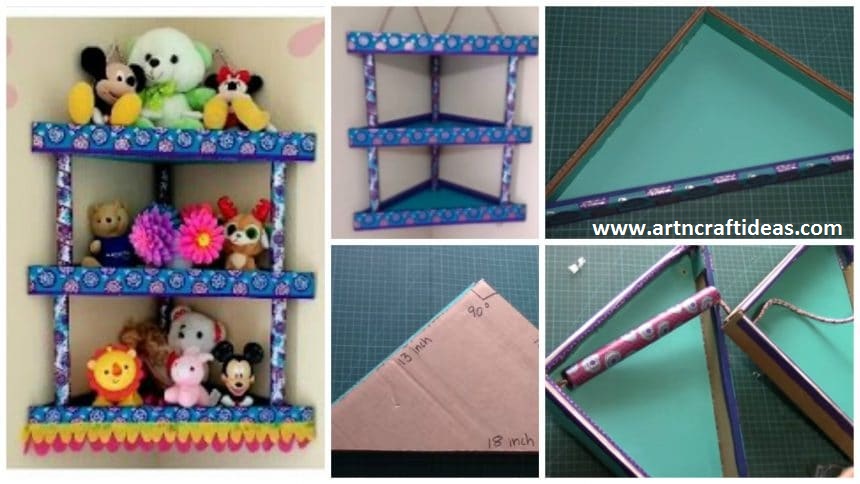
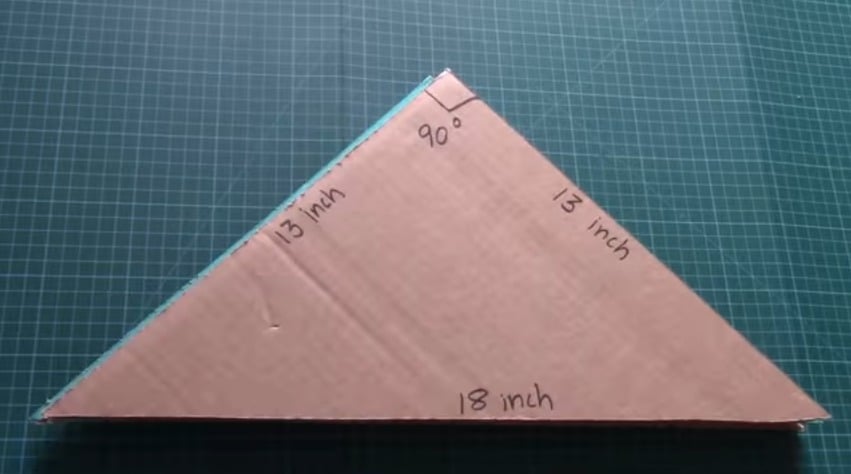
 Cut an right angled isosceles triangle of cardboard of sides 13 inch and hypotenuse 18 inch (take 9 such triangles)
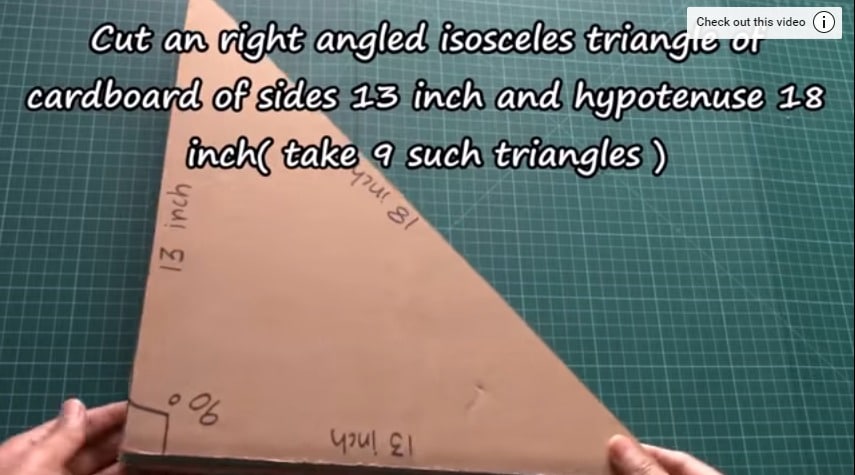
 Now, cut 18 stripe of cardboard of size (13 inch * 2 inch)
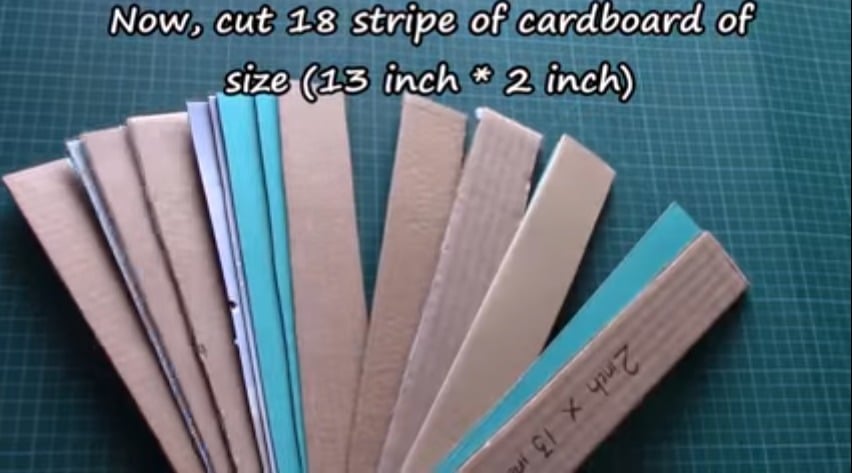 Next,cut 9 stripe of cardboard of size (19 inch * 2 inch )
 Now, take 3 triangles and glue them one over other to make one tough triangle.
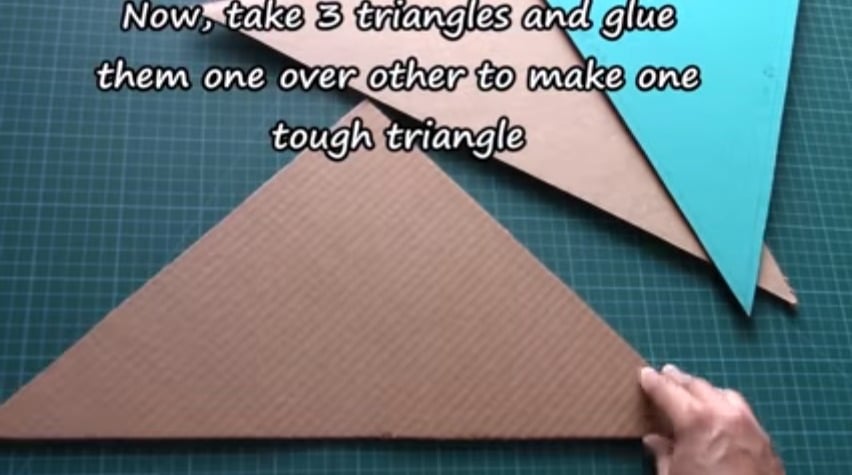
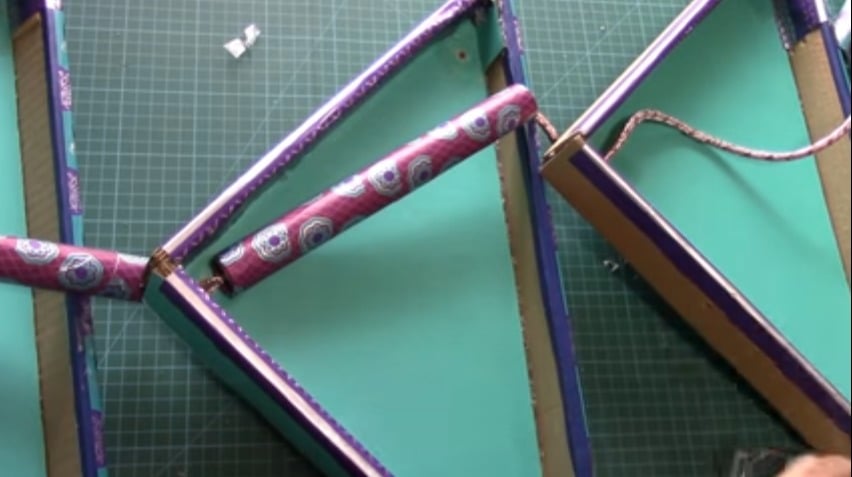
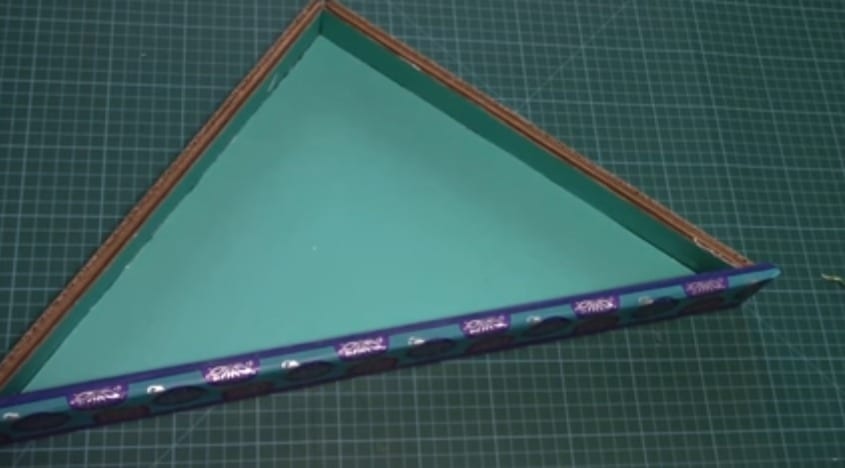 Take two pieces of cord of lenght 5 feet and put one end of both the cord in the center holes (hole at the right angled corner) of the 3 trays and the other ends in the other 2 sides hole of the trays
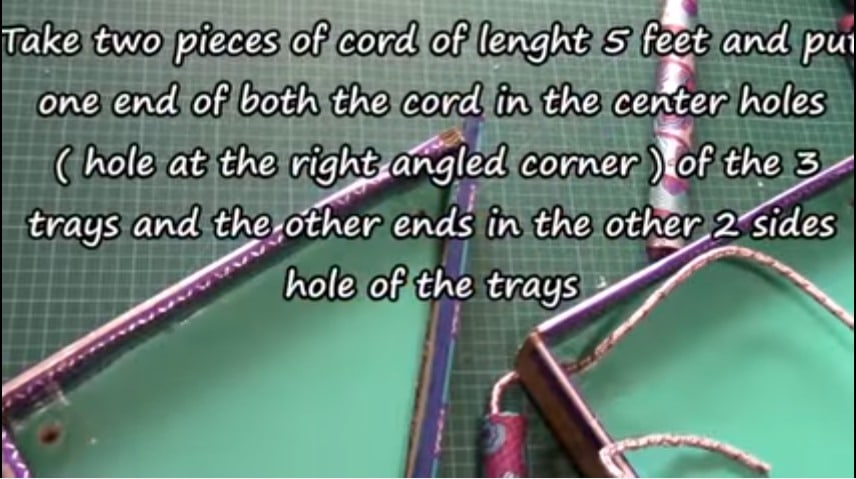
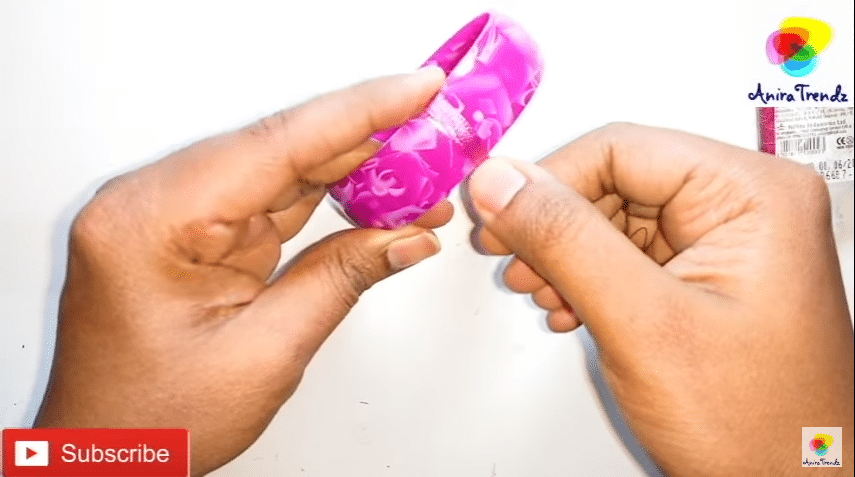
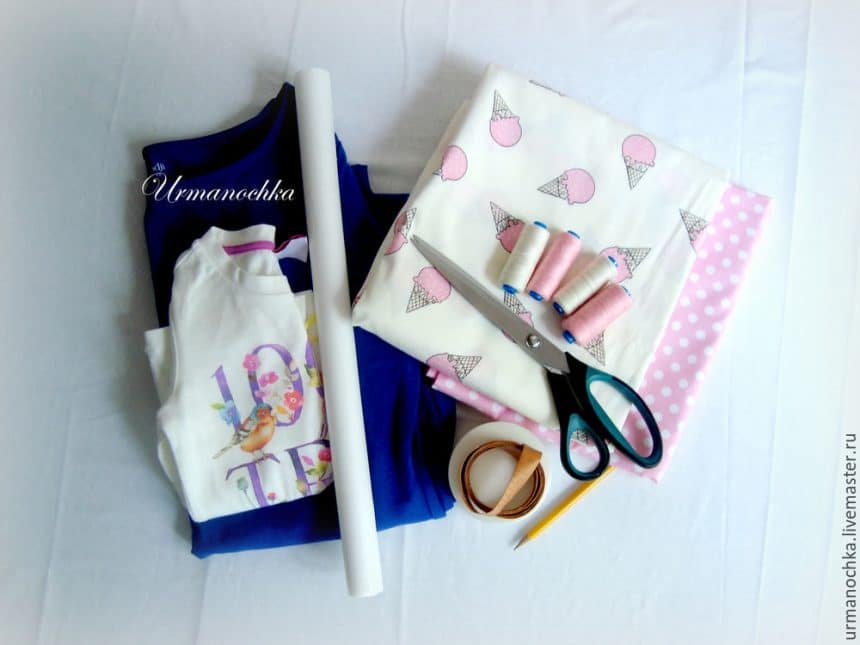
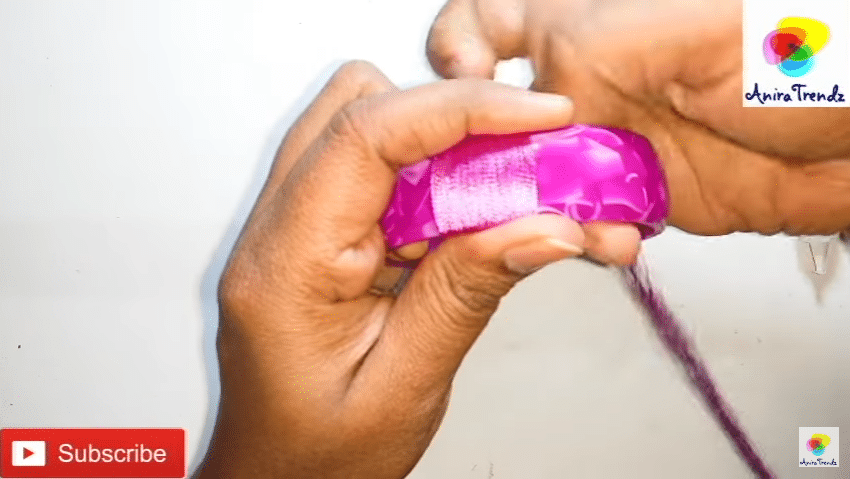 Required Material:
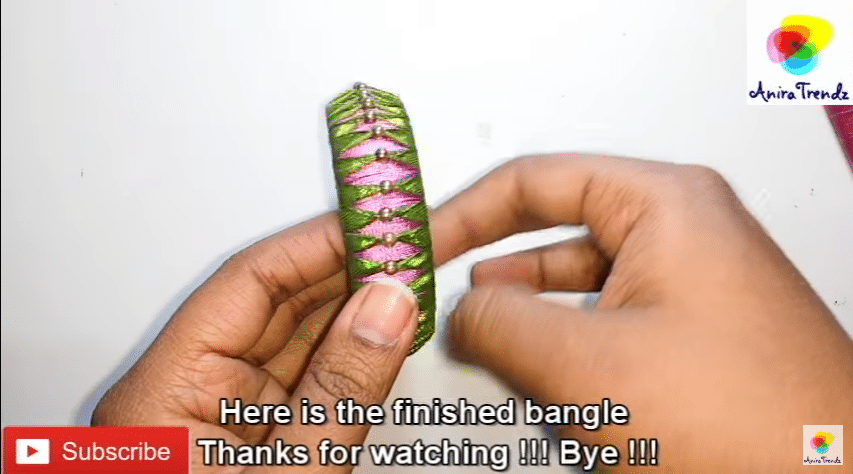
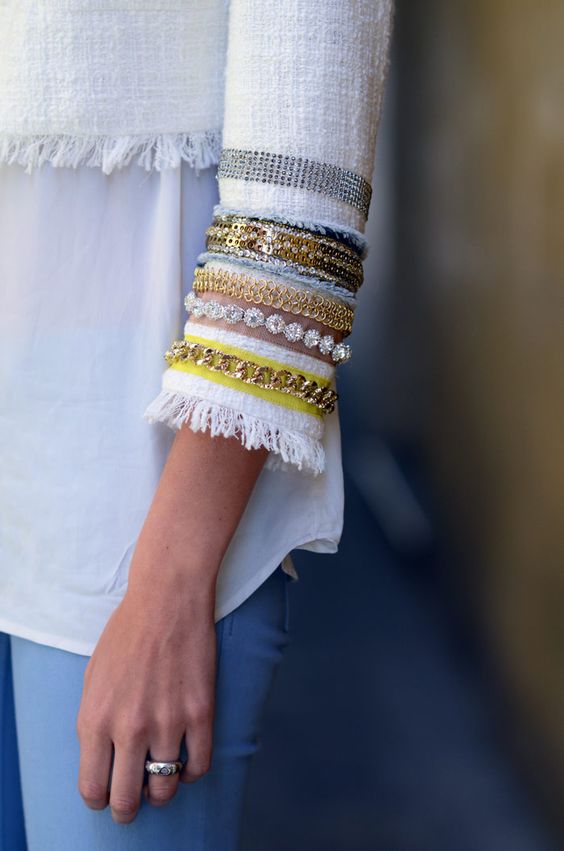
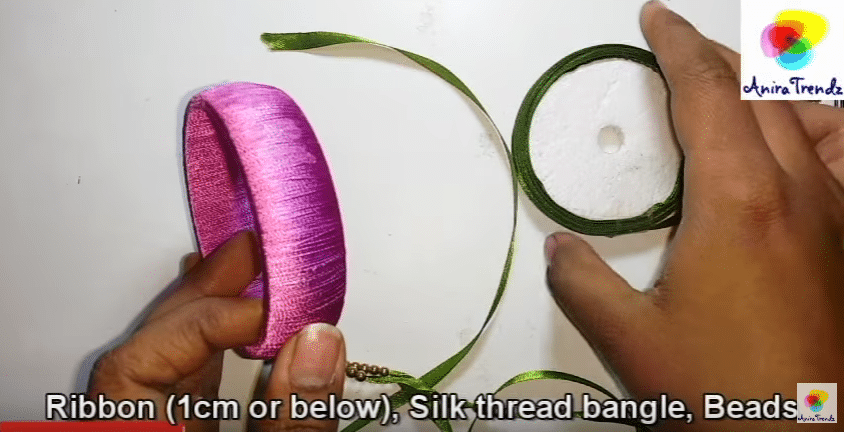 Trim ribbon like this and glue it.
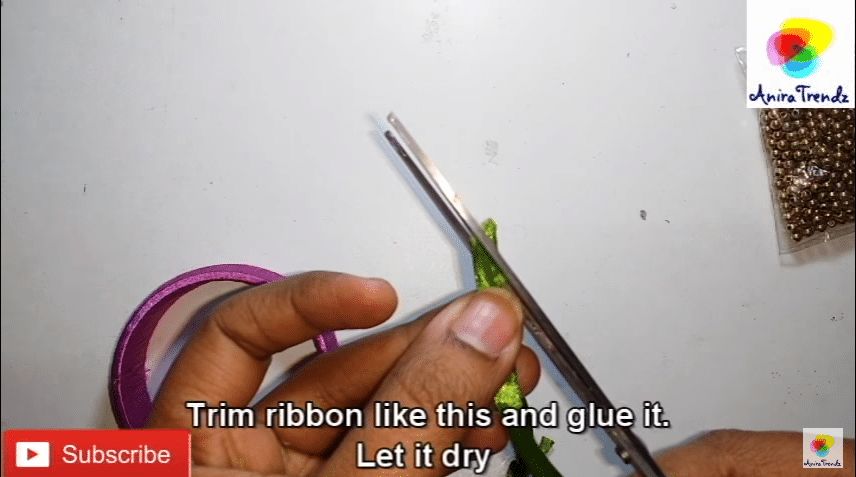
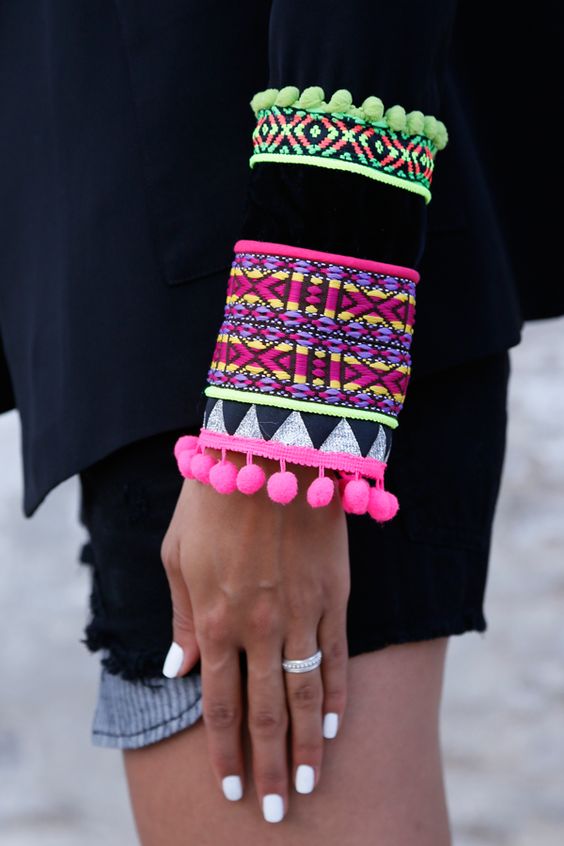
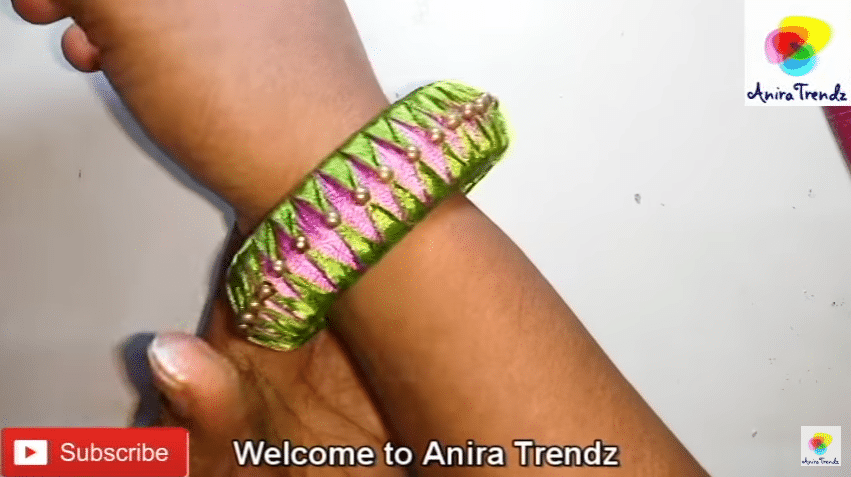
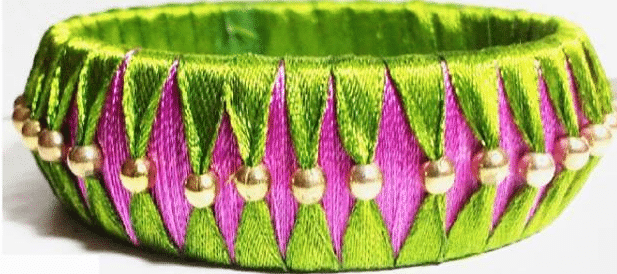
 Here is the finished bangle.