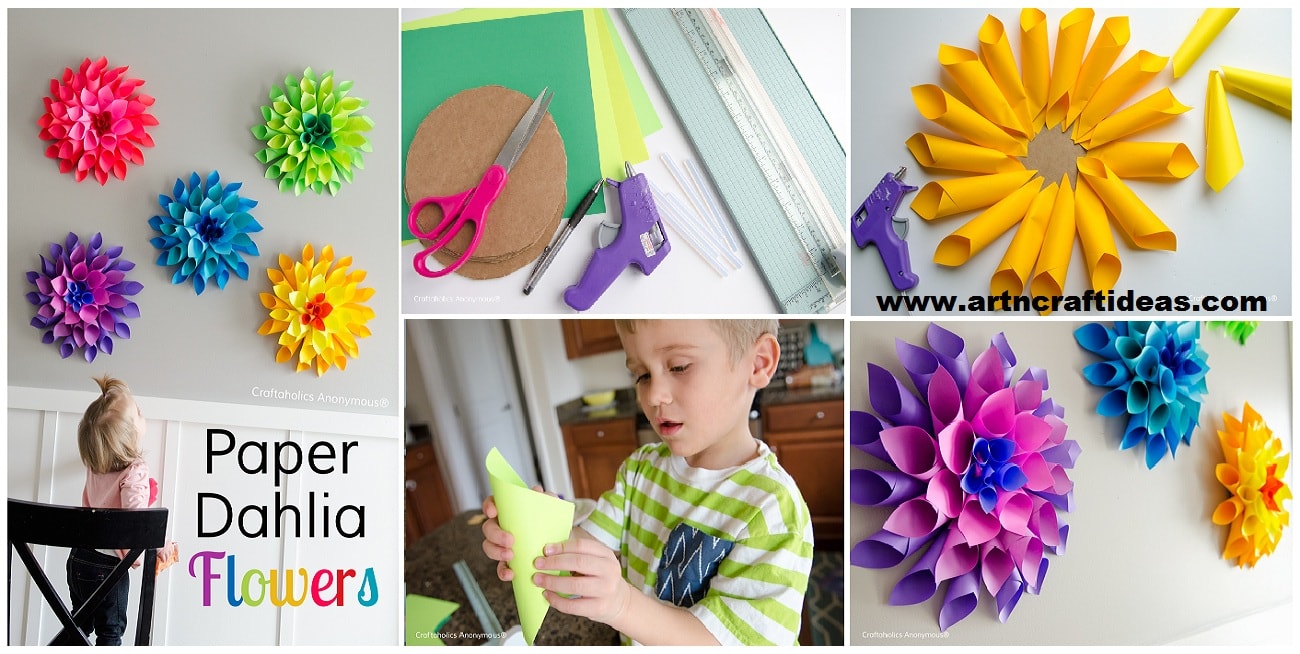
Paper Dahlia Flowers are easy to make, look fantastic on any wall, and they are an easy craft to get the kids involved in making!

How to Make Paper Dahlia Flowers:
Required Material:
- 10 Sheets of 8.5″ x 11″ ASTROBRIGHTS PAPERS per flower {I did 4 layers on each flower. The biggest layer took 4 sheets, the next layer took 3, then 2 and then the center took 1 sheets.}
- Scissors
- Pen
- Low Temp Glue Gun
- Paper Trimmer
- Cardboard
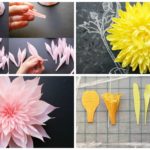
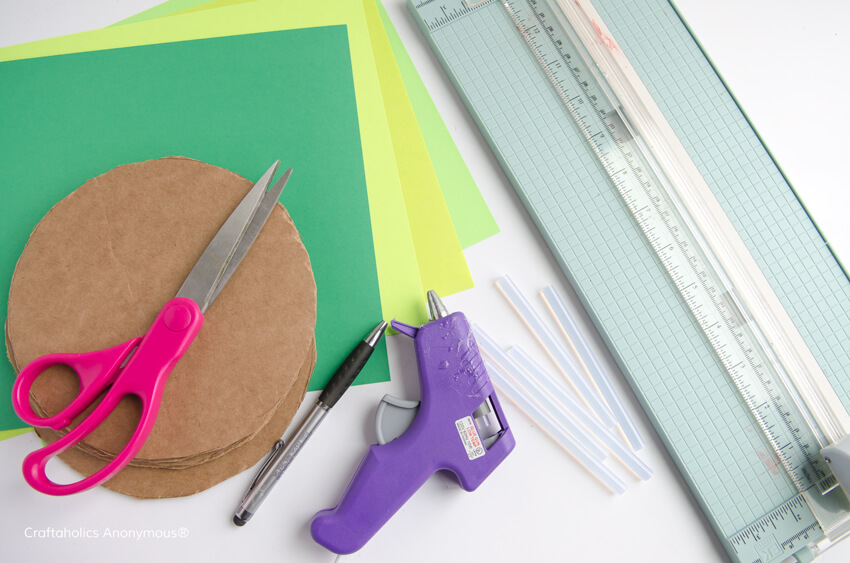 1. Cut a 6.5″ circle out of cardboard. I used a bowl and pen to trace a circle on the cardstock and then cut it out with scissors.
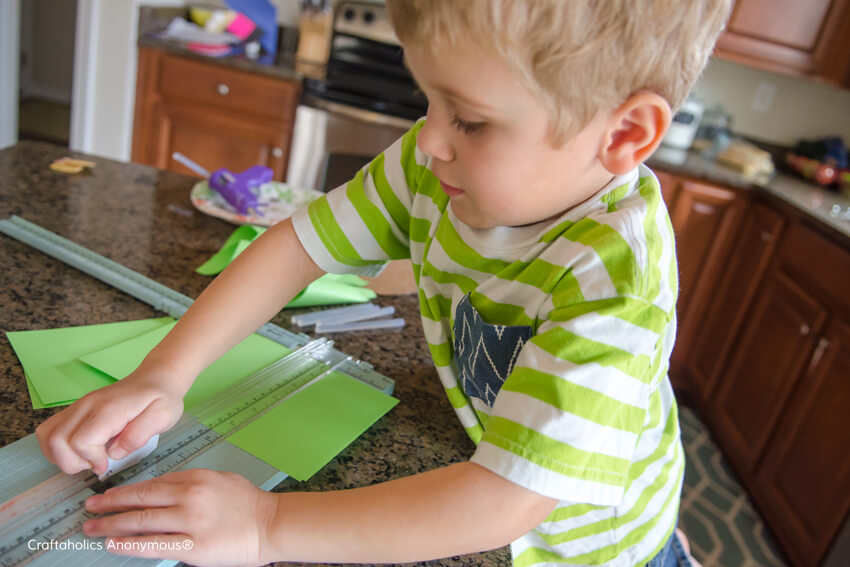
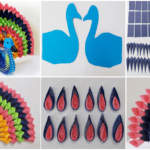
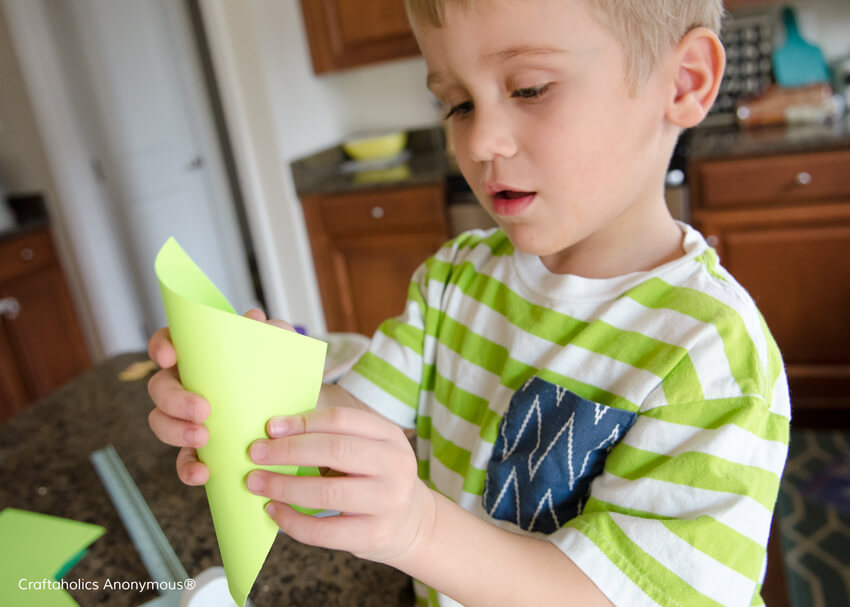 3. Then roll your pieces of paper into cone shape with a point in the center of one end and use a small dot of glue to hold in place. If you have kids helping you, I very highly recommend using a low temperature glue gun. Glue gun burns are not fun!
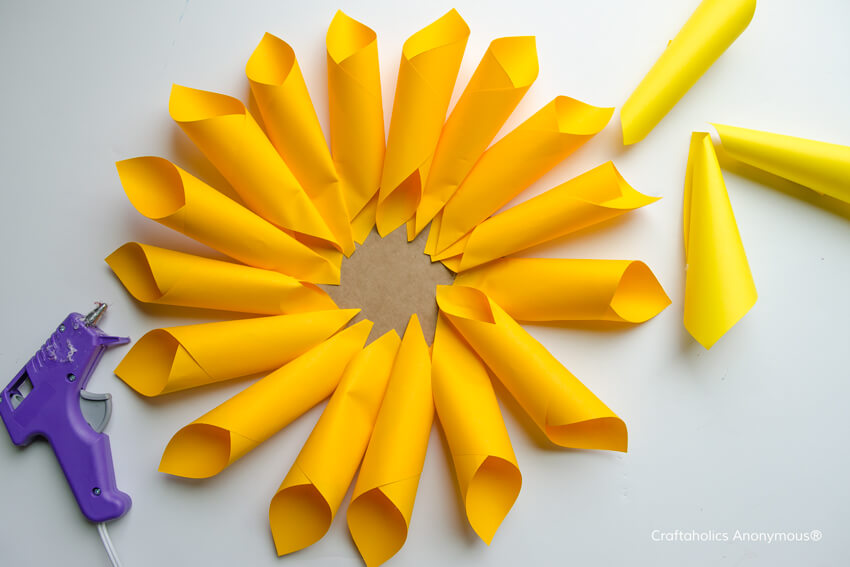 4. Then I started glueing the first layer of cones all the way around the edge of the cardboard circle. The next layer I glued the cones around a little inside of the outer layer, without cutting or trimming them. For the third layer, I trimmed off about 2-3″ off the cone before gluing them on. And then for the center, I cut off the tips of the cones and glued them into the center of the flower.
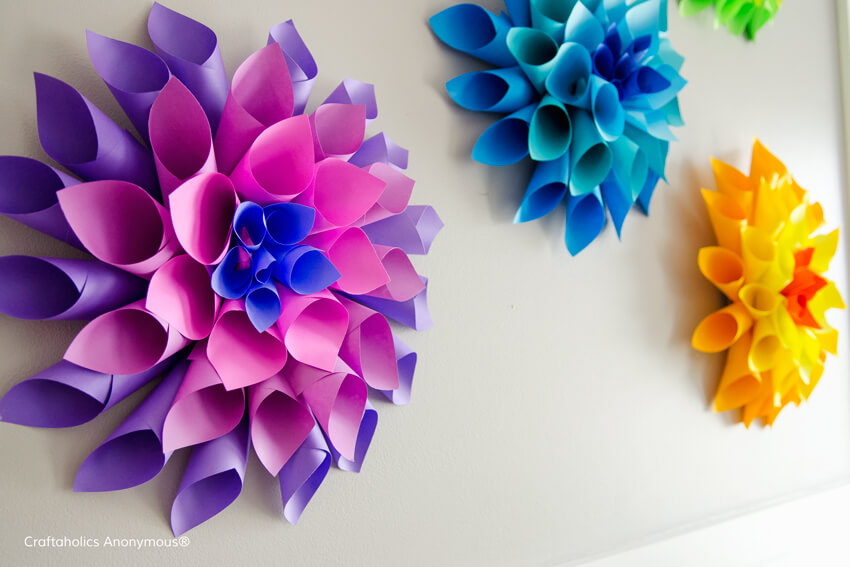
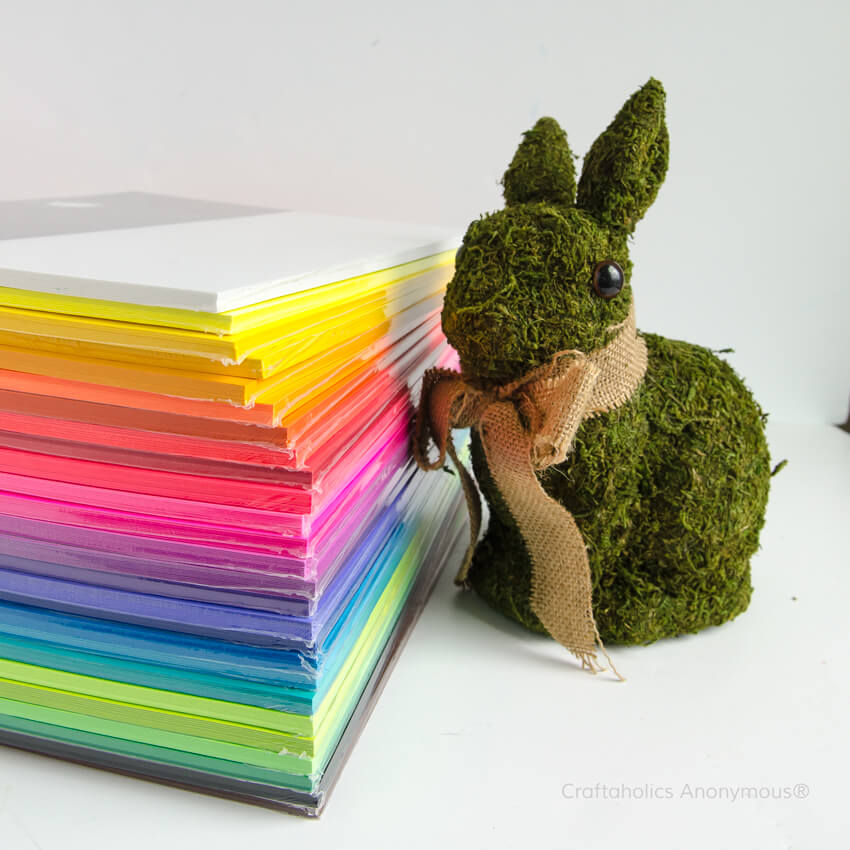
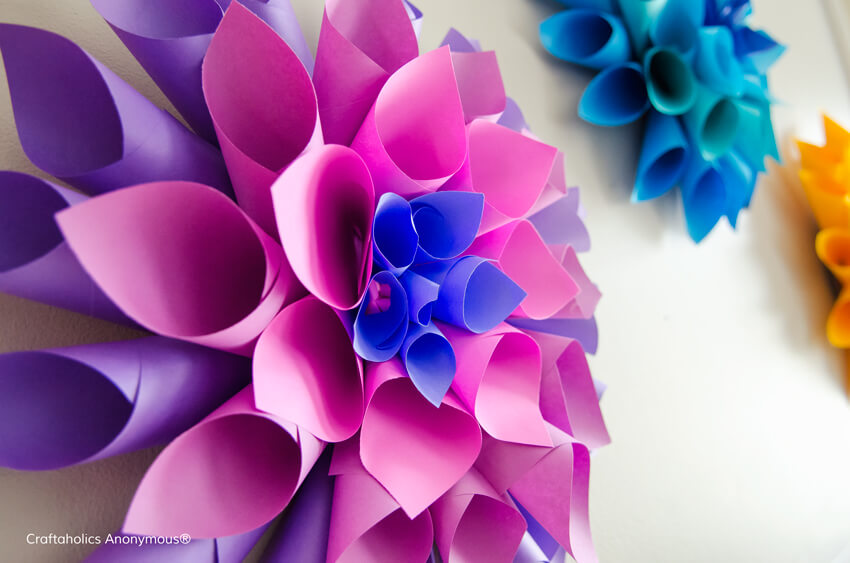 I love the texture and color these bright, happy paper Dahlia flowers offer as Easter Decor! My kids love looking at them
courtesy: Craftaholics Anonymous