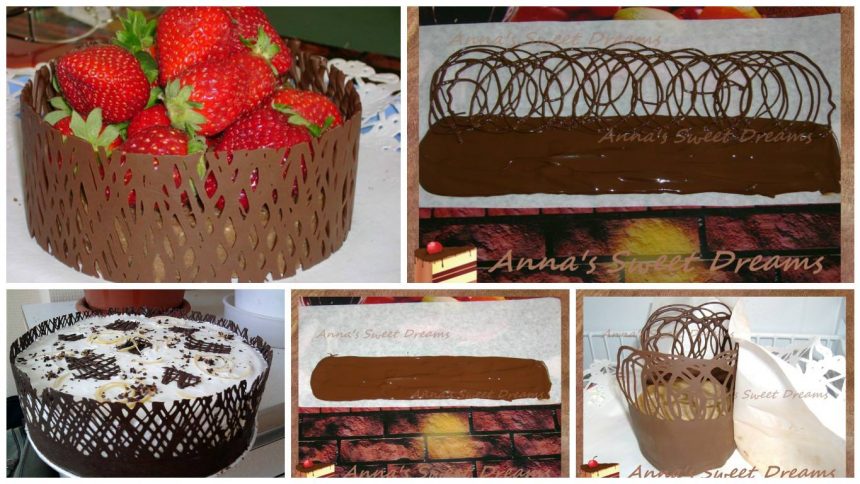
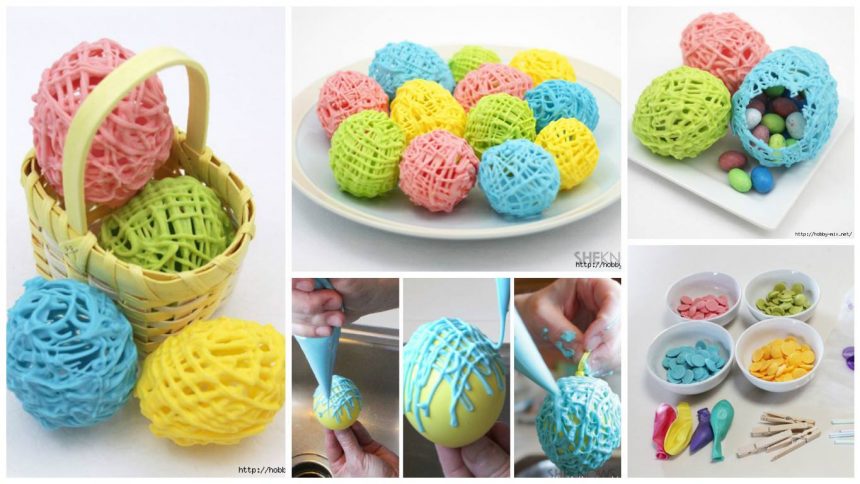
How to working with glass for cabinet doors:
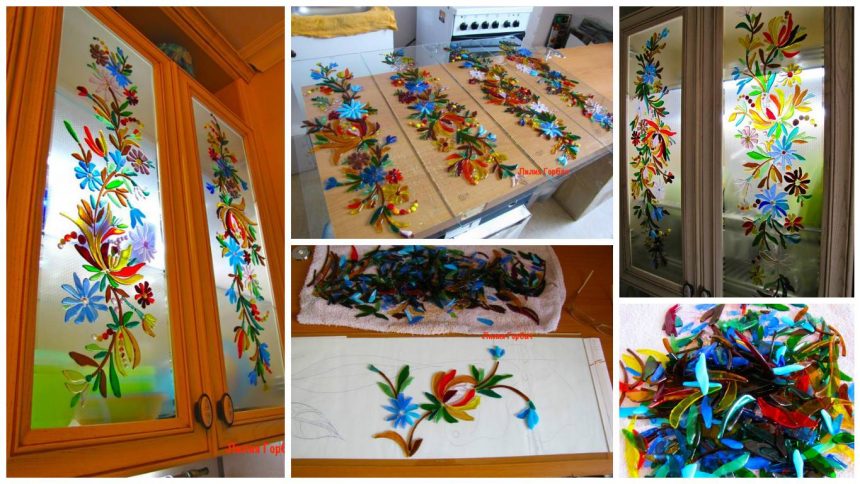
Today I’ll show you how to decor elements help from fusing to decorate the interior,
it can be any cabinet doors, mirror, tiles or window,
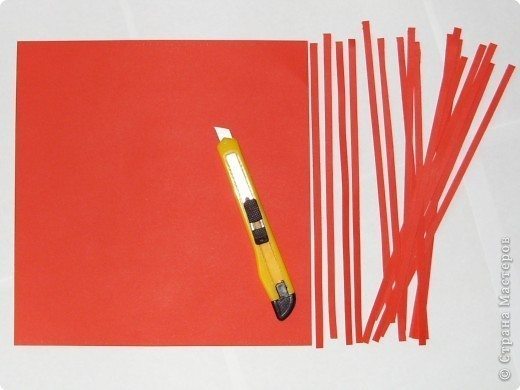
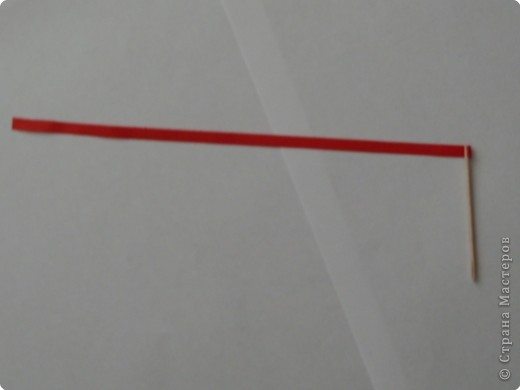
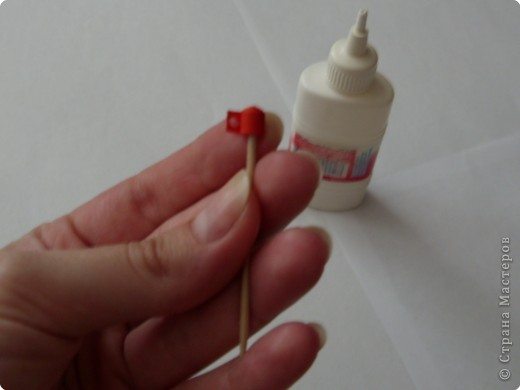
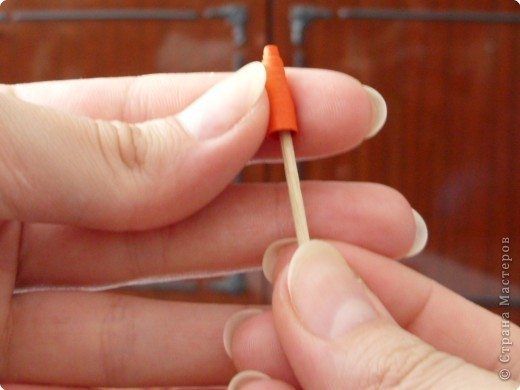
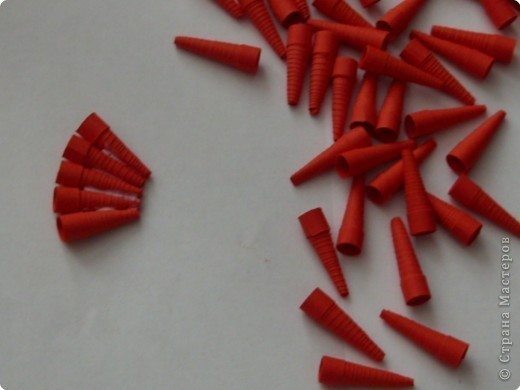
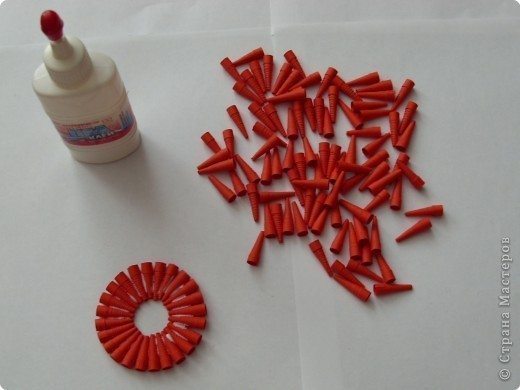
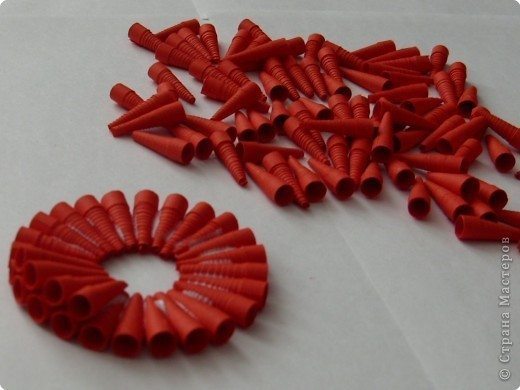
this will require the case, the new items that you can buy from me in any quantity and desired color scheme and glue.
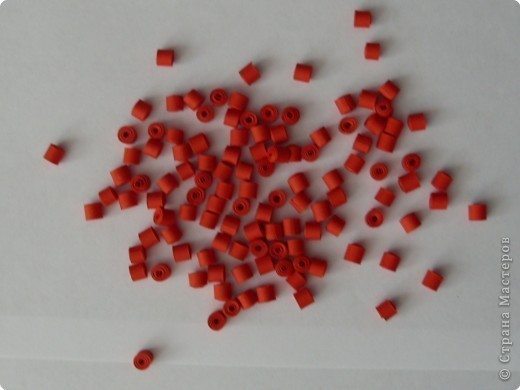
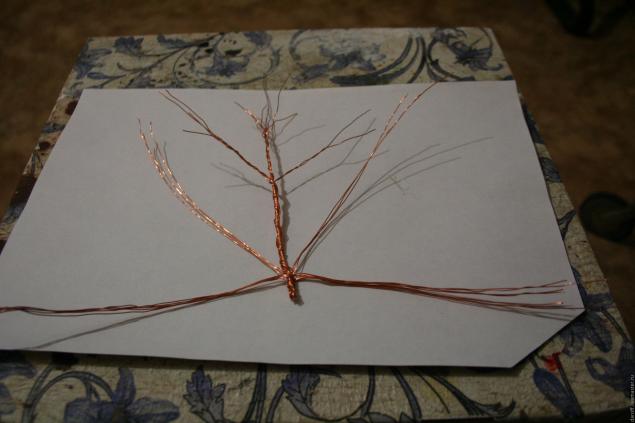
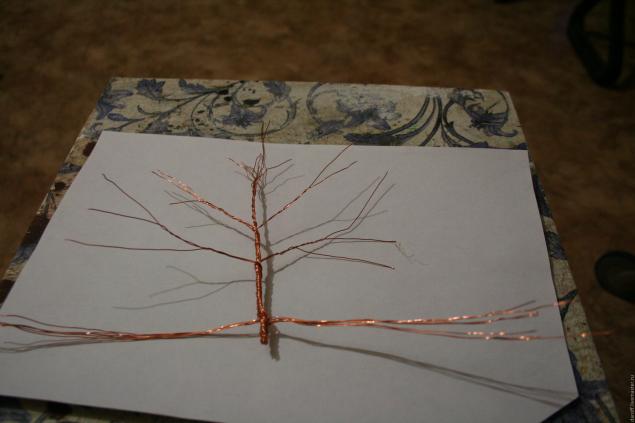
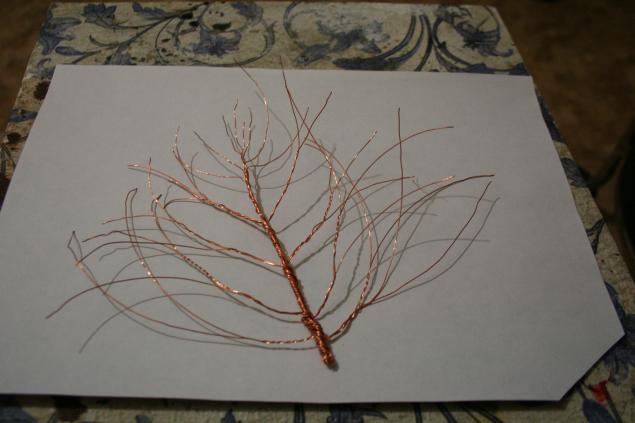
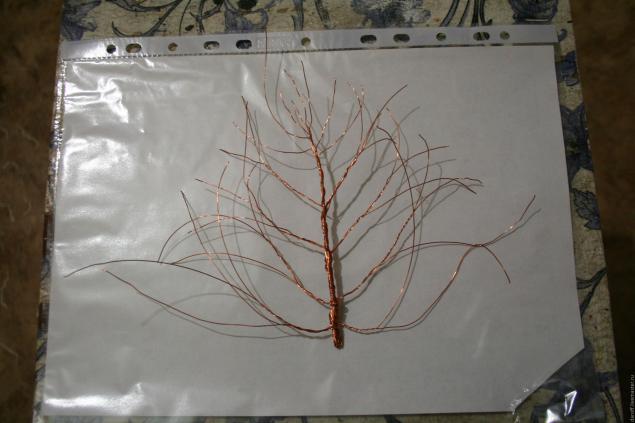
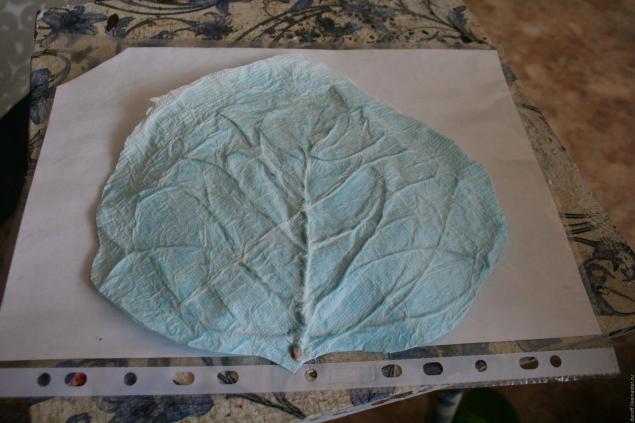
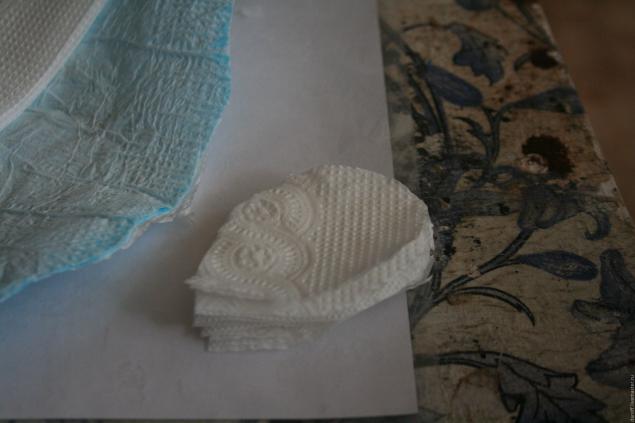
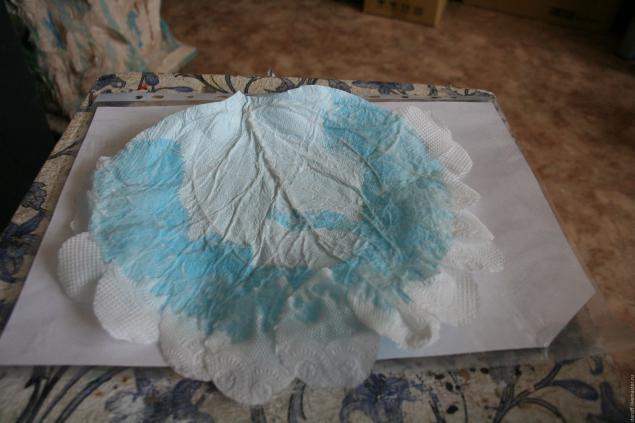
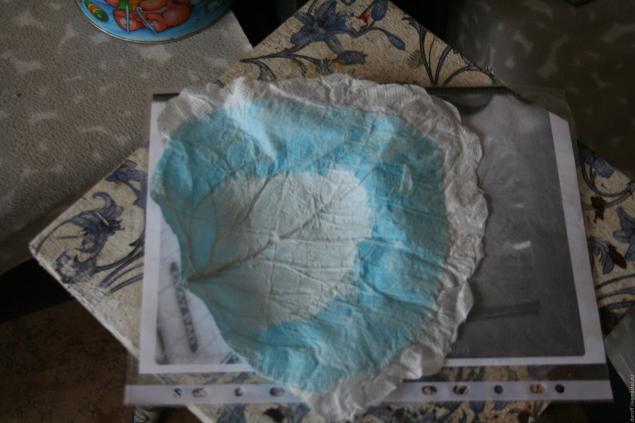
I bake them of arbitrary shape, you need to put your own picture,
all who are able to come up and draw a branch with flowers, it will not be difficult!
Only imagination !!!
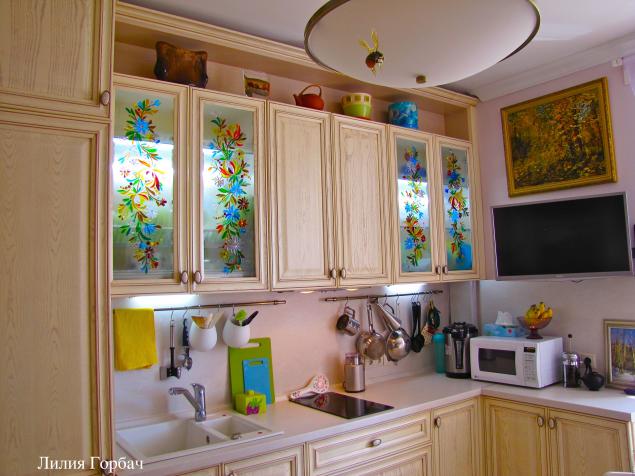
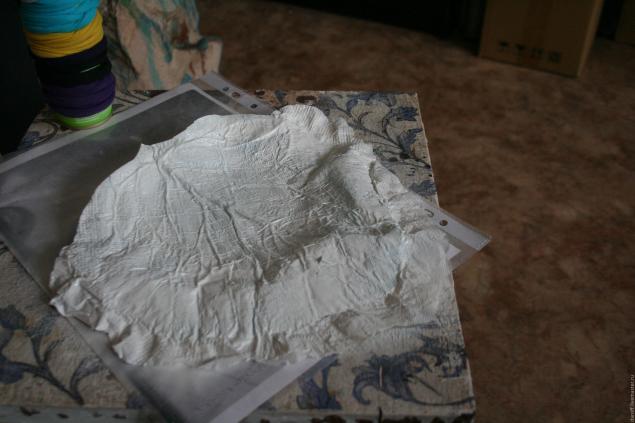
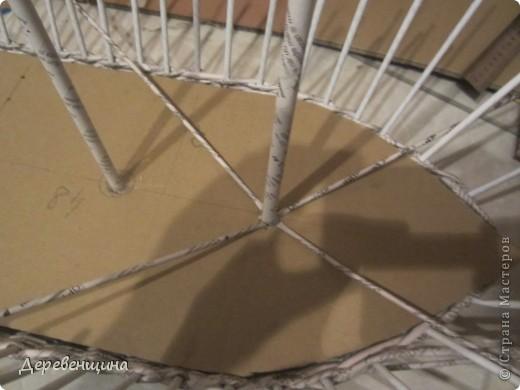
All photos were taken a year ago when I repaired my apartment and preparing for the decoration of kitchen units, so do not be confused by some of the details …….
in the photo clearly shows that the kitchen in the process …..
so look “parts”

and such!

Further,
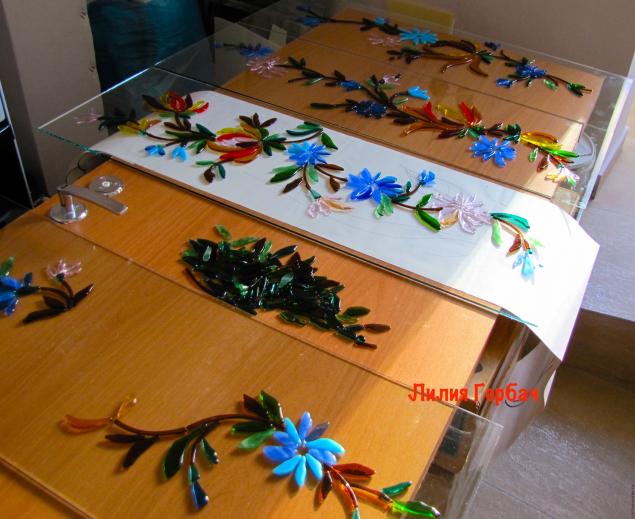
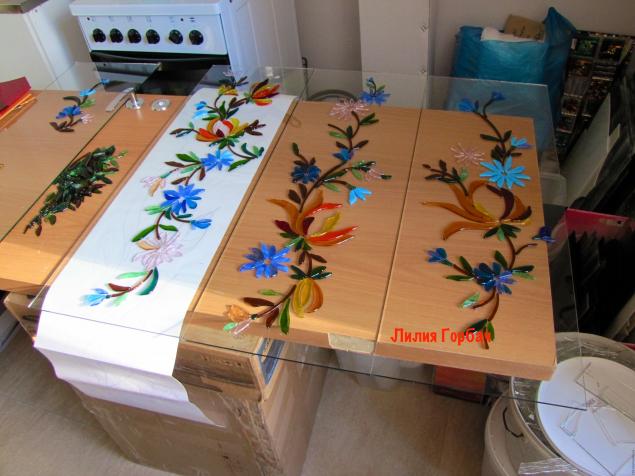
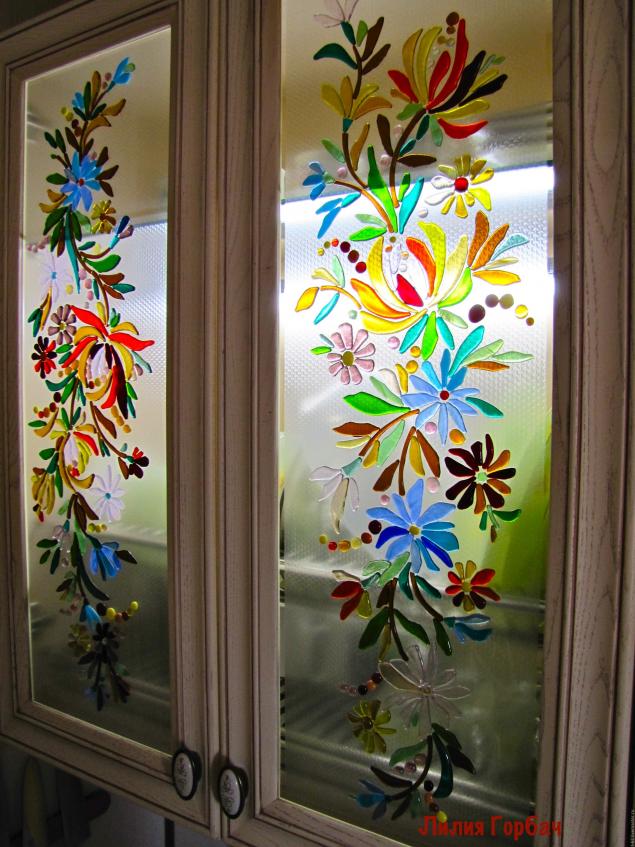
I had 4 glasses,
almost simultaneously laid out drawing
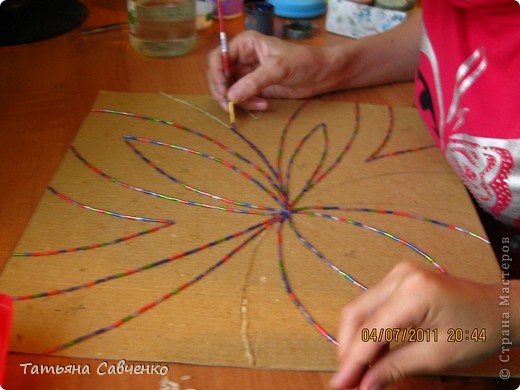
Whatman is under glass, on a white background layout makes it convenient, but it is an old sketch,
it did not pay any attention,
again I note that all took place in the “martial repair conditions”
that was at hand, and then went to the cause, even the glasses are not on the table, and removed the door!
it was my table a few months ……
and stood on the boxes with things !!!!
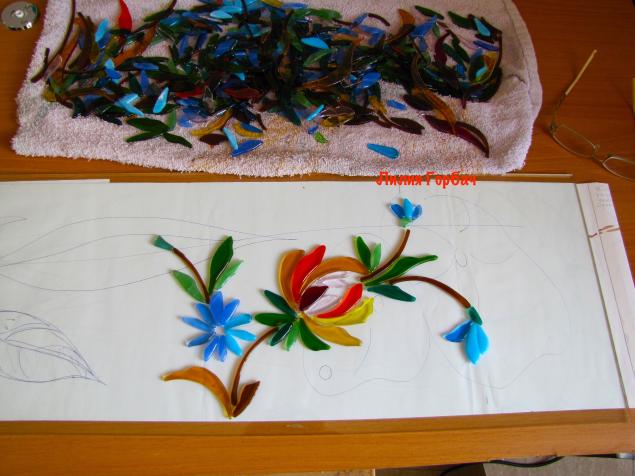
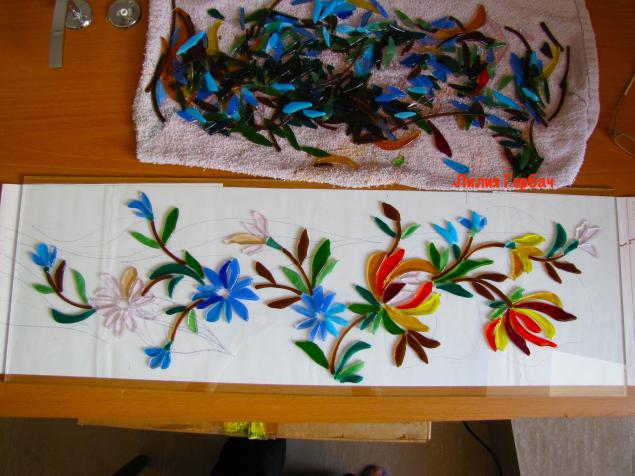
the whole picture, I first laid out, and then pasting.
Use professional adhesive for glass UVR,
it can be replaced by a transparent adhesive or sealant for glass
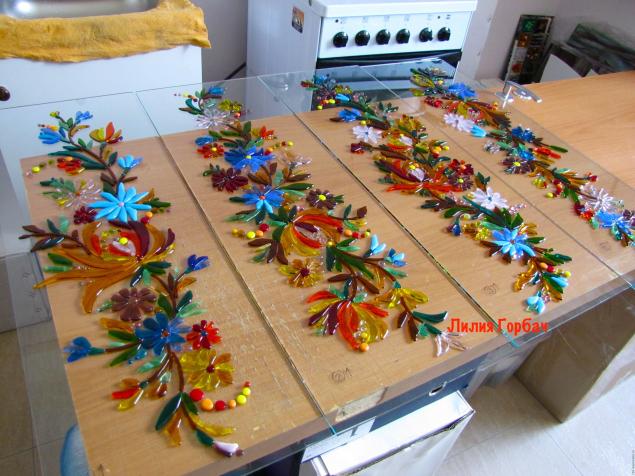
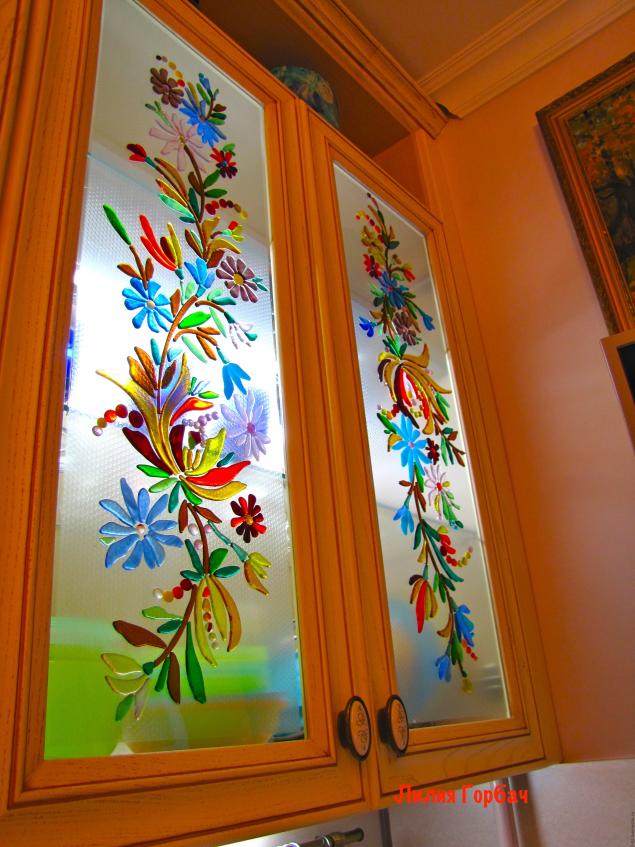
all is ready!!!
glass furniture manufacturers have given,
they inserted them into the doors and lockers ready brought to the assembly.
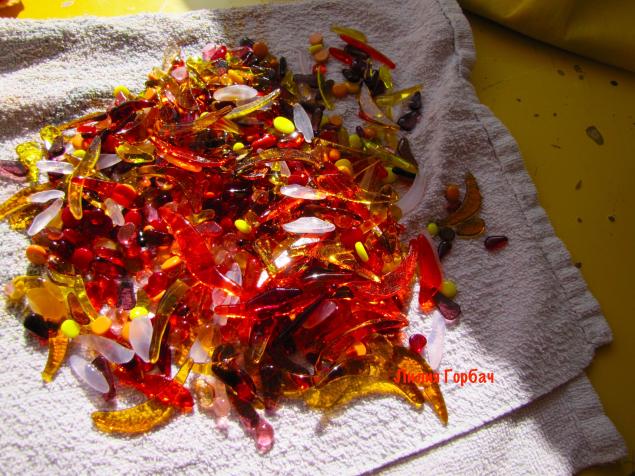
………. Slightly “missed”:
TIP !!! better to make glass with the back of the mat, as everything inside and then knocks,
I came out of this position by gluing the back matte film.
and so…….
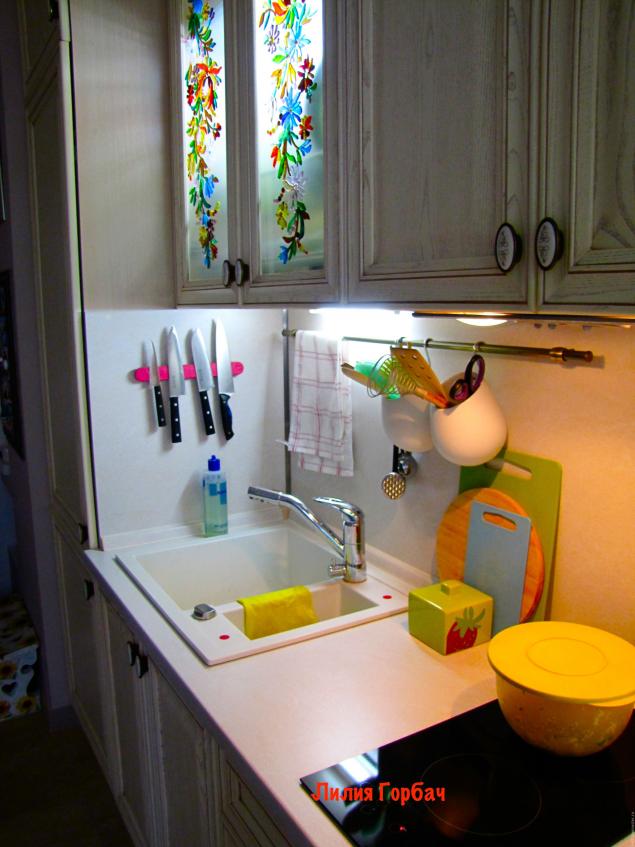
beautiful, and most importantly you will not be bored interiors!
Let your home be sure with his zest !!!!!!!


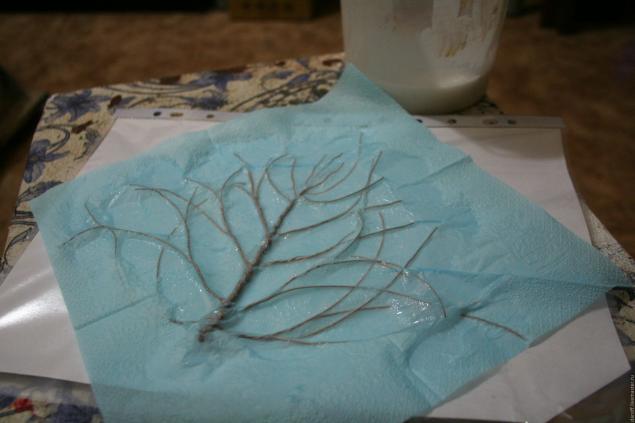
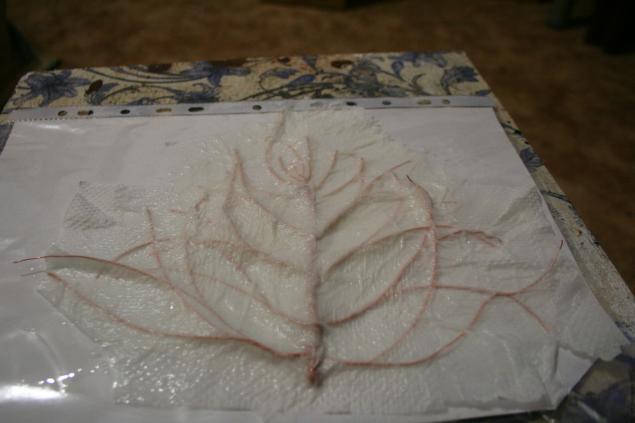
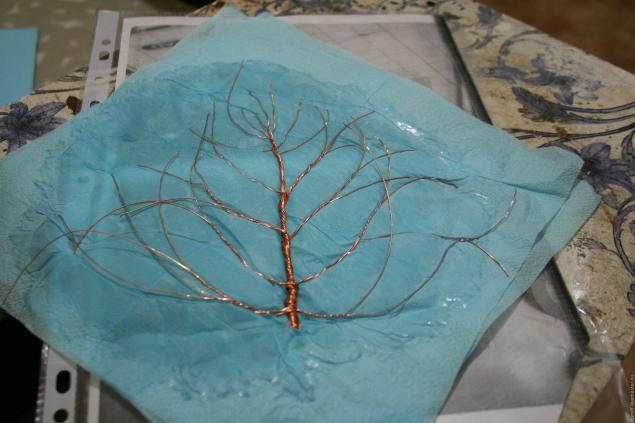
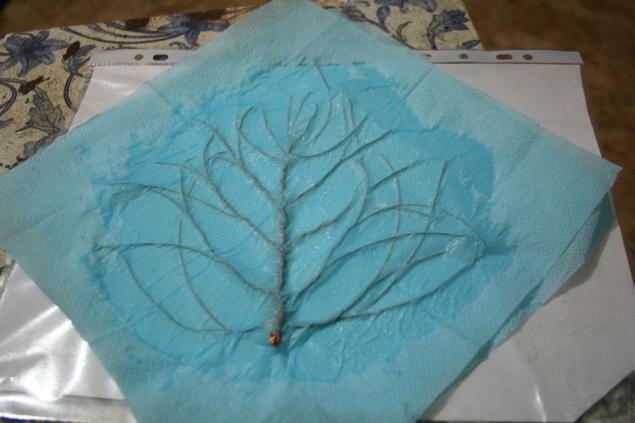
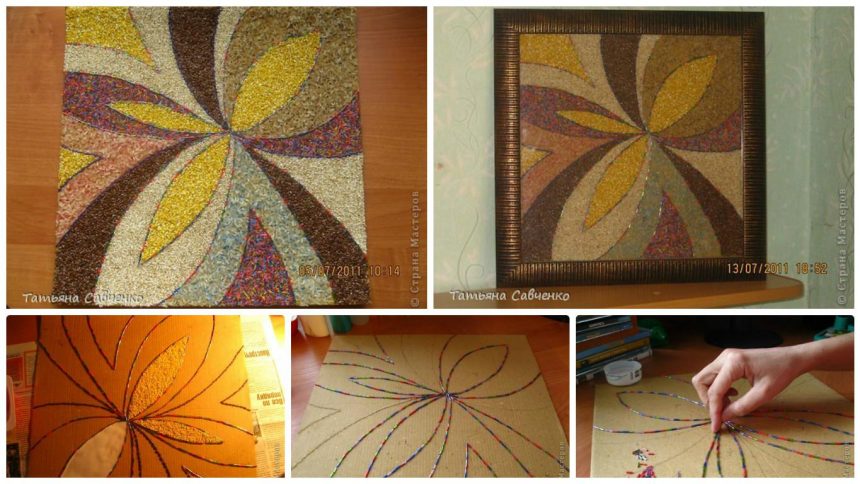
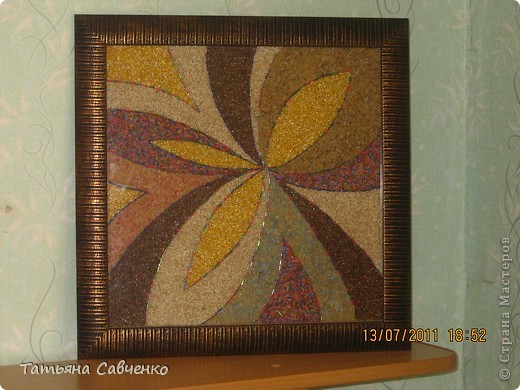

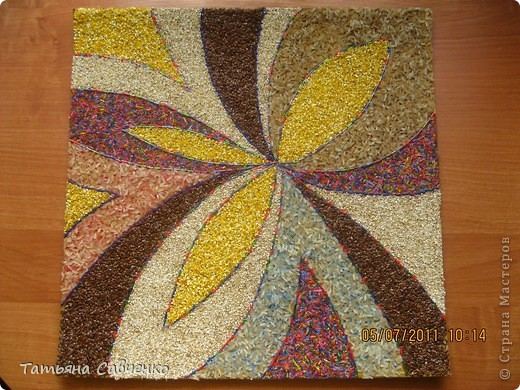
 The space between the contour smeared PVA glue and then bombarded the desired grains. Translucent rice on top of more sprinkled colored sand, which remained from the picture-bought “semi-finished”. Thus obtaining a light blue, red and brown.
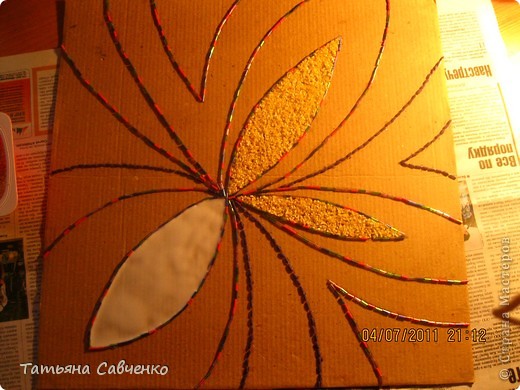


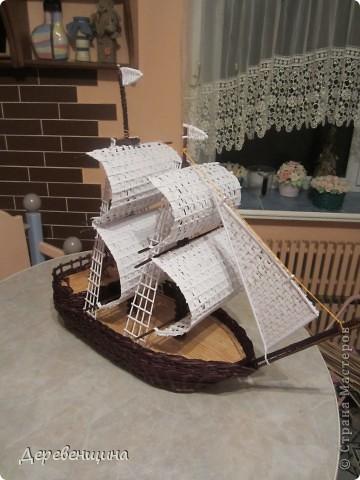
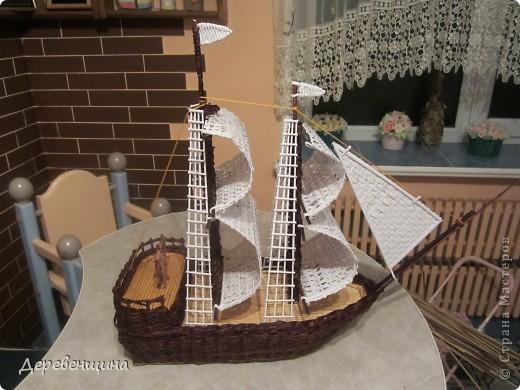
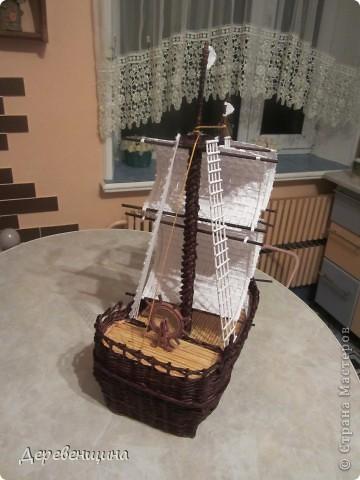
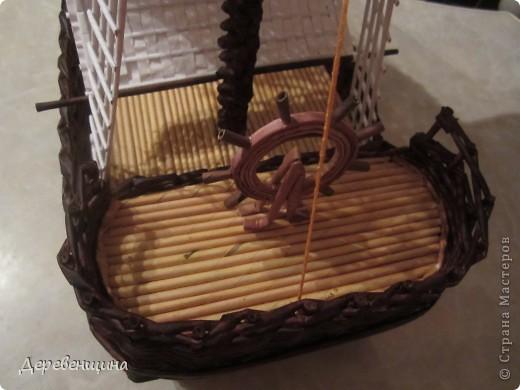
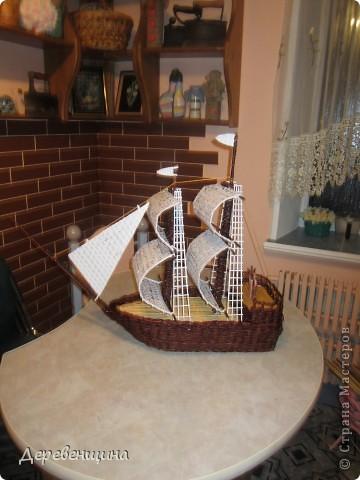
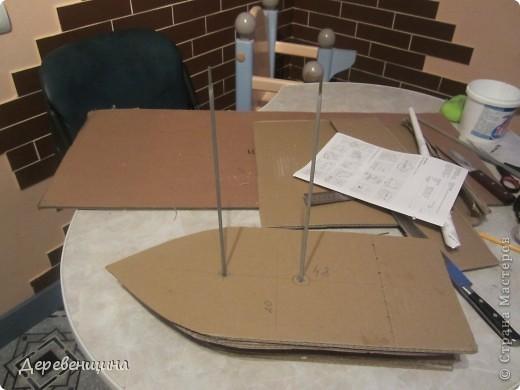
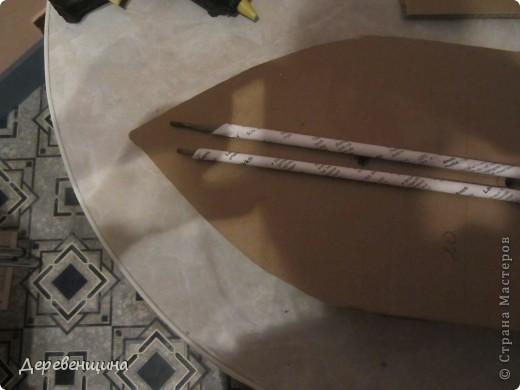
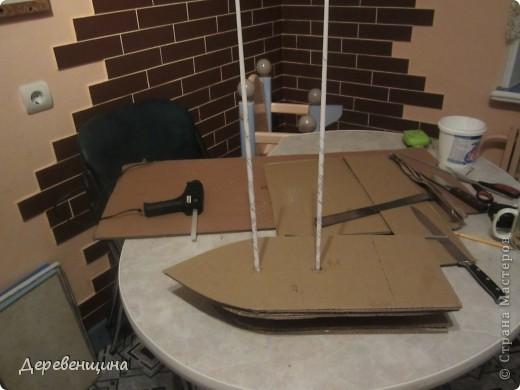
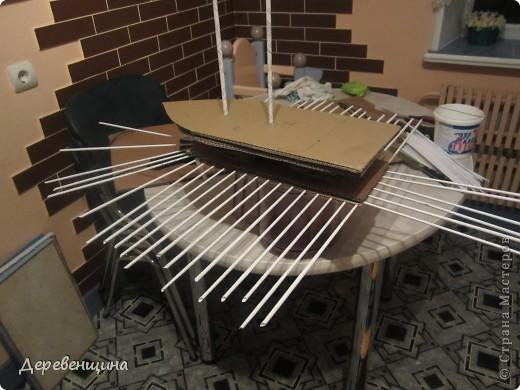
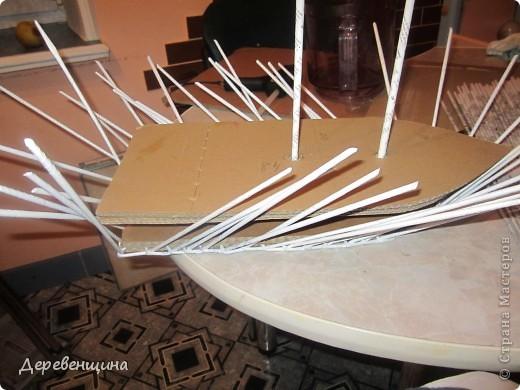
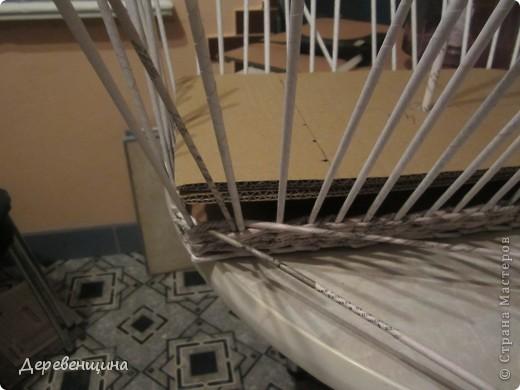

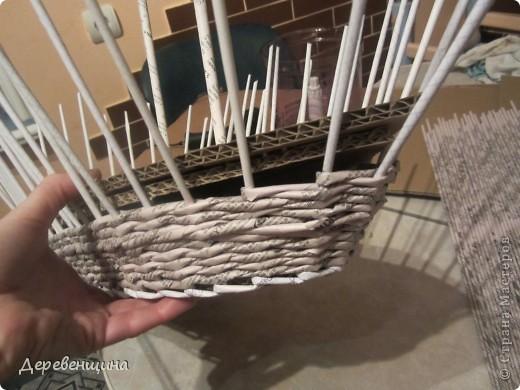
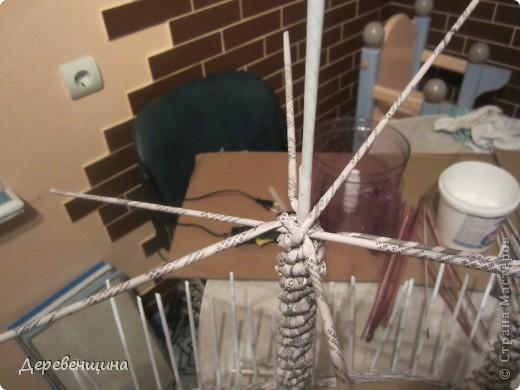
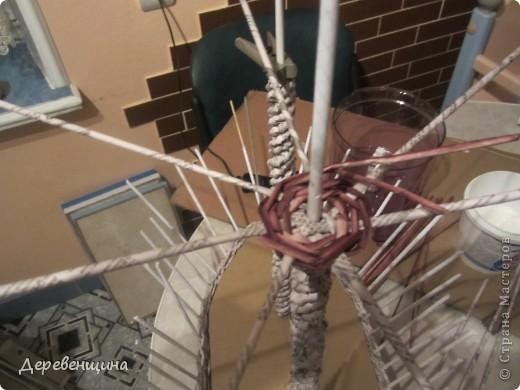
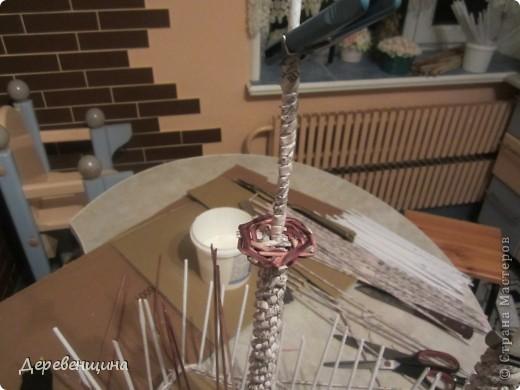
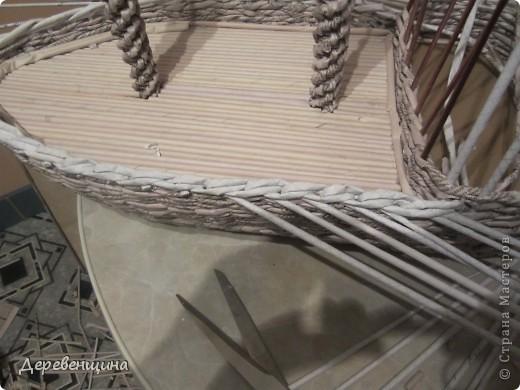
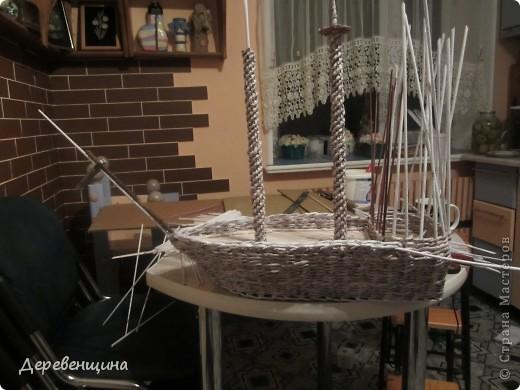

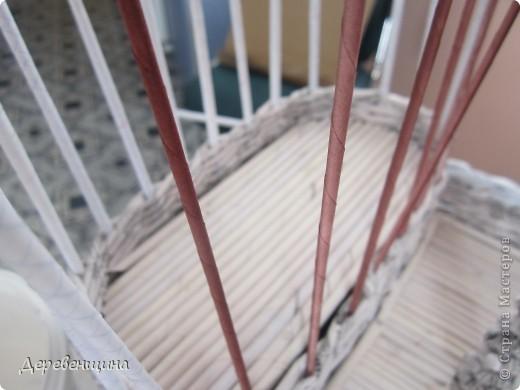
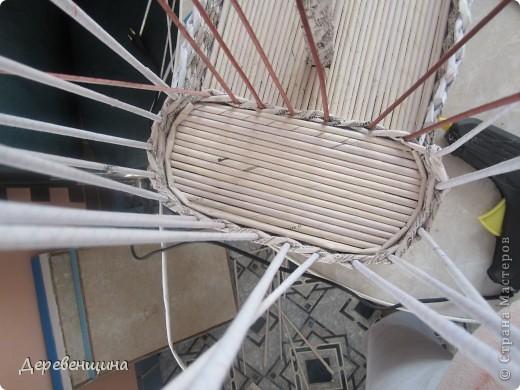
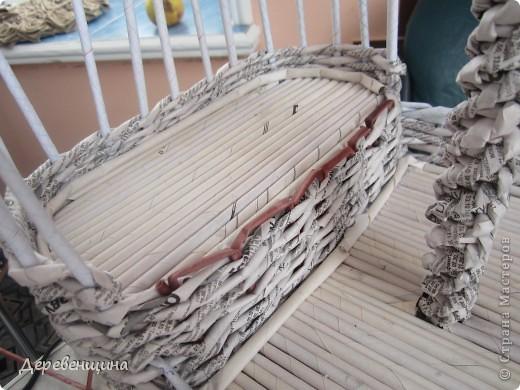
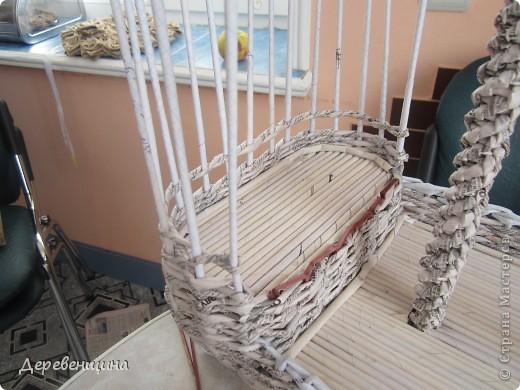
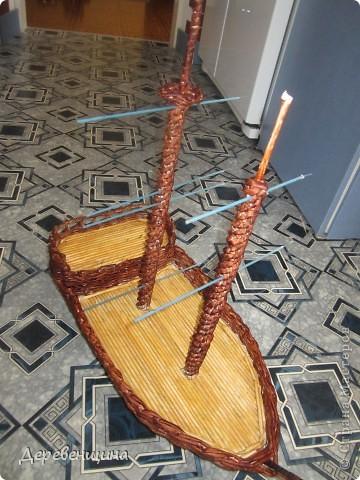
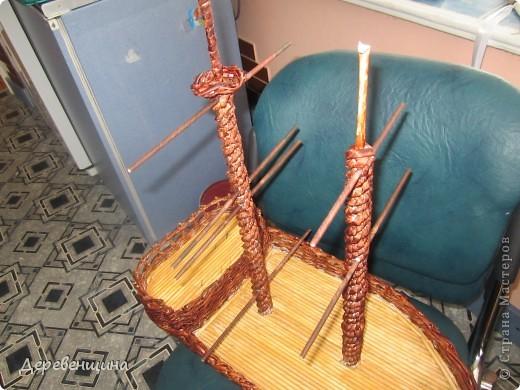
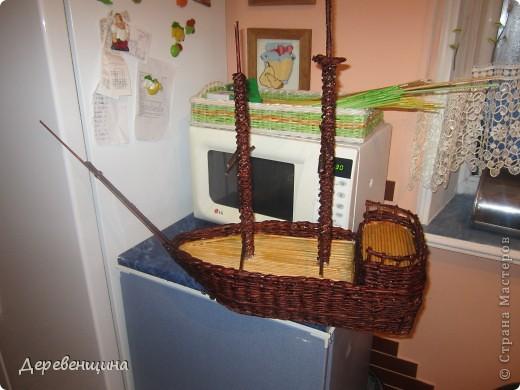
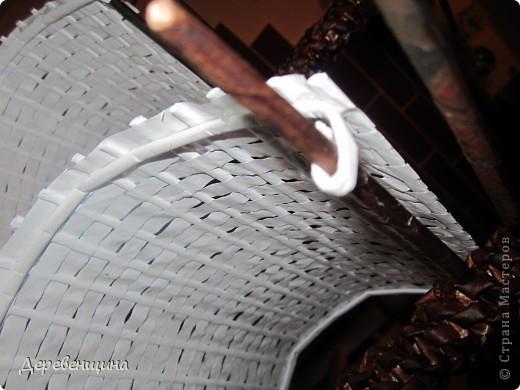
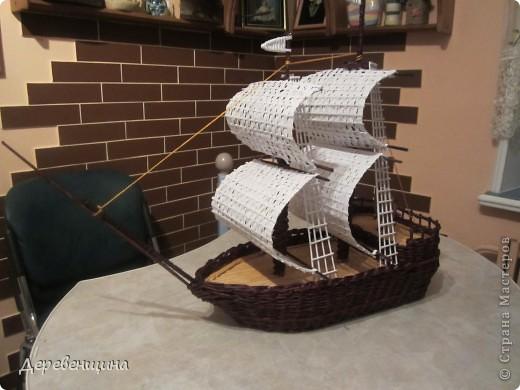
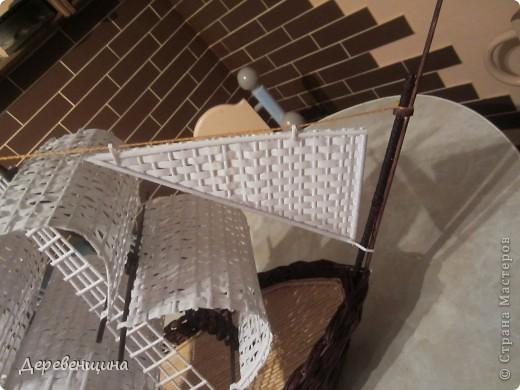
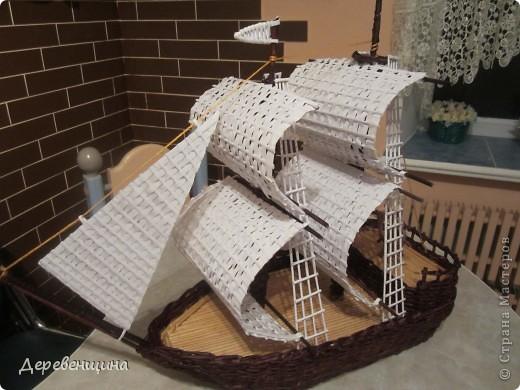
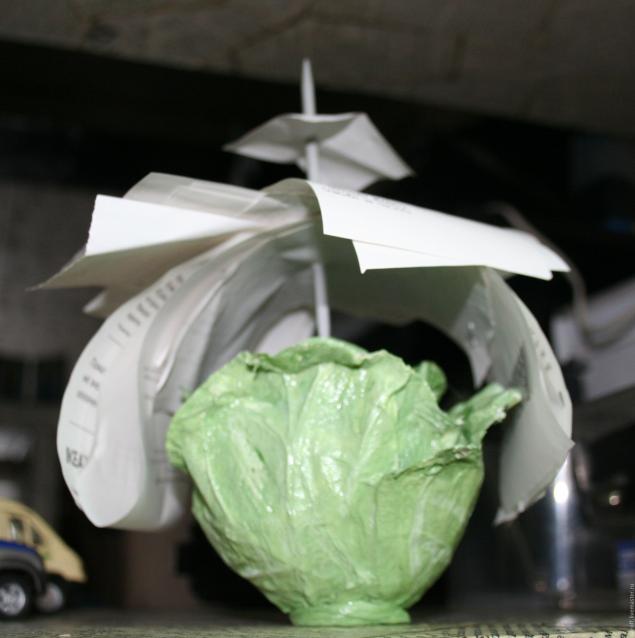
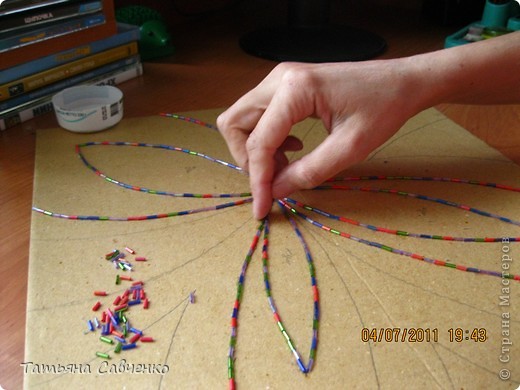
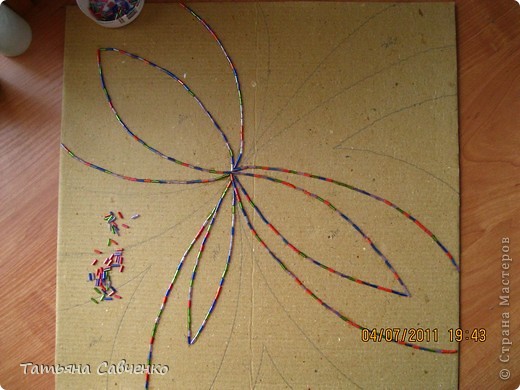
 Attach the sails to the newspaper ducts.