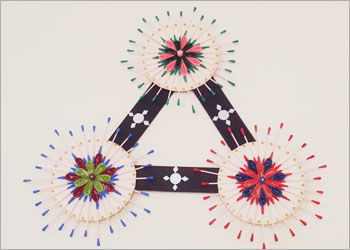
Making DIY Wall decoration Ideas must include learning how to make Quilling and Earbud Wall Hanging. This beautiful Home decoration Idea using Quilling Art is something that every crafter must learn. Easy to make Do It Yourself Quilling Wall Decor ideas that can totally change the look and feel of the ambiance of your home, and give it a decorative appeal. This pretty Quilling and Earbud Wall Hanging also makes for a best out waste recycled craft idea that you can make with the most basic of craft supplies at your disposal.
This Quilling & Earbud wall hanging is simple to make if you watch the step by step tutorial.
Step 1: Grab Your Craft Supplies
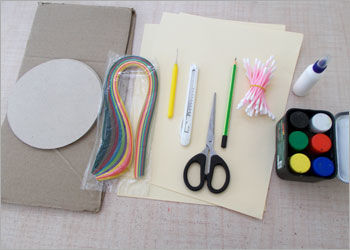
The basic craft supplies that you need to make the Quilling and Earbud Wall Hanging are :
- Color paper
- Adhesive
- Cotton Bud
- Pencil
- Quilling needle
- Scissors
- Quilling Strips
- Cardboard
- Cutter
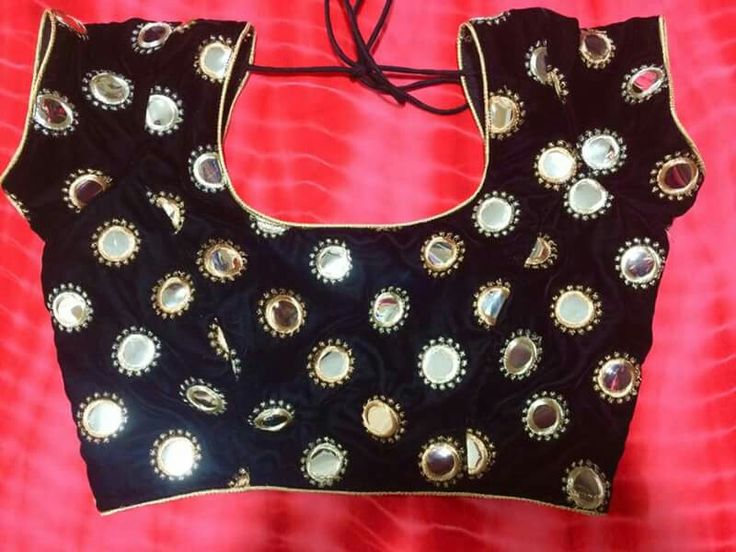
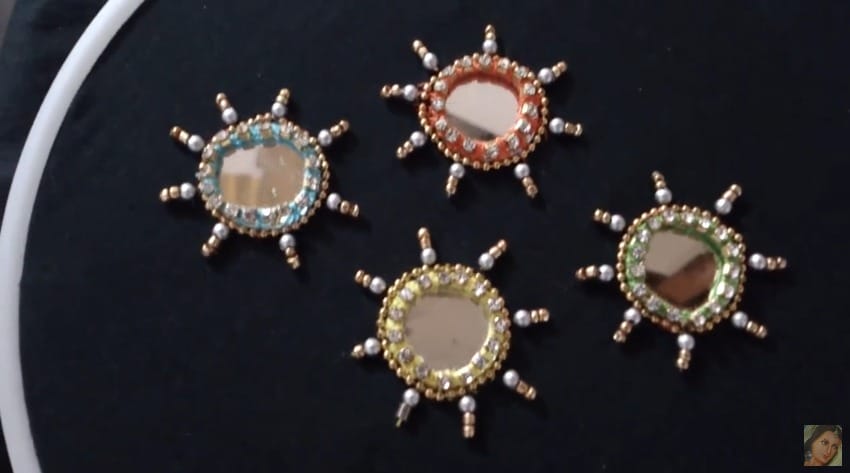
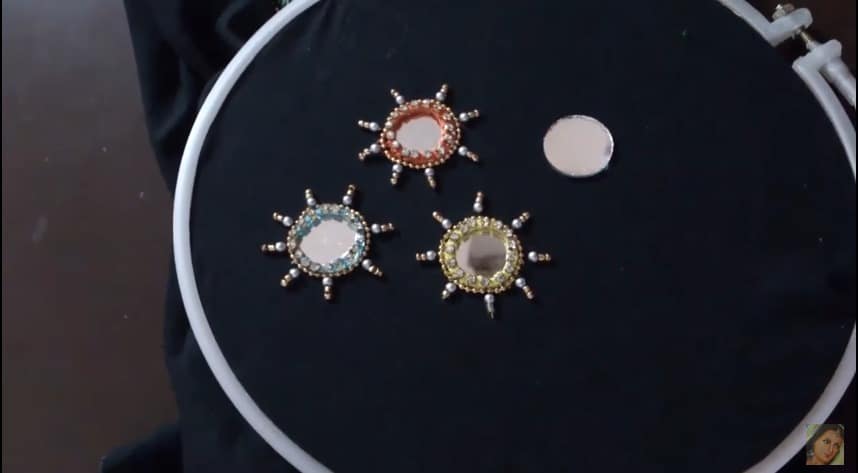
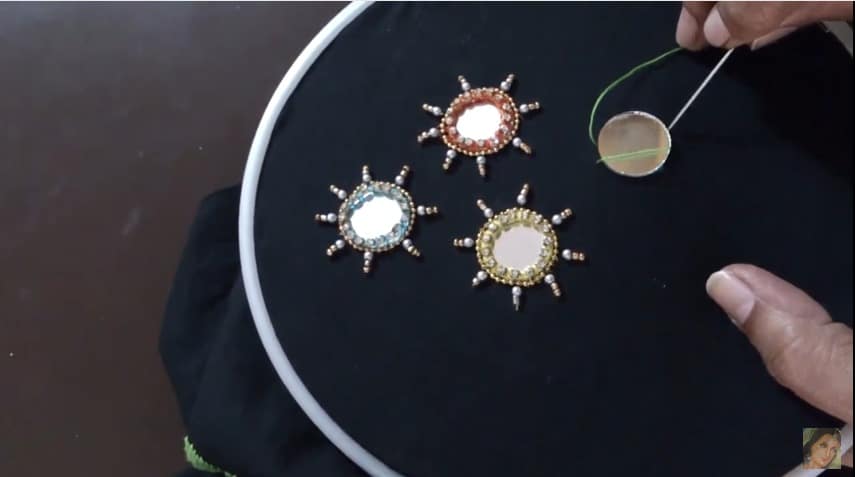
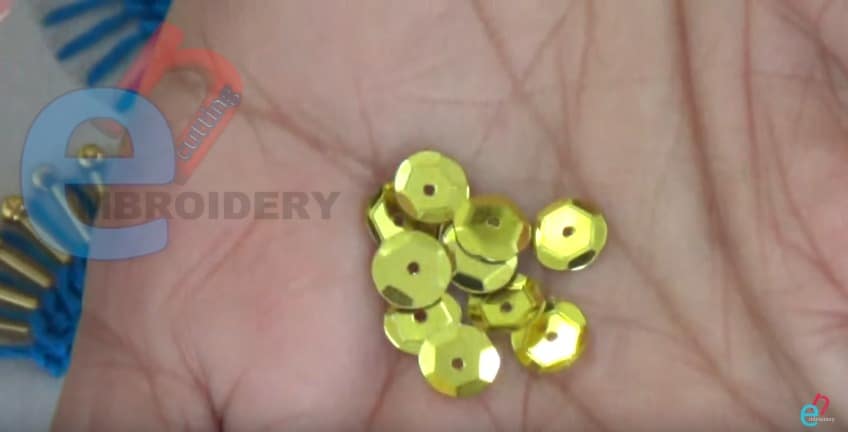
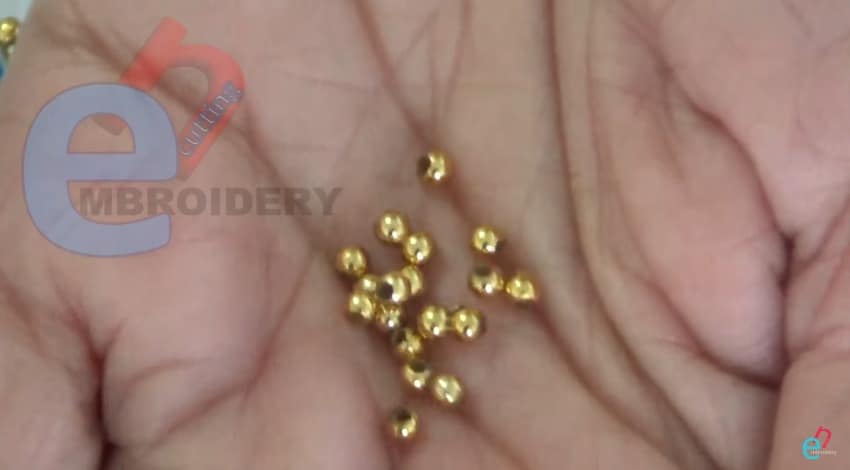
- Decorative mirrors
- Glitter paper
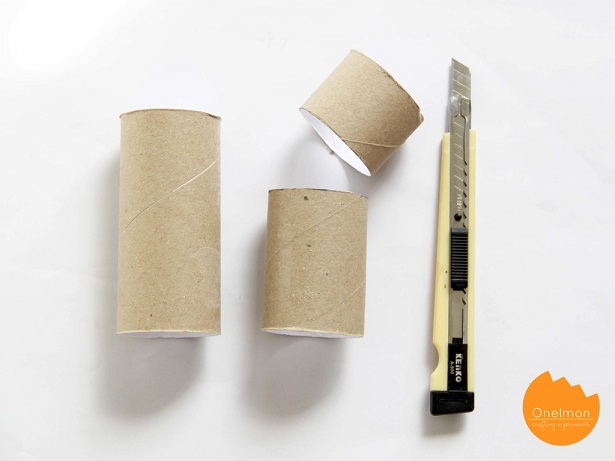
Step 2: Make the Craft Base
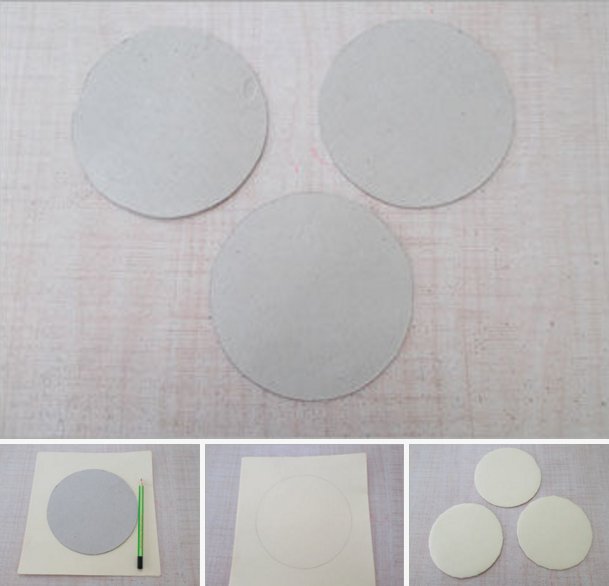
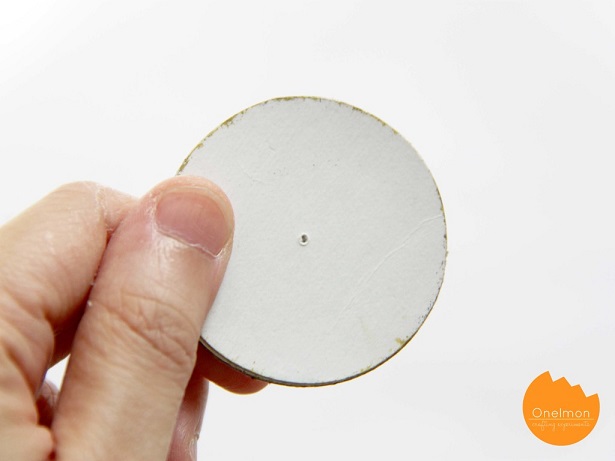
Cut out circular cardboard measuring 15 cm in diameter. Make 3 such cardboard circles.
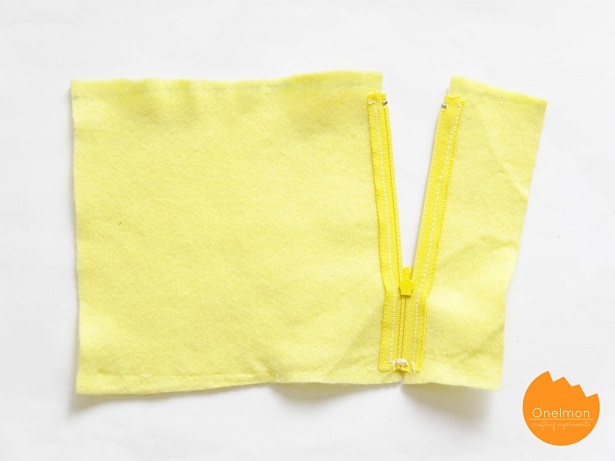
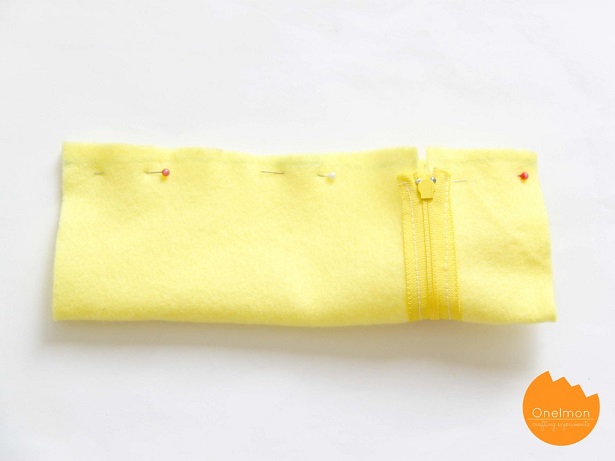
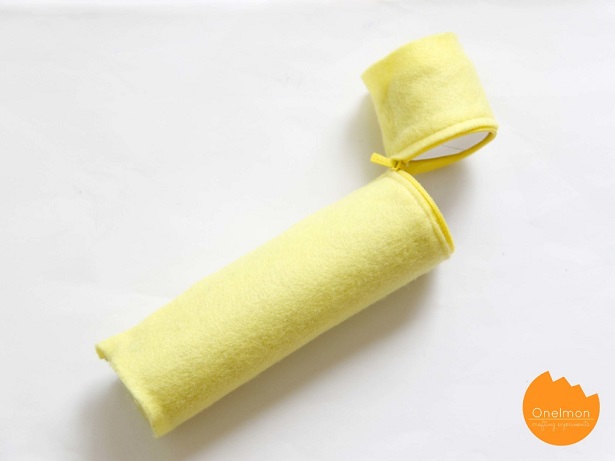
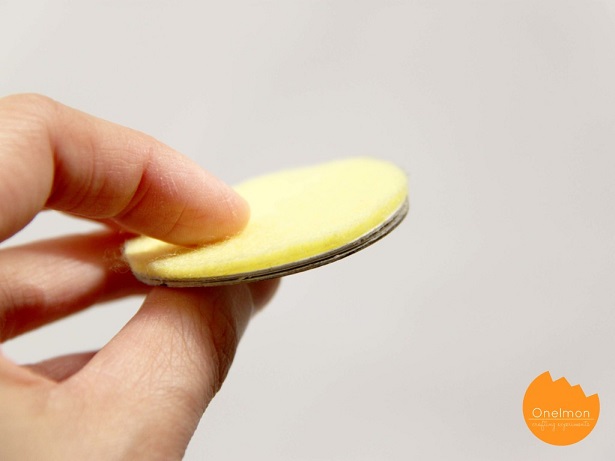
Place the circular cardboard on the colored paper and measure the paper accordingly, to cover the cardboard with it, using adhesive.
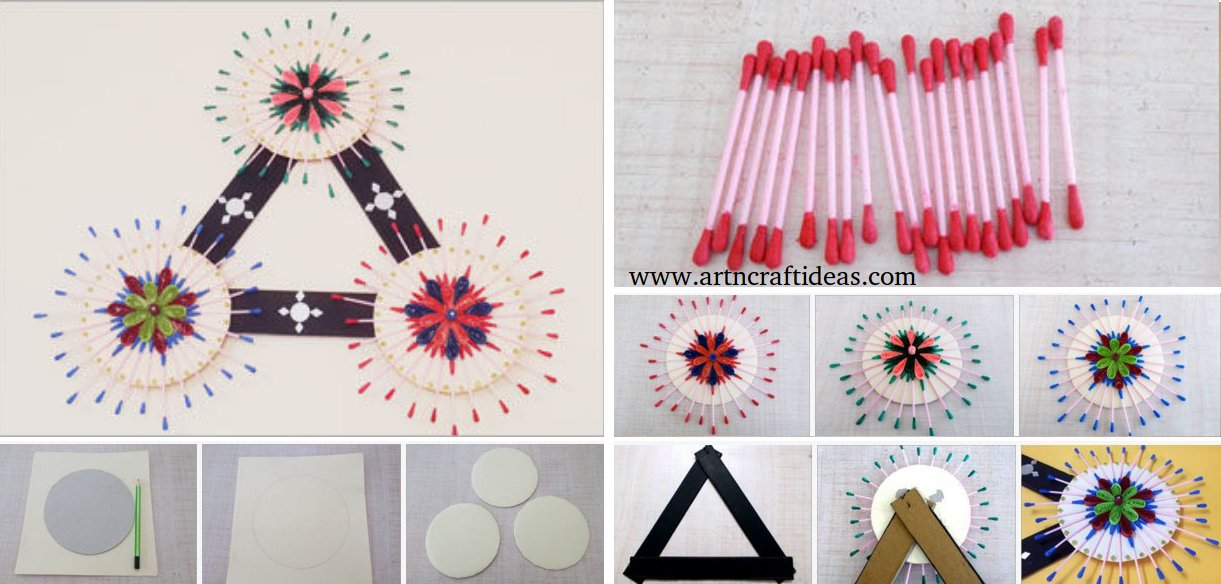
Step 3: Build Your Craft
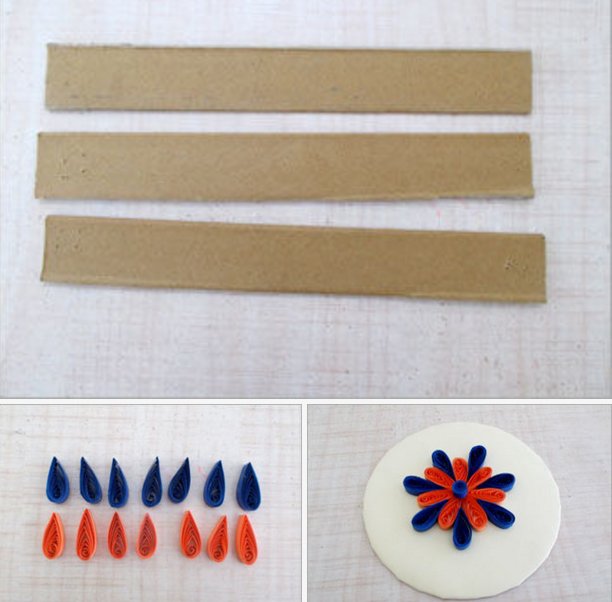
Take a cardboard and cut out 3 strips measuring 4.5 x 35 cm respectively.
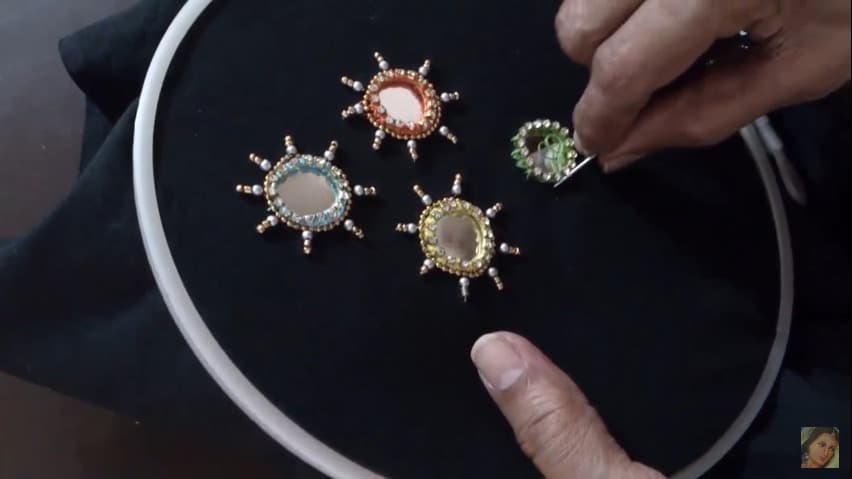
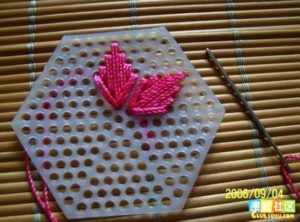
Make Multiple tear drop shaped Coils in orange and blue colors.
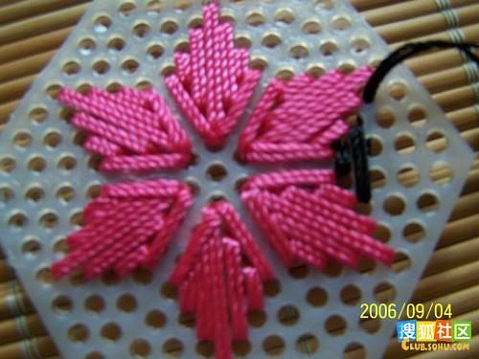
Now take a circular cardboard and paste the tear drop shaped coils in a flower like pattern with adhesive.
Place a small tight coil in the center.
Step 4: Color the Earbuds
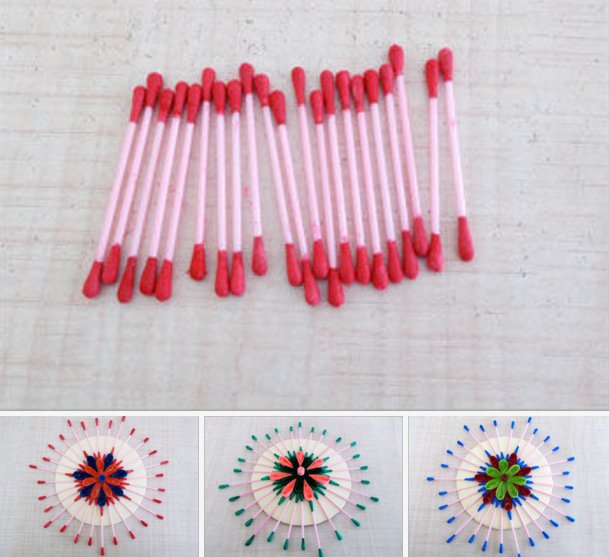
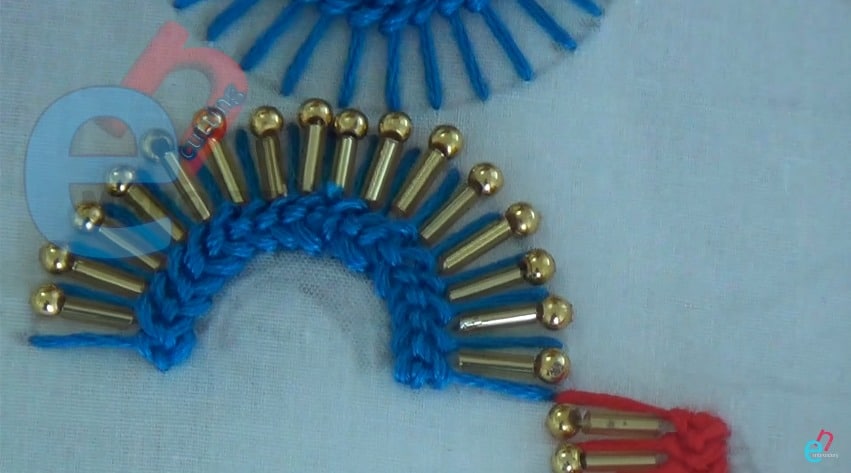
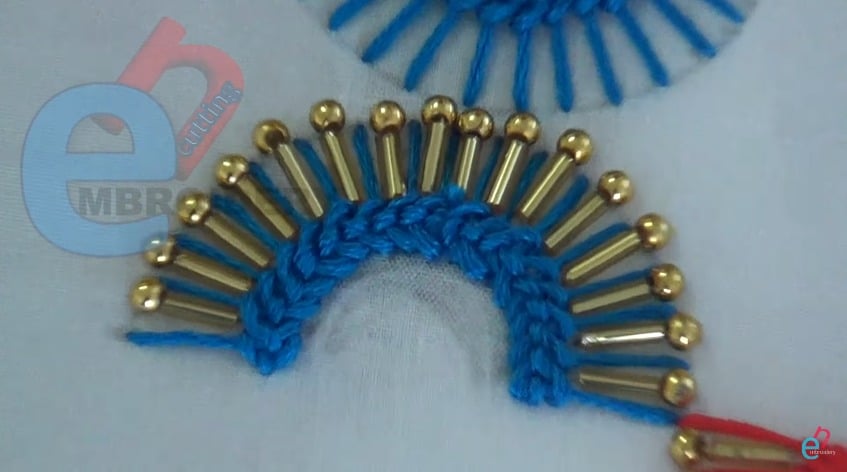
Take a bunch of earbuds and paint them using different bright colors of your choice.
Use adhesive to paste the earbuds in between the space of the coils, forming a spike pattern.
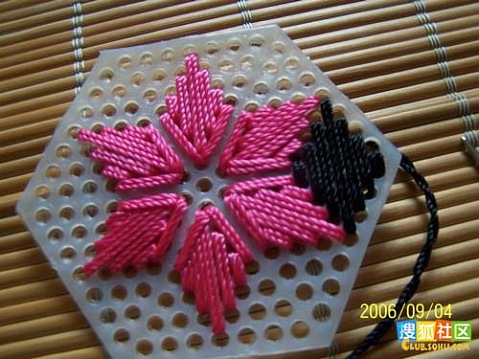
Prepare the 3 circular cardboard base in the same way, using tear drop shaped coils in bright combinations and colorful earbuds.
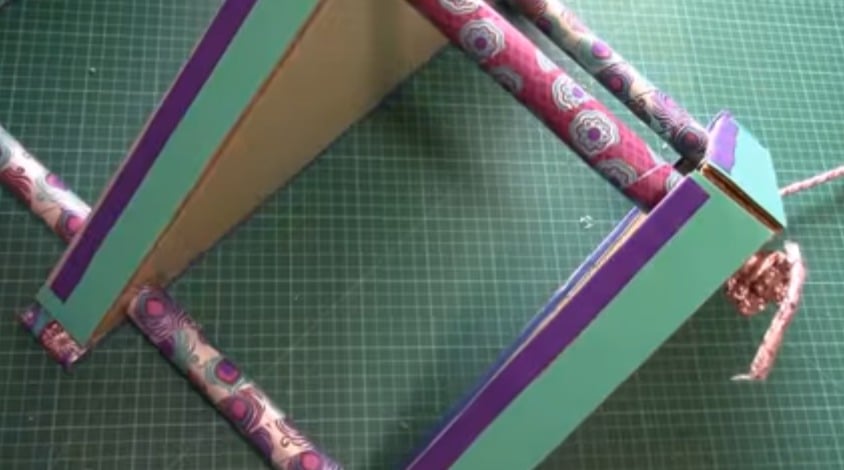
Step 5: Make the Frame.
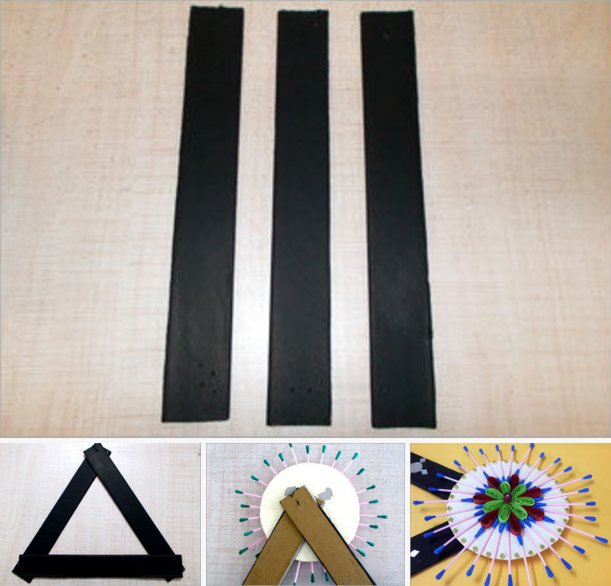
Take the Cardboard strips made earlier and paint them in black color. Let the paint dry.
Join the cardboard strips in a triangle shaped frame using adhesive.
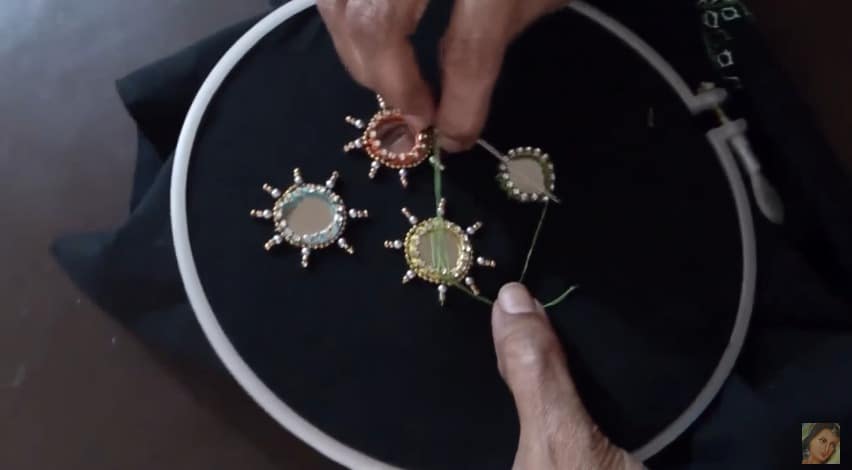
Paste the three decorative Quilling Circular Cardboard on each corner of the Triangular cardboard frame.
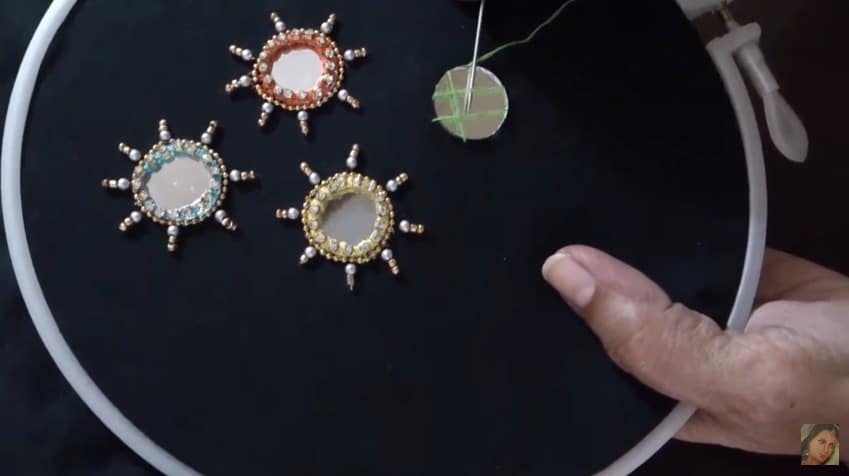
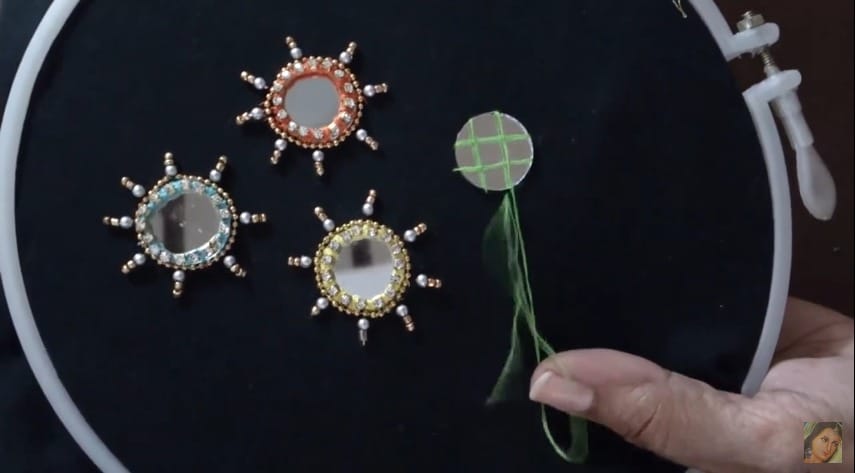
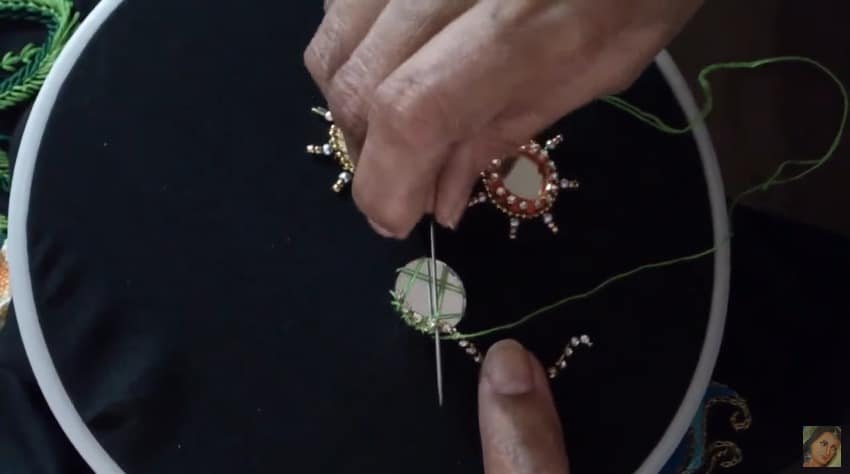
Step 6: Decorate!
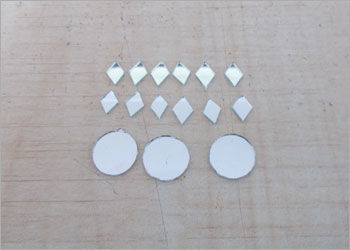
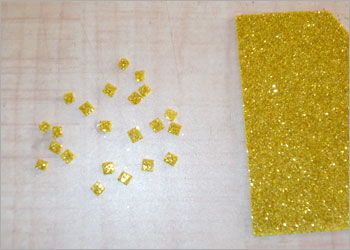
Now add some sparkly touch using decorative Mirrors and glitter sheet pieces, on the triangular cardboard frame.
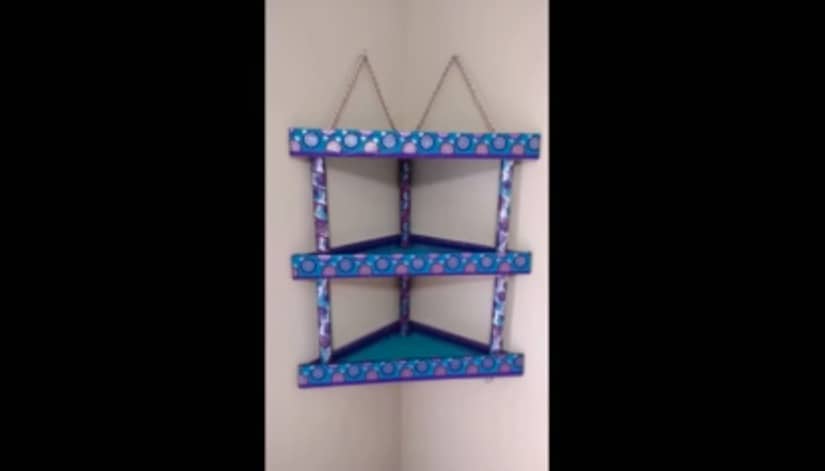
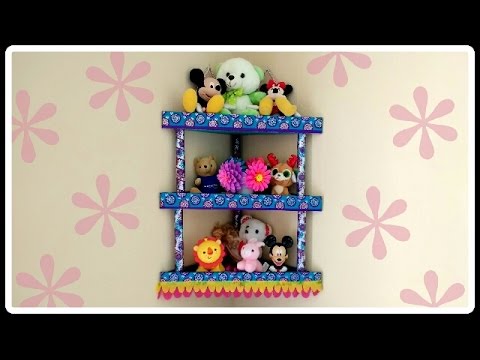
Step 7: Your Craft Is Ready!
Watch full video tutorial here:
Hope you like this wall hanging tutorial.
We would love to hear your thoughts in the comment section below. And be sure to like us Facebook for more ideas!
Thank you for visiting our website. Keep Creating with Art & Craft!


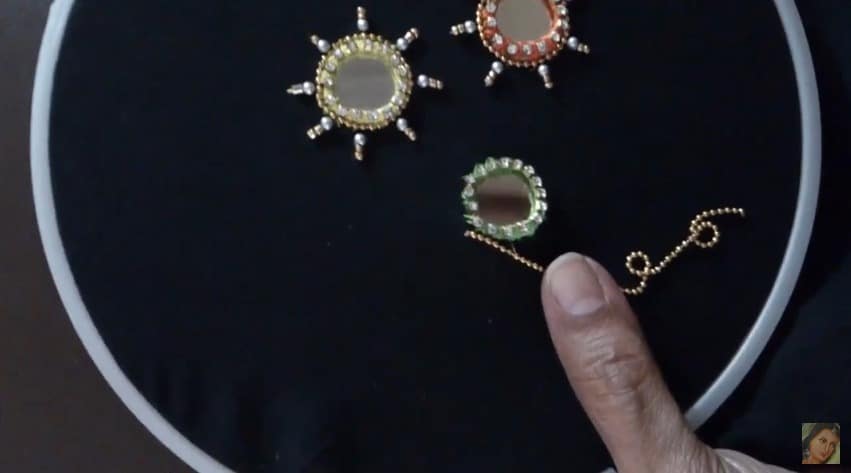


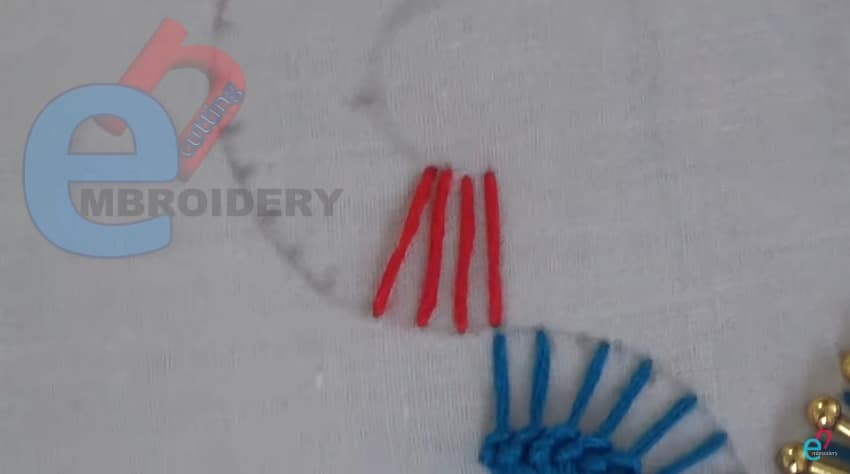

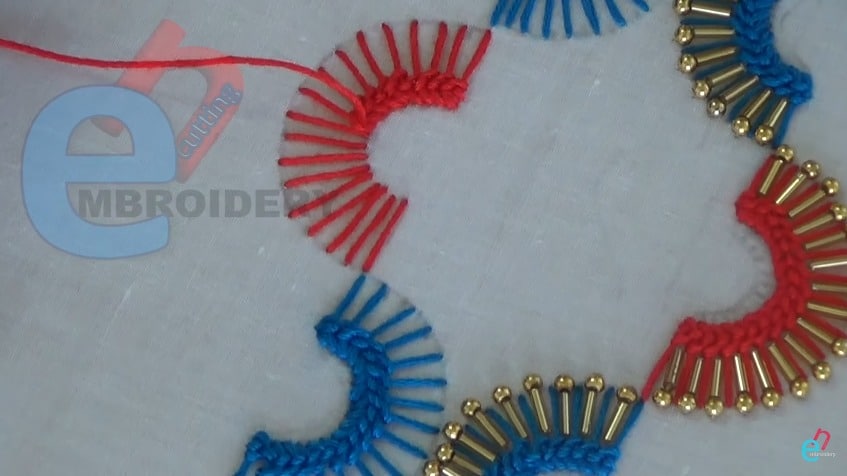
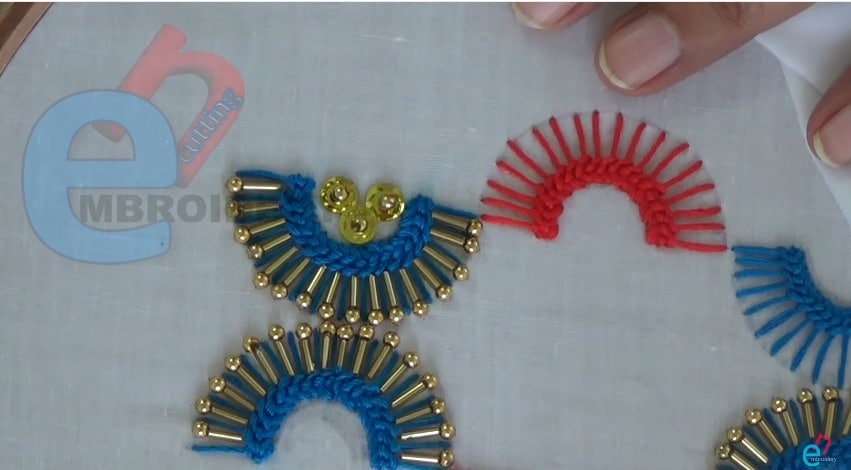

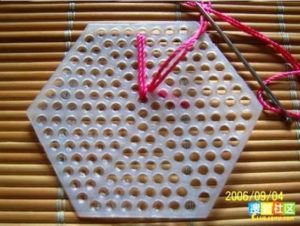
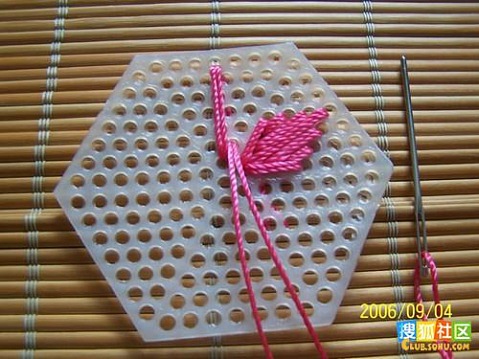


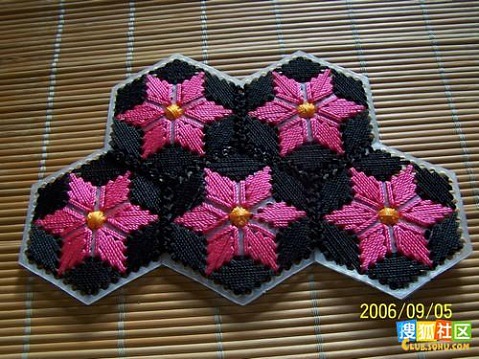

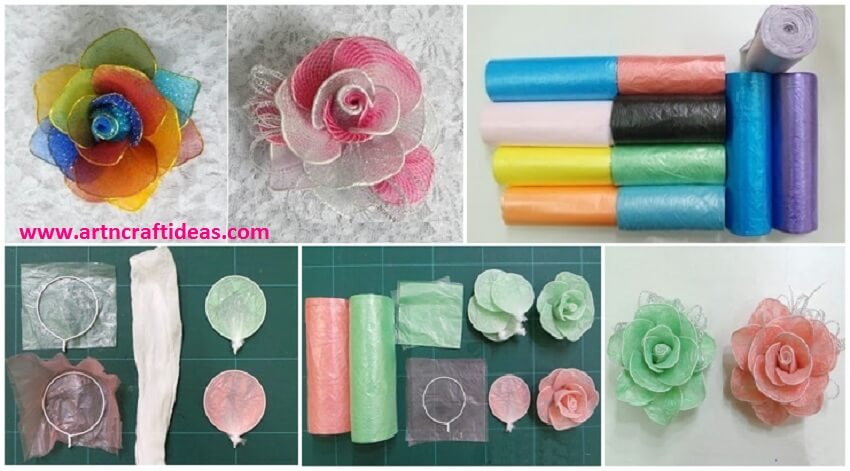
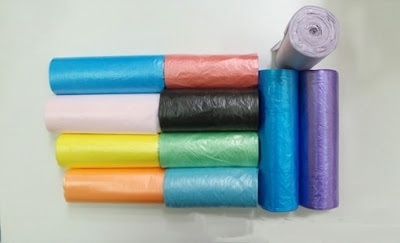
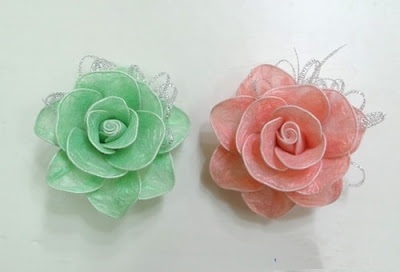
 Packaging in the circular start racing wire
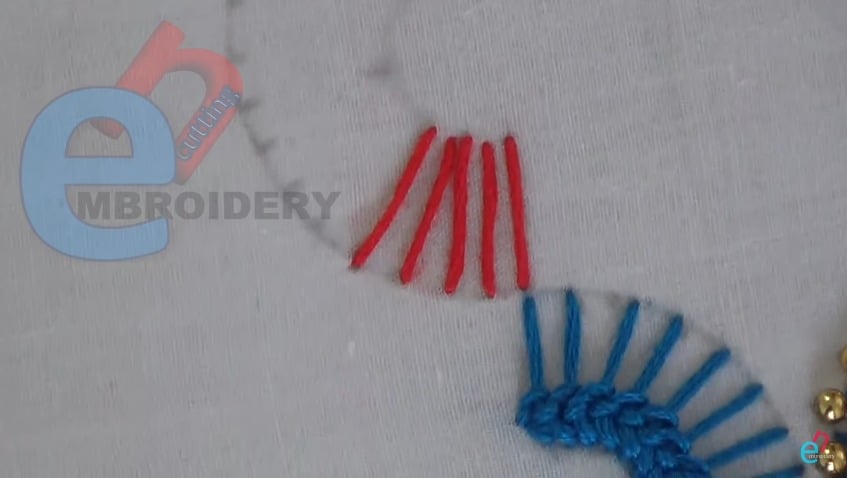
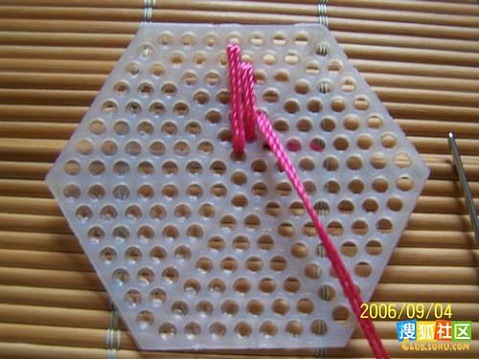
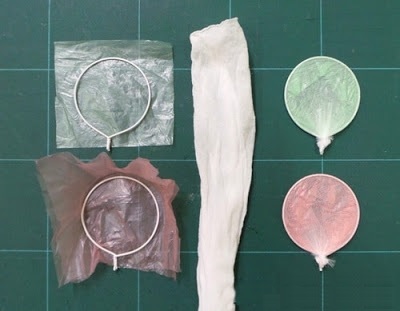 Giving those coated wire forms and a variety of well-connected strings at the bottom.
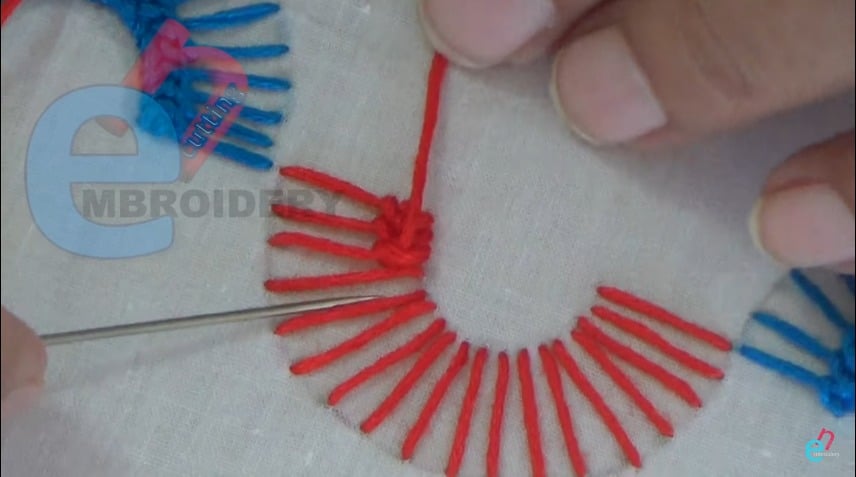
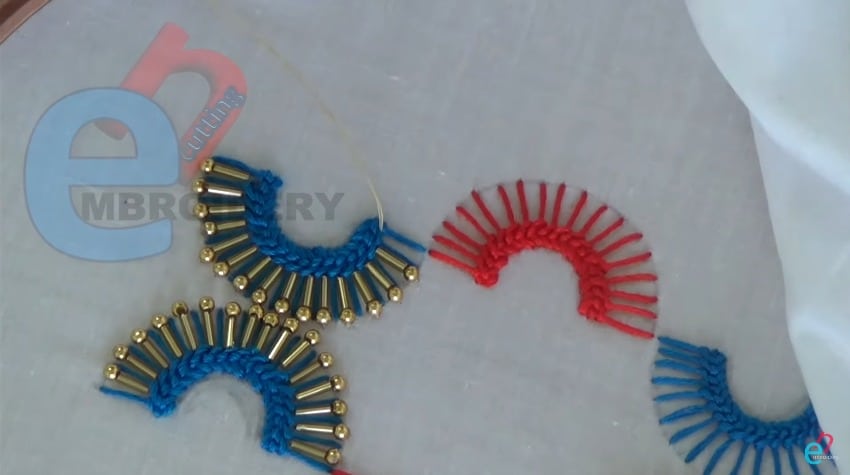
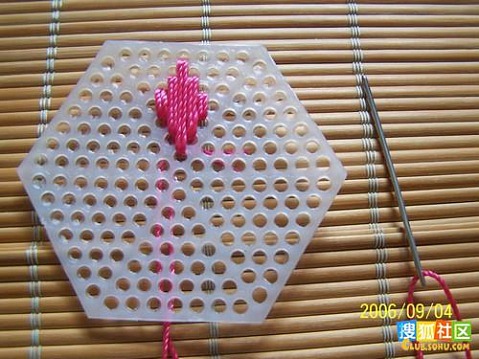
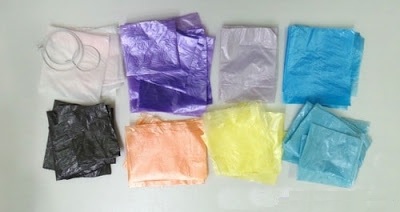
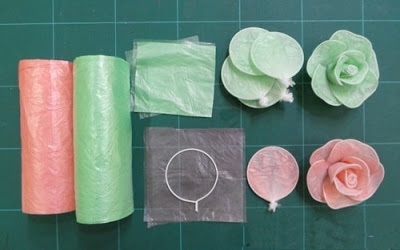 Continue to prepare all kinds of formats
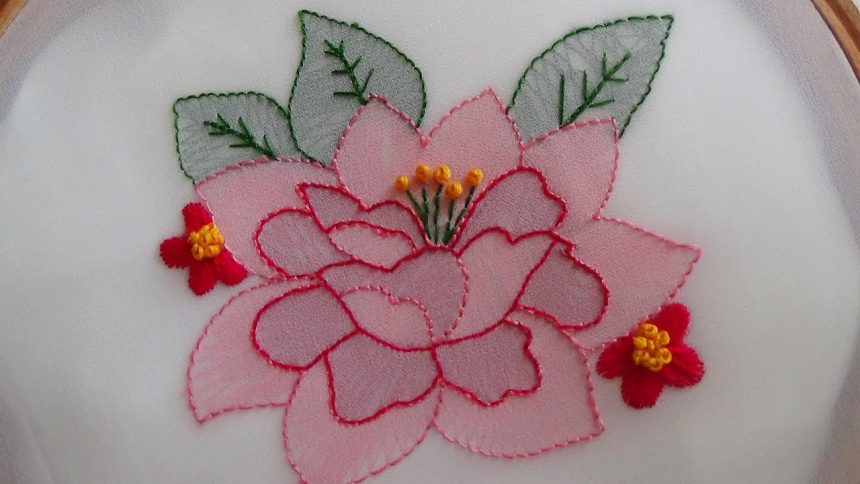
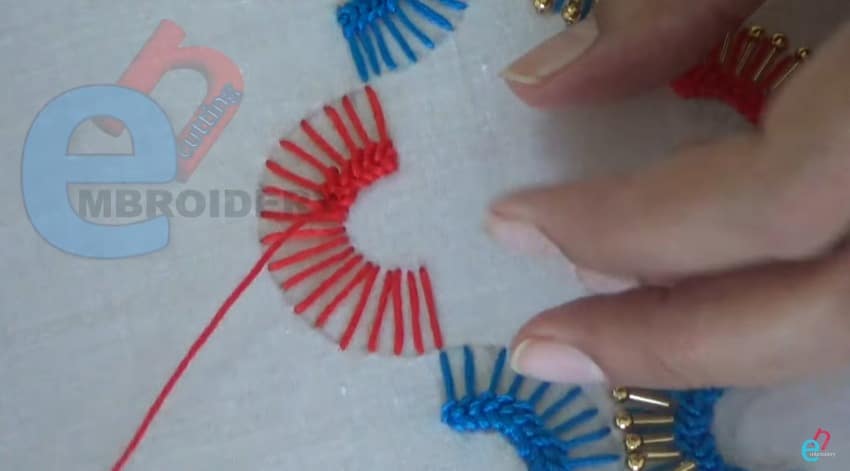
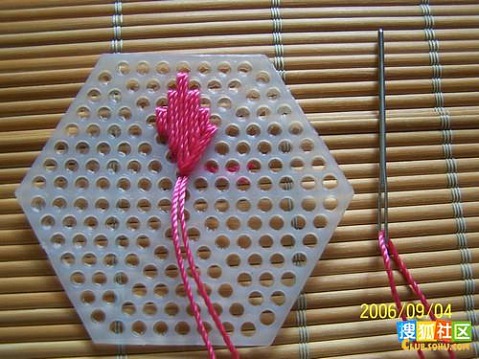
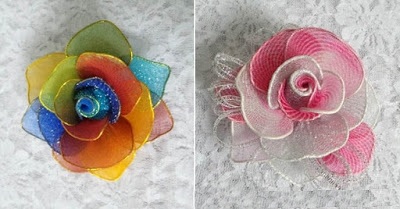
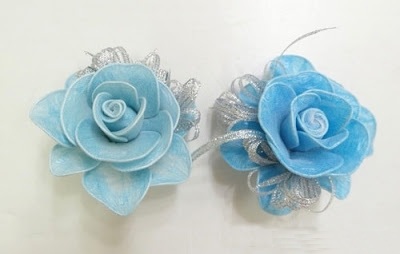
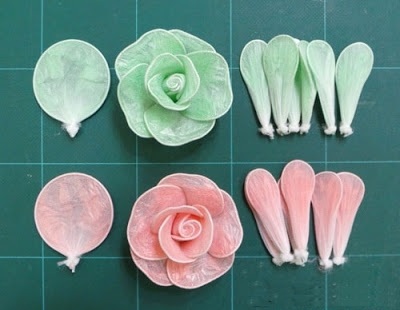 After you finish you get the following figure
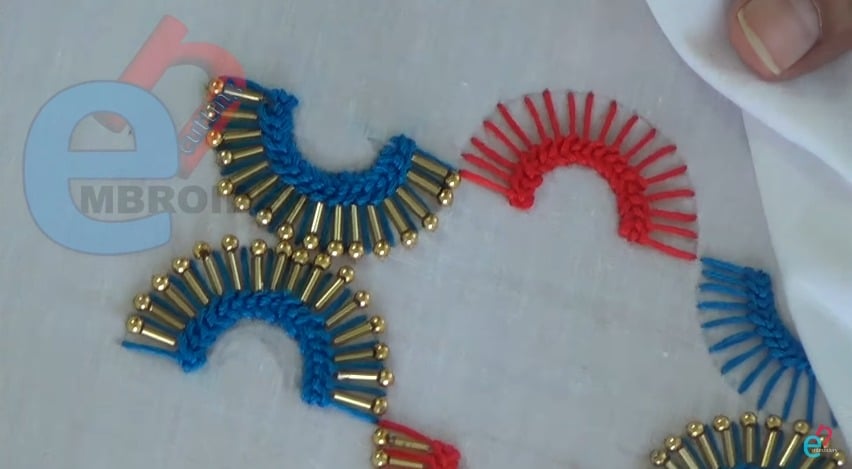
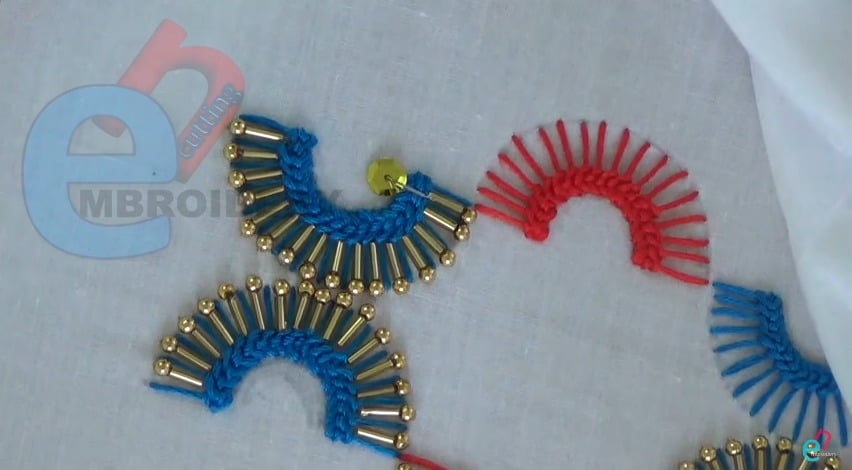
 These are some suggested formats


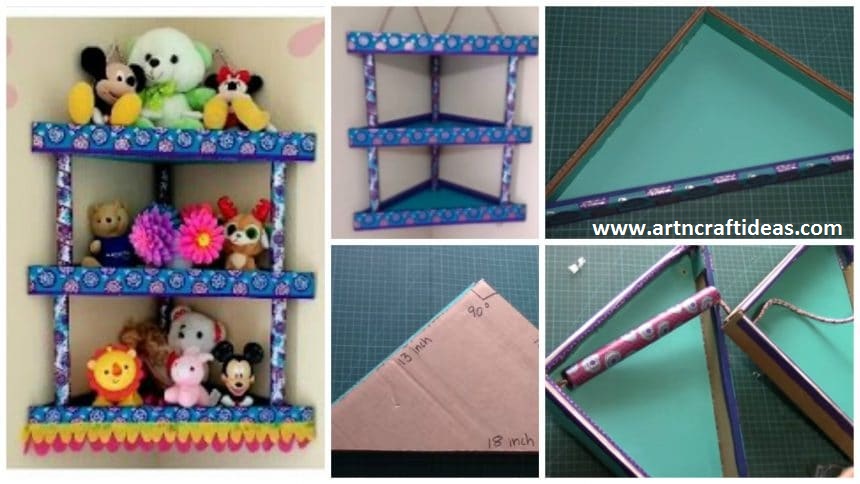
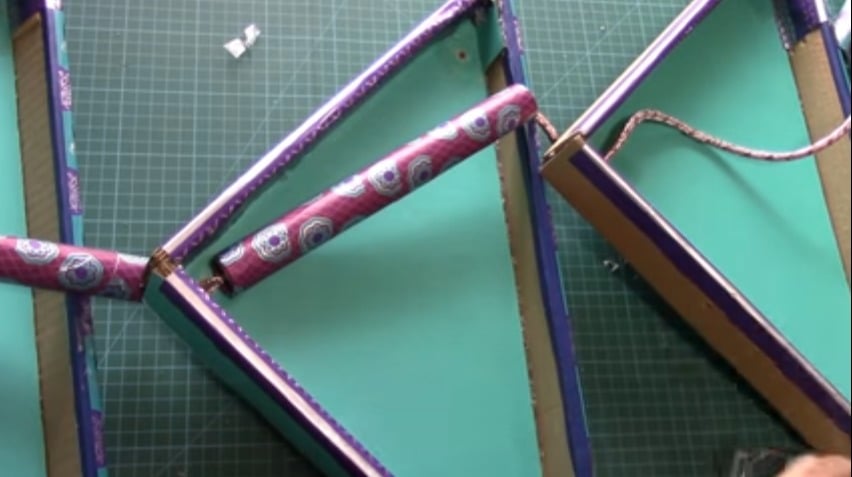
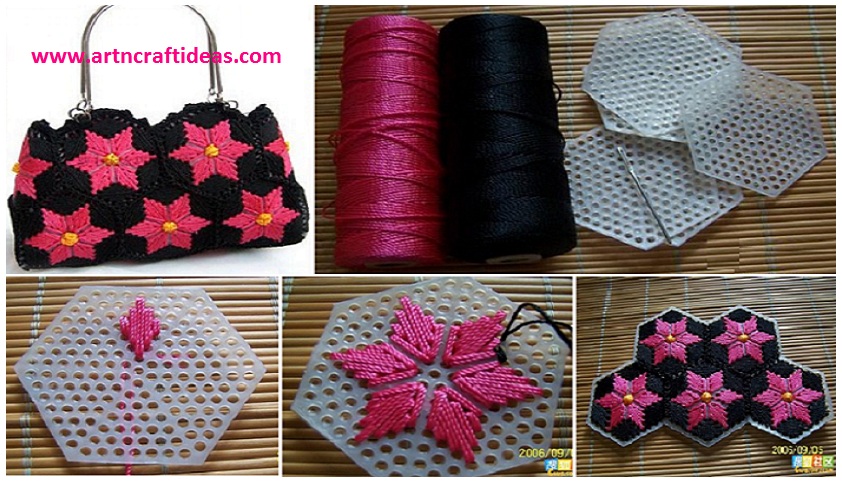
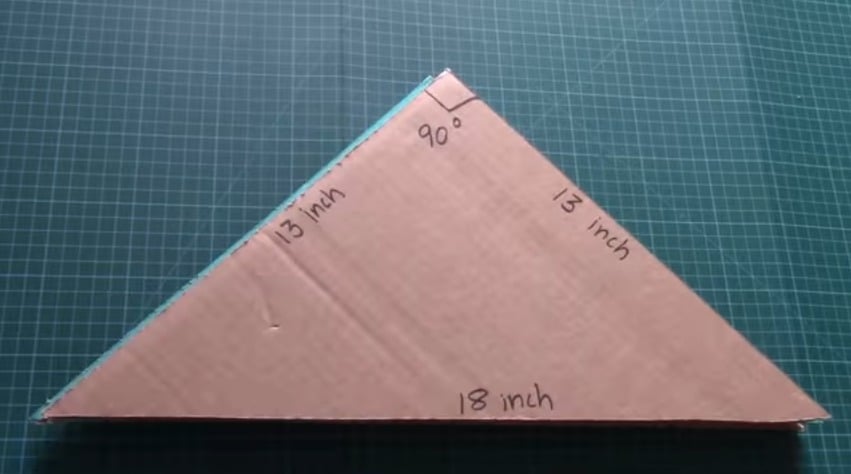
 Cut an right angled isosceles triangle of cardboard of sides 13 inch and hypotenuse 18 inch (take 9 such triangles)
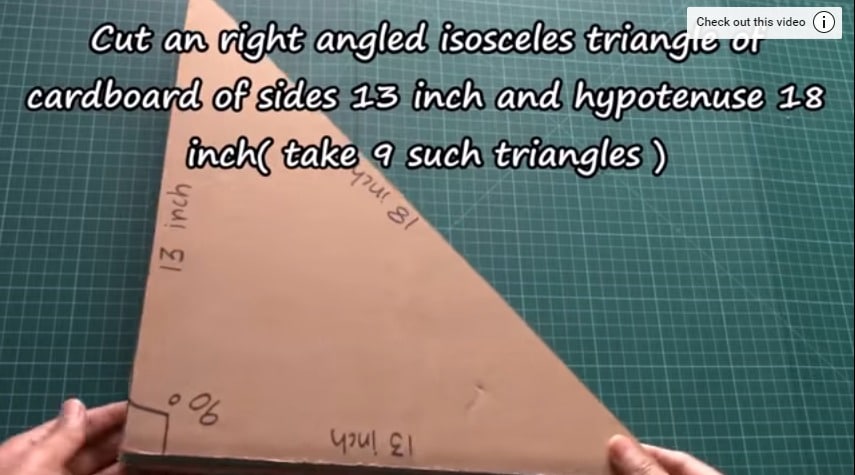
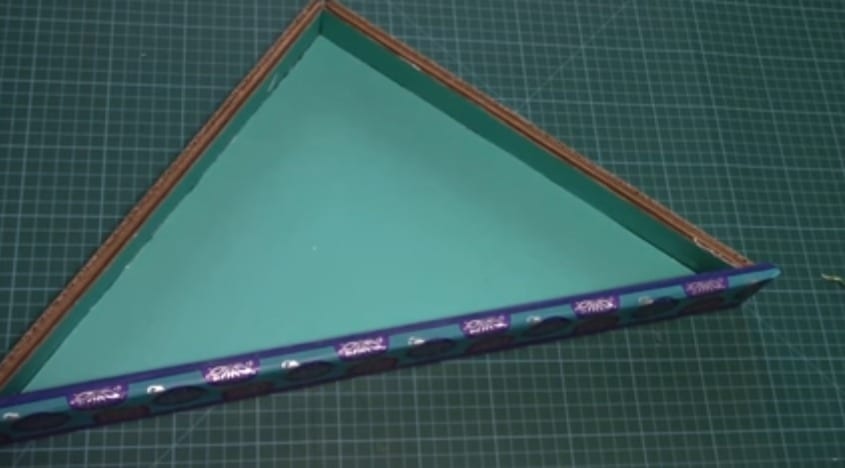
 Now, cut 18 stripe of cardboard of size (13 inch * 2 inch)
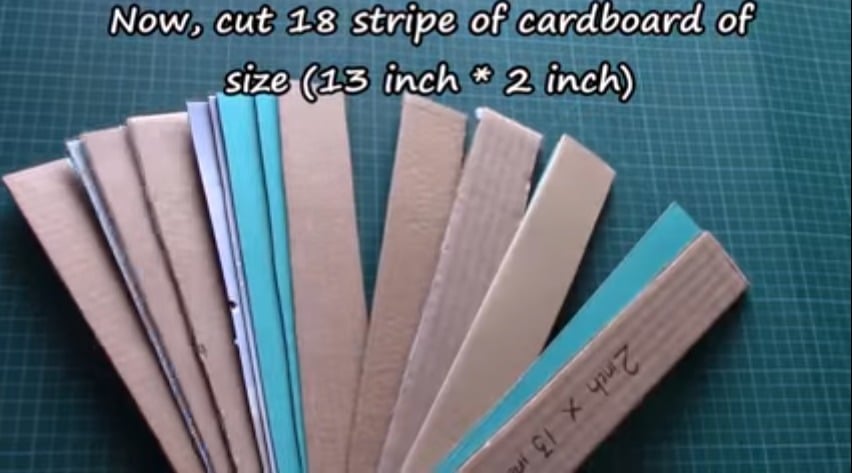 Next,cut 9 stripe of cardboard of size (19 inch * 2 inch )
 Now, take 3 triangles and glue them one over other to make one tough triangle.
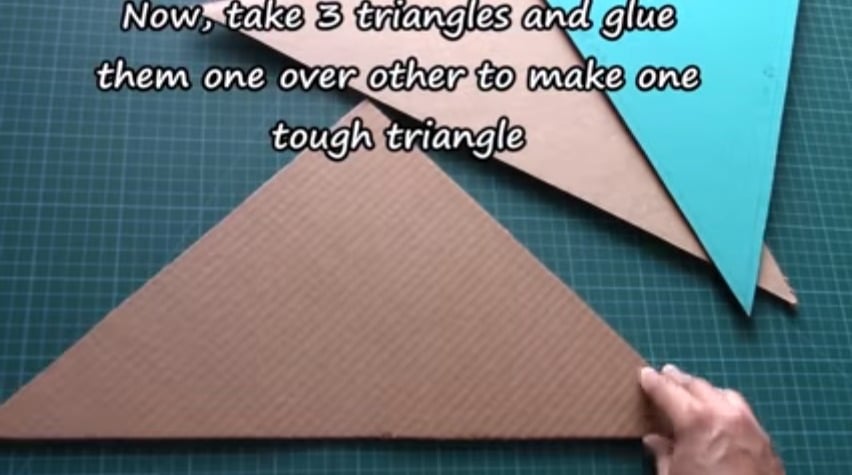
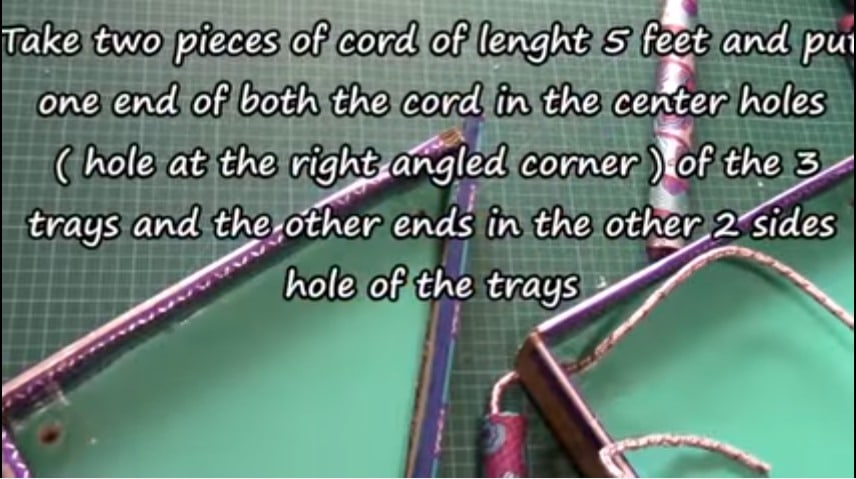
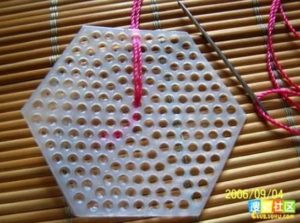
 Take two pieces of cord of lenght 5 feet and put one end of both the cord in the center holes (hole at the right angled corner) of the 3 trays and the other ends in the other 2 sides hole of the trays