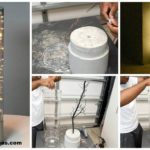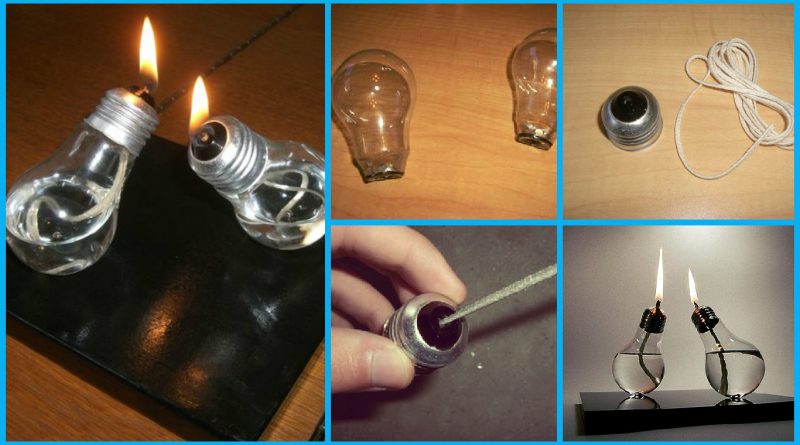
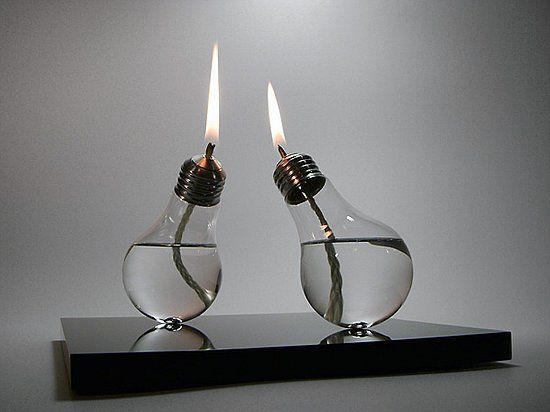


I agree that it does look nice, but the materials only cost about $10:
Paraffin oil
A wick
Two burned out light bulbs
A piece of wood
Black gloss paint
Twelve neodymium magnets
(8 small cylindrical magnets, two large cylindrical magnets, two spherical magnets)
EpoxyMy version of this lamp is slightly cheaper than the original though, the differences are listed on the pictures.
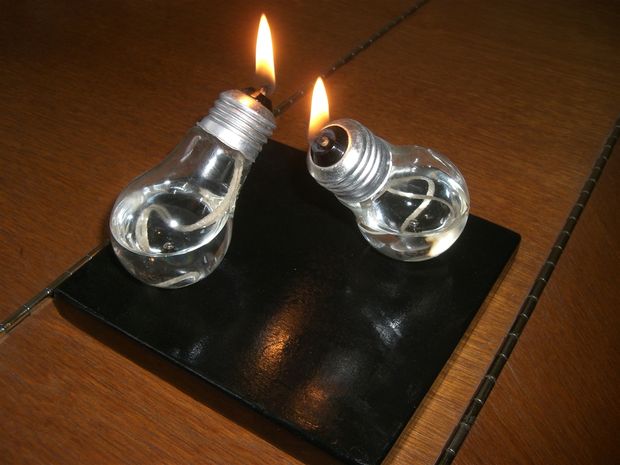
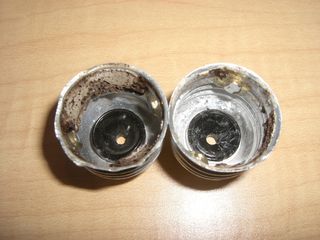
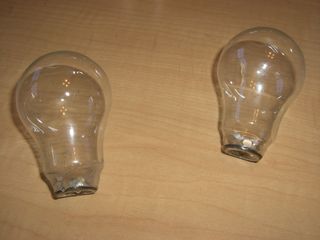
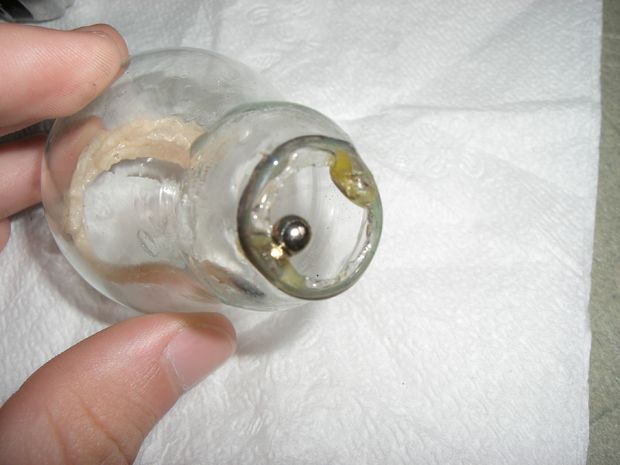
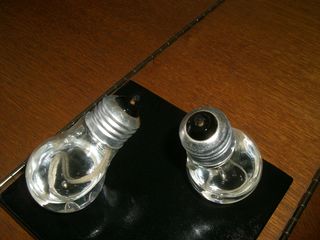
Step 1: Hollowing The Bulbs
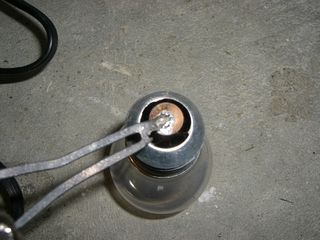


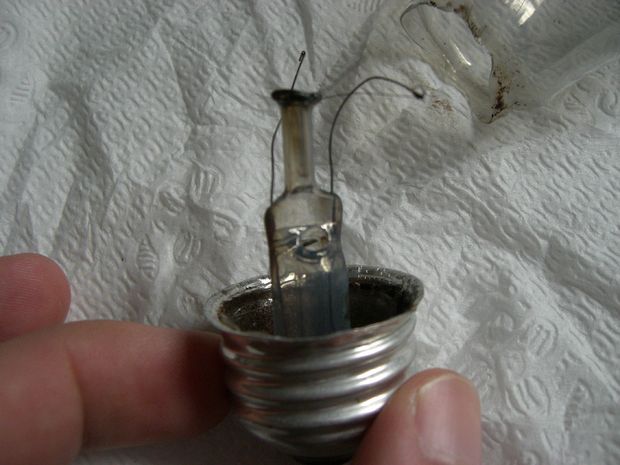
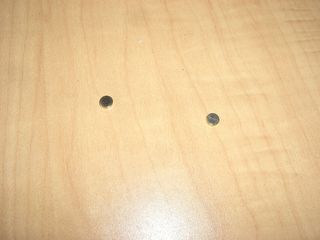
(the small piece of metal is one of the electrical contacts, the other is the part that’s threaded like a screw)
With an X-Acto knife or box cutter carefully pry the base away from the glass, it is attached by some sort of adhesive, but nothing else. Some are attached better than others, and are more difficult to separate.
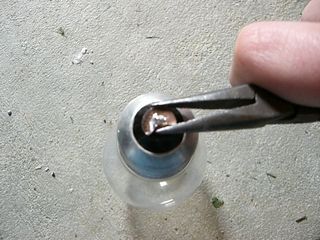
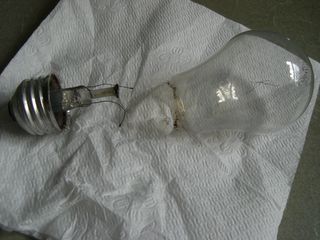
Next, using a screwdriver carefully break the glass holding the filament.
Clean up the sharp edges as best you can.
Step 2: Wicks
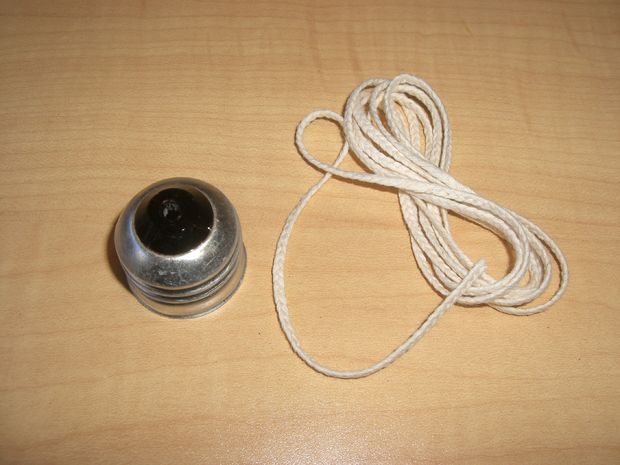
(Attempting to drill it would most likely end with a broken base)
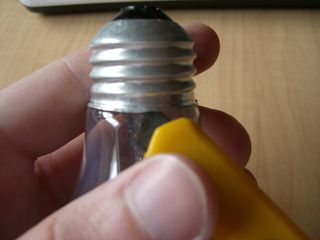
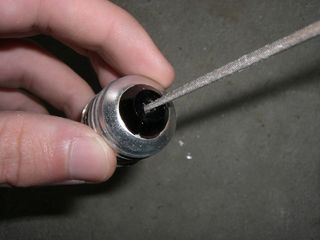
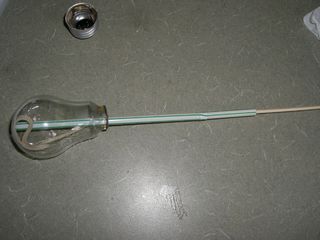
Step 3: Reattaching The Base
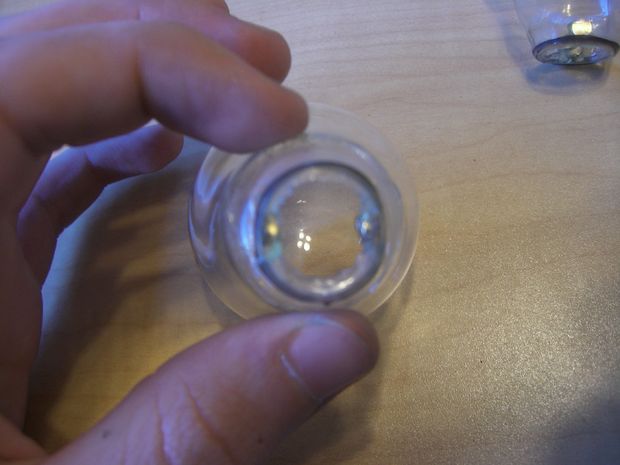
I attached a 1/16in thick magnet with a diameter of 3/16in to each side of the base using epoxy. On the inside of the bulb, where the indentations are, I did the same.
*I tried to do this with super glue, but it melted.
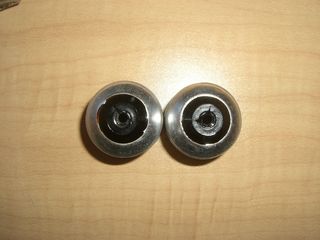
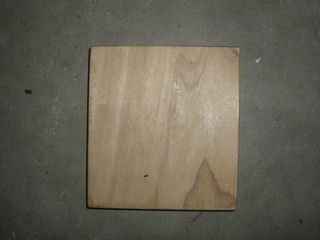
Step 4: Creating the Base for the Lamp
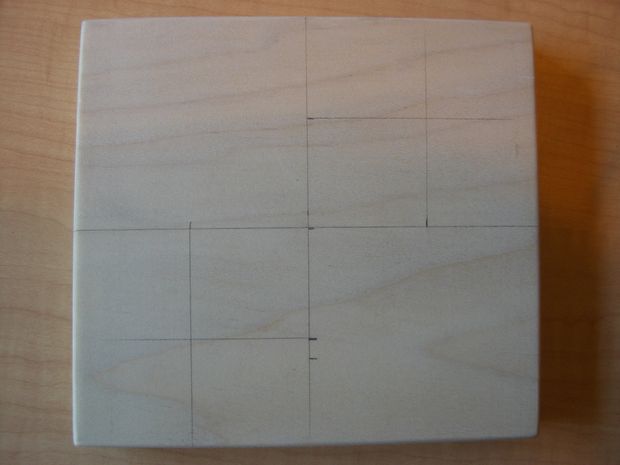

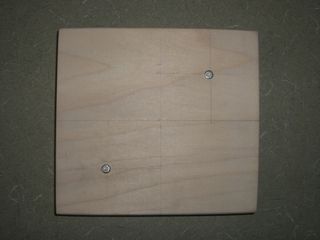
(its easier to look at the picture than figure out the explanation)
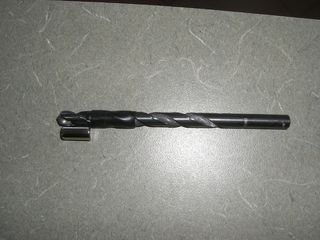
Because a drill creates a cylindrical hole, cylindrical magnets look the best, and make sure the holes are the right depth, because the magnets are very difficult to remove.
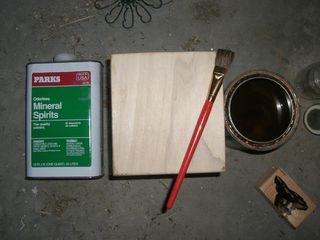
Now sand the surfaces, edges, and corners to smooth out and round the piece of wood.
Apply a layer of sanding sealer, allow it to dry, and sand again with a very fine grain of sand paper.
Paint with black gloss paint (or any other color) and allow to dry.
note: To clean the paintbrush you used for the sanding sealer, use mineral spirits (turpentine) not water.
Step 5: Finish It!
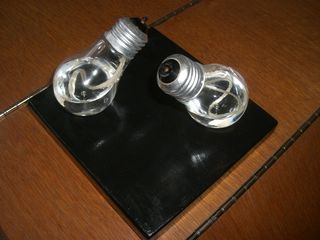
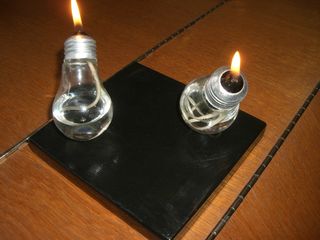
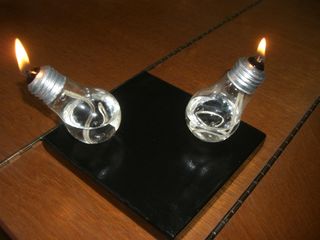
All that’s left to do is:
Place the spherical magnet in the bulb
Fill it with oil
Because of the magnets that hold the base of the bulb on, getting the spherical magnet in can be difficult. To do so easily place a straw in the bulb, put the magnet in it, and push with a skewer.
Use a funnel to fill your bulbs, place the lid (base of the bulb) on, and attach them to the wooden base.
Do not pick up the lamp while the candles are lit, even when they aren’t be careful because the light bulbs rotate very freely.