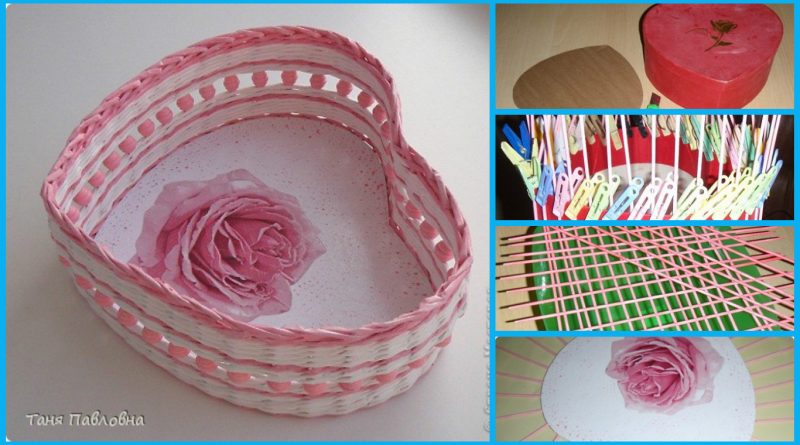
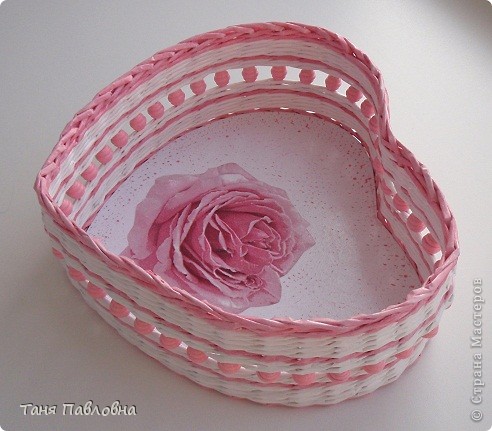
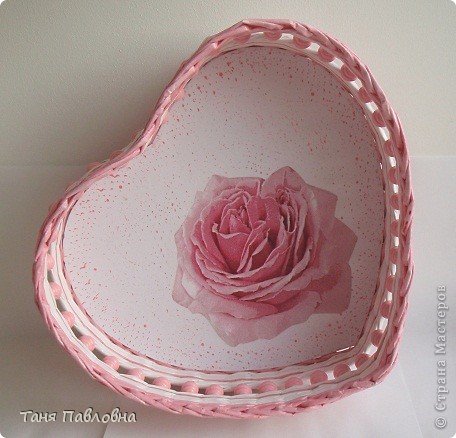
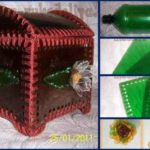
Belt width 5,8sm, 40cm length, twisted on needle 1,5. tube paint for the eggs. Two coats of an acrylic clear coat. At the bottom of decoupage and varnish. Dimensions: 30 * 22 * 10.Businy wood. However, everything in order.
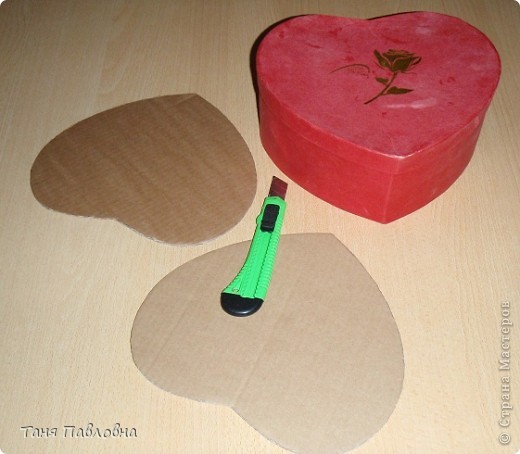
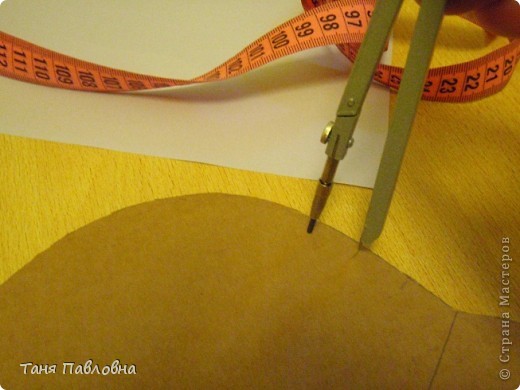
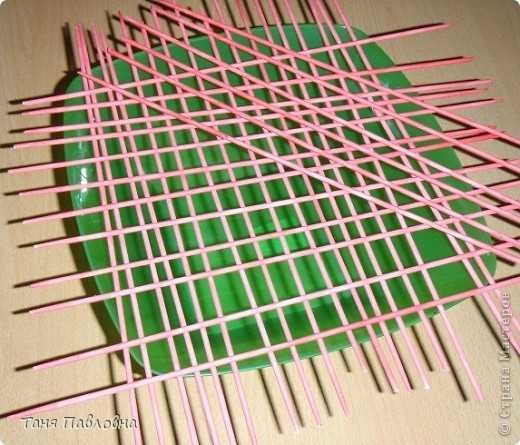
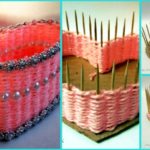
Well, something to help beginners. It said loudly, that it will be a master class. I share what I can. Photographer I useless. Well, what happened, what happened. So … cut to form two cartons
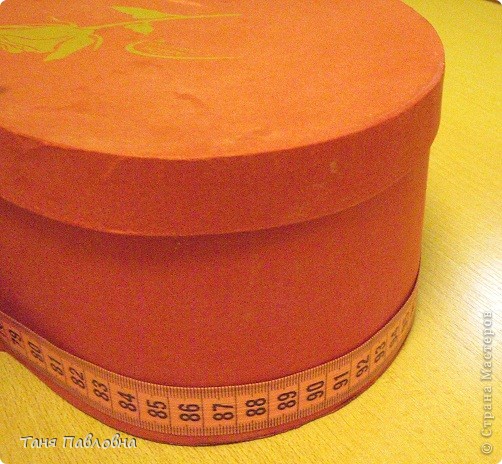
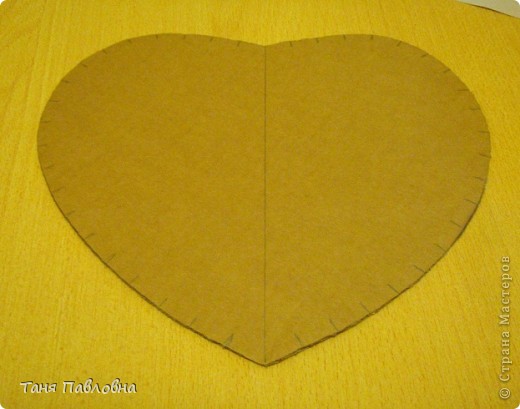
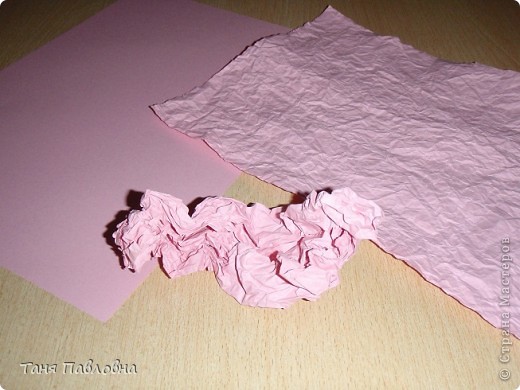
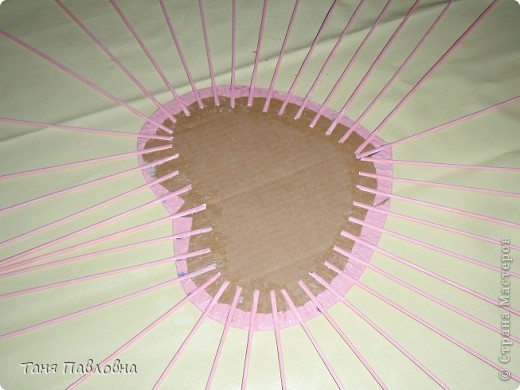
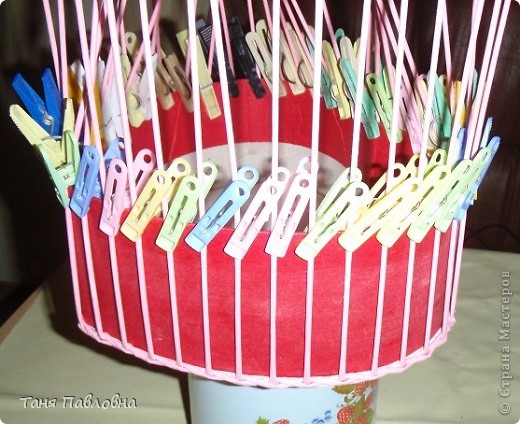
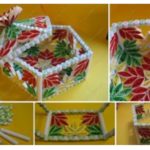
Measured basis, divide the desired distance between the stanchions. If you can not without a trace, corrects the distance. I got 1,8sm. Normally, less is better. Postpones 1.8, starting from the center of the “heart” It turned out this way … I prepare the paper
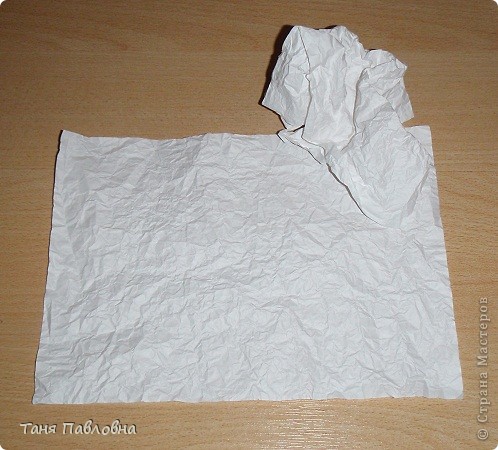
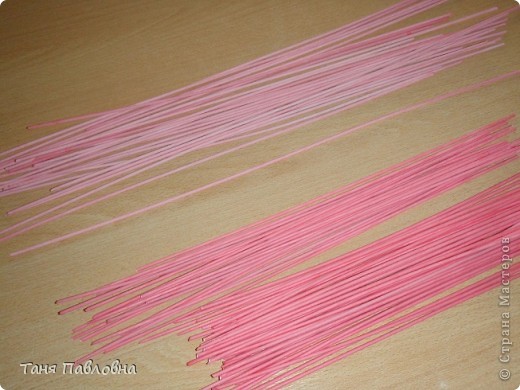
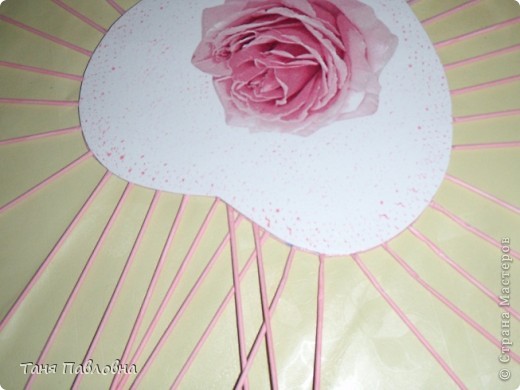
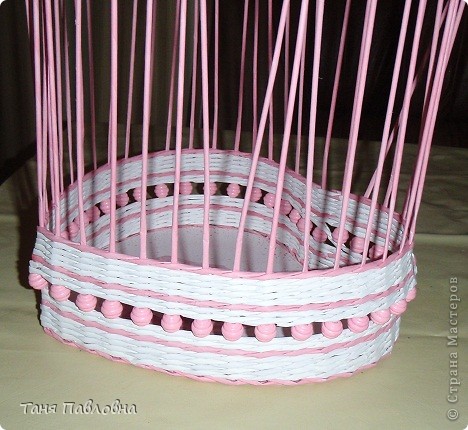
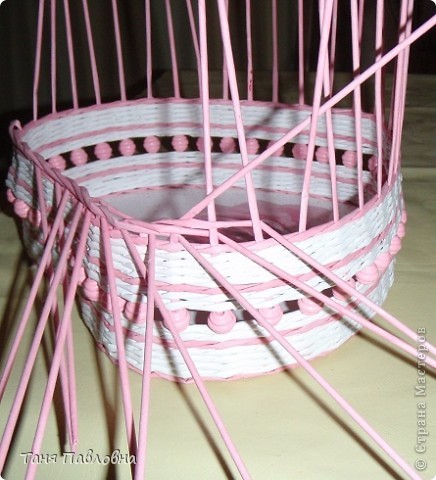
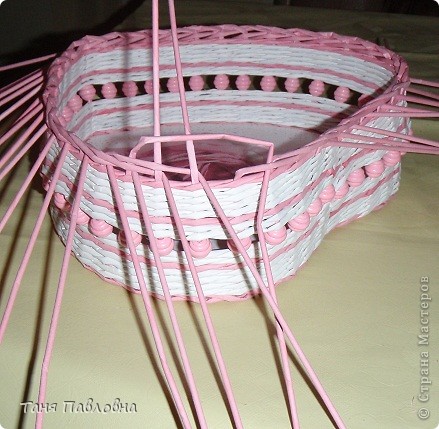
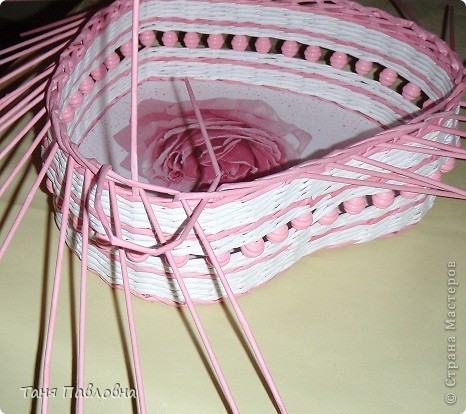
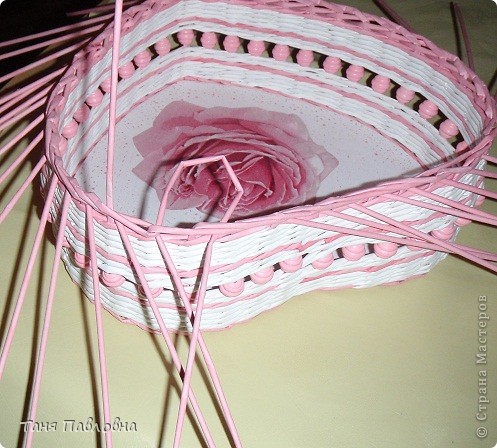
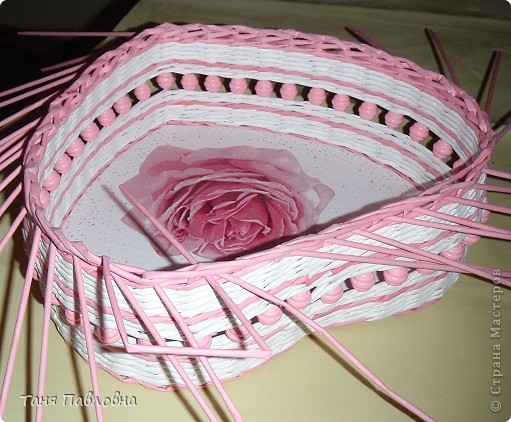
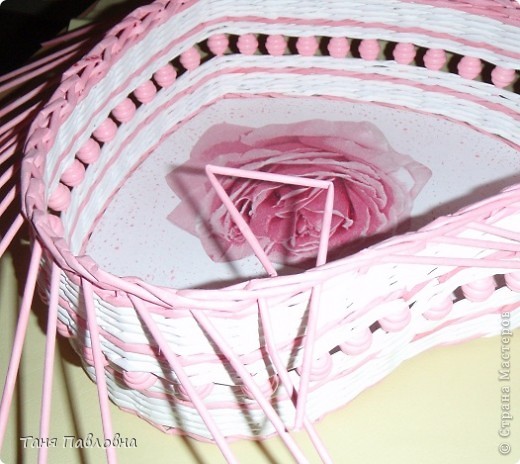
and more … The paper pasted on cardboard with white glue and left to dry. A bit dry and put under load, so as not curled hours on 12. The process of bonding is not removed, fascinated. While the bottom of a dry, paint tubes. Expanding to dry and leave everything until the morning. And in the morning for a surprise. That such a result is obtained. Apparently, the tubes were caught from different parties. I hope that will be enough of a color. Clay “Titan” pasting tube Top pasting the front of the bottoms. The process of gluing napkins too missed. Well, not all at once. Decoupage do with the file. I put the napkin “face” down at the file, pour some water into the center of a little and start to lift the edges to Vodicka gradually distributed on a napkin and no wrinkles. I add a little brush continue to keep raise for all parties. Try to keep the water before the time has not got to the edge (tear). When there is only the edge unglued, helping brush. When the napkin is flat, without wrinkles on the file, carefully poured the water and turn on the bedplate, smoothes. I remove the file from top to drip screed and PVA brush. Land. Yes! Two hearts are glued together, too, putting under pressure until it sets. It is better to wait a little longer. Clay grabbed. I begin to braid rope bottom of a single row. I lift the rack and begin to weave a rope in the two tubes. Get out of shape, that’s what happened. The result is not pleased with what’s nose turned out. It was necessary to equate the braid after varnishing. close: in front of the two, in the third It remains the last three tubes. The first of them is bent before the two and slips under the first rack start crisscrossing. Second-on rising: before the third and the inside of the first braided basket for the second braided out by drawing Fotik agreed to work only to that frame. I had to finish without him. And it is you! This beauty blossomed in my yard, and I am very pleased.