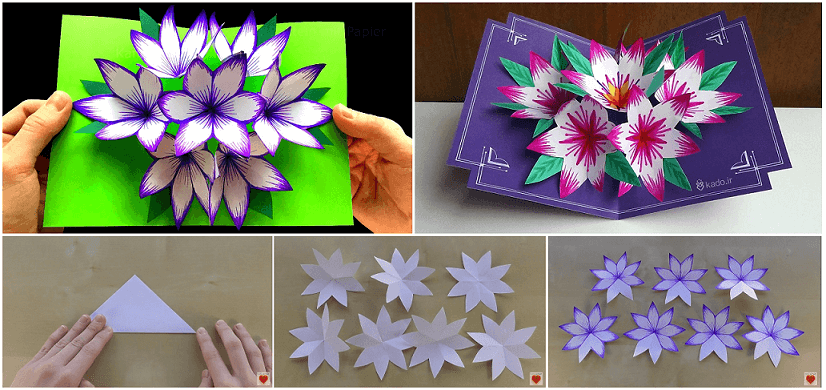
DIY 3D flower POP UP card … DIY: Pop up Card tutorial: Flower – Pop Up card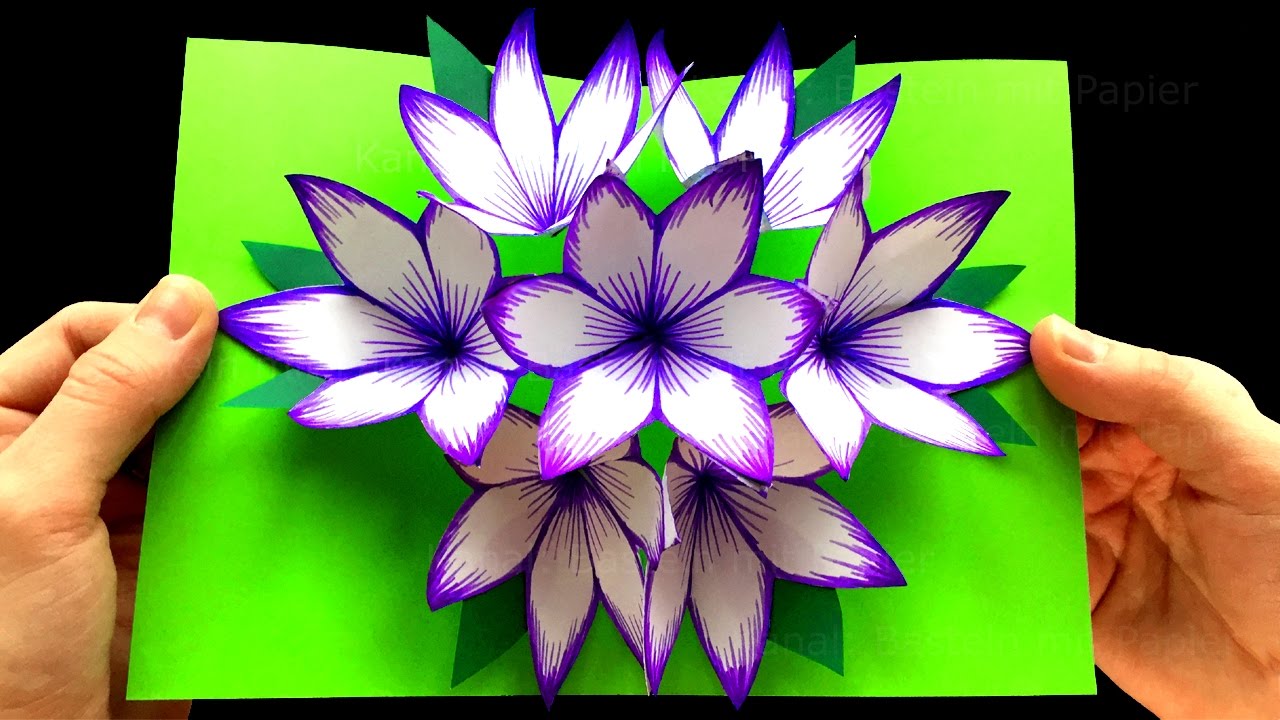
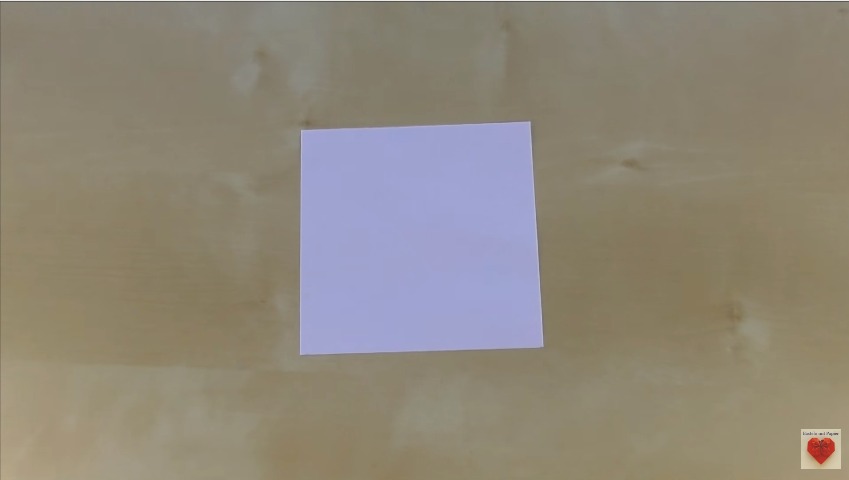

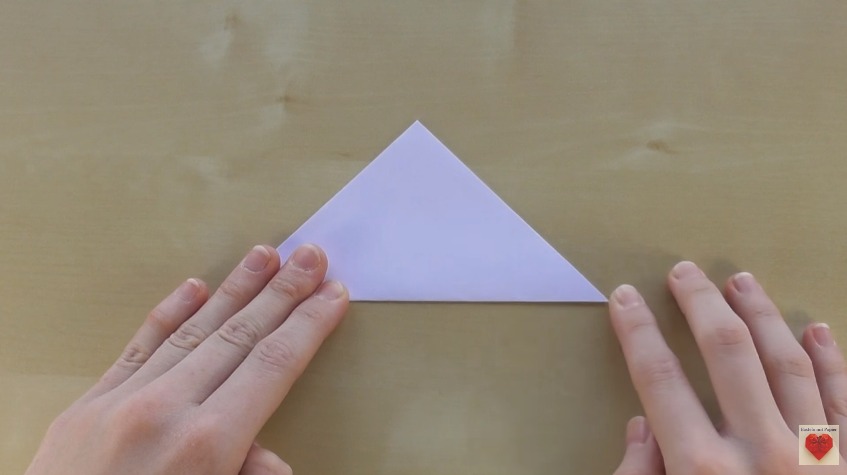

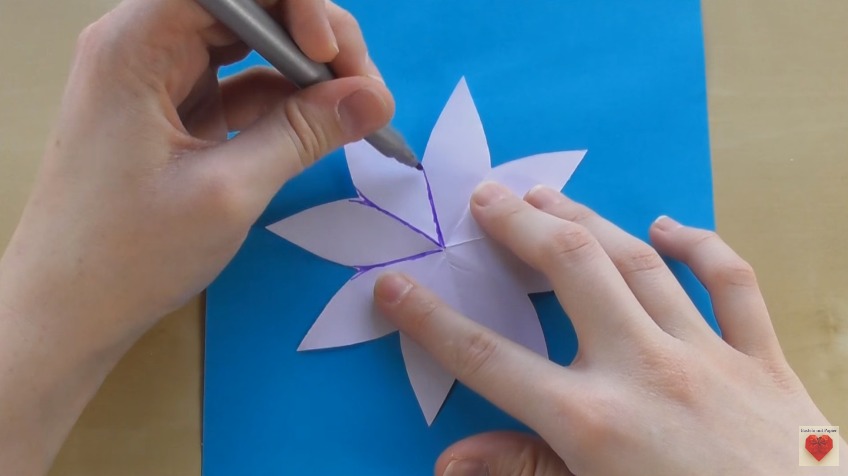
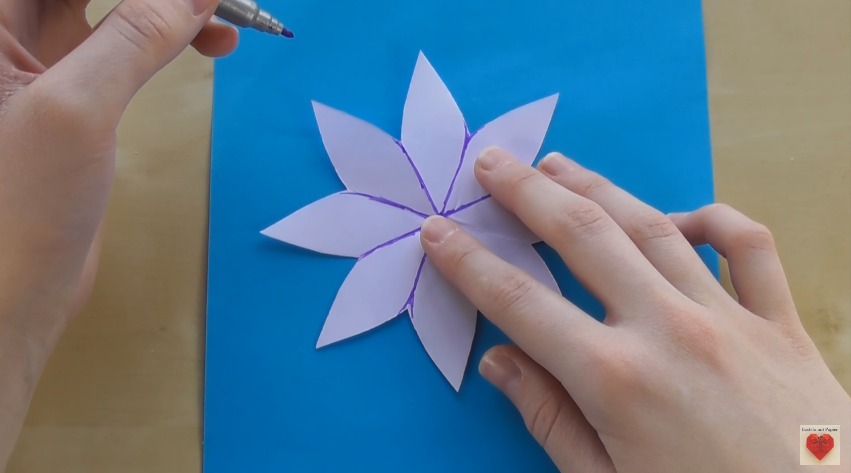
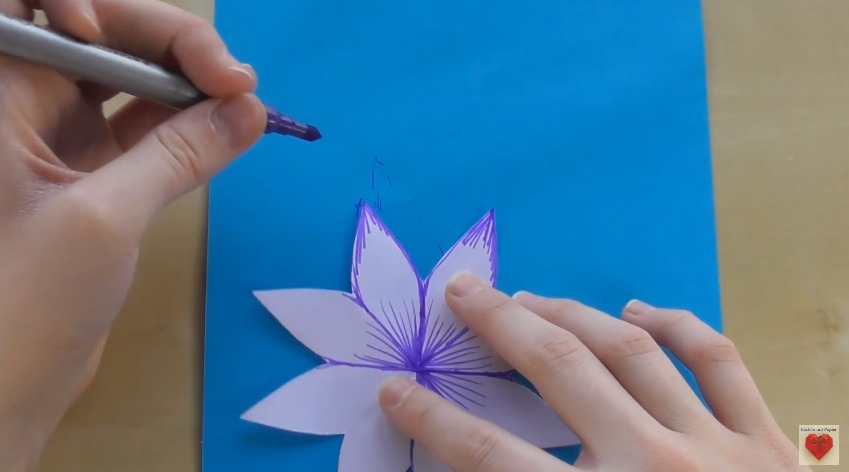
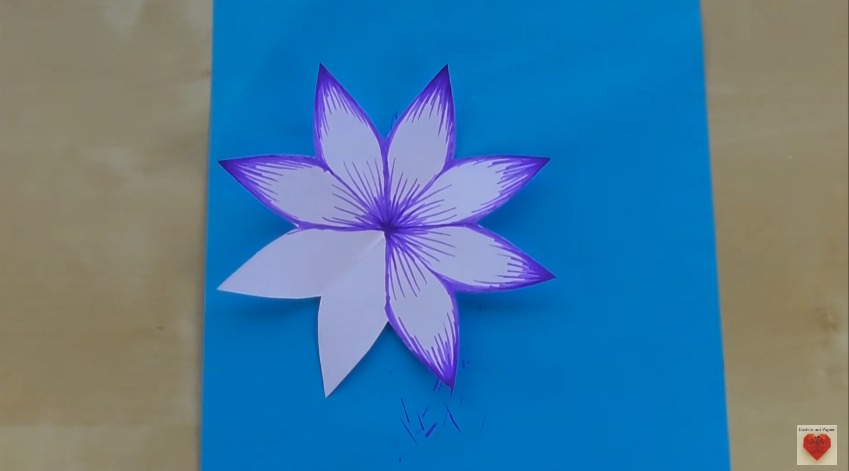
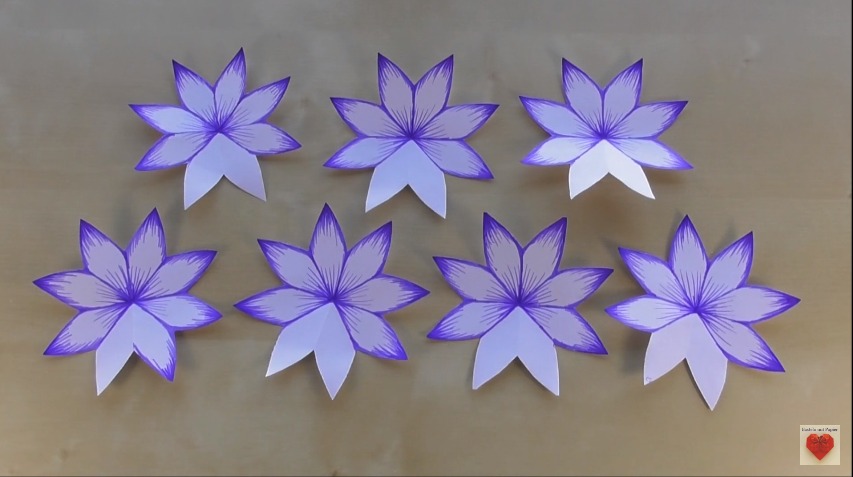
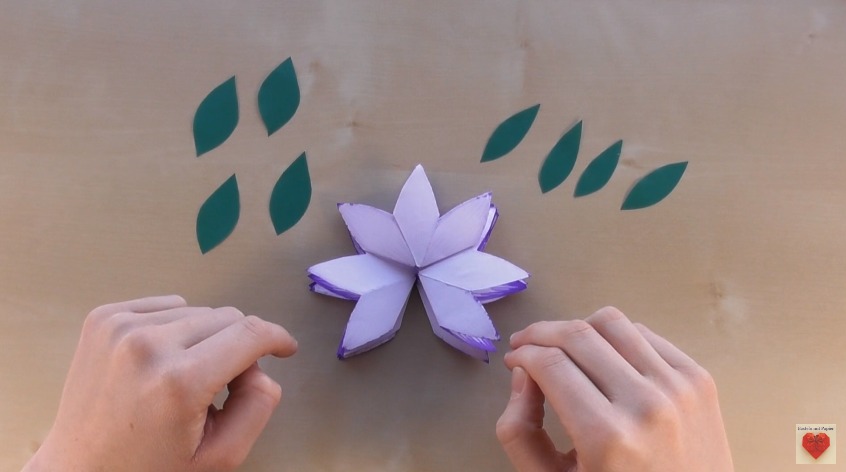
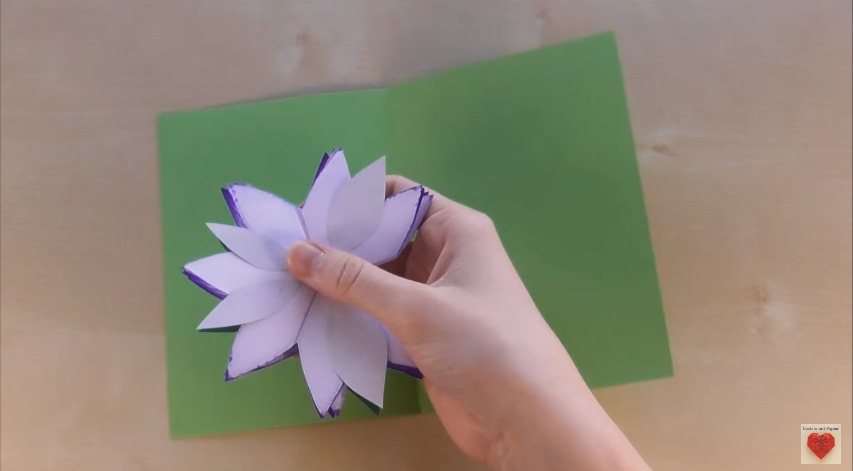
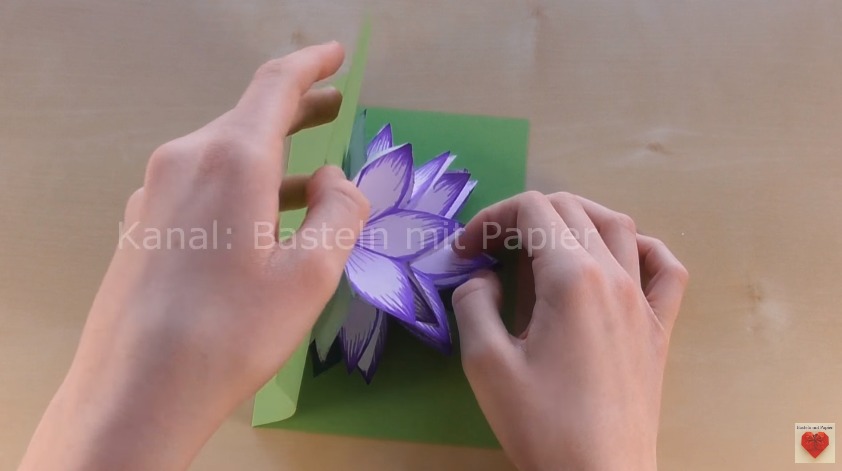
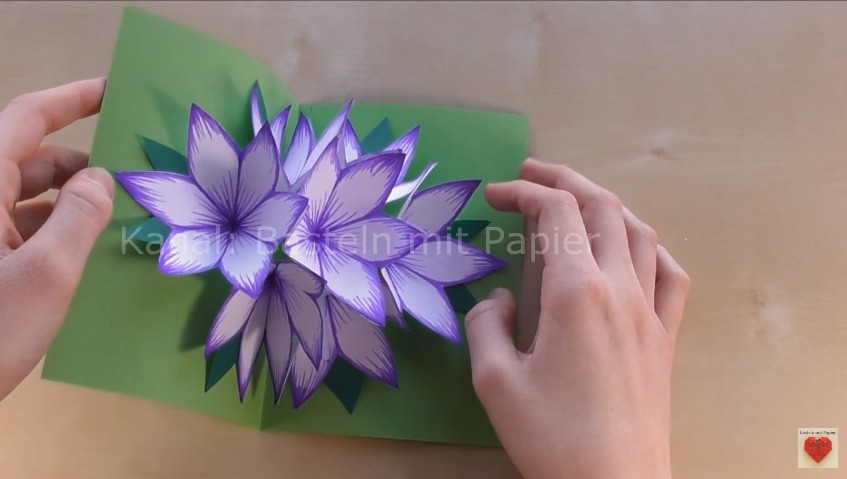

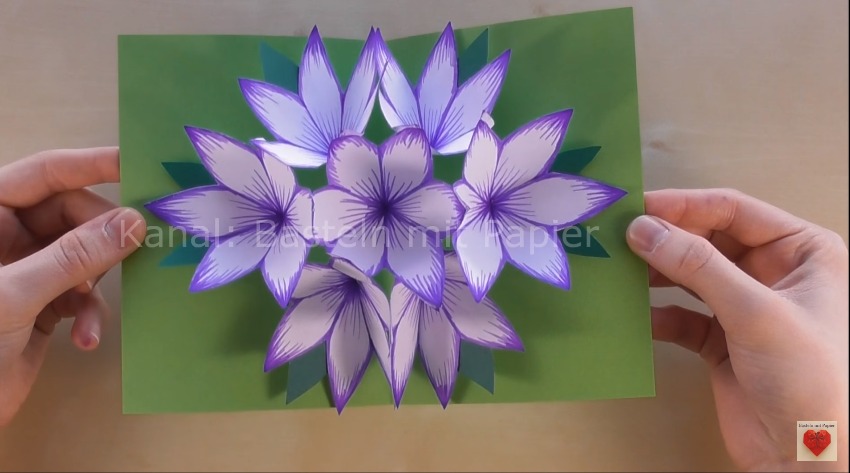
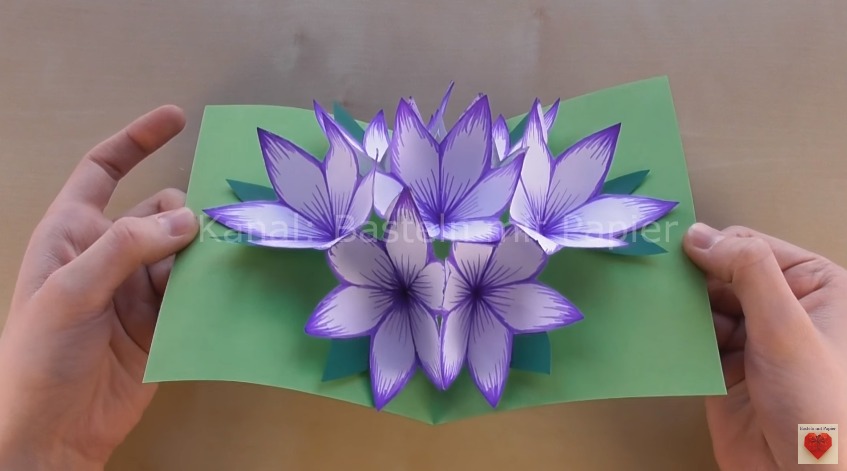

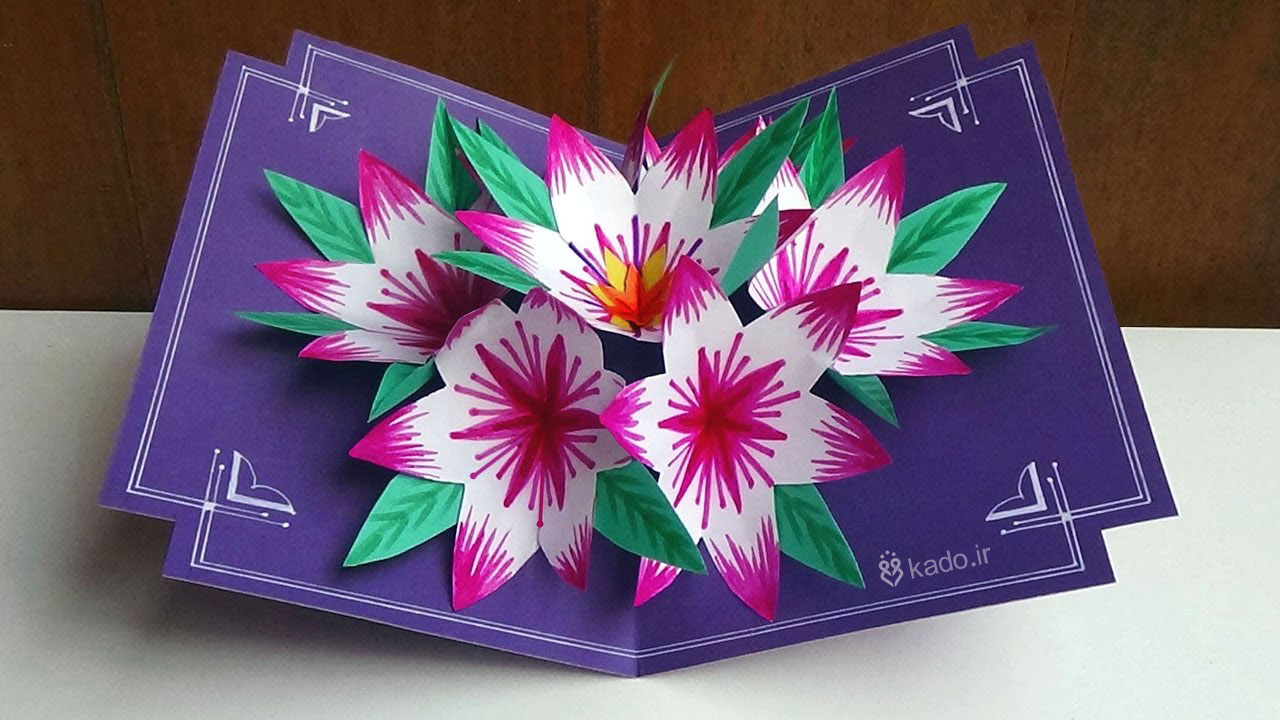
How to Make 3D Flower Pop-Up Card
Get Daily Art and Crafts Ideas & Tutorials…
DIY 3D flower POP UP card … DIY: Pop up Card tutorial: Flower – Pop Up card
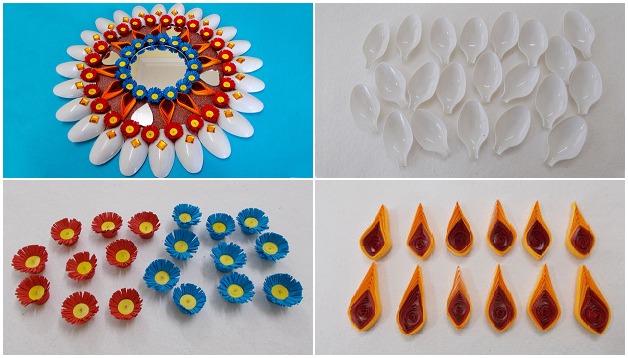
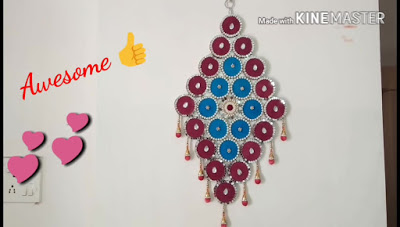
I love making Recycled DIY Projects! Now you can watch a complete step by step tutorial on how to make a DIY Plastic Spoons & Mirror Wall Decor. Adorn the mundane walls and add the best home decoration idea of a wall mirror decor to your interiors. Making this amazing plastic spoon and mirror wall decor is an awesome creative experience.
Get down on the floor and engage your kid’s in making this cool craft at home, as a fun craft activity for kids. It is a perfect way to reuse and recycle an old mirror with a new touch of creativity!

Step 1: Material Required for Making Plastic Spoon and Mirror Wall Decor.
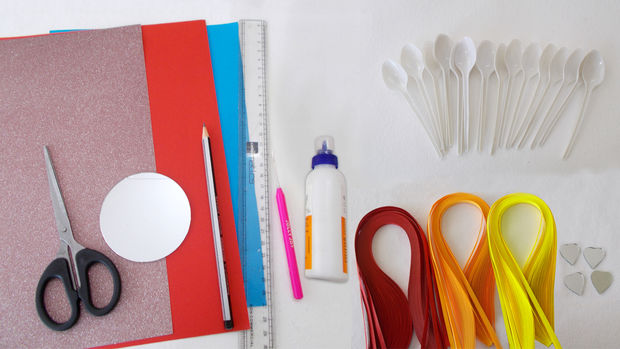
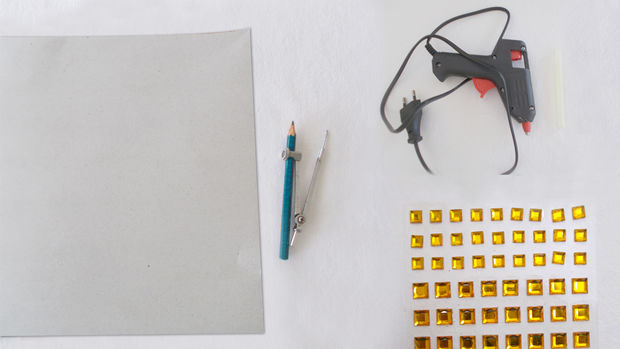
So here is a list of all the craft essentials required to make plastic spoon and mirror wall decor are:
Step 2: Let’s Begin!

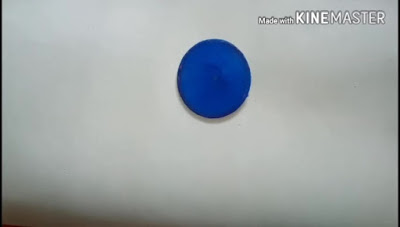
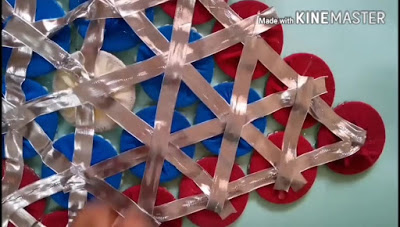
Cut and separate the handle and bowl part of the spoons and get rid of the handle.
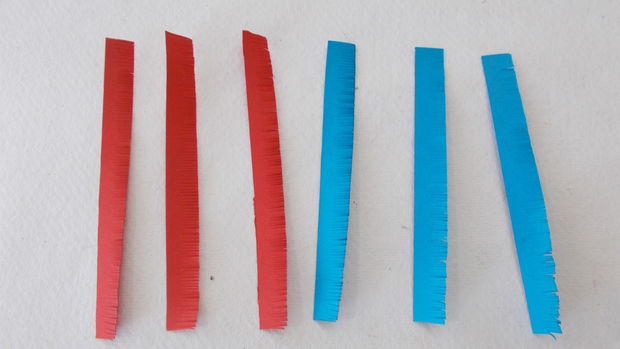
Cut red and blue strips of paper measuring 10 cm x 1 cm and make small incisions on the edges.
Step 3: Build Up Your Craft
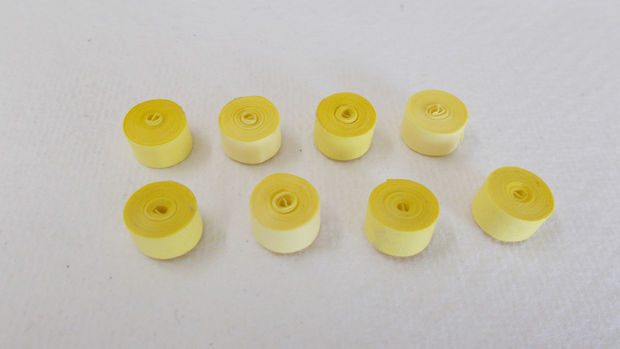
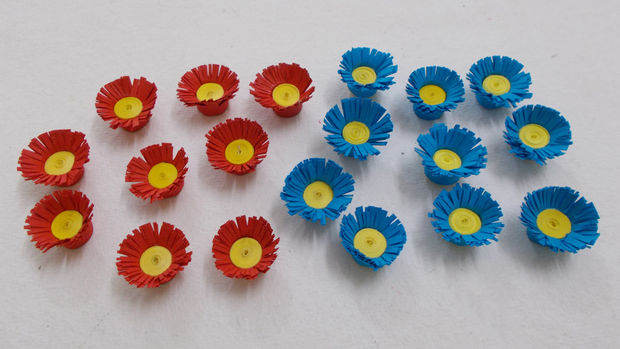
Make yellow coloured tight coils and wrap the red and blue around the yellow tight coils.
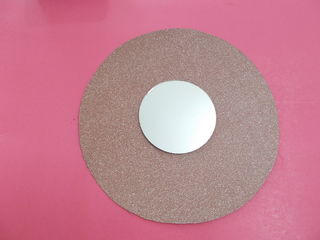
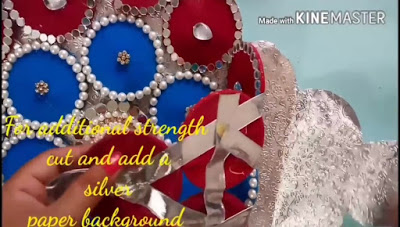
Cut out a cardboard measuring 10 cm radius with the help of a divider. Watch the complete tutorial to learn how to make Miniature Flowers.
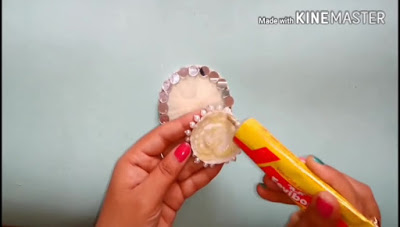
Cover it with a glitter paper.
Step 4: Decorate Your Craft!
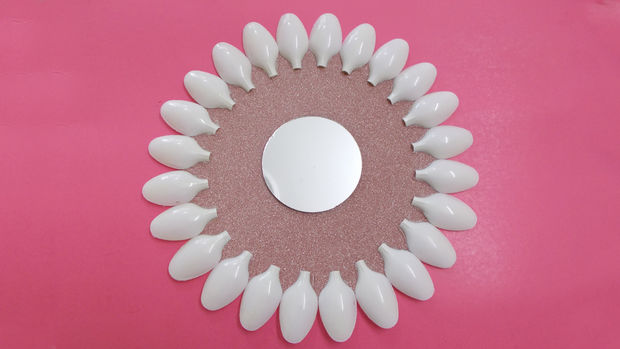
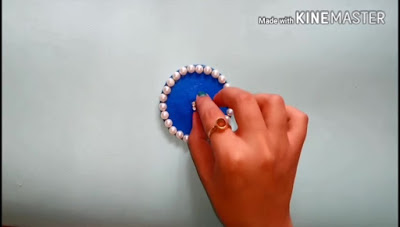
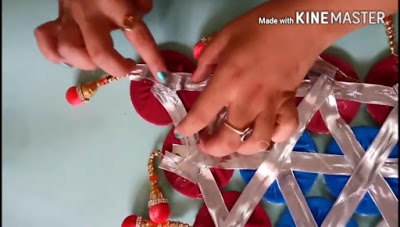
Paste a small mirror in the centre of the cardboard. and paste plastic spoons around.on the edge of the cardboard.
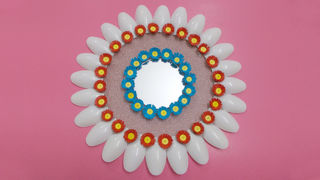
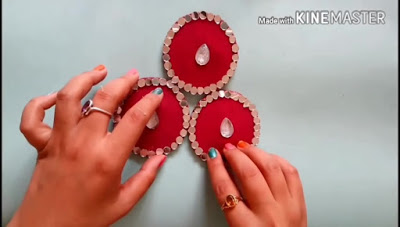
Paste the Miniature flowers around the mirror.
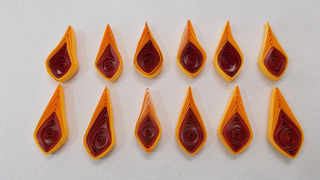
Make yellow and orange leaves with quilling strips.
Add decorative mirrors and finish the craft with decorative stones.
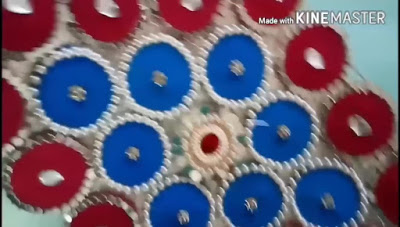
Step 5: Your Mirror and Plastic Spoon Craft Wall Decor.

Don’t you love this Mirror and Plastic spoon wall decor? There is nothing as special as learning how to make this super easy craft idea that can be used as wall decor. A fantastic home decor idea that will surely get you loads of compliments.Recycled crafts as home decoration ideas work in a fabulous way and give your home a new look!
Do watch the complete tutorial on how to make plastic spoon and mirror wall decor and add a creative feather to your cap.
Courtesy: stylenrich
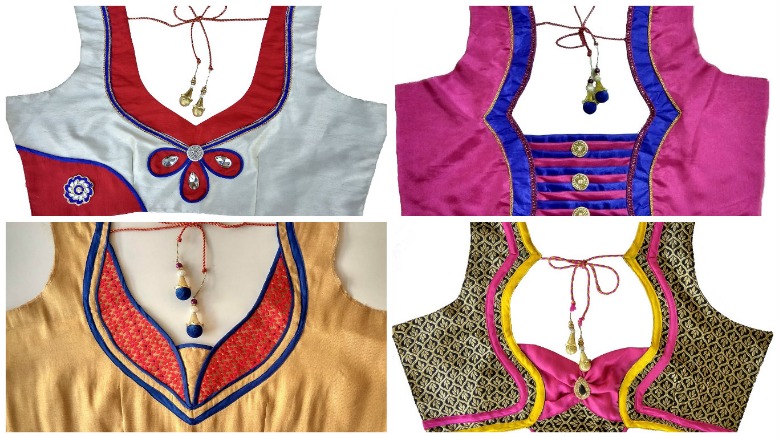
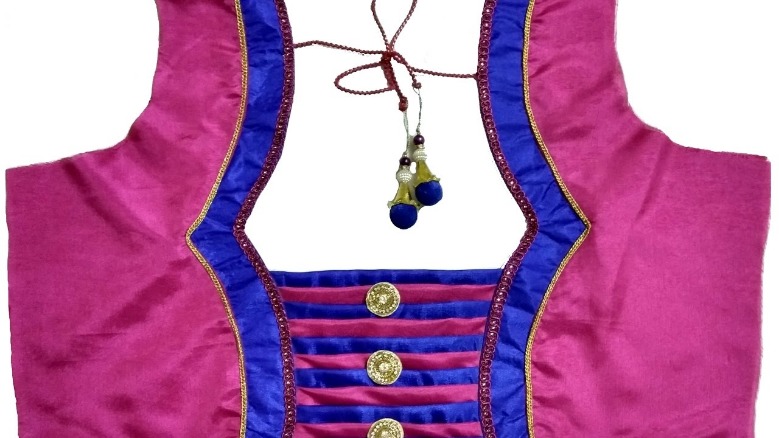
Indian bride looks stunning with very beautiful designer blouse made by our well known fashion designers. If you don’t find the unique and different design of blouse by your own, there are ways through which you can create beautiful blouse without breaking your brain.
Blouse designs accentuate the looks of the wearer. For a classy and sophisticated look, try these amazing blouse designs which can win you many appreciations. Just keep in mind if you are planning on a wearing a transparent saree, it’s best to avoid front hooks or pins, since it will make your overall look very clumsy. The current trend for blouse designs is net blouses with sweetheart necklines. Any simple looking saree can look wonderful with designer blouse designs which can make you look gorgeous. Every woman is different and it’s difficult to come up with a unique fitting, so tailor made blouses is the ultimate choice. A blouse should be like your second skin, it shouldn’t be too tight nor too loose and the right fitting makes a woman very confident.
From this videos, you can learn how to make this designer blouse in simple and easy method
Bridal Designer Blouse Made Easy Cutting And Stitching: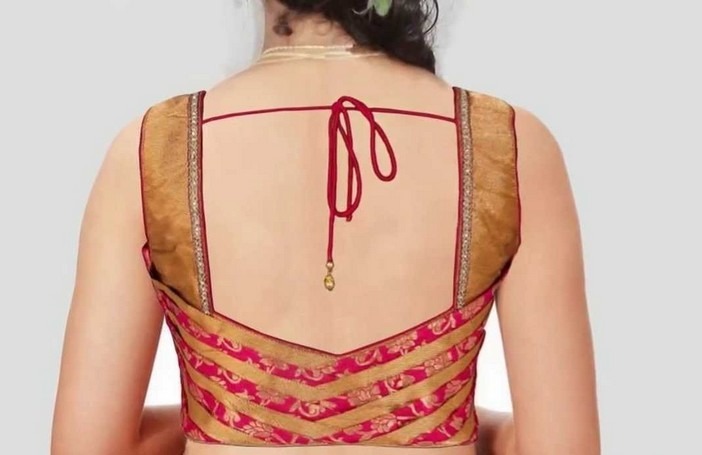
Designer Bridal Back Neck Blouse Pattern: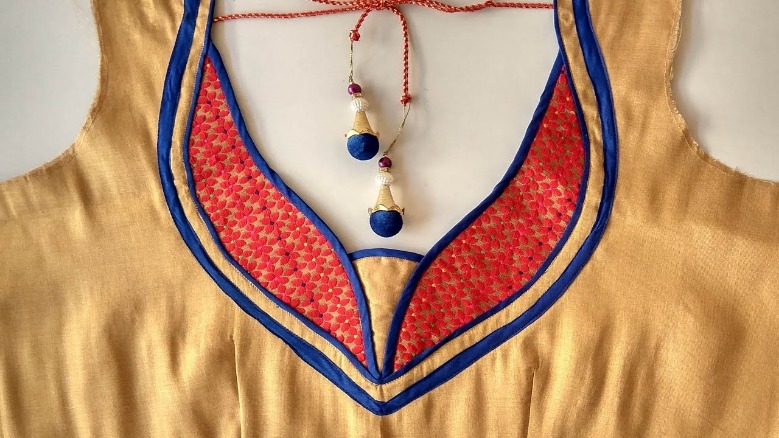
Designer Back Neck Blouse Pattern:

Designer Bridal Blouse Back Neck Pattern:
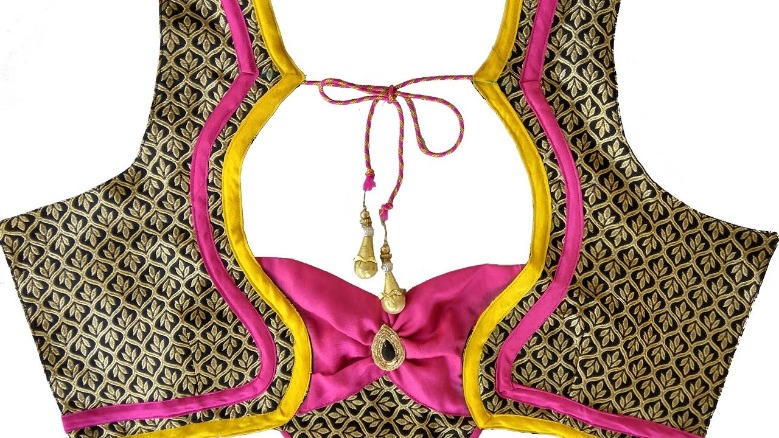
Blouse Back Neck Designs:
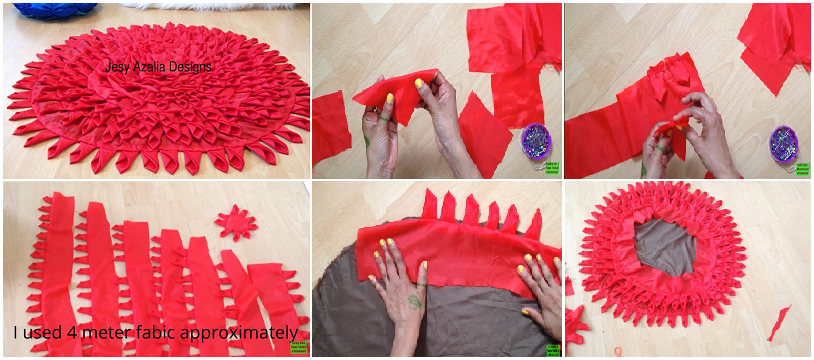
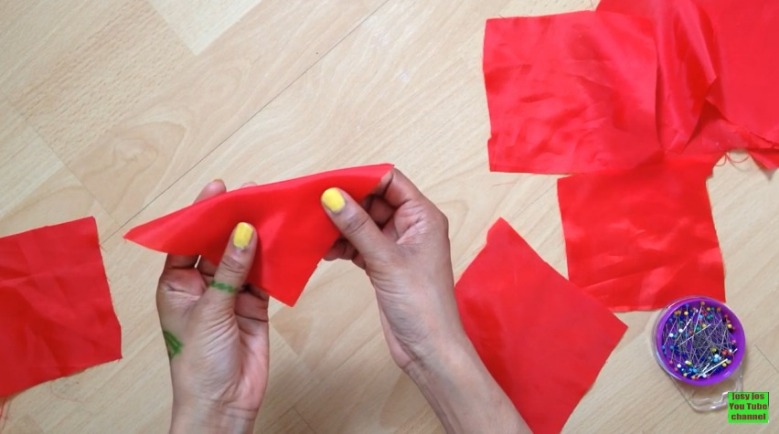
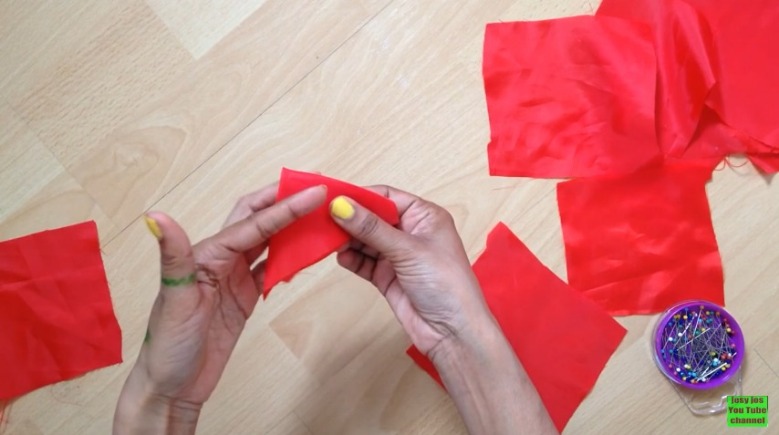
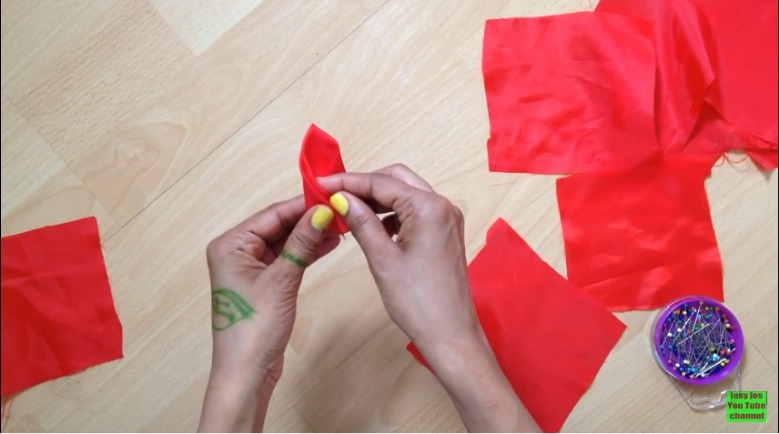
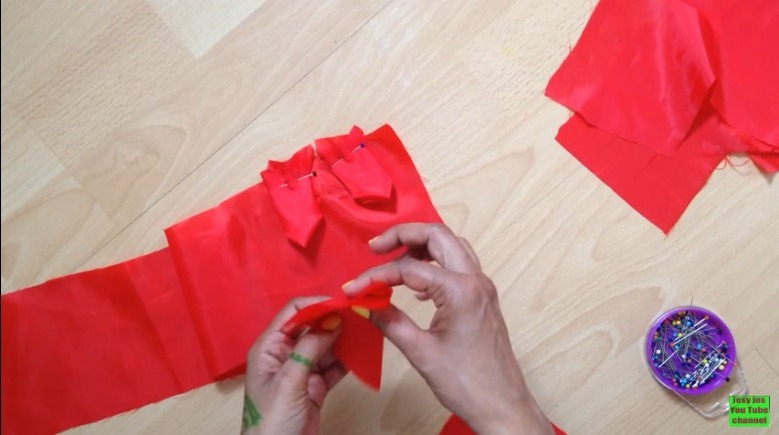
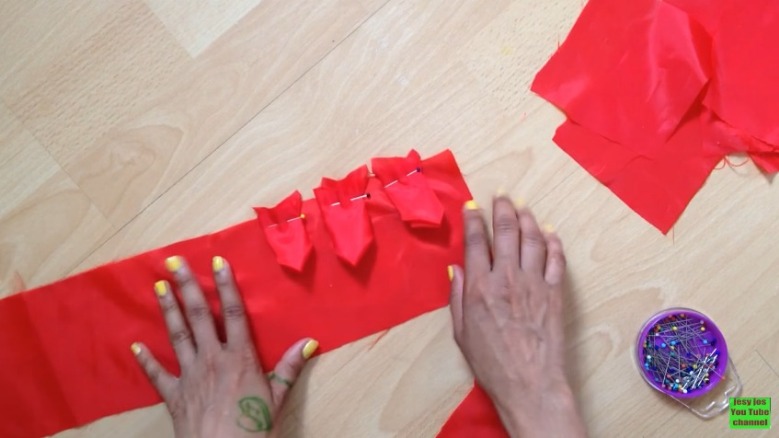
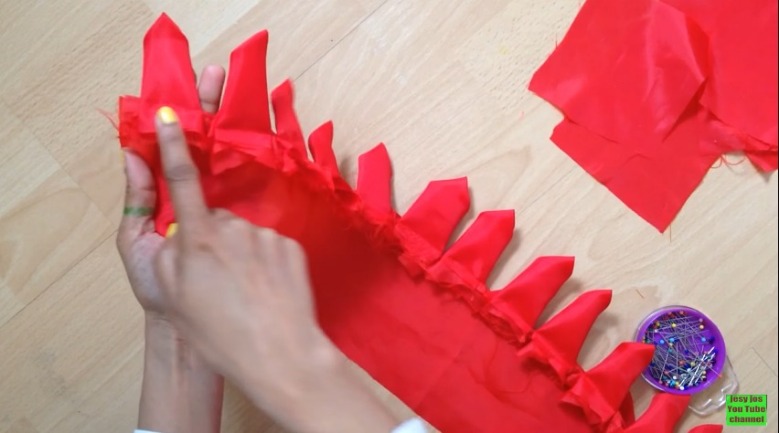
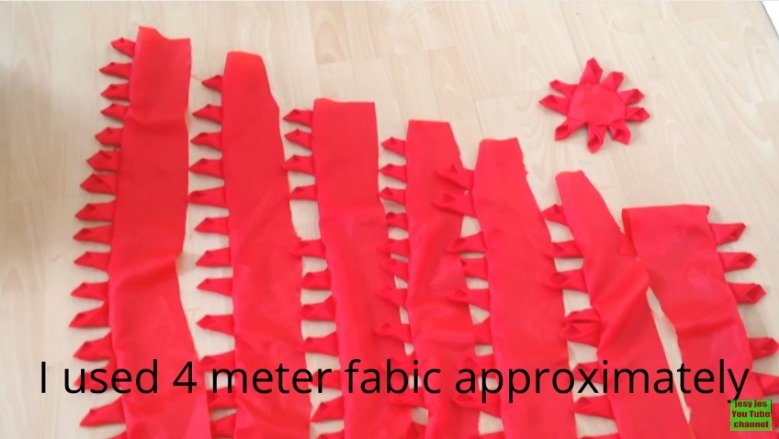
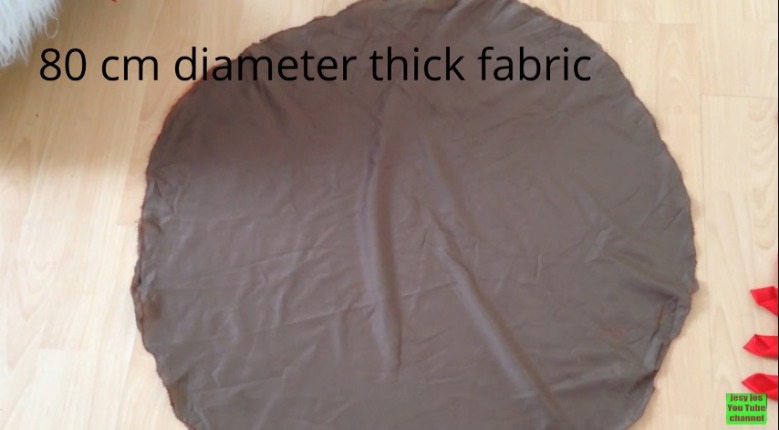
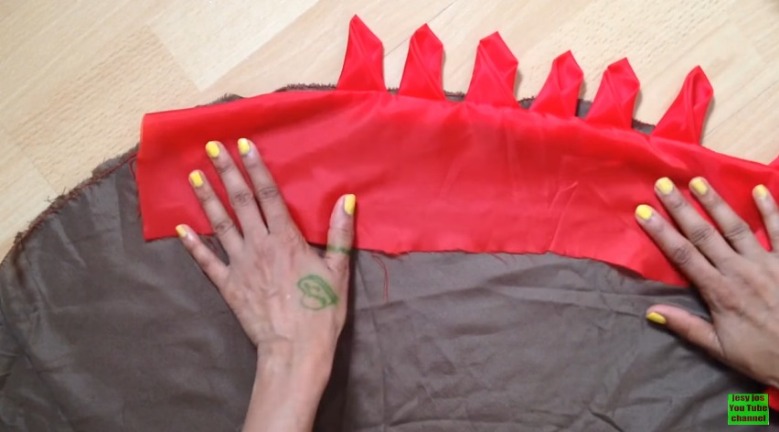
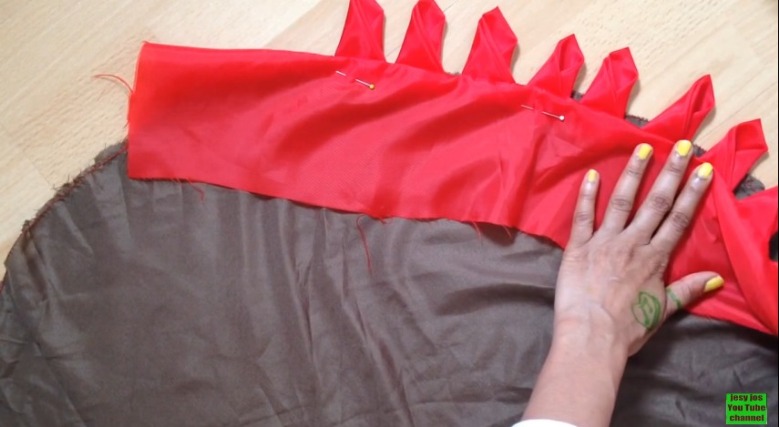
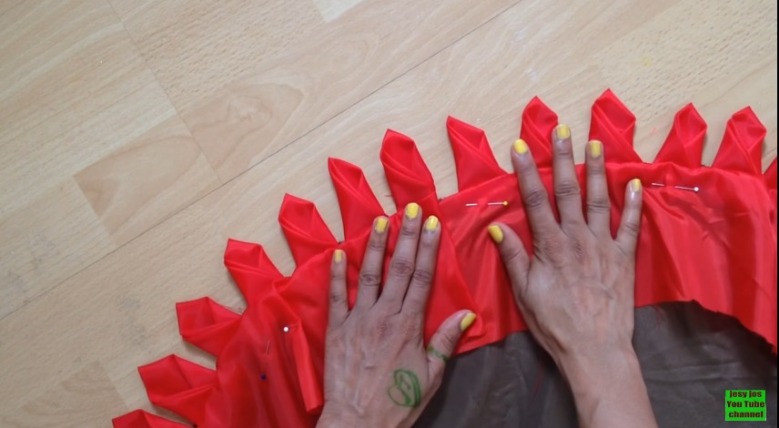
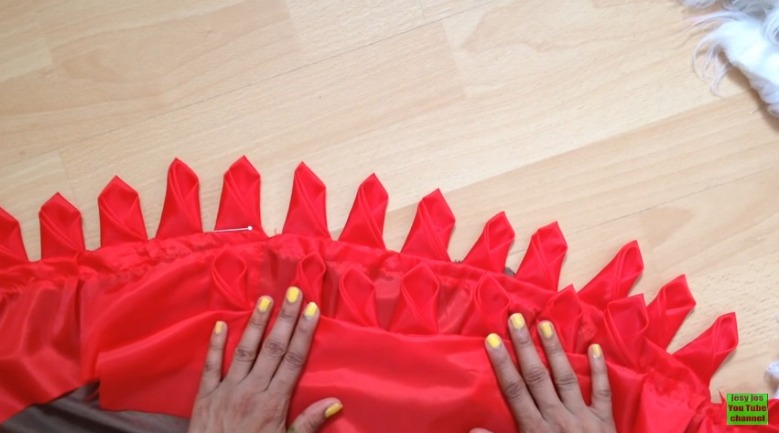
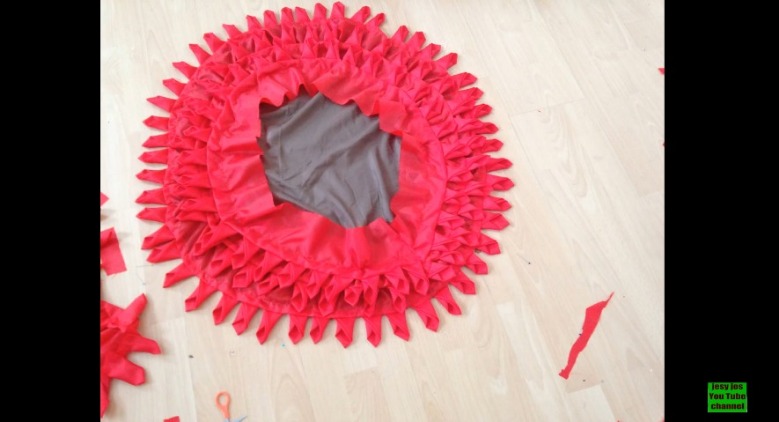
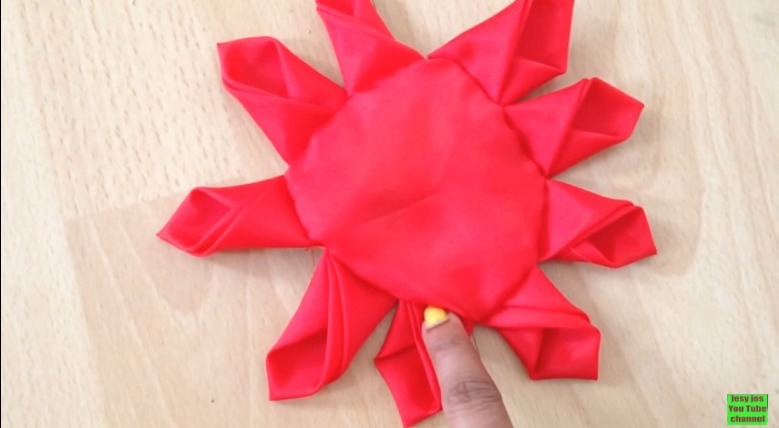
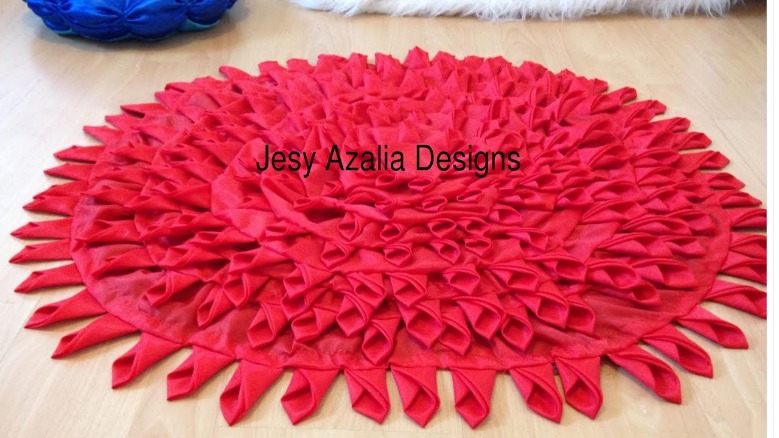
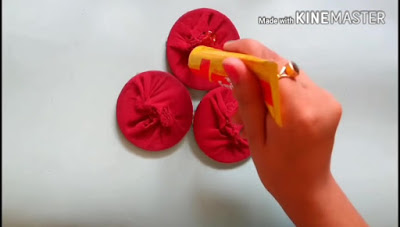
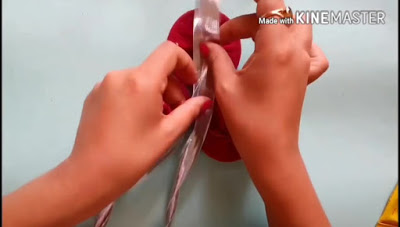
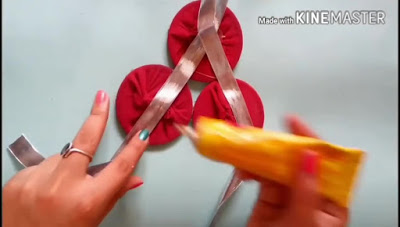
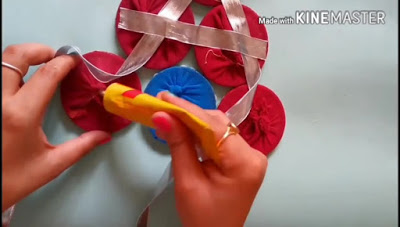
Floor mat using old cloth. DIY flower shaped rug from recycled fabric.
Video to share an idea to transform old fabric materials to a beautiful flower shaped floor rug.The square shaped pieces are 12cm/12cm.The long strips are 12cm in height and length can be any size which can be cut and arrange later. The circle shaped thick fabric can be any size according to the availability of total fabric you got. My rug size is 80cm in diameter.How to make mat at home with waste clothes. 


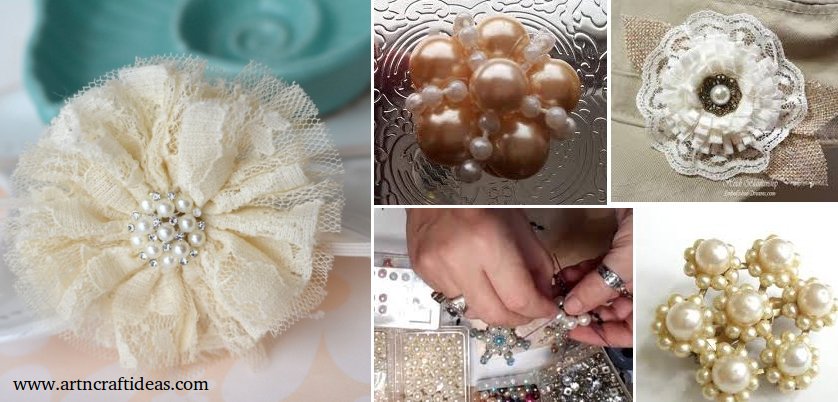
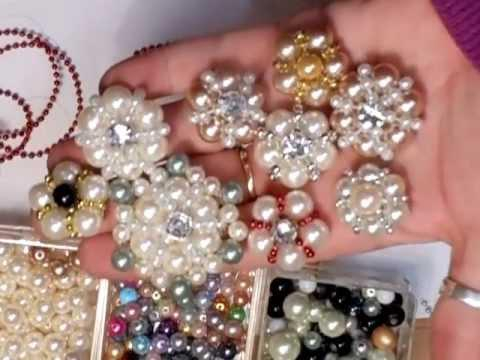
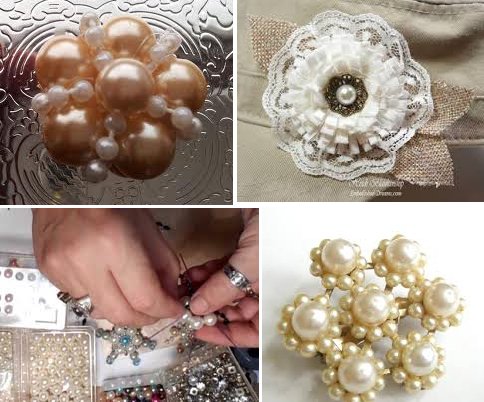
Shabby Chic Pearl Flower Video Tutorials: In this video tutorial, you can see how easy it is to make beautiful jewelry from beads in the style of Shabby Chic.
https://youtu.be/i9puwAsBJZM
This lesson focuses on the creation of color x-cotton fabric
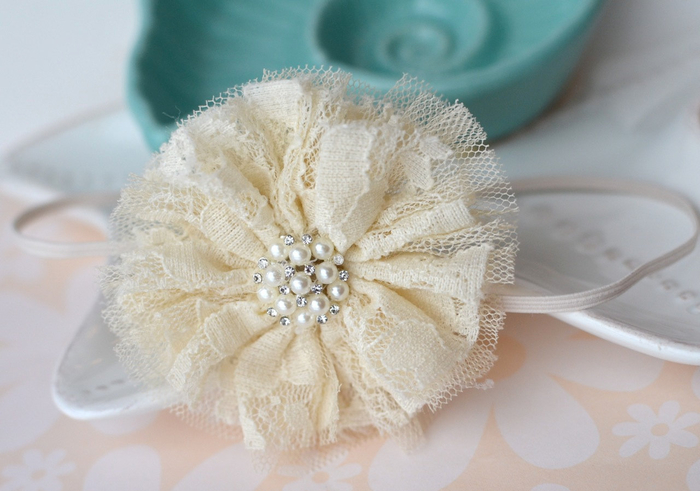
Hope you like this tutorial.

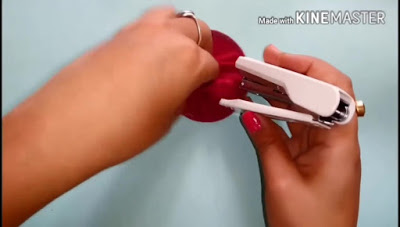
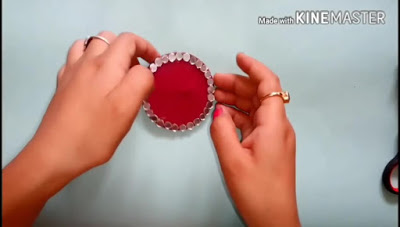
Beautiful Wall Hanging from Old Bangles and Cloth || Best Out of Waste Required Material:
Let’s start the fun 🙂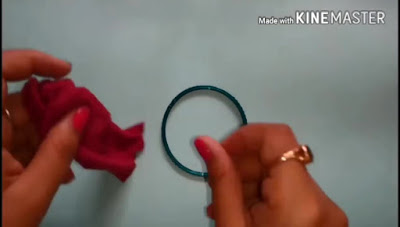


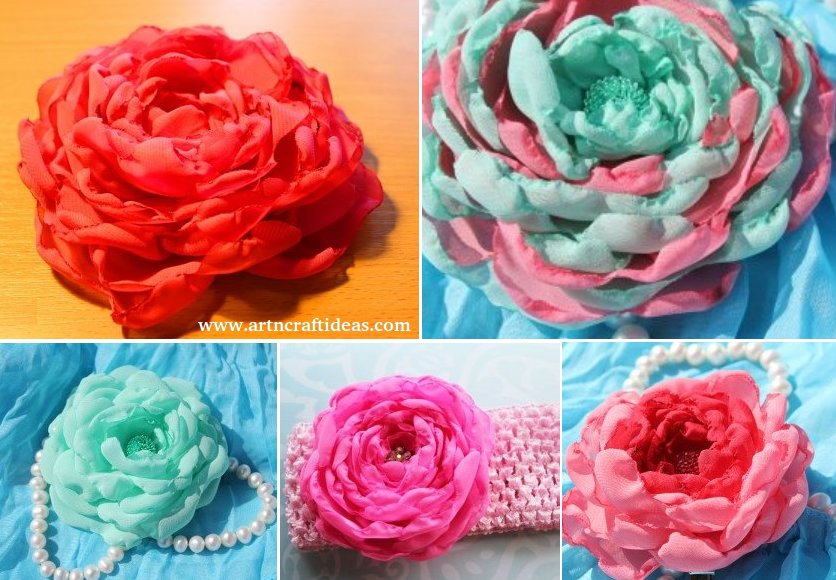
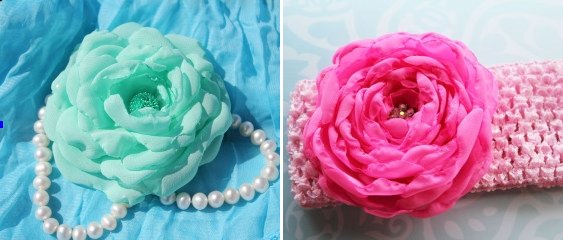
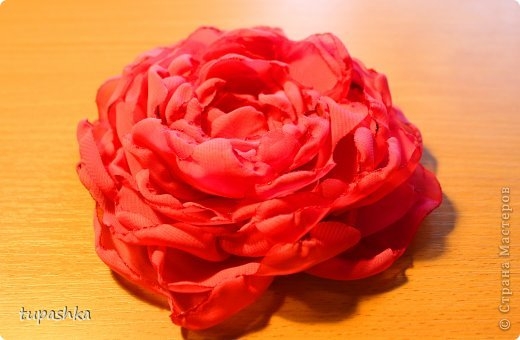
Increasingly, hair ornaments girls use flowers. But the life of a flower is short-lived and probably would be mad extravagance to buy flowers to decorate for a day. Try on the fashion trend as possible and more accessible way. We offer you a simple method of making a color from the fabric by hand. We do not need special equipment to do so.
To create a flower chiffon material required:
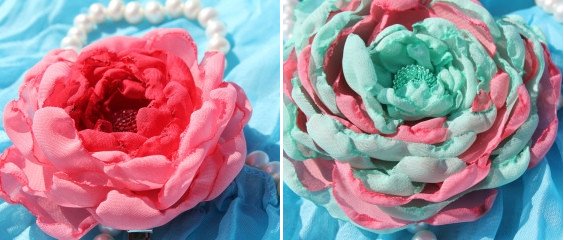
Fold Chiffon eight additions, anchoring pins at the edges. Then the cut cardboard blank (pitch). Further, the pitch at encircle tissue specific marker, which is easily washed off with water. Once all the petals carved, decomposed advise of size. To make the edges of the petals rounded, treat each over a candle. After starting to collect the flower. Now what we need and foam, it will act as a holder for needles, on which we will string all the petals from a larger to a smaller size. Once all the petals are used, it is necessary to fix the thread. As a result, we get a flower similar to the living tissue of the peony.
The woman is transformed on the background of flowers! And no matter how you will use: in a bouquet, a brooch on the chest or in the form of hairpins.

Hope you like this tutorial.
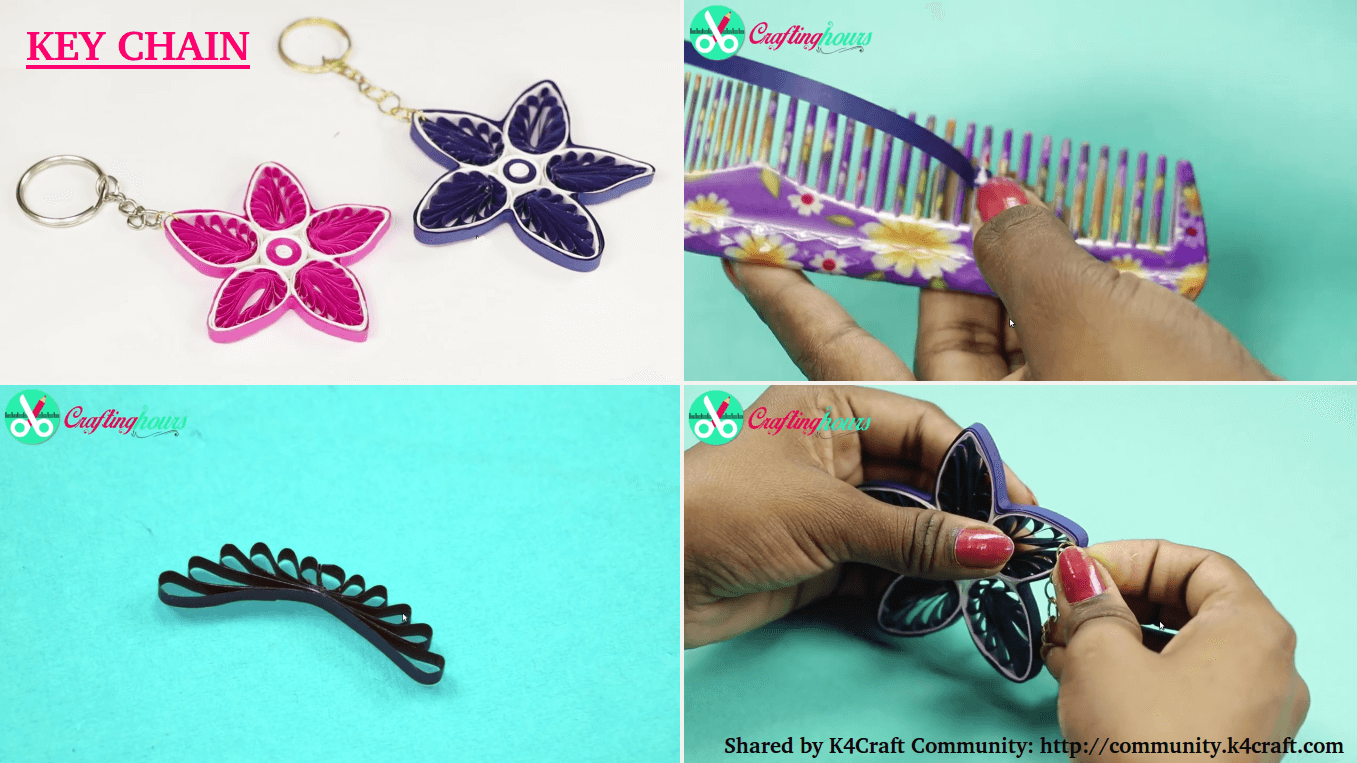
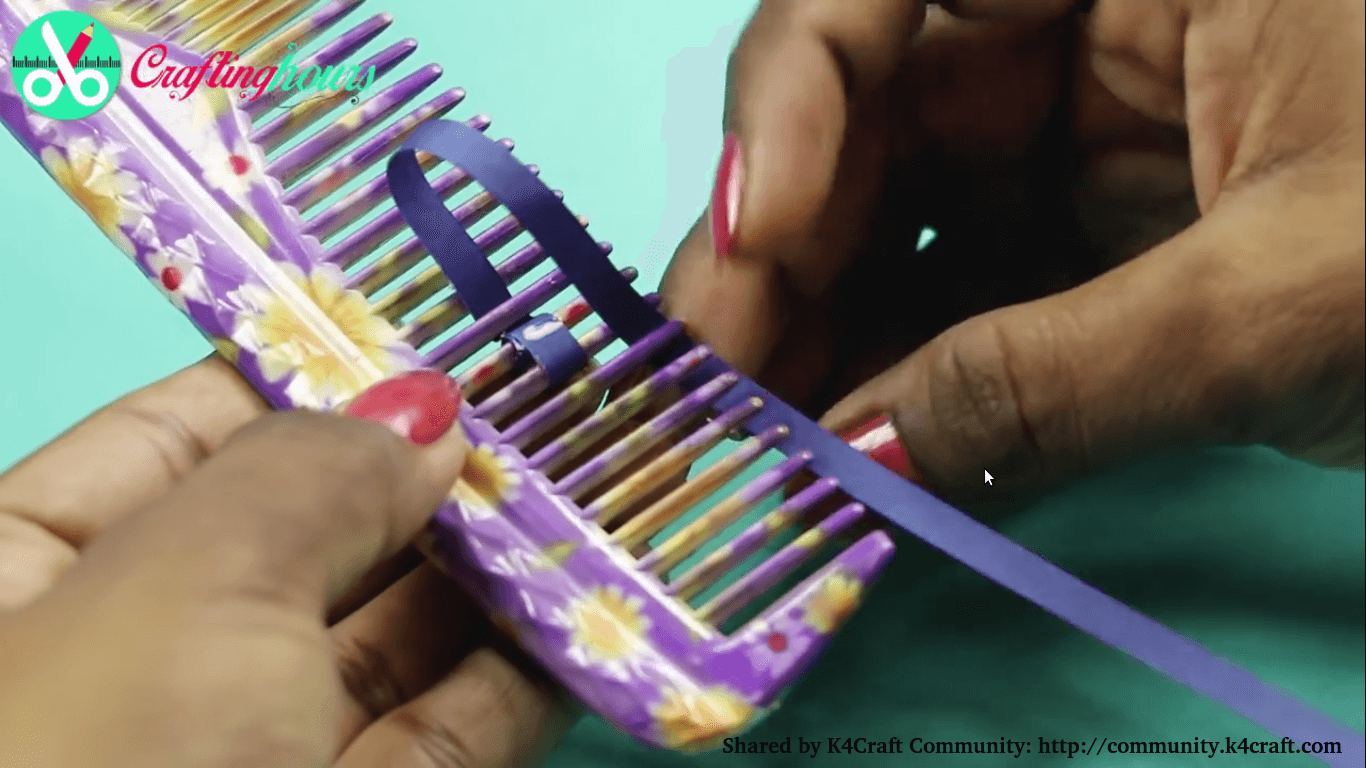
In this tutorial you will learn how to make a beautiful paper quilling key chain at home just in 4 minute. You need not to be worry if you haven’t done any paper quilling activity before,you will find this video quite simple. You just need to follow easy steps. Making key chain with paper is one of the best quilling ideas you will ever find! So, what are you waiting for? Let’s get started.
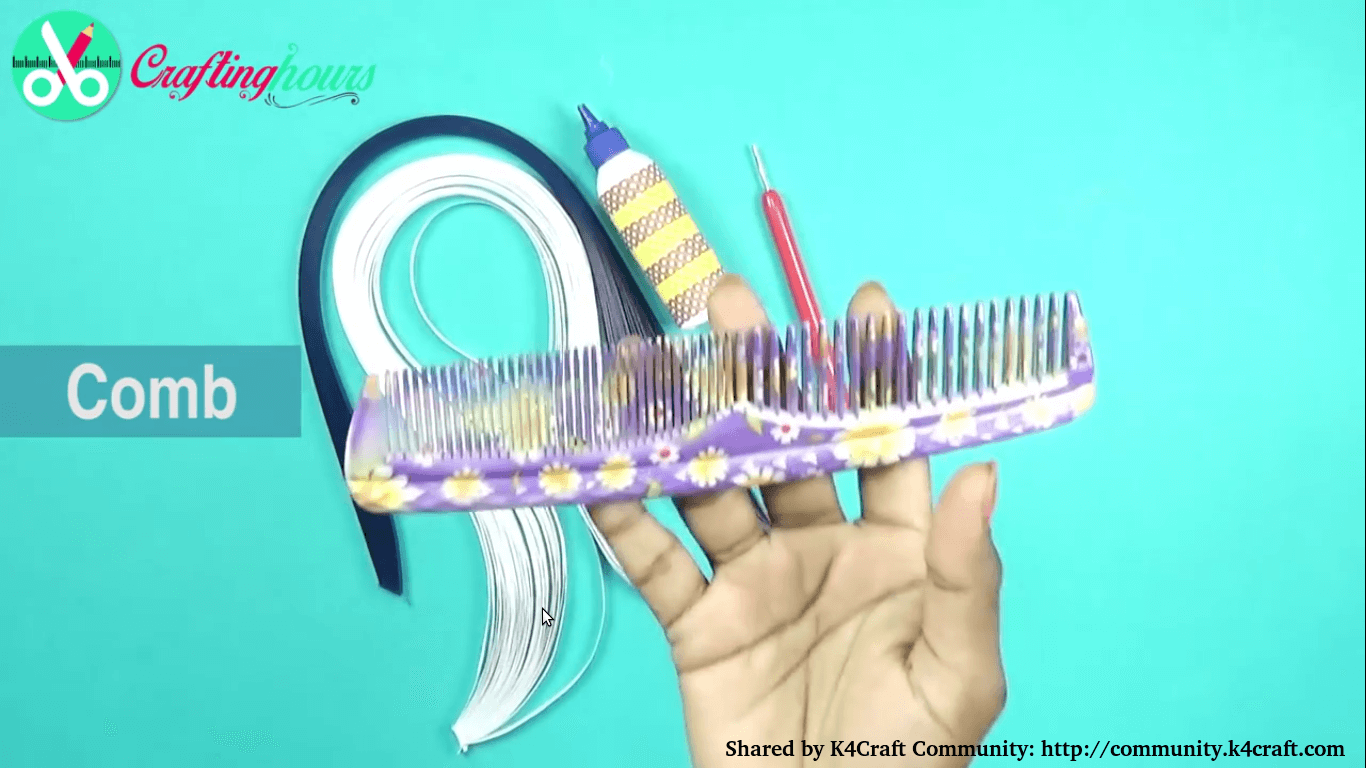
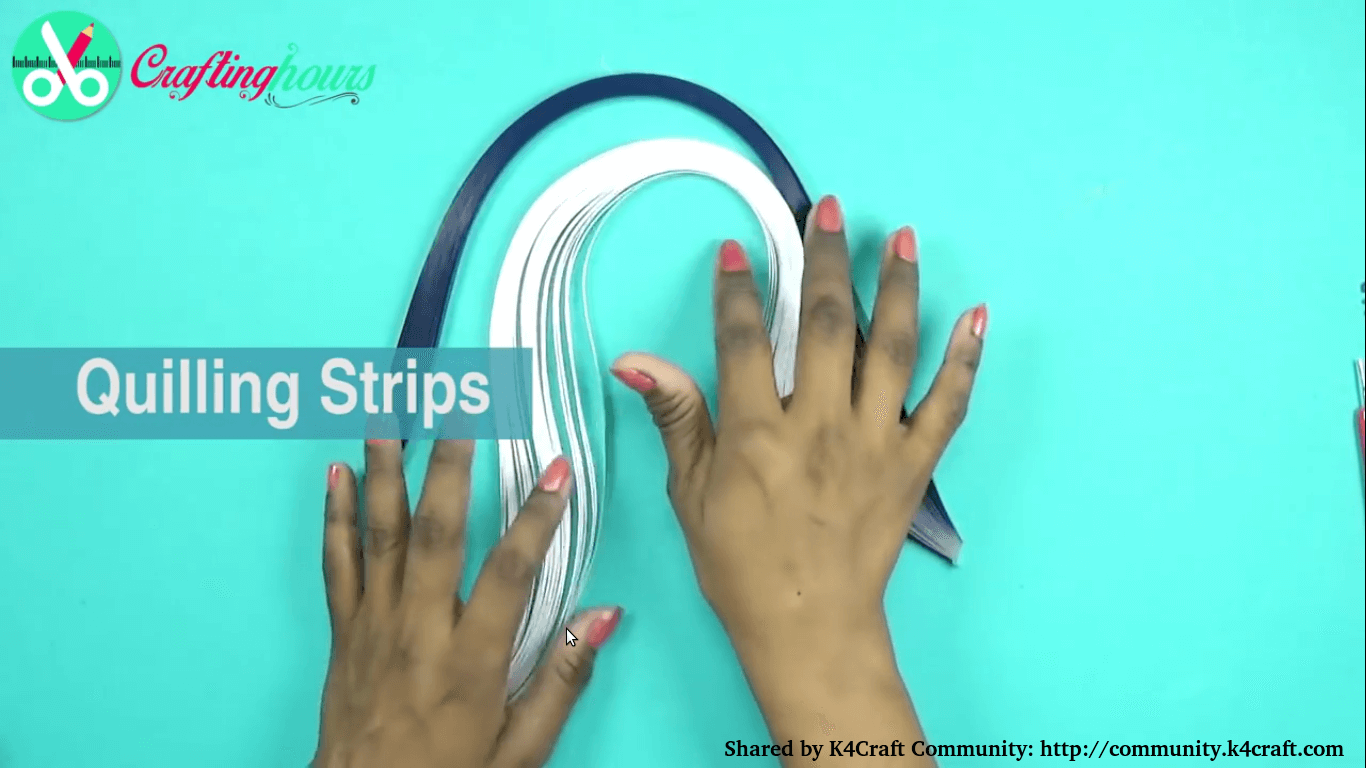
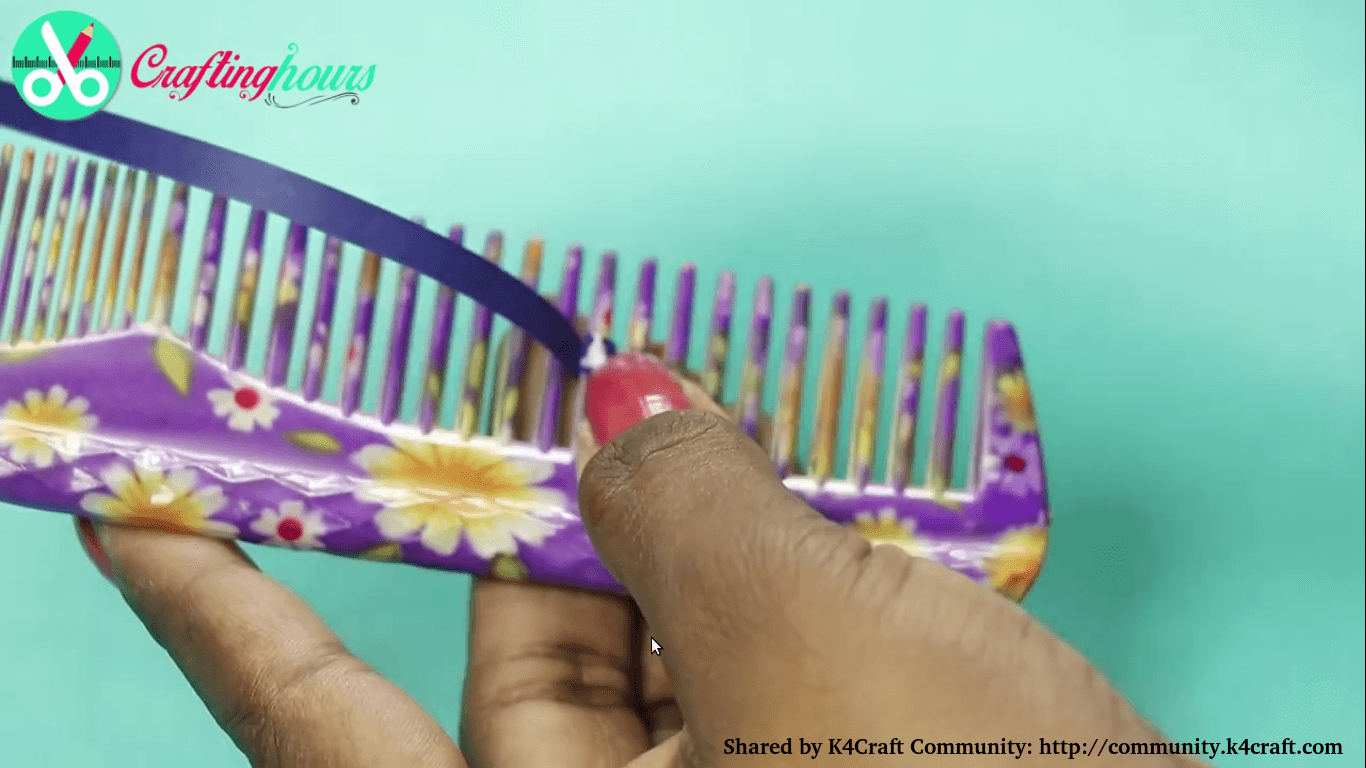
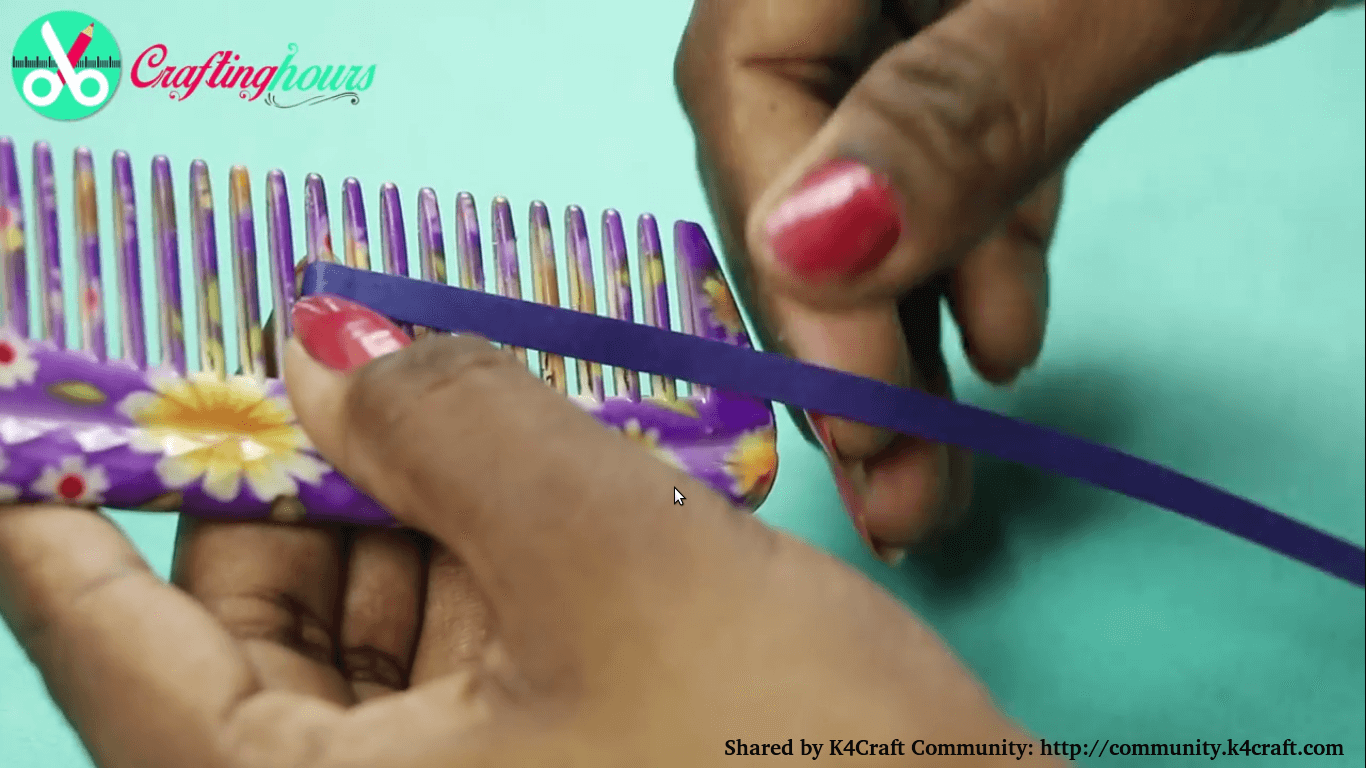
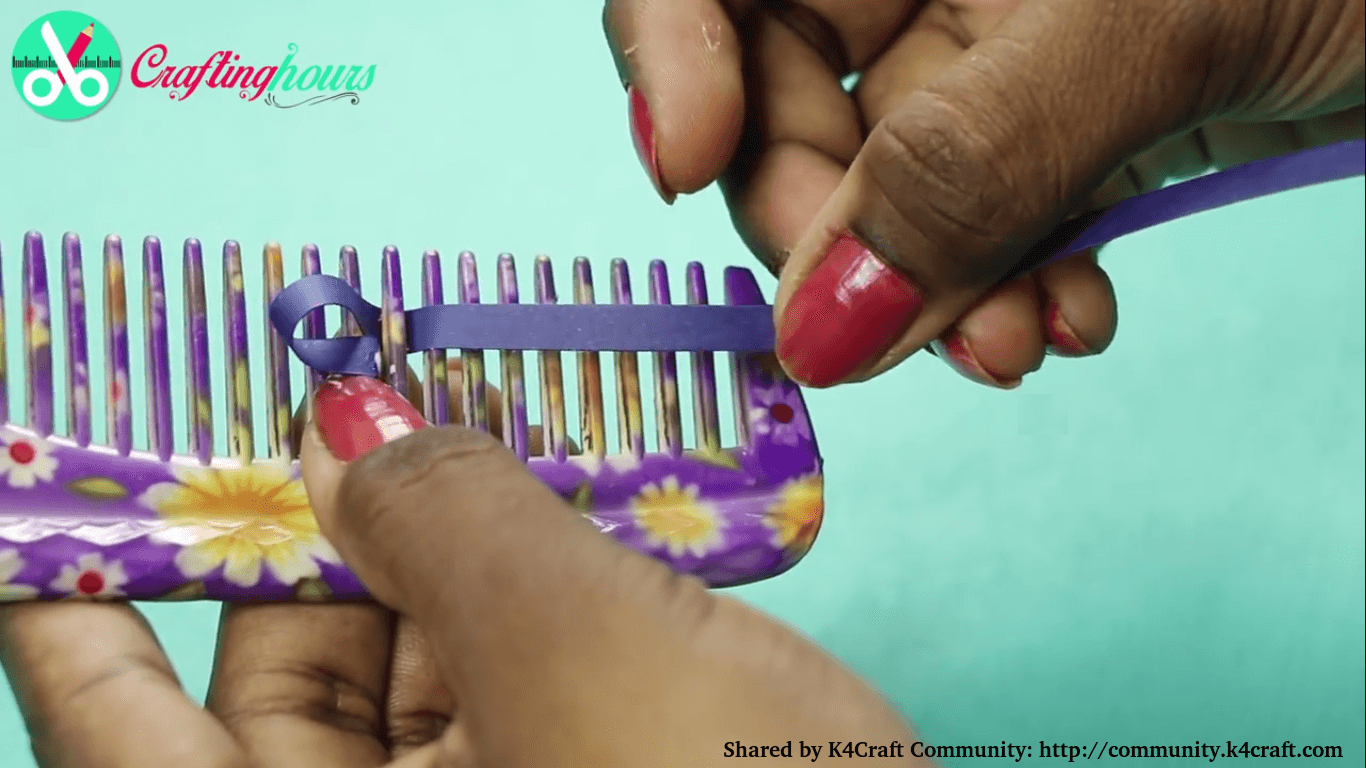
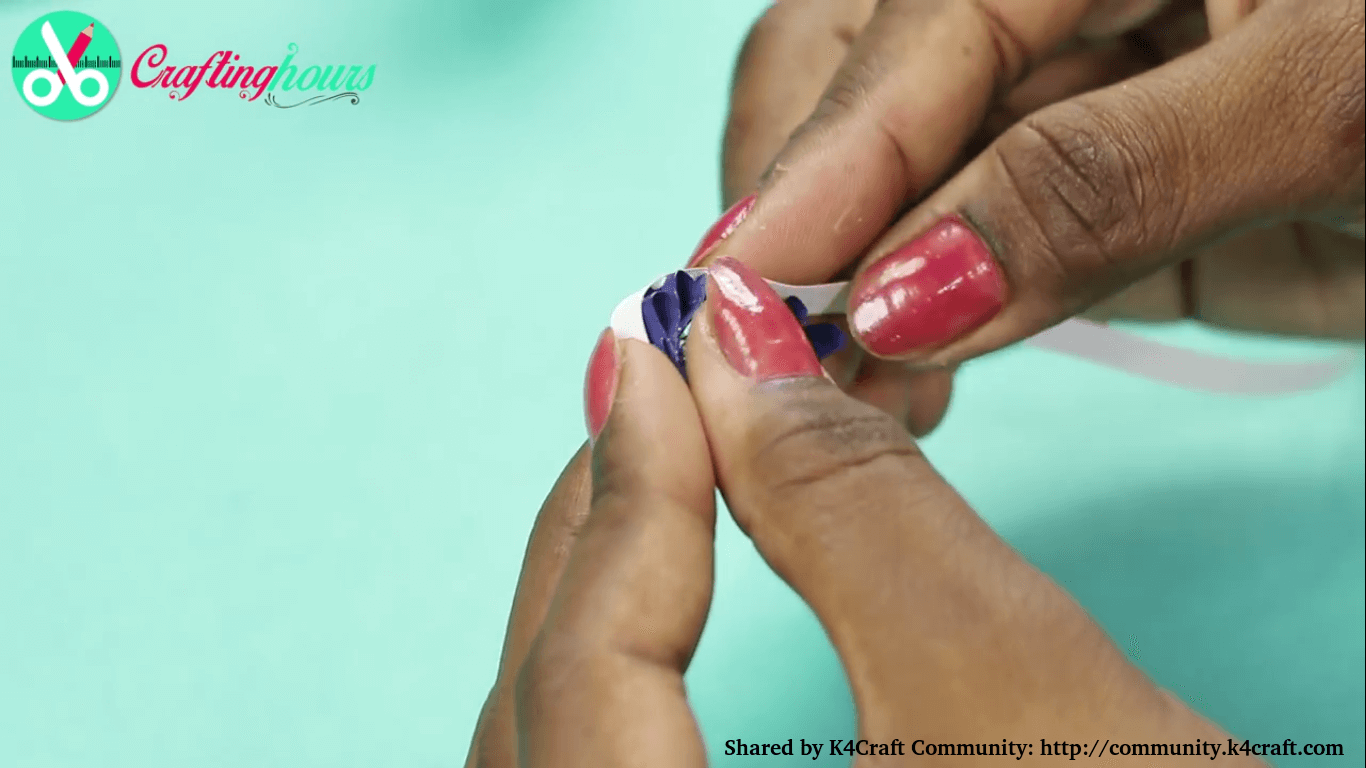
1) Take one quilling strip and roll it on comb tooth (as shown in video)
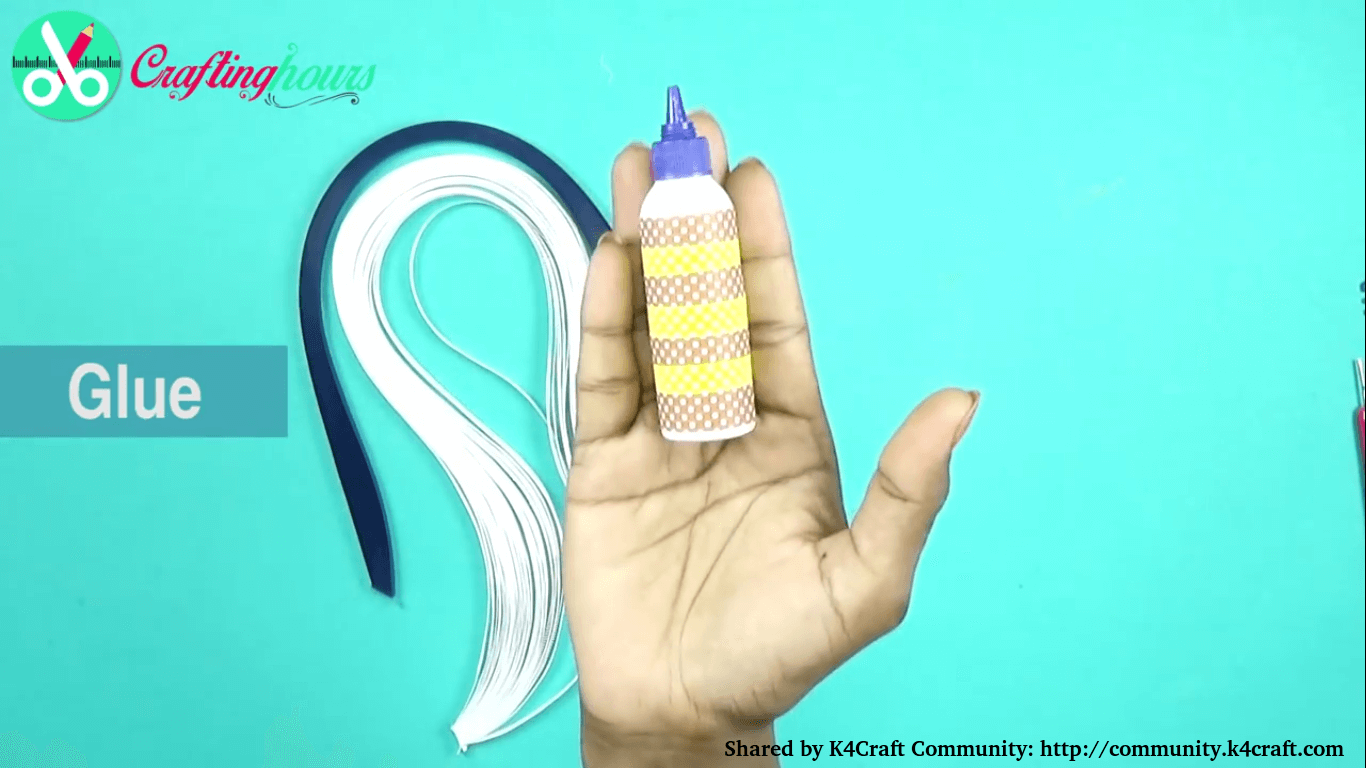
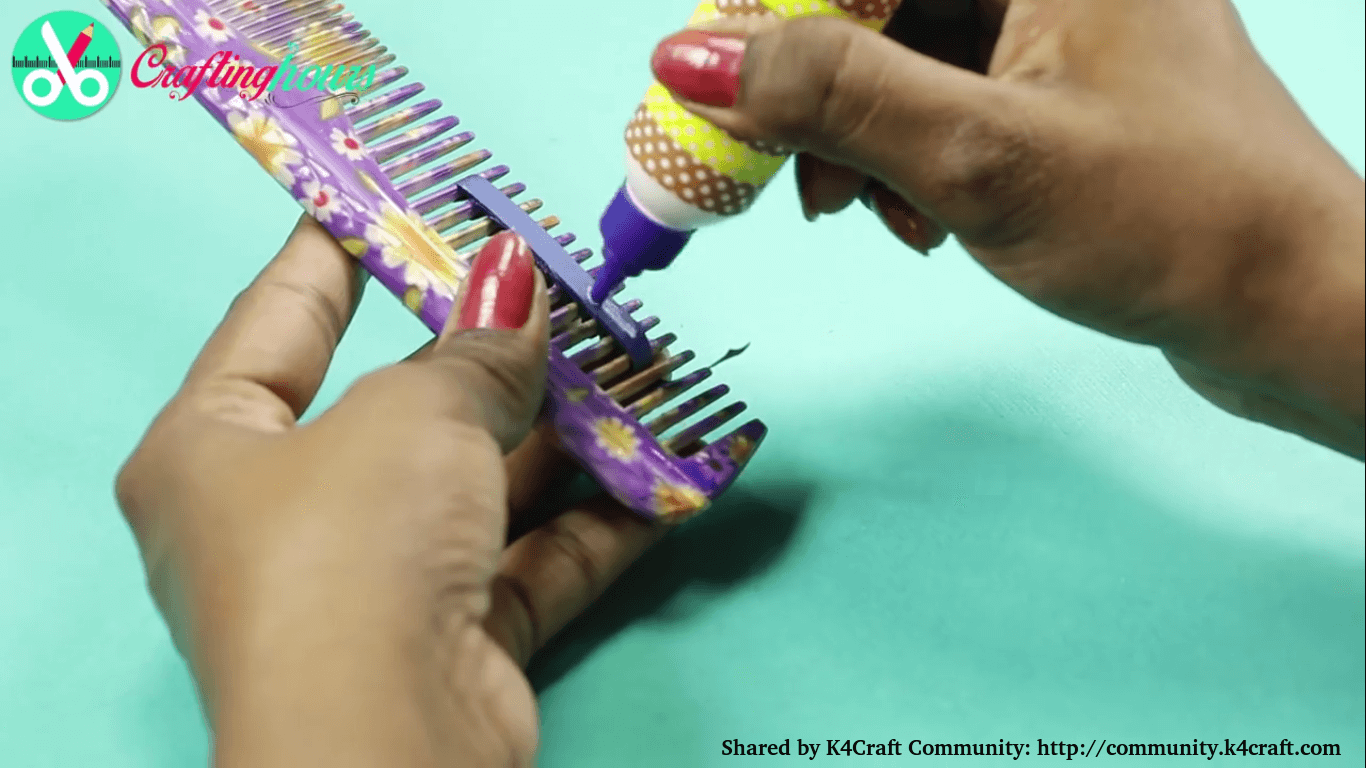
2) Now, fold that design into half and paste another quilling strip on it as done in video.
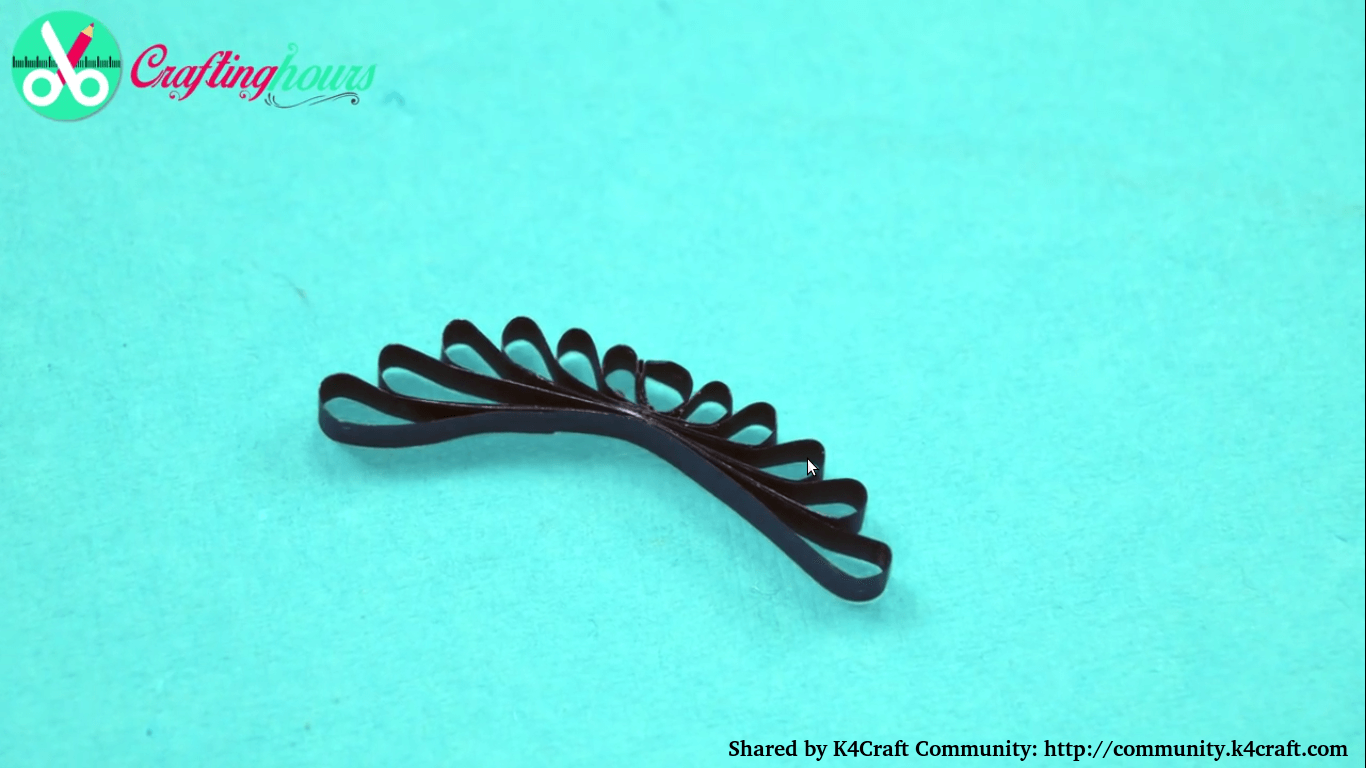
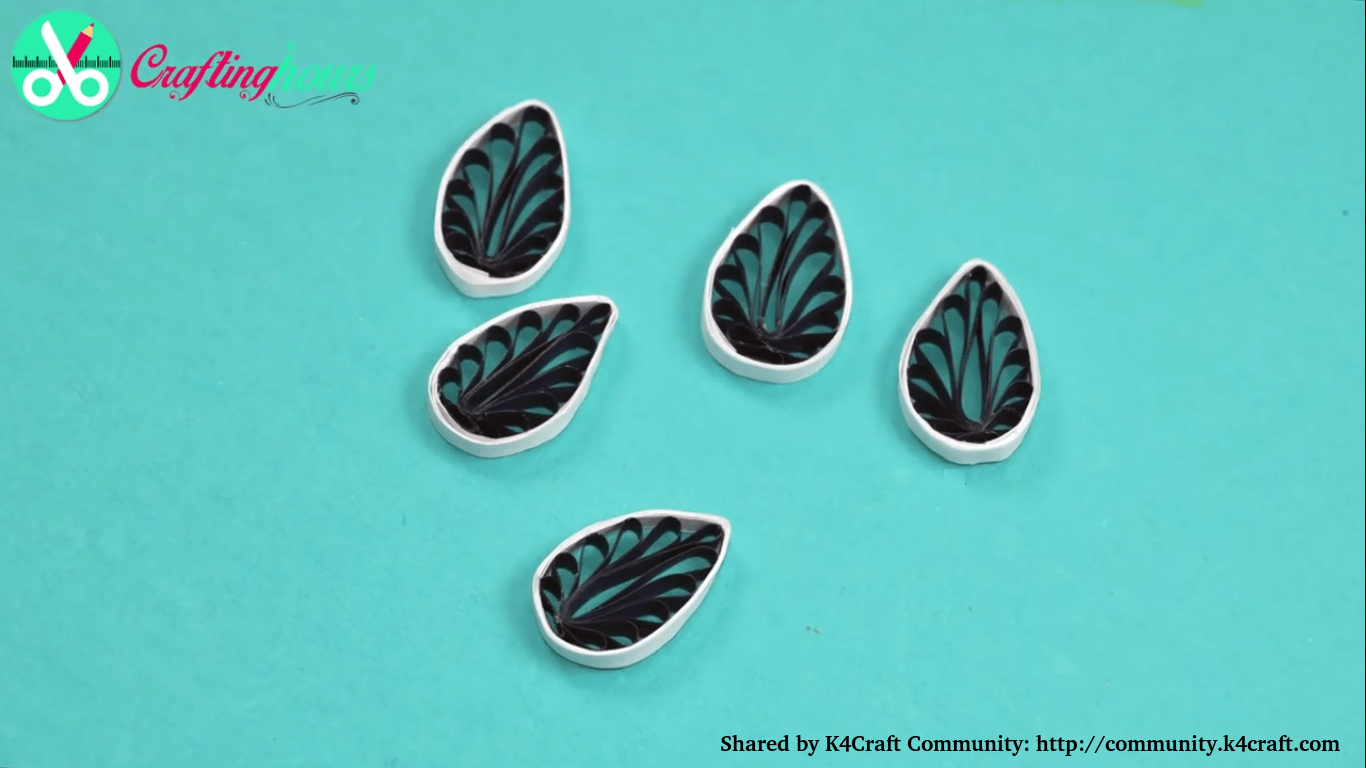
3) Repeat above steps for more design.
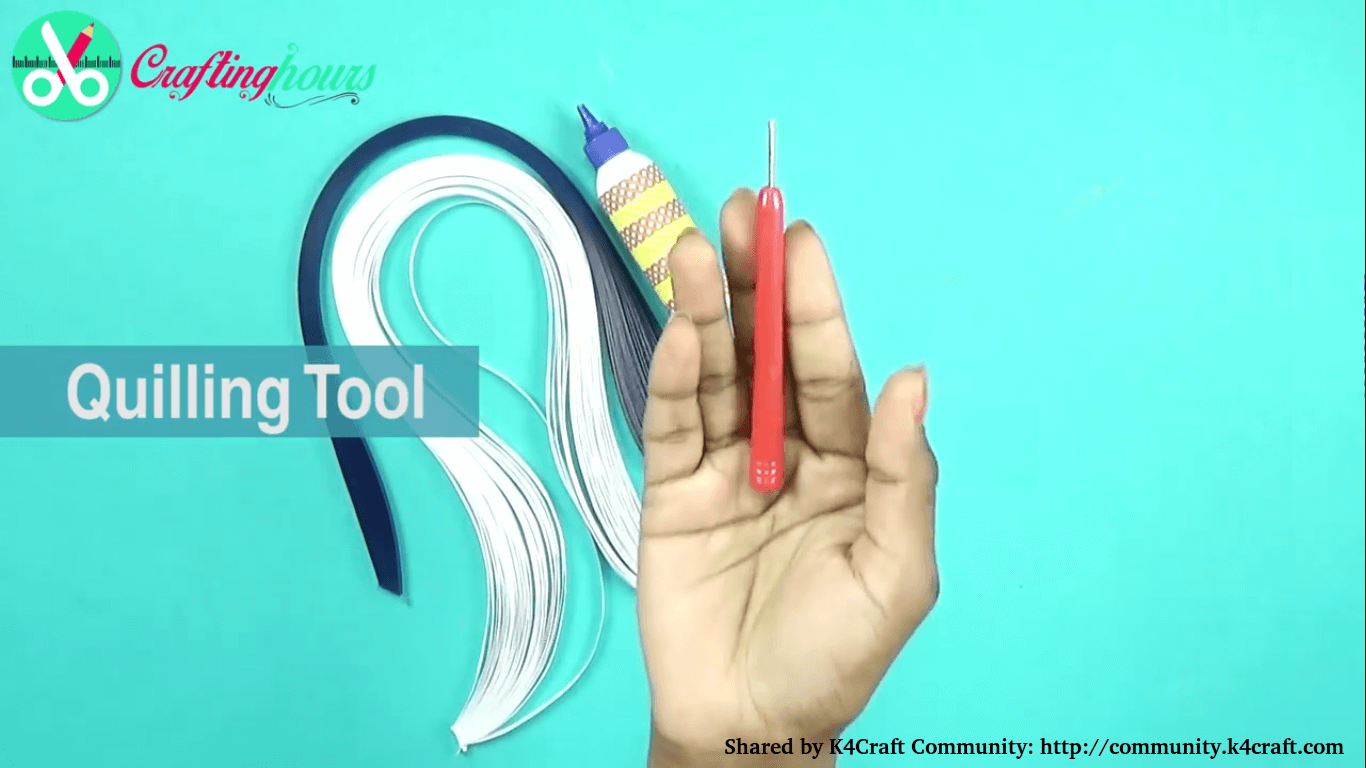
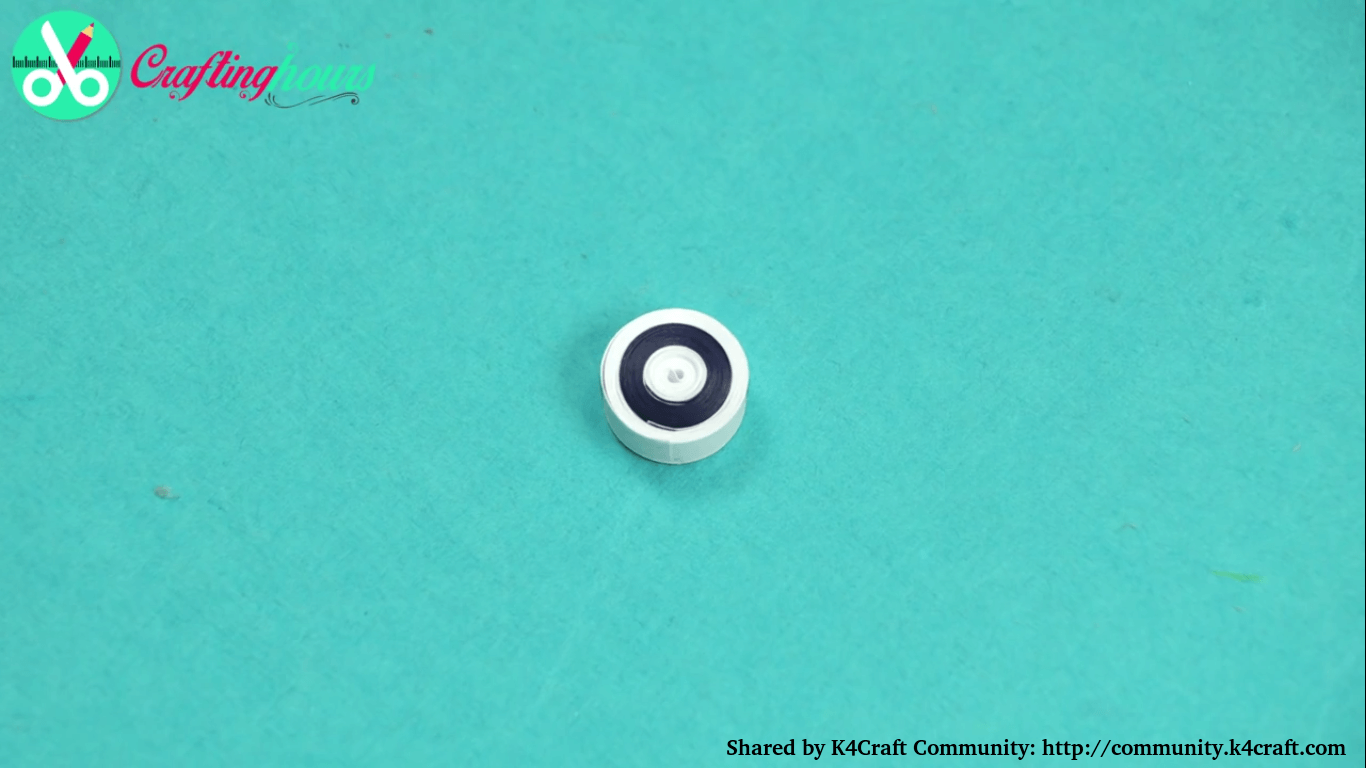
4) Now, take 3 quilling strip of different color and roll it using quilling needle.Paste all the petals on that circle to form a flower.
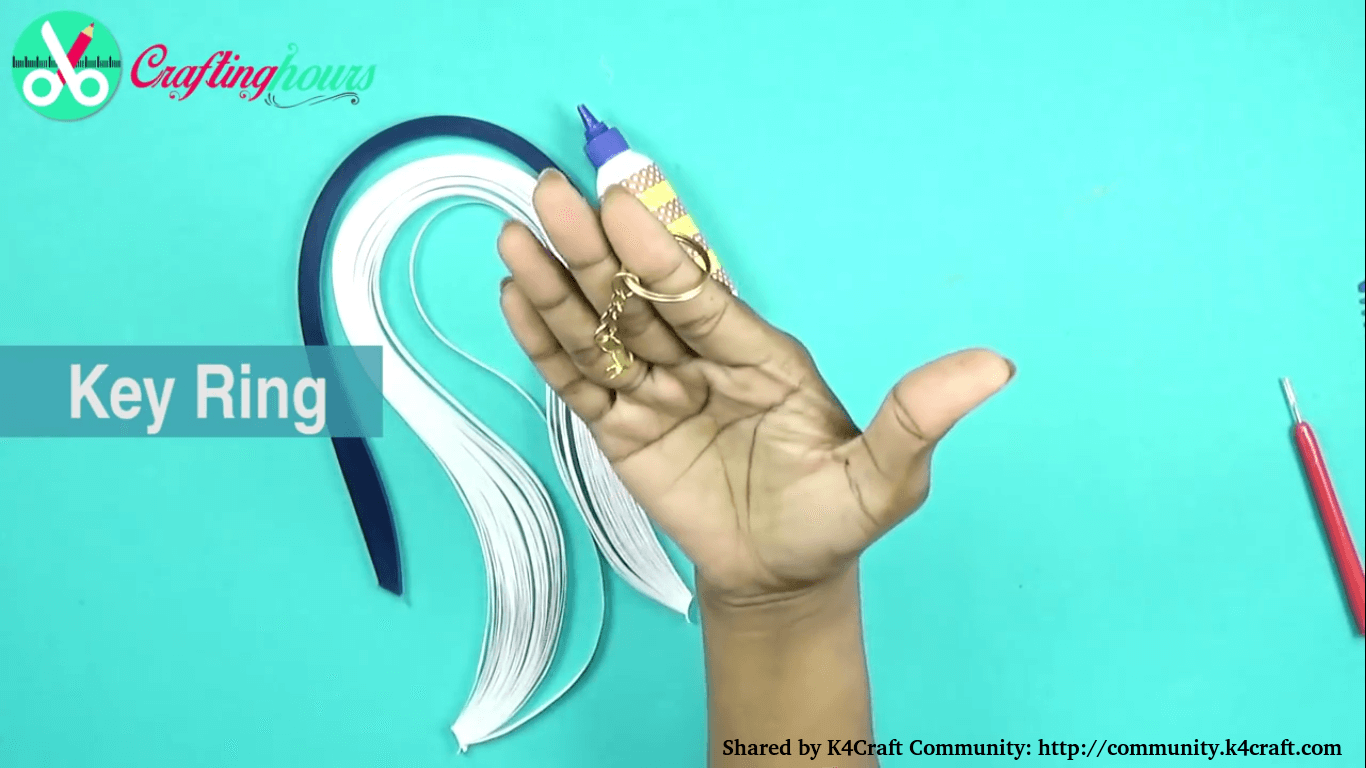
5) After pasting all the petals together,cover that flower with another quilling strip and hang key ring on that flower. (as shown in video)
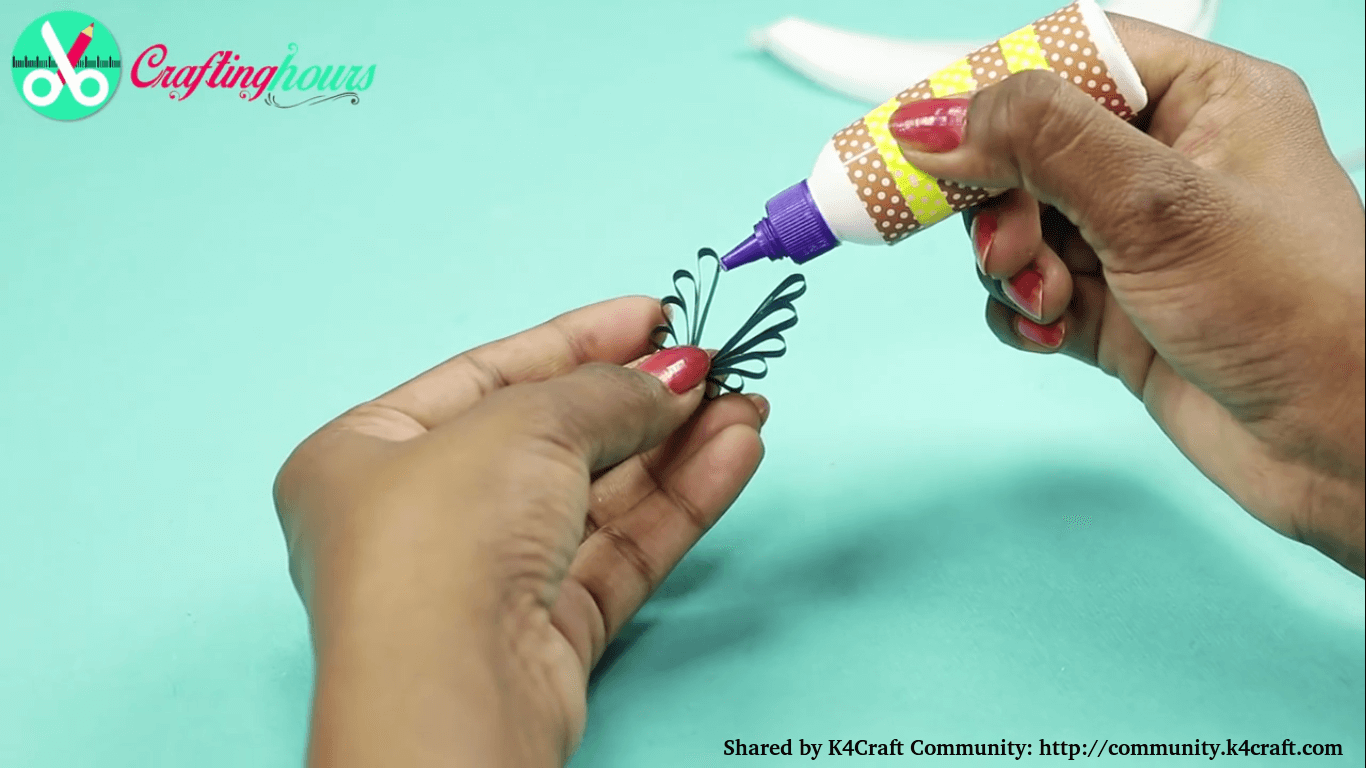
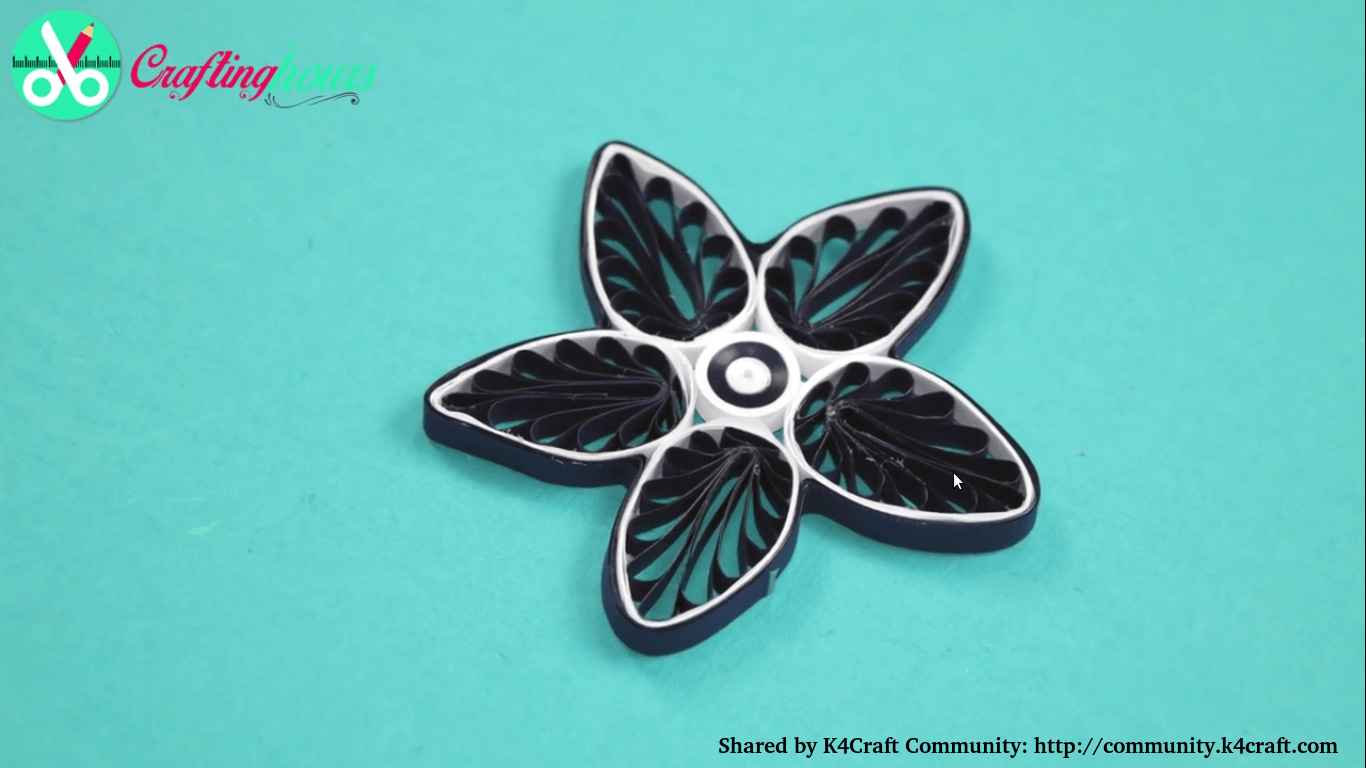
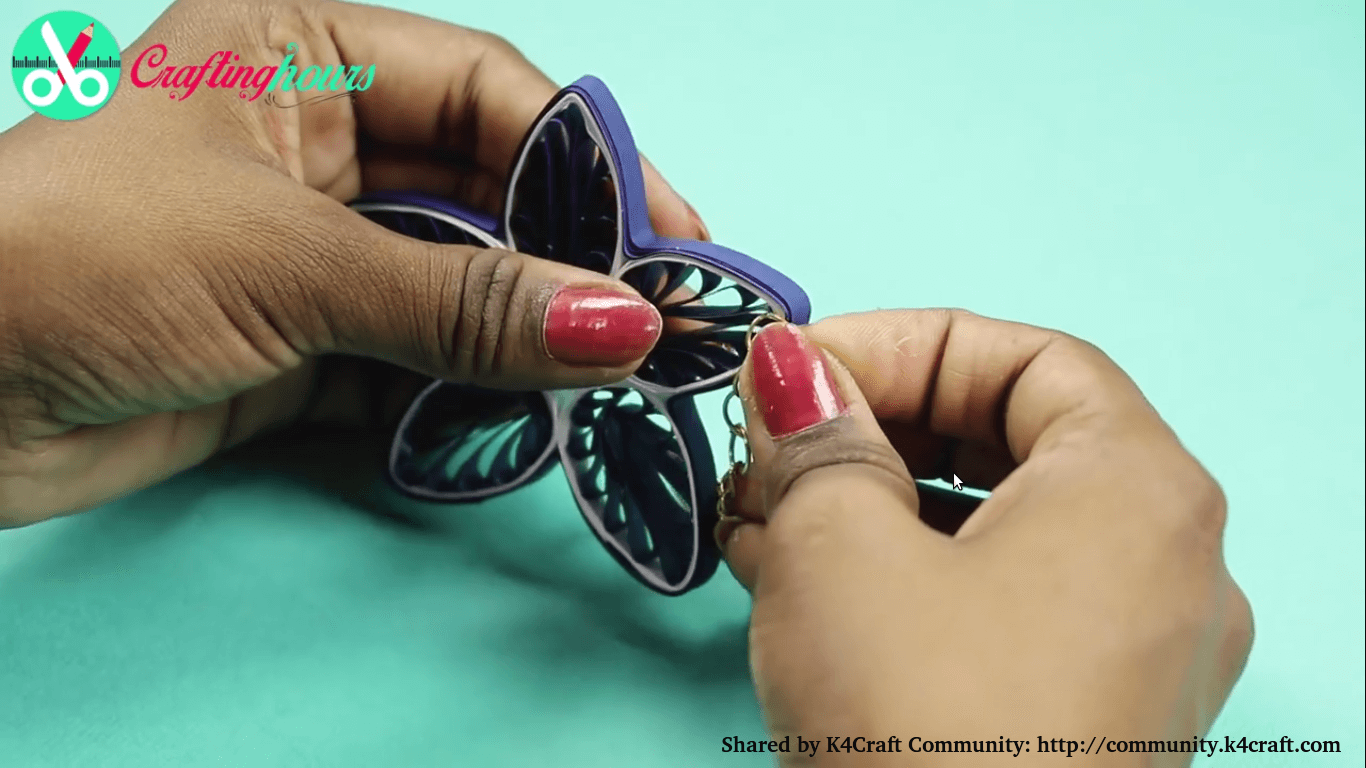
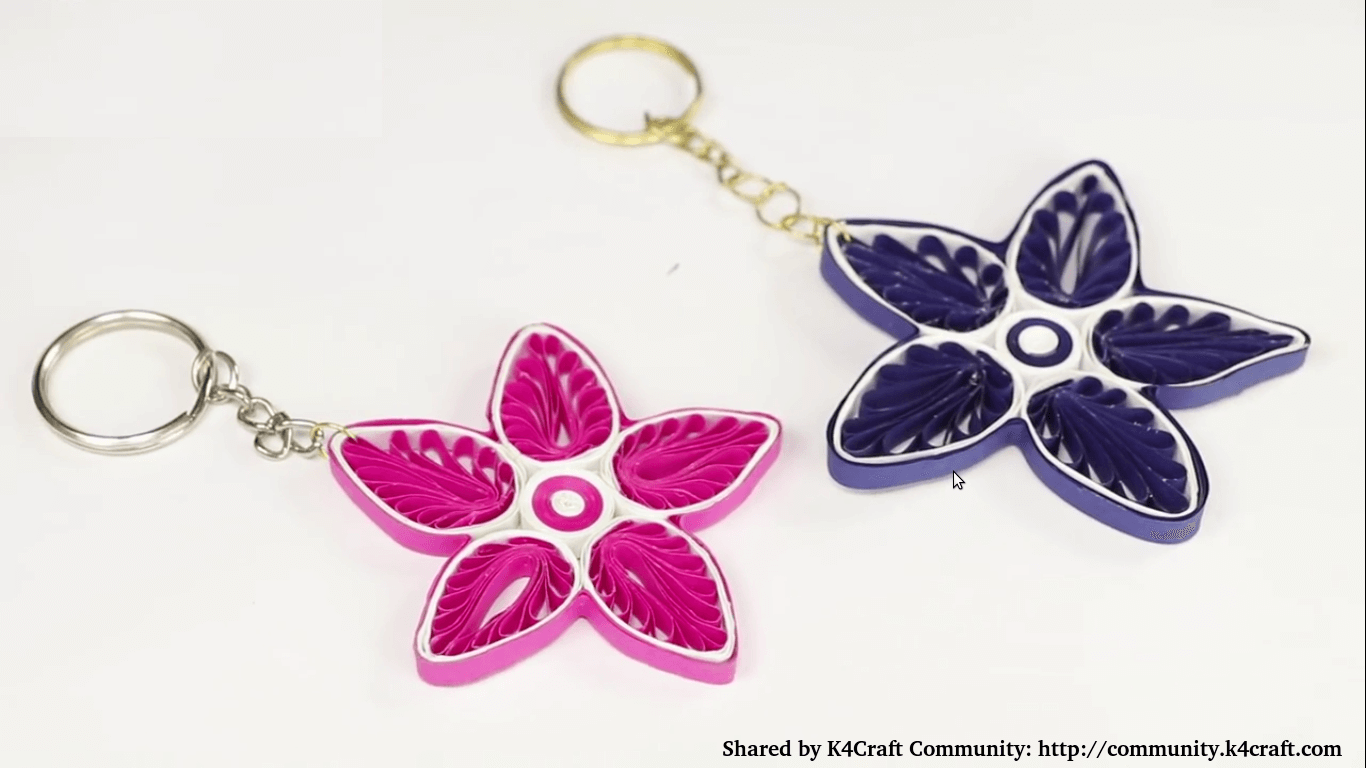
Your beautiful DIY paper quilling key chain is ready. Hope you liked it. Stay tuned for more crafting tutorial.
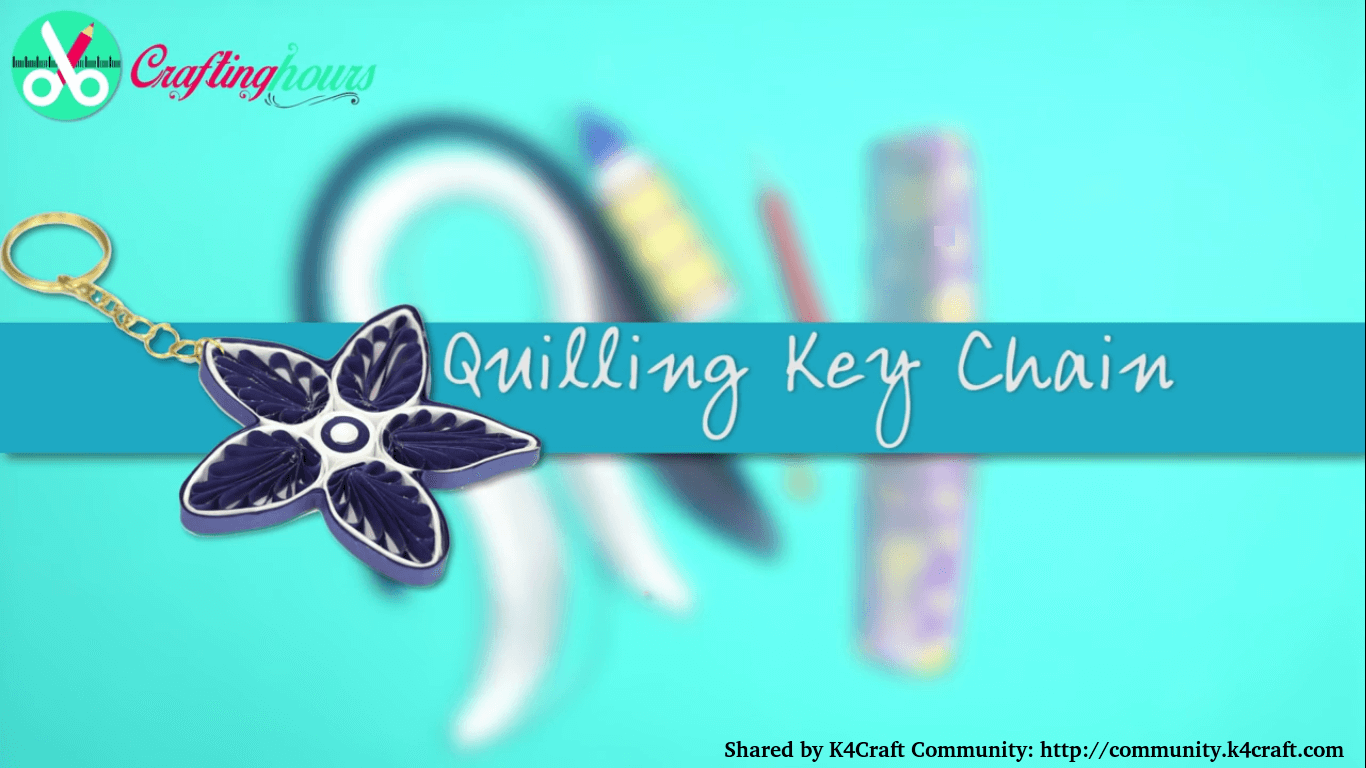
Everyone loves to keep beautiful key chain. How wonderful it would be to make your own key chain at home! Crafting Hours brings you this exciting DIY Crafts activity on paper quilling to help you learn how to make key chain with paper!

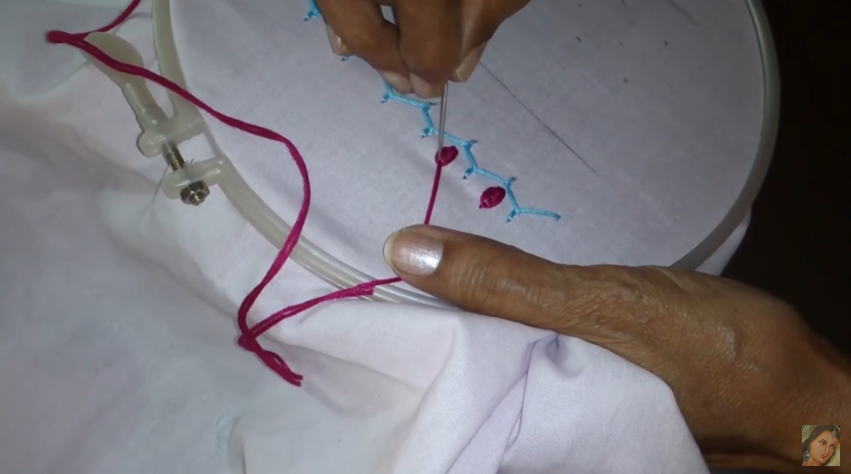
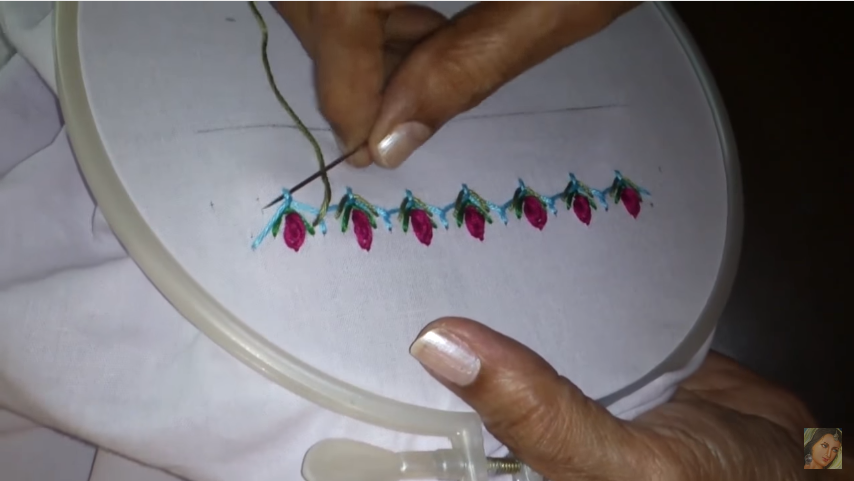
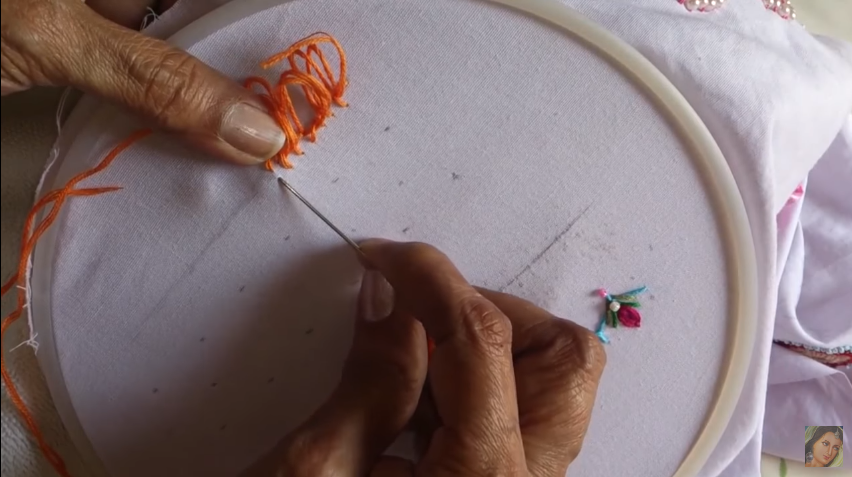
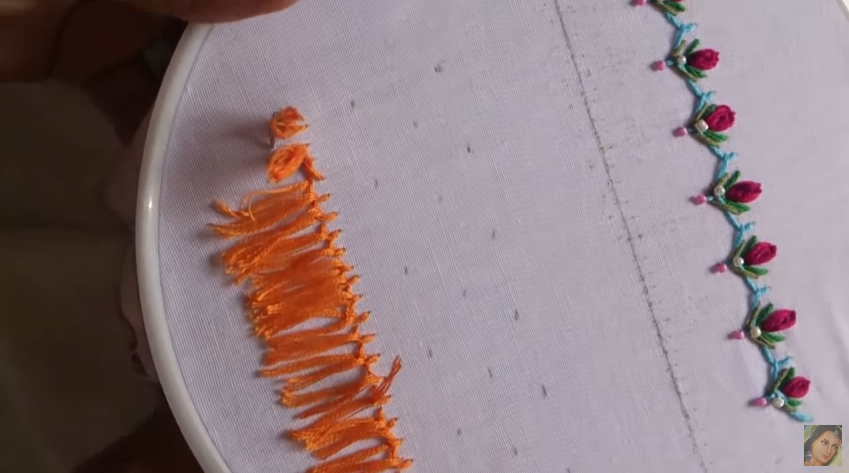
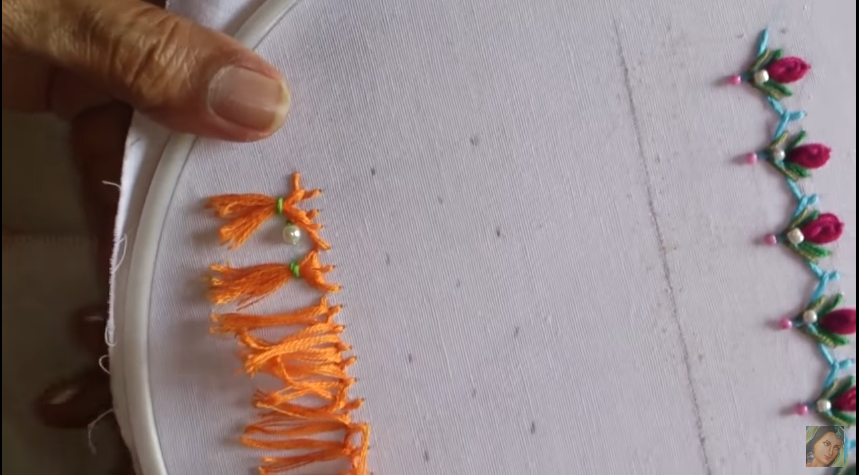
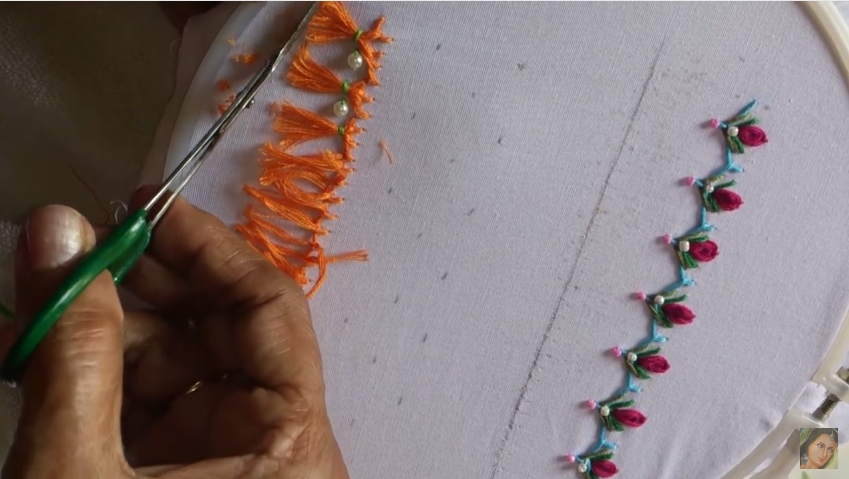
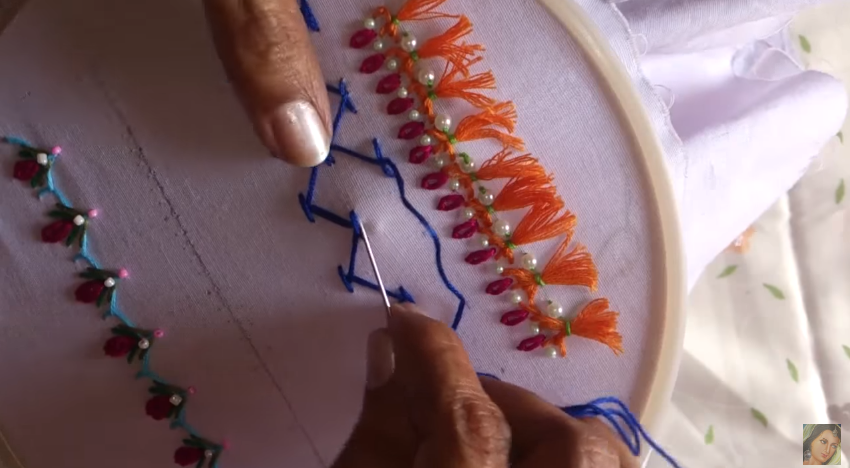
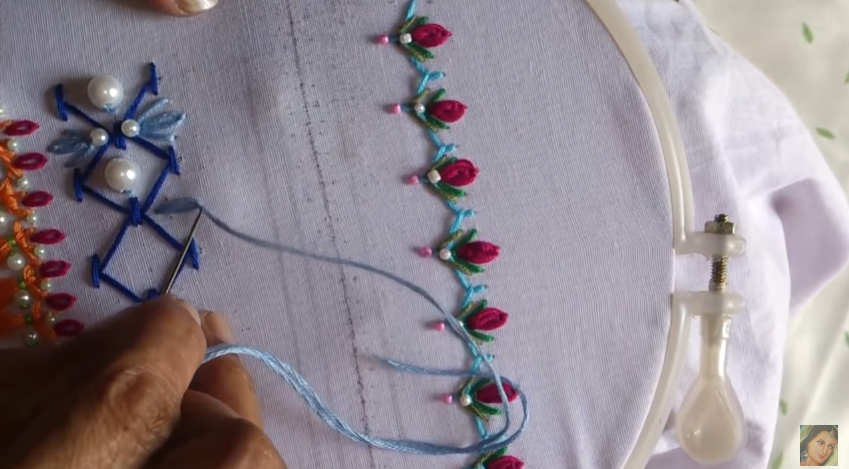
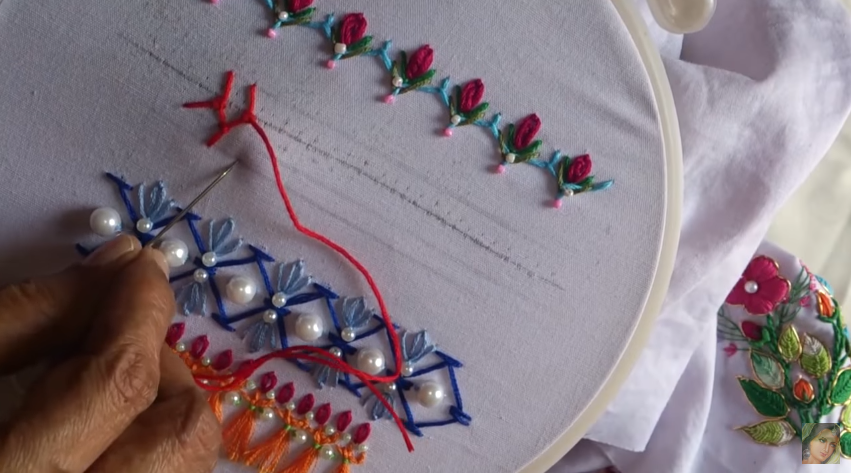
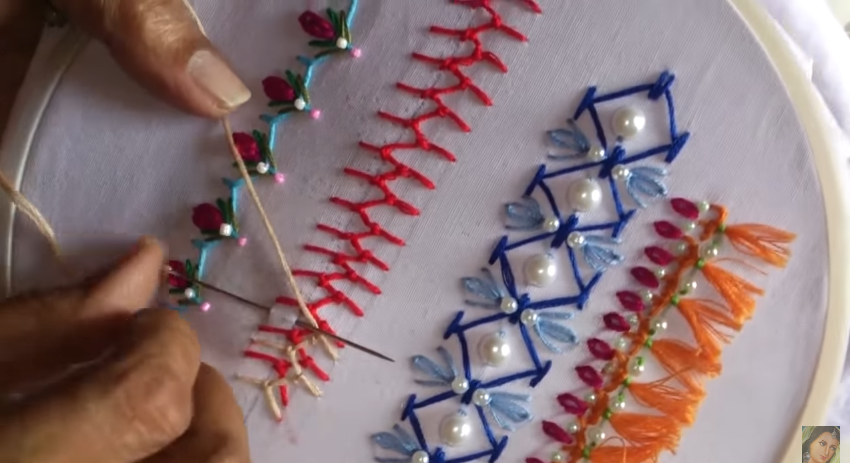
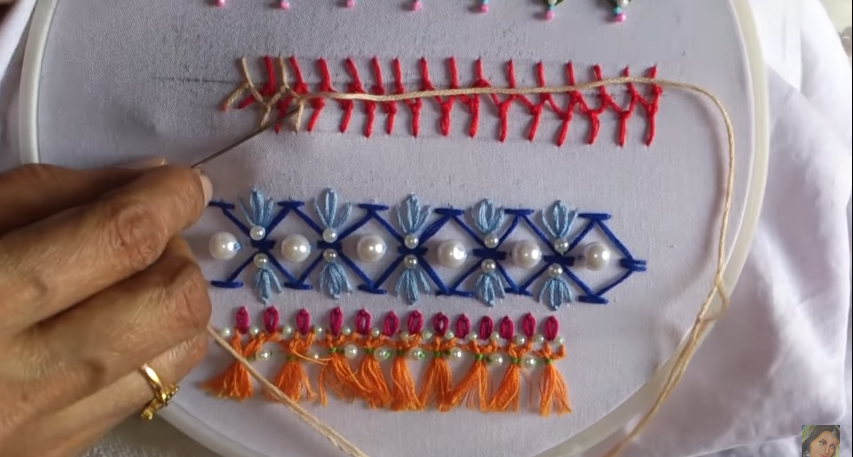
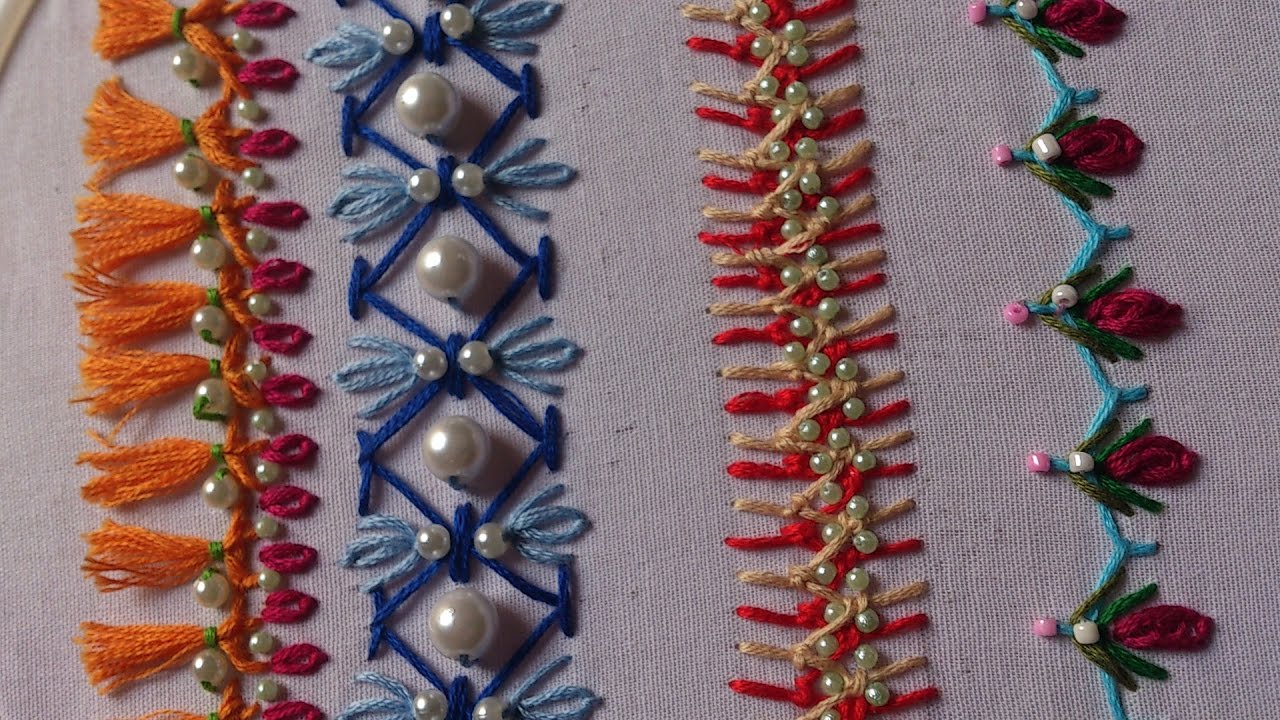
Learn basic hand embroidery stitches, and use them in a creative way: