How to make wicker vases, candy

wicker Vases Candy 1

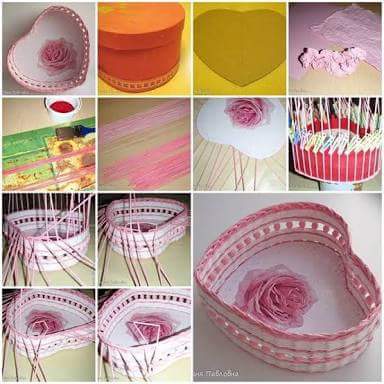
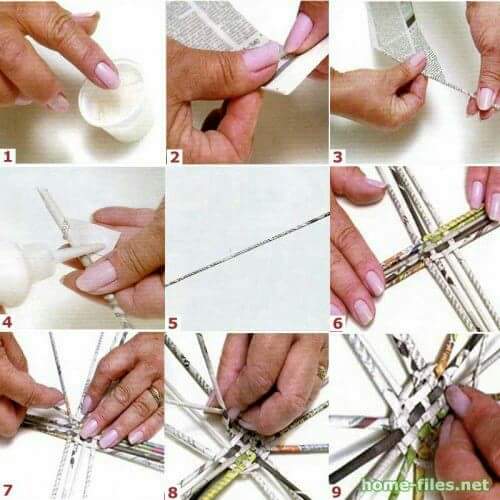
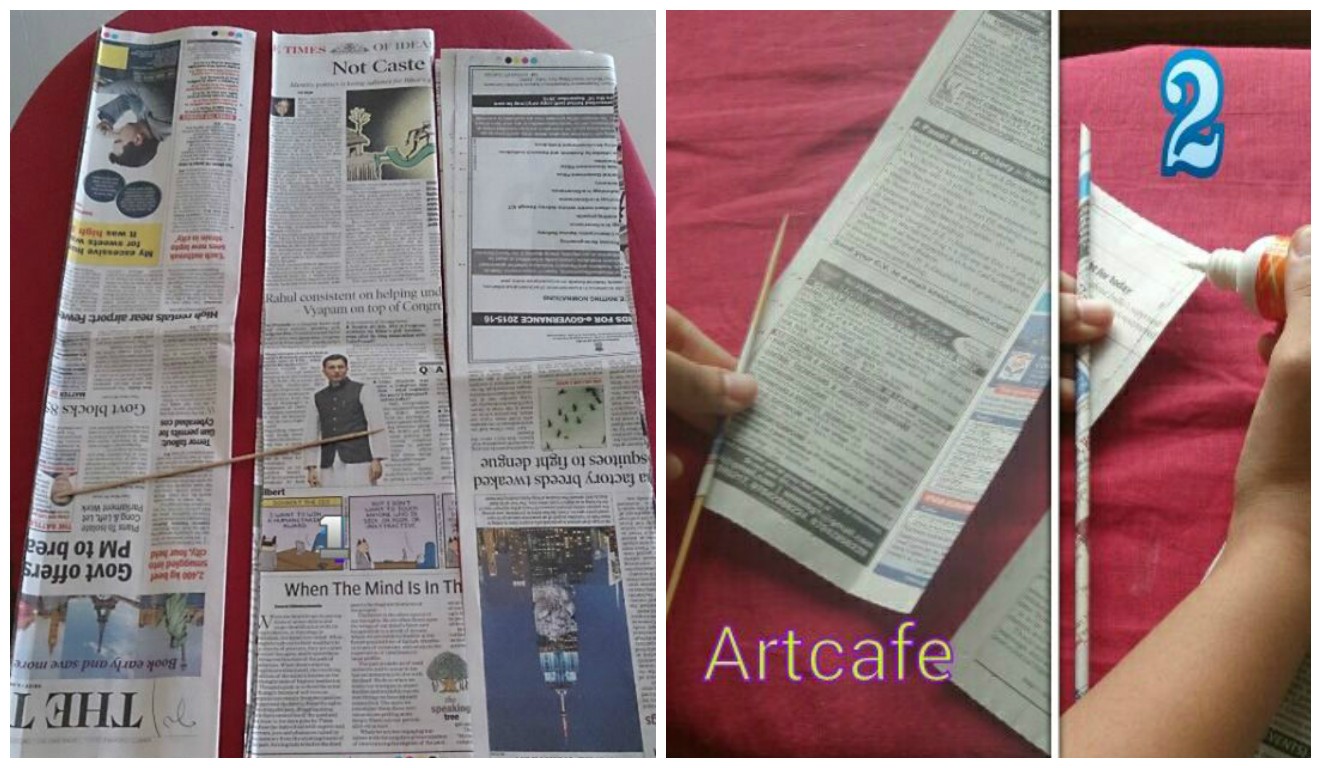
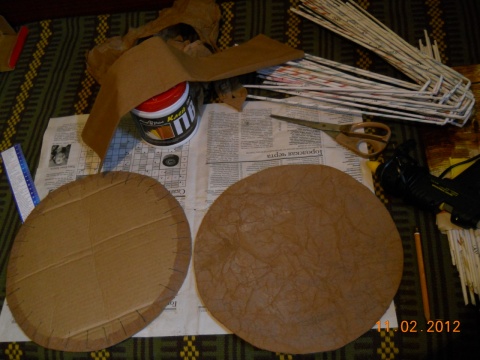
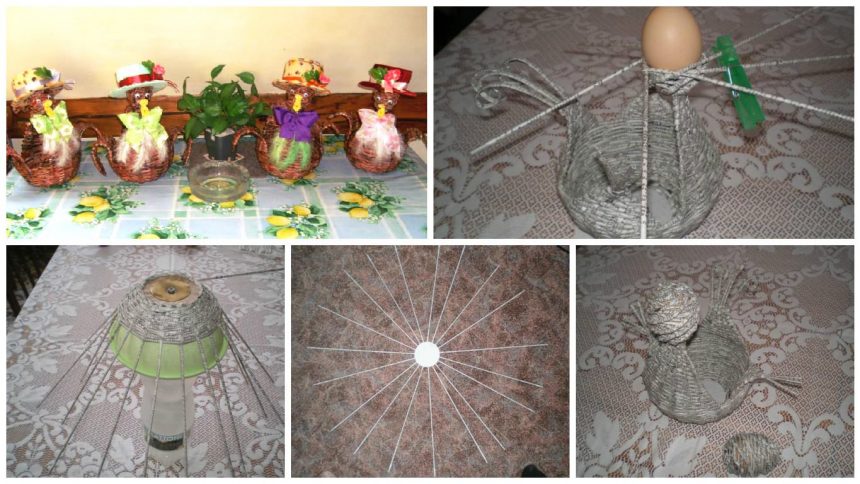
Production of small vases, candy boxes, which can be made from the remnants of tubes and in a very short time. With such handle any beginner. Tat candy are a variety of ways. Here is one of them.
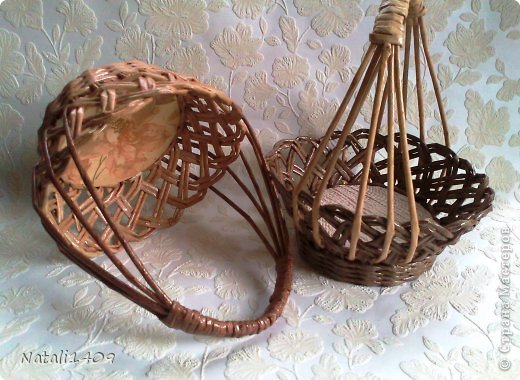
 we need:

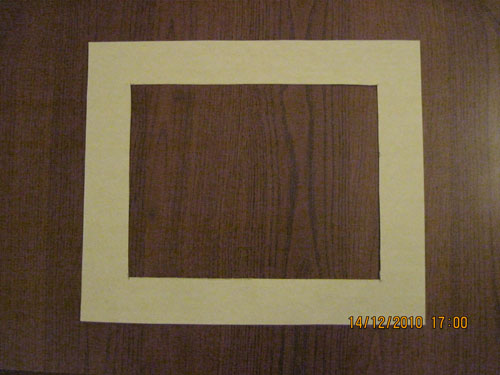
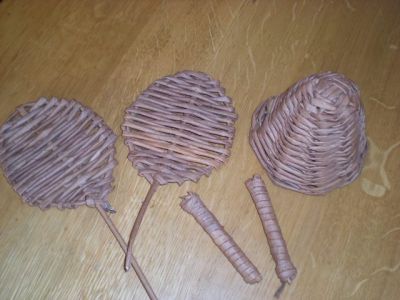
  • Two cardboard circle for bottoms (it can and weave)
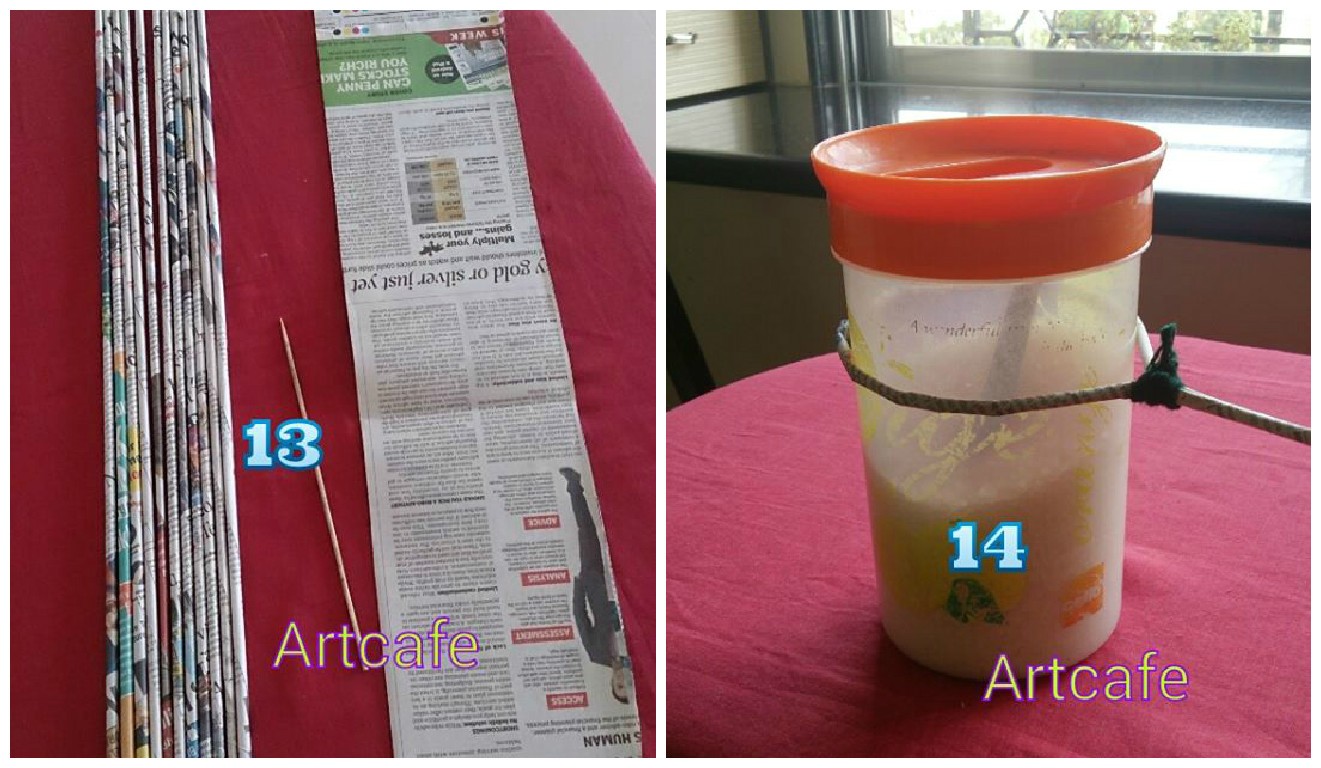
  • 46-50 rolls of the same color and
  • 15 tubes of a different color of course
  • You can weave and all one color. 
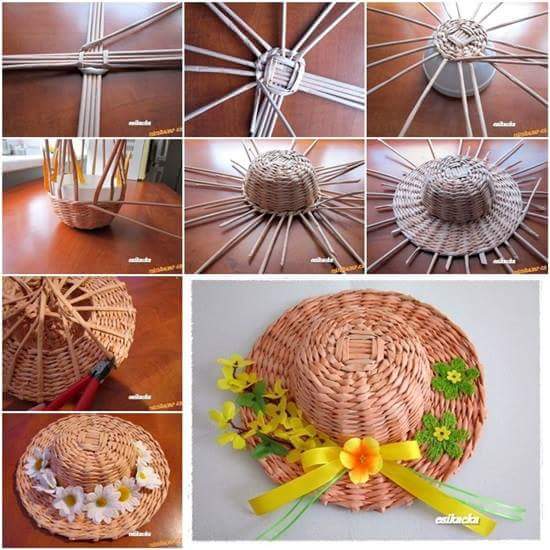
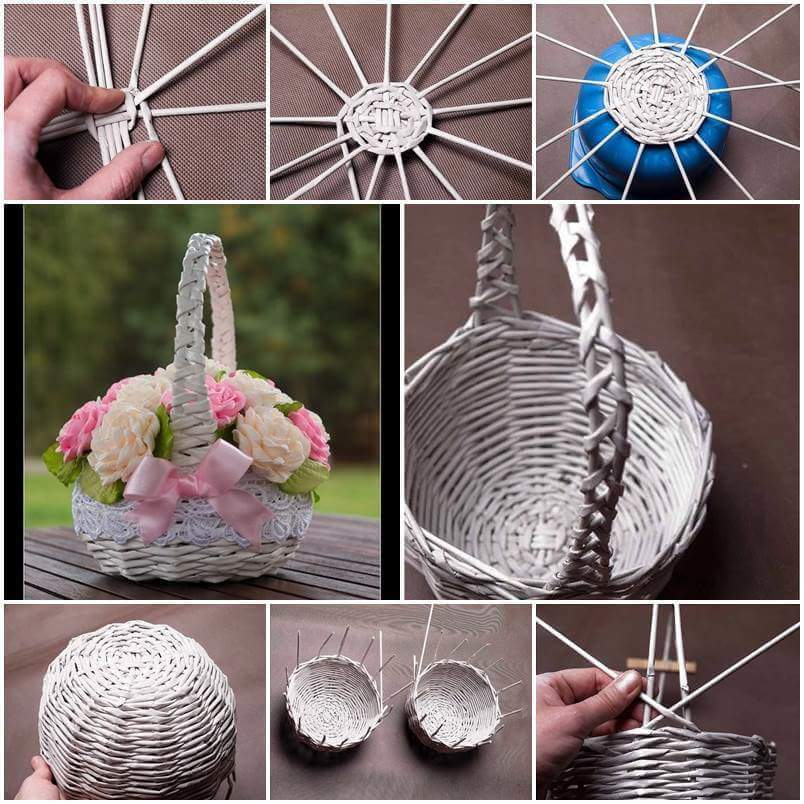
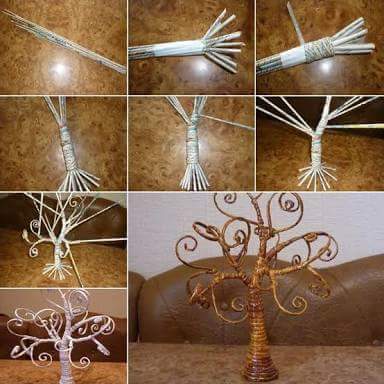
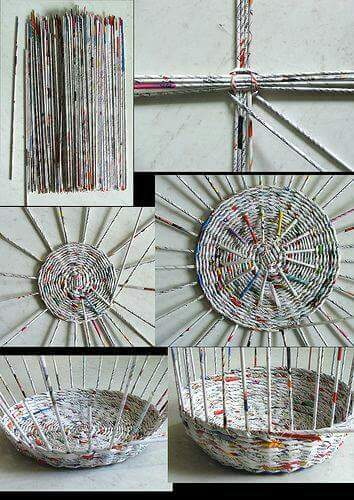
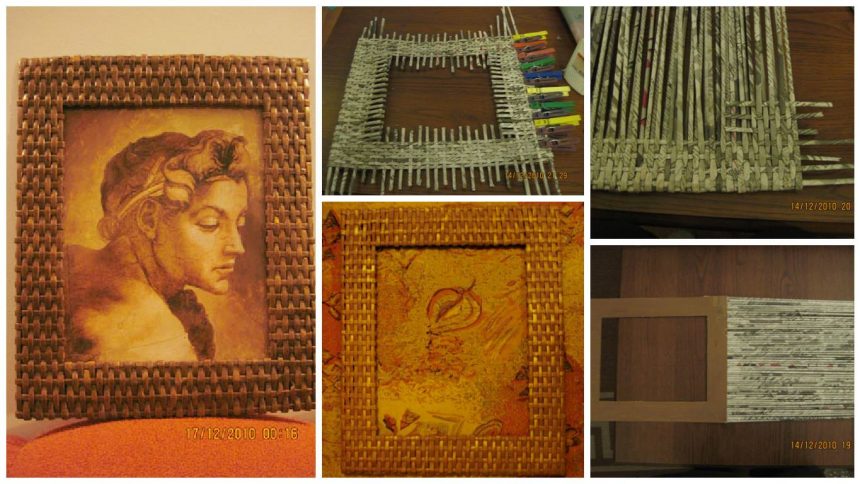
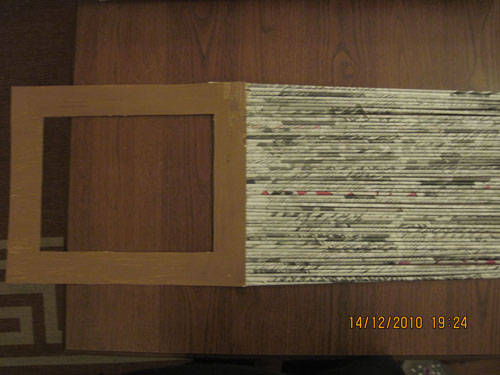
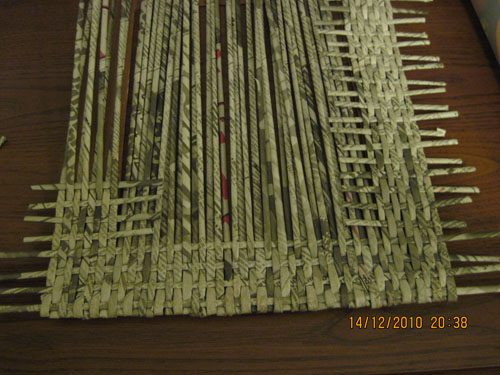
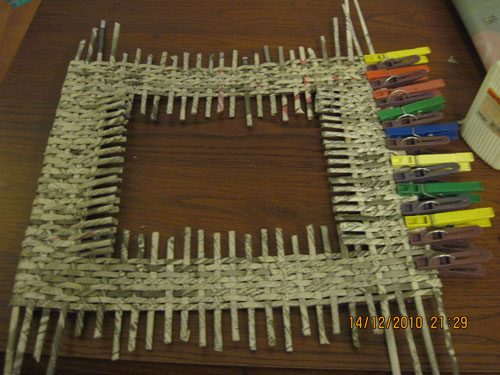
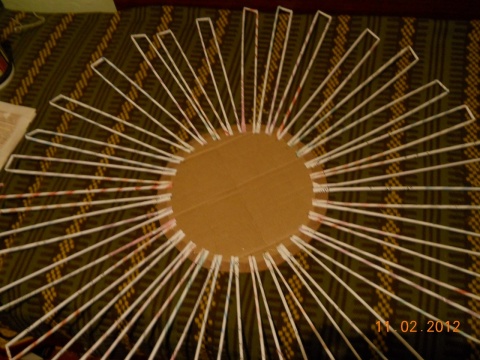
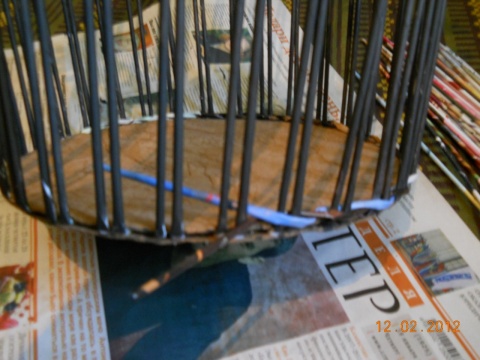
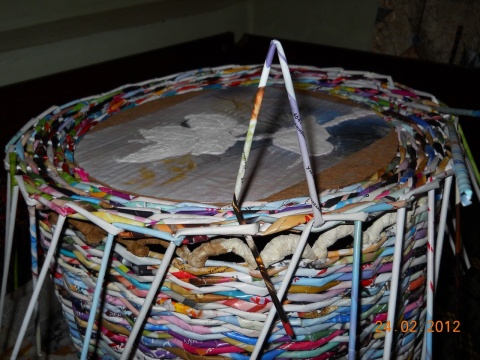
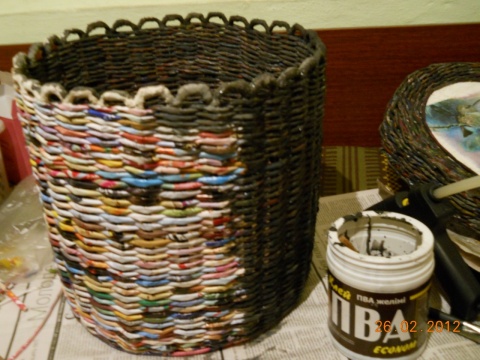
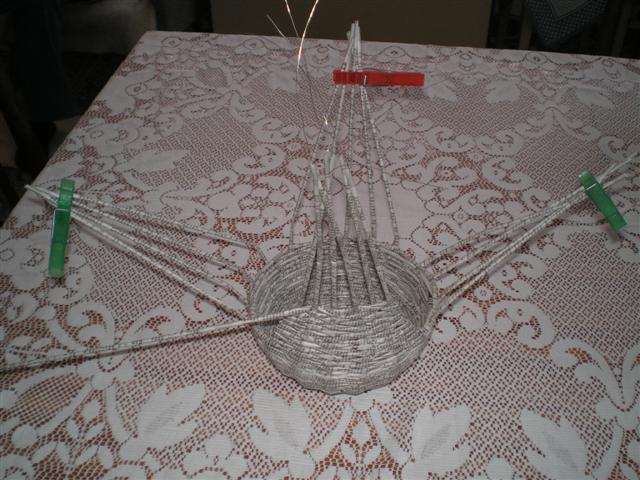
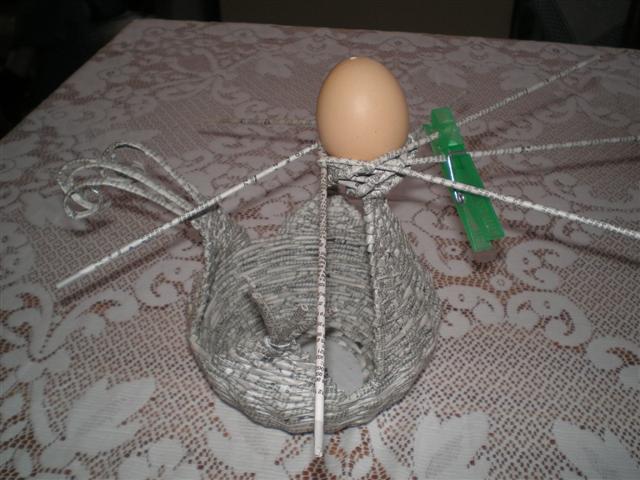
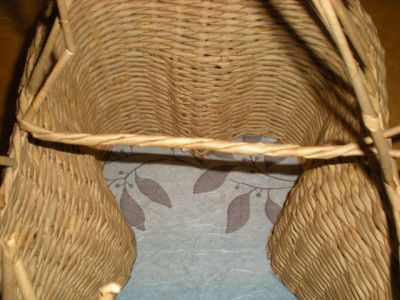
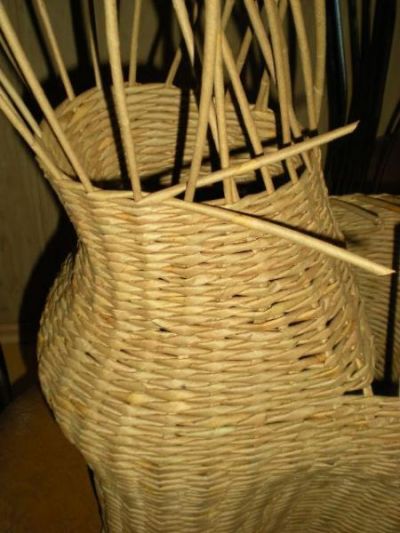
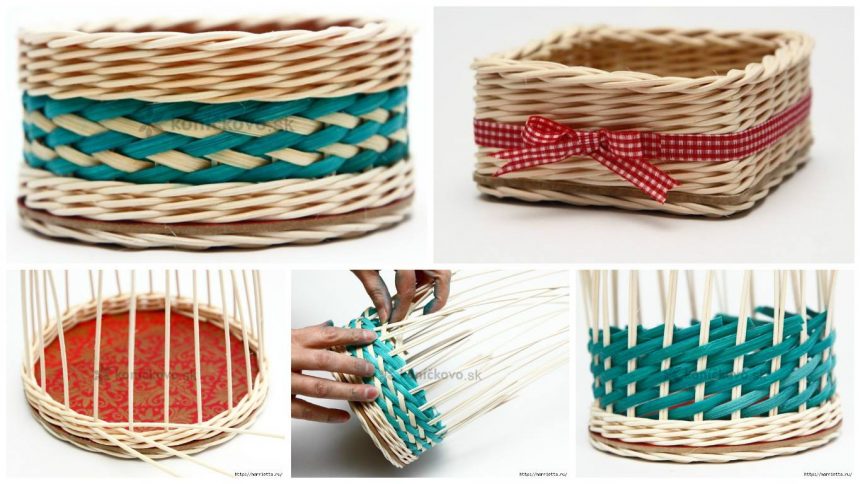
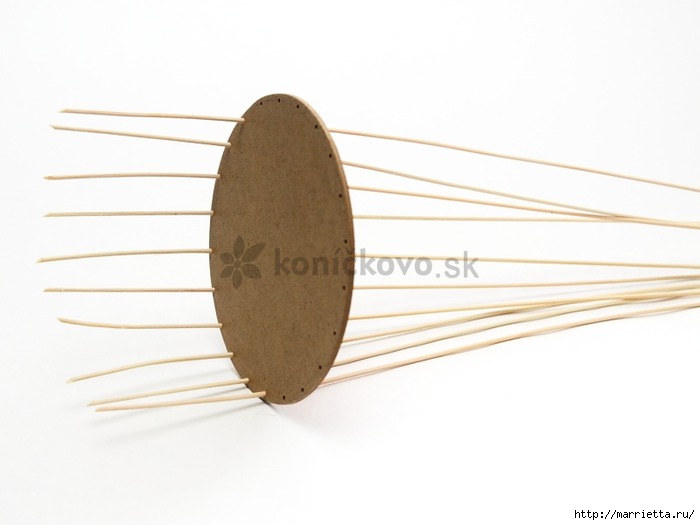
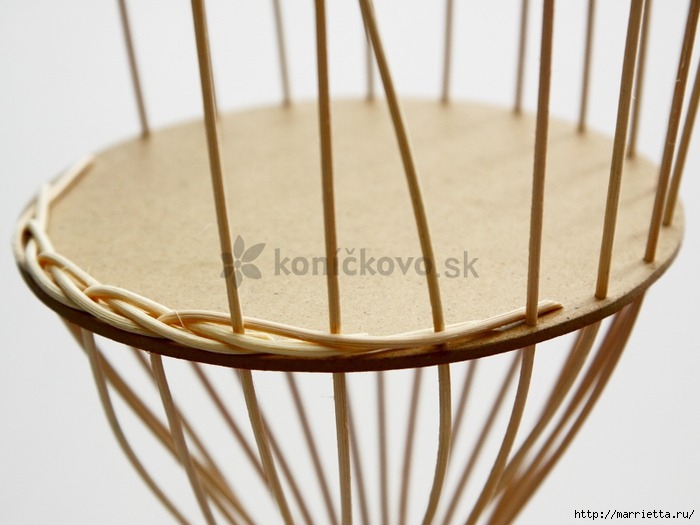
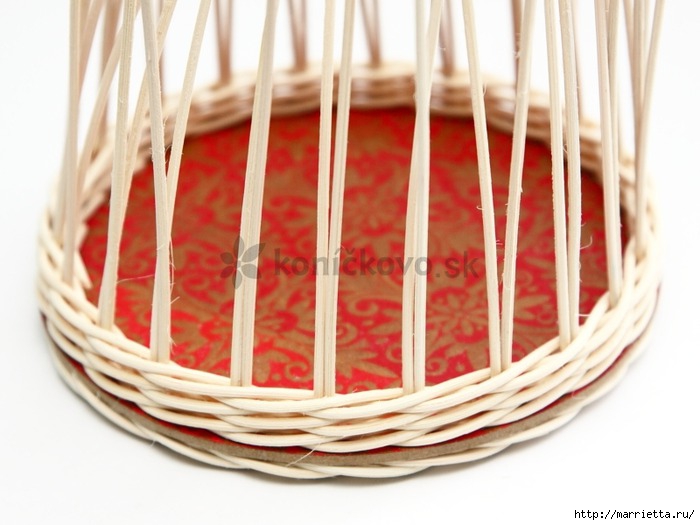
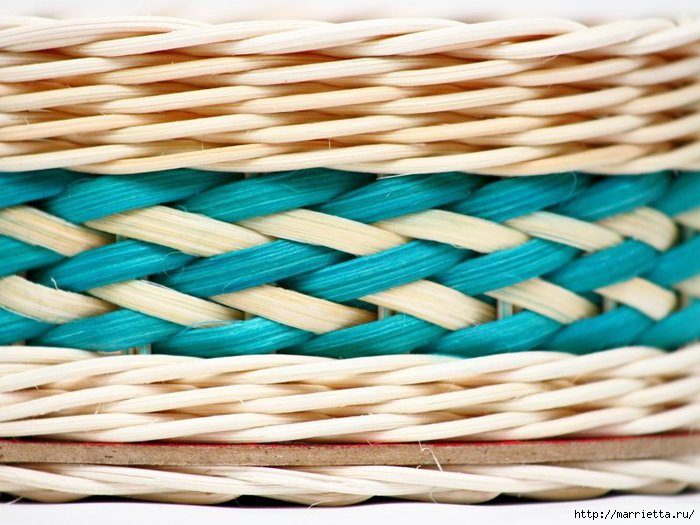
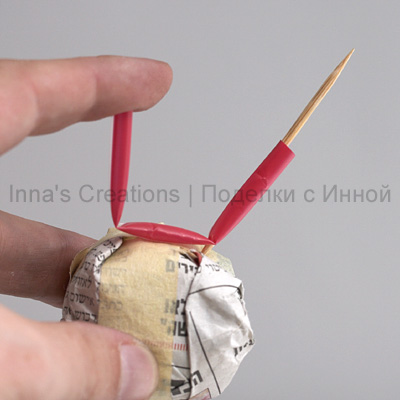
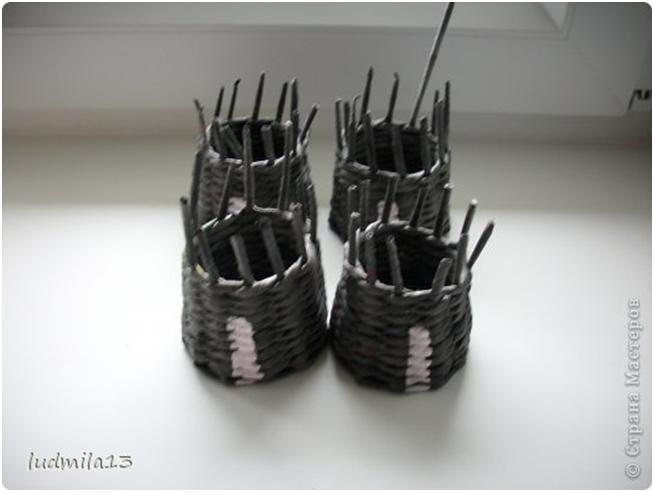
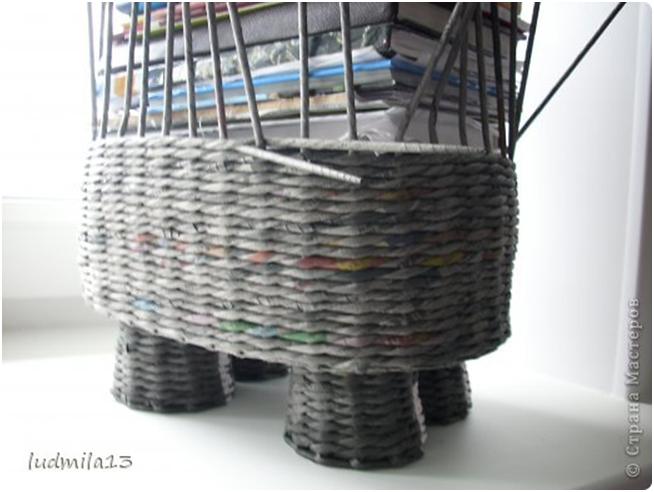
Between cartons, wallpapered (I) insert 18 pairs of tubes (photo light) and 5 tubes for pins, placing them between pairs at a time. (5 tubes between the pairs, 4 pairs missing and another 5 tubes). I have them slightly darker. 
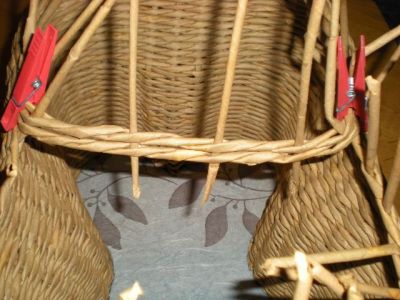
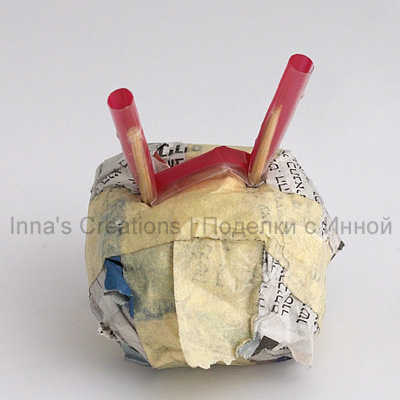
We raise our tubes for pens up and fastening a pin. The product is face down. 
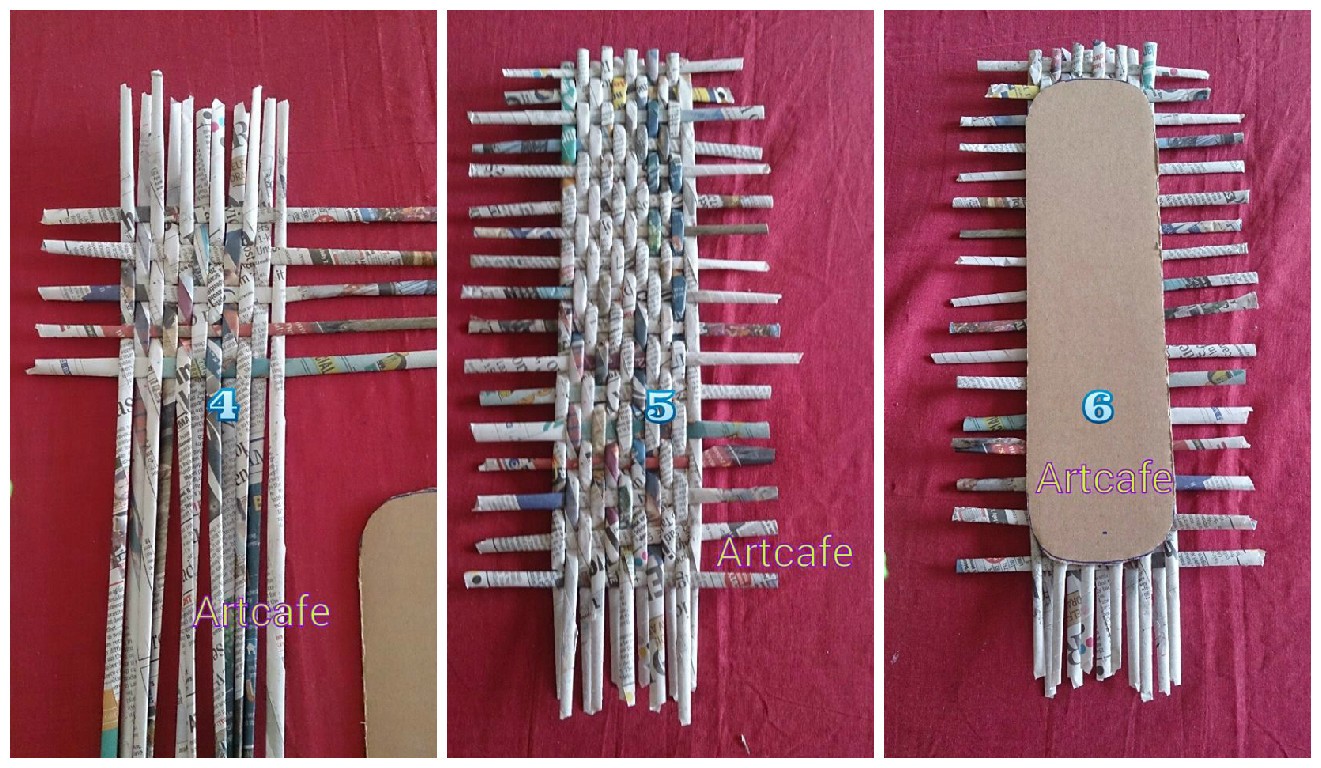
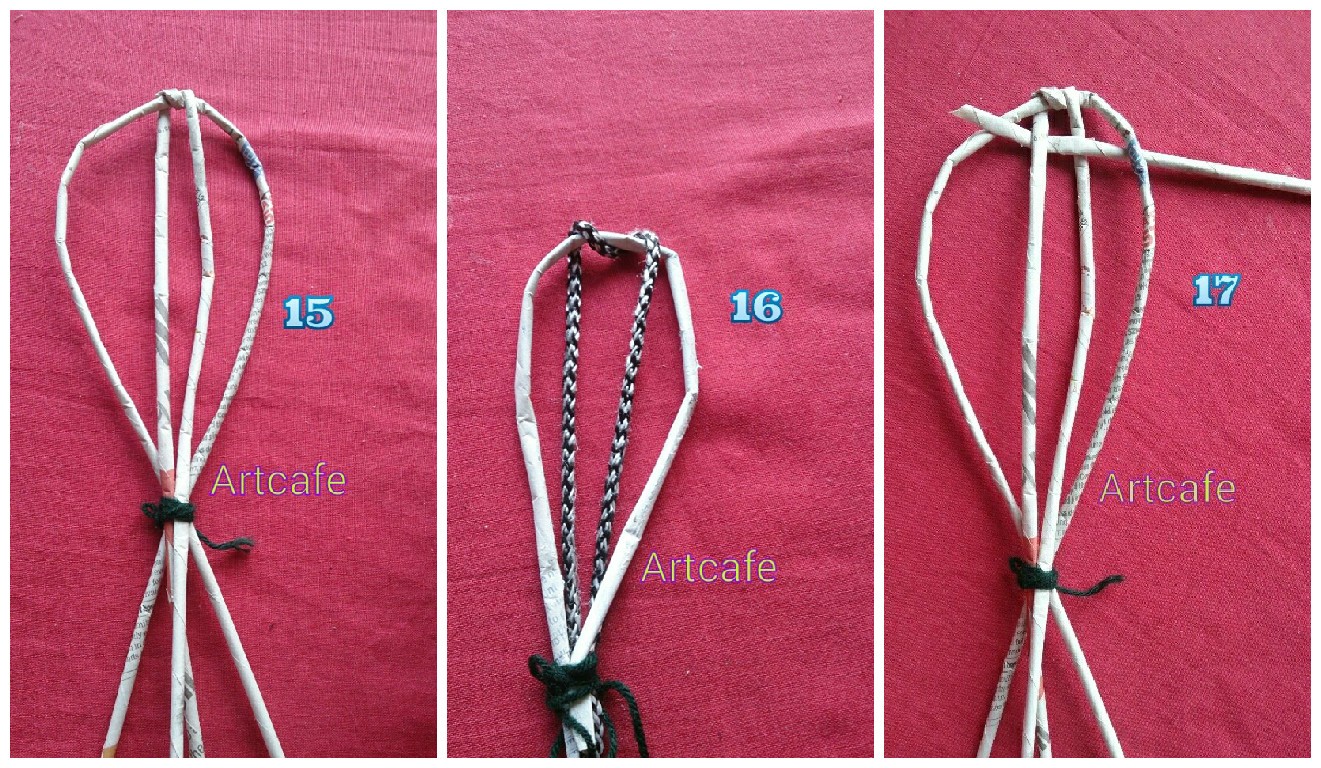
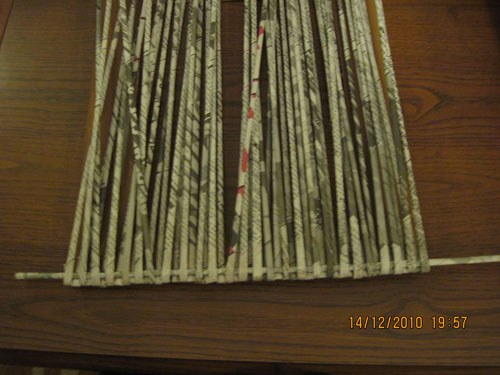
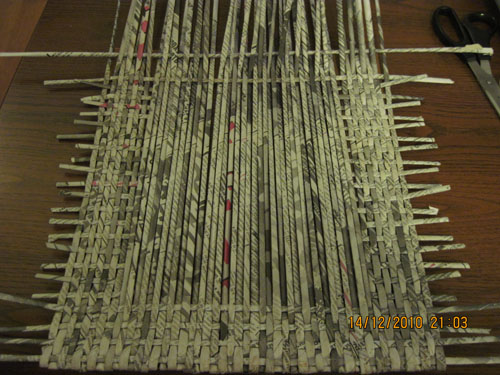
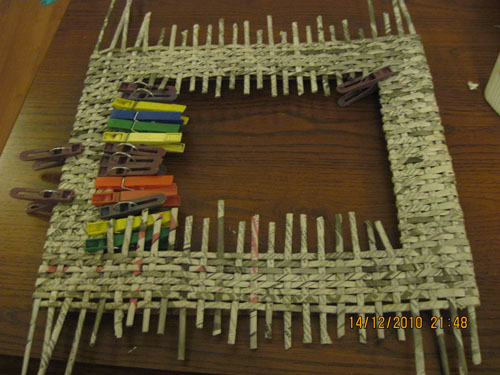
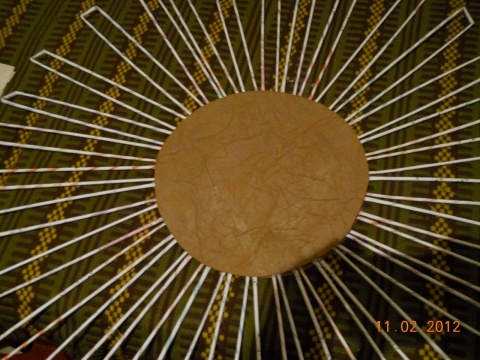
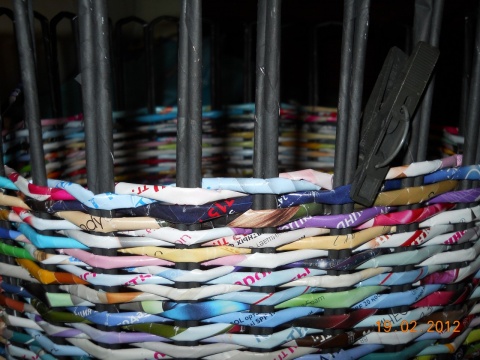
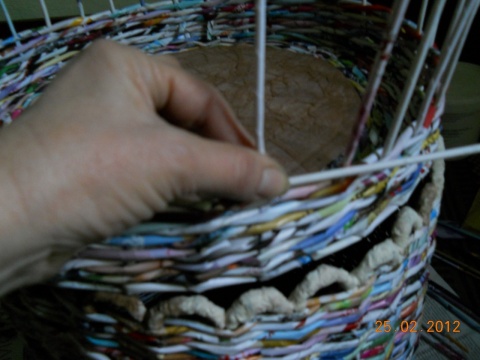
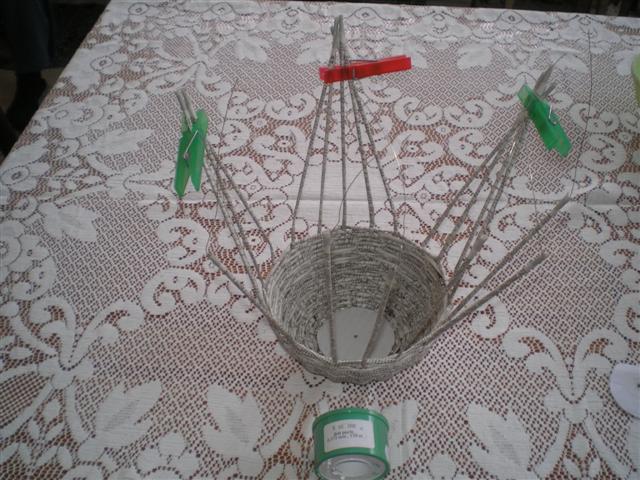
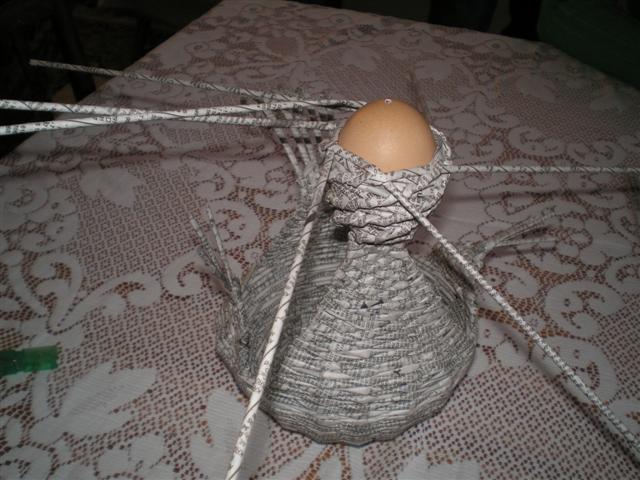
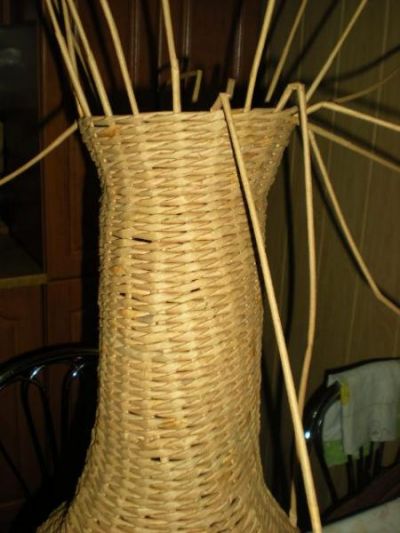
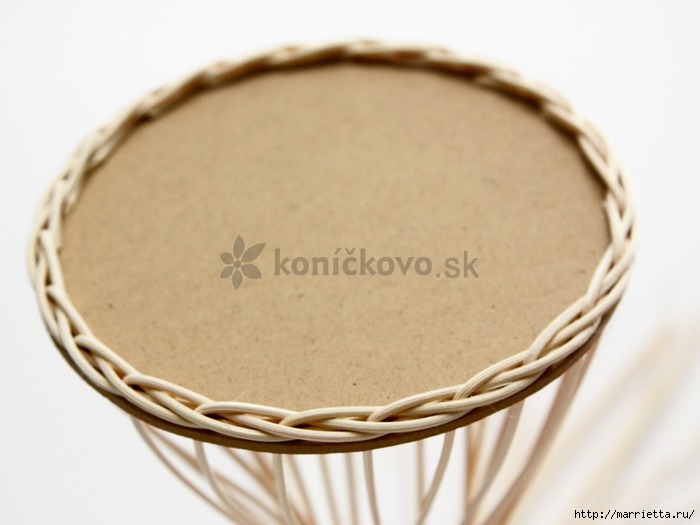
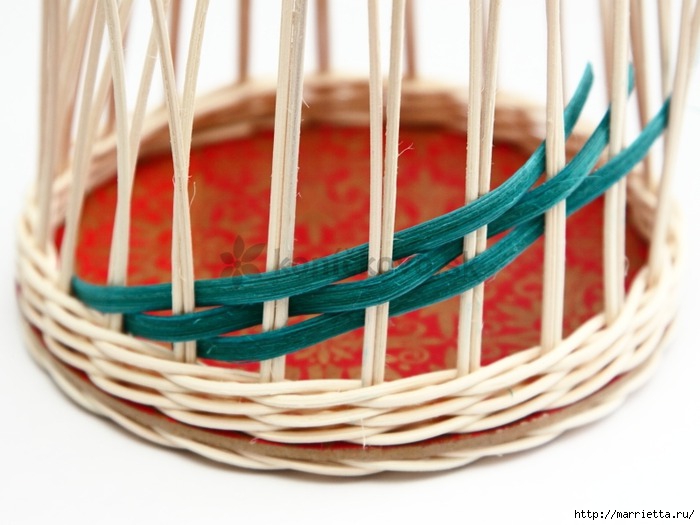
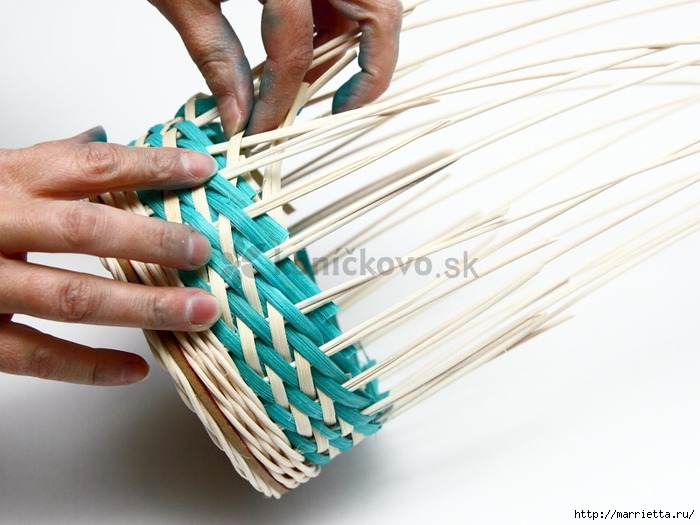
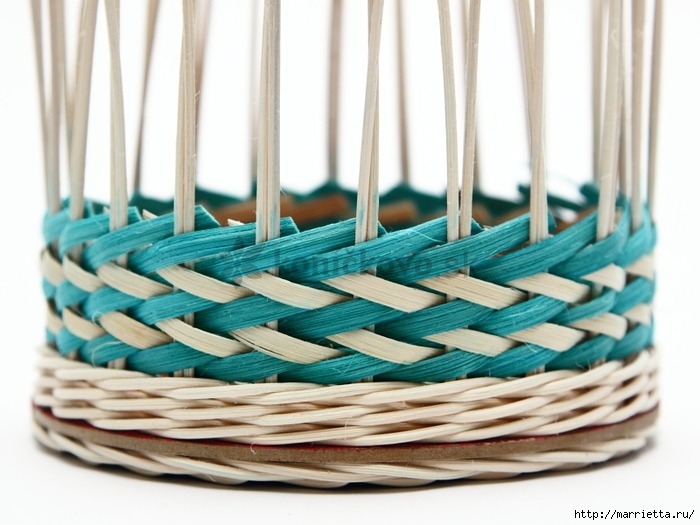
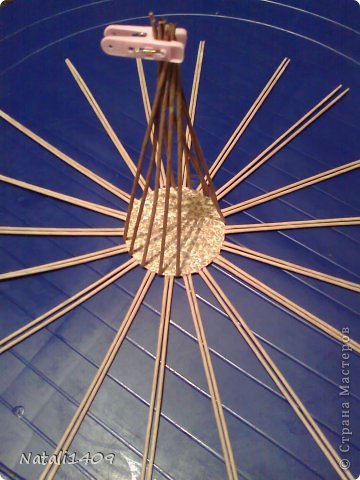
In our working pairs propel pigtails, ponytails from workers remove the tubes in the middle. 
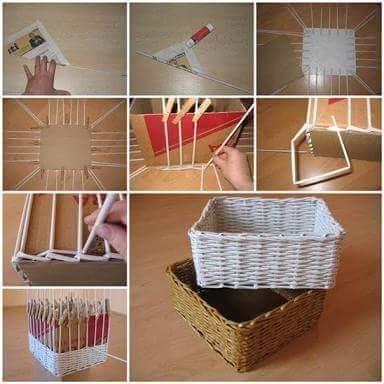
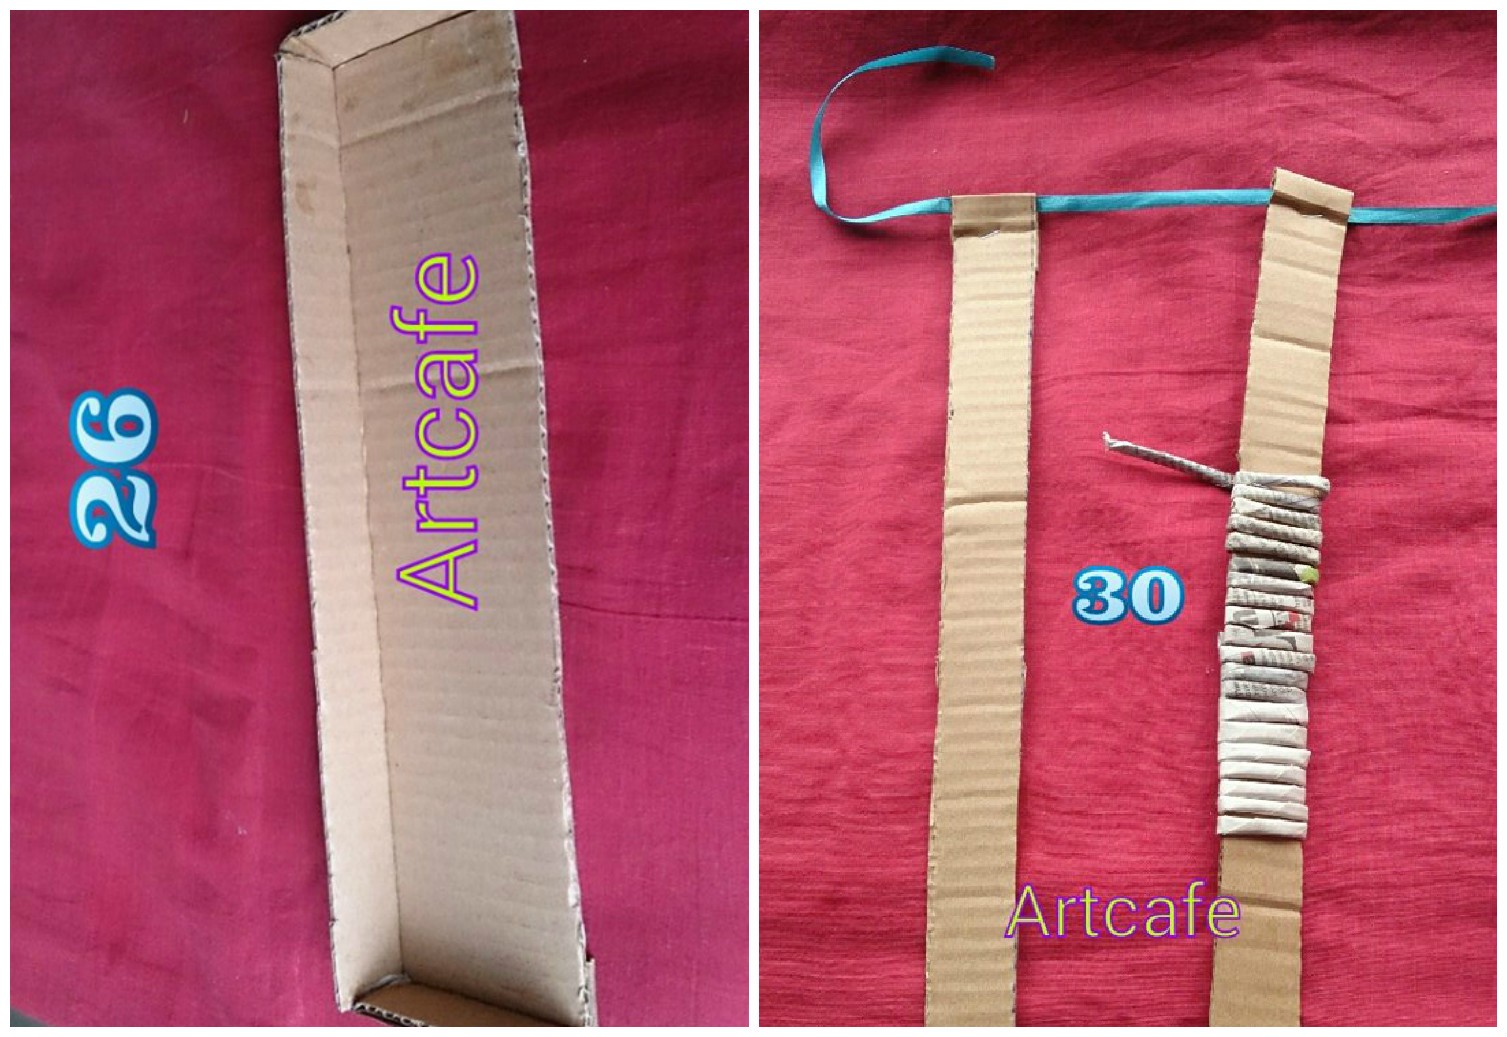
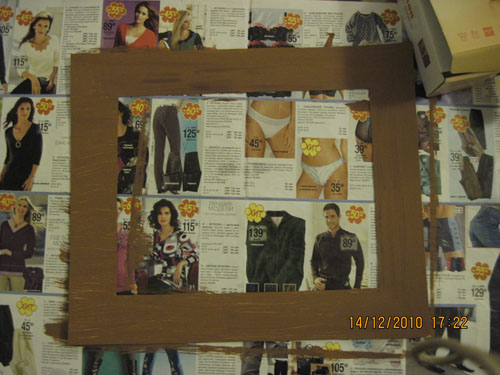
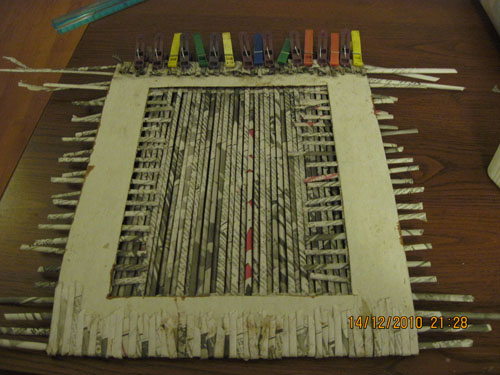
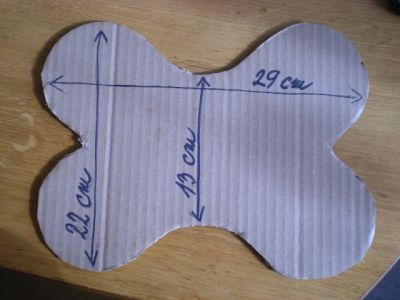
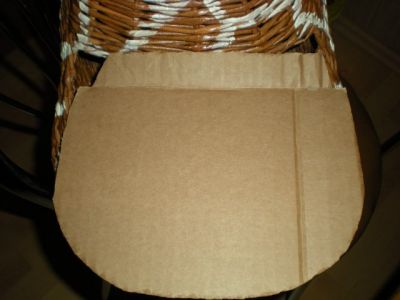
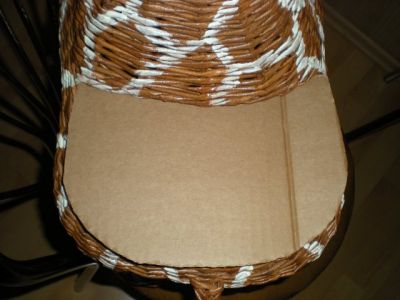
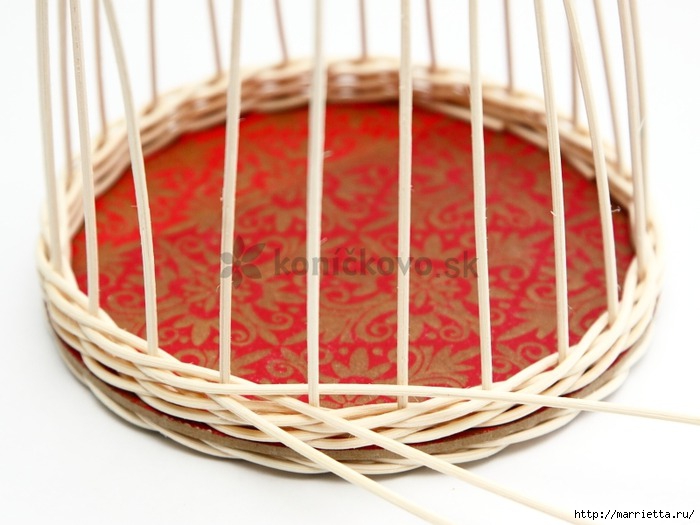
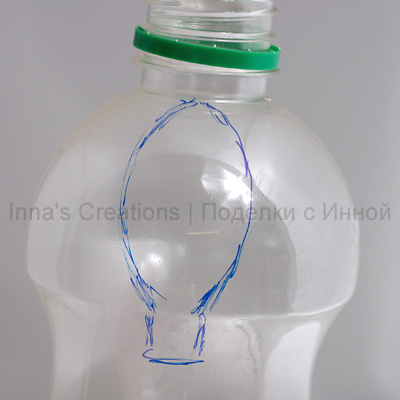
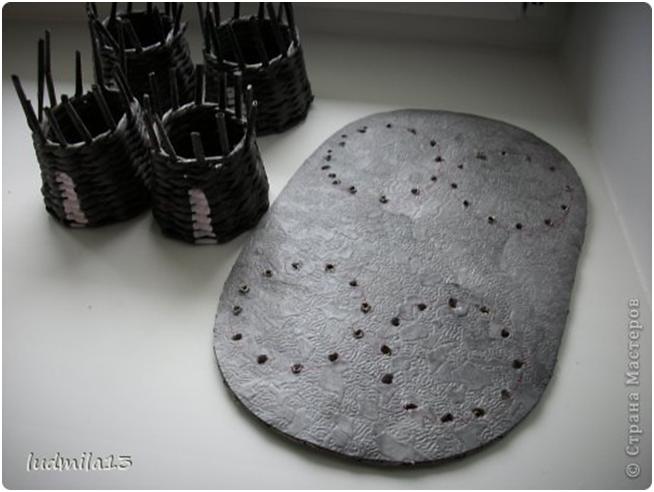
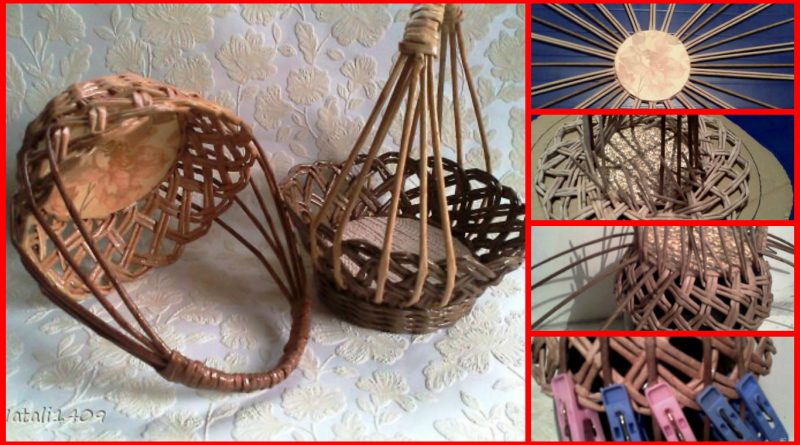
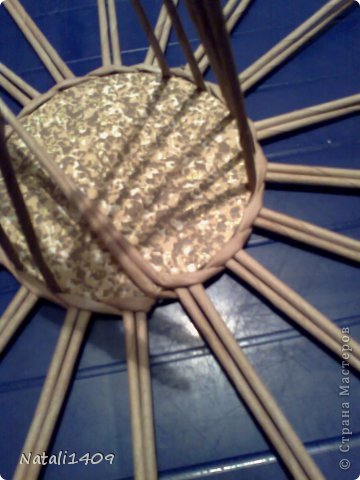
For simplicity and convenience, I drew on the defective cardboard concentric circles. Small in diameter as our bedplate, and two others of your choice. 6-8cm on their radius greater than the radius of the smaller circle. It depends on how high you want to get candy. 
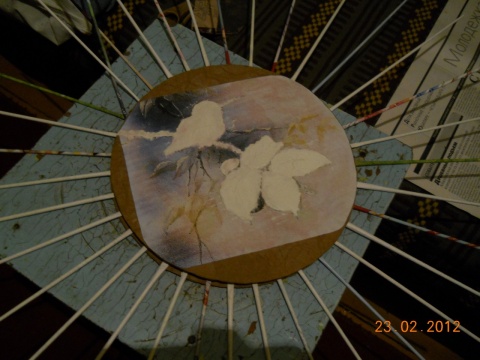
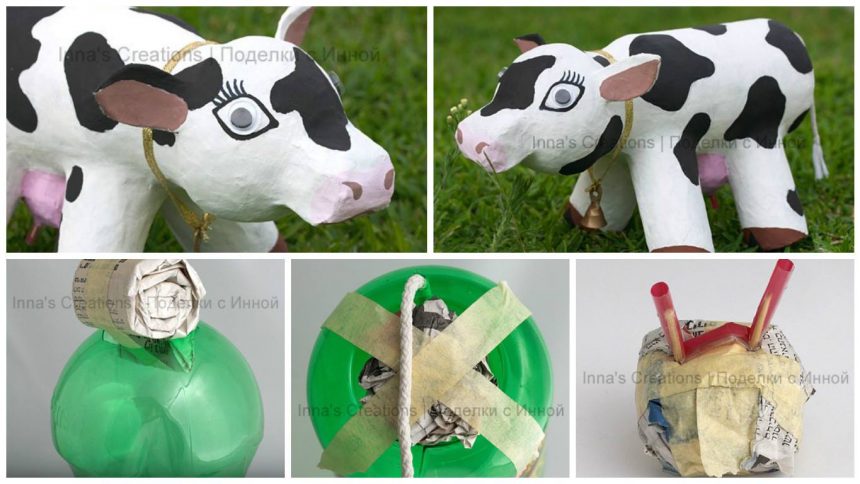
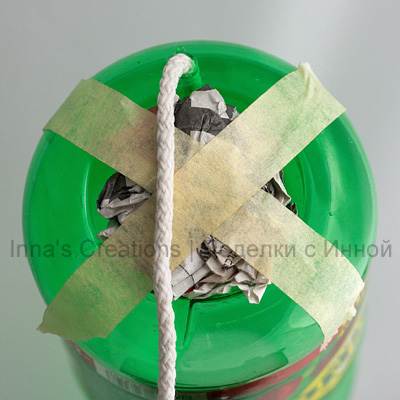
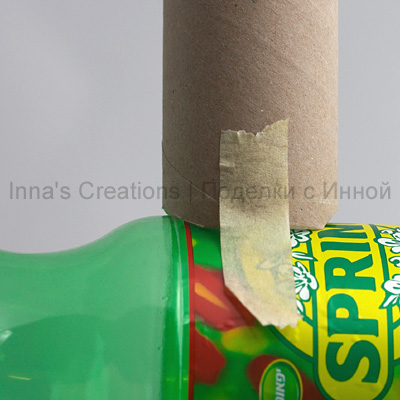
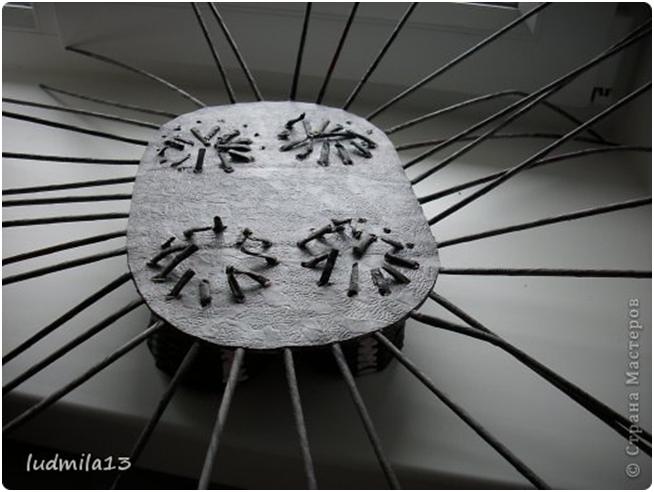
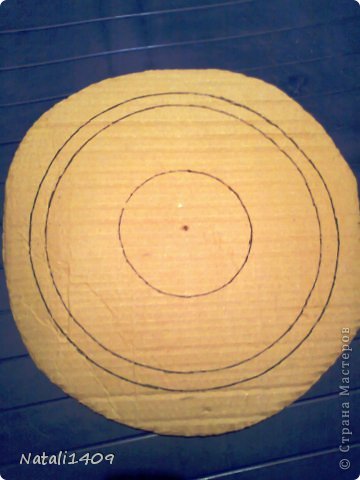
Set in the center at the bottom of a small circle, and our anchoring its masking tape. 
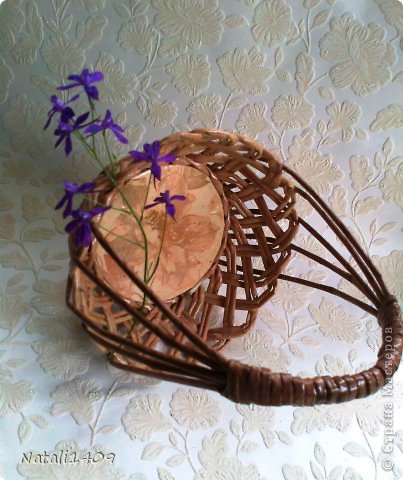
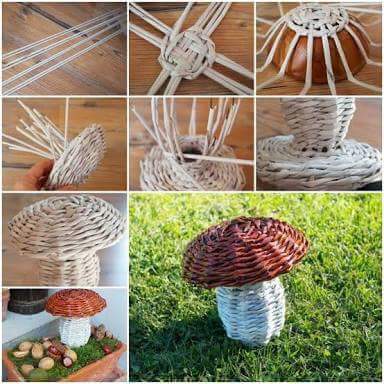
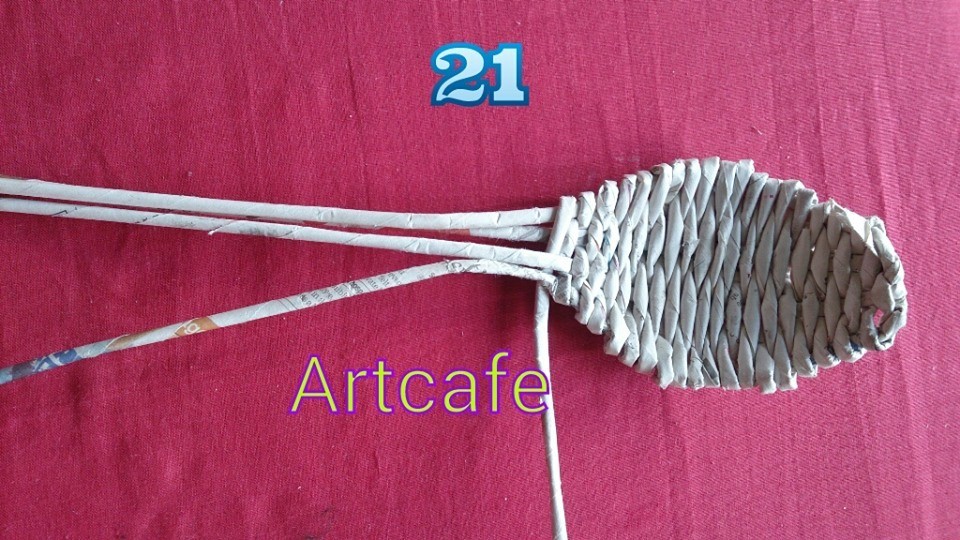
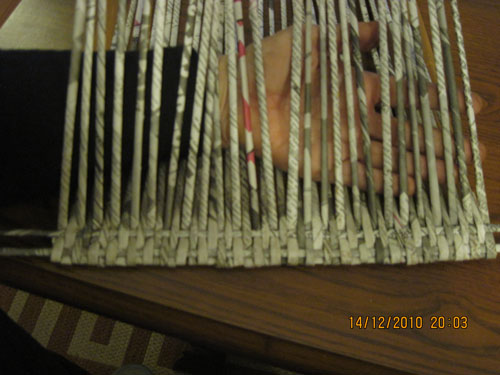
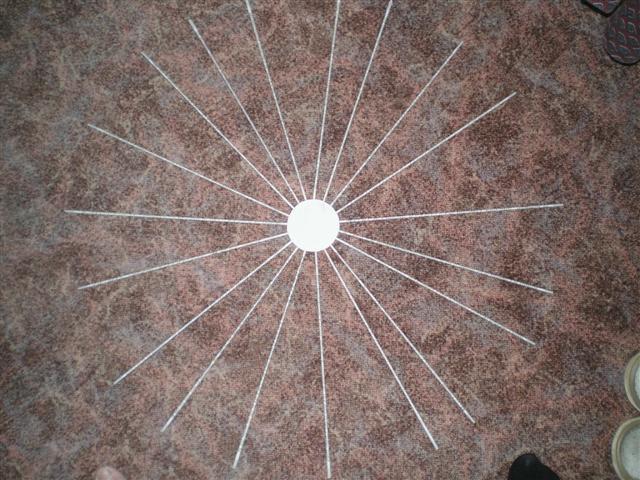
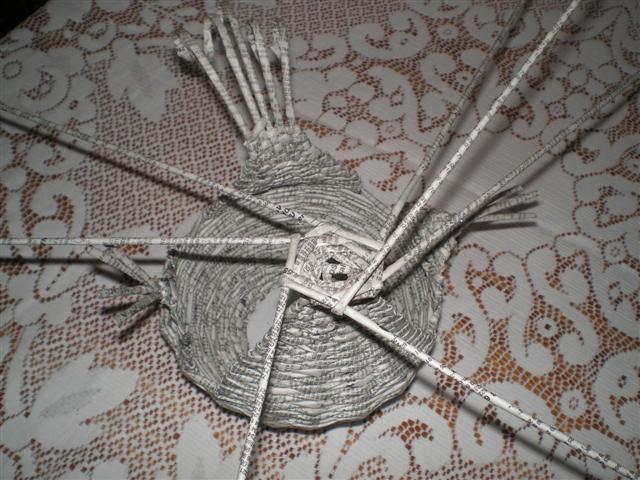
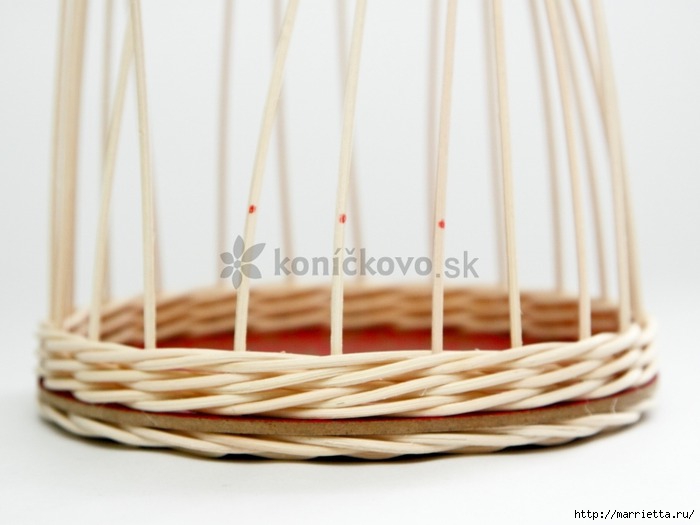
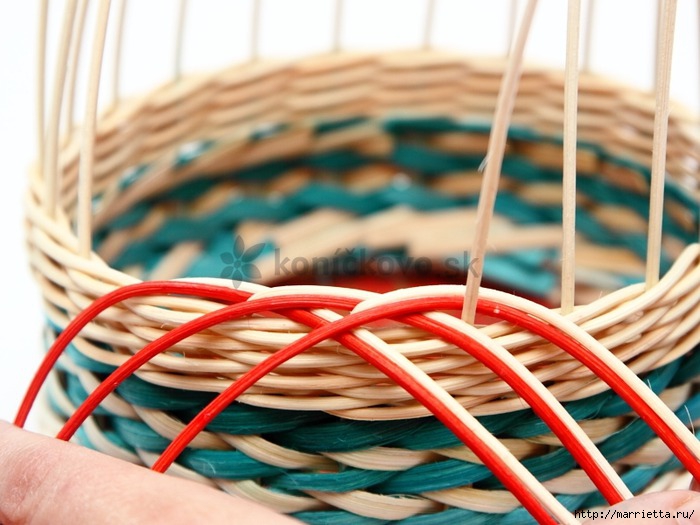
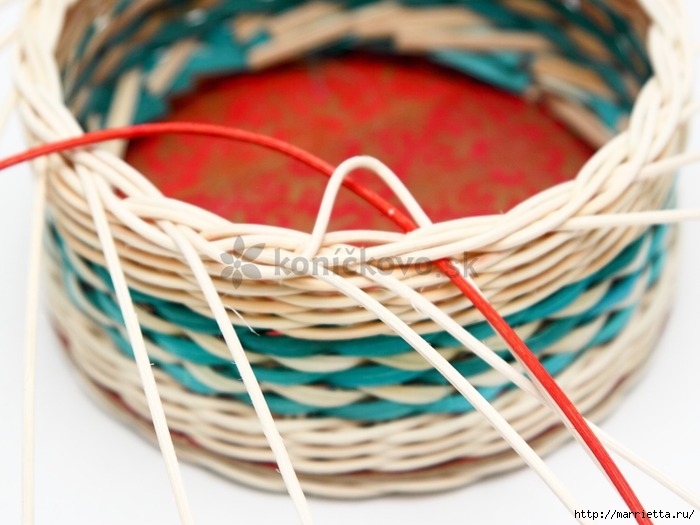
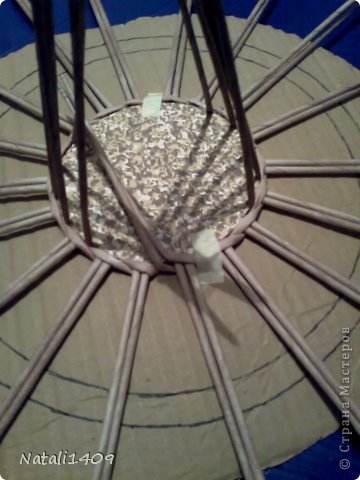
Now we carry out any trouble. I have a couple of tubes over the first, under the second, over the third, a fourth, and displayed on the top. The main requirement is that the tubes were wetted and after the last binding went up. 
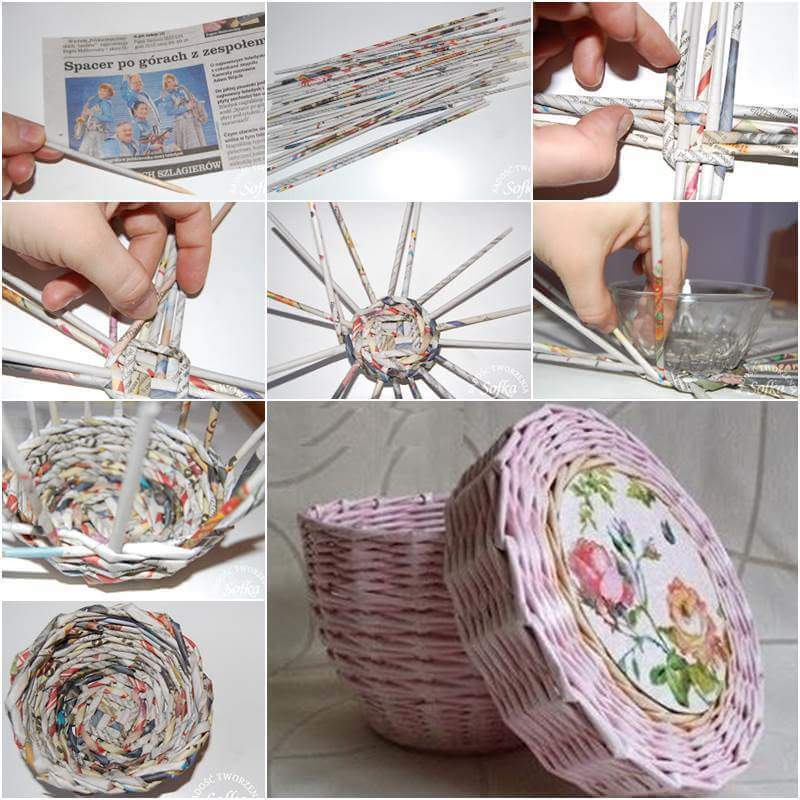
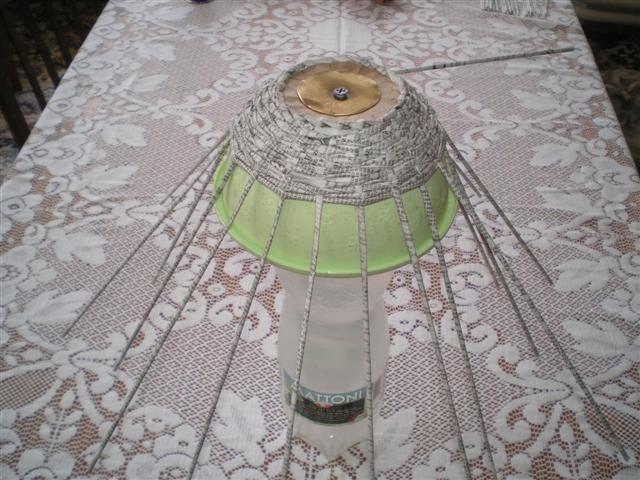
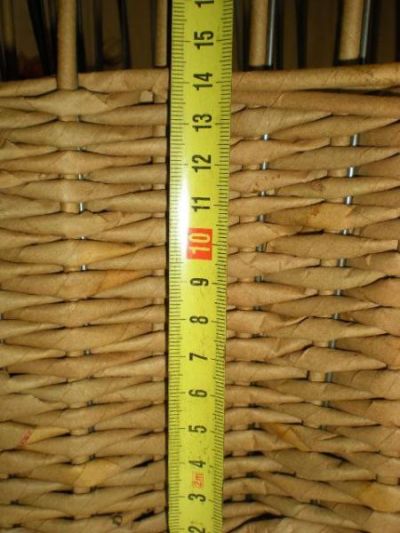
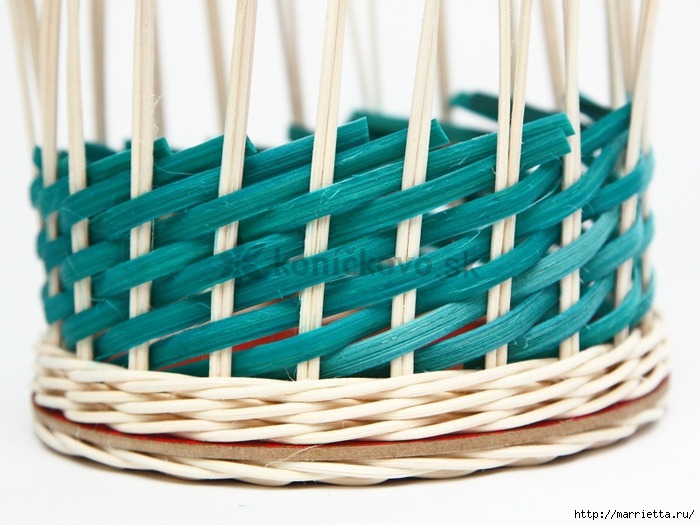
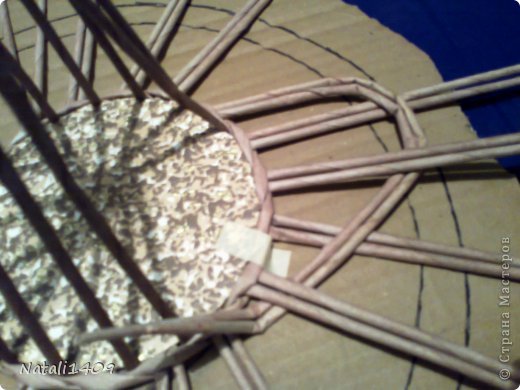
I moved counterclockwise. To do so with all the pairs. At the same time, we look to the fold height touched our circle. In this basket, I chose a smaller circle. 
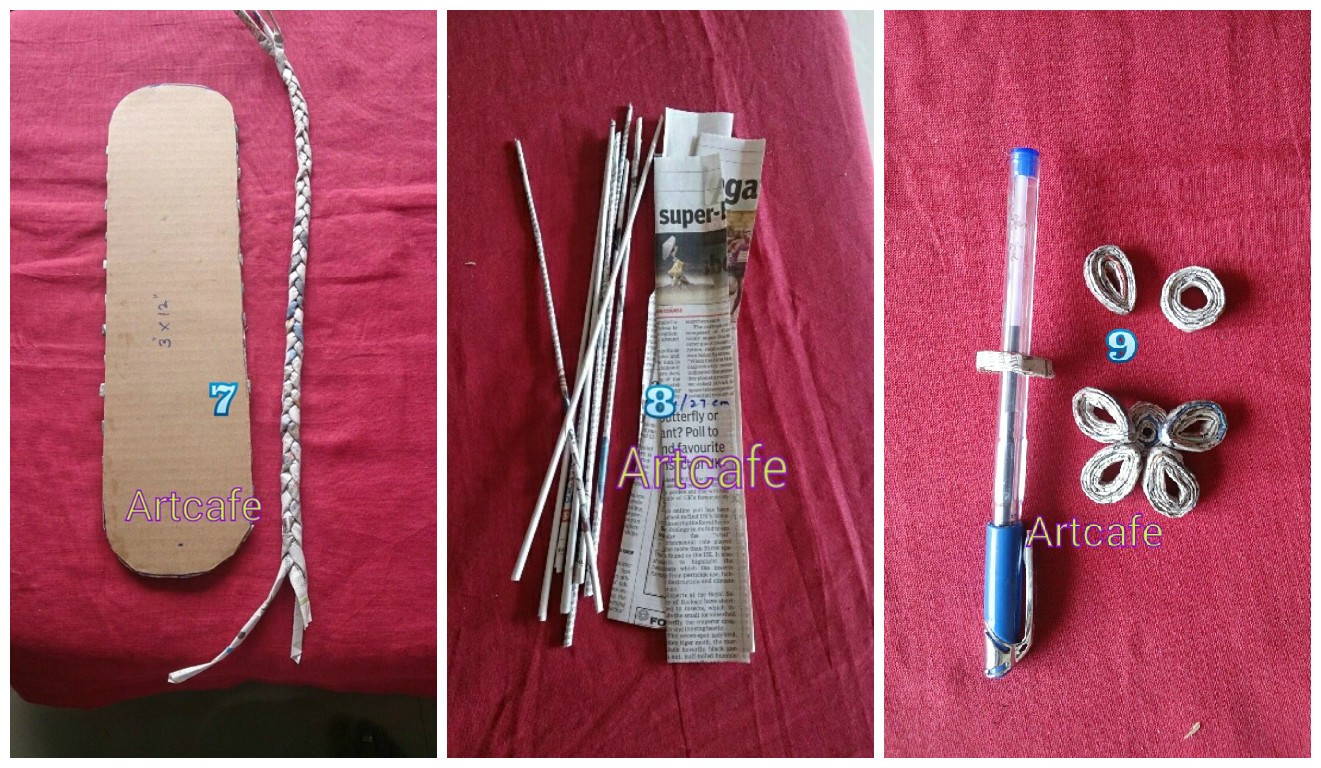
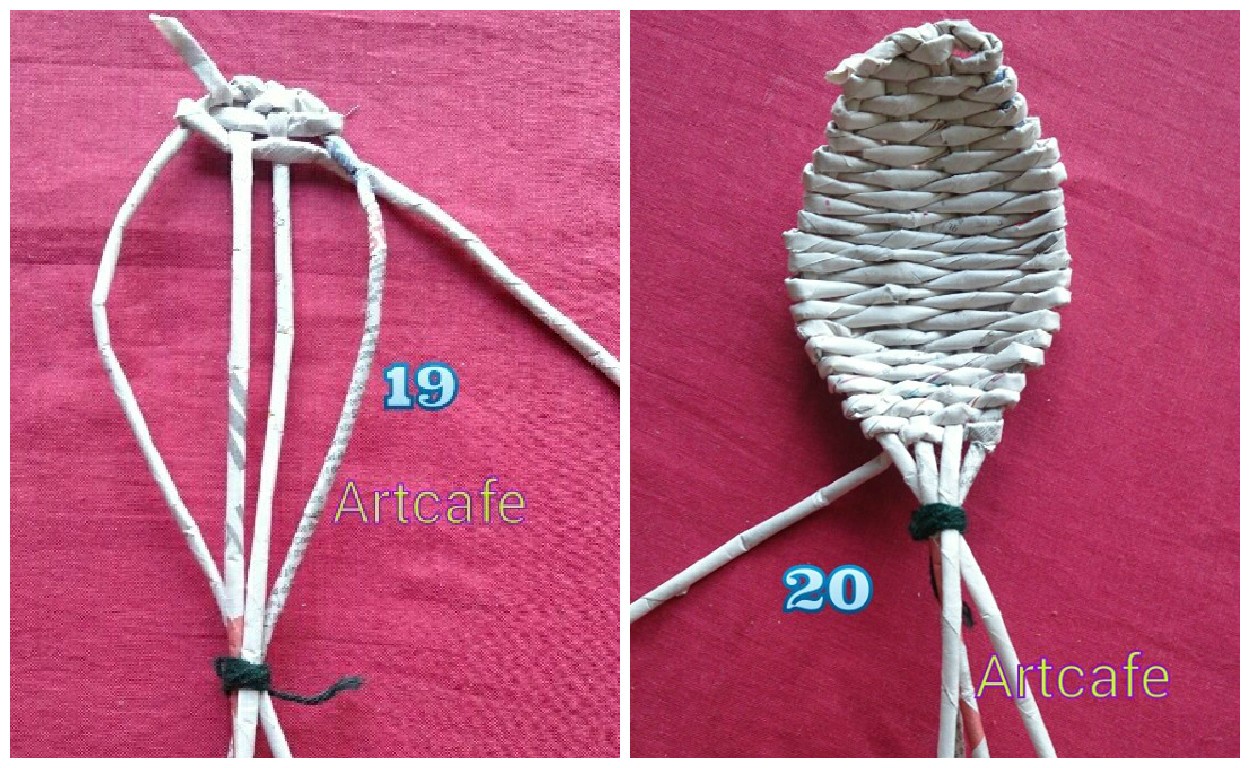
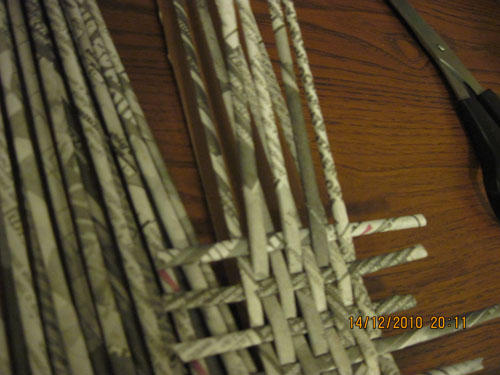
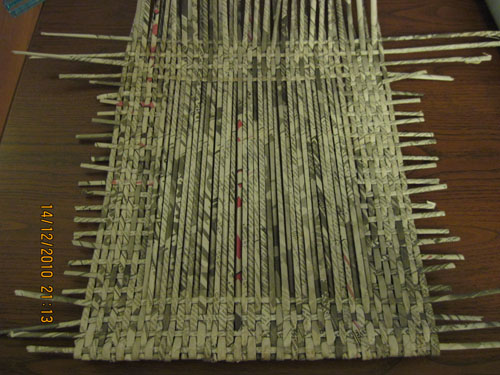
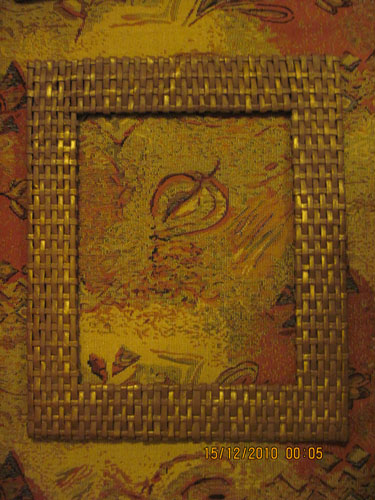
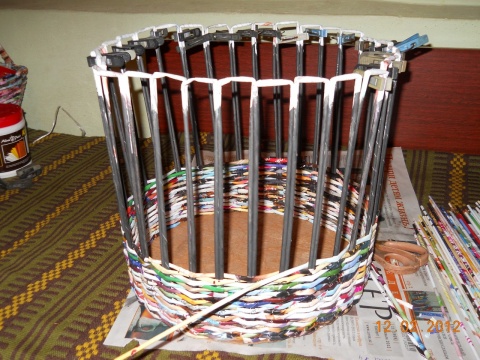
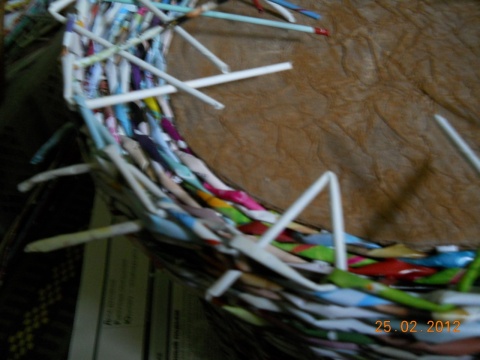
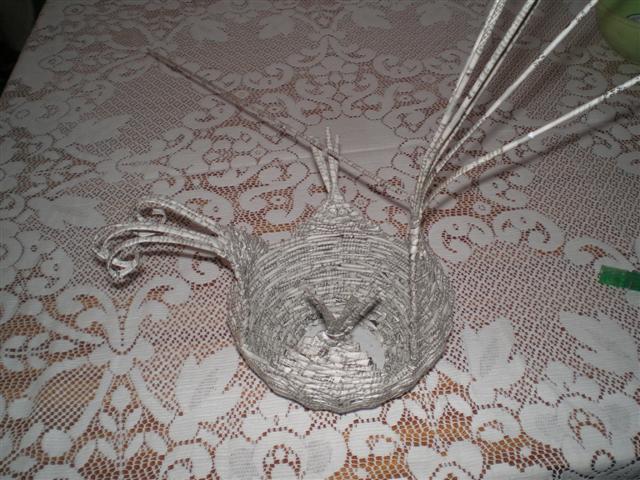
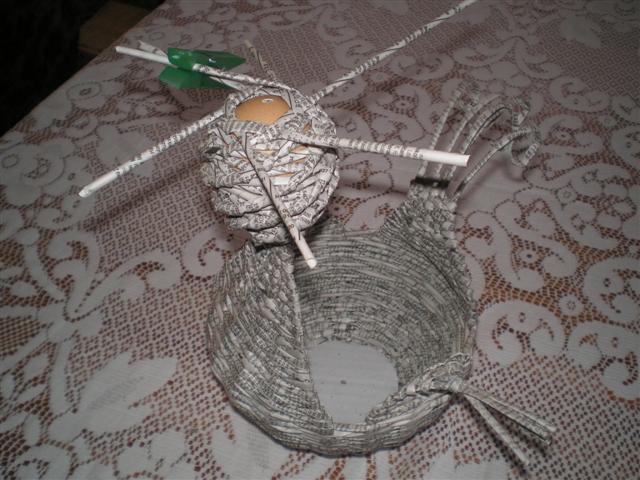
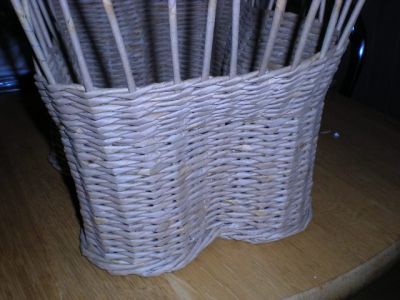
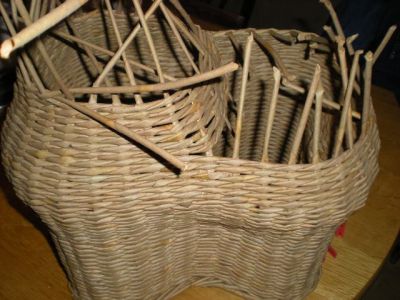
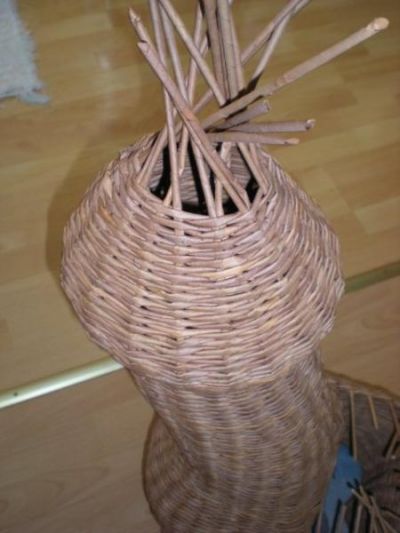
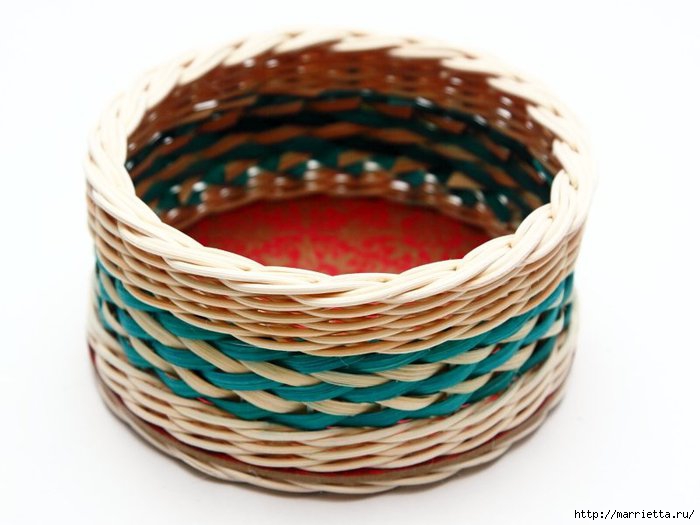
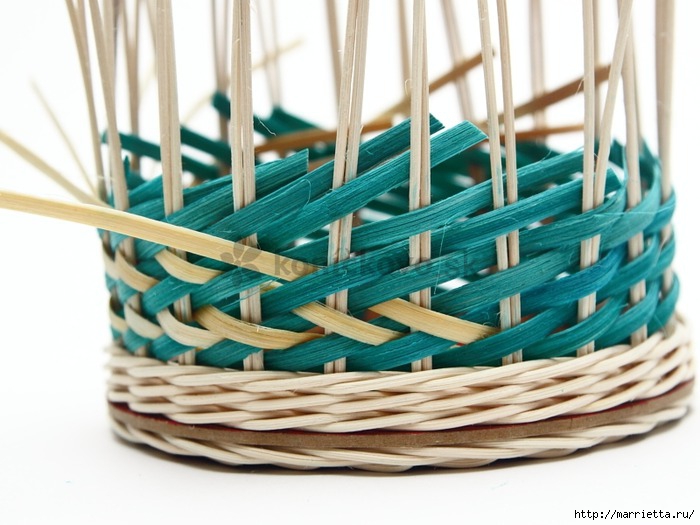
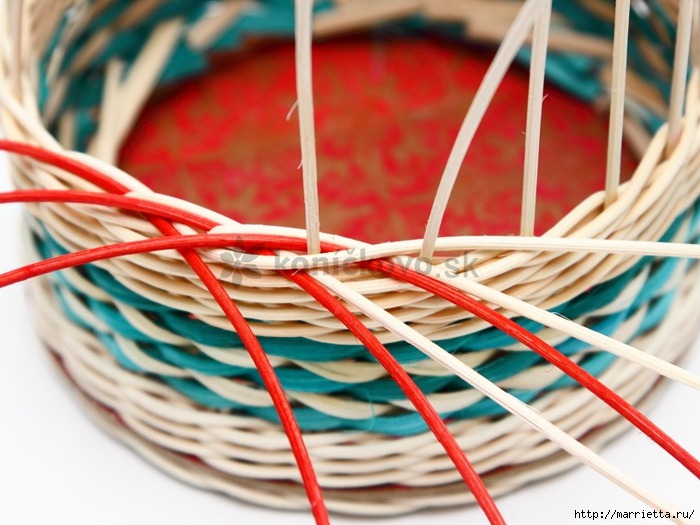
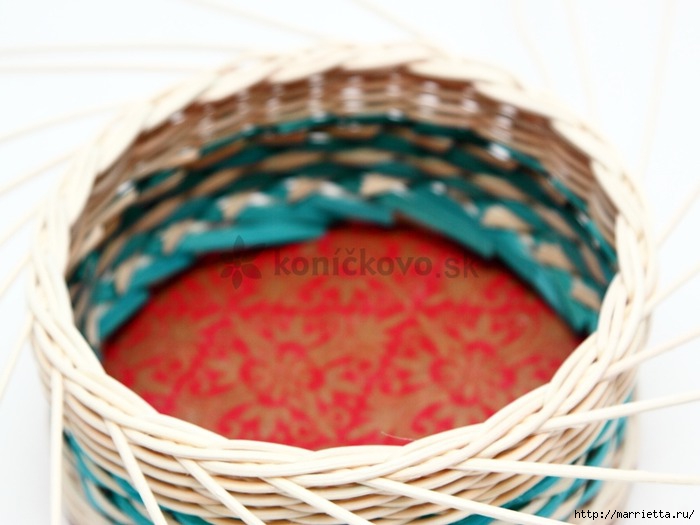
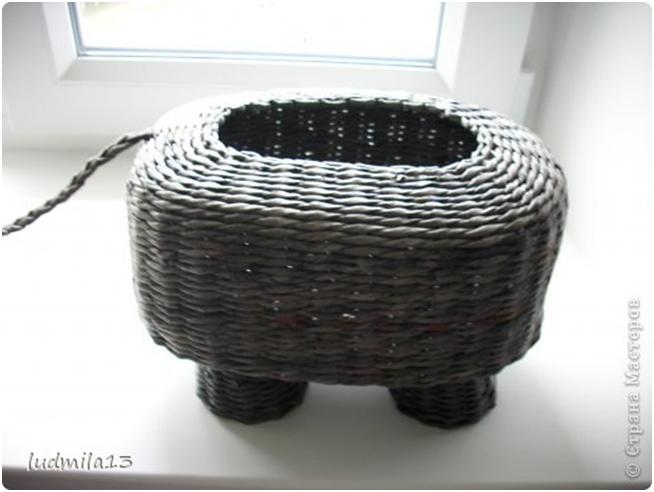
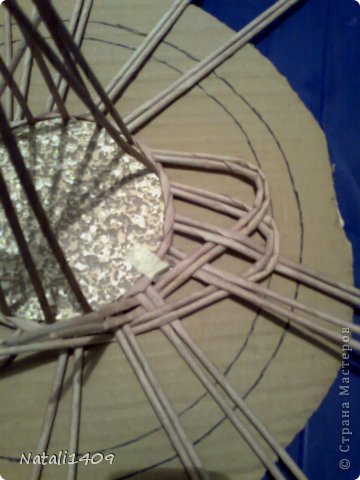
This is what happens when we have completely stranded all pairs of tubes. Now you are all good provisos, pull, etc. 
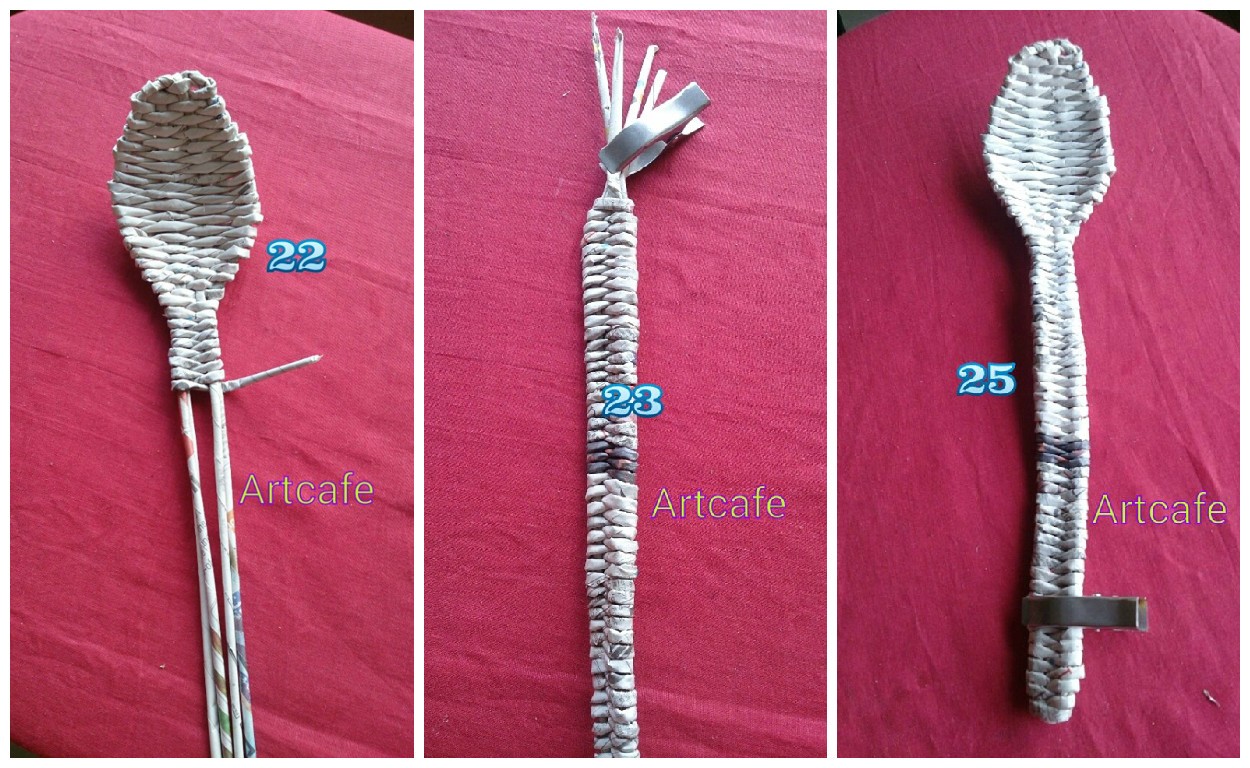
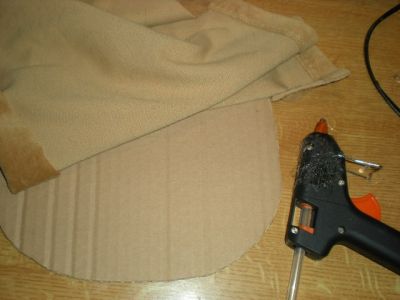
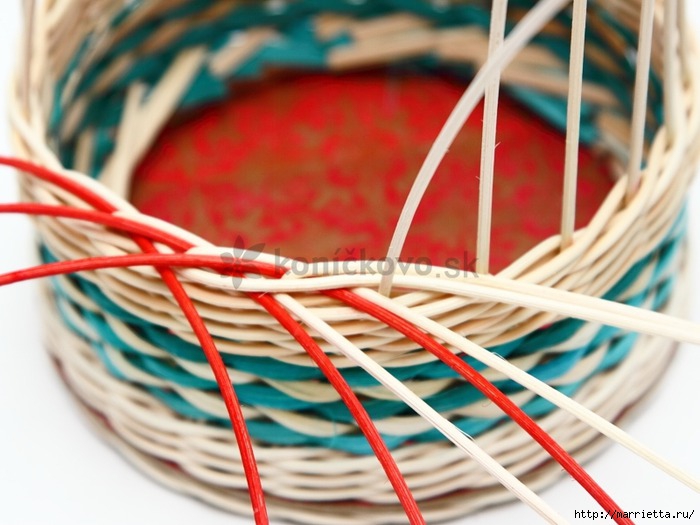
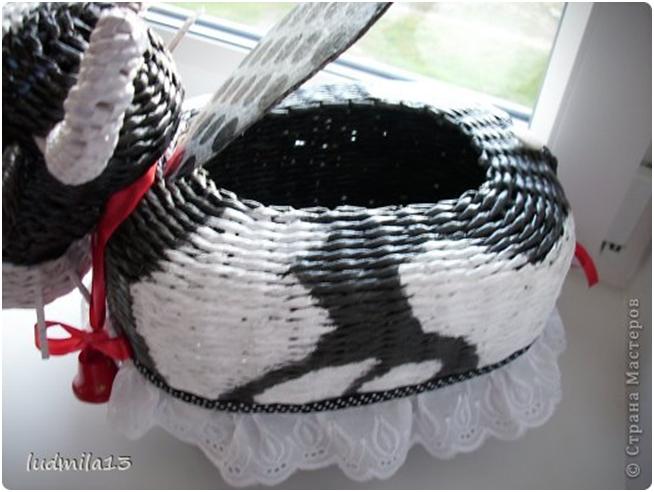
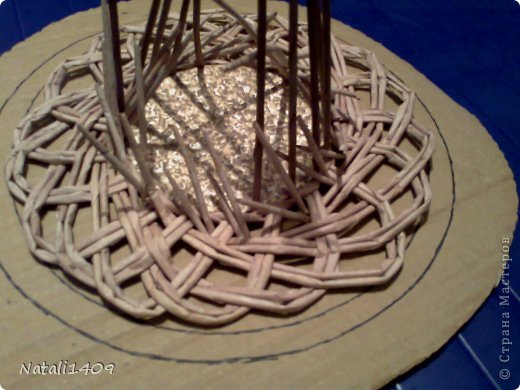
Next, remove the masking tape and our entire structure is placed upside down on a 3-liter. Carefully drop the cover down, clutching. Our tails raising up- and tubes to the handle go down. 
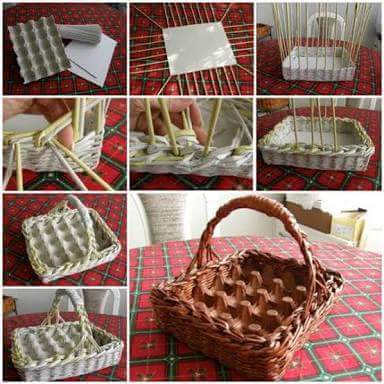
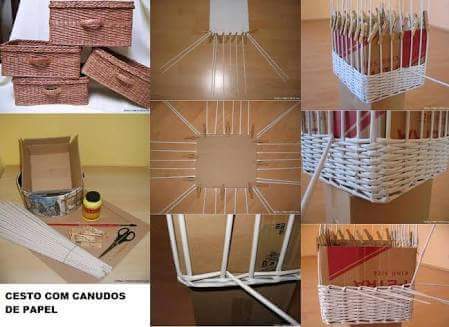
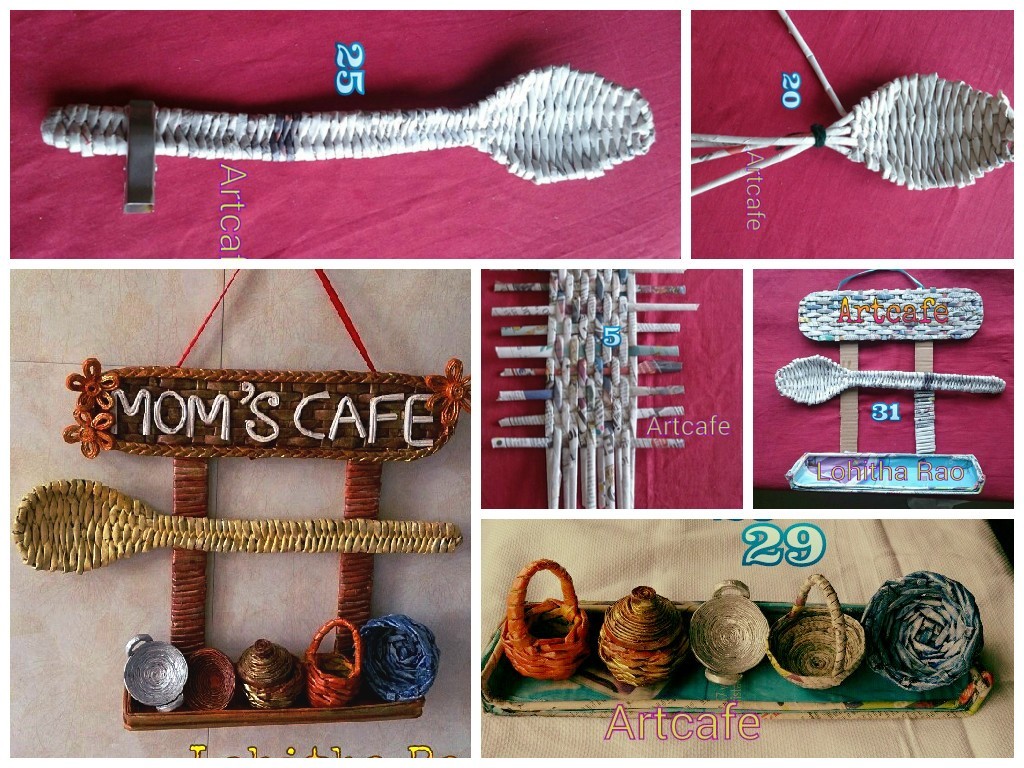
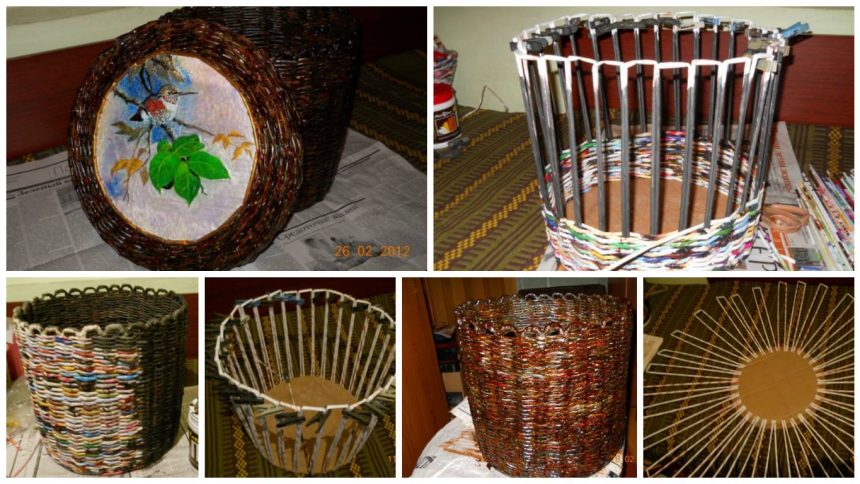
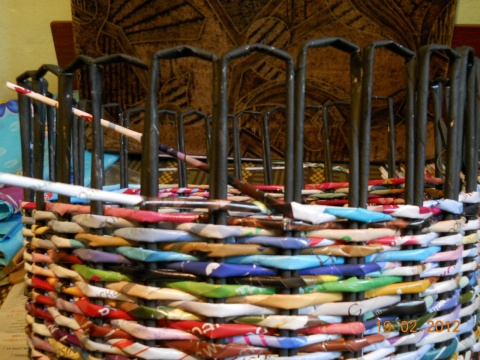
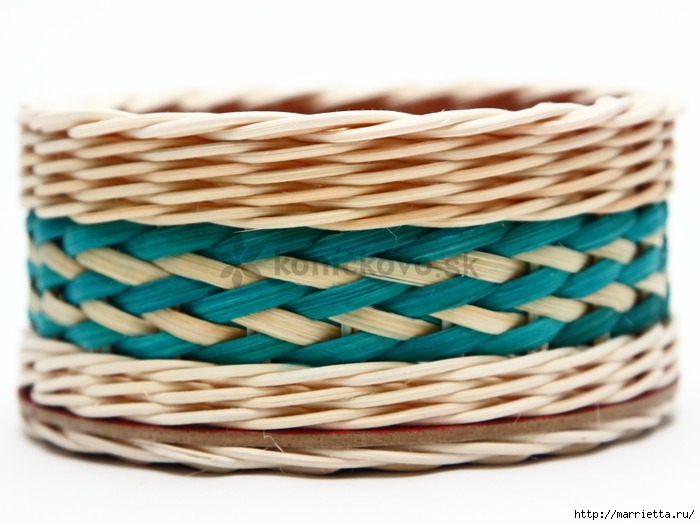
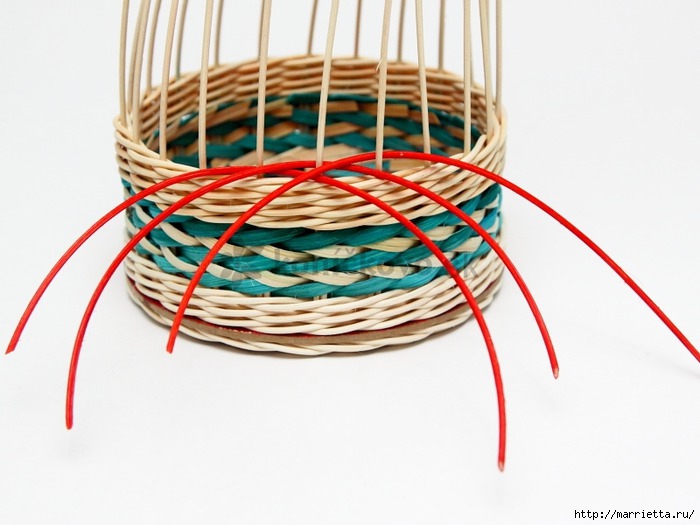
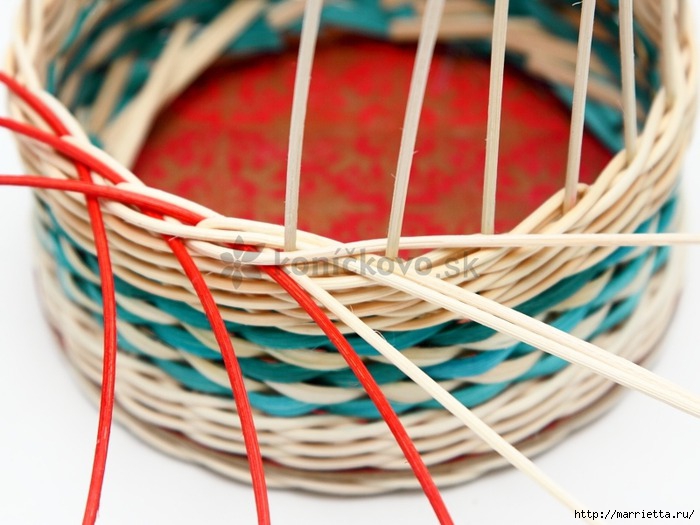
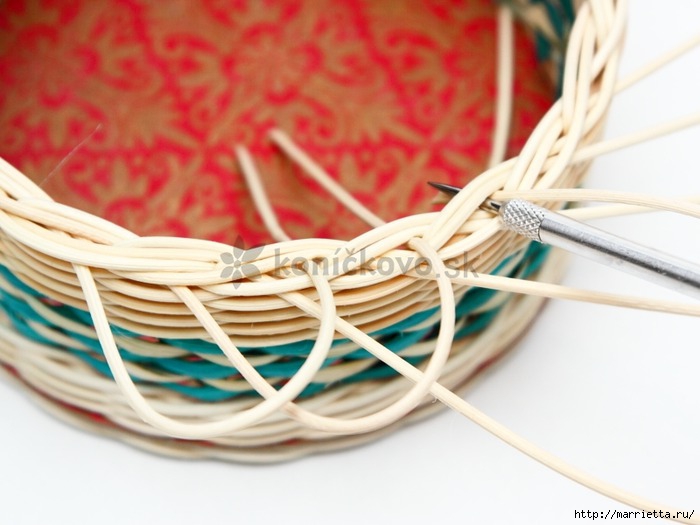
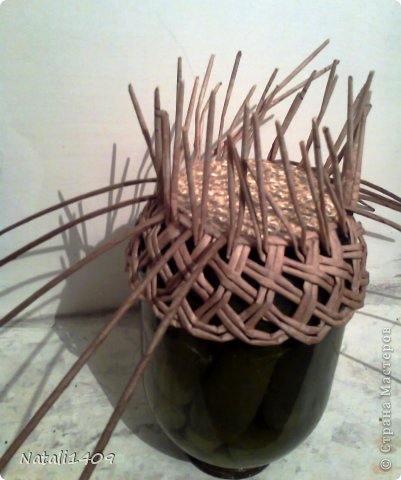
Ducts for the handles are glued to the binding and fixing pegs. And our 3-series ponytail weave rope. The tubes are cut off. Flips the product and make out the handle. 
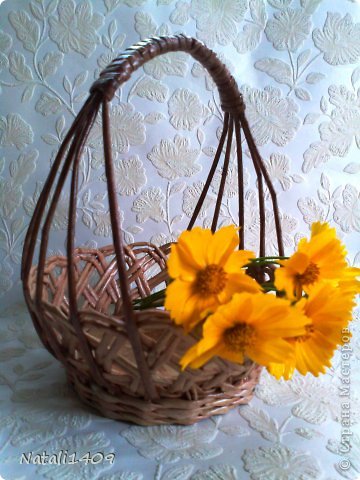
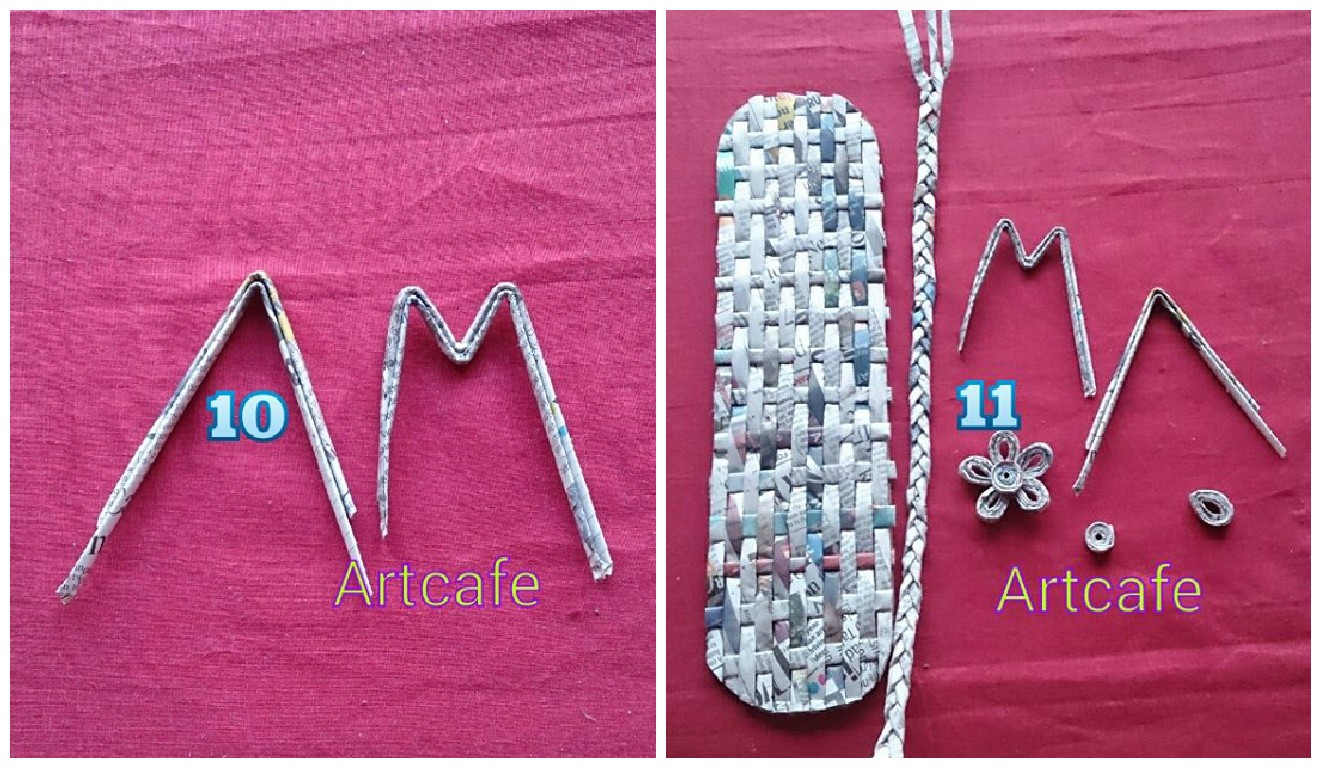
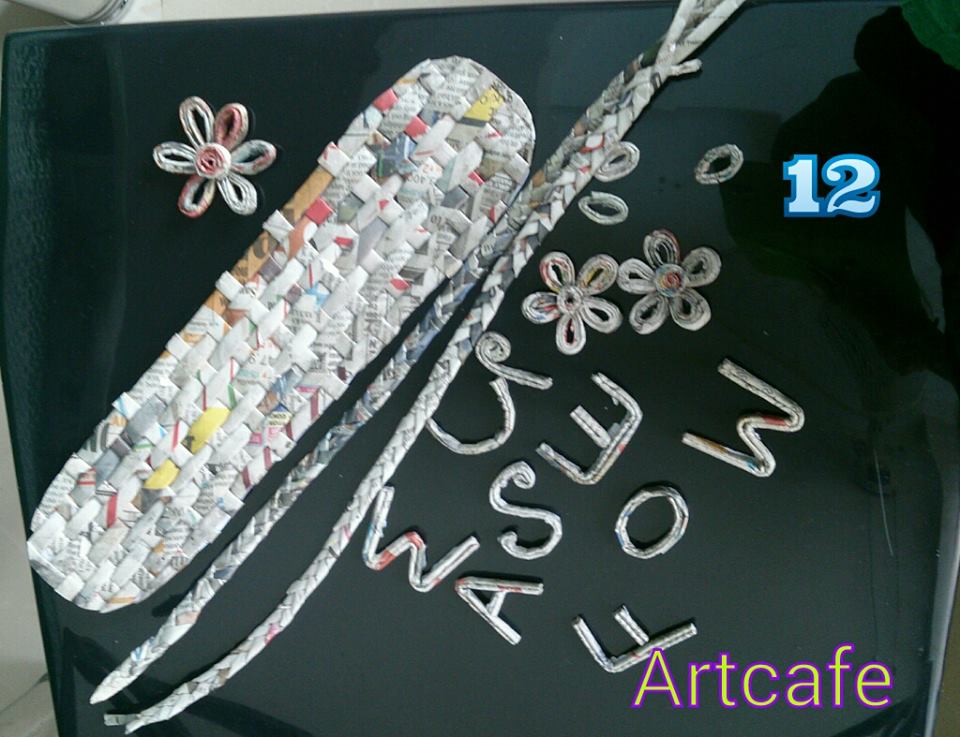
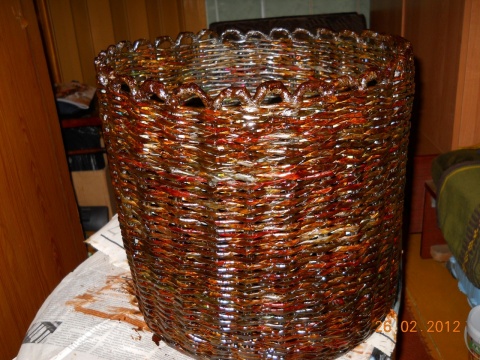
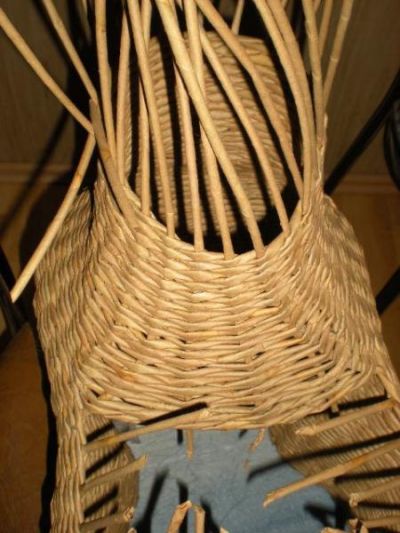
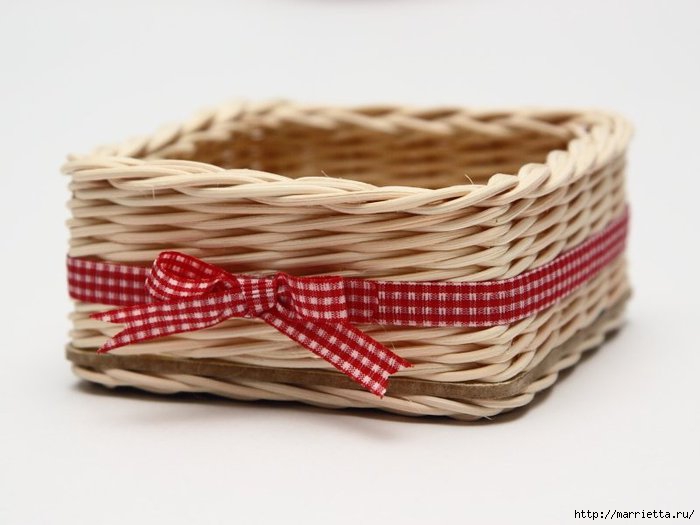
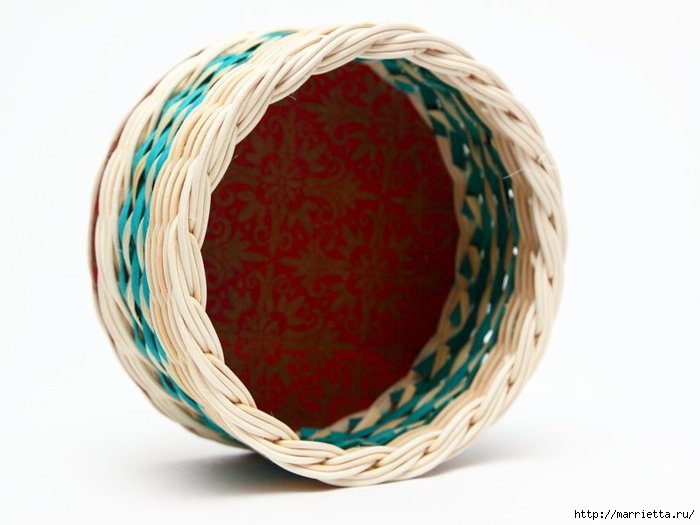
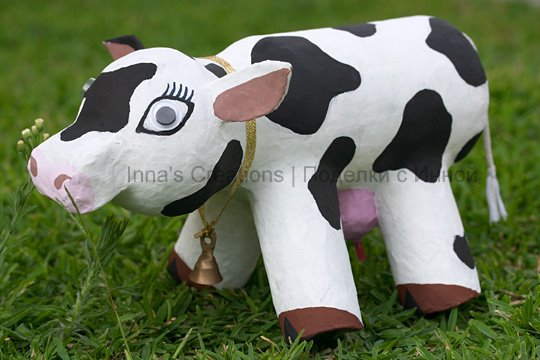
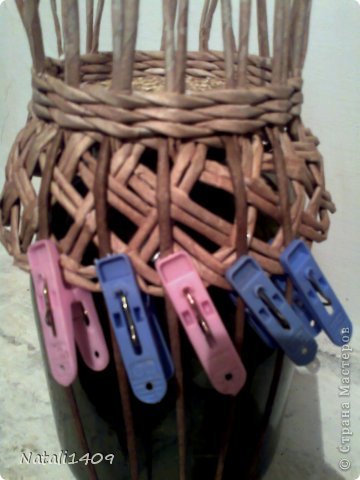
Handle simple. it does not bear the load. Because simply I gathered her tubes and wrapped them. Korzinulka ready. 
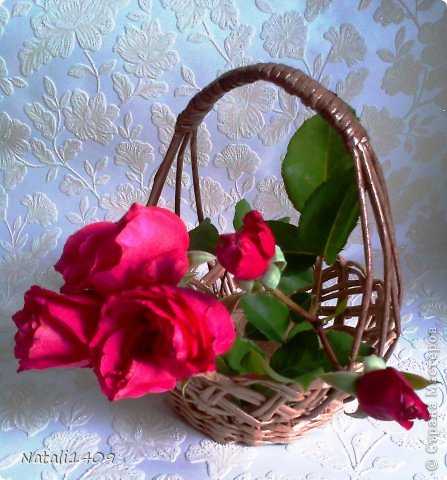
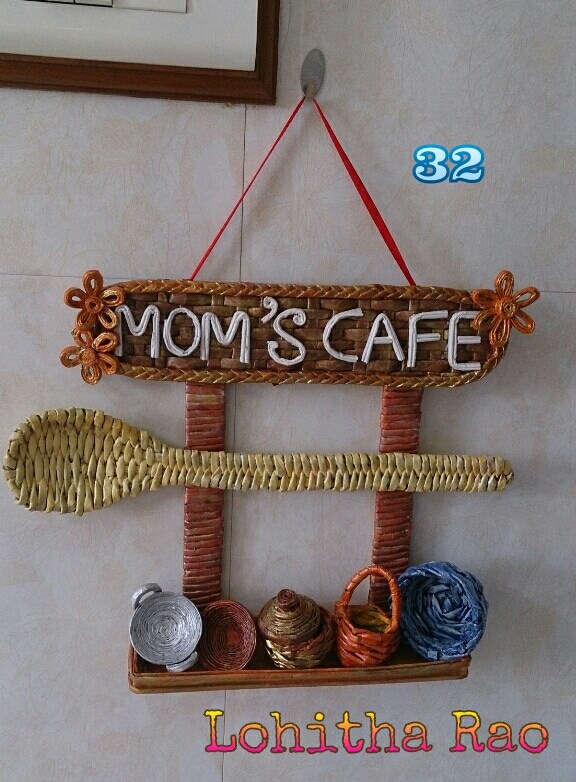
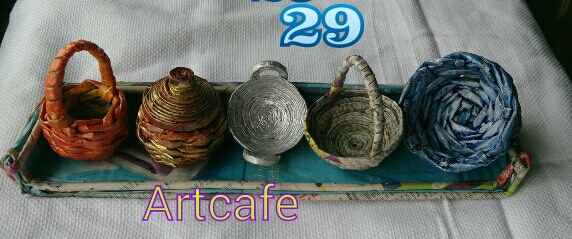
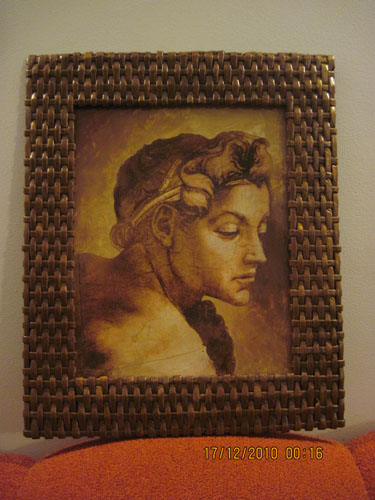
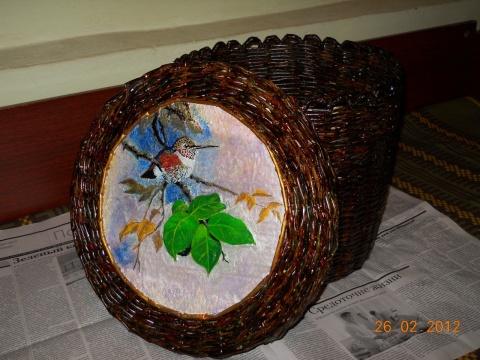
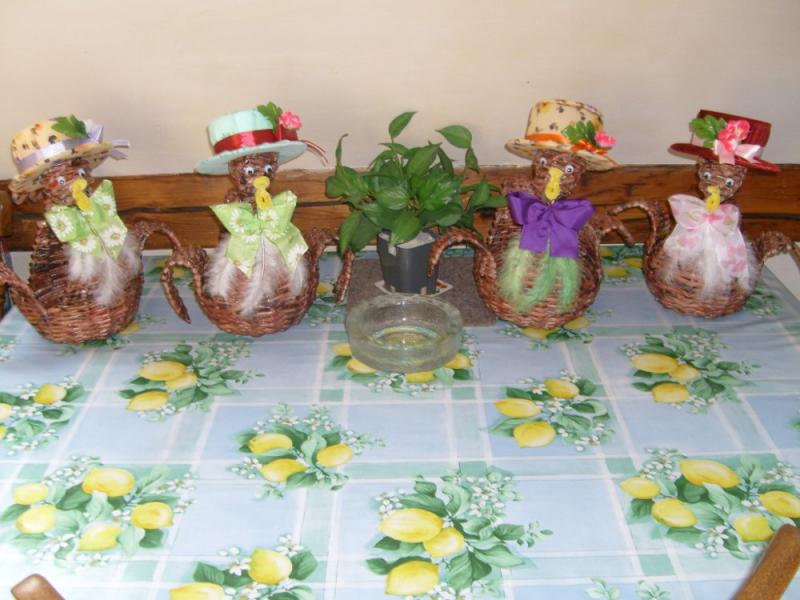
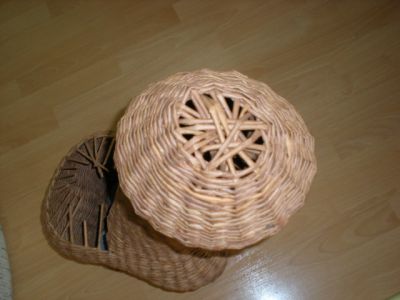
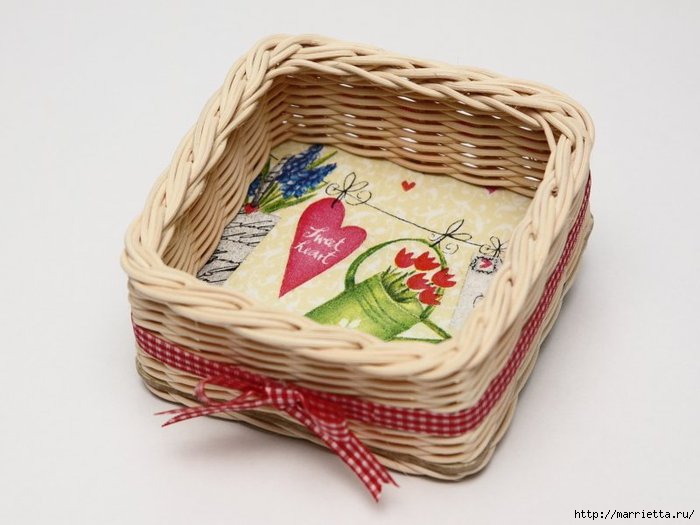
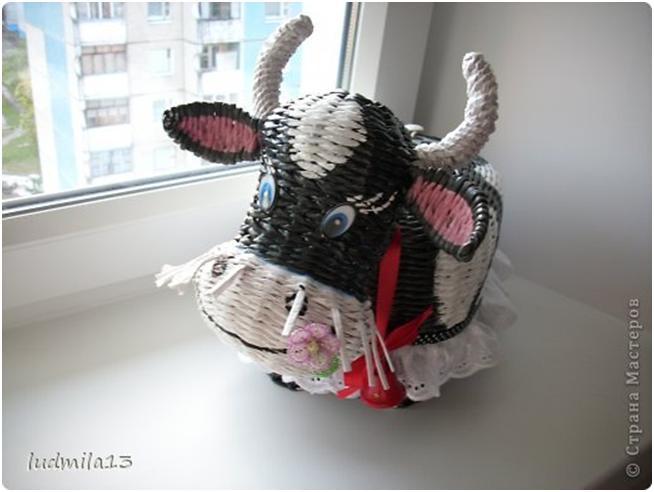
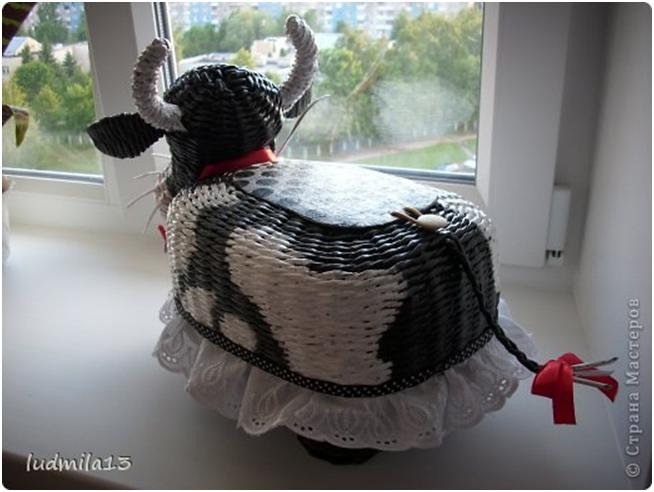
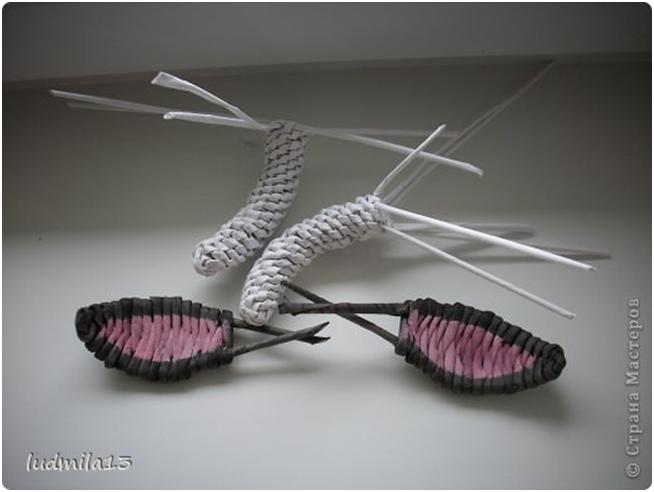
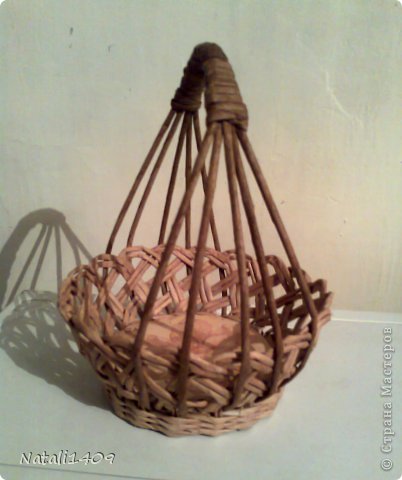
That’s about what happens. 
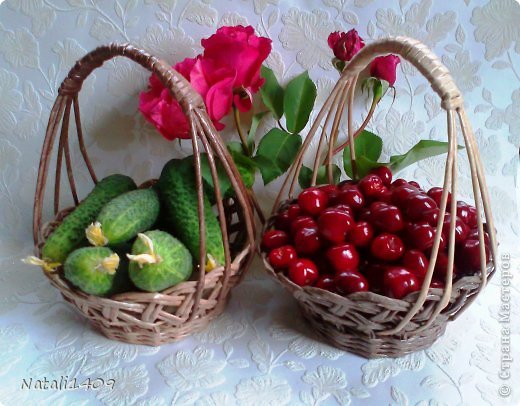
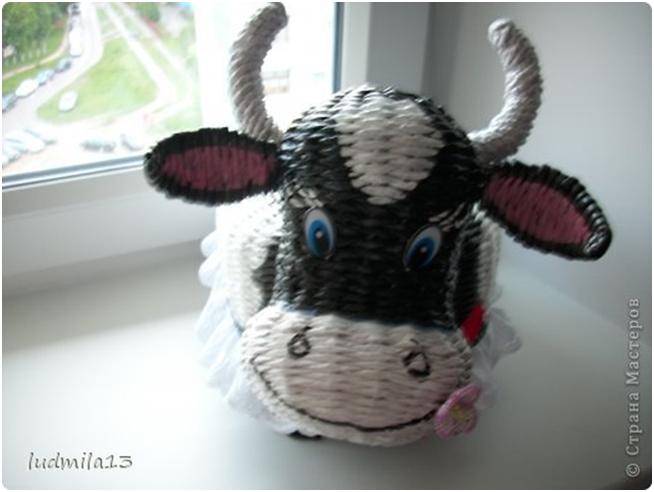
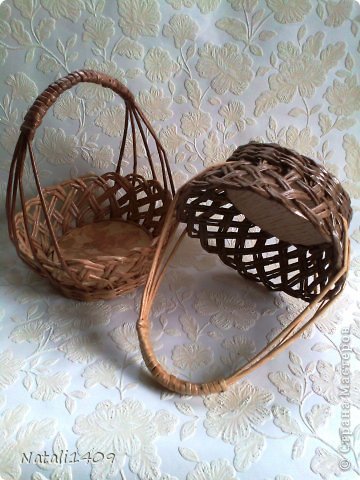
Since the candy in the country (for some reason) do not grow, you have to use them in other ways.

How to make newspaper tubes frame

frame from tubes of newspaper 1

Cut the cardboard box. Keep in mind that inside, somewhere in the 5 mm on each side, the frame will be wider by tubes

Flatten with your fingers and sticking the tube from the inside. Here I posted a lot, then remove excess glue and. It is necessary to glue from a distance of 1 mm from each other. I put on top of the load and wait until post

bend the tube at the front of the frame and begin weaving. Promoted through a tube. Next staggered following

So I put my hand and pushes the next tube

I continue marginalia on the width of the frame.

Entangling is also the other side, the same Kol liches vom horizontal tubes.

Now I take my top.

Cut Sredinka and sealed all the tube inside out.

I paint the finished frame. I walked on top of a gold acrylic paint dry brush. On the reverse side to stick the same cardboard box and paint

How to weaving box for needlework

weaving box for needlework 1

To quickly learn how to weave, you can start with a simple, not all at once turns bedplate, so you can make the bottom of the cardboard

I took out of puff pastry, comfortable and not have to cut anything. The photo shows that we still need is a PVA glue, gofbumaga for children’s creativity (although it can be wall-paper and printed with a picture, someone like that). I cut out a circle of paper more, crumpling it and stuck. At the bottom mark the place where the circle will be glued to the tube, small stands. As you can see, I bend tubes with the letter P

Paste. It must be an odd number of racks

From above impose a second round – a bedplate. Prikleivaemi top put something heavy

Sorry not everyone get a clear picture, it is my 1 MK I do not like to be distracted when doing something. But in general it is clear.

While preparing dries same makarom cover only single duct. Top pasting listing liked pictures, and since I wanted to make a drawing volume, a bird and a sprig impose filler mixed with starch and leave to dry

Our bottom dried up, lift up the tube. Yes, get well soon, when pasted directly glued to the two ducts which will start to spin. Scourge usual pigtail

Another forgotten, small stands just paint over the black gouache

How many rows proplela two did not think then one tube cut and pasted, and then start to weave a simple rope through one rack

At the very top ranks of ten again two tubes

We reach the top, to the top was a dense, small stands kinked make oval and swing the same gofbumagoy with glue. Then weave the lid is applied on top of the cart, and as soon as she turns a little more, do Bending, one plant in small stands and other go too down, following again for another and go too (fuuu, something I have better hands than it turns to tell)

Then weave vertically desired height

And then again Bends one after another, and then in the opposite direction by making a loop and insert the end into the needle weaving helping yourself, hide, pasted and cut off the excess

On the cover is pasted a printout so that it coincided exactly. To this end, its top is varnished three times to dry and when immersed in water and then the back side of the paper roll off gently turned to semi-transparent image

Then everything is covered with white glue be mixed with black gouache

A picture paints acrylic paints. On top of the leaves for more likelihood drip super-glue Master, it freezes and turns transparent drops of dew

And finally the last. All lacquered, both inside and outside, and three times in the desired. I covered the furniture varnish “Rosewood”

It’s inside

It’s outside. Done

How to weaving poultry from newspapers tubes

weaving poultry from newspapers prepare 1

How to weaving poultry from newspapers tubes

We Need:
– newspaper tubes
– glue
– a thin wire beading
– egg (Dried)
– round cardboard Begin braiding poultry from newspapers
First, we need a round piece of cardboard – it will serve as a basis. We attach the tube to the newspaper cardboard base. Now take the usual plastic cup and begin to braid her Once we wove sufficient reason to divide the tube neck (6 pieces), wings (4 pieces) and tail (5 pieces). A little trick – to the neck and the tail of a bird have a smooth bend and easy to take shape, insert it into the newspaper tube wire.


Now we begin to slowly knit neck, wings, and tail

neck weaved and it is time to begin to weave your head. To head, we need an egg. Prepare the soil for him, for this start weaving a spiral

Upon reaching the desired diameter, put the egg and begins to braid a spiral braided

Netting birds completed. It remains to decorate our poultry from newspapers and put on the table!

DIY: Weaving basket with recycled Newspaper

How to make fun giraffe from newspaper tubes – Step By Step

giraffe from newspaper tubes 1

From cardboard cut out of the sheet blank. We attach tubes – rails and begin pletenie.Dlya smoother braiding each tube add copper wire.

Scourge of about 14.5 cm and remove the wire karkas.Teper body will expand.

After 8 propletennyh series, we begin to develop head and neck of a giraffe.

Separately weave ears, horns, and nose of a giraffe.

Decorate zhirafa.Szadi we stayed korzinka.Ee can be left unchanged, but you can close the carton and place the back of a giraffe.

Glue eyes, fur, nose, and mouth.

Make a papier-mache cow using an empty water bottle and toilet paper rolls – Step By Step

cow 01 1

Required Material:
Two big plastic bottles, the more rigid the better
4 toilet paper tubes
Shoelace for the tail
Cocktail straws for the udder
Wooden toothpicks
Knife, scissors, and all
Crafts glue
Paint and brushes
And a lot of old newspapers
1. First of all, let’s make the tail. Pierce a hole in the bottle’s bottom, thread a shoelace through it so that its end reaches the bottleneck and tie a knot there. Then pull the knot inside the bottle.

Tie another knot outside the bottle, as close to the bottle as you can (the second knot isn’t shown in the photo). Add a crumpled piece of a newspaper to the outer part of the bottom if needed, secure it using masking tape. Masking tape is used widely in paper-mache because you can glue paper easily onto it.

The rear part of the cow looks like this:

2. I used a bottle with a special shape to make the neck, but your cow can be without a neck at all, that’s OK. You have only to make ears and snout. You might also want to add two horns if you like. For the snout remove the bottle’s neck to get a little bit wider opening.

Fold a thick strip of newspaper and roll it into a tight “snail”. Leave a short loose end.

Secure the snail with a piece of masking tape, and insert its end into the opening. Attach it with another piece of tape.

3. The ears can be made from another bottle. Leave a small rectangle at one end of each ear when you cut it out, then make two slits in the head and insert the rectangles into the slits.

Using this trick I wanted to create the right shape and rigidness for the paper mache ears.

This is how the head looks like when done.

4. Toilet paper tubes wanted to be cow’s legs, and we let them.

Make two semicircular cuts one opposite the other at one end of the tube where it will be connected to the bottle.

Attach the tubes using masking tape.

In this photo, you can see a leg with a hoof, the tail, and the udder. So, let’s make the udder.

5. We are about to make treats out of drinking straws (pink ones:)

Crumple a small ball from a newspaper, then make a U from a straw and pierce two holes in the places where it bends. Insert toothpicks through these holes and stick them into the paper ball.

Cut the toothpicks if needed. Make another pair of teats and attach the rudder to the body. The horizontal part of U will be covered with paper.

6. It’s time for papier-mache layers. We had 6 to 7 layers of pieces of newspaper dipped into craft glue mixed with water. Use a stronger glue mixture and white newspaper margins for the upper layers. You might want to check out other Web resources for basic and advanced papier-mache techniques, for example Getting Started with Papier Mache.

7. Decorate your cow, paint or glue a pair of eyes. That’s it.