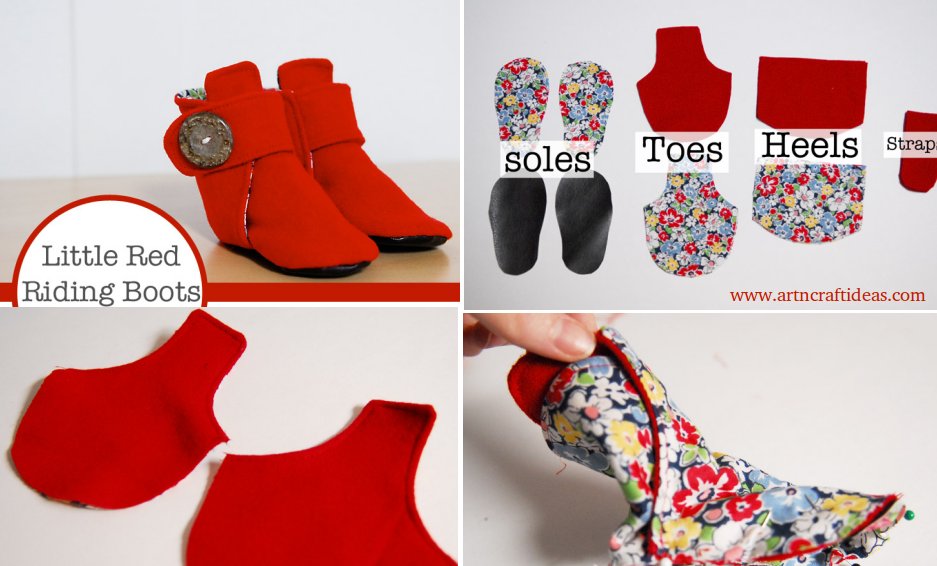
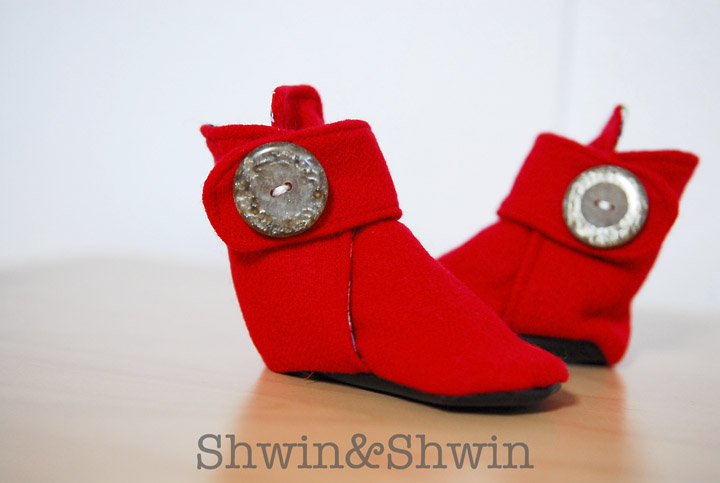
The free pattern today is a sweet little pair of boots. Because every baby needs some boots. This style is simple and clean and could easily work for a baby boy or girl.I just love boots on babies especially young babies because they stay on better when there is something wrapped around the ankle.
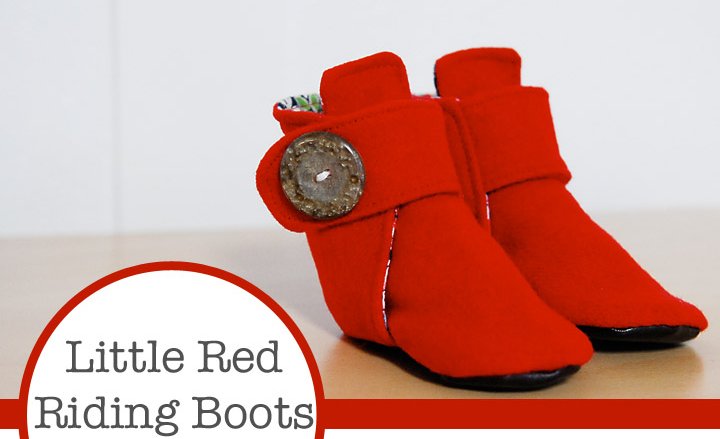

They are soft and comfy with a strap and snap closure.
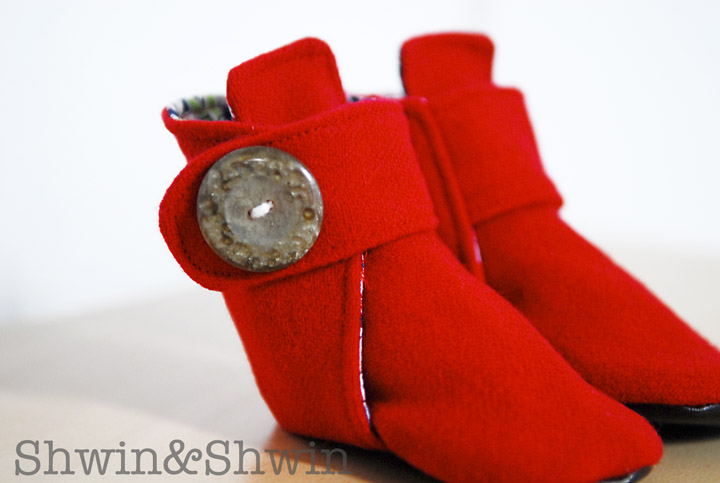
The button is just for looks but you know I love a button 🙂
It includes 0-3m 3-6m and 6-12m
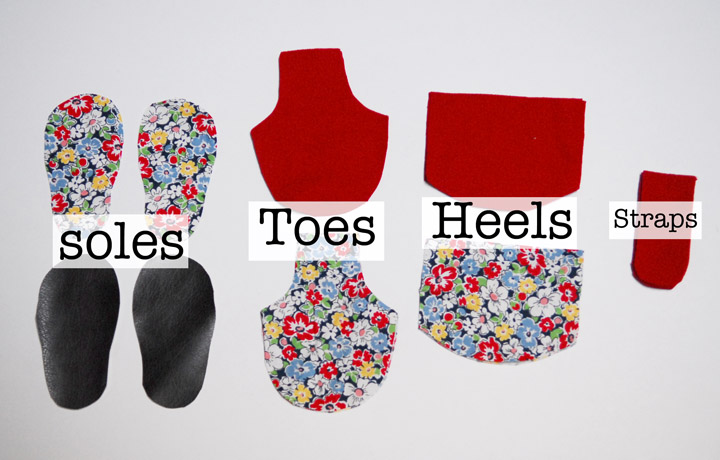
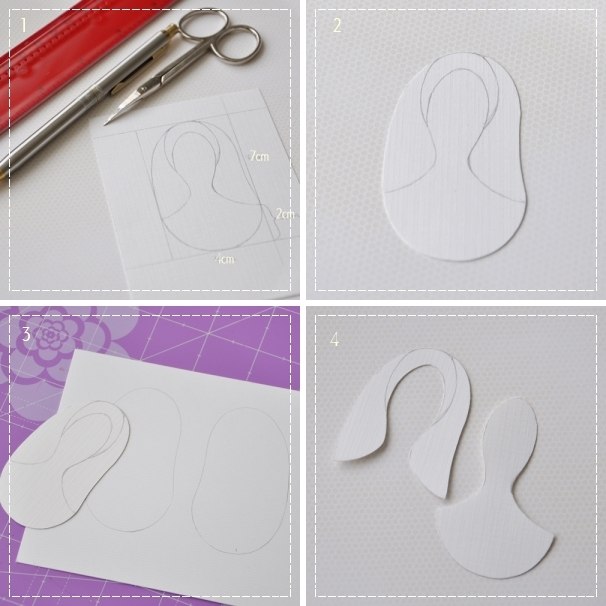
Cut out your pieces. You will need 4 soles (2 reversed so you have a right and left foot) I used pleather for the outside sole since I think it holds up a little better. Then 4 toe pieces two outer and two lining, 4 Heel pieces two outer two lining, and 4 straps 2 for each shoe.
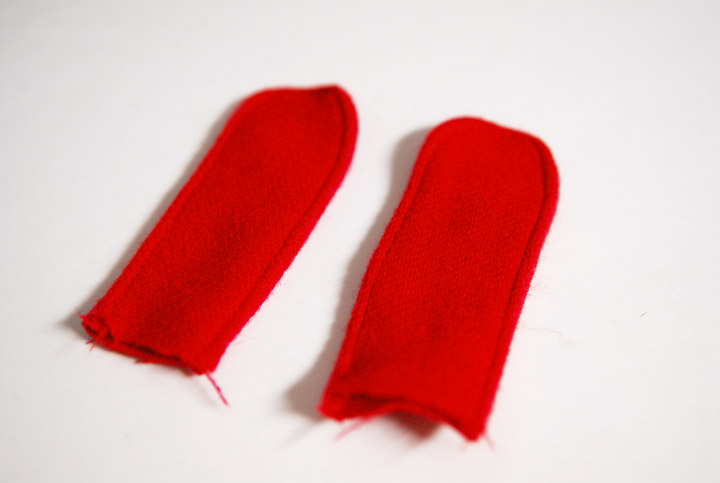
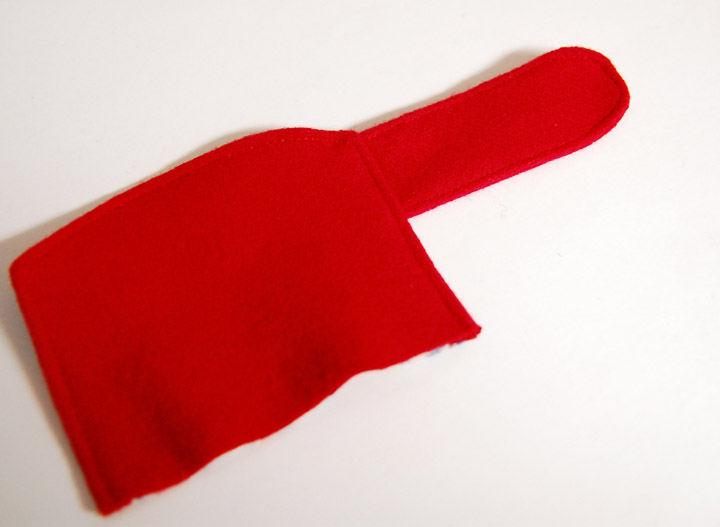
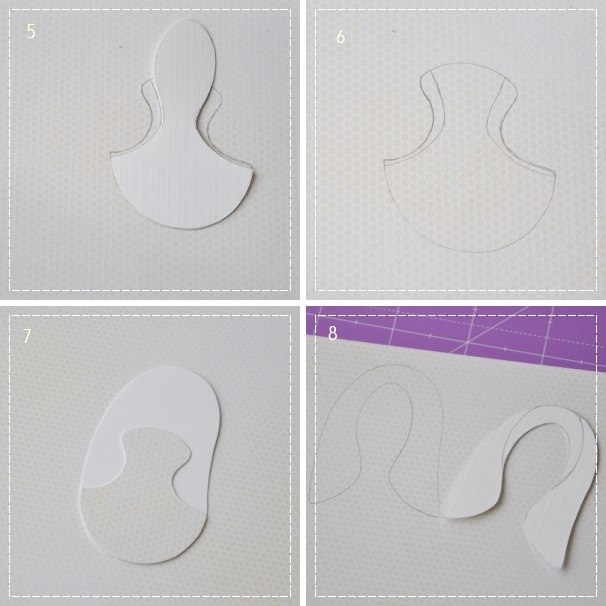
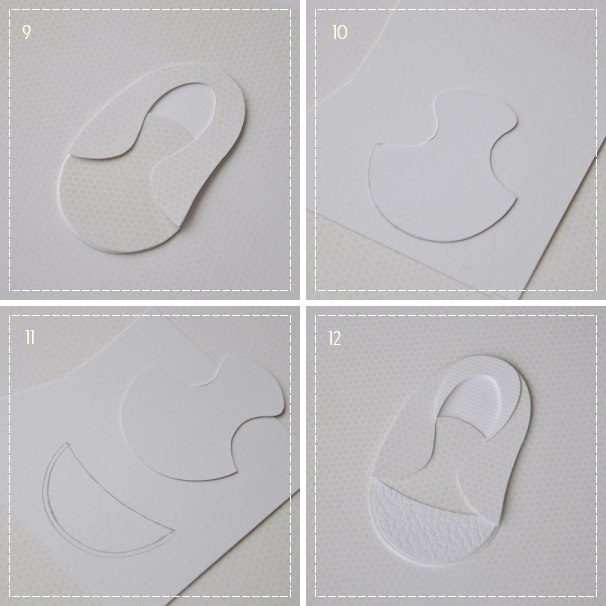
Start with the straps. Sew two right side together along the sides and curve. Then turn right side out and top stitch. Repeat with both straps.
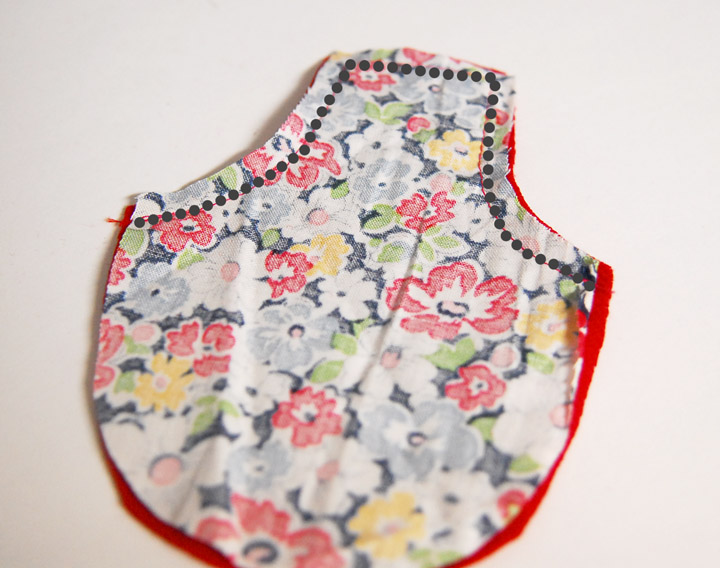
Next for the toe pieces. Sew one lining and one outer piece right sides together along the grey dotted line. Clip the corners and the curve.
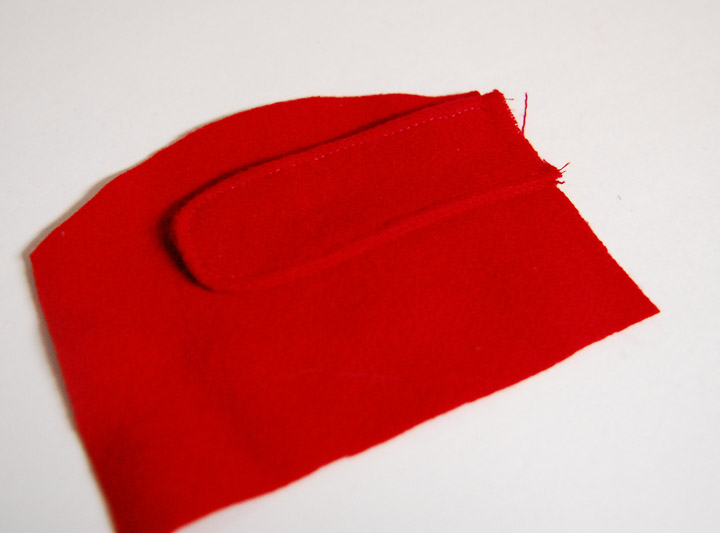
Turn it right side out and top stitch. Repeat with both toe pieces so you have two.
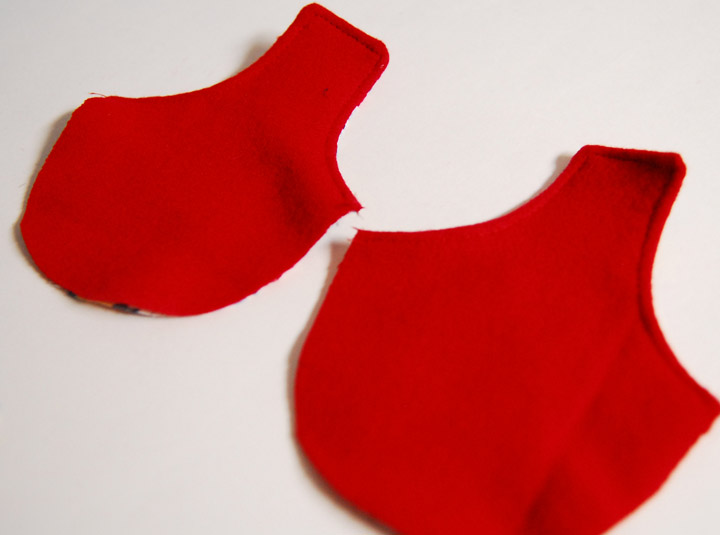
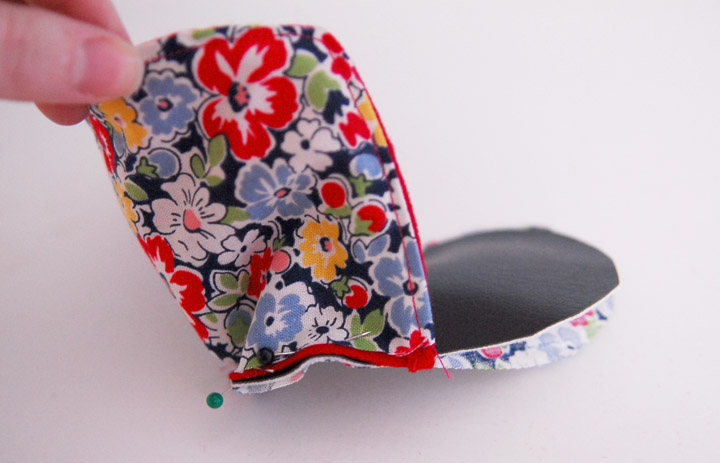
Next for the heels place the strap down near the top of the curved edge and have the raw sides together. Then place the lining right sides together, sew along the sides and top.
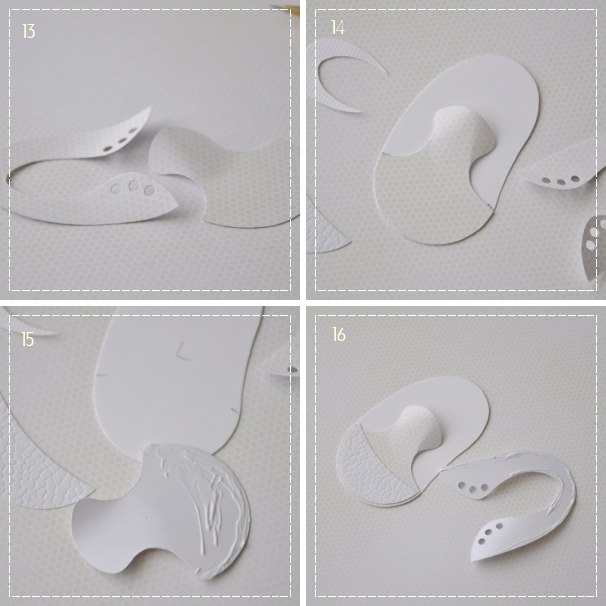
Clip the corners and curve then turn the heel right side out. You want two heel pieces like this but you want them to be reversed so the straps are opposite each other.
Then pin the heel in place to the soles (which should be wrong sides together) Sew the heel in place.
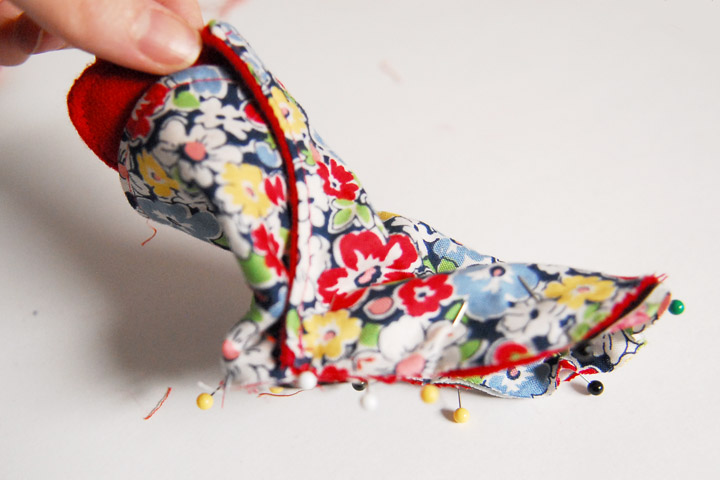
Then add the toe piece to the front. Sew in place. Clip all the curves on the sole.
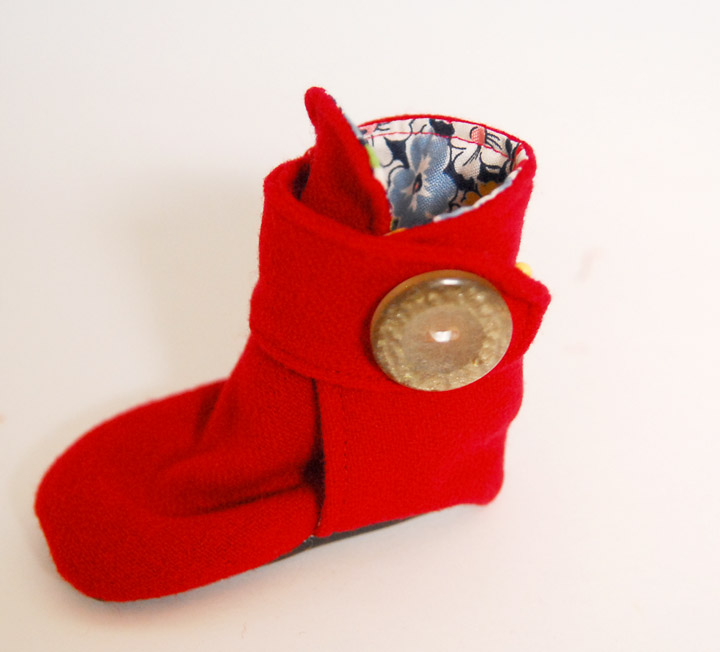
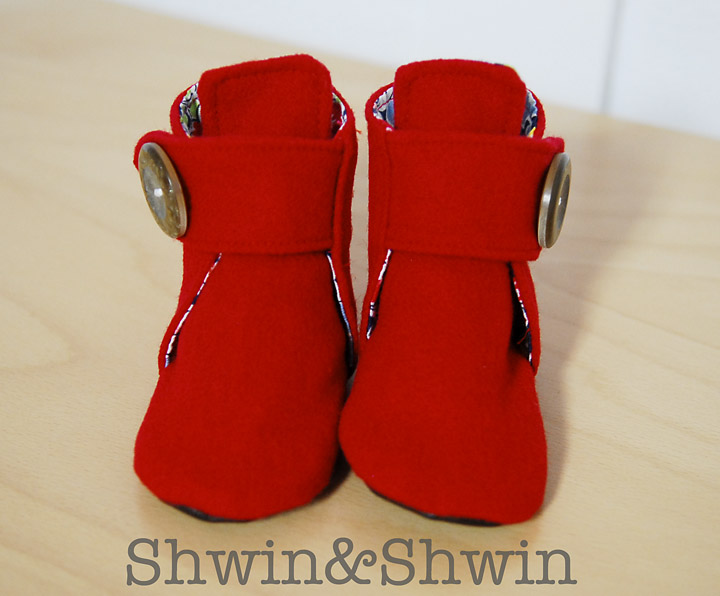
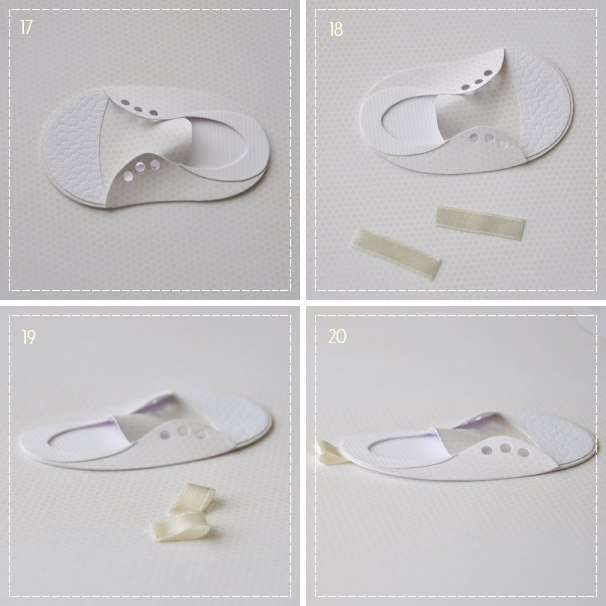
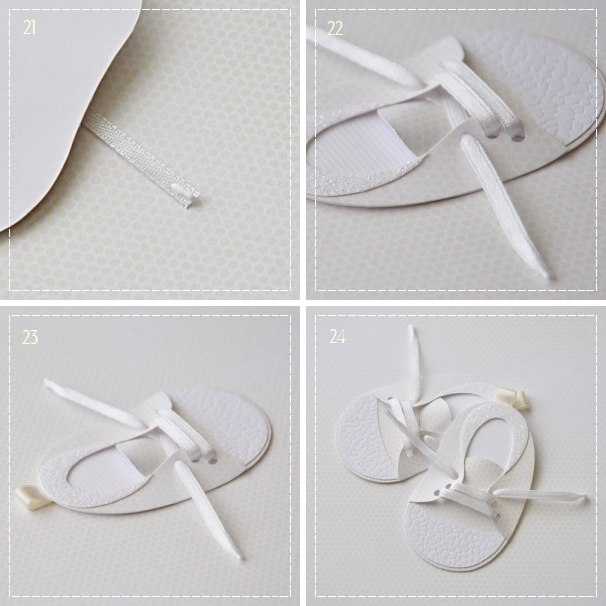
Then turn the boot right side out and add a snap to the strap and side of the boot. Sew on a button for decoration and you are good to go.
Now you have some adorable little boots to keep those little toes warm.
Hope you like this tutorial.
Source: shwinandshwin

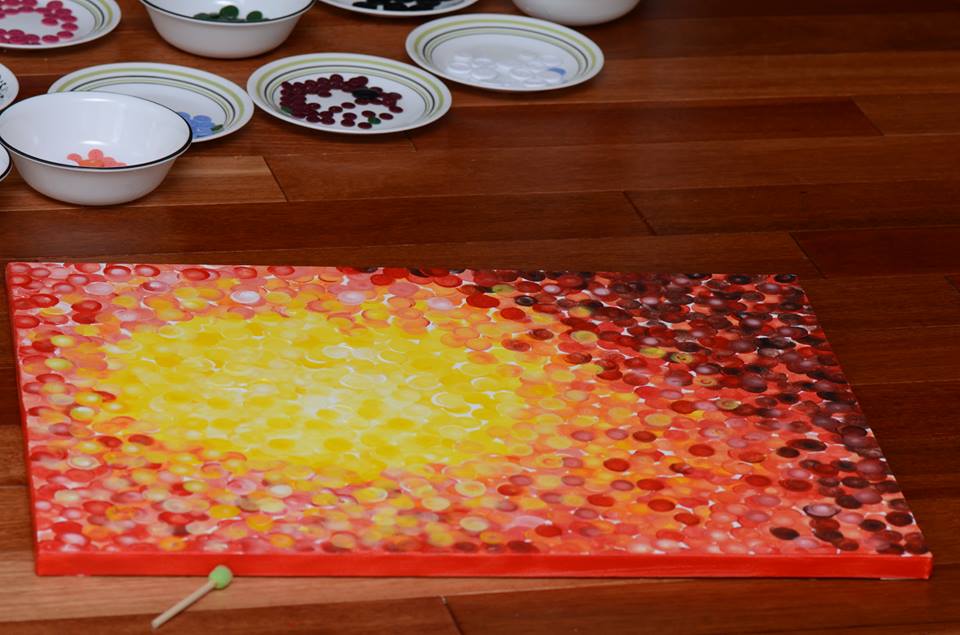
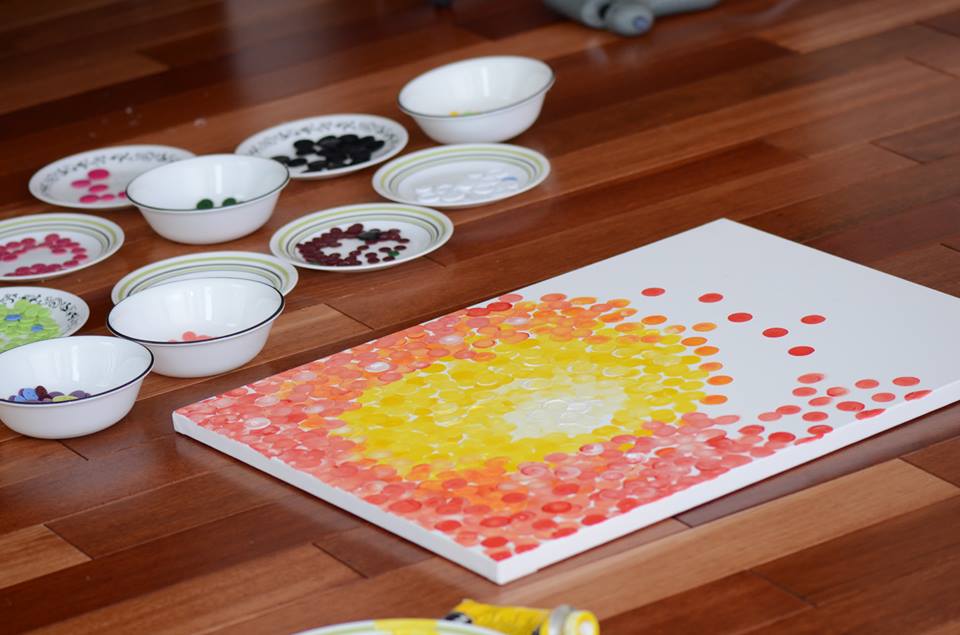 I used round flat tip sponge brushes(pouncers) for the background.. I was after bokeh affect of a sunset scene..
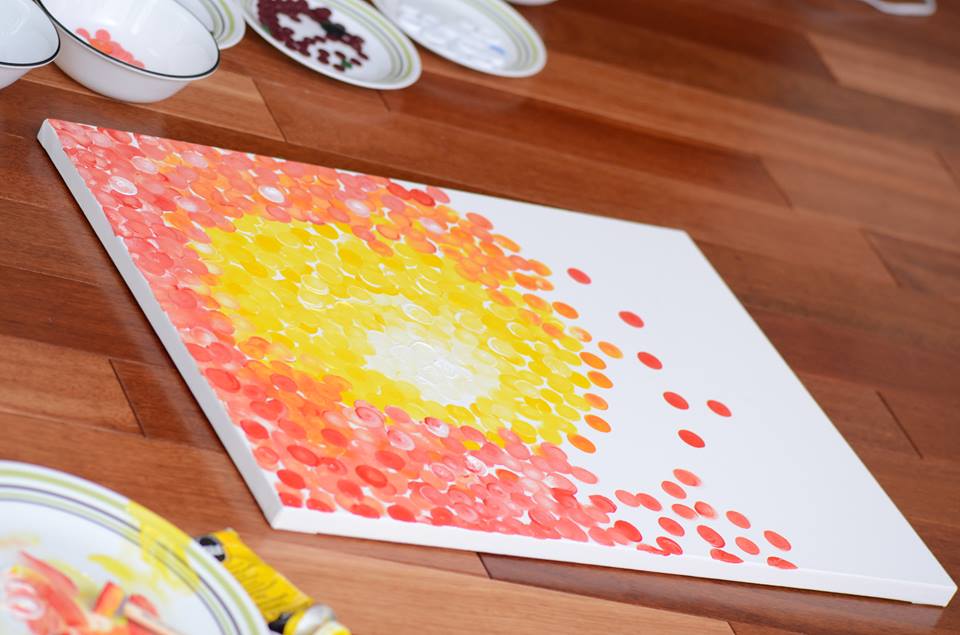
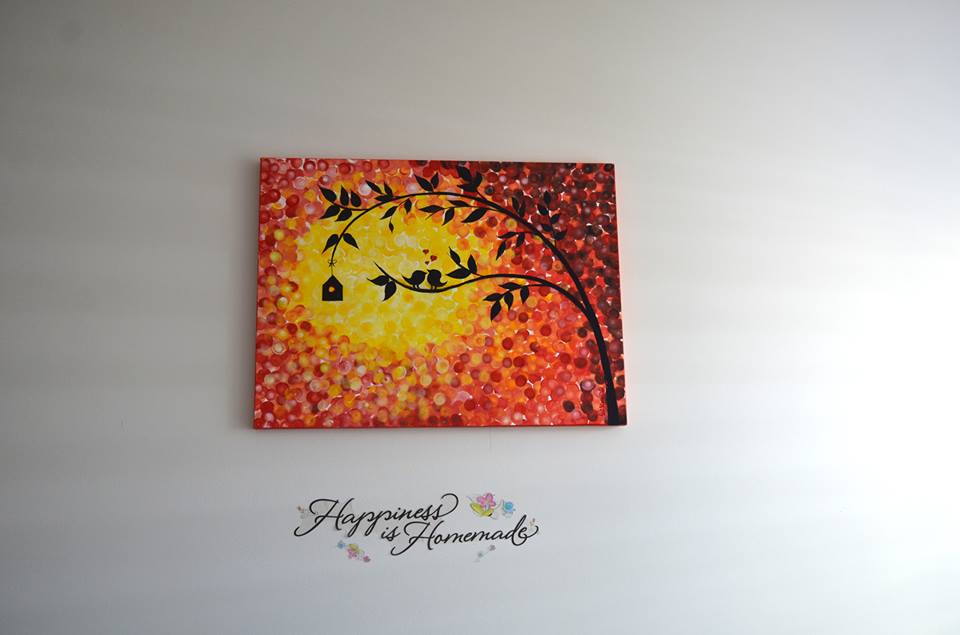
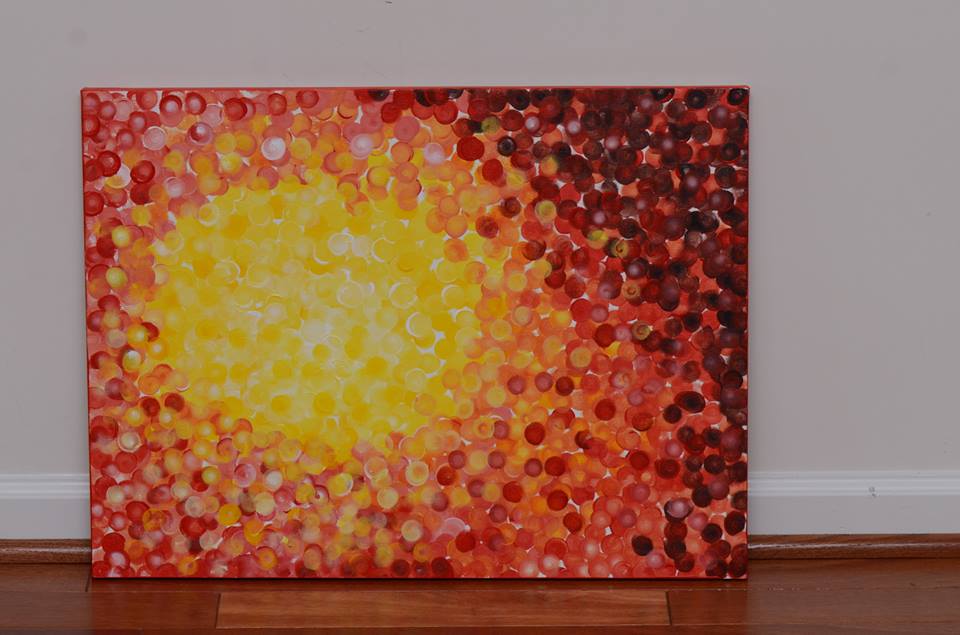 Finished version – After adding a simple silhouette of a tree with love birds.. it gave a real dimension to the background..
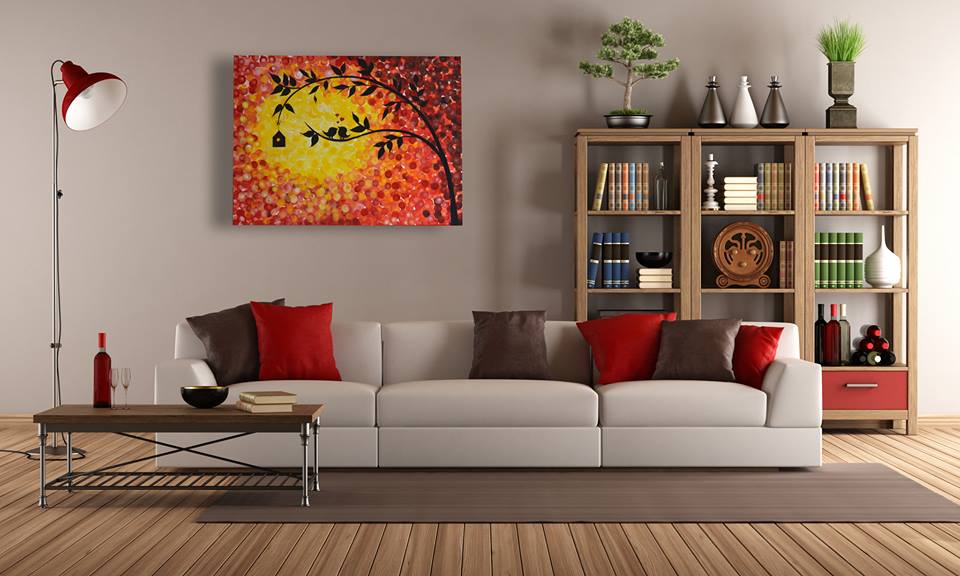
  Just an illustration done in adobe to see how would the painting look on a wall…


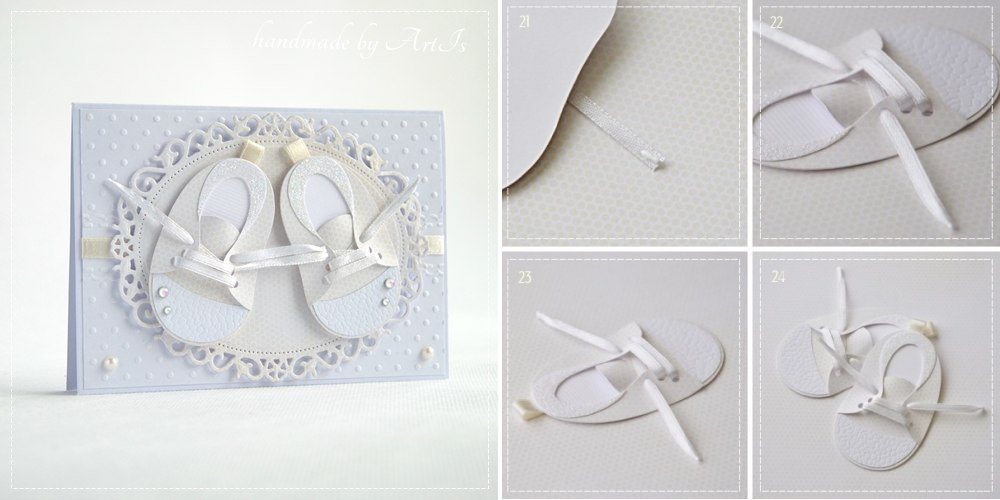


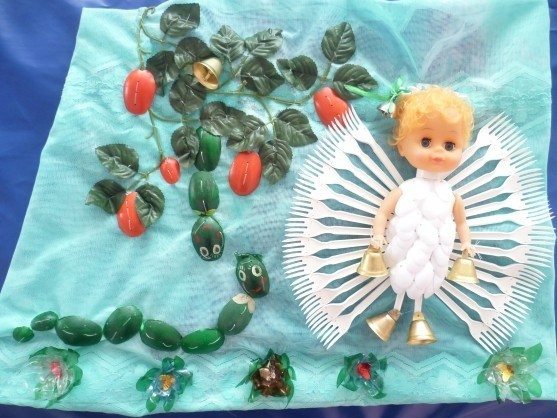
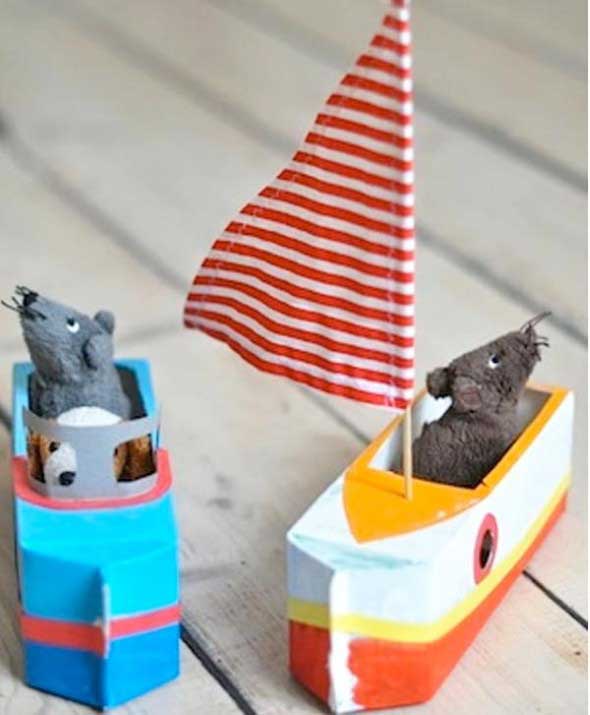
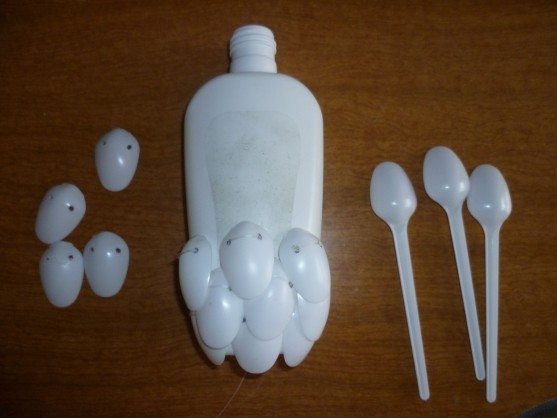 The head and hands found a broken doll. For the music sound on the hands and feet attached bells. On the crown of the head attached broken pins.
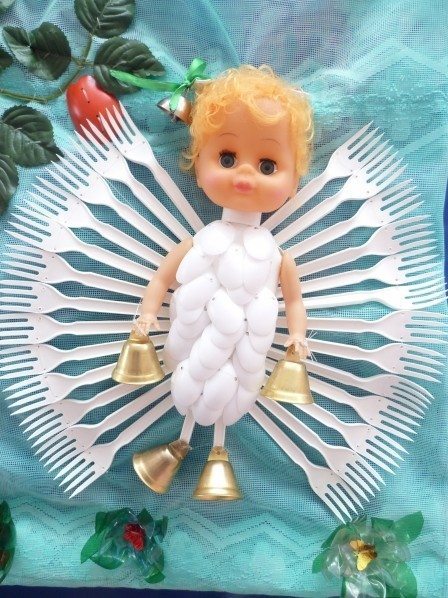 Caterpillars and apples laid out from large disposable spoons. Which, painted green and covered with lacquer furniture.
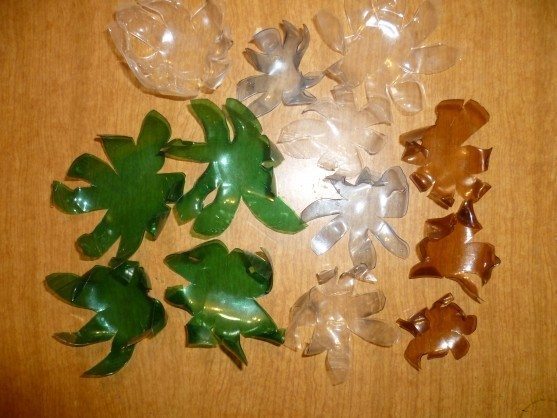
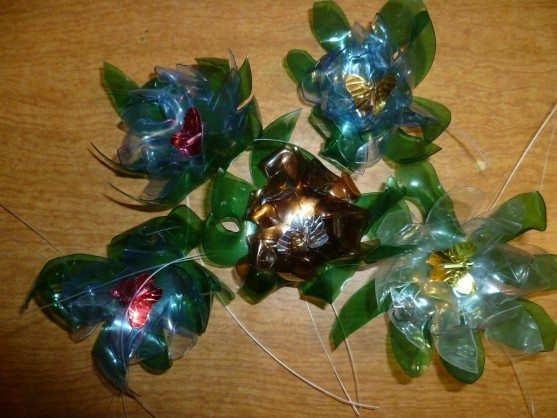
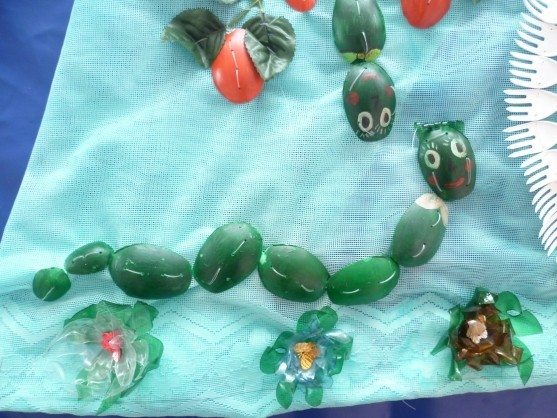 At the bottom of the work attached flowers made from plastic bottles.
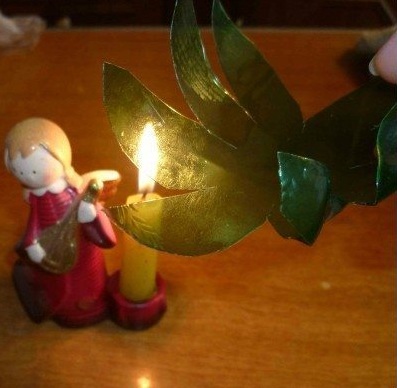
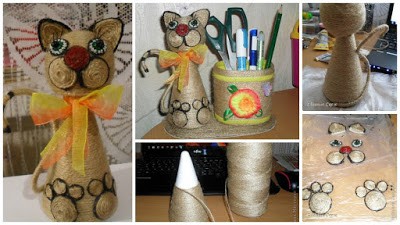
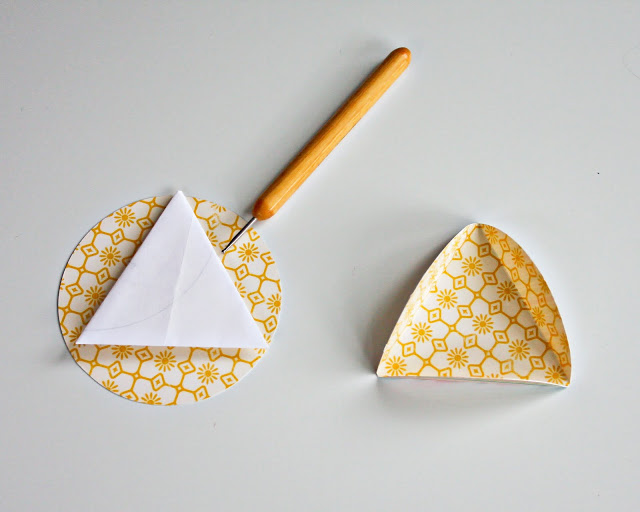
 We take any cone and begin to tightly wrap! I have a foam blank is glued to her double-sided tape and wrapped with twine
 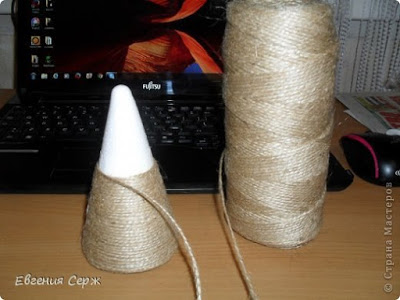 From wire tail and do the same winding
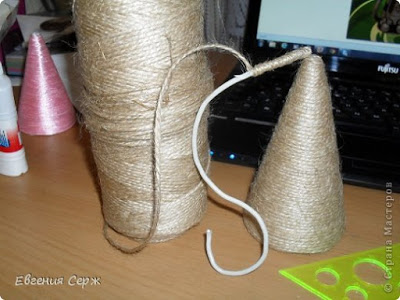 The body has a tail!
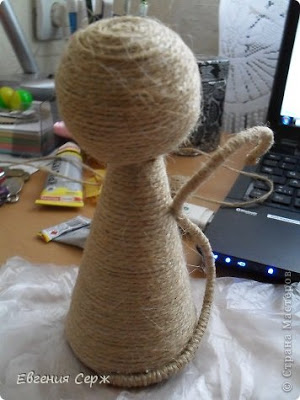 Making ears
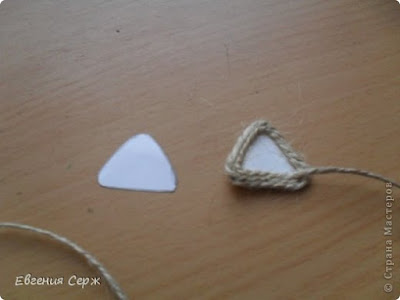 harvested head
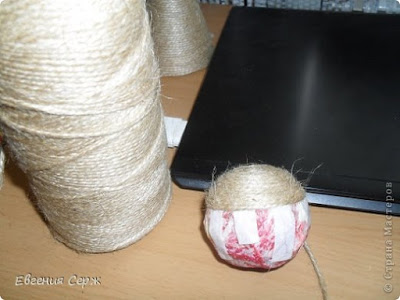 Making the blanks legs nose and cheeks
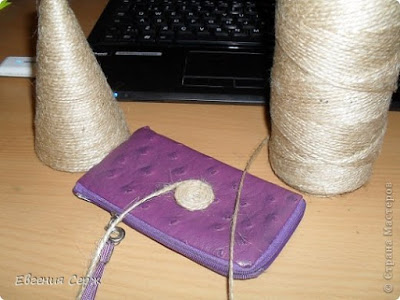 smeared with glue
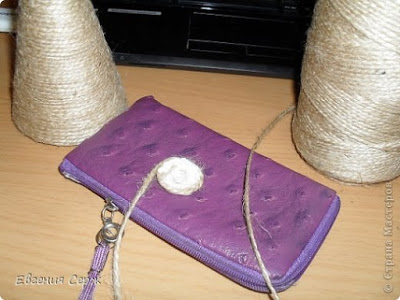 And now a little squeezing cone in quilling or just wrapped with a paper cone
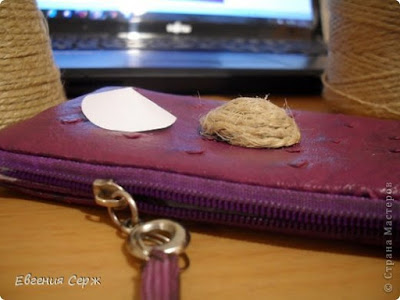 paws ready
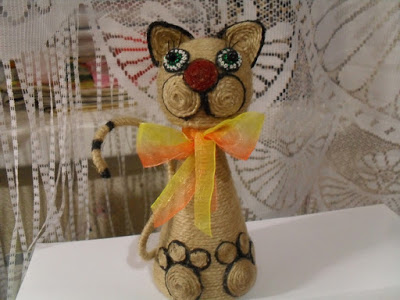
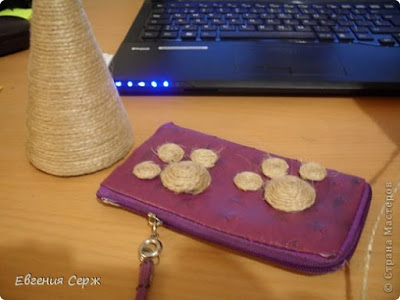 knit eyes! In one circle green white and black bars without nakida!
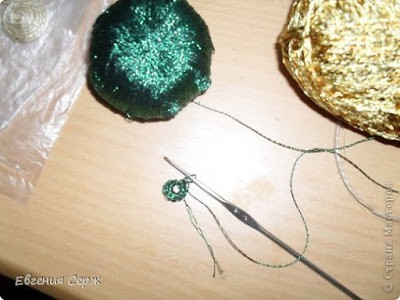 Dark yarn was found had to touch up
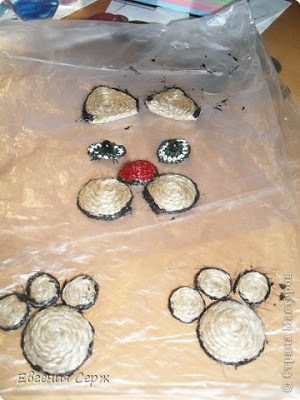 eyes close
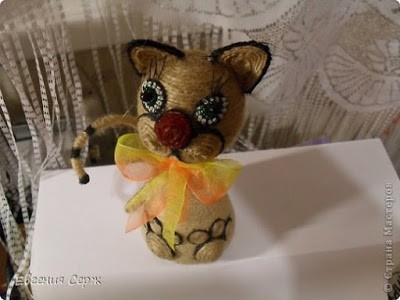 And now the steep
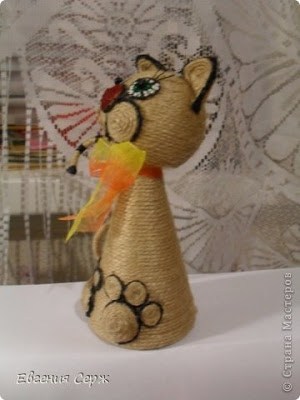 back
back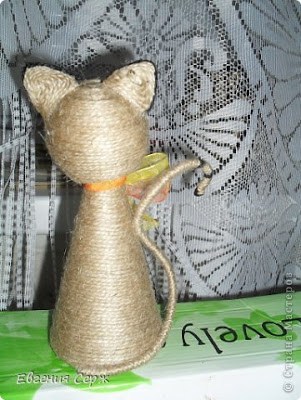 Well, that and the hostess finally I waited for her to go for permanent residence!
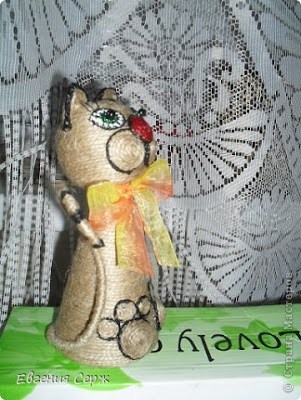 Full set
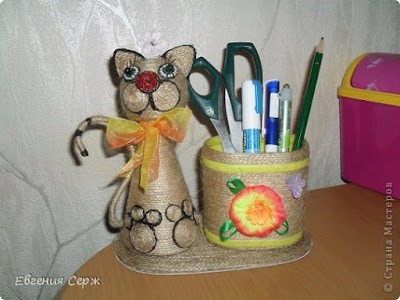


 2.How to Multiply Large Numbers in Your Head:
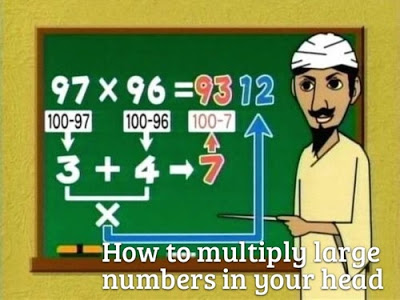 3.Butterfly Method for Adding and Subtracting Fraction:
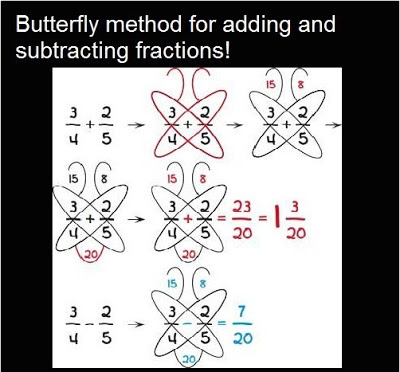
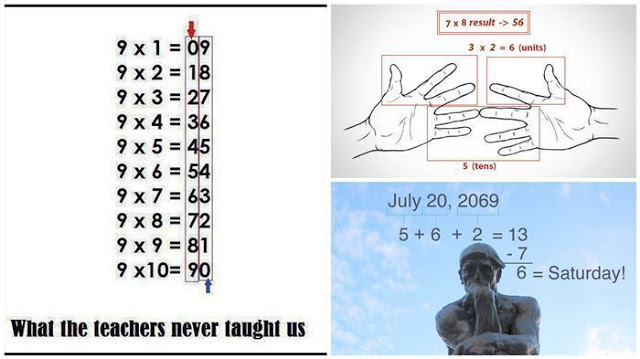
 5.How To Figure Out Multiples Of Nine:
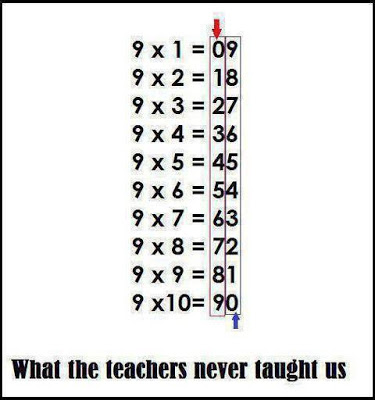 6.Secret To Remembering The Numbers In Pi:
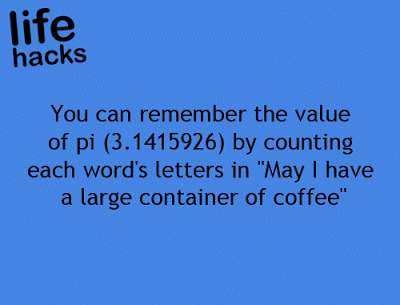 7.How To Find Fractions Of Whole Numbers:
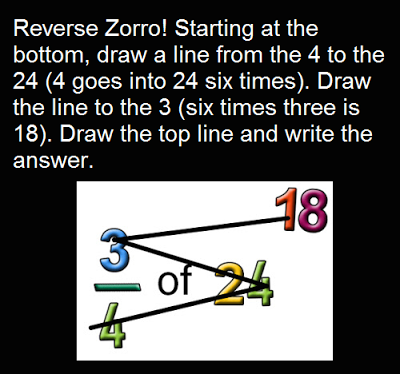 8.Know what date will fall on what day of the week any time:
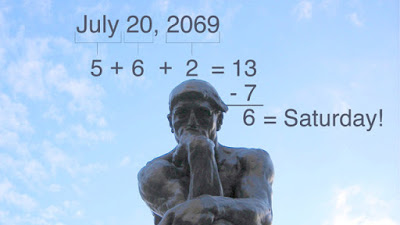 9.The Tables of 6, 7, 8, and 9 in Your hands:
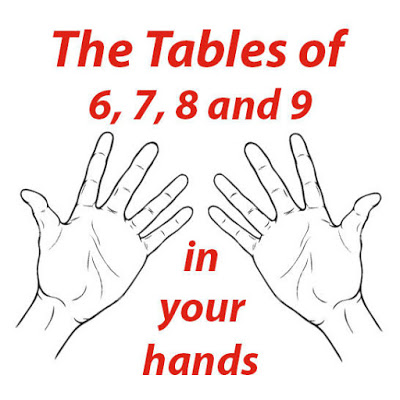 Count the Fingers:
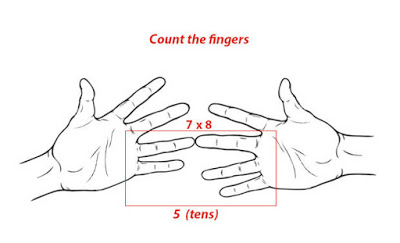 Count and Multiply:
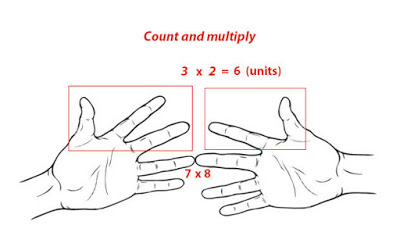 10.How To Figure Out Percentages:
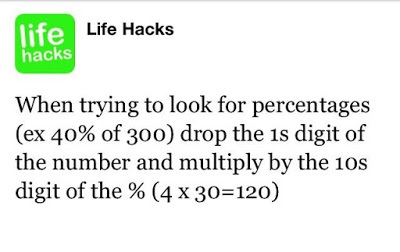 11.How To Remember Which Sign is Greater Than And Which Is Less Than:
 12.Learn the Japanese method of multiplying by using lines:
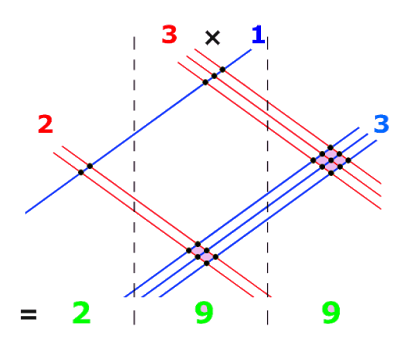 Useful Math Hacks That They Didn’t Teach You In School