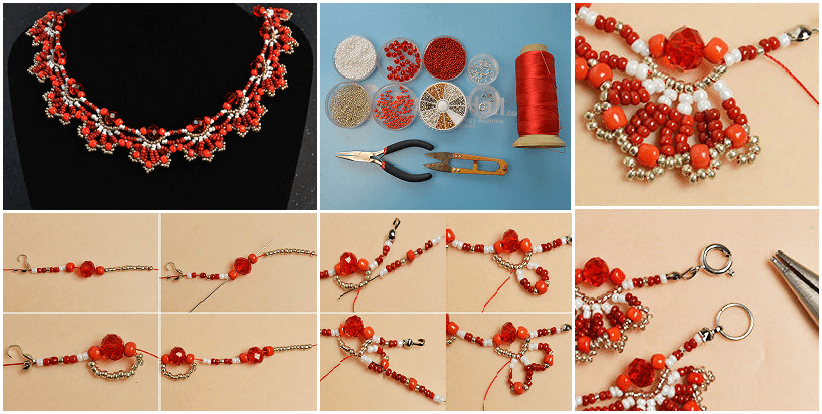
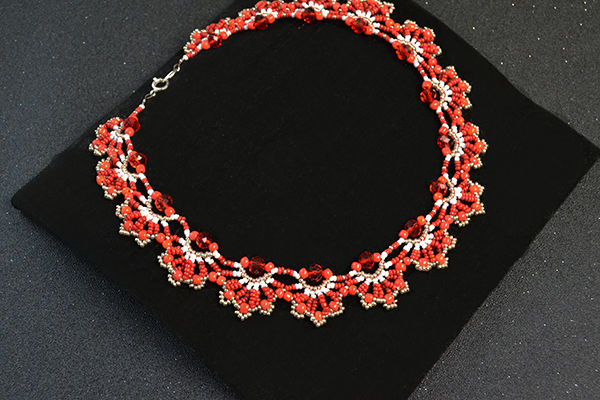
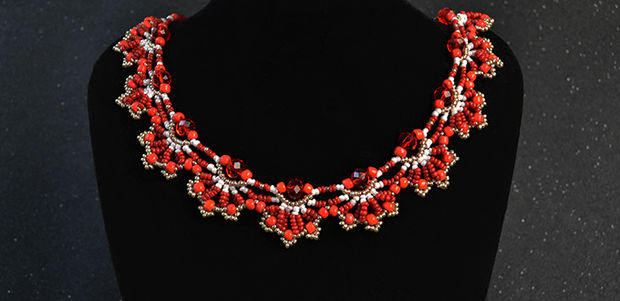
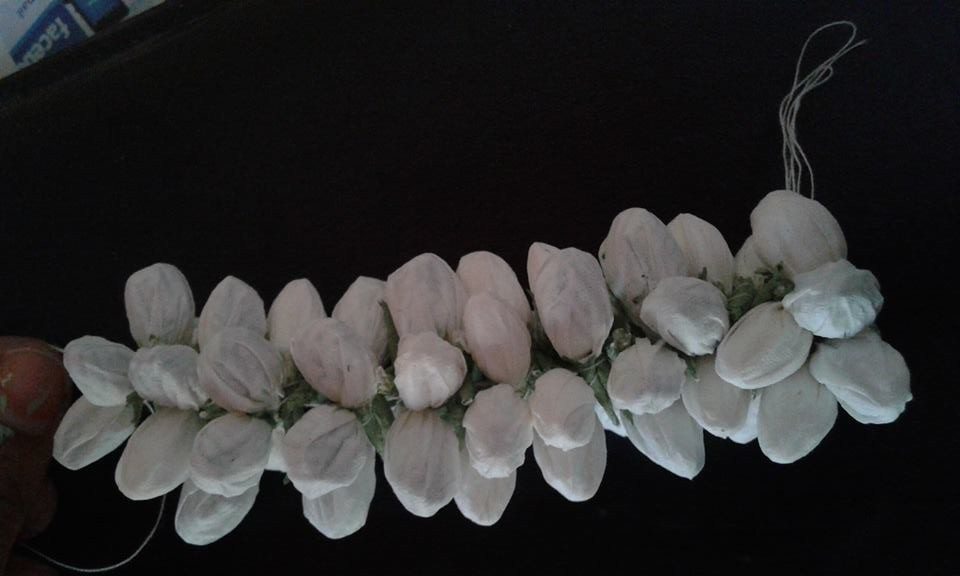
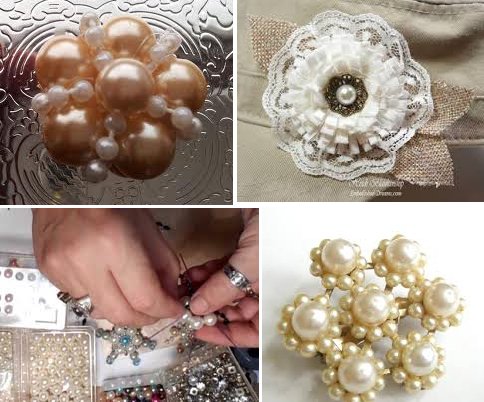
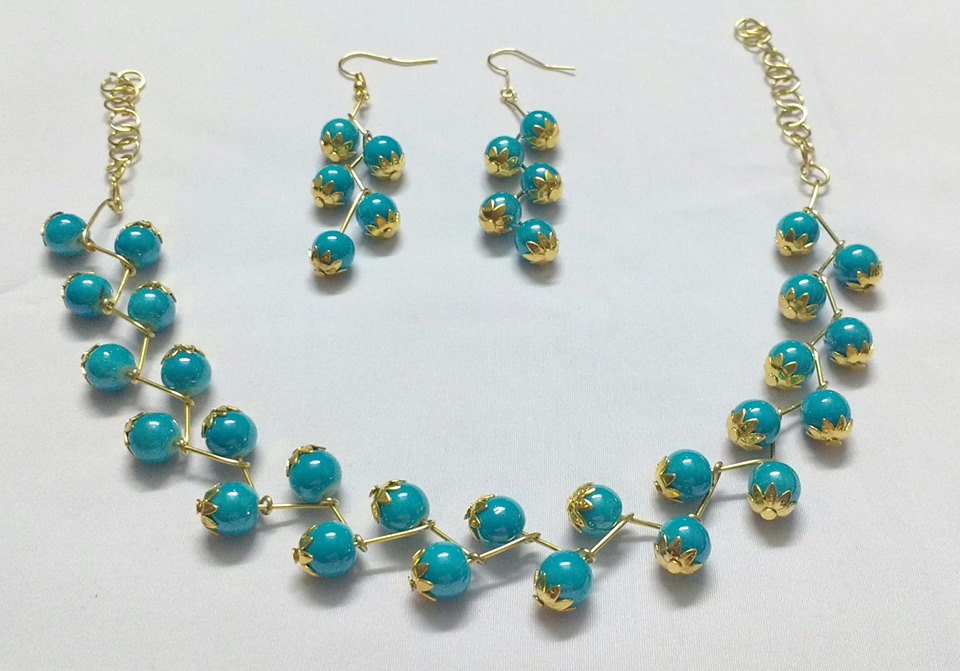
Today’s tutorial will show you how to make a very beautiful seed bead choker necklace, if you are fond of beaded choker necklaces, you shall never miss this one.
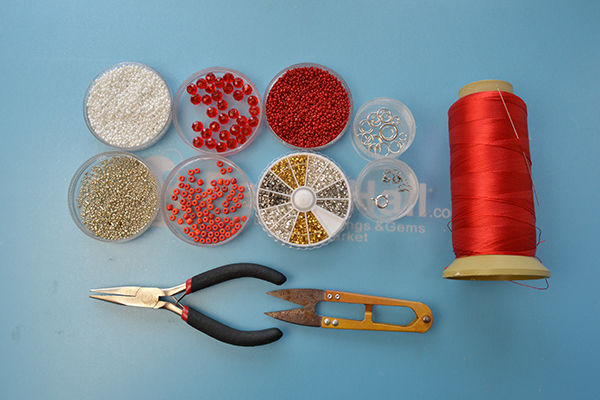
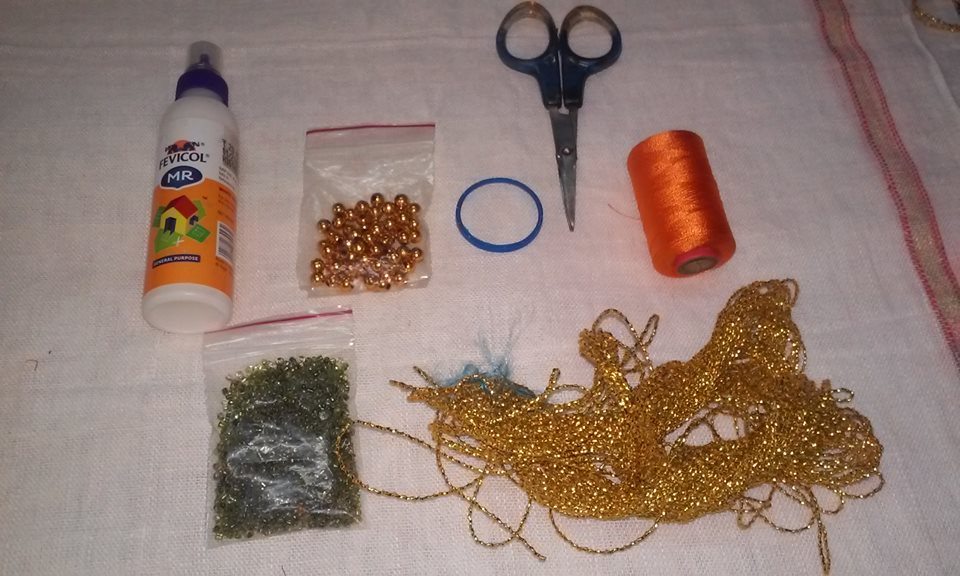
Step 1: Supplies Needed to Make This Beaded Choker Necklace
- 4mm Red Seed Beads
- 2mm Red Seed Beads
- 2mm White Seed Beads
- 2mm Golden Seed Beads
- 8x6mm Faceted Red Glass Beads
- 2mm Silver Crimp Beads
- Silver Bead Tips
- Red Nylon Thread
- Silver jumprings
- Silver Spring Clasp
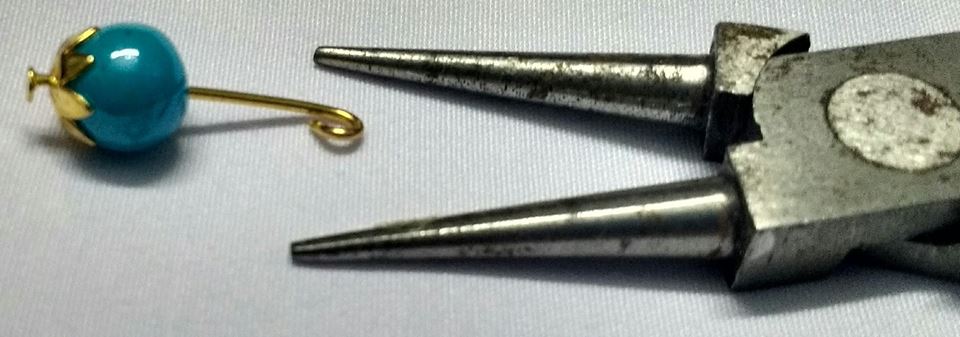
- Long Nose Pliers
- Scissor
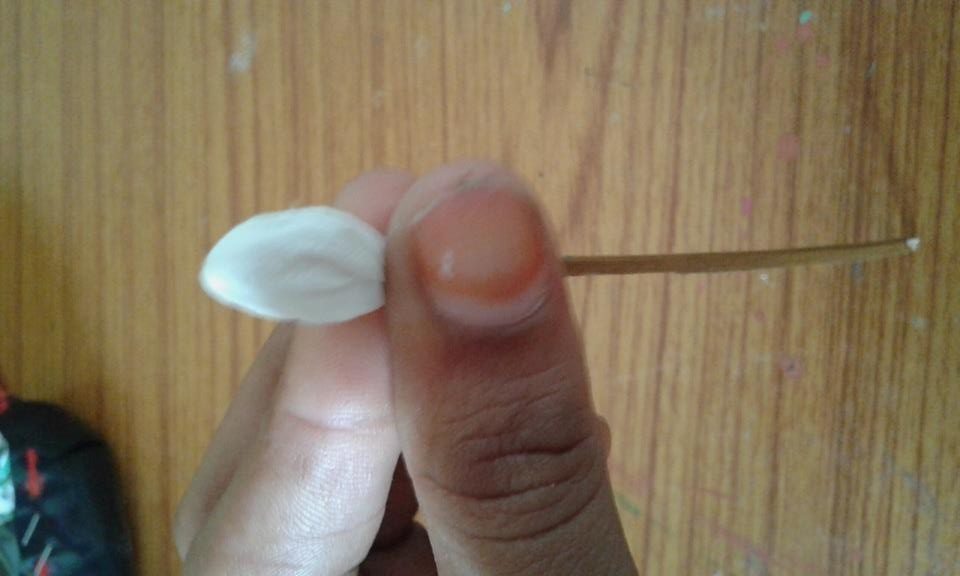
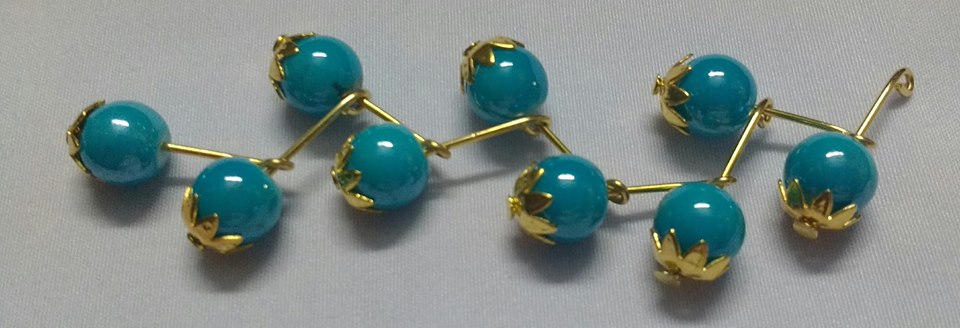
Step 2: Make the Basic Unit of the First Flower Layers
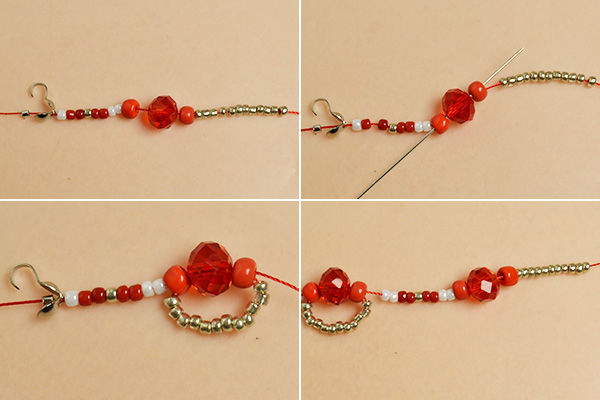
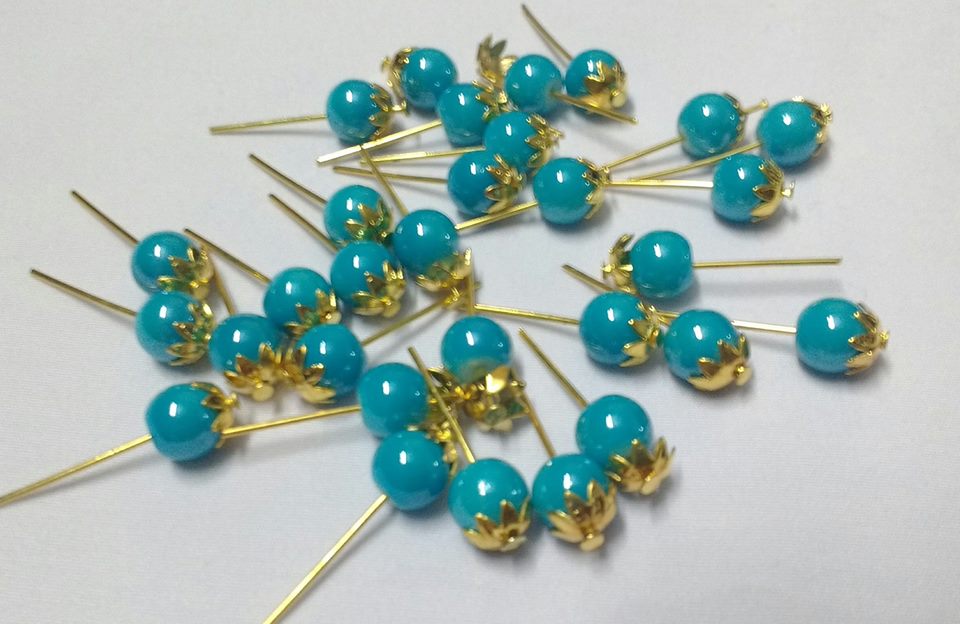
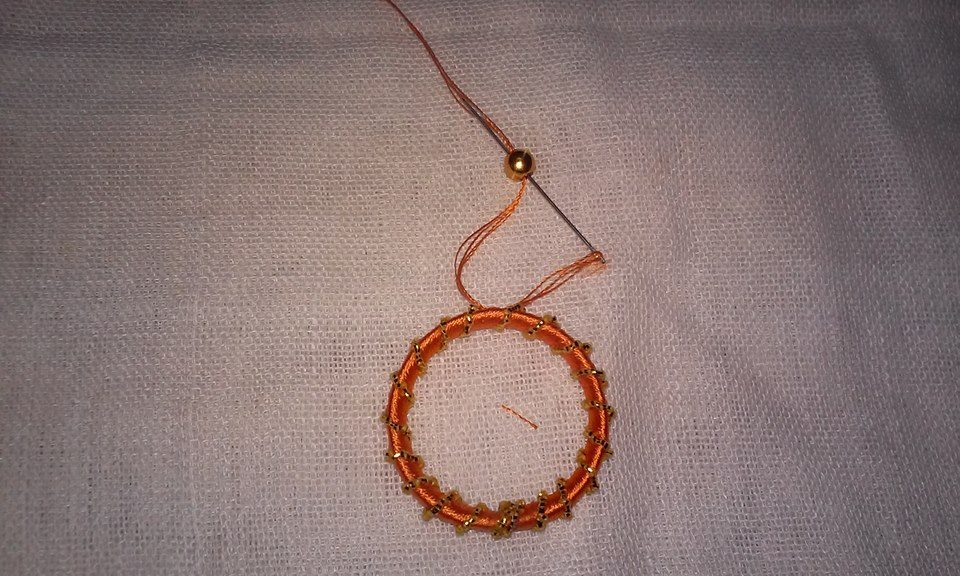
1st, prepare a long piece of red nylon thread, slide a silver crimp bead, a bead tip, a 2mm white seed bead, two 2mm red seed beads, a 2mm golden seed bead, two 2mm red seed beads, two 2mm white seed beads, a 4mm red seed bead, a red glass bead, a 4mm red seed bead, and twelve 2mm golden seed beads onto the thread;
2nd, cross the thread through the 4mm red seed bead, red glass bead, and 4mm red seed bead pattern, just like the following picture shows;
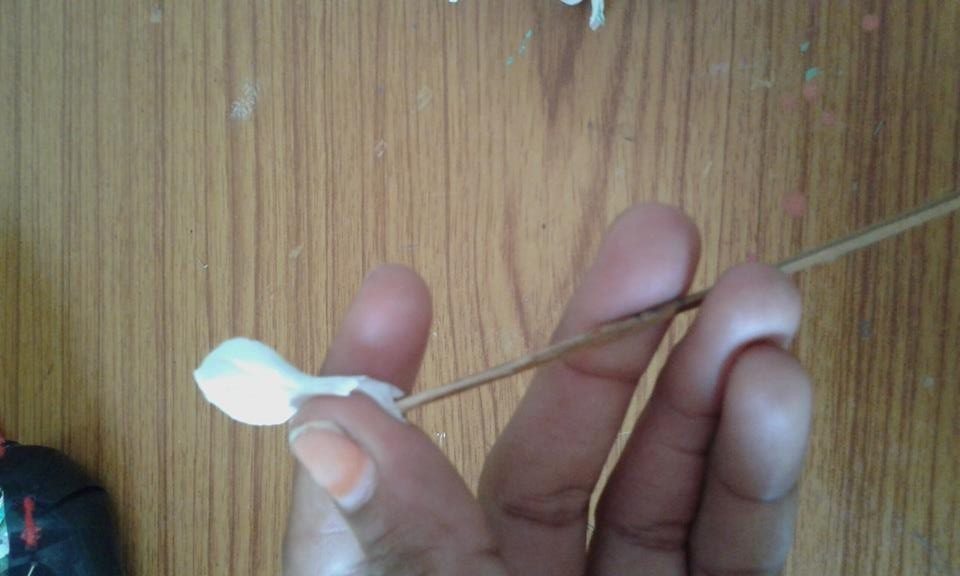
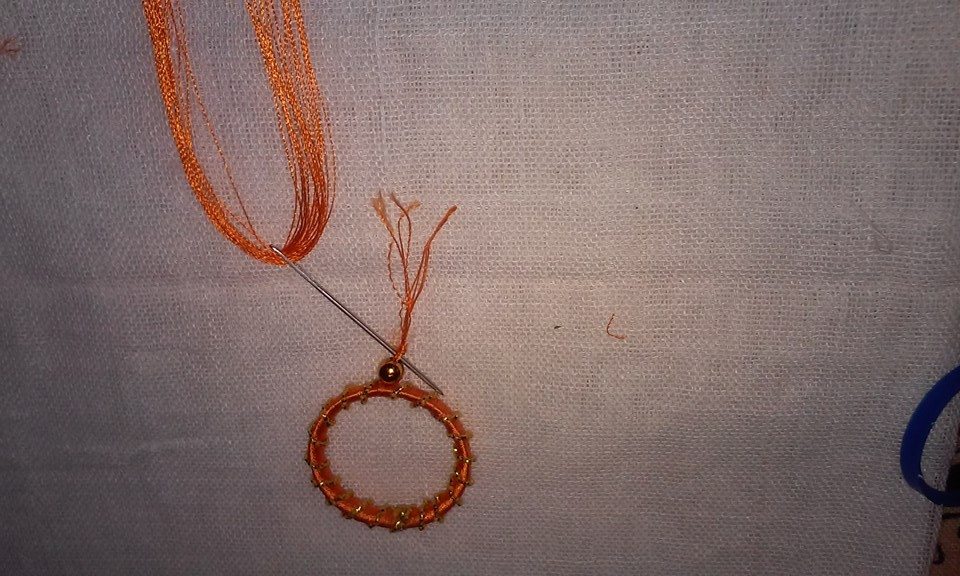
3rd, tighten the thread to finish the first basic flower layer;
4th, keep adding beads in the same way.
Step 3: Finish All the First Flower Layers
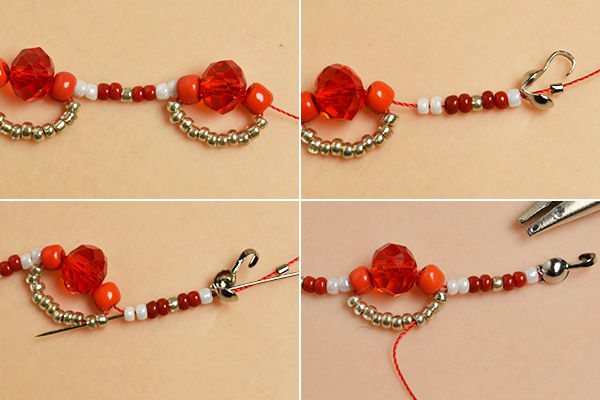
1st, repeat step 1 to finish all 16 flower layers;
2nd, slide two 2mm white seed beads, two 2mm red seed beads, one 2mm golden seed bead, two 2mm red seed beads, one 2mm white seed bead, a sliver bead tip, and a silver crimp bead onto the thread;
3rd, cross the thread back through the previous beads like picture shows.
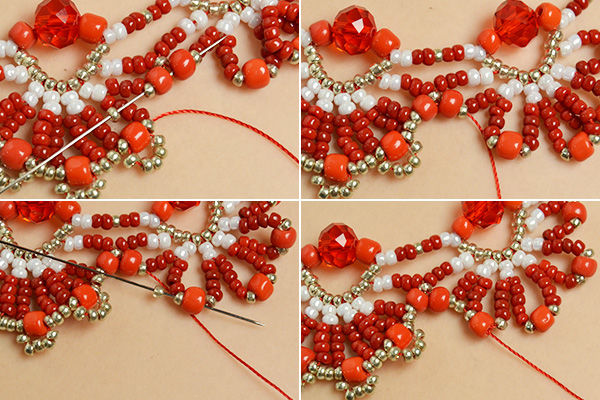
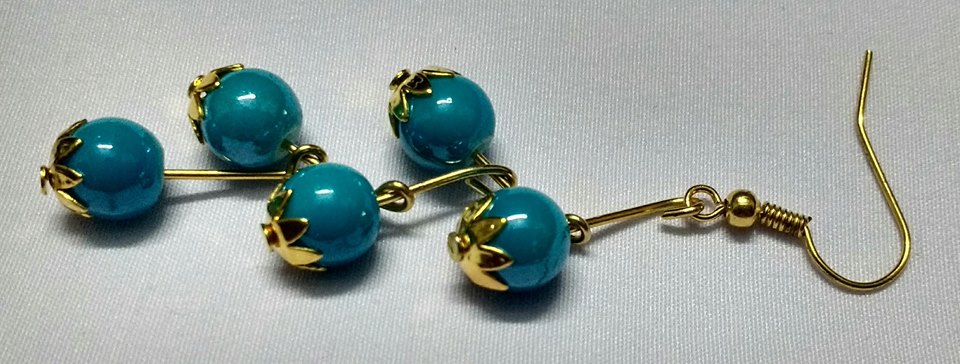
Step 4: Make the Basic Unit of the Second Flower Layers

1st, add two 2mm white seed beads, three 2mm red seed beads, one 2mm golden seed bead, one 4mm red seed bead, one 2mm golden seed bead, three 2mm red seed beads, and two 2mm white seed beads onto the thread and cross the thread through the third to fifth golden seed bead of the first flower layer;
2nd, tighten the thread to make a seed bead flower petal;
3rd, add two 2mm white seed beads, three 2mm red seed beads, one 2mm golden seed bead, one 4mm red seed bead, one 2mm golden seed bead, and three 2mm red seed beads onto the thread, and cross the thread through two 2mm white seed beads of the first petal and a 2mm golden seed bead of the first flower layer;
4th, tighten the thread to make the second seed bead petal.
Step 5: Finish the First Pattern of the Second Flower Layers
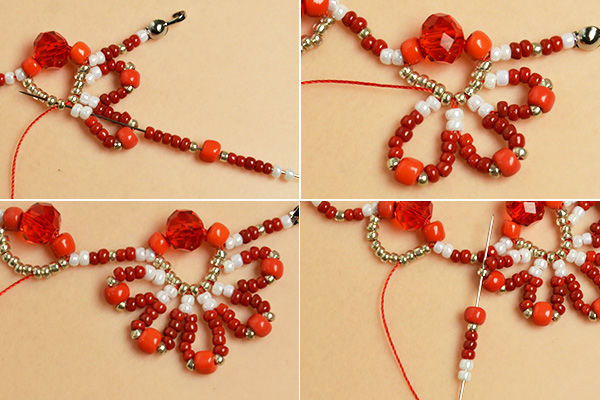
1st, repeat step 3 to finish all the five seed bead flower petals;
2nd, once all five petals are finished, cross the thread back through the nearby seed beads like picture shows;
3rd, add two 2mm white seed beads, three 2mm red seed beads, one 2mm golden seed bead, and a 4mm red seed bead onto the thread, and cross the thread through the golden seed bead on the last petal.
Step 6: Make the Second Pattern of the Second Flower Layers
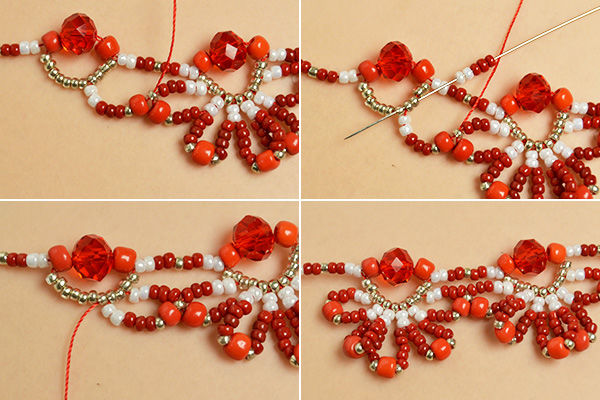
1st, tighten the thread to connect the first and second pattern;
2nd, add three 2mm red seed beads and two 2mm white seed beads onto the thread and cross them to the nearby golden seed beads like picture show;
3rd, tighten the thread to finish the first petal of the second flower;
4th, make the other four petals of the second flower in the same way.
Step 7: Finish All the Petals of the Second Flower Layers
1st, repeat step 3 to step 5 to finish all the second layer of the 16 flower patterns;
2nd, cross the thread back through the last few seed beads like picture show;
3rd, cross the thread through the lass petal like picture shows, and then add five 2mm golden seed beads onto the thread.
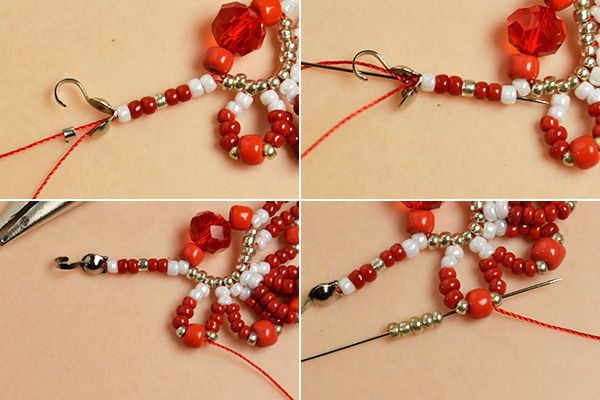
Step 8: Make the Basic Unit of the Third Flower Layers

1st, tighten the thread to make a tiny golden seed bead petal;
2nd, add two 2mm golden seed beads to connect the nearby two petals together;
3rd, add five 2mm golden seed beads onto the thread, cross the thread golden seed beads and 4mm red glass bead on the second petal, then tighten the thread to make the second tiny golden seed bead petal.
Step 9: Finish the Third Layer of All the Flower Patterns
1st, repeat step 7 to finish all the third layer of the first flower pattern;
2nd, cross the thread through the connecting beads to the second flower pattern;
3rd, finish all the third layers of the flower patterns in the same way.
Step 10: Complete the Red Seed Bead Choker Necklace
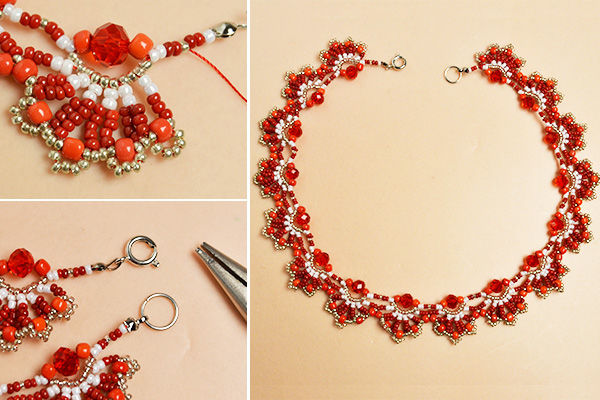
1st, cut off extra thread and close the crimp beads and bead tips;
2nd, add a spring clasp to one bead tip and a jump ring to another bead tip.


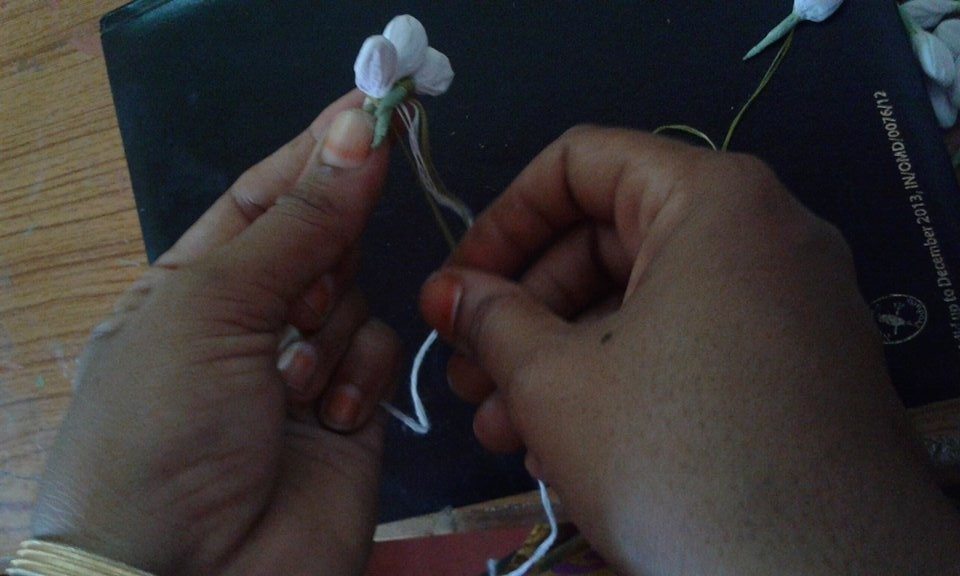

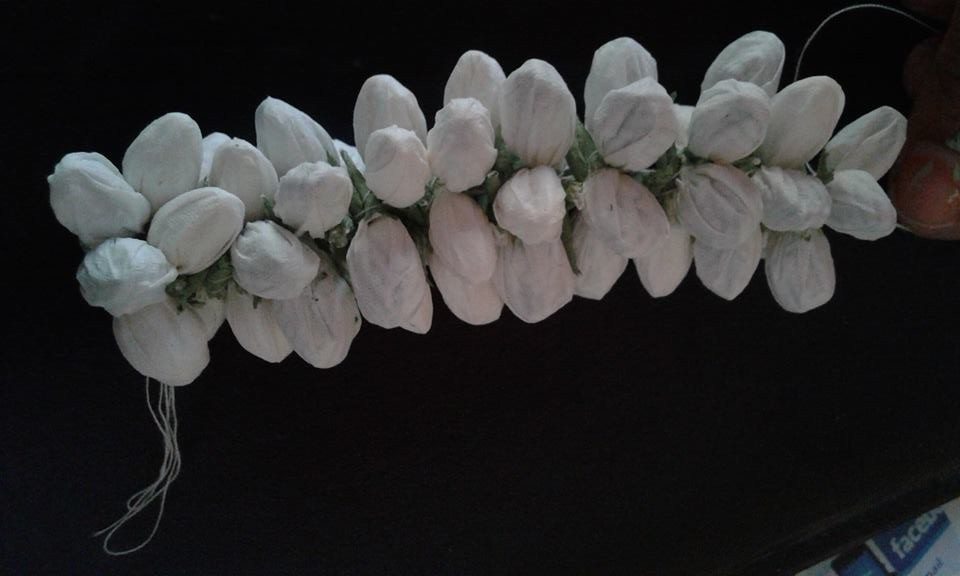


 Source: Aparna Ganesh
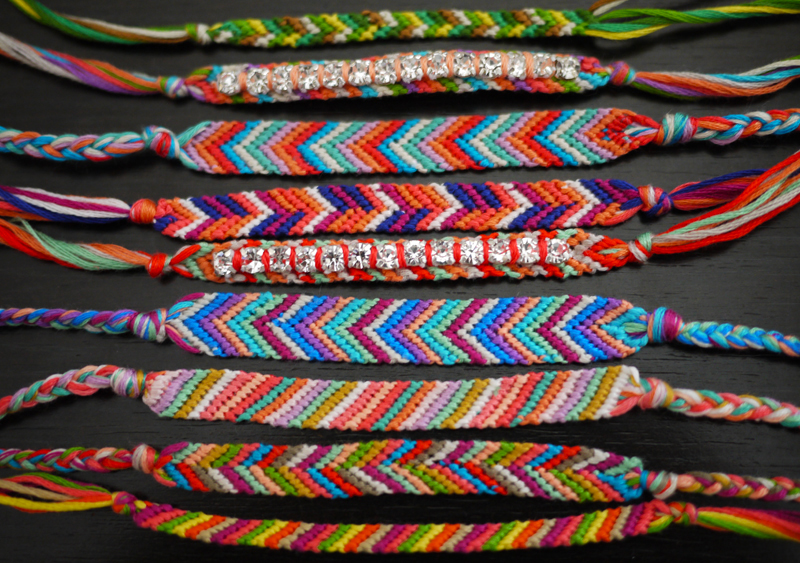
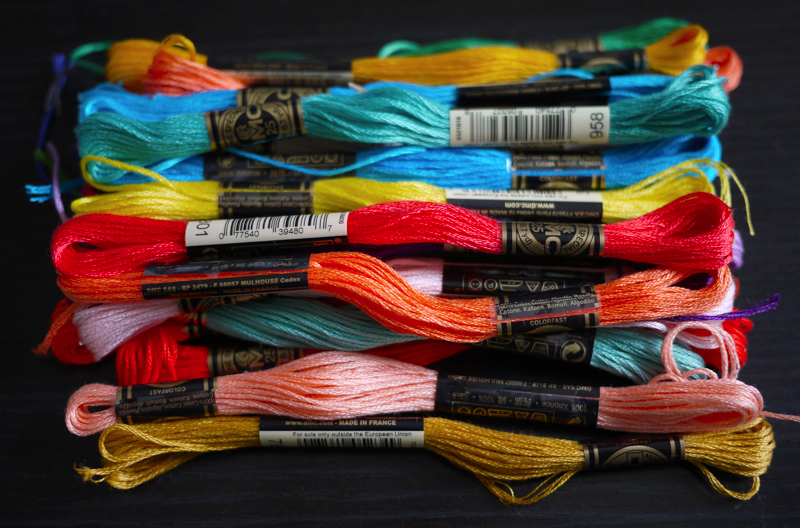 Start by cutting several strands of embroidery thread at about 24 inches each. Make sure there are two sets of each color. Combine the threads and tie a knot, leaving at least 3 inches of slack. Tape it to a flat surface or safety pin it to a pillow. Separate the two sets, arranging the strands in a mirror-image pattern with the outside strands the same color and so on moving inwards.
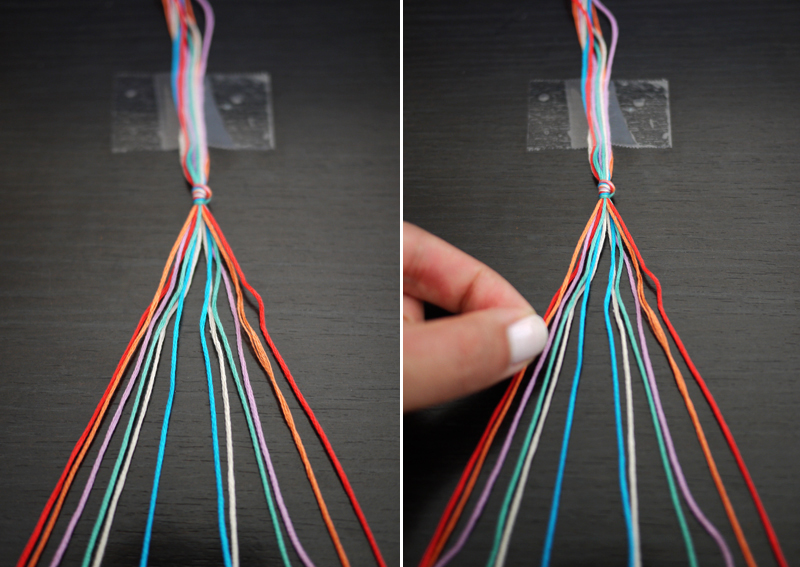 Start on the left side with the outermost color (shown here in red) and make a forward knot by creating a 4-shape over the 2nd color, loop it under and back through the opening.
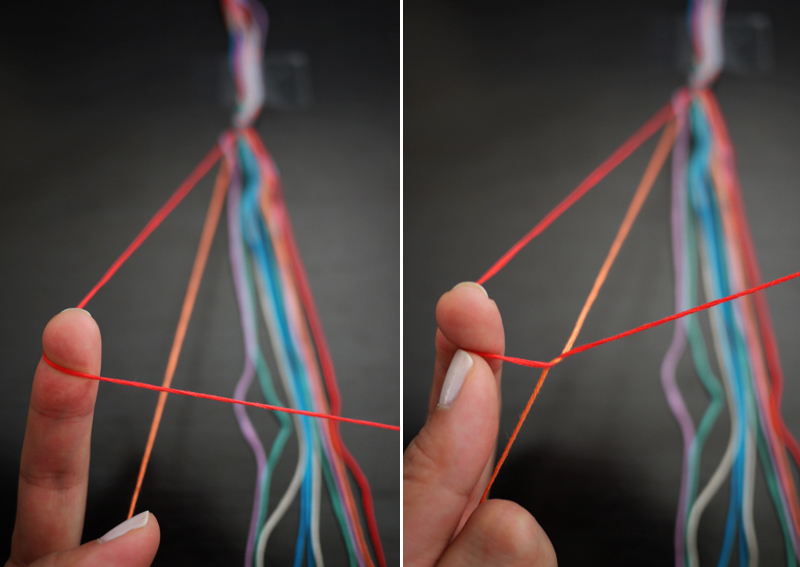 Pull up and to the right to tighten. Make the same knot twice over each color. Continue knotting over each color, towards the right, until the outermost color has carried over to the middle. This is one half of the chevron pattern.
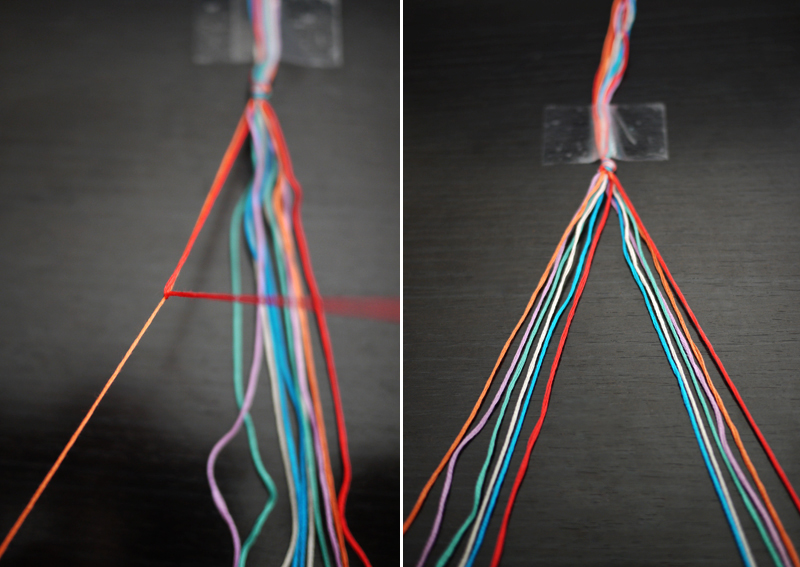 Now pick up the outermost color on the right side (show here in red) and make a backward knot, creating a reverse 4-shape over the 2nd color, loop it under and back through the opening. Pull up and to the left to tighten. Don’t forget to knot twice over each color!
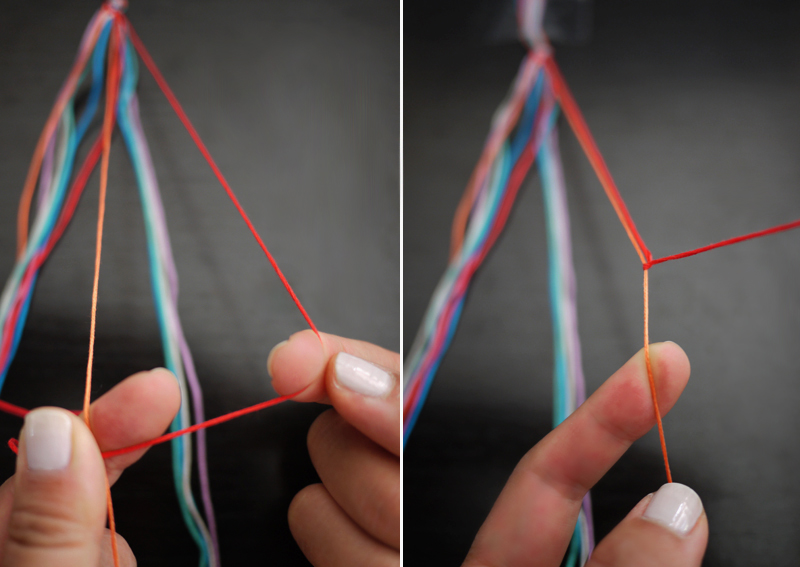 Continue knotting towards the left until the outermost strand reaches the middle. Tie a backwards knot with the two middle strands to connect the two halves. Did you remember to knot twice? The first chevron row is complete! Continue with the the next color, which is now the outermost strand . . .
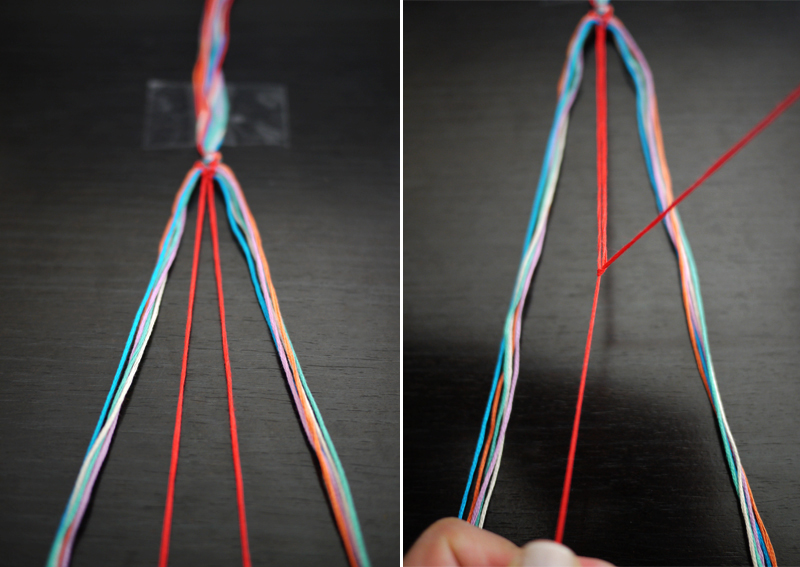 Remembering the color order is important for the first few rows but after the 3rd or 4th row, the strands will fall nicely in place. Finish it with a knot and a braid.
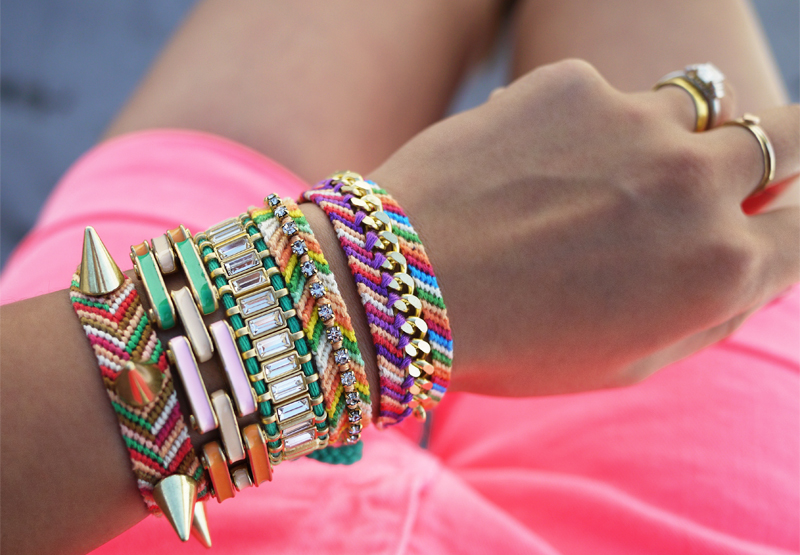
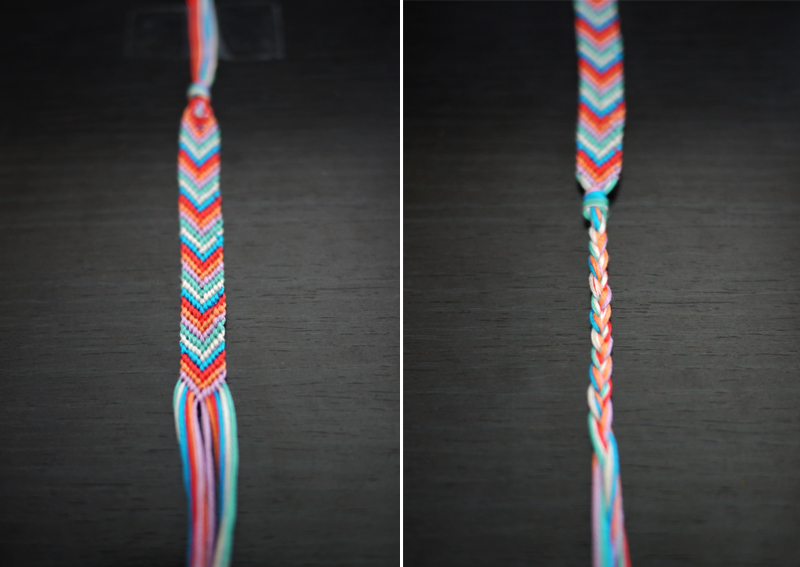 For a striped bracelet, cut one set of colors and simply carry the outermost color all the way through to the right side. For an assymetrical chevron, mix the colors when dividing them into 2 sets. Be sure to count the number of strands so you know when to stop in the middle each time. For an embellished bracelet, take a small piece of rhinestone chain, glue it to the top of the bracelet and stitch embroidery thread between each rhinestone with an embroidery needle.
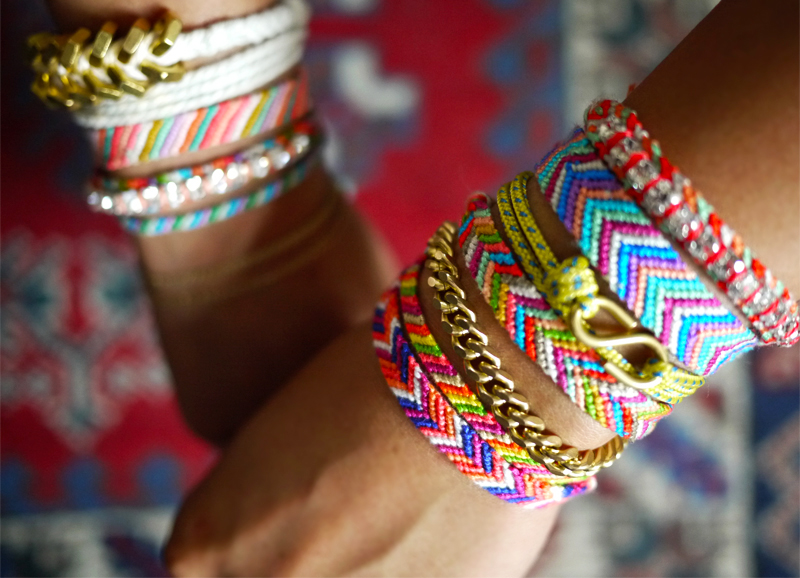
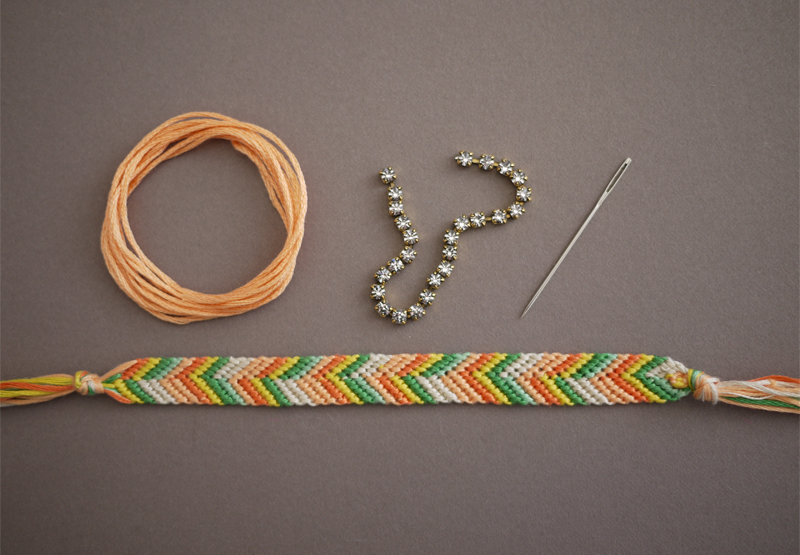 Thread the needle with embroidery floss and tie the end into a double knot. Push the needle through the back of bracelet. Lay the rhinestone chain along the middle of the bracelet, using the chevron pattern as a guide.
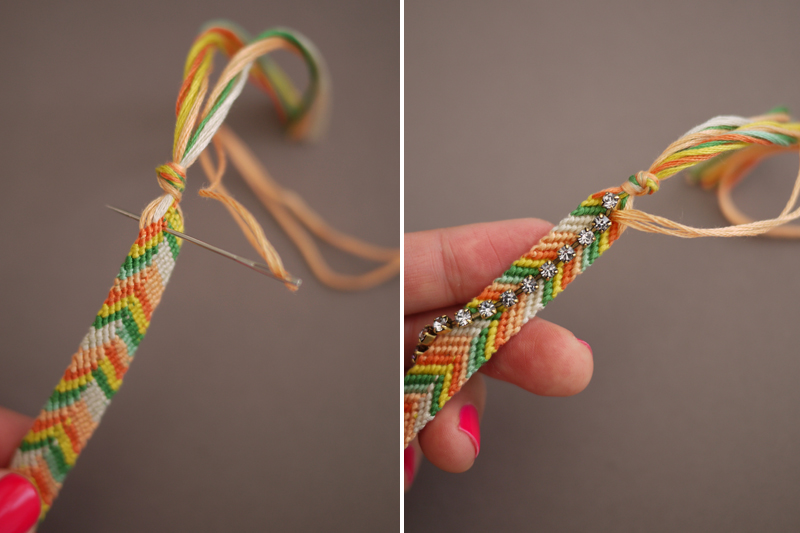 Stitch the floss between the first two rhinestone links, pushing needle out the middle of the bracelet. Bring the needle back through the middle, this time further down between the second and third links.
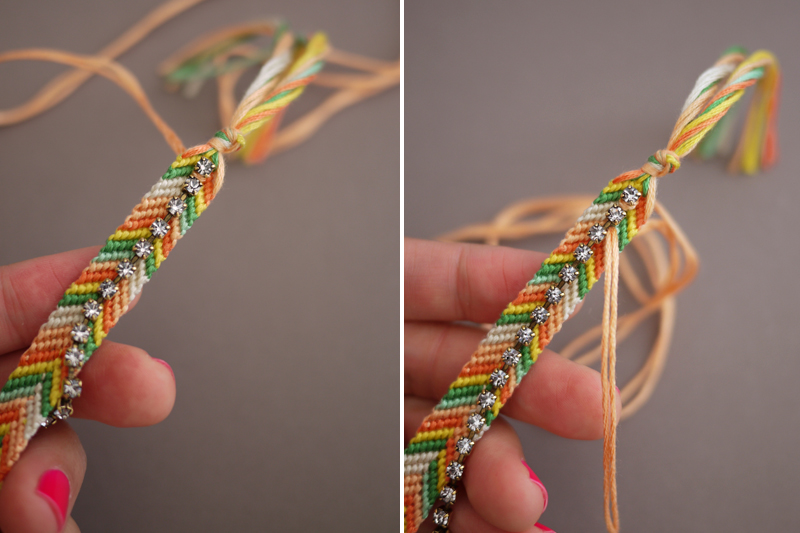 Continue stitching between the rhinestone links. After the very last stitch, tie a double knot on the backside and trim the ends.
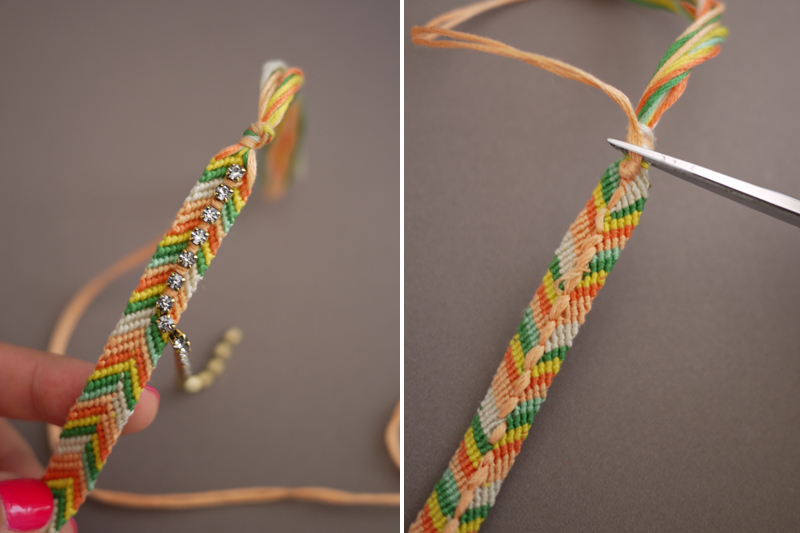 Your friendship bracelet is sparkling and finished!
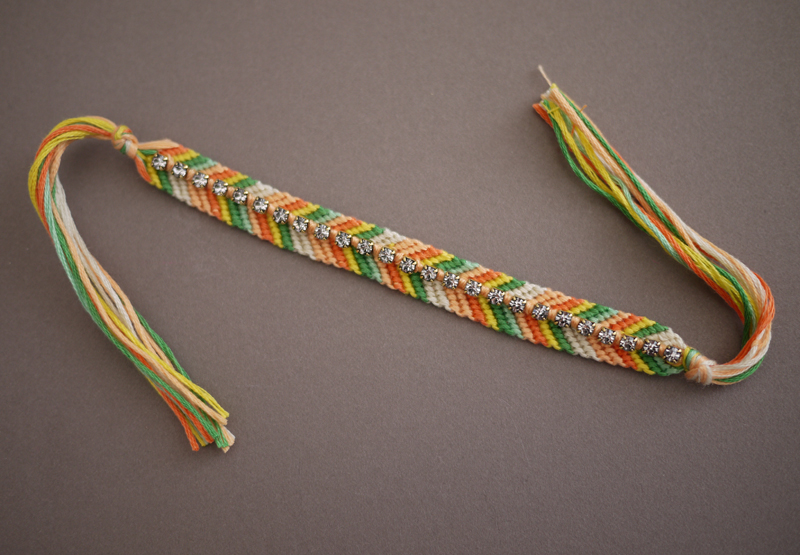
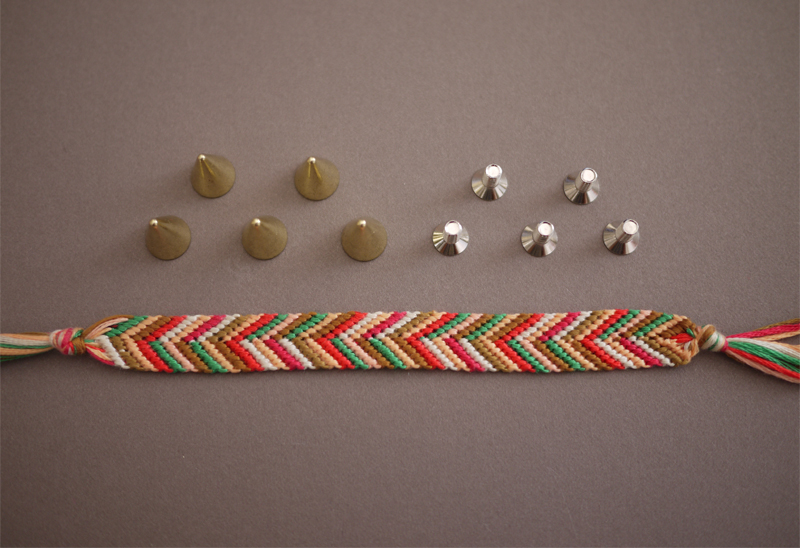 Use a Sharpie or marker to make 5 evenly spaced marks along the middle of the friendship bracelet. From the backside, push the point of the scissors through the mark to create a hole.
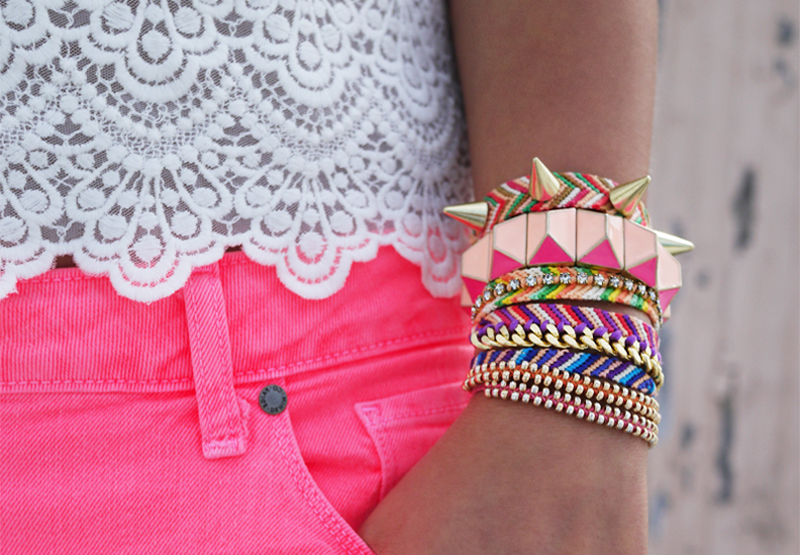
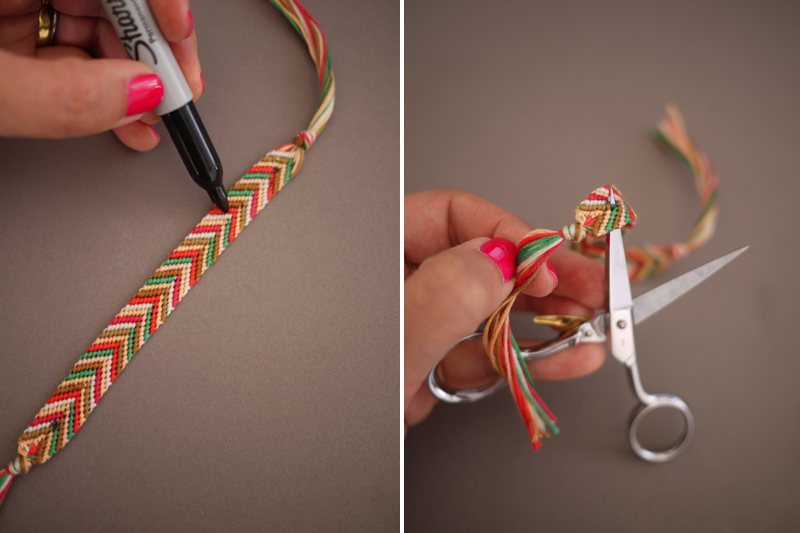 Push a screw through the hole. Twist the coned spike onto the screw and use a screwdriver to tighten.
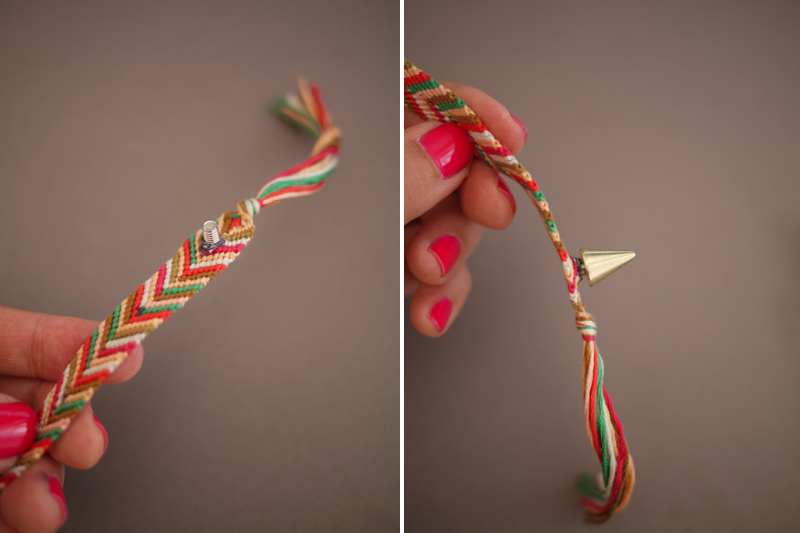 Repeat the steps with the rest of the spikes. Voila! Your friendship bracelet has a spiked spine.
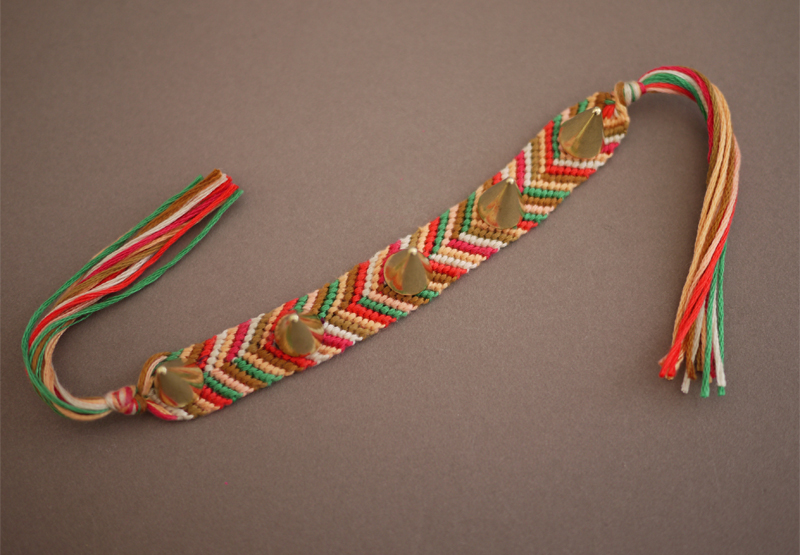
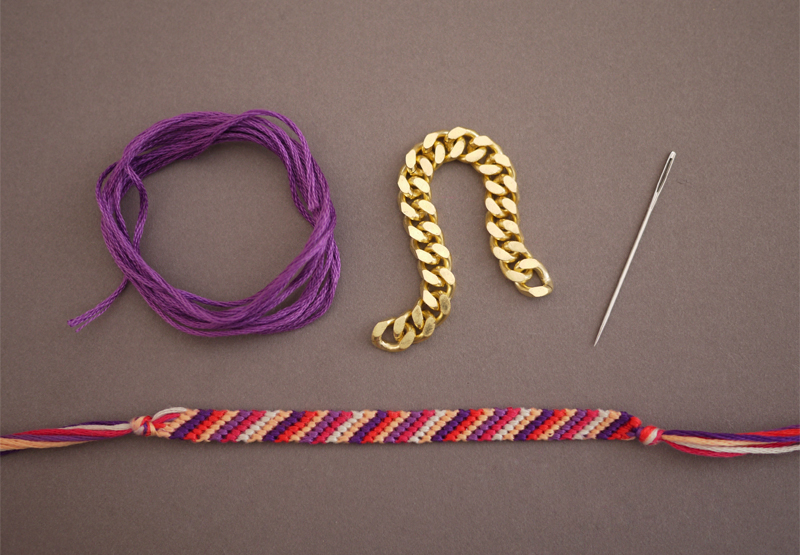 Thread the needle with embroidery floss. Untie one end of the friendship bracelet and re-knot it with the tail of the threaded embroidery floss. Push the needle through the outer edge of the backside of the bracelet.
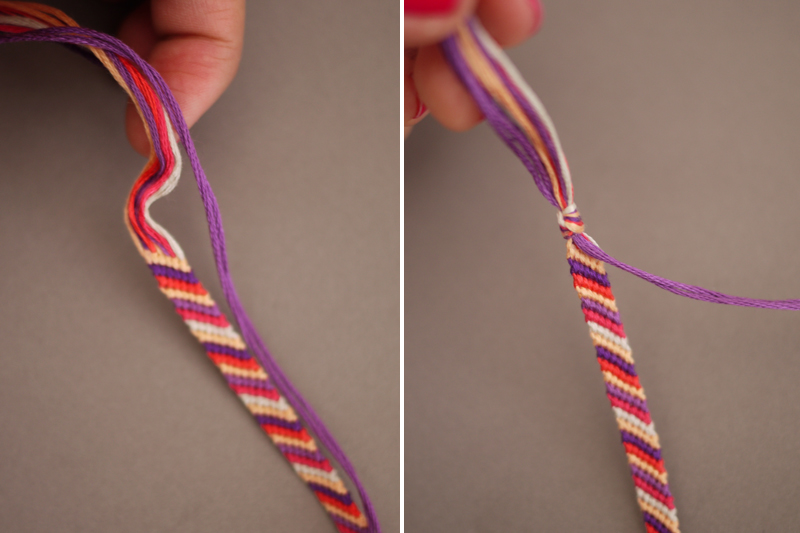 Lay the chain flat, against the edge of the bracelet. Thread the needle over and through the first link. Push the needle though the backside about two rows down. Depending on the width of each link, the row count may vary.
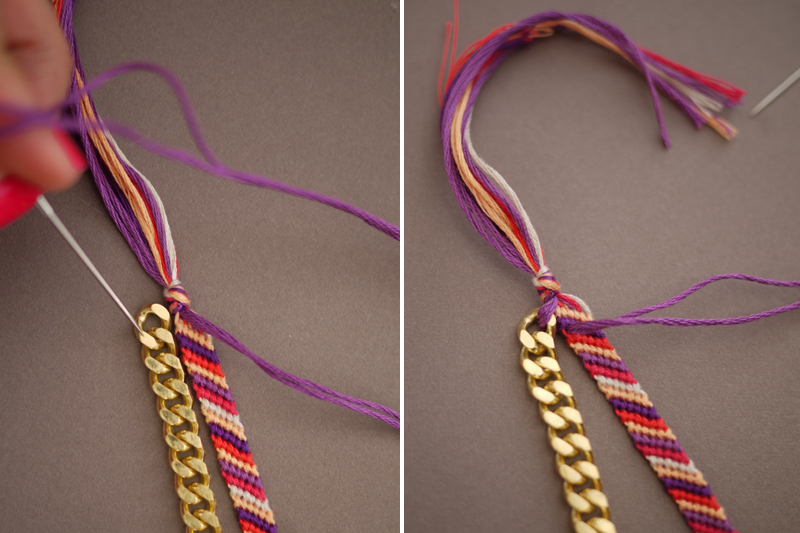 Keep stitching. Make two stitches around the last link, untie the knot and re-knot with the last of the floss. Trim away any excess.
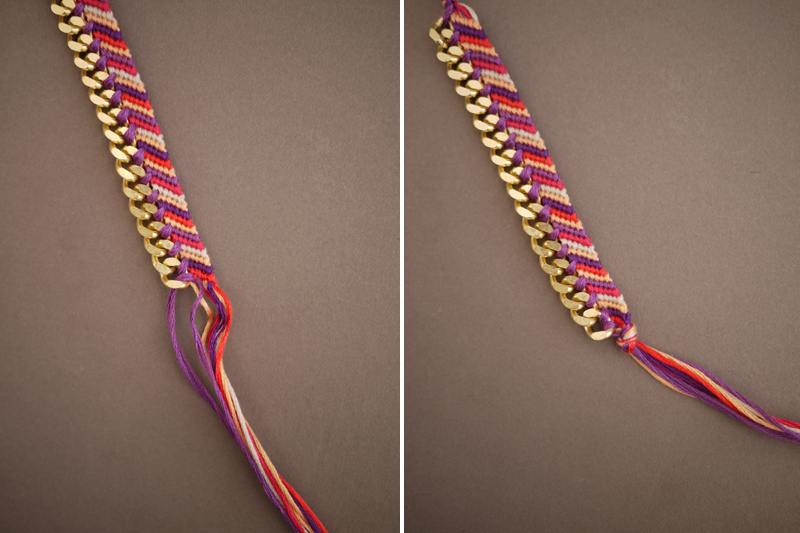 Your chain trimmed friendship bracelet now has an edge – how simple was that?
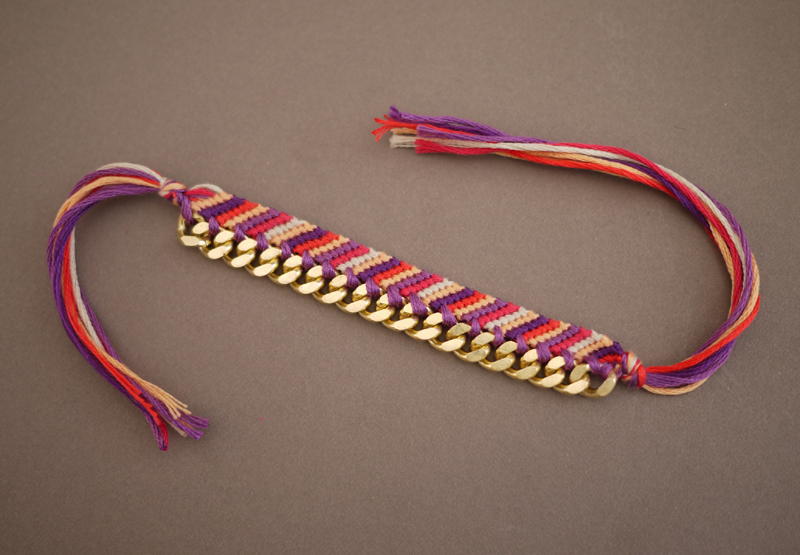 Stack ’em, give ’em away and you’re officially ready for summer.