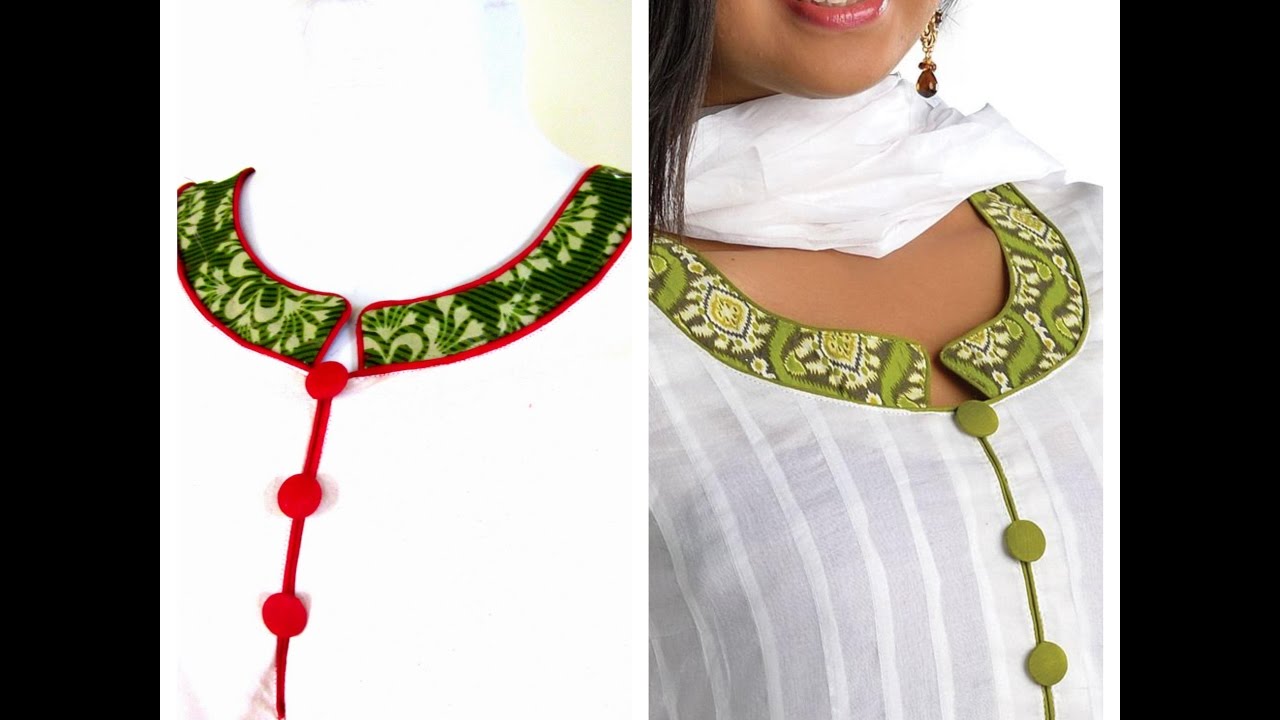
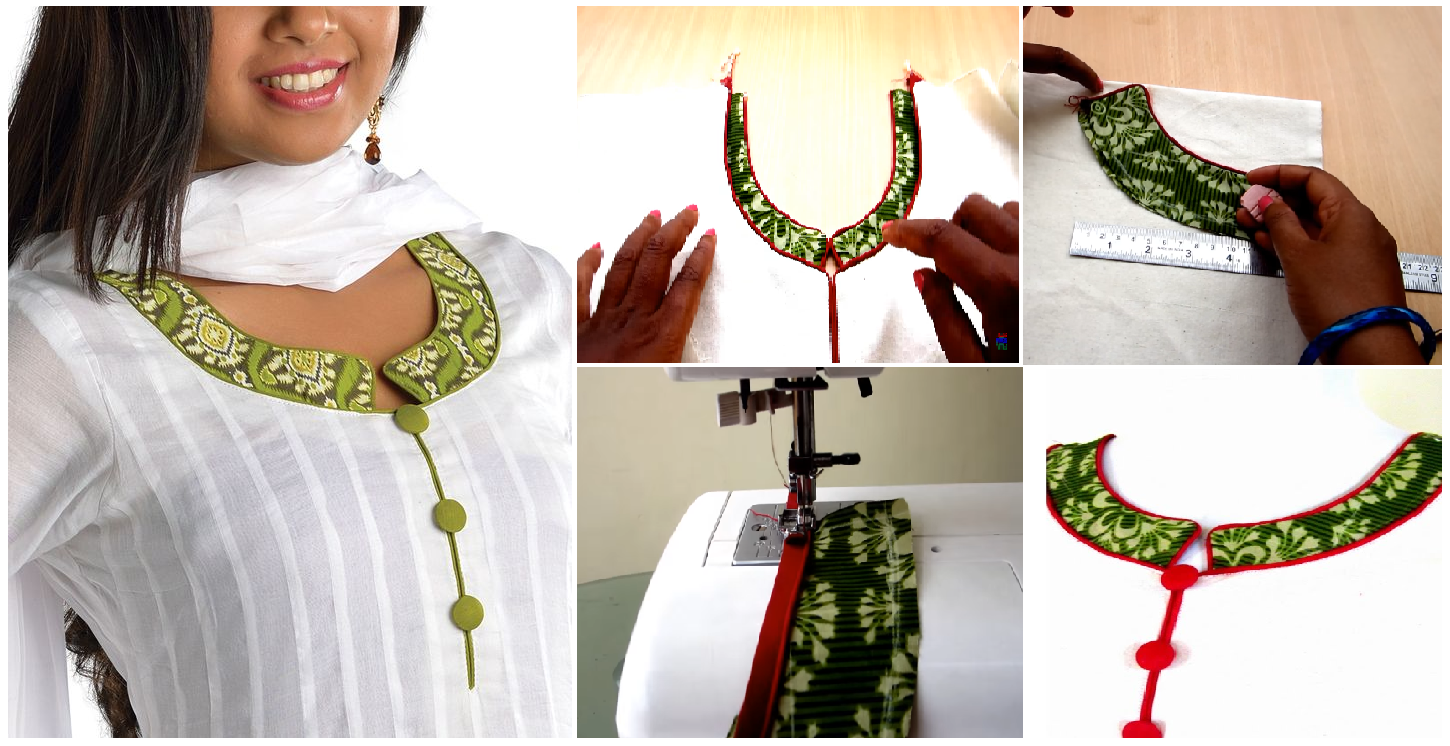
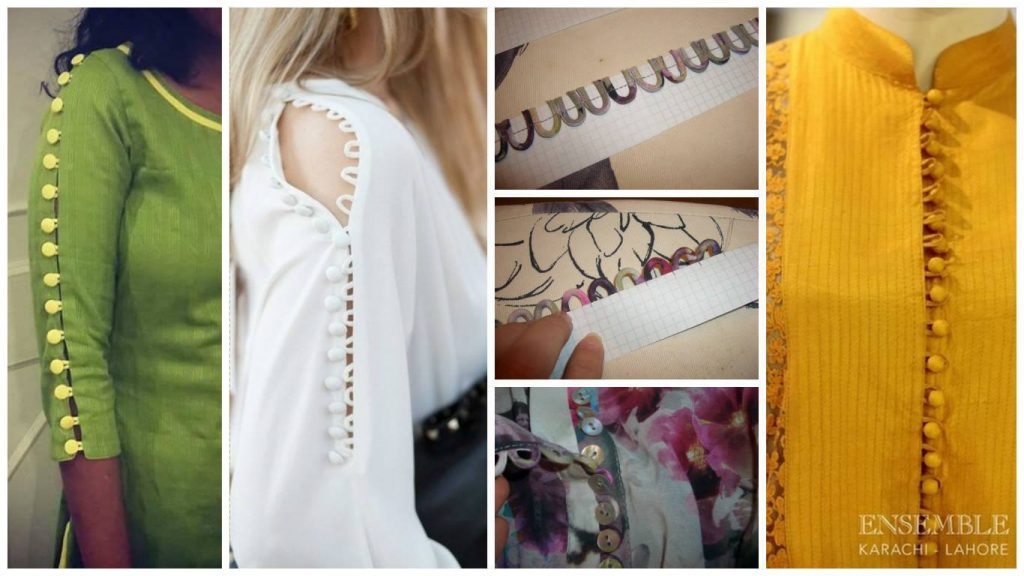
How to sew a triangle loop round neckline for kurthi :
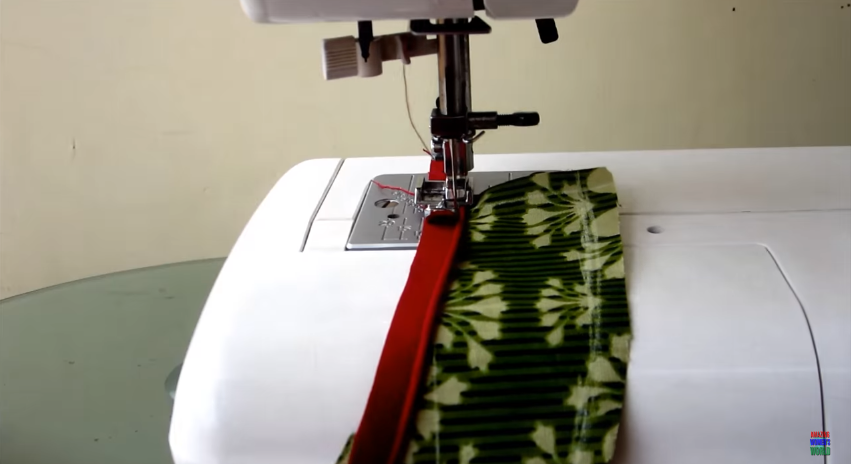
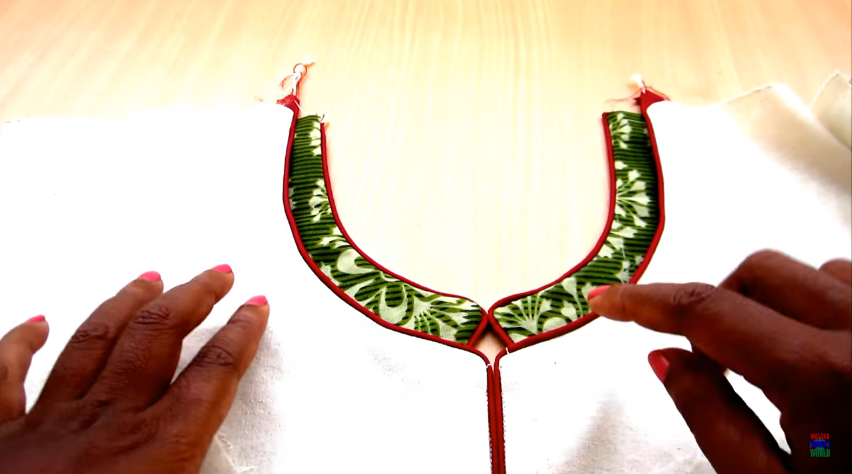
Sew a triangle loop round neckline
Get Daily Art and Crafts Ideas & Tutorials…
How to sew a triangle loop round neckline for kurthi :
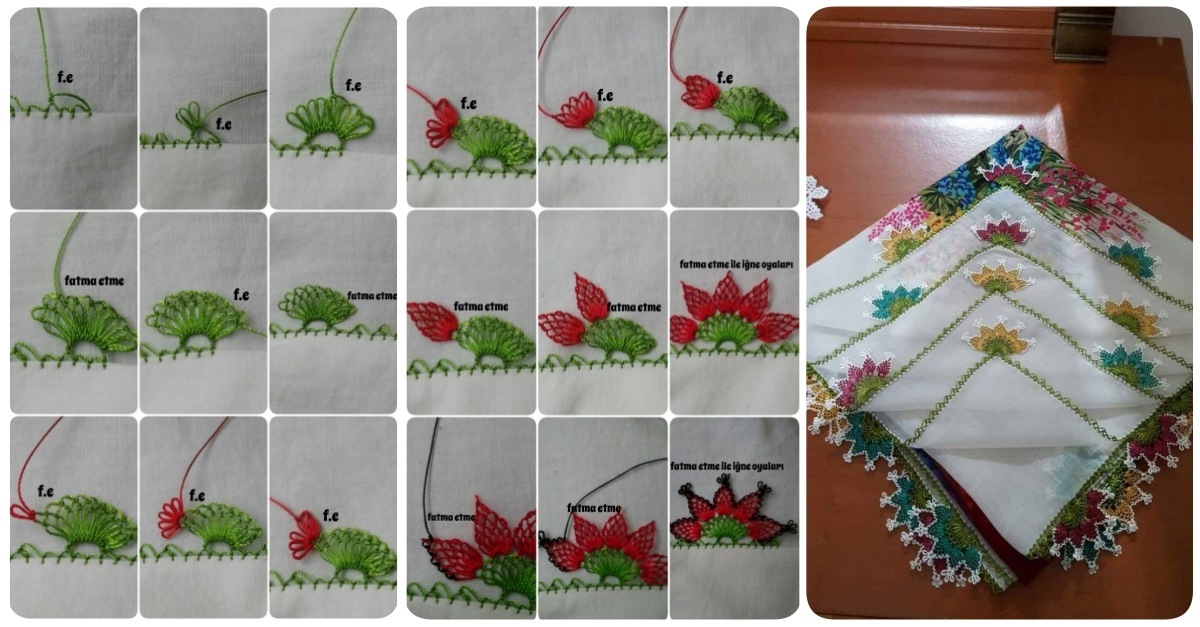
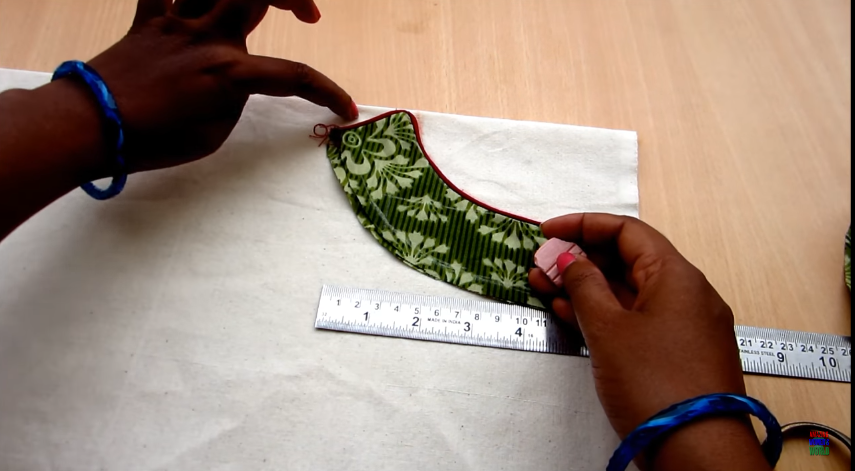
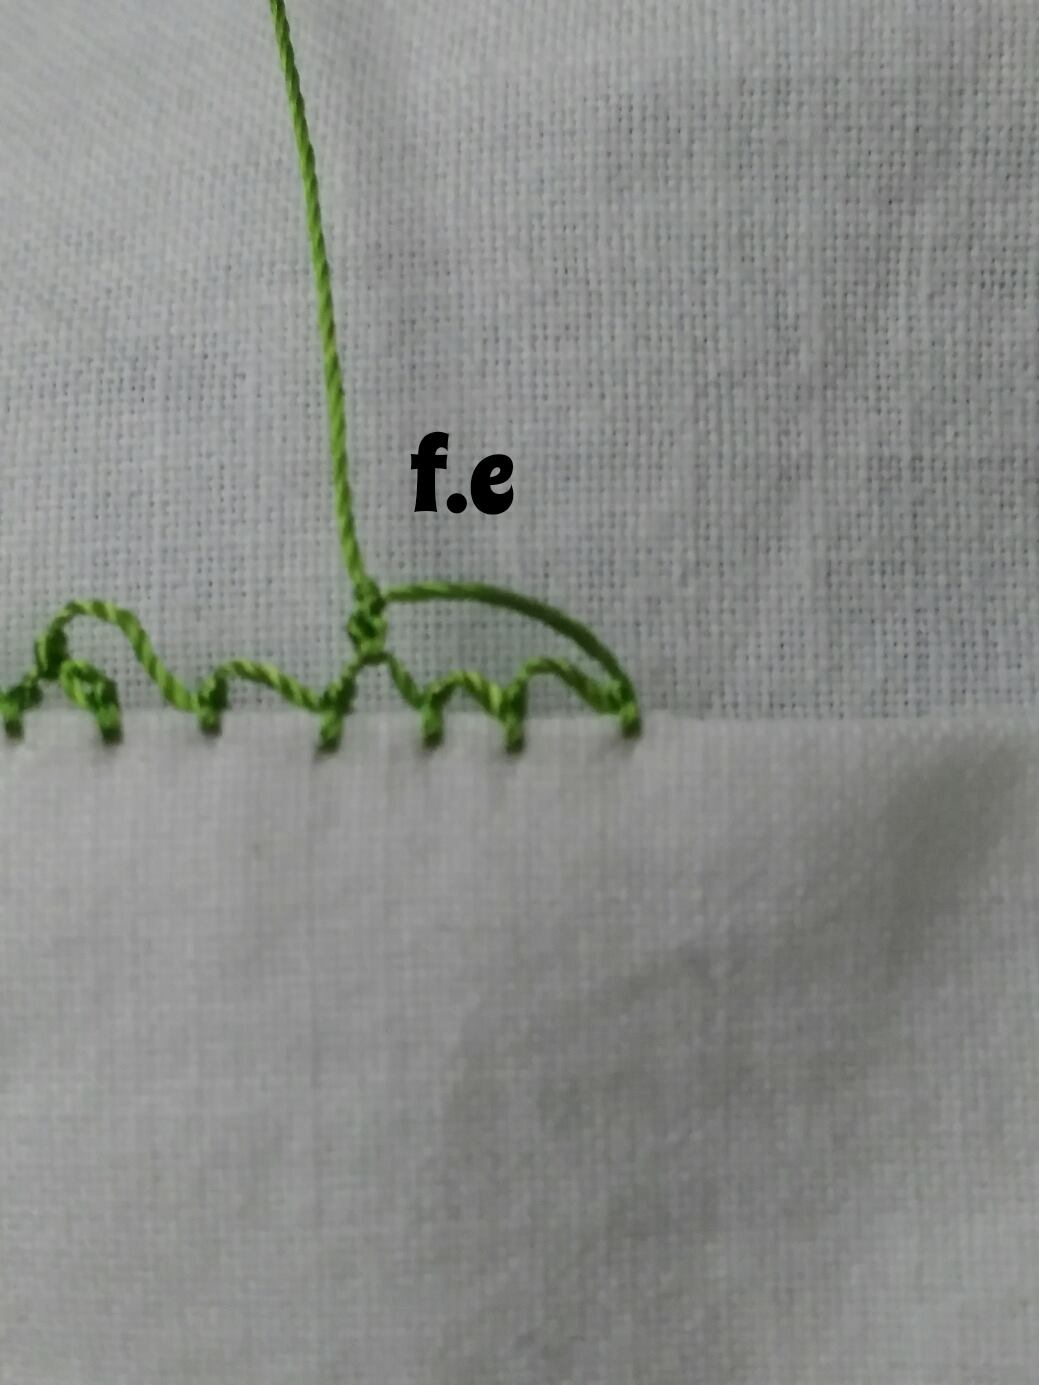
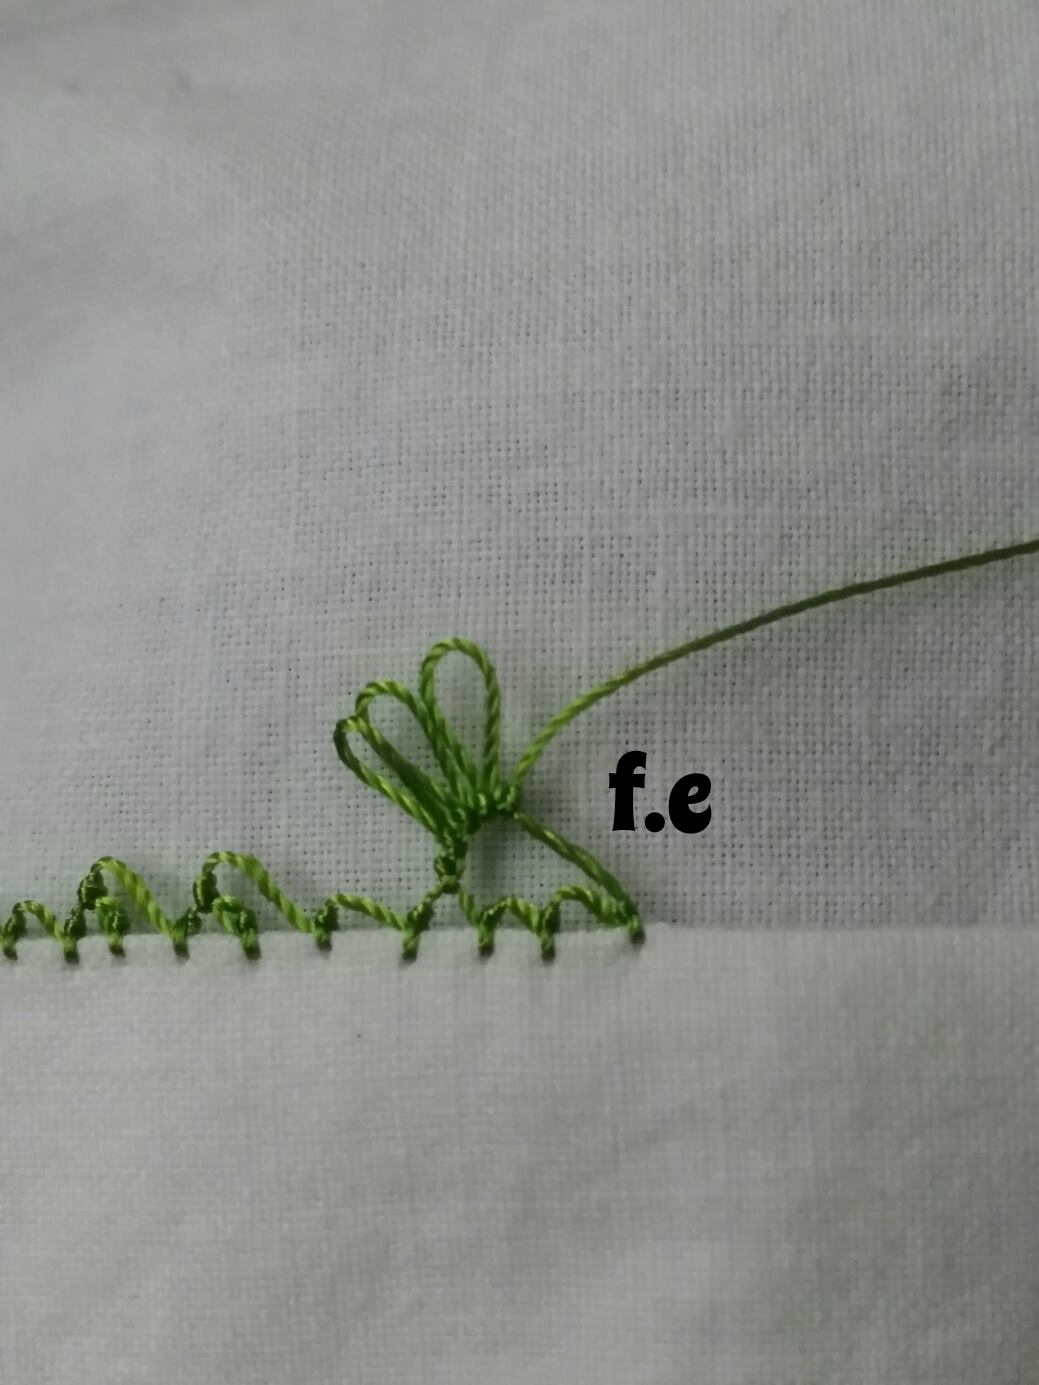
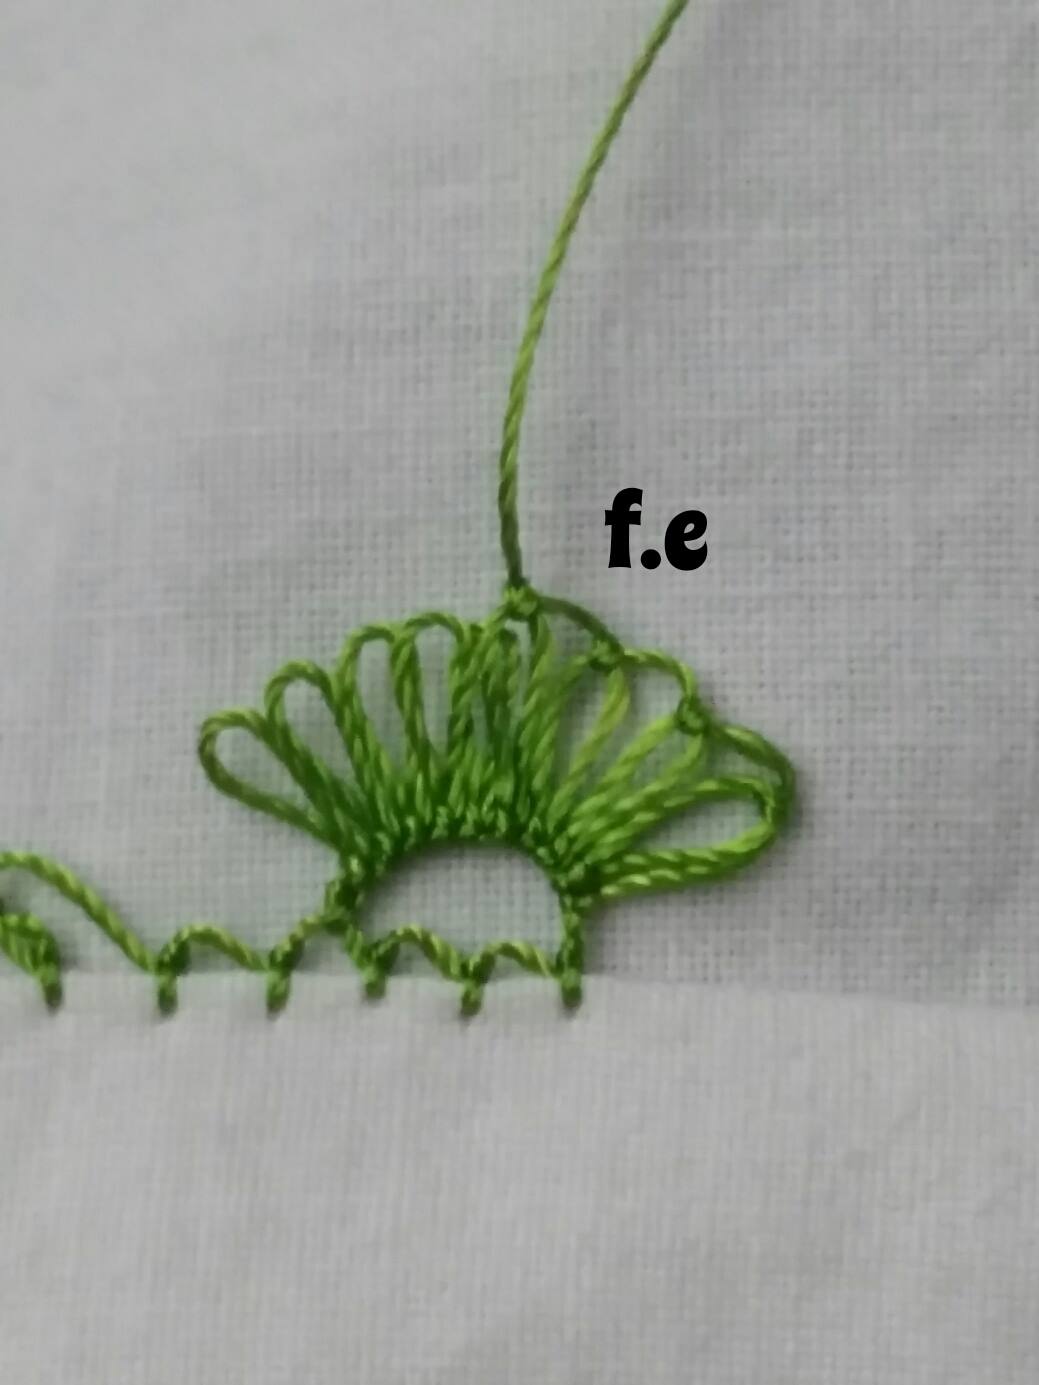
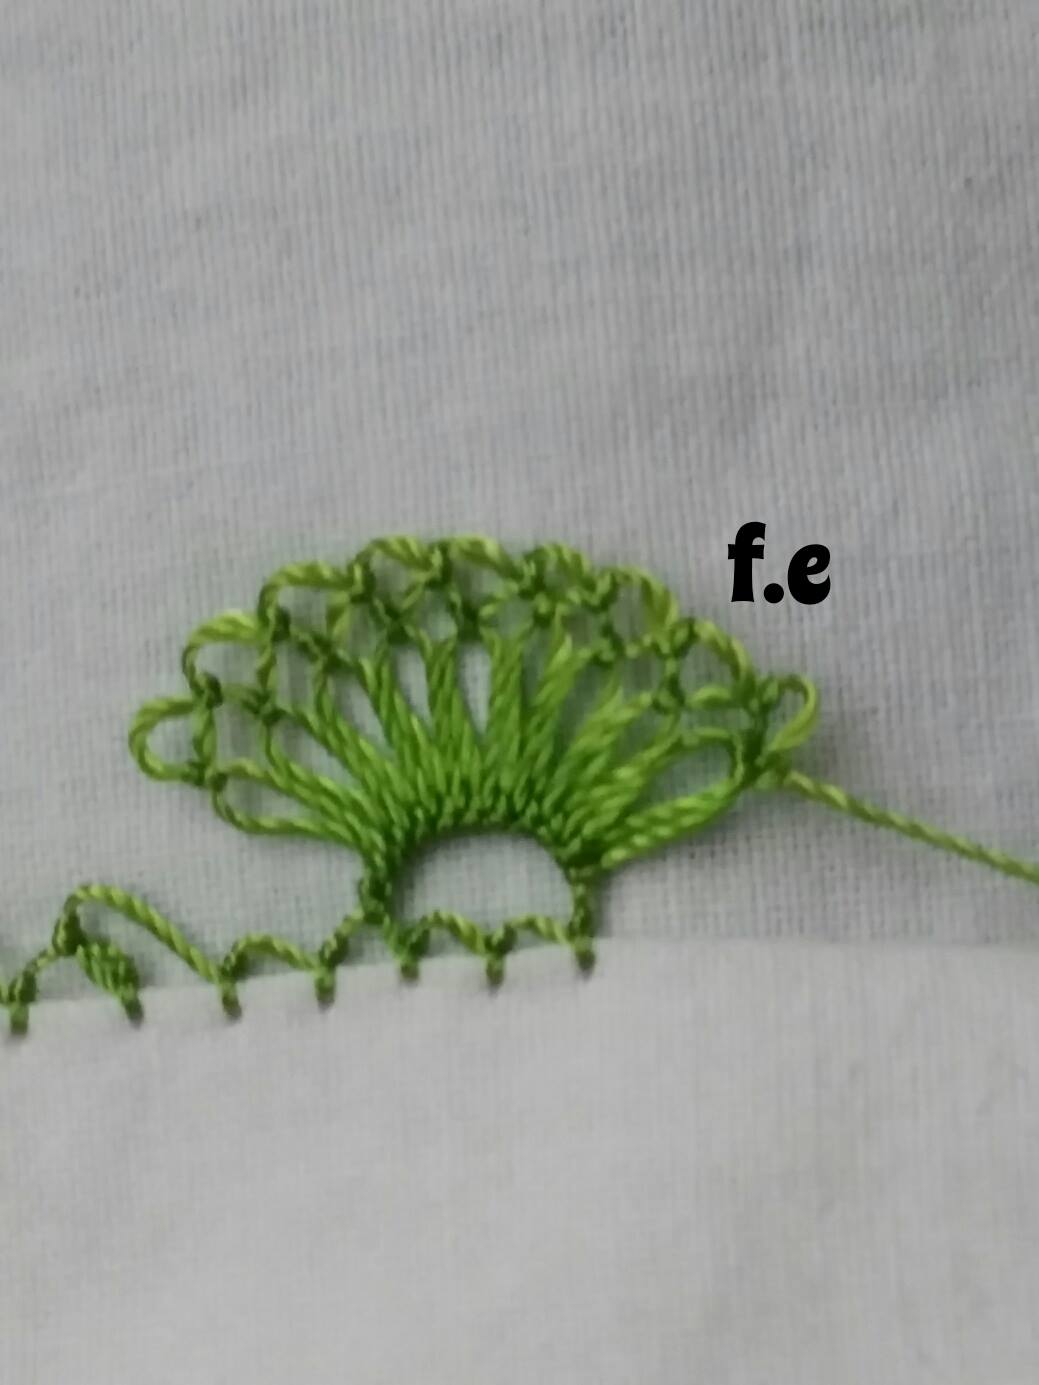
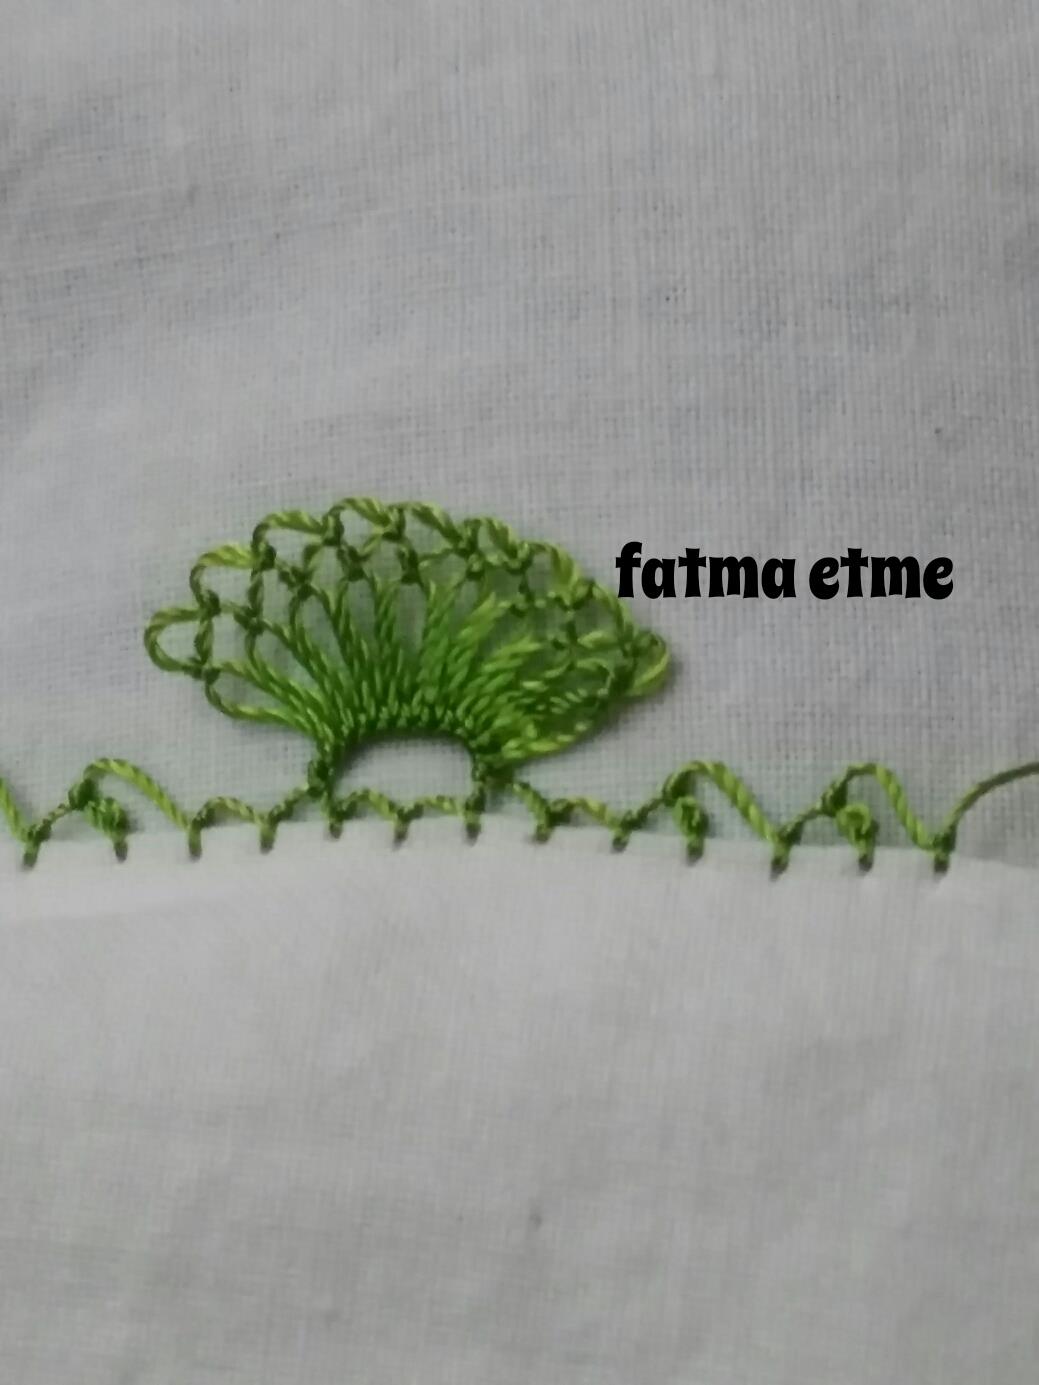
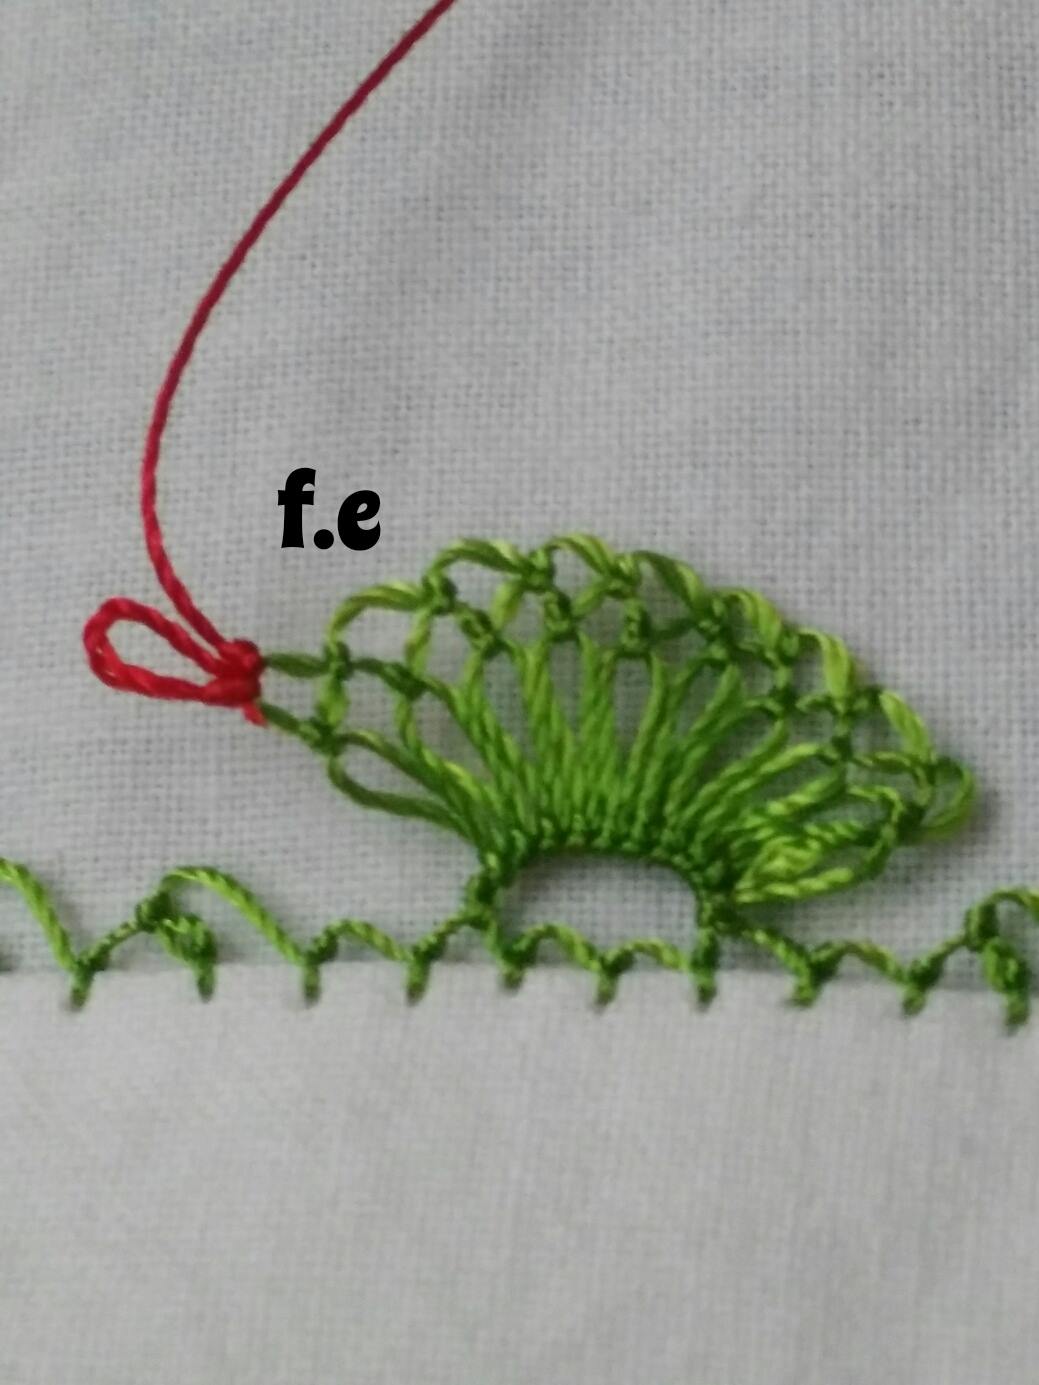
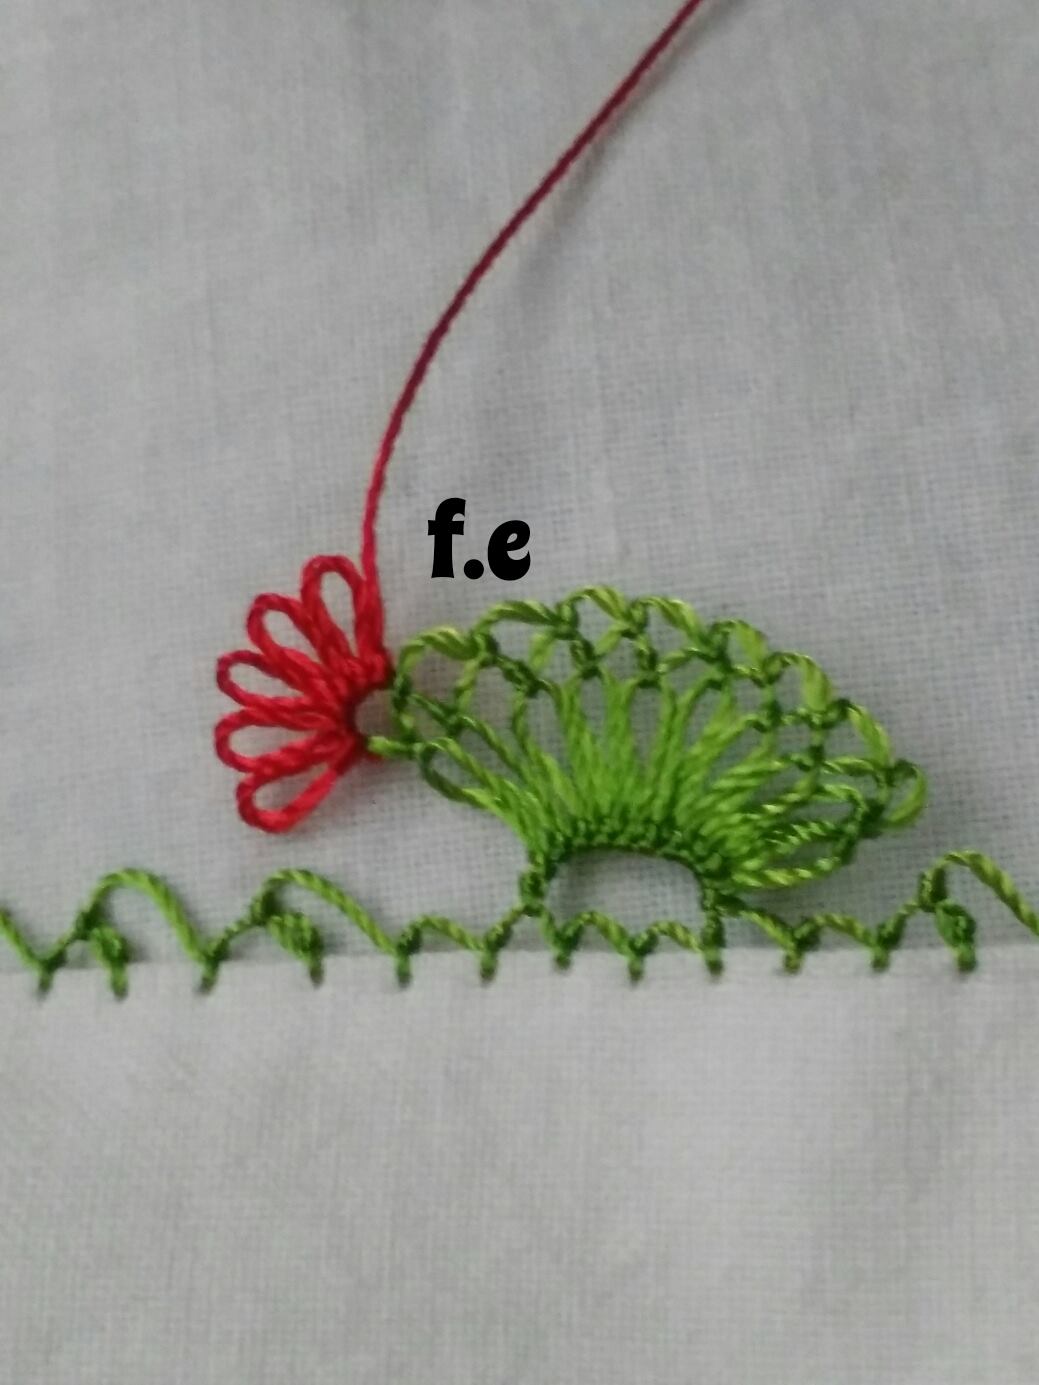
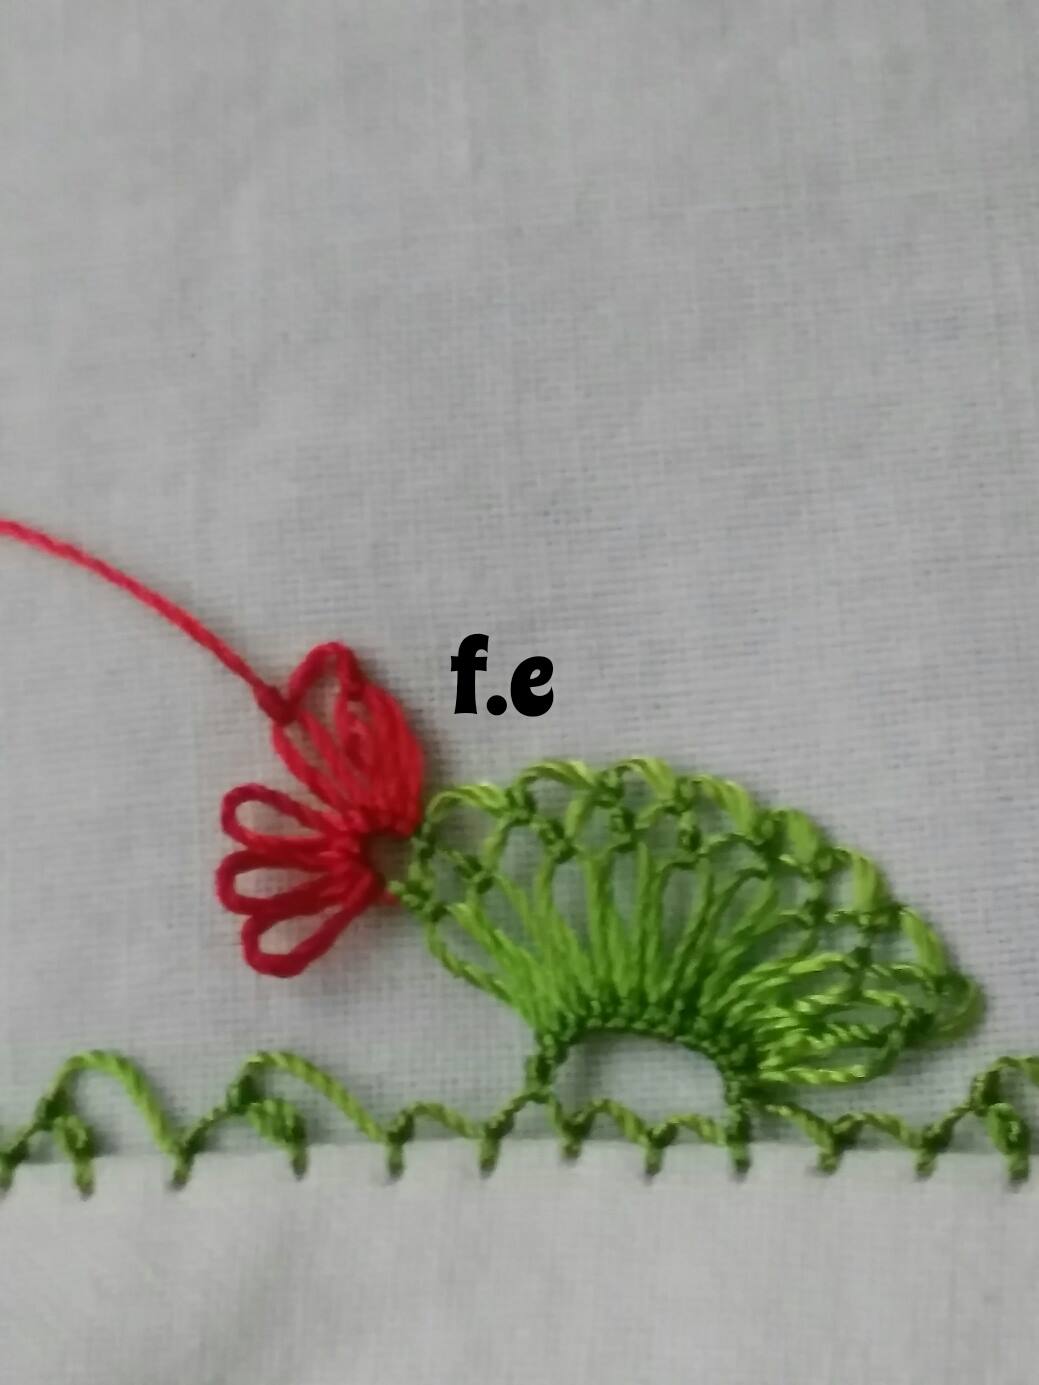
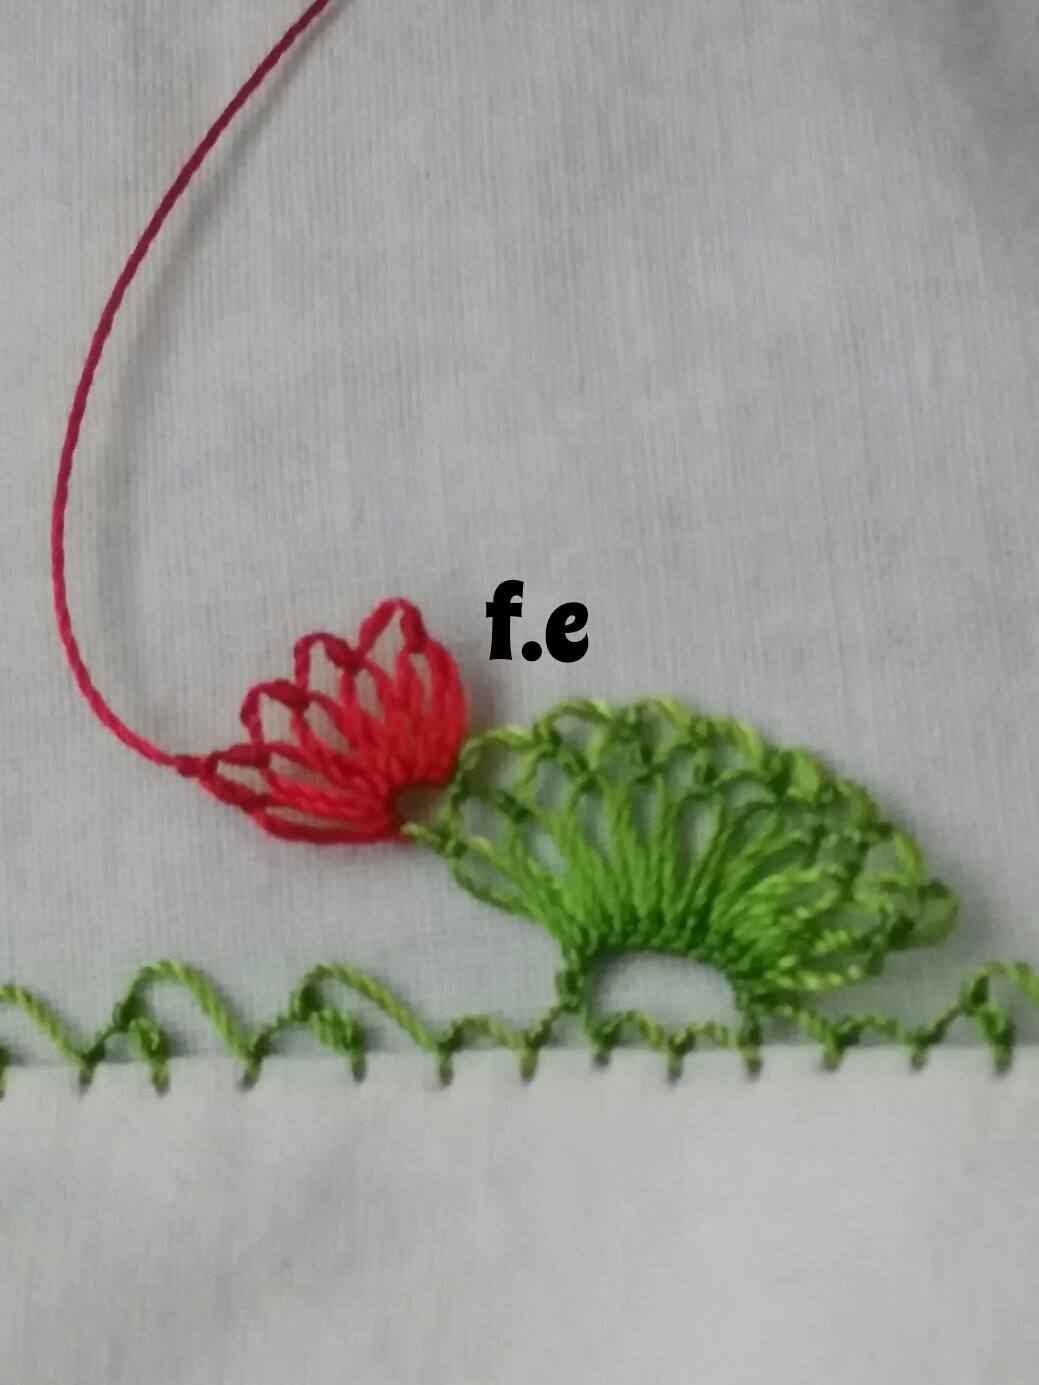
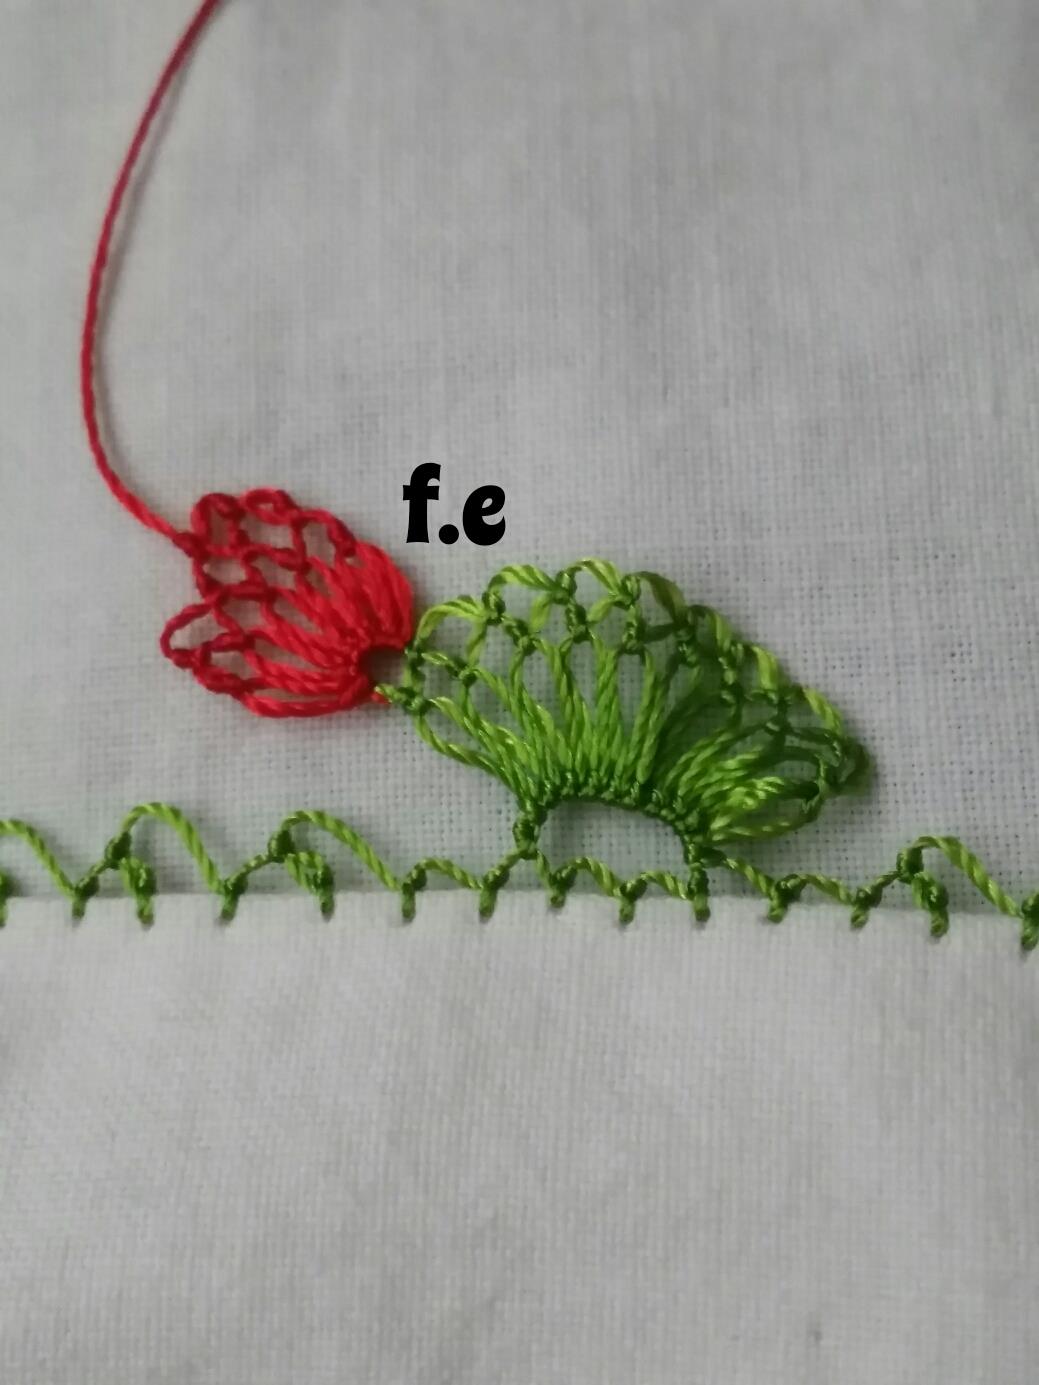
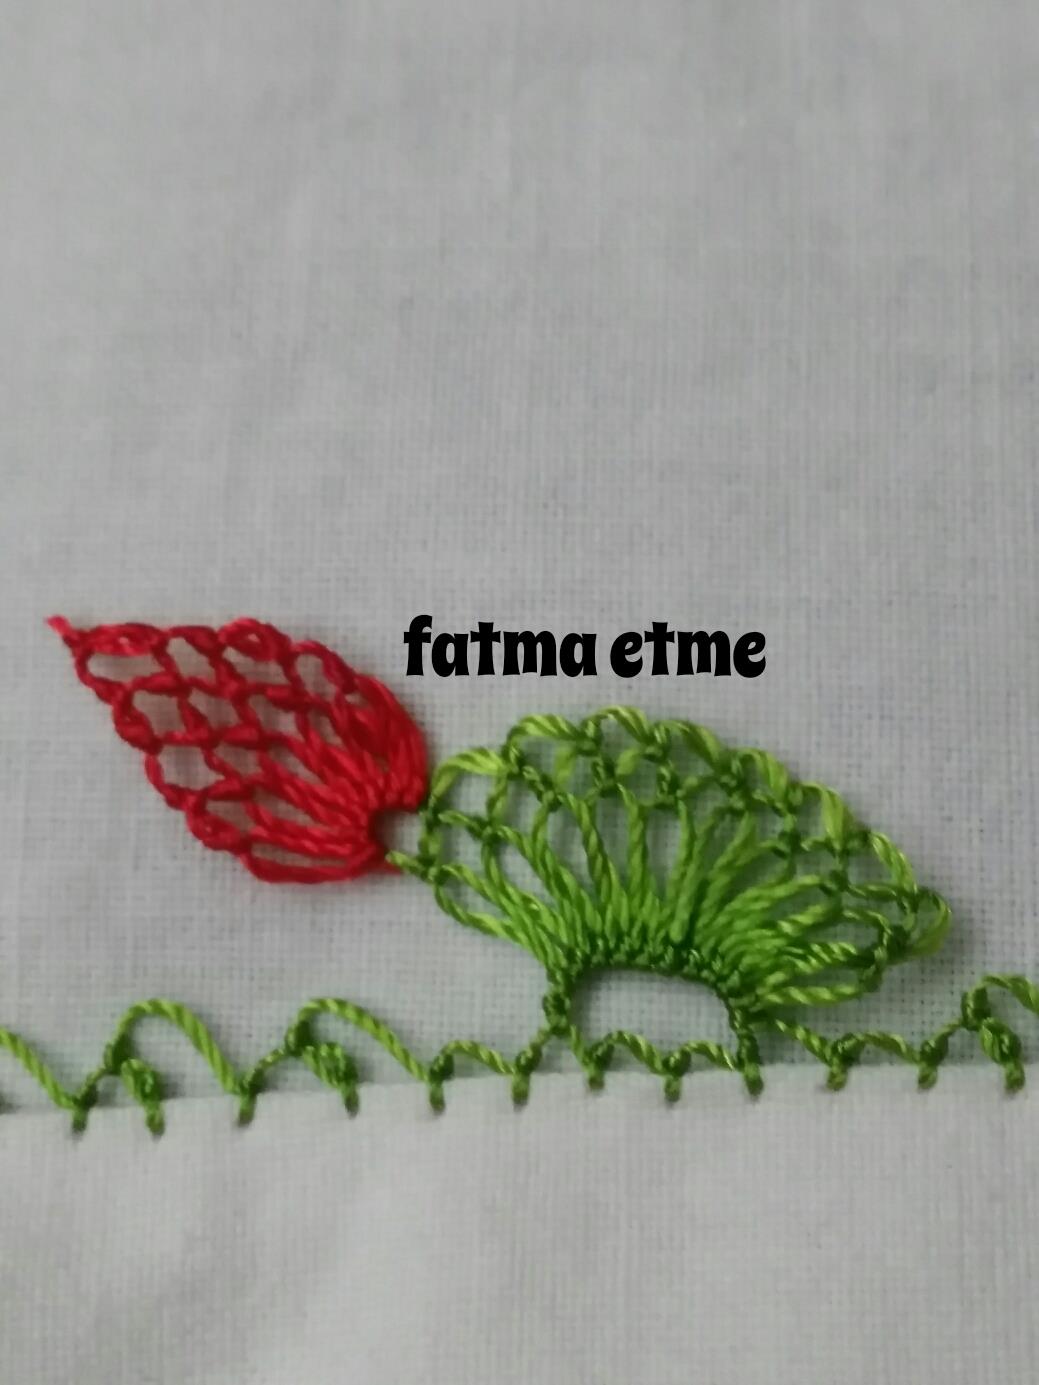
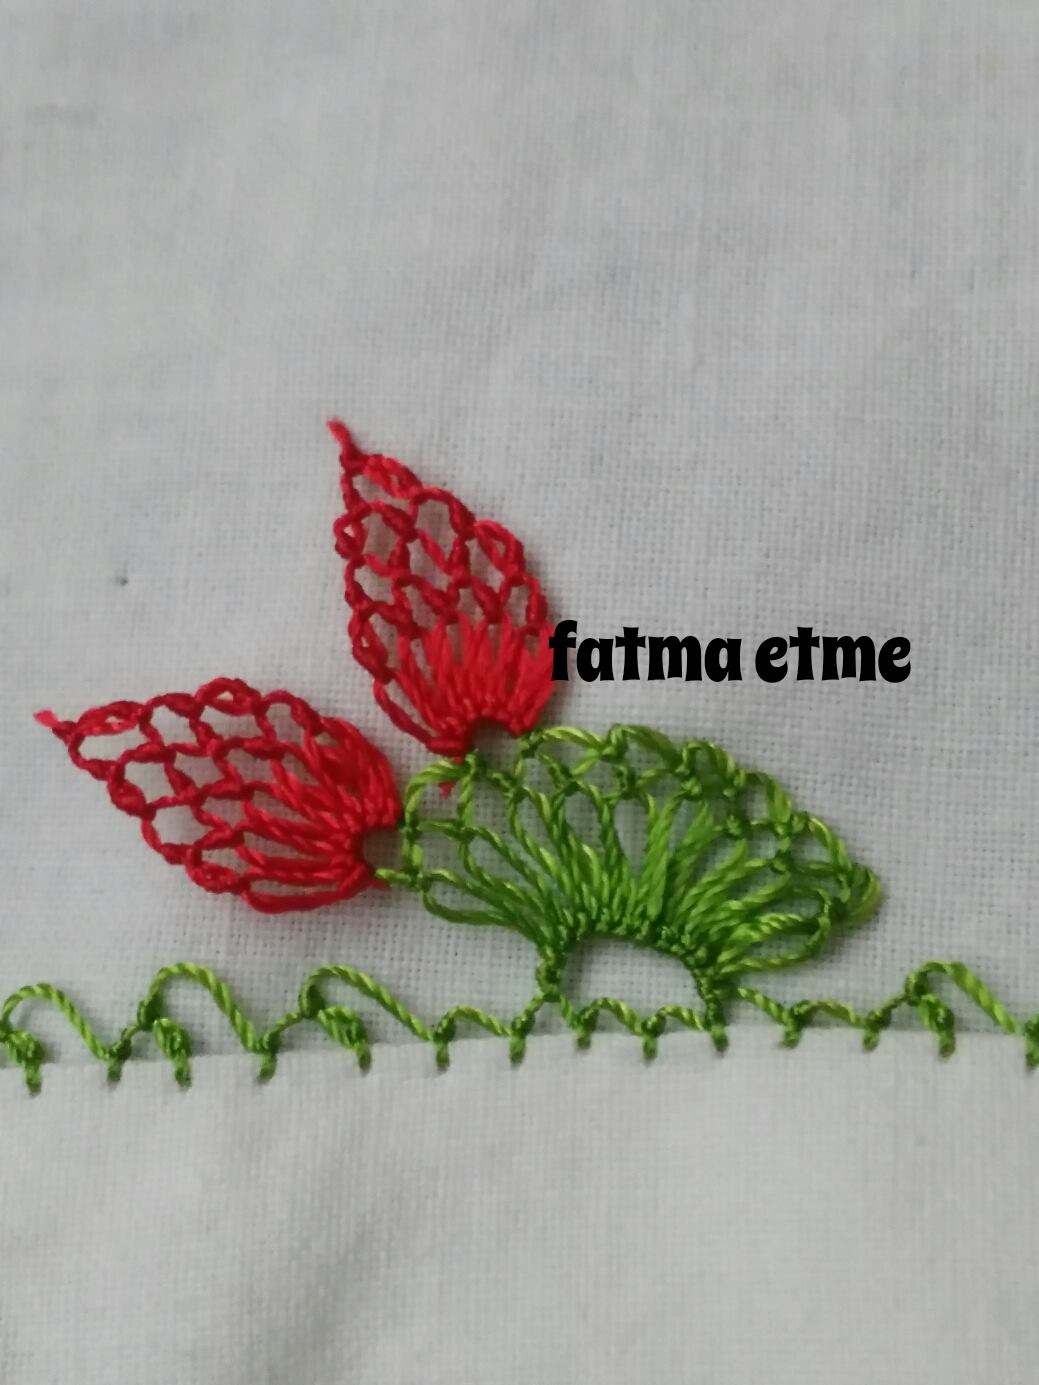
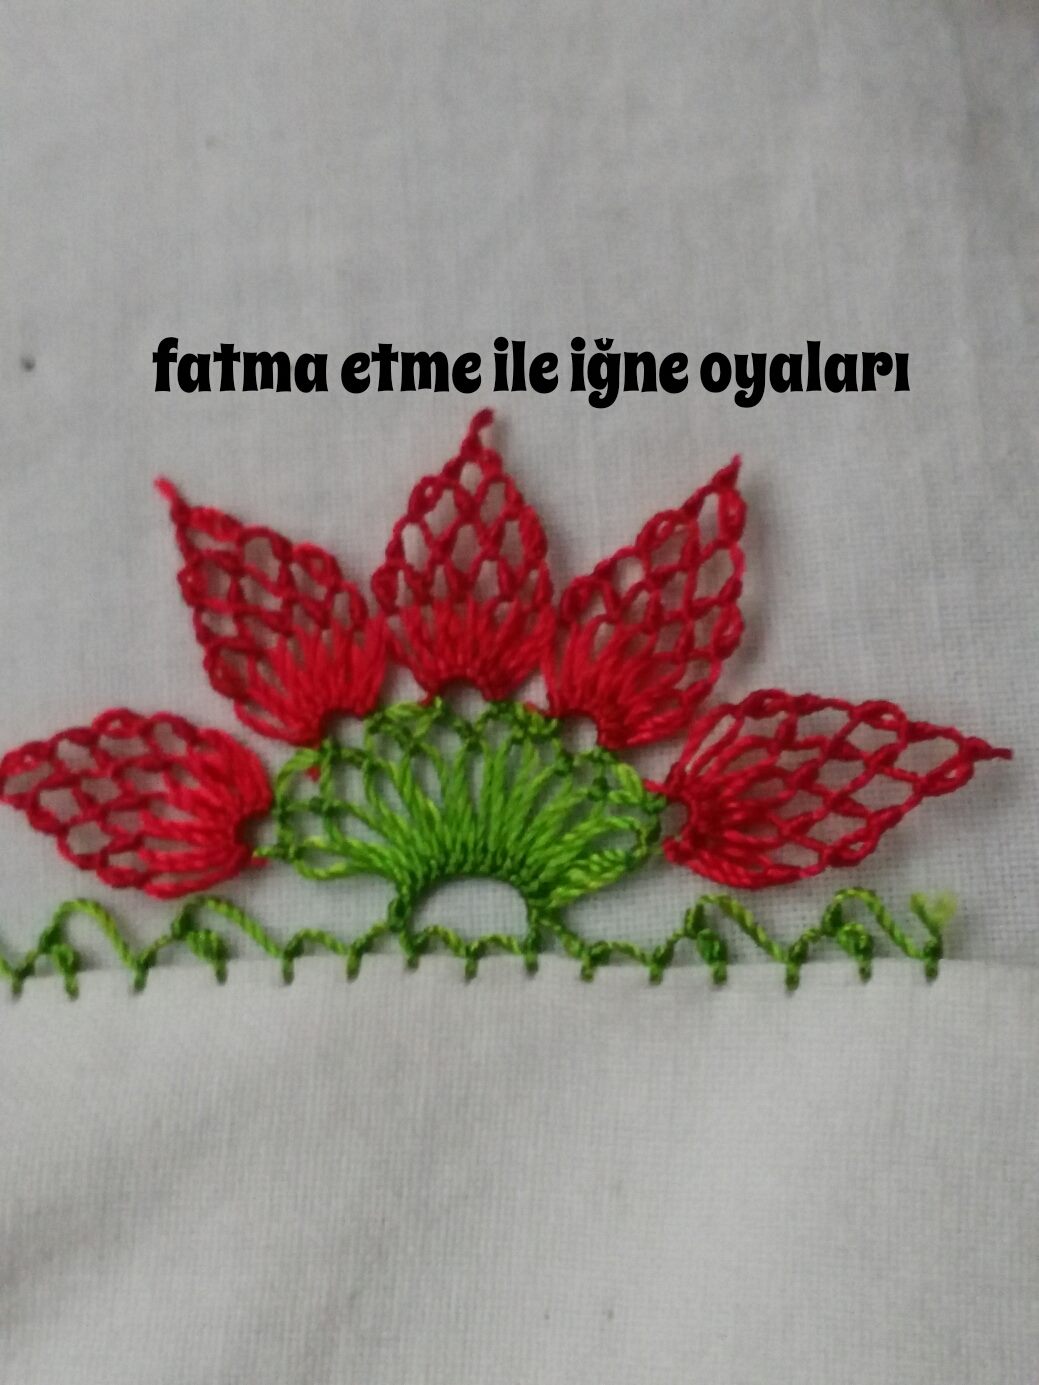
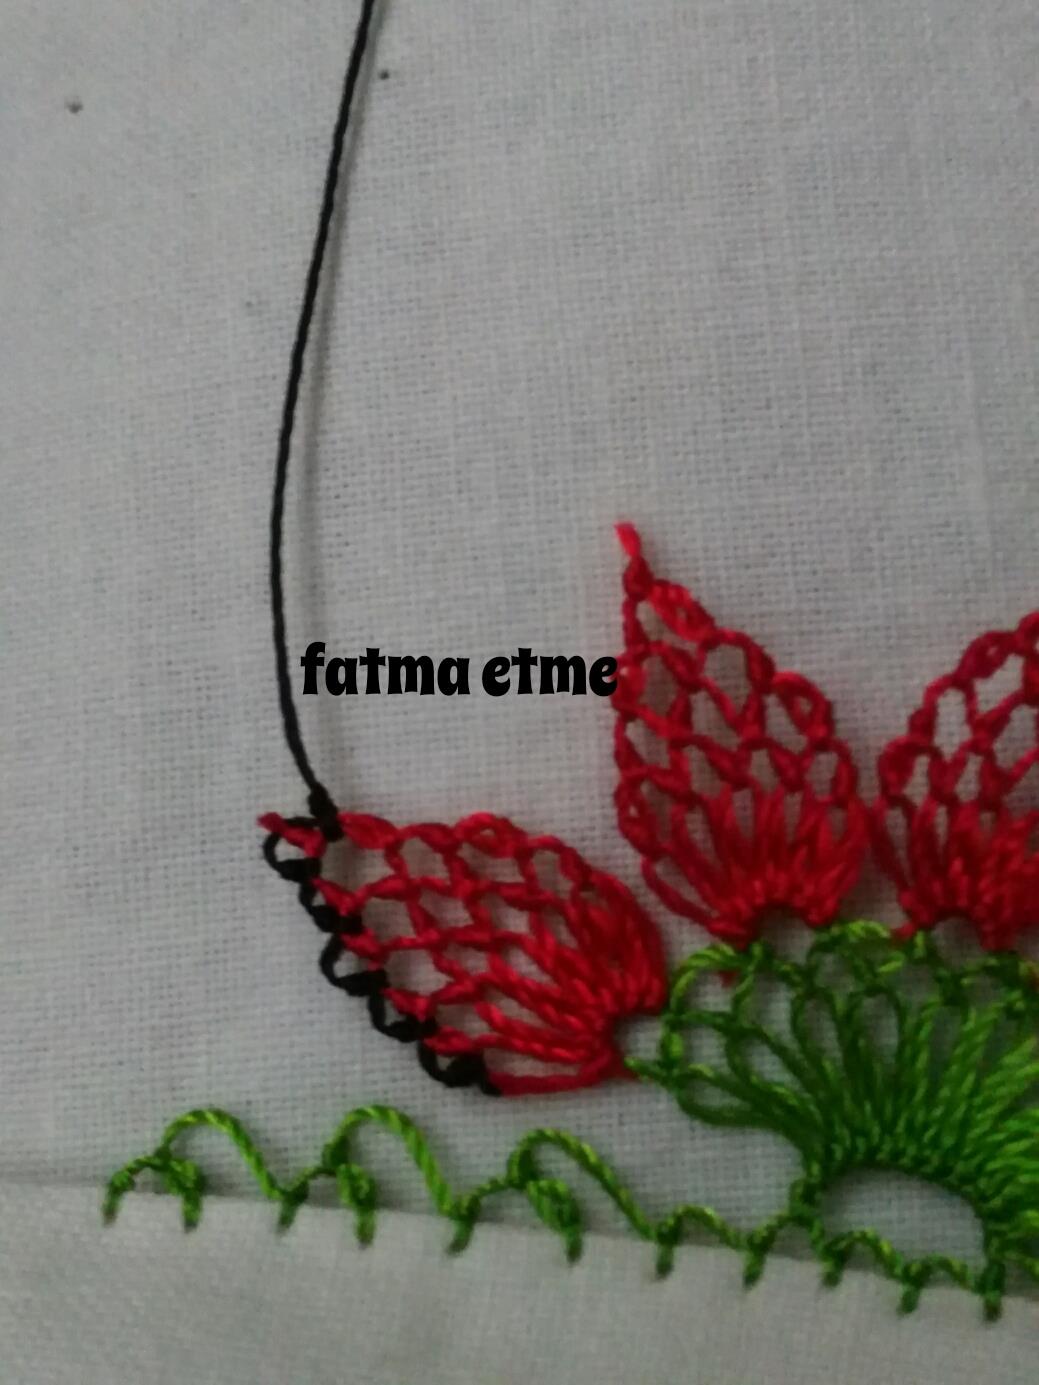
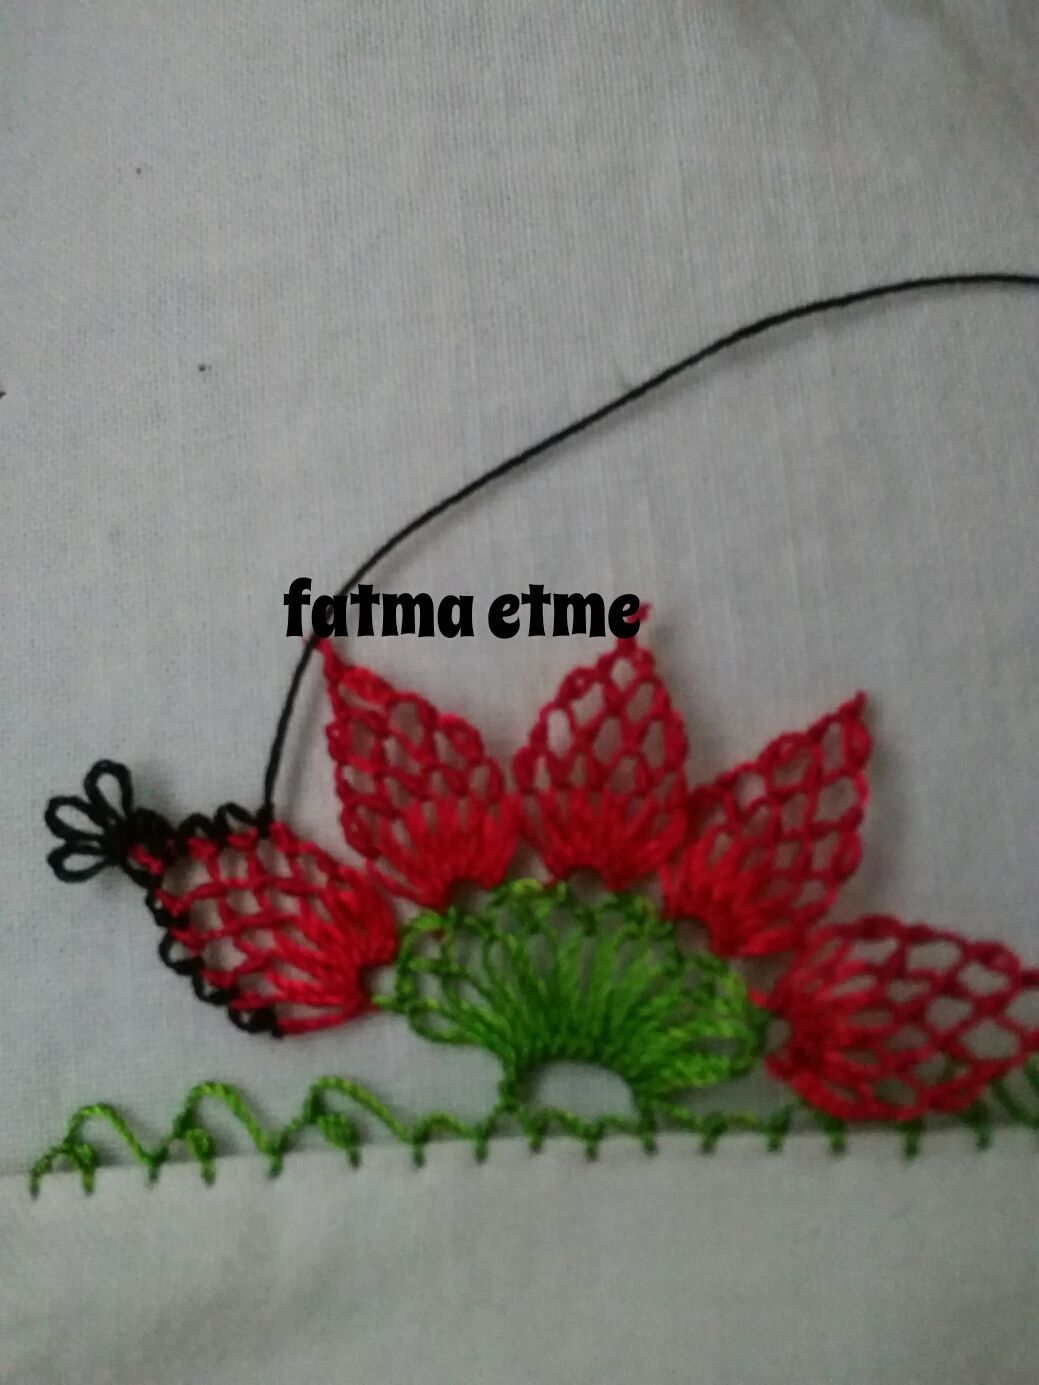
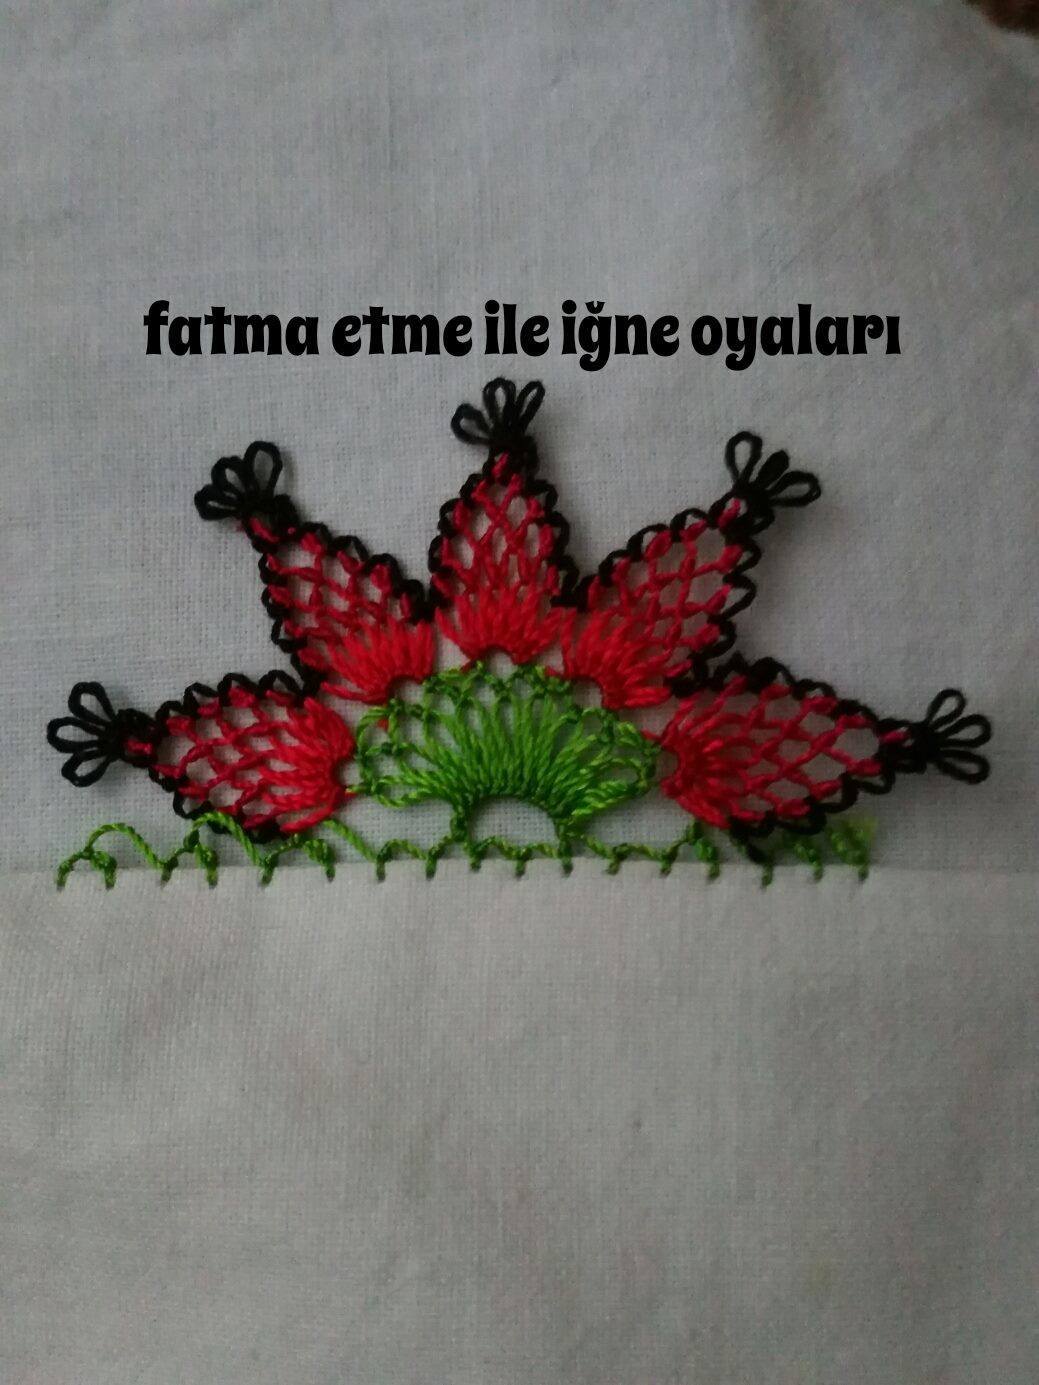
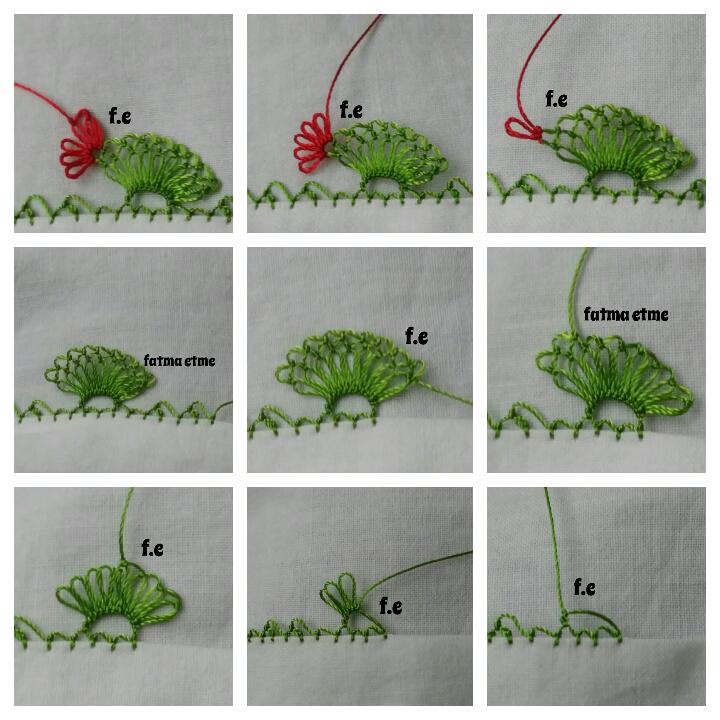
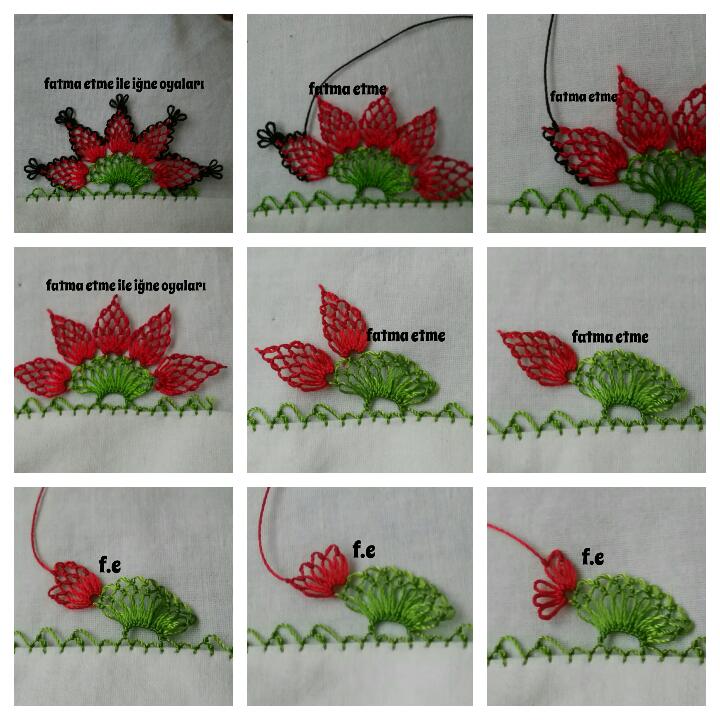
You can learn how to needle lace handkerchief by crossing the following pictures one by one. Come easy on all of us.


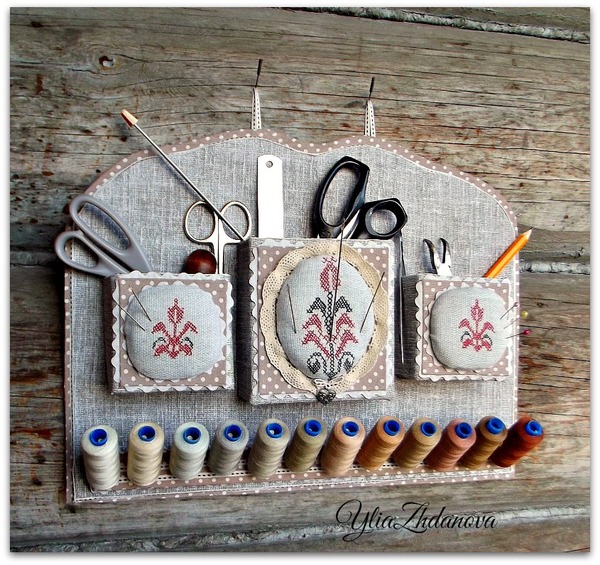

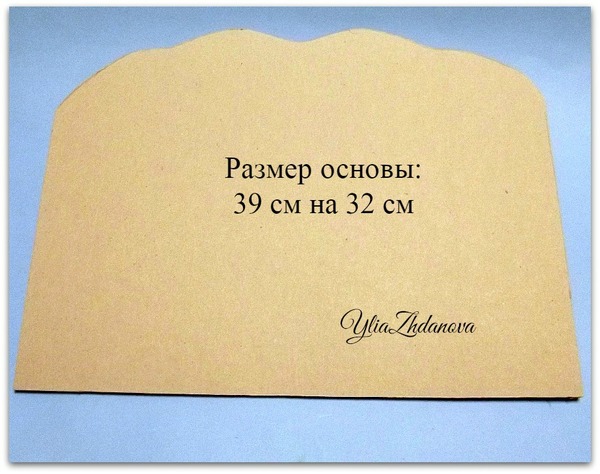
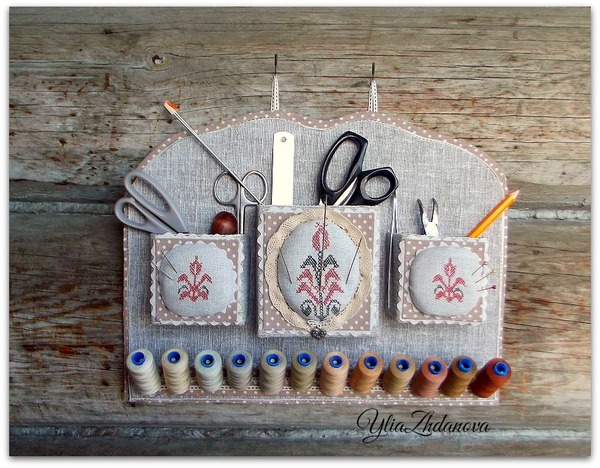
Base 2 parts – Binding cardboard.
 Then, from the same cardboard carved pocket 3.
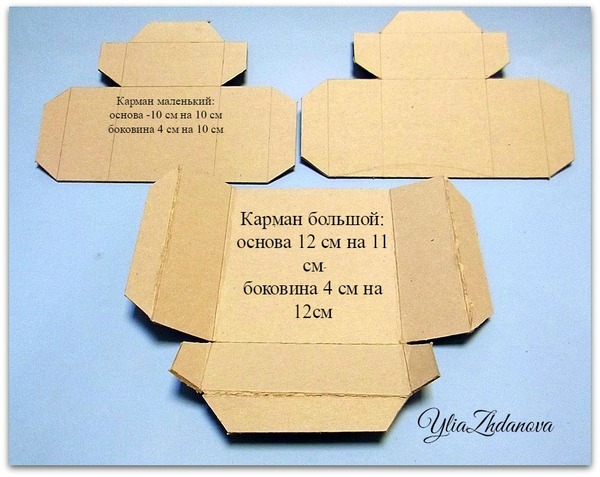 Has made scoring folds, then a linen cloth, plastered all three pockets, used for this purpose glue Moment Joiner.
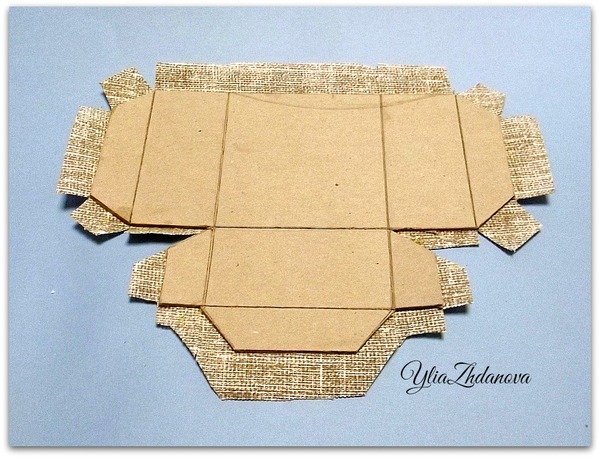 Gum helped fix sidewall pockets, until the glue dried up.
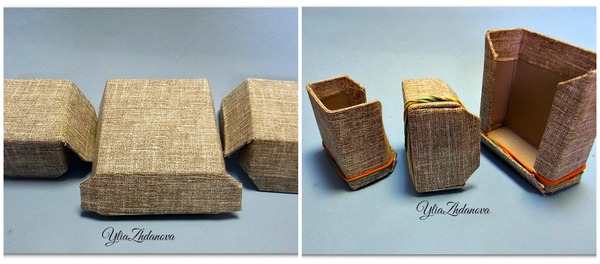 For home decor used thin cardboard, covered with a contrasting fabric.
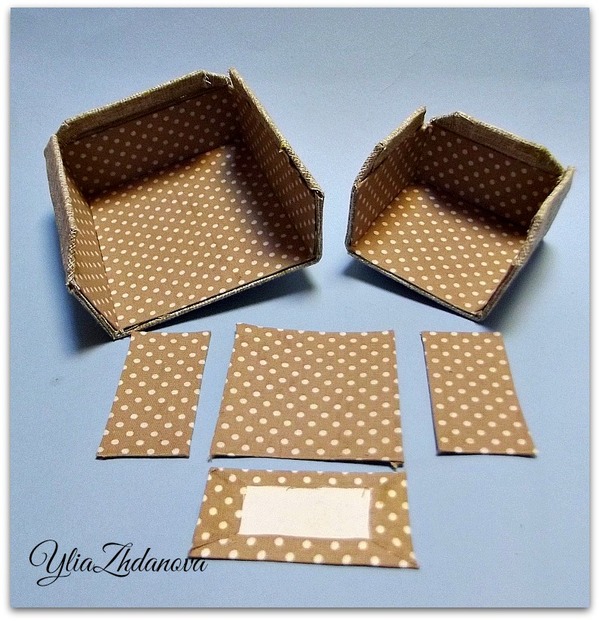 Then, in front of the foundation construction knife made slit width of the slit – the thickness of cardboard. Example – all came up))))
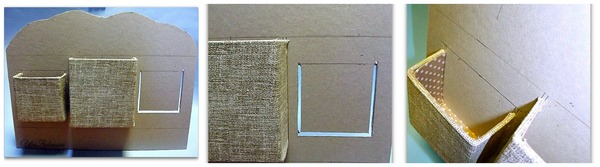 View from the inside out.
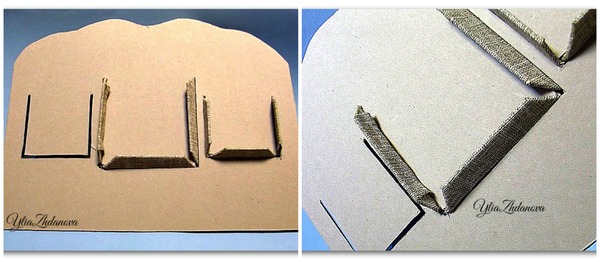 I removed pockets and pasted the same linen cloth, the front of the base. The edges of the cloth, so as not to crumble, fixed with adhesive gel Moment.
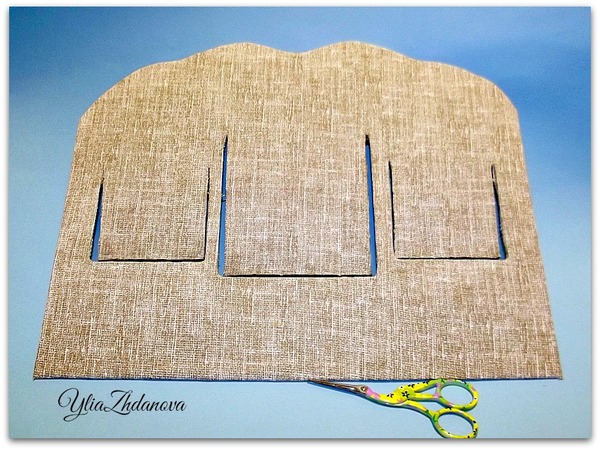 Pockets into place.
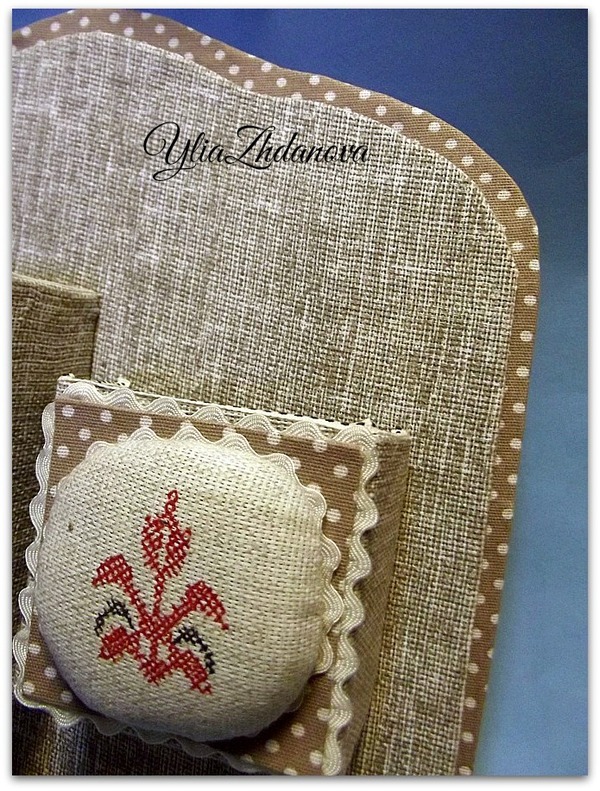
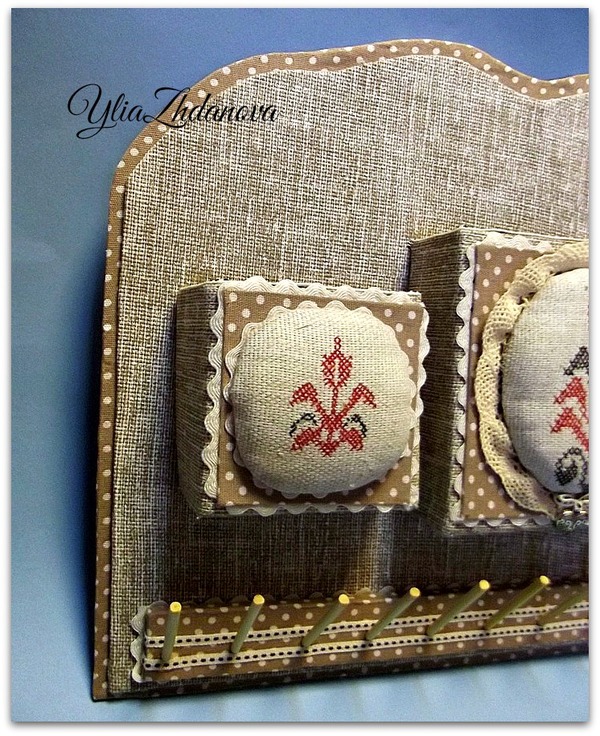
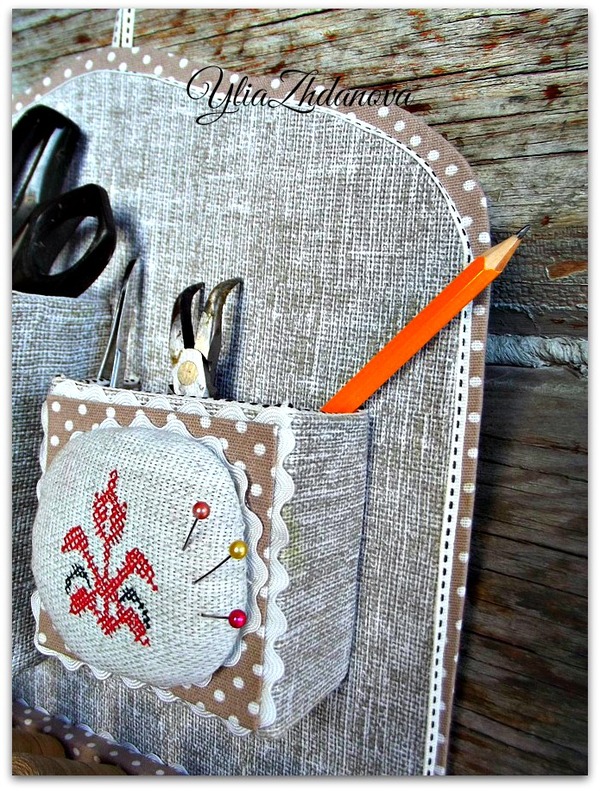
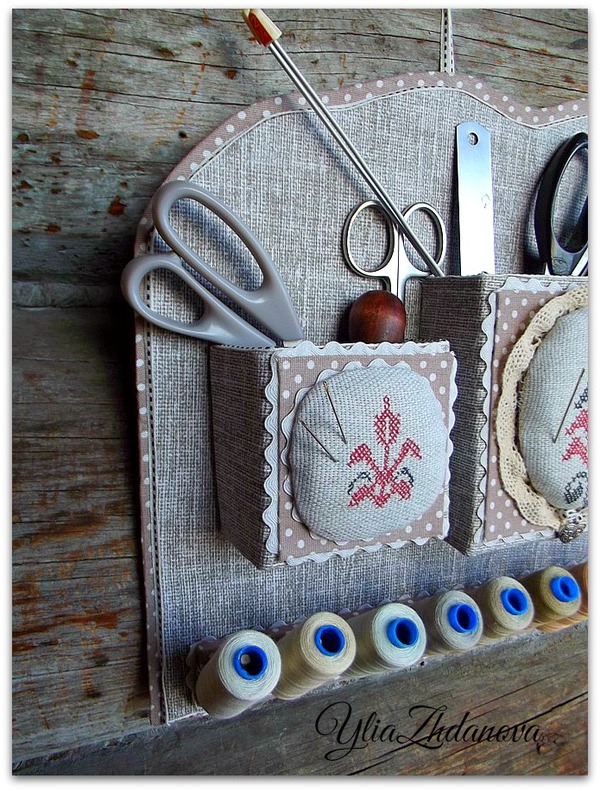
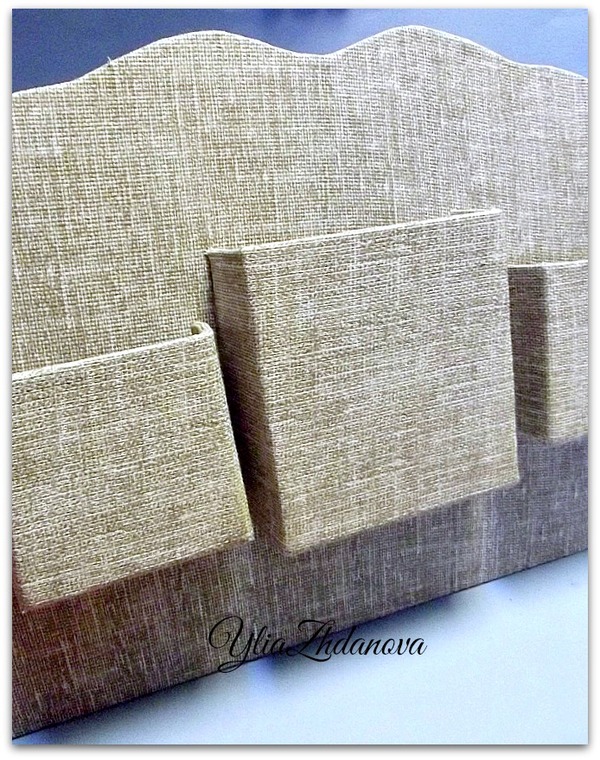 Now the most interesting – the decoration of the organizer, side pockets on the front, decided to make the needle bar inside – foam.
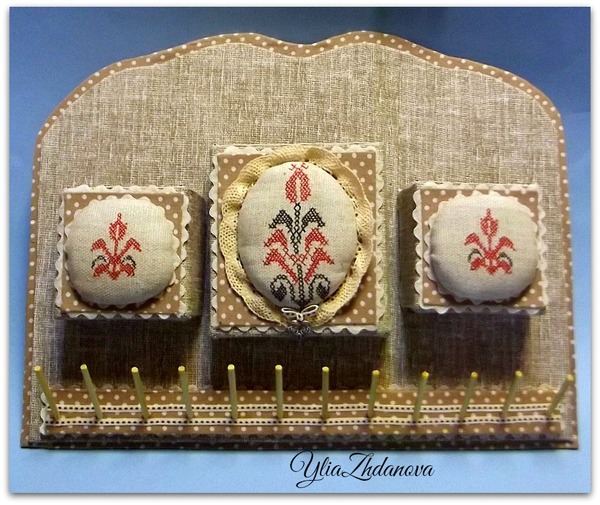
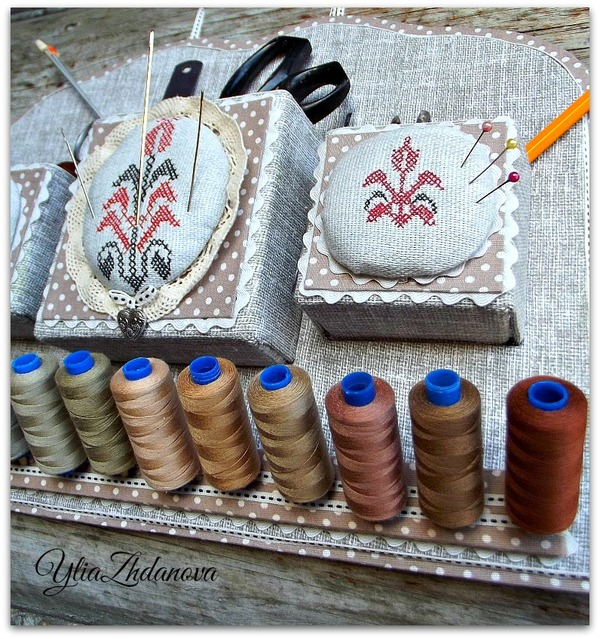
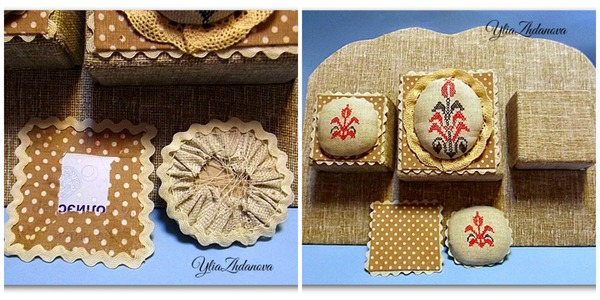 Then you have to take care of the thread – where to put them. For this I took – the piece of wood and bamboo sticks.
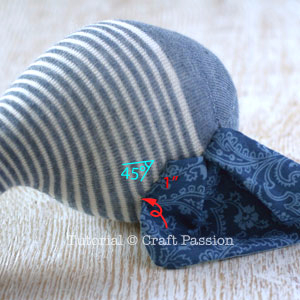
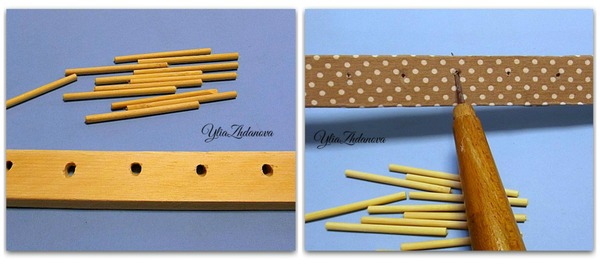 Drill a 45 degree angle holes and plastered cloth strip, then he has done with an awl holes, under the pins.
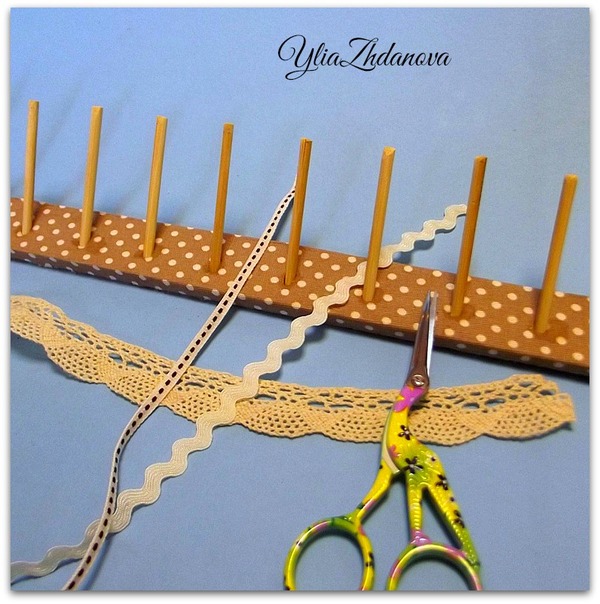 Glued pins – super glue.
 Trim that I have left over from cutting pockets, all went to work. For Kant, I cut cardboard, 0.7 cm wider than the edge of the base and the first taped contrasting fabric, then a cardboard edge and closed his protruding cloth. It remained for the small – to close the second portion of the base, the back side of the organizer.
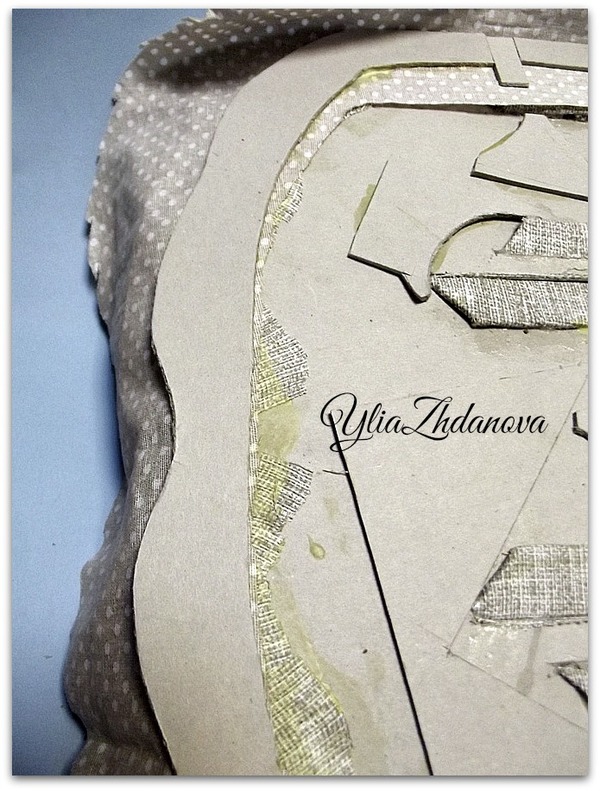
 Thank you that made it to the end.
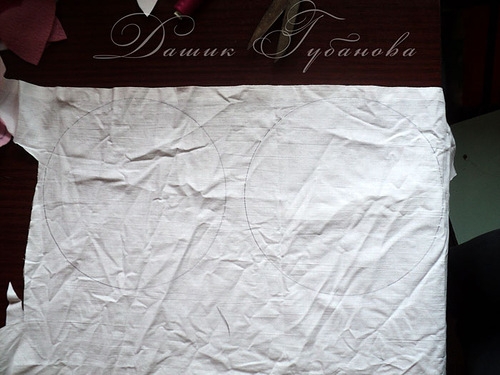
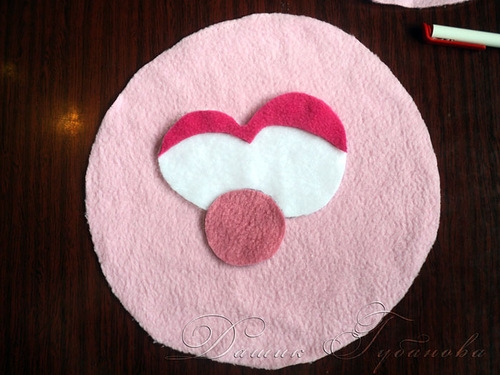
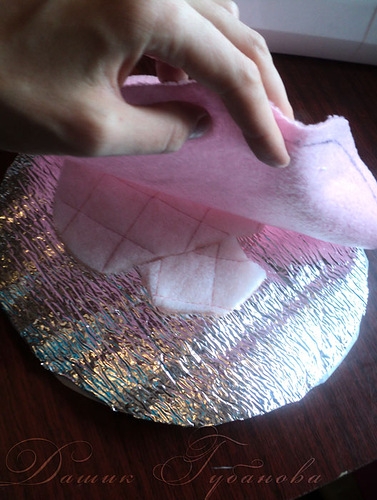
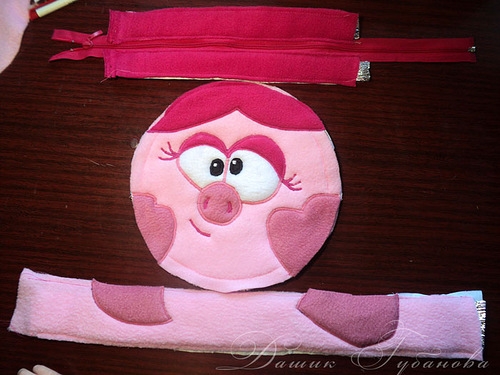
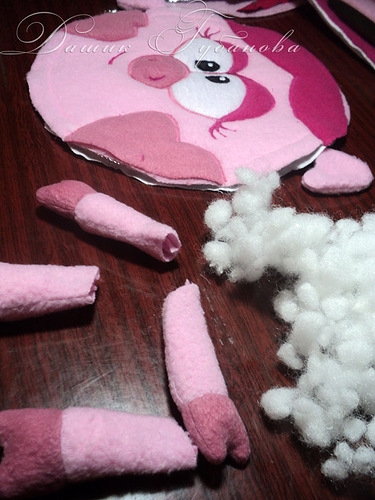
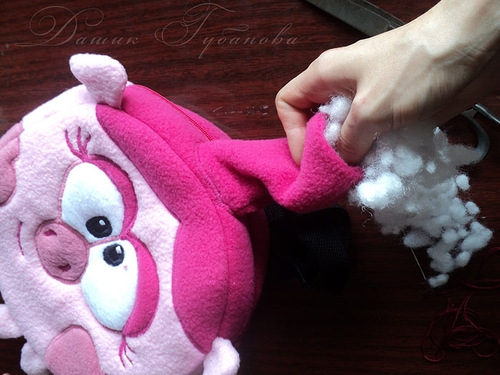
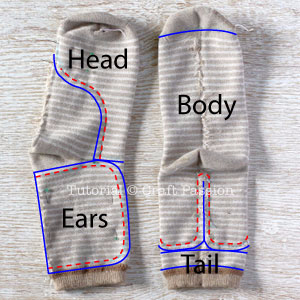
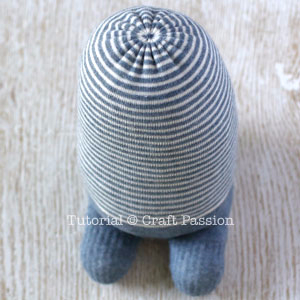
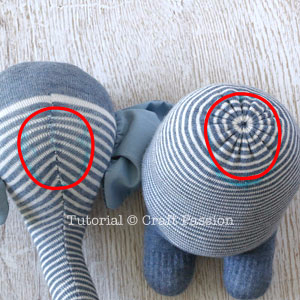
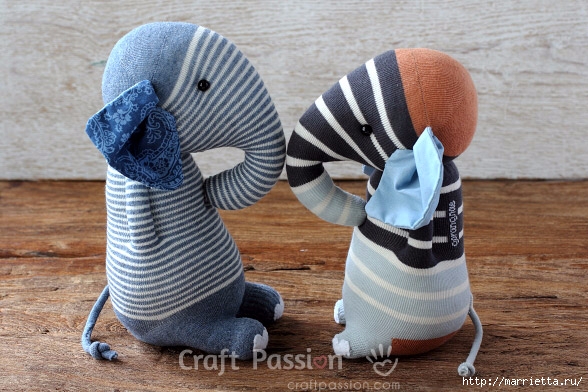
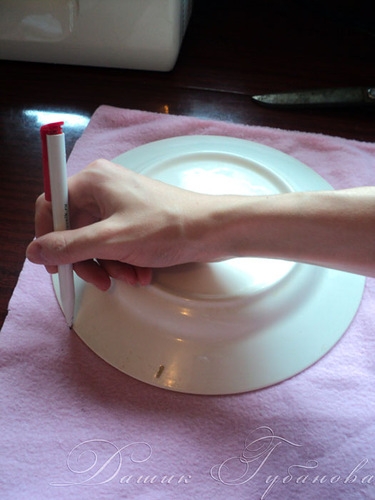 Polyethylene foam is cut just two circles with the same diameter.
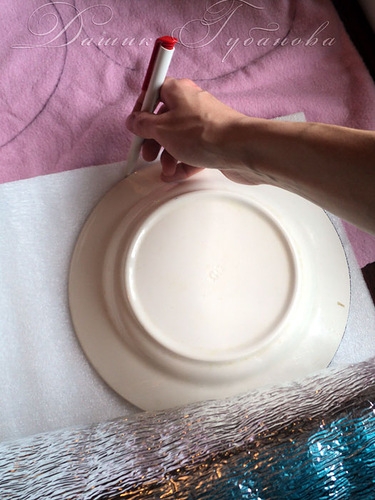
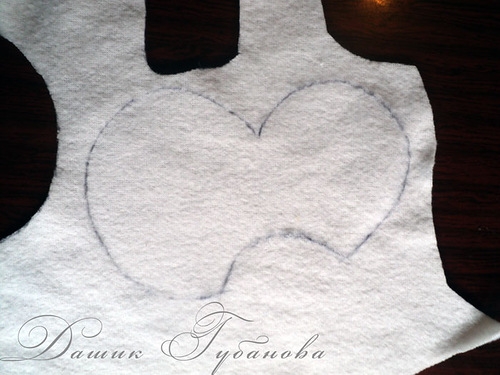
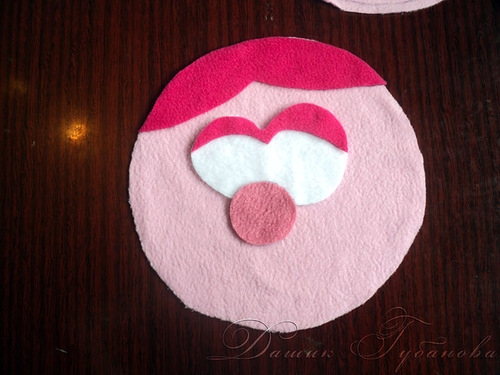

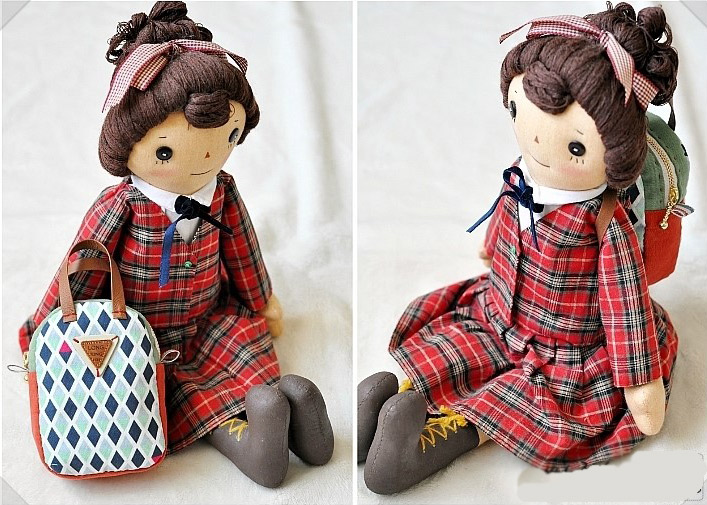
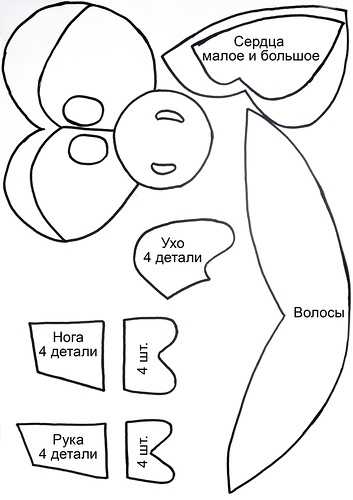
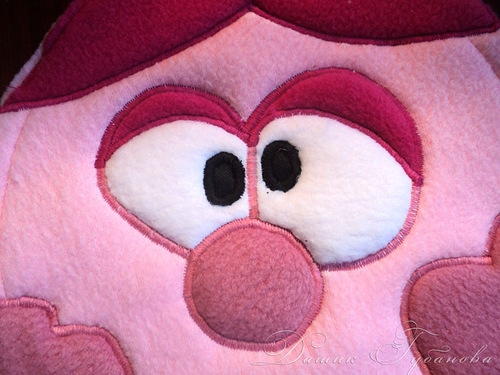
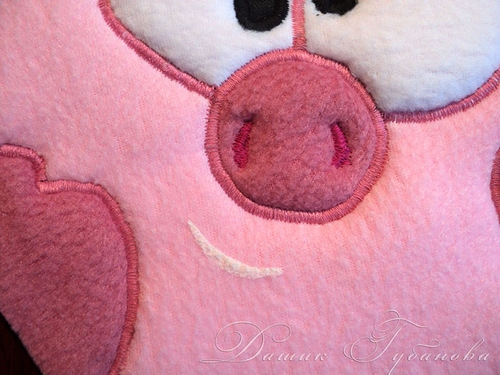
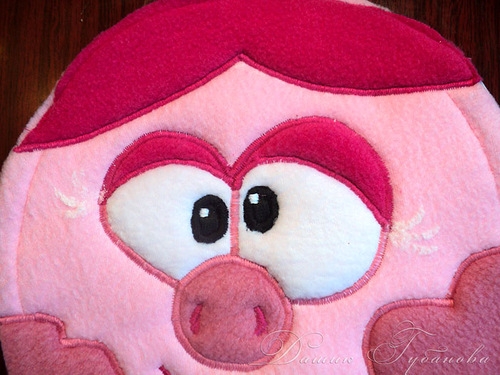
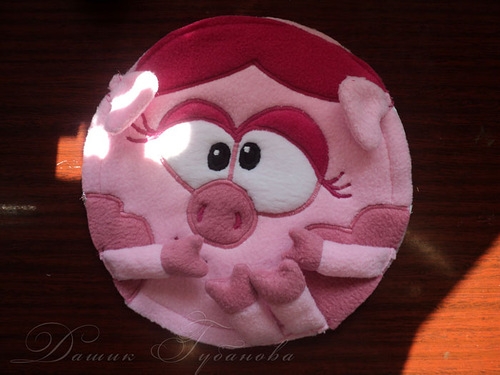
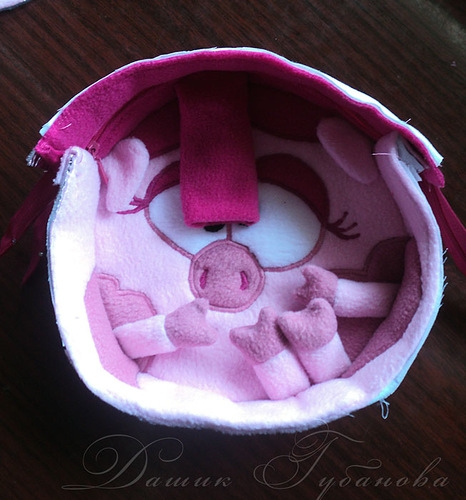
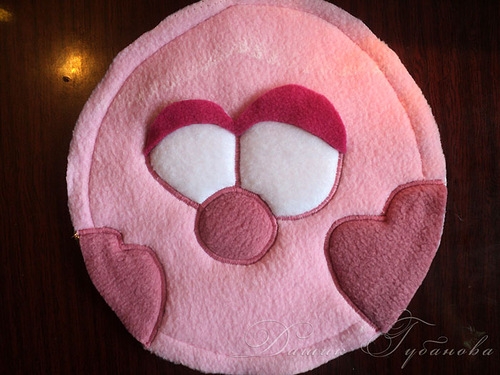 Eyelids and sew hair dark pink thread.
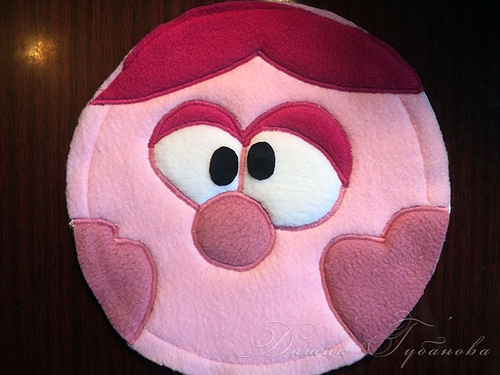
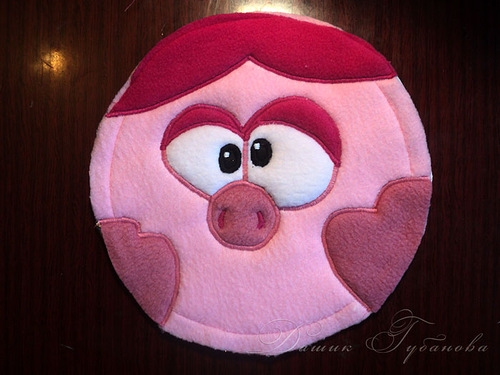
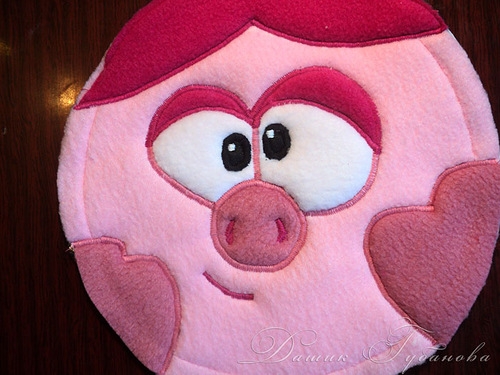
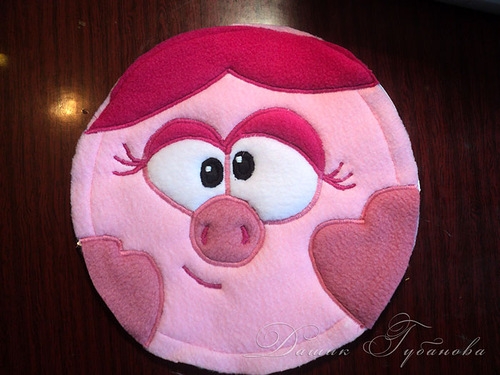

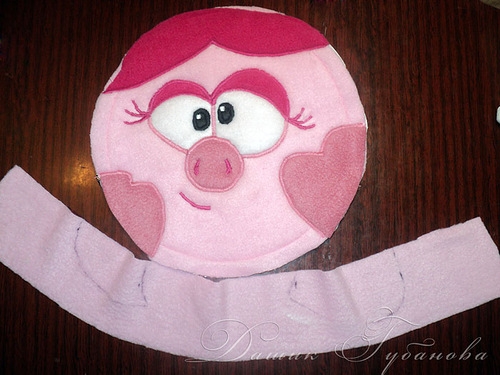
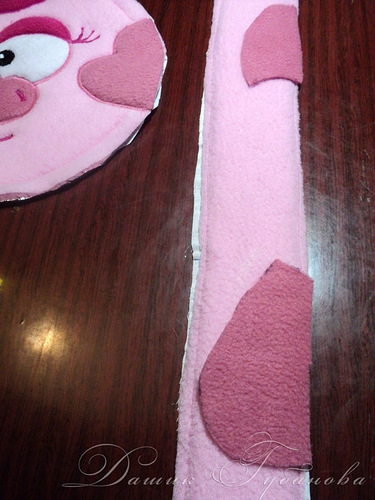
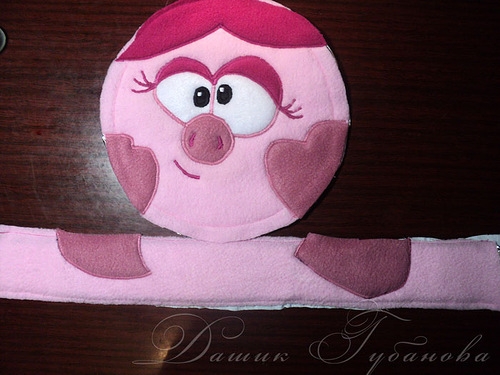
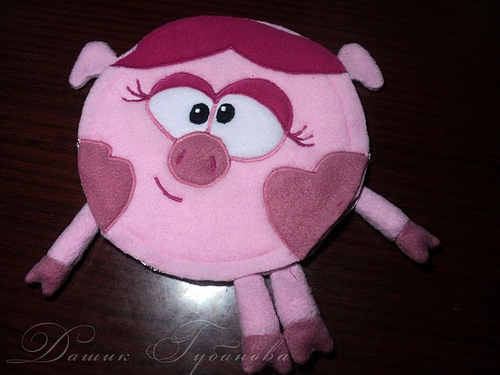
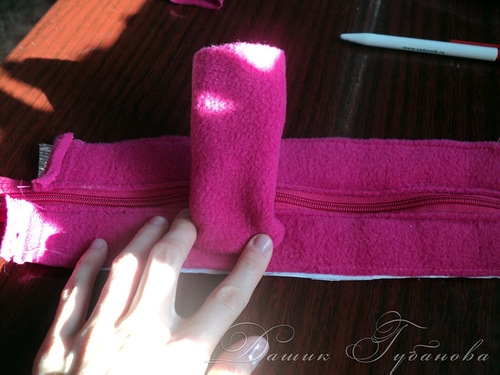
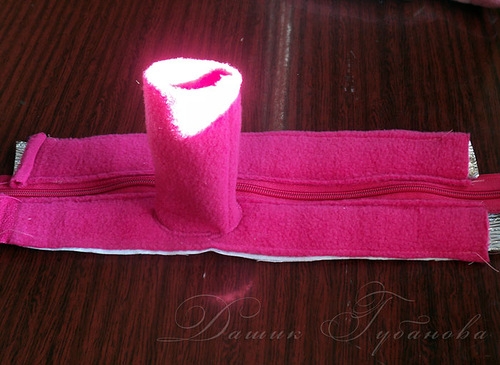
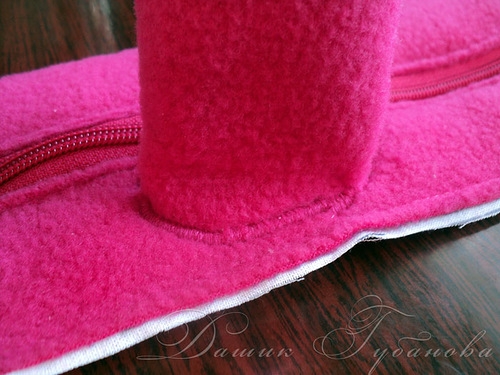

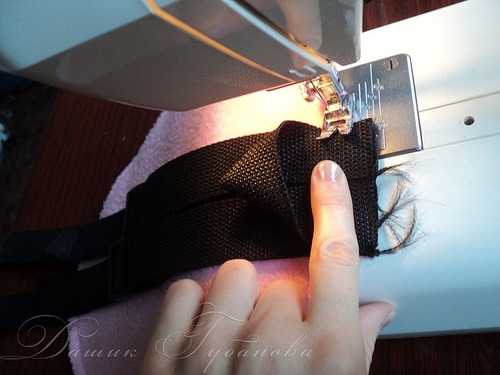
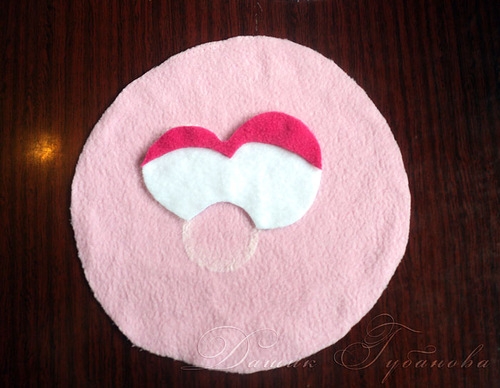
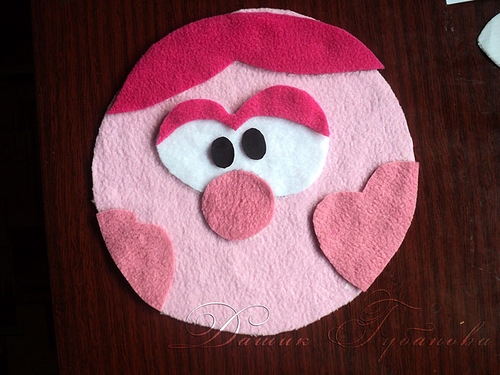
 And sew it to the band. It turned out that’s what.
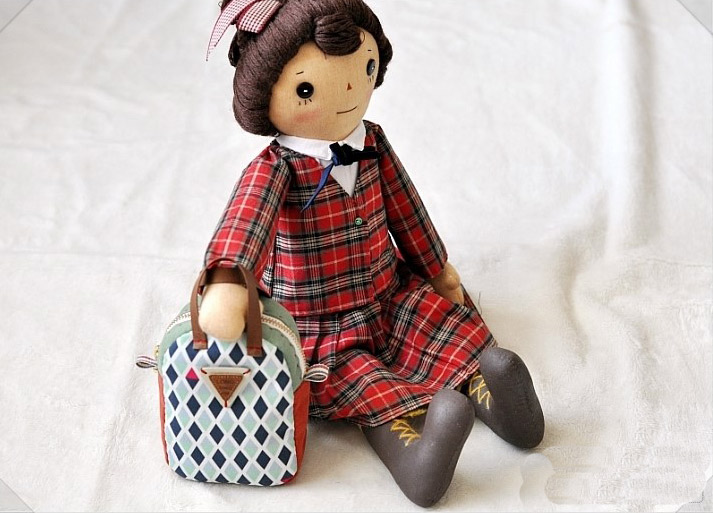
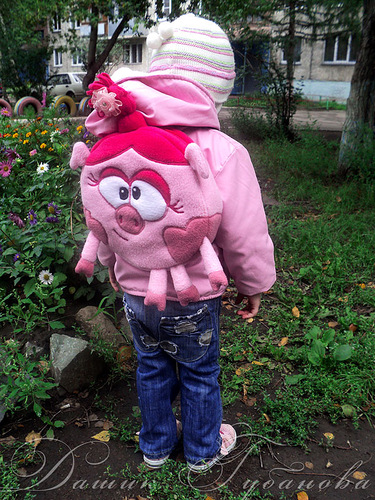
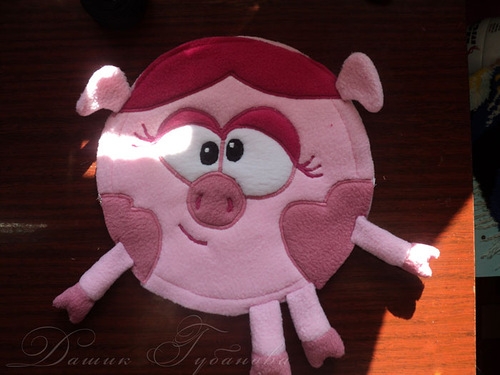
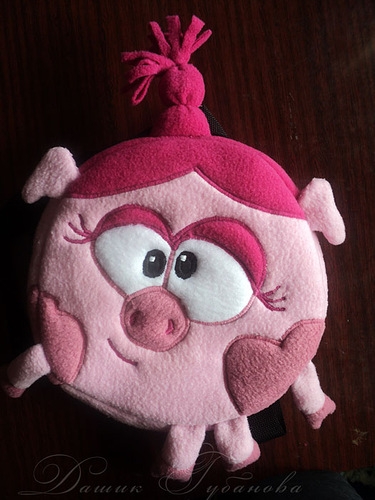
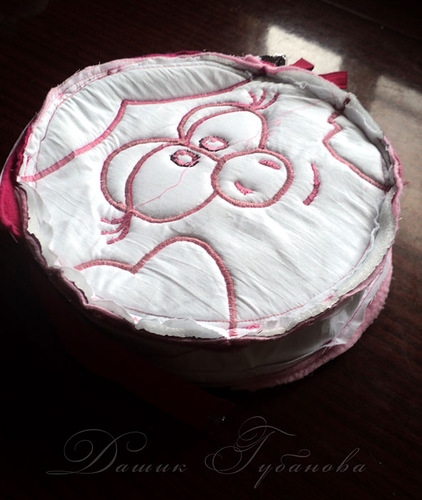 Wrenched Nyusha. And we admire the result. Front.
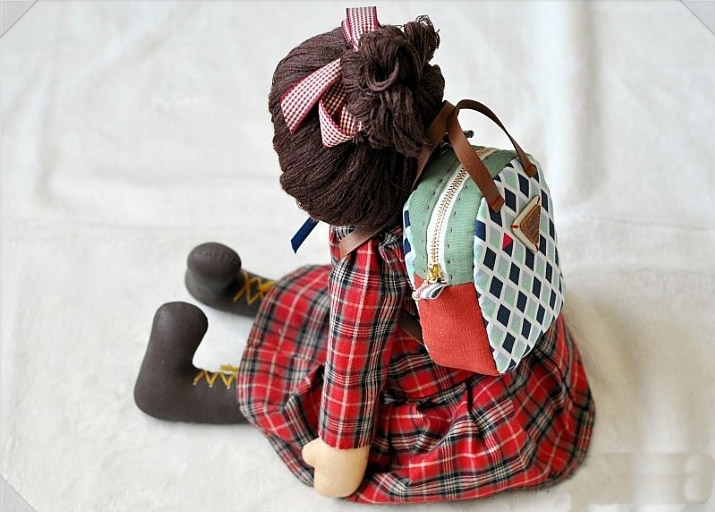
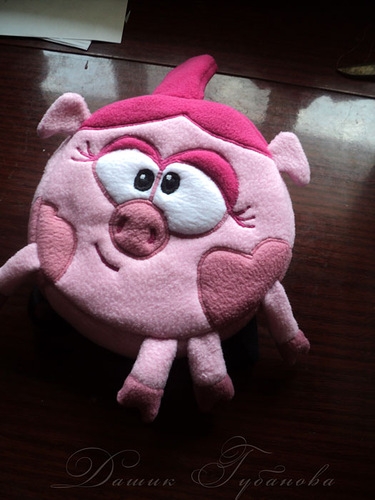 And the rear
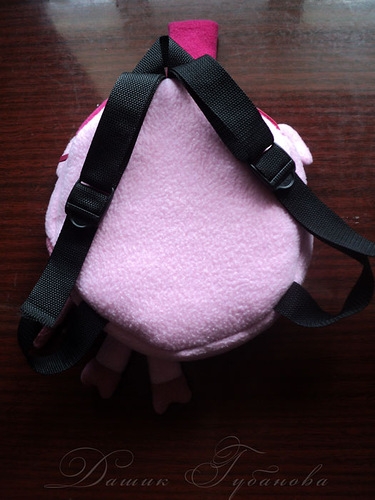
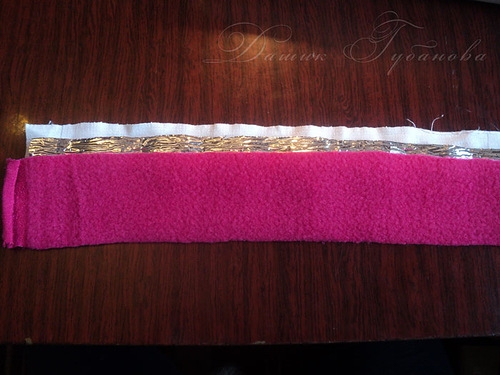
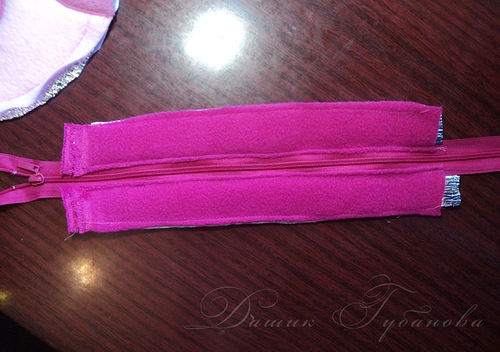
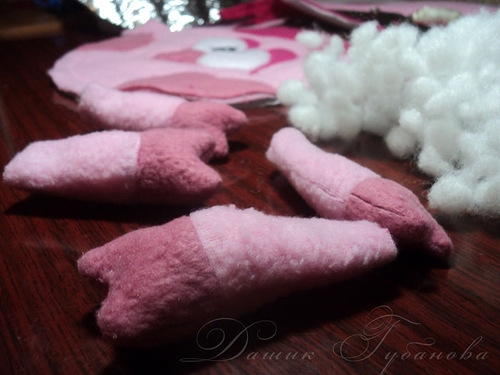
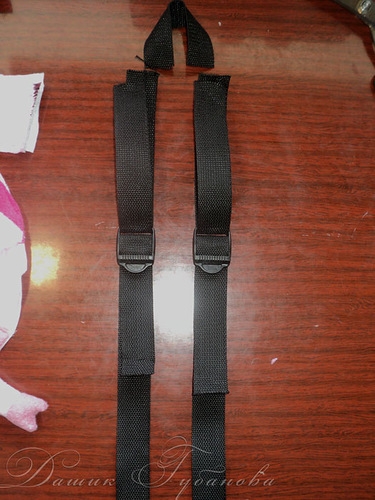
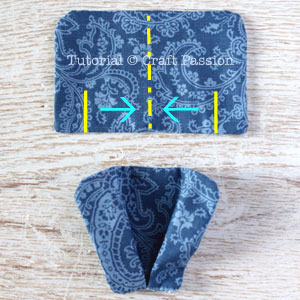
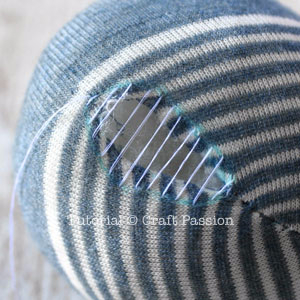
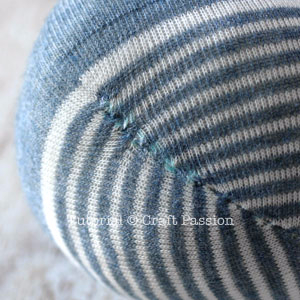
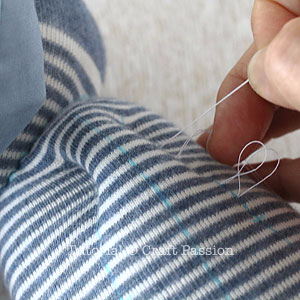
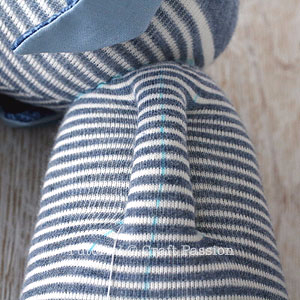
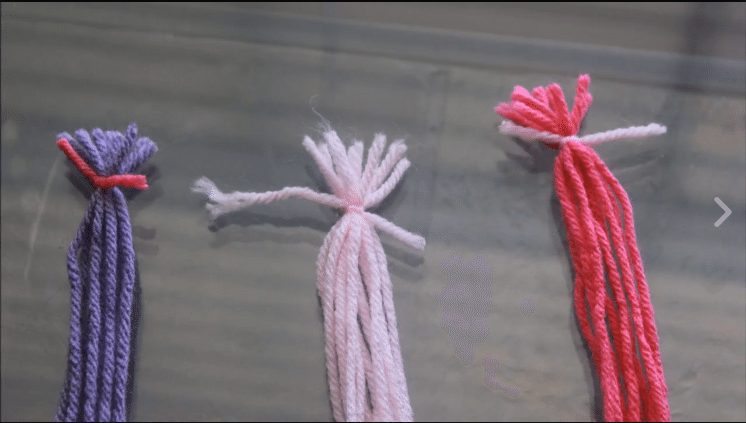
 Grab the matching colored, sewing threads and contractible in two places.
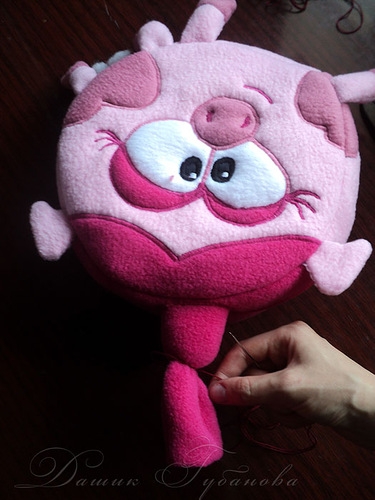
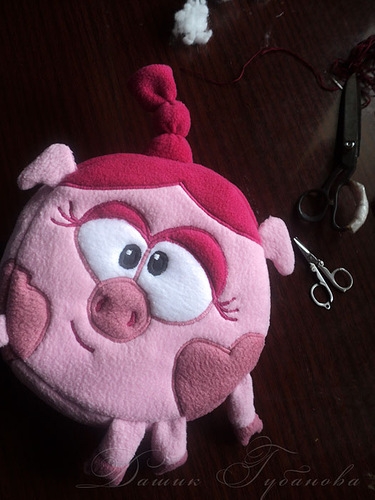
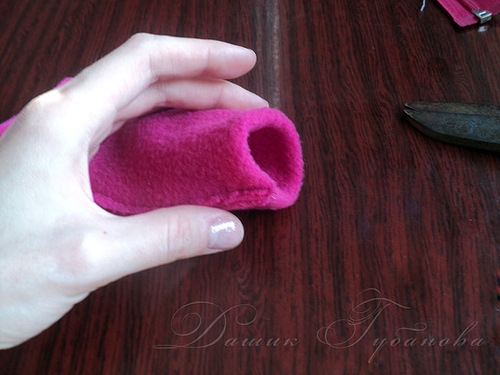
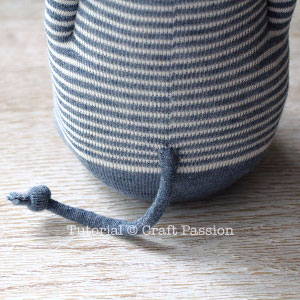
 And decorate the bow or flower.
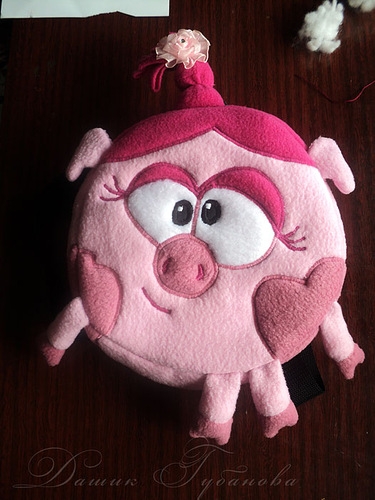
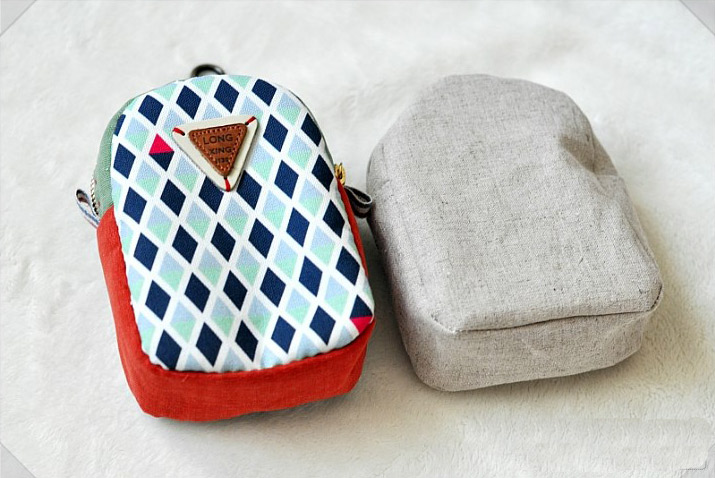
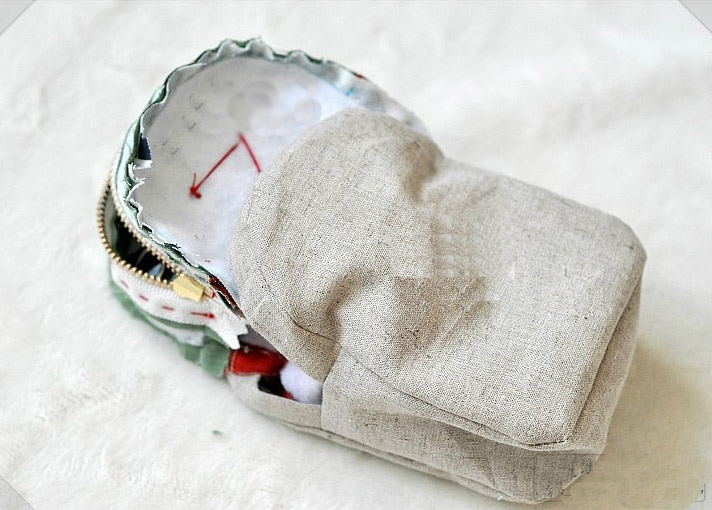
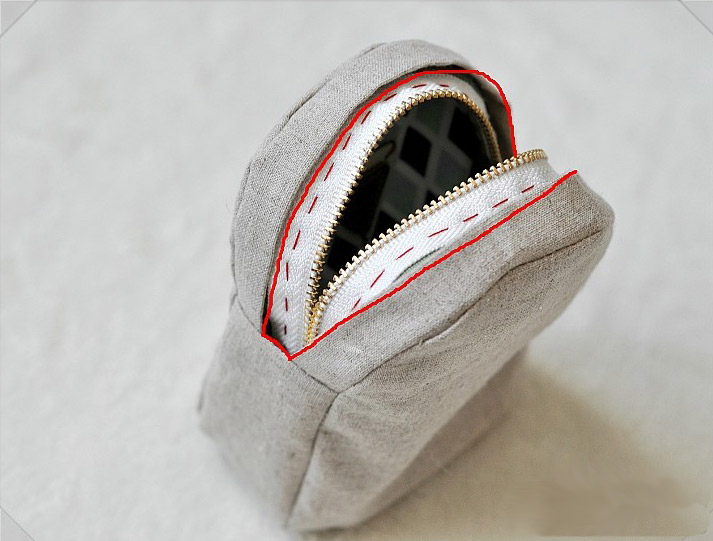
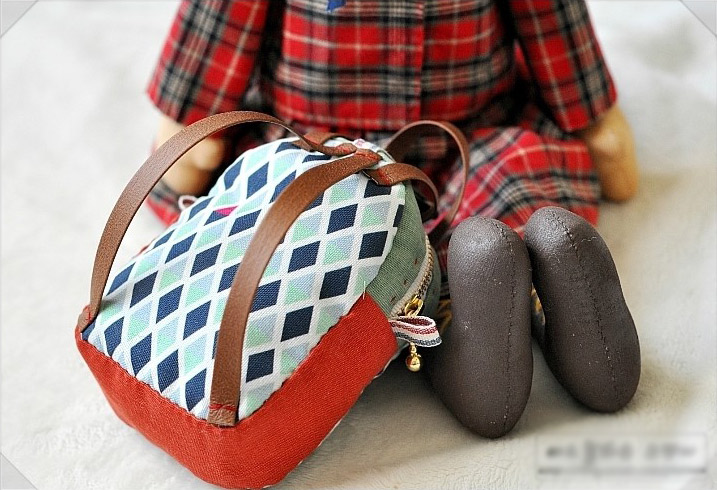
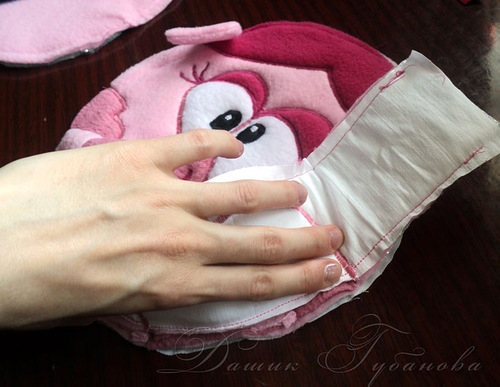
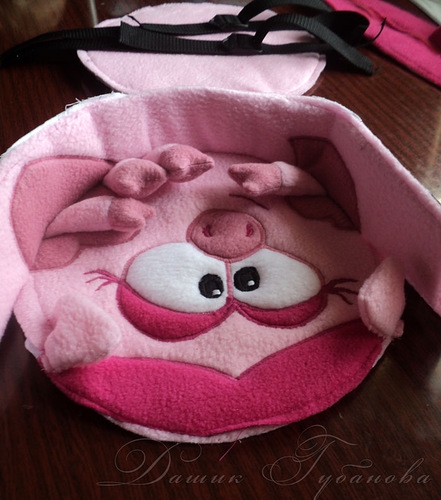
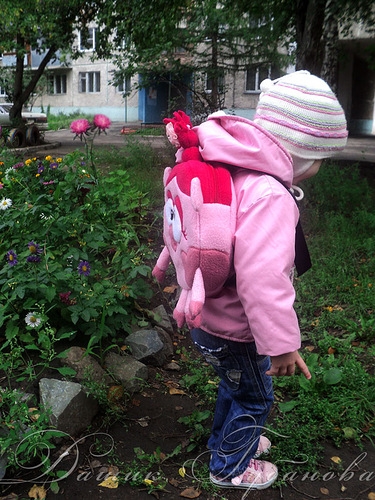
 Insert the lining into the backpack and hand – neat stitches to sew up to the castle. One side…
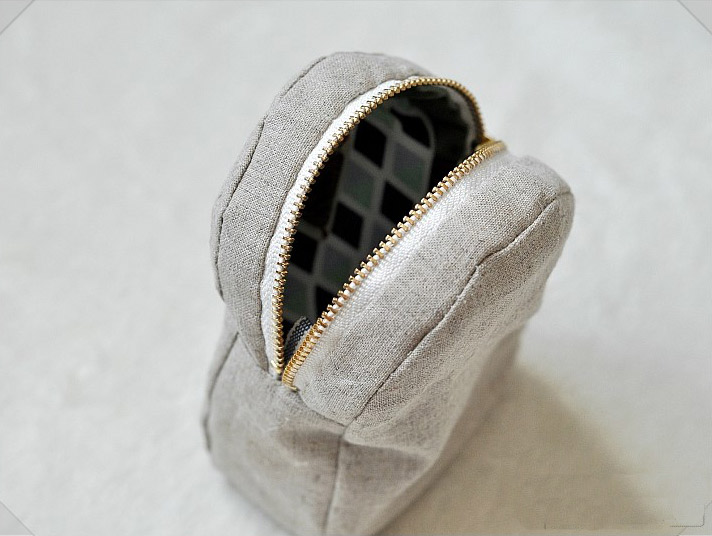
 And on the other
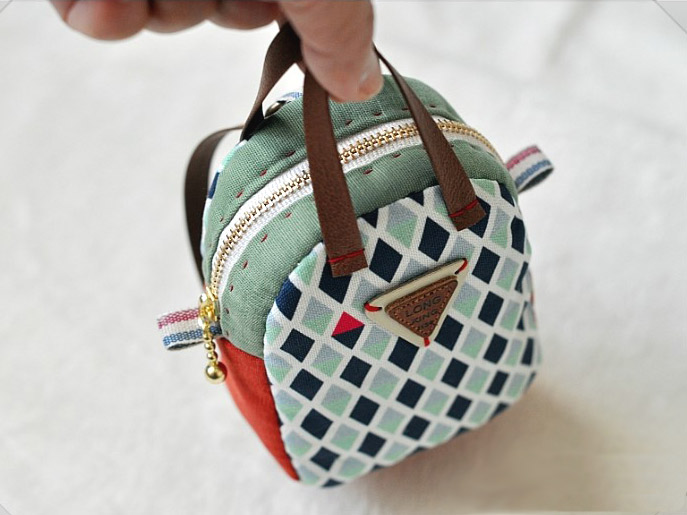
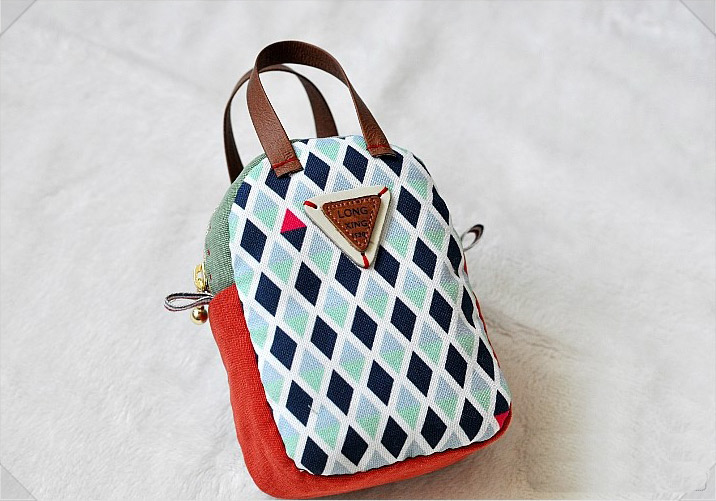
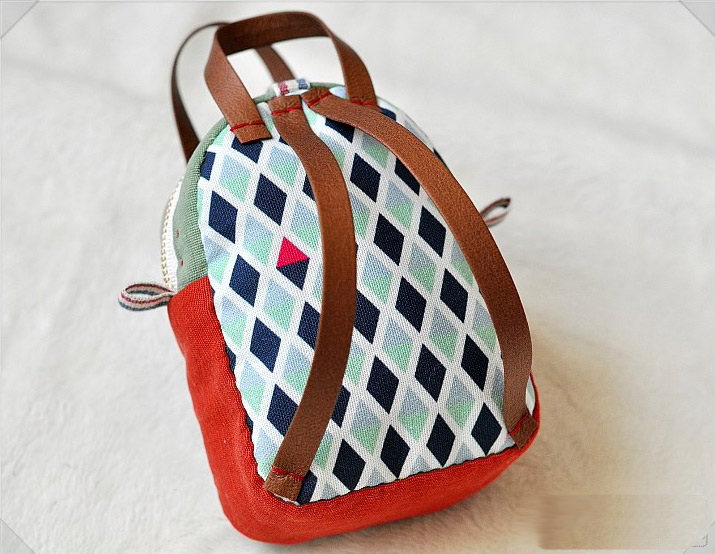
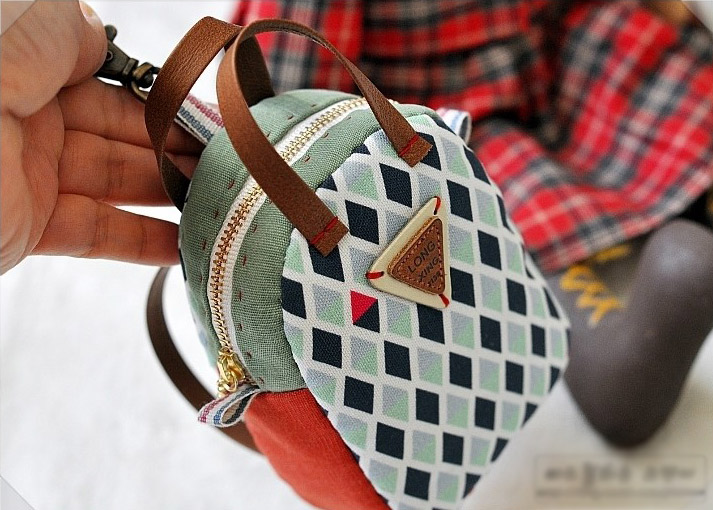
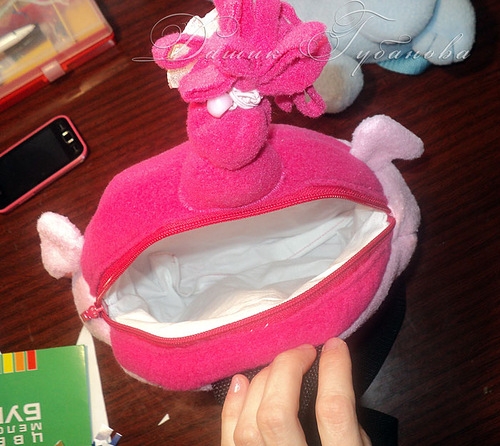 Backpack ready !!! That’s the beauty turned.
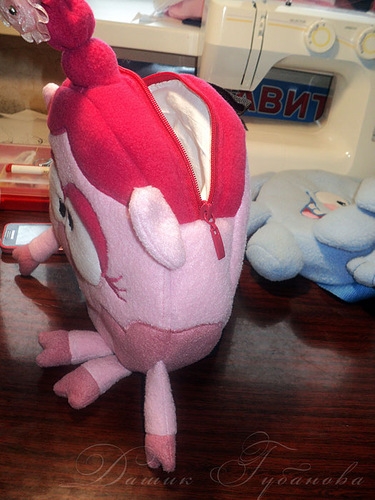


Oriental style jacket, made of intense pink dupion silk. Simple pattern with 3/4 “kimono” sleeves, front closure with buttonholes and buttons, side seam pockets and openings in the bass, and is trimmed with a “live filling” of red color, all around it.
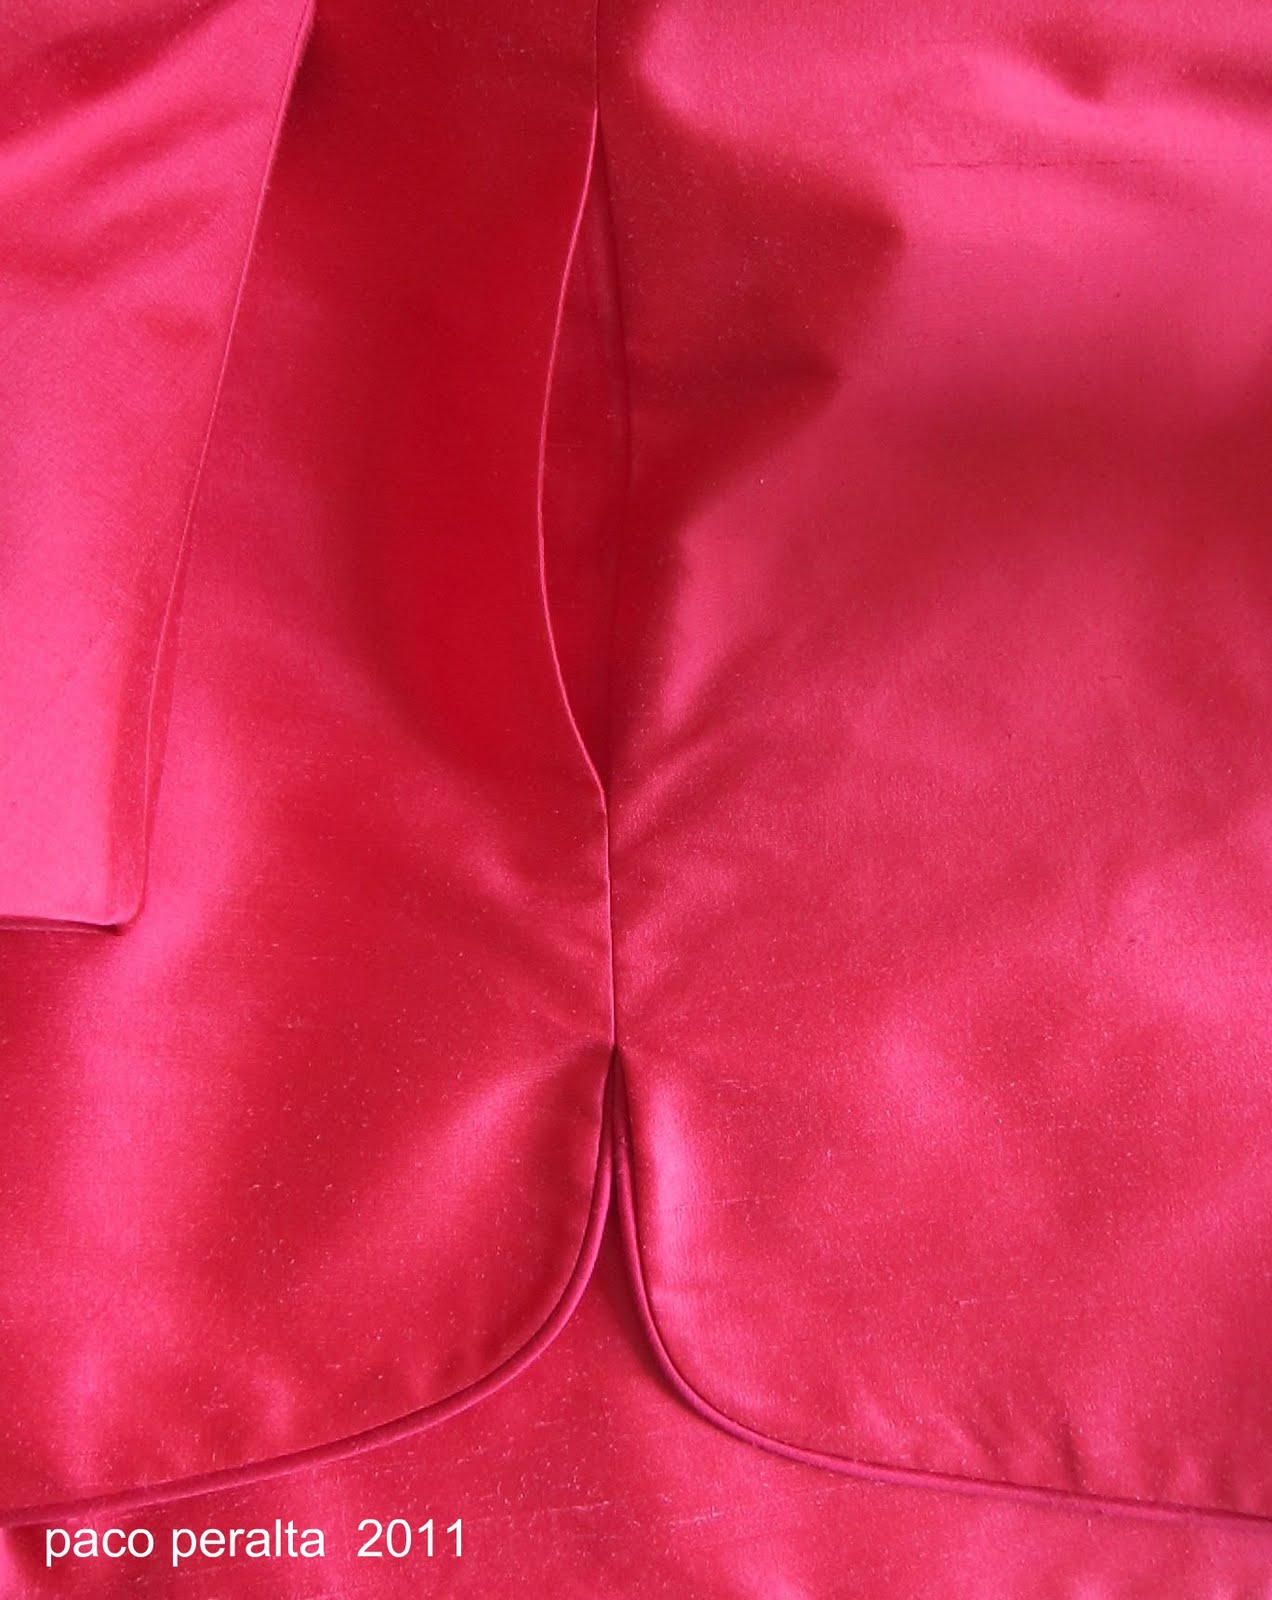 Detail of the interior polished (Views of the front and the hems)
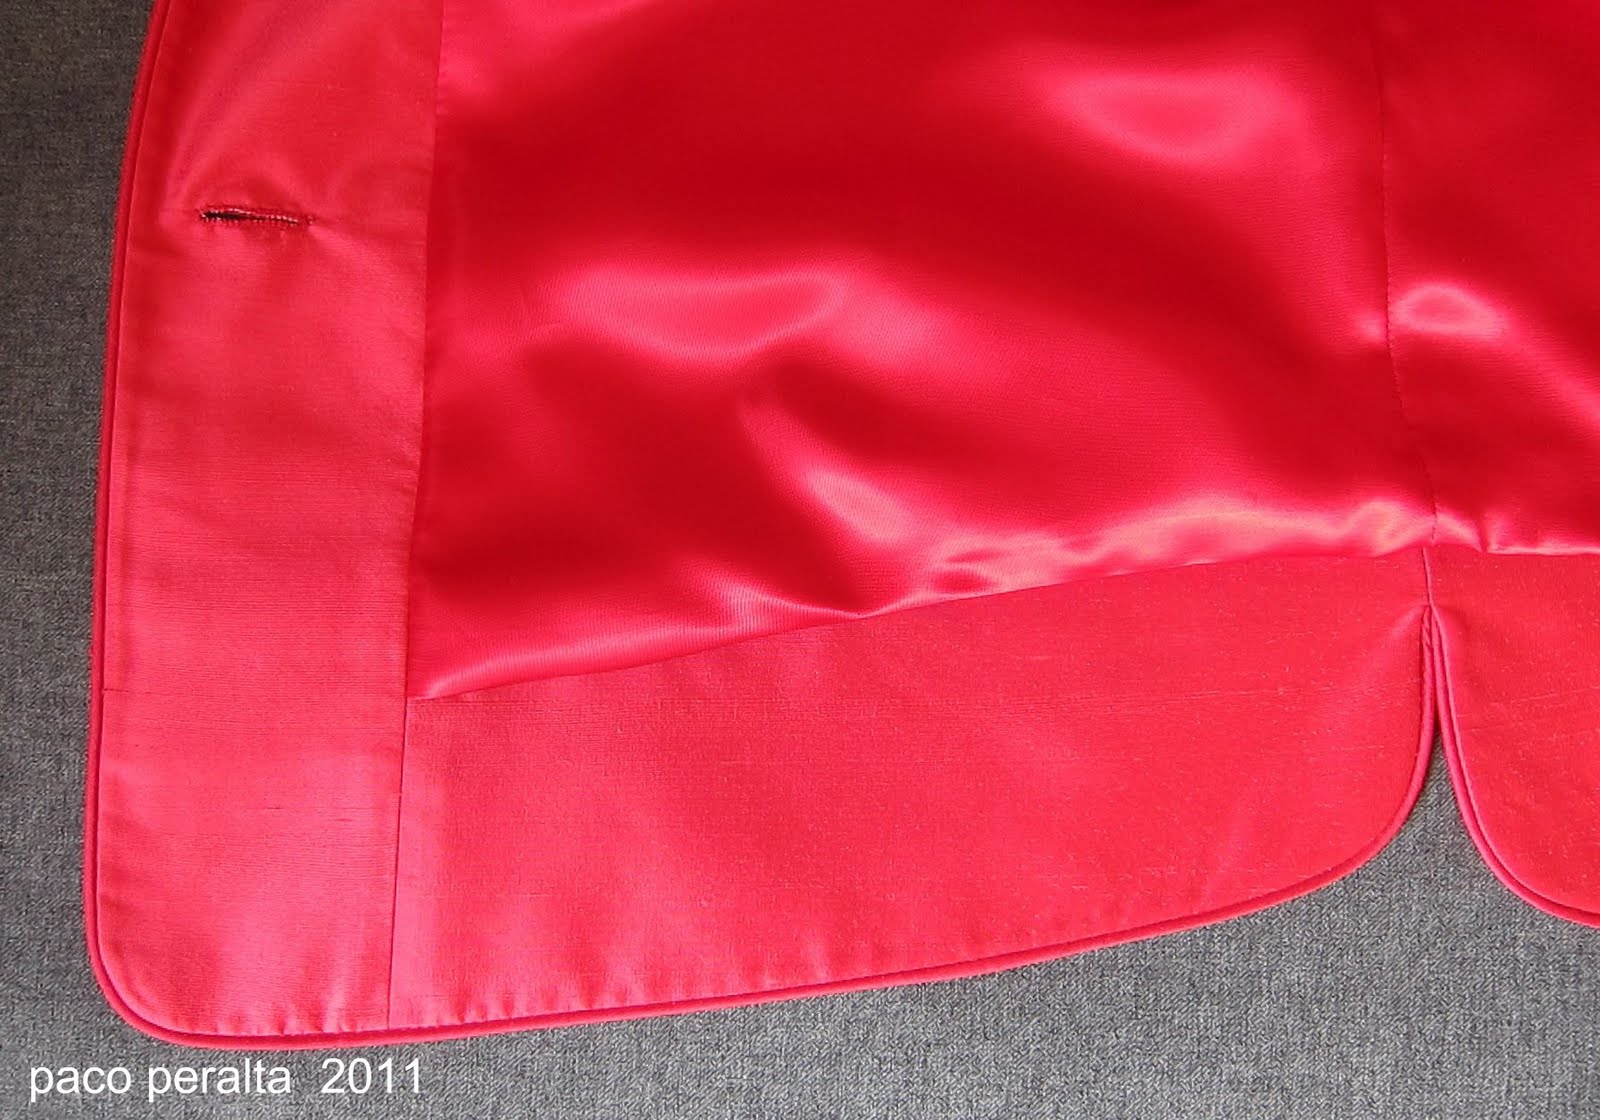 Detail of the front closure
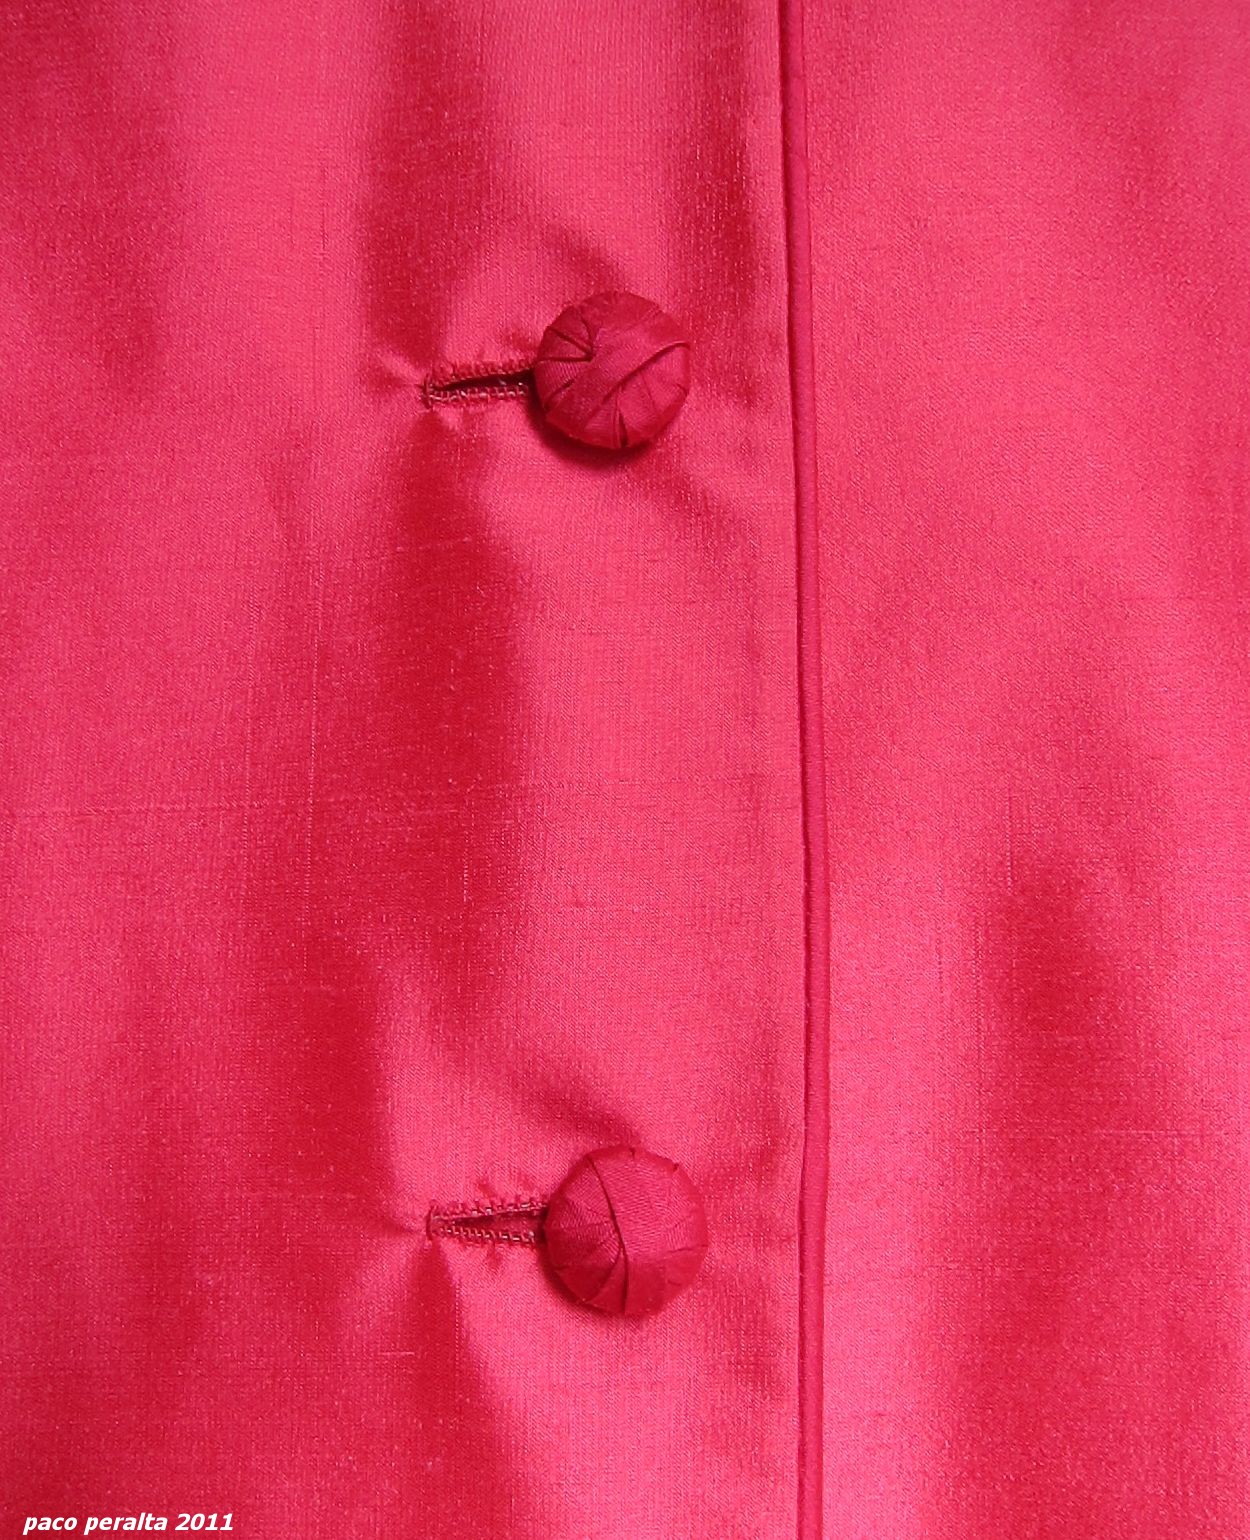
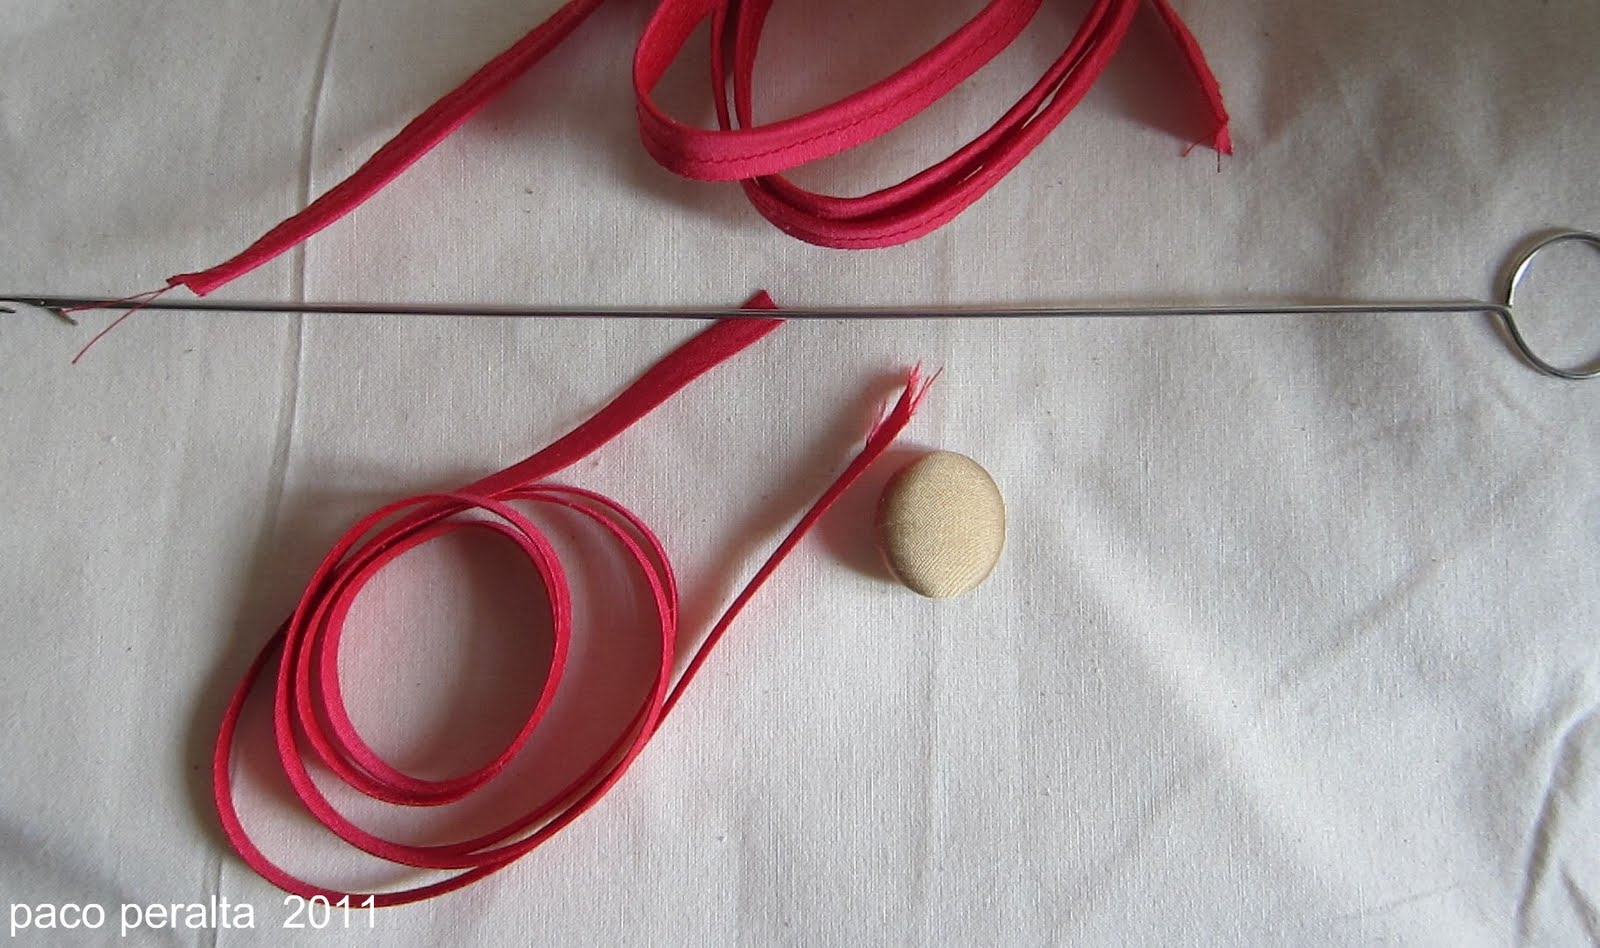
Handmade covered buttons tutorial-
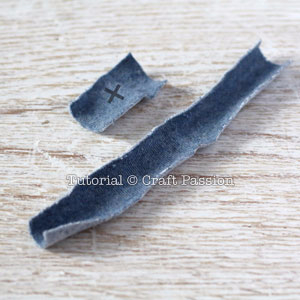
To make this type of buttons, we must have as a base, a button lined with the same fabric to be used, and a strip to the polished bias, approximately 5 to 7 mm. Wide.
 The first step will be to hold the principle of the strip in the center of the button and on the base fabric.
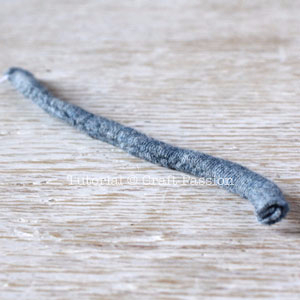
 We continue lining the button, overlapping the next turns so that they join in the center, where we will hold with some stitches.
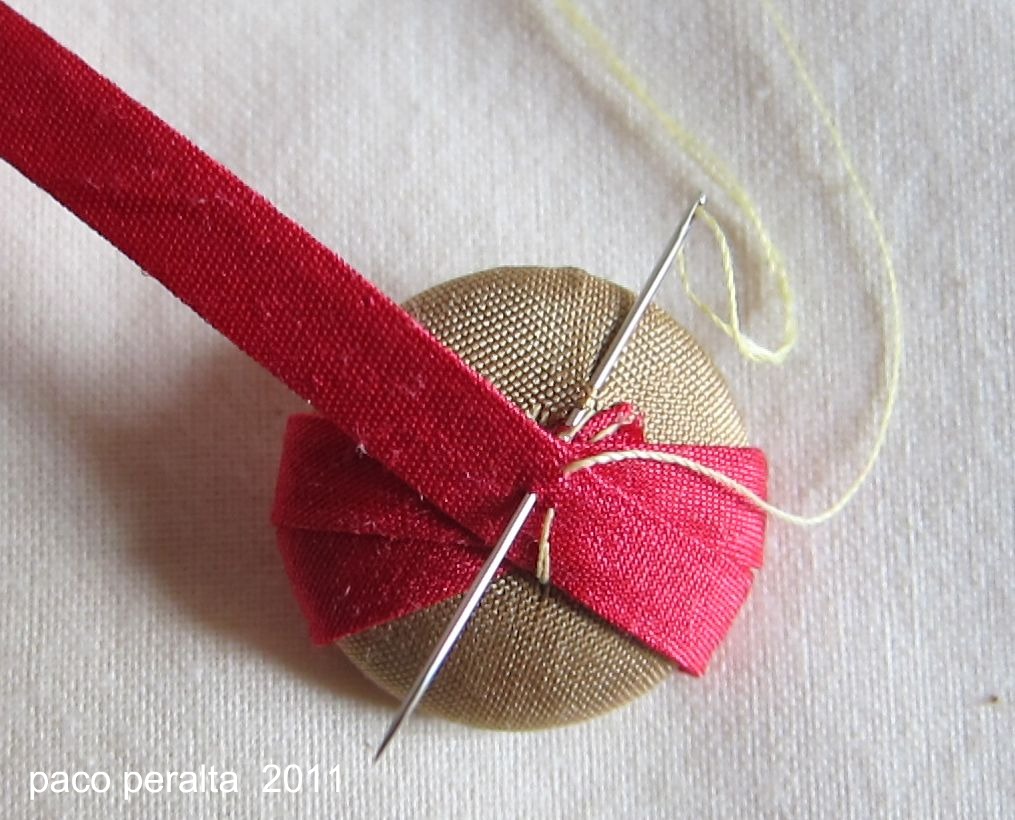 We finish covering the whole button, and sew the last turn through the back of the strip, being careful not to move the needle to the outside.
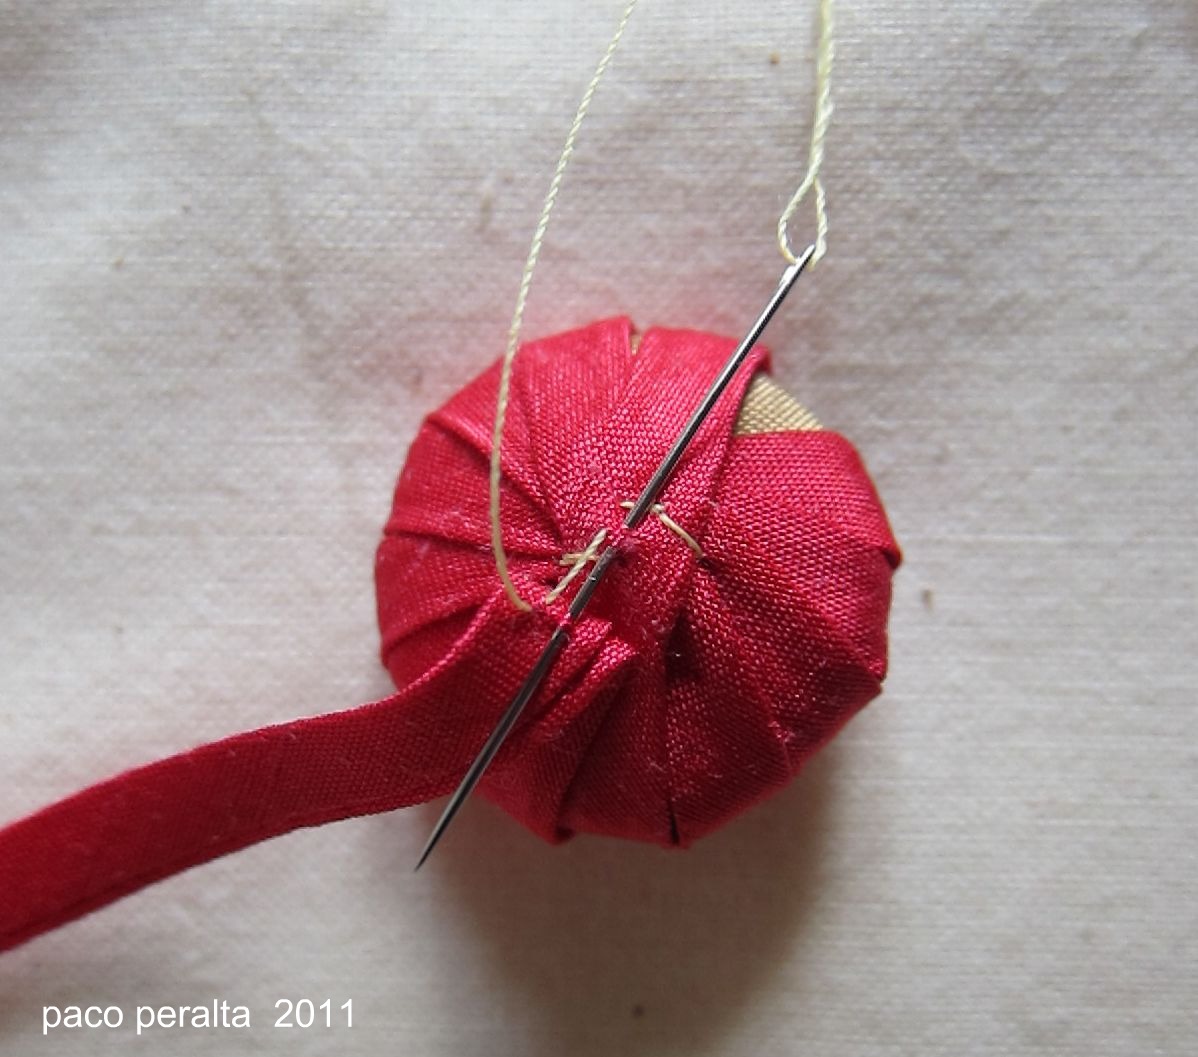 Backwards: We pass the strip of cloth between the turns of the lattice, and we cut the excess length.
 Finally, we firmly tighten all the fabric turns, uniting them together so as not to leave any visible “chassis” space. We also try to free the “eye” or “clip” where the button is to be sewn.
 This will be the finished button appearance, the reverse.
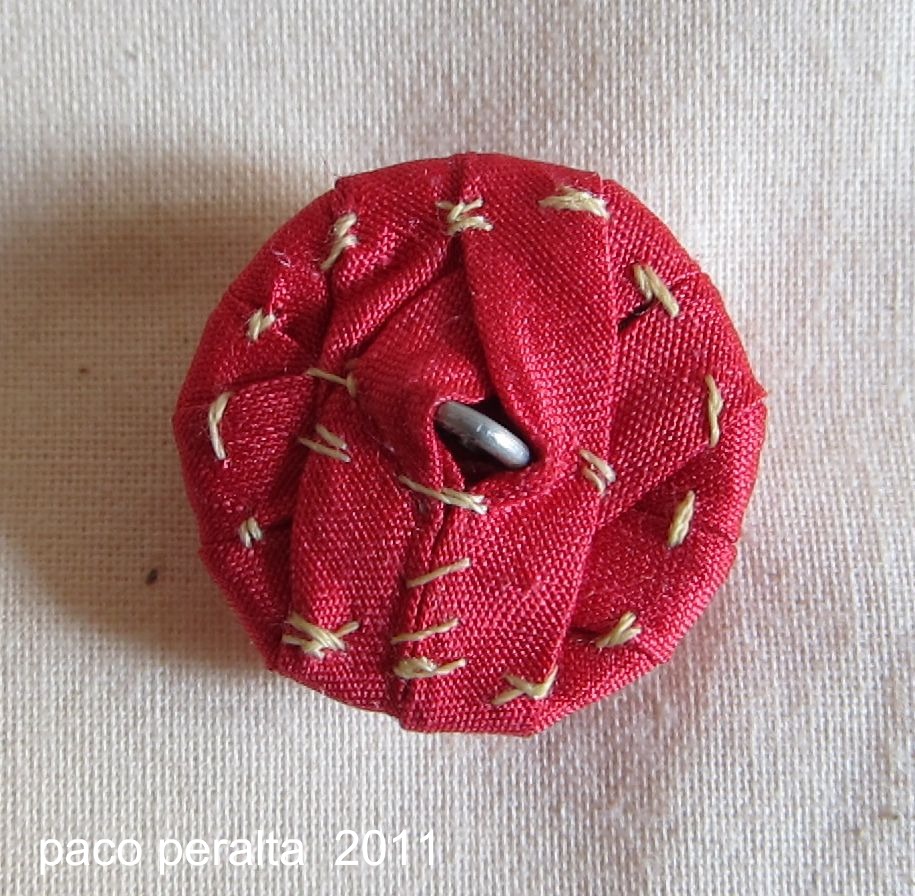 And finished button appearance.
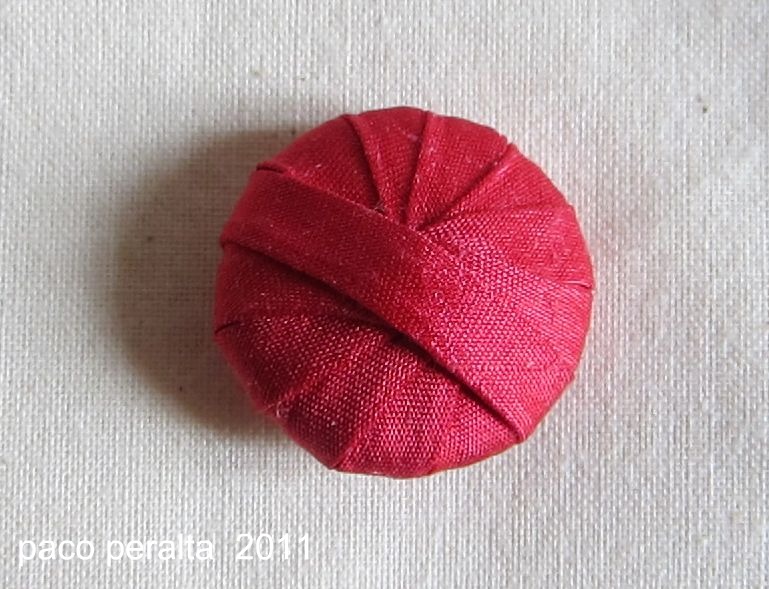
Traditional buckle on elegant dresses, including wedding, is mounted on hinges, which are sewn very close to each other. A fastener of this type can be done in different ways. It is placed on the arms, back shelves before or, at the cut skirts and t. D. To take the hinge pins purchase braid, soutache. There is another option, you can sew the hanging loop of Rulik, which is made from the same fabric as the product.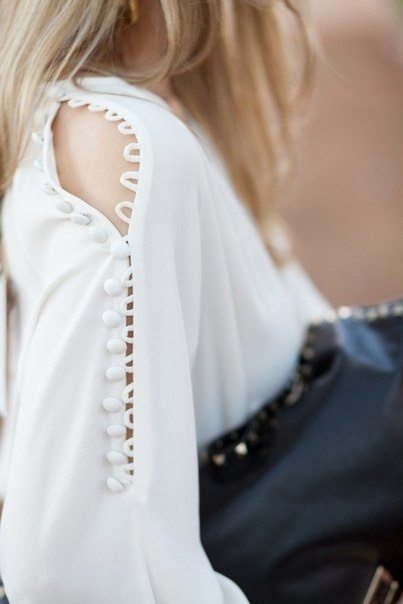
How fast do hinged buttonholes. The author makes the workpiece with loops on a sheet in a cage:

– Out loop through the cells and paves the line;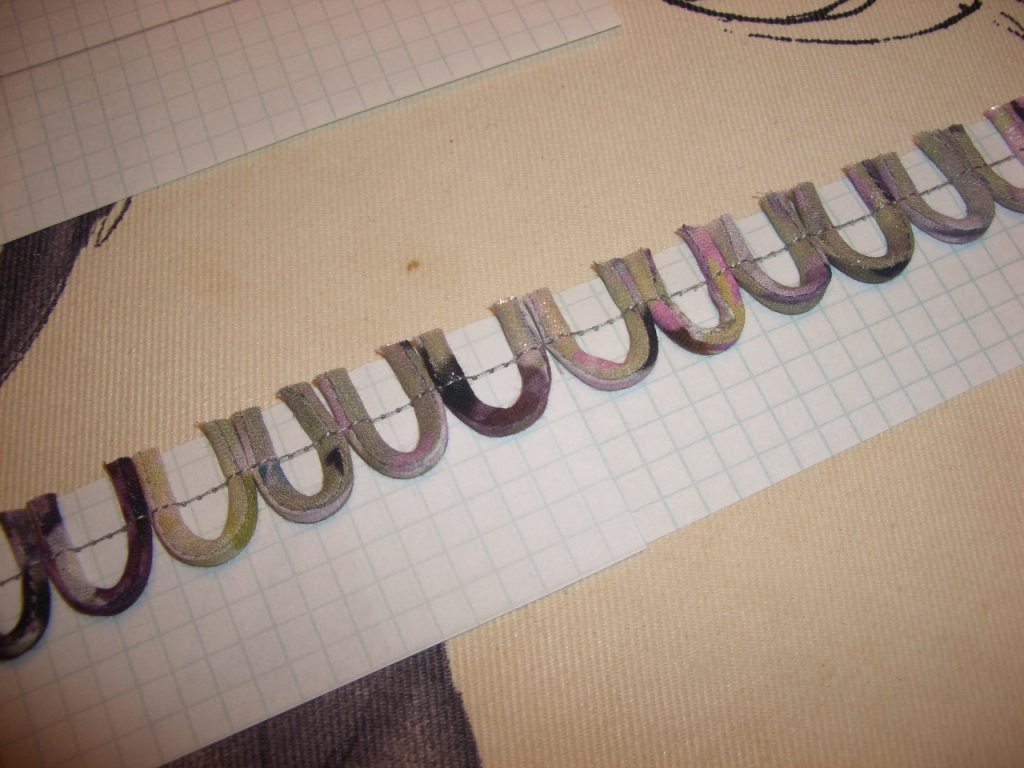 – Surplus cuts;
 Bend the paper, watching what happens in finished form;
– Then, this billet nastrachivaetsya to its rightful place, the paper is removed and we are all the same tabs!

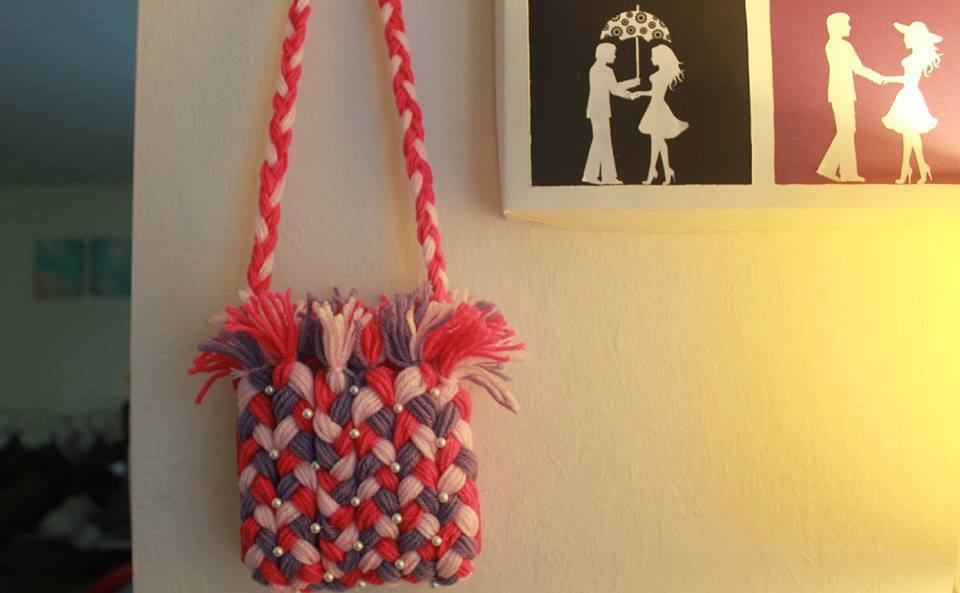
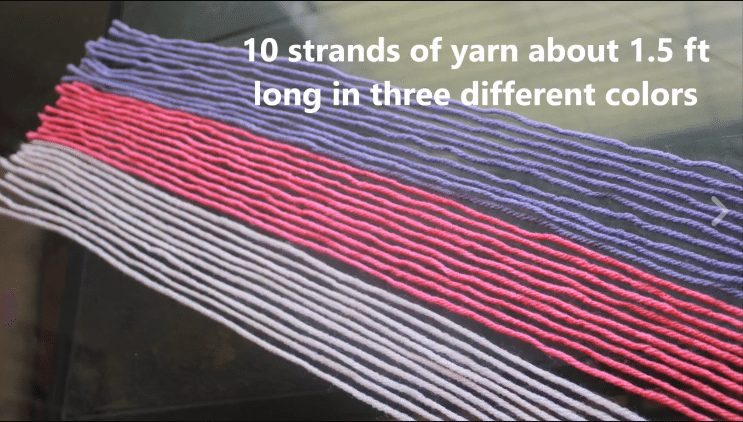
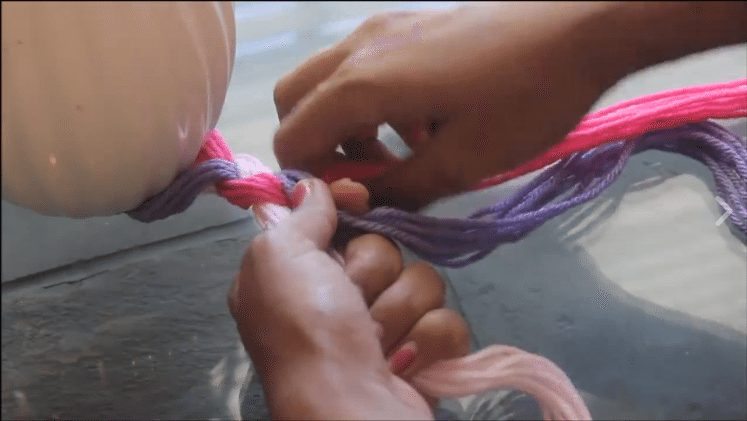
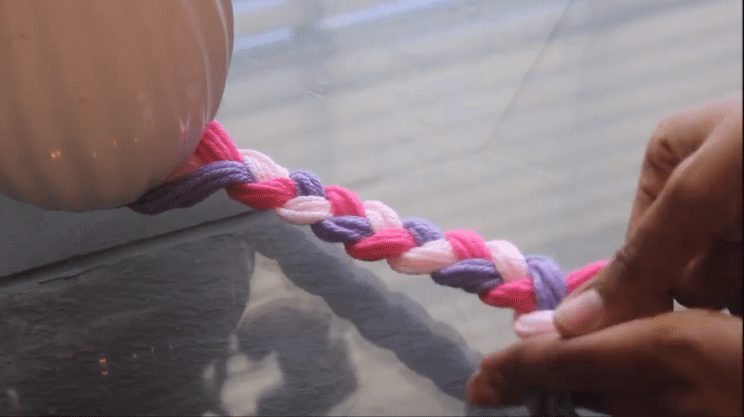
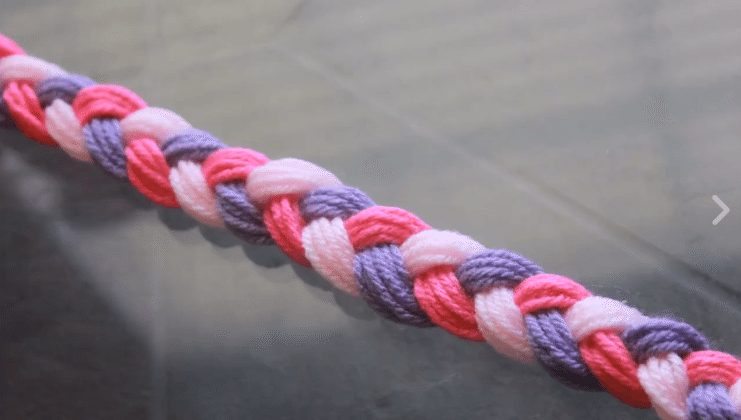
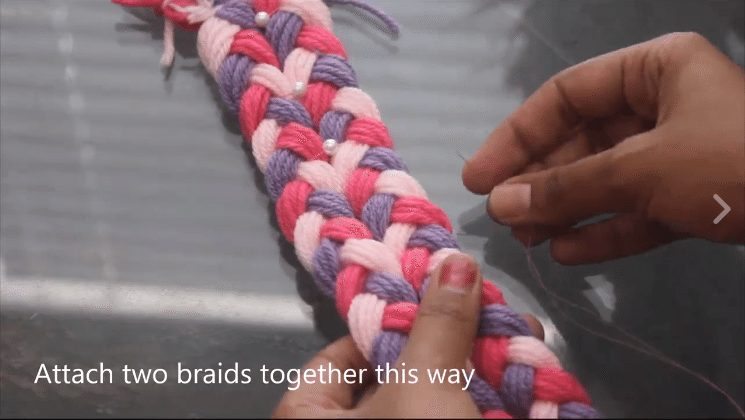
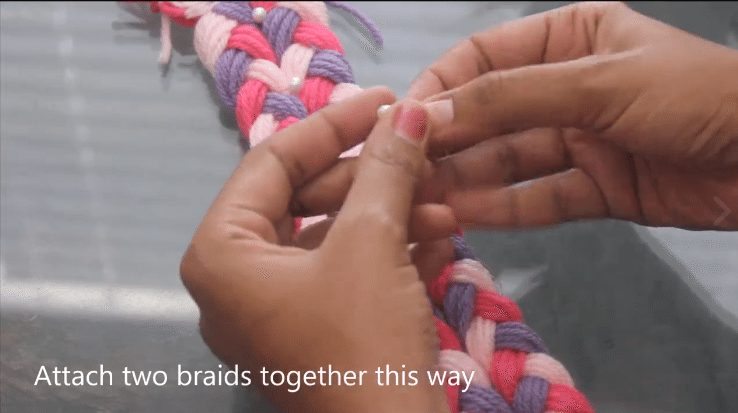
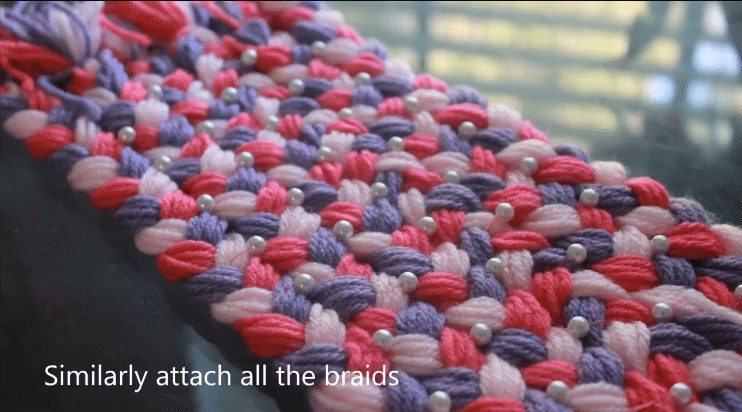
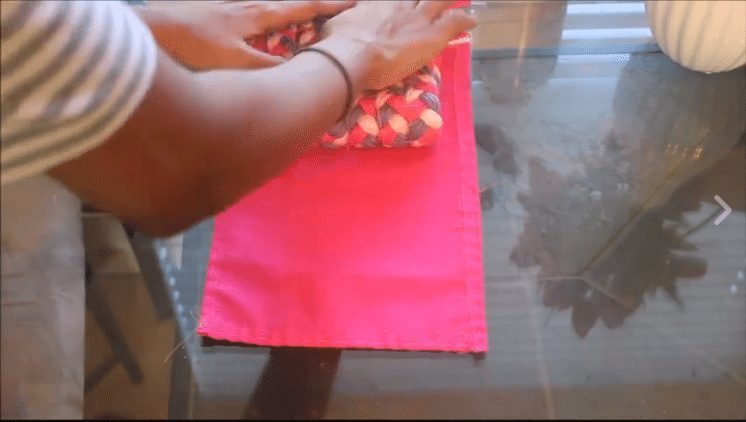
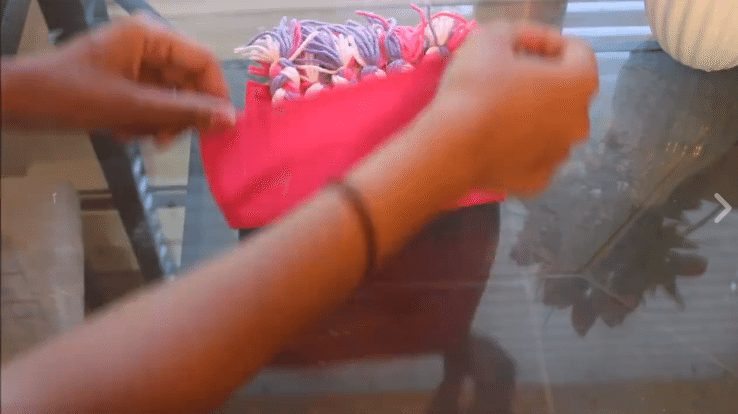
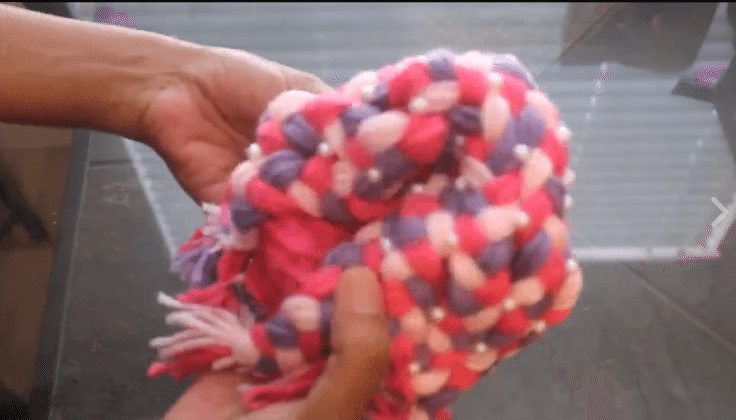
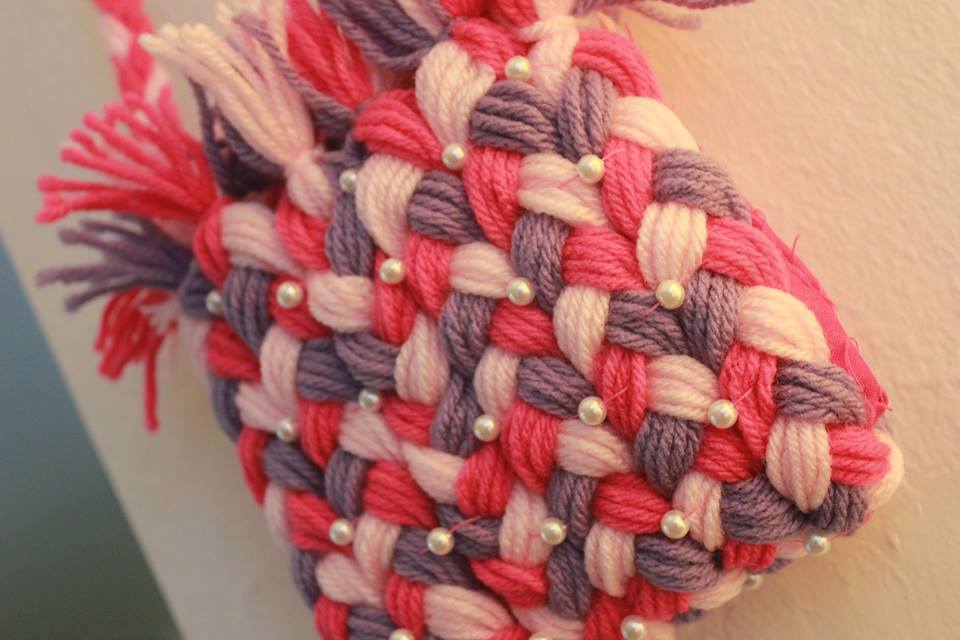
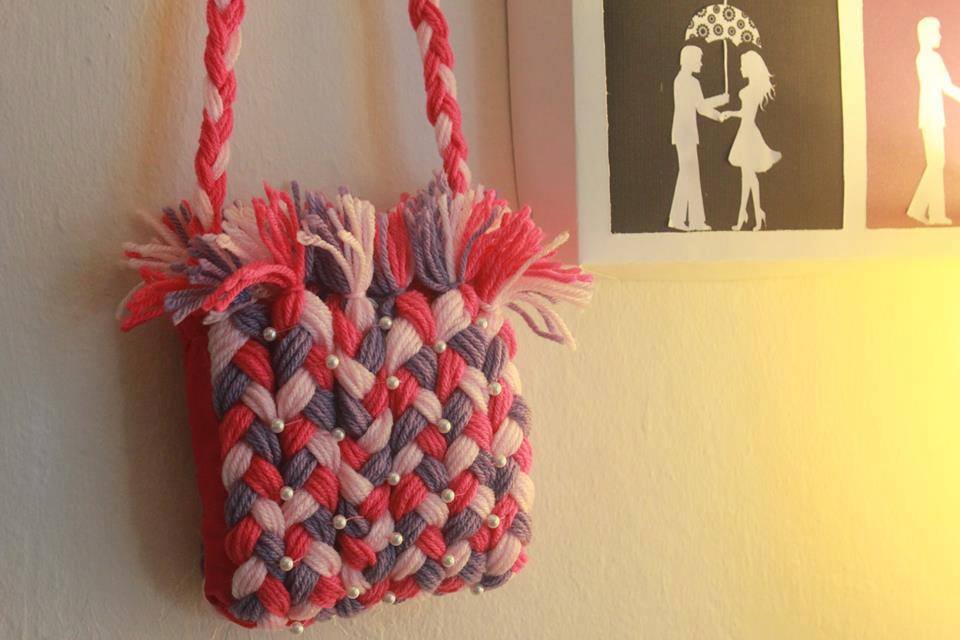
I wanted to make something out of left over yarn from my Yarn Monogram Wall Decor project. The yarn was in baby pink, hot pink and purple color. These colors were beautiful for some girl’s accessories. So I decided to make a purse. Few days back I had made a hand bag using bath tissue paper and people really loved the idea. In that project I came up with an easy way to make paper yarn out of toilet tissue paper and used braiding technique to make a hand bag. Lot of people asked me if the same bag can be made using a more durable material. Yes! This time I have used the same technique to make a hand bag using yarn which is robust and pretty at the same time!

Required Material:
Procedure:


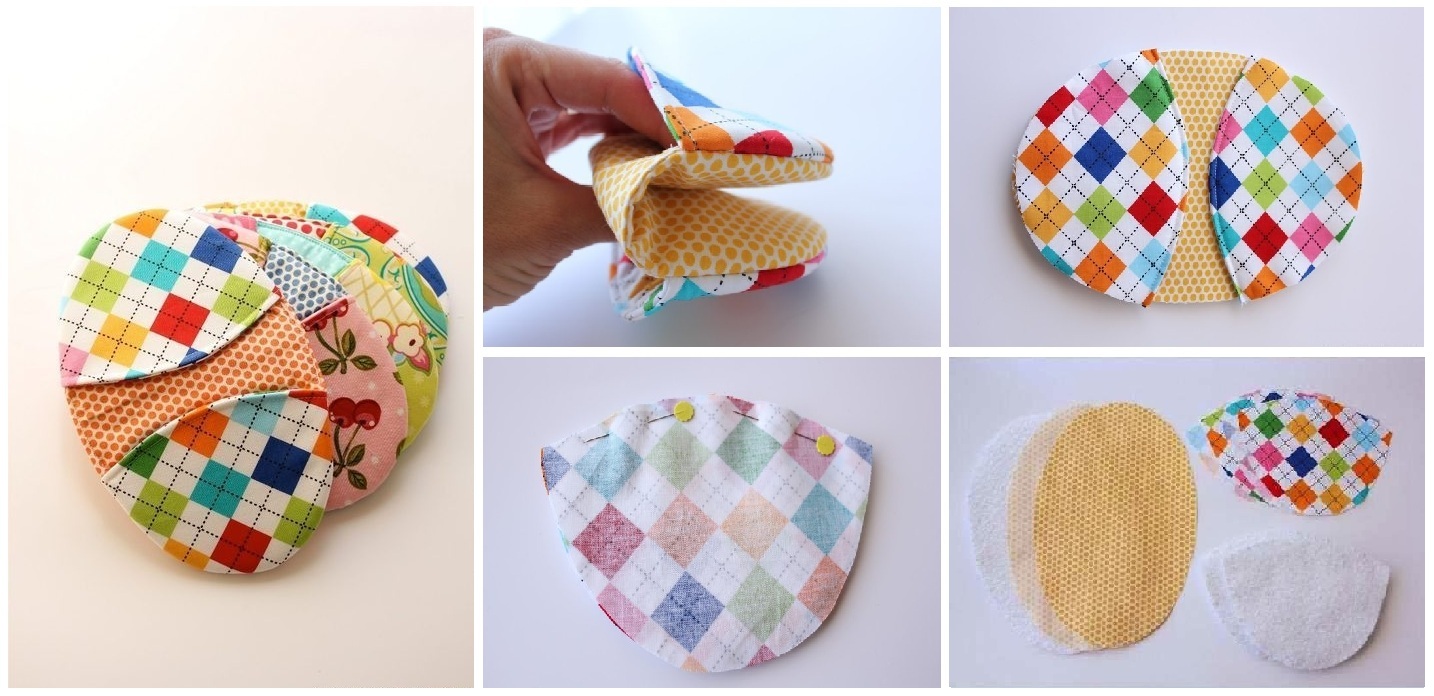
With a few clicks with simple materials, you can create lovely pot holder for kitchen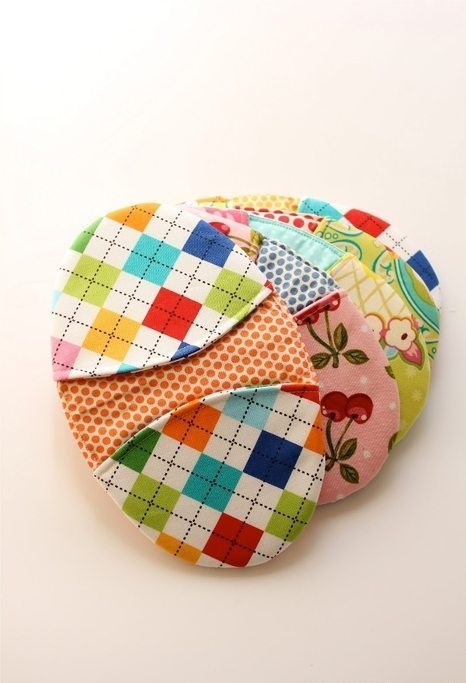

Required Material:
Making
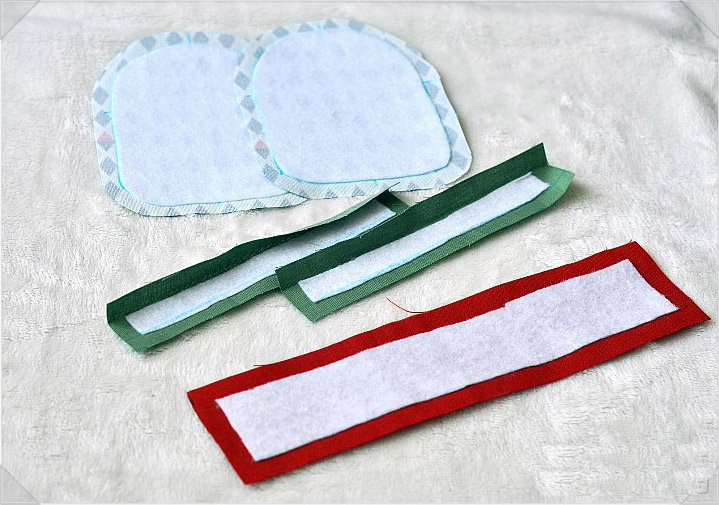
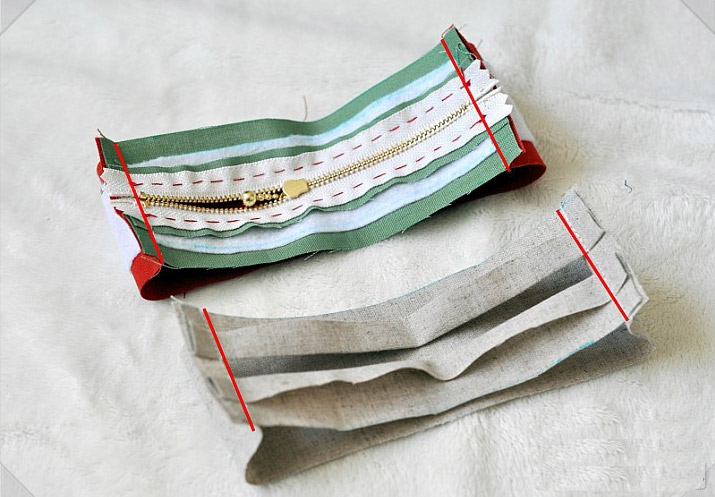
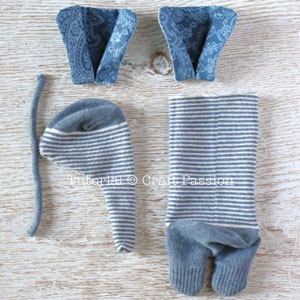
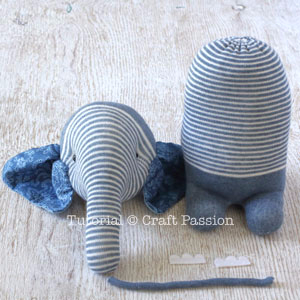
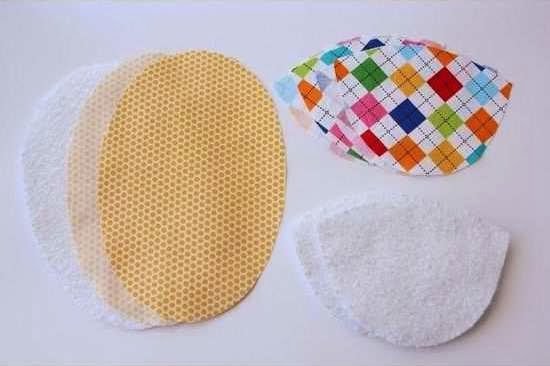
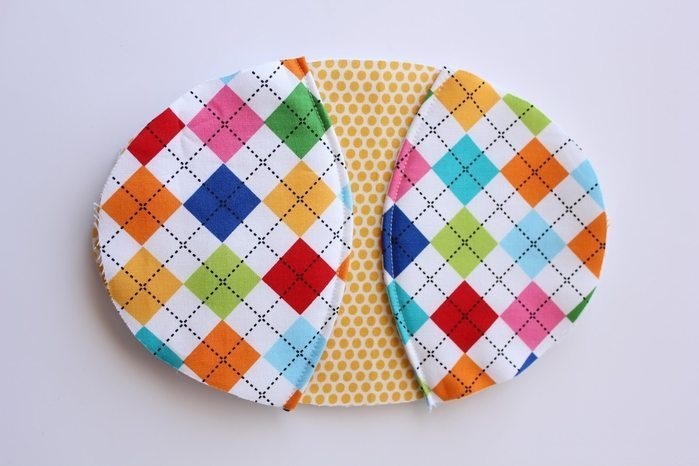
Measure and cut 2 egg-shaped piece of fabric, 4 shaped cloth bag, lining cloth 1 and 2 ovoid shaped cloth bag liner as shown.
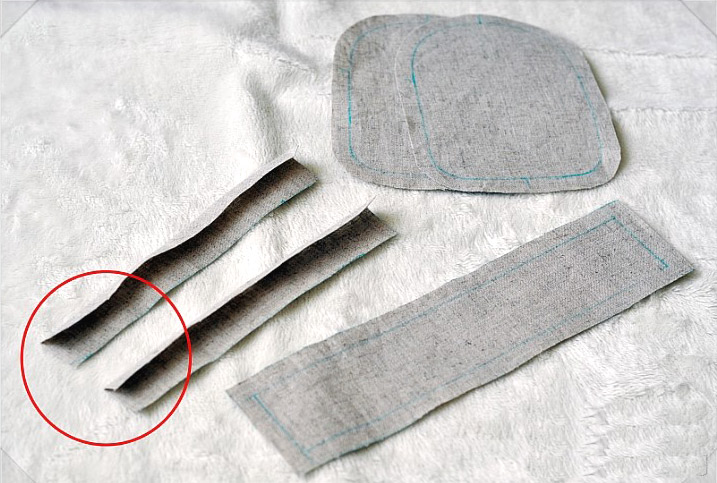
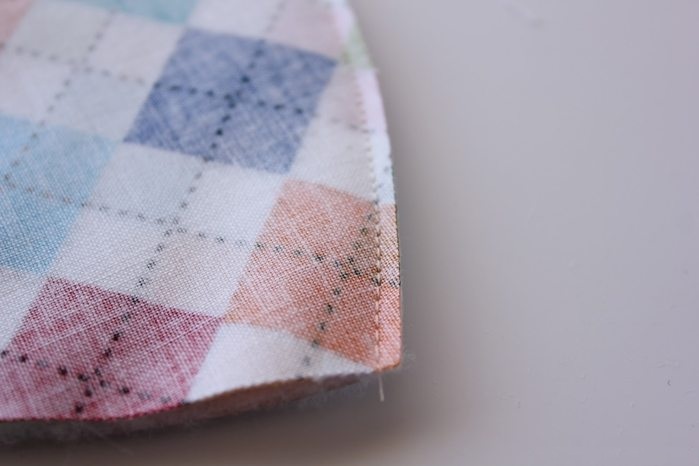
 Turn face to the formation of two pieces of cloth bags (No. 1 and No. 2) against each other, then to the back lining pieces. Rating 3 straight edge piece of cloth.
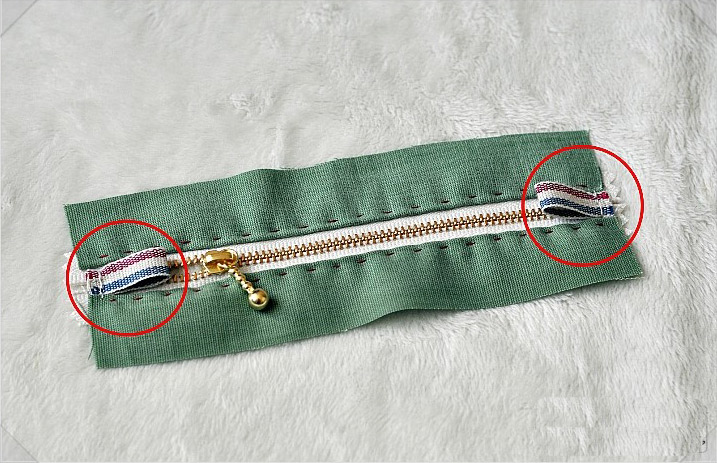
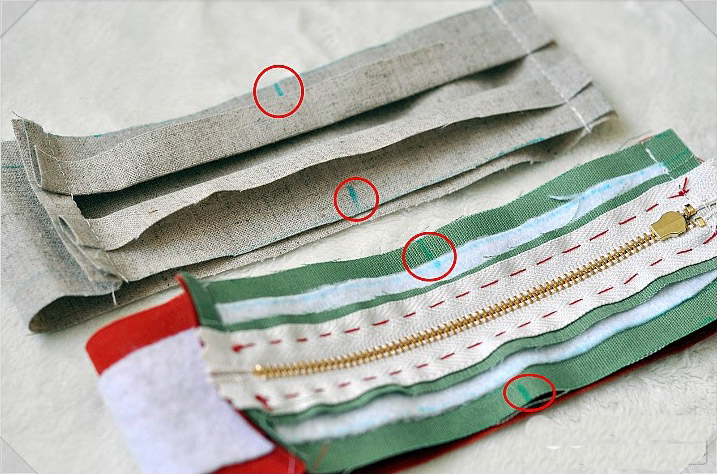
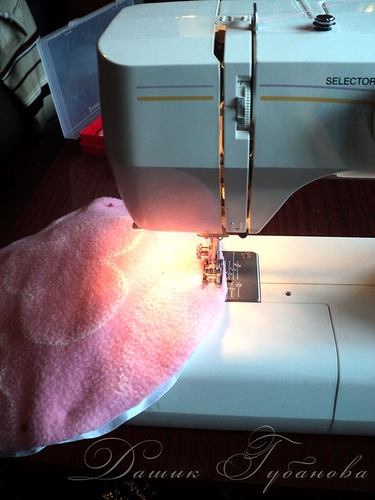
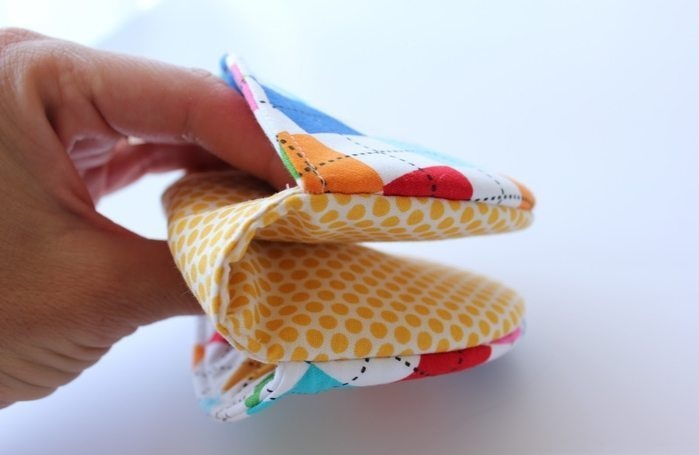
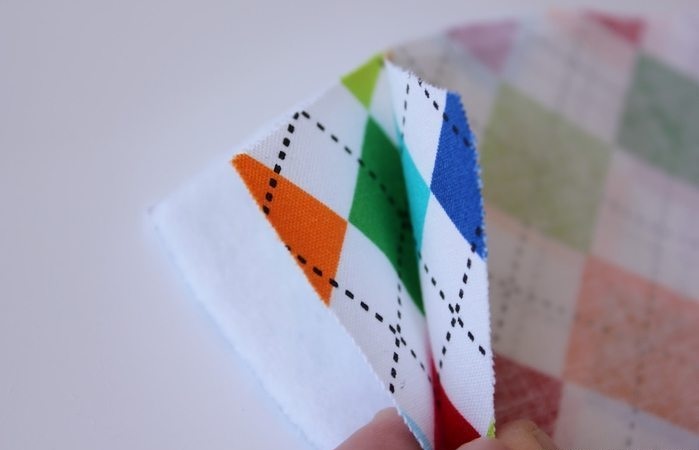 May through 3 layers of fabric in the form of sugar, from the edge of about 5-10mm. Flip the fabric back to No. 1 in the middle lining. May 1 class just fixed up. Turn into 2 cloth bag next picture above
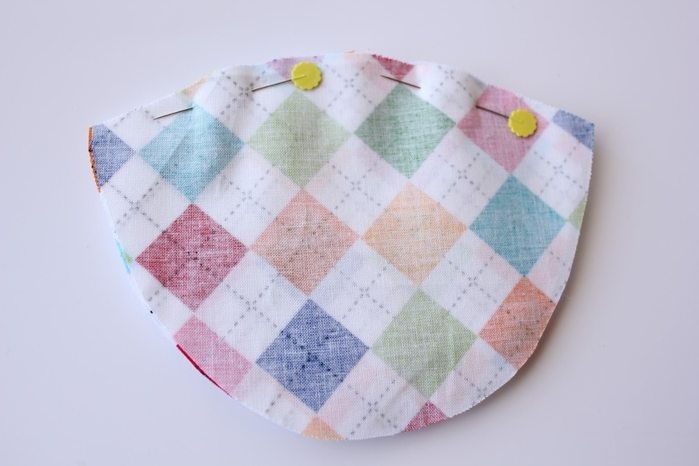
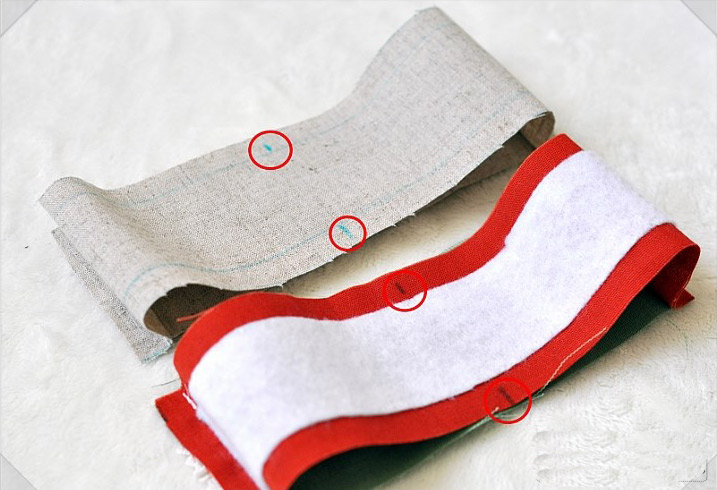
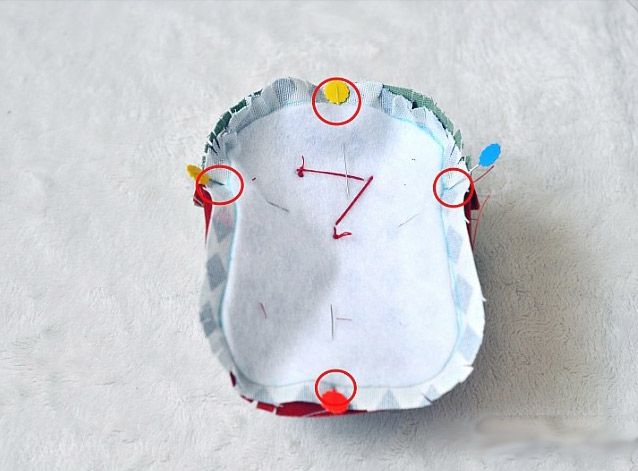
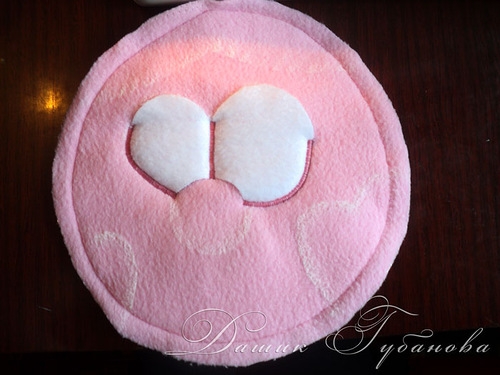
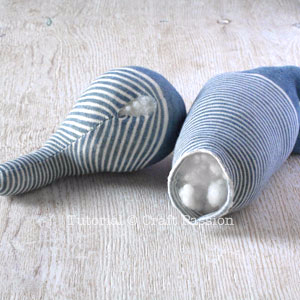
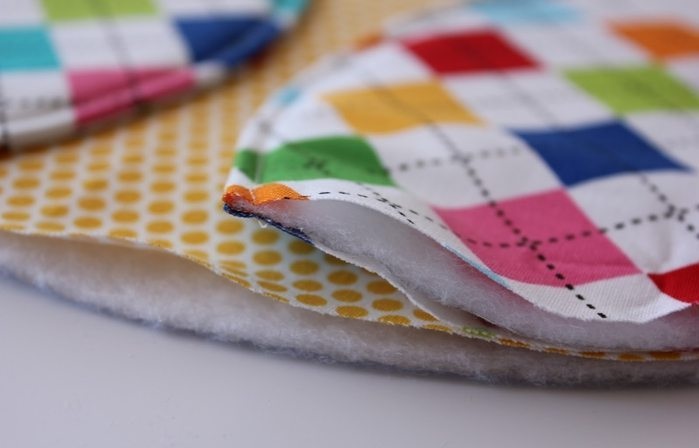
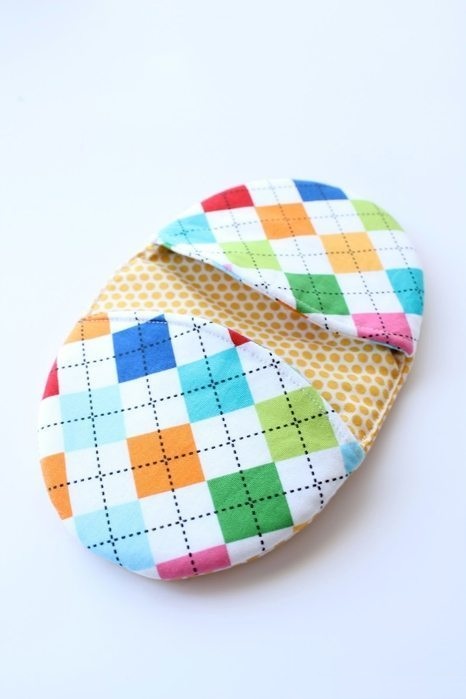
 Place the egg in the lining between the two layers of fabric egg, then place 2 part cloth sewed shaped fixed pocket lining into place as shown in Fig.
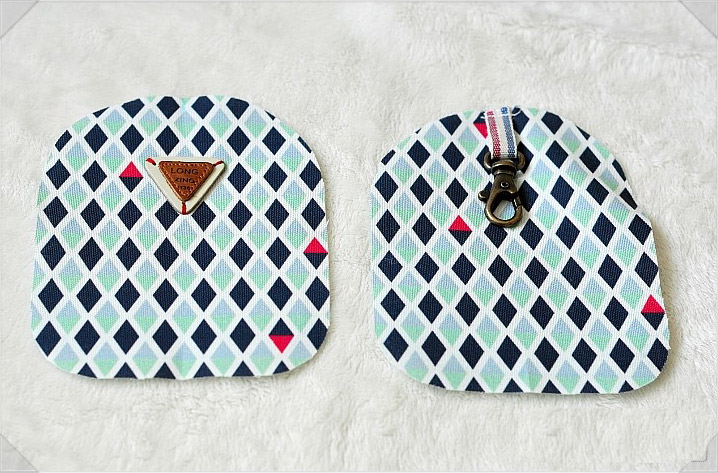
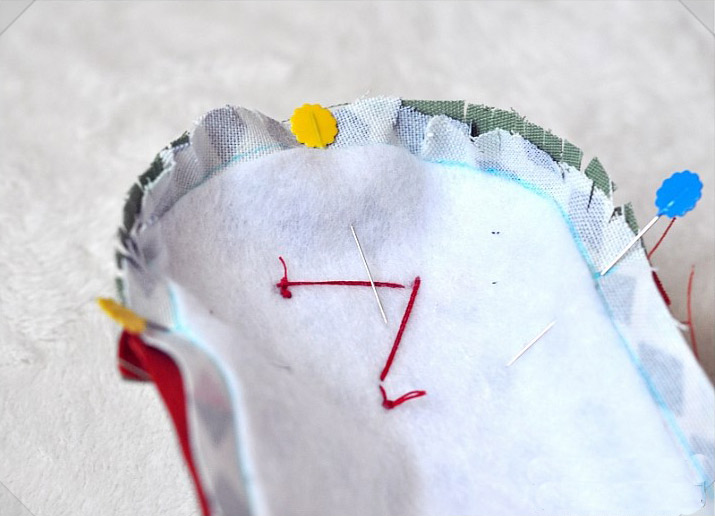
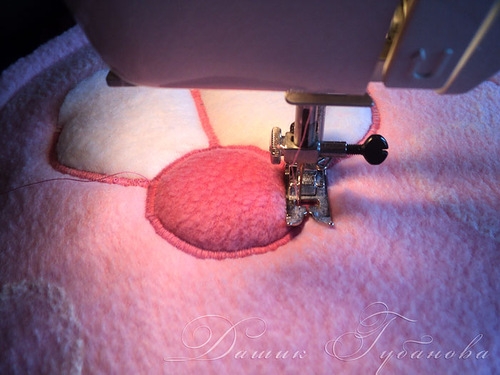
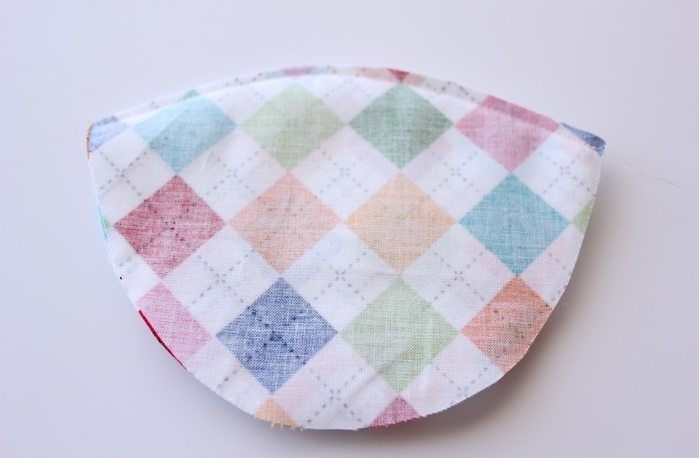
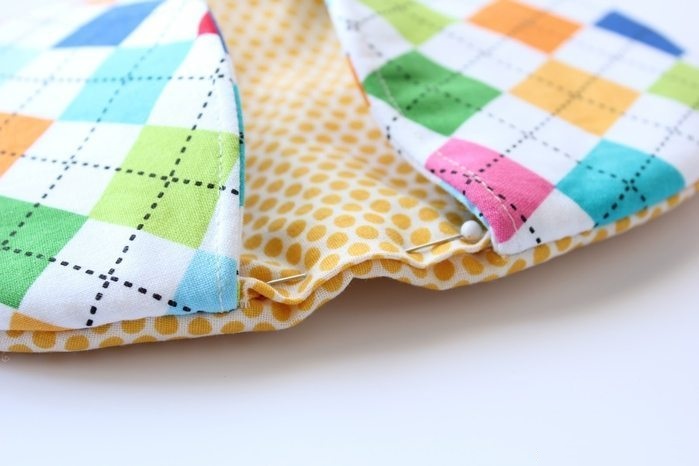
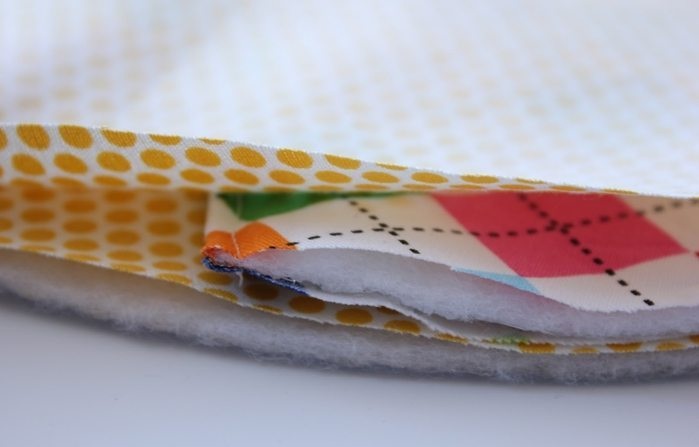 Using a fixed pin, use a piece of cloth fixed needle 2 pieces of fabric into cloth bag shaped ovoid. Then reverse to hide stitch.
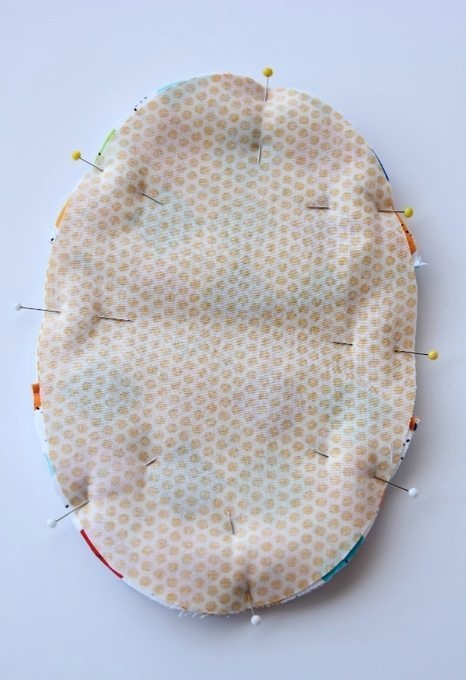
 Wish you success with instructions simple sewing potholder for Kitchen!