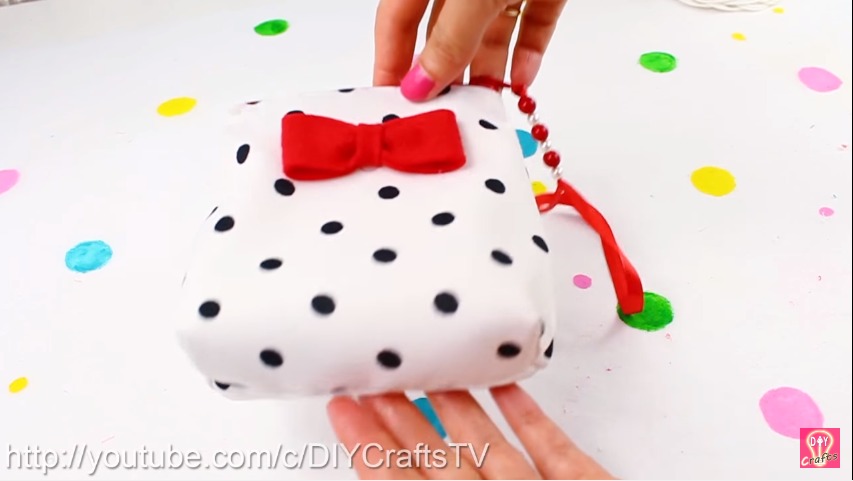
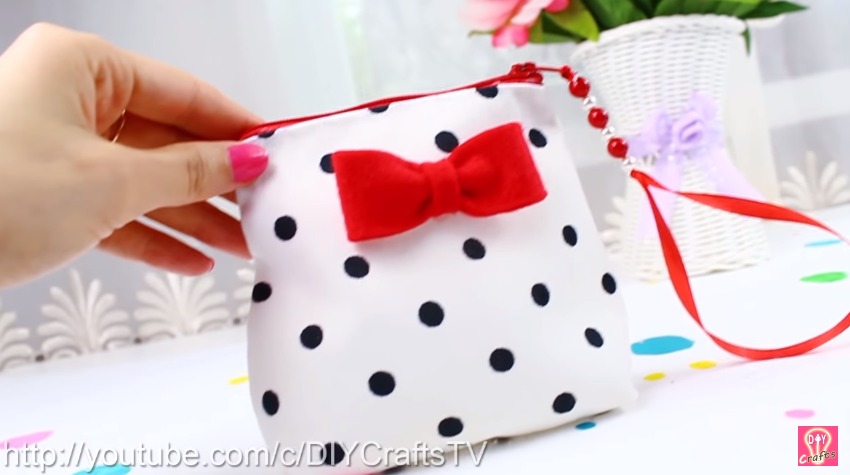
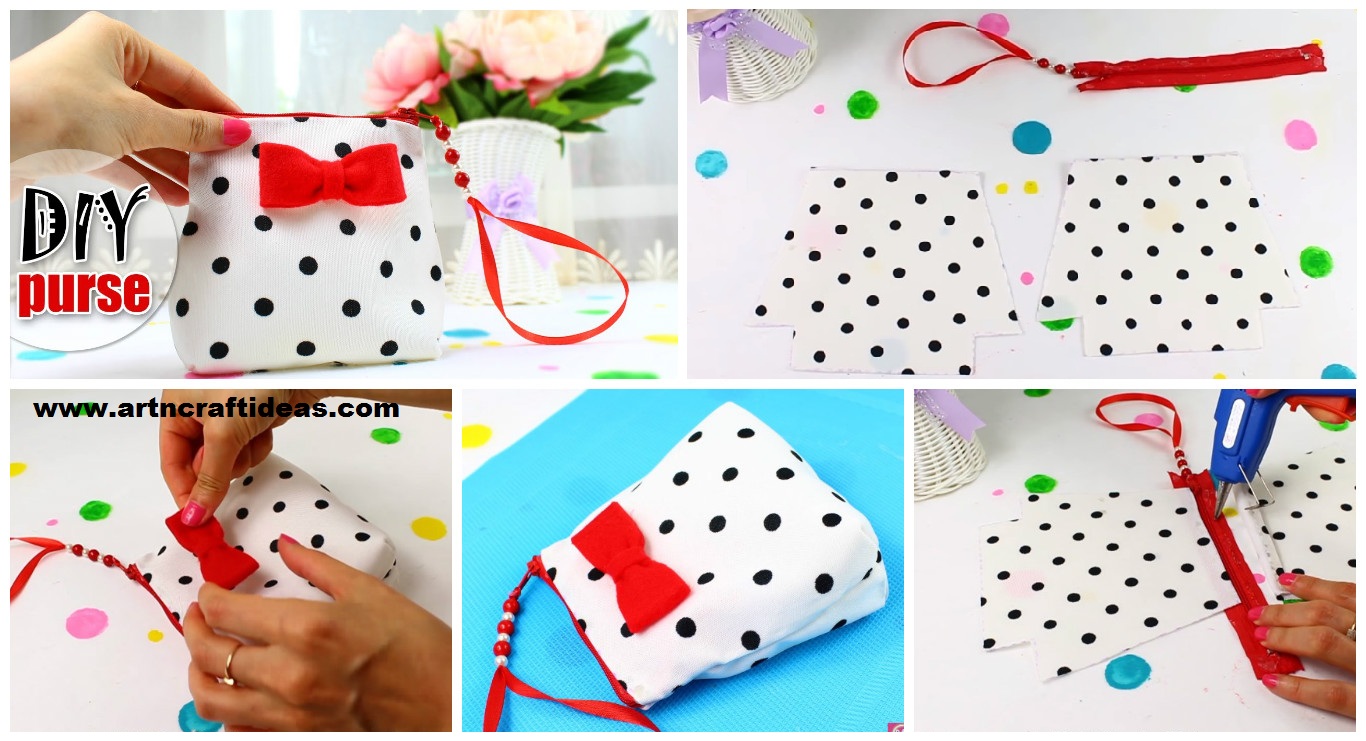
Easy DIY purse bag sweet zipper bag tutorial for those who really love to make purse by own hands. Just easy and so cute purse.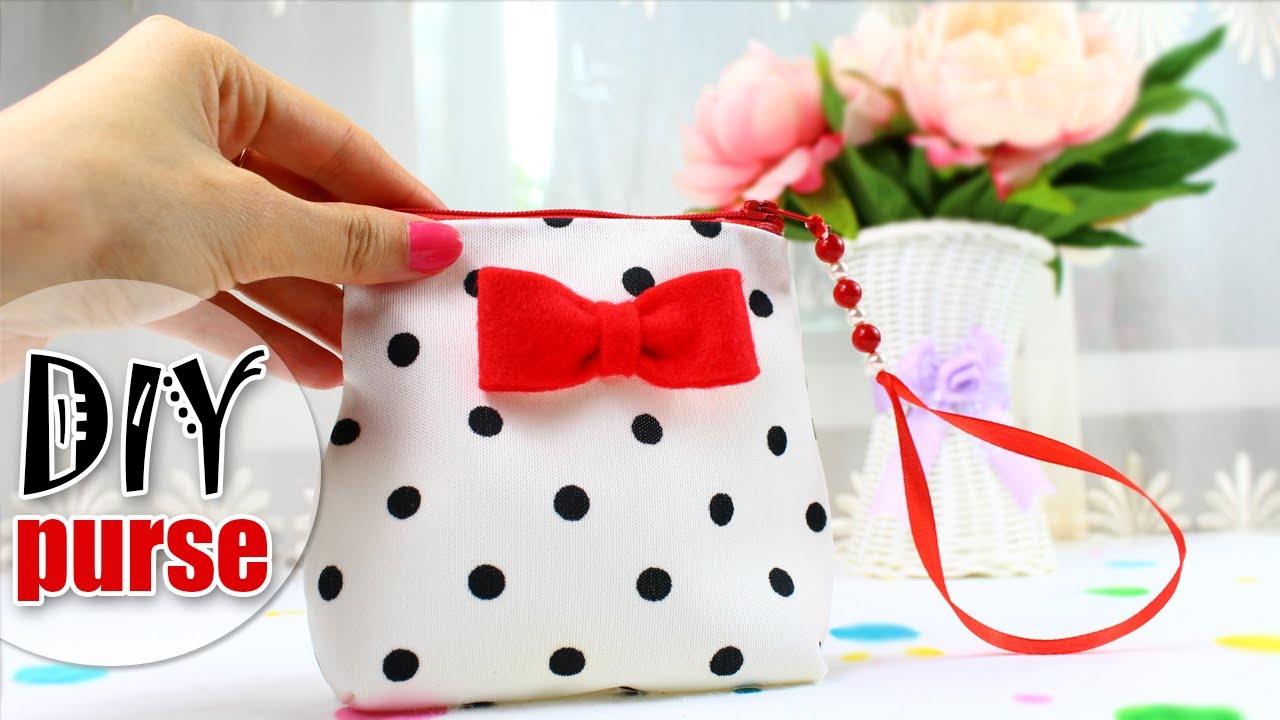
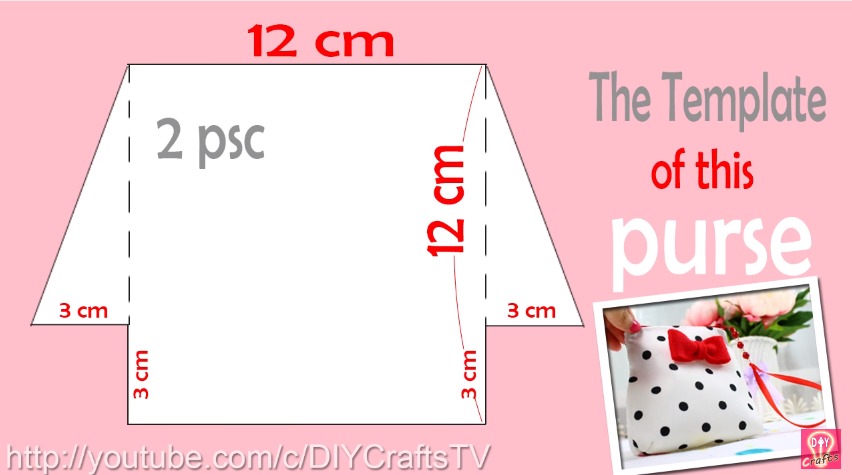
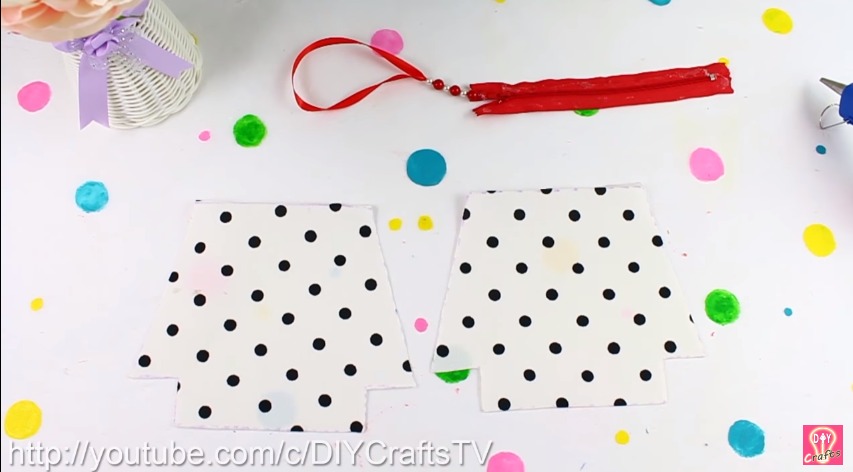
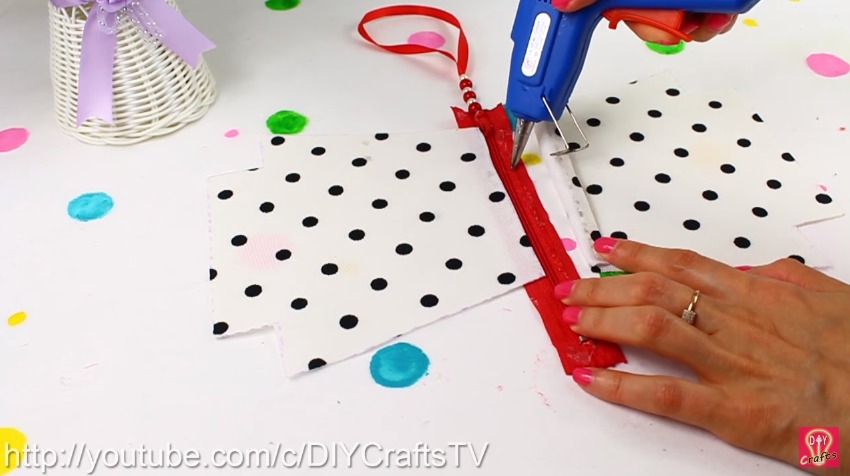
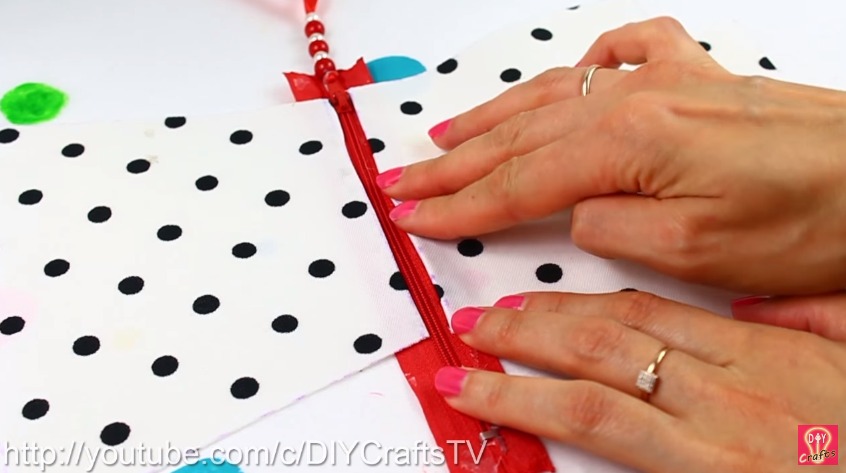
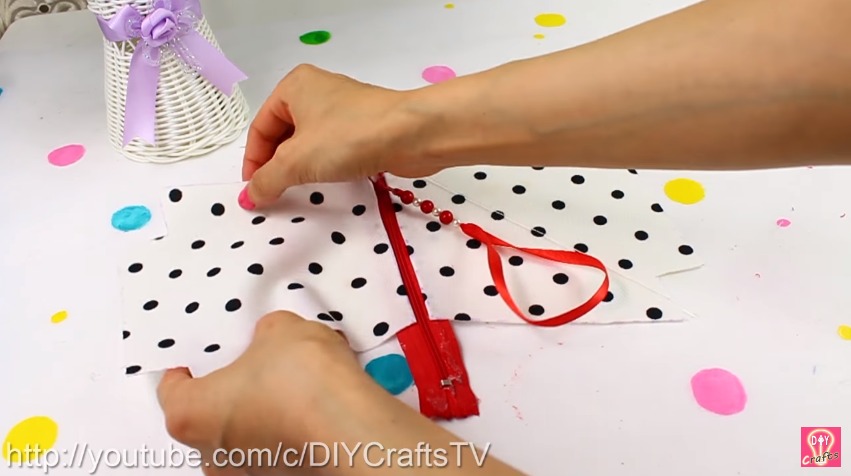
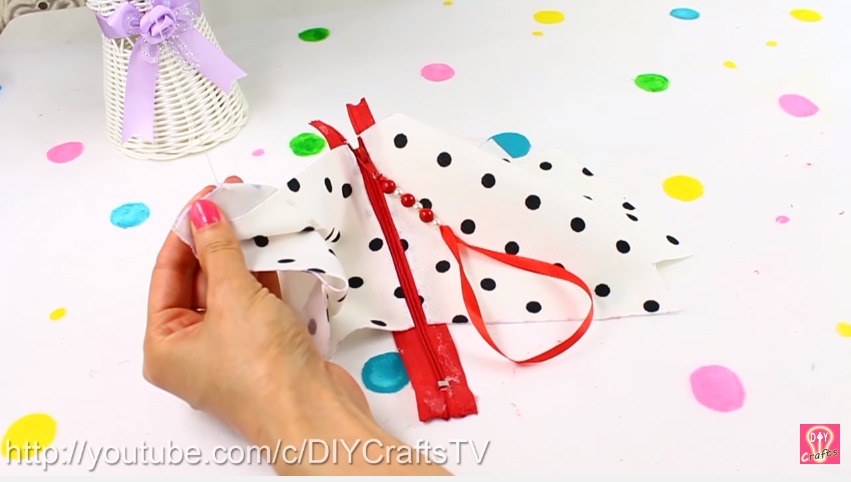
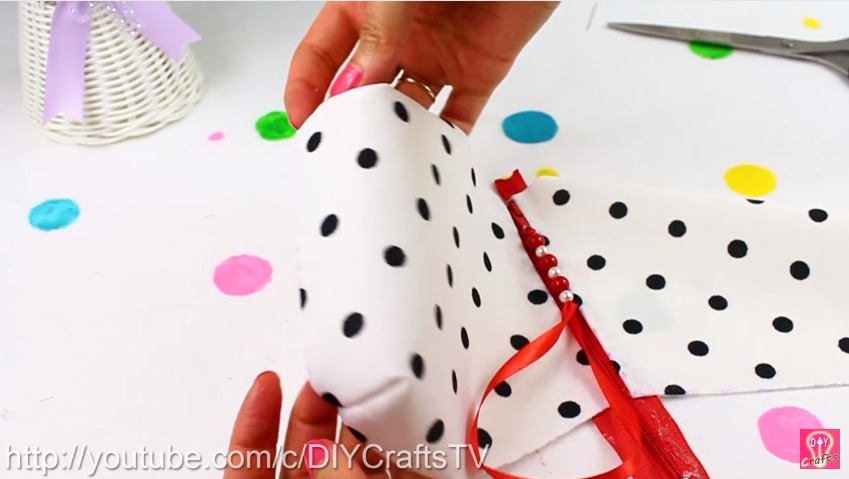
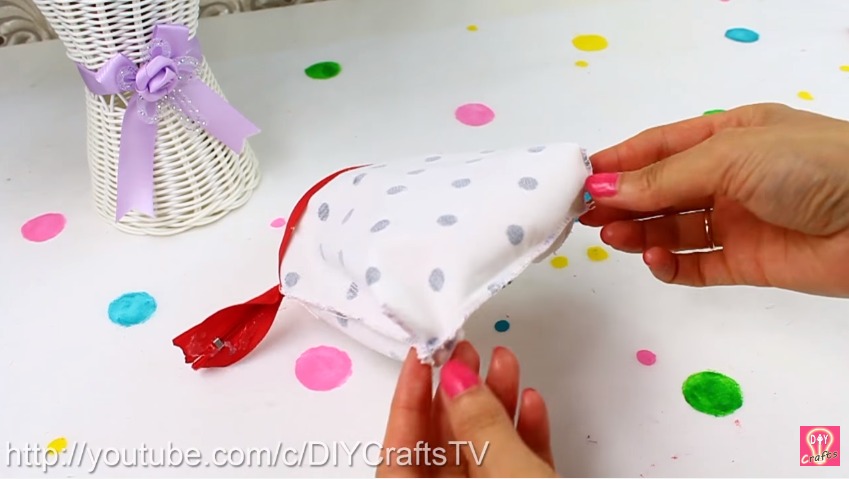
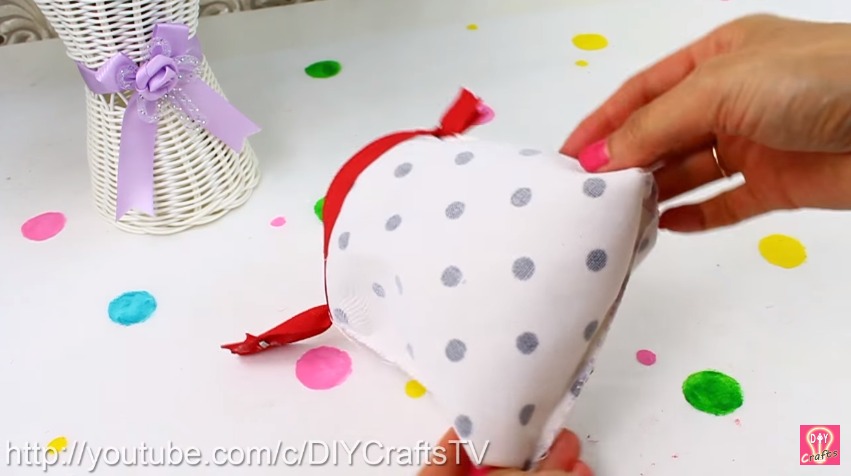
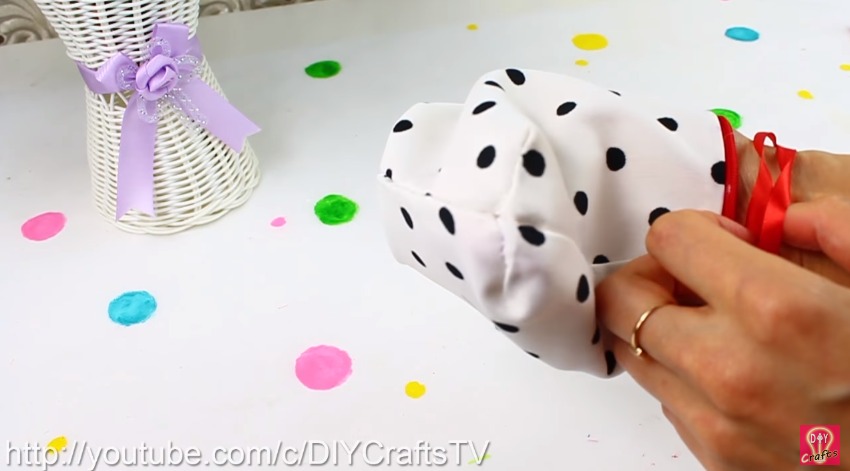
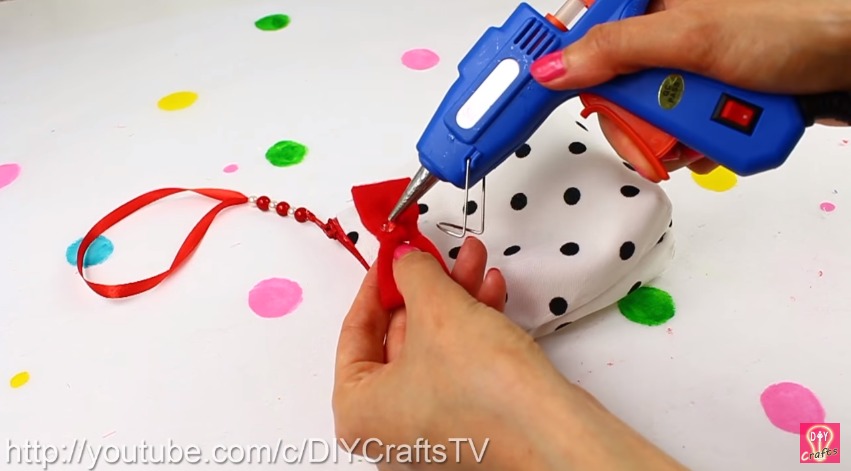
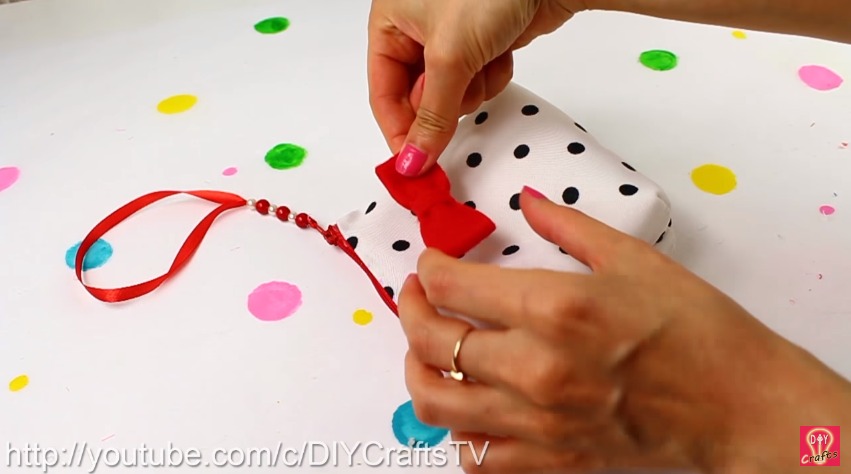
DIY Sweet Zipper Purse Tutorial
Get Daily Art and Crafts Ideas & Tutorials…
Easy DIY purse bag sweet zipper bag tutorial for those who really love to make purse by own hands. Just easy and so cute purse.
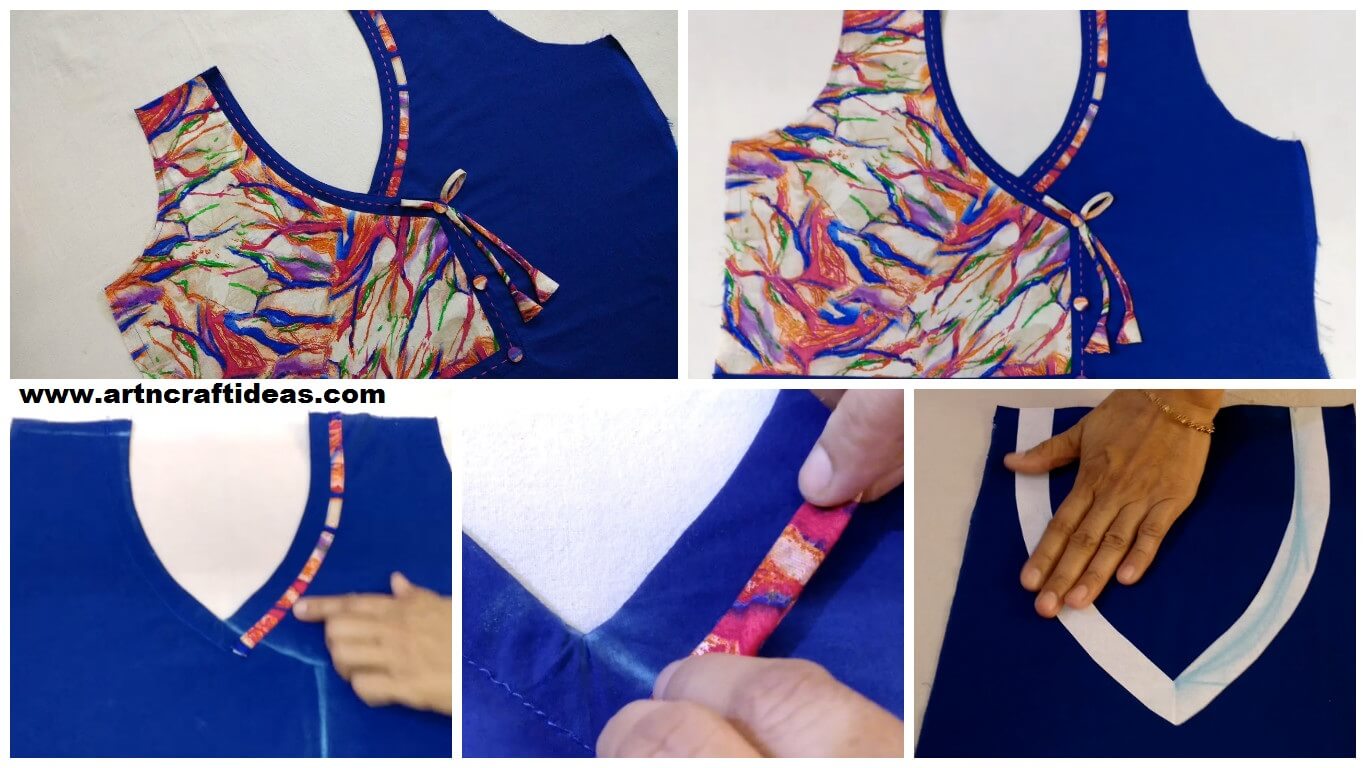
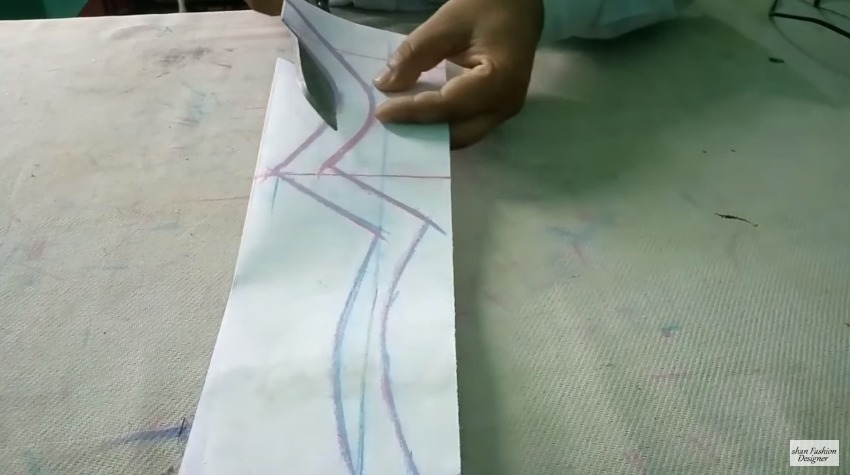
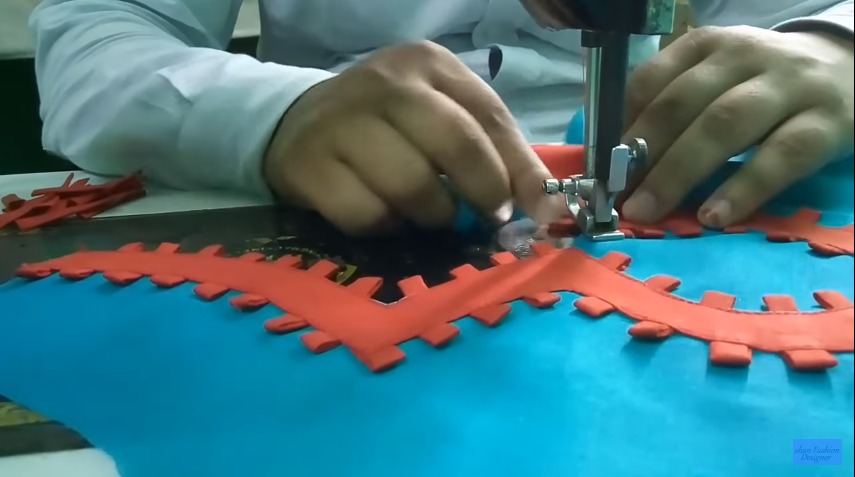
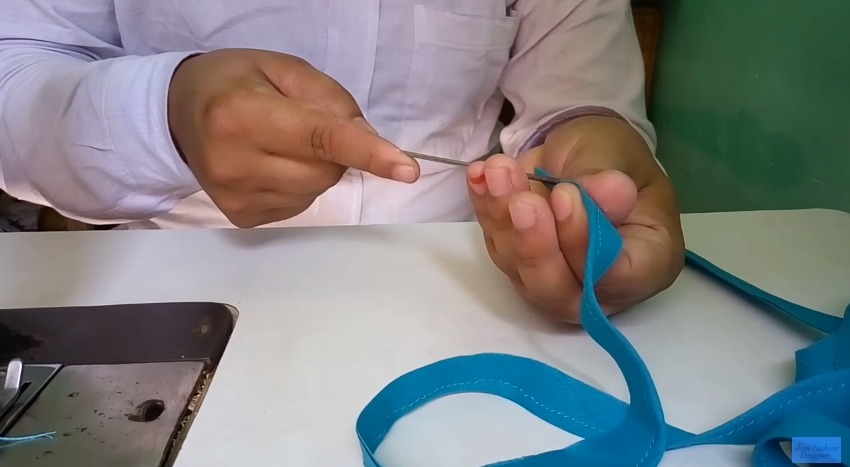
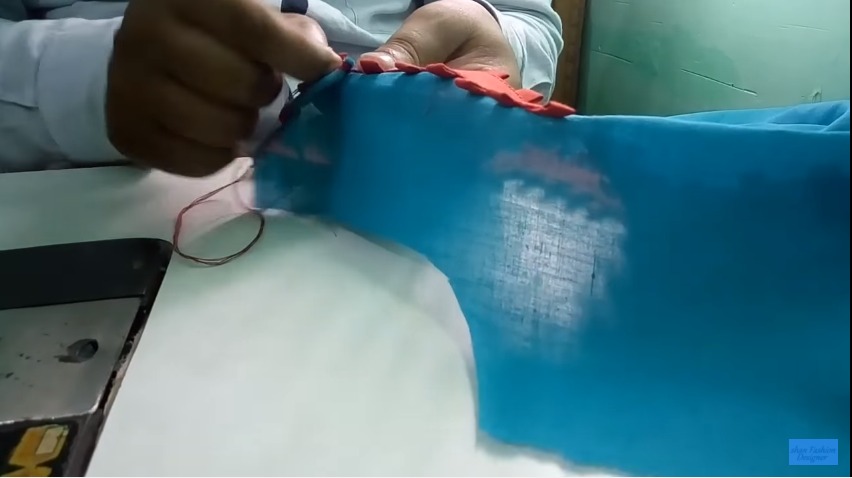
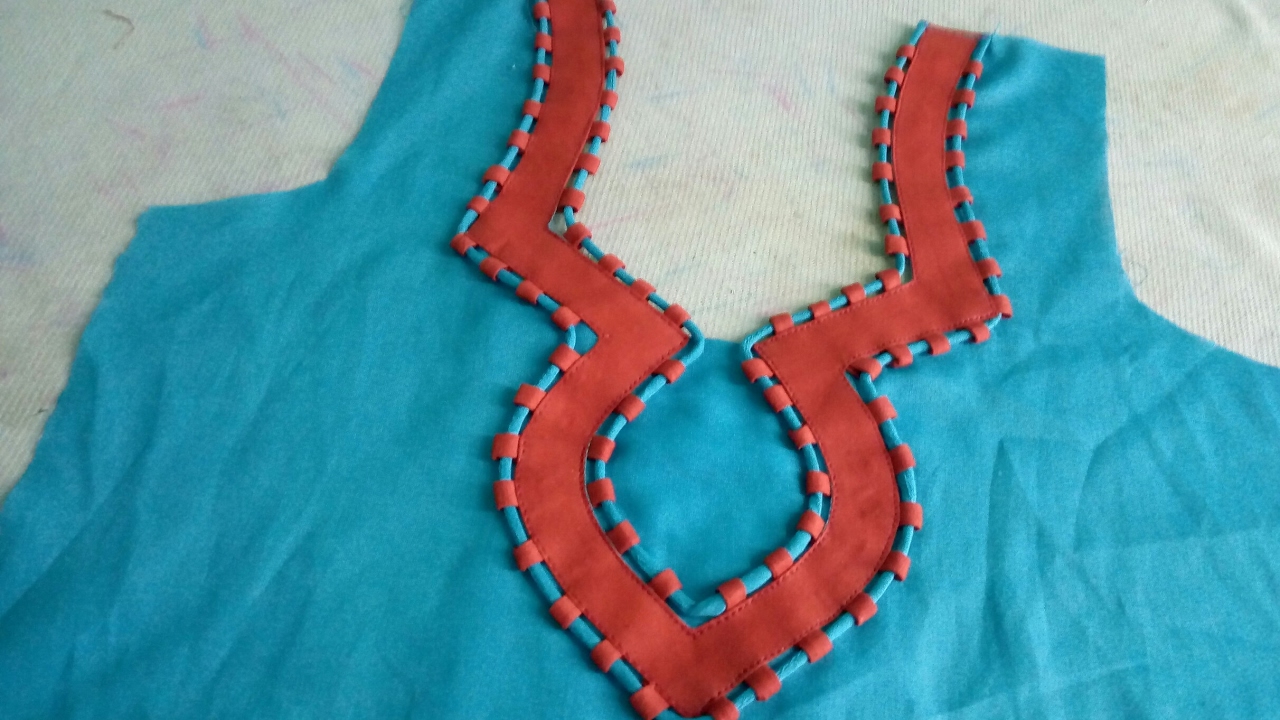
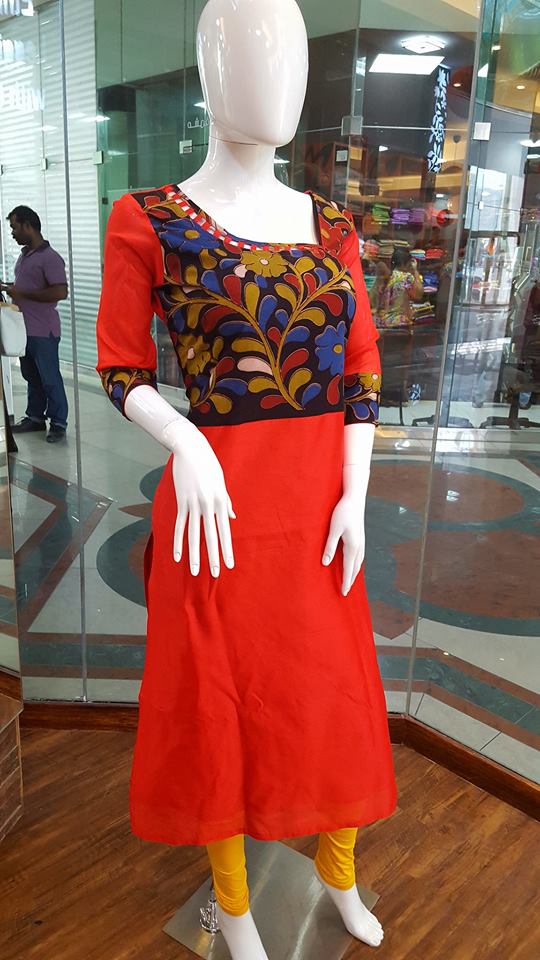
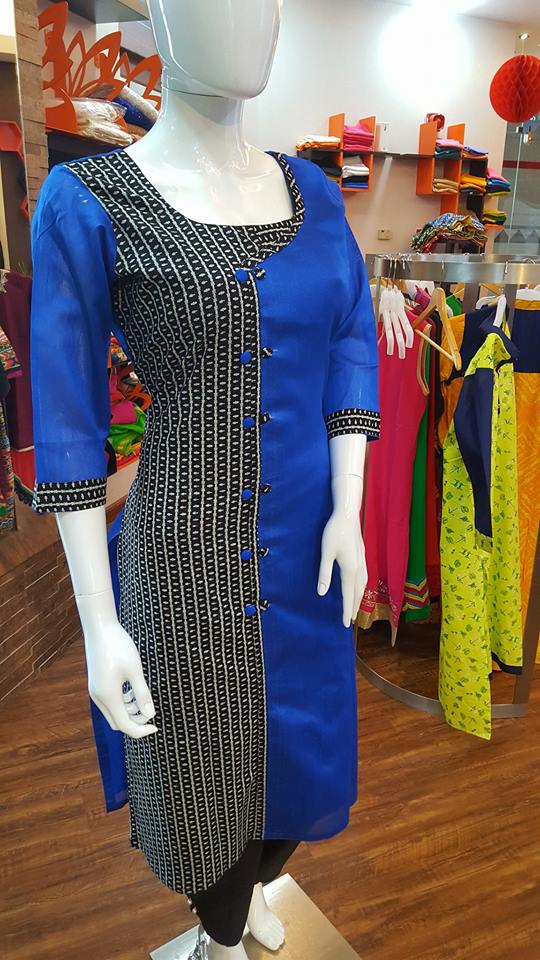
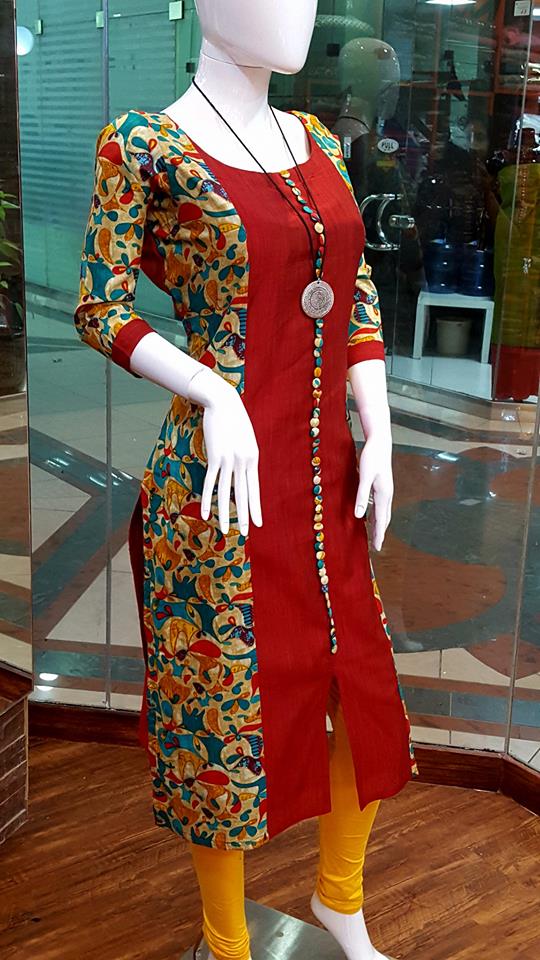
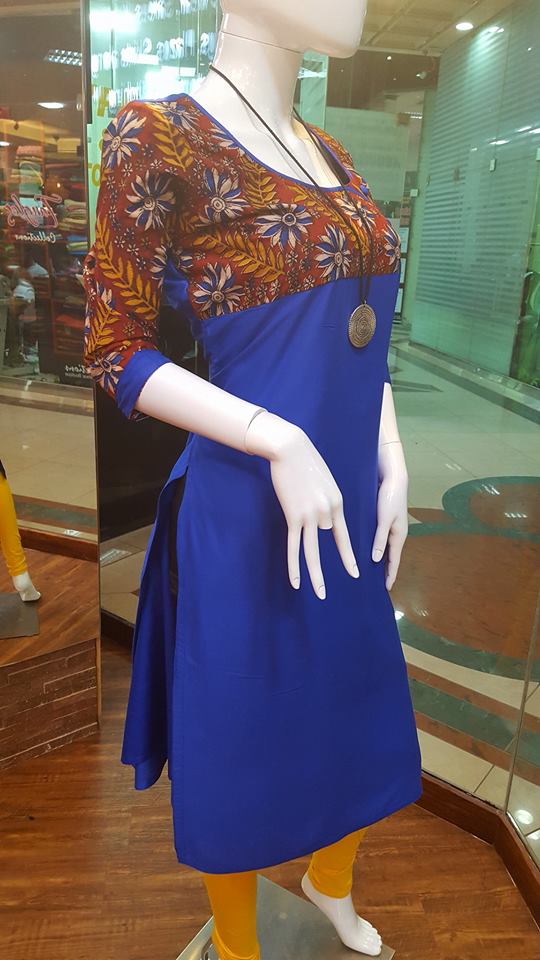
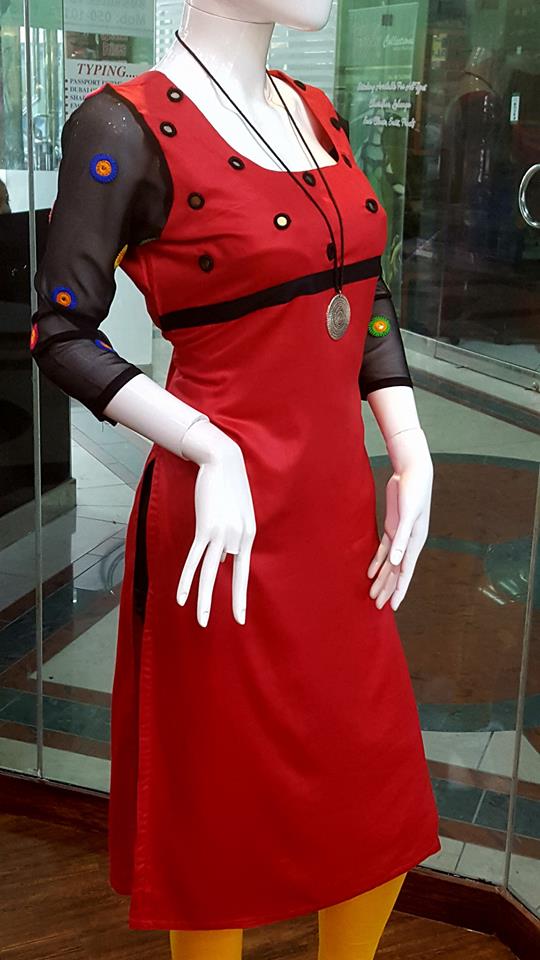
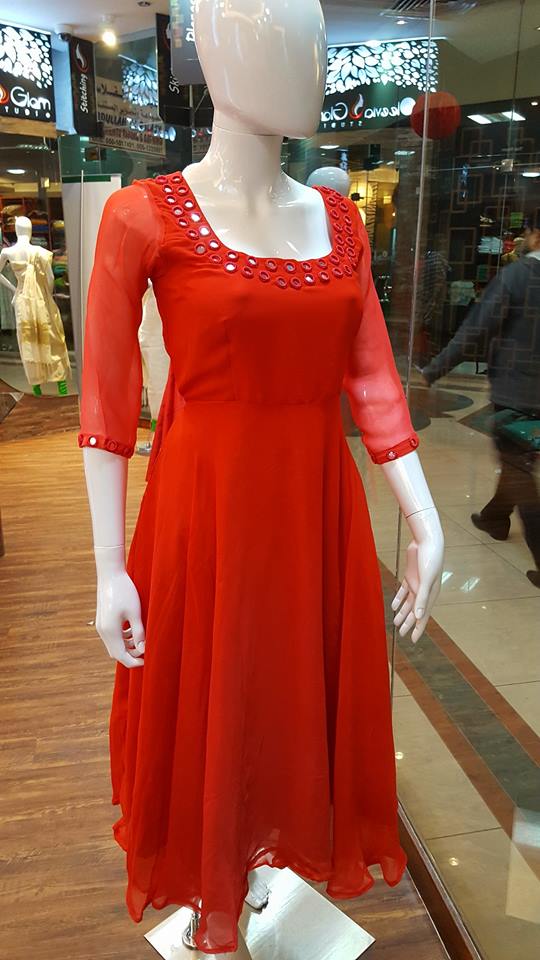
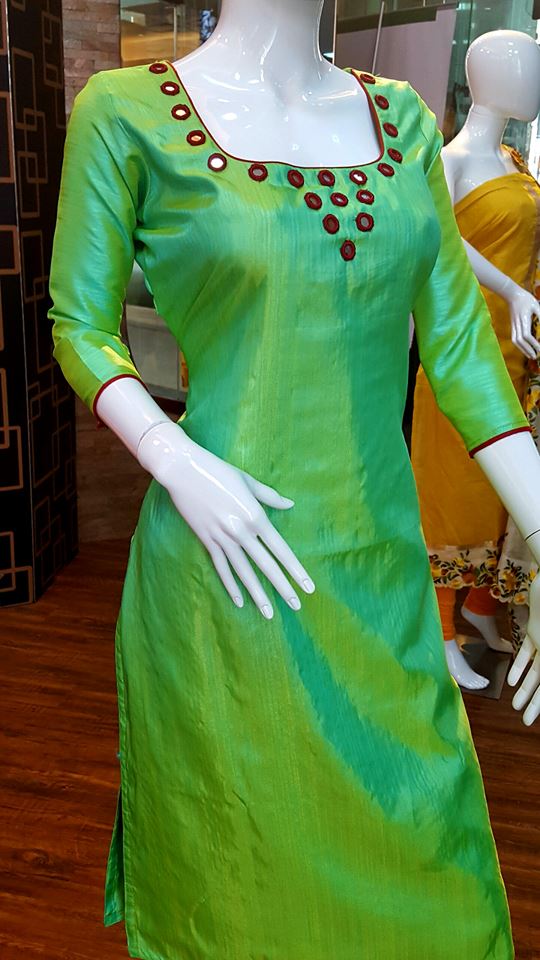
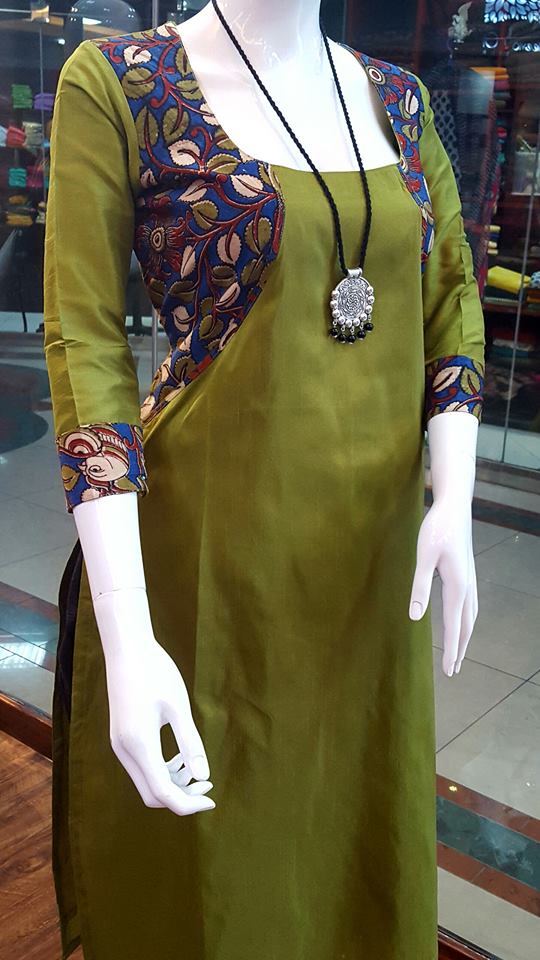
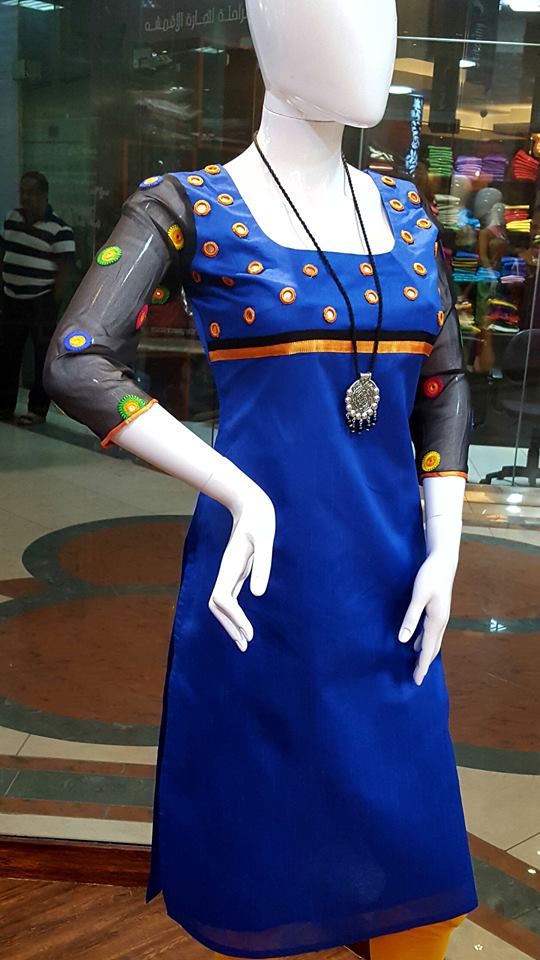
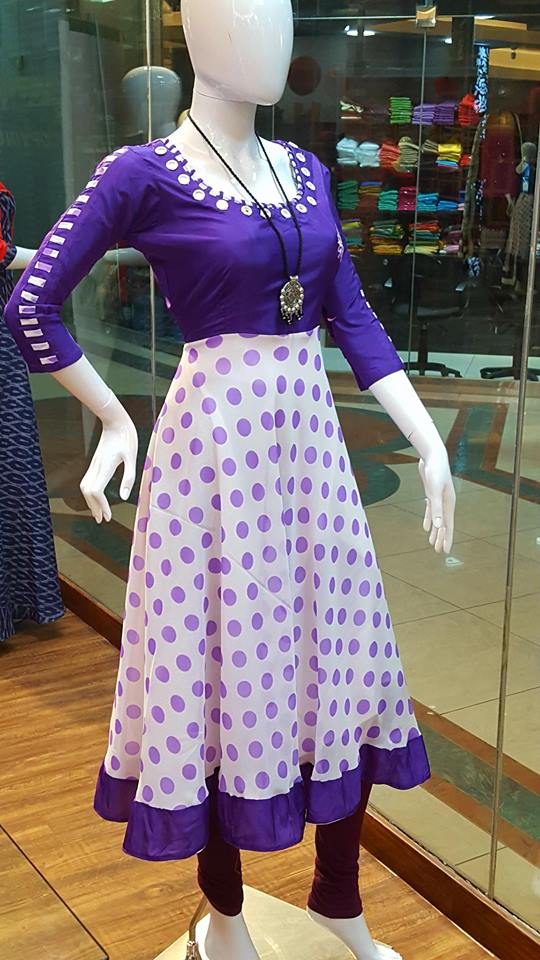
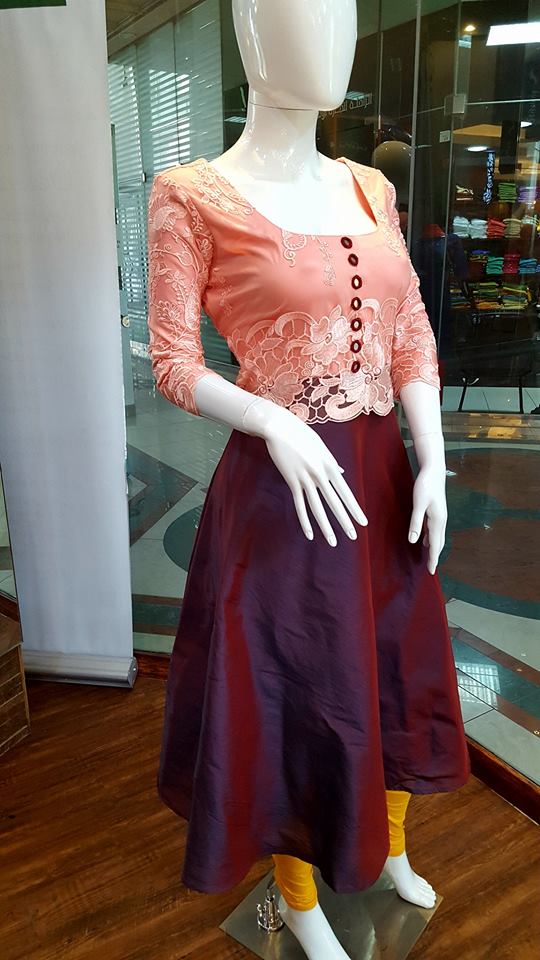
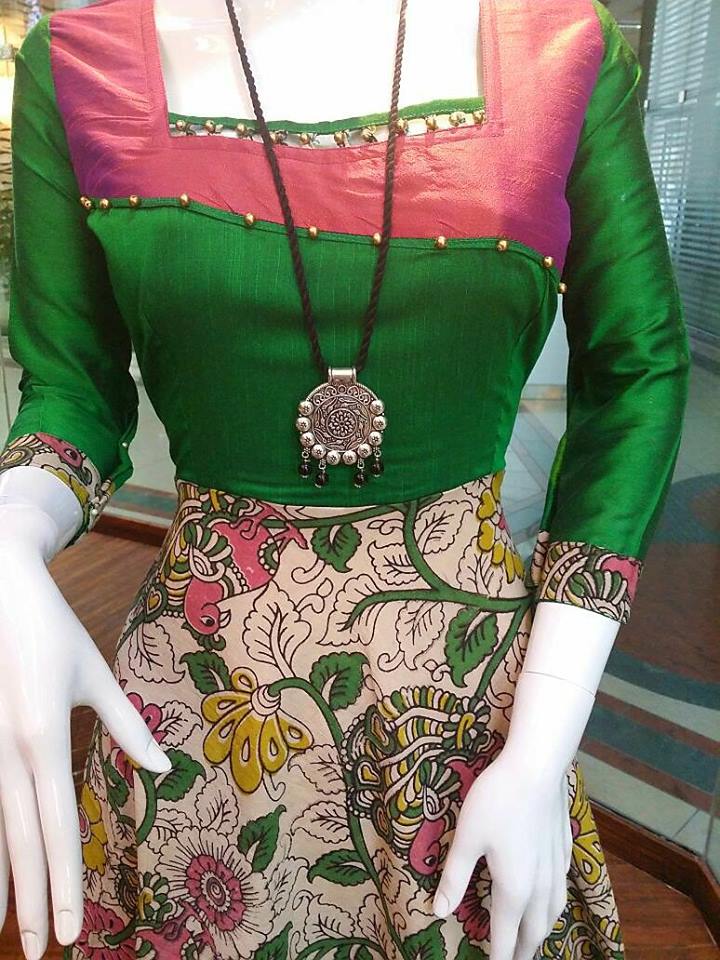
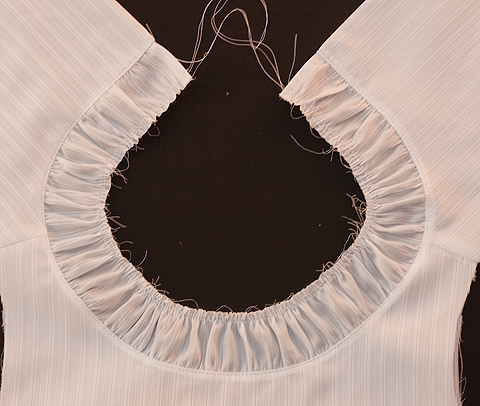
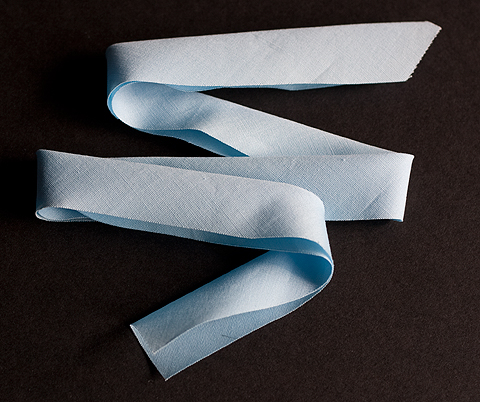
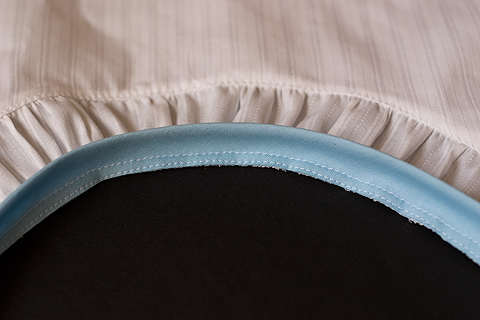
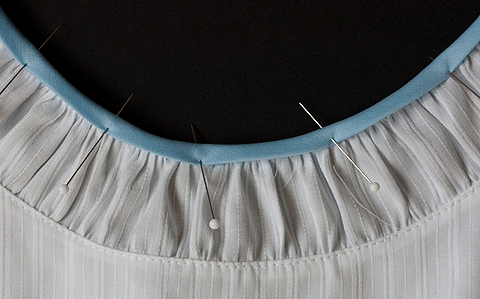
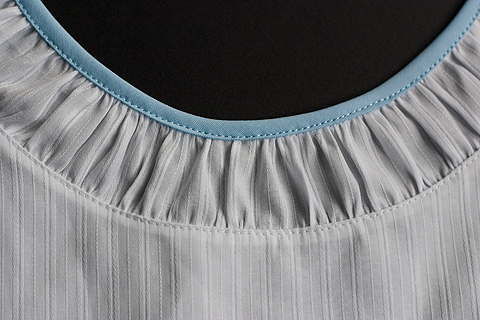
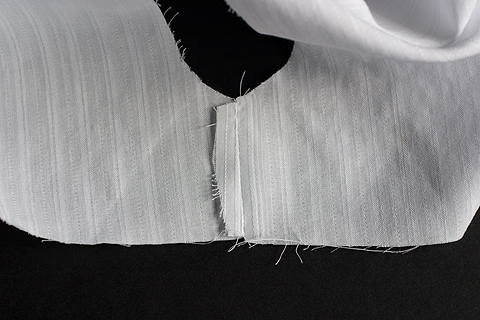
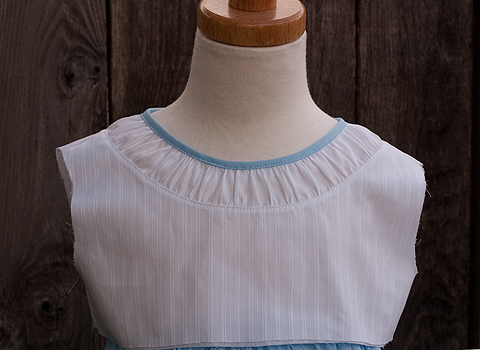
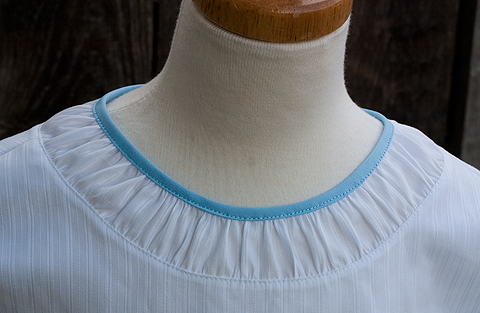
Learn how to make your kurti neck similar to branded and stylish kurti neck designs.
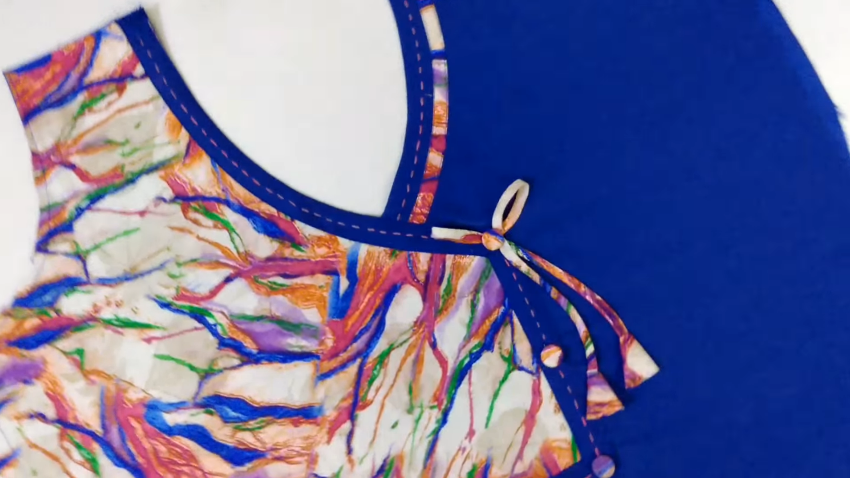
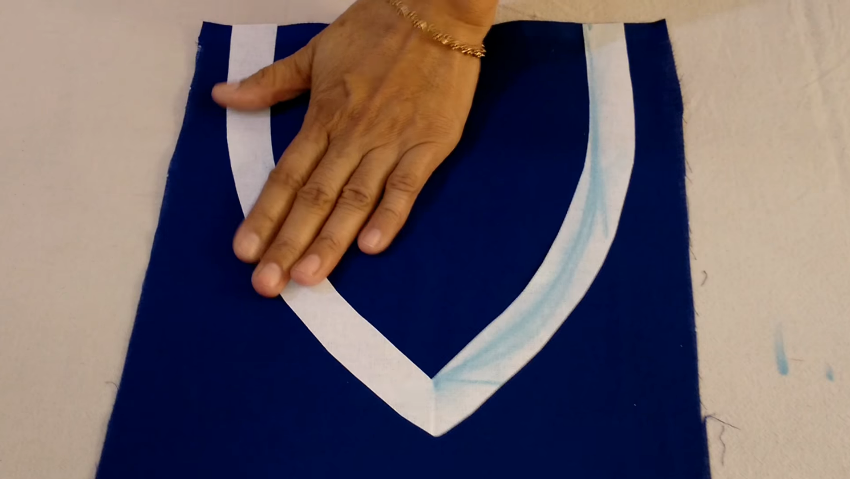
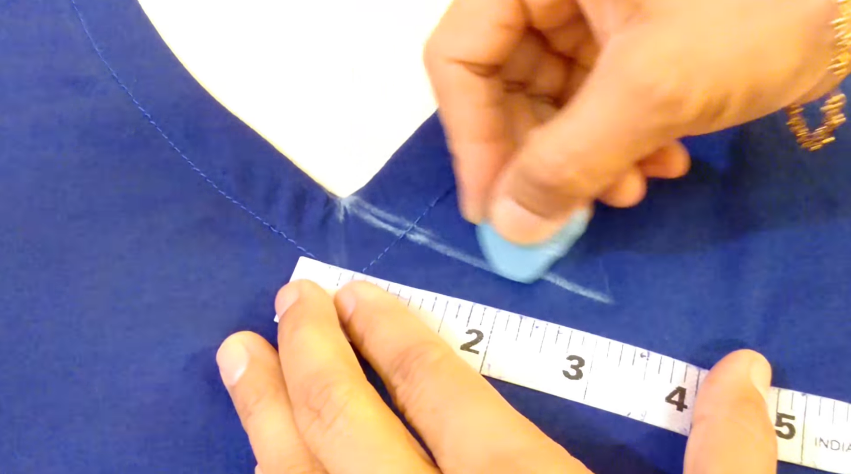
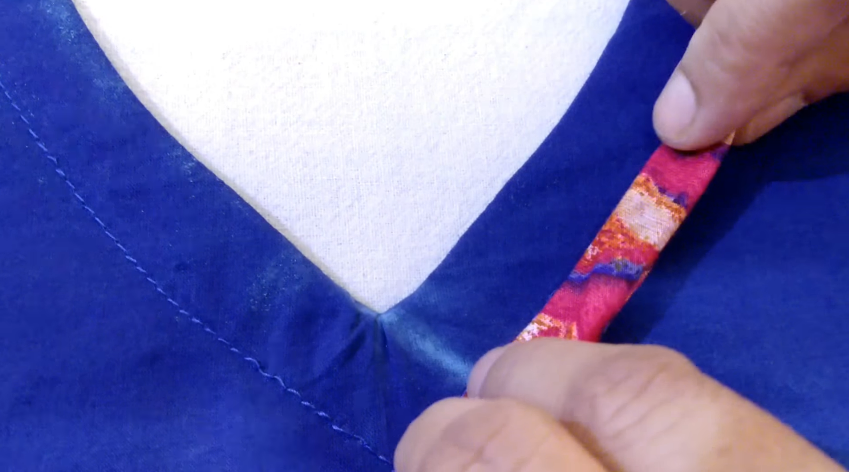
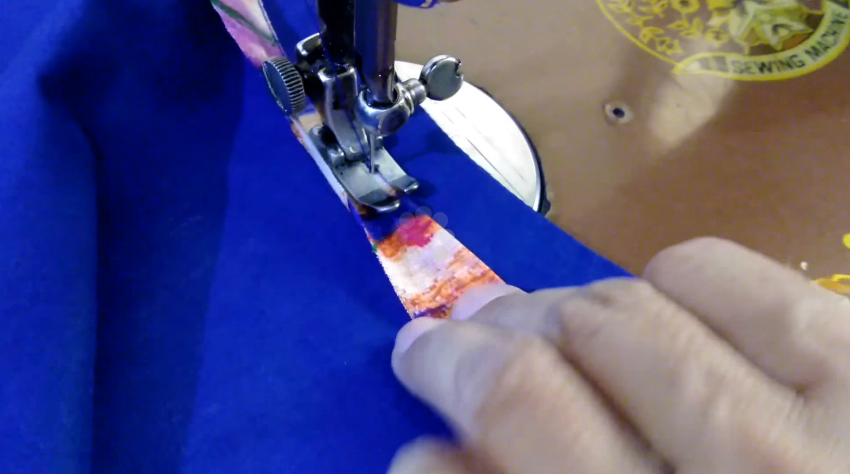
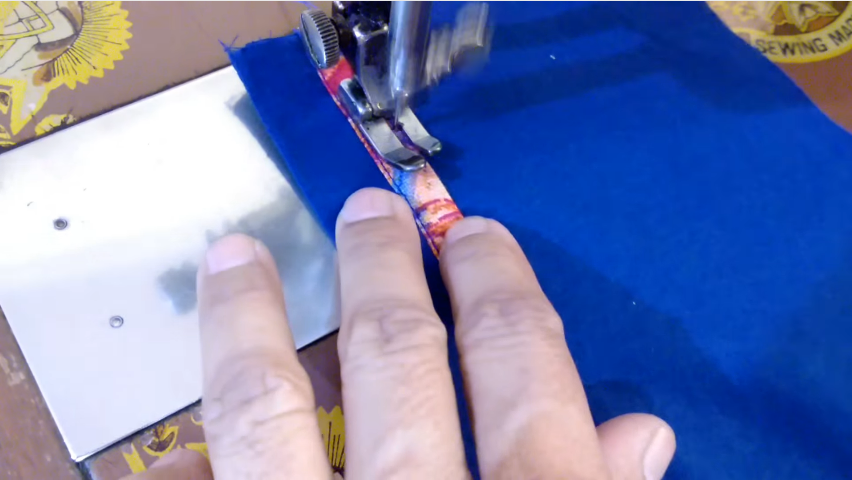
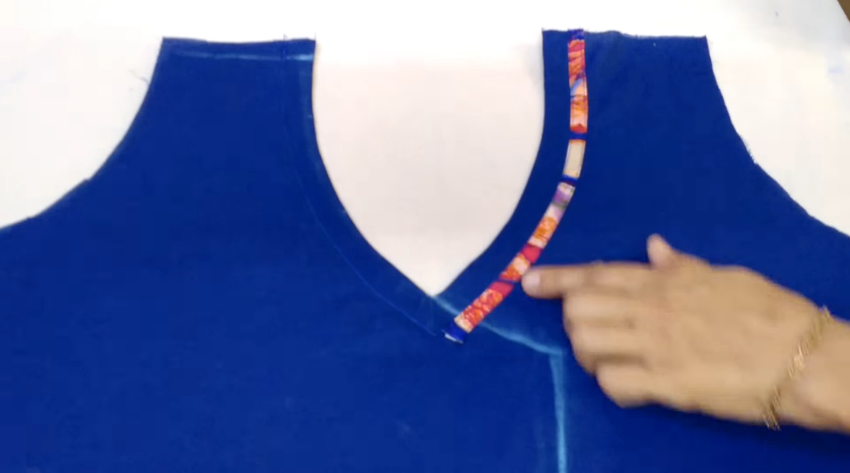
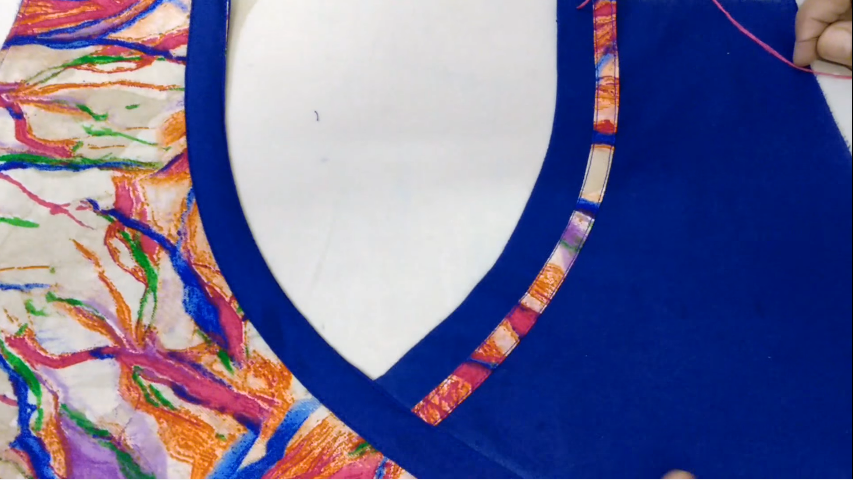
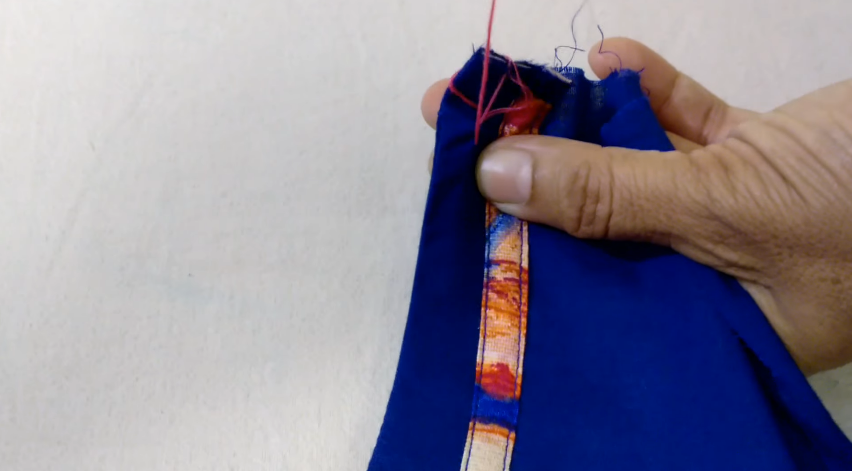
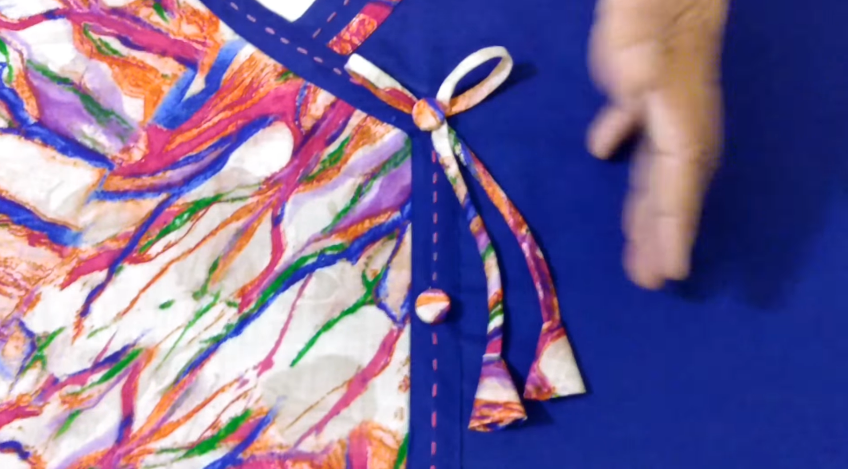
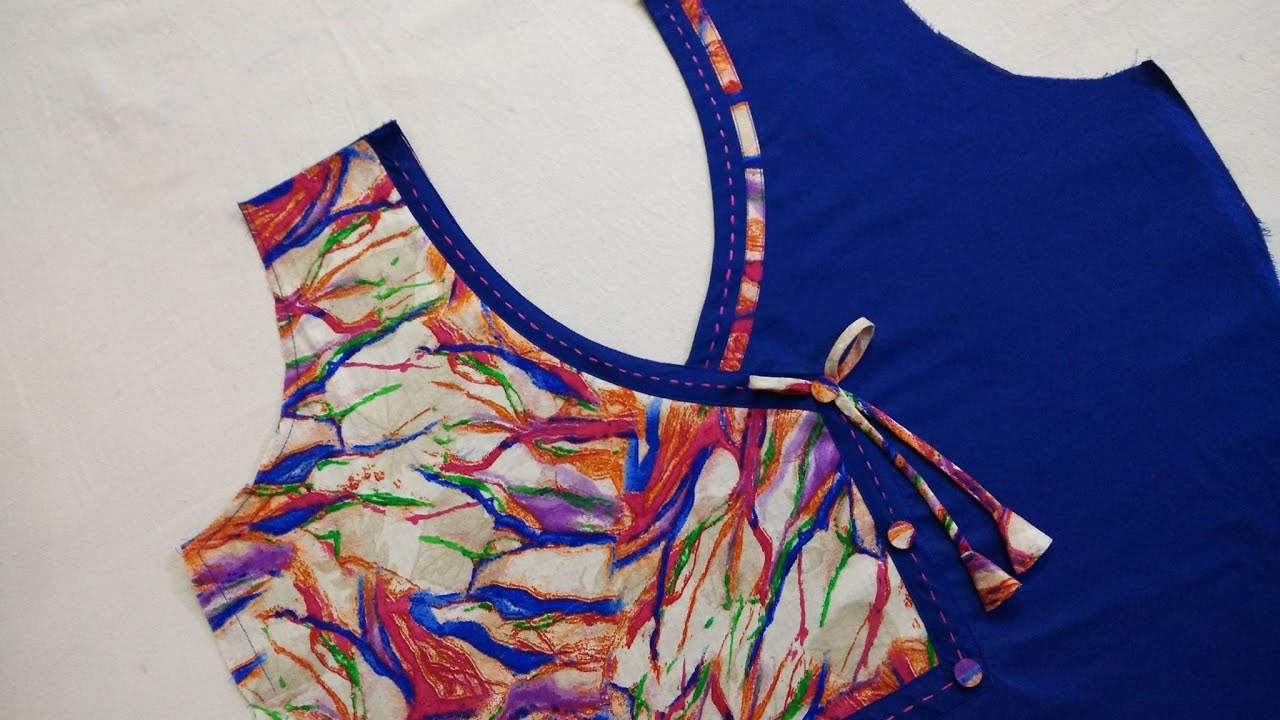
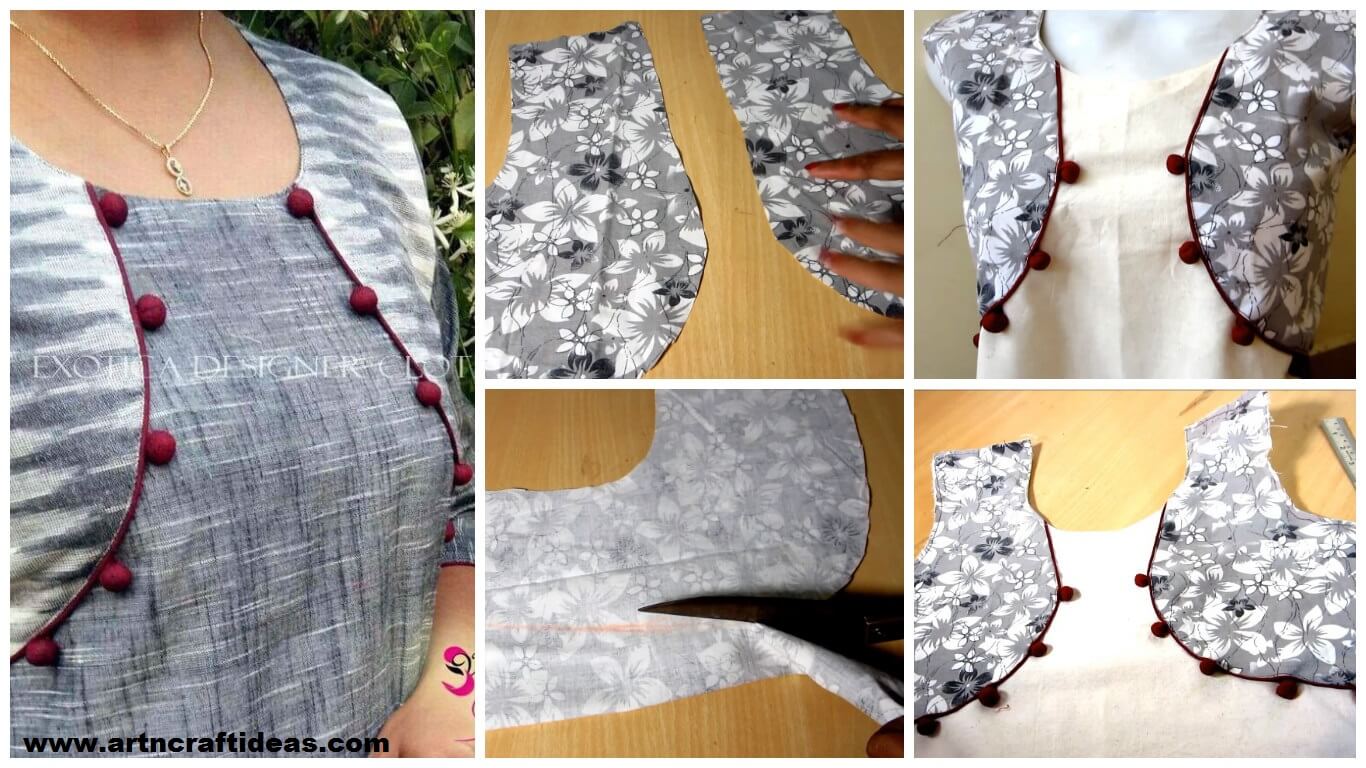
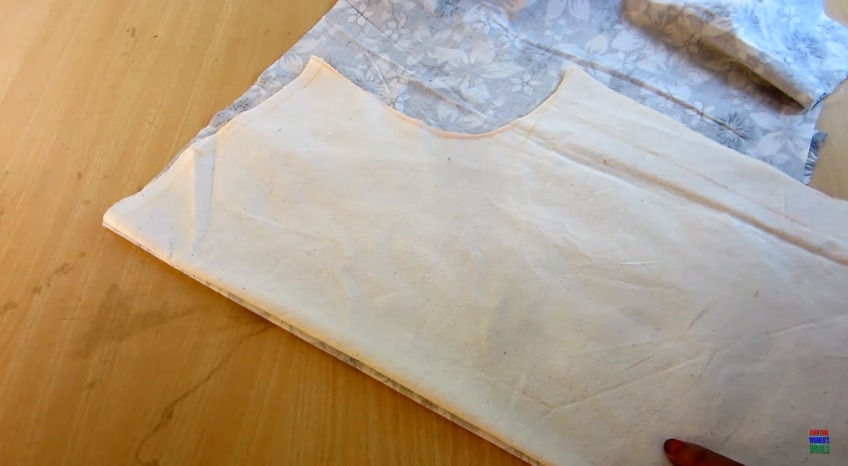
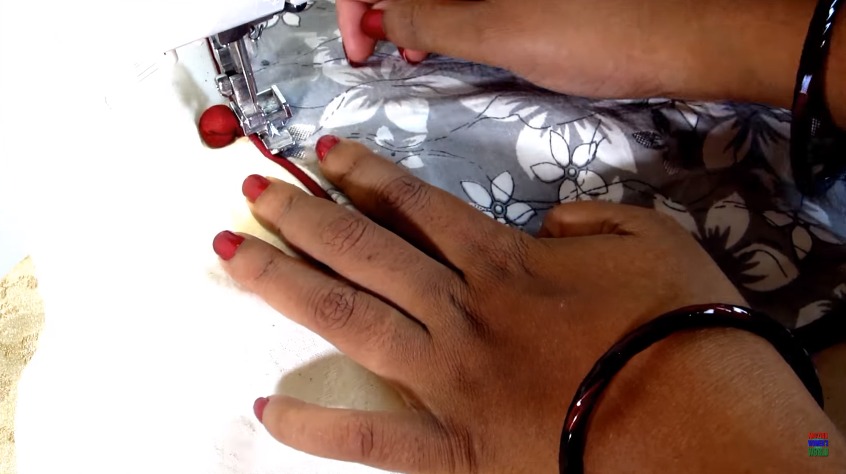
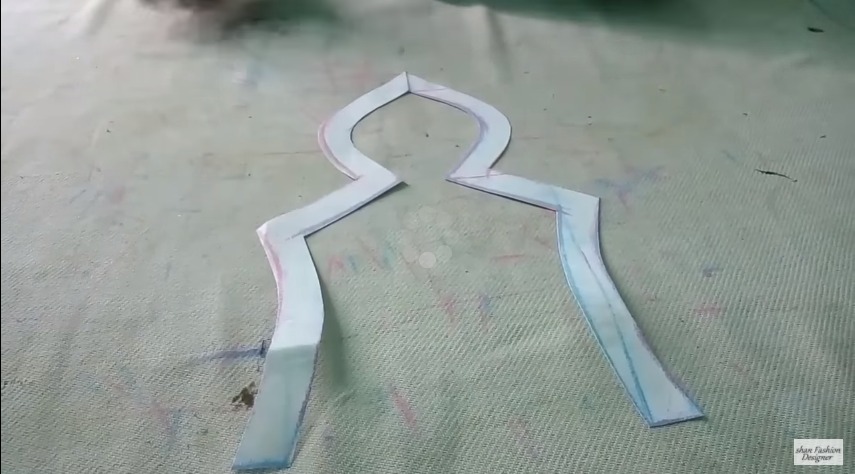
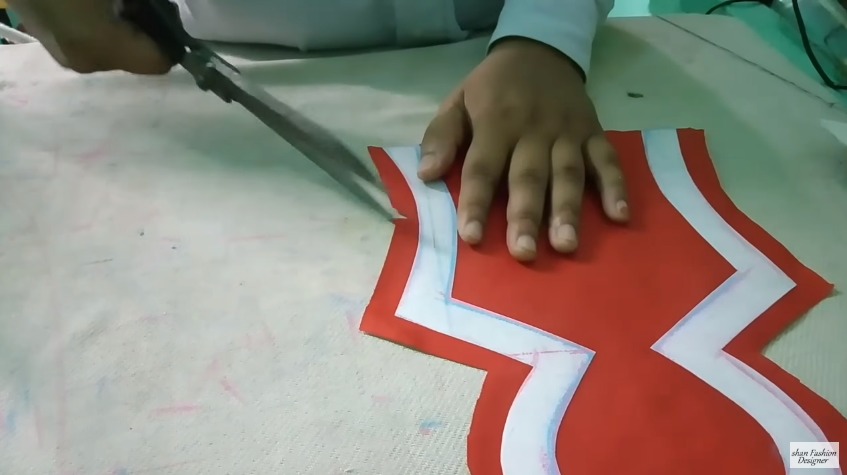
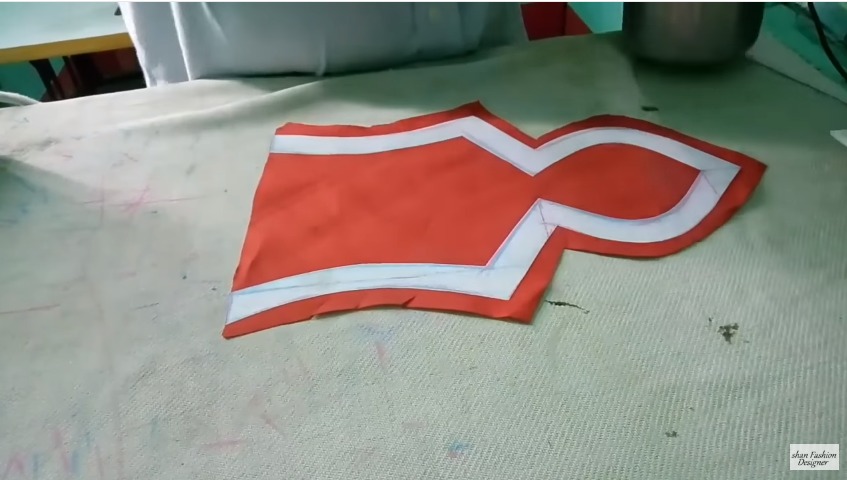
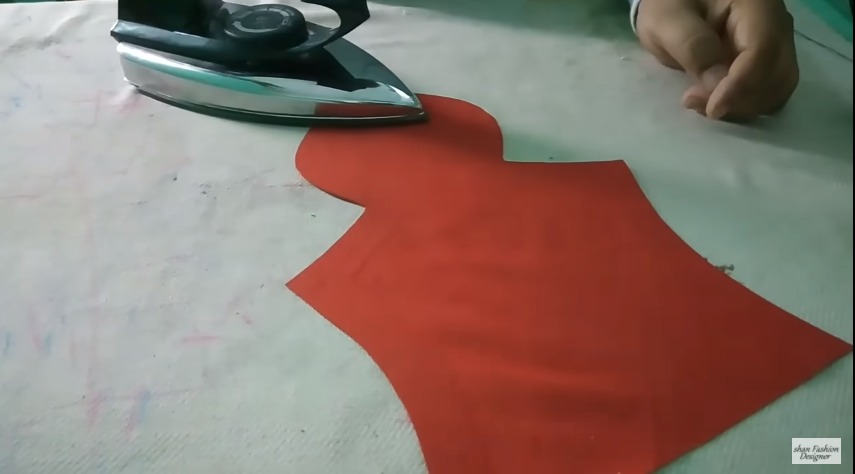
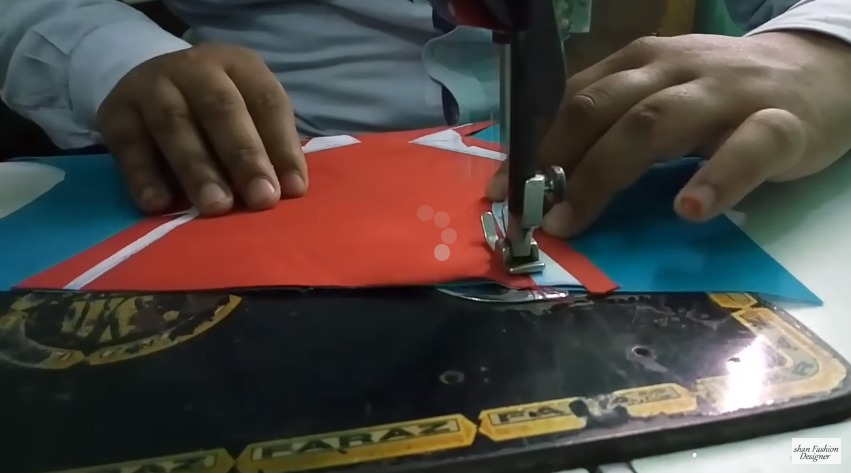
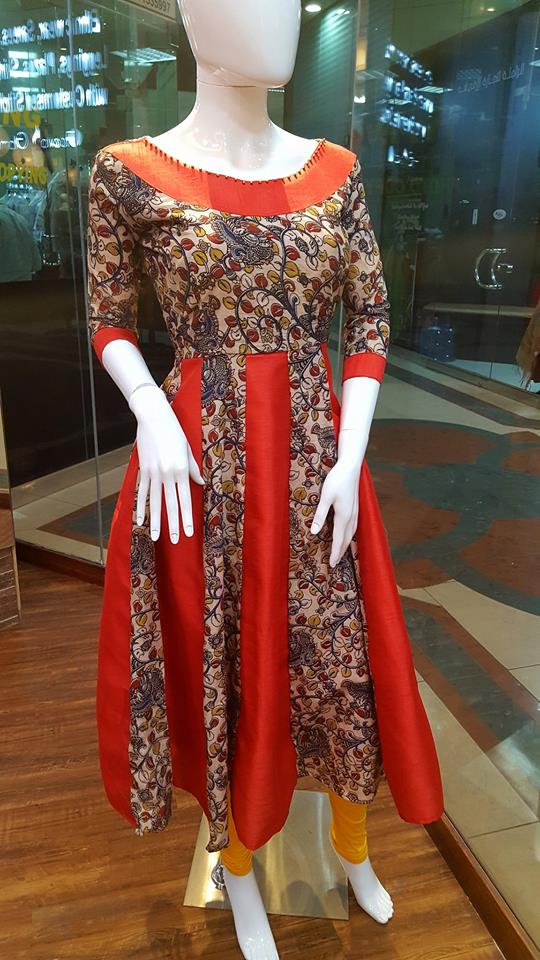
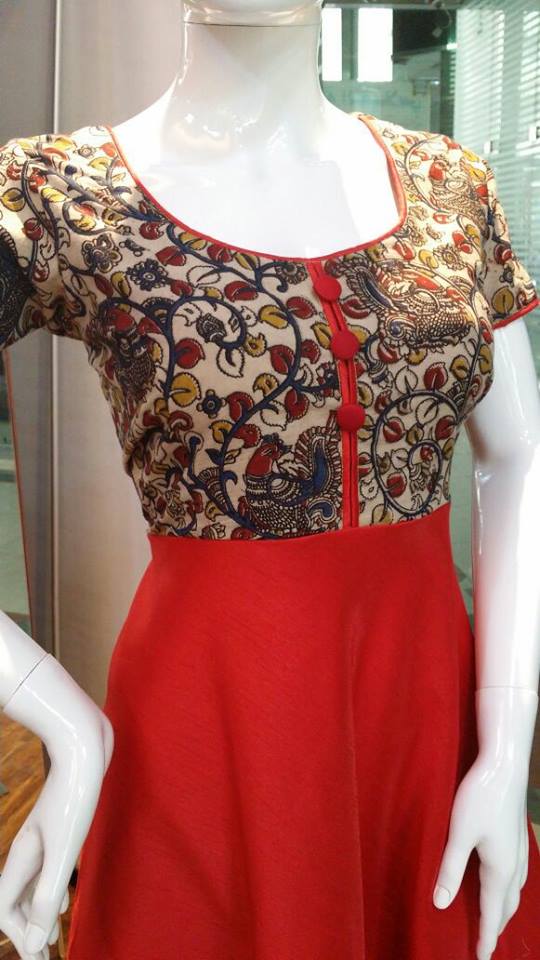
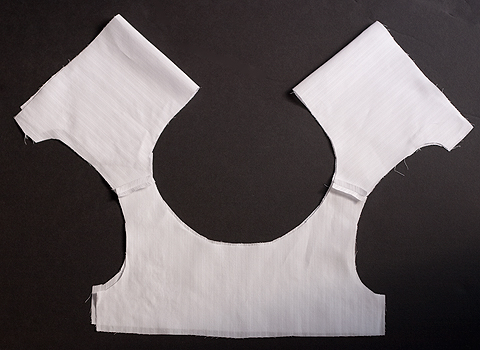
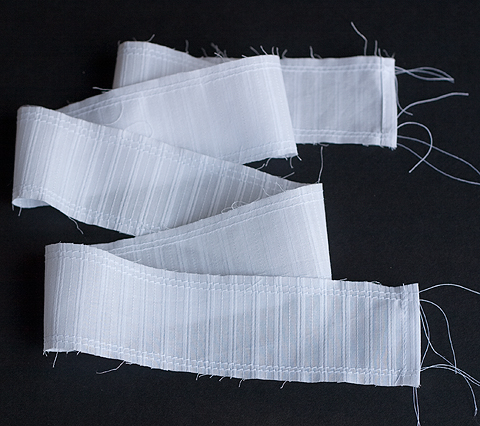
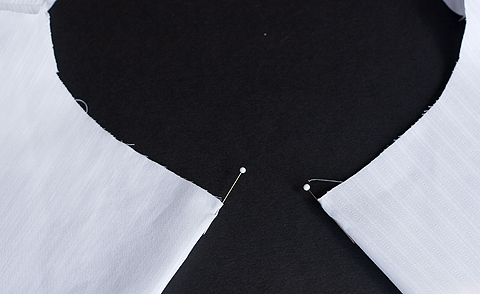
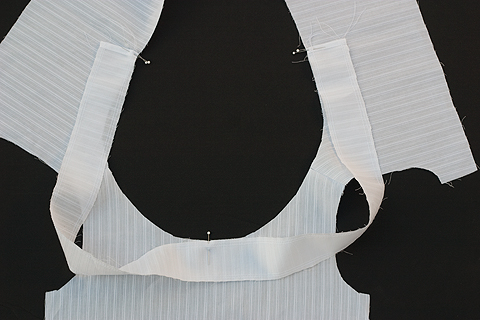
In this video, I will show you how to make Jacket style Pattern Kurti | Kameez Cutting & Stitching | DIY in the simple and easy method.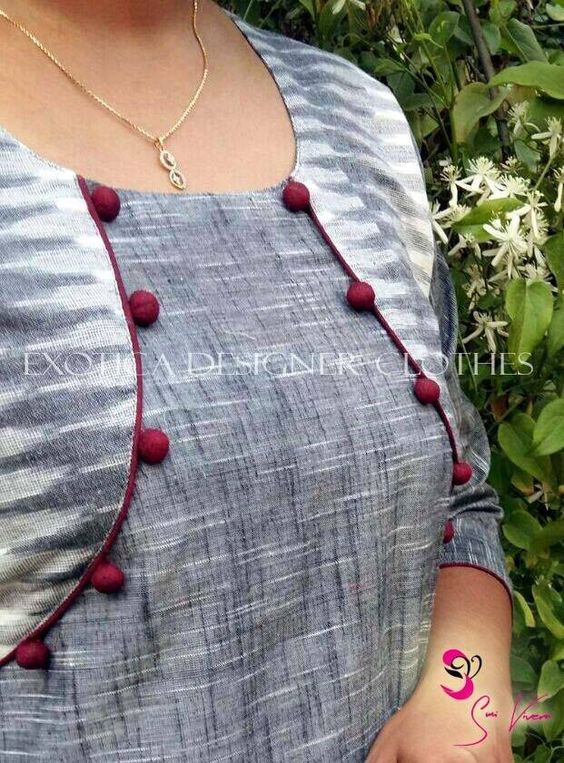
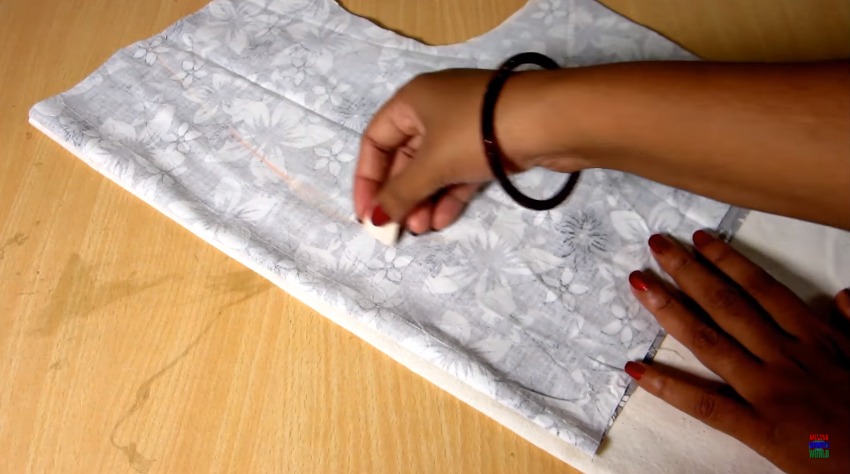
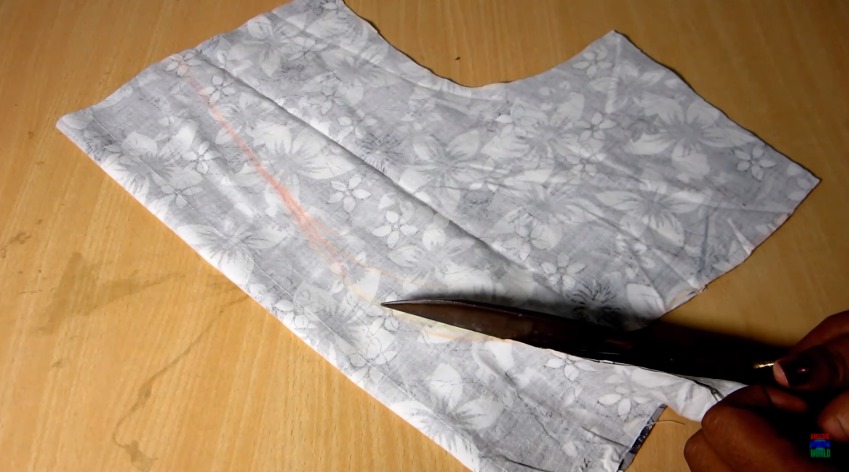
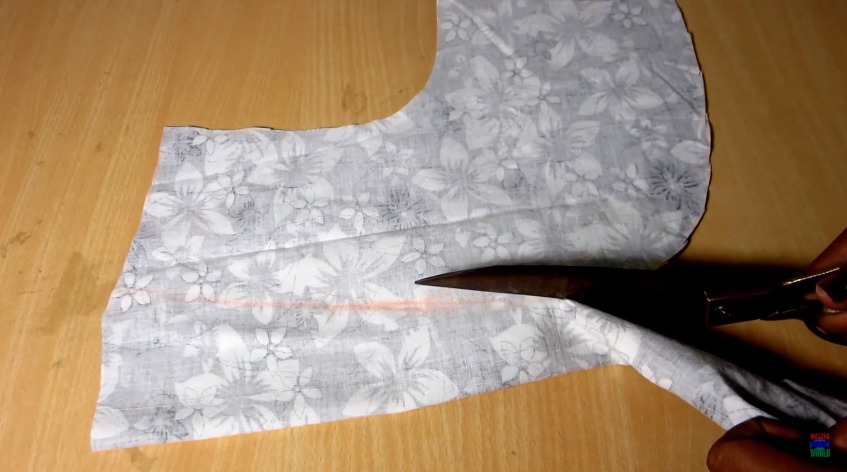
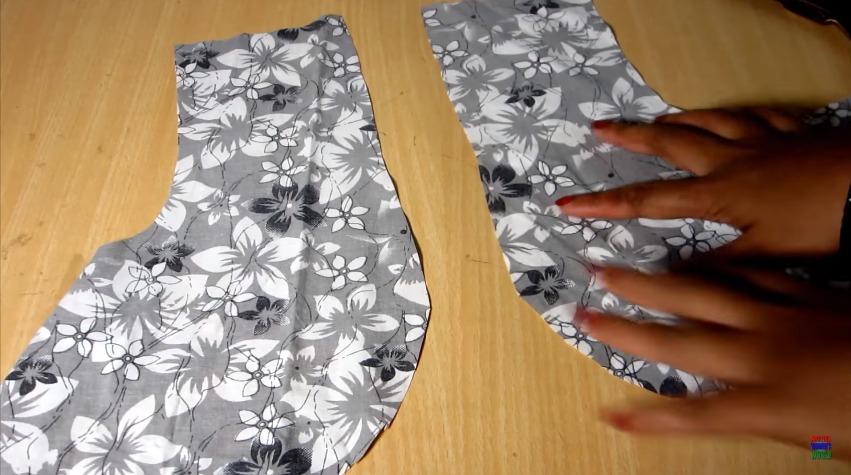
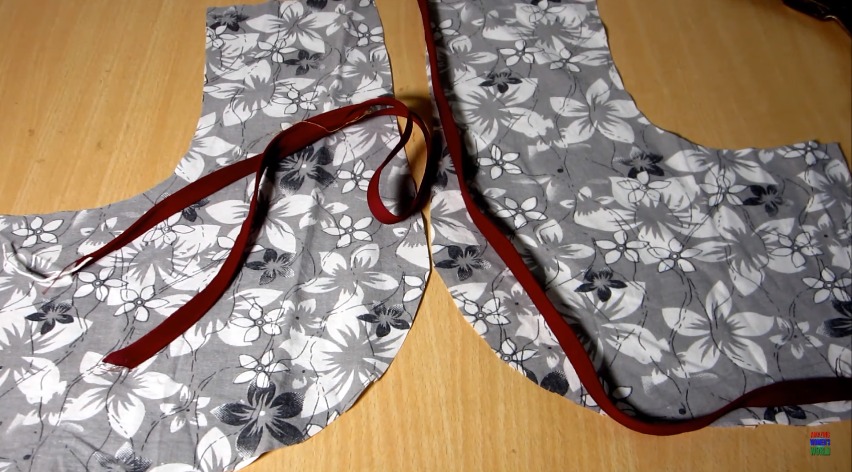
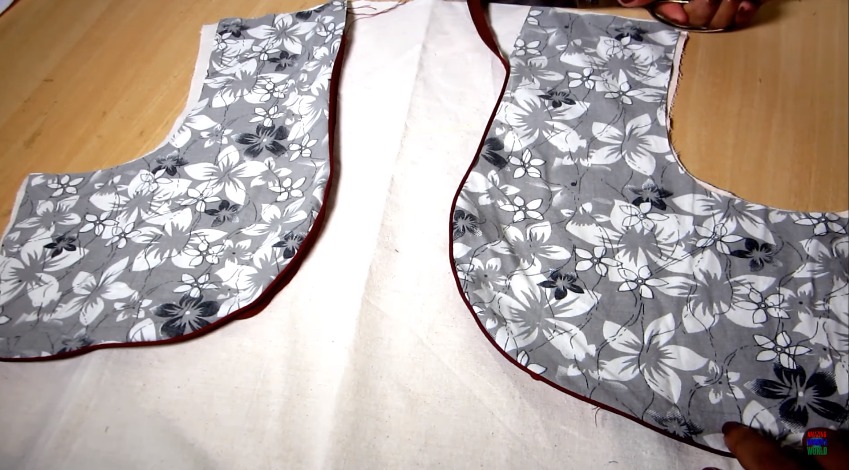
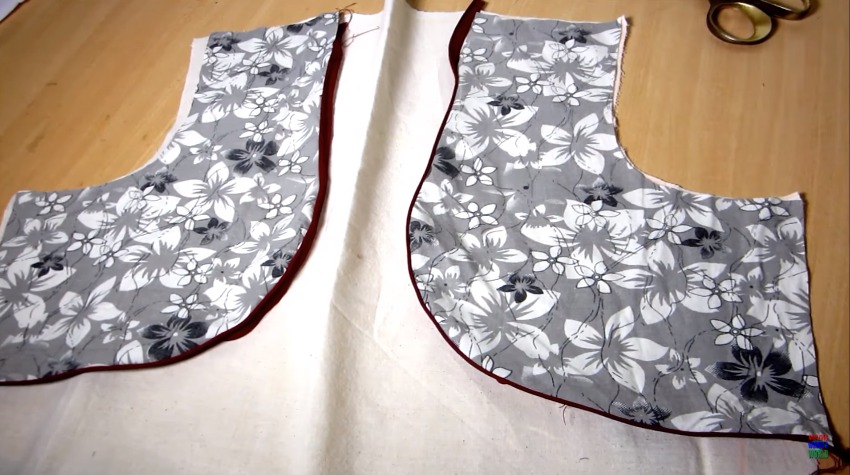
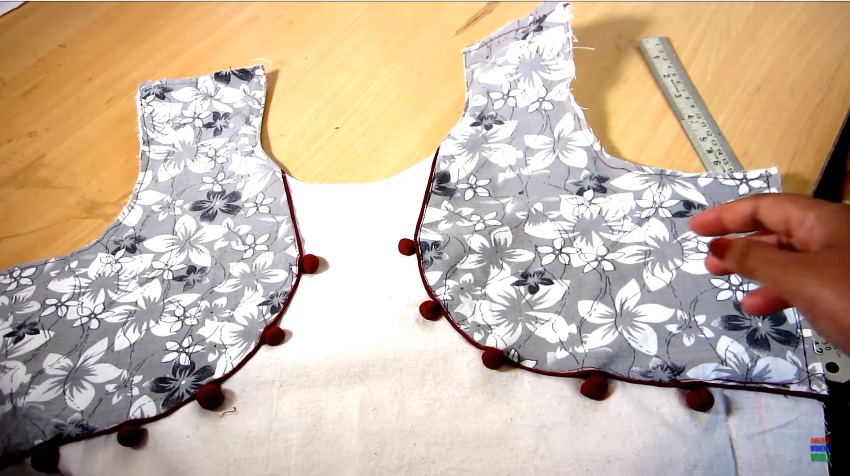

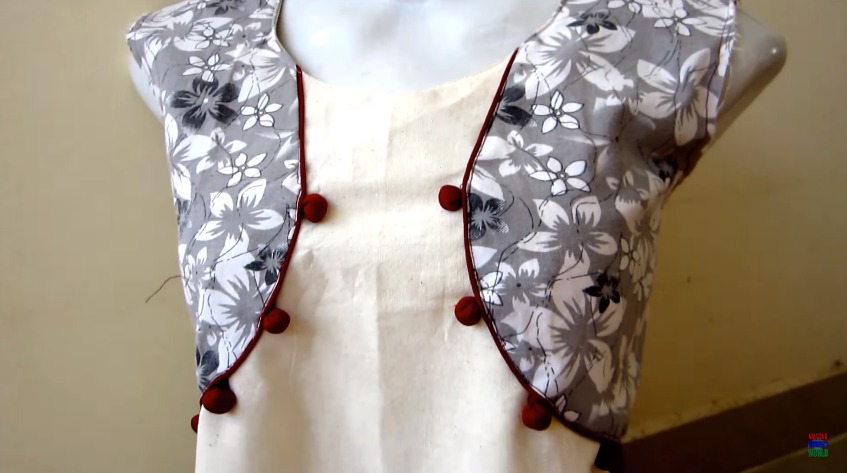
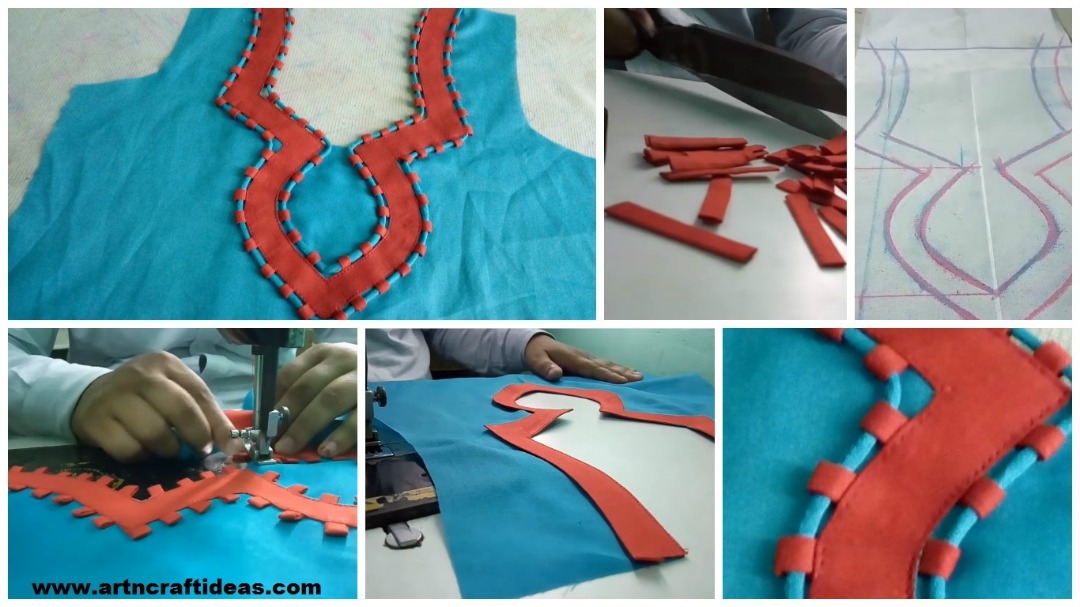
This is a unique neck design this neck design can use in kurti,suit and ladies kameez.


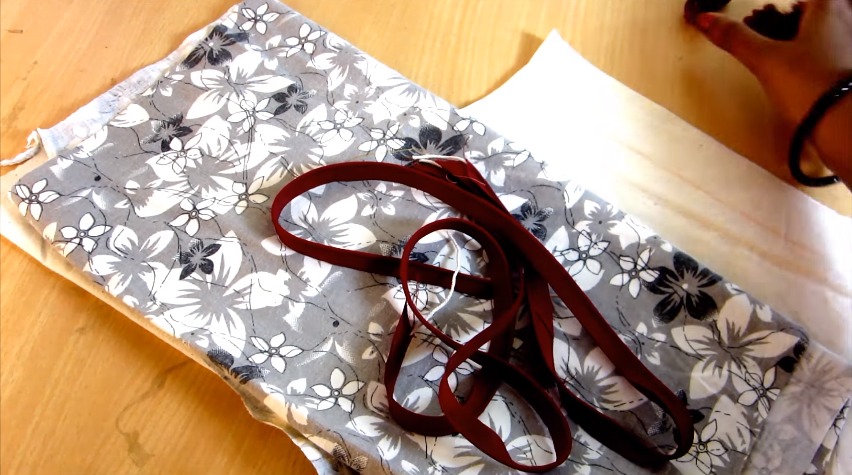
 What you’ll need : :
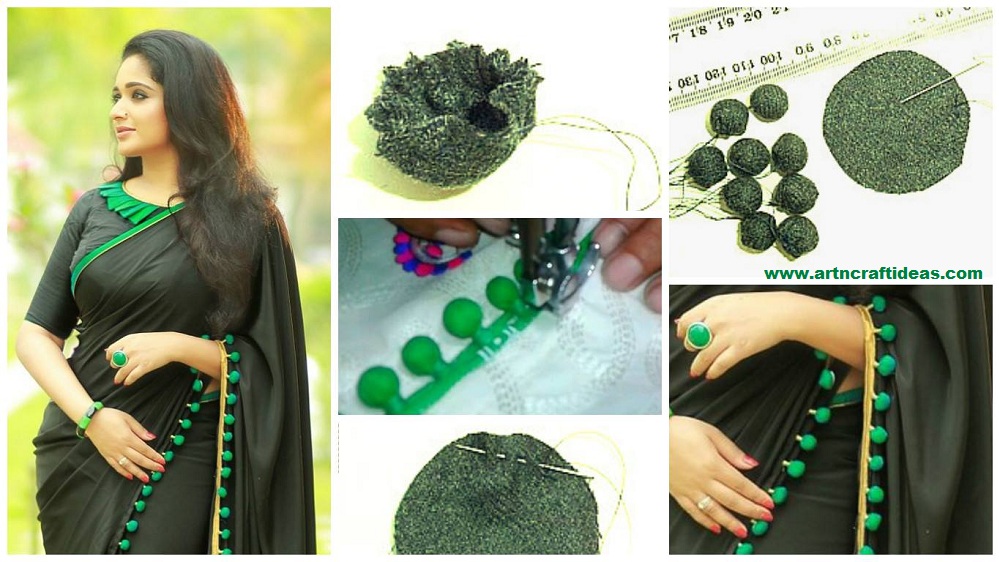
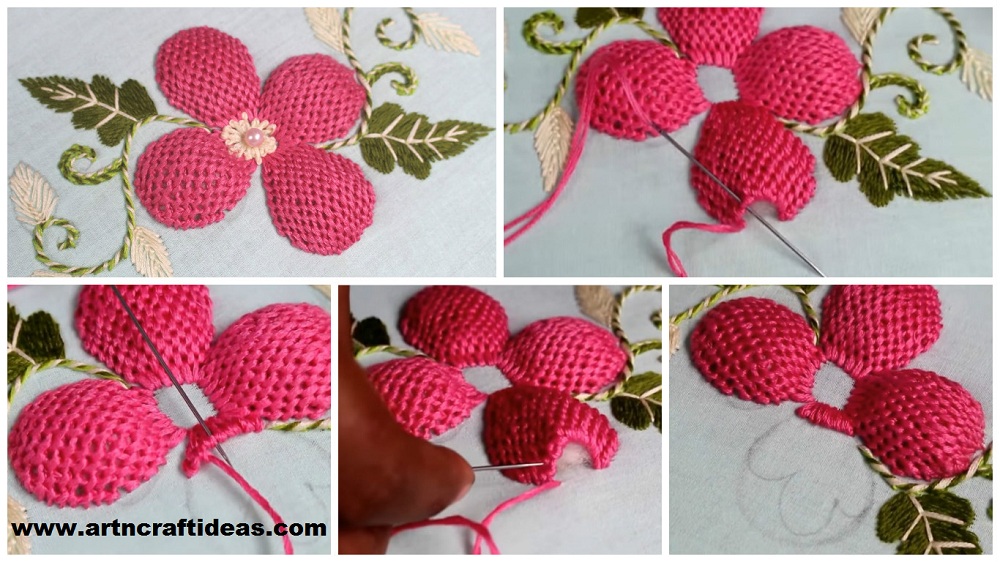
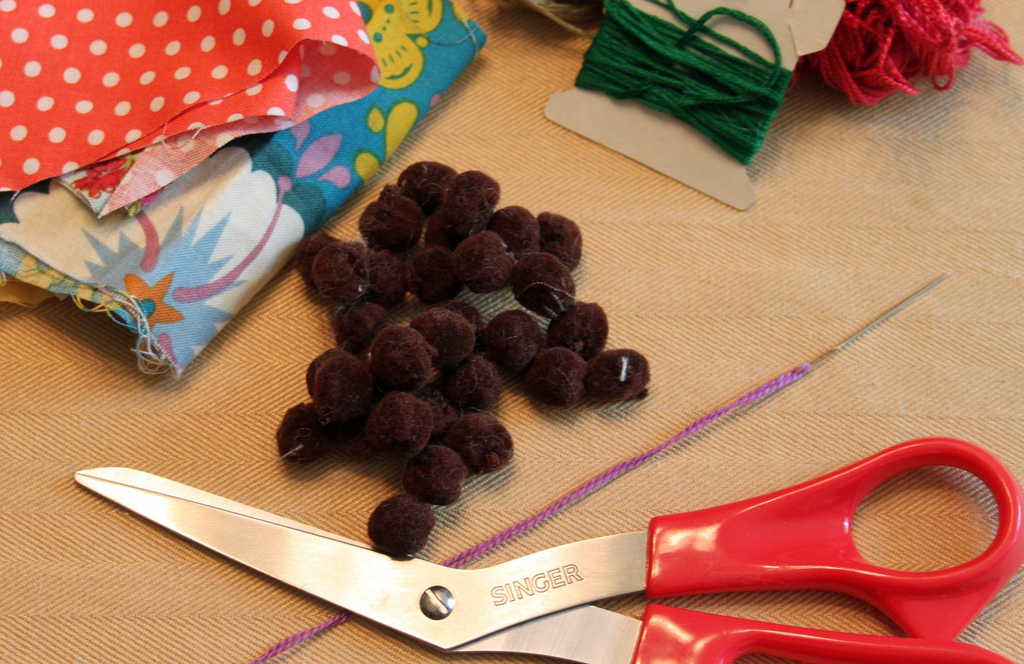 Making the Fabric Pompoms : :
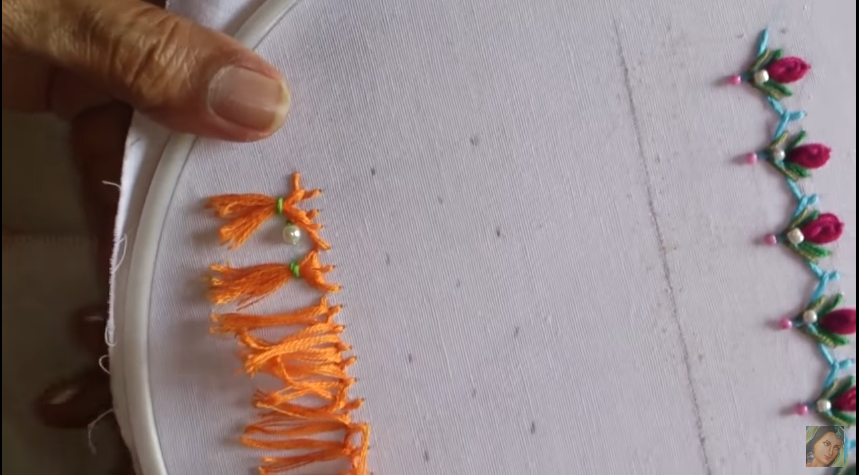
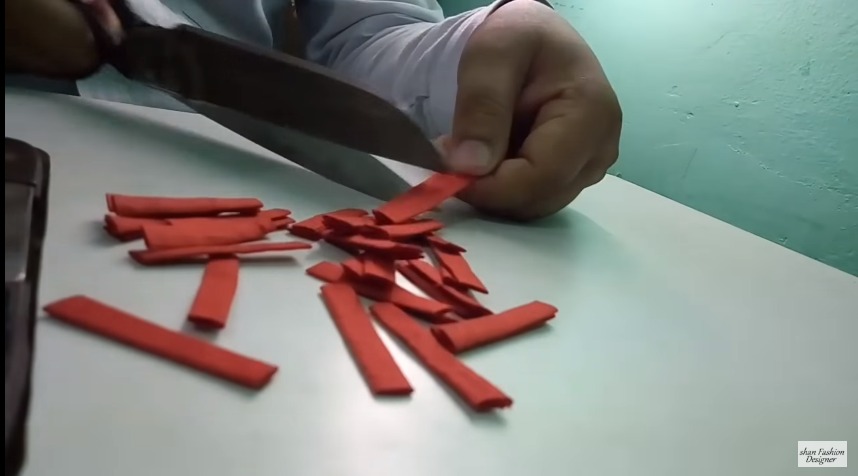
1. Place the pompom in the center of the fabric scrap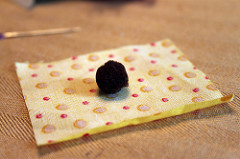 2. Fold the edges of the fabric up around the pompom
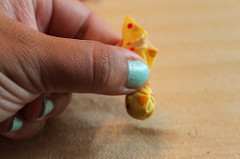 3. Wrap the floss around the fabric right above the pompom
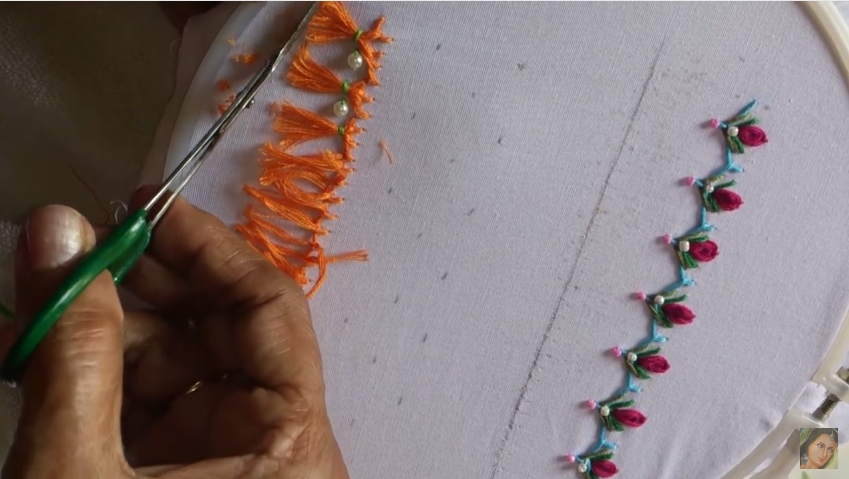
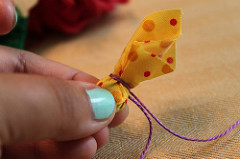 4. Knot thread ends together well, trim, and trim the fabric ends even
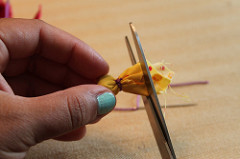 Continue making your Fabric Pompoms until you have the amount you need.
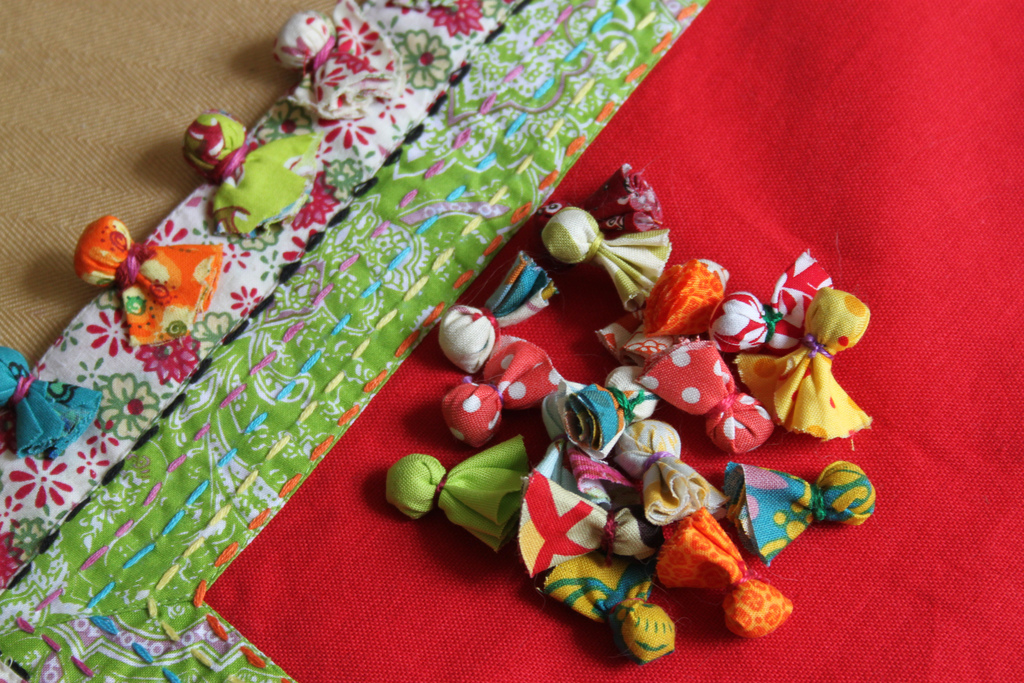 Fabric Pompoms Details : :
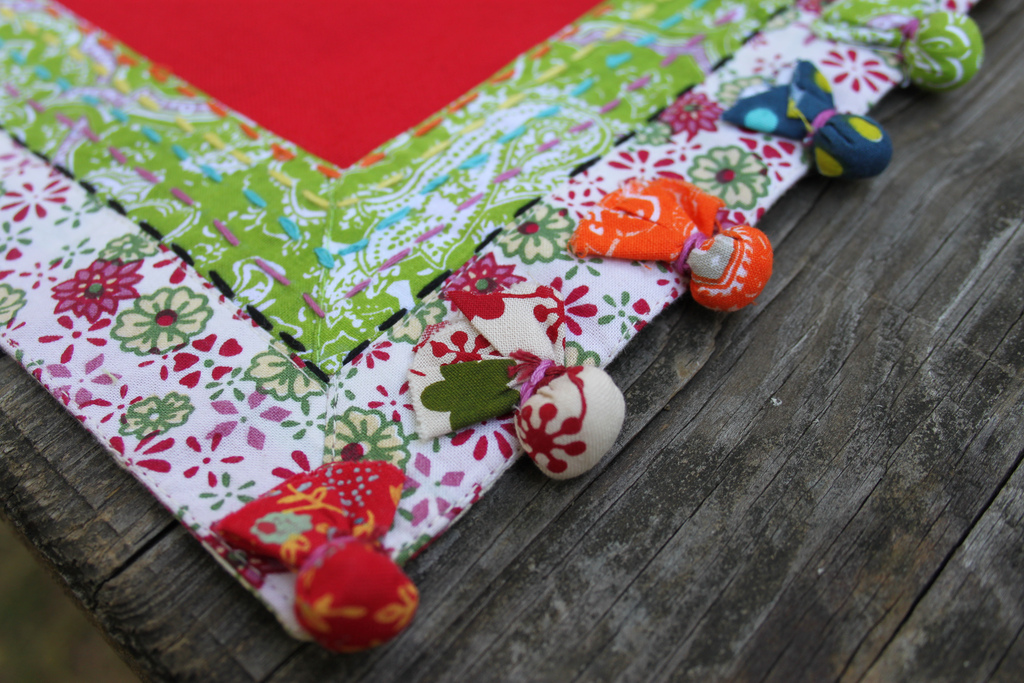
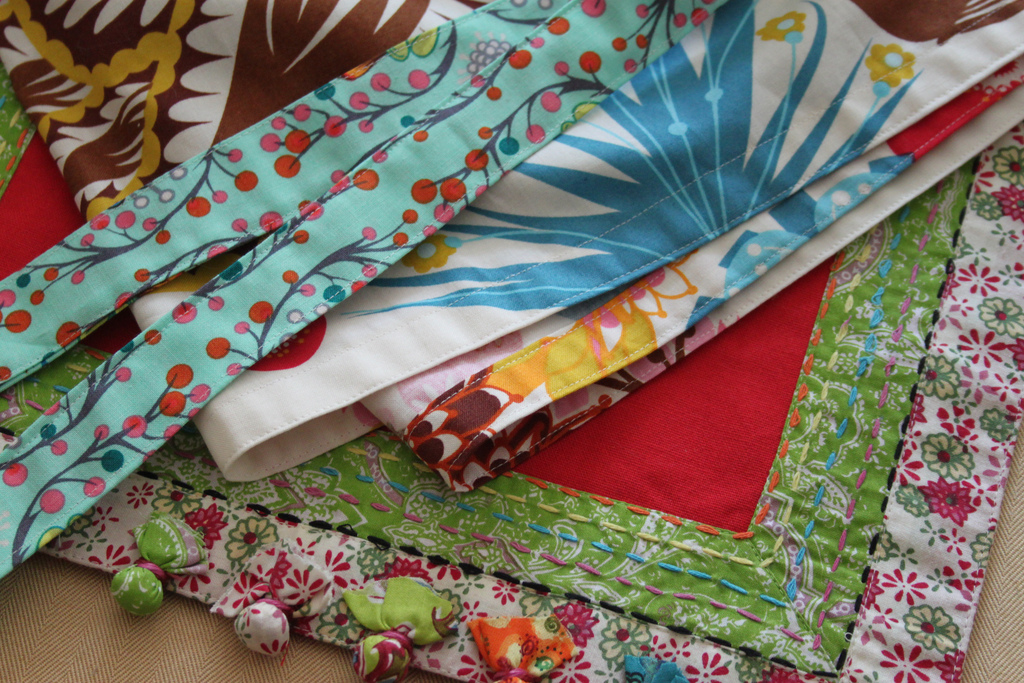
I’m adding mine to my Fabric Lover’s Apron, any item will use these same instructions.
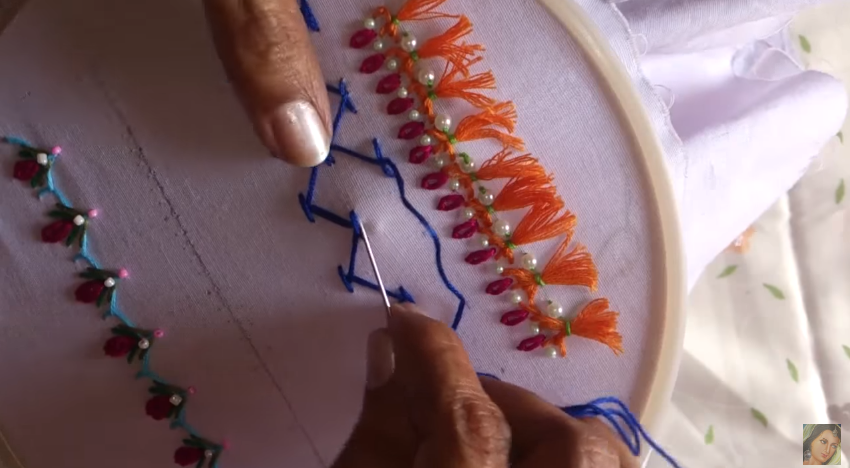
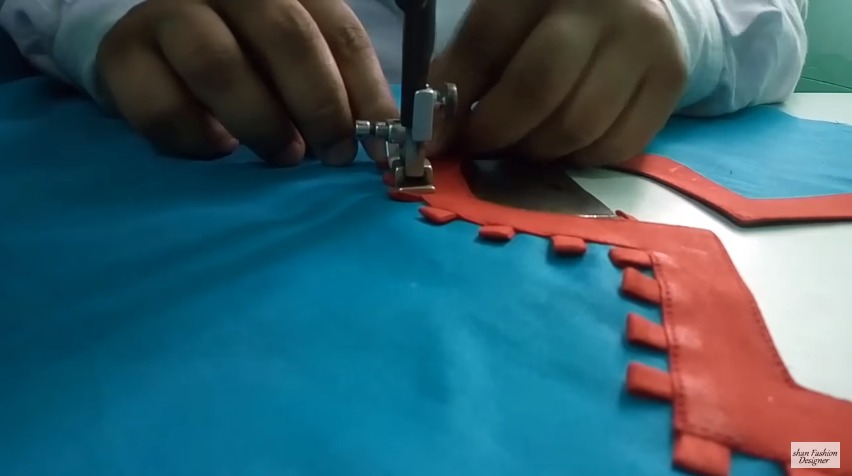
1. Layout your design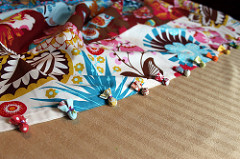 2. Place the Fabric Pompom onto the item
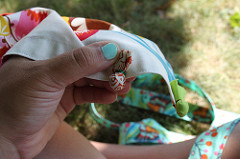 3. Using a needle threaded with floss and knotted at one end, insert the needle at one side of the pompom pulling up through the back of the fabric item
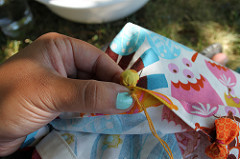 4. Pull thread all the way through until it catches the knot
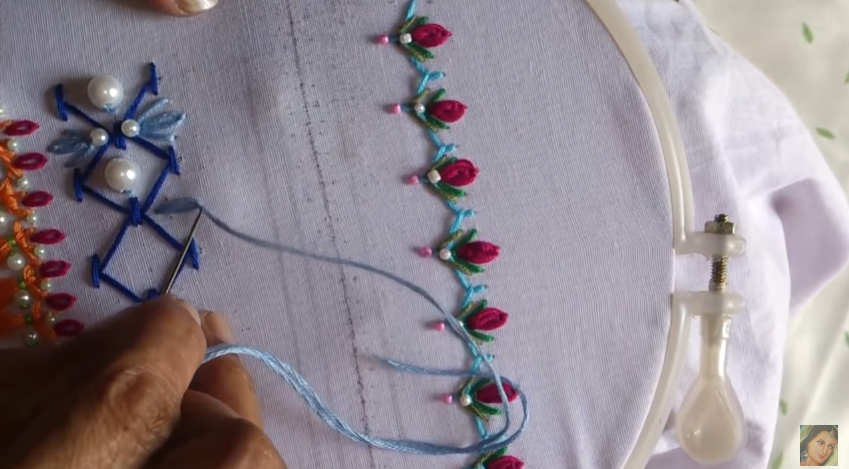
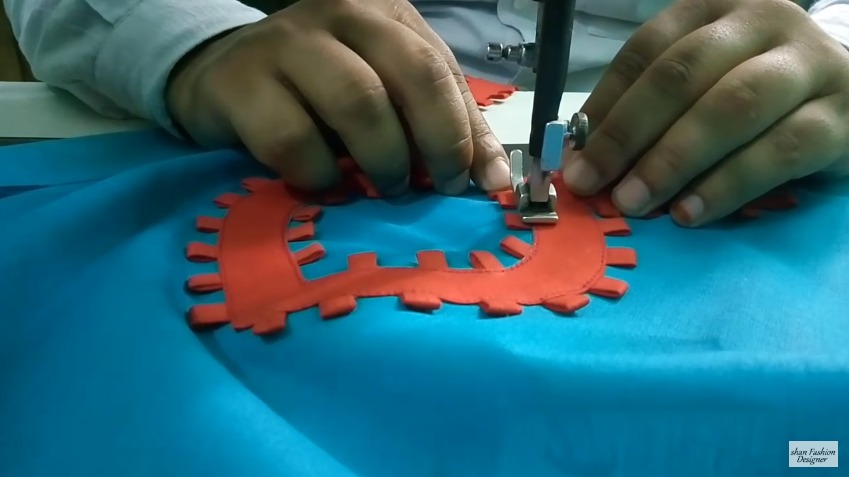
 5. Insert the needle on the other side of the pompom, pulling back though the fabric so the floss is holding the pompom tightly in place
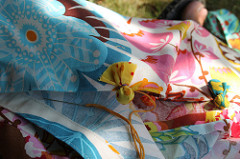 6. Knot well, close to the fabric, and trim away excess floss
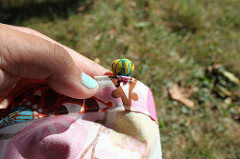 Continue until all of your Fabric Pompoms are attached.
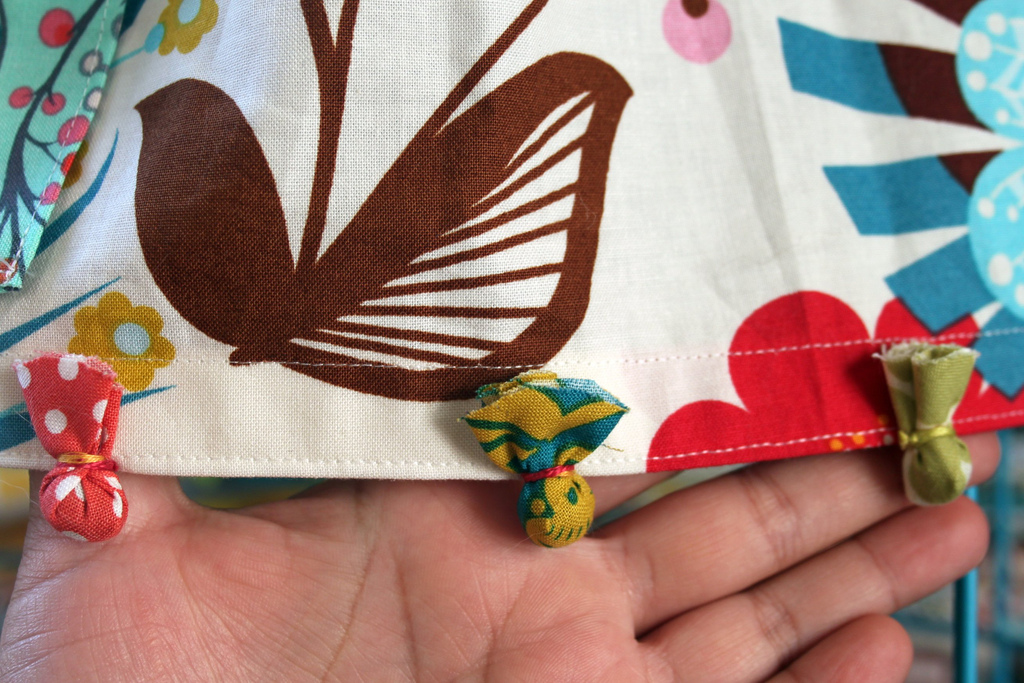 Voila! You’re finished!
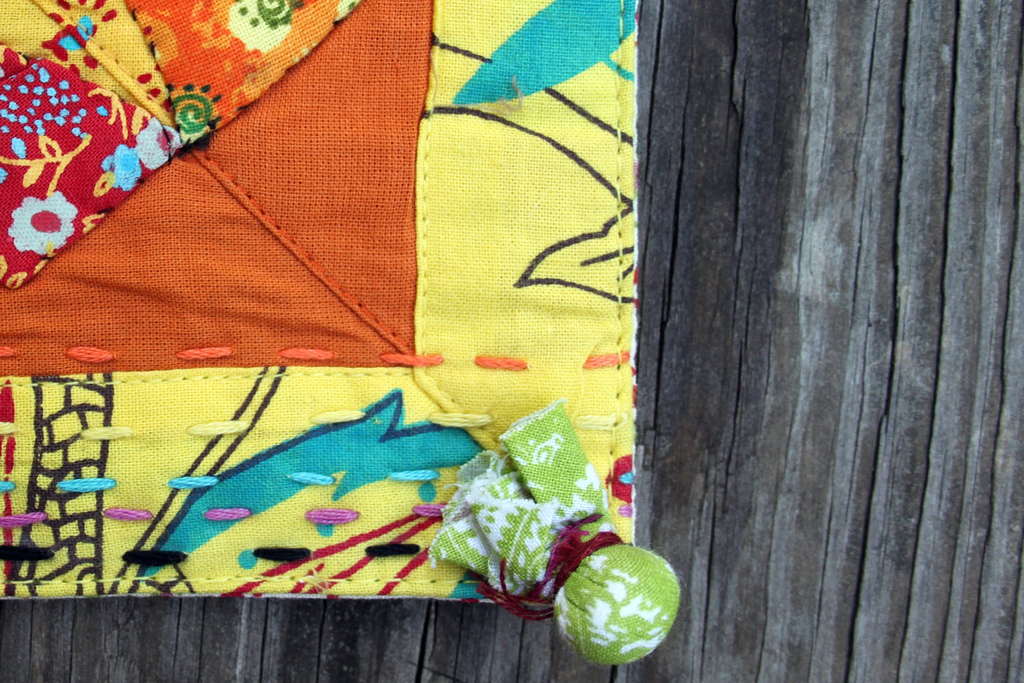
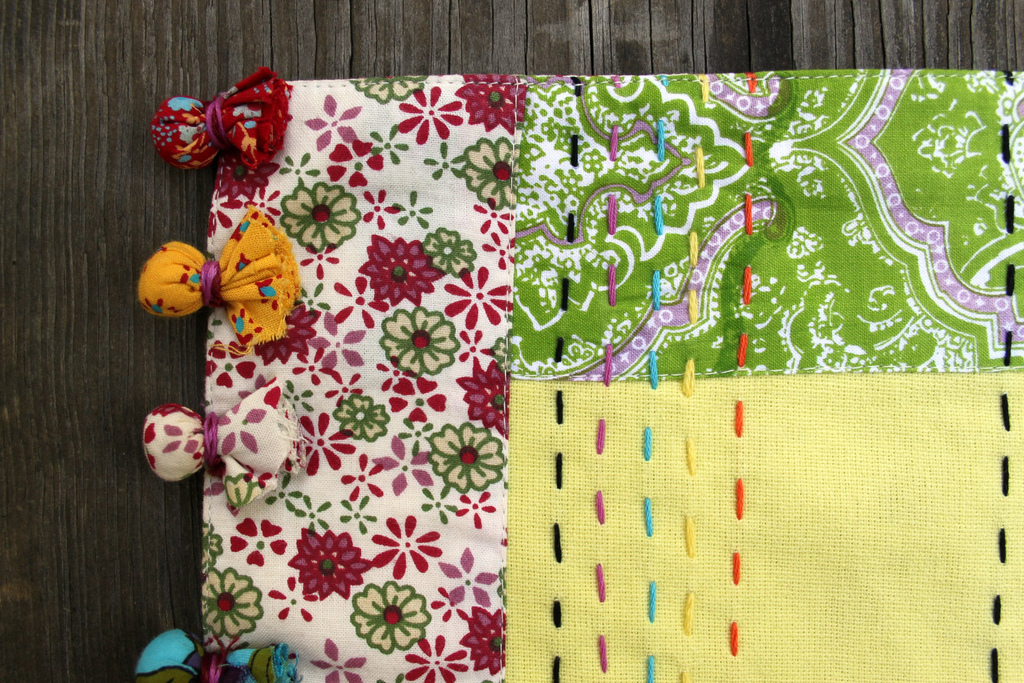
 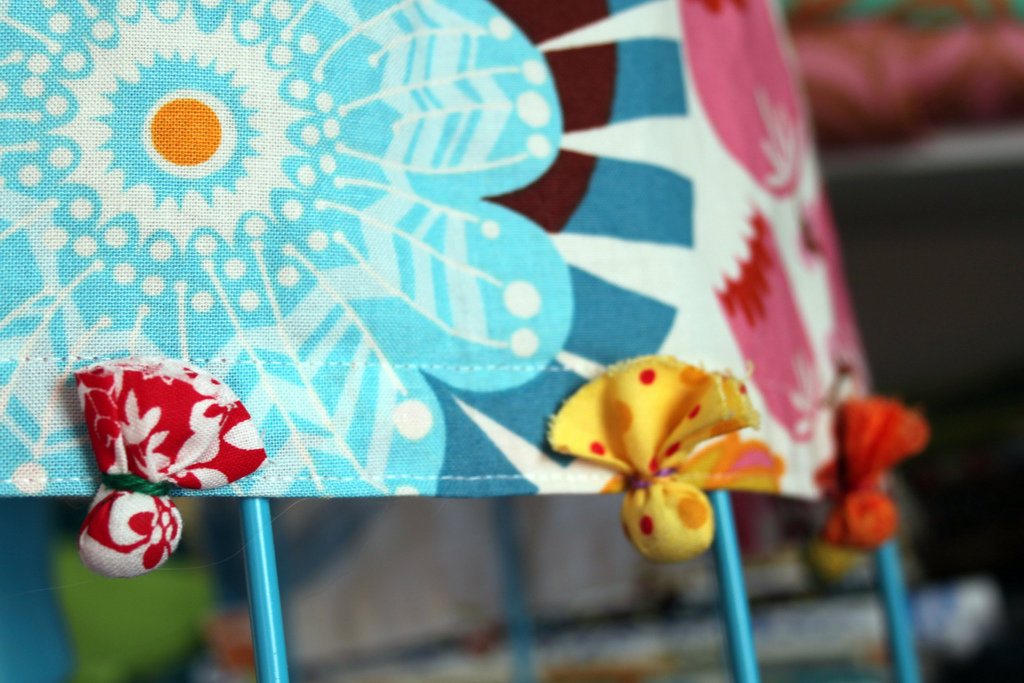 Variation ideas : : You can reverse how you attach them so only the Fabric Pompom ball is showing for a less funky look. You can add them to a pillow this way or attach these just as you would purchased pompom fringe. Here is an example of that on a pillow of mine from Pier1.
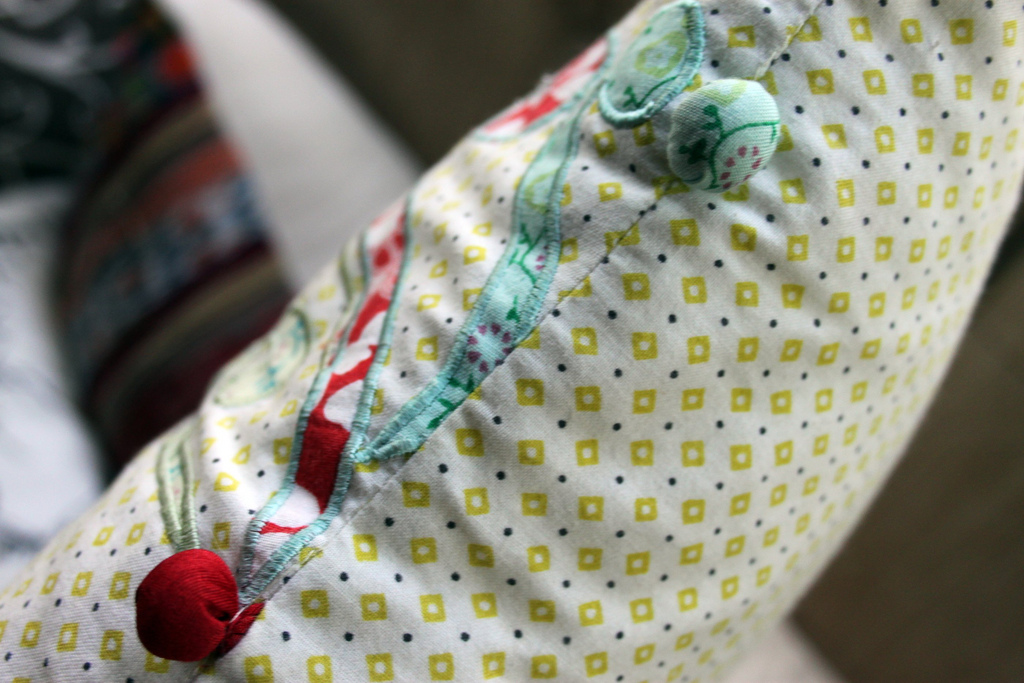
 I hope you enjoy this tutorial!!! This Fabric Pompom detail is something I’ll certainly be adding to the edges of many of my own handmades!
Clothing is important as a commodity because it has worldwide appeal and plays a substantial role in the world economy. Fashion trends are a global phenomenon so wearing the right kind of attire plays an important role in everybody’s life. With this view several embroideries digitising companies have come up all around the globe to meet the current standards and a vast range of fashion wear. Digitising embroidery simply means creating fashionable and varied forms of embroidery by utilising computer generated software and applications. The digitising application is fed several stitch patterns or image files, which it stores, and processes into several files which are then read by embroidery machines to be sewn into perfect embroidered fabric. Embroidery digitising has vastly simplified the process of designing fashionable clothes, as the process employed is simple and requires minimum human intervention. The whole idea of creating your line of clothes seems much easier, faster and cost-effective than it used to be before. Today, people are actually thinking about designing their own clothes since the advent of digitising software and machines.
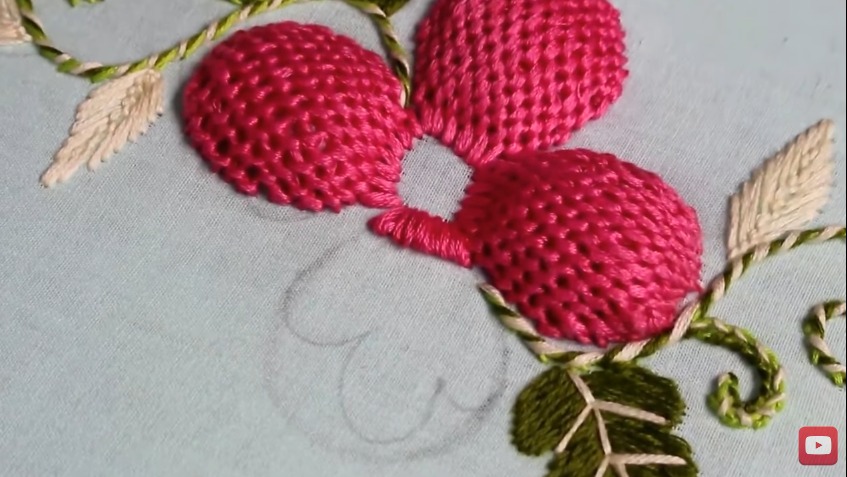
 The simple requirements of embroidery digitising are a computer-operated system, digitising machine and software, and design patterns. The designs employed can be self created or you can download the designs online or further manipulate them to give it your own personal touch. Embroidery digitising software can also be downloaded from the internet to help you in creating your own patterns. This way you can also boost your embroidery skills and come up with unique stitches that will never have common designs. With the simple instructions, anyone can learn the digitising techniques and it is far simpler than the complex hand embroidery techniques.
 Computerised embroidery has become popular over the years due to the low labour that is placed in its work and the high supply of quality clothes that are made out of it. Perfecting the art of embroidery manually is quite difficult but the digitised embroidery is almost always minutely perfect. Less effort and lack of wastage of time are added advantages. Manual embroidery requires an embroidery machine that is costly and but the cost of embroidery digitising is far less as anyone can easily buy the embroidery software and install them in their computer systems to create amazing embroidery patterns. The economics of selling yourself- designed clothes are also promising. Besides, one can also opt to sell their embroidery techniques, as there are several individuals and companies who seek quality embroidery designs and patterns.
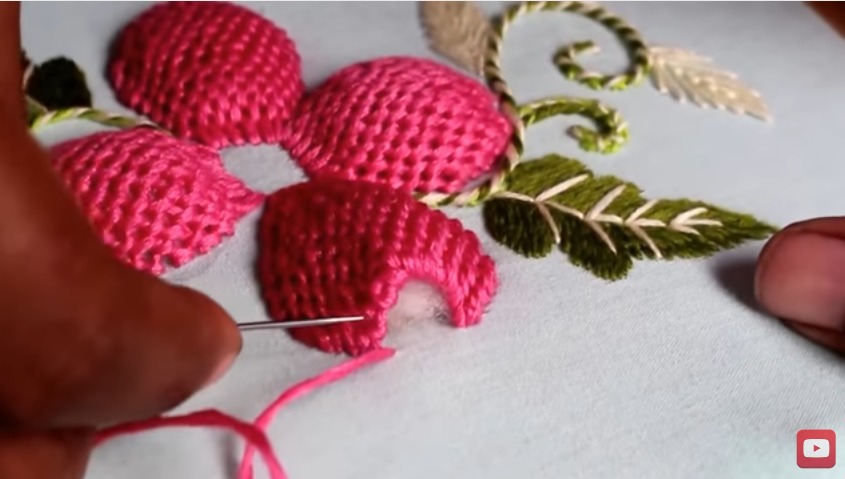
 There are many websites and online manufacturers who are regularly using digitised embroidery to create fabulous clothes. A lot of websites also sell their digitised patterns and have uploaded their finished designs for consideration. Today people from various fields are actually thinking about creating their own clothes and selling it online since the inception of digitised embroidery has made it all very simple. All in all embroidery digitising can be a good source of income and beneficial to a lot of people in future.
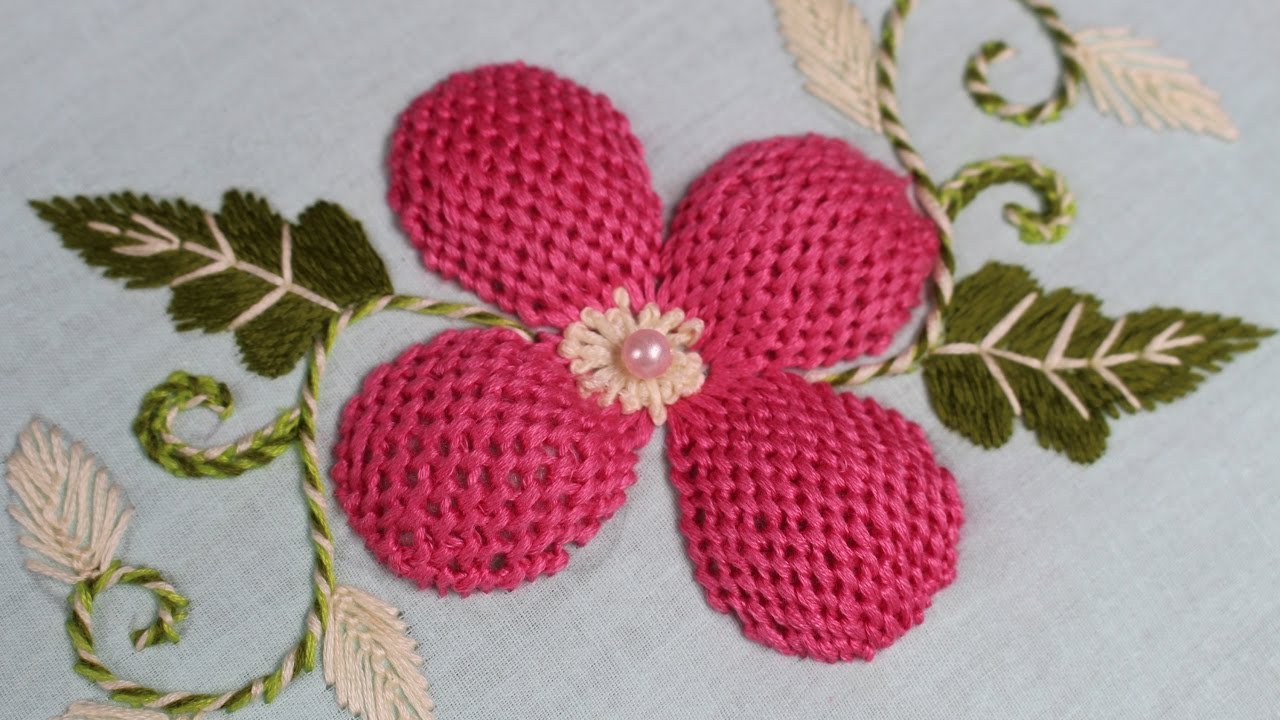
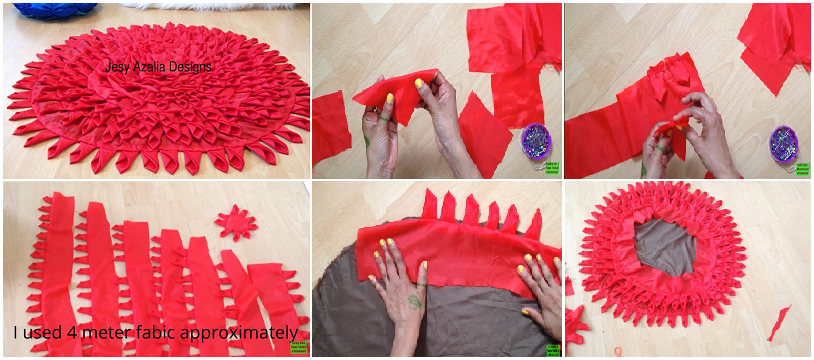
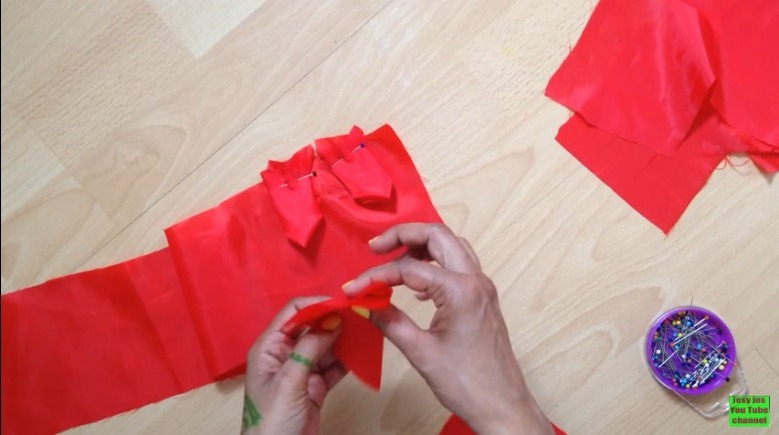
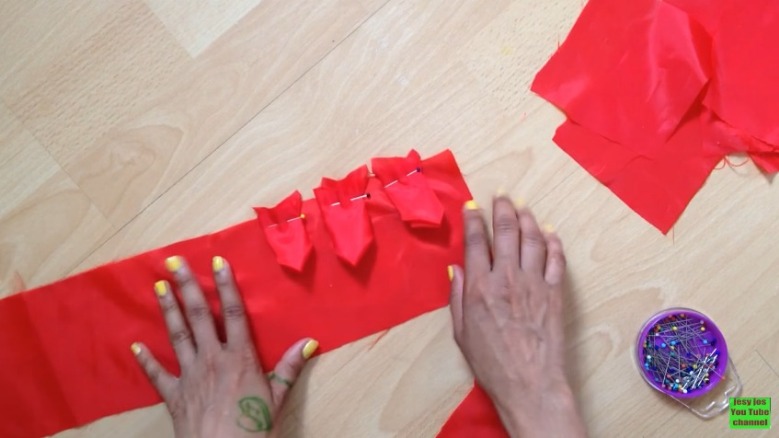
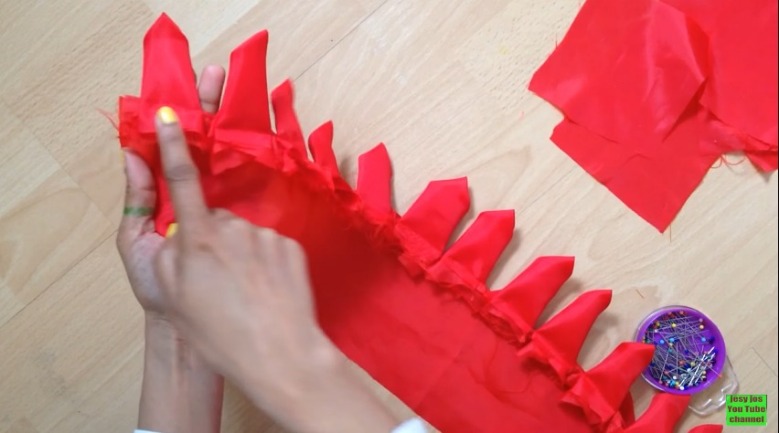
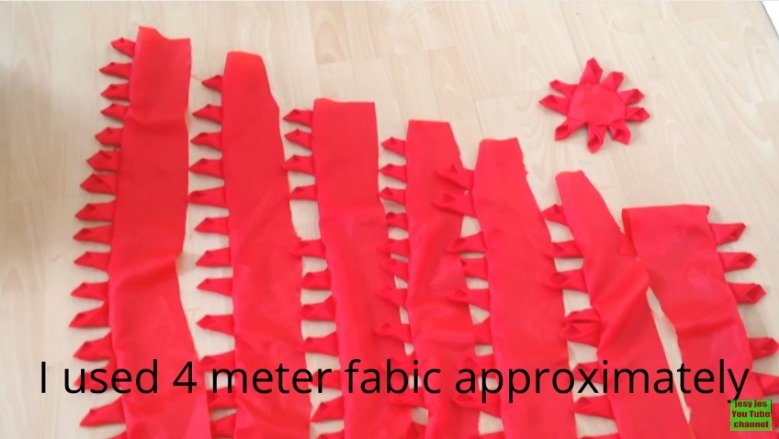
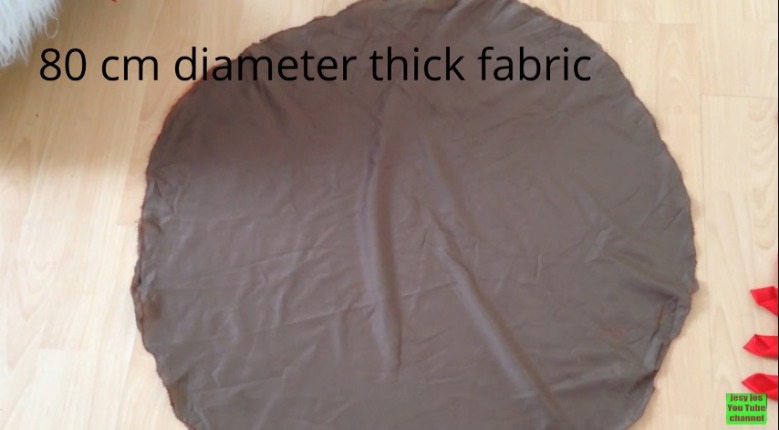
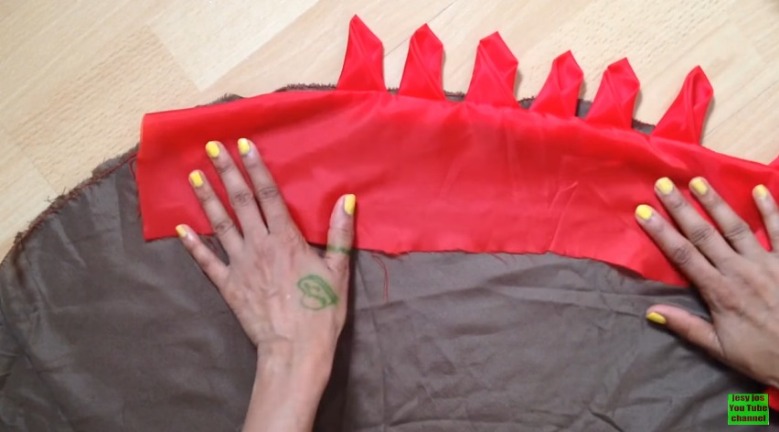
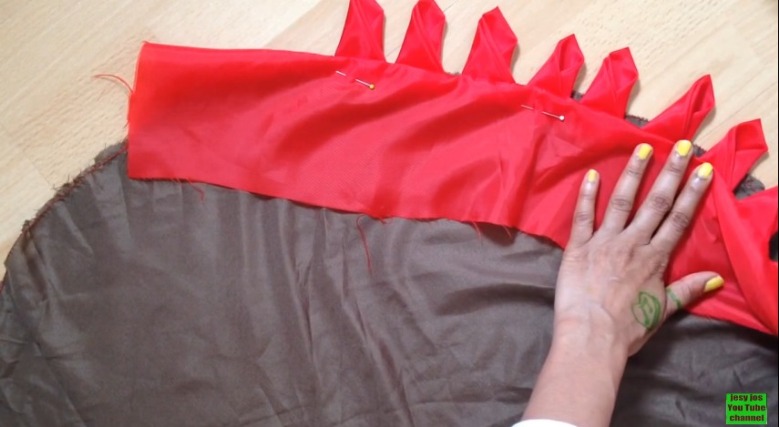
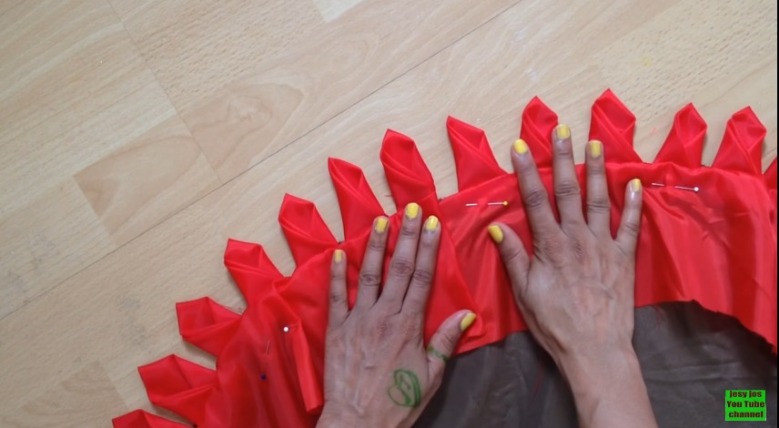
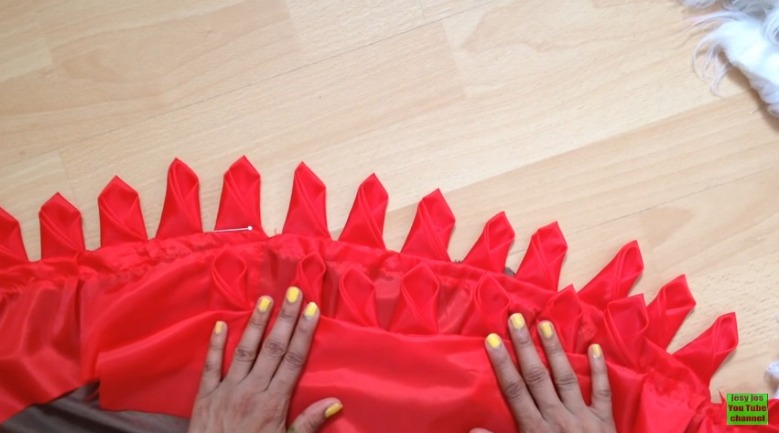
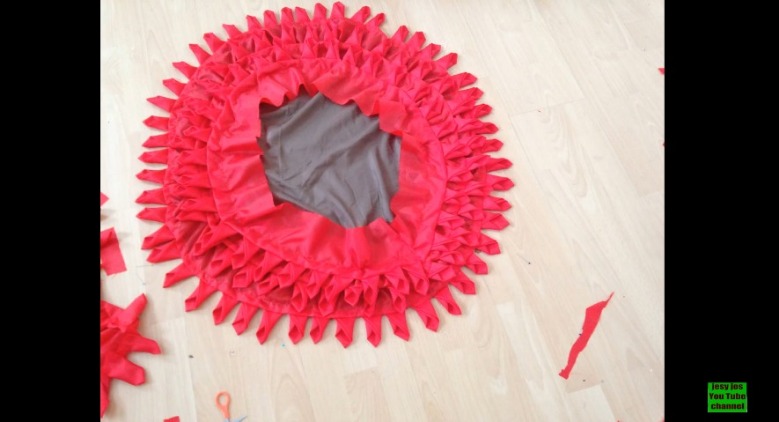
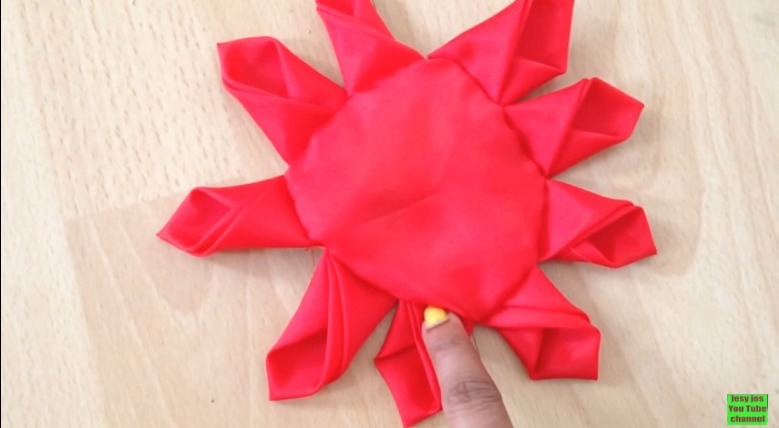
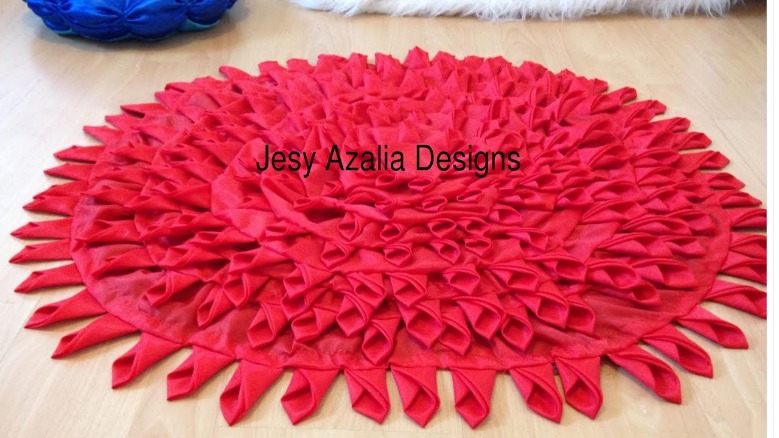
Floor mat using old cloth. DIY flower shaped rug from recycled fabric.
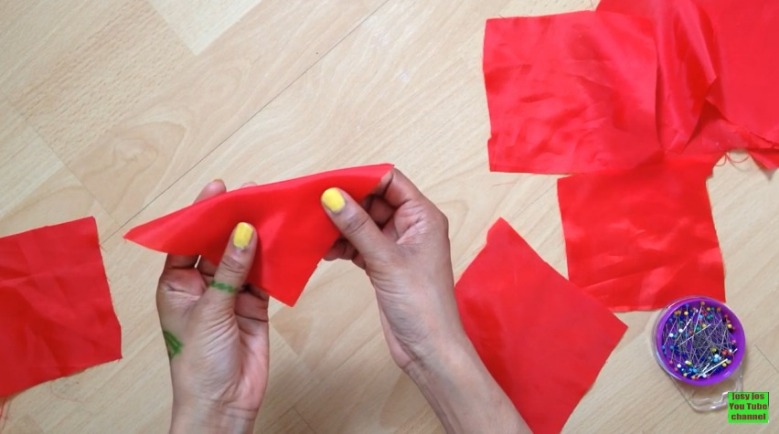
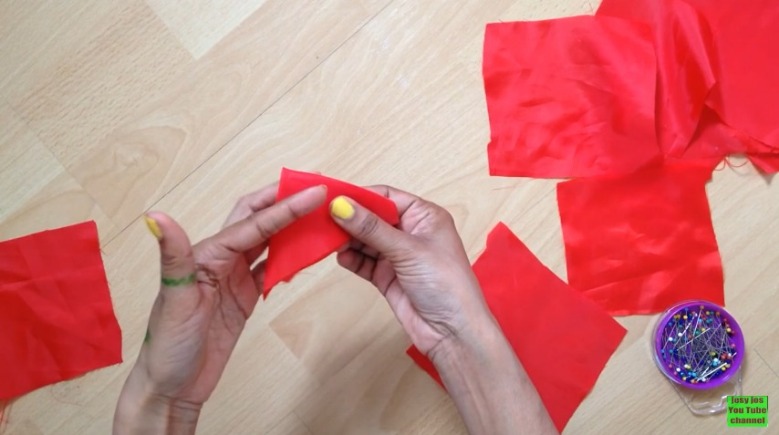
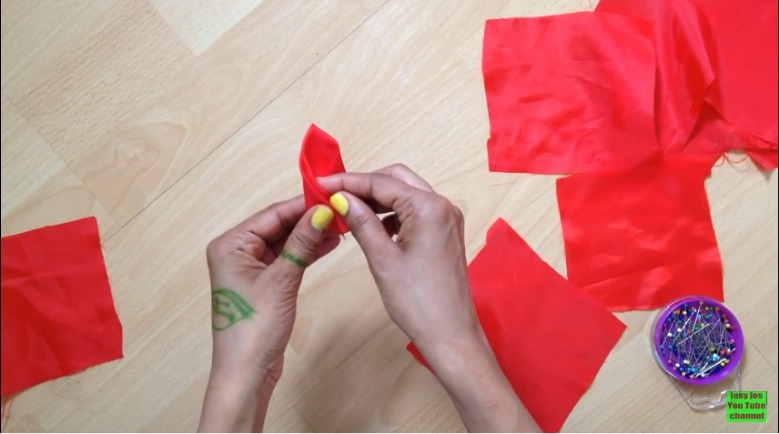
Video to share an idea to transform old fabric materials to a beautiful flower shaped floor rug.The square shaped pieces are 12cm/12cm.The long strips are 12cm in height and length can be any size which can be cut and arrange later. The circle shaped thick fabric can be any size according to the availability of total fabric you got. My rug size is 80cm in diameter.How to make mat at home with waste clothes. 


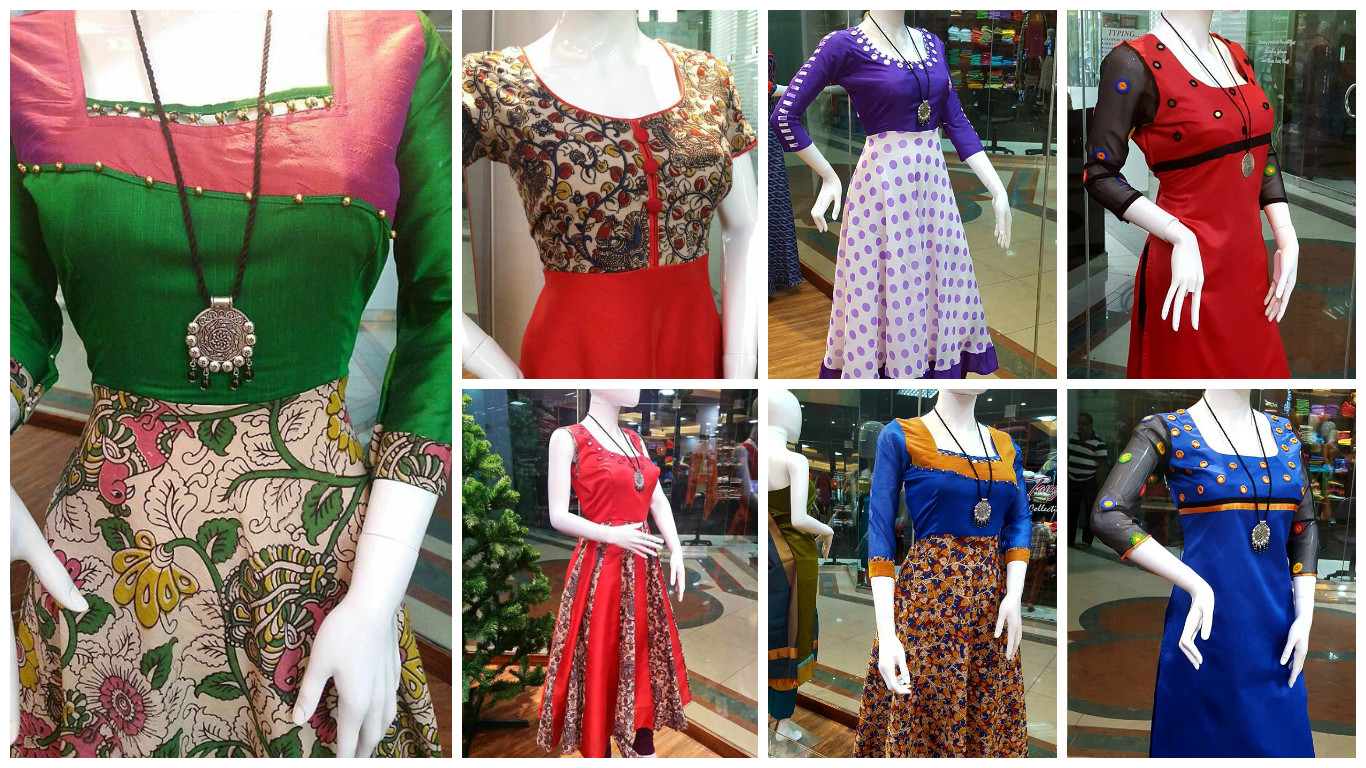
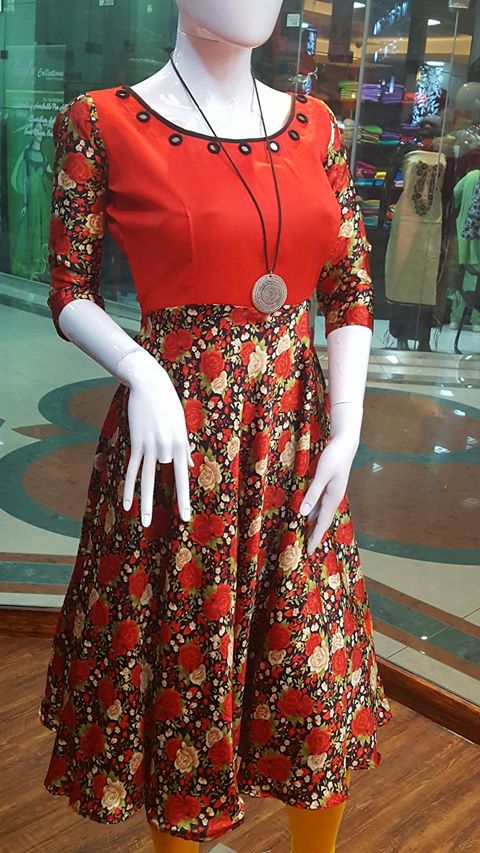
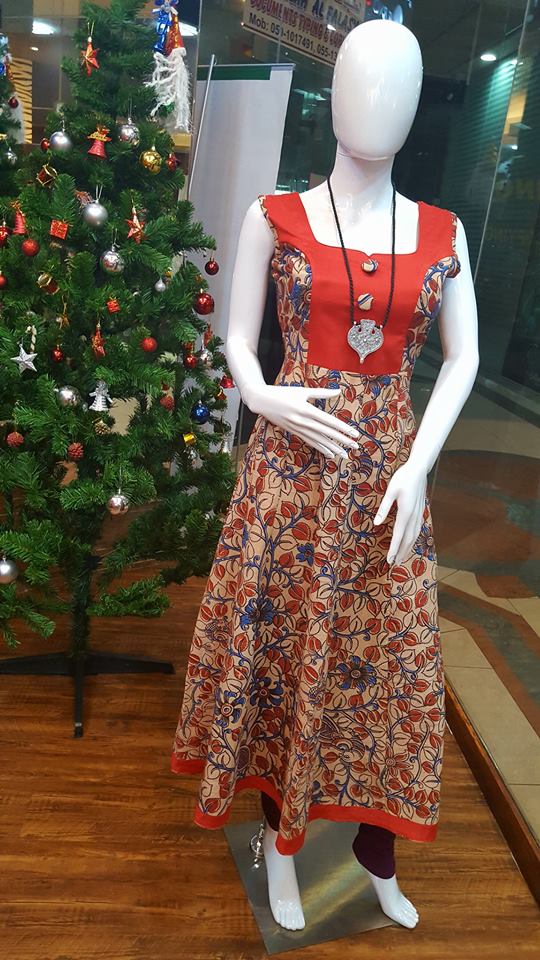
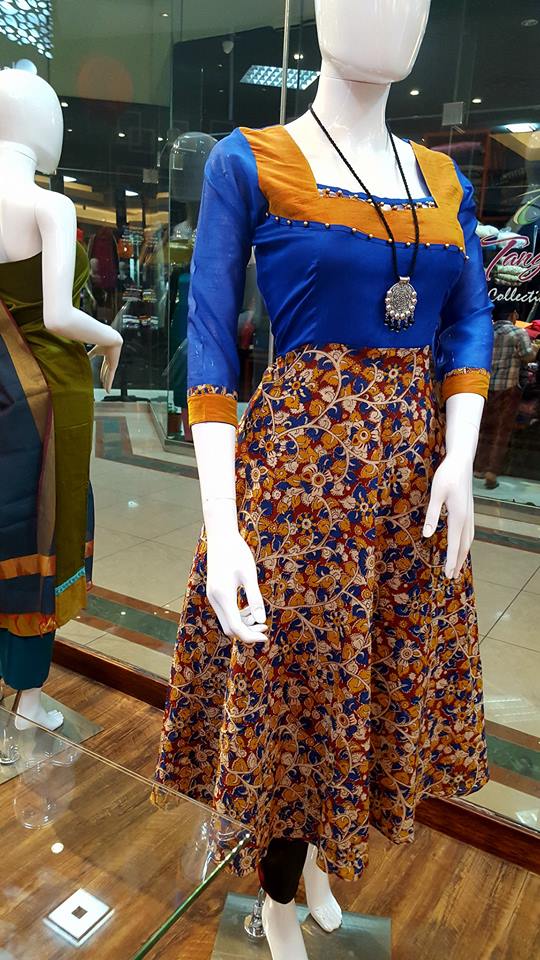
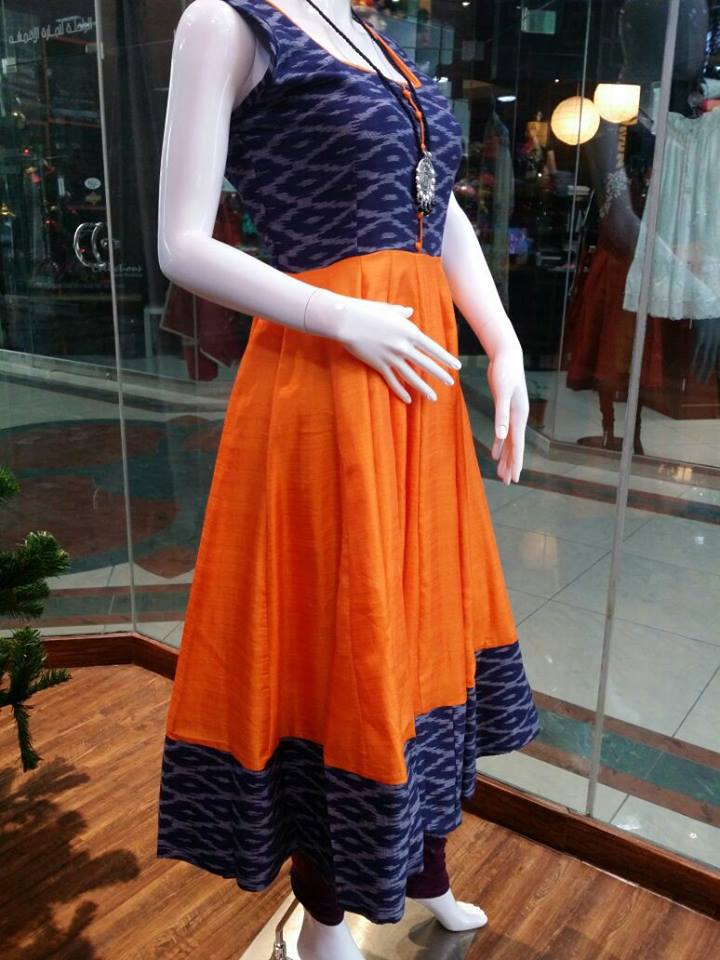
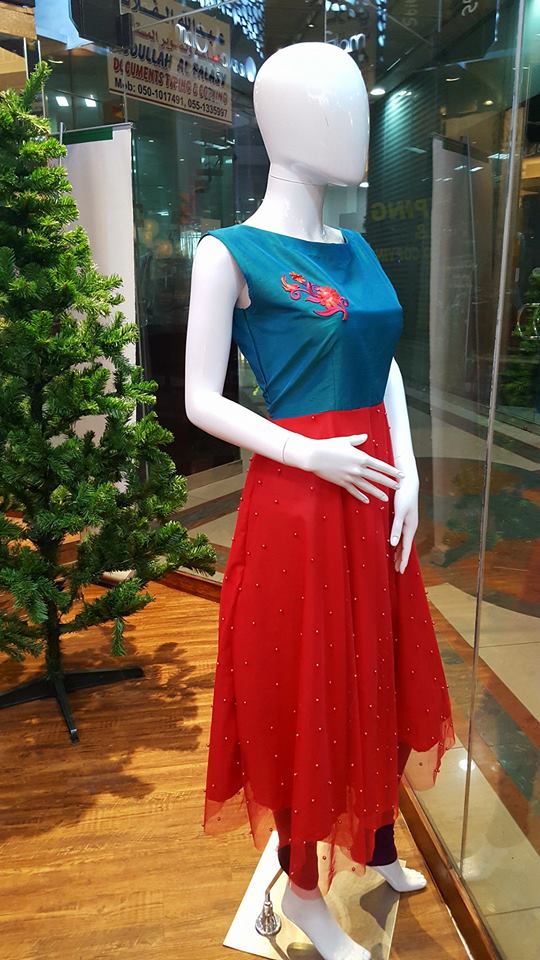
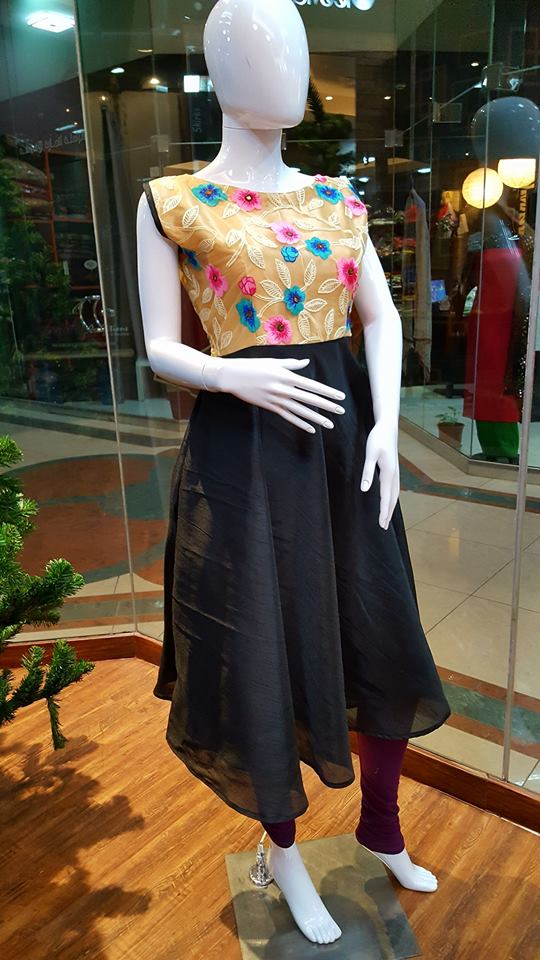
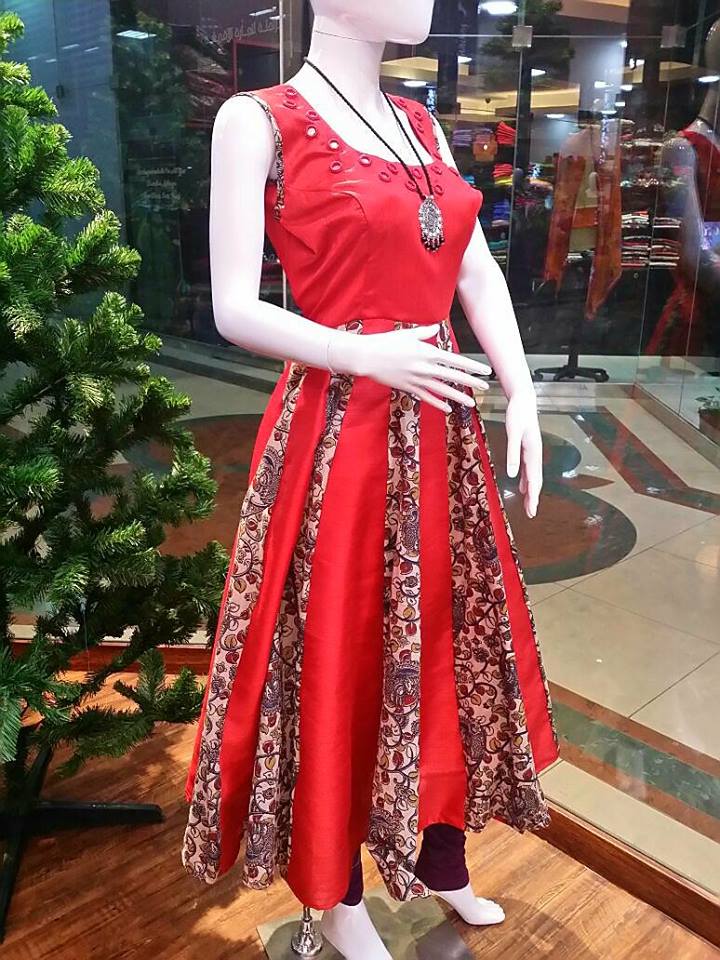
Kurti has become the women and girls most favourite style statement to look stylish with the charming traditional look. These classy yet trendy kurtas are so comfortable that you can wear them round the clock. The best part is that you can easily modify and customise Kurtis for different looks. Available in different styles and patterns, kurta is first to picked of college going girls, working women, social women as well as of housewives for any occasion. Fashion designers are trying to keep pace with the growing popularity of kurtas and find endless options to design kurtas according to the latest trends. As a result, wearer gets ample choices, from ethnic to indo-western style with different patterns, cuts, and designs. Some popular types of Kurtis are mentioned here; just have a look and you will get smart ways to look best in all avatars.

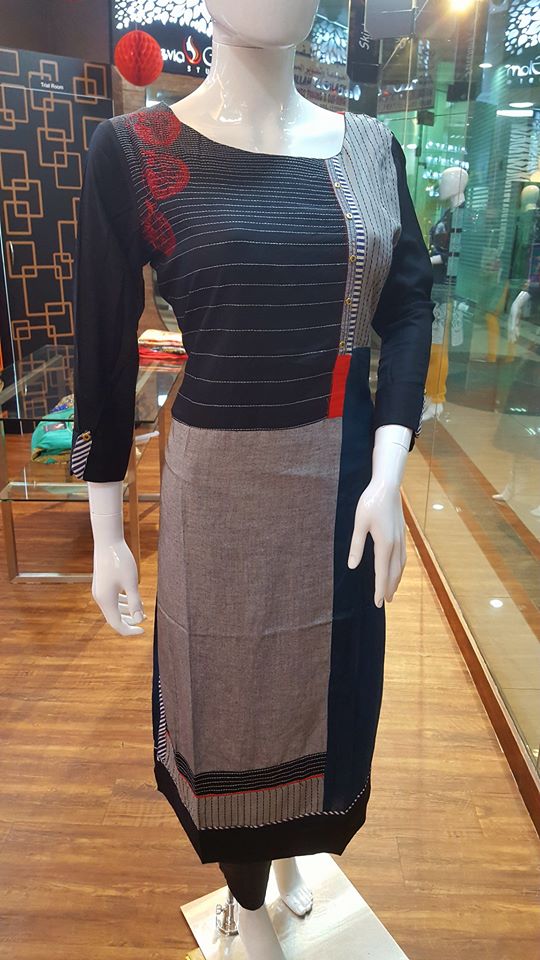
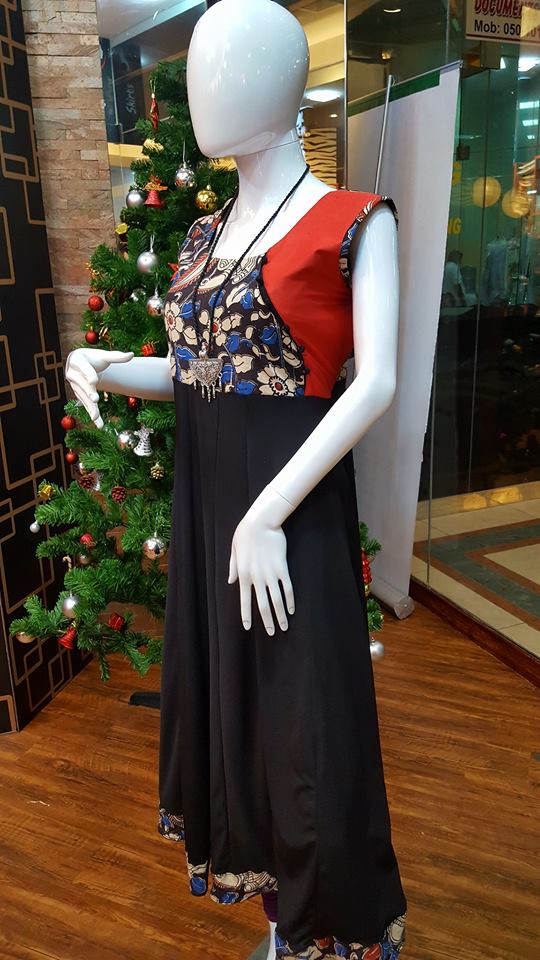
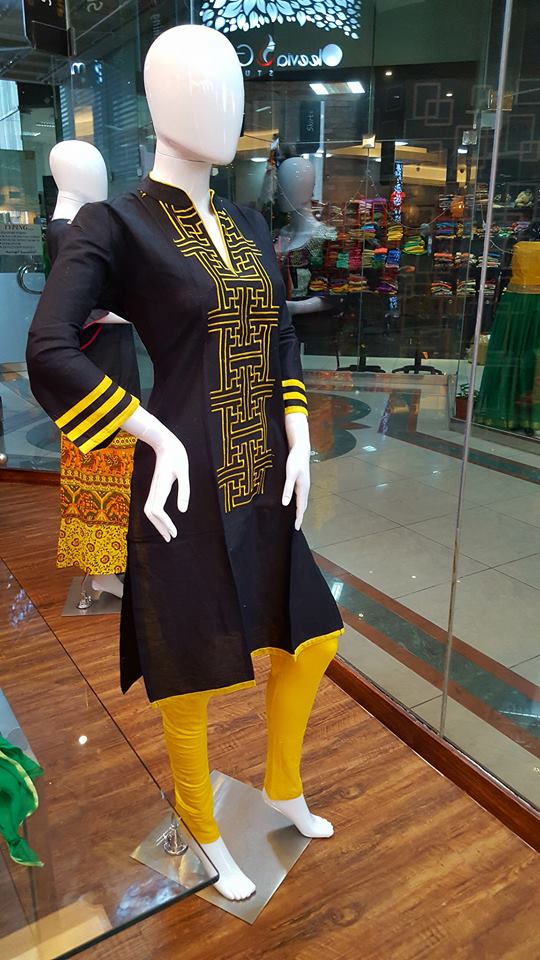
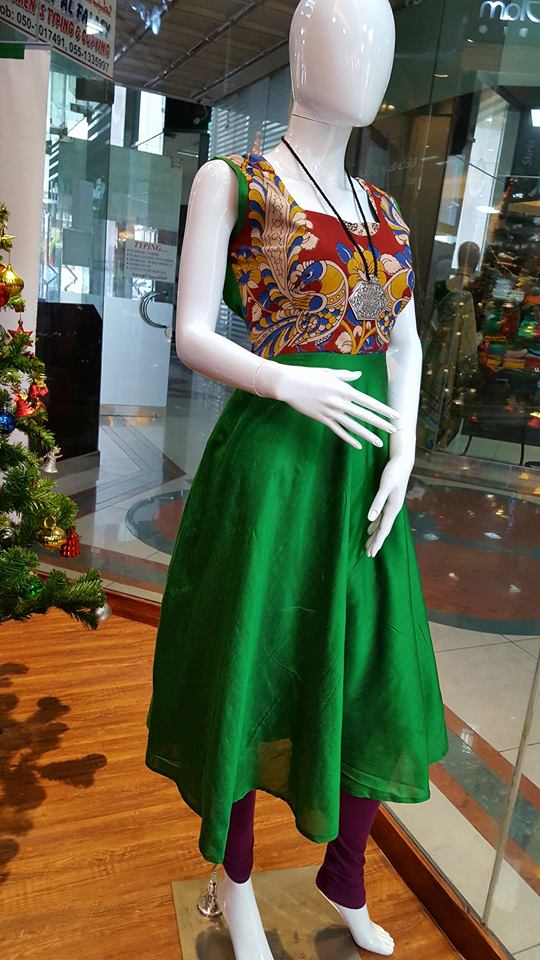
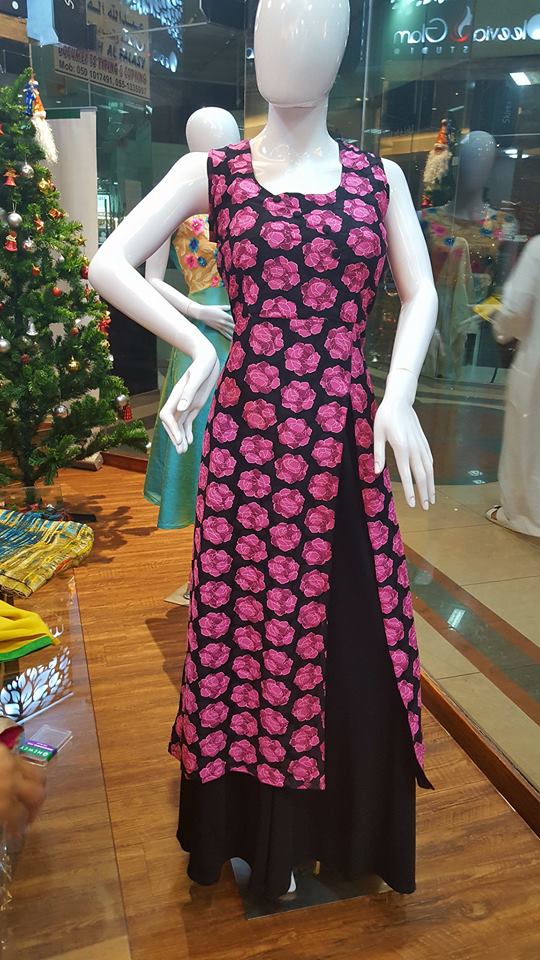
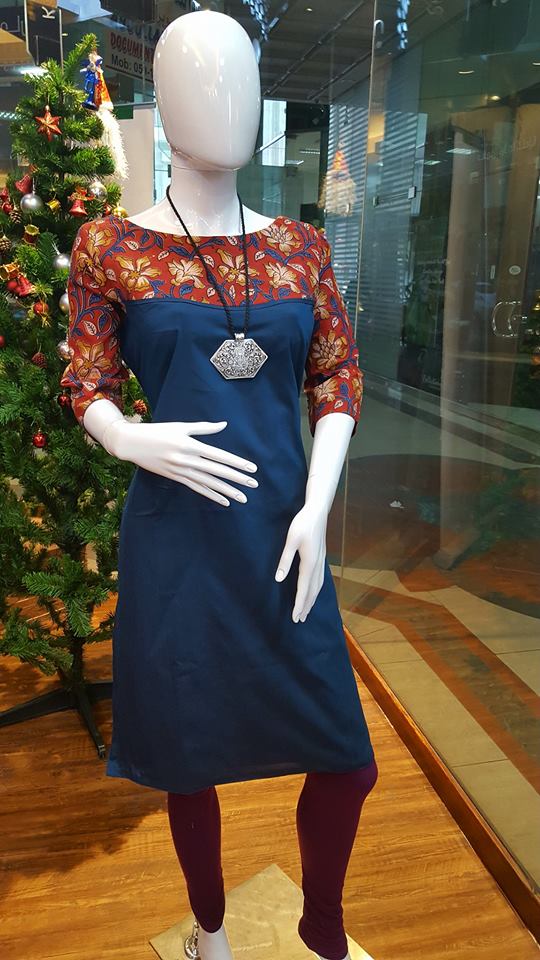
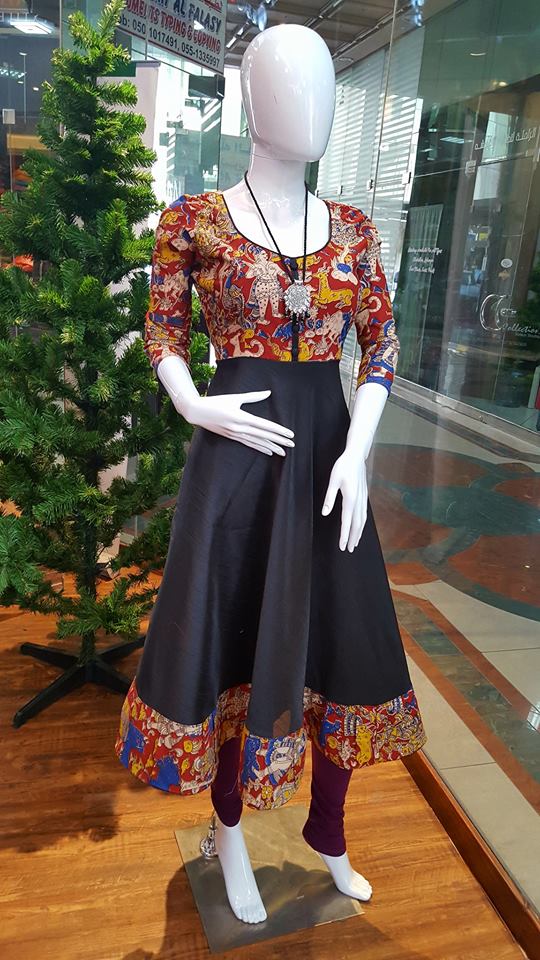

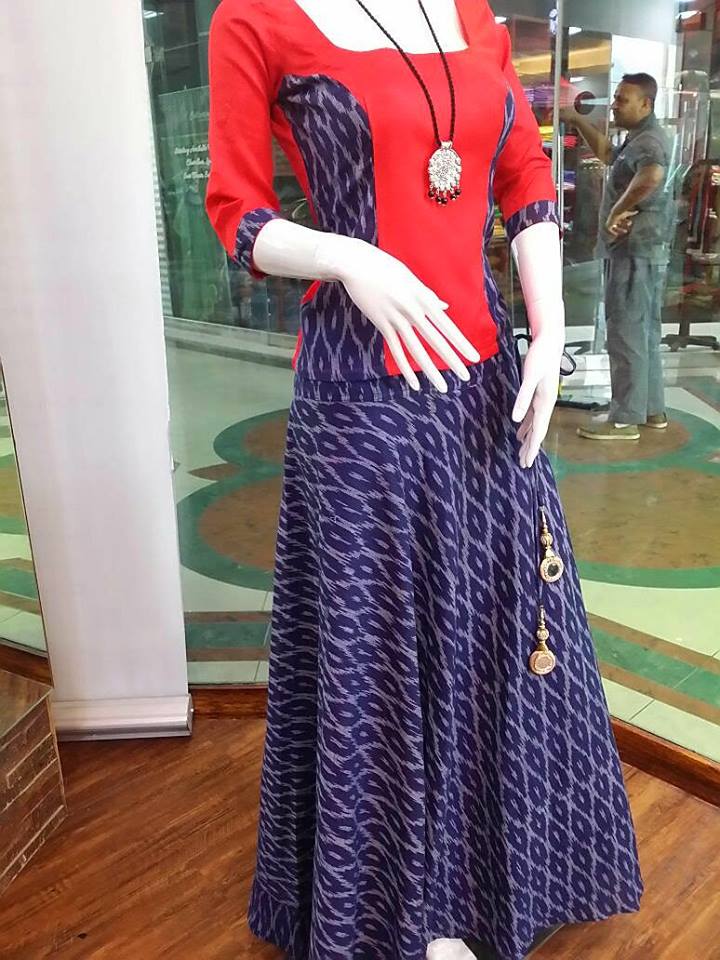
Courtesy: Oleevia fashion


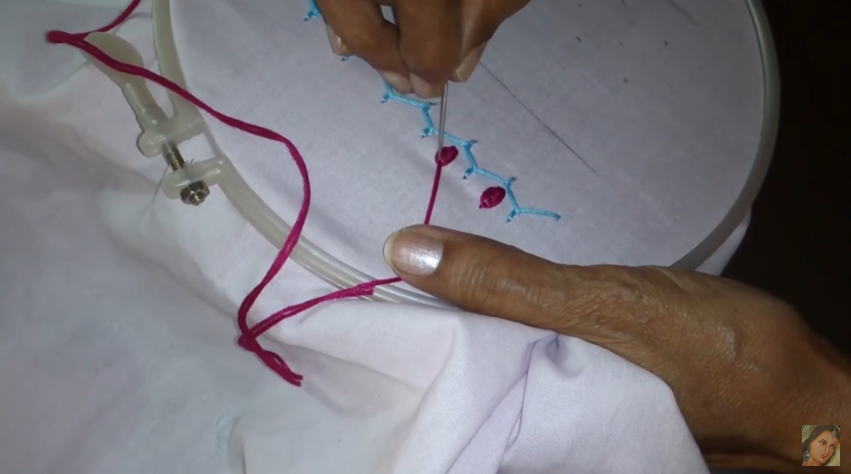
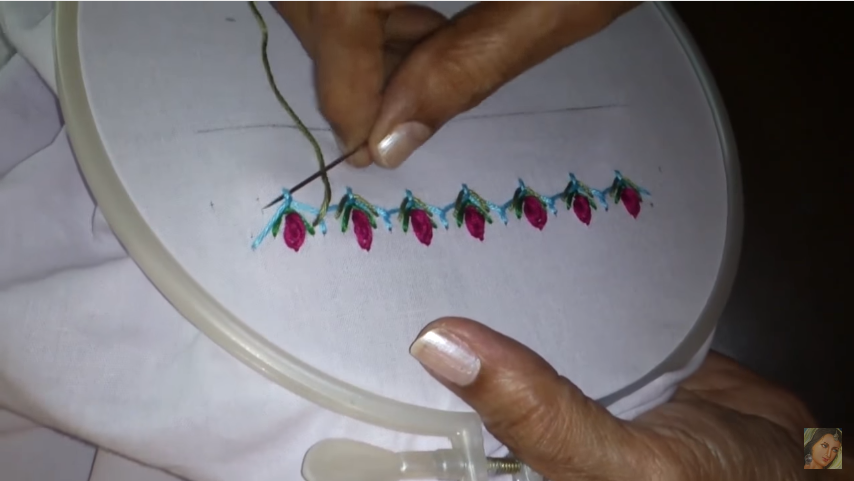
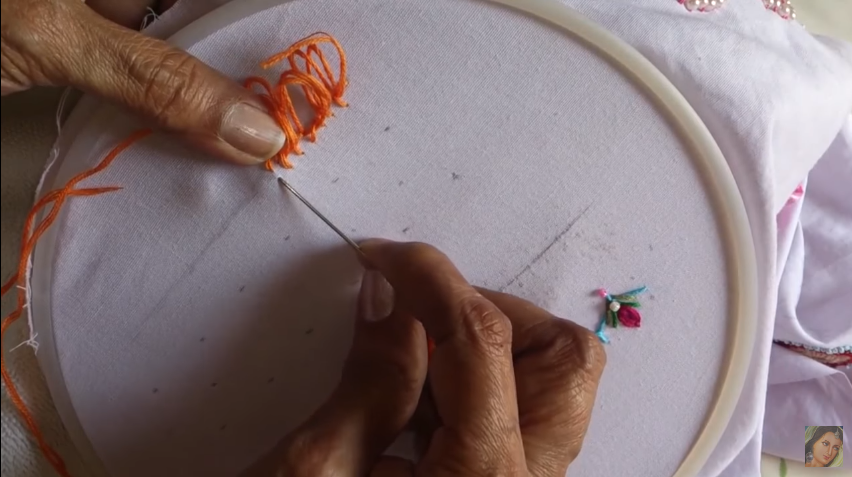
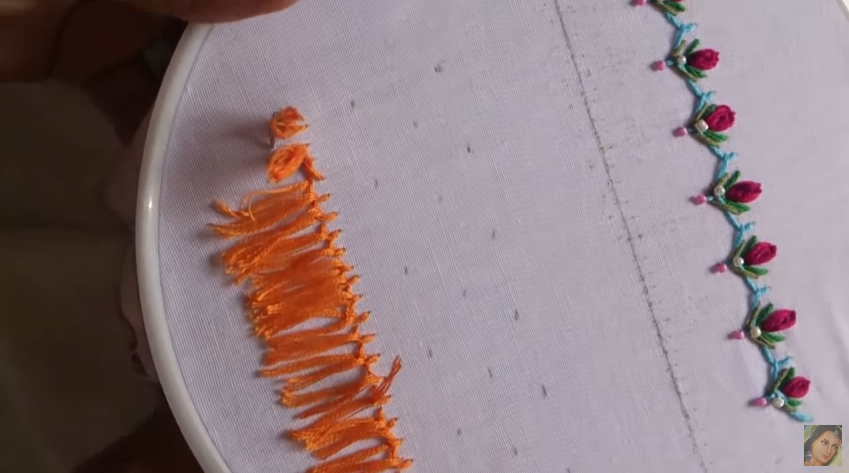
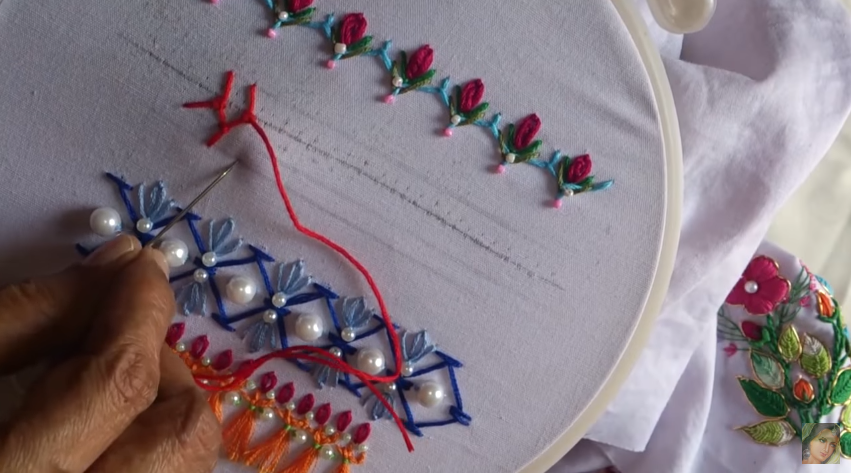
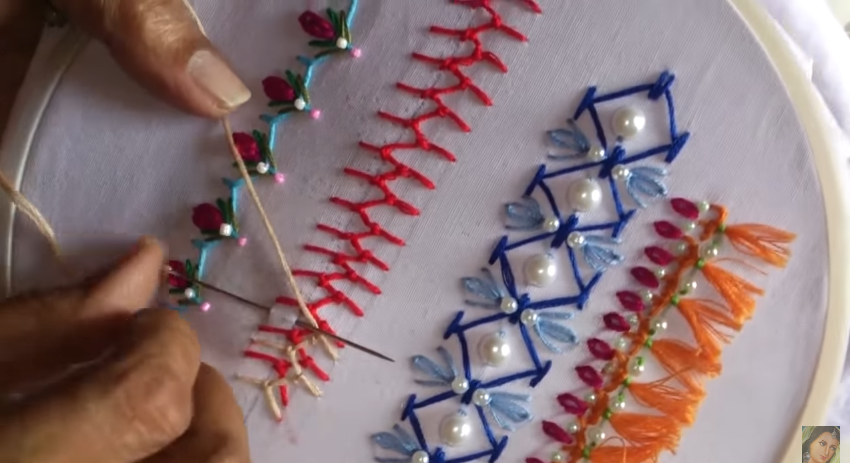
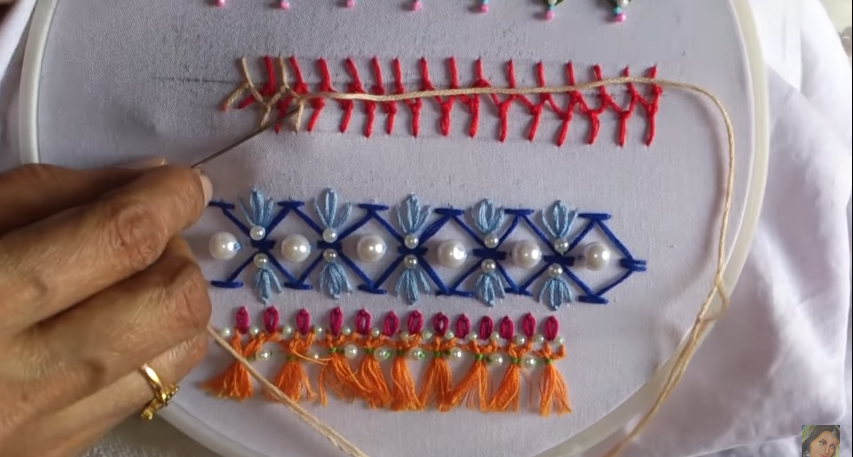
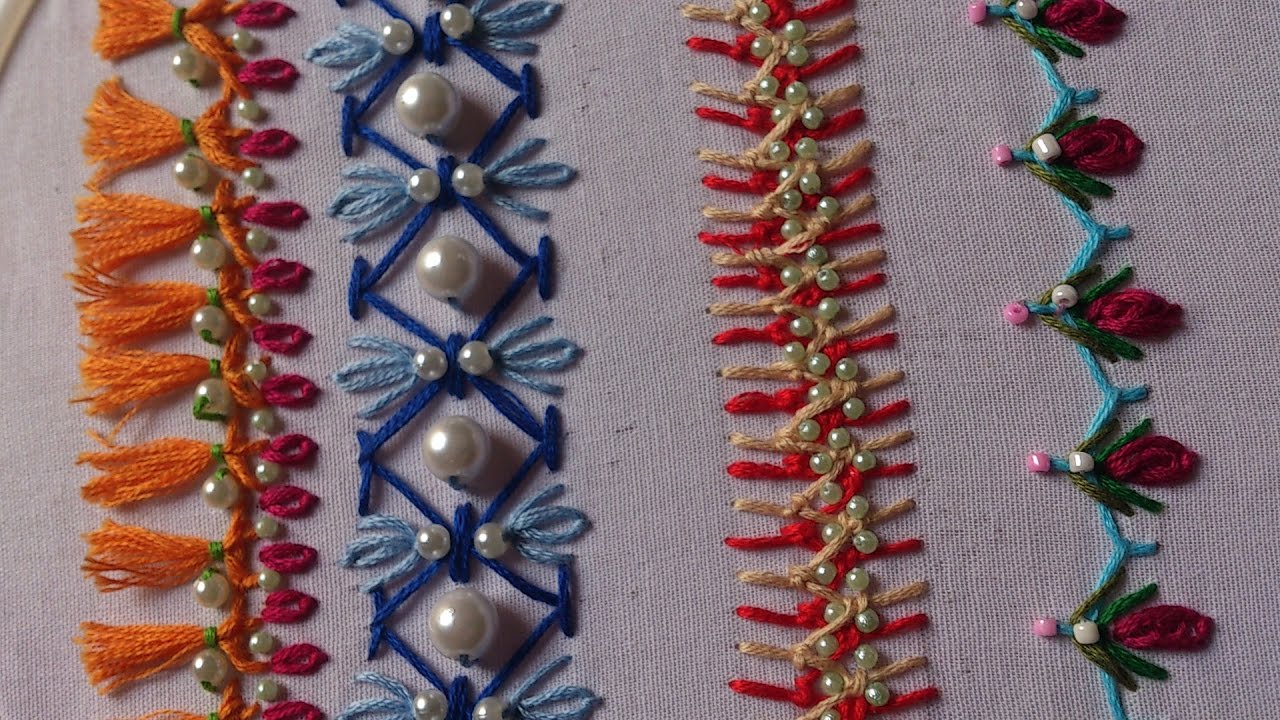
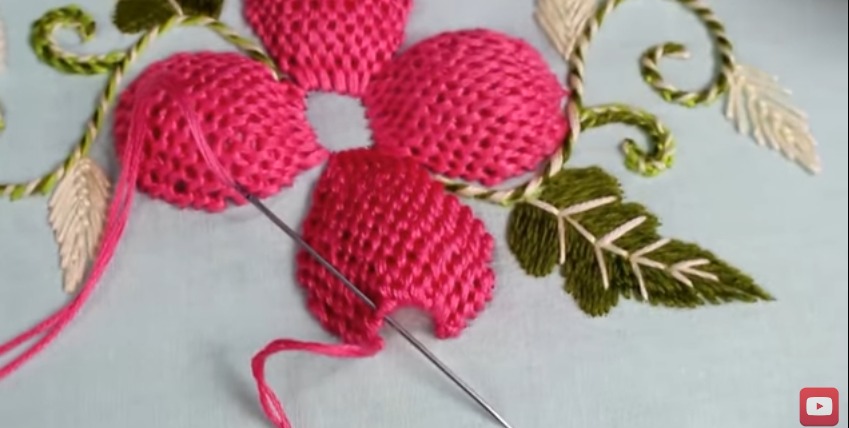
Learn basic hand embroidery stitches, and use them in a creative way: