DIY Beautiful And Easy Spoon Sunflower:
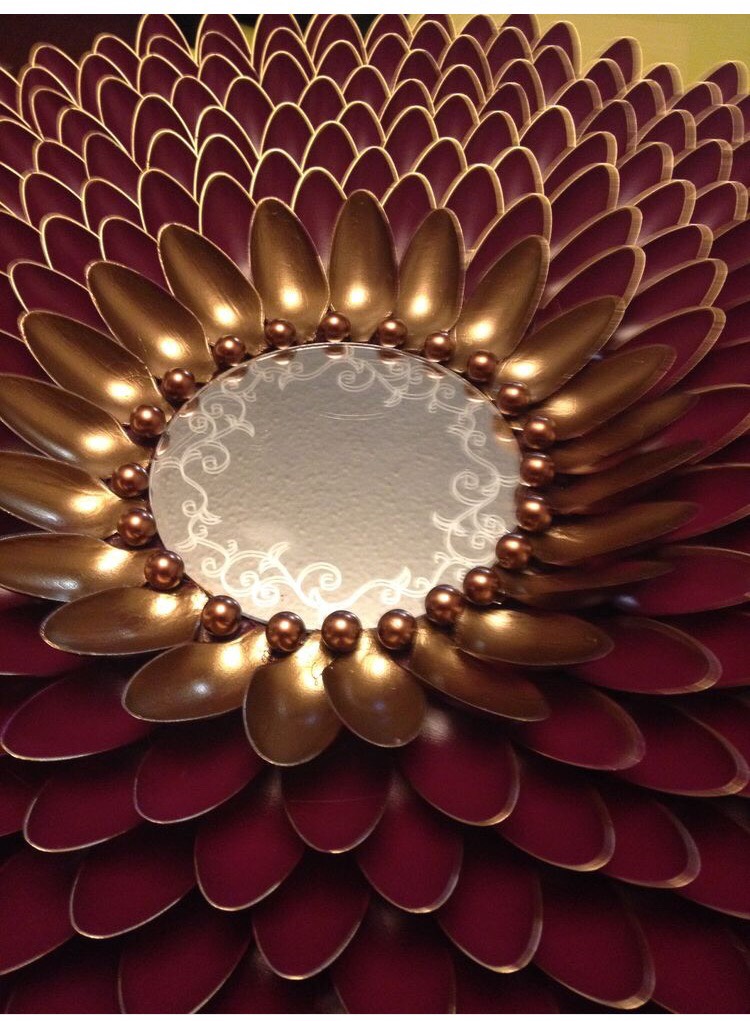
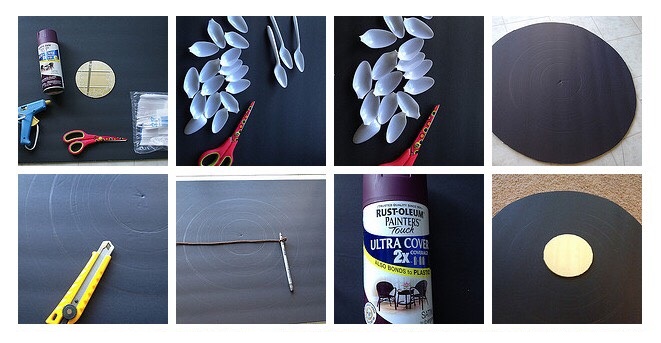
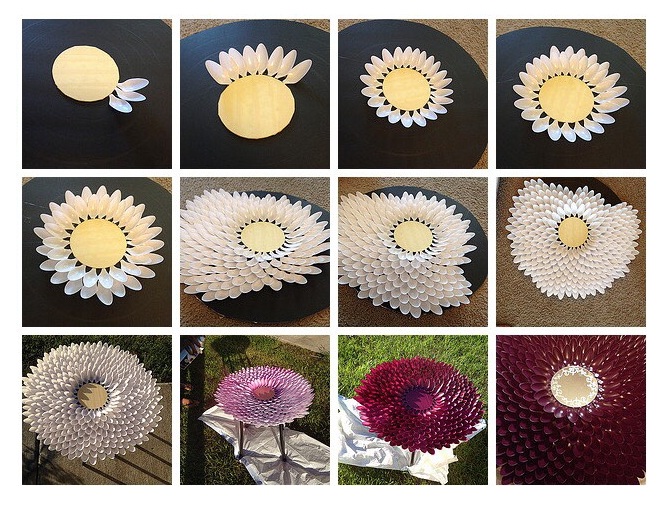
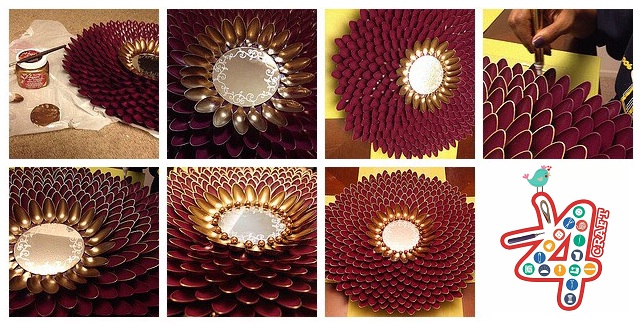

courtesy: musely
Get Daily Art and Crafts Ideas & Tutorials…
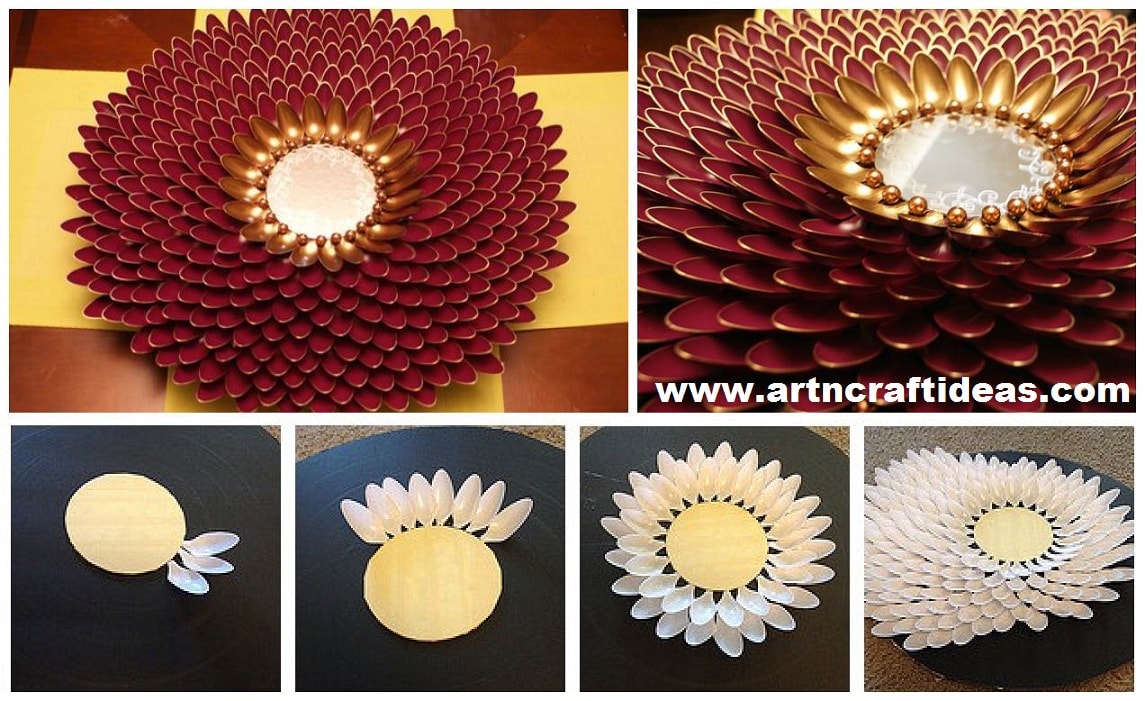
DIY Beautiful And Easy Spoon Sunflower:
courtesy: musely
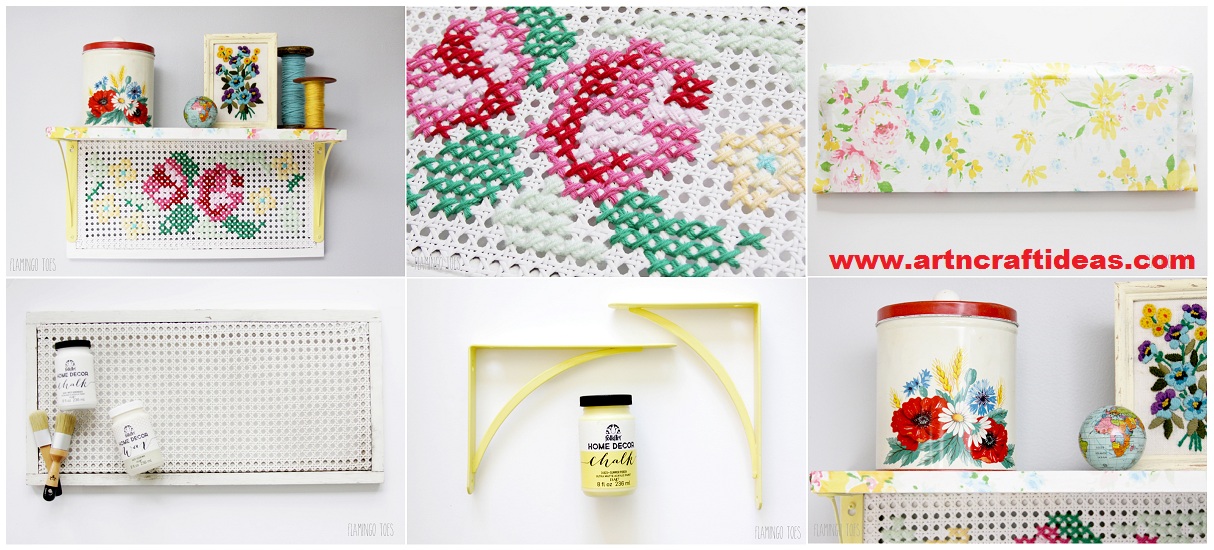
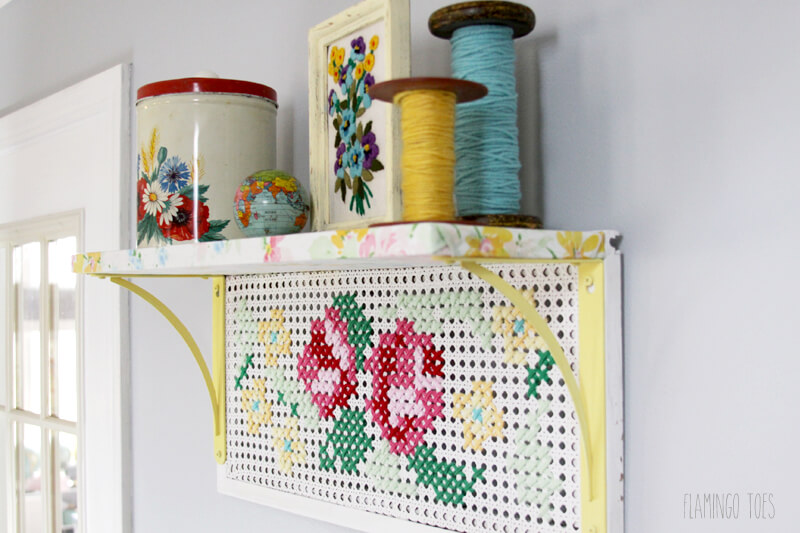
Here’s how to make this vintage cross stitch shelf! (I know you might not find a shutter like this, but you can use these steps to create something similar with other vintage finds!)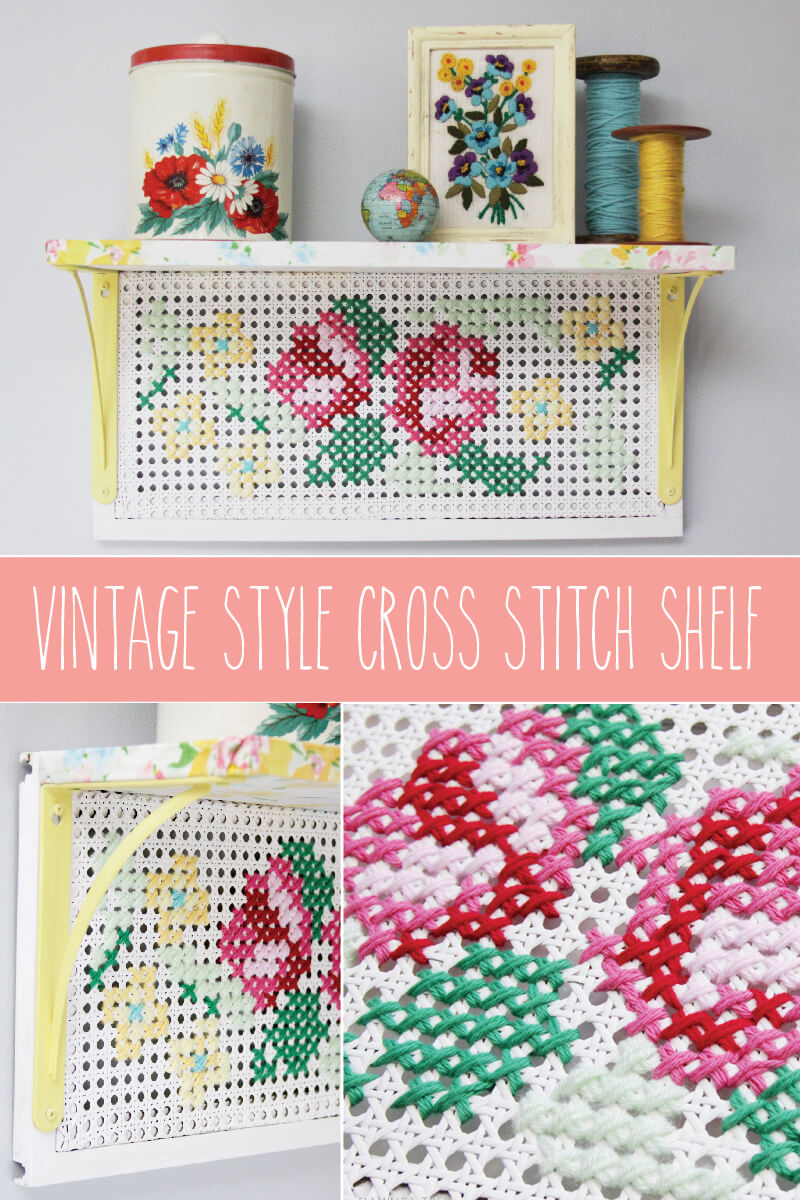
 I started with this old cane shutter. It was white and kind of chippy, but kind of dingy too. I wanted something a little less “worn” looking.
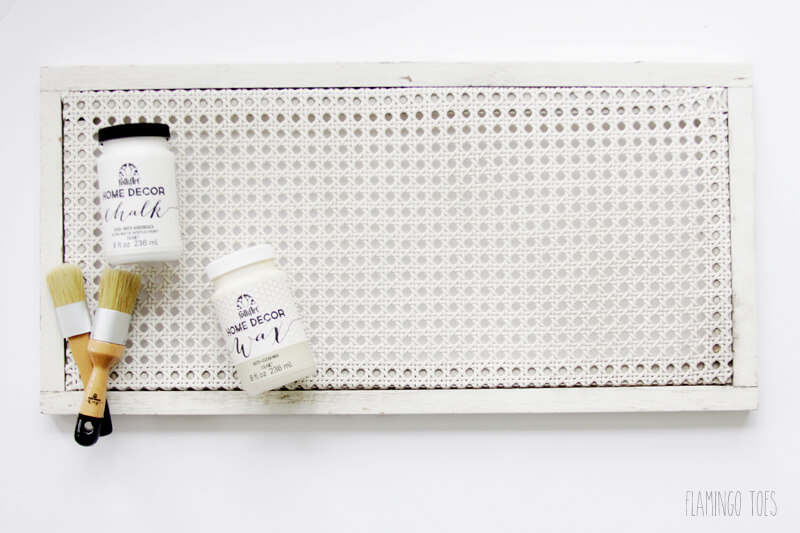 I gave the whole thing a coat of Folk Art® Home Decor Chalk in White Adirondack. It only took one coat, I just wanted to freshen things up. After drying I brushed on the wax and now it has a pretty sheen too. Yay!
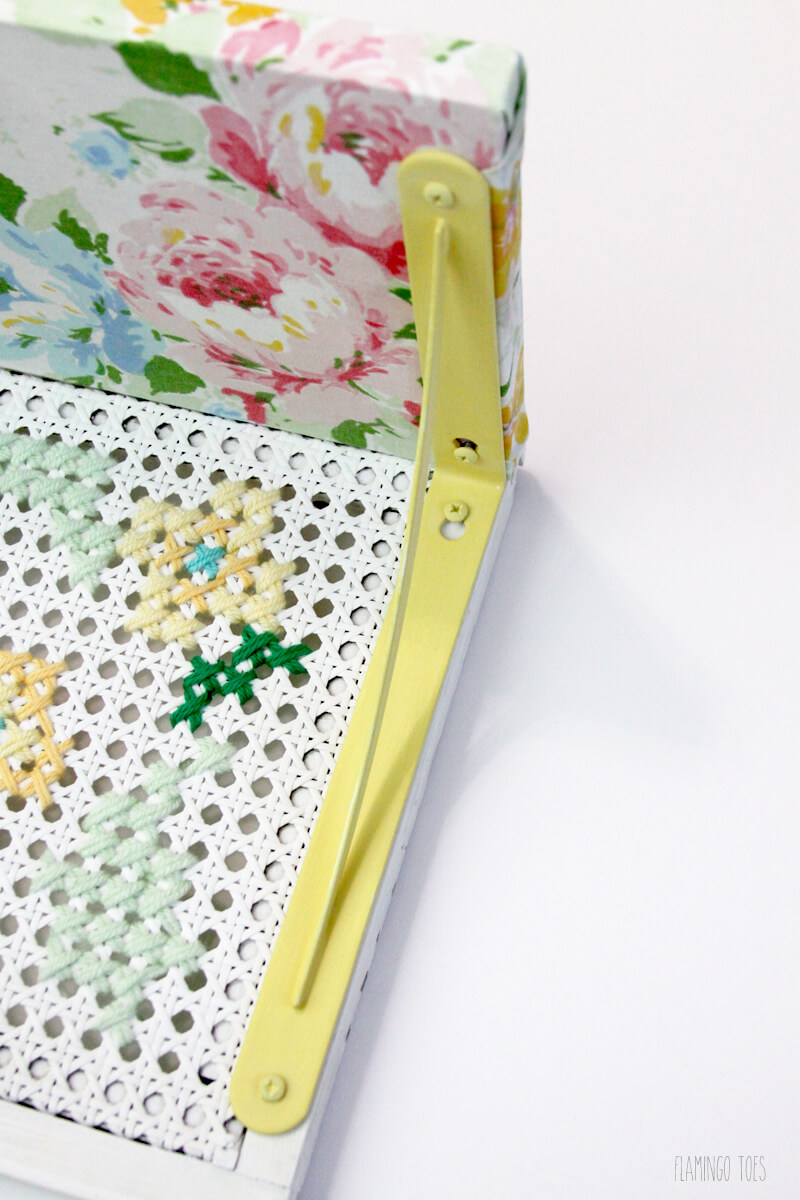
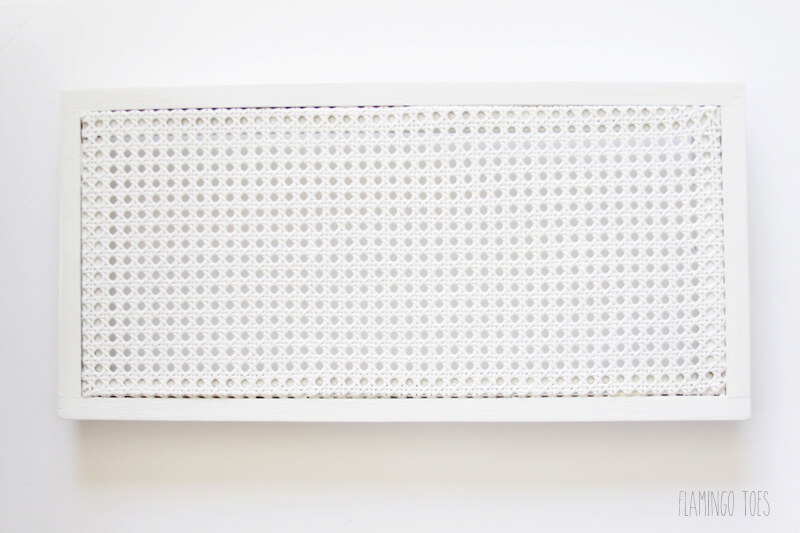 I couldn’t find brackets in a color I liked so I picked up white glossy metal brackets and painted them with the Folk Art Home Decor Chalk in Summer Porch. It’s the most delicious color of yellow. They got a coat of wax too.
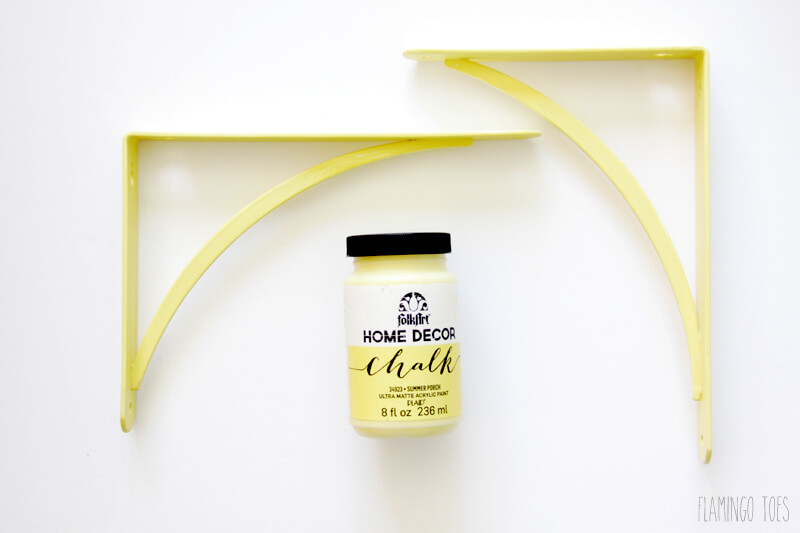 I knew that I wanted to use a light floral sheet to cover my top shelf. I cut a length of 8″ wide pine to the same length as my shelf. I covered that in one coat of the White Adirondack as well. I didn’t wax it though, since it was going to be covered with fabric.
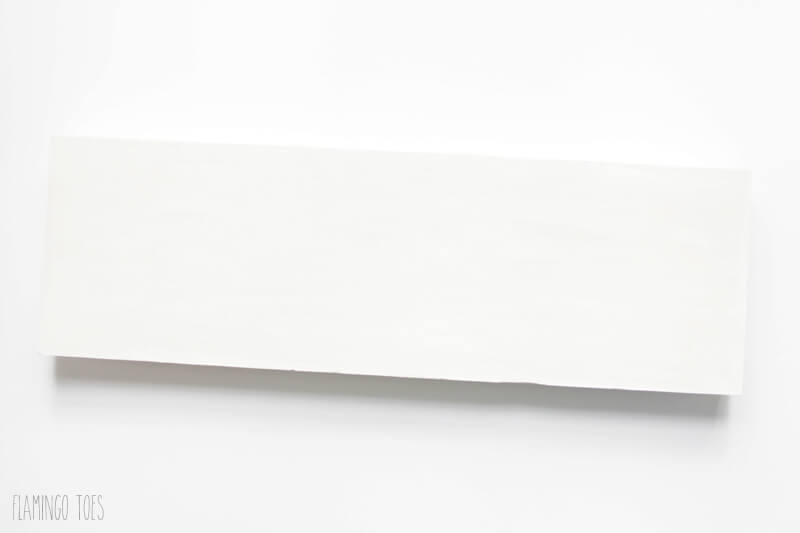
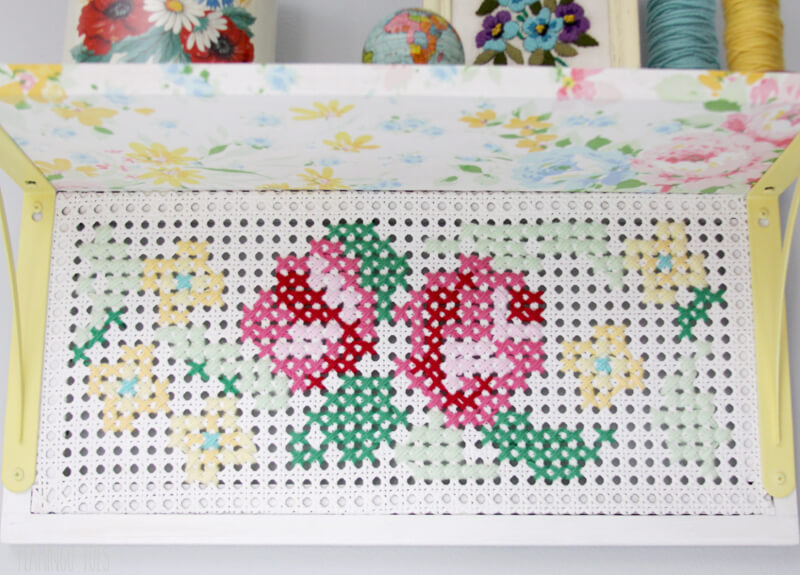
Now it was time to start stitching! I have a free cross stitch pattern for you here – you can use it on something similar or even on a regular cross stitch project.
I used two strands of yarn on each stitch, since the cane was so big one strand of yarn didn’t fill the space enough. Cross stitch just as you would on fabric, but try to keep your yarn on the back from showing through the cane.
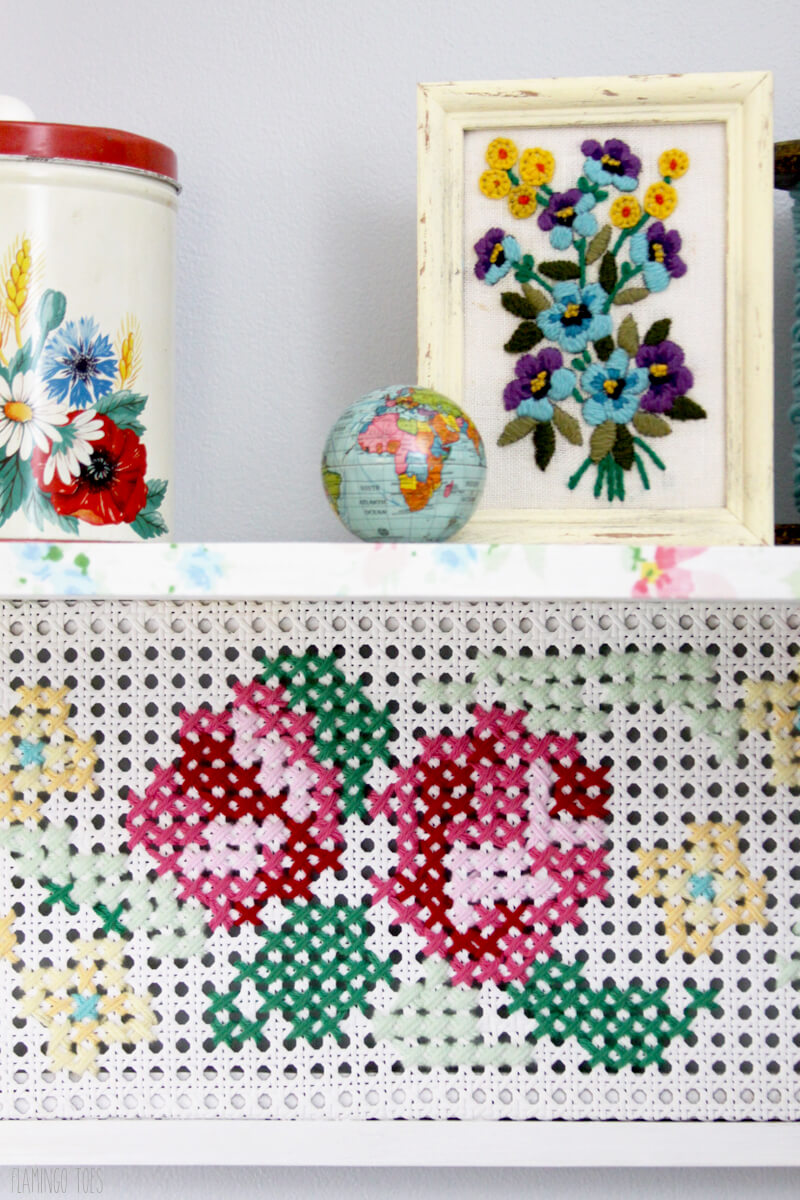
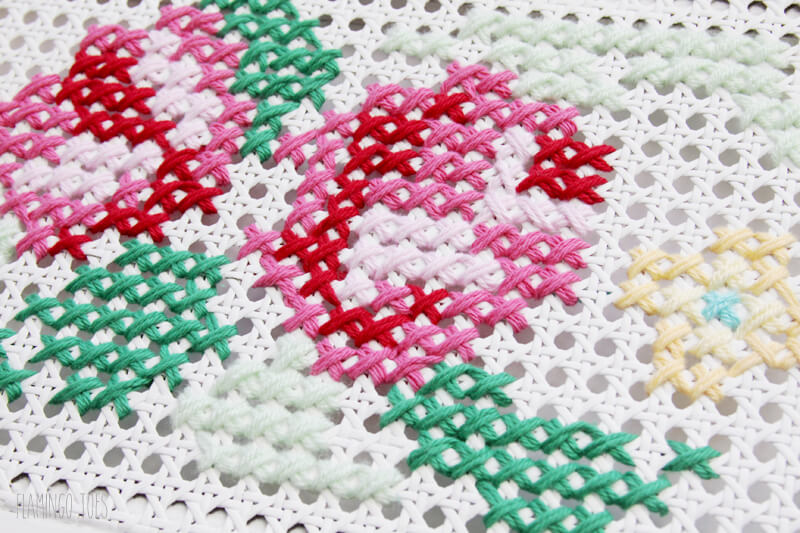 I stitched a floral pattern in colors similar to the fabric I was using on the top of the shelf.
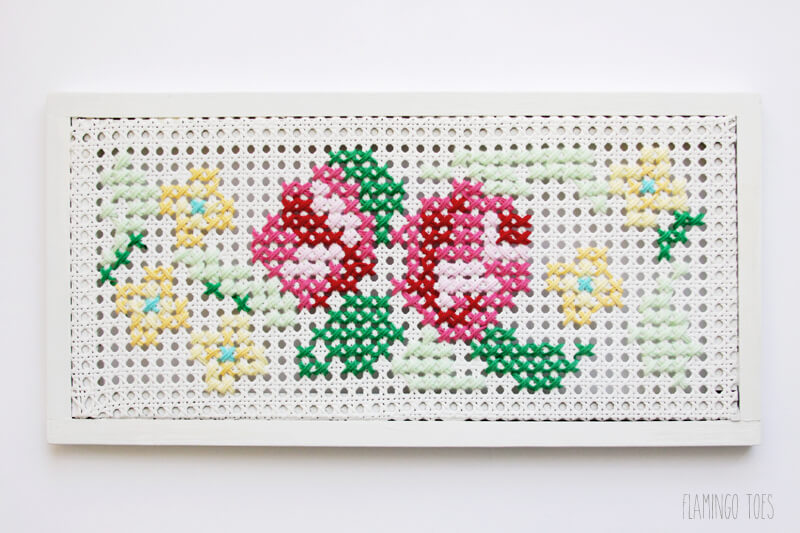
So fun right?
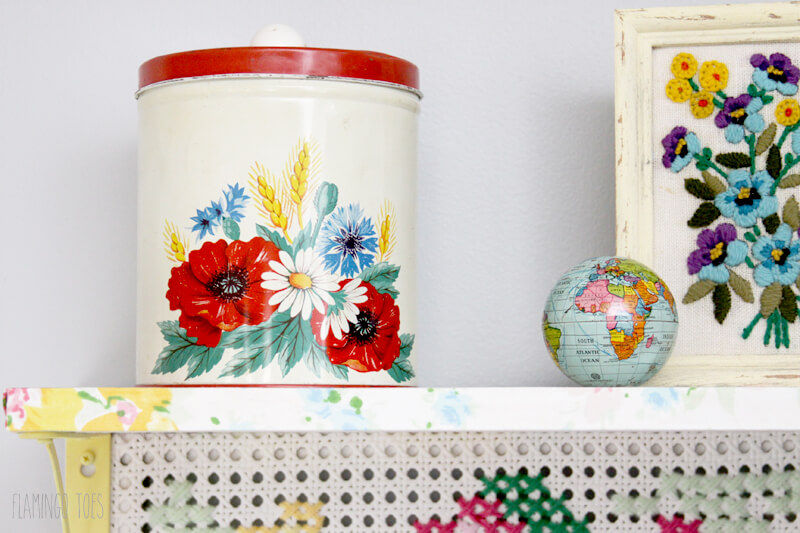
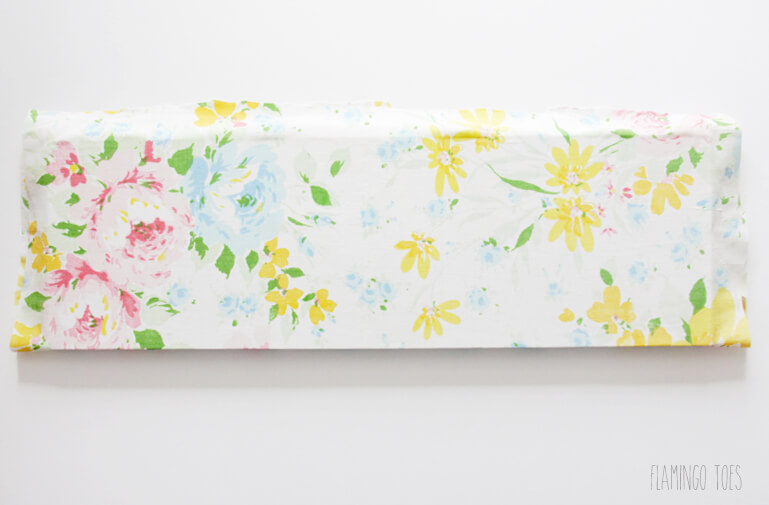
Onto the top shelf! To cover the shelf I cut a section from one of my favorite vintage sheet patterns. I cut it so that it would overlap on the back and sides just a bit. To cover the shelf, apply a layer of Mod Podge on the top portion of the shelf and lay the fabric in place. Smooth it down so there are no wrinkles.
Repeat for the front edge and bottom of the sheet, once the top is dry. Trim the back edge so that the fabric will overlap on the back side, without wrapping around to the bottom or top. Mod Podge the back edge down as well.
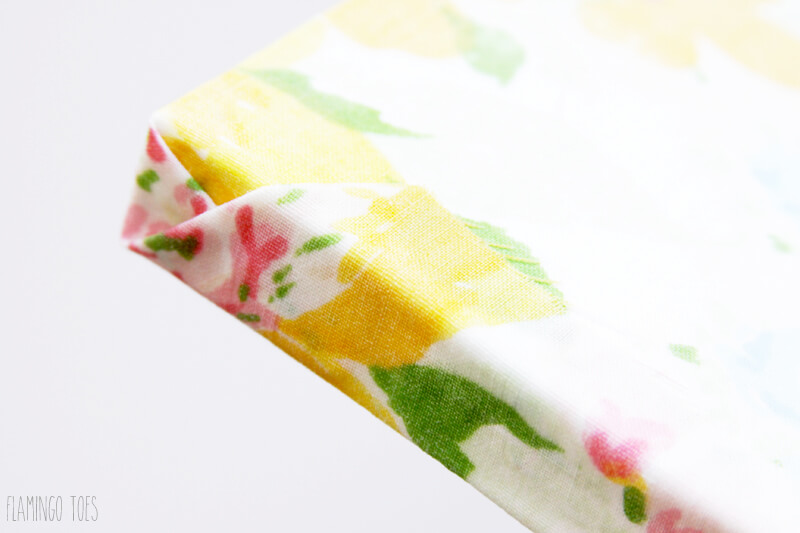
For the sides, I trimmed the fabric so the bottom didn’t cover the whole short side and mod podged it down. Then for the top and sides, I folded them envelope style and wrapped them around to the bottom. I trimmed the fabric so the edge would be covered by the bracket. That way everything looks nice and tidy and you don’t have any raw edges showing.
Once everything was dry it was time for assembly!
I placed the shelf on the shutter and marked the bracket holes with a pencil. For the underside of the shelf, I trimmed off the fabric in a circle around the mark with an Exacto knife and removed the fabric so it wouldn’t get all twisted up with the drill. I screwed the bracket in place and covered the screws with Summer Porch paint to make it all blend together.
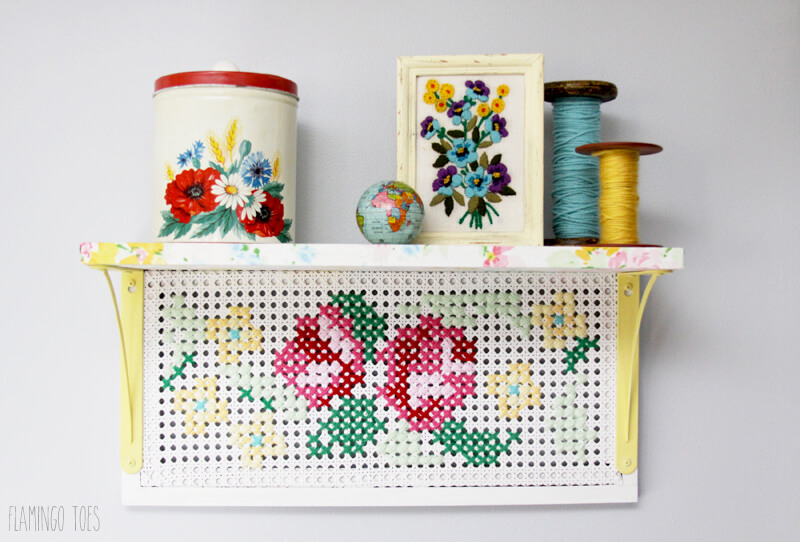
 I think it is such a fun piece and I’m going to love having it my studio. It’s so bright and colorful!
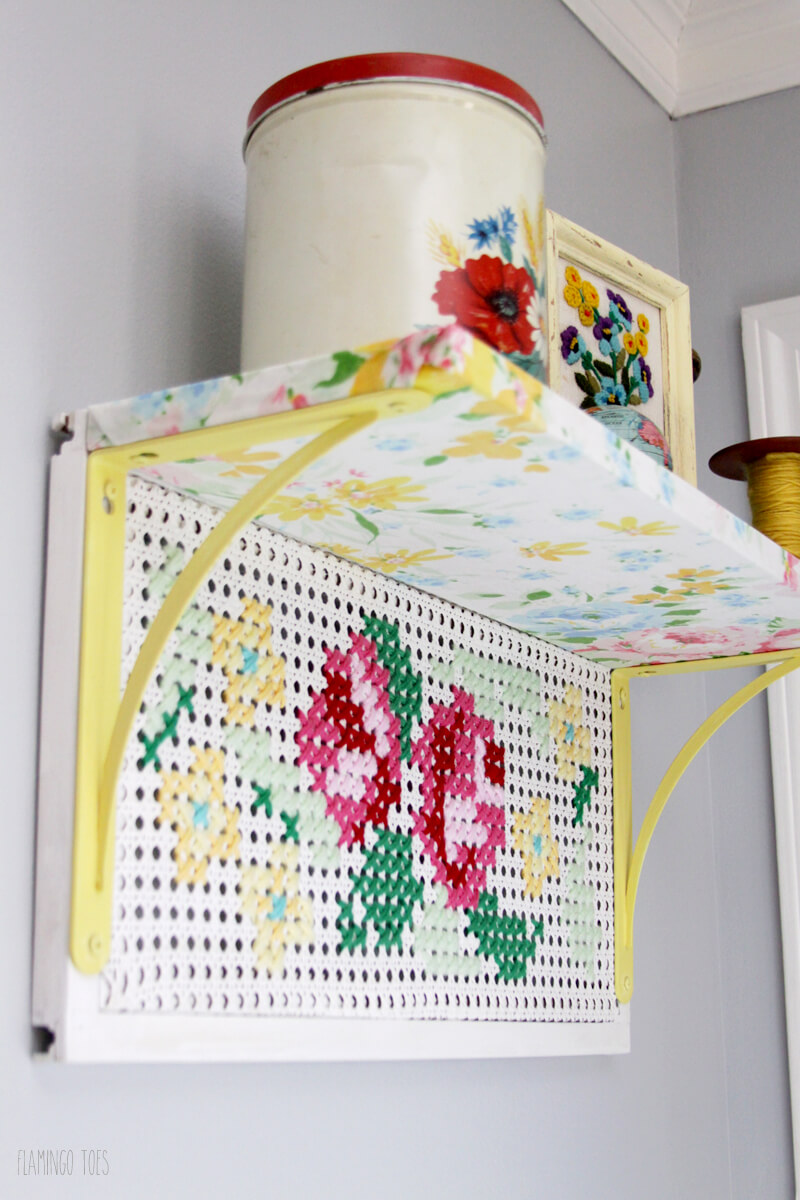

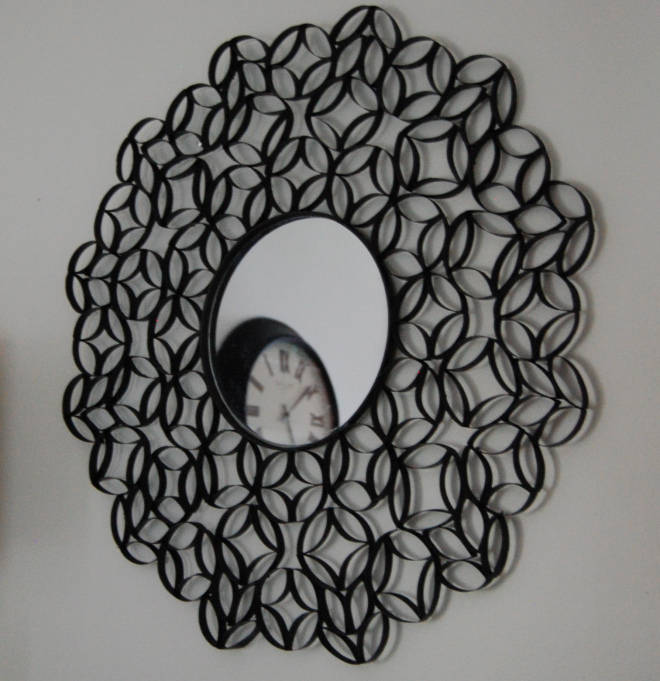
Procedure of an beautiful wall clock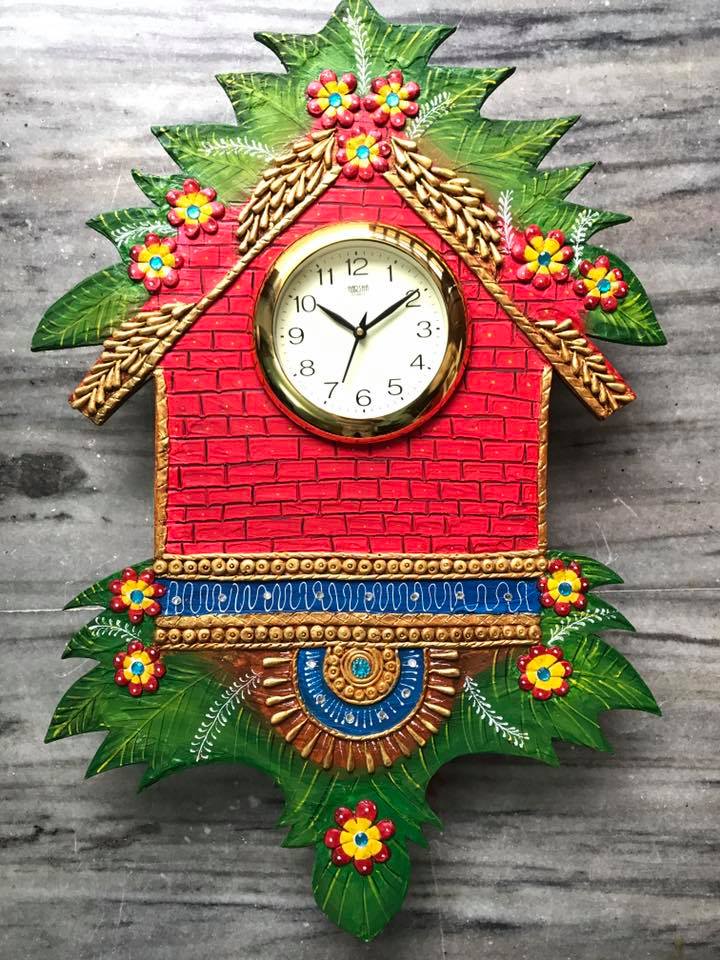 Take the desired clock base
 Prepare marble powder mixture
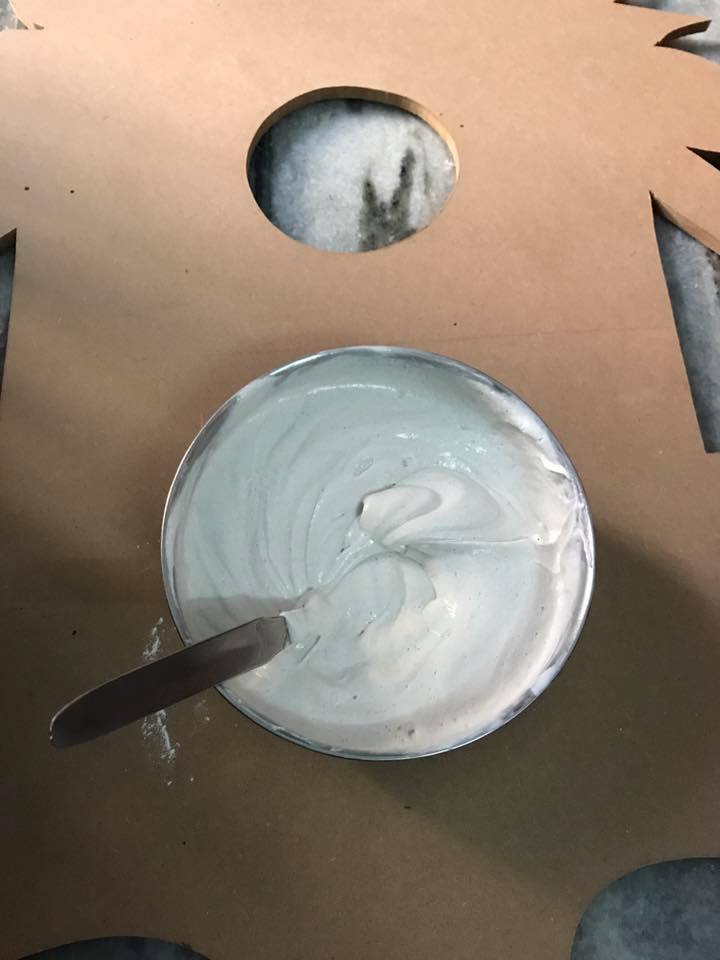 Apply the mixture and give texture
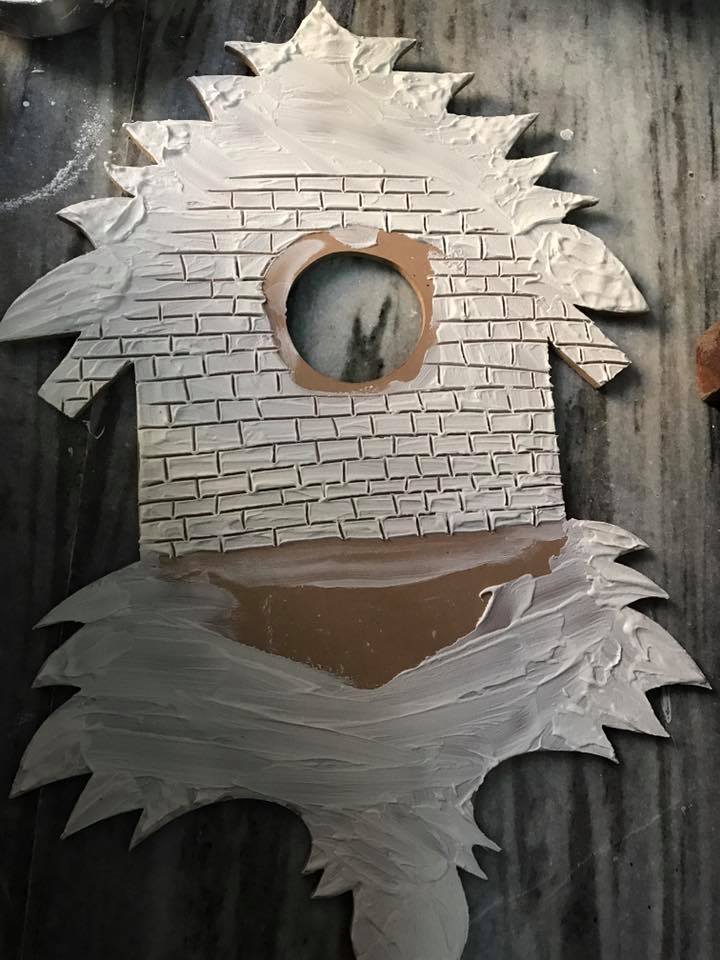 After it dries smoother the surface by a sand paper
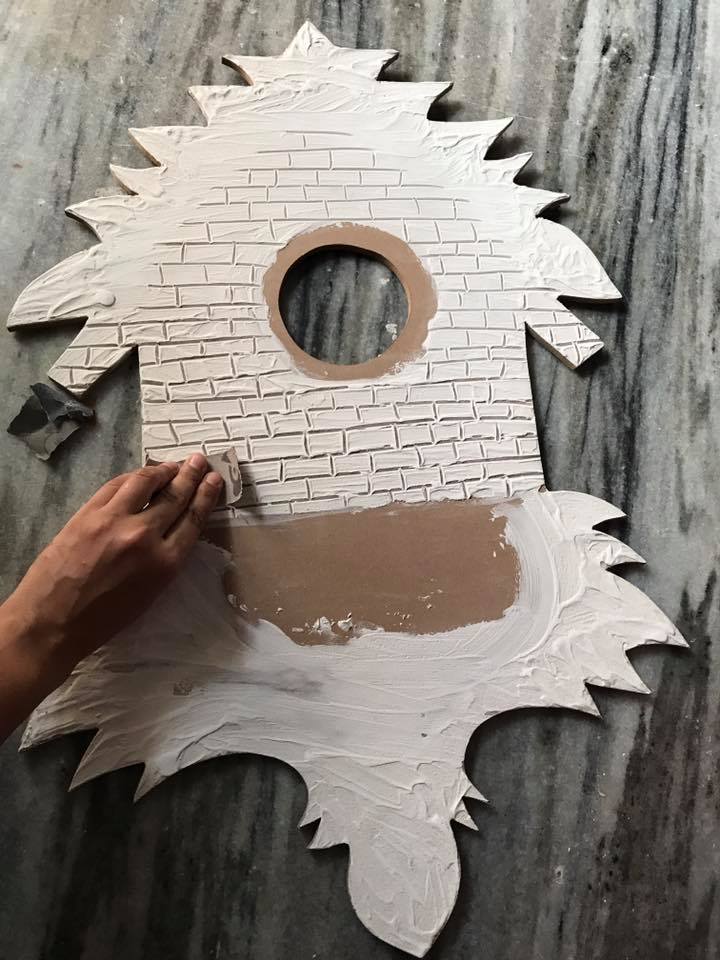 Make design with paper mache
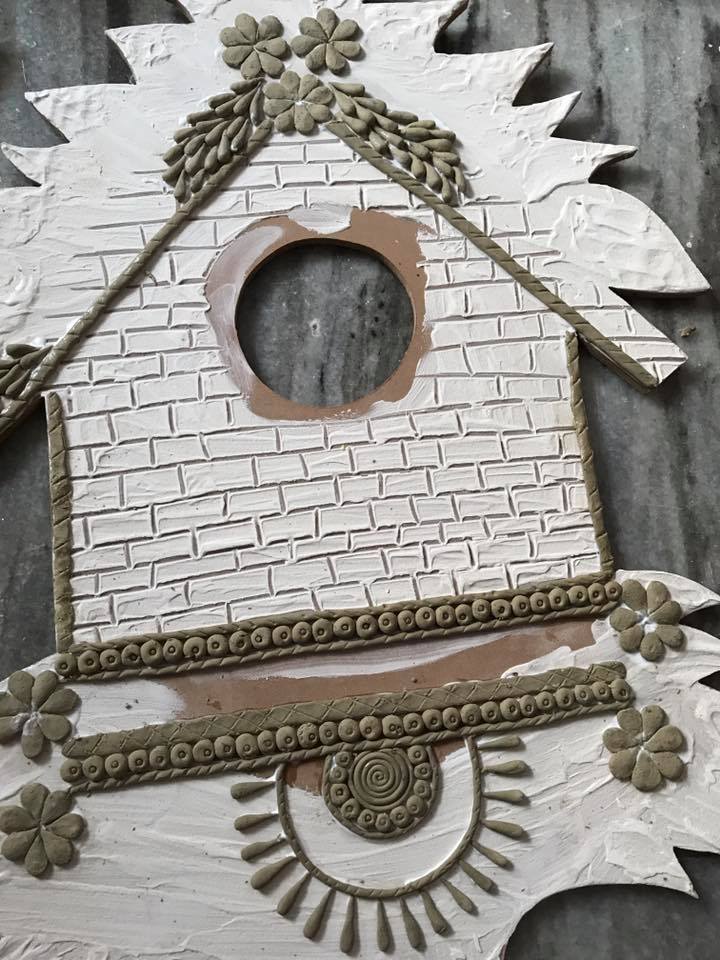 Apply primer on clay
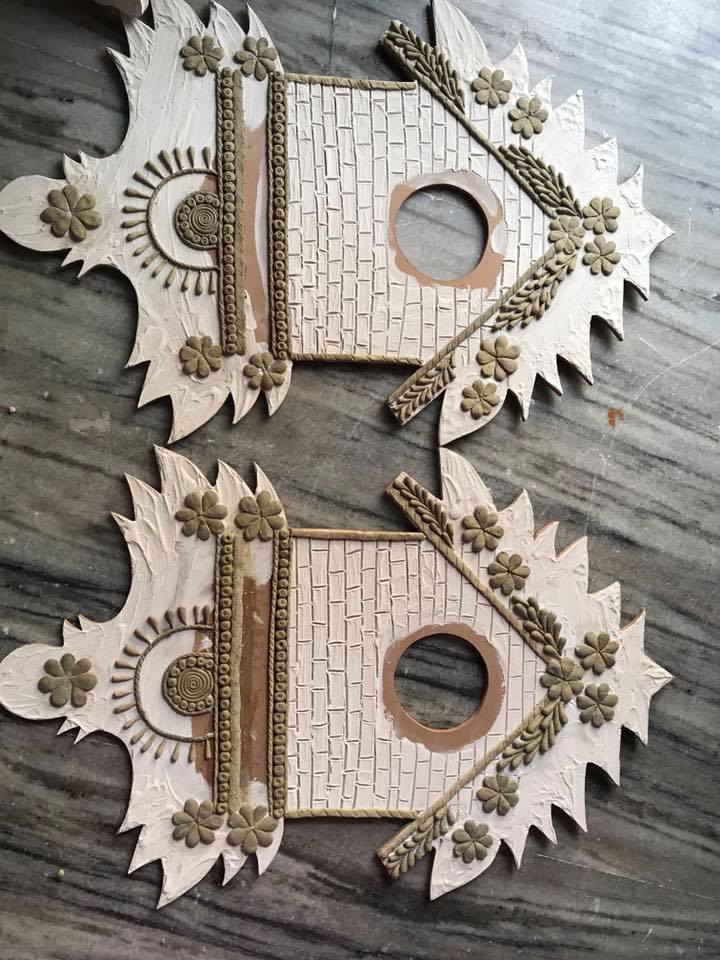 Add base colour
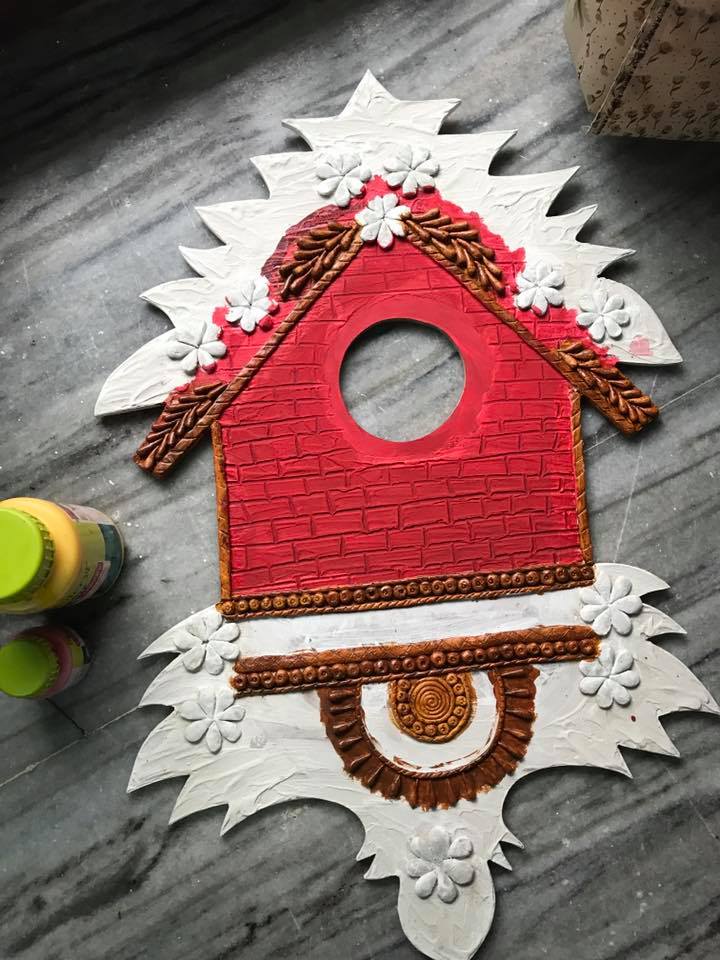
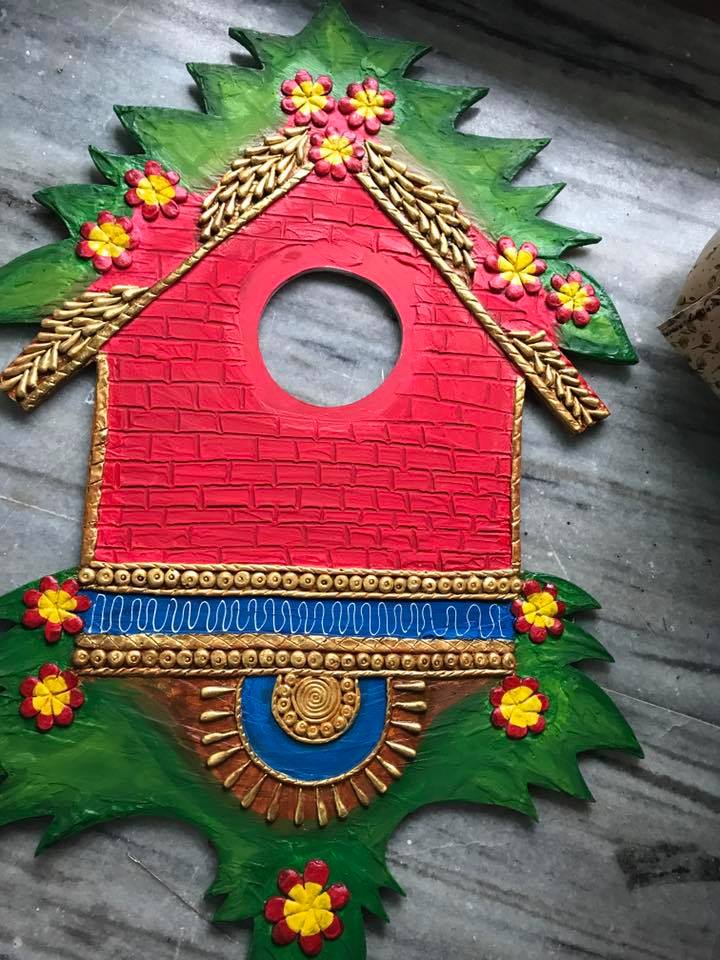 Do the details by outliner
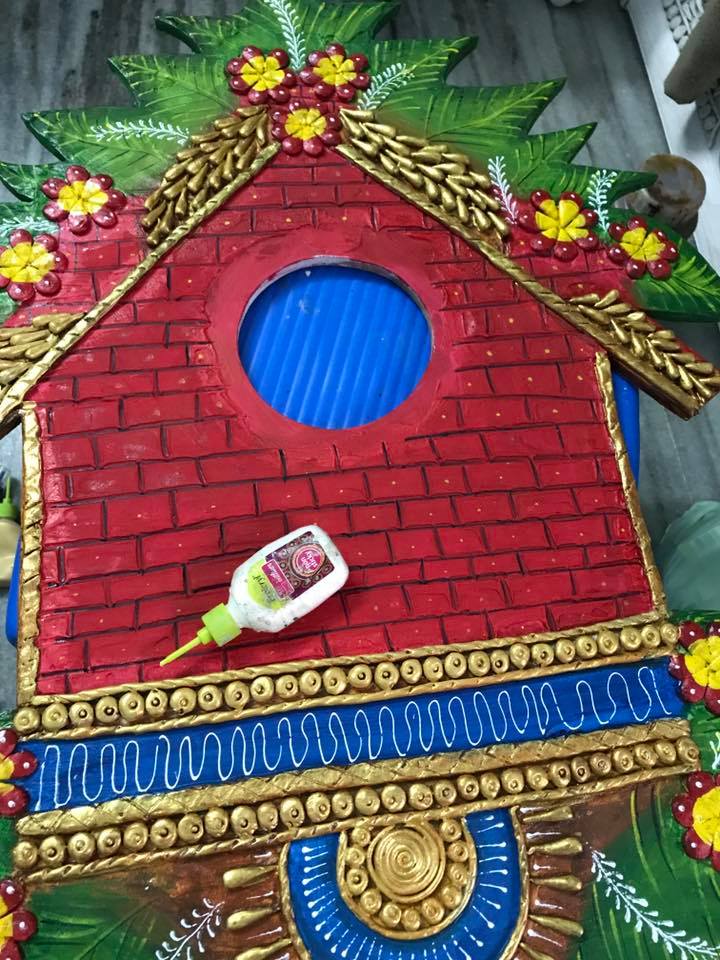 Apply varnish
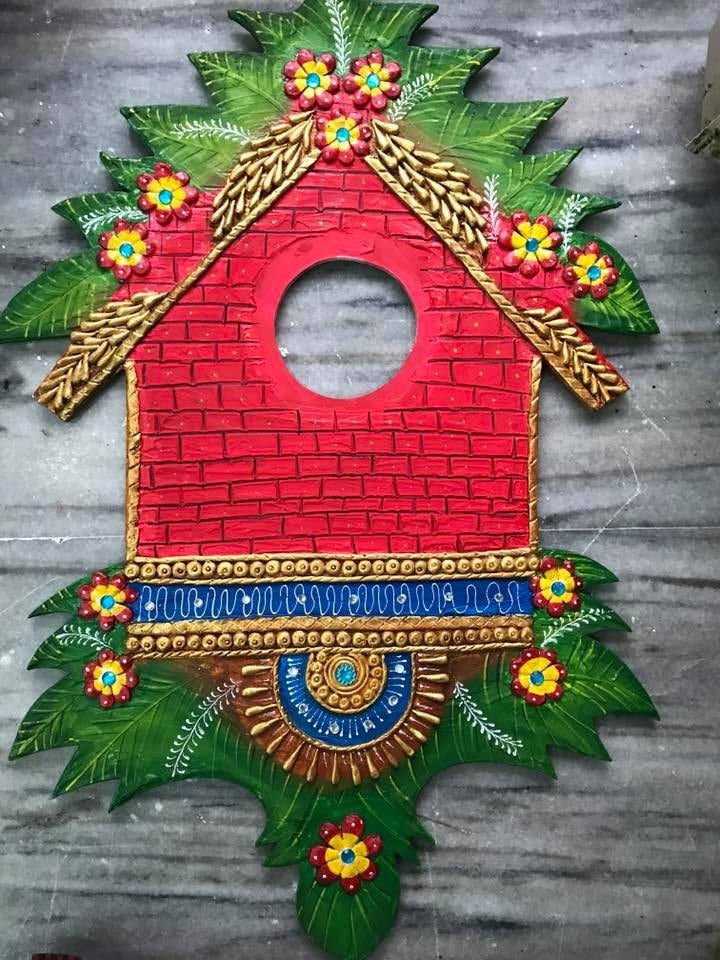 Paste the clock on the board
Courtesy: Kohsa: The Art Lab
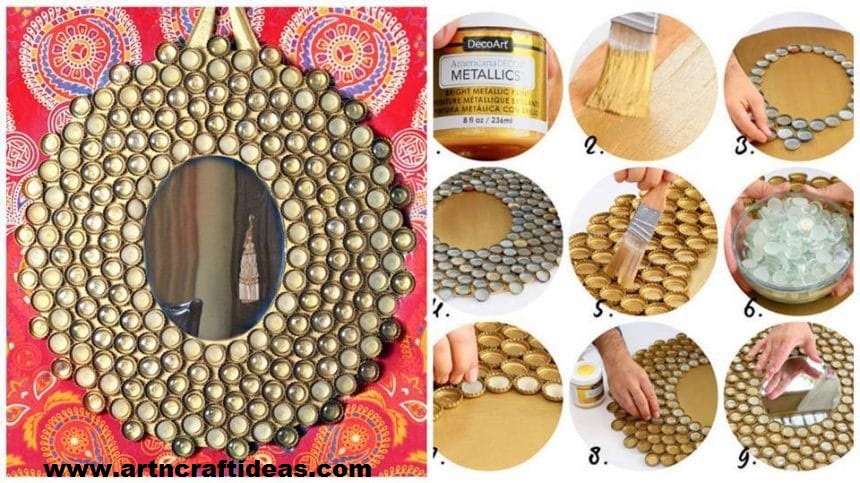
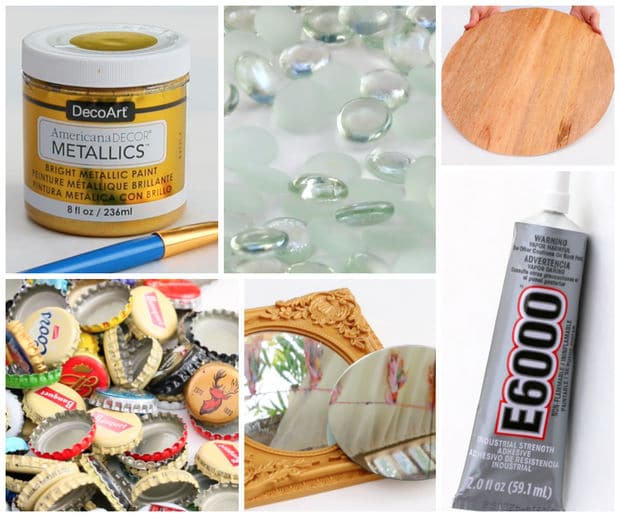
Use recycled bottle caps and floral marbles (from the 99c store) to make a funky boho mirror! I used clear glass marbles, but colors would be wonderful, too.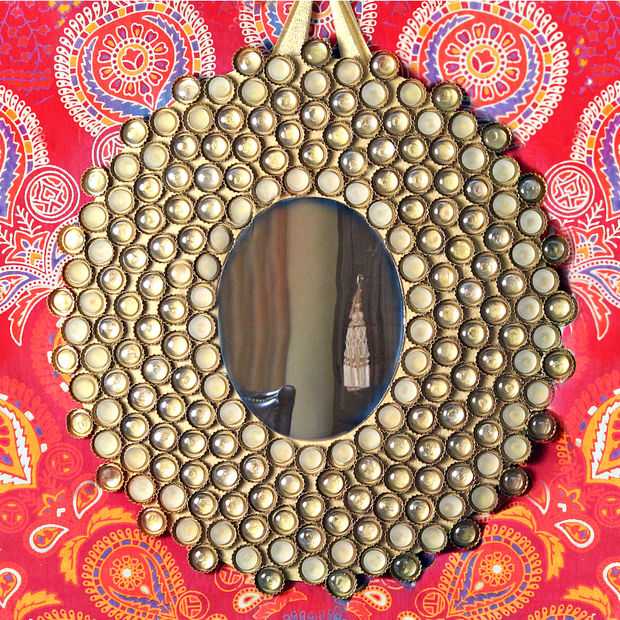
 Required Material:
1. & 2. Paint the wood oval with the Americana Decor Metallics and let dry
3. Center the mirror and figure out your bottle cap design
4. Glue them on the wood base with E-6000 and let dry
5. Paint the bottle caps with more Americana Decor Metallics
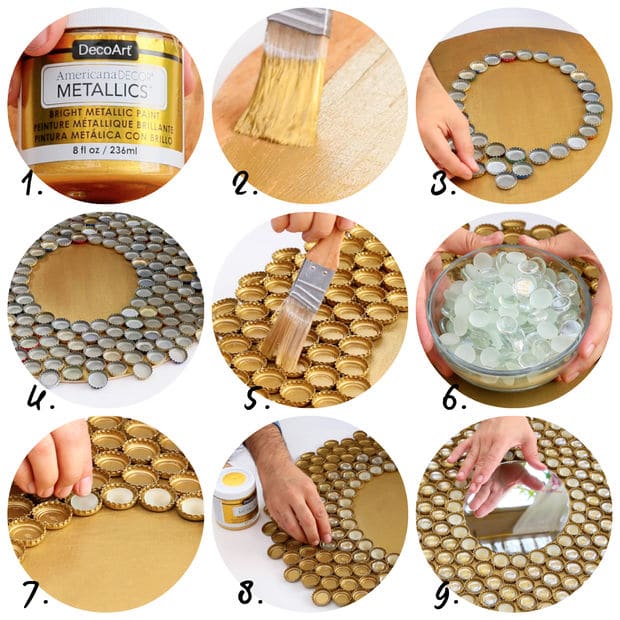
6. & 7. Glue the glass chips inside of the bottle caps
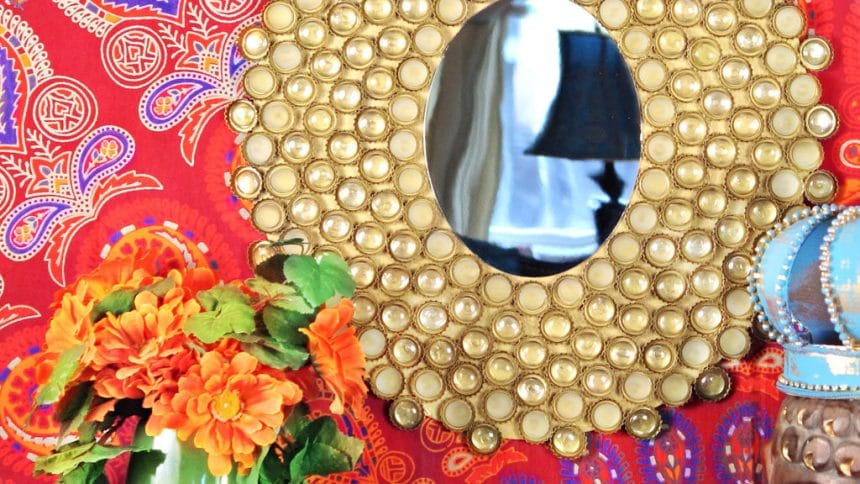
8. Once the bottle caps are filled with glass chips, glue the mirror in the center
*Hot glue ribbon to the back for an easy way to hang your masterpiece
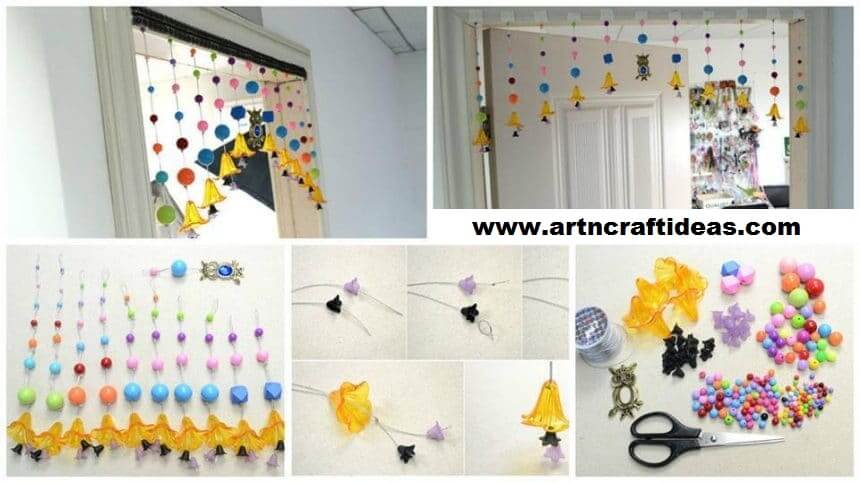
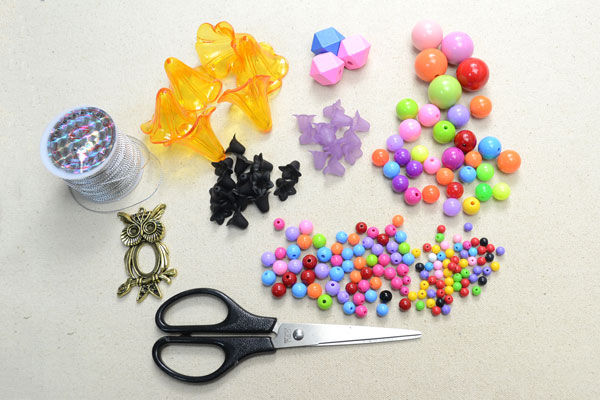
In this project, you’ll learn how to make a beaded curtain for home! This simple yet sparkling beads curtain design has just added splash of colors to your room and it’s really easy-to-do!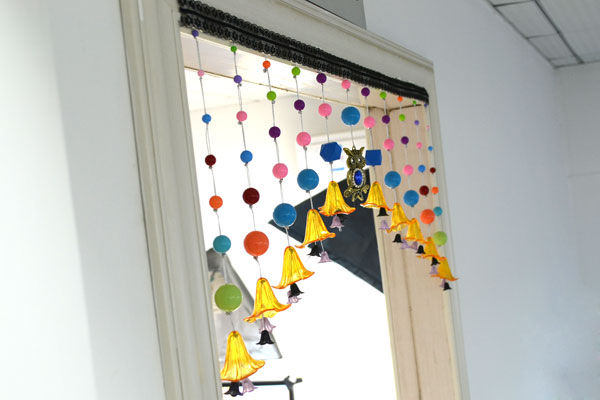 Required Material:
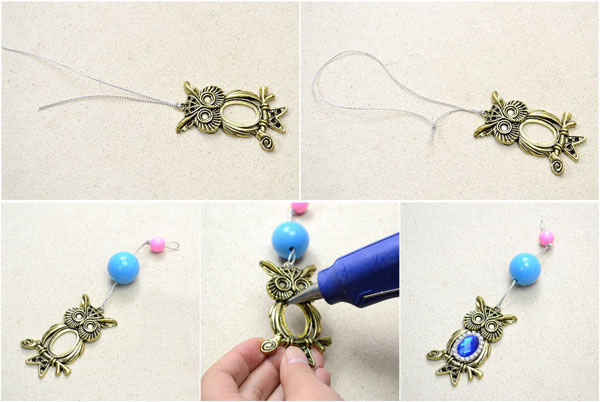
1st, cut a 34cm piece of cord;
2nd, attach the owl pendant to 1/3 location of cord by using a Lark’s Head Knot;
3rd, loop the cord by tying an Overhand Knot;
4th, tie another 3 Overhand Knots about 2cm away from the owl pendant. Then, string one largest (24cm) blue acrylic bead;
5th, tie the same Overhand Knots 2cm away the blue pendant and then string one smaller (20cm) bead;
6th, glue the selected rhinestone bead into the owl pendant cabochon setting. Now, you’ve finished the central bunch.
1st, cut a 68cm piece of cord;
2nd, string one purple and one black on two ends of cord. Secure by tying two Overhand Knots;
3rd, tie 3 Overhand Knots to secure the large-sized flower bead upon the two small-sized ones;
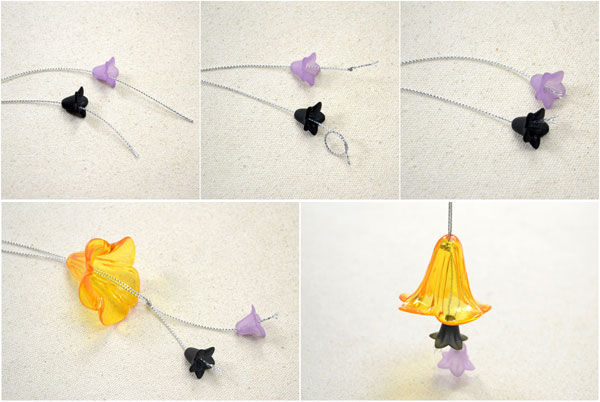 4th, in the following work, you’ll just need to repeat tying Overhand Knots to stop right beads in proper place. In my beads curtain design, I made five couples of beaded bunches extra and the lengths of needed cords are: 68cm, 76cm, 84cm, 92cm and 100cm.
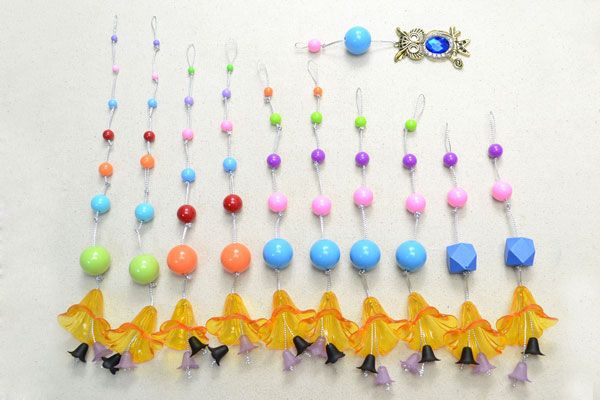
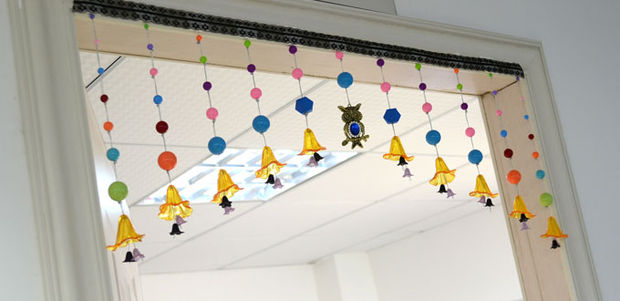
1st, find the center of door and then stick the owl pendant bunch;
 2nd, divide both sides into 5 equal parts and then attach the rest bunches by using double faceted adhesive tape;
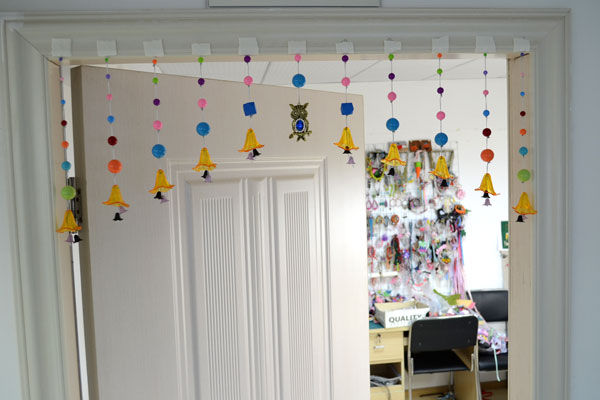 3rd, cover the other face of tape with a lace trim.
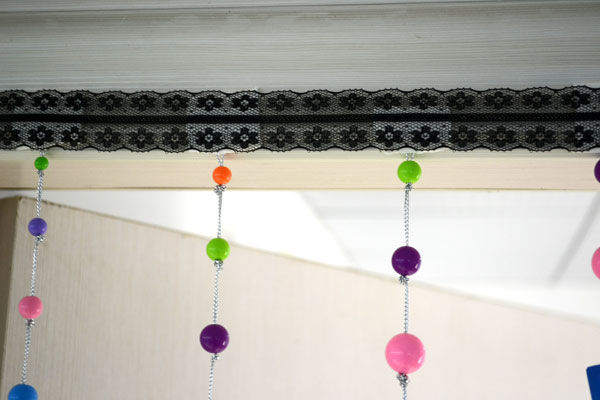
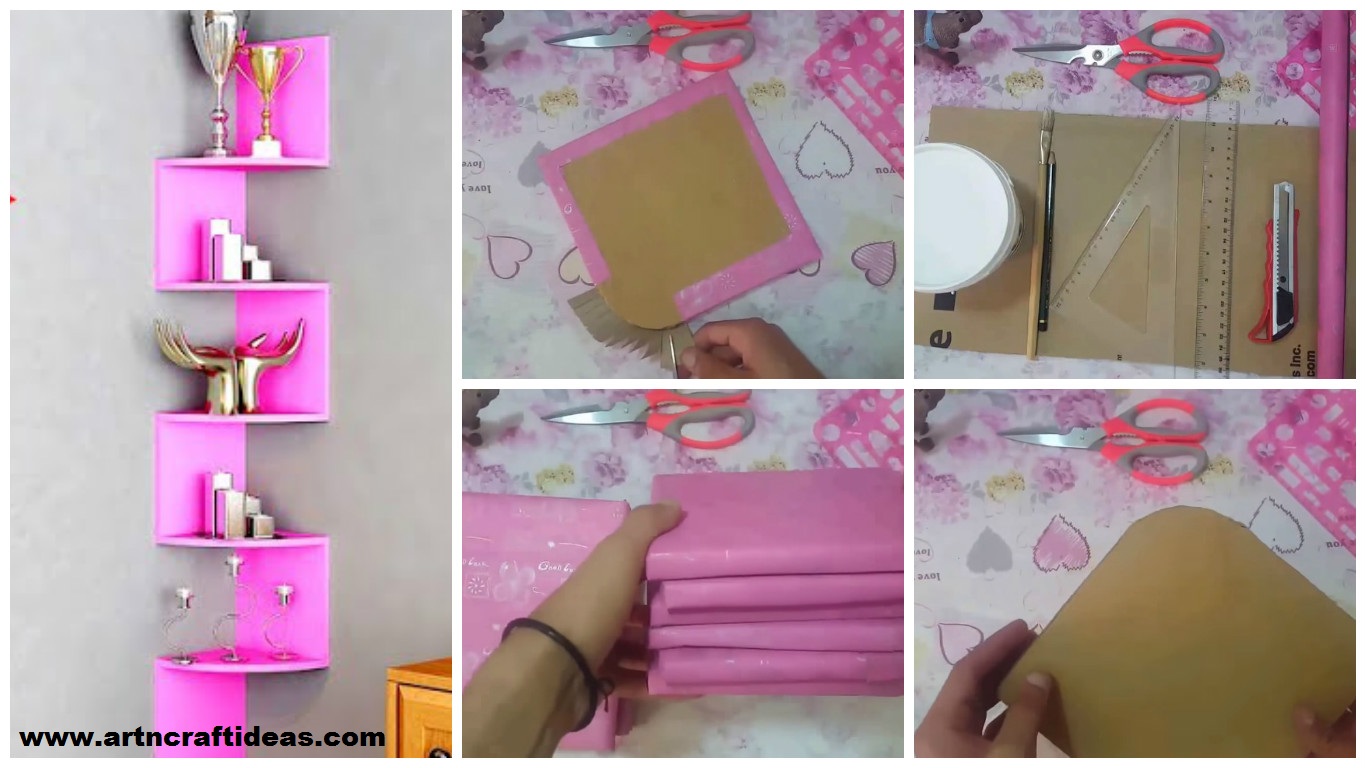
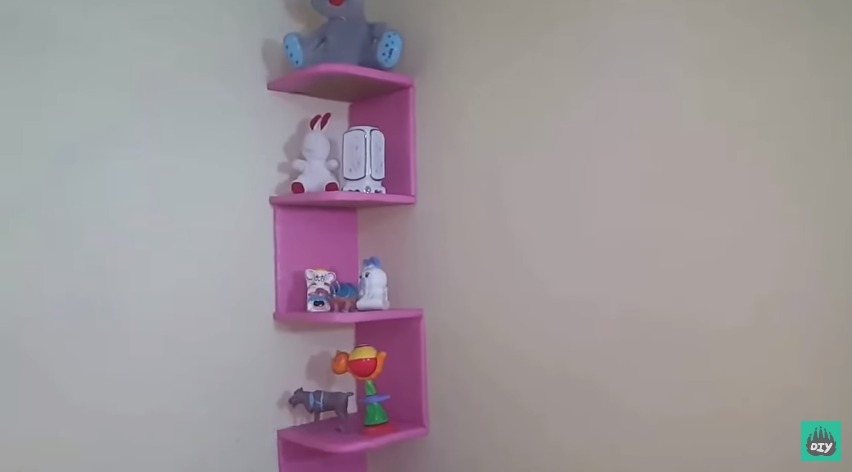
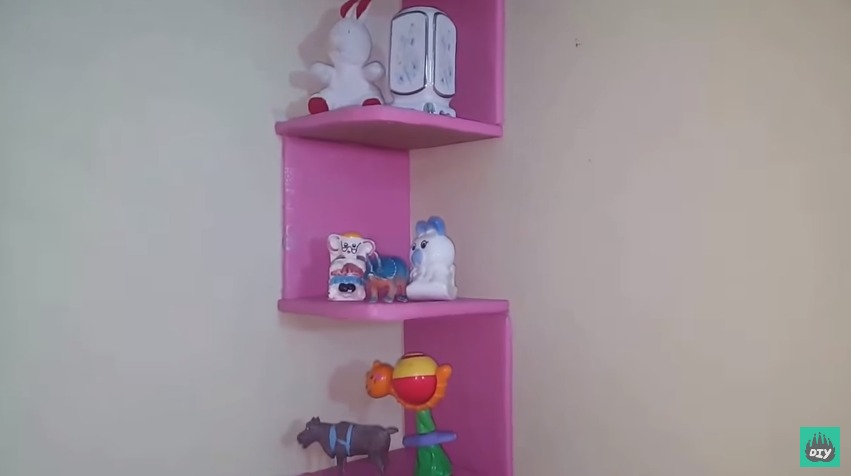
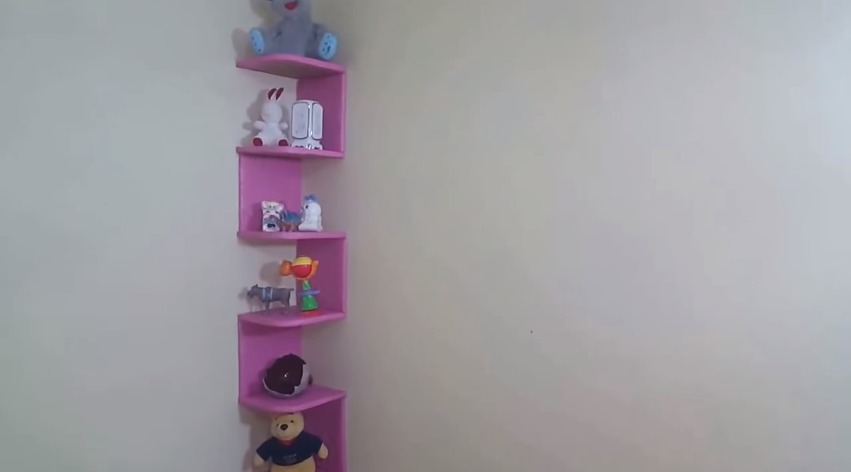
Simple DIY Corner Books and Toys Shelf Adding Storage Spaces to Small Kids Rooms.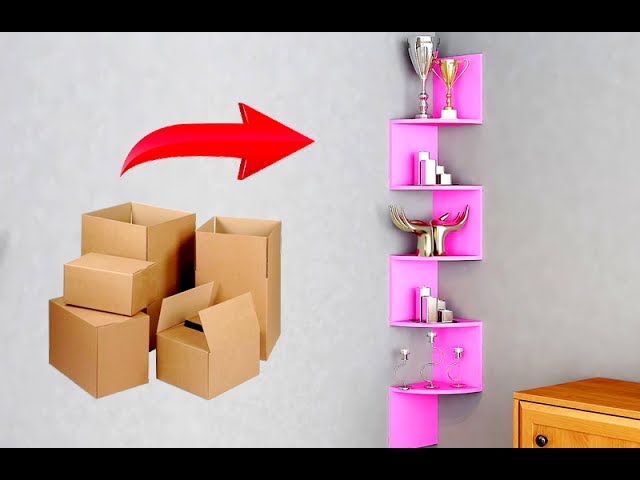

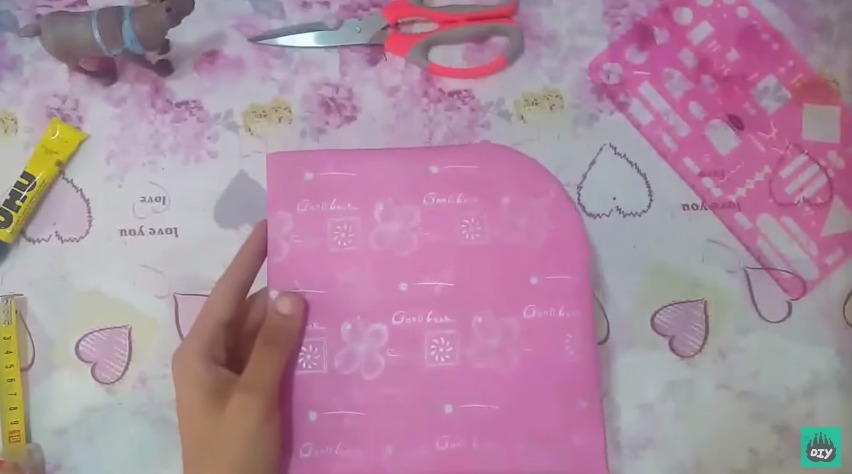
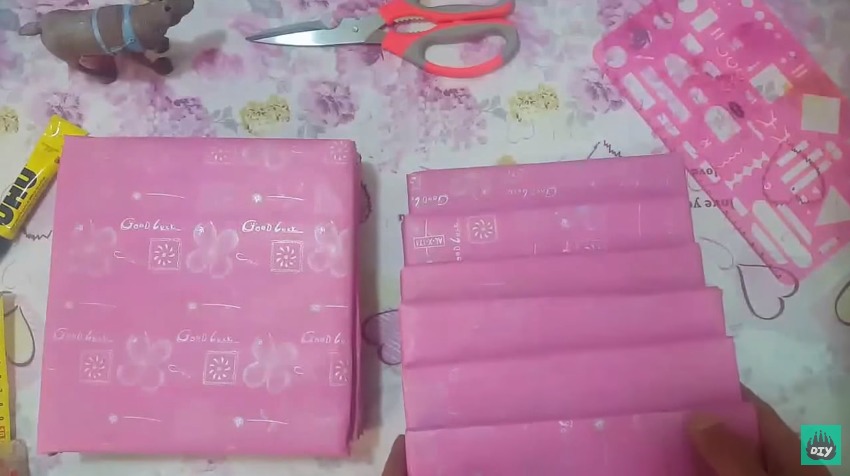
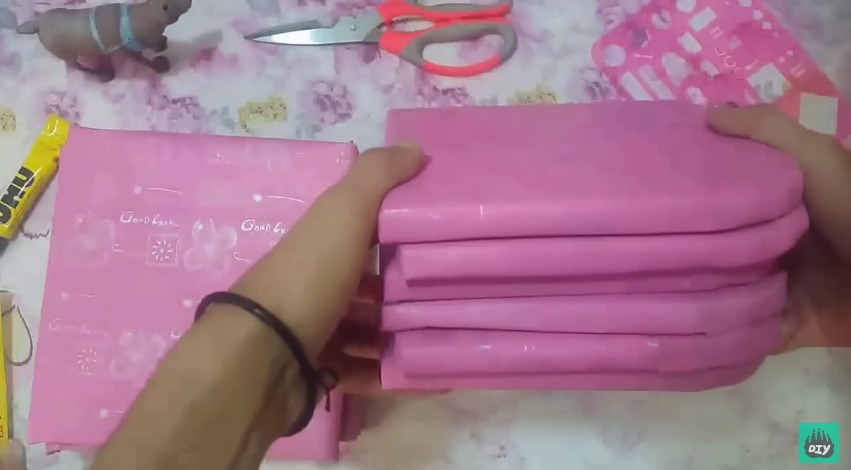
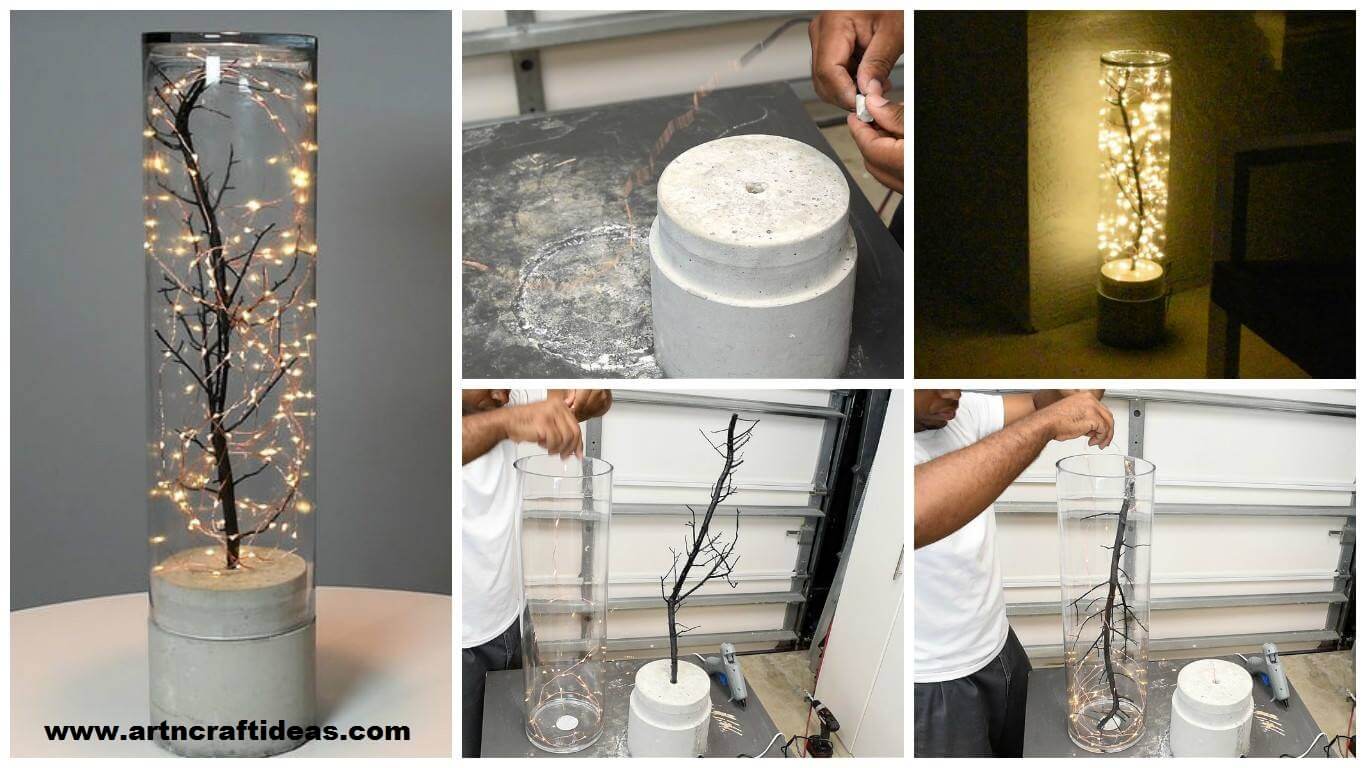
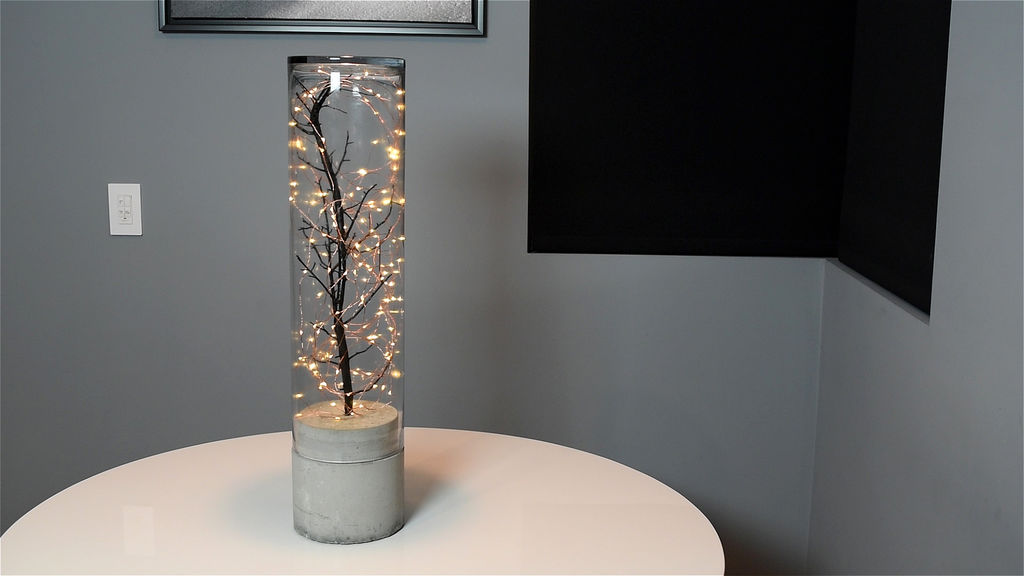
This time it had to be easier to make, had to be larger, and with the option of placing it outdoors. After brainstorming here is the attempt of improvement. Check out the video for more details.
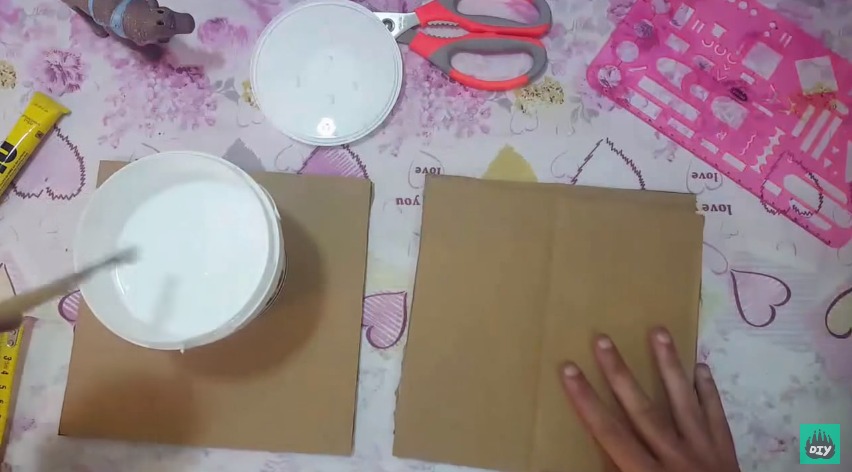
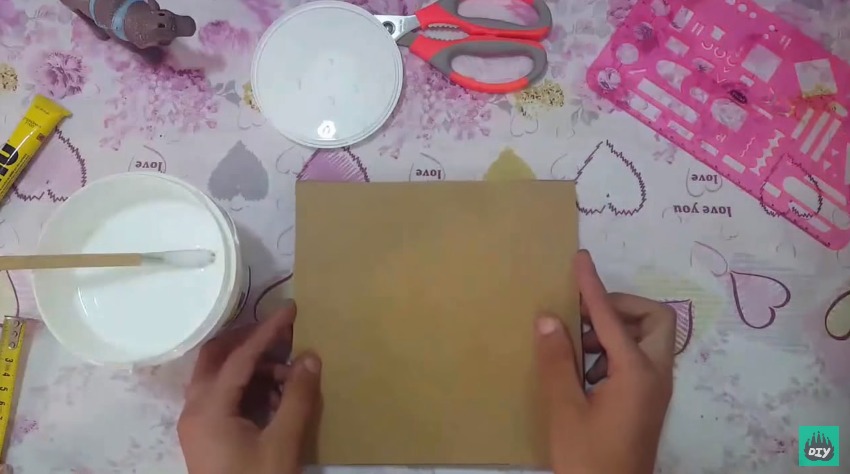
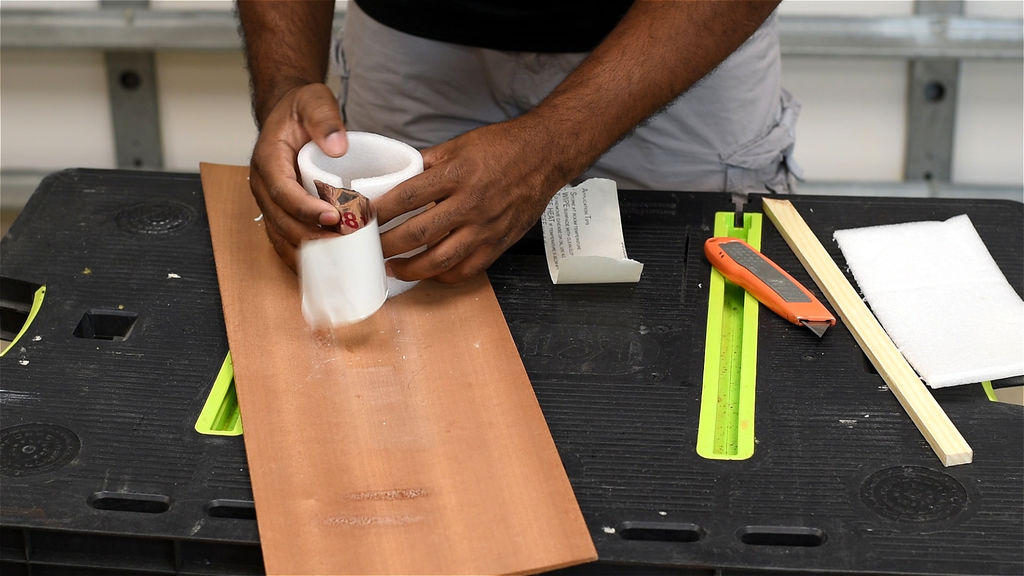
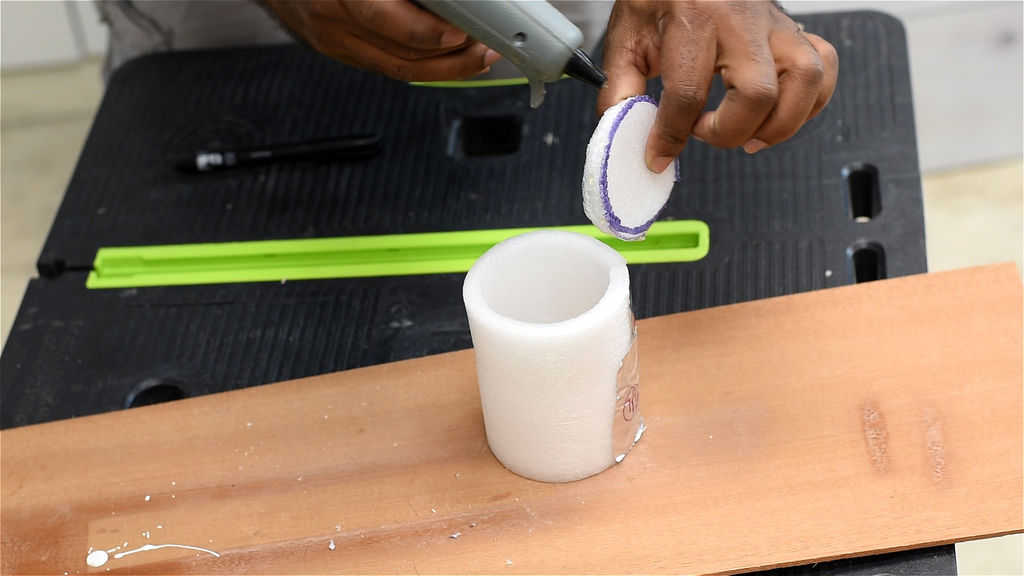
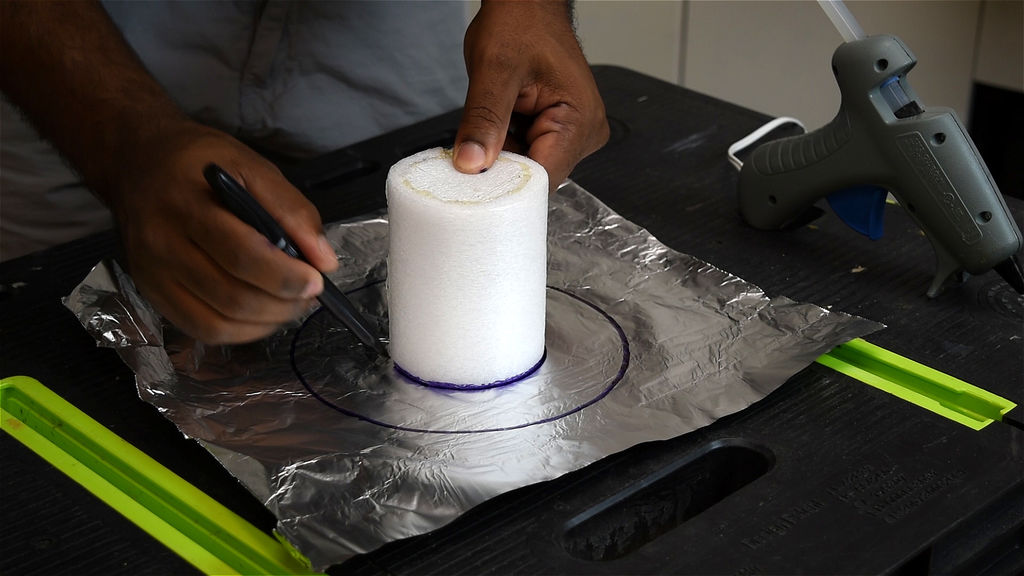
I took a piece of foam from a shipping package. Cut it to create a cylinder. I closed it by taping the side. then cut out a circle to close off one end. A paper cup would work as well.
 Creating the Concrete Form:
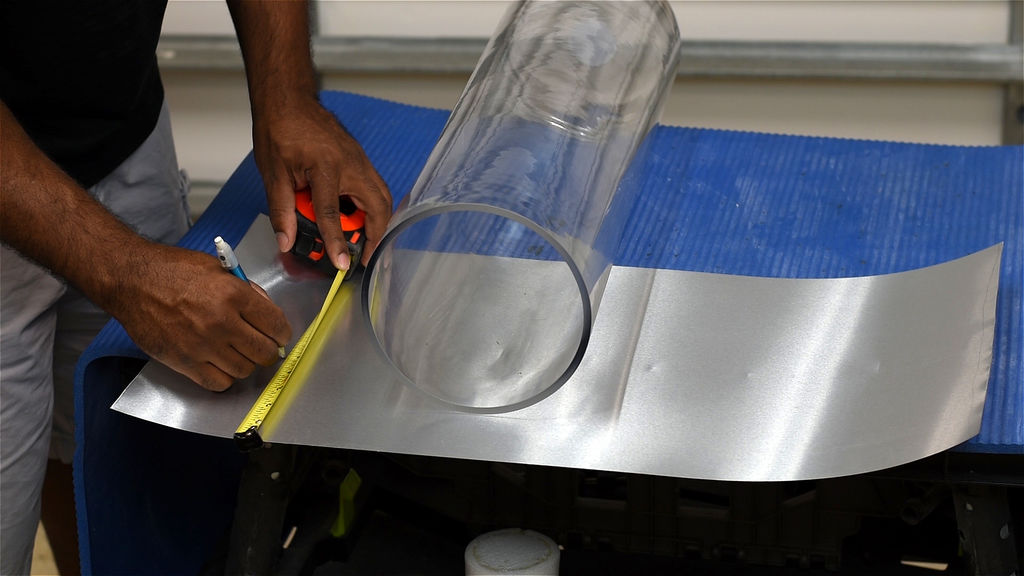
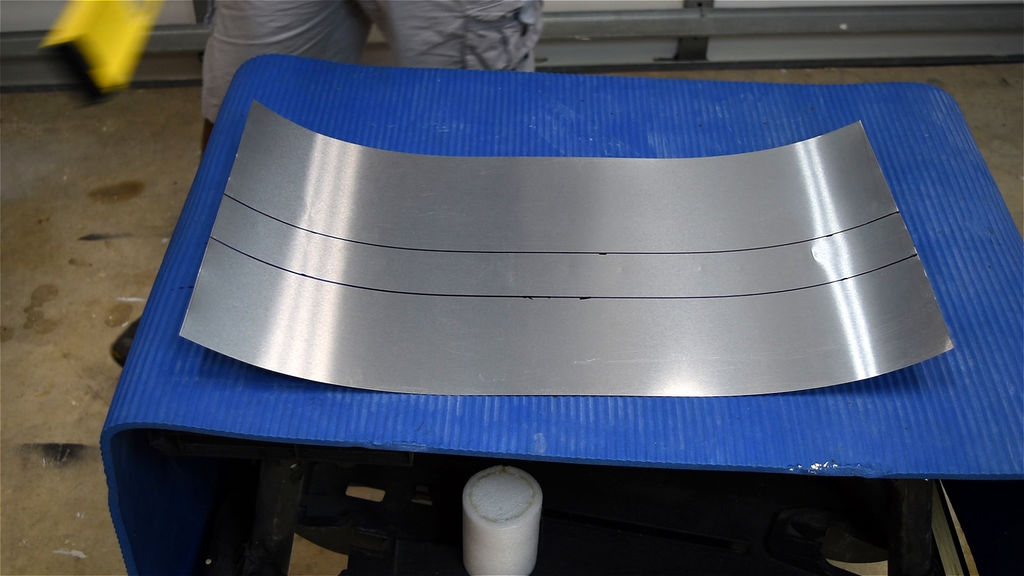
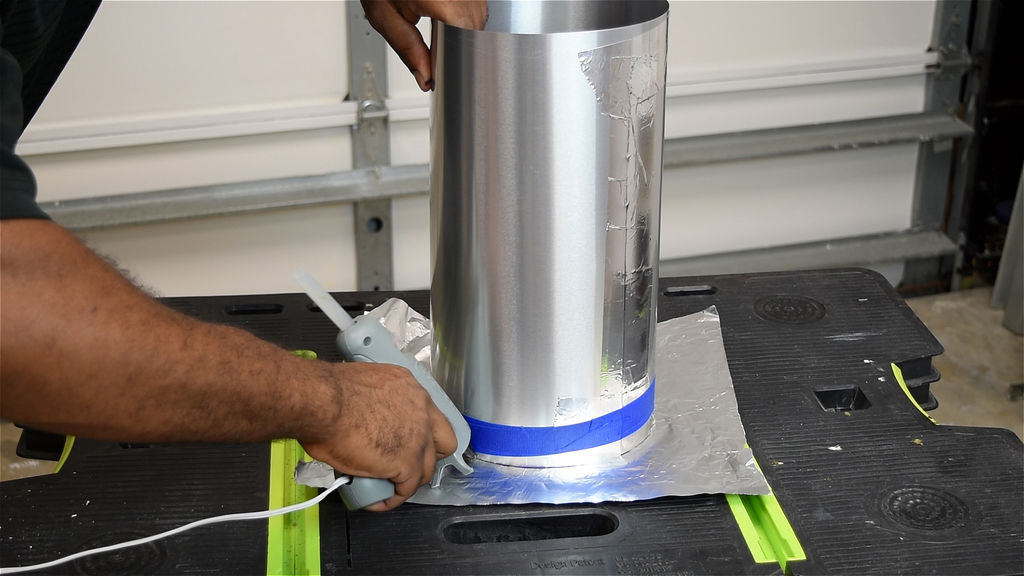
I used a piece metal flashing to create the concrete form.
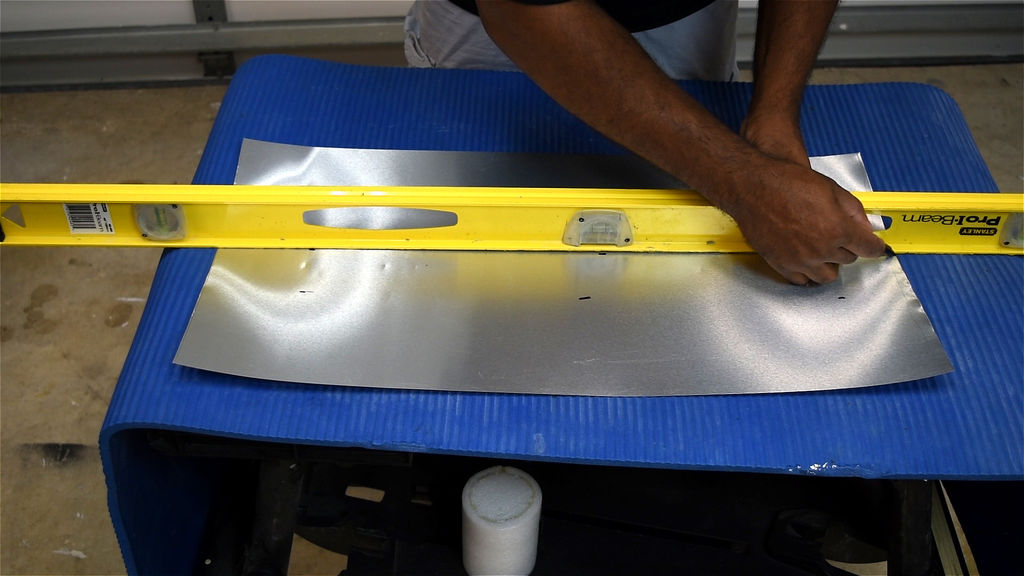
First I marked the metal flashing for the bottom of the form, I made this 5 inches tall. Next, I marked 2 inches above the first line. At this point, you will have two parallel line.
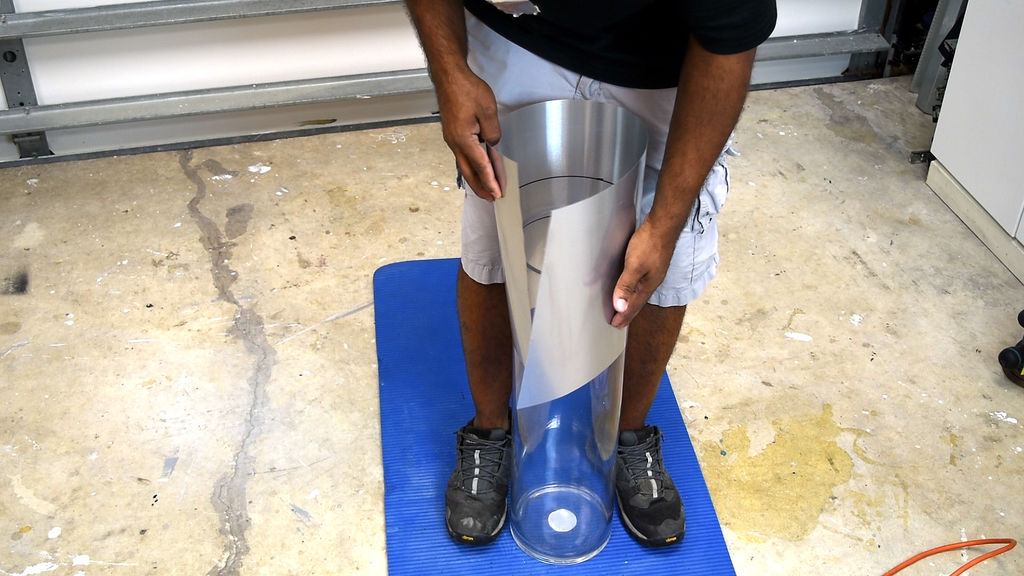
Now wrap the metal flashing around the vase. Close the flashing by taping the loose end. By the way, I’m using a large vase that’s 24 inches tall by 7 inches. You can find that at your local craft store.
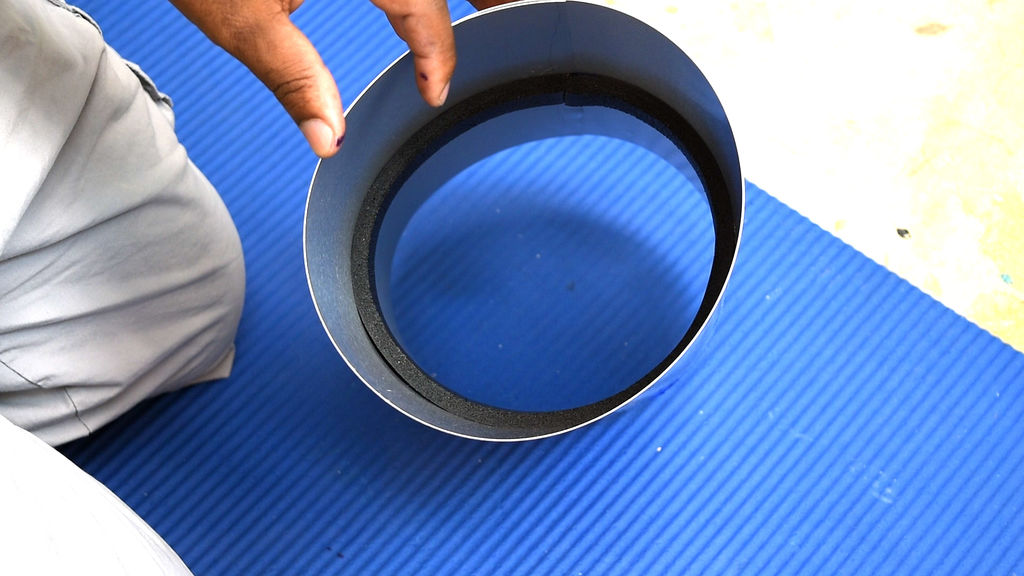
Next, I took two 1 inch rubber seal and follow the line going around the interior. Following the line I drew out. I did this twice which gave me a two-inch path around the interior of the flashing. This part will shrink the interior, which will make the concrete fit right over.

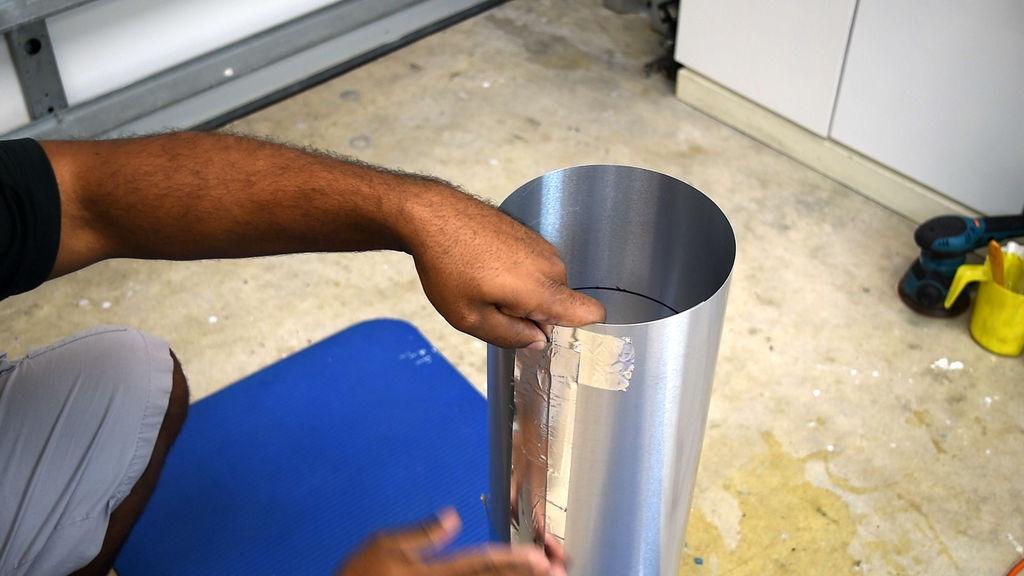

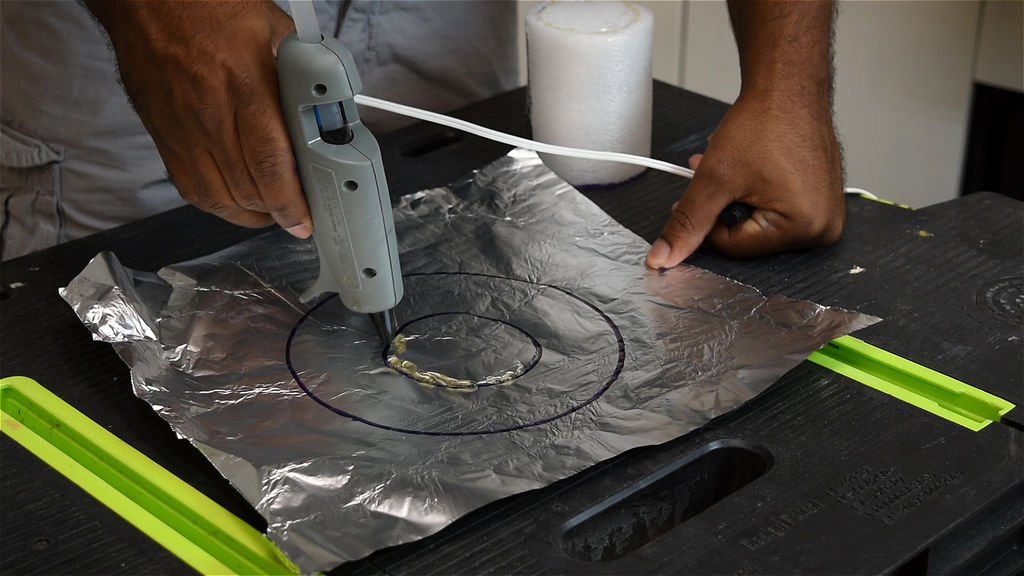
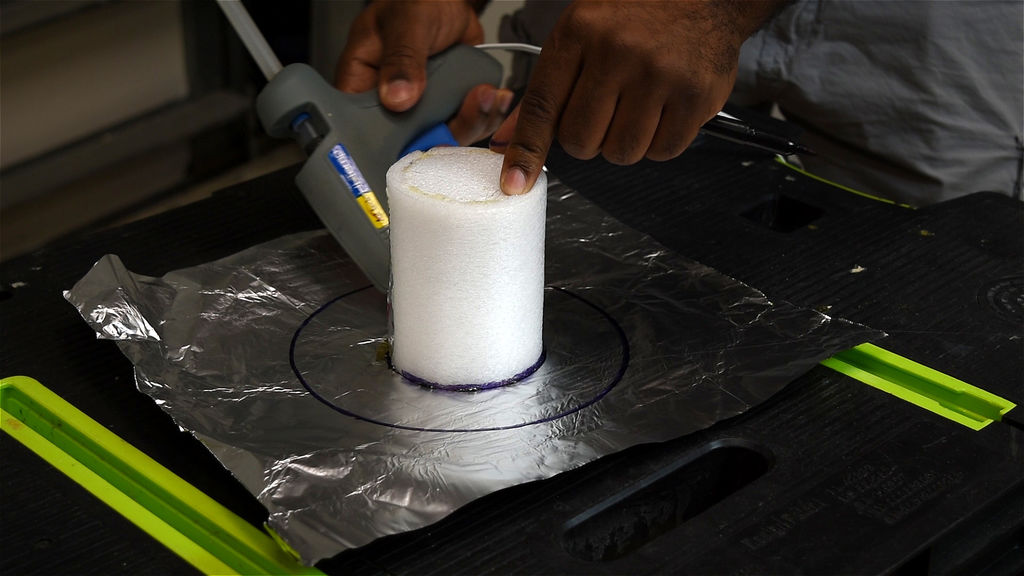
Take a piece of aluminum foil, place it down on a flat surface. Then I trace the vase and then the foam cup as shown. Use hot glue to secure the cup then the flashing to the marking.
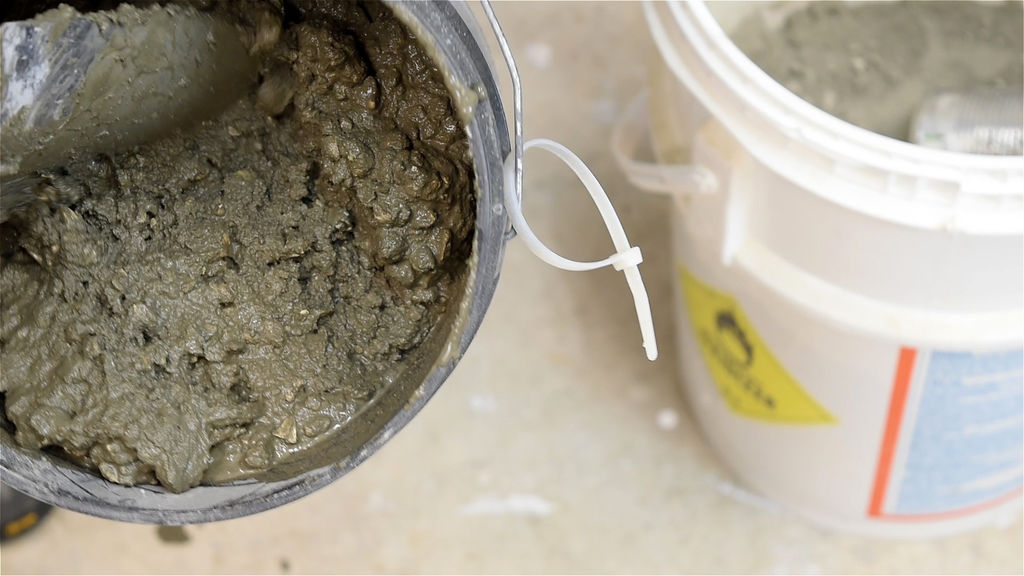
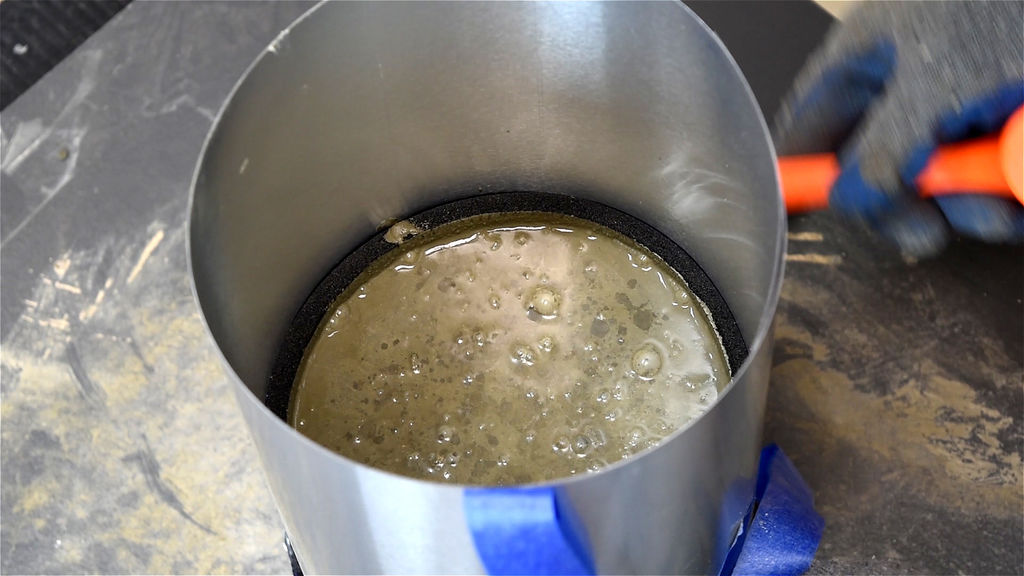
Mix concrete and pour it in the form.
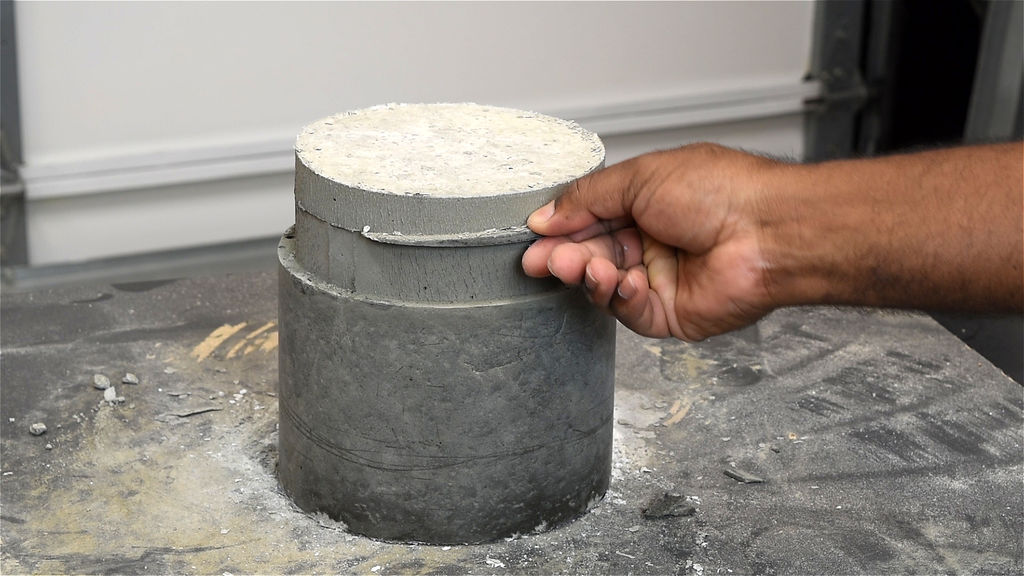
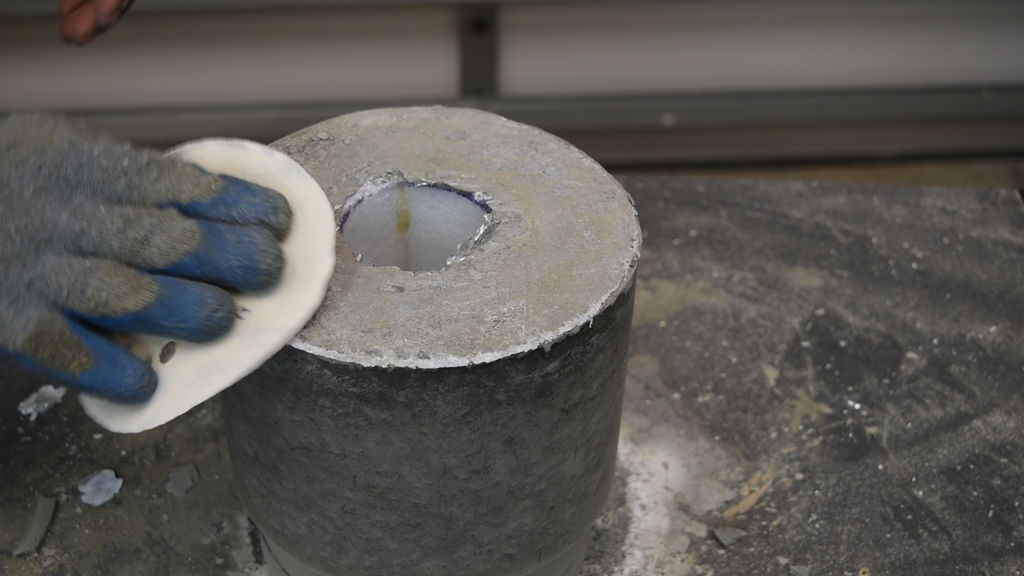
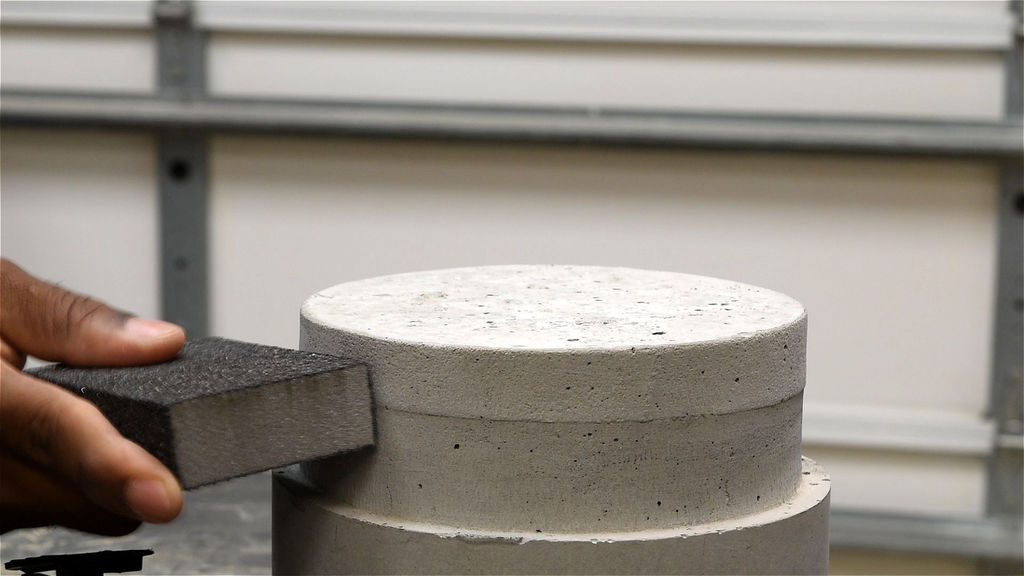
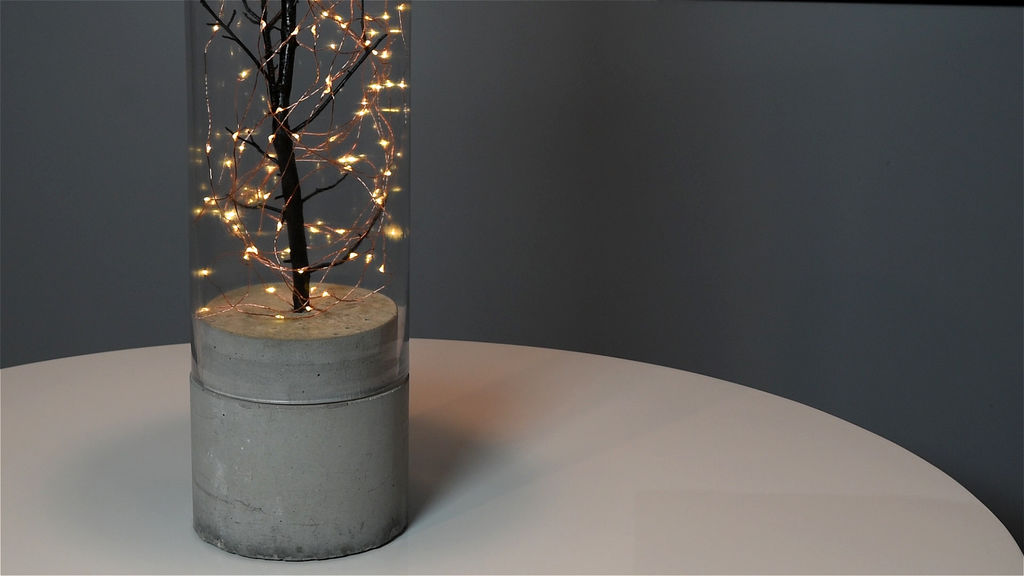
After a few days remove the flashing and rubber seal. The bottom was smooth so I only had to sand the top.

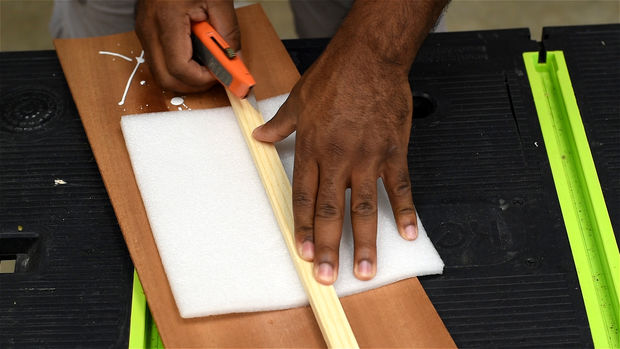
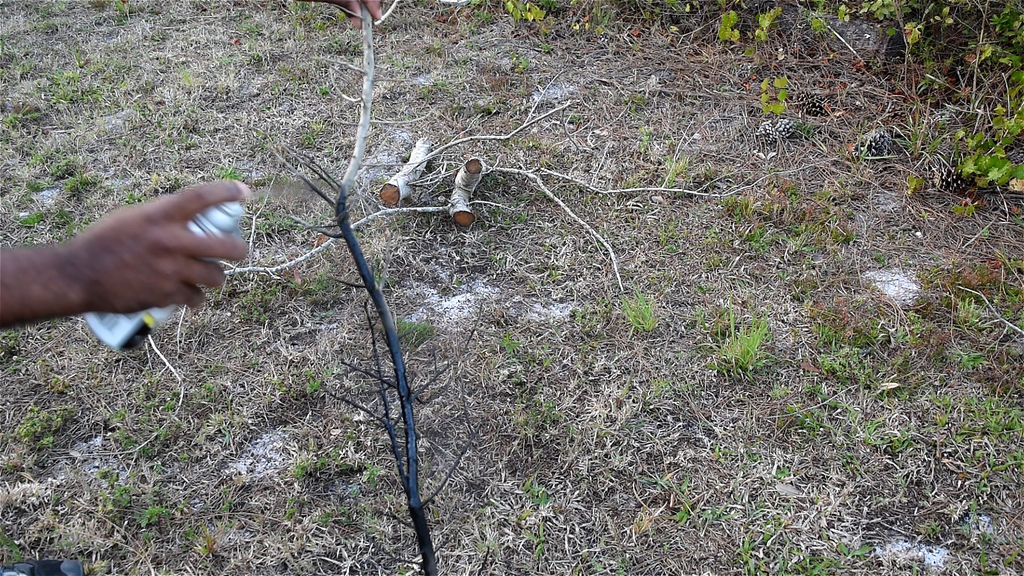
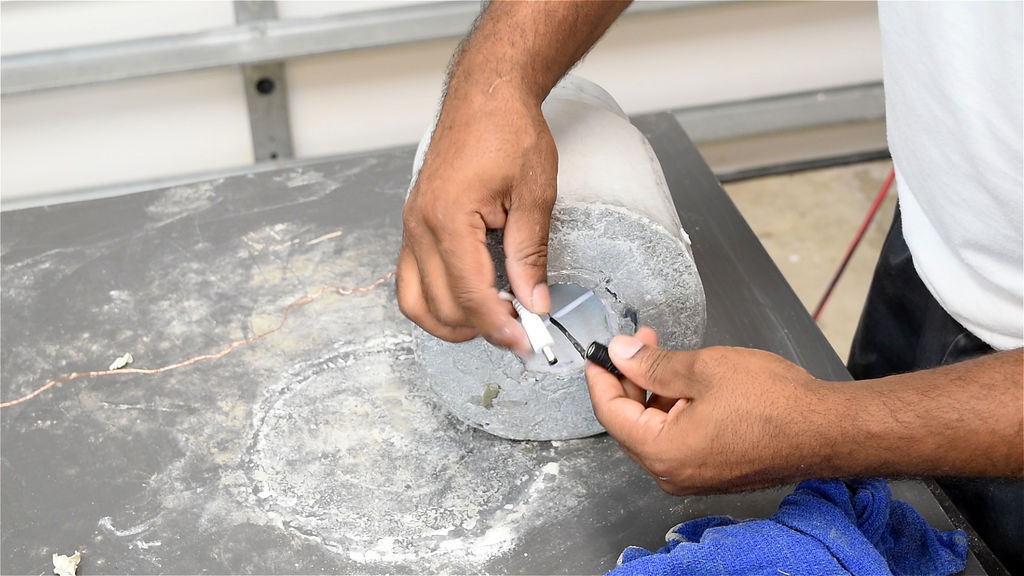
I took a tree branch and sprayed it with black paint. Allow enough time to dry. Depending on the size of tree branch you chose, use the appropriate size masonry bit. I use a 1/2 inch bit to drill down to the bottom into the foam cup. Test that everything fits nicely.
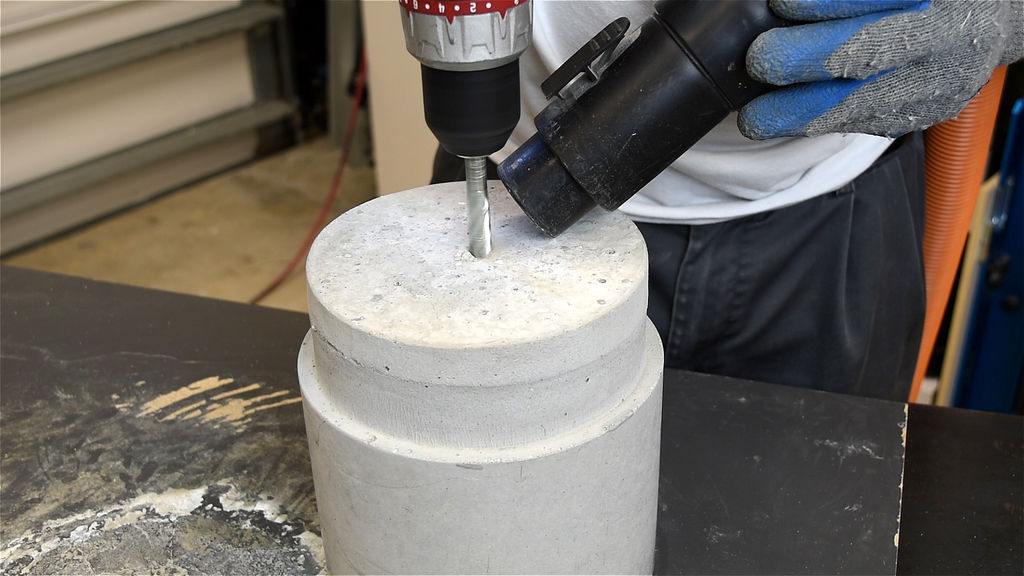
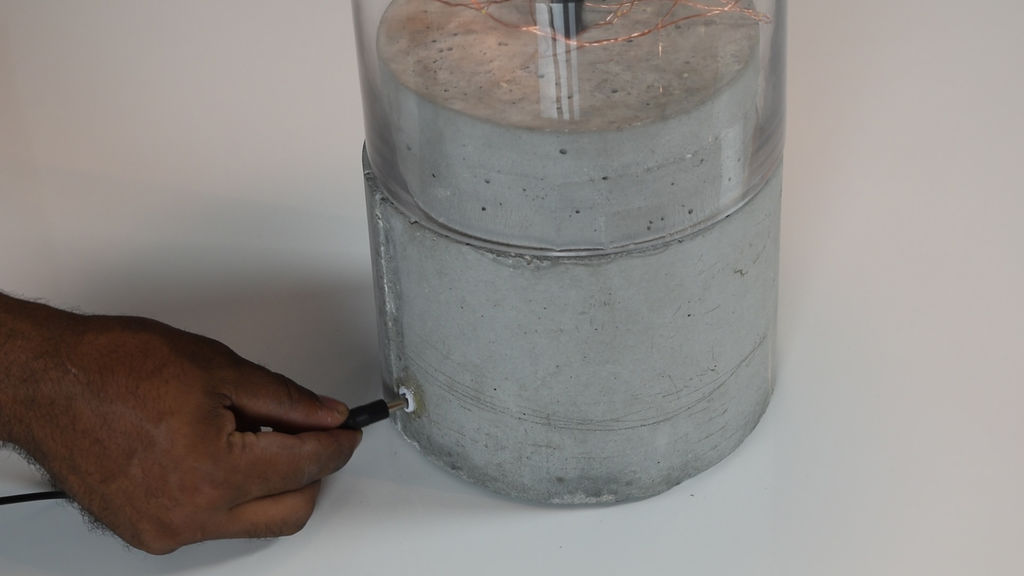
Drill a hole in the lower part of the concrete form for the power end to pass through. Next, use hot glue to hold the plug in place.
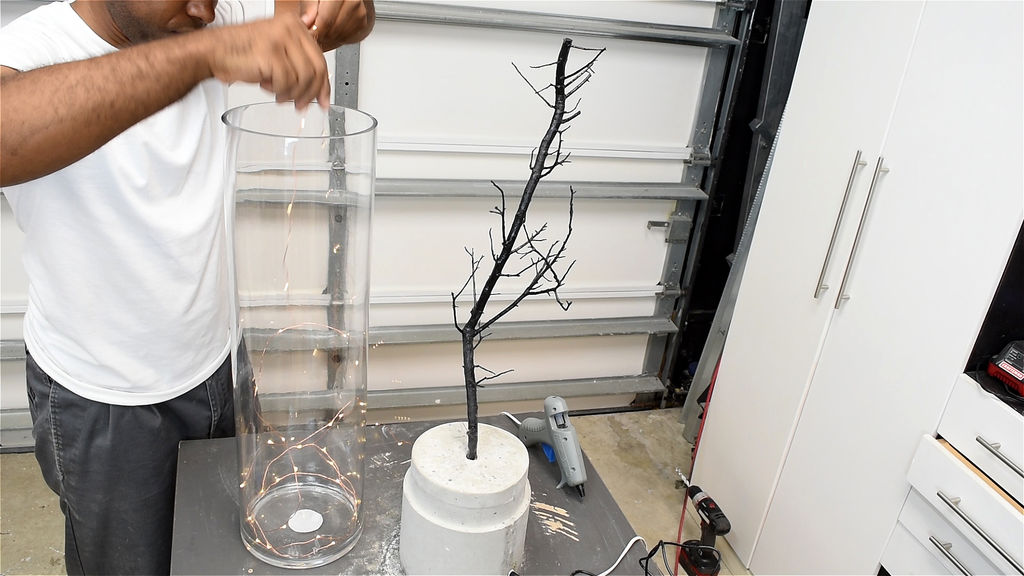
Pass the Led String light power end down through top then connect to the power cable.
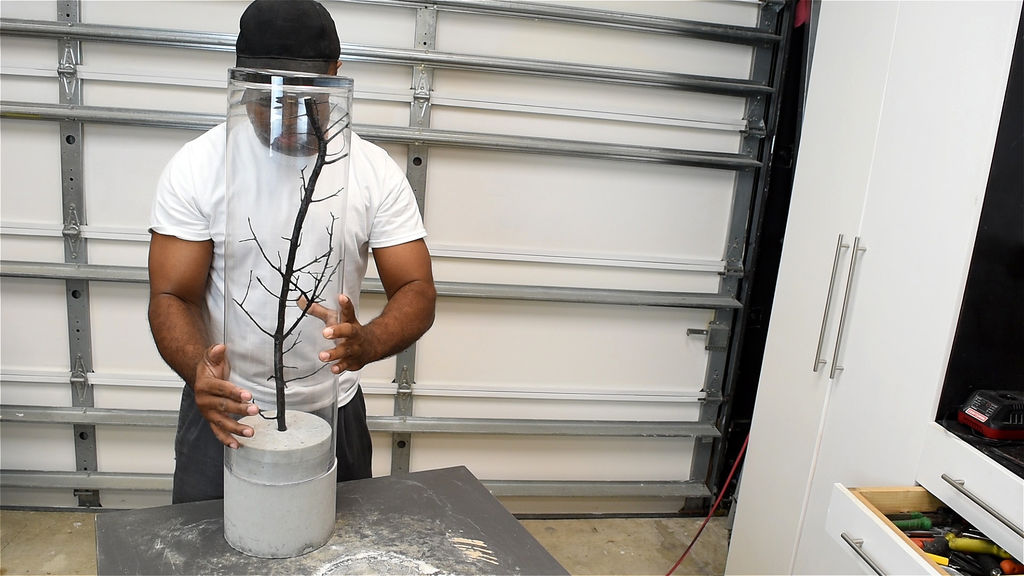
Feed a few feet of the led into the vase. Then place the branch in the vase and feed more led as you proceed.
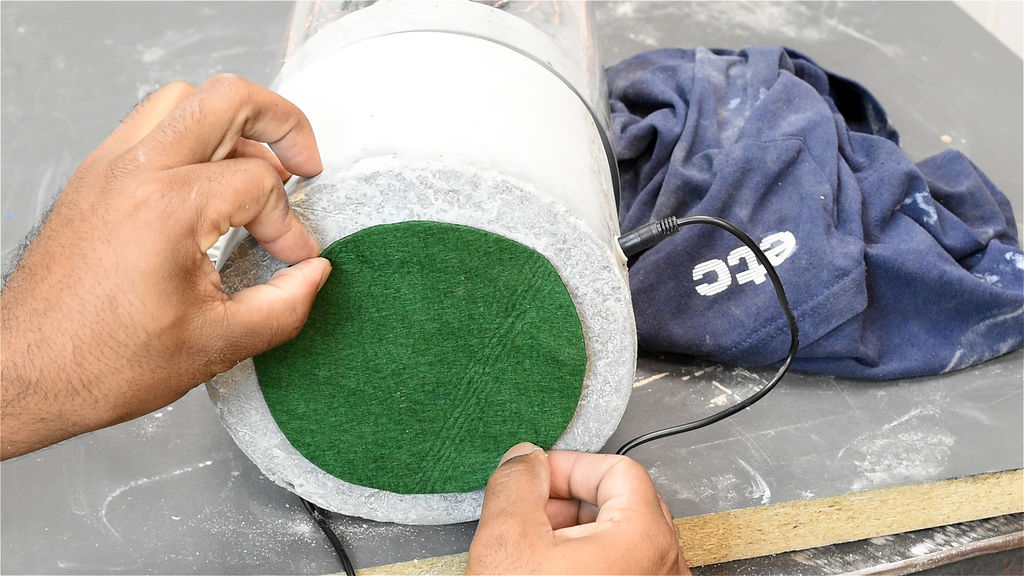
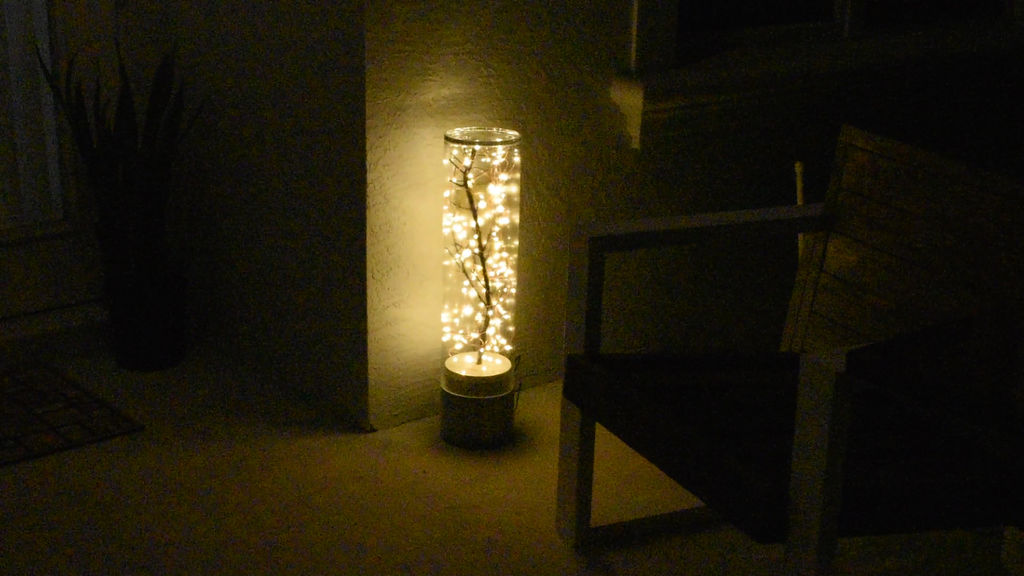
Now sit the vase on top of the concrete. I placed a felts pad on the bottom to protect any surface.

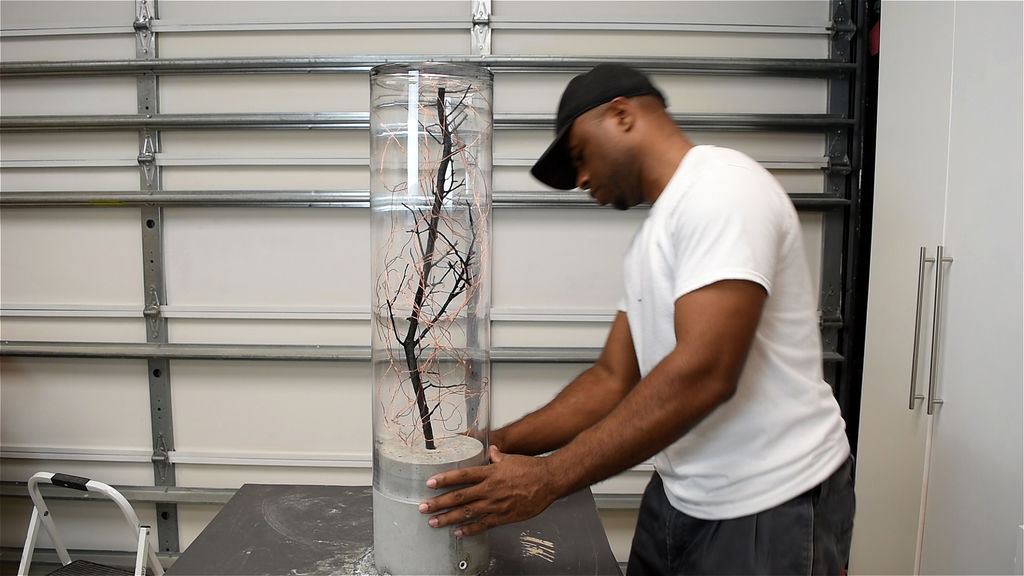
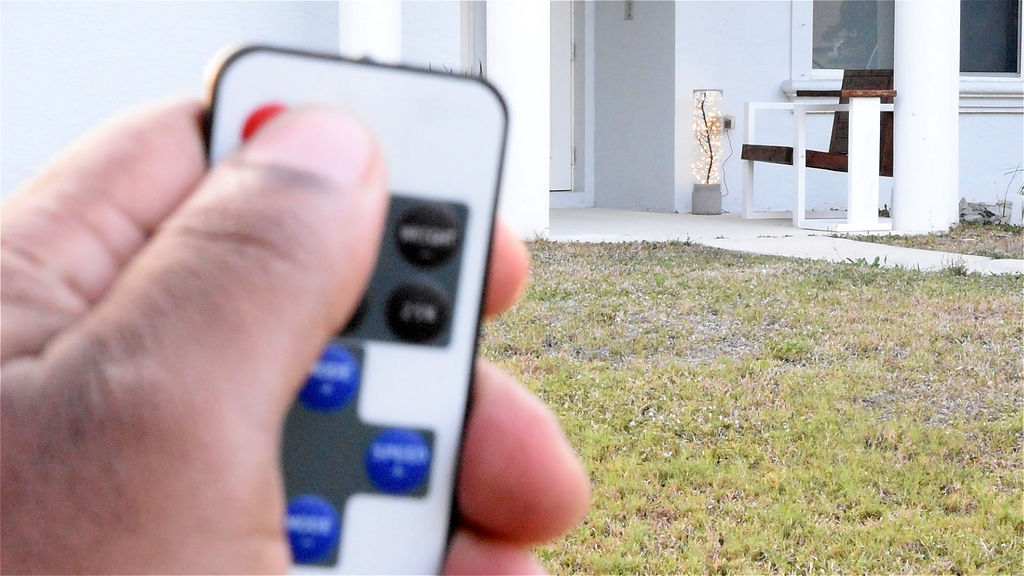
I love the way this lamp came out. The LED String Lights works extremely well. I was able to get this lamp to work approximately 50 feet away. Hope you have a blast when you make yours.
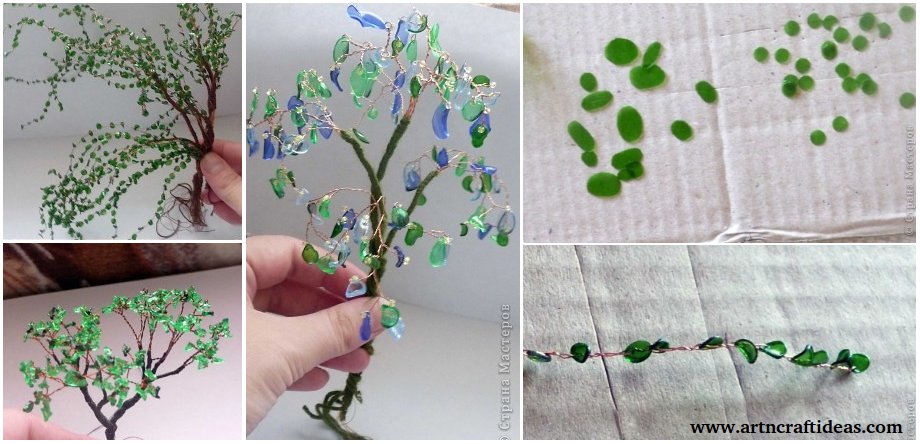
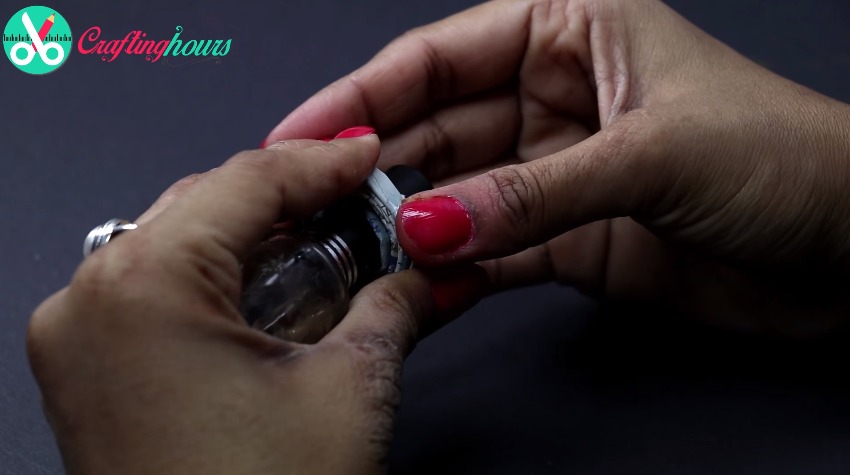
Bonsai Made Of Plastic Bottle: Use a sharp utility knife to cut off the base of the bottle about inch above the bottom, and then wash and try the bottle thoroughly.
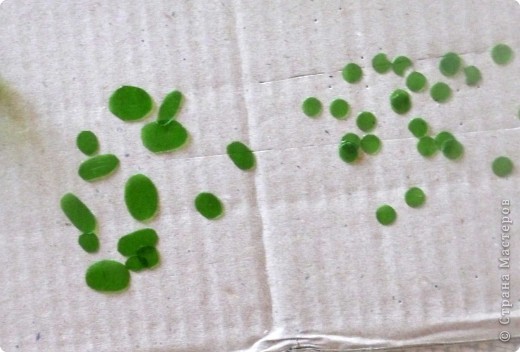
And so it is necessary to begin with a bottle cut into pieces. I have helped in this case, a hole punch, and nail clippers. In principle, the work-piece can be any shape, but I was thinking round.
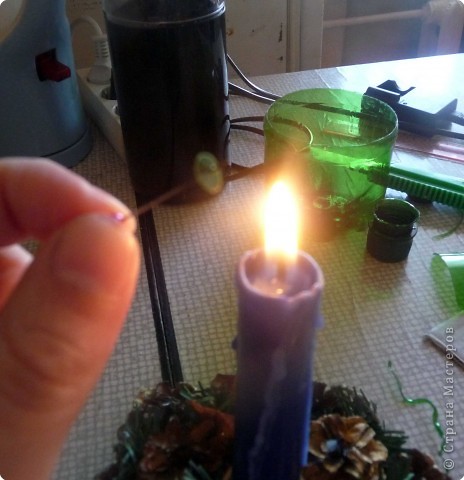
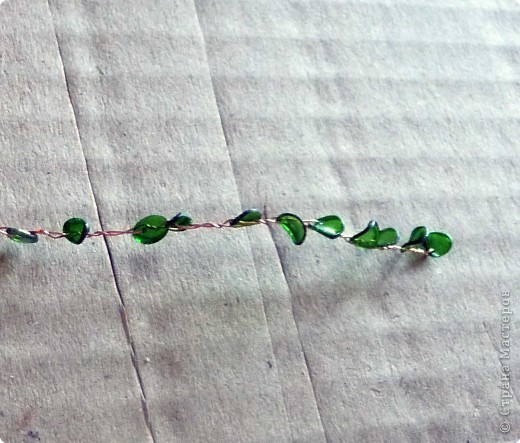
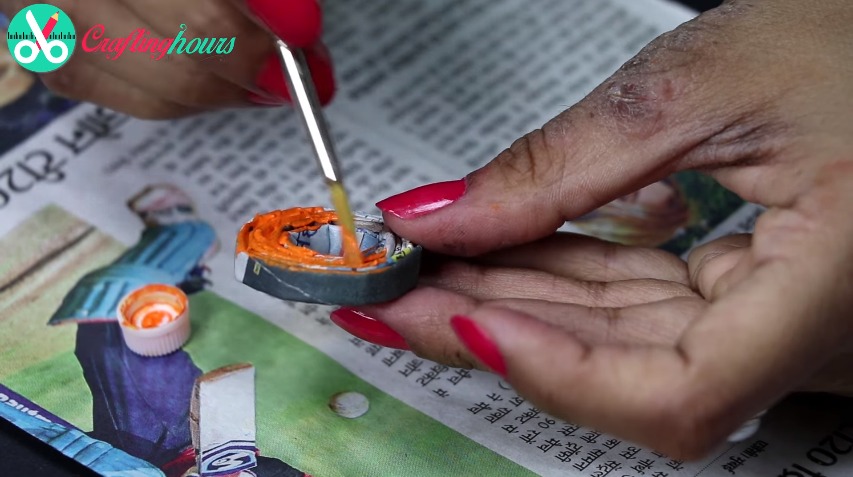
Each piece pierces the needle (awl) and gently heat up over the fire. The main thing is not to overdo it and stop in time! Your first piece of plastic will begin to change shape and bend, which is what we need, but if you hold too long, then it starts to boil and firmly adheres to the needle, and if you hold even longer, then burn or turn into droplets and run off.
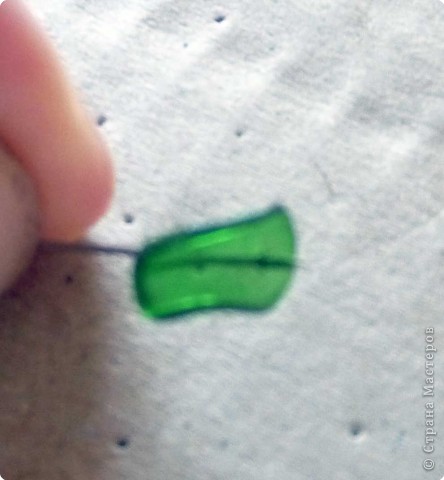
We get something that’s that. I really liked the unpredictability of the final shape and waviness.
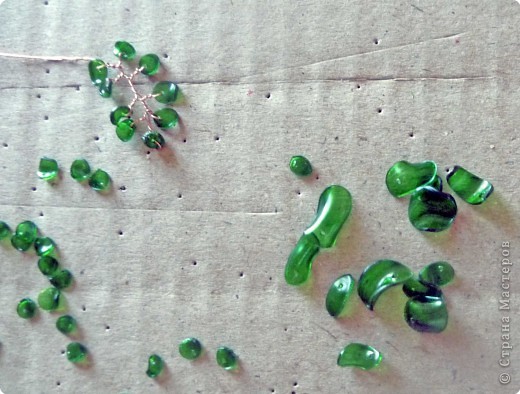
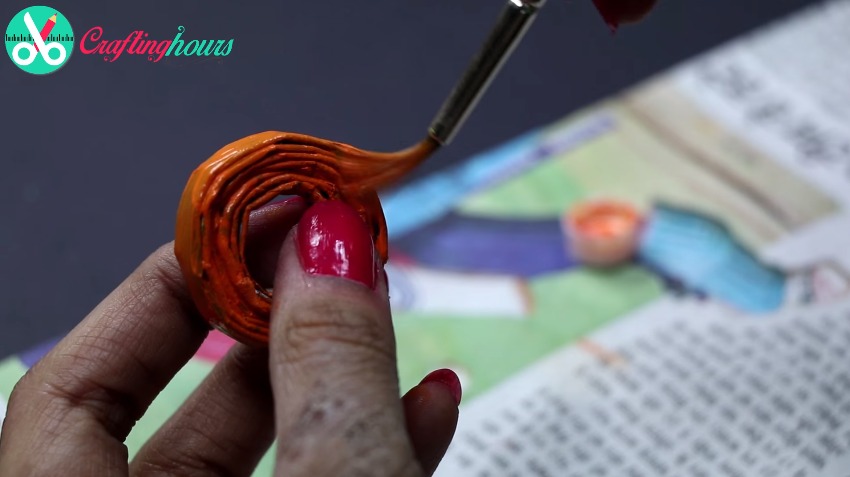
First, I did the piece and after already collected on the wire. But when I decided to try to speed up the work.
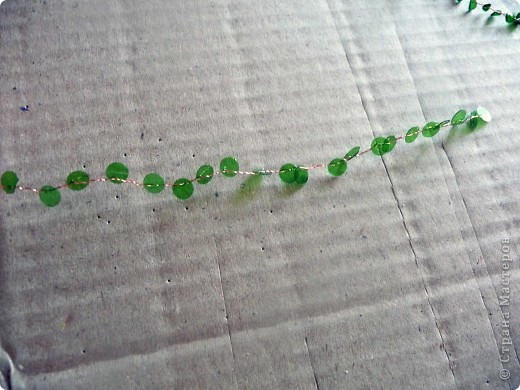
Stumbles holes in the blanks immediately gather them to the wire and straight to her brought to the fire.
In this there is little subtlety, start warming need to fingerprints gradually moving to the edge of the wire (if you look at this picture, then moving from left to right), then you will not have the desire at some point to intercept the other end branches (because he HOT).
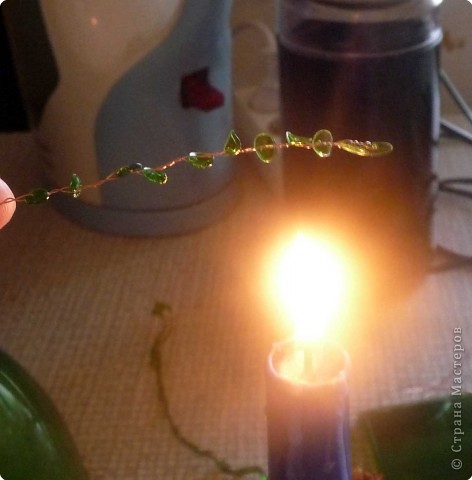
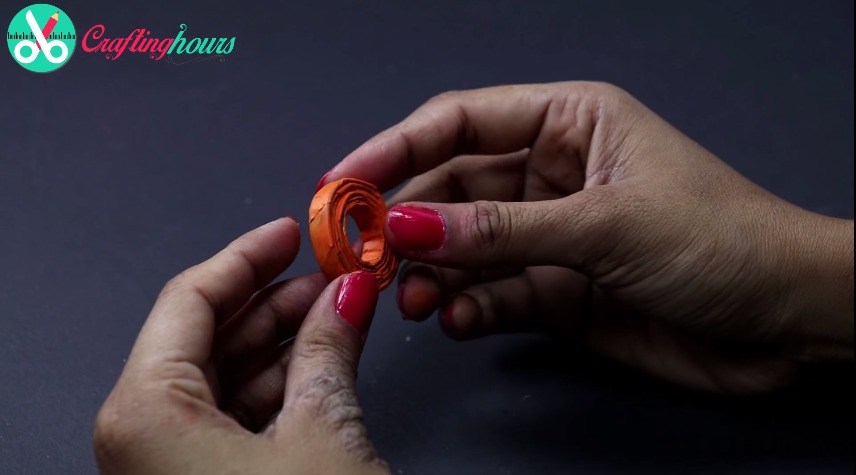
Everything worked out. Here everyone can decide for themselves how convenient, warm on one Circuits or collect in a twig and heat all at once.
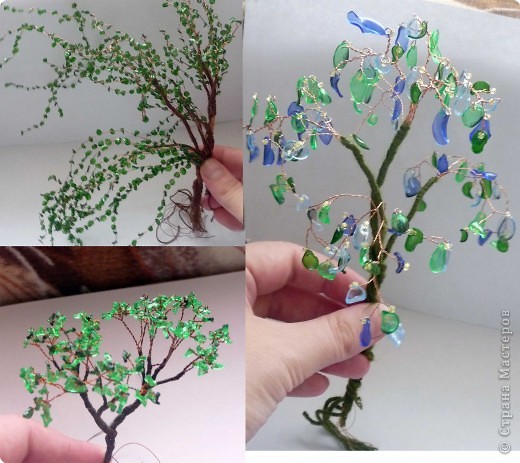
A couple of years ago, throwing empty bottles of mineral water, I thought about the fact that I was losing something precious.
Hope you like this tutorial.
Source: stranamasterov
We would love to hear your thoughts in the comment section below. And be sure to like us Facebook for more ideas!
Thank you for visiting our website. Keep Creating with Art & Craft!
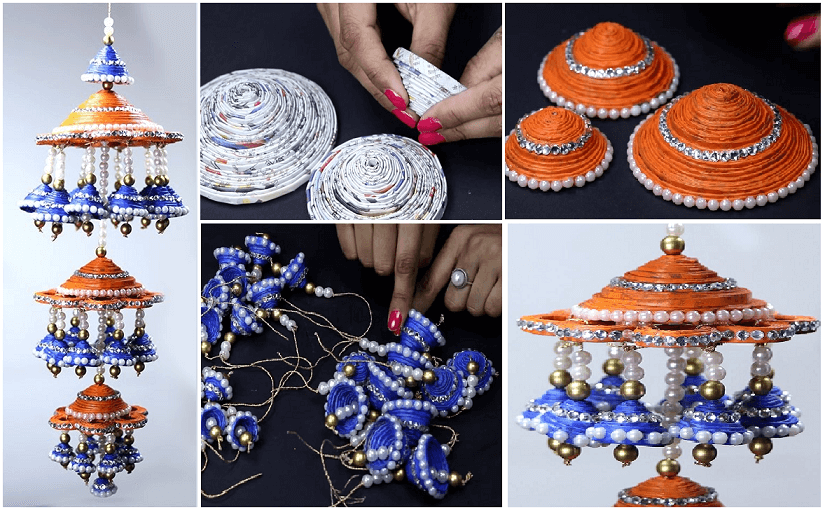
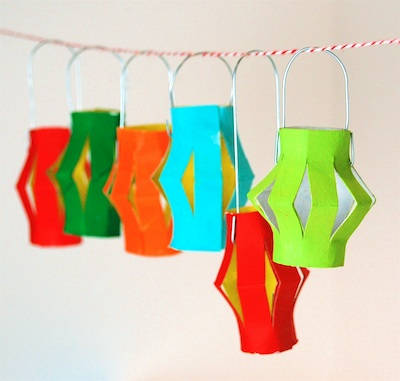
This is one of the most beautiful things made by waste material and among best hanging decor ideas. You can make your own party decorations in this manner with newspaper crafts. Just follow the step by step directions shown in this craft tutorial. Soon you’ll be able to make these hanging decorations from the ceiling and receiving compliments for your creativity in homemade party decorations. So, gather your old waste materials and get ready for some creative things to do with the newspaper. If you want more best out of waste projects or other old newspaper crafts, check out other tutorials as well on Crafting Hours!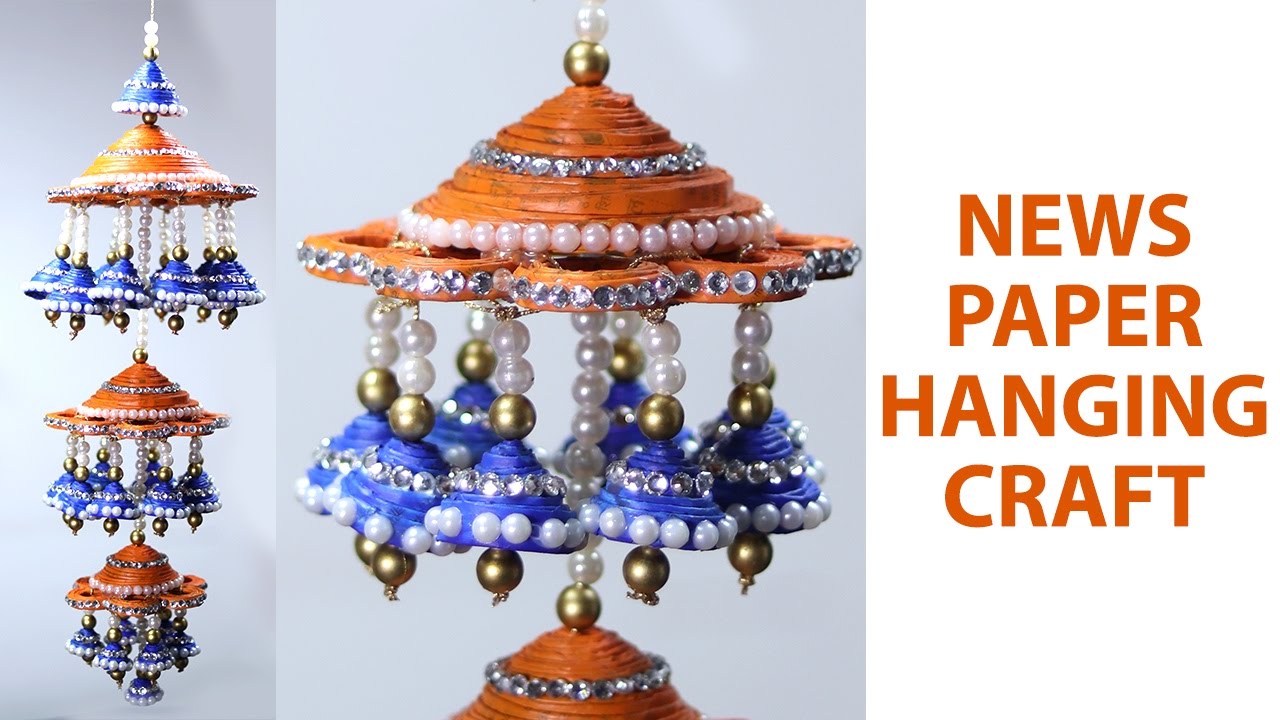
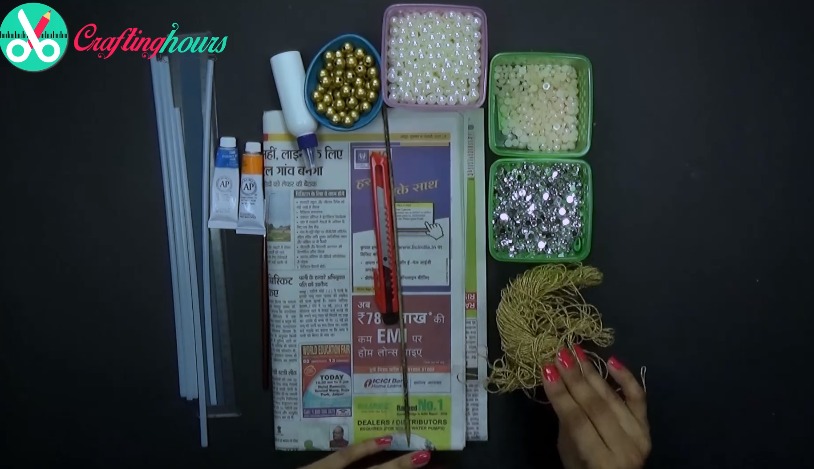
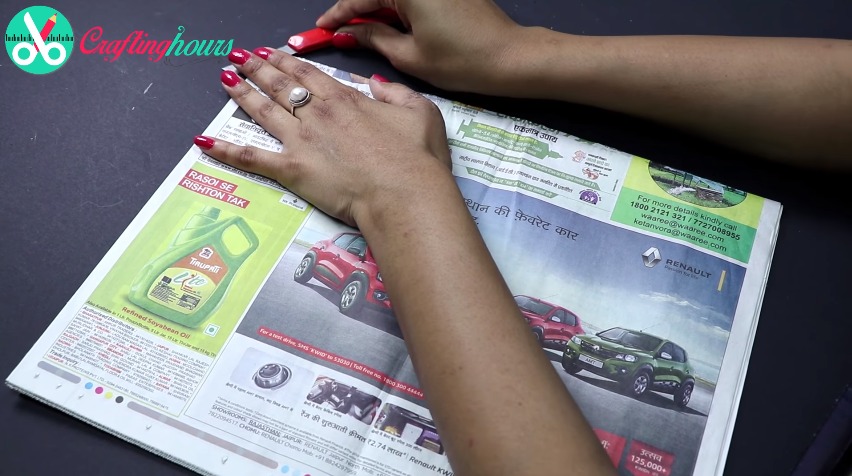
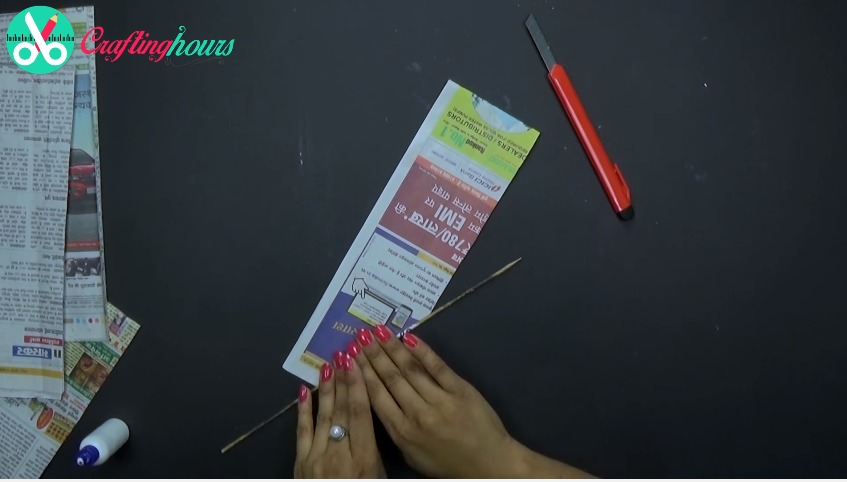
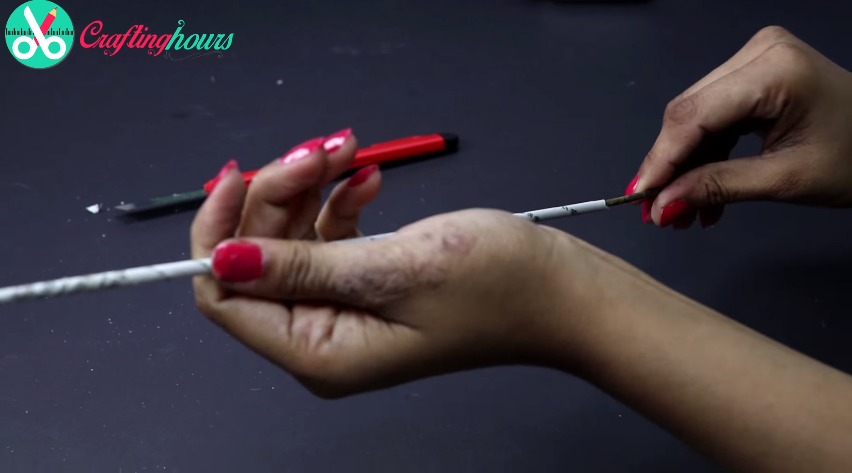
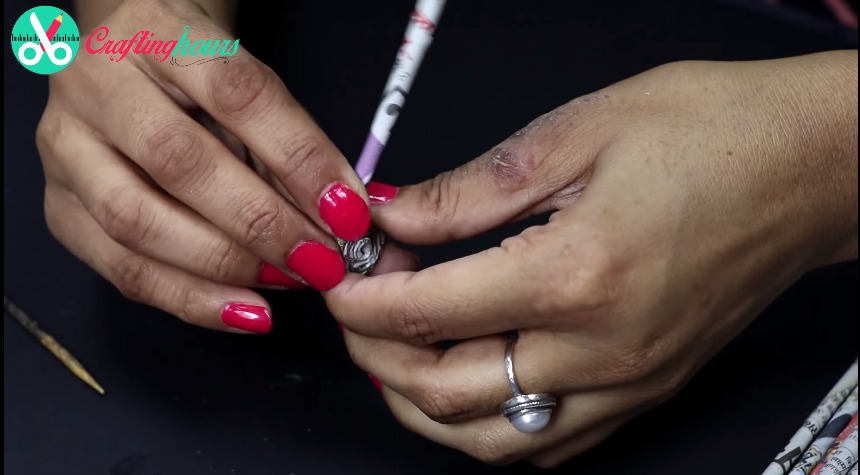
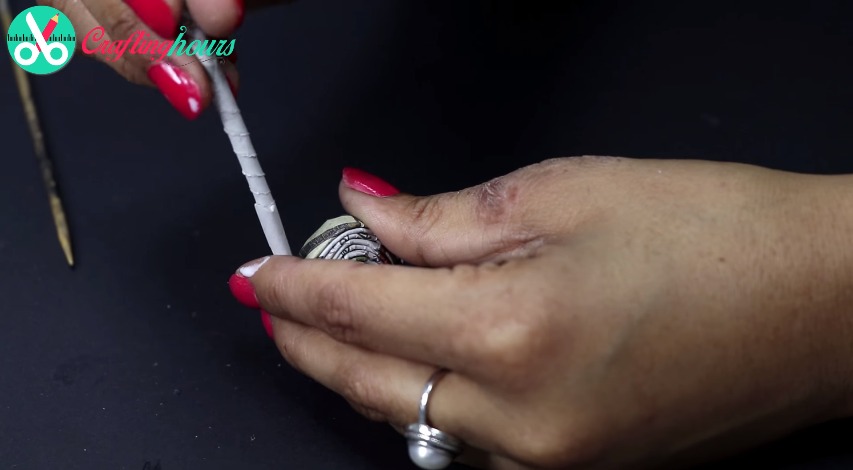
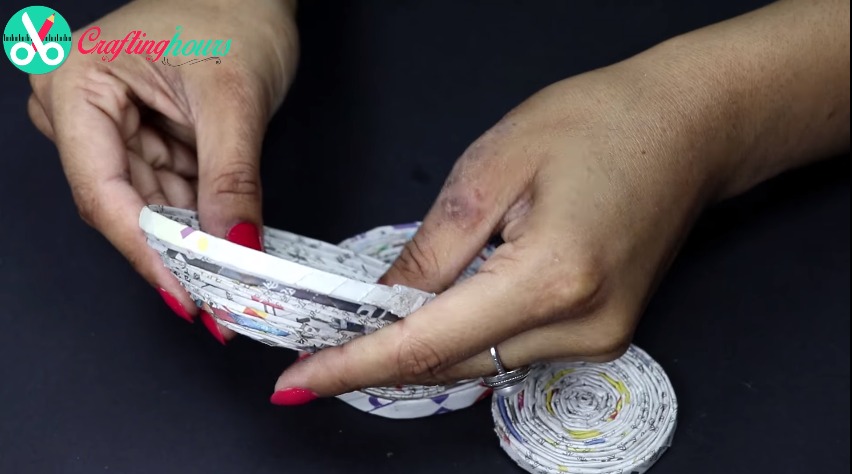
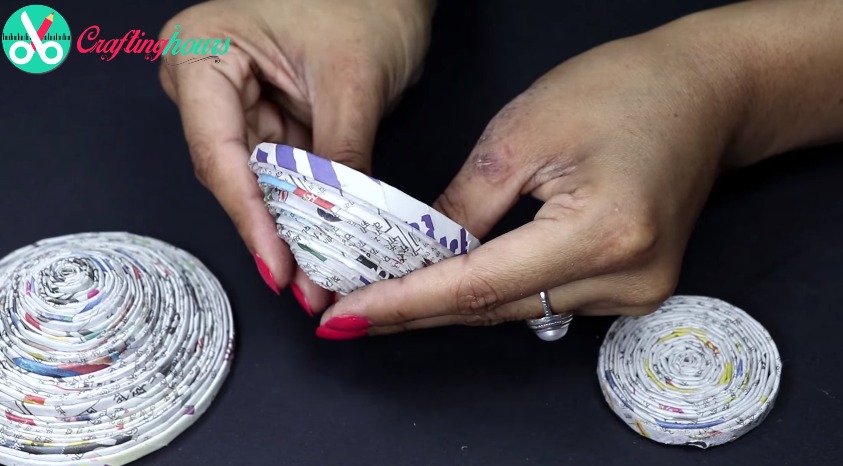
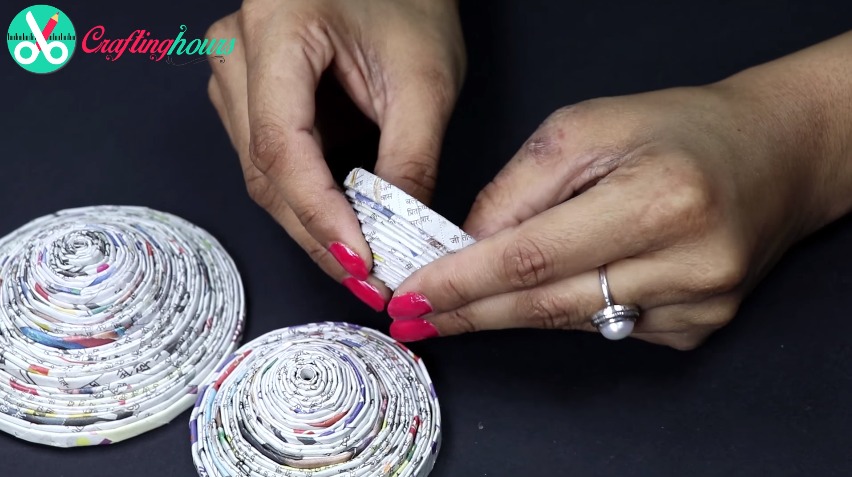
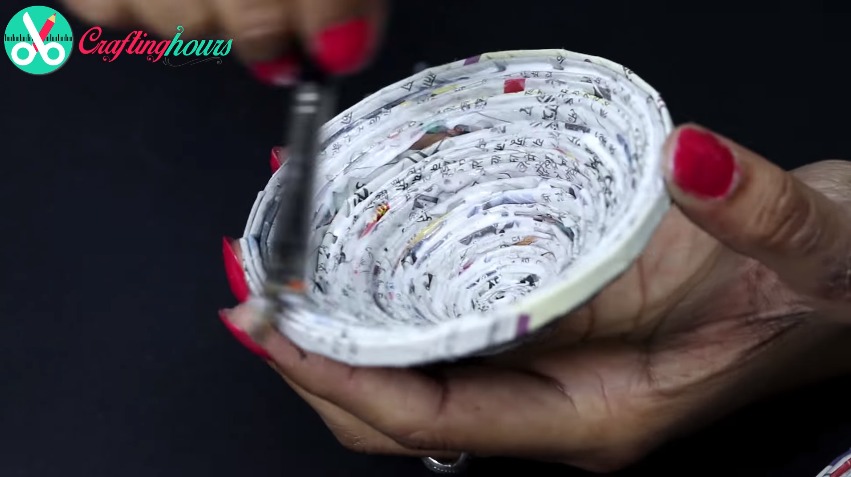
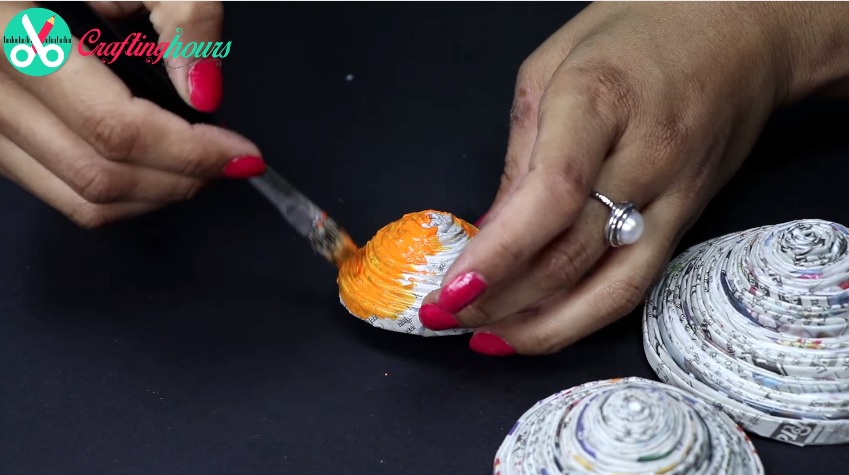
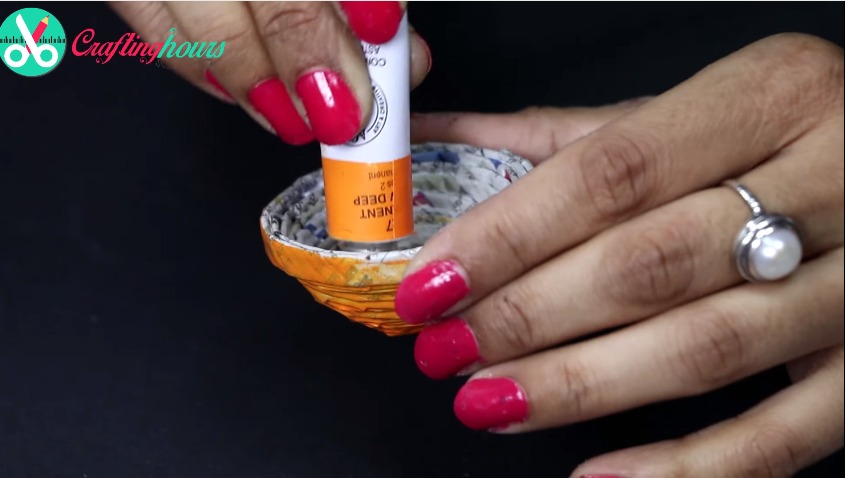
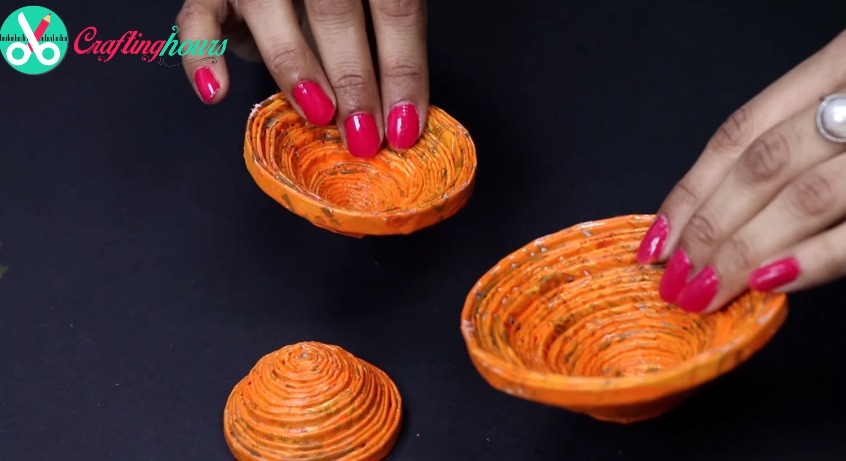
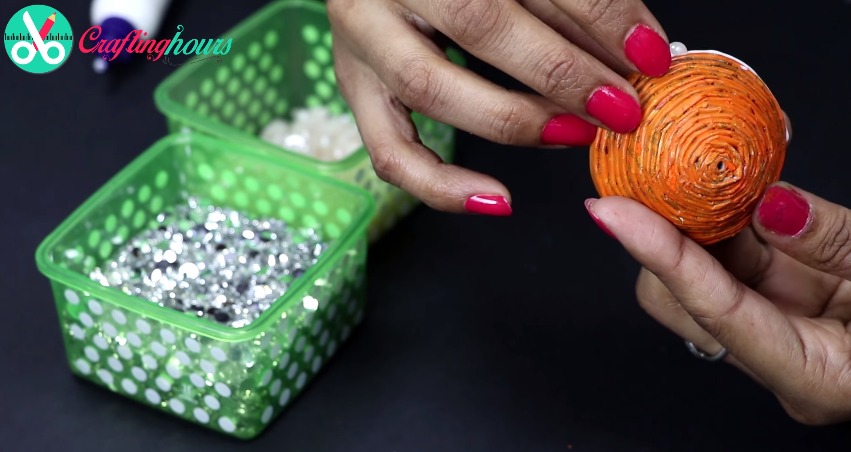
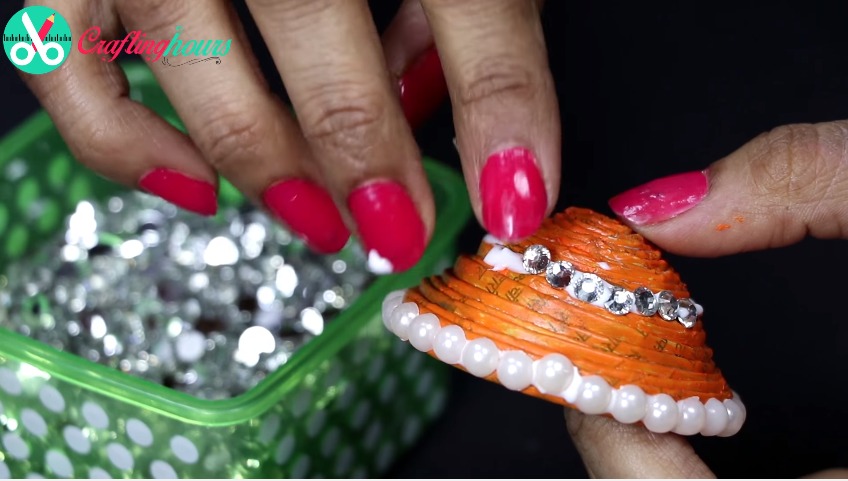
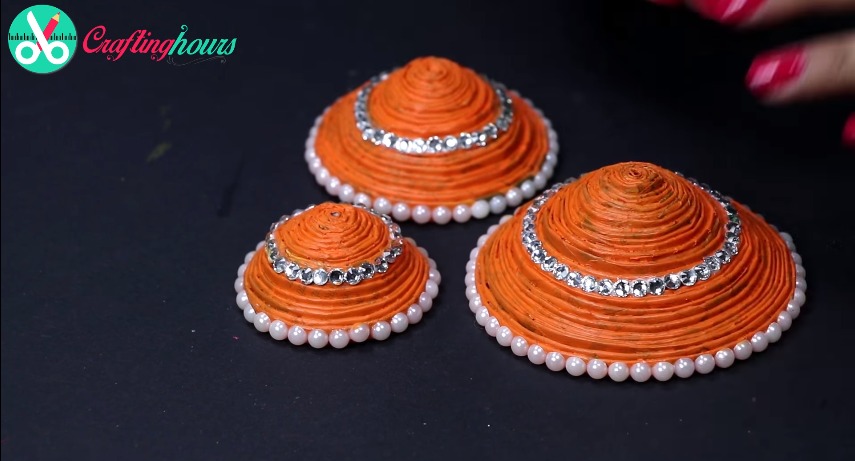
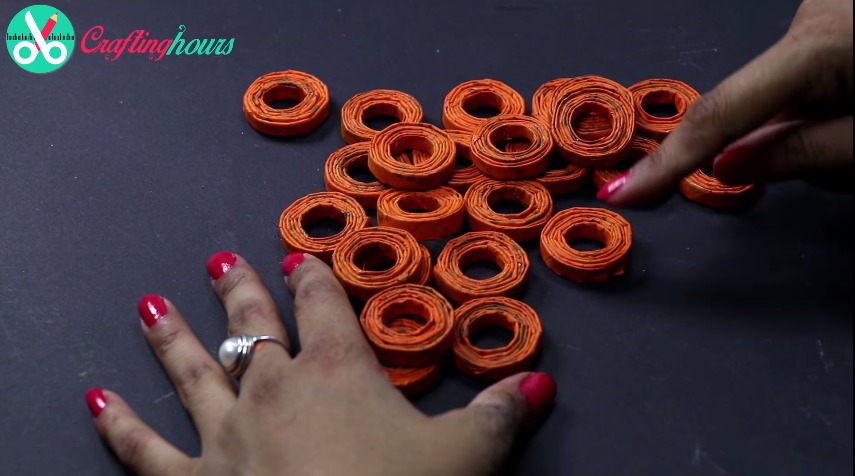
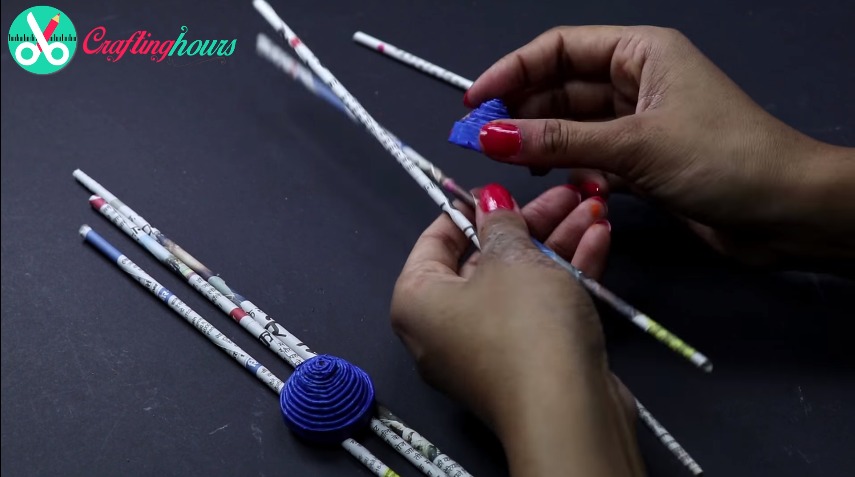
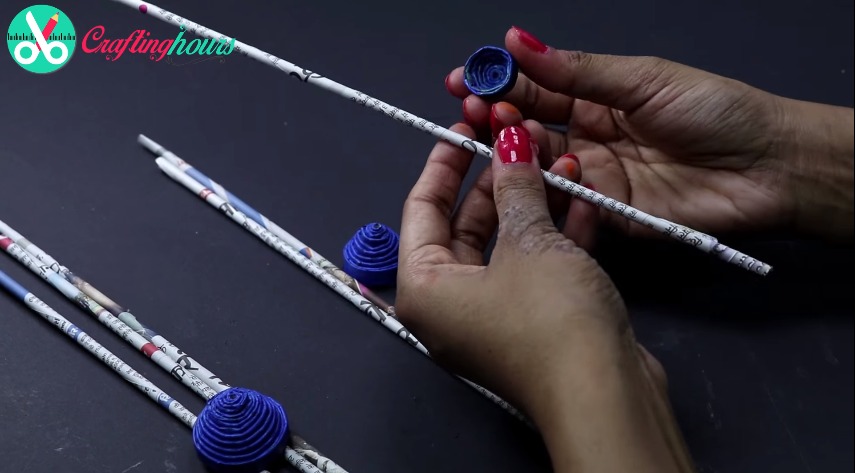
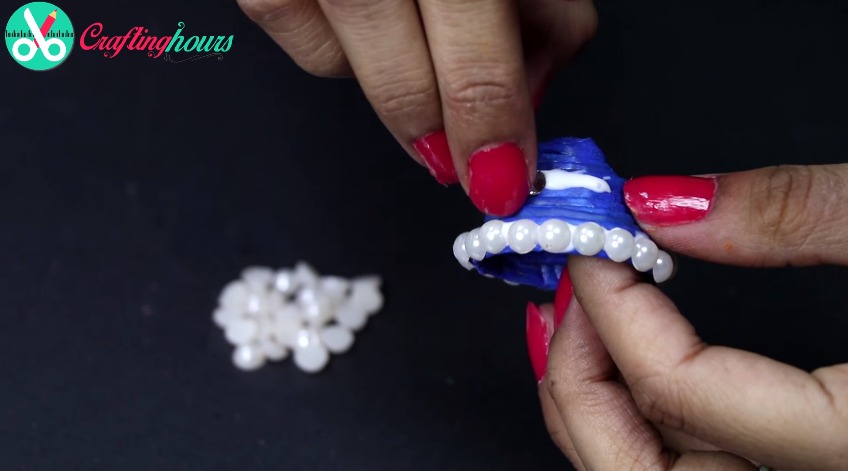
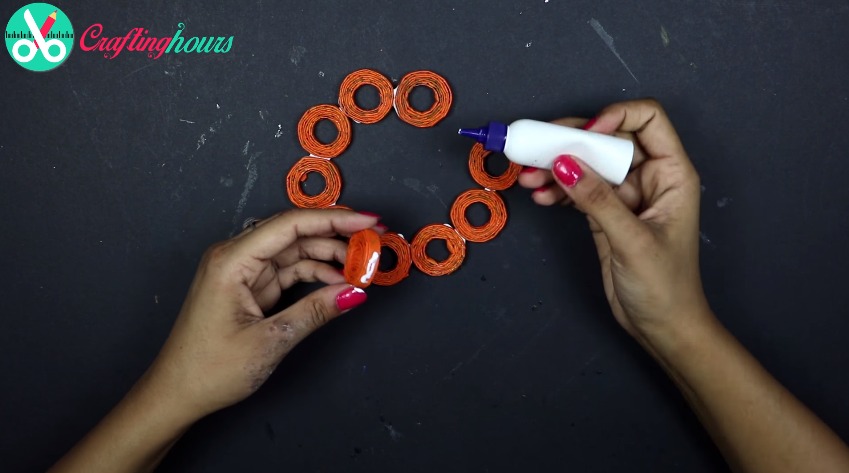
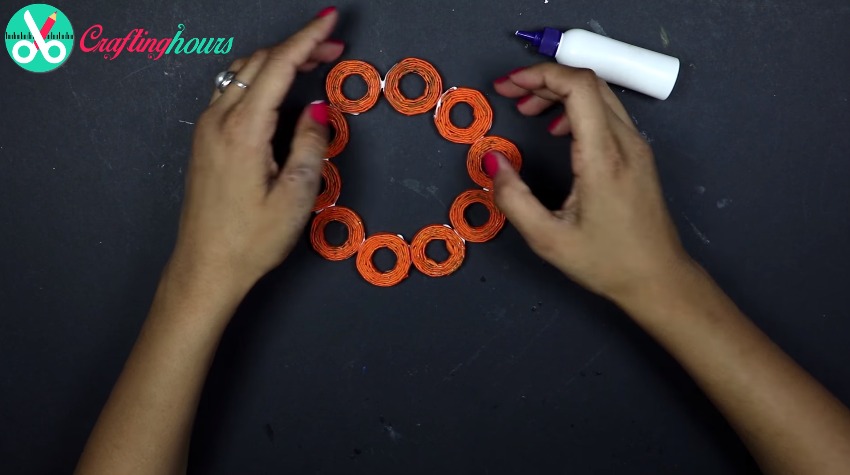

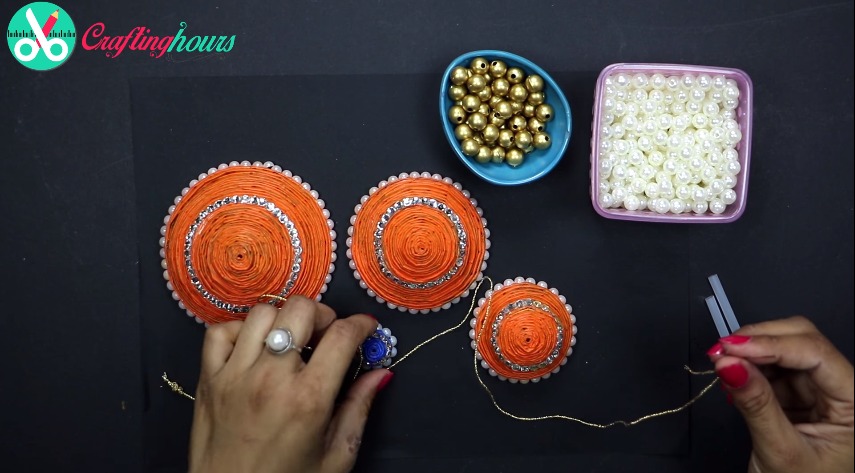
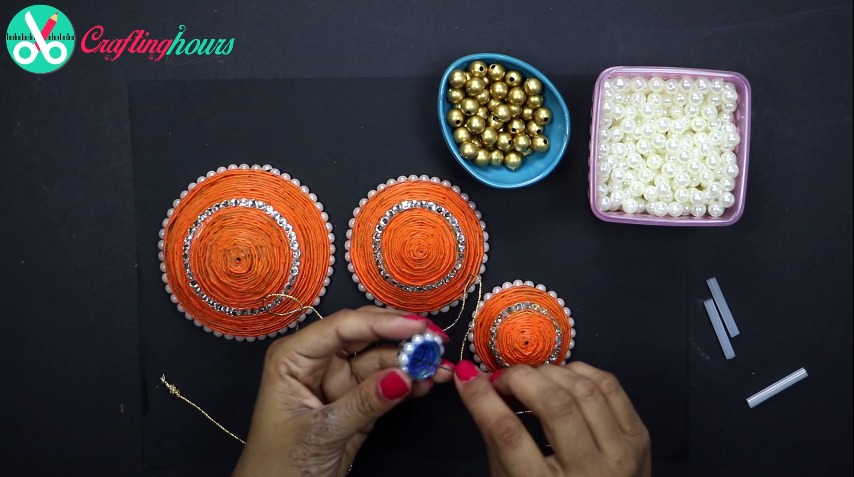
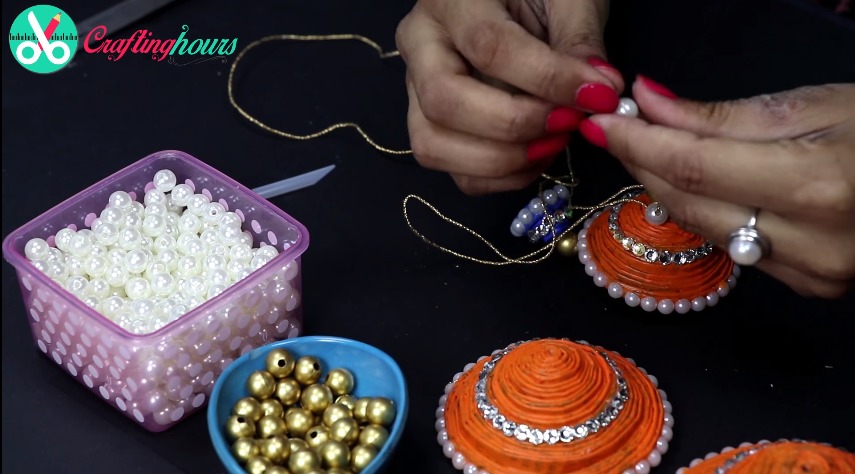
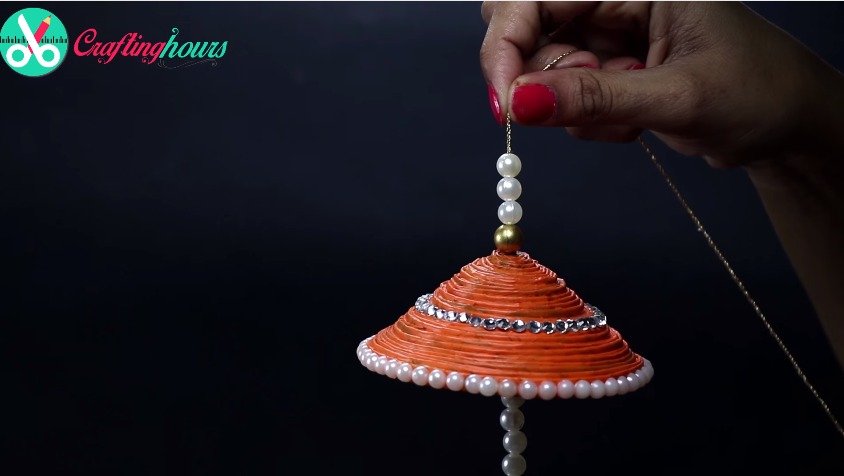
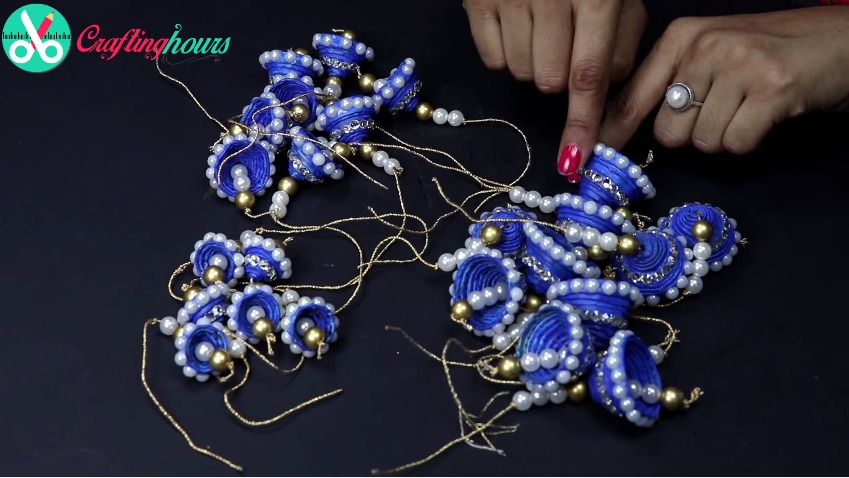
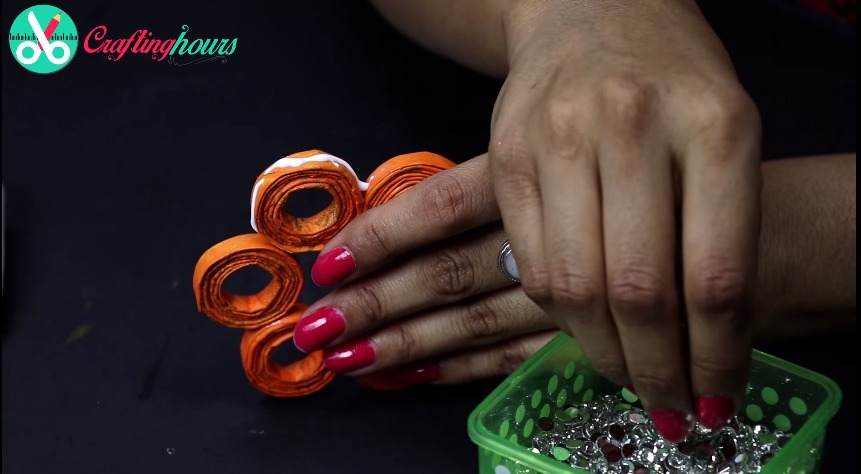
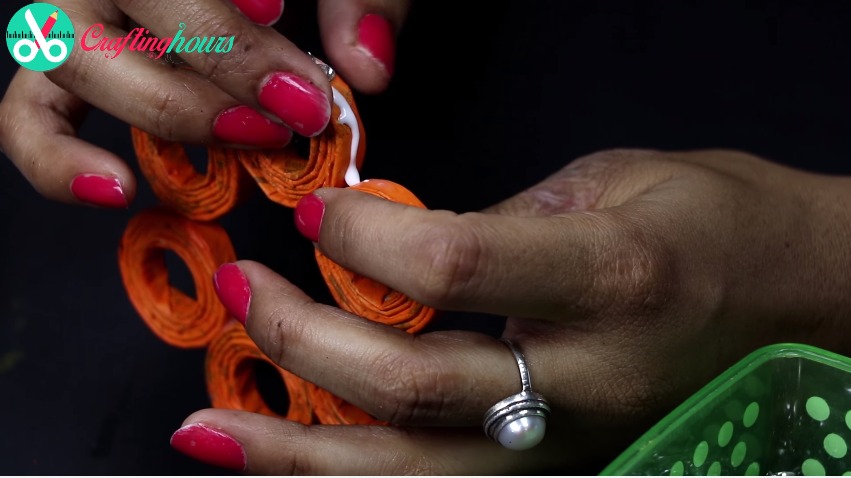

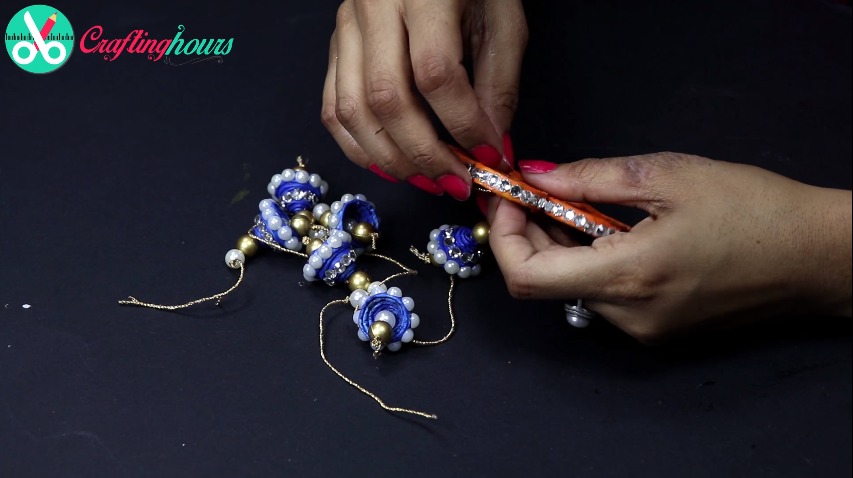
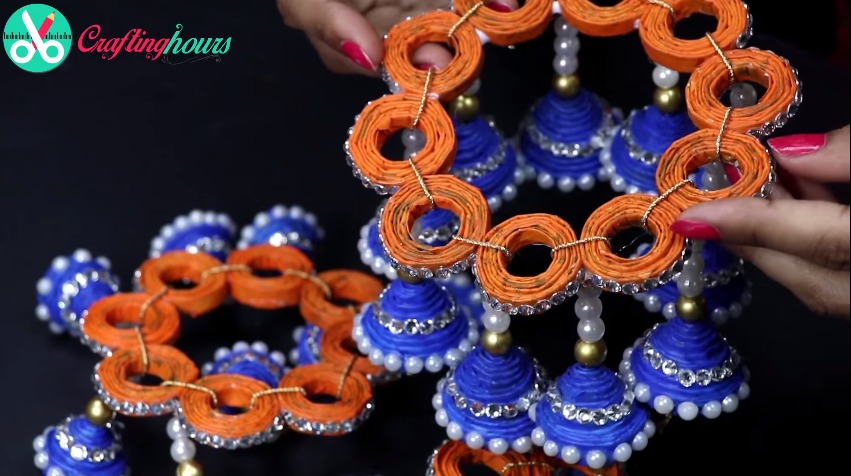
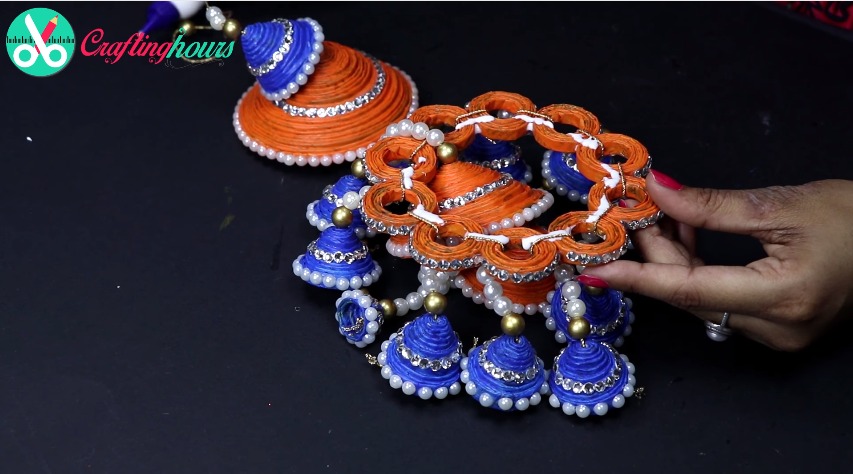
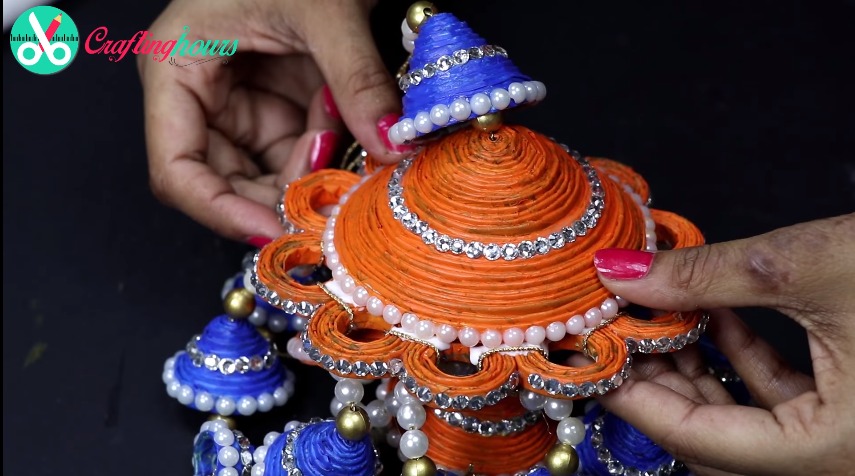
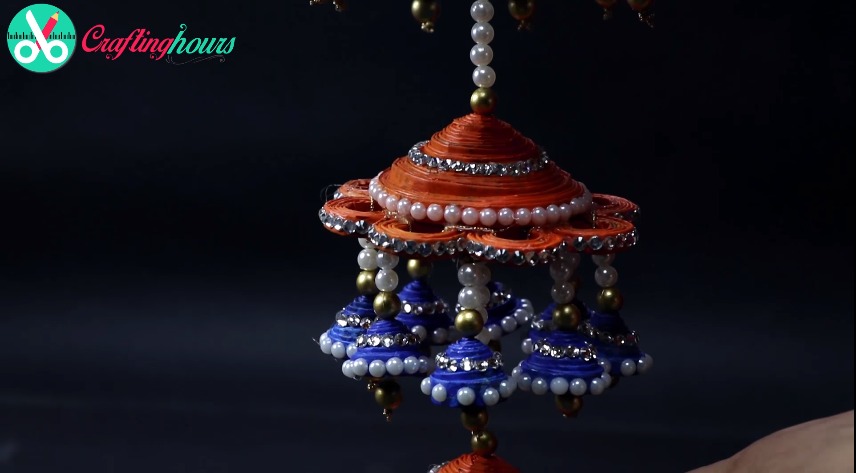
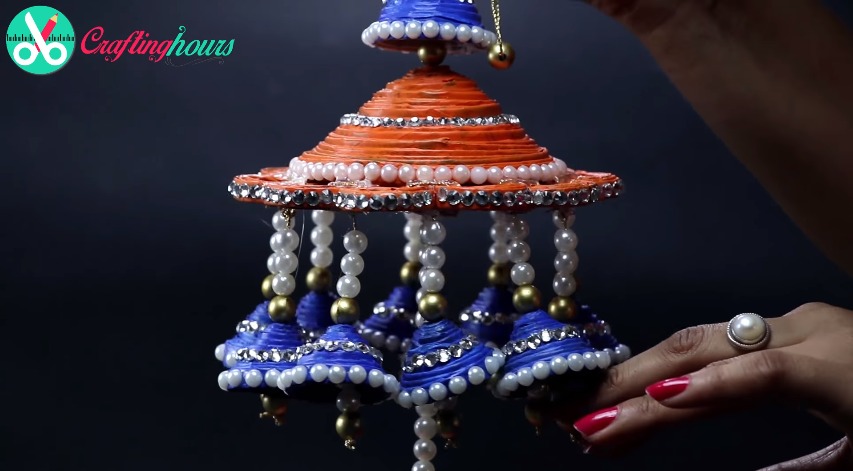

Wall hanging using old newspapers from this best out of waste

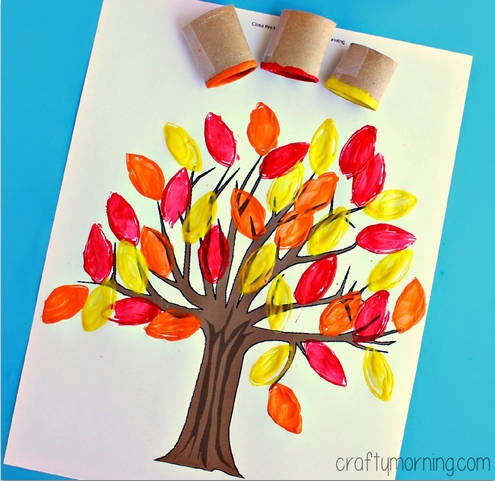
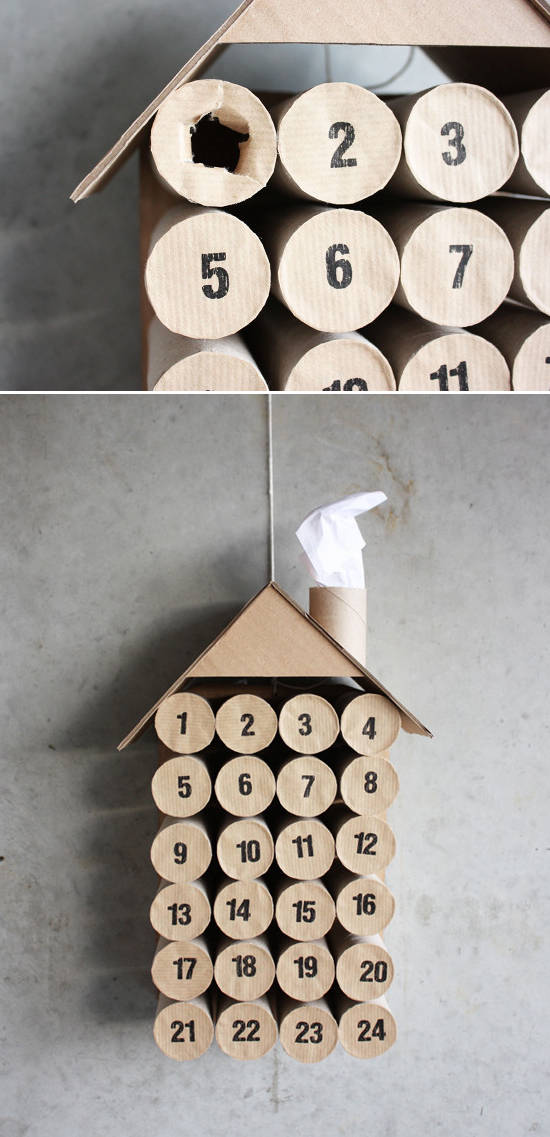
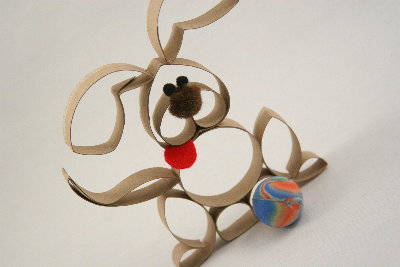
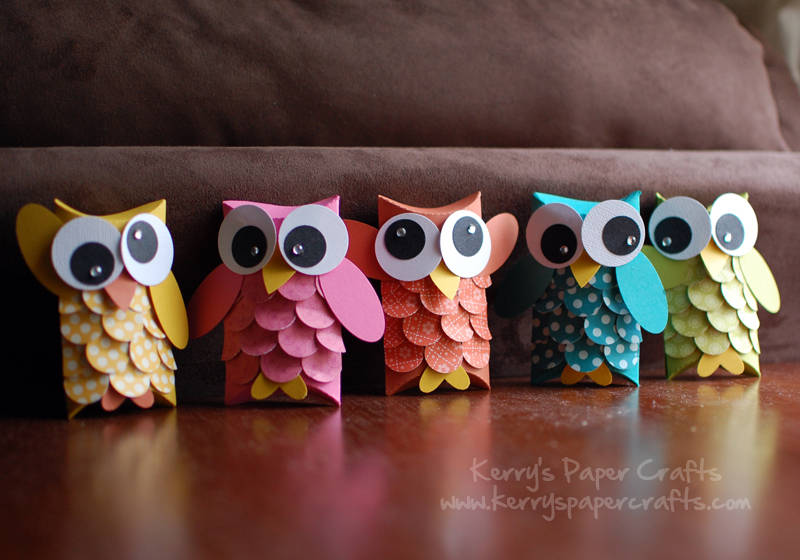
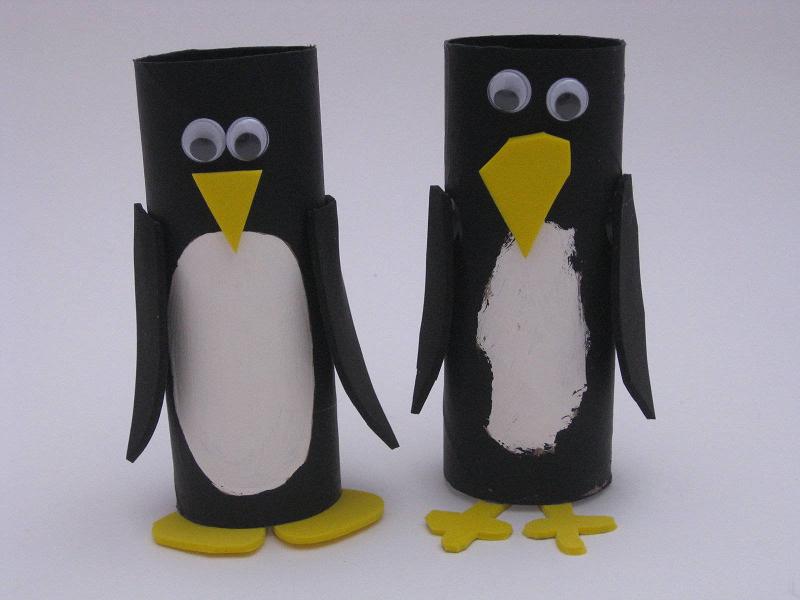
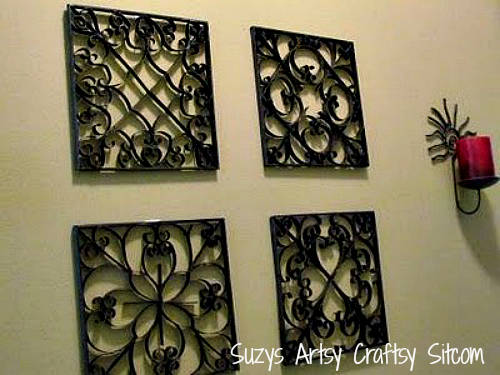
I have an unhealthy obsession with toilet paper roll crafts. Friends and family even collect toilet paper rolls for me so I can make more crafts with them! I like them because, well, pretty much everyone has access to toilet paper rolls. With that said, you’ll want to start collecting (or hoarding) toilet paper rolls after you see these incredible DIY toilet paper rolls crafts.