Table cover warli art using potato (carving) stamp/print, the even warli body is done by potato. Here is an amazing tutorial by Tamanna Lalwani for Warli art on plain white cloth.
(A concept similar to block printing.)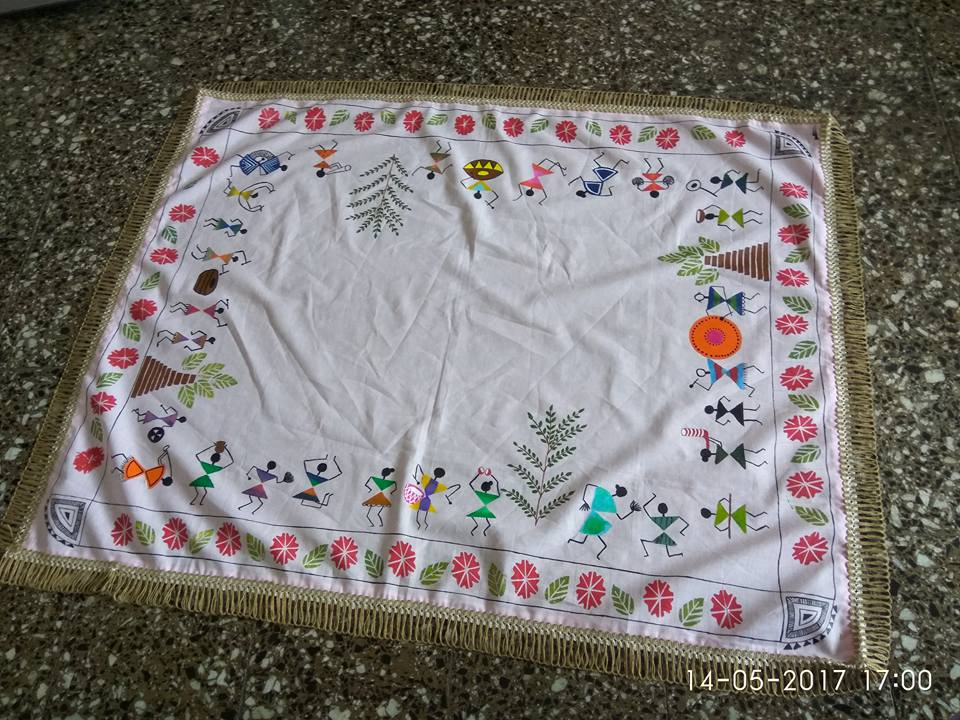
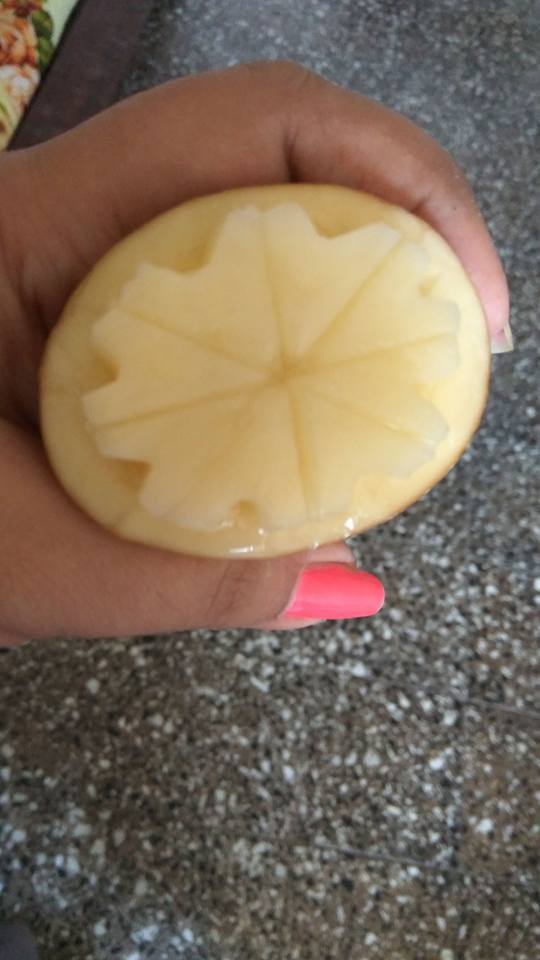
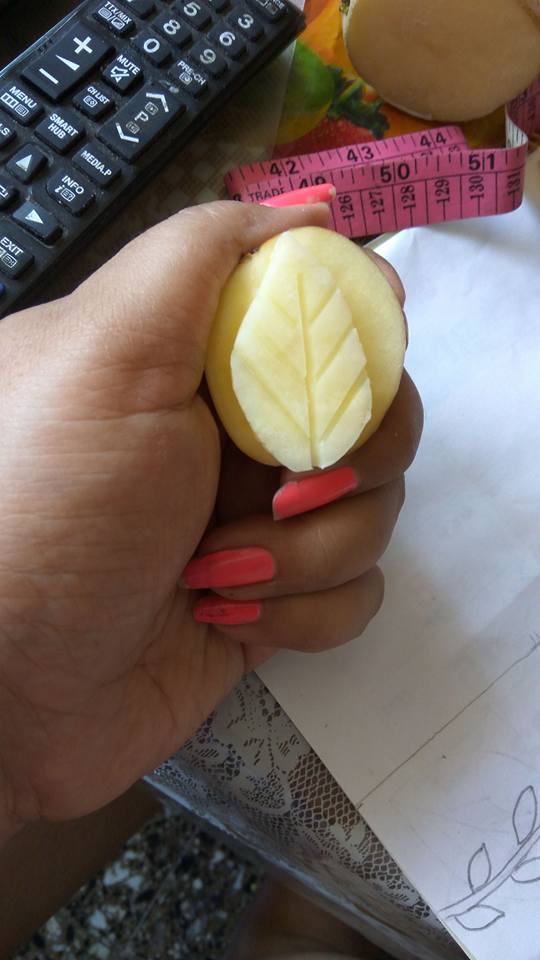
Image Source: Facebook
Get Daily Art and Crafts Ideas & Tutorials…
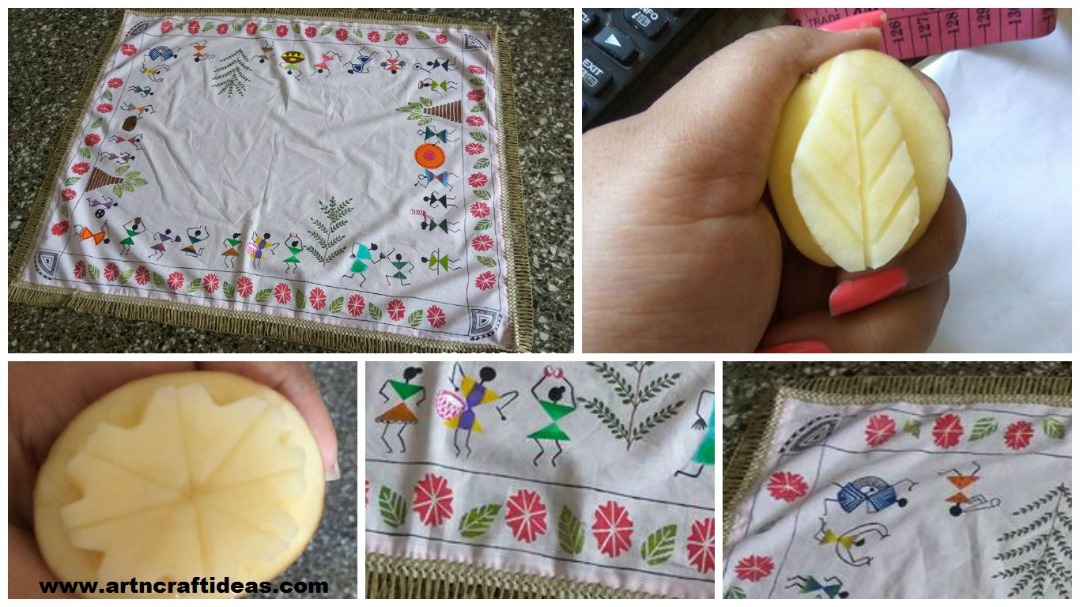
Table cover warli art using potato (carving) stamp/print, the even warli body is done by potato. Here is an amazing tutorial by Tamanna Lalwani for Warli art on plain white cloth.
(A concept similar to block printing.)
Image Source: Facebook


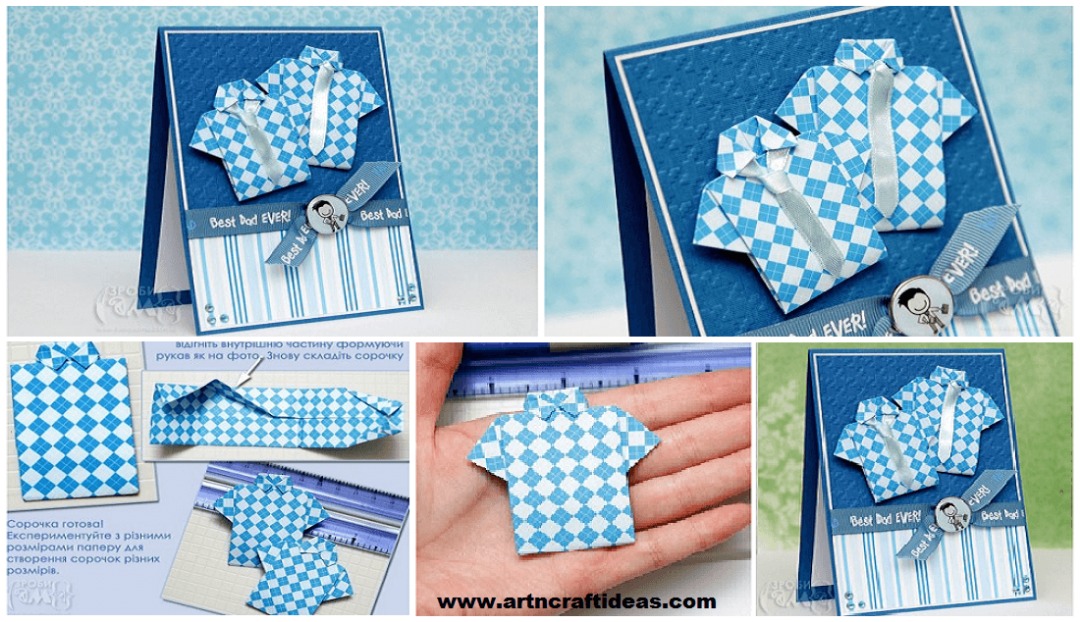
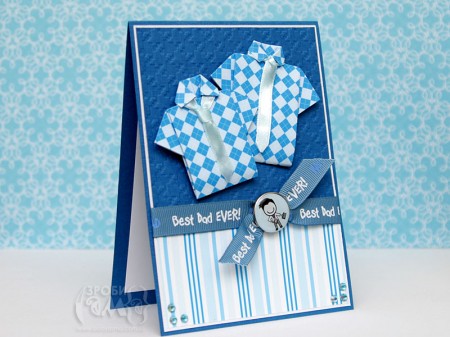
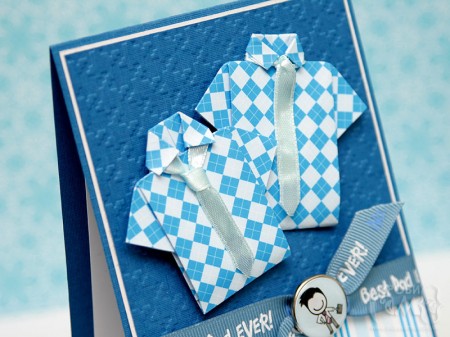
The idea of shirt seemed to me interesting and not too difficult, especially because I know how to do origami shirt. I learned to do them for a long time, even when a student exchange in the US – then gave me a dollar made in shirt.This folded dollar is I still – I was laid out and with it probably a thousand times.
Here is the compiled Shirt:
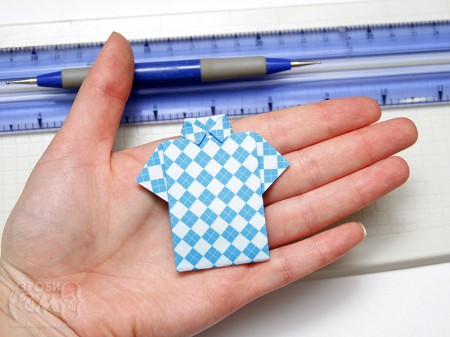 Quite realistic, is not it? On the Internet you will find plenty of instructions to help you add up a shirt in 3 minutes! Here is my version of these instructions, adapted to the size of paper 15 x 15 cm (with a single sheet can be done two shirts). Bend piece from two sides towards the center fold line swipe colonies in the region of 5-7 mm from the upper edge, turn the sheet and bend the top corners at the middle, with the other side of 4 cm to bend the middle, then fold the lower portion (up collar). Lay the foundation shirts and fold the inner edges forming a sleeve, and then fold the shirt.
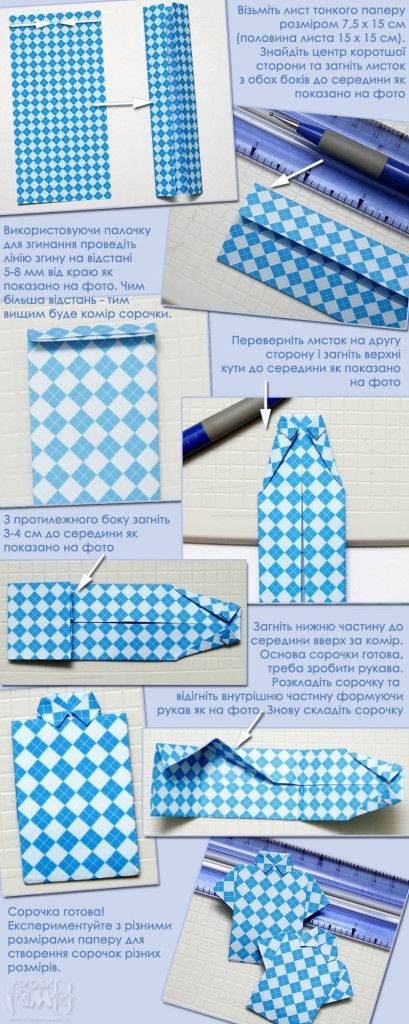 The shirt will serve as the centerpiece of my cards. Actually I made these shirts and two ties complement them with tape.
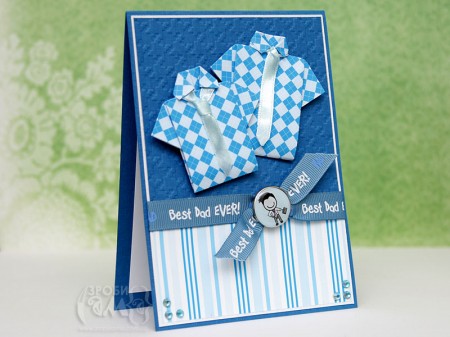
 Size cards – 10.5 x 14.5 cm (half an A4 sheet). For a card I cut the white lining Size 10.1 x 14.3 cm and a blue square (the size of 9.8 x 9.8 cm), and another strip of scrap paper size of 9.8 x 5 cm.
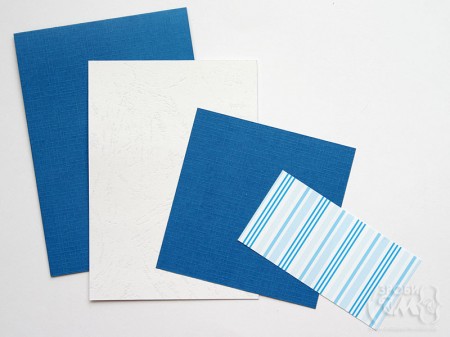 Blue square I squeezed through the machine for embossing that there was a certain texture. But if the machine is not present, then you can do without it. Tied ribbon.
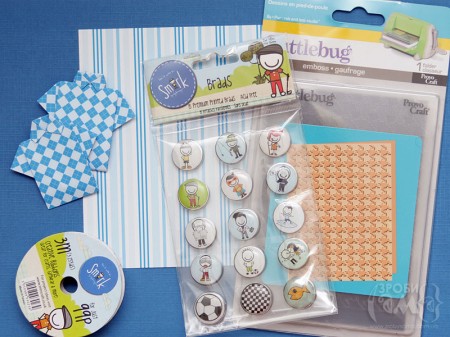
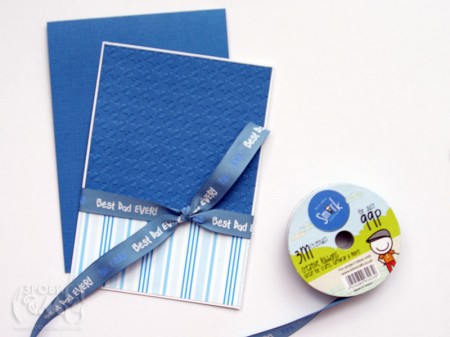 Knot the ribbon I decorated the icon with a funny image.
 I also graced the back of a postcard and glue the white paper in the middle, so that you can write on it greetings.
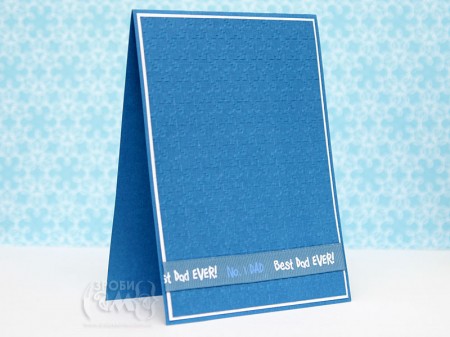
 Here is a get the original “Father’s Day card”!
Courtesy: zrobysama
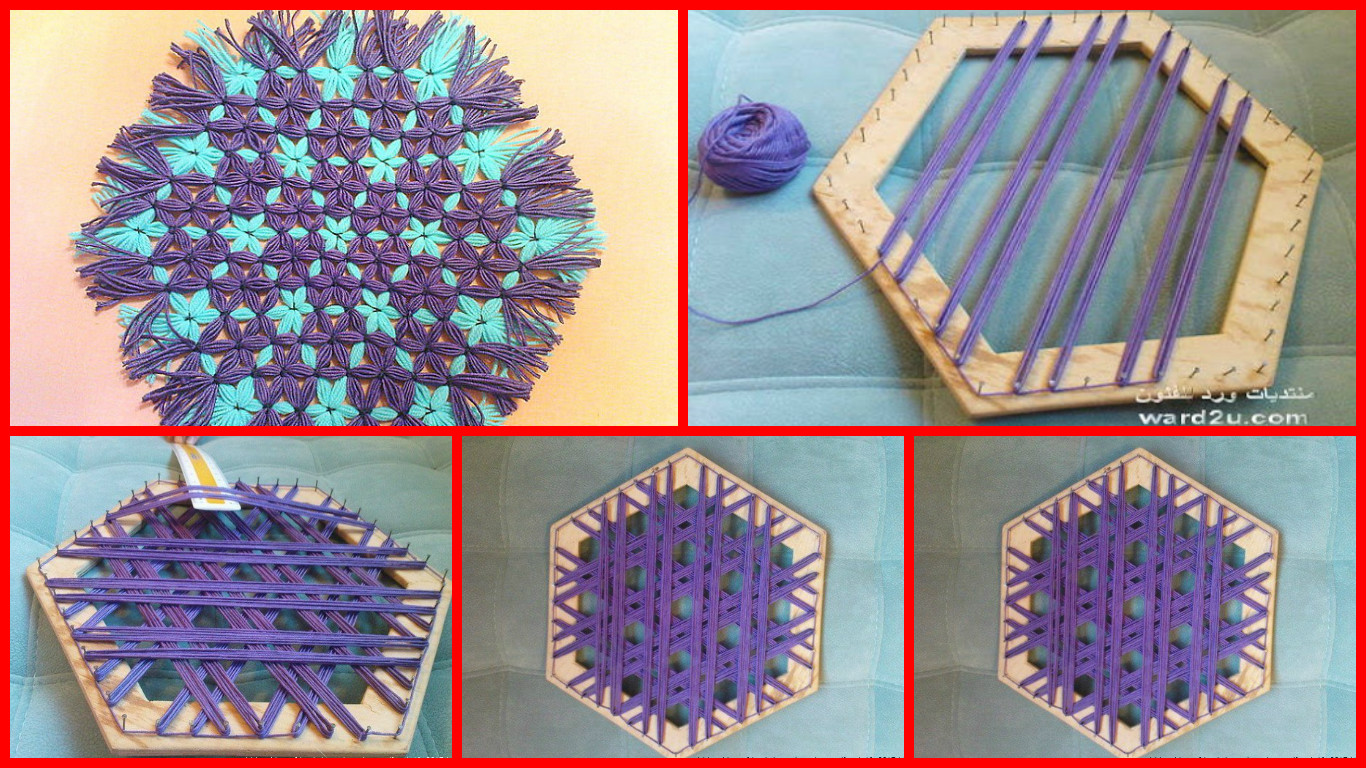
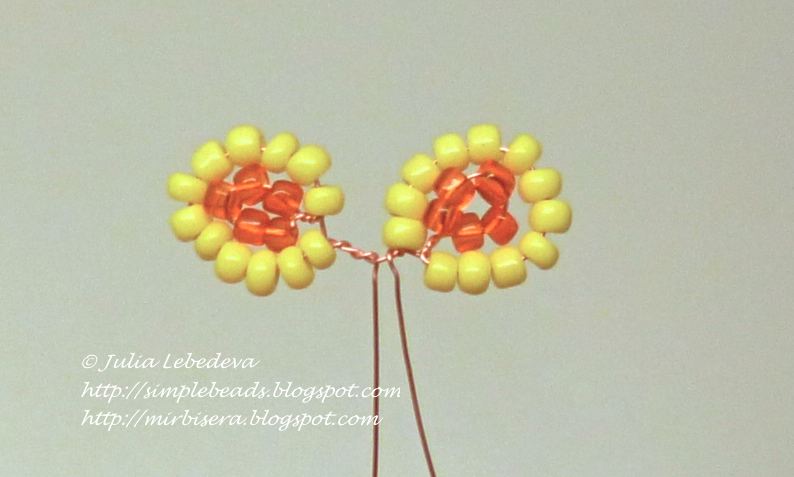
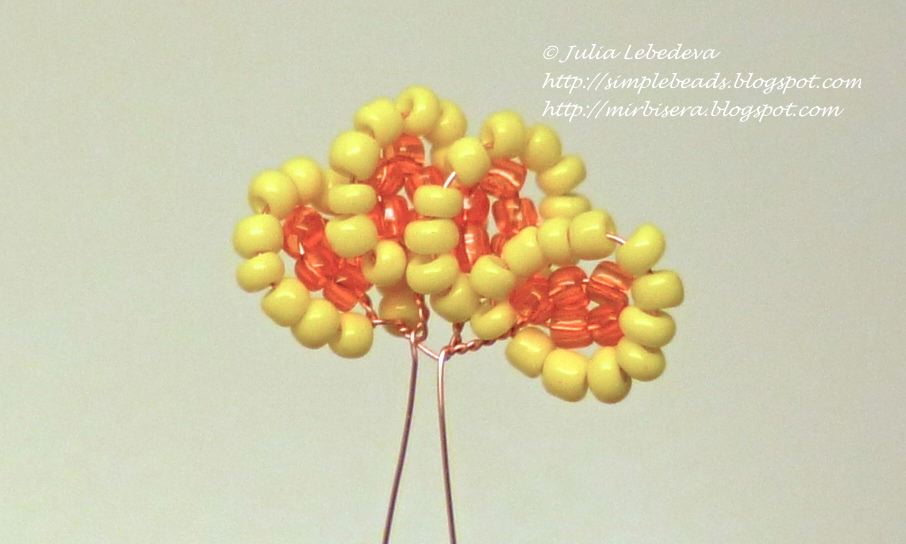
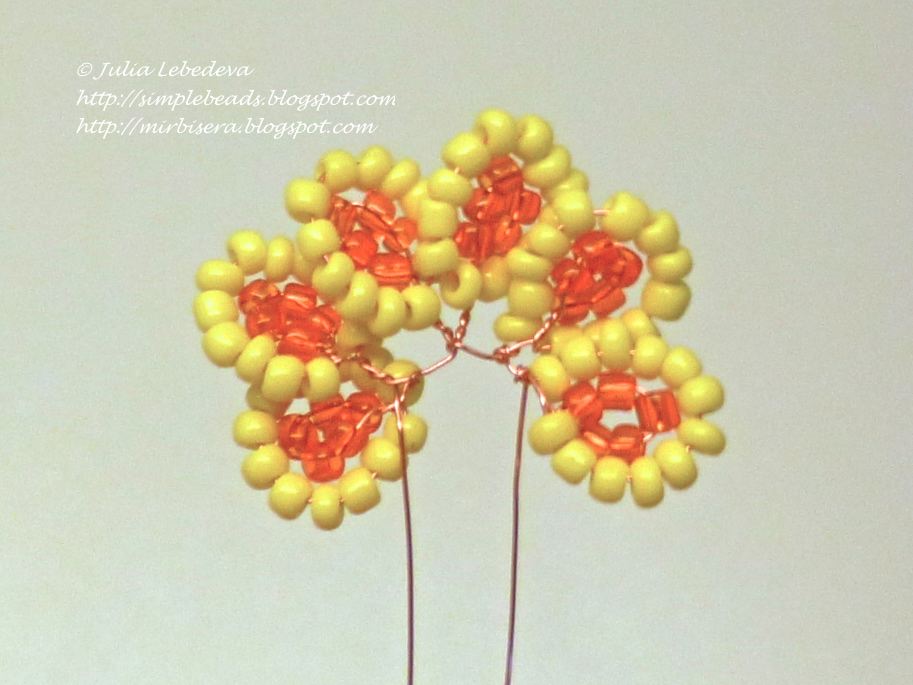
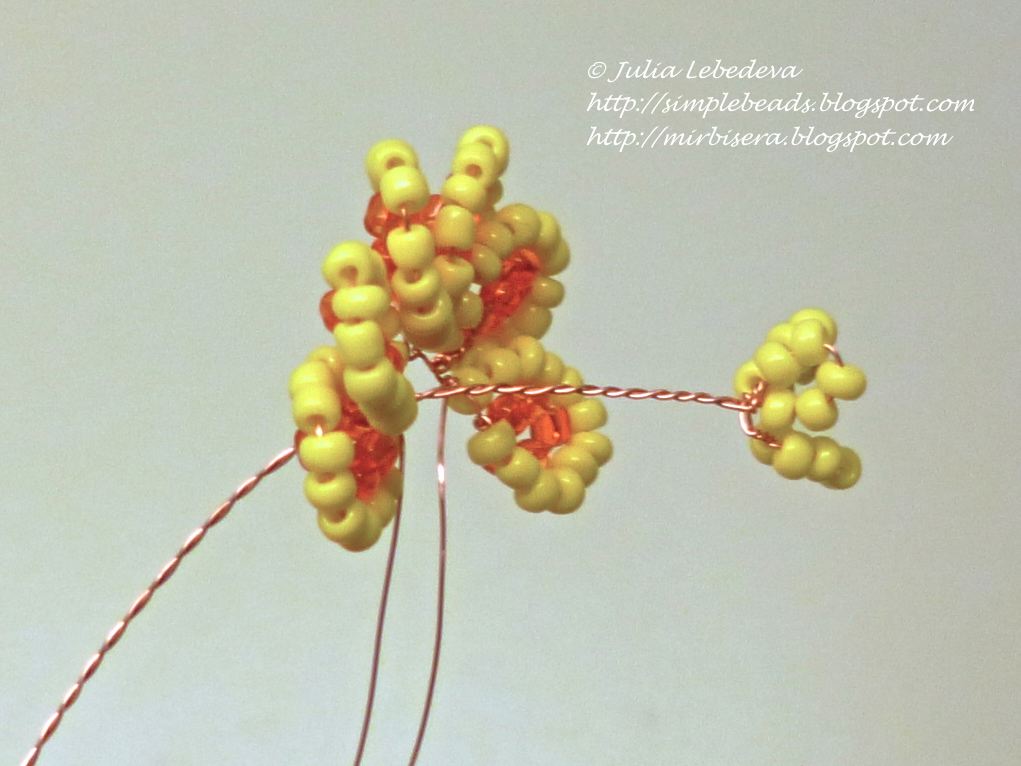
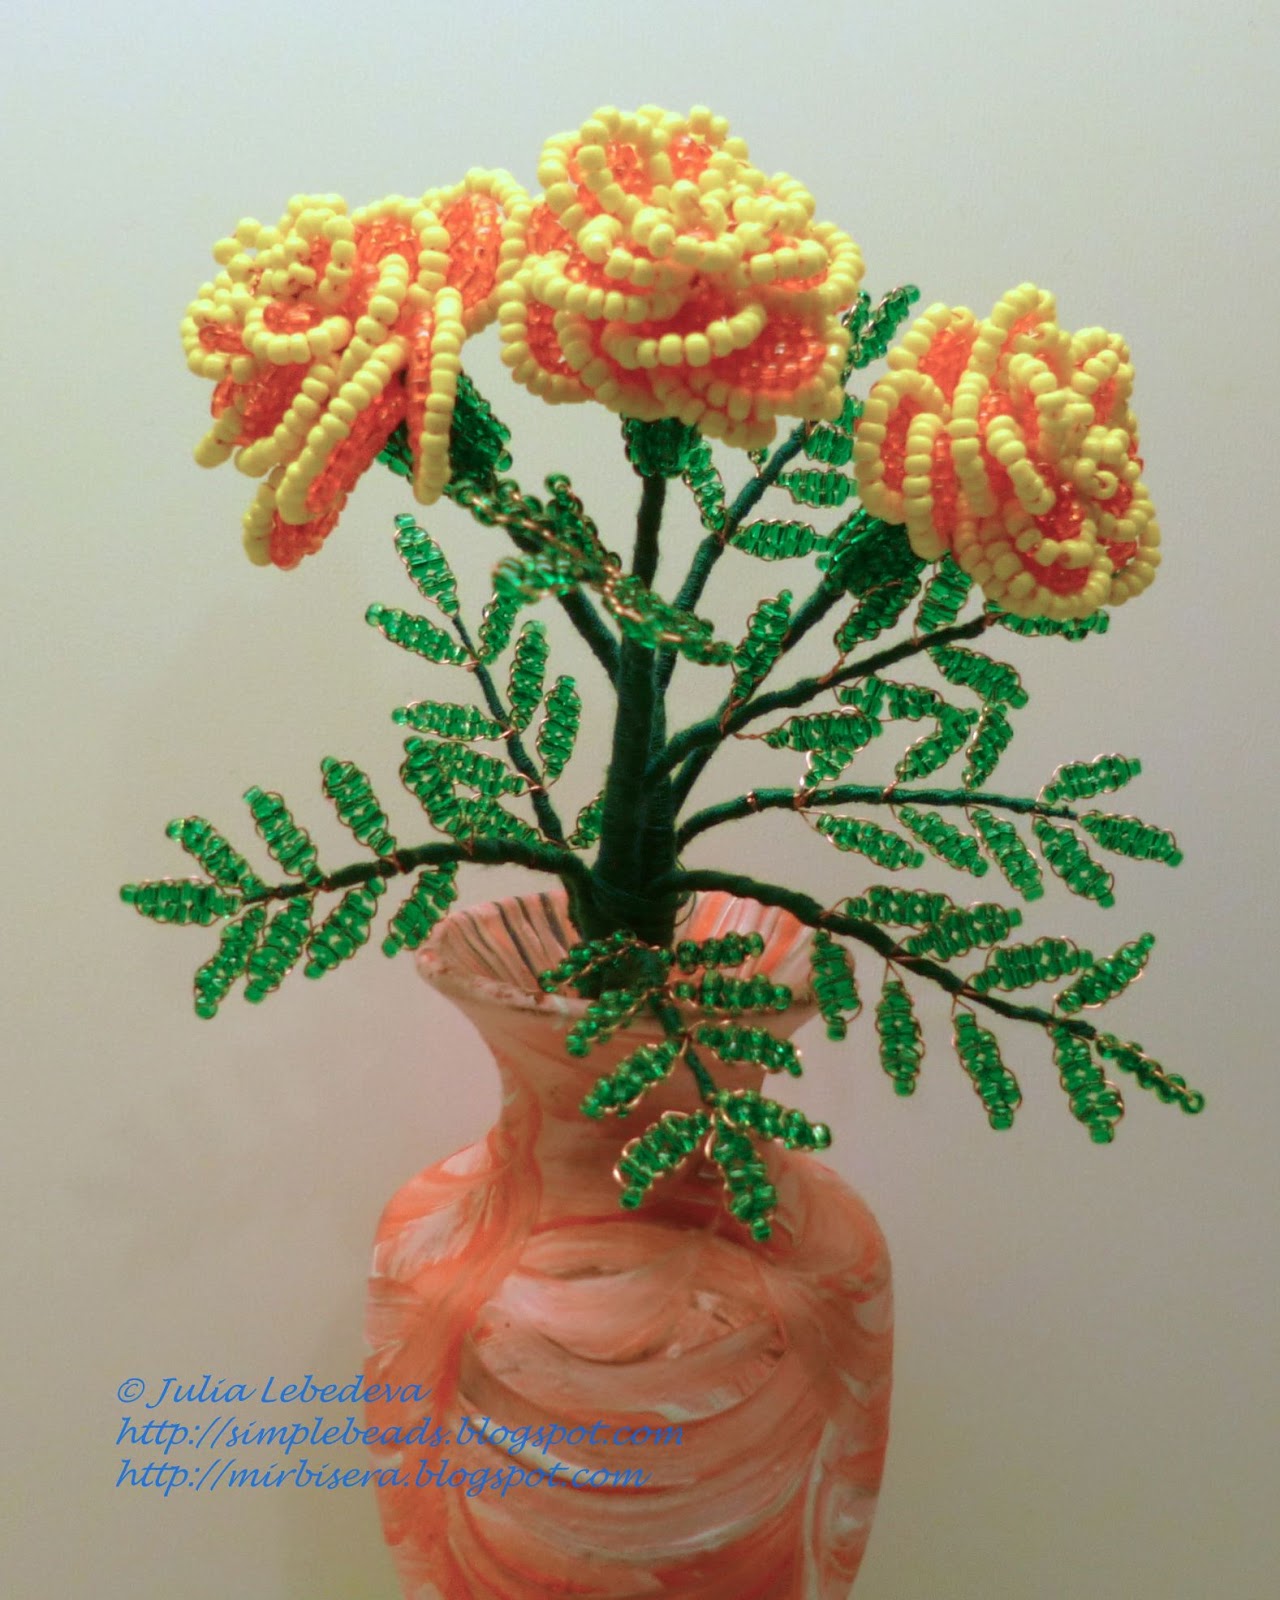
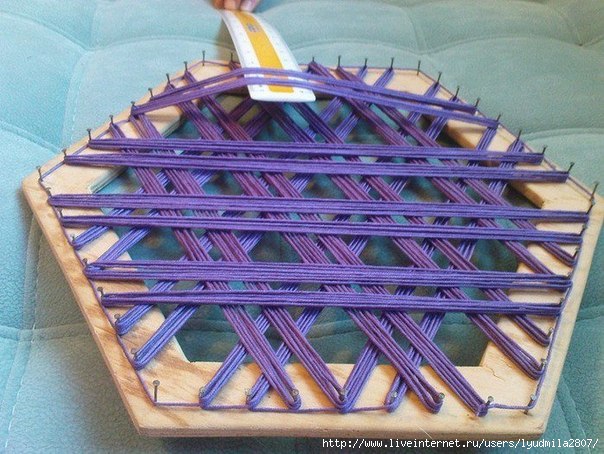
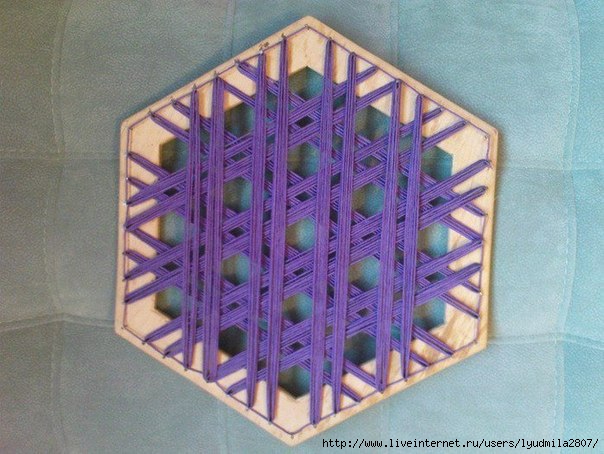
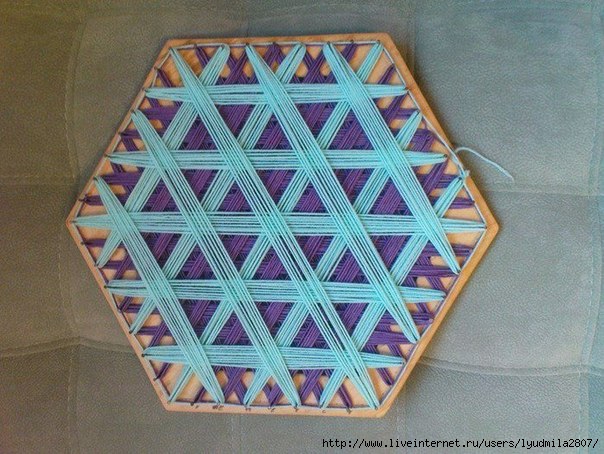
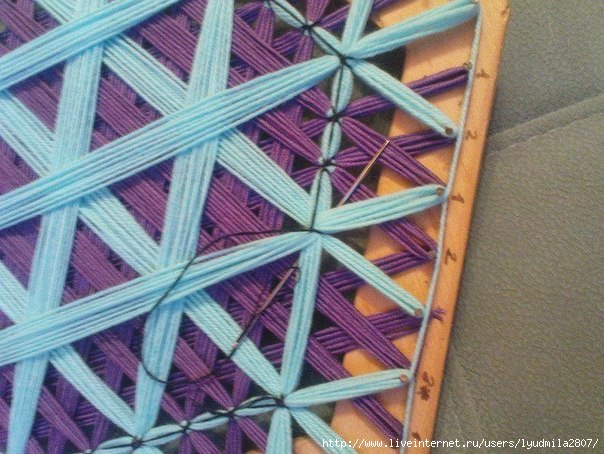
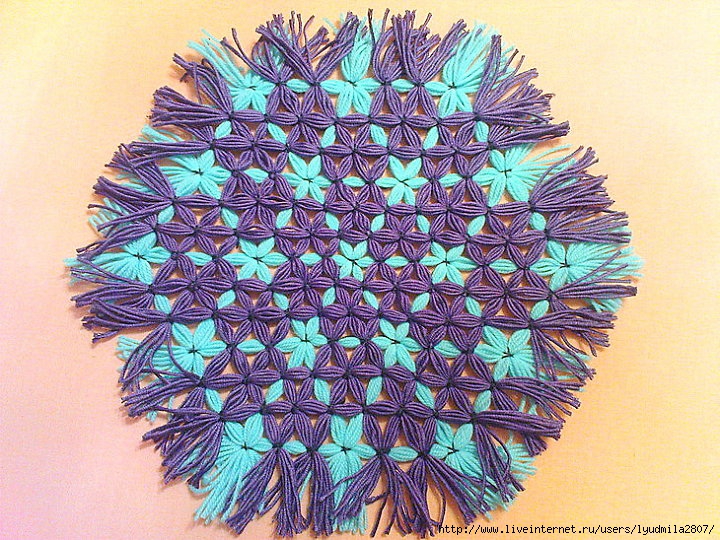
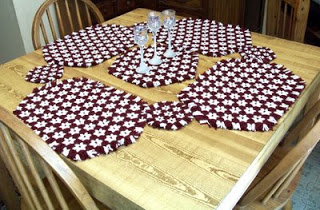
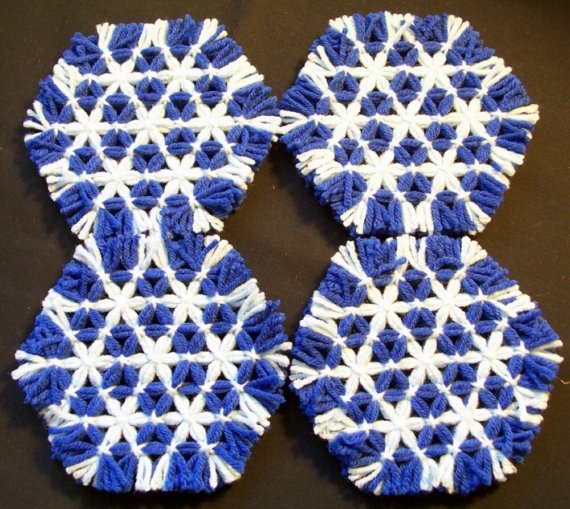
Weave Coaster: On the frame pull the strings. Wrong side where cloves. First pull the thread that should be on the front side, then the other color. It is not necessary to pull very hard, because in the process of binding knots canvas will be stretched. The intersection point of the threads is usually associated nodules.
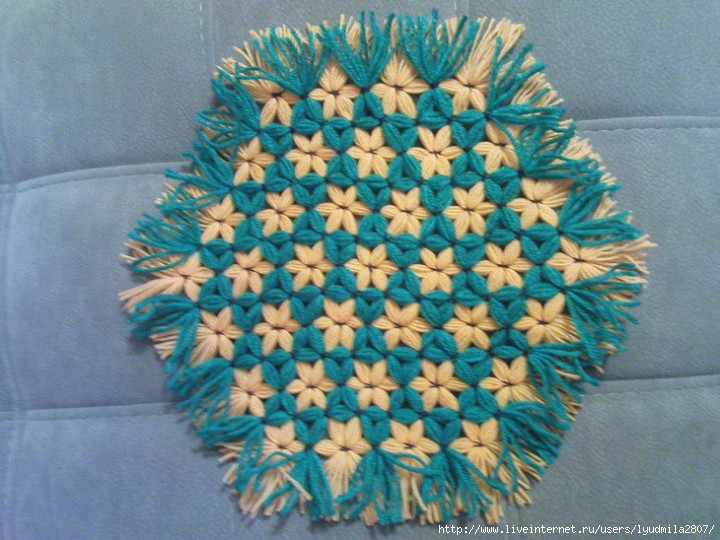
At each point becomes 3 nodule crosswise. For nodules must take strong sewing thread. Threads can take any, except for the stretch.
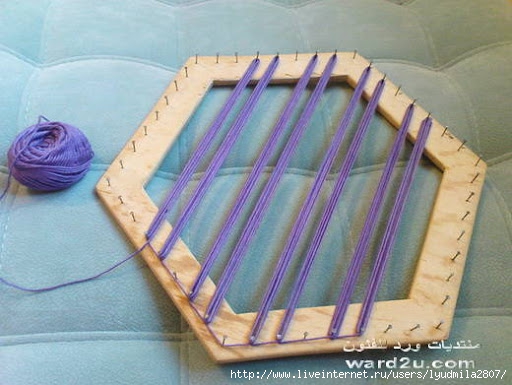
If you can not find such a hexagon, you can also use a square and a few nails, transformed into a hexagonal as below.
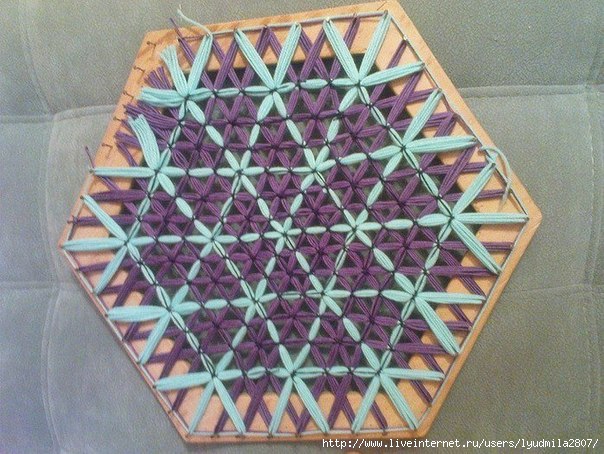

Hope you like this tutorial.
We would love to hear your thoughts in the comment section below. And be sure to like us Facebook for more ideas!
Thank you for visiting our website. Keep Creating with Art & Craft!