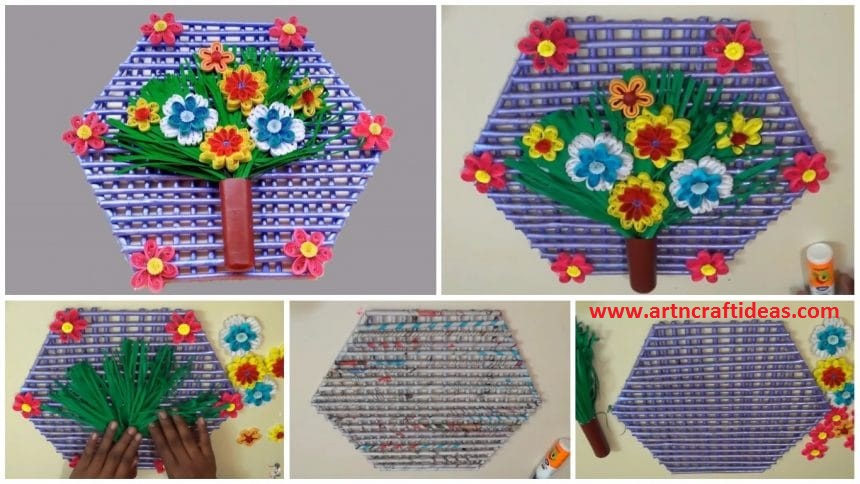
Paper Quilling Wall Hanging for Room Decoration:
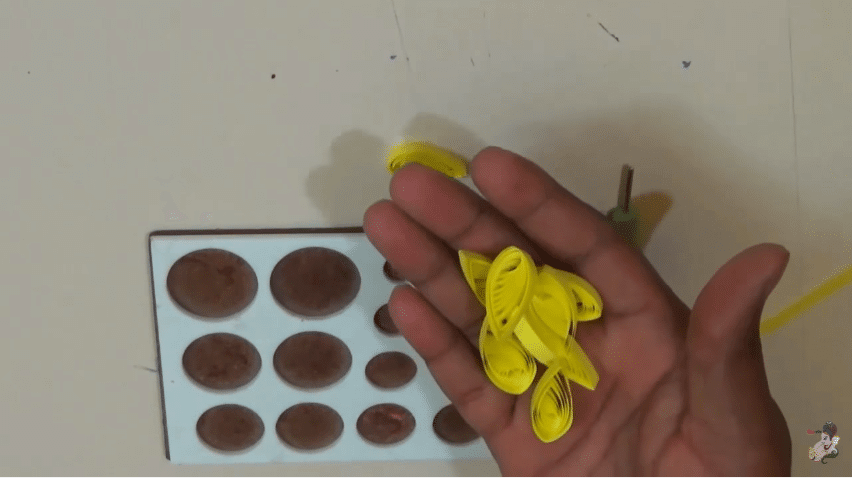
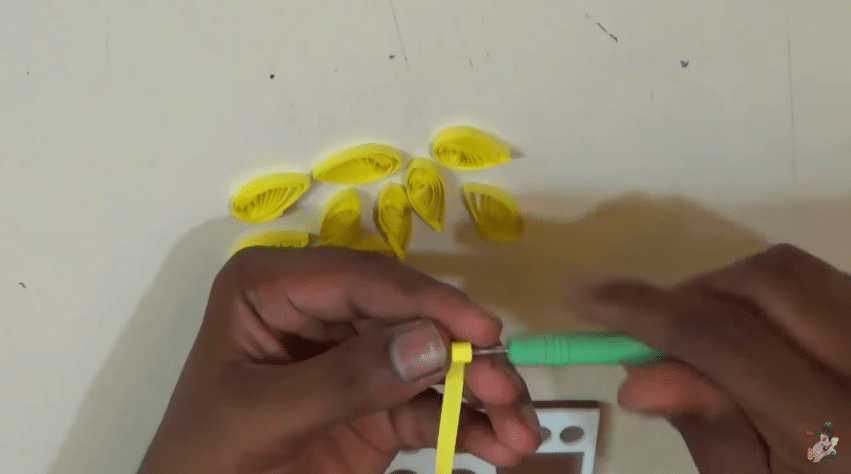
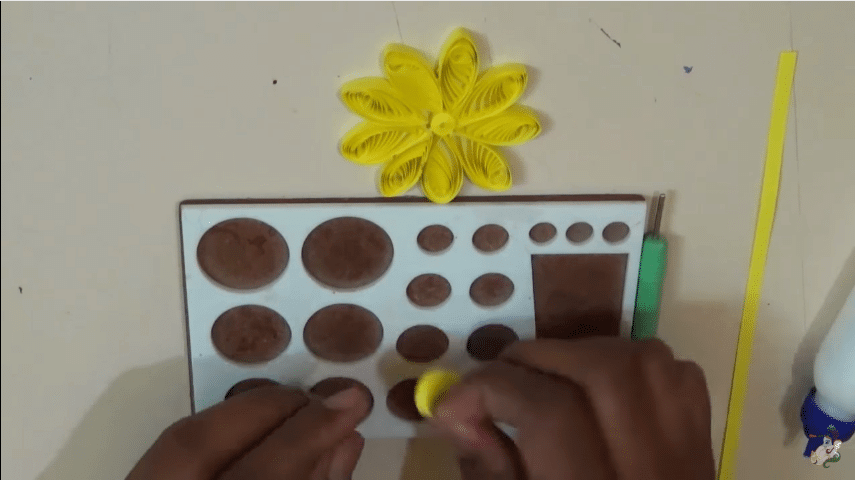
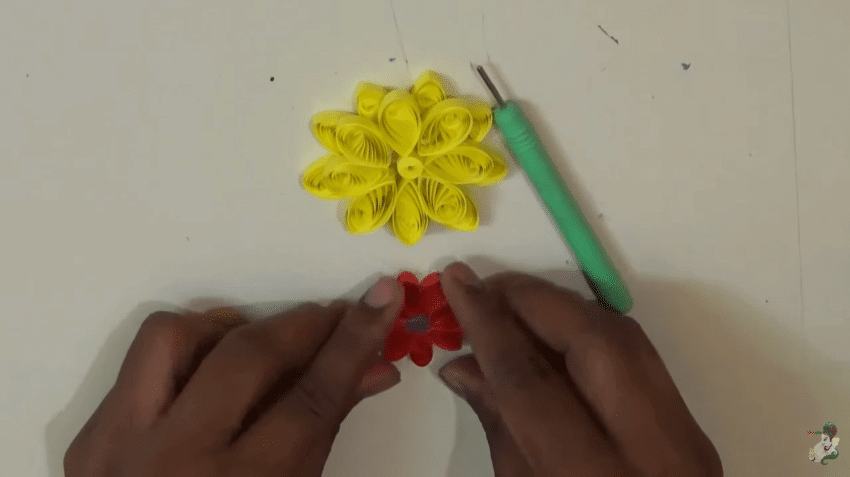
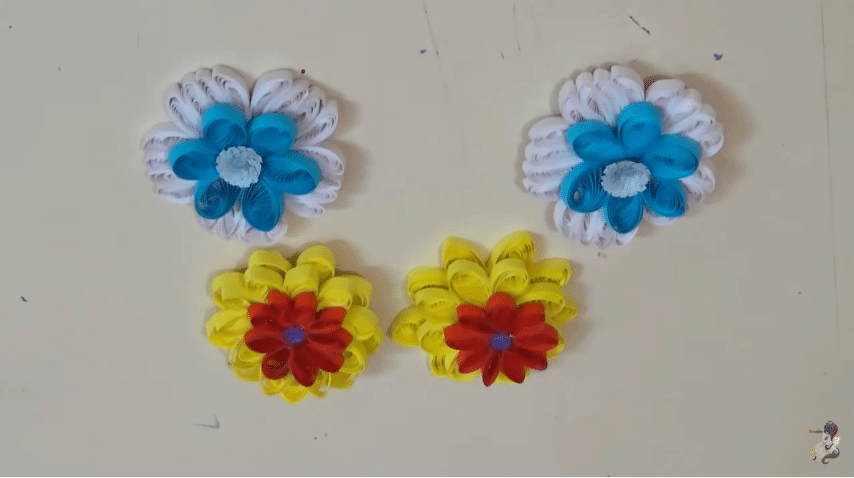
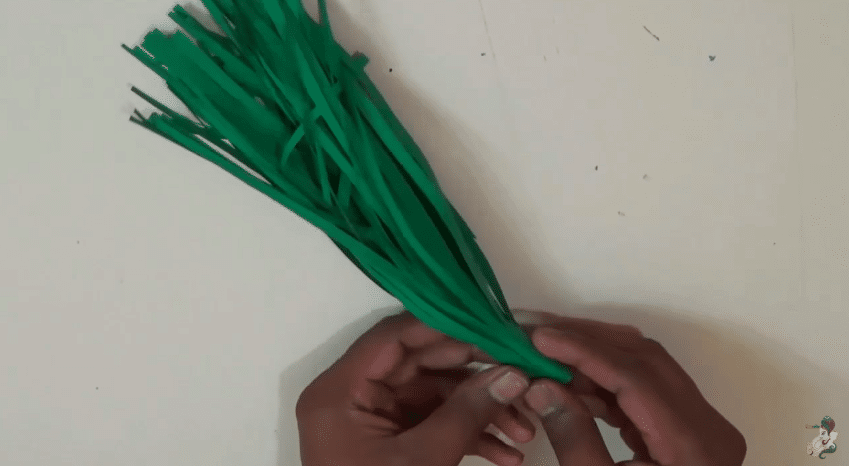
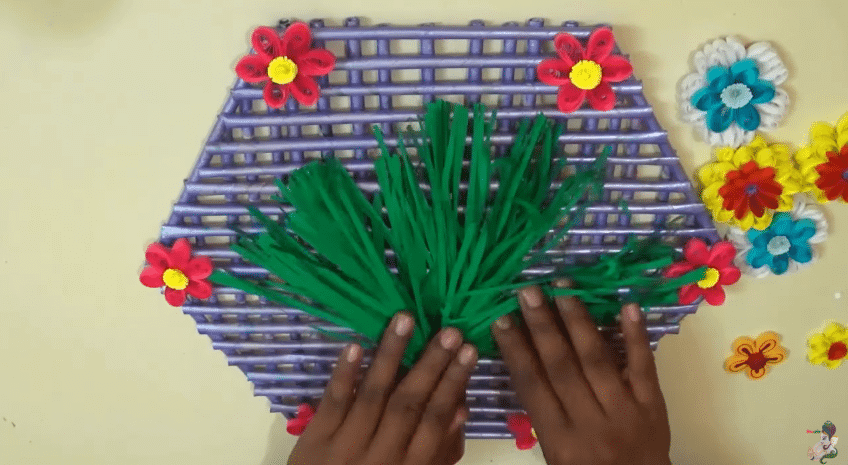
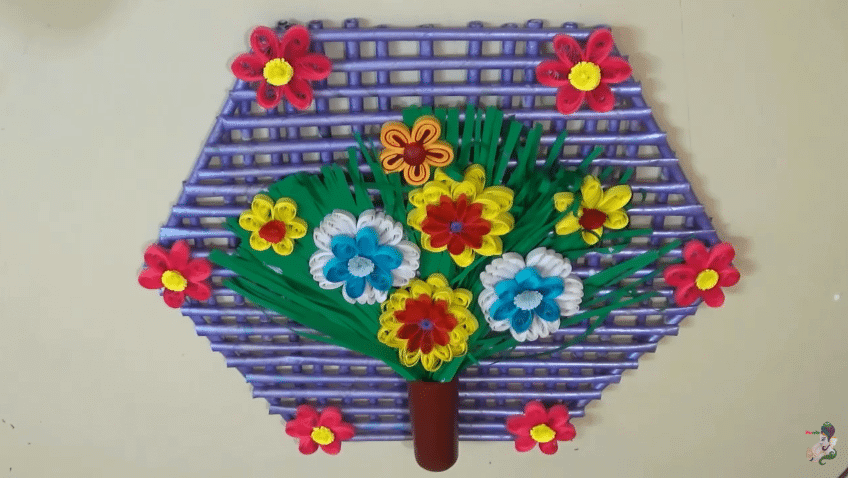
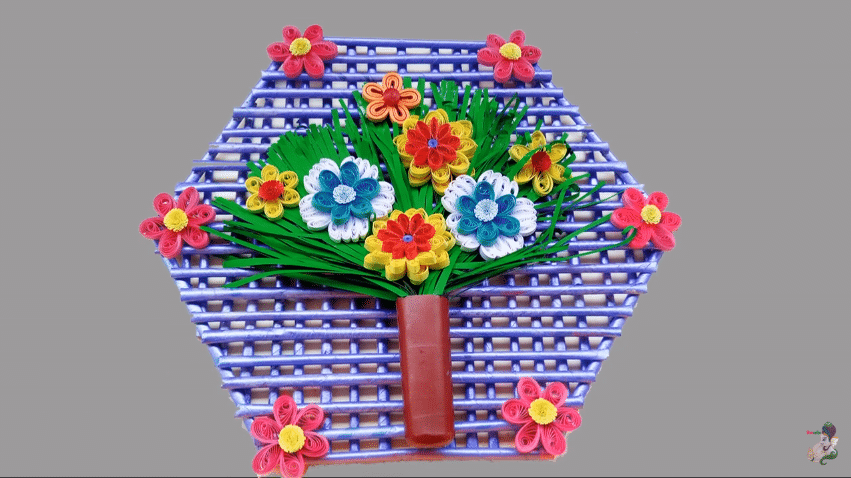
Paper quilling wall hanging design for room decoration
Get Daily Art and Crafts Ideas & Tutorials…
Paper Quilling Wall Hanging for Room Decoration:
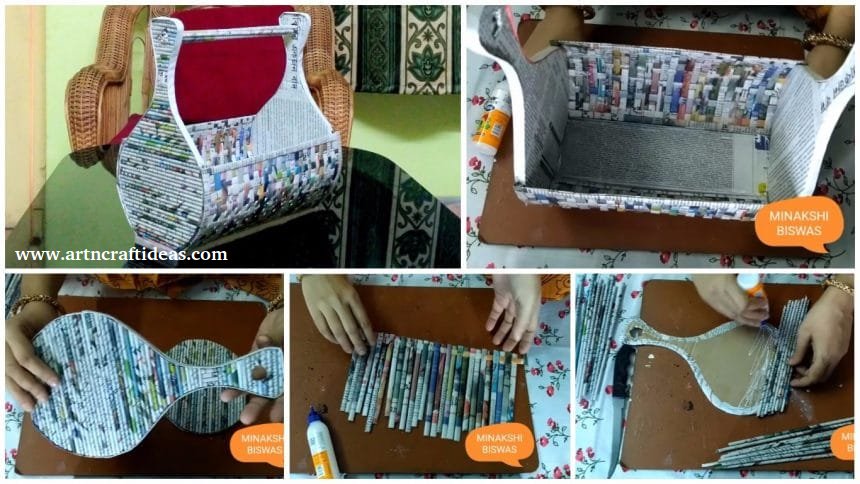
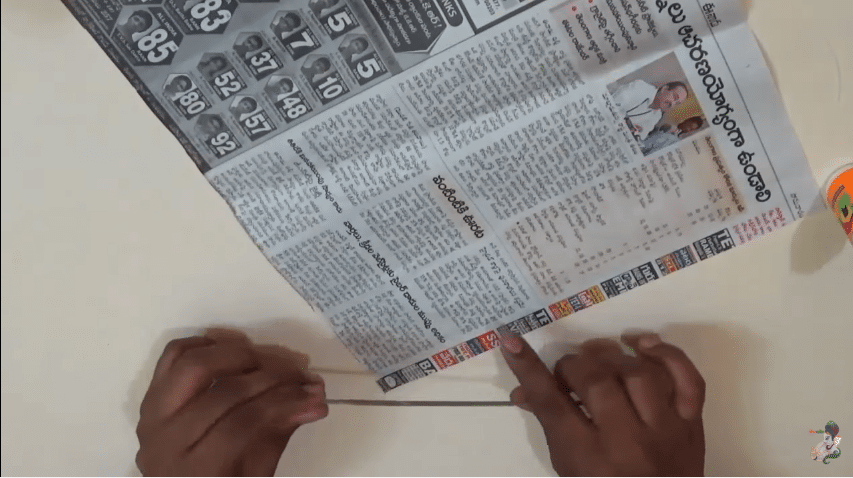
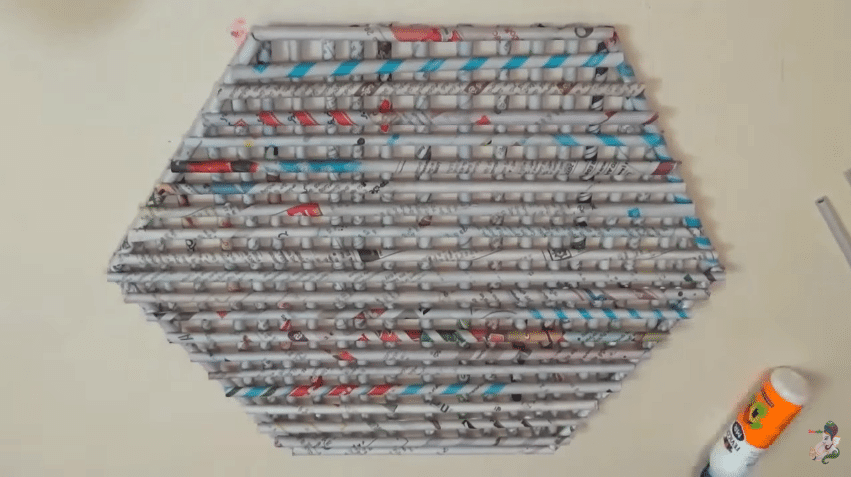
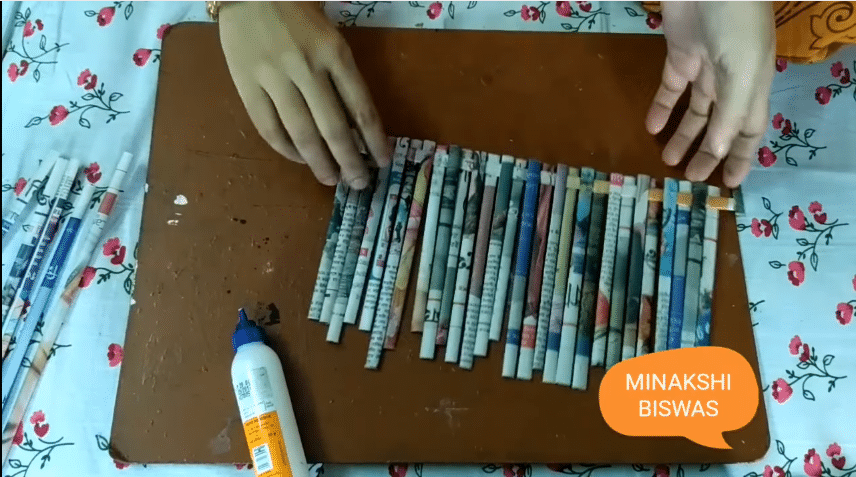
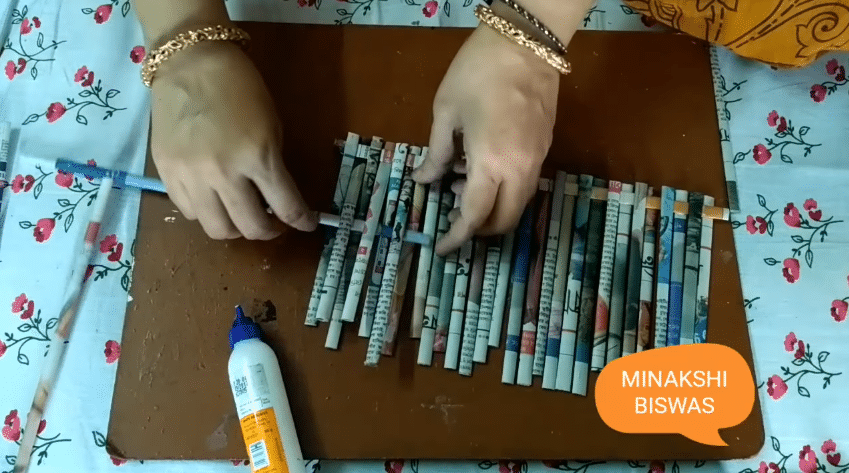
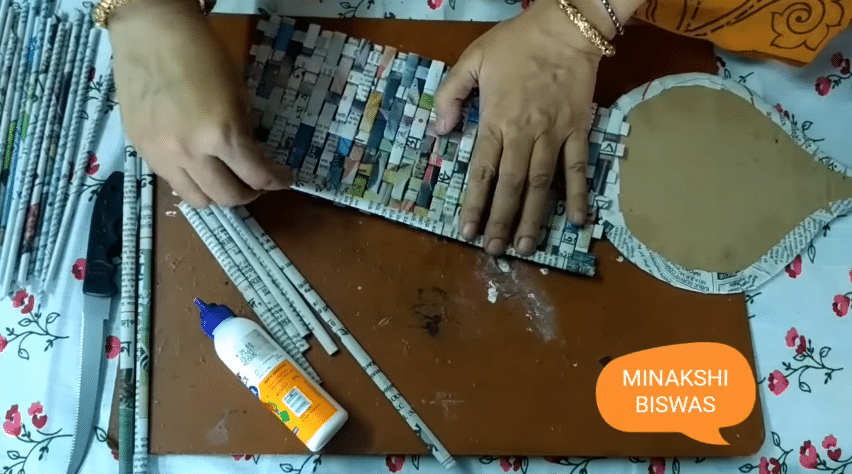
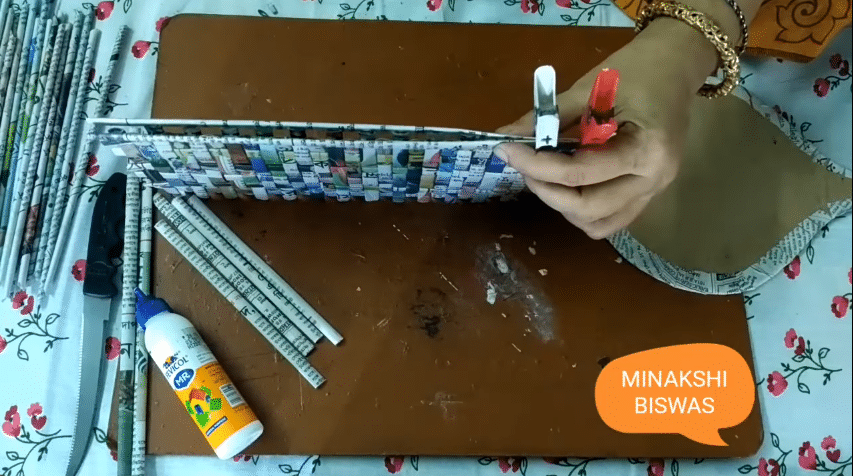
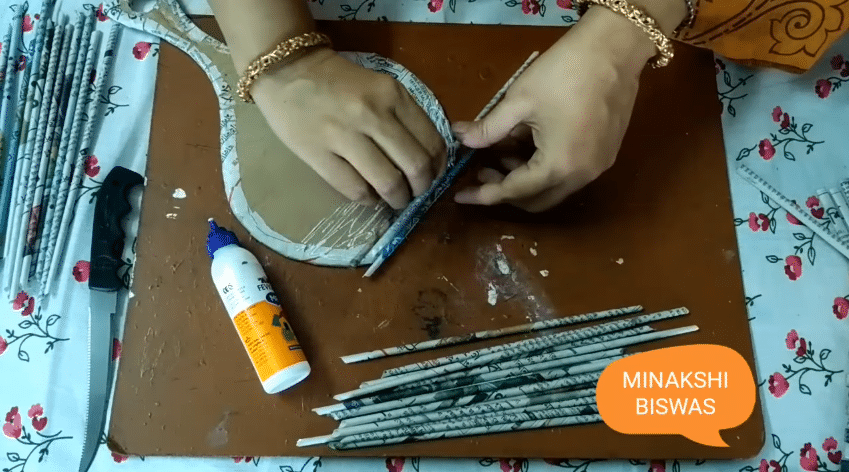
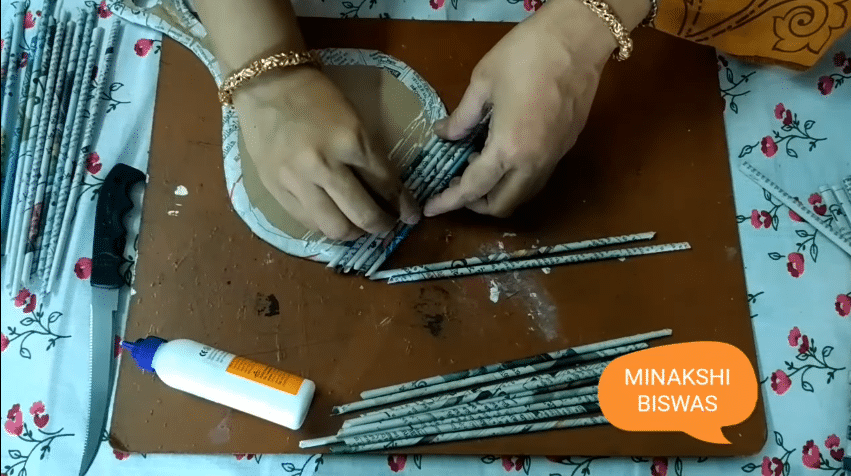
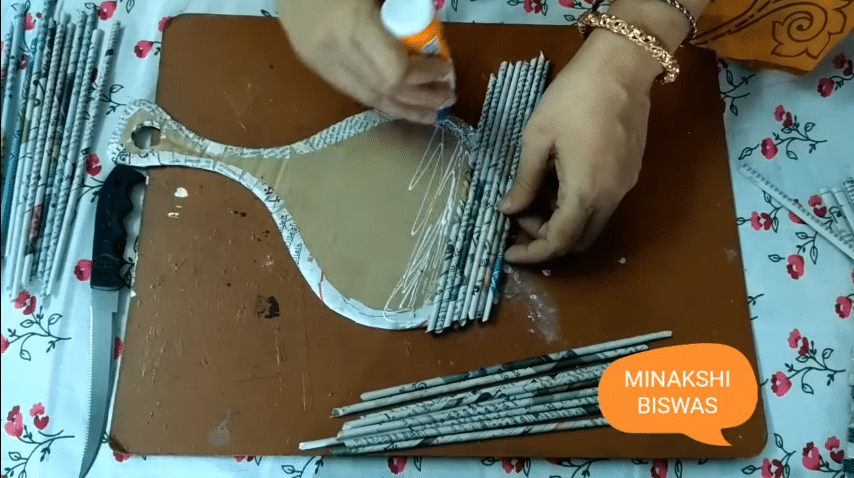
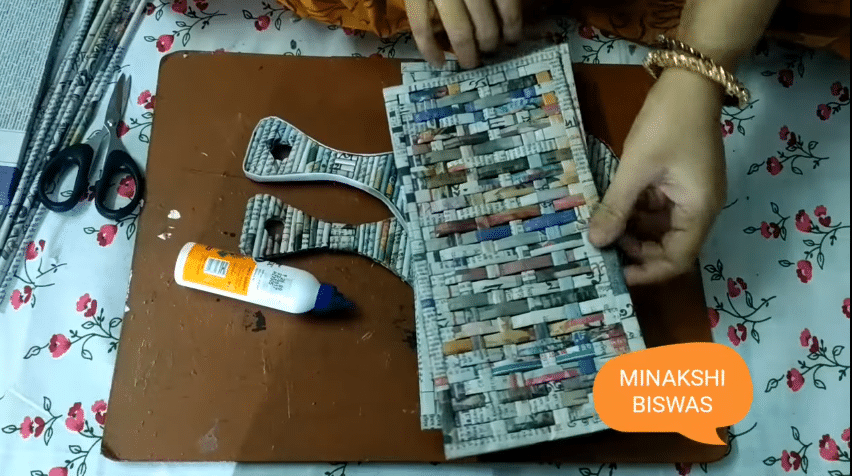
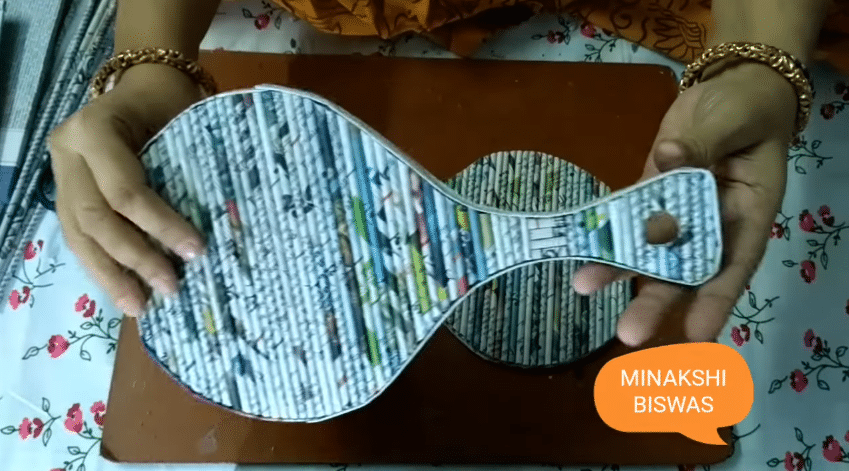
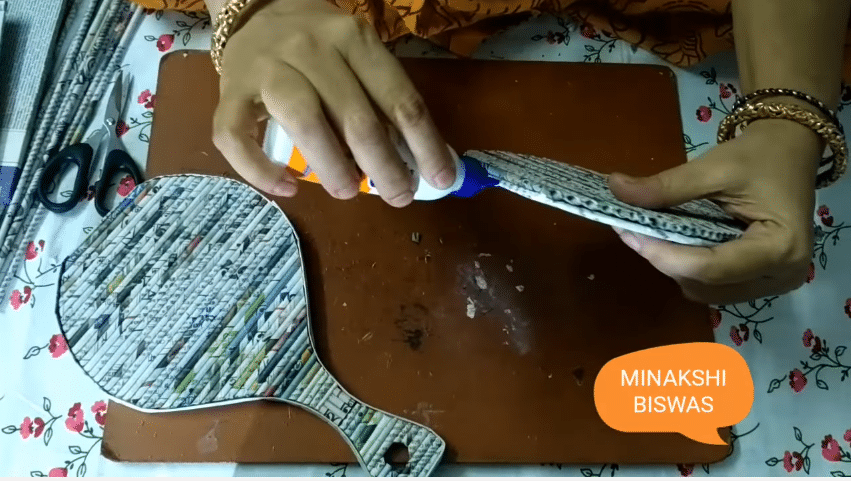
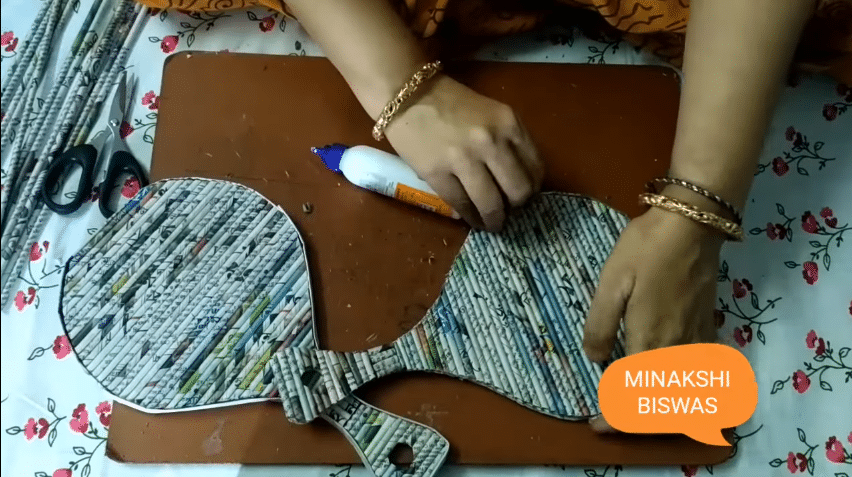
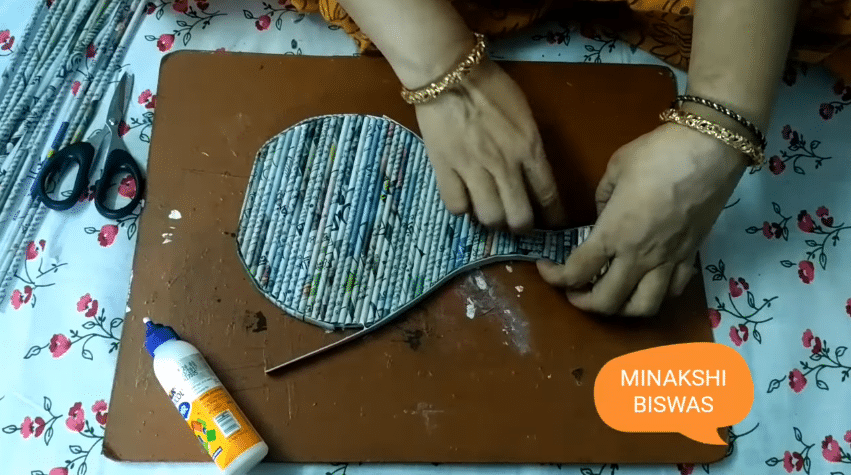
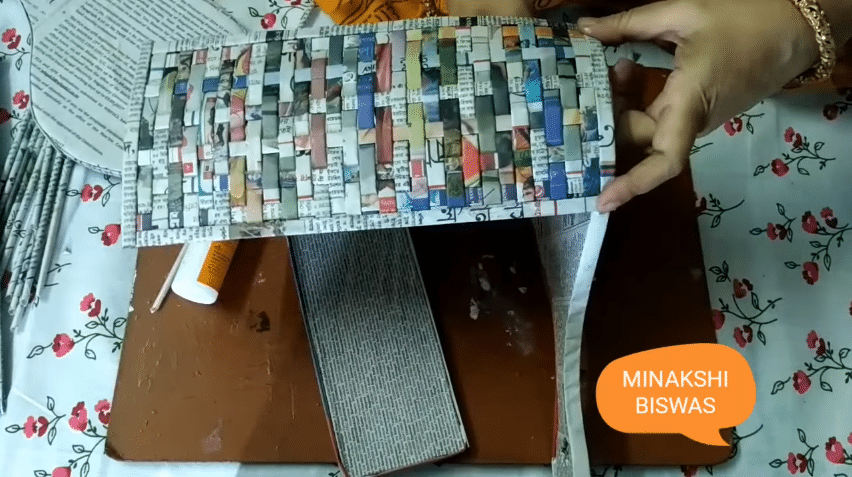
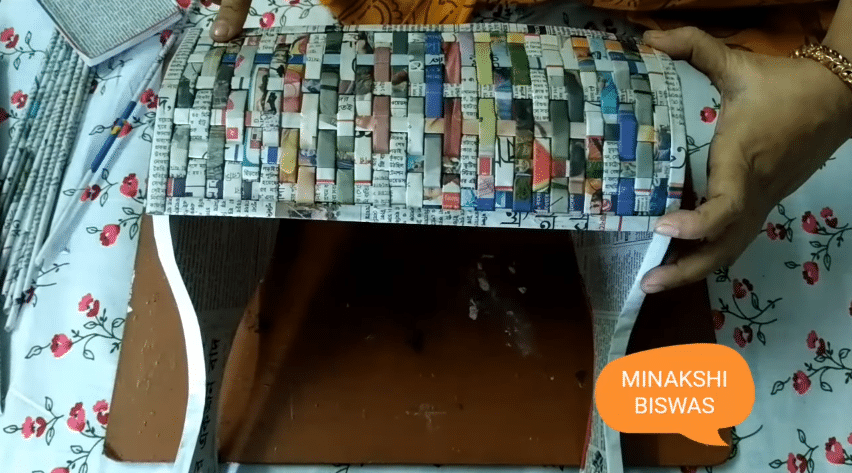
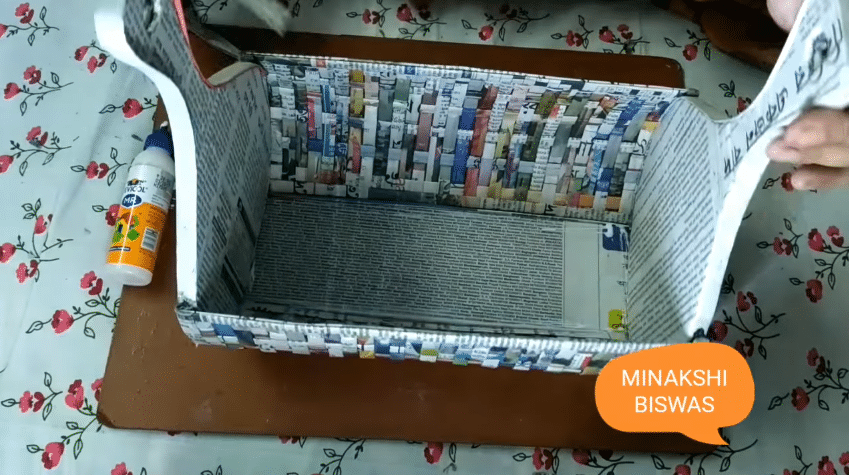
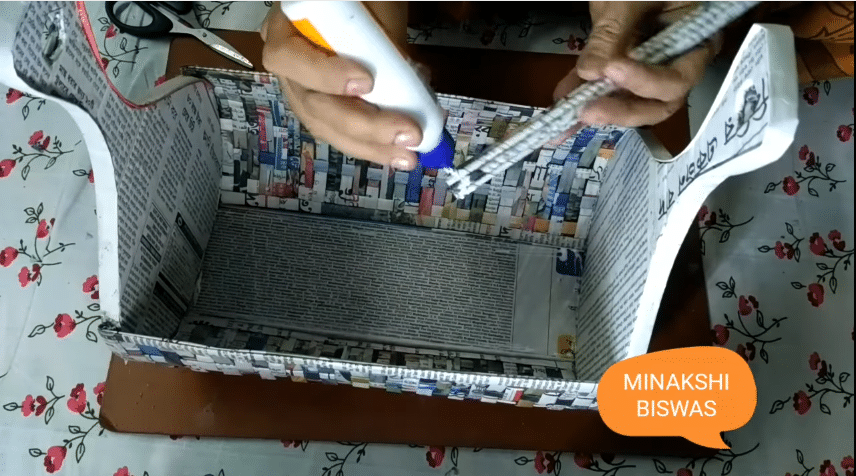
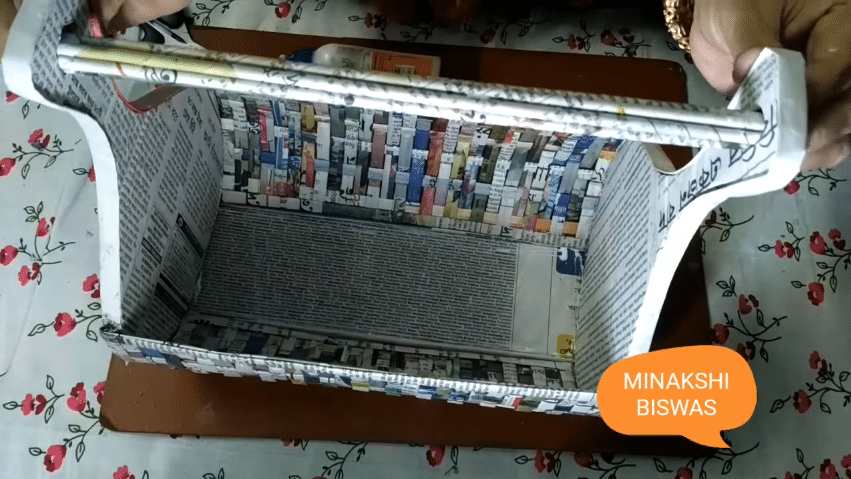
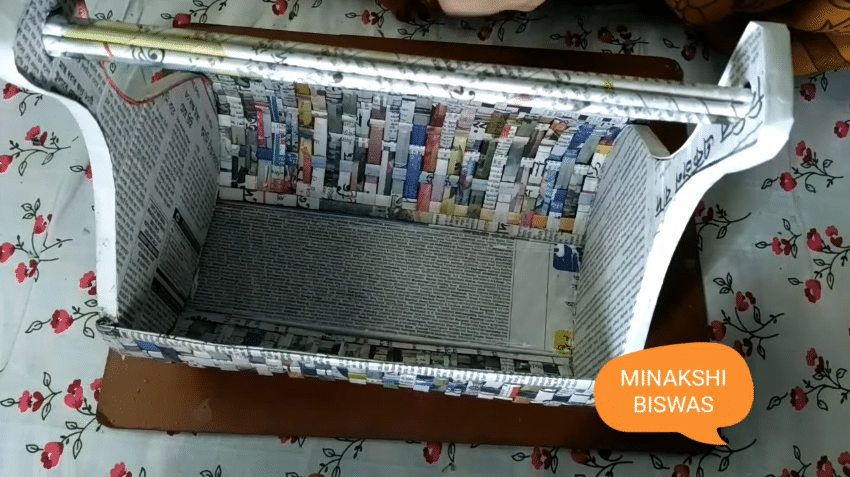
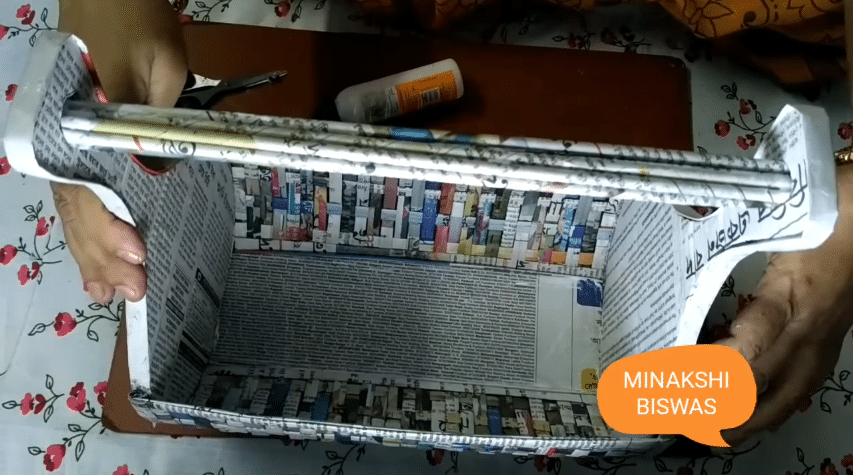
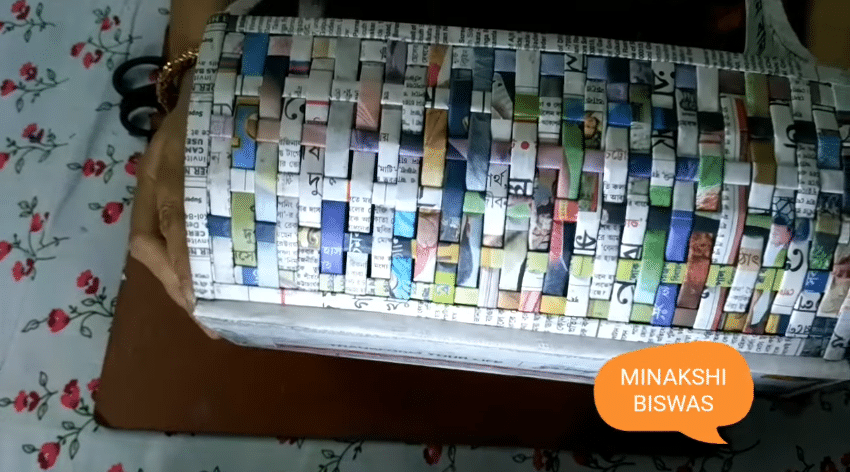
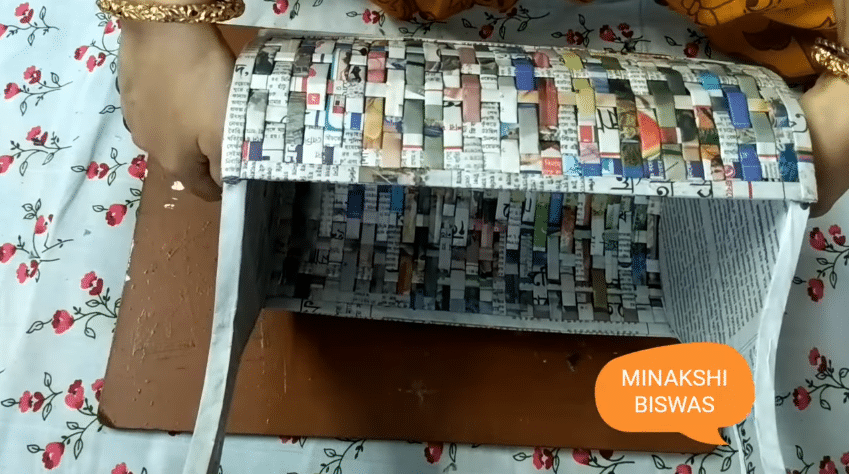
Awesome Kitchen Organization Ideas- Storage thing… How to make a newspaper rack / holder… DIY craft tutorial…
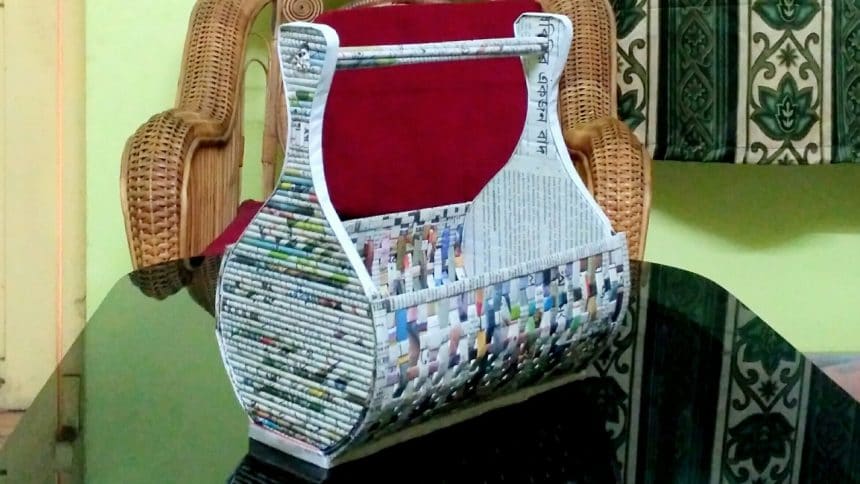
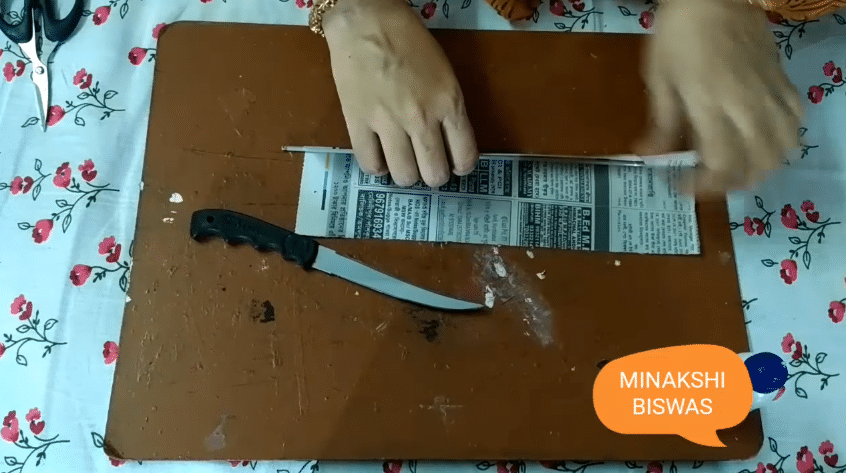
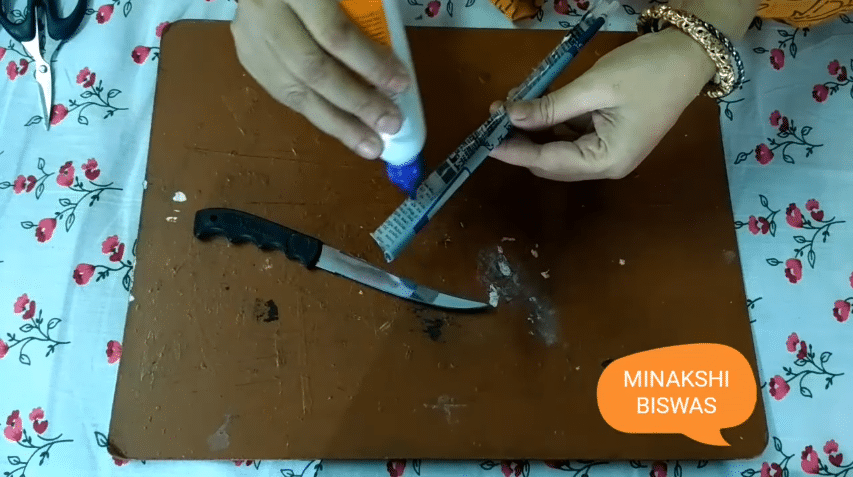
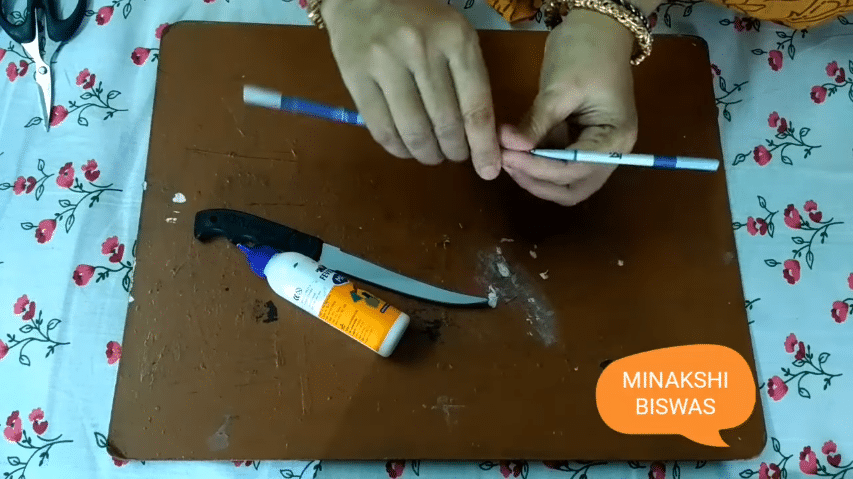
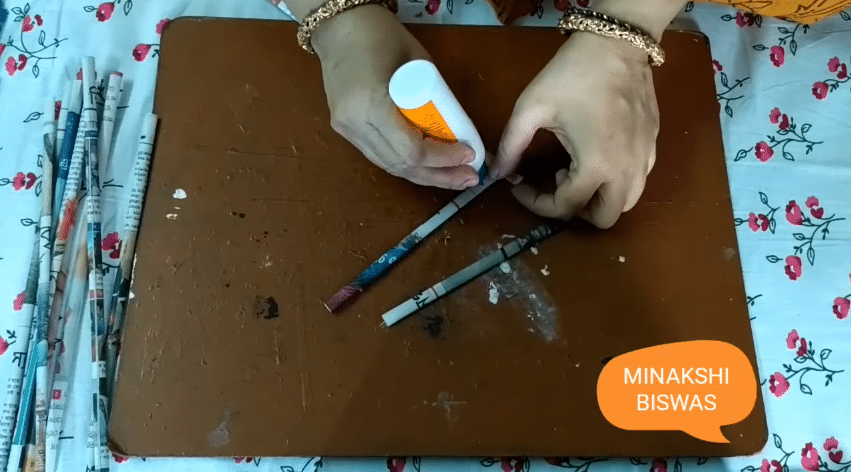
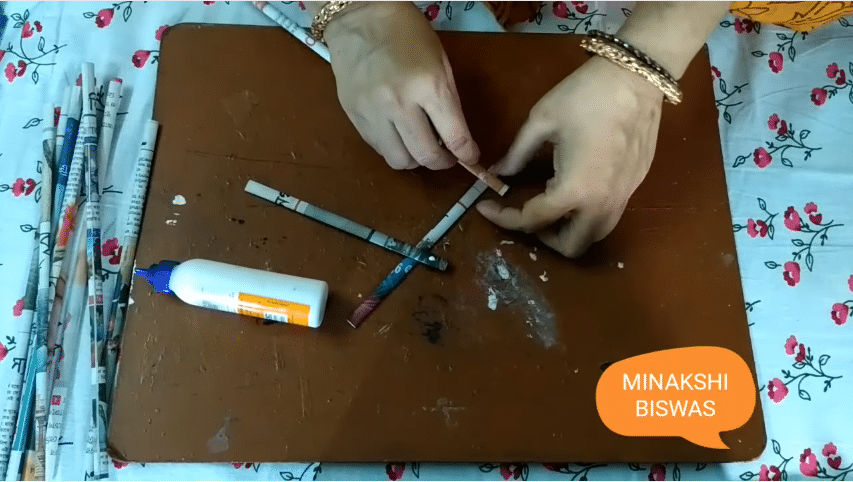
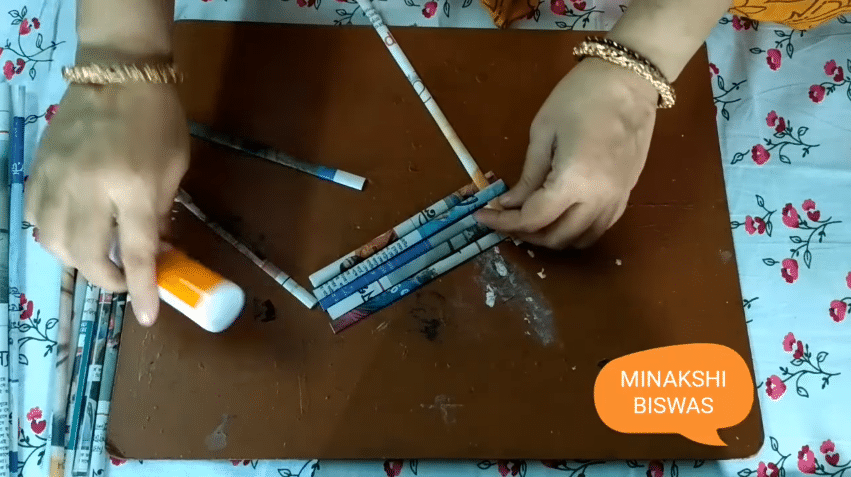
Watch video tutorial how to make Newspaper Roll:
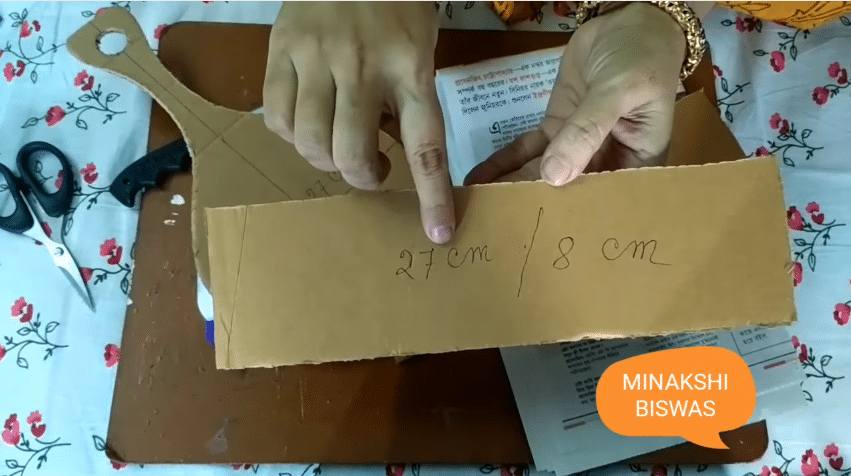


Watch Full video tutorial here:
Hope you like this Painted Plastic Bottle Caps craft tutorial.
We would love to hear your thoughts in the comment section below. And be sure to like us Facebook for more ideas!
Thank you for visiting our website. Keep Creating with Art & Craft!
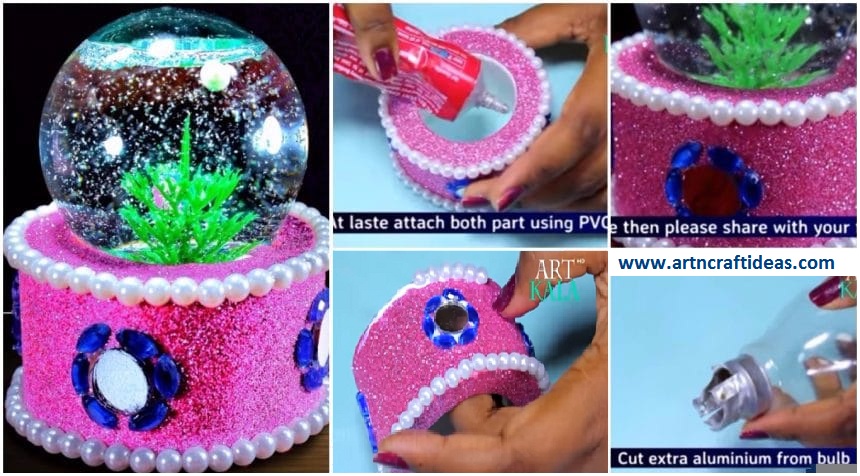
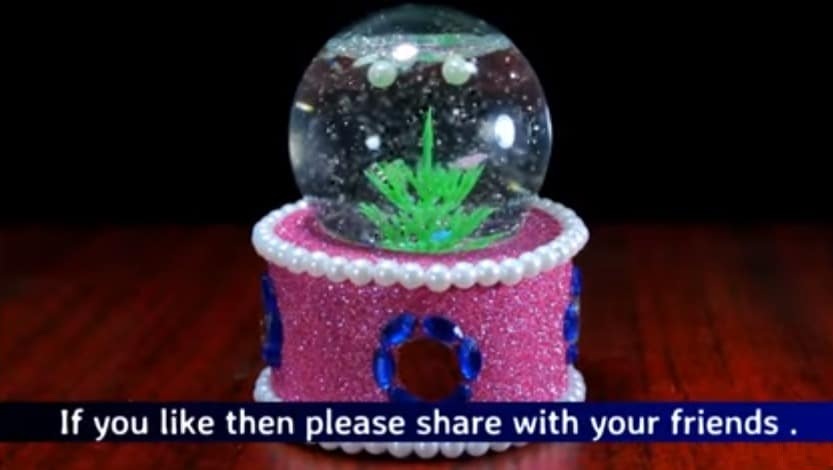
DIY Snow globe from waste fuse bulb best out of waste:
Required Material:
1. Bulb 2. Chart Paper
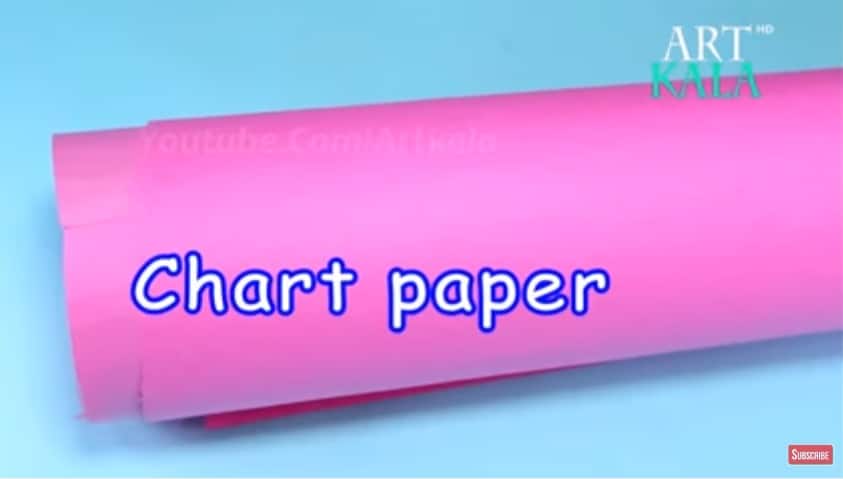 3. Foam
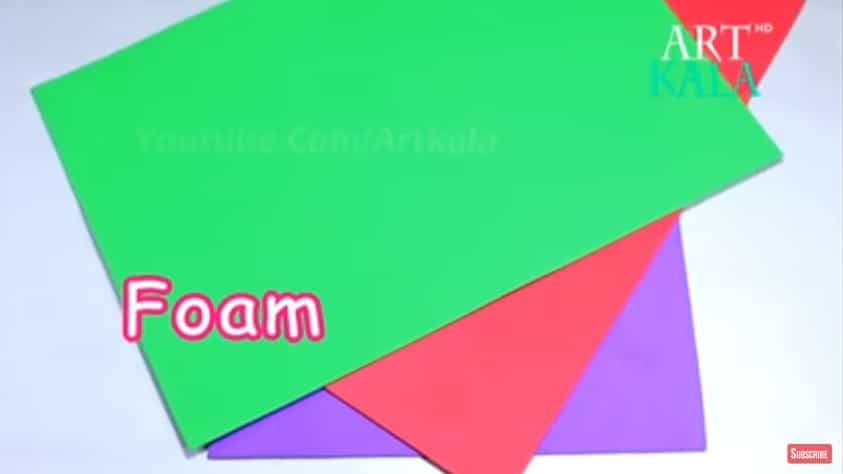 4.Glitter Paper(Foam Sheet)
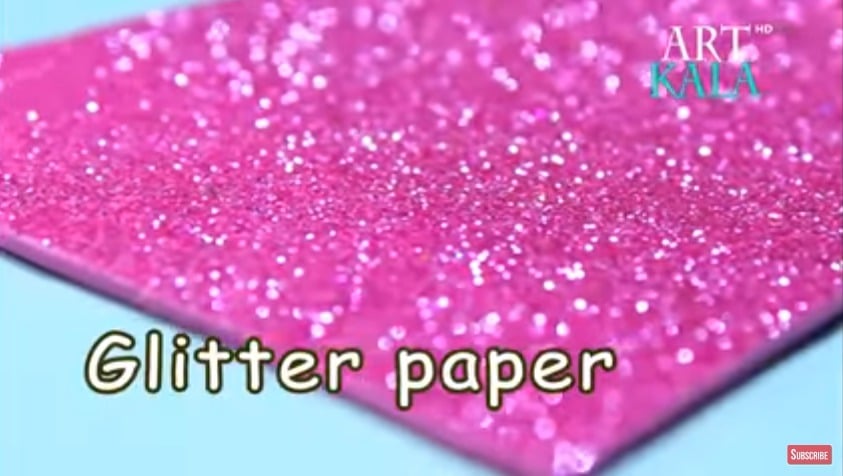 5. Round Shape Thermocol
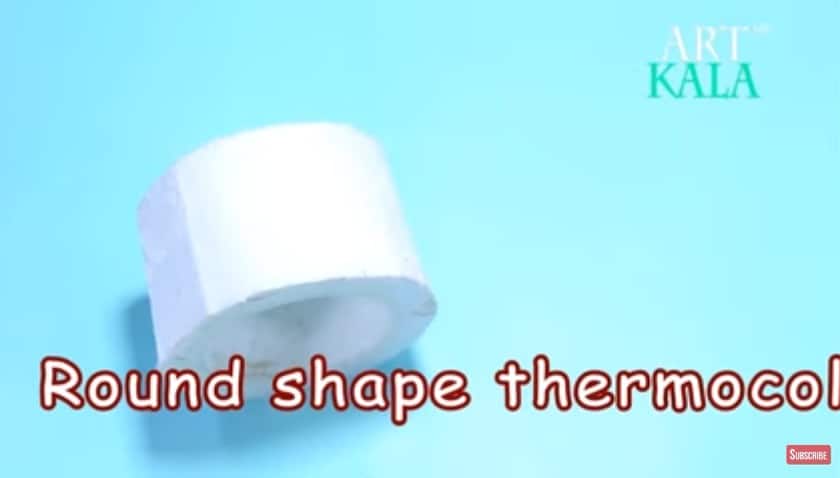 6. Small Plastic Tree
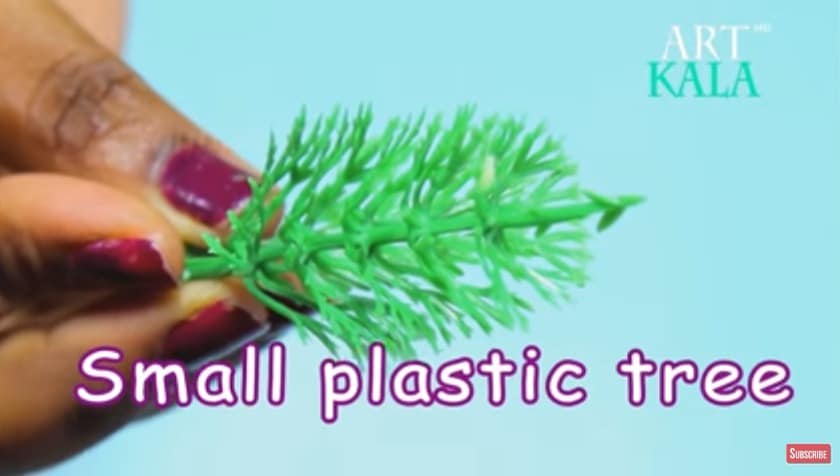 7. Plastic Cap
 8. Kundan
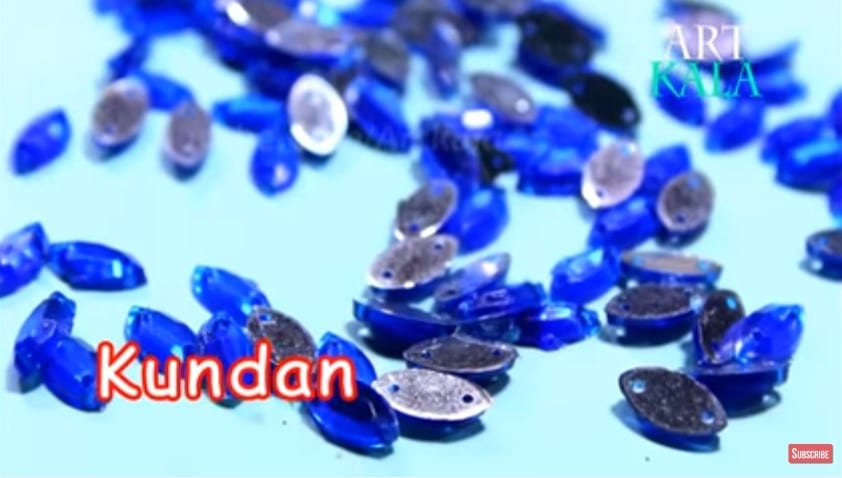 9.Glitter
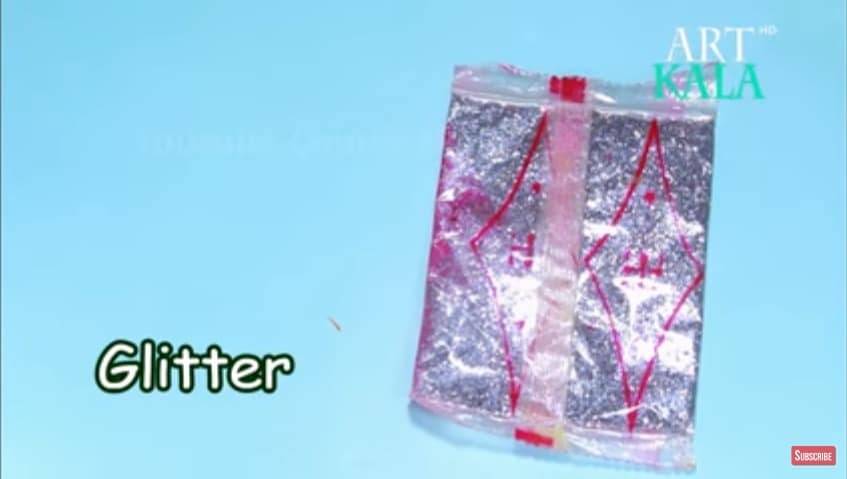 10. Mineral Water
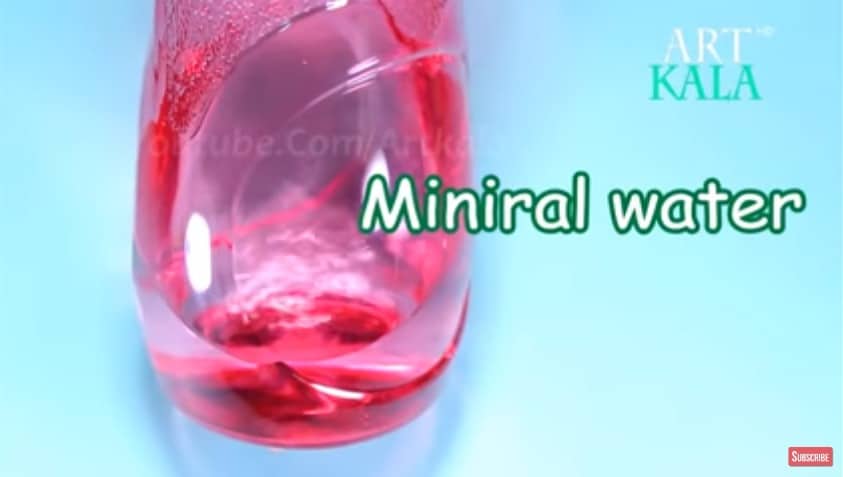 11.Scissor
 Step: 1
Now measure glitter foam to paste on it.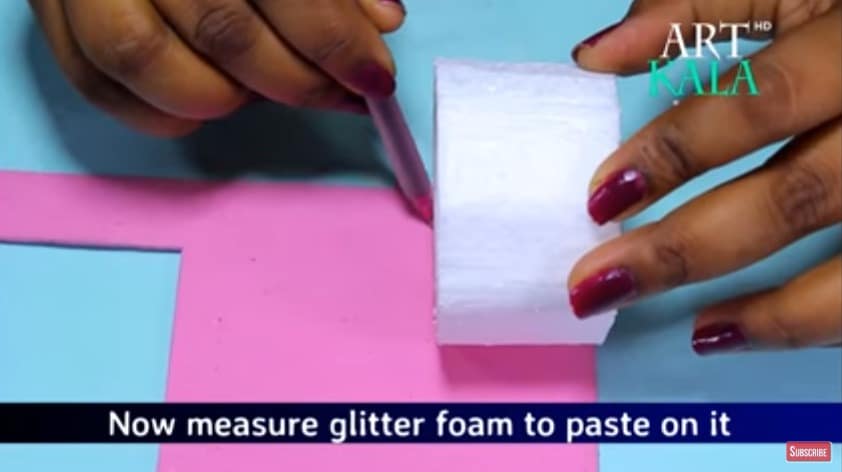

 Step. 2
Cut extra aluminium from bulb.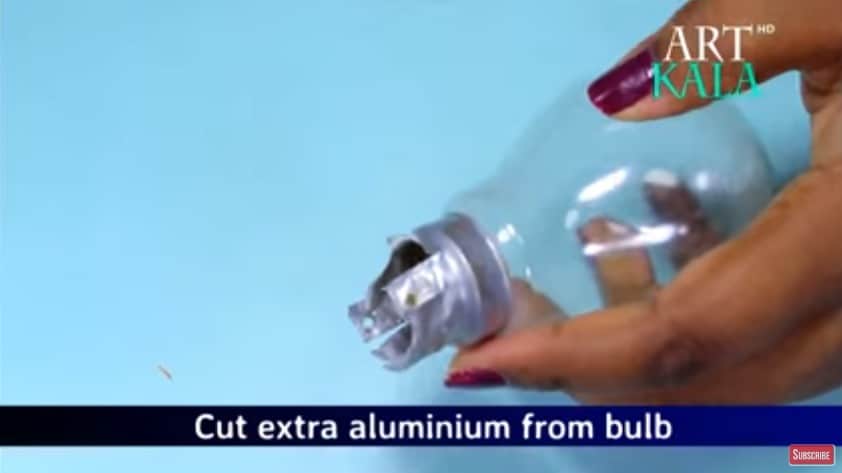 Step. 3
Add thin silver glitter.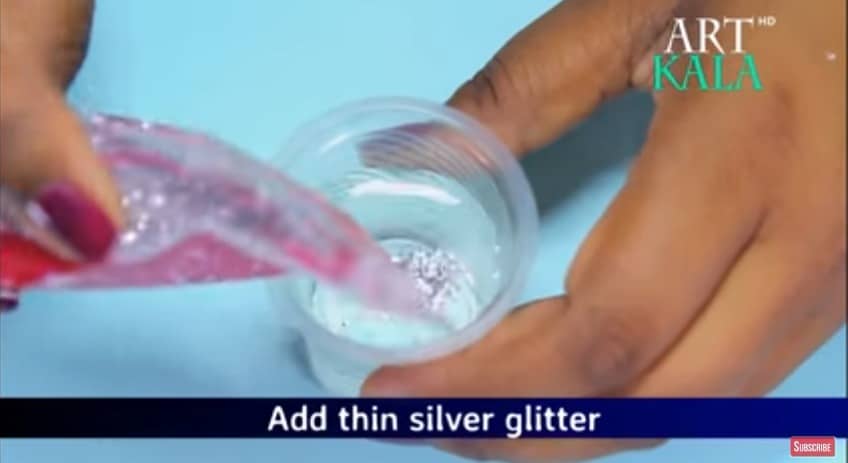
Step. 4
And then add water.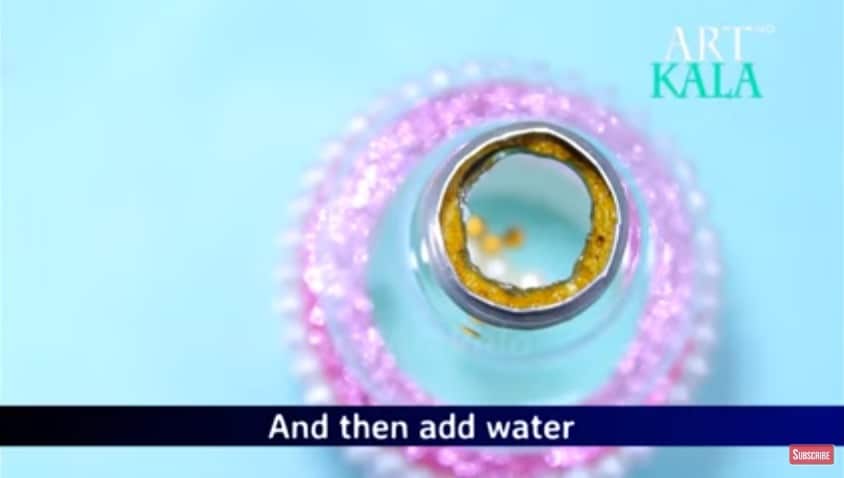
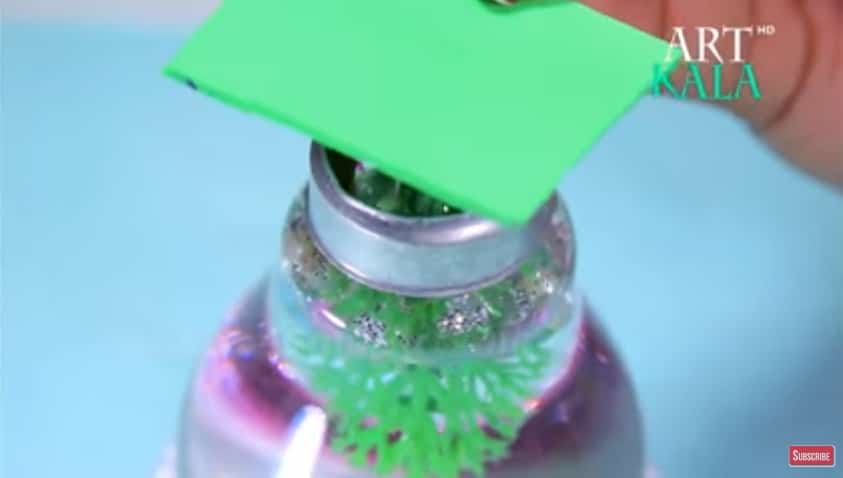
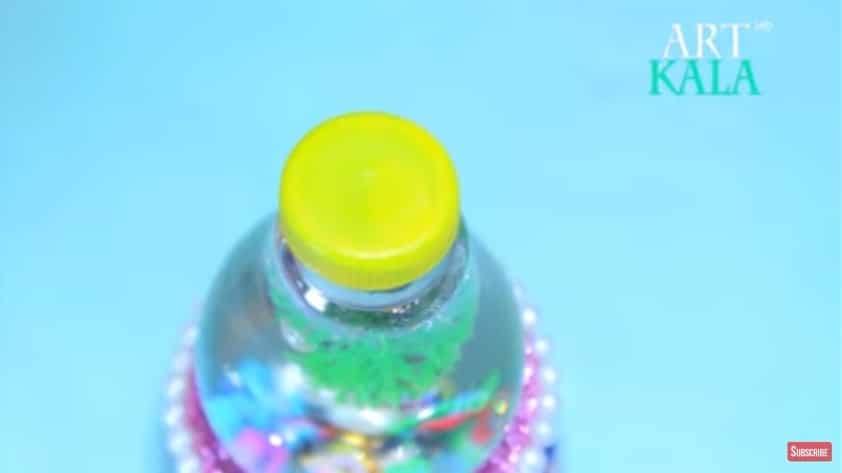 Step. 5
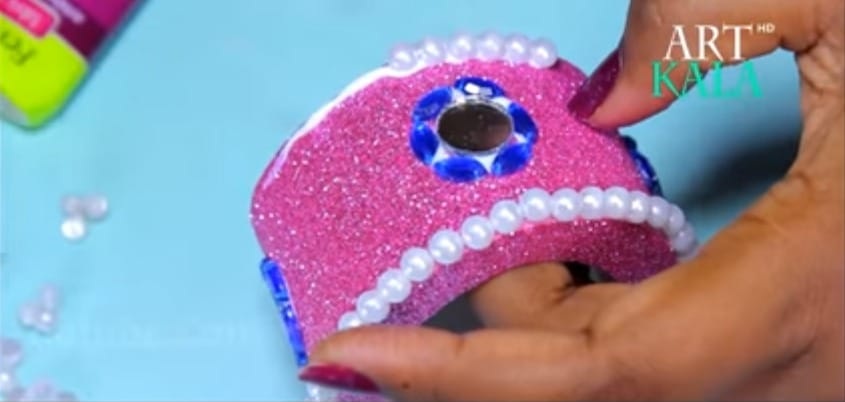
At last attach both part using PVC glue.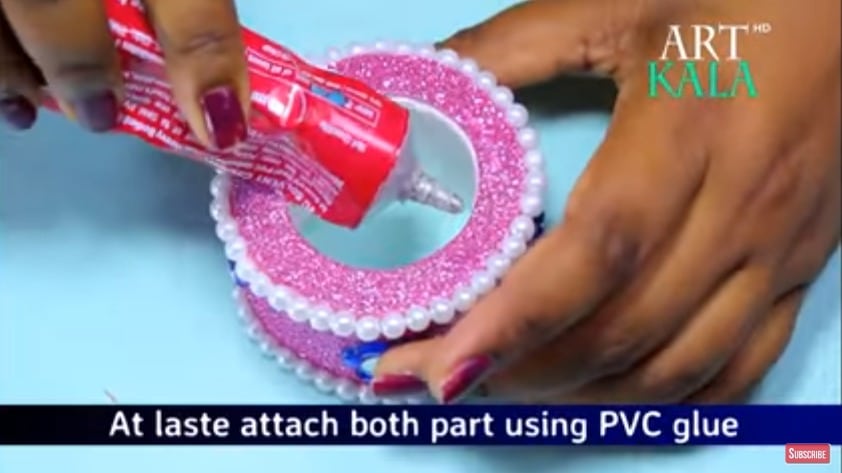
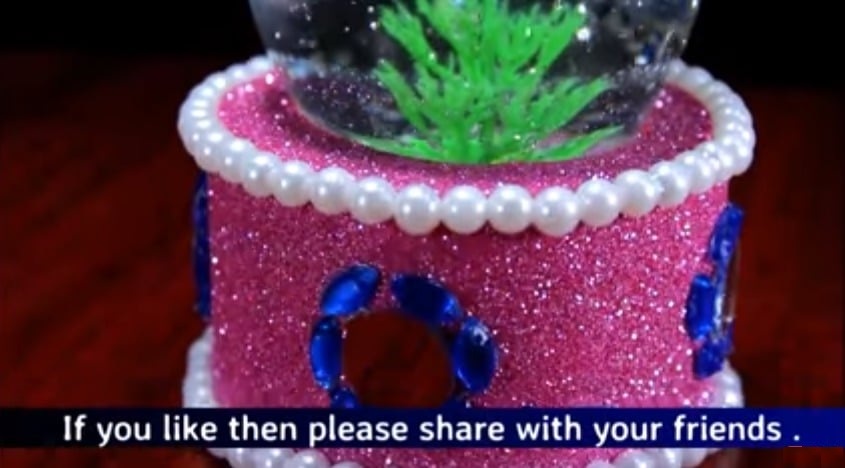
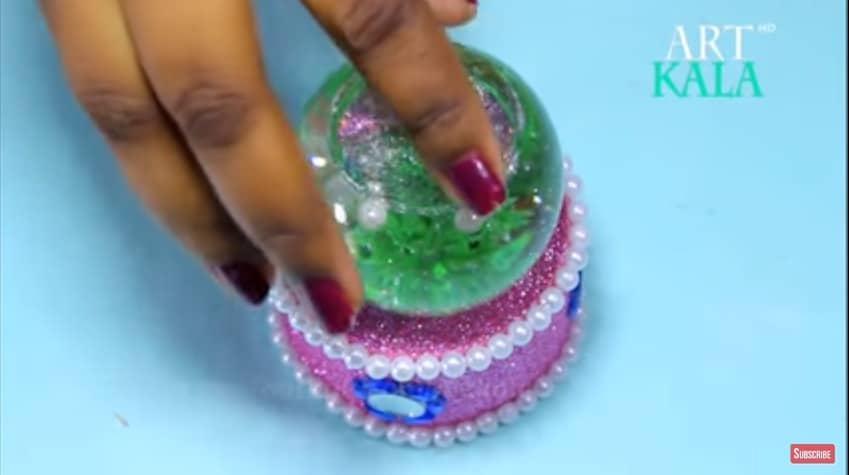 Tell us how this looks like to you.
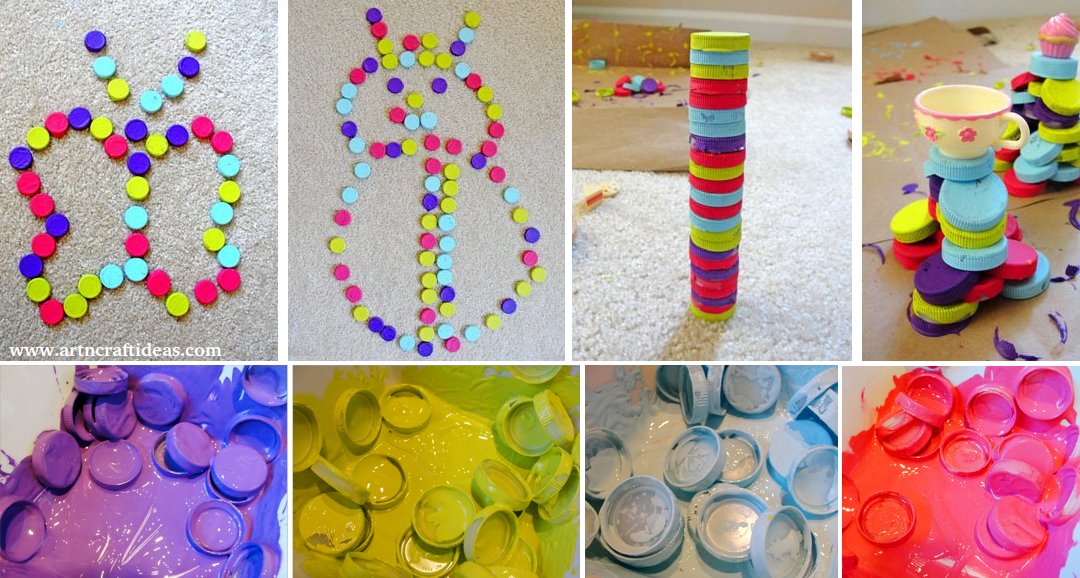
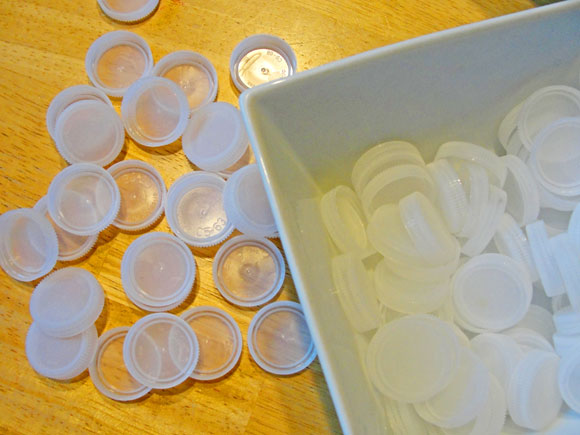
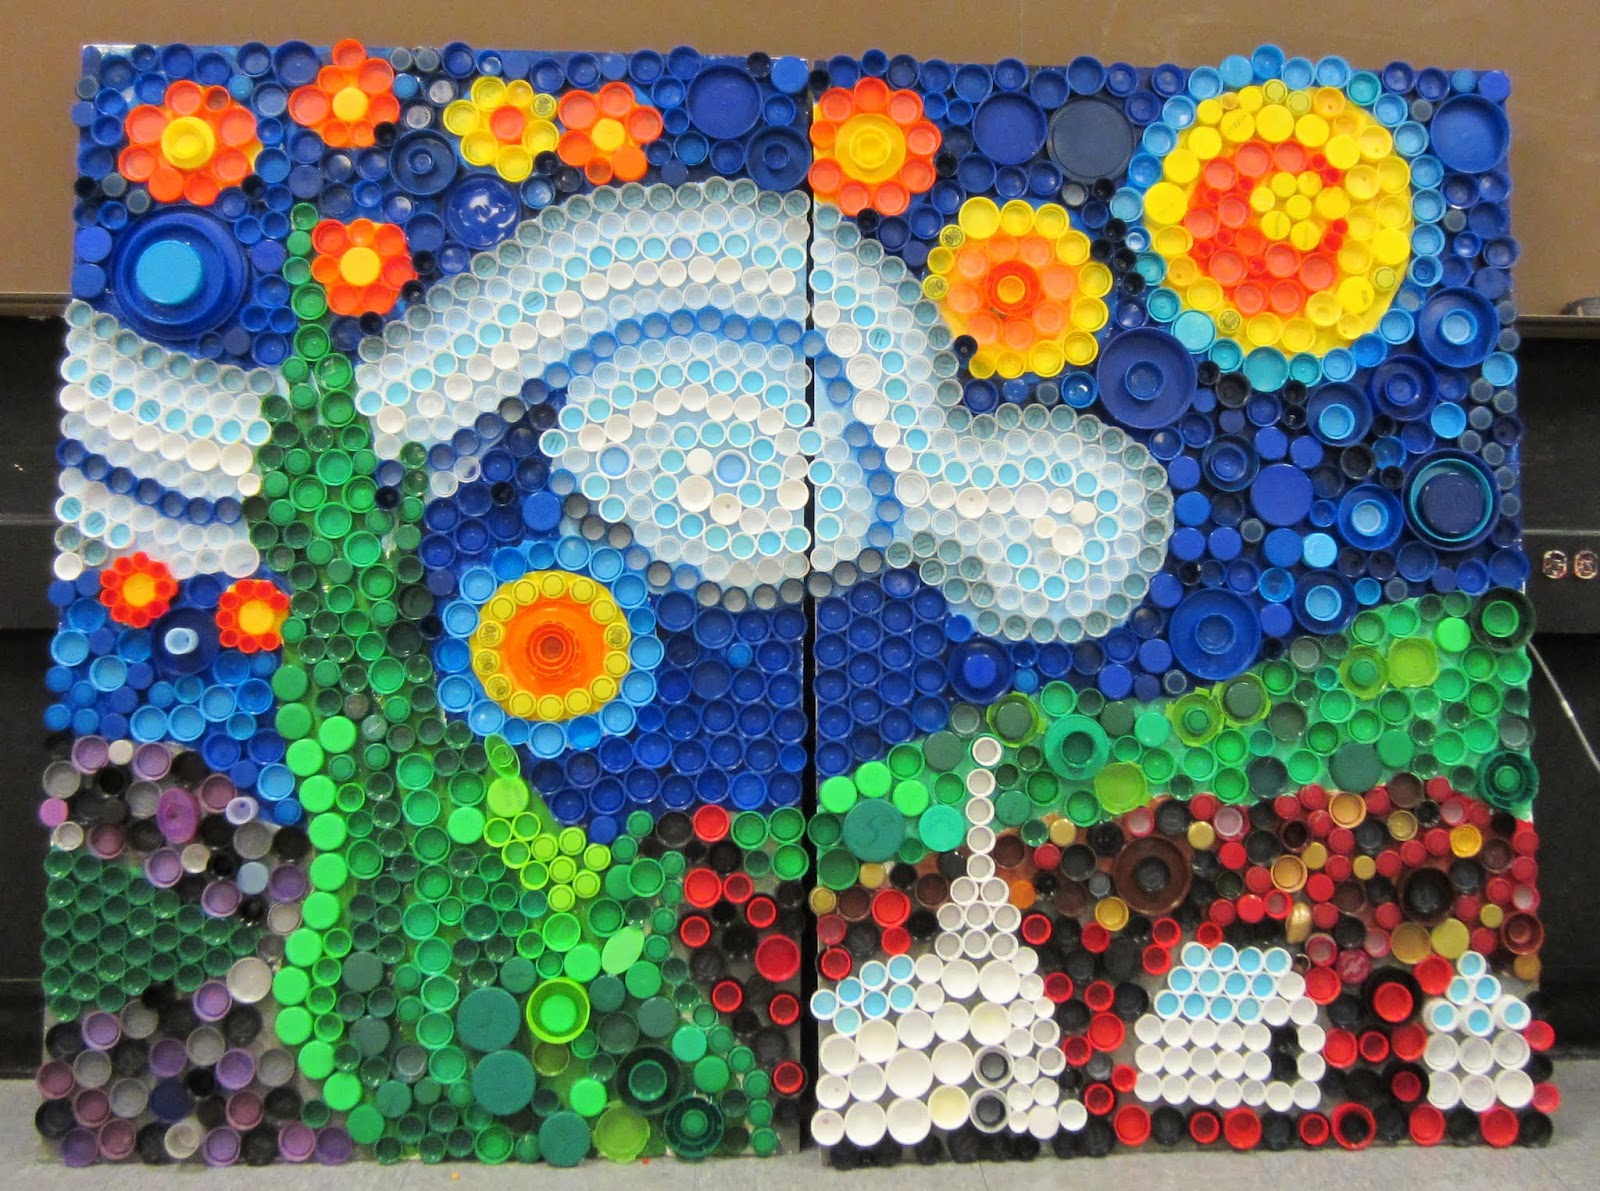
How can you recycle plastic bottle caps? Enjoying art projects and making crafts with kids are fantastic ideas for recycling. Ways to Upcycle Bottle Caps are some of the eco-friendly projects. Things that use for crafting- paints, stencils, tools and texturizers. Fabulous recycling ideas to inspire the everyone to turn colorful plastic caps into beautiful artworks.
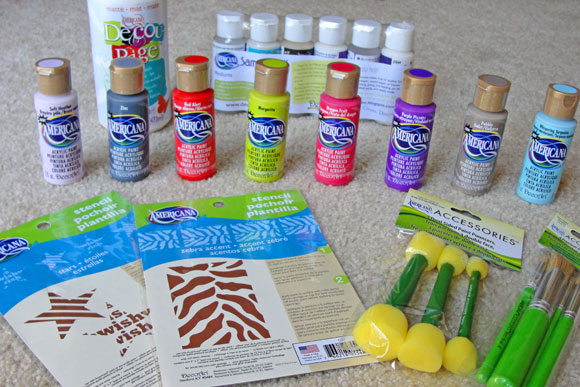
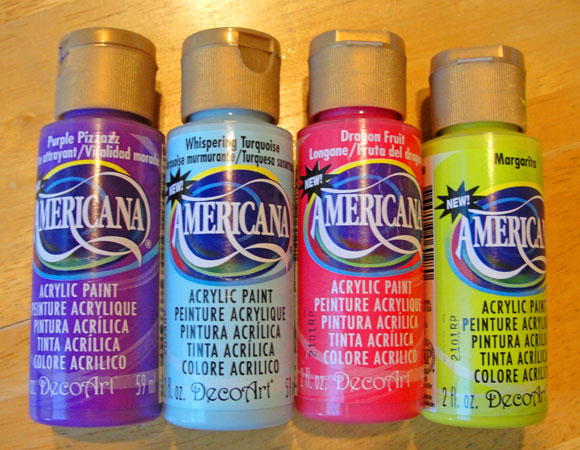
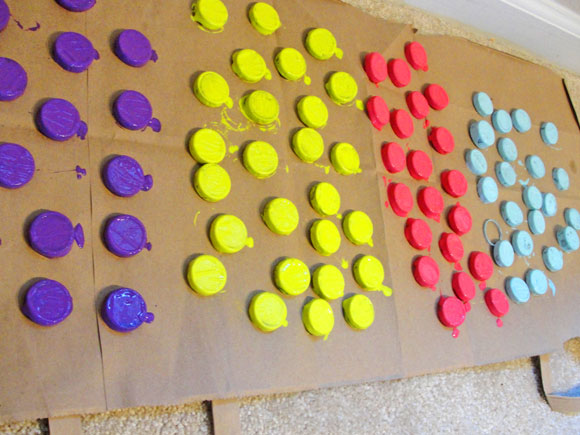
The kids chose four colors of Decor Art paint.
Then portioned out the bottle caps into four bowls and started pouring paint in each.
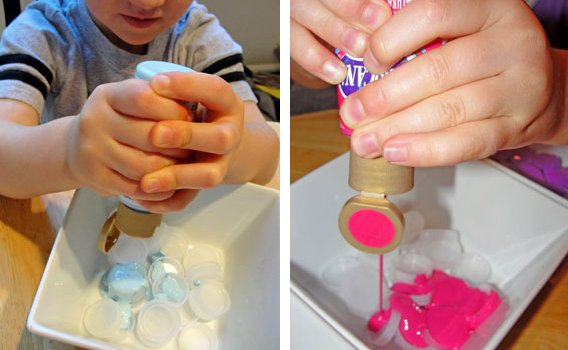
We enjoyed mixing the bottle caps into the paint.
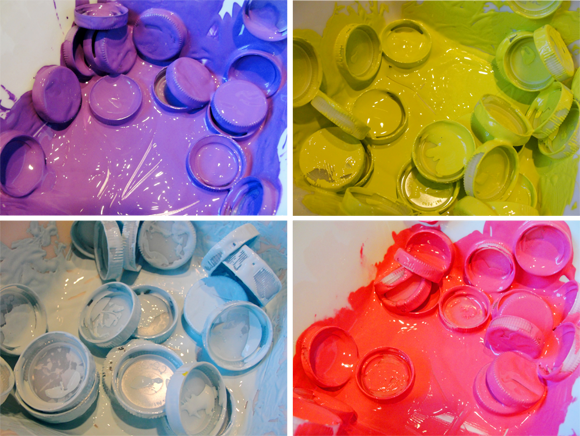
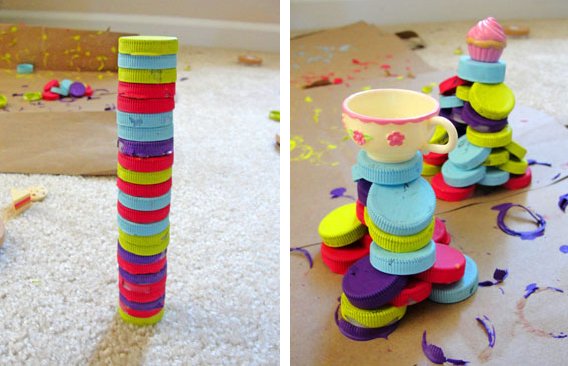
After all the bottle caps were covered in paint, we dug them out of the bowls one by one with a fork, then laid them on a flattened paper bag to dry overnight.
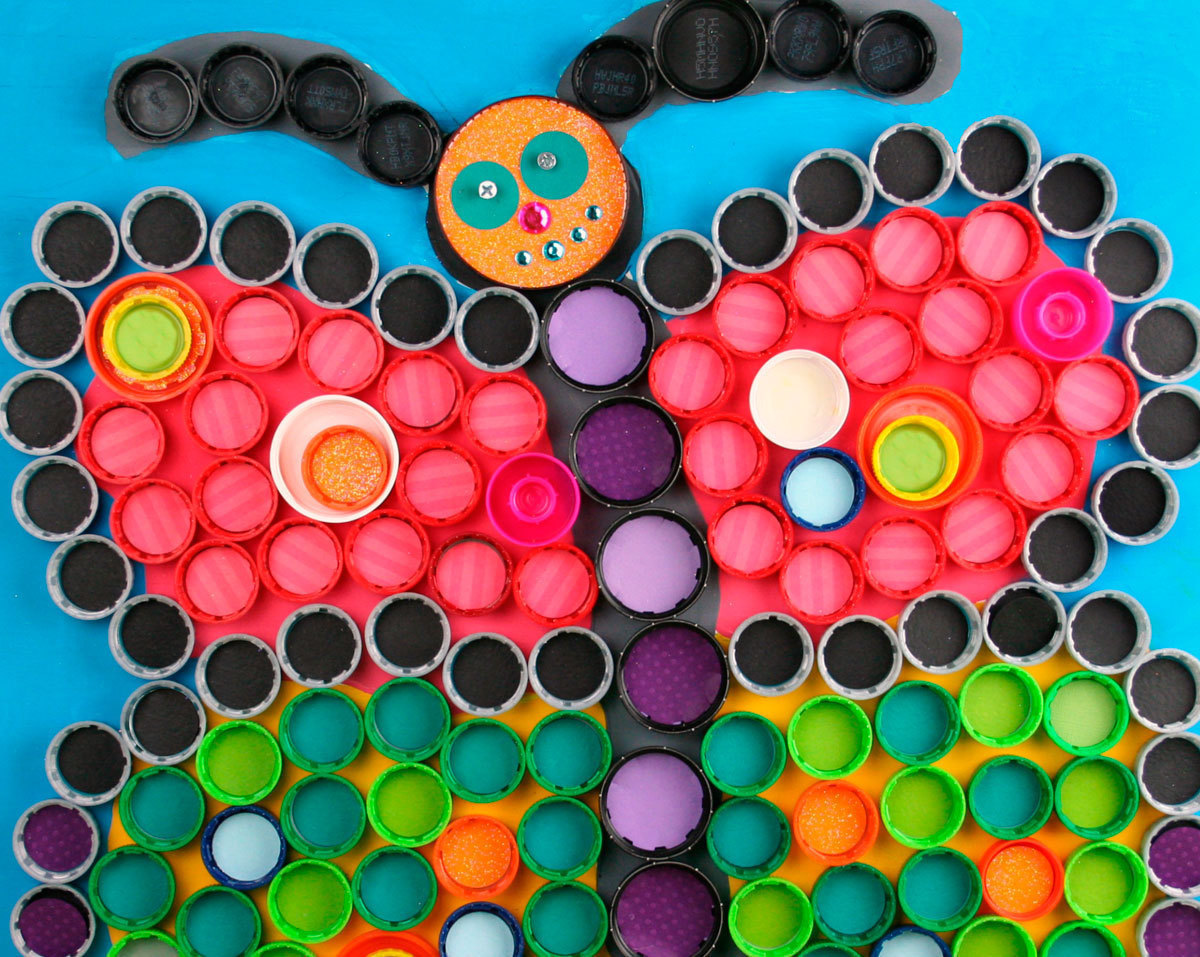
Once they were dry, the kids made all kinds of painted bottle cap artwork (with the addition of a few wooden cookie and tea party accessories)…
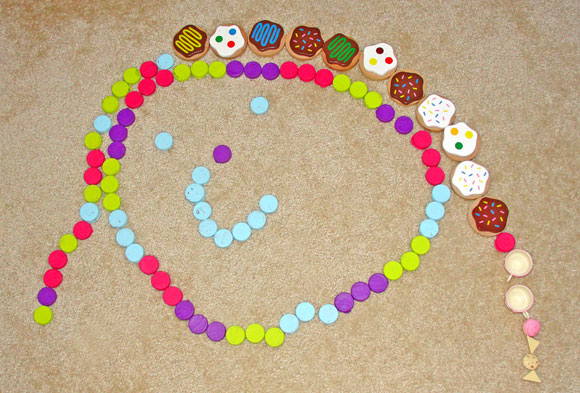
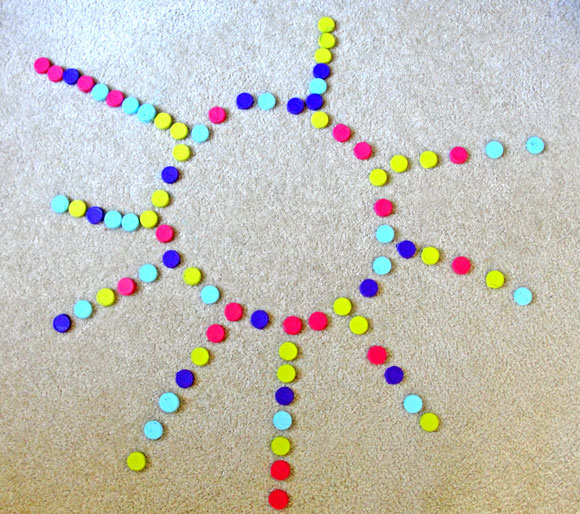
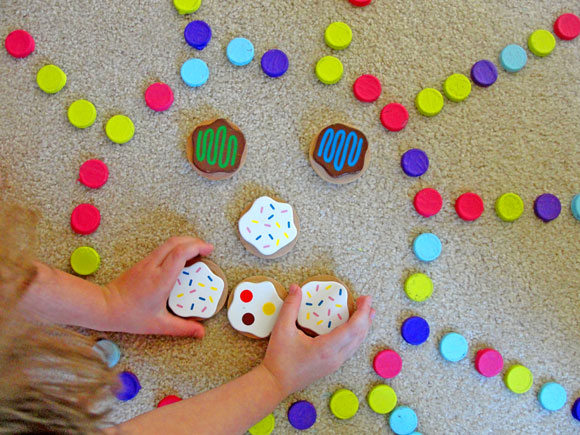
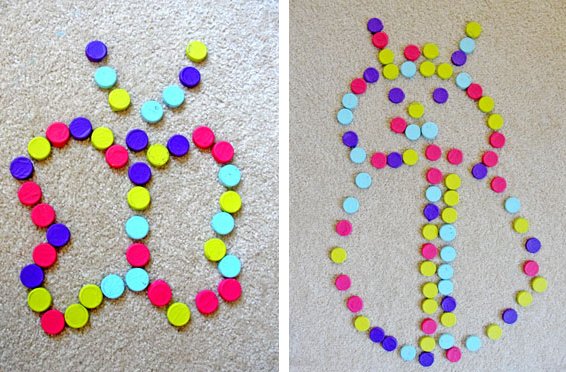
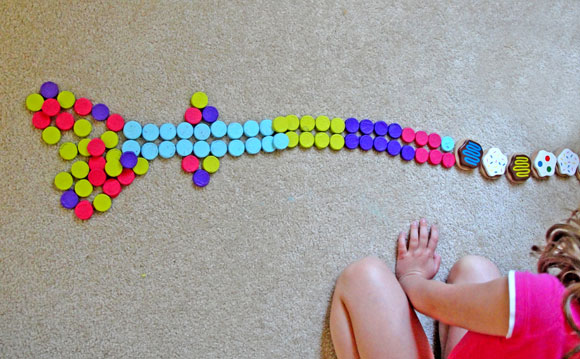
It’s a perfect rainy day or lazy weekend recyclable art project for the kids.
Hope you like this Painted Plastic Bottle Caps craft tutorial.
Image source: whimsicalkidscanvas
We would love to hear your thoughts in the comment section below. And be sure to like us Facebook for more ideas!
Thank you for visiting our website. Keep Creating with Art & Craft!
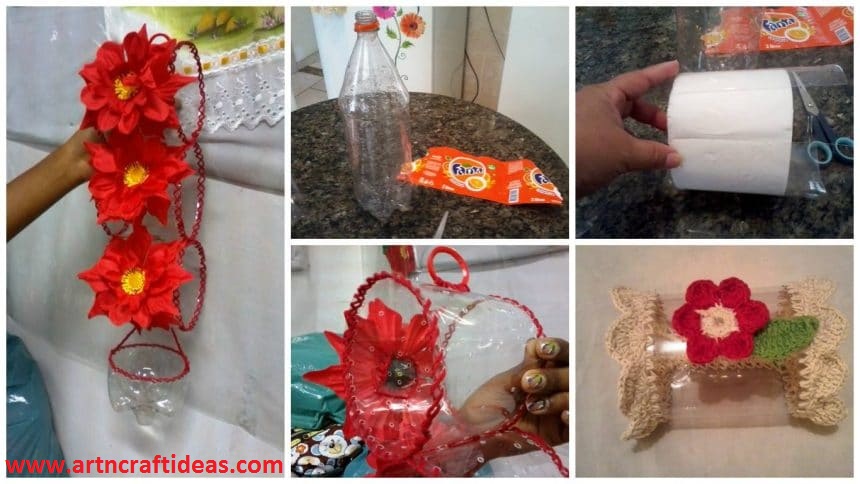
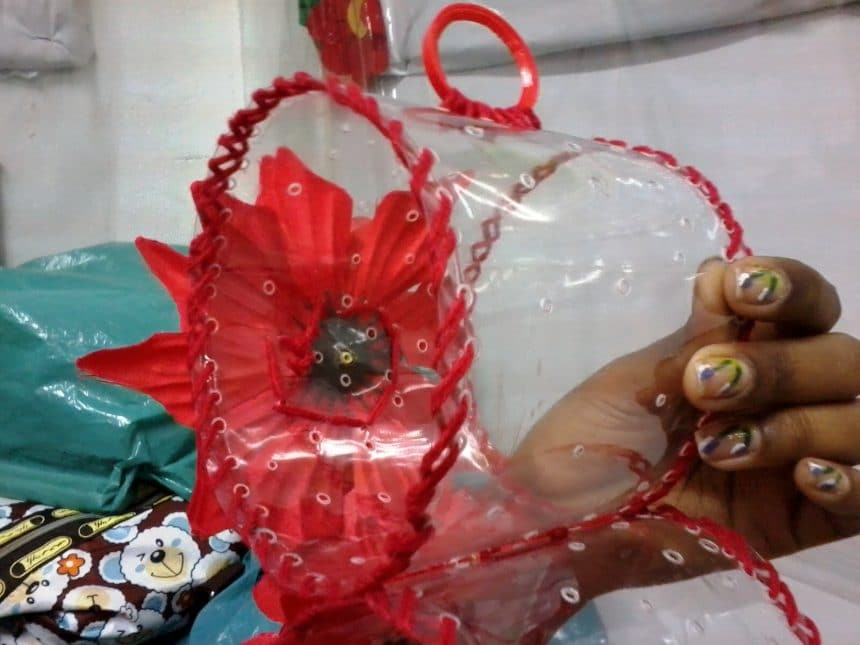
This toilet paper holder made of plastic bottle.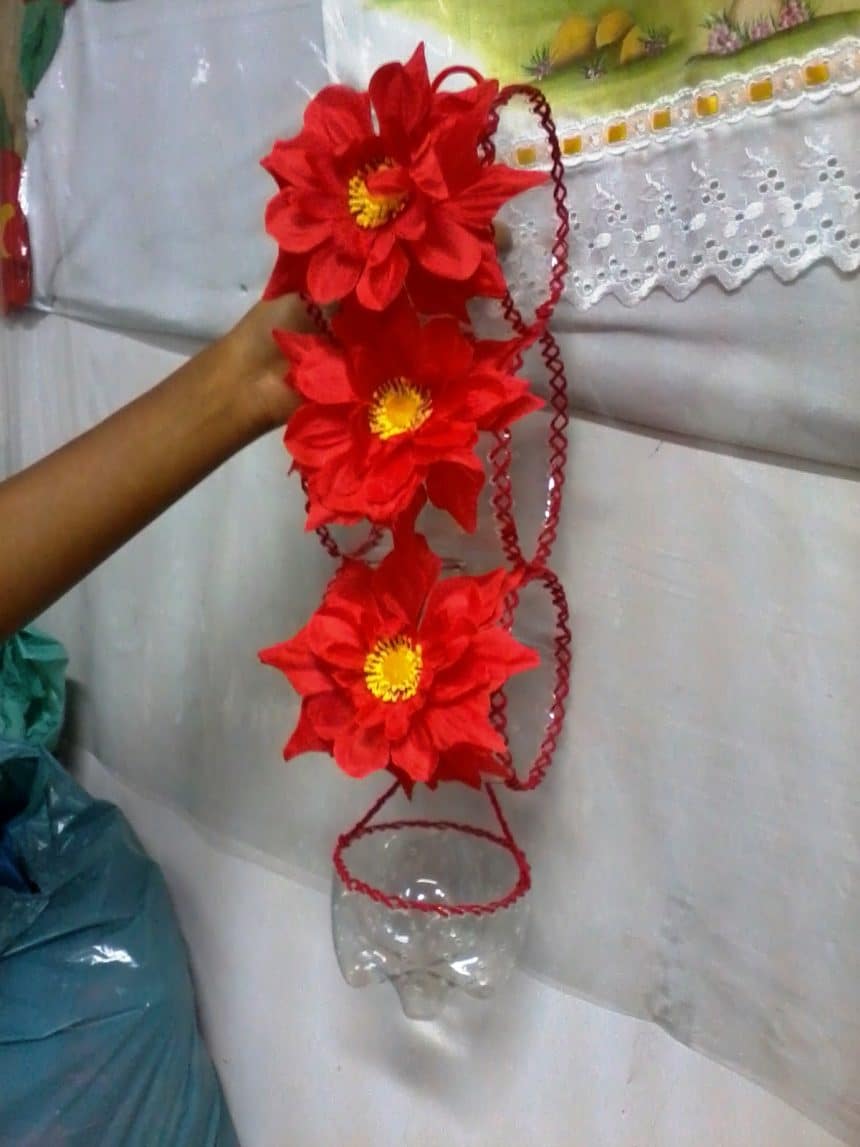
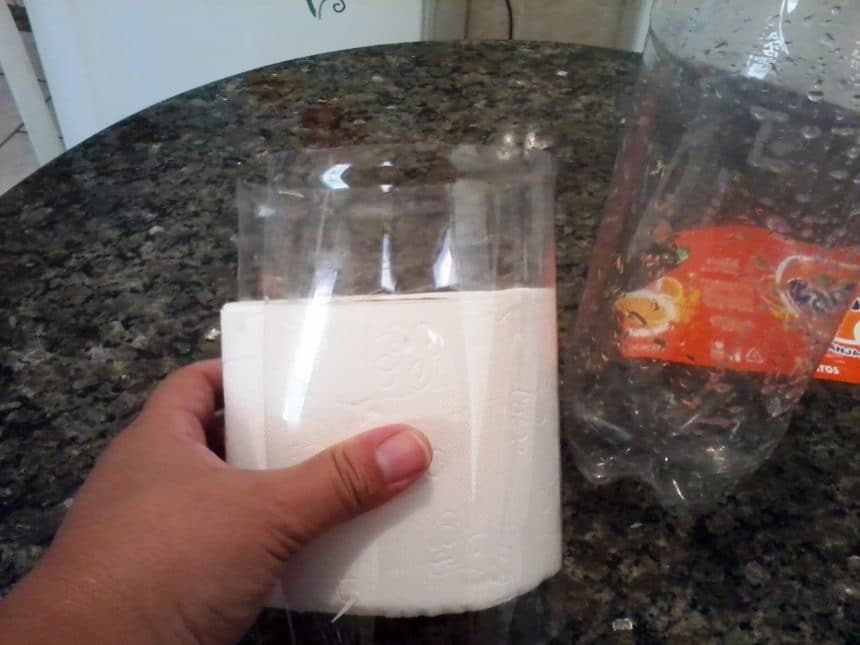
 I took a photo from all angles so that
You can see how it was done.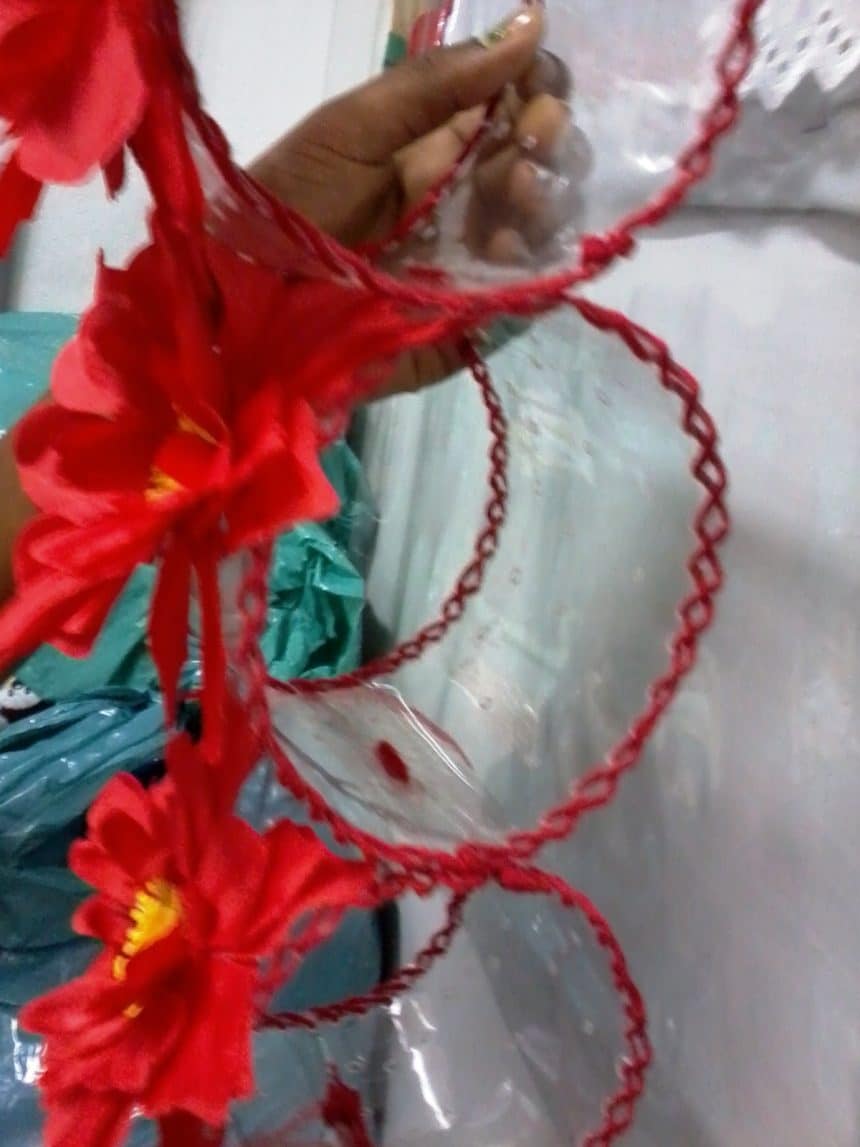

 But, I … I’m curious, I decided to make one!
And as I have bottles to the mountains,
I got stuck at work.
Let’s go to the materials you will need to get started:
3 pet bottles
1 screw
1 pliers
1 pilot pen
1 ruler
String
I chose the bottle of Fanta because her body
Is longer and the middle of the bottle is
Suitable for cutting.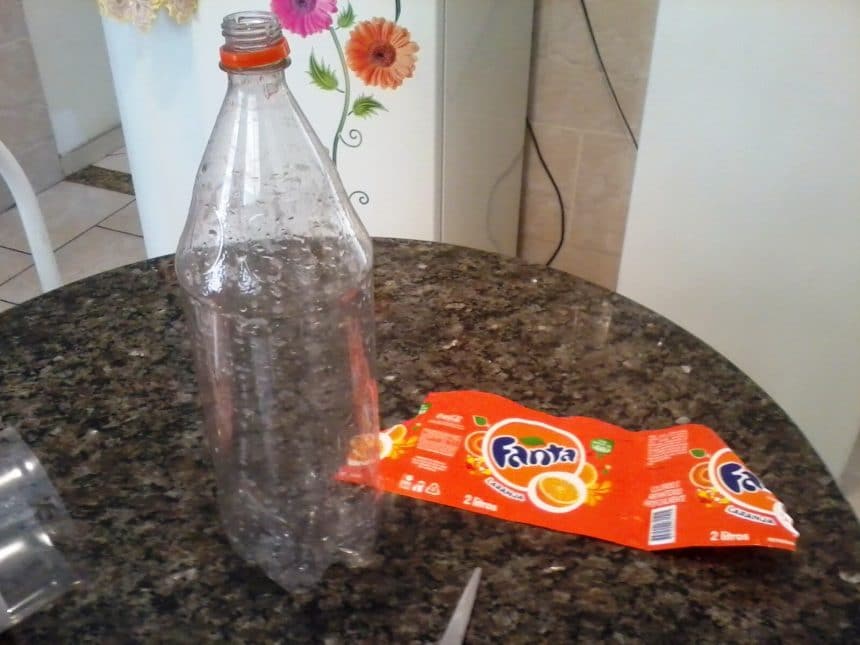 I took the toilet paper and
Me to make the hits on the sides.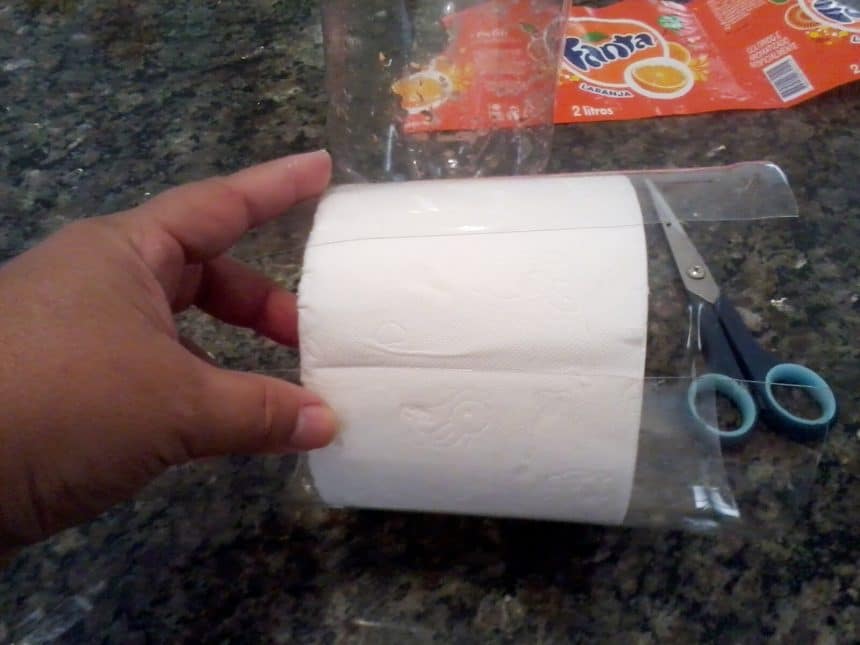
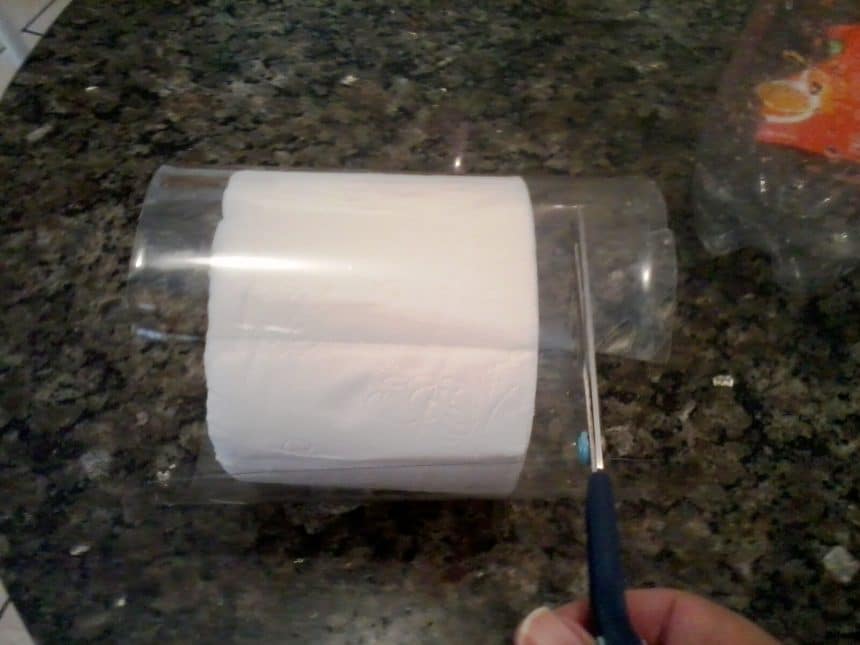 Medi and I’m doing the lateral cut.
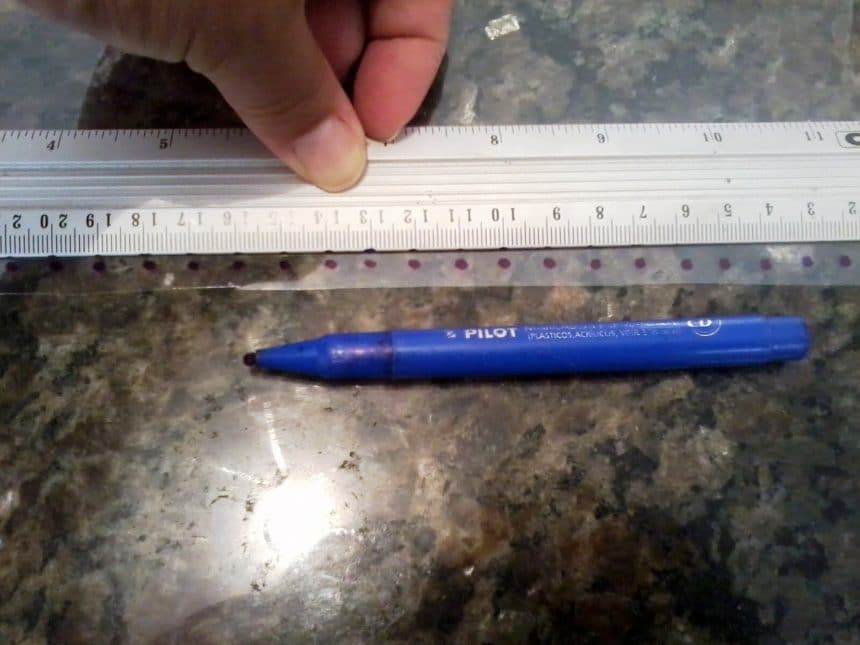 I was measuring the little holes with a ruler.
In this case, I did with 1 cm away,
But this is not a rule.
Each one can do closer or
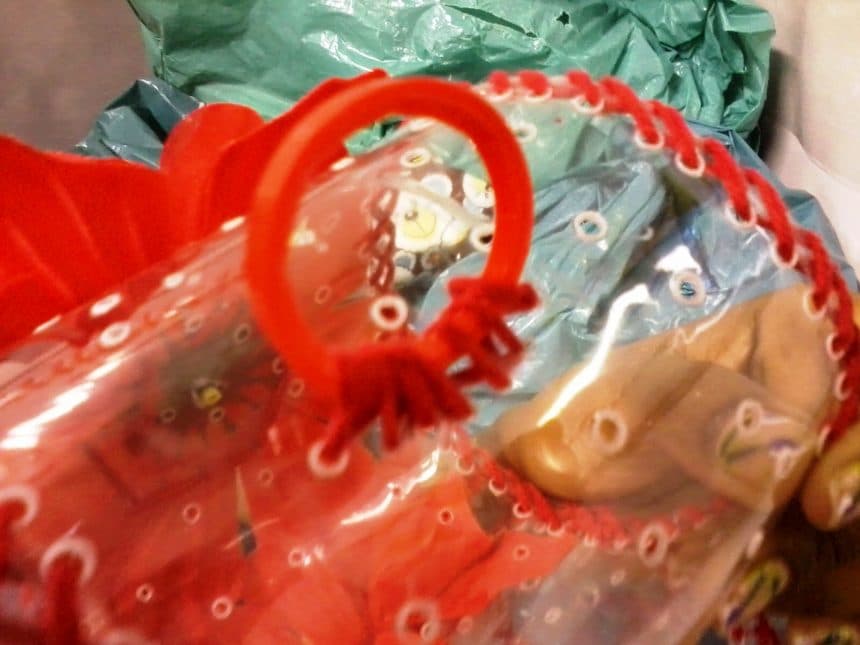
Further … as you wish. Please note that I made a cut for the roller attachment.
At least what I use is very chubby
And had to make the cut.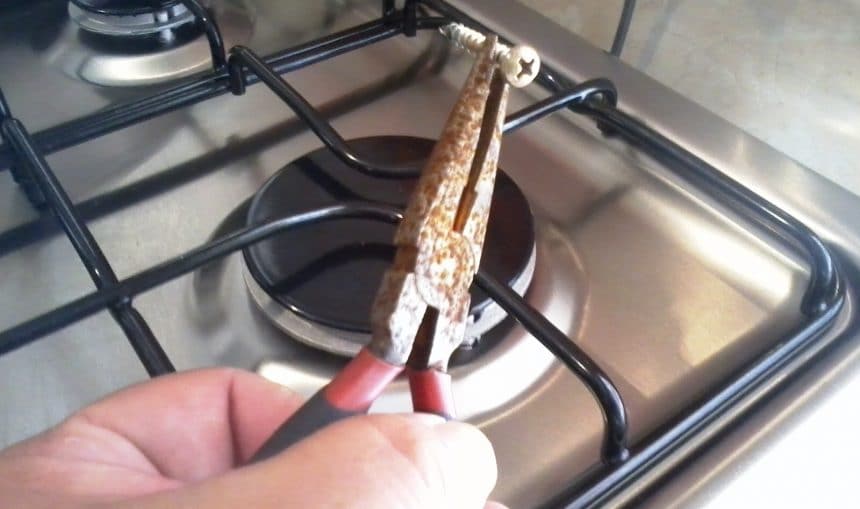 With the help of the pliers, I got a screw
That allows me to drill the hole and not go straight through
plastic. But be careful when handling!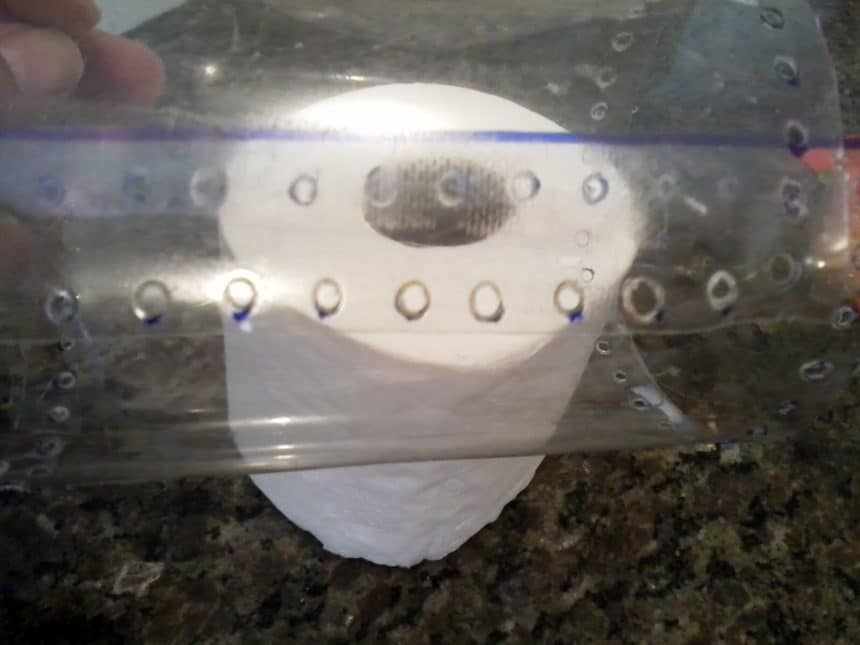 Look at the holes.
I did them well on the that I did with the pen!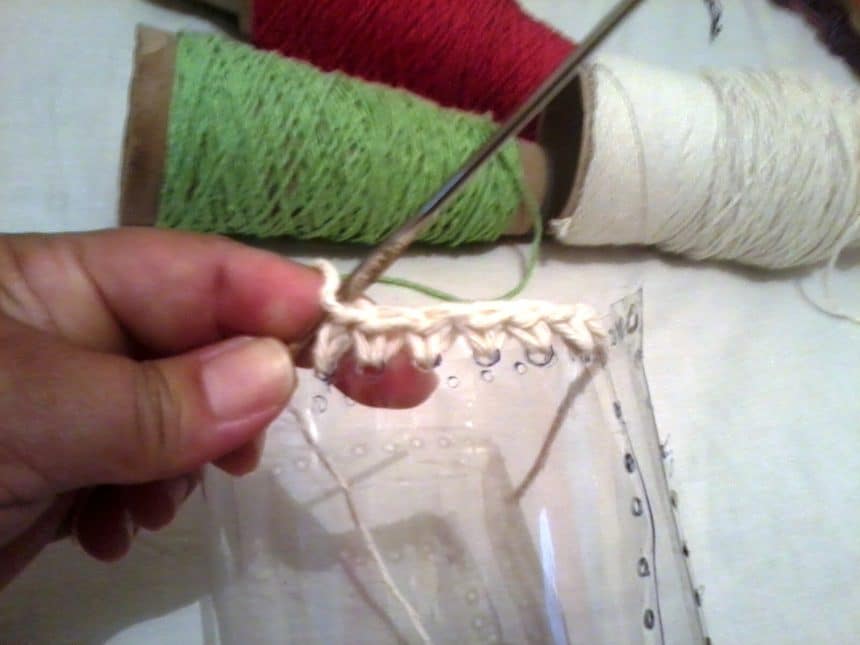 Here I start to finish my work.
I preferred to do the string.
Although I have other lines, I thought the
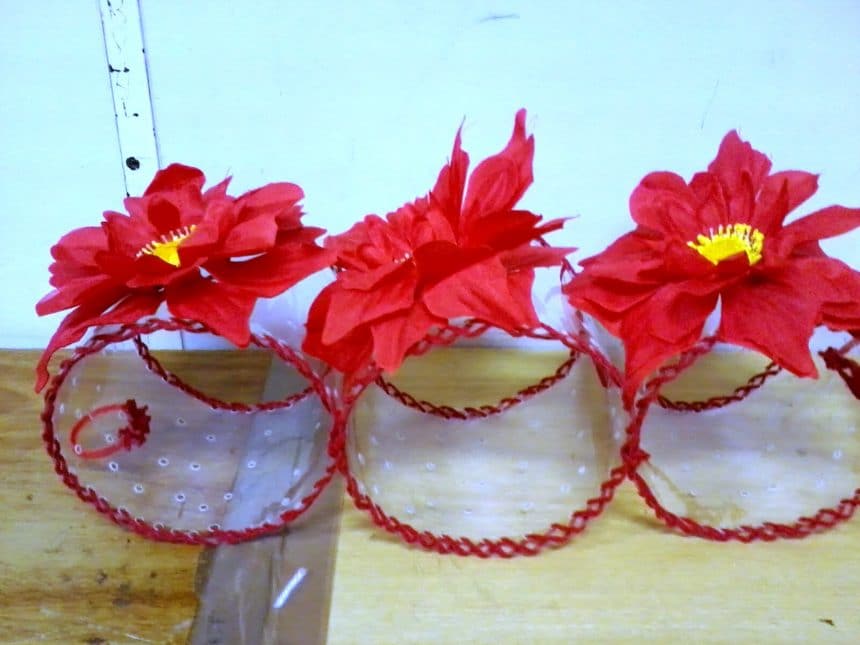
String wedged well with plastic.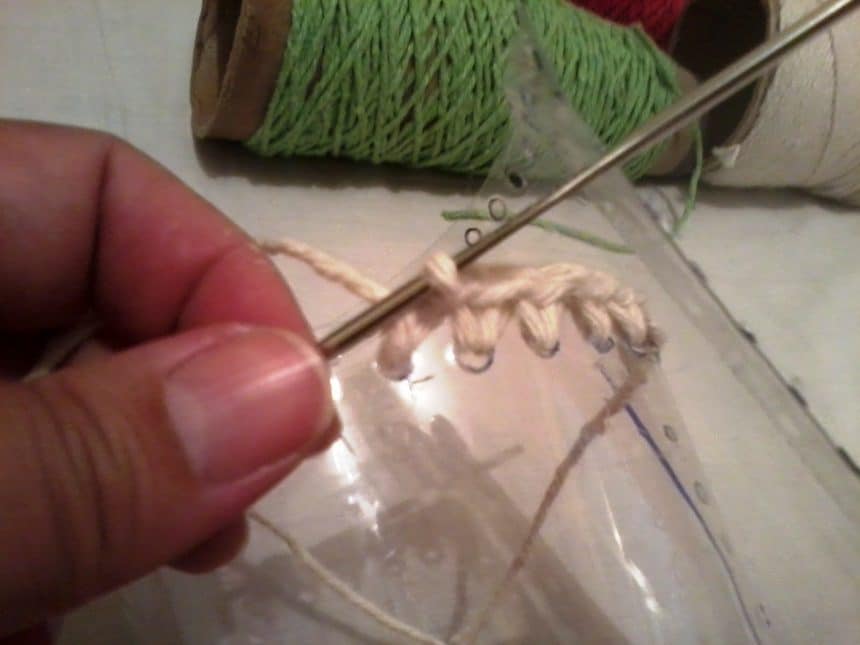 I started the base with low buttonholes.
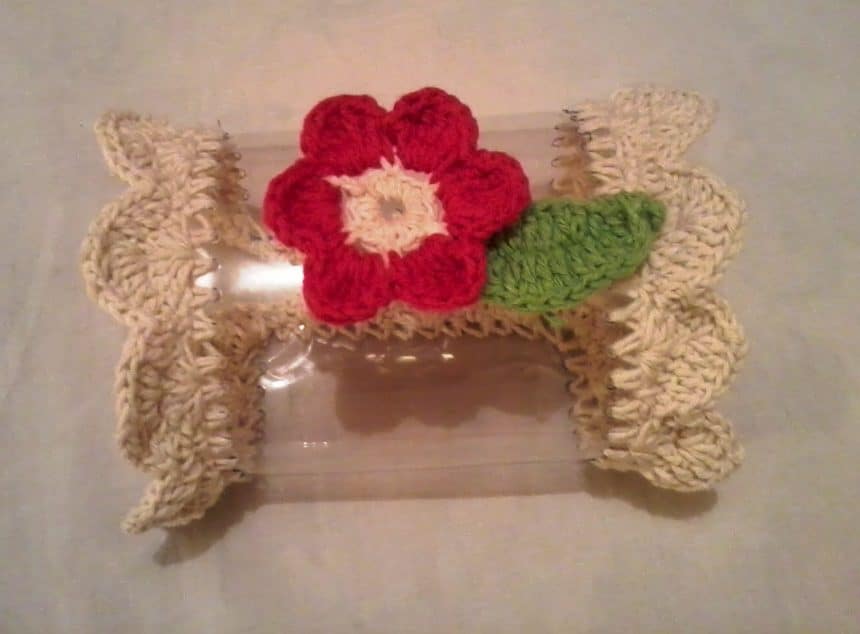 Here the work is finished.
I also made a flower in colored string
And a leaf to give grace!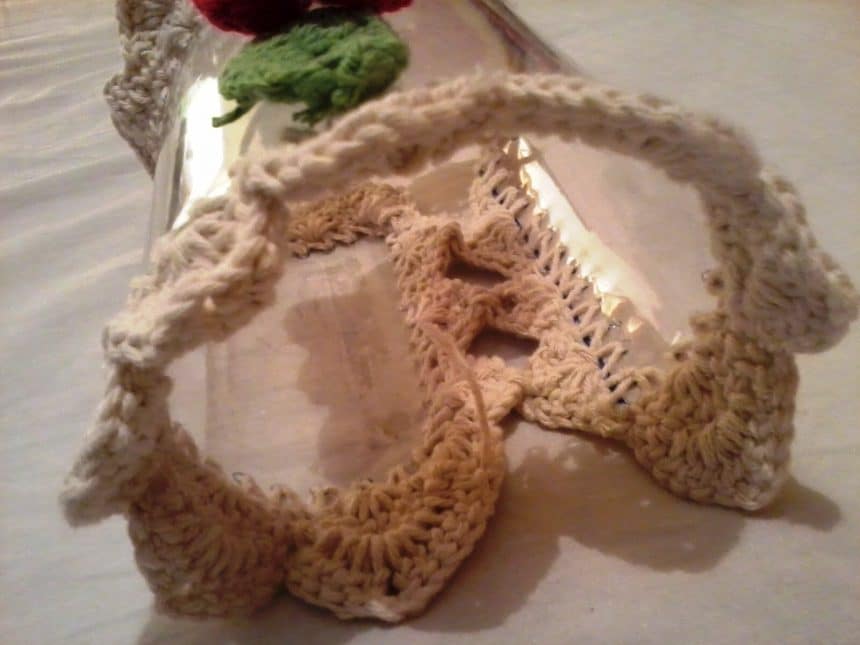 To make the union of the plastic again, I made
In the weeds, with this, the increase necessary to
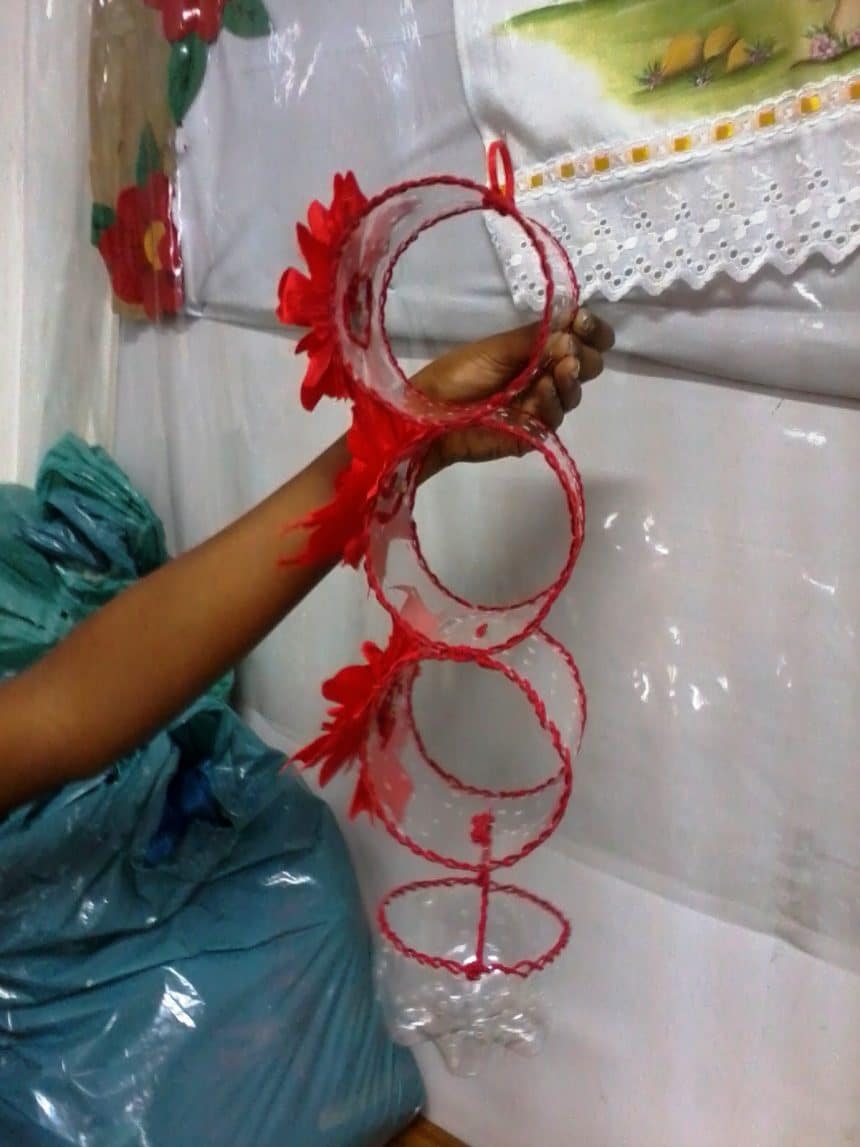
Fit the toilet paper properly.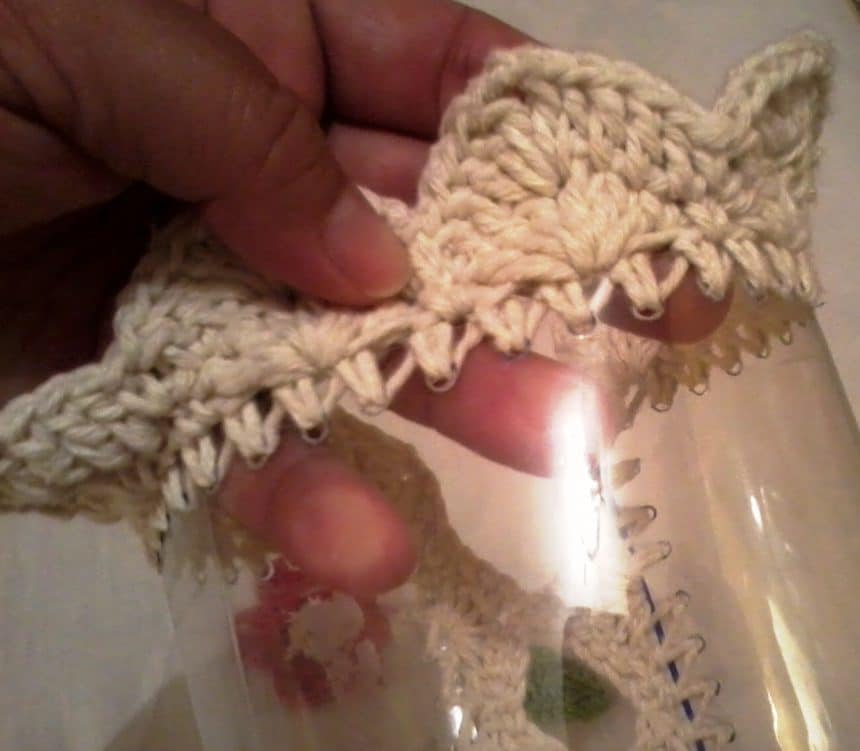 Here the details of the side.
And do not worry about the holes.
After finishing, you can not even see them.
The tip is to make the holes well on the edge,
And that I only realized after
I began to make the point.
I passed the first career with 3 points high
And 2 chains, and in the second race I made high points on high points, when I arrived in the fan I put
2 high points within space.
So filled it out and it was really cool!
courtesy: madame-kathia
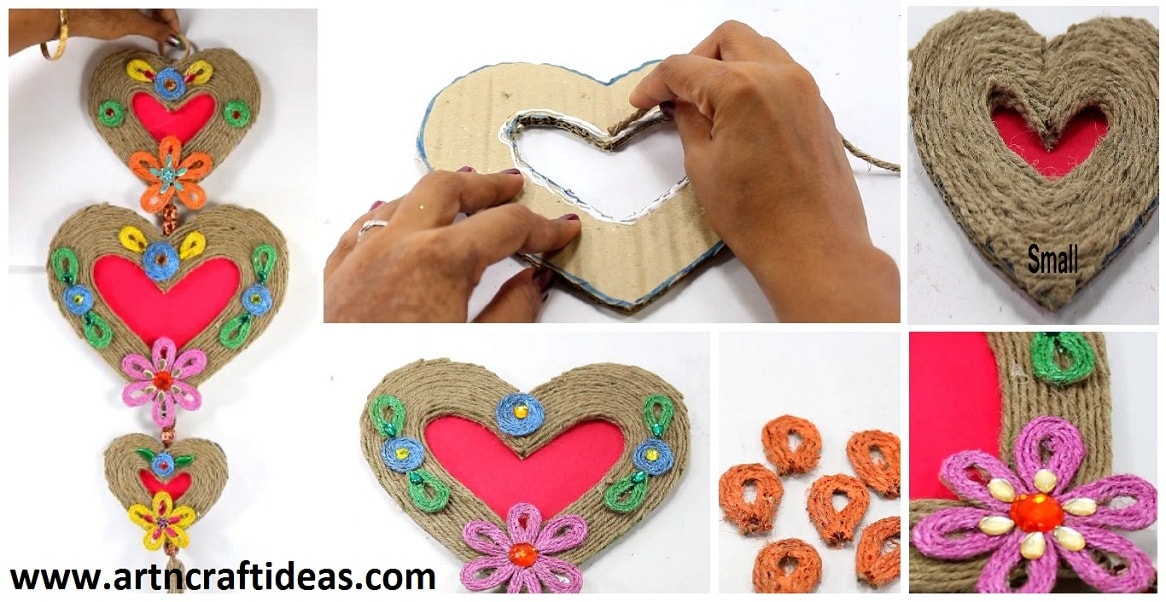
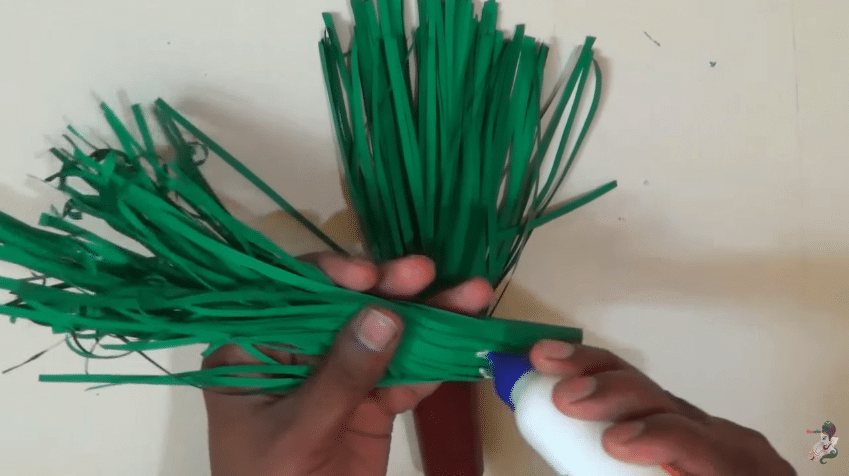
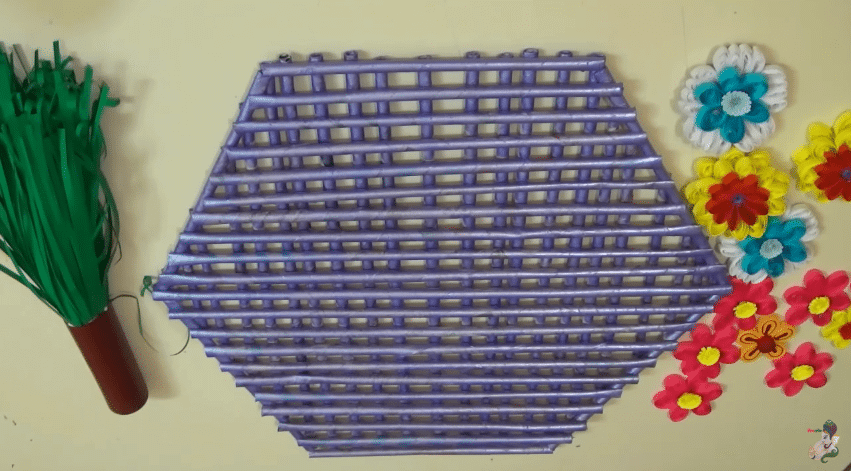
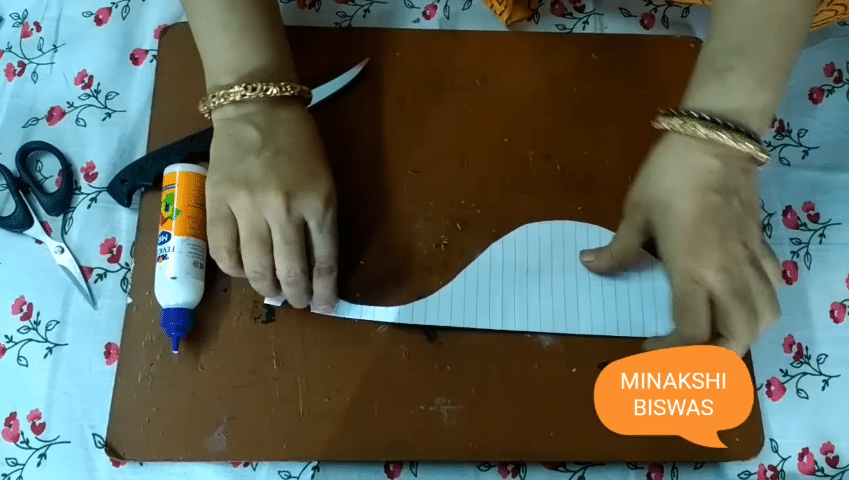
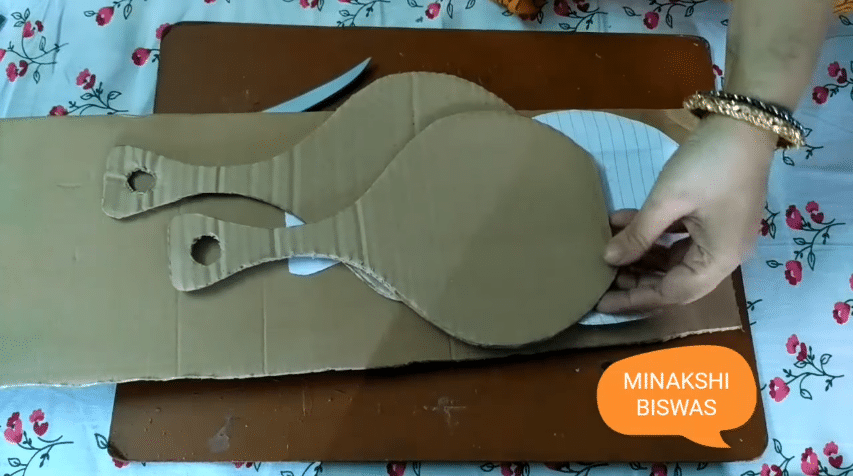
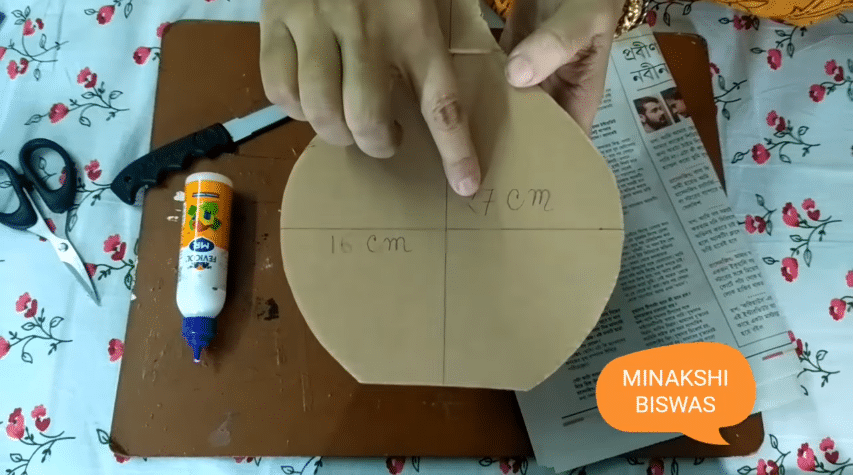
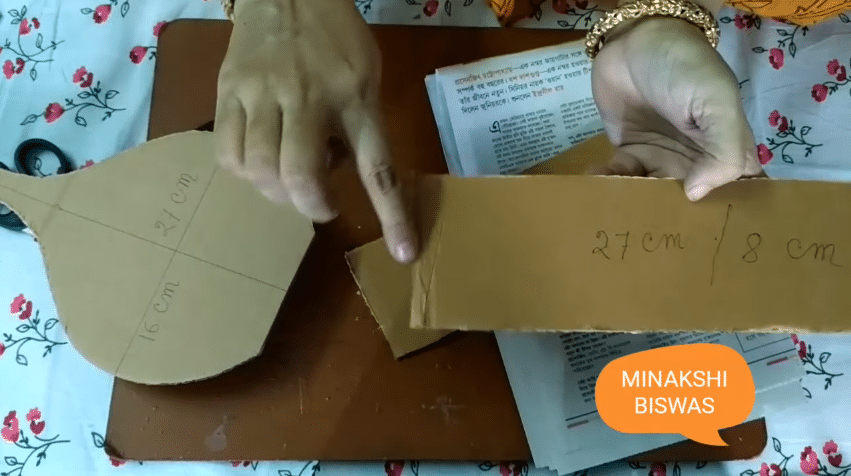
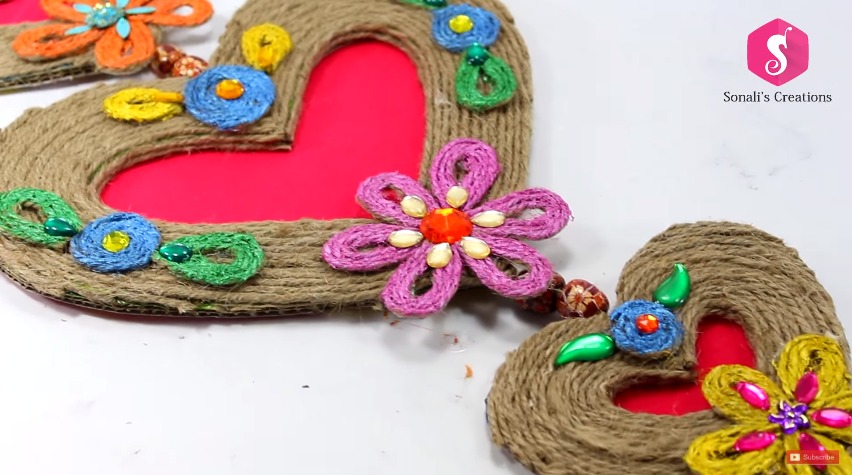
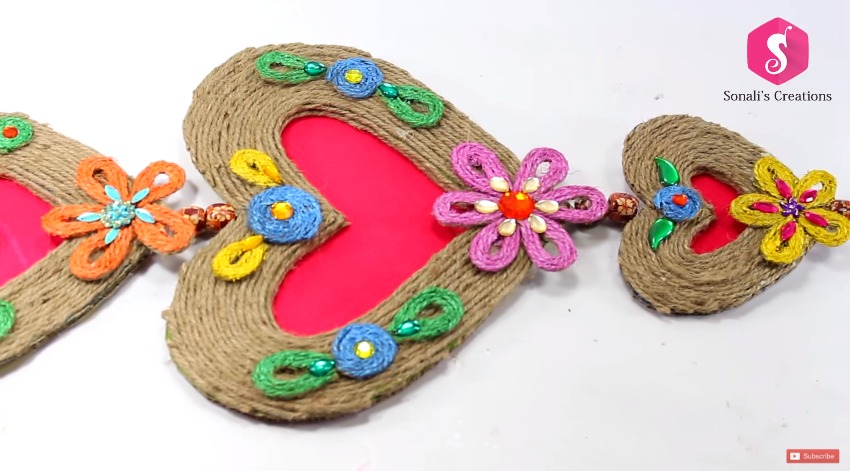
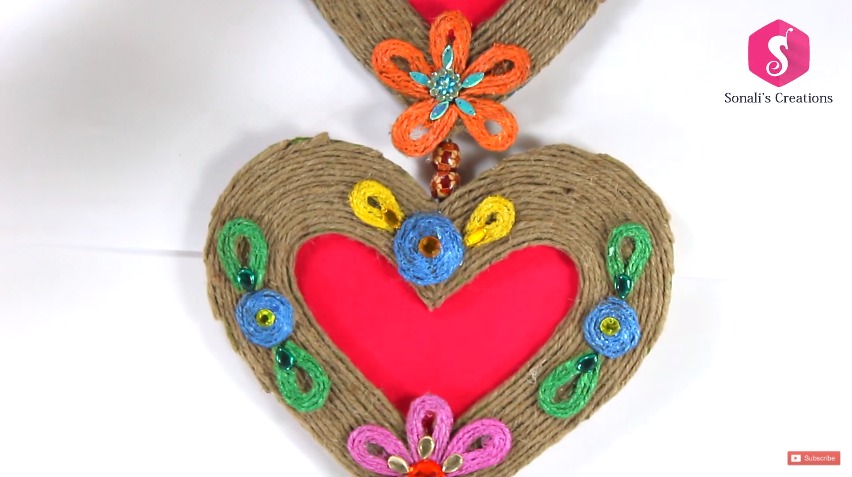
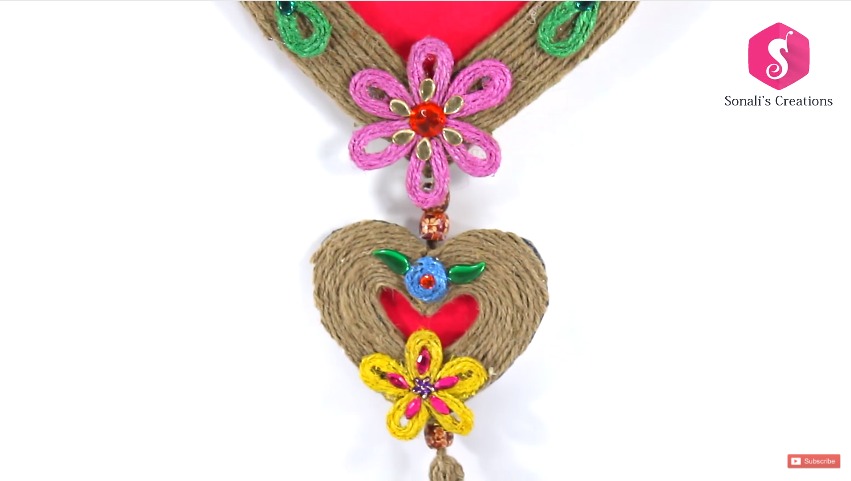
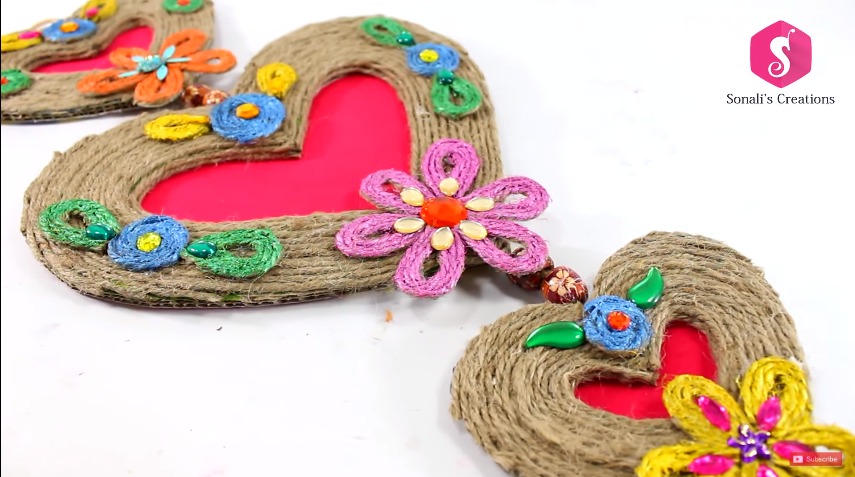
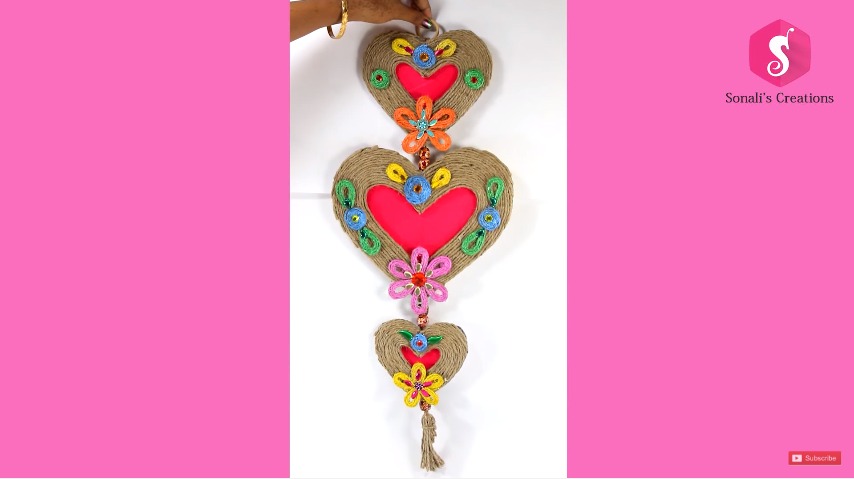
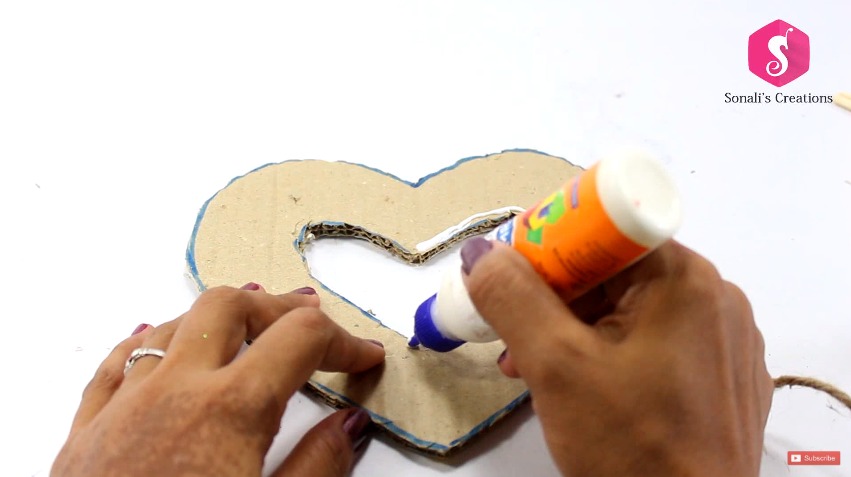
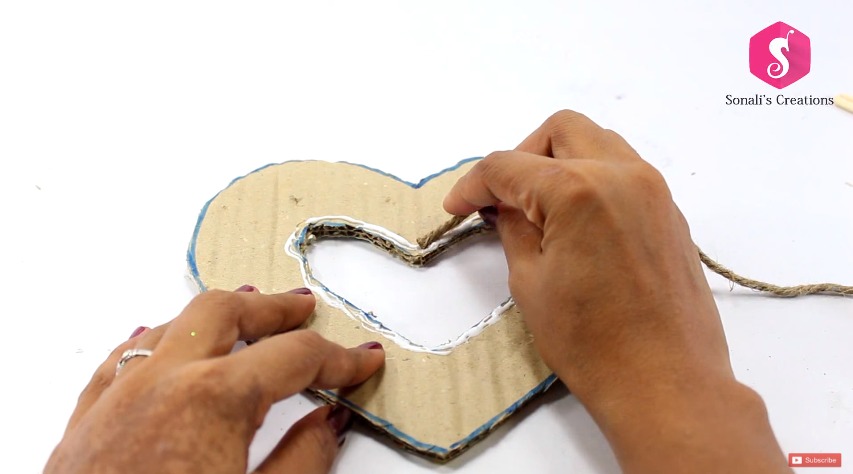
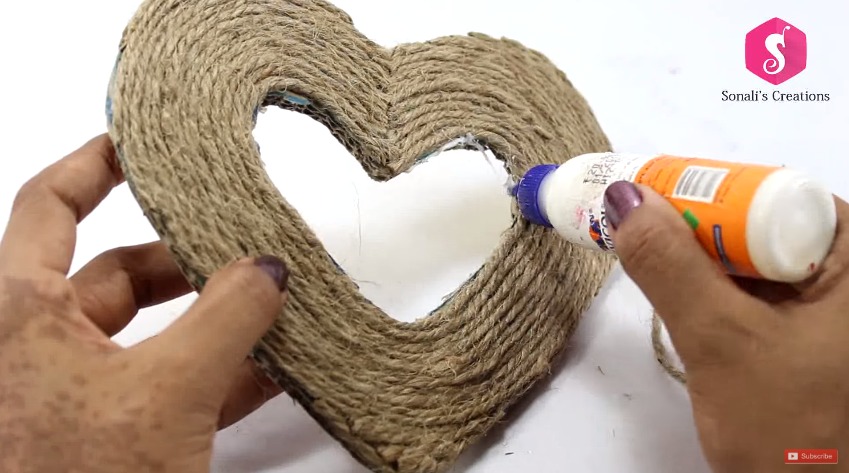
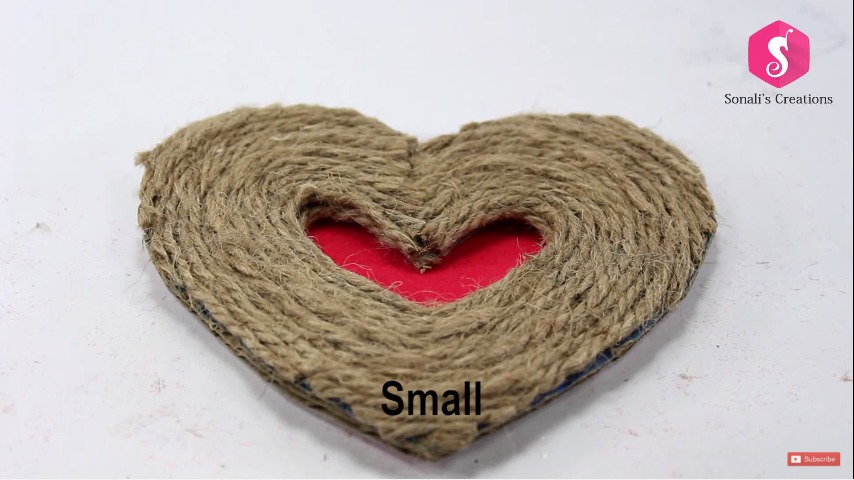
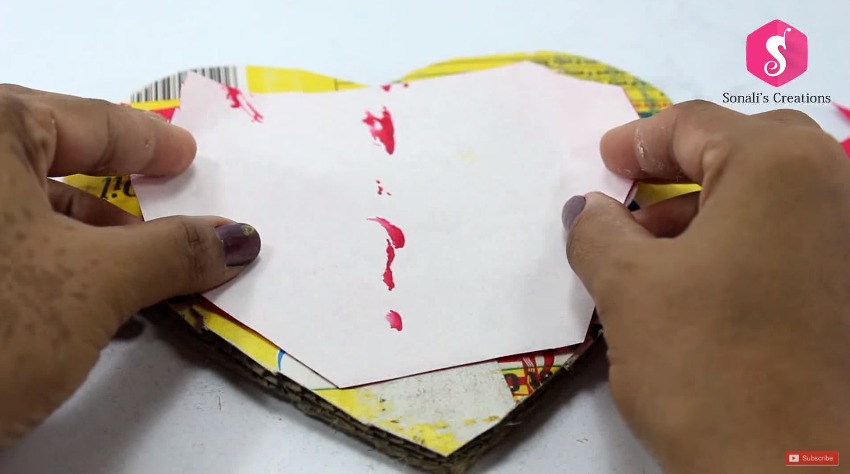
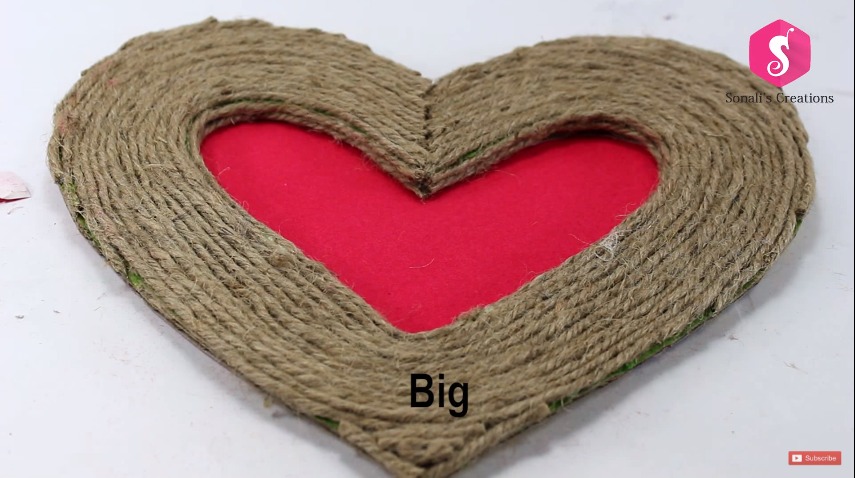
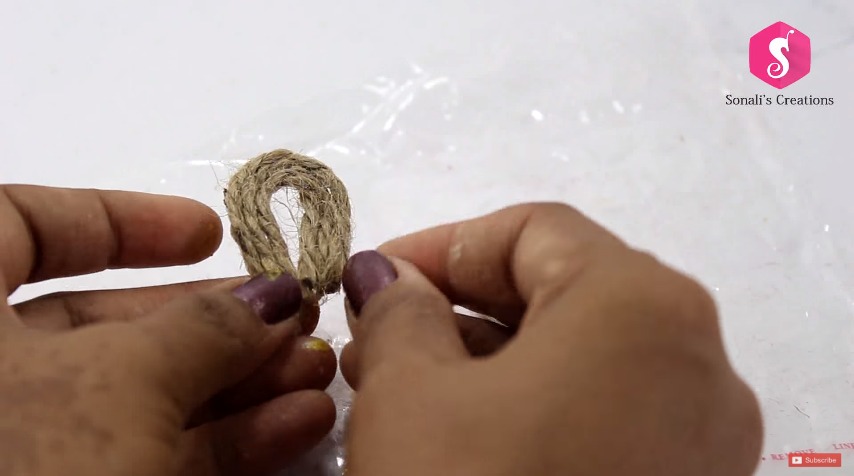
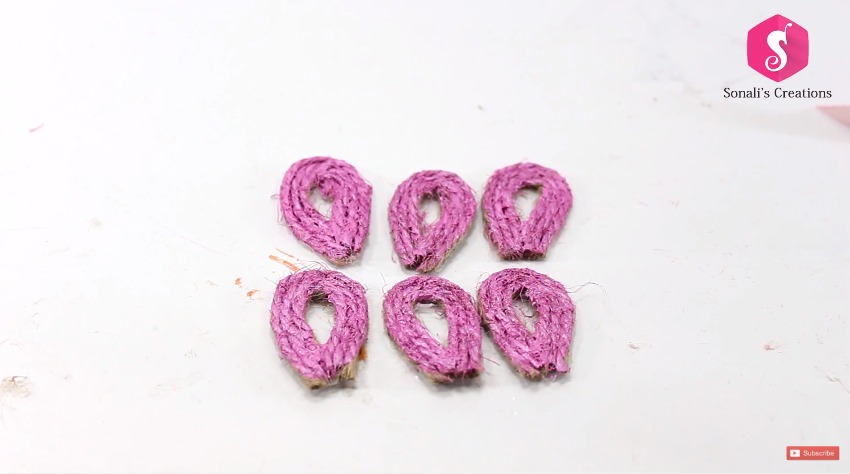
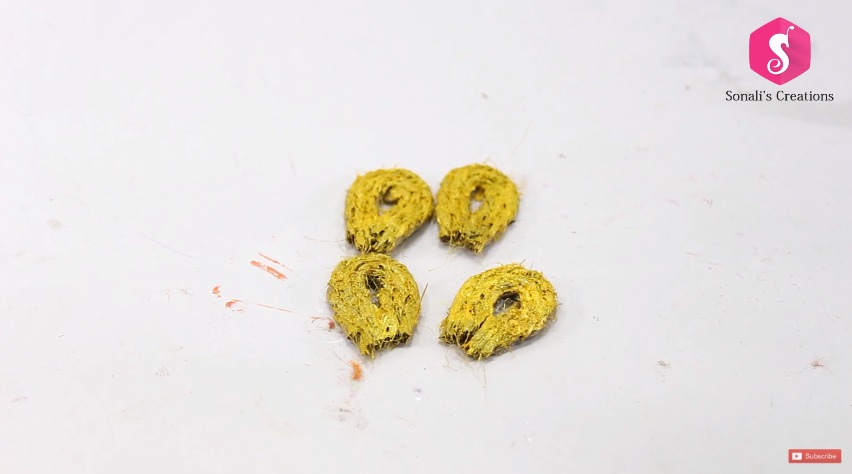
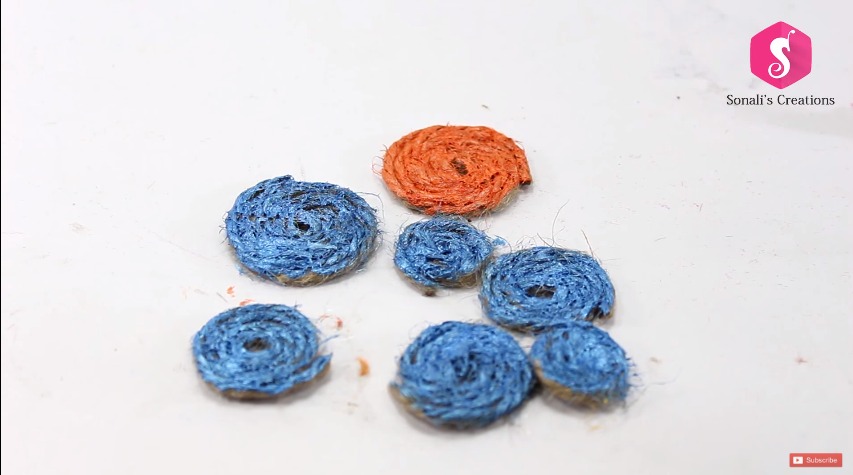
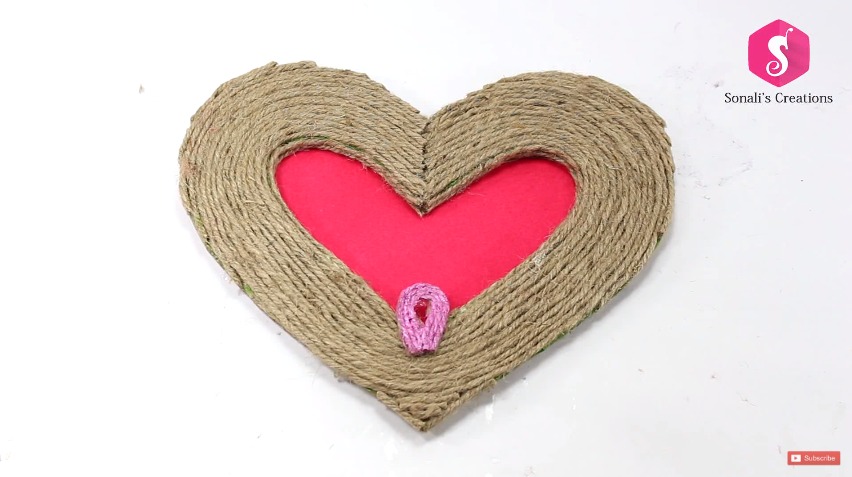
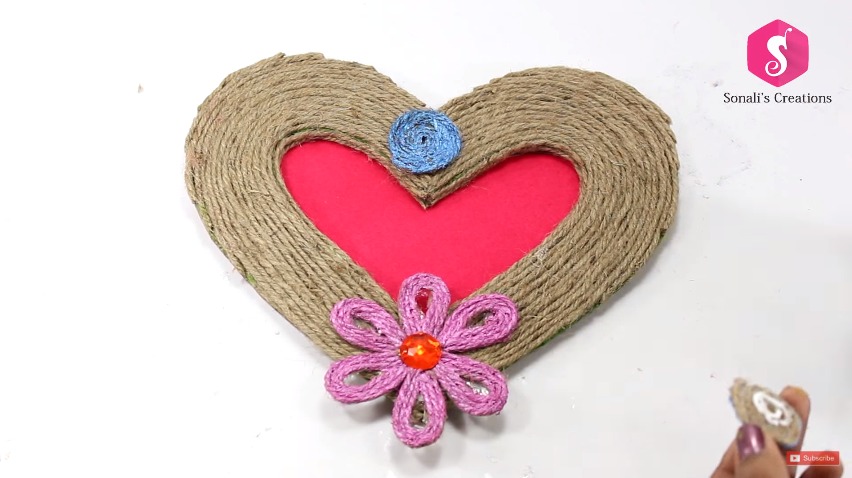
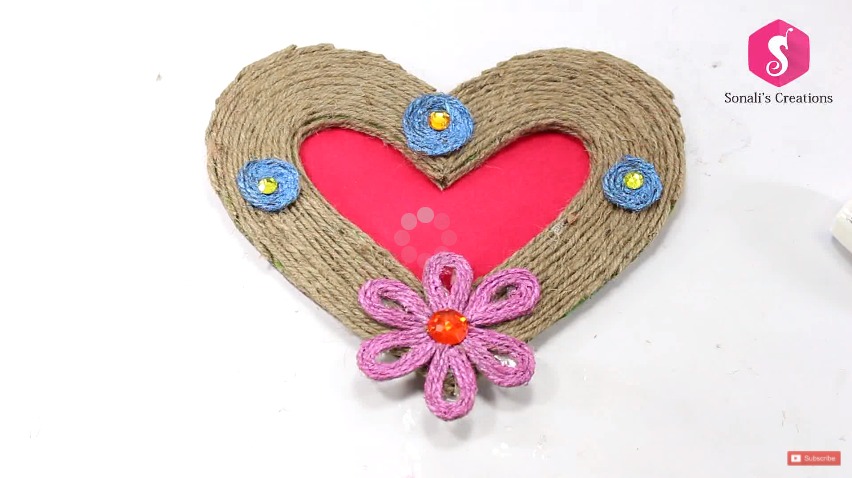
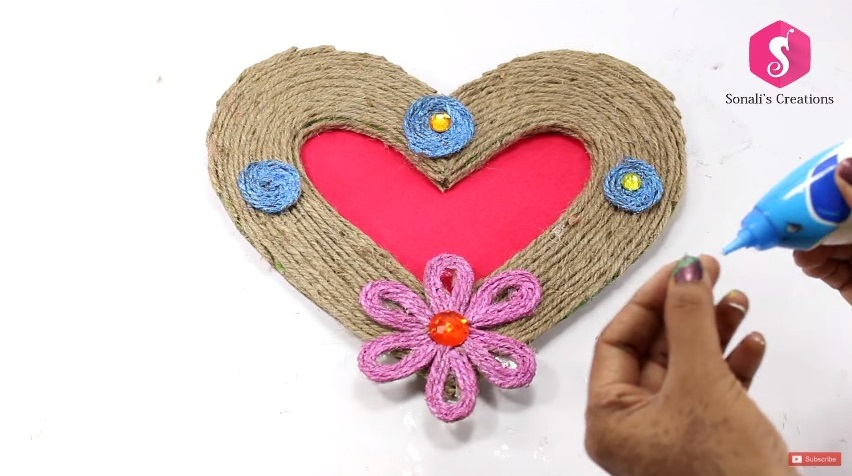
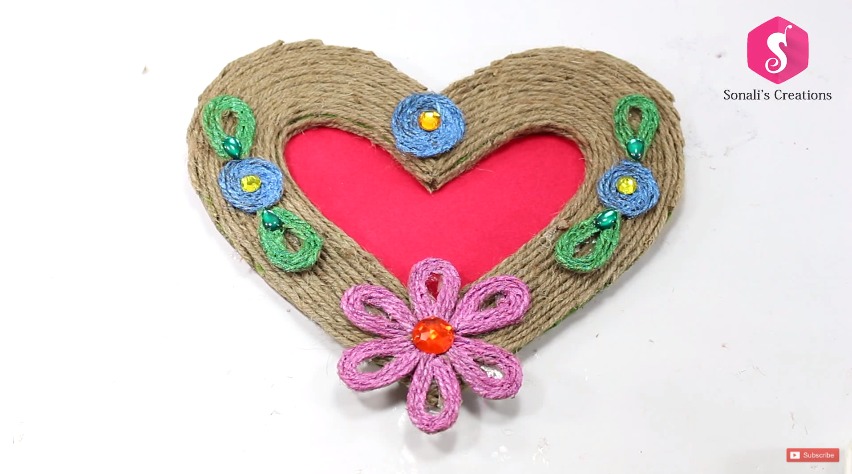
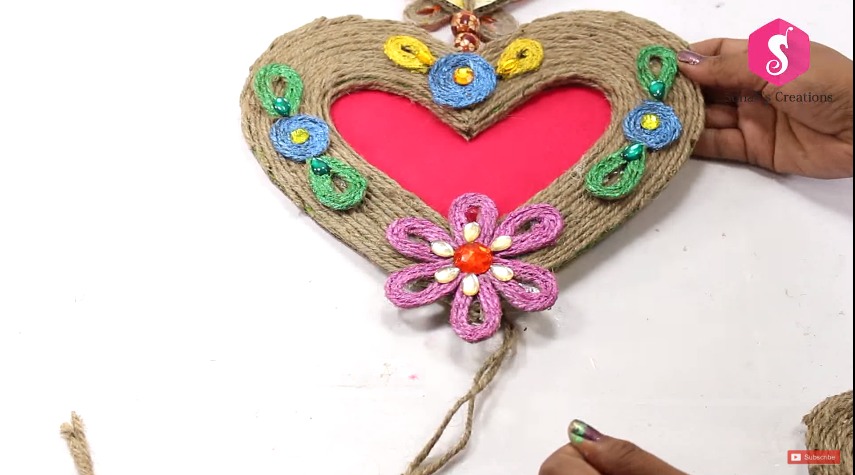
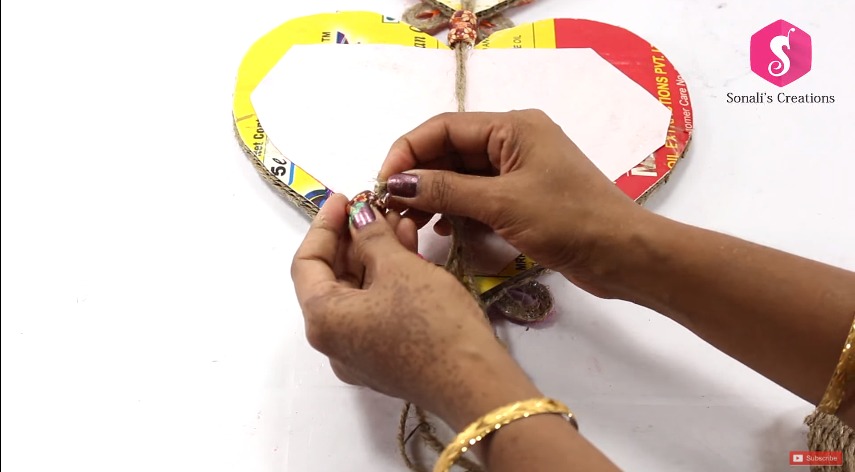
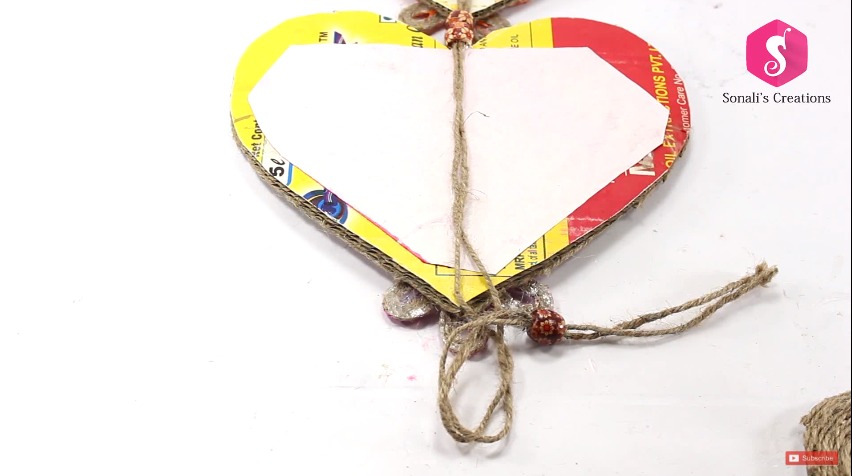
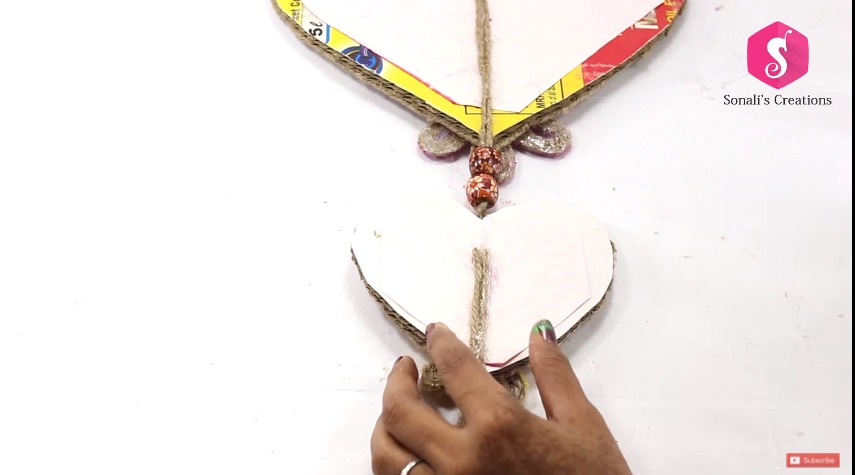
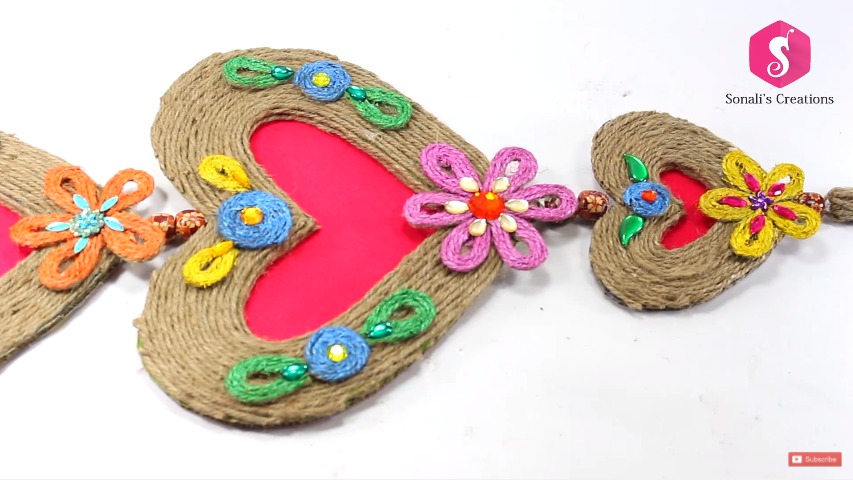
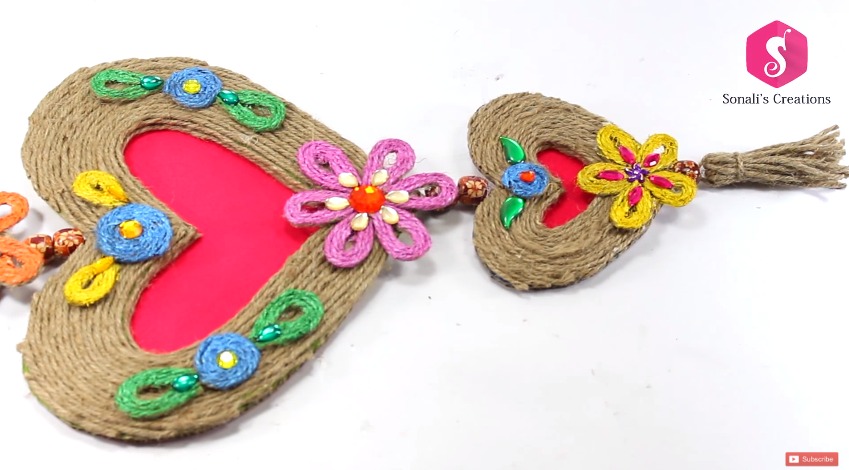
Today we are trying to make very innovative wall show piece hanging from jute.
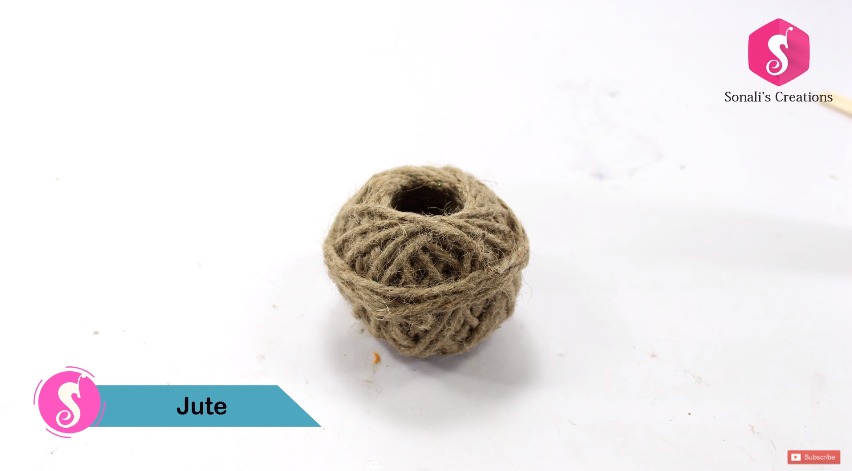
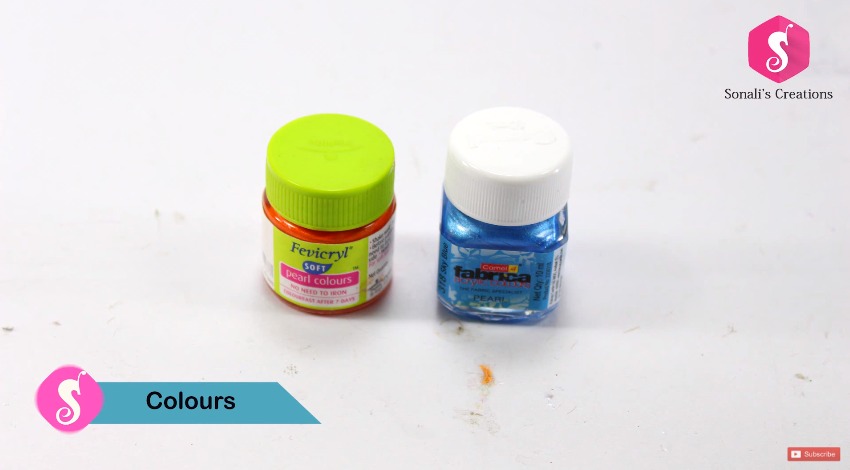
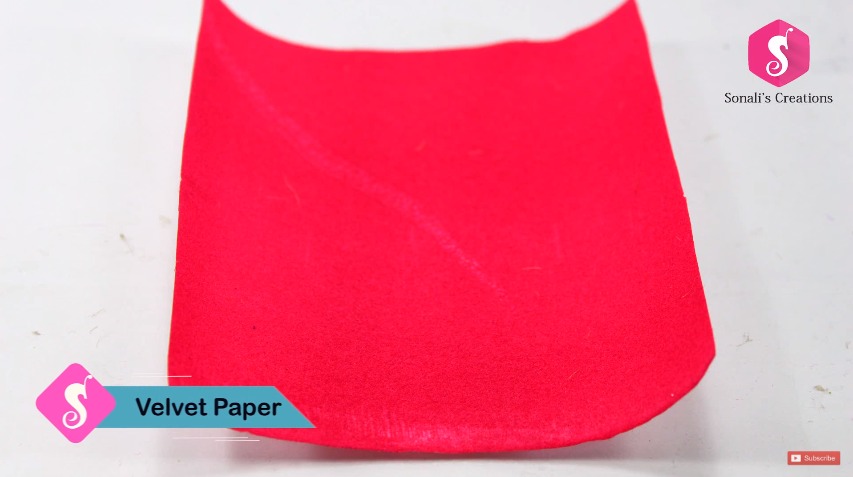
For this showpiece hanging, we just need Jute, some colors & cardboard.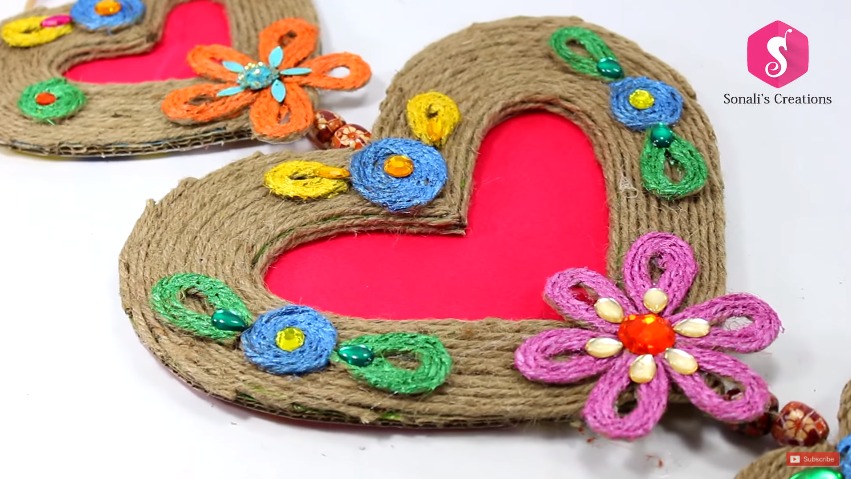

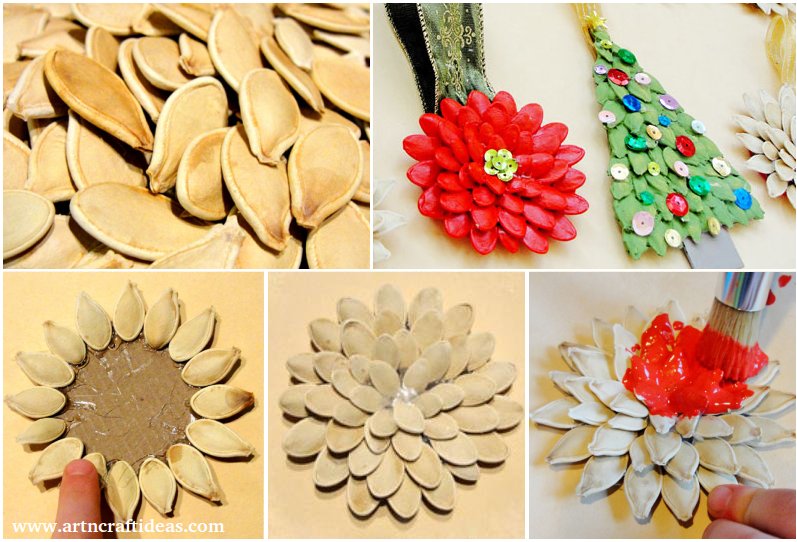
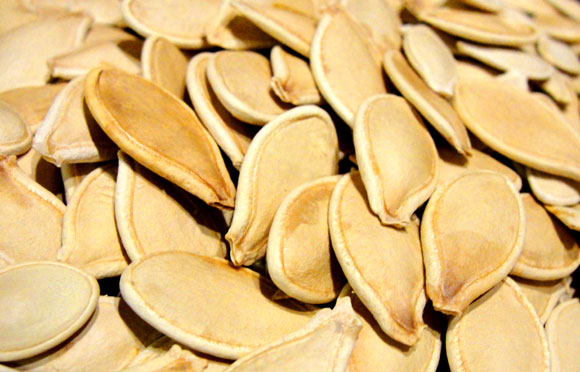
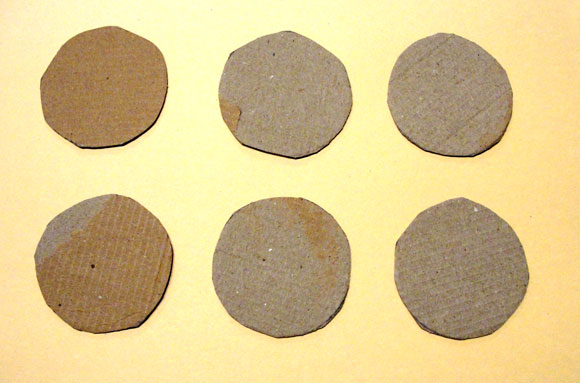
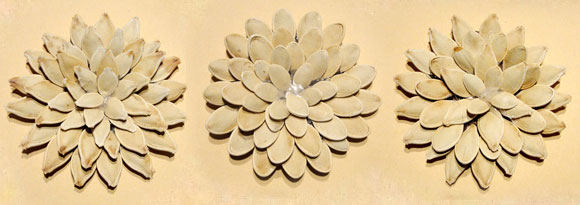
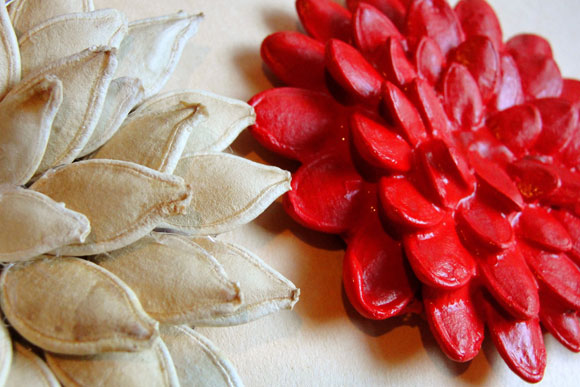
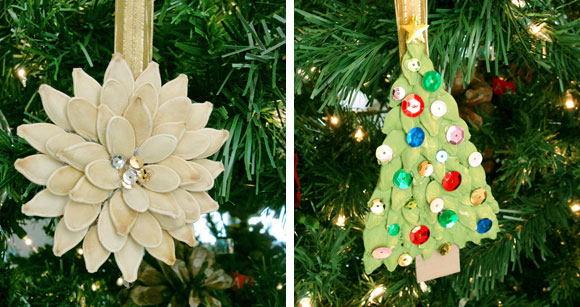
It’s been a busy fall for us so I’m just now getting this post out after working on these pumpkin seed ornaments for over a month. Better late than never! We hoarded pumpkin seeds from Halloween, washed and toasted them, then they sat dry in a bowl on our kitchen counter for almost two months waiting to be turned into Christmas ornaments. Finally we finished them this week and they were worth the wait. For this project you’ll need pumpkin seeds, cardboard, colored felt, a hot glue gun, ribbons, scissors and decorations for the flowers and trees, if you decide to make those too.
Use a pen to trace circles around the bottom of a cup (on top of cardboard) for the base of the flowers, then cut them out.
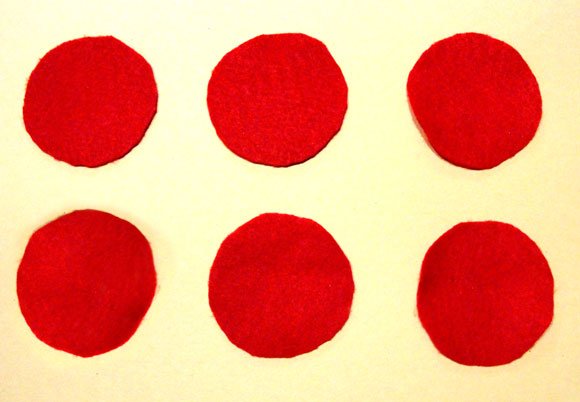
Use the same cup to trace circles on felt and cut them out as well.
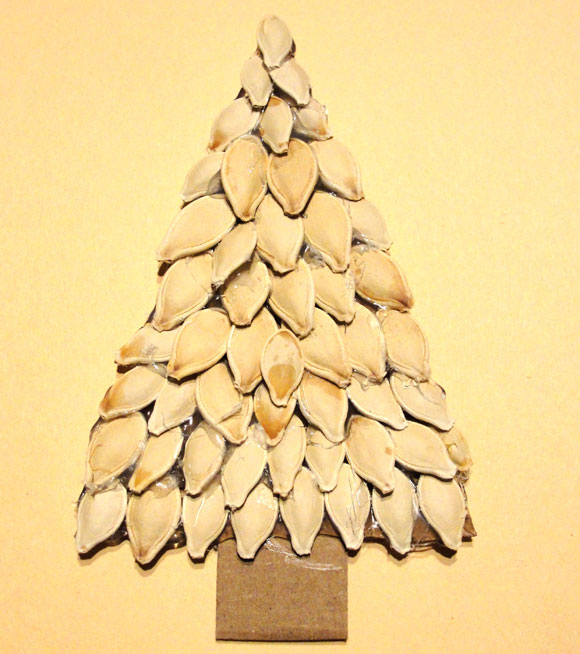
Use a hot glue gun to glue the seeds around the edges of the cardboard as seen below.
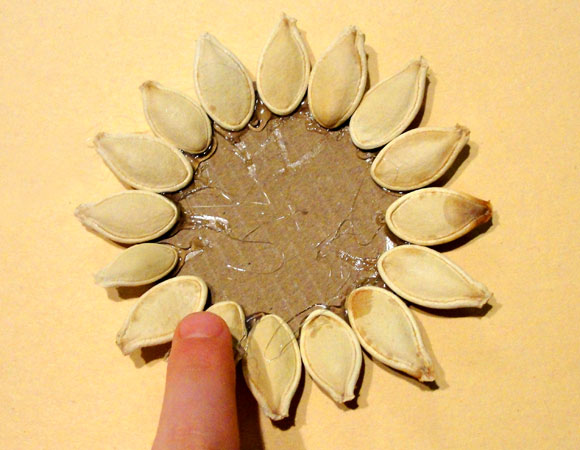
You can alter the orientation of the seeds as you place them – some pointing out, others pointing in. Don’t worry about the glue gun strings hanging off. You can remove them later after it all dries.
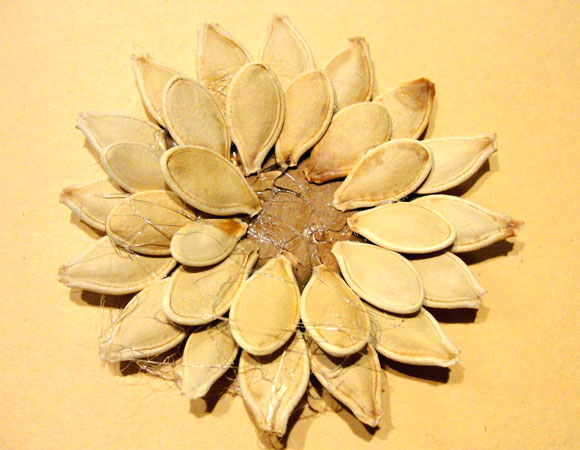
Here you can see the different variations of pumpkin seed placement.
We did a tree too just for giggles.
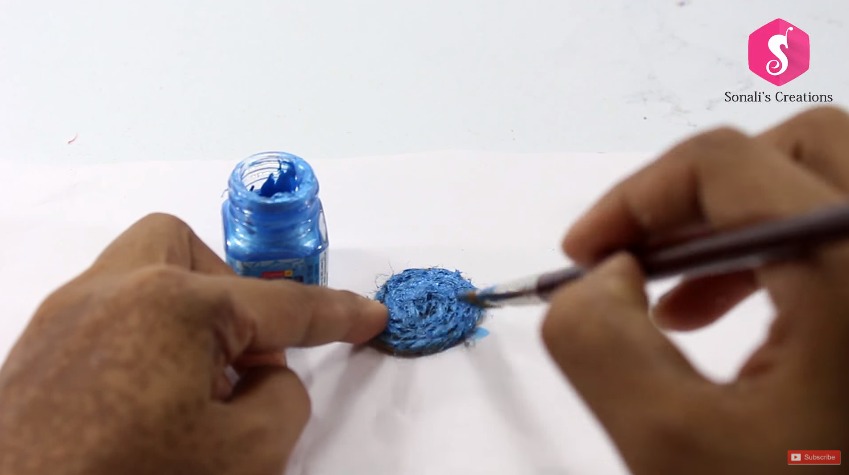
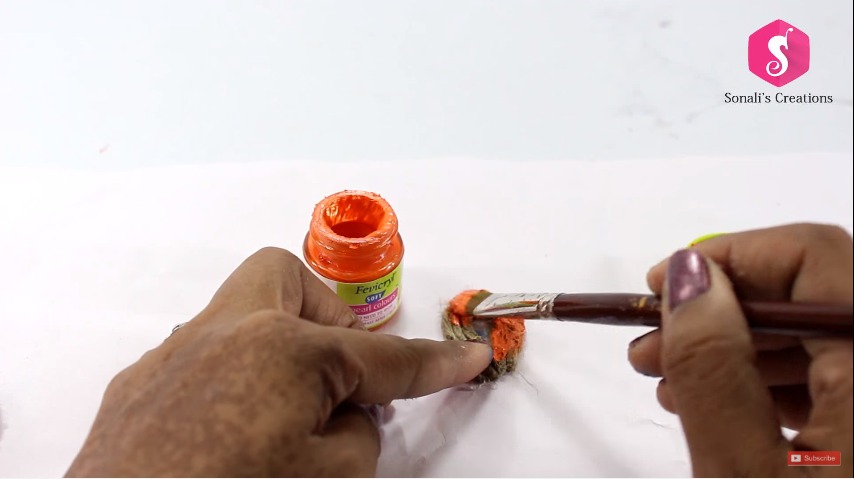
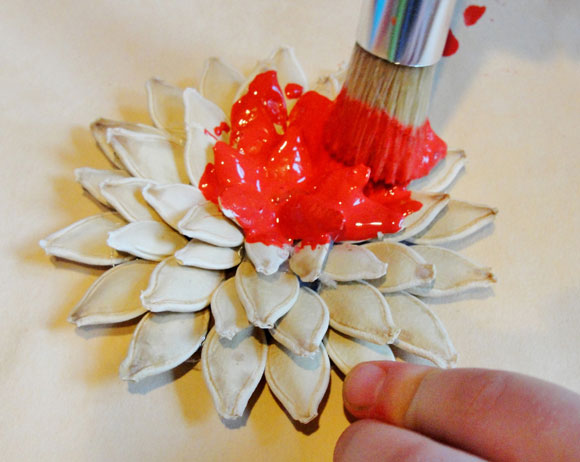
Then we started painting the flowers.
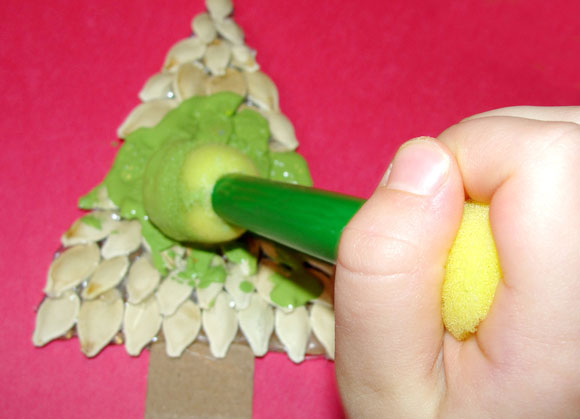
And painting the tree.
The natural seed color is beautiful as is, so we painted some and not others.
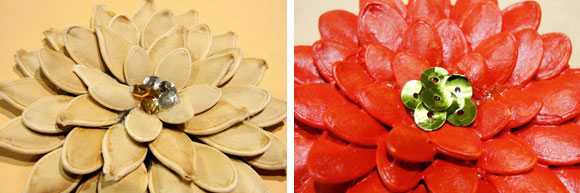
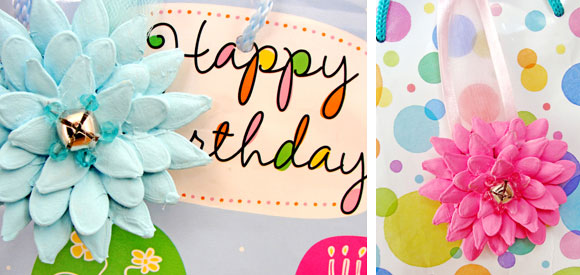
Next we added sequin decorations to the center of the flowers and all over the tree.
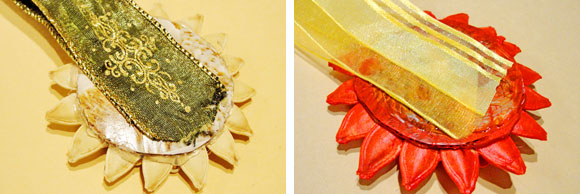
Then hot glued the ribbons on the back of the ornaments.
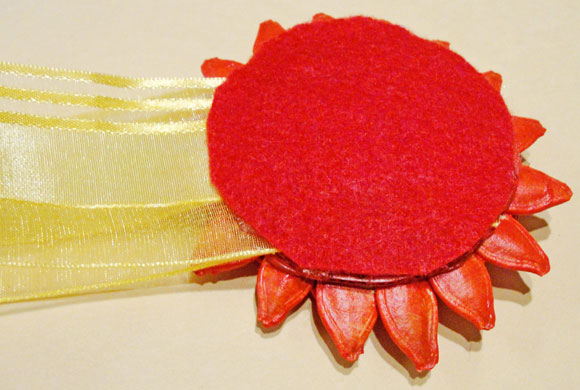
And glued the felt on top of that to keep the ribbon in place and cover the back.
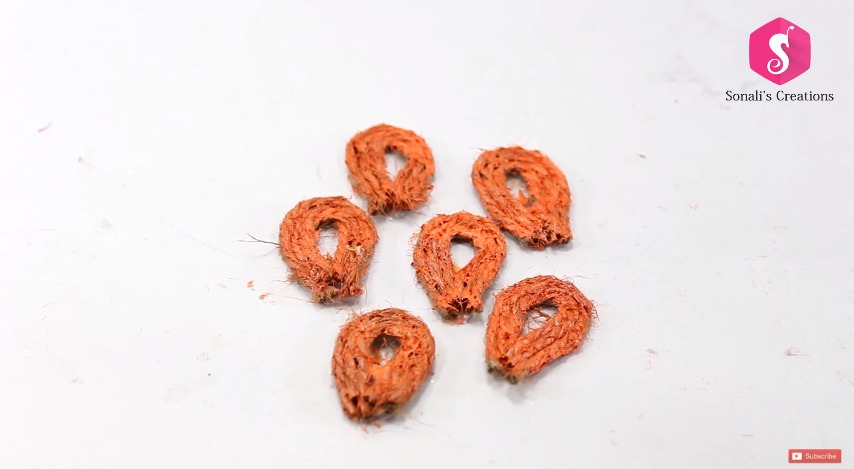
Here they all are in their glory!

We put some of the ornaments on our tree.
And saved others for future occasions.

Like gift bag decorations!
Hope you like this desk organizer craft tutorial.
Image source: whimsicalkidscanvas
We would love to hear your thoughts in the comment section below. And be sure to like us Facebook for more ideas!
Thank you for visiting our website. Keep Creating with Art & Craft!
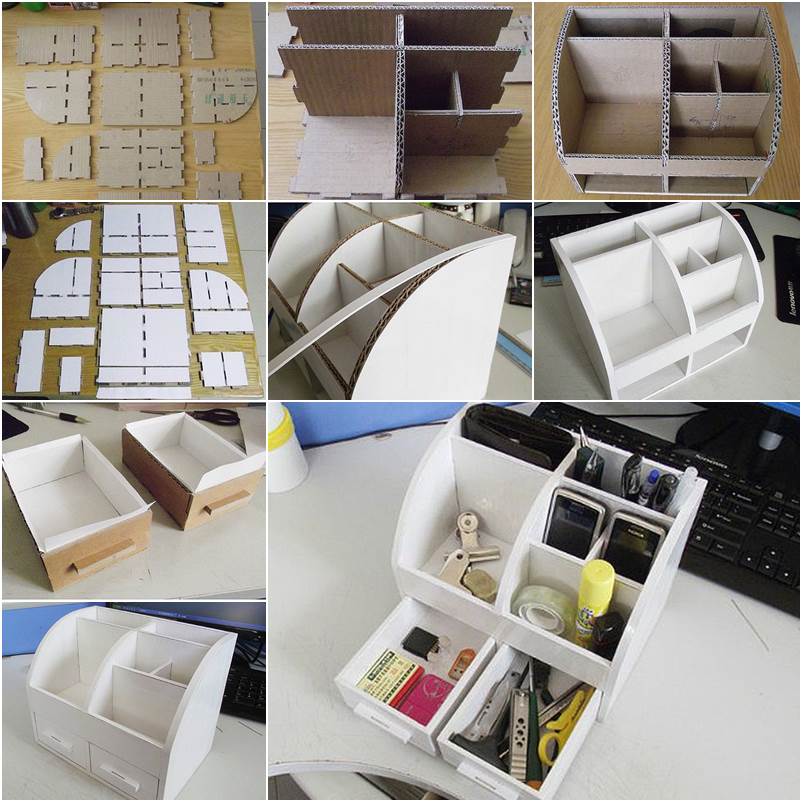
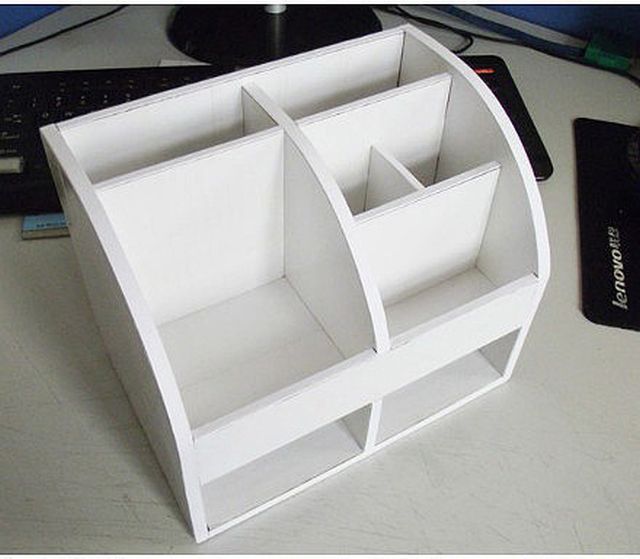
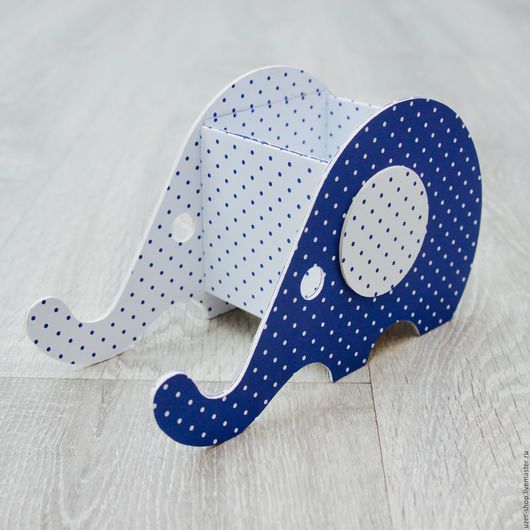
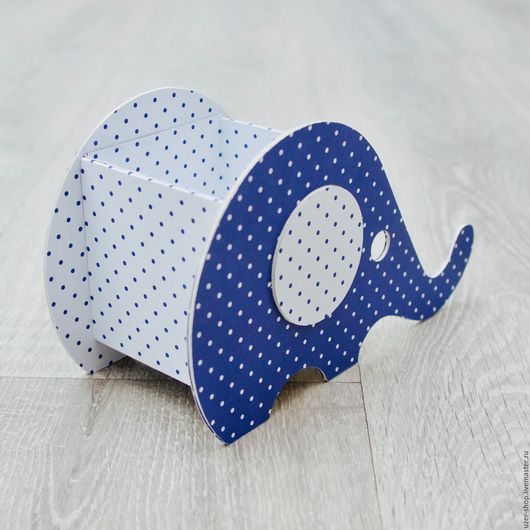
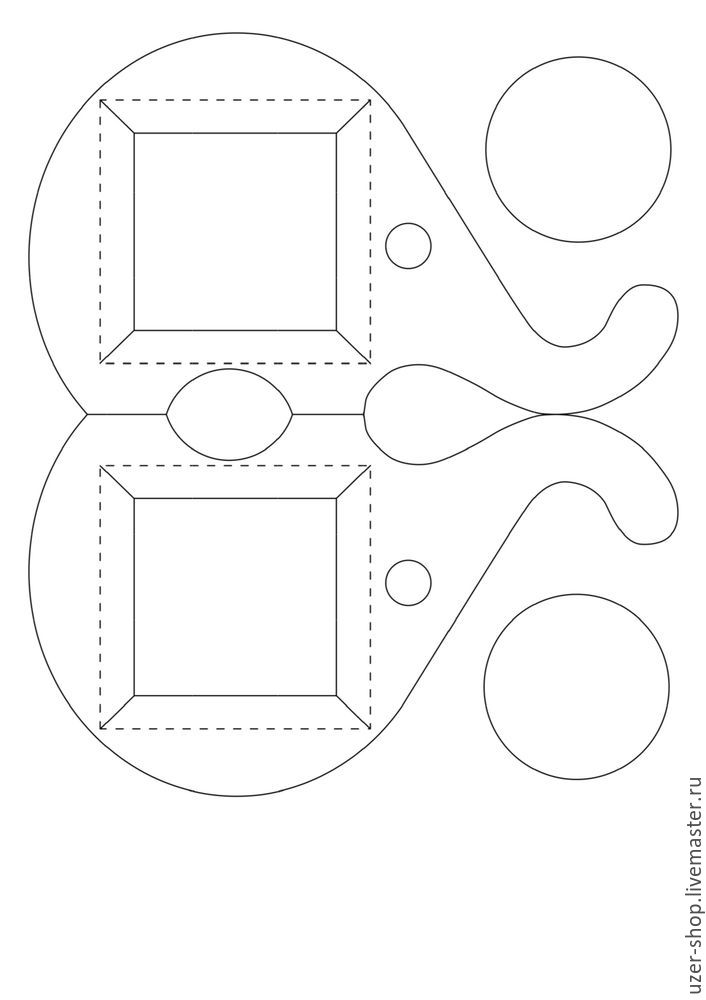
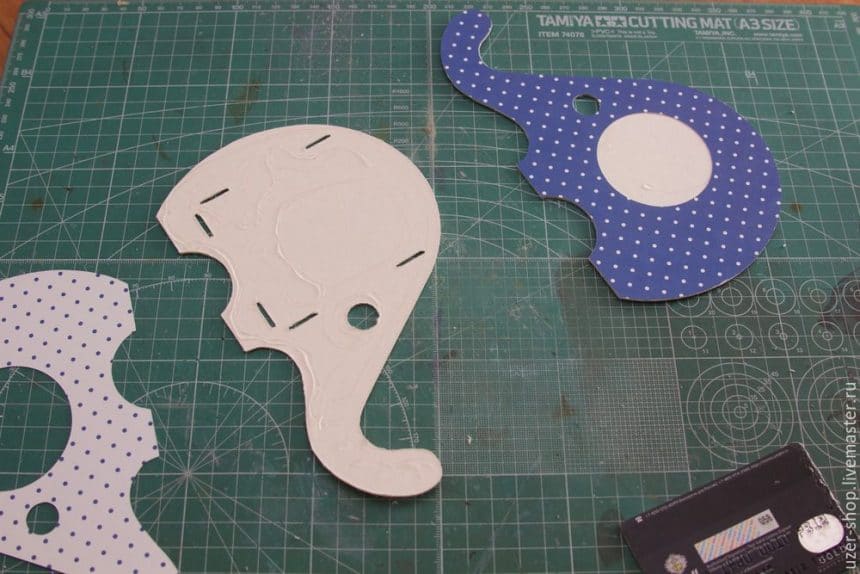
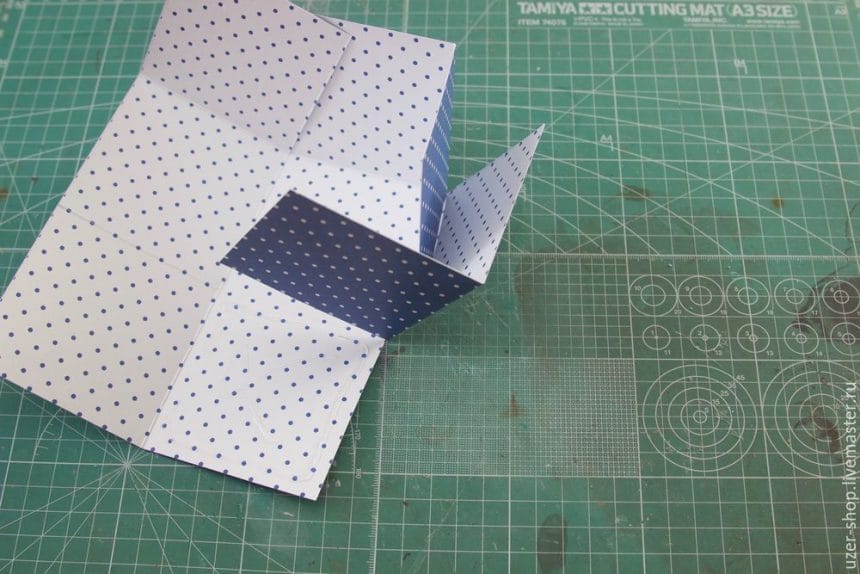
It is awesome to take some recycled cardboard and make a nice desk organizer with drawers, as shown in this DIY Crafts. With its multiple dividers and two drawers, this organizer is a great space saver to put away your stationery, accessories, cell phones, keys, wallet and so on. It’s very easy to make and you can be rest assured that everything will be organized and looking nice on your desk. You can use your favorite wrapping paper or fabric to create your own style.
Required Material:
Steps:
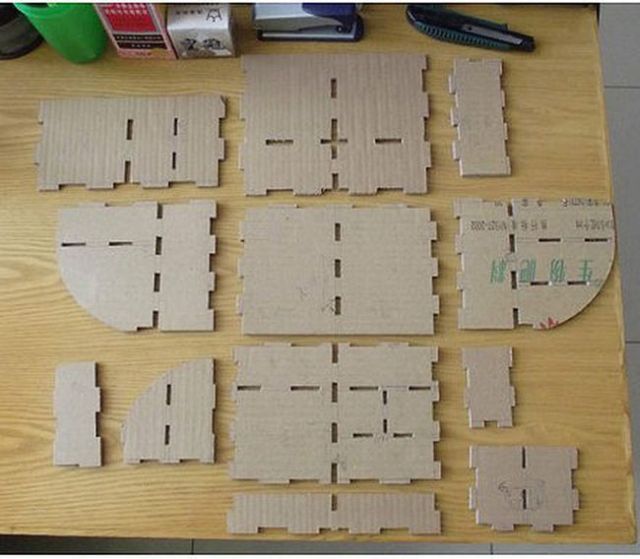
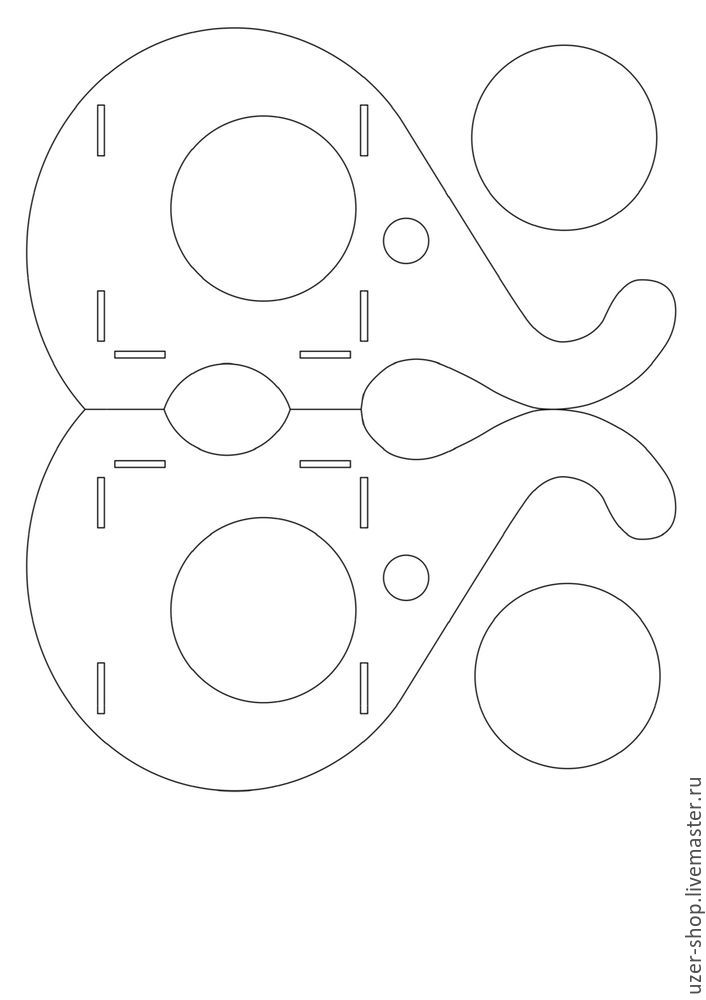
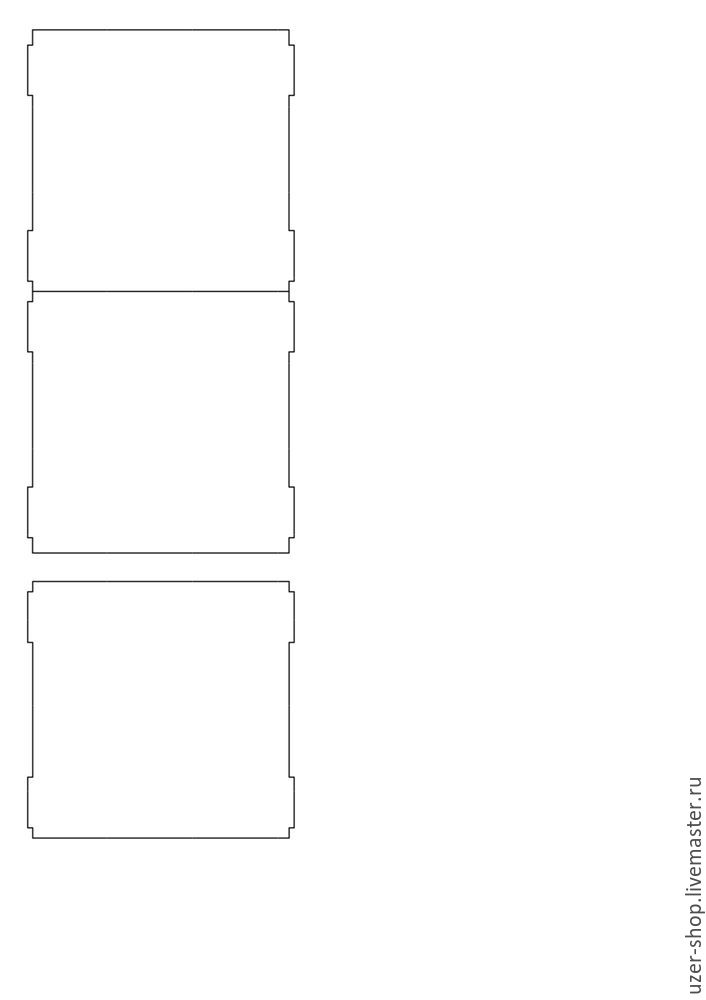
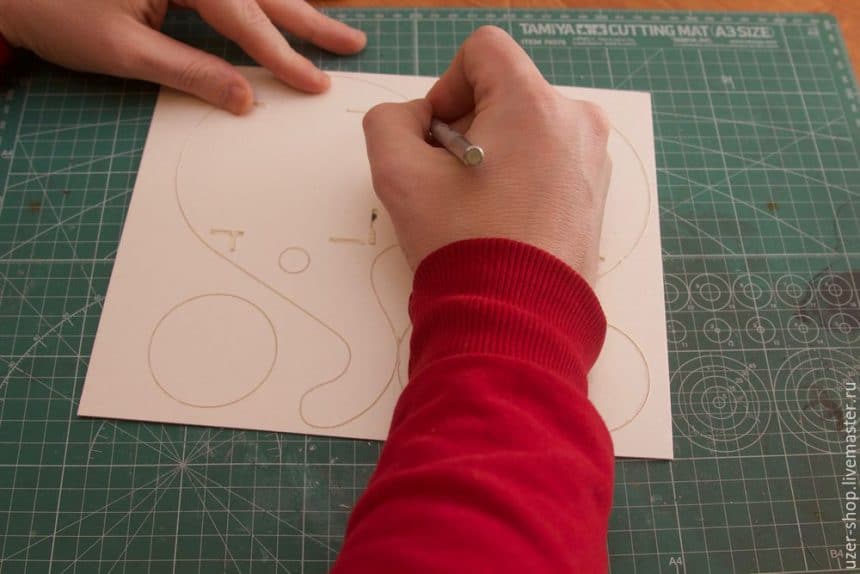
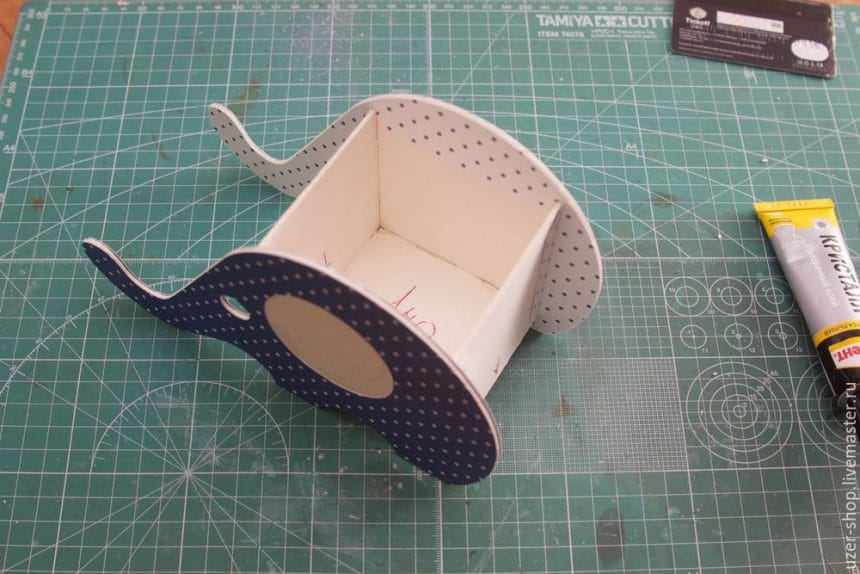
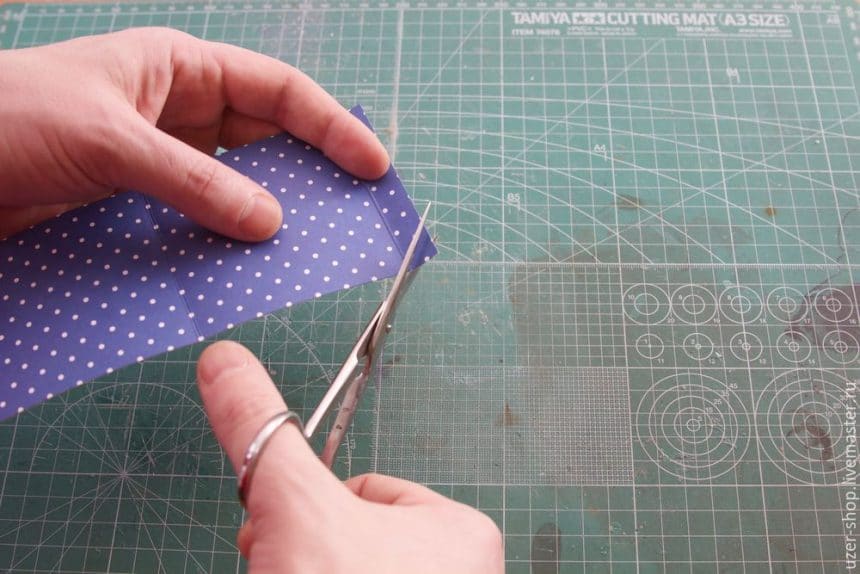
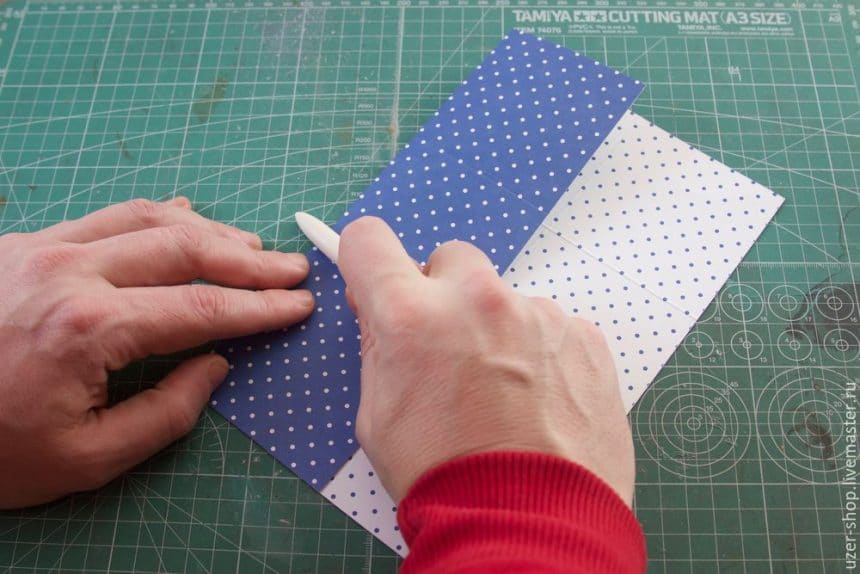
1. Decide the size of your organizer, draw the templates on cardboard and cut out the pieces. The dimension of the organizer is about 30 cm in length, 20 cm in width and 20 cm in height. The front section is about 12.5 cm in width and the back section is about 7.5 cm in width.
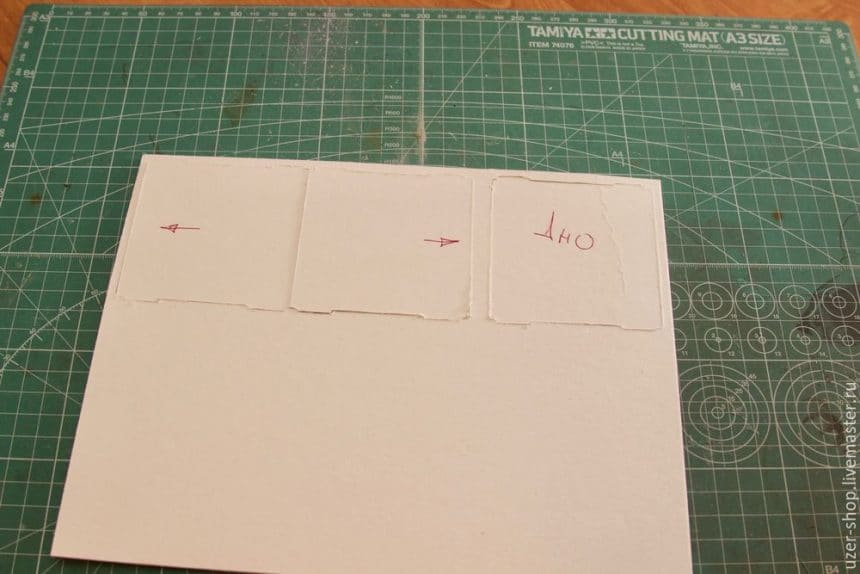
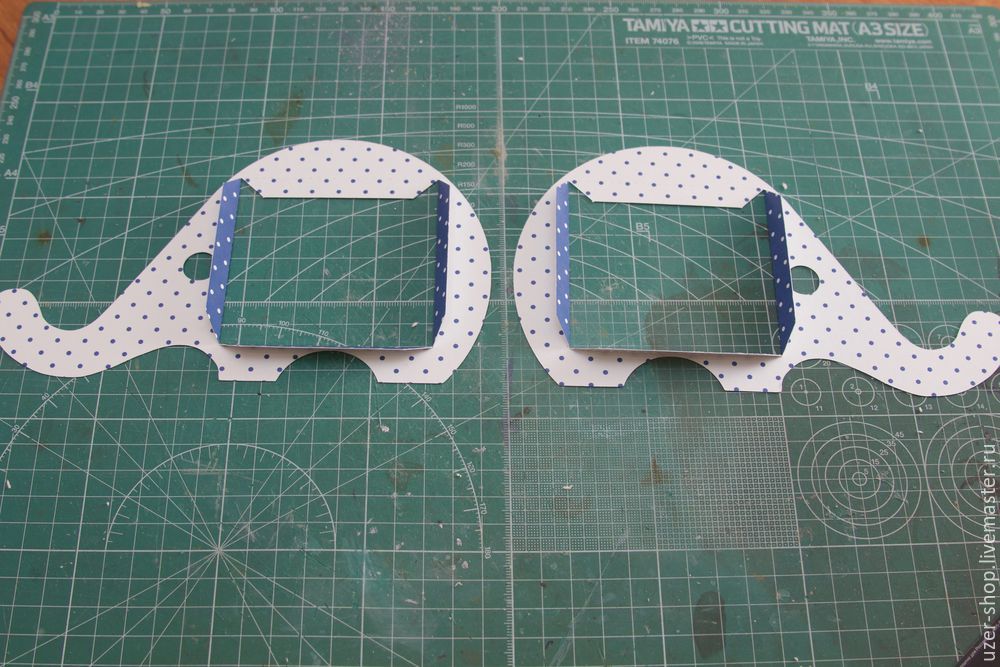
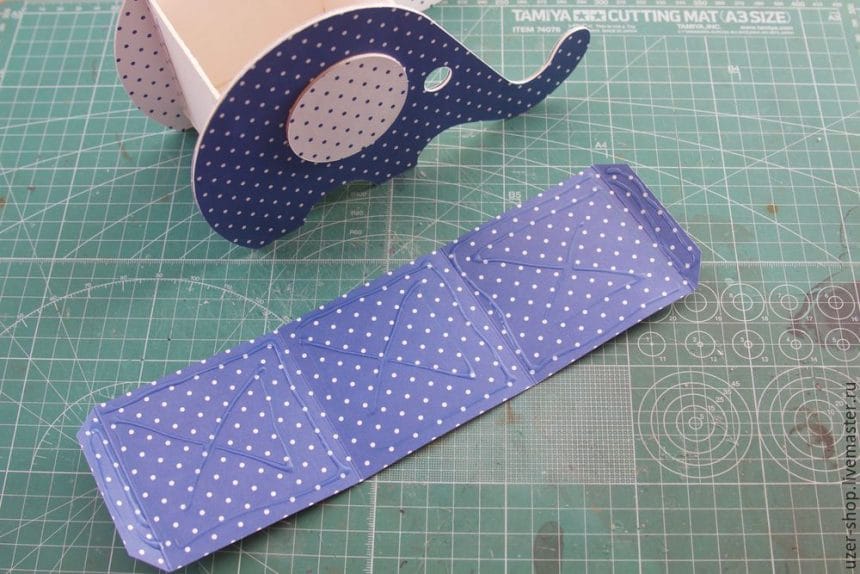
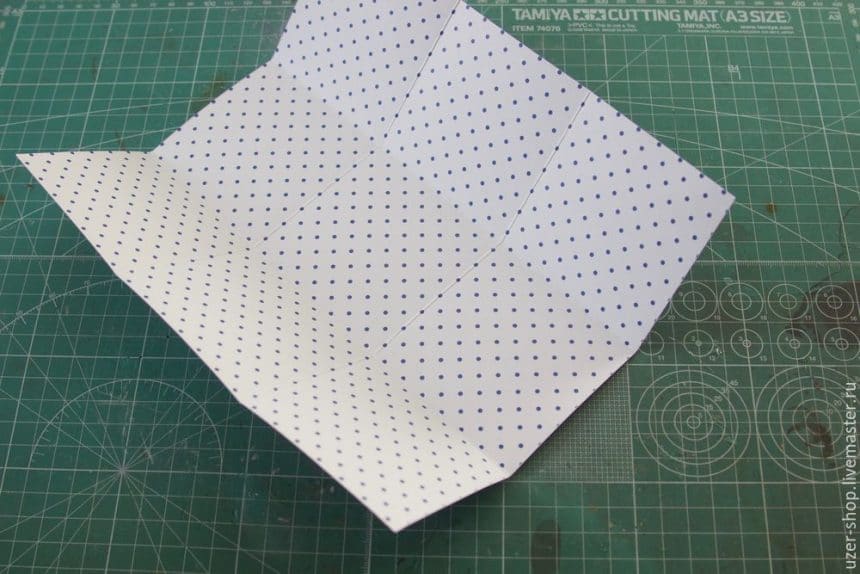
2. Assemble the pieces to see if they fit. Make adjustments if needed.
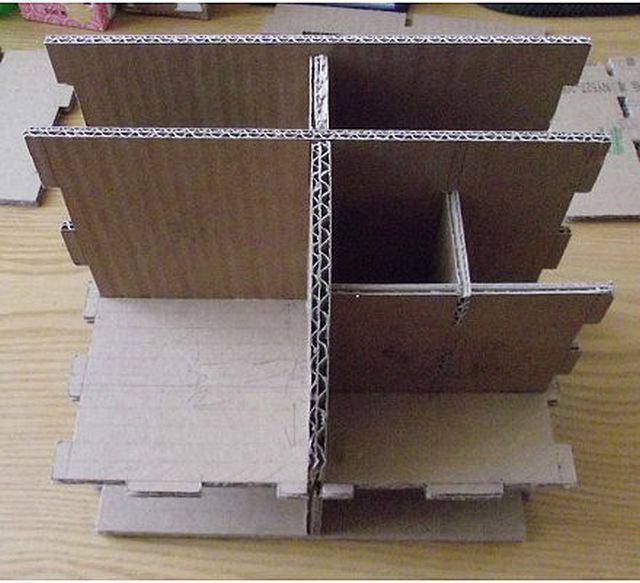
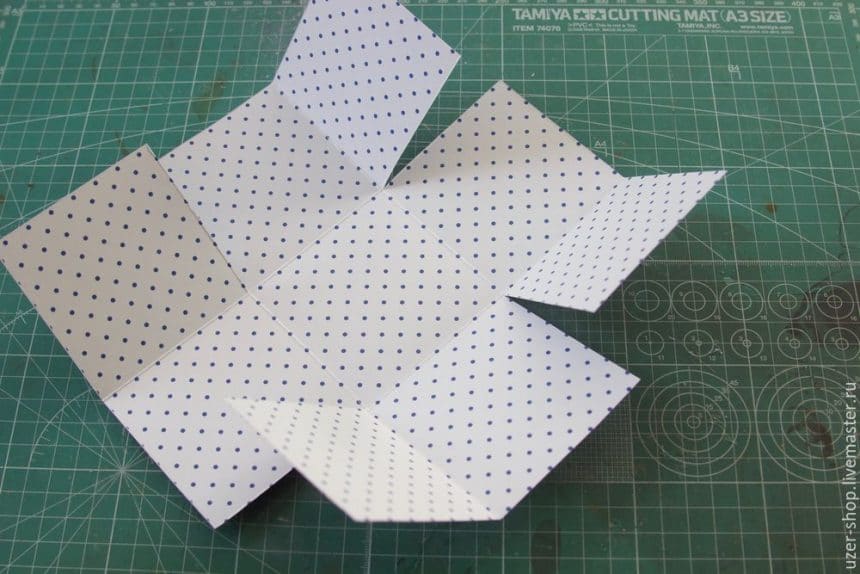
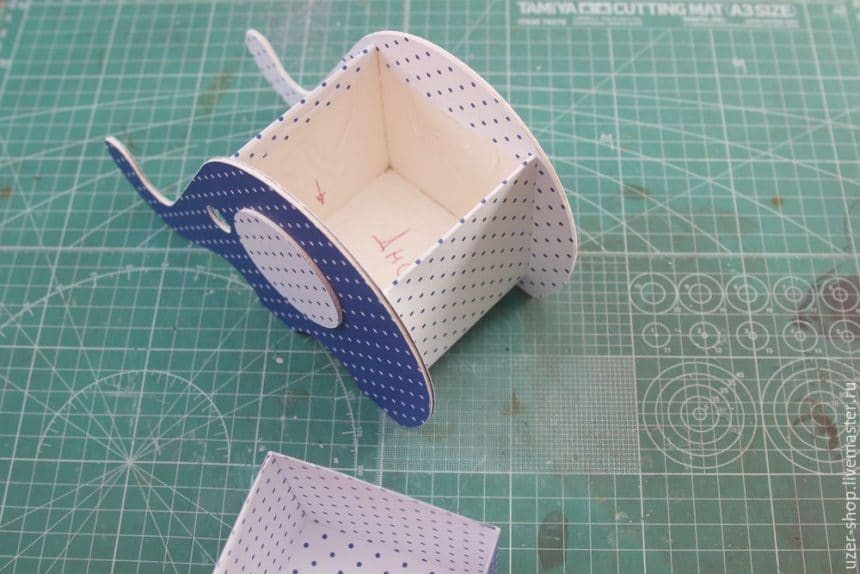
3. Assemble the side pieces and make sure every piece fits perfectly.
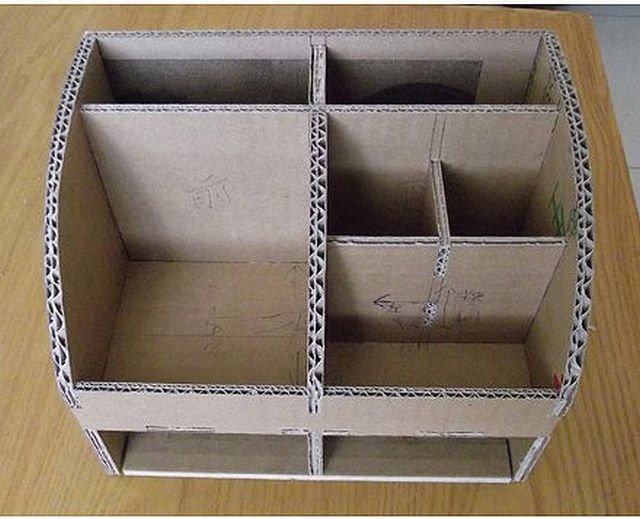
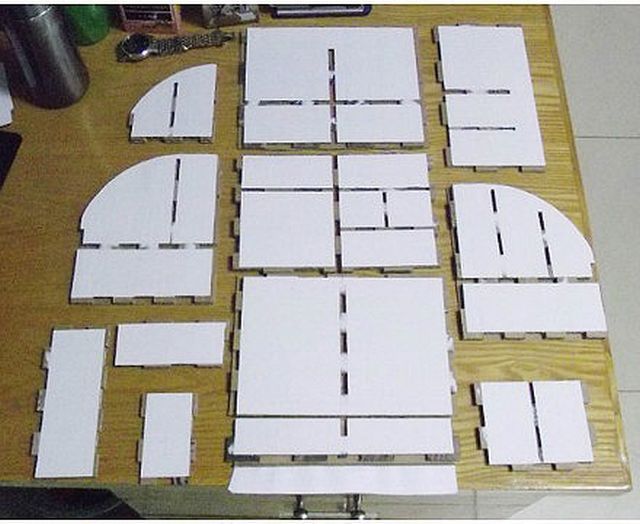
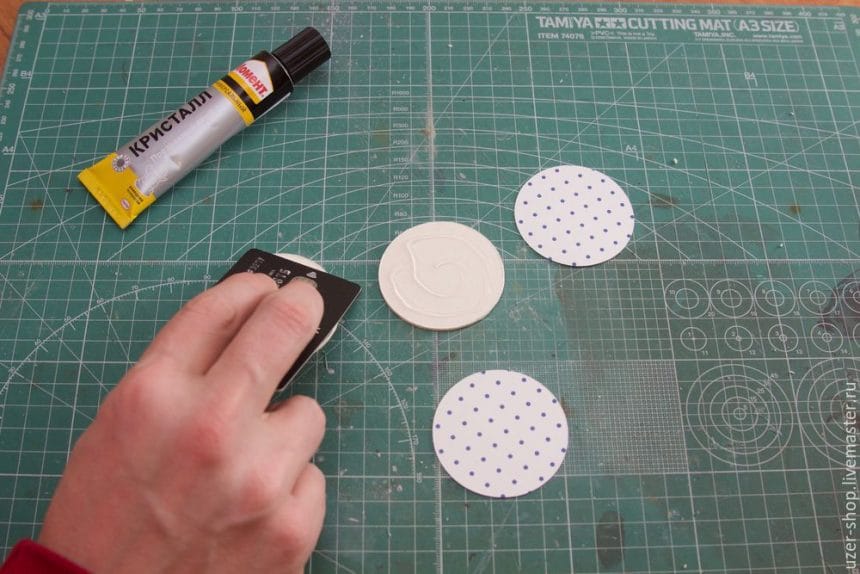
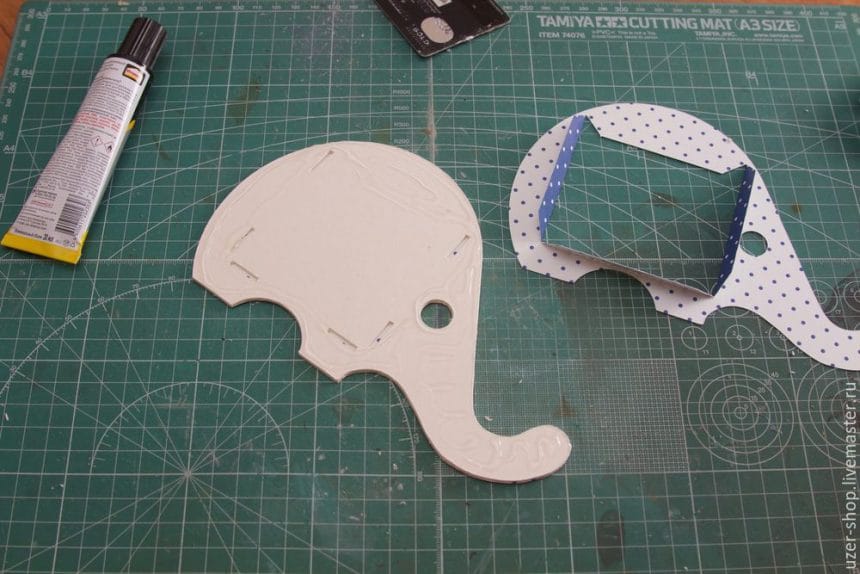
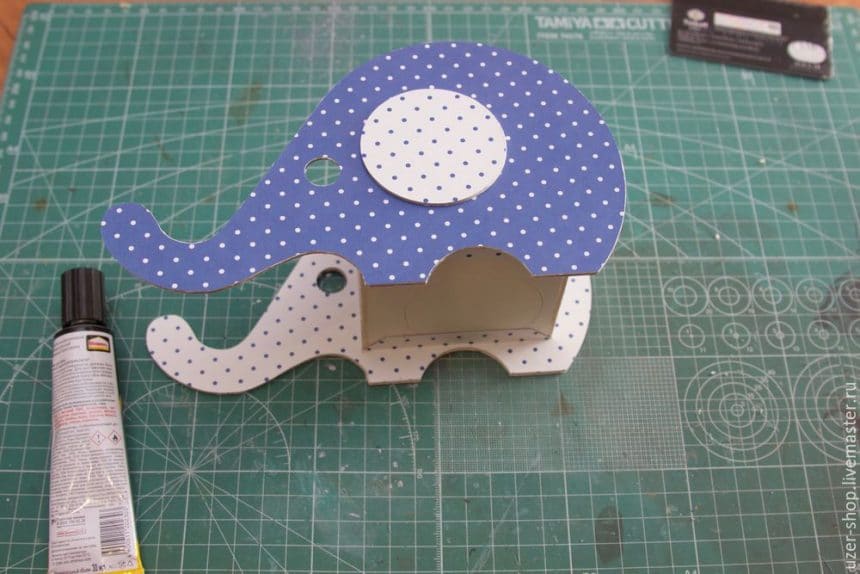
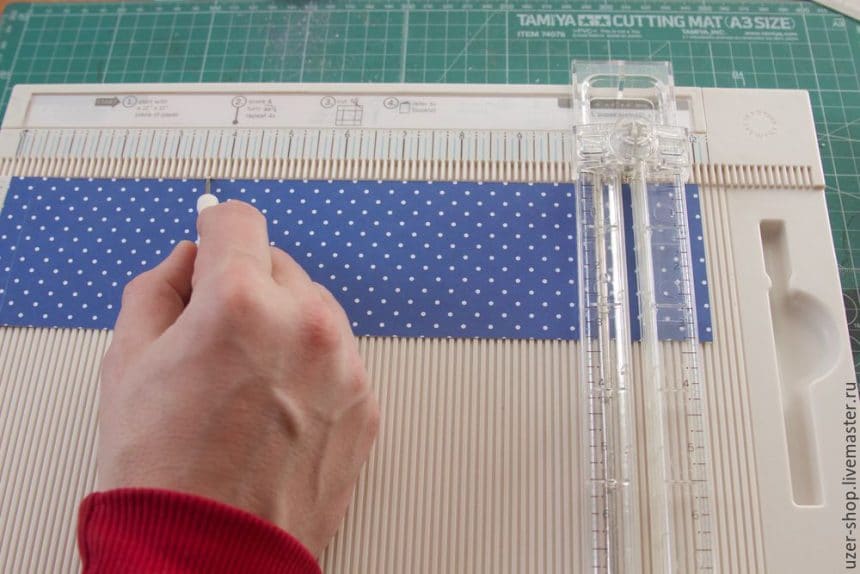
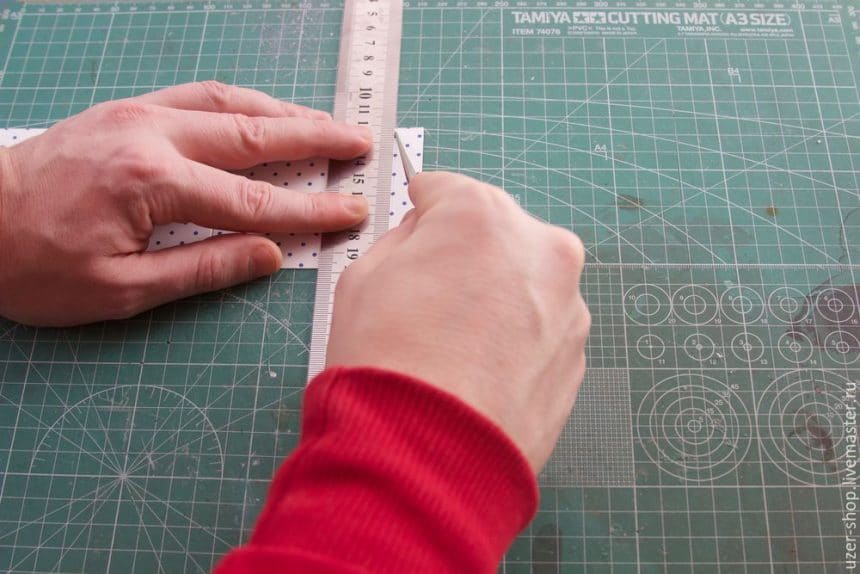
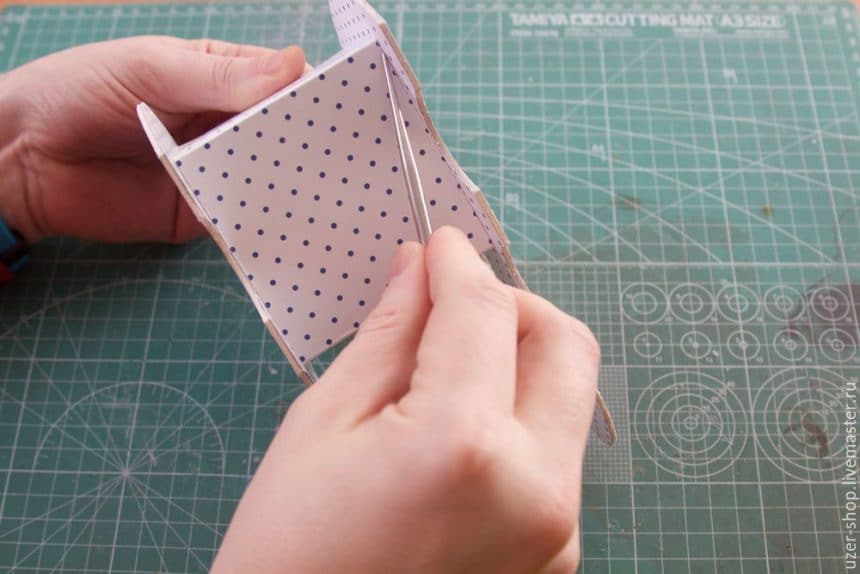
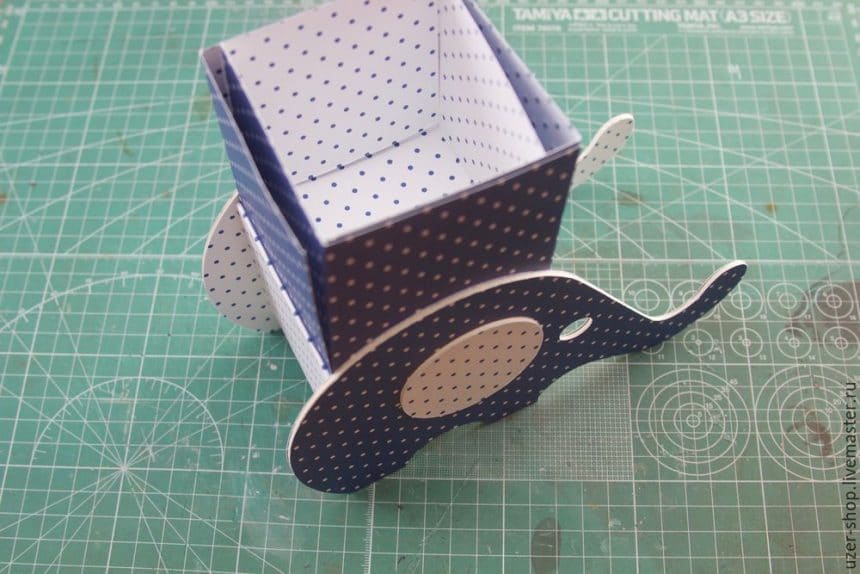
4. Disassemble the organizer and wrap each piece with paper or fabric and secure with glue.
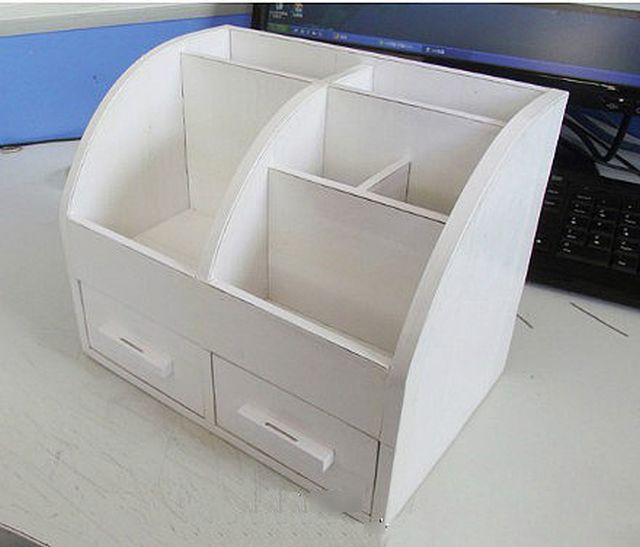
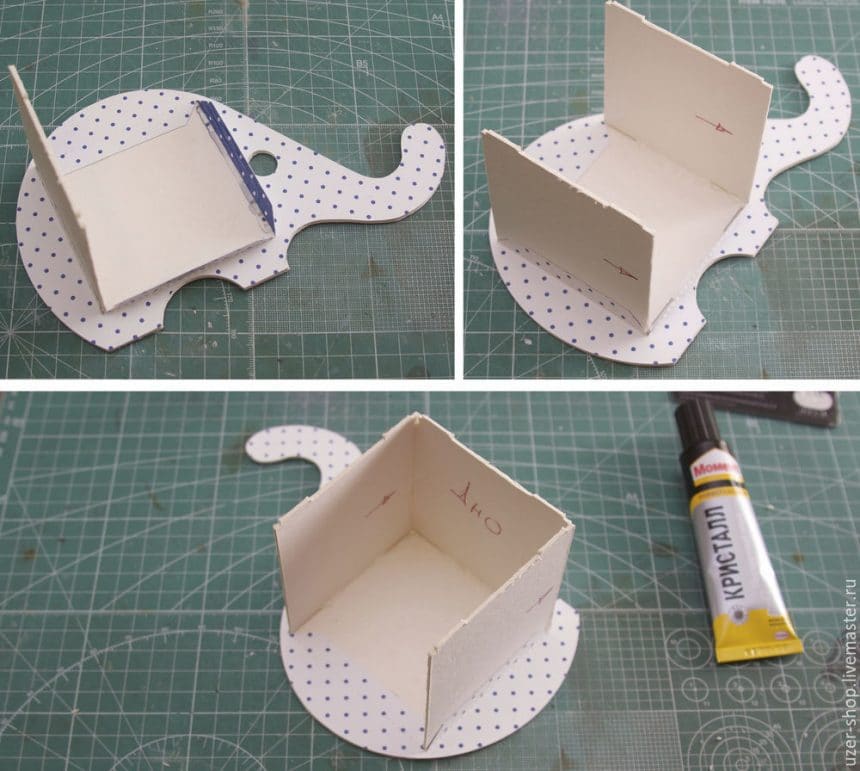
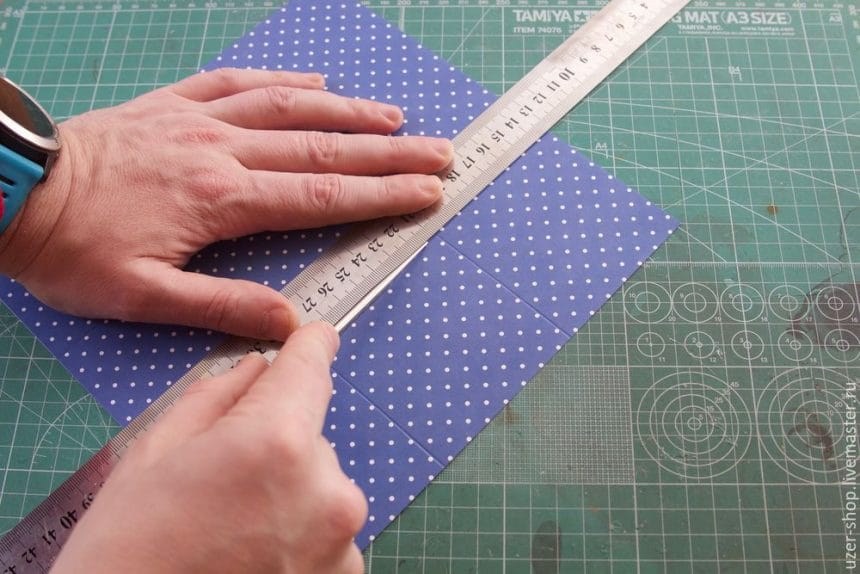
5. Assemble the wrapped pieces again into the organizer and cover the seams with cardstock strips. Secure with glue.
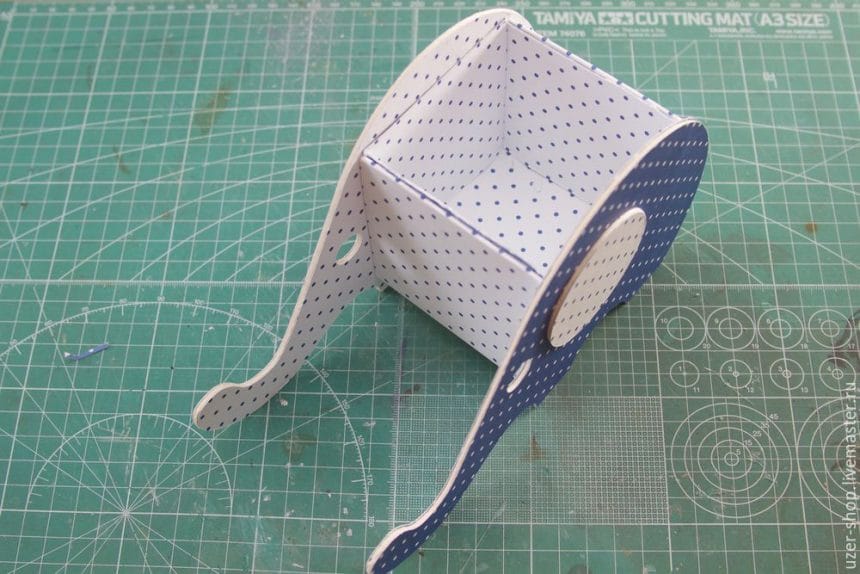
6. Now it looks like this.
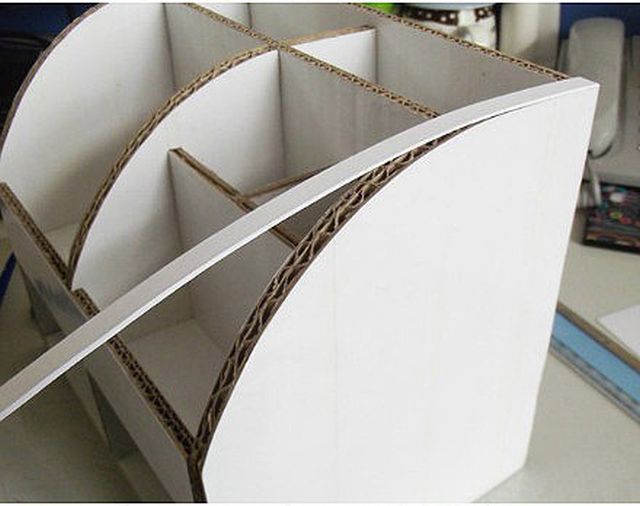
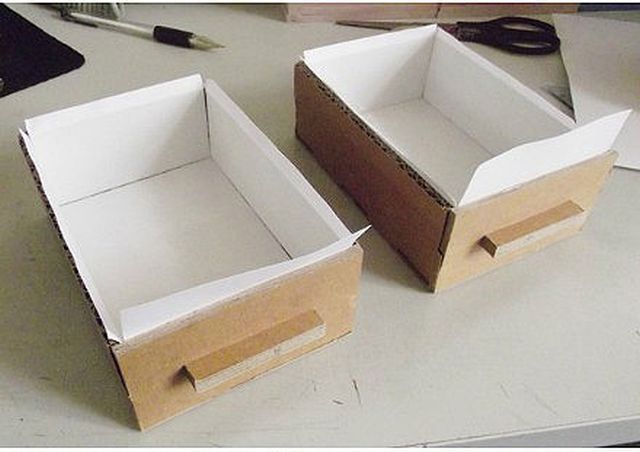
7. Wrap the drawers with paper and insert into the drawer slots of the organizer.
8. The cardboard organizer is done. It looks nice, doesn’t it?
9. Place your accessories, stationery and other stuffs in the organizer. Enjoy!

Hope you like this desk organizer craft tutorial.
Image source: icreativeideas
We would love to hear your thoughts in the comment section below. And be sure to like us Facebook for more ideas!
Thank you for visiting our website. Keep Creating with Art & Craft!


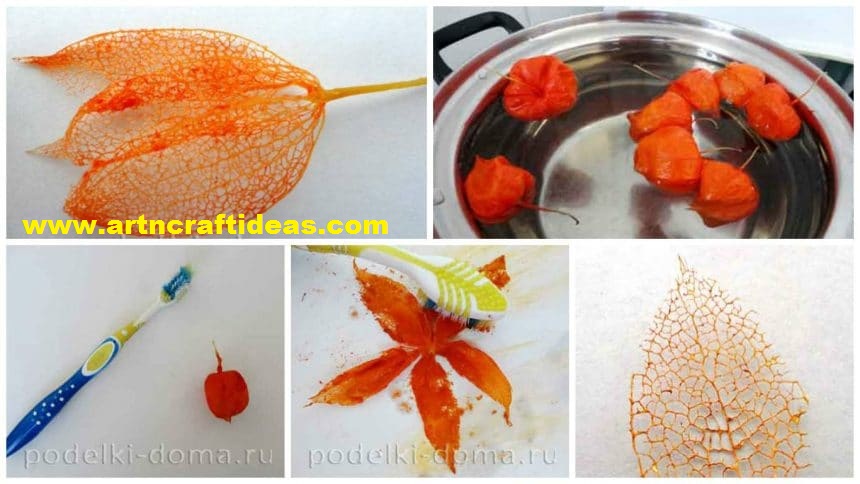
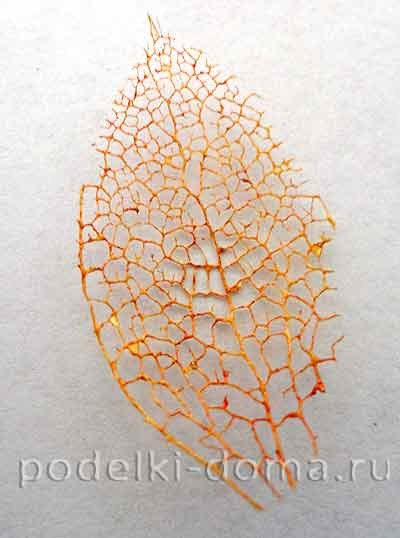 This paper presents a technique skeleting the example of Physalis.
In a small saucepan is necessary to pour water (0.5 L), put physalis (average 6-8 pieces) and add 150 g of sodium hydroxide. Boil over medium heat about half an hour. Then drained, rinsed physalis water and boil for another 30 minutes in pure water, without soda. When the soft tissue Physalis will be separated from the skeleton, it is possible to pull out the contents of the saucepan. This can be done with the help of tweezers. If soft shell tight to the veins should be given more time cooks. 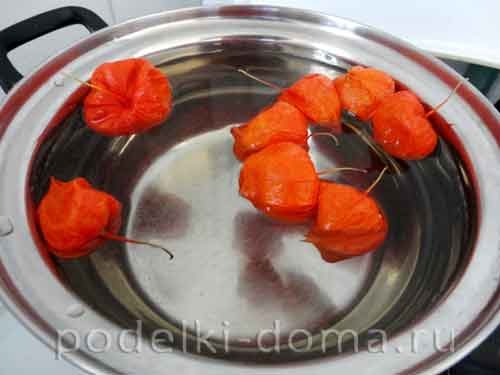
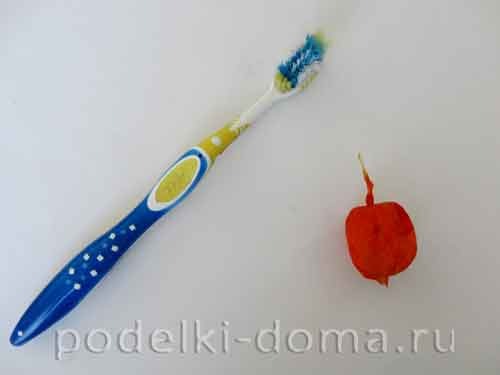
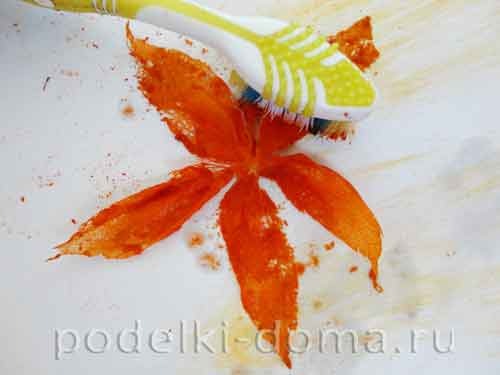
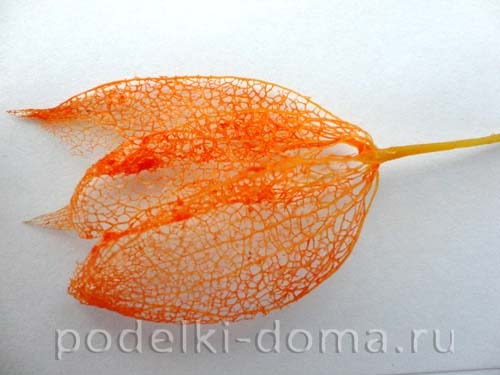
 Also, the brush as a tool for cleaning sheets can also use a conventional paper towel. As a result, you need to completely get rid of the soft tissue to the skeleton was left alone. The more accurate will remove the peel, the more beautiful will look like the future of the product.
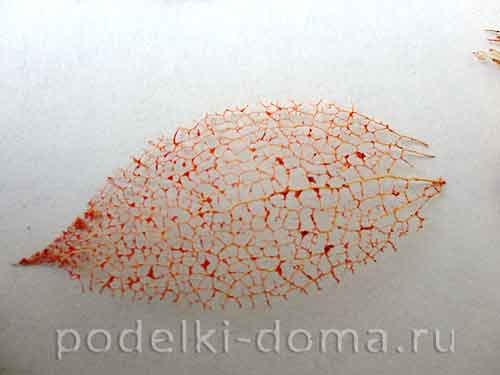
 Now it is necessary to dry skeletonized physalis. To do this you need to put each leaf separately or the whole skin of the streaks on the paper. Top cover with a napkin and iron hot iron several times.
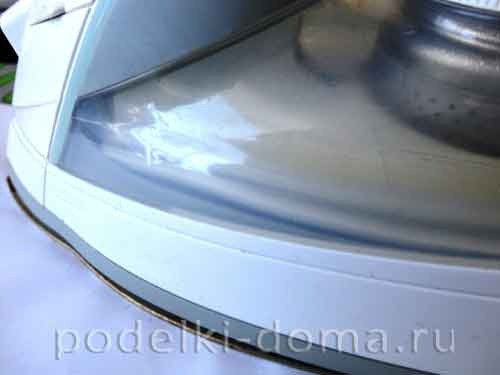
 Leaves can be colored using gouache or colored varnishes. If you just paint the leaves, it is then necessary for the strength to put more regular nail polish (colorless or with sparkles).
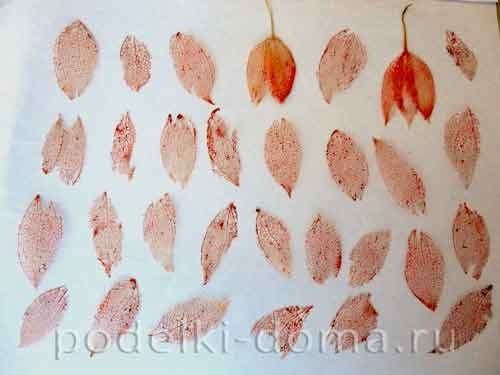
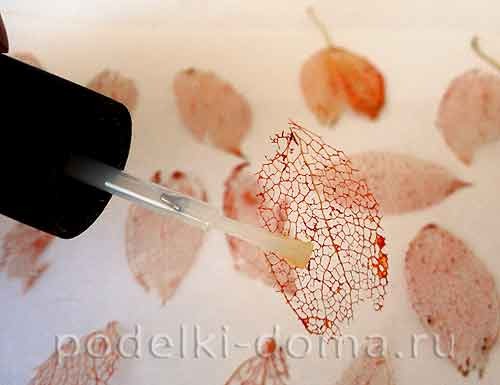 Decomposed leaves on paper or a napkin, allow time to dry thoroughly. You can then trim the irregularities with scissors and use blanks for new and interesting ideas.
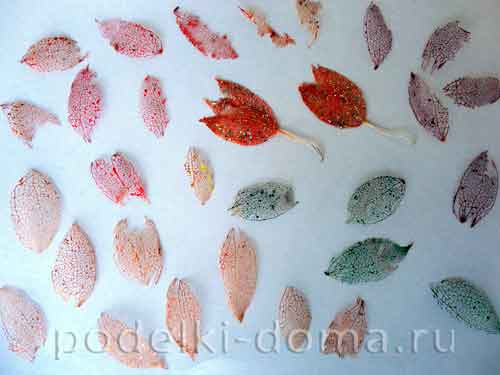
courtesy: podelki