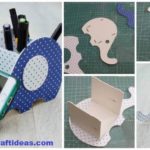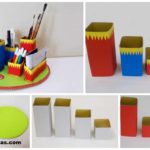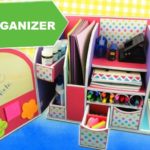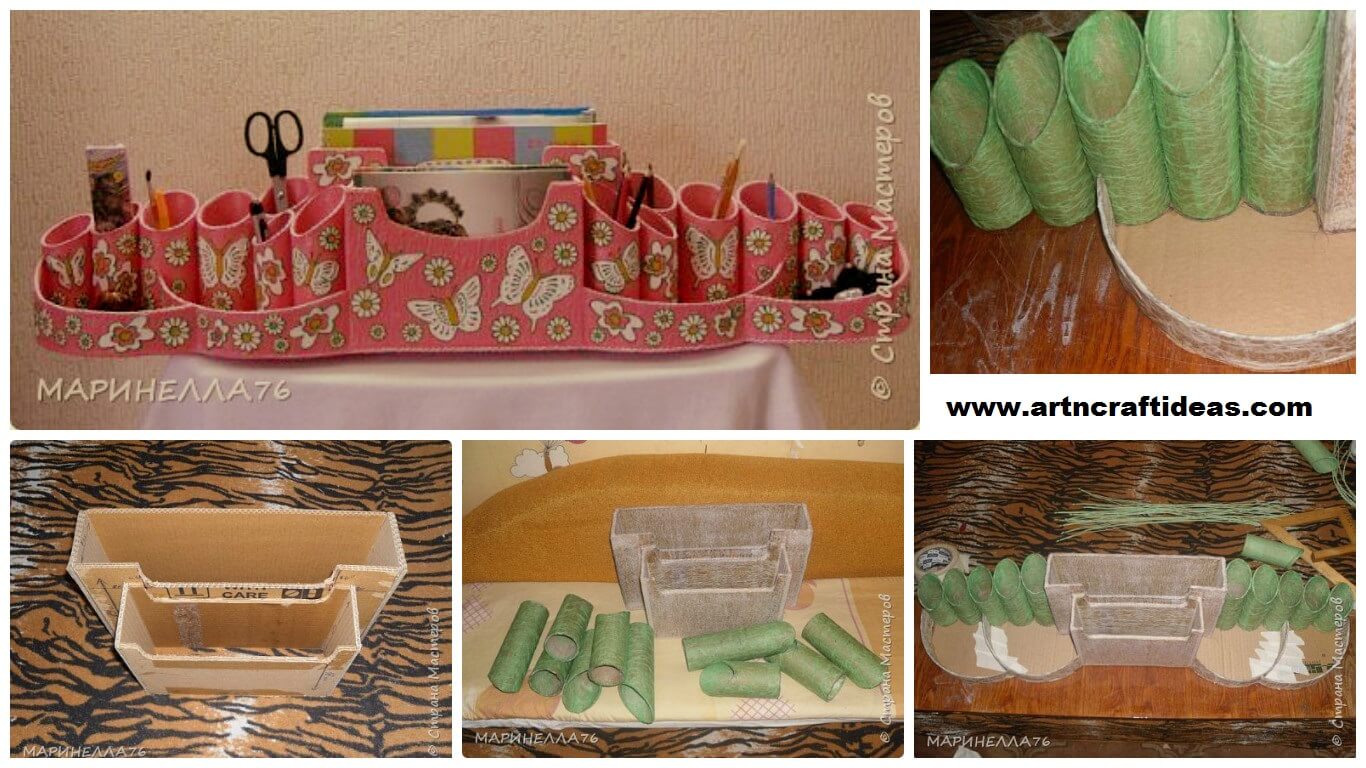
Beautiful Cardboard Mega Organizer: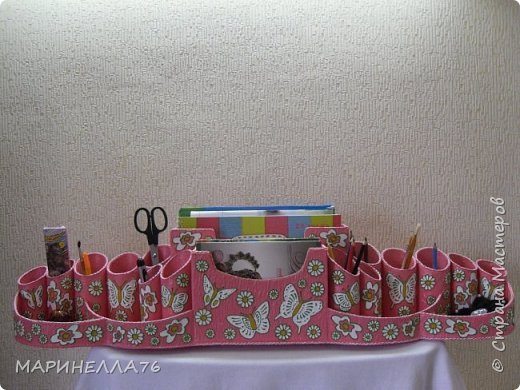 Take a piece of cardboard, a little more than A4.
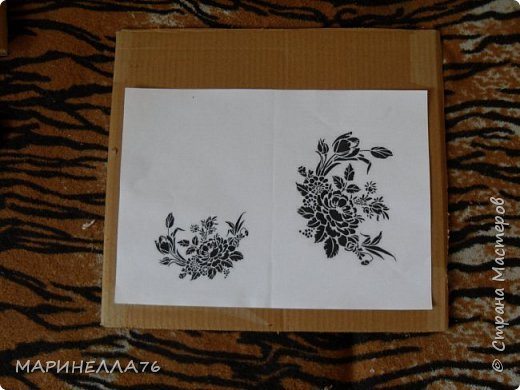 I took this size. A little longer and a little below … do these 2 items.
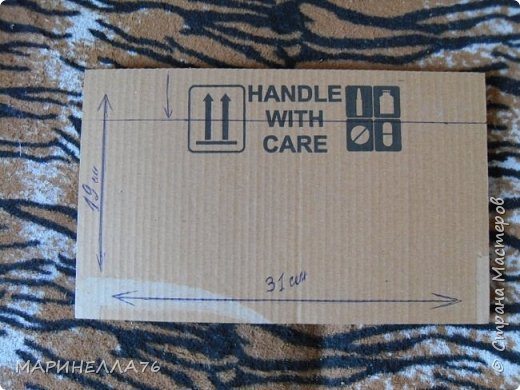 Then, on the one part indent 4 cm below the upper edge.
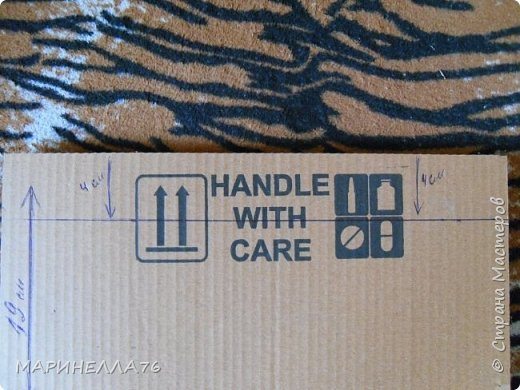 Was handy plastic container cap. I placed it exactly in the center, through which we measured out)
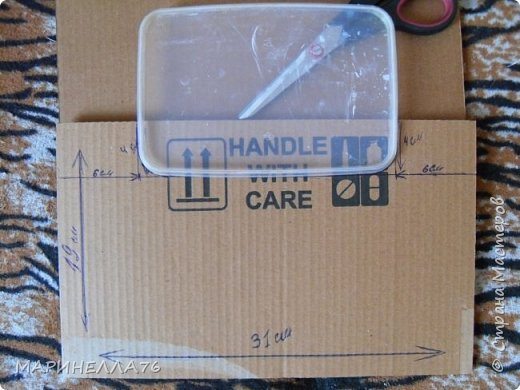 Cut … Here is the neckline we’ve got) This two together.
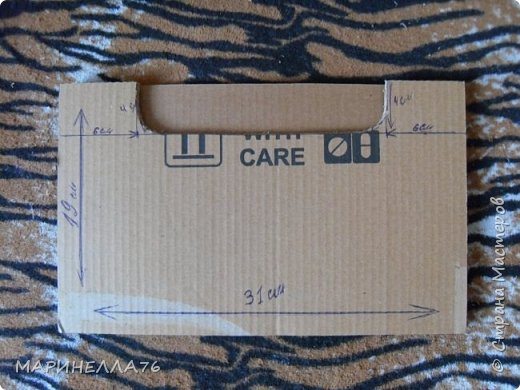
 Result.
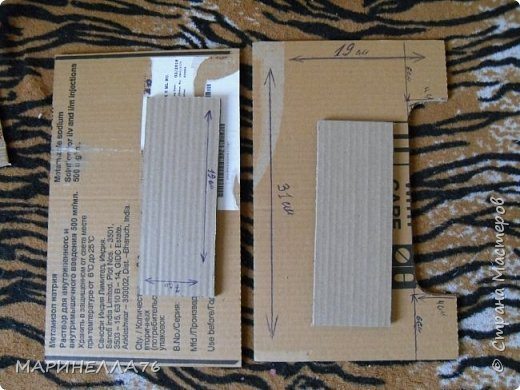 Glued it all together, and got a crate). Without a bottom … Top view.
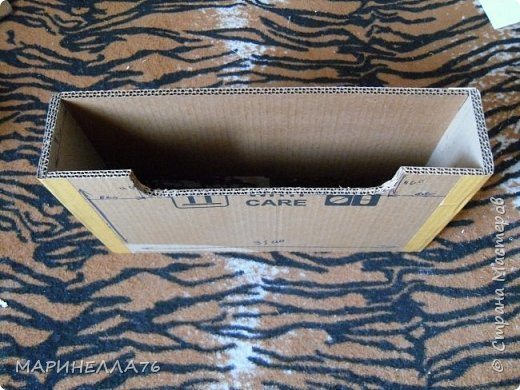 Exactly like …
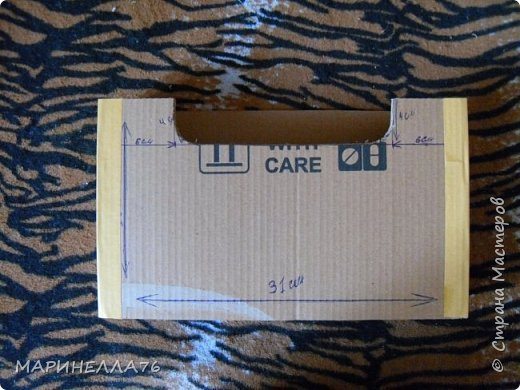 Makes the second work piece.
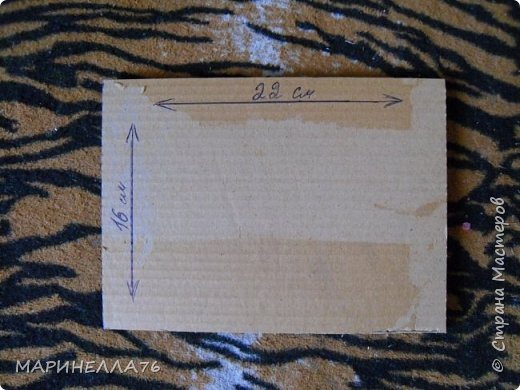 The process is the same.
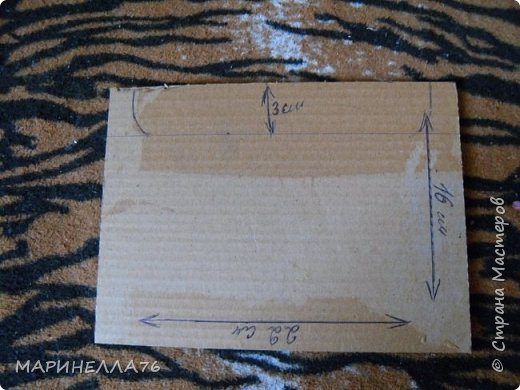 The same cap)
 Do these two parts.
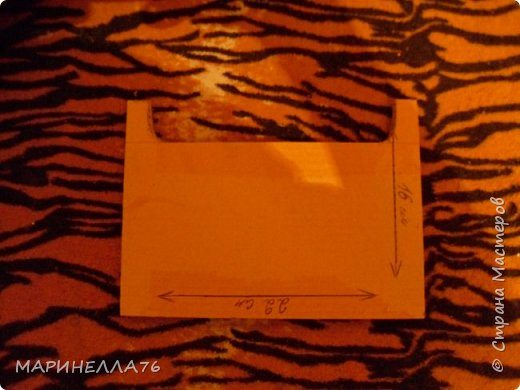 Try on …
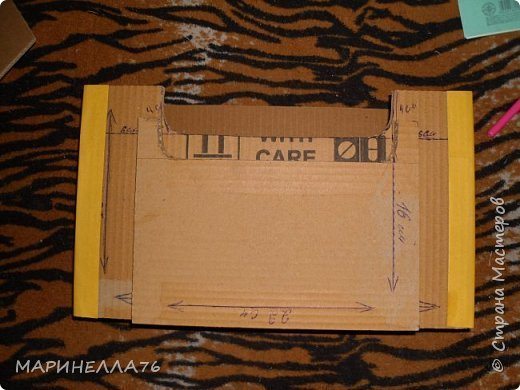 This marginalia.
 Glued.
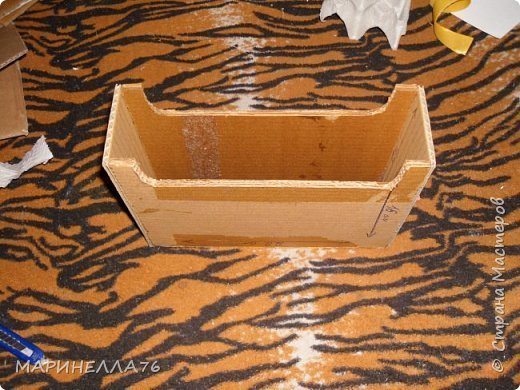 Delicious … everything sticks together Moment “Crystal”. You can make between compartments stenochku one … But I liked it so much anymore.
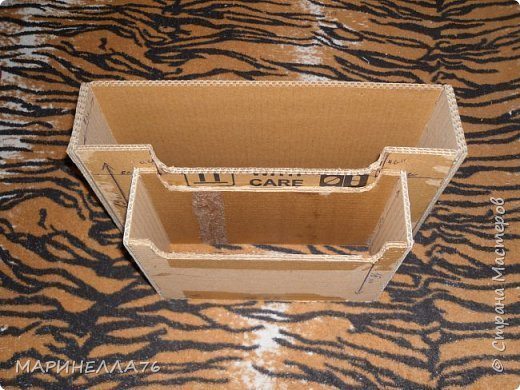 Plastered napkins or paper towels, as in my case.
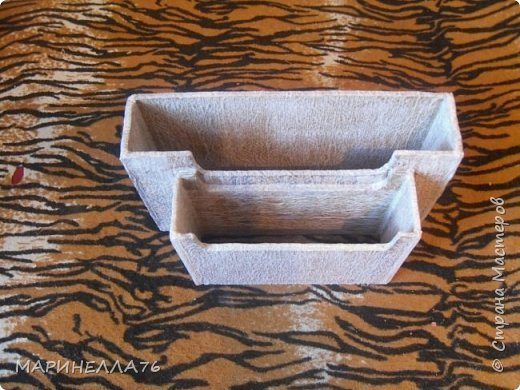 I stayed pasted paper towels tube (I always do for the future).
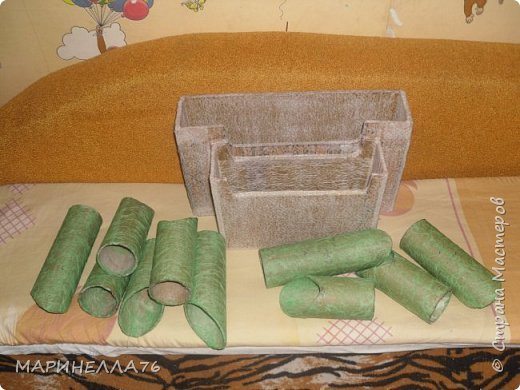 I stayed pasted paper towels tube (I always do for the future).
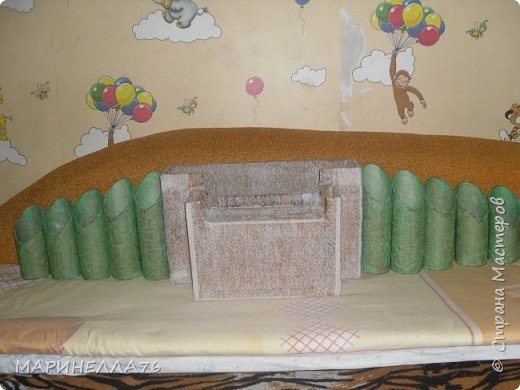 Looking ahead a bit … do such departments-pockets made of cardboard. Again, try on …
 Now themselves pockets. Cut 2 strips of …
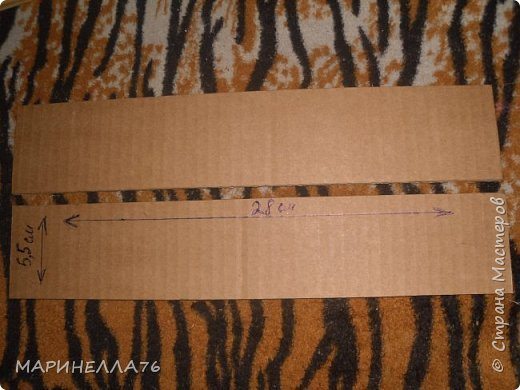 By hand, I draw an arc on which cut too much. Forgot to mention that divided the strip into two parts. Bottom 3cm, 2.5cm top.
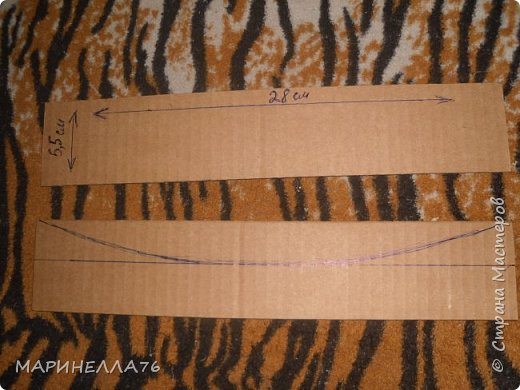 Like this ….
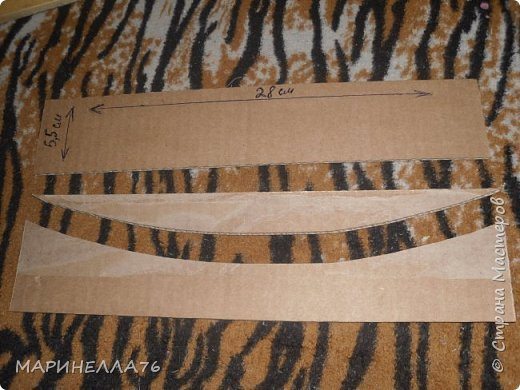 Burst …
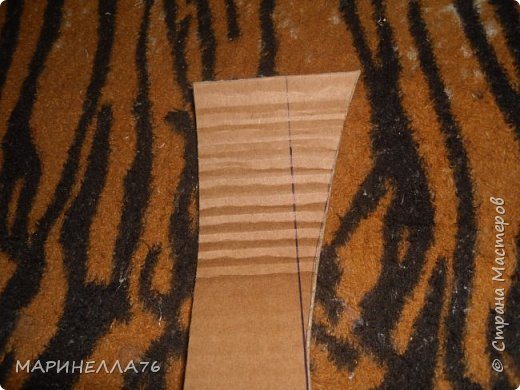 These are the arcs we get …
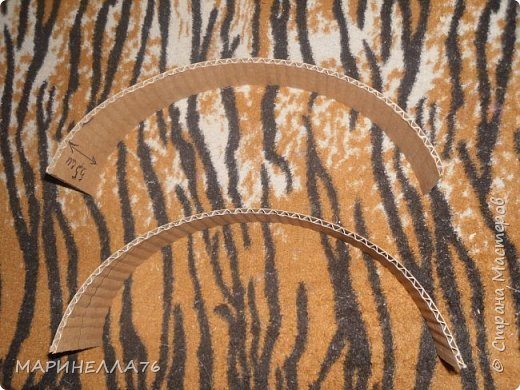 Try on …
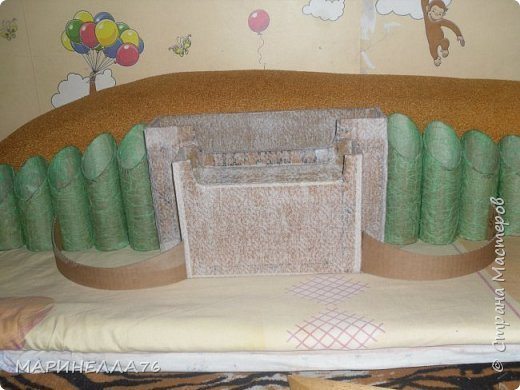 Making a second pair of pockets …
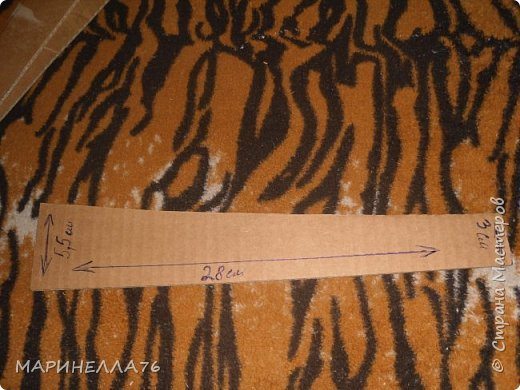 The process is the same …
 Try on …
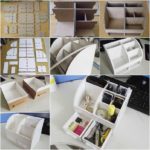
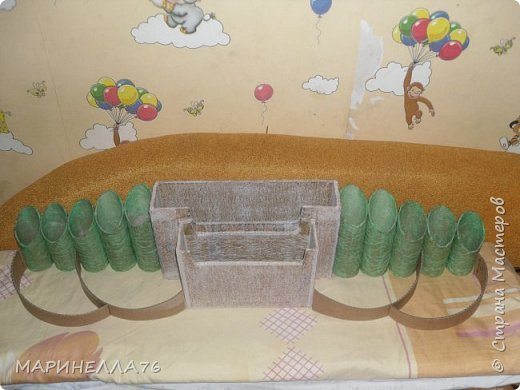 Pockets remove. I missed the photo as papered them. They are dried))) I did not have a large piece of cardboard, and I decided to make it out of pieces. Who has a large sheet, it will be easier. Many things can be missed.
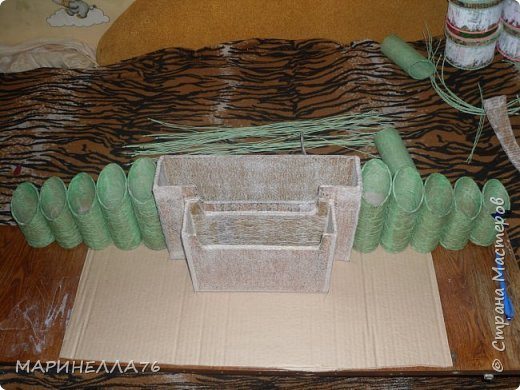 Puts the already dried pockets to our subject) I like it) Since I have a small piece of cardboard, obvozhu only with the first pockets.
 Hard to see, but I think it is clear.
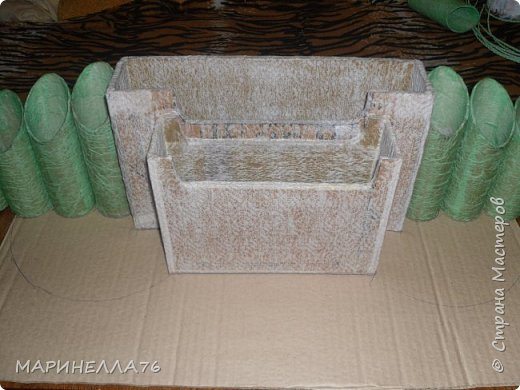 Like this …
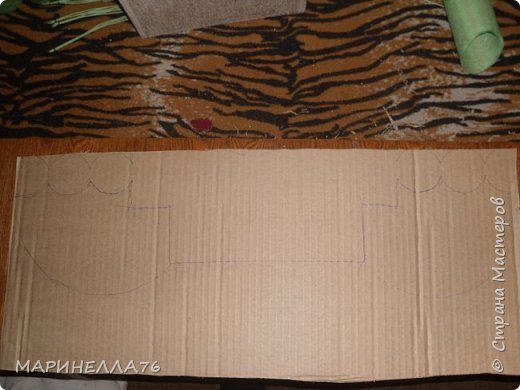 Cut and paste at the time of “Crystal”.
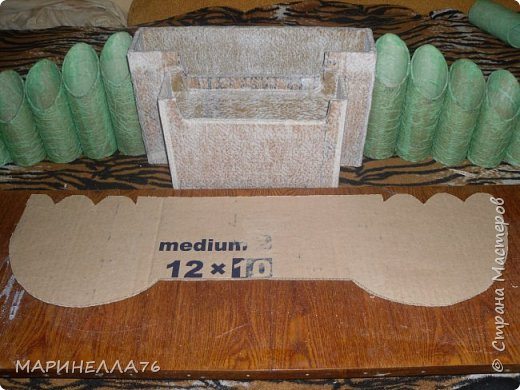 Since the whole structure is placed on a bad photo, will be showing one side. Try on the pocket …
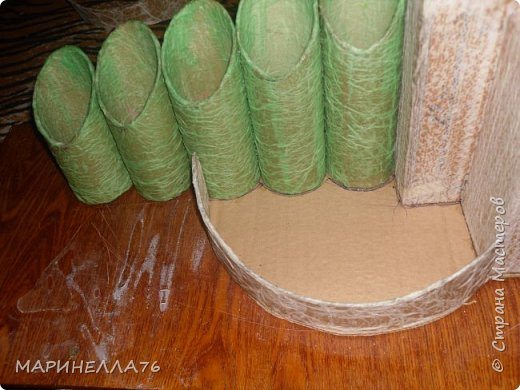 Take a piece of cardboard More … placed under the structure, and try on the second pocket … encircles the second pocket, and cut. Do not forget to do likewise second side)
 Remove pockets … As you may have noticed, there is no photo with a sketch … But I think everything is clear)
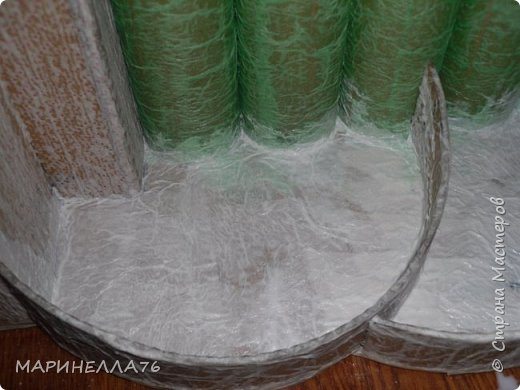
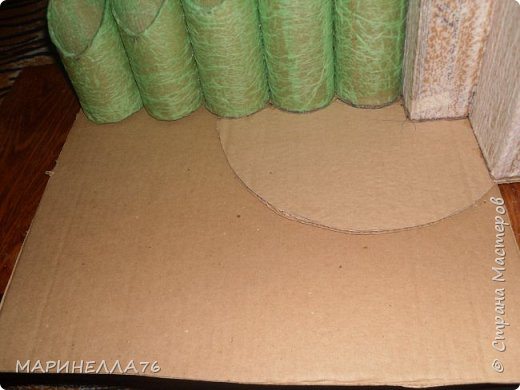 Here is a detail should get. Smear glue under the tube and cut, which we will stick to the first part.
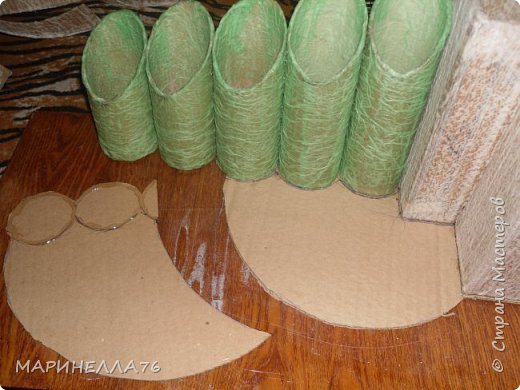 Glue and fix for reliability masking tape …
 Now it’s pockets) We glue them …
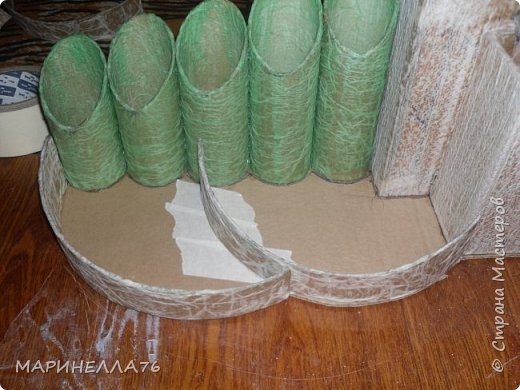 That’s what we’ve got.
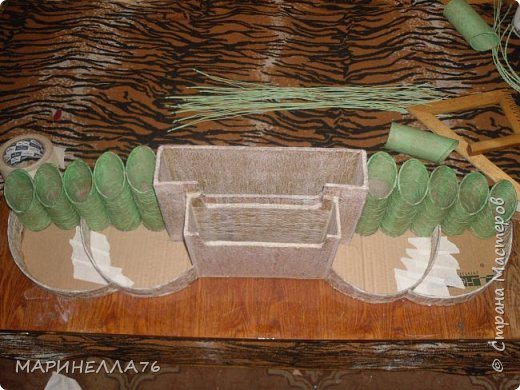 Now paste napkins bottom, inside and out. The rest is in the process … to finish, lay out photo description … While decorating a matter of taste. You can just paint. And you can issue to the technology, which is the soul. Who, in that much