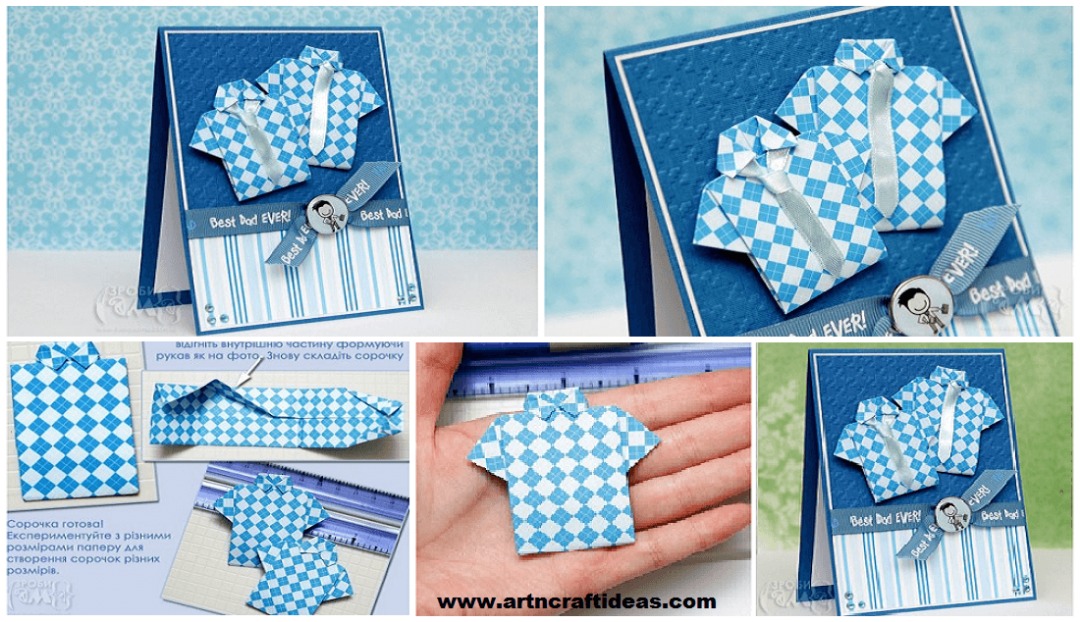
The idea of shirt seemed to me interesting and not too difficult, especially because I know how to do origami shirt. I learned to do them for a long time, even when a student exchange in the US – then gave me a dollar made in shirt.This folded dollar is I still – I was laid out and with it probably a thousand times.
Here is the compiled Shirt:
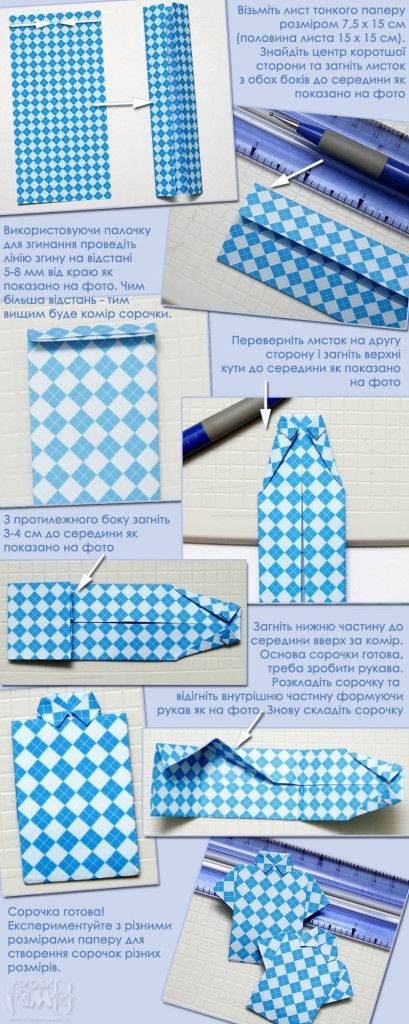
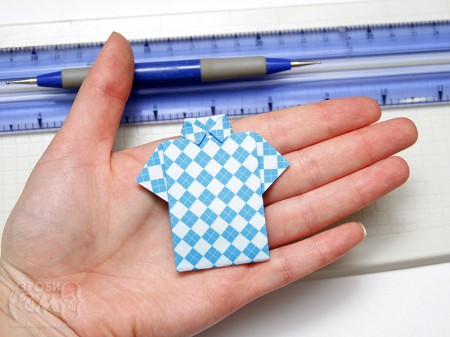 Quite realistic, is not it? On the Internet you will find plenty of instructions to help you add up a shirt in 3 minutes! Here is my version of these instructions, adapted to the size of paper 15 x 15 cm (with a single sheet can be done two shirts). Bend piece from two sides towards the center fold line swipe colonies in the region of 5-7 mm from the upper edge, turn the sheet and bend the top corners at the middle, with the other side of 4 cm to bend the middle, then fold the lower portion (up collar). Lay the foundation shirts and fold the inner edges forming a sleeve, and then fold the shirt.
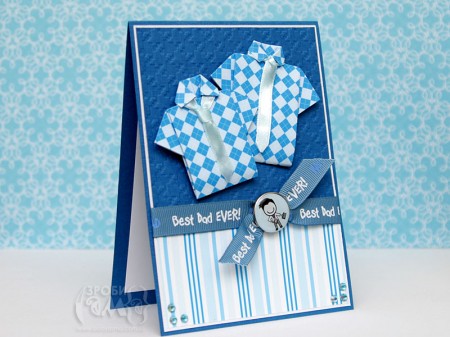
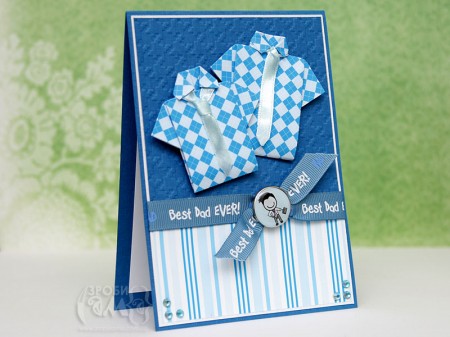
 The shirt will serve as the centerpiece of my cards. Actually I made these shirts and two ties complement them with tape.
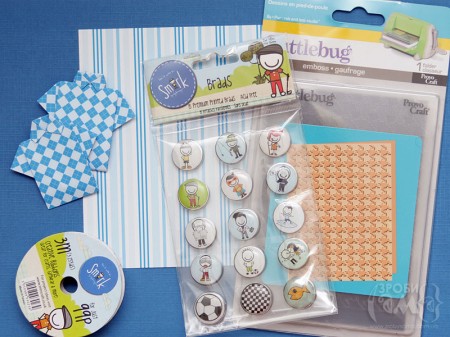
Required Materials:
- Letter fine scrap paper 15×15 cm for shirts;
- Letter blue and white cardboard;
- Houndstooth folder for stamping ;
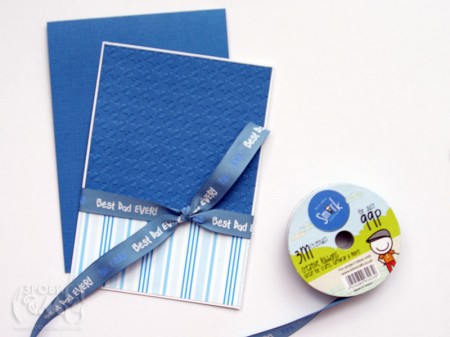
- Bradsy Smirk for Him ;
- Feed Smirk Best Dad Ever ;
- Double-sided tape.
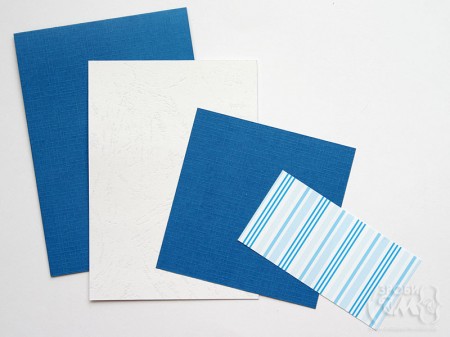
 Size cards – 10.5 x 14.5 cm (half an A4 sheet). For a card I cut the white lining Size 10.1 x 14.3 cm and a blue square (the size of 9.8 x 9.8 cm), and another strip of scrap paper size of 9.8 x 5 cm.
 Knot the ribbon I decorated the icon with a funny image.
 I also graced the back of a postcard and glue the white paper in the middle, so that you can write on it greetings.
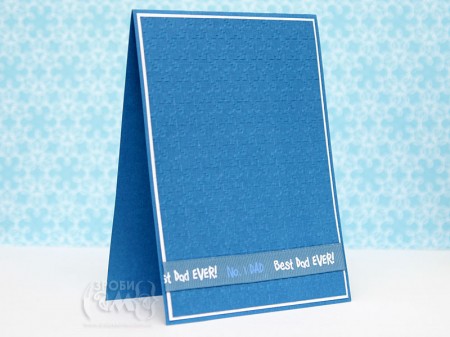
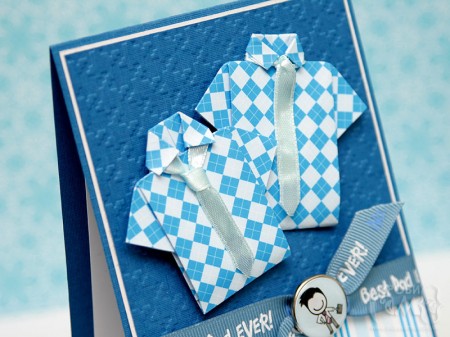 Here is a get the original “Father’s Day card”!
Courtesy: zrobysama
