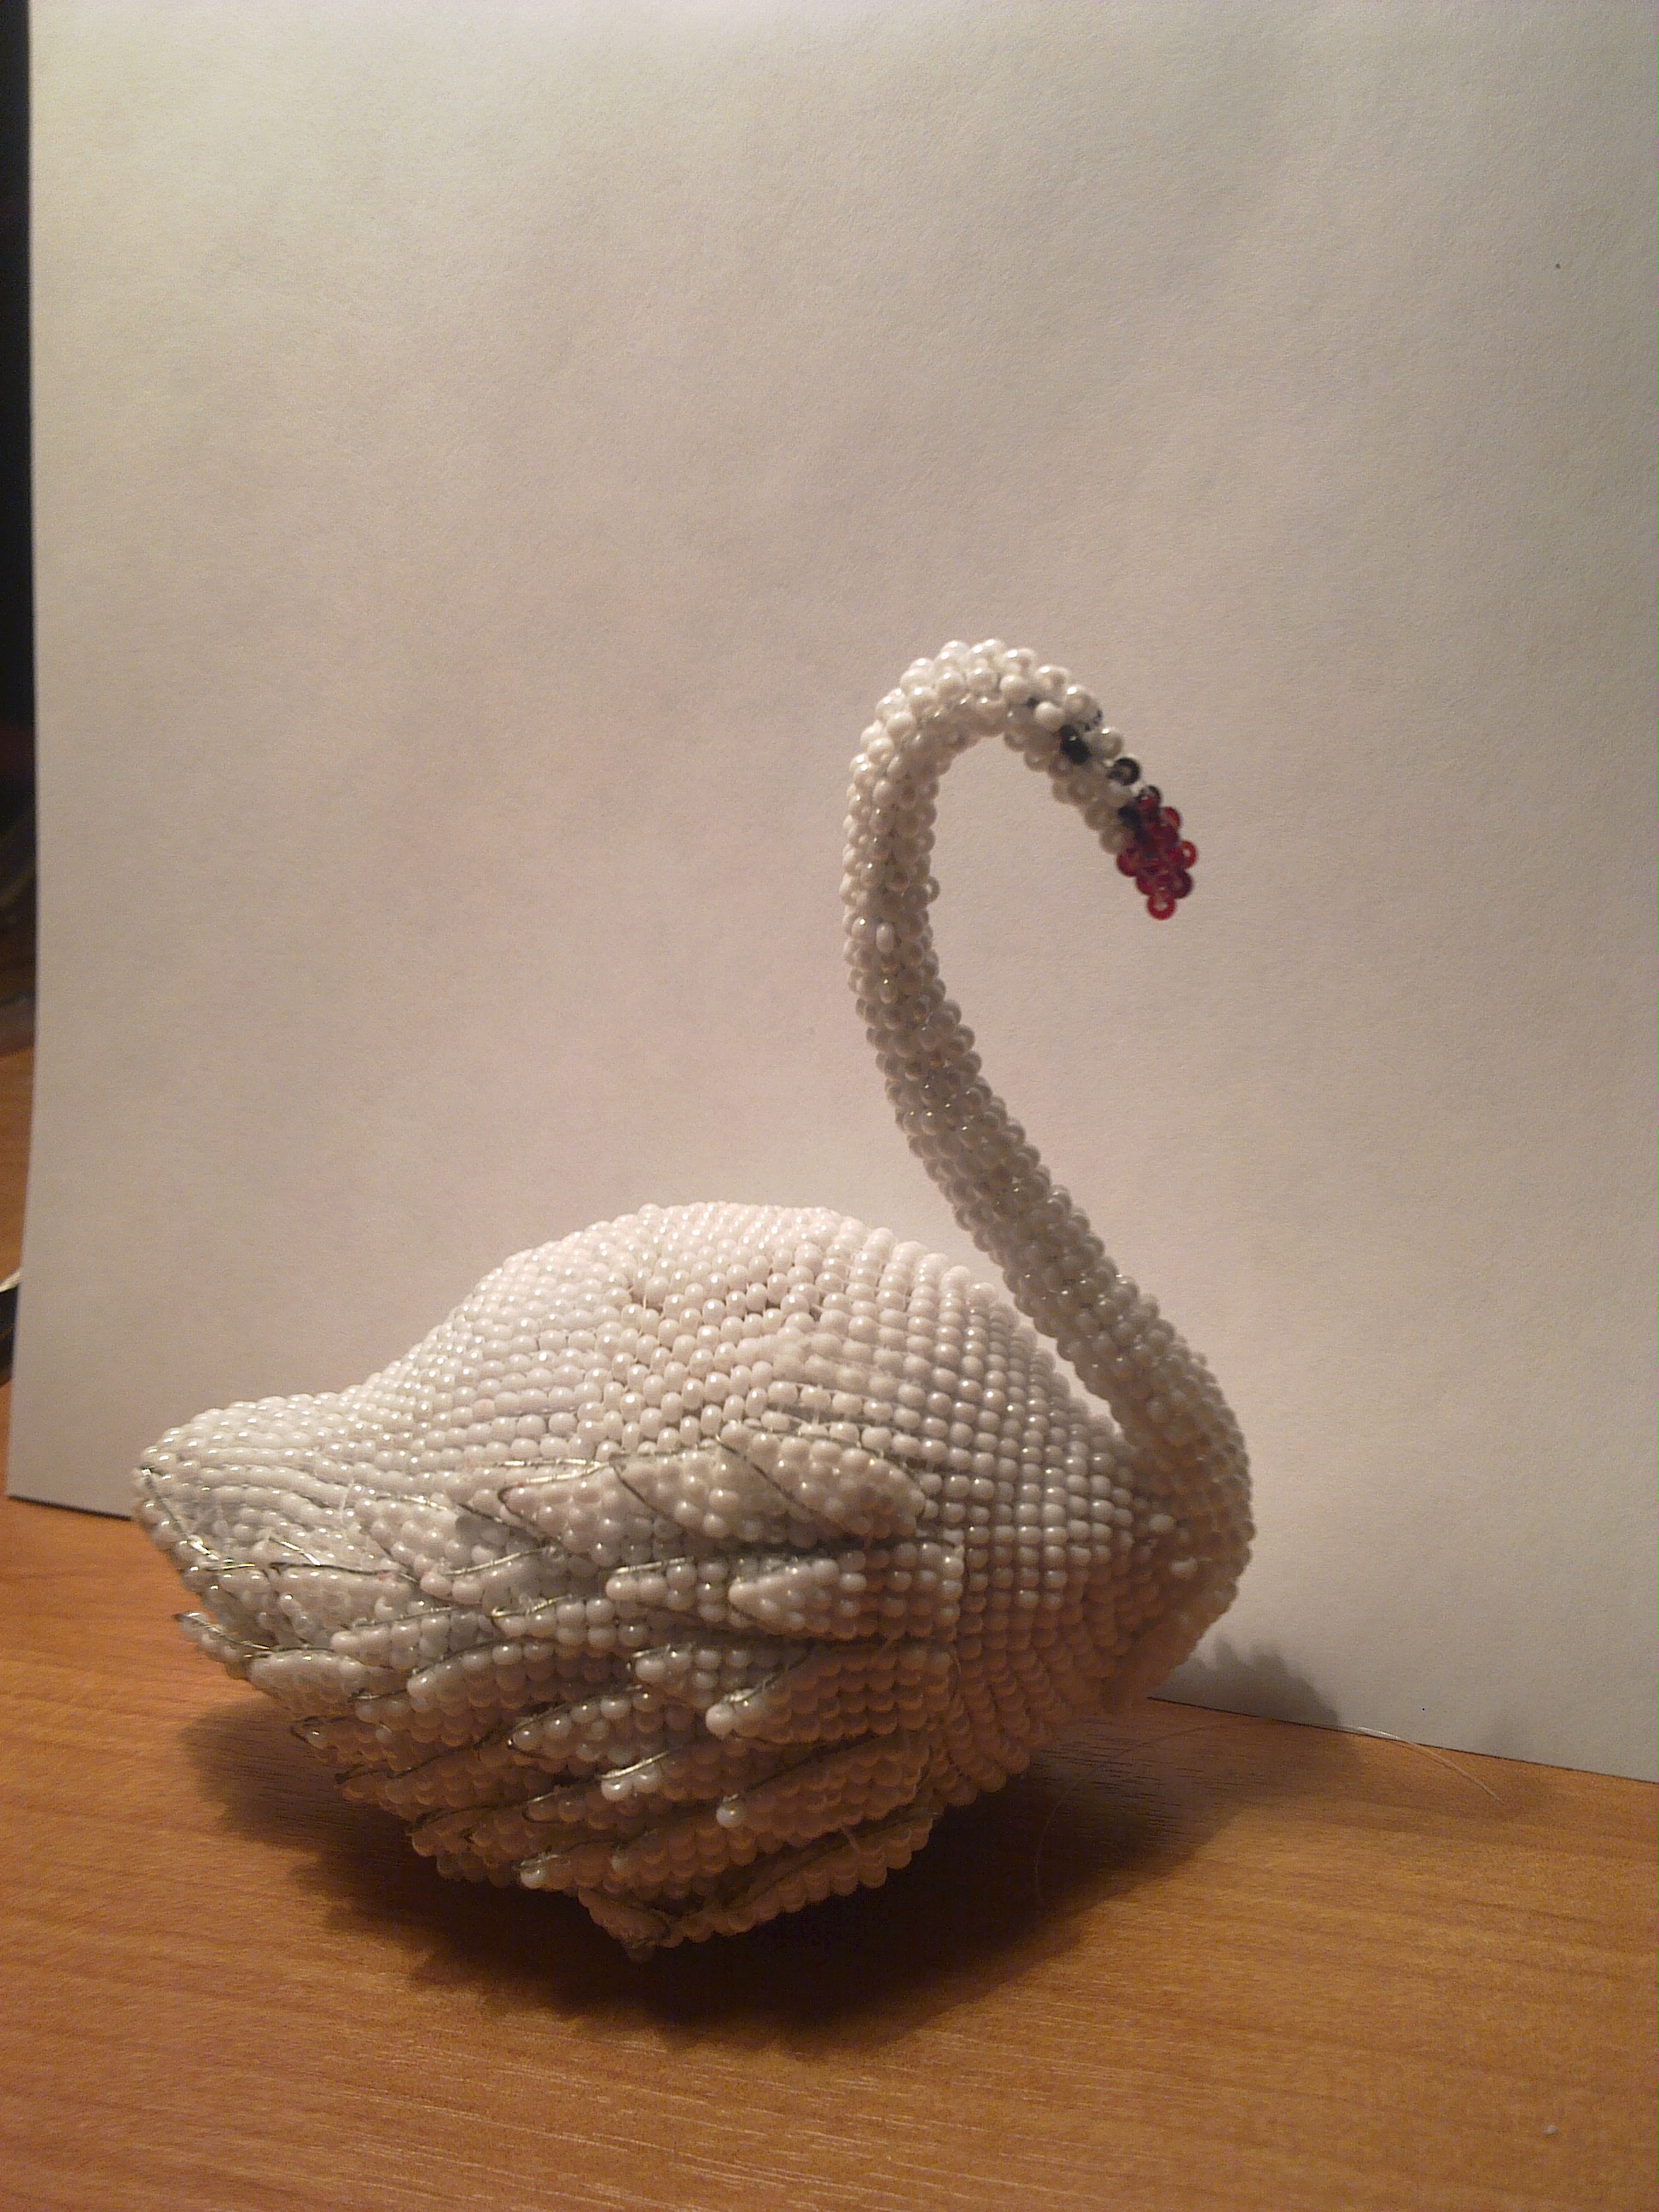
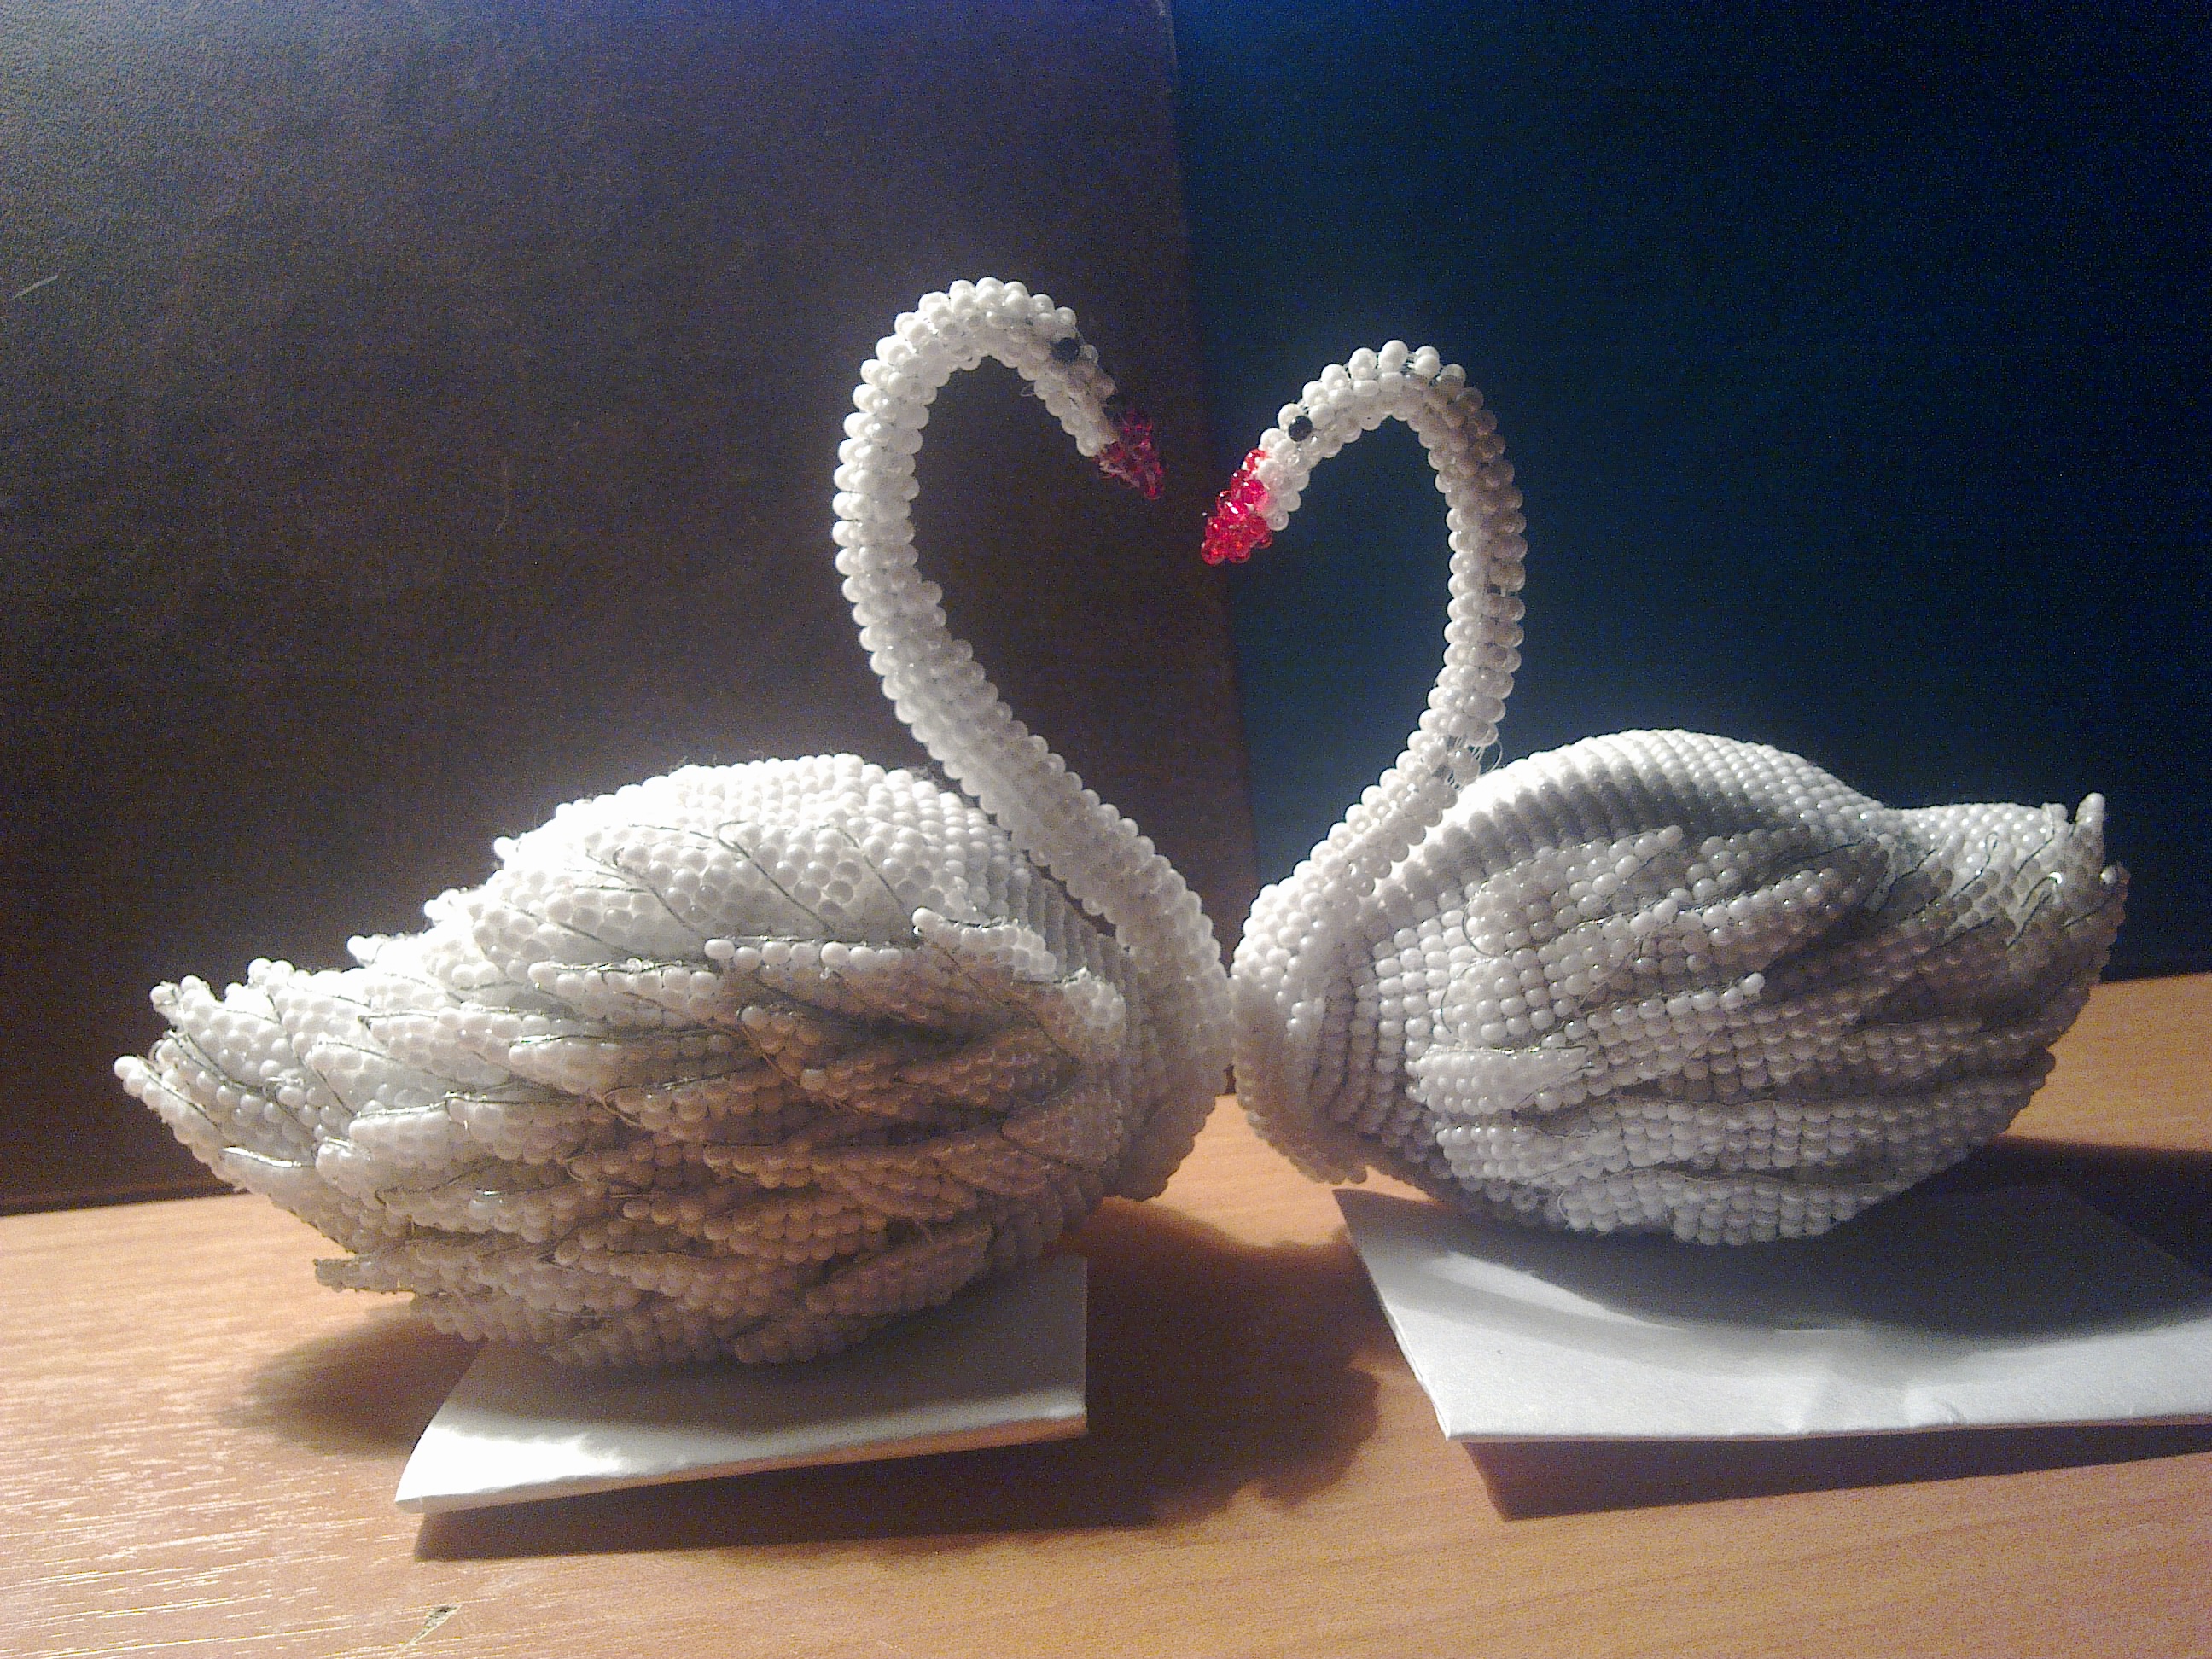
Hello! friends, today I am going to make Swan from beads. Very simple but more beautiful.
Required Material:
packing plasticine
paper (I took the toilet, as these are more convenient glued and dry.)
PVA glue
beads (white, can be matte, shimmer can be black and red.)
Wire (copper thickness 2-3mm.)
Adhesive ( Super glue)

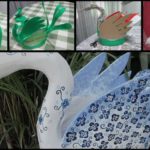
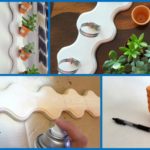
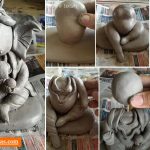
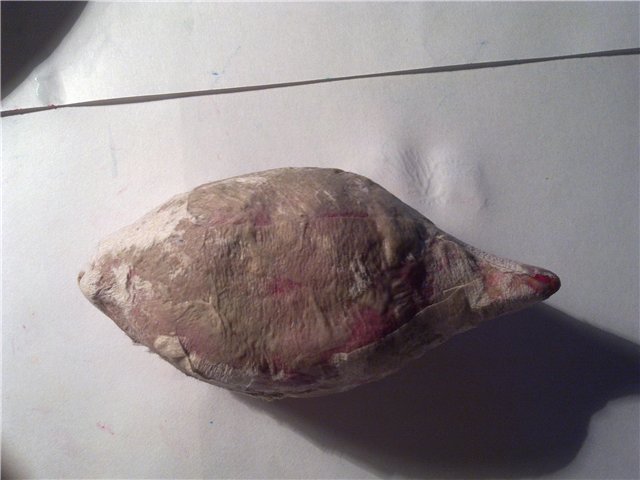
We form the shape of a swan out of plasticine torso. Then, paste the paper and leave to dry (day or two).
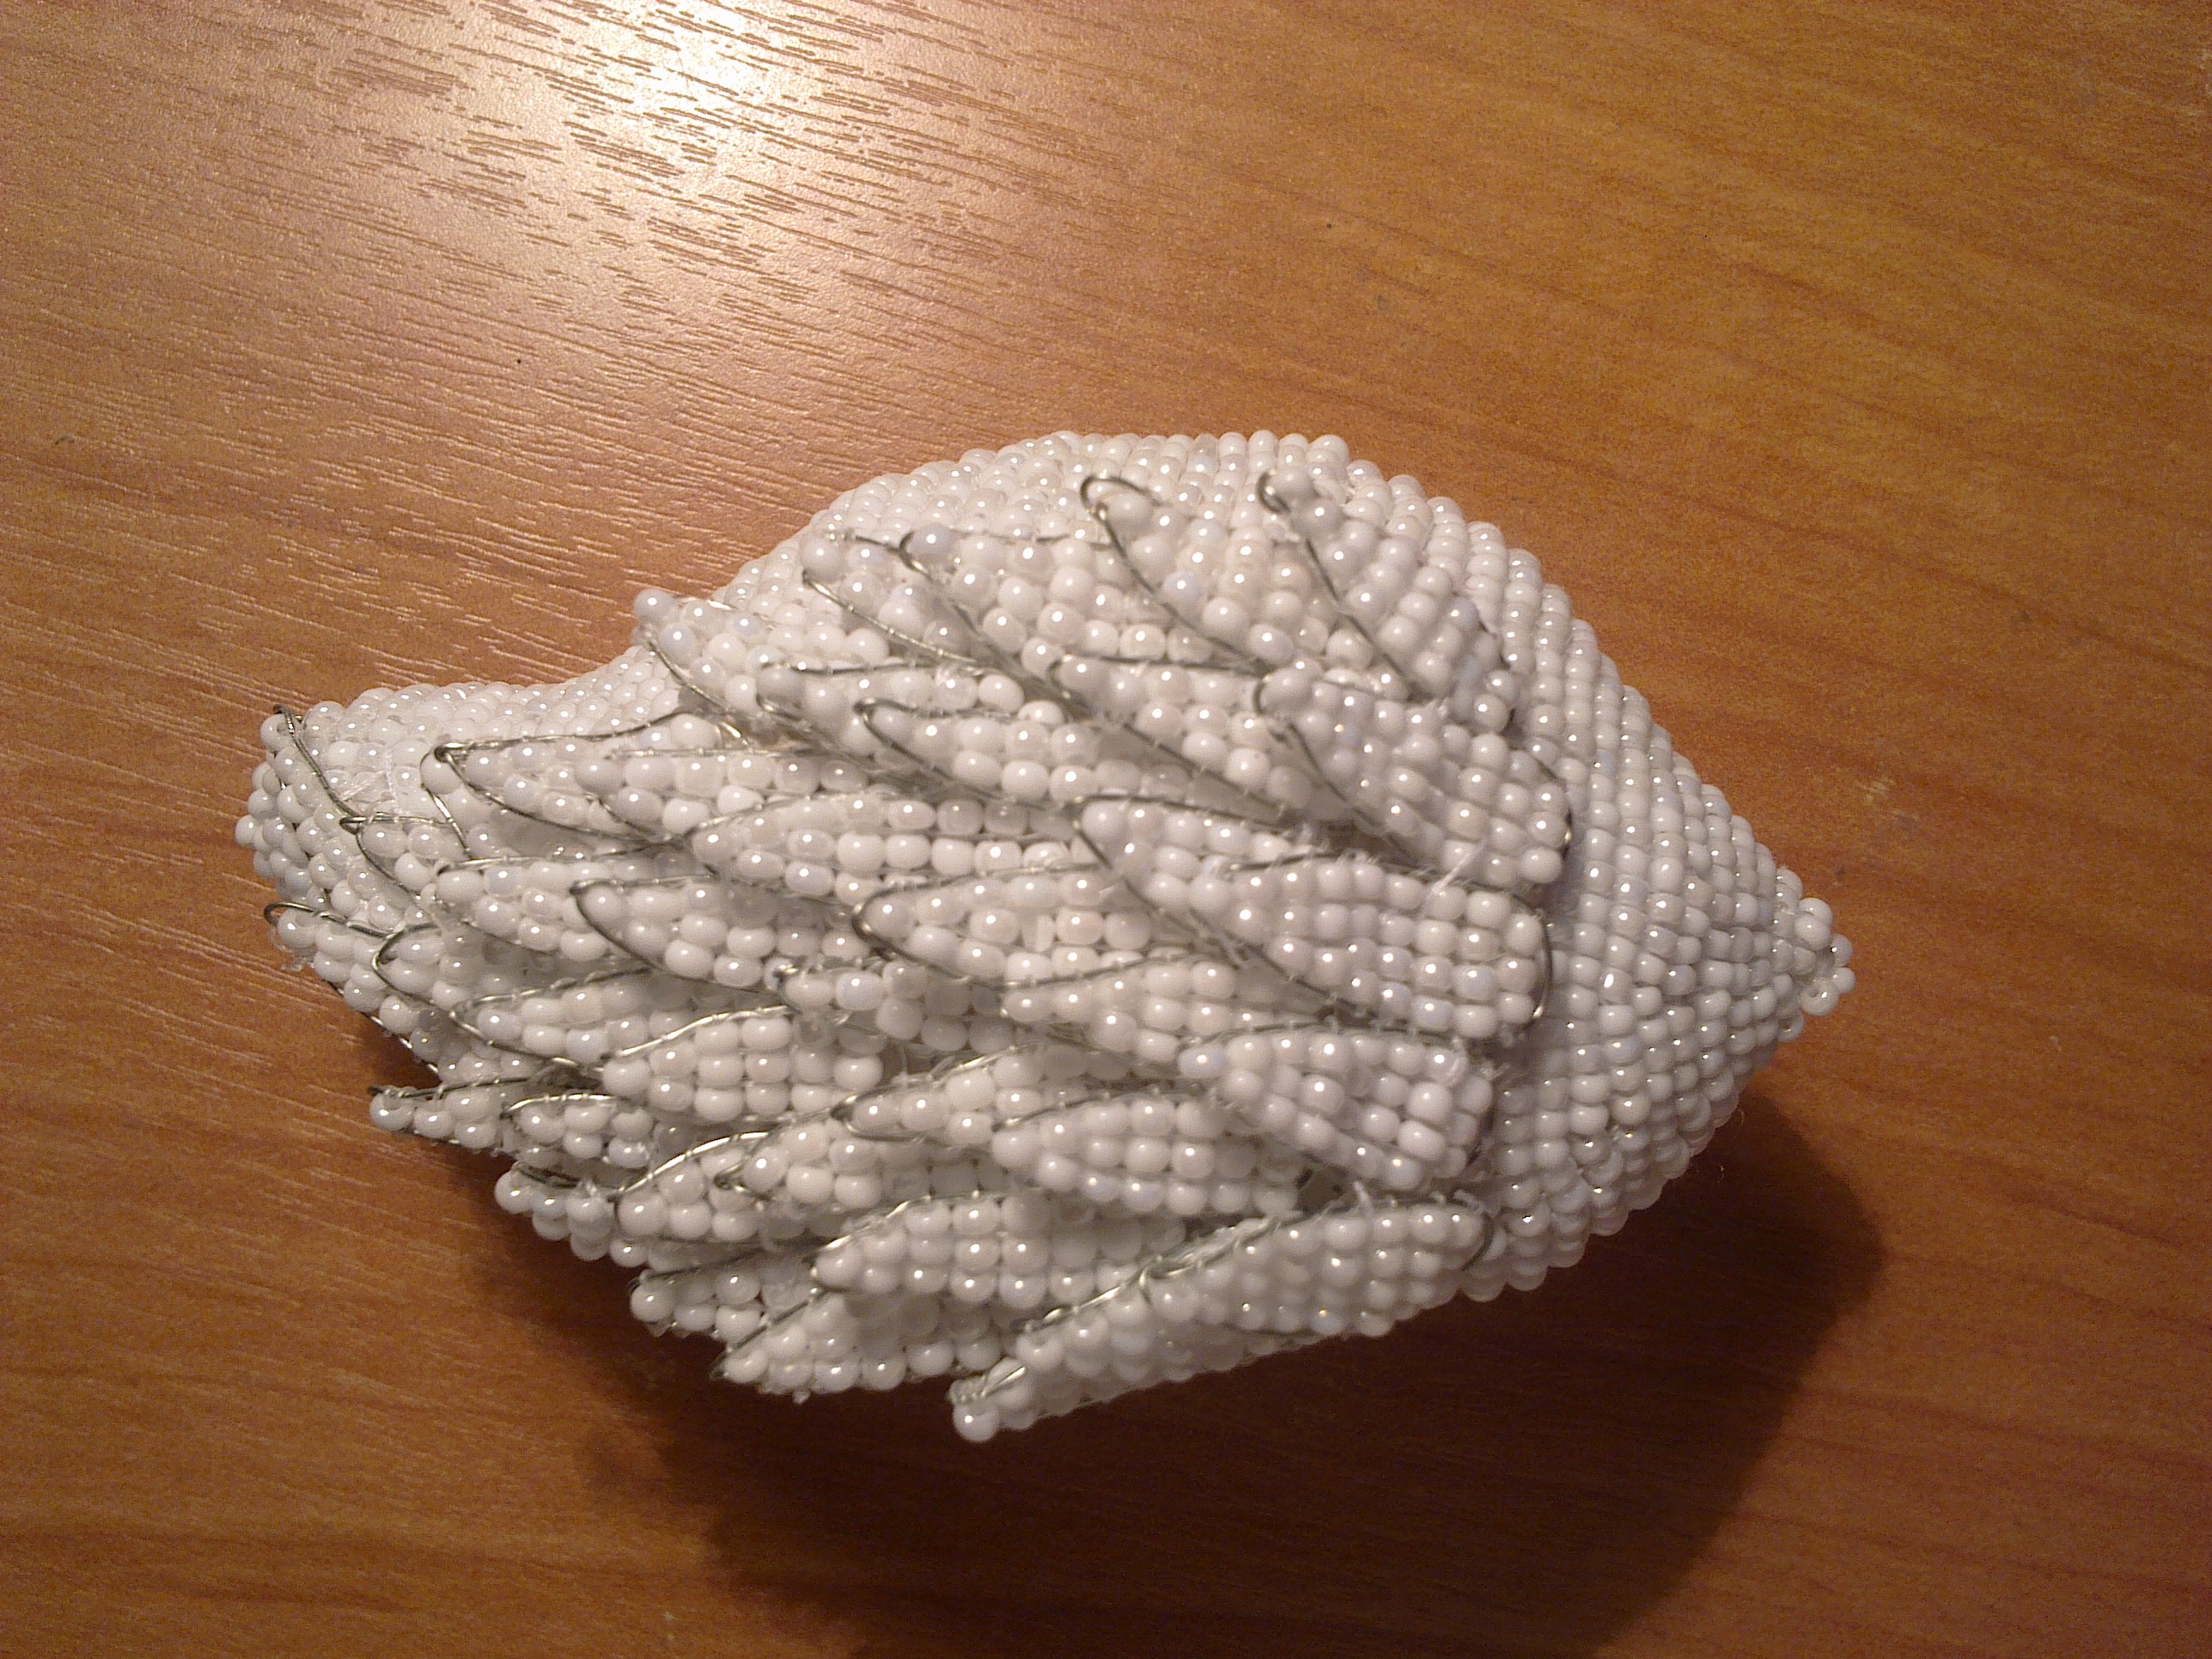
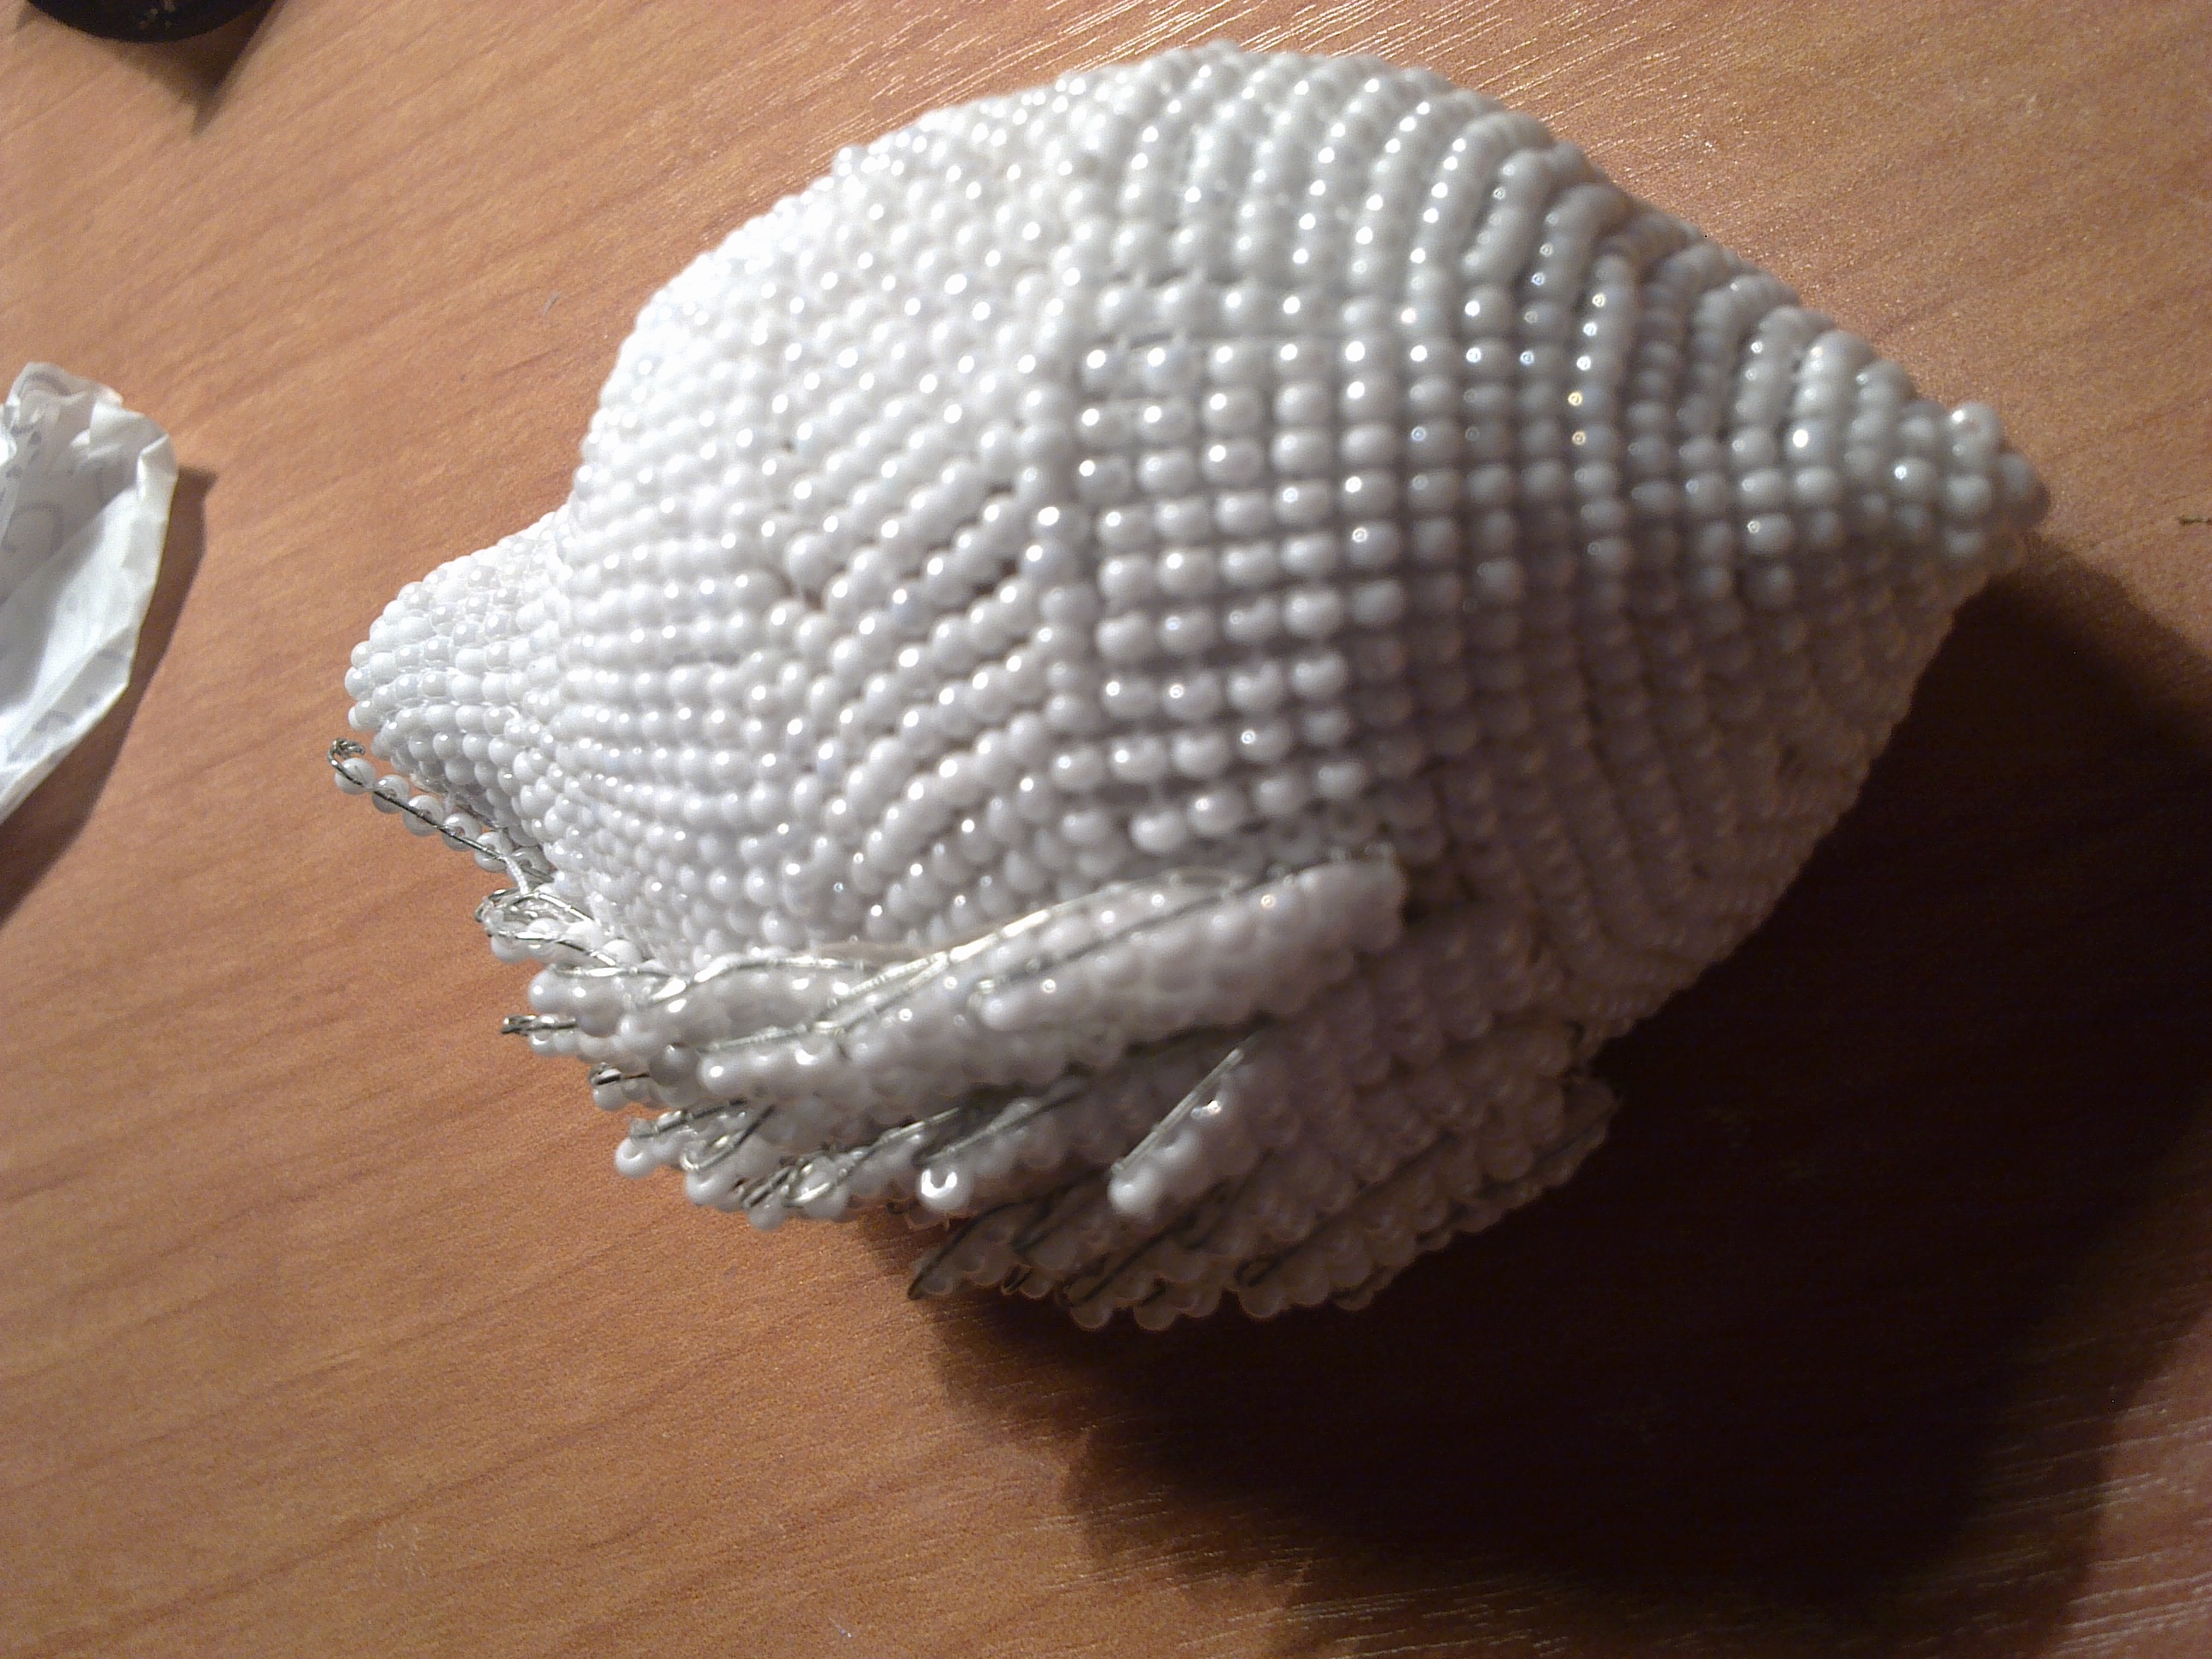
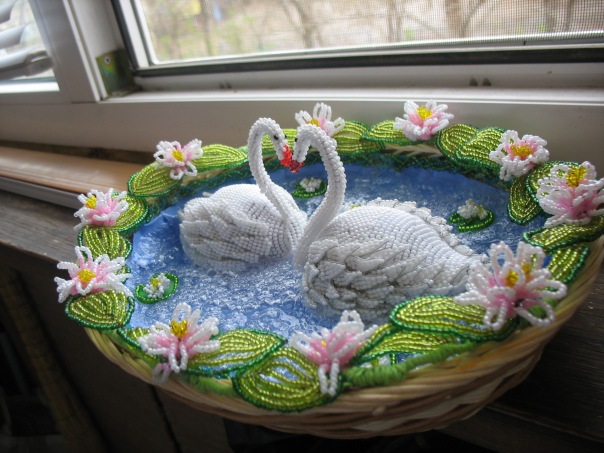
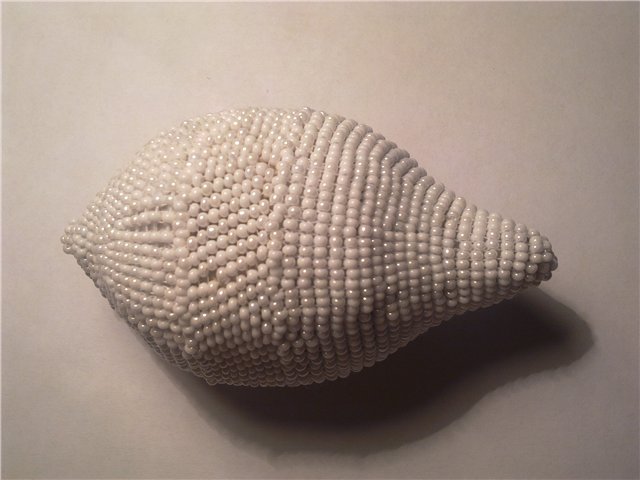
Then sheathes shape like an egg, first do the belt, then to both sides of the edges of the weaving. I have to say that both swans steering me in different ways, t.k.na first I just practiced and some did not consider in which direction lie beads. I have to say that the part where the head is better to leave some space at the end, and do not bind, t.k.zatem beads is inserted under the neck.
there you are
Then we start manufacturing swan. Draw a sketch, cut better cardboard and do form.

Then we put pen drawing.
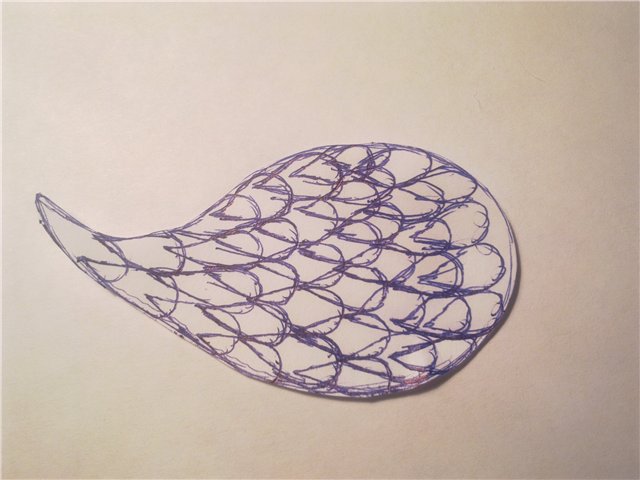
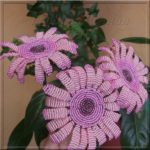
Next, do the feathers. I have on each wing had an average of 25 wings. they certainly do better for longer.
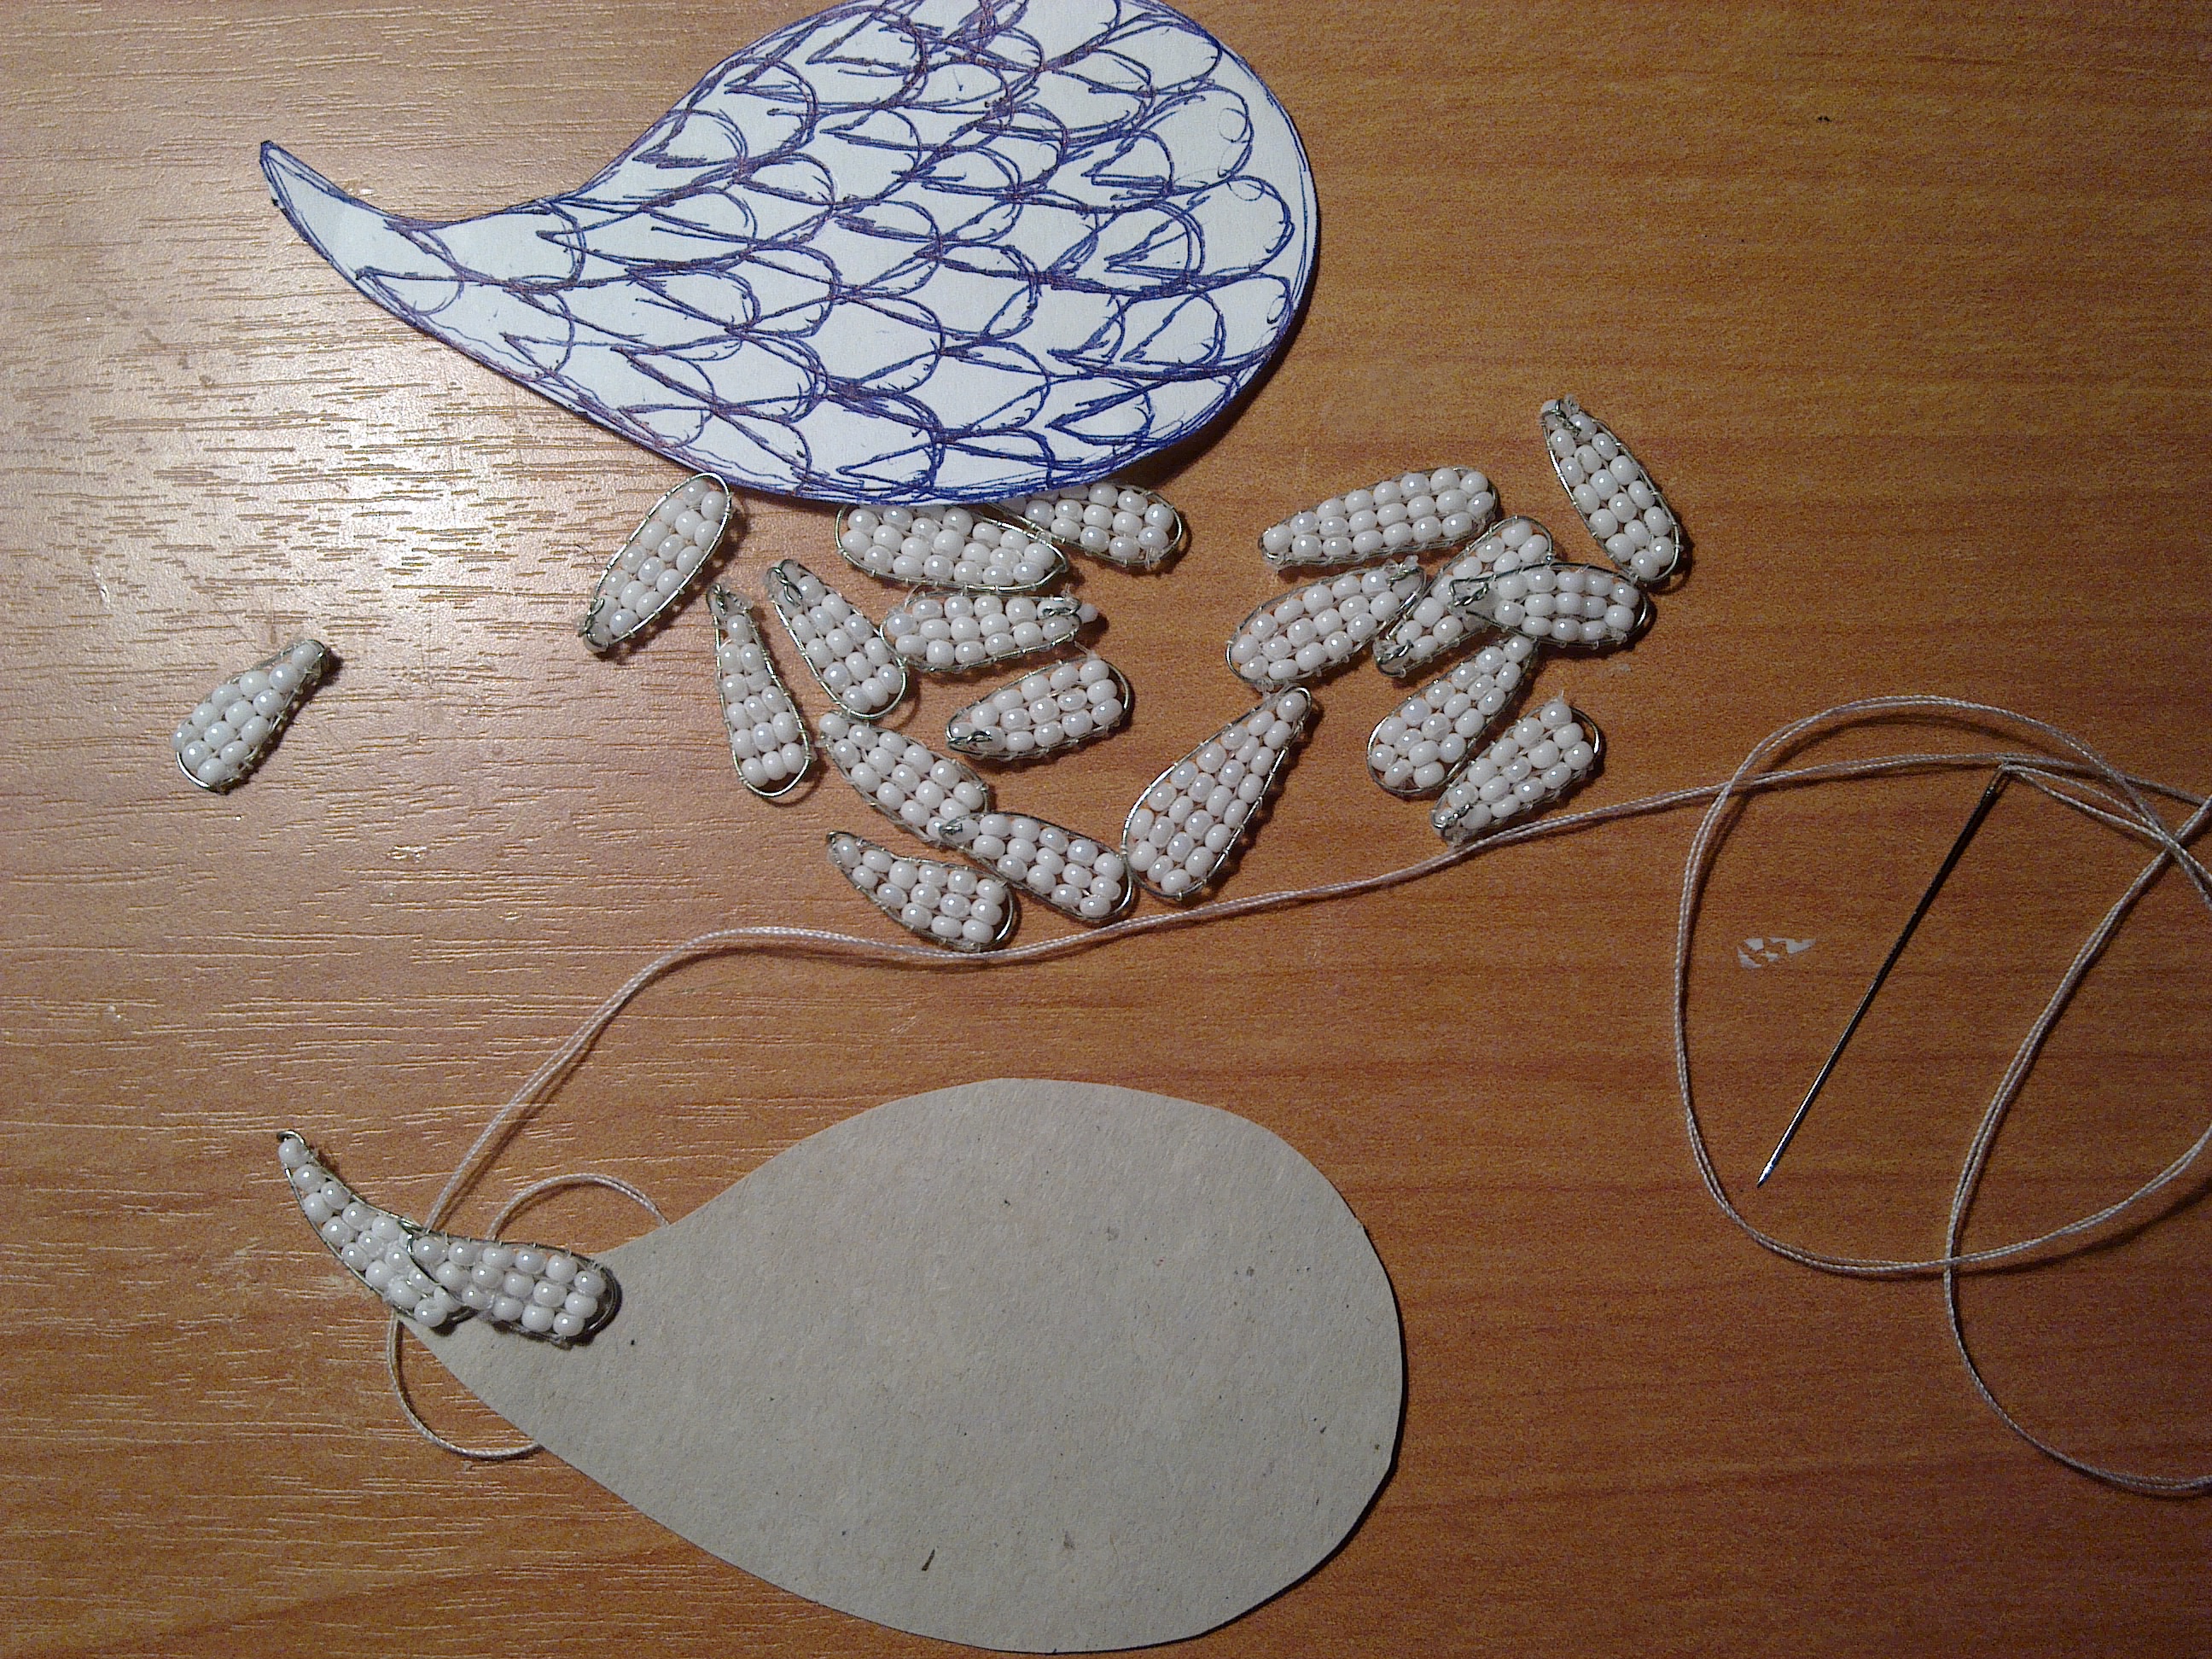
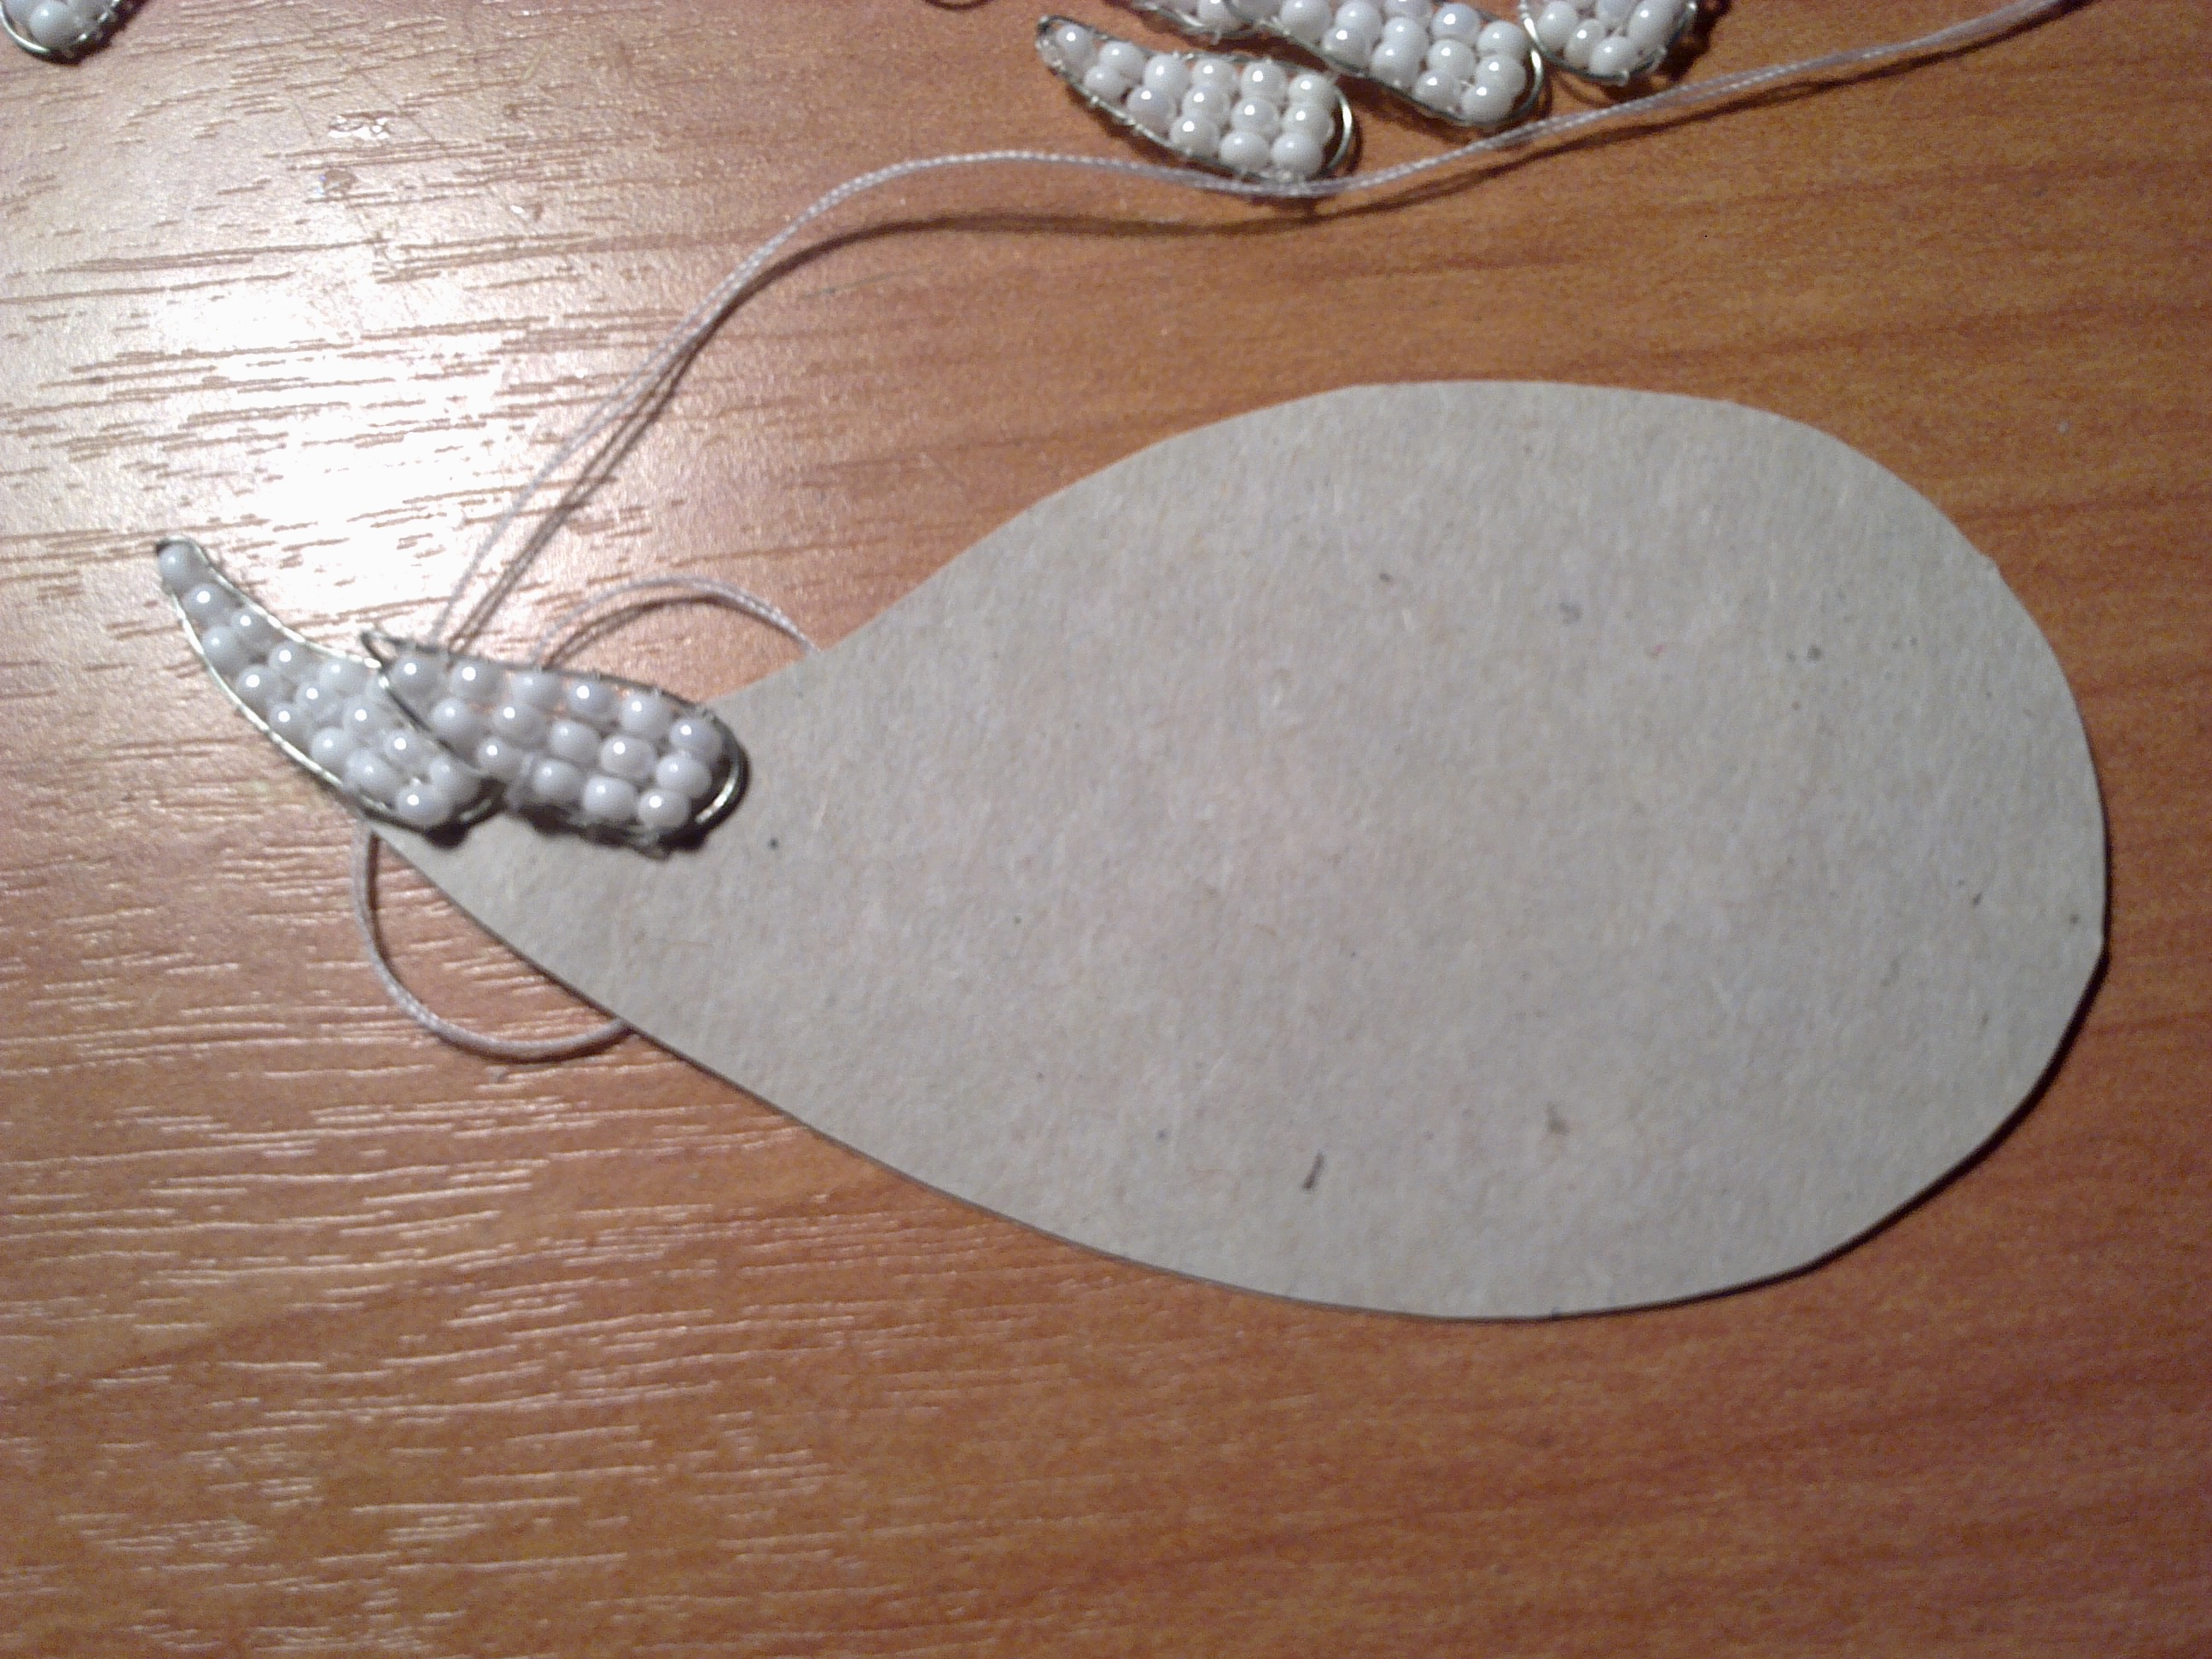
Then sew (or glue) wings.Tut main squeeze so that the edges, and lying on their sides.