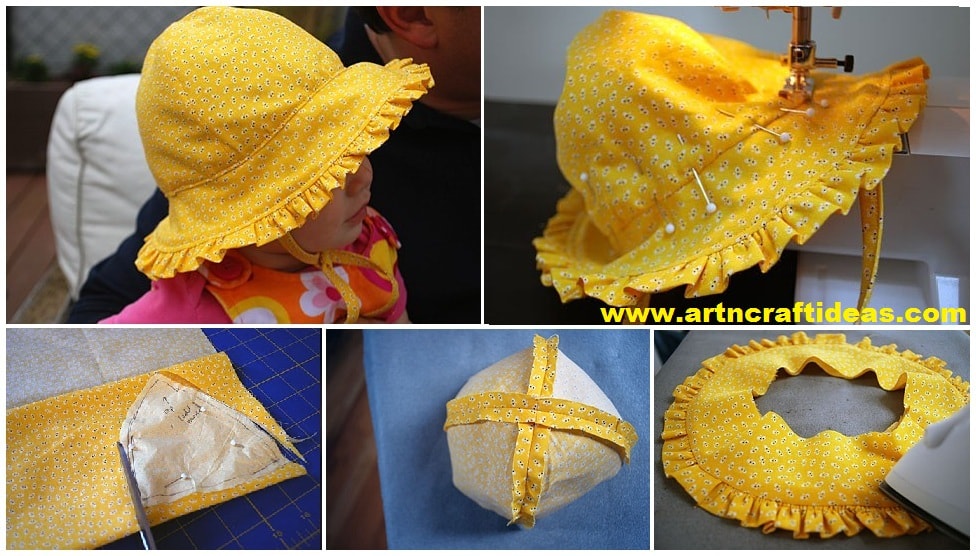
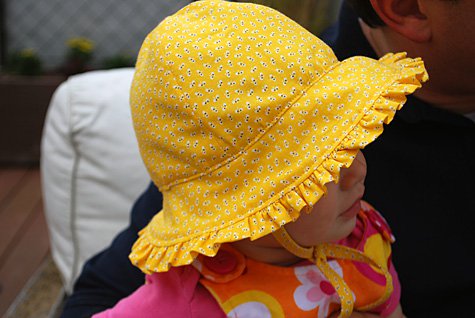
This free baby sunhat pattern should fit a 6-12 month old; Elise is 10 months old and it’s super cute on her petite-ish noggin. Alternatively, you could easily size this hat up or down on a photocopier. Free tutorial, baby sunhat pattern and step-by-step instructions are all below. Bring on the sunshine!
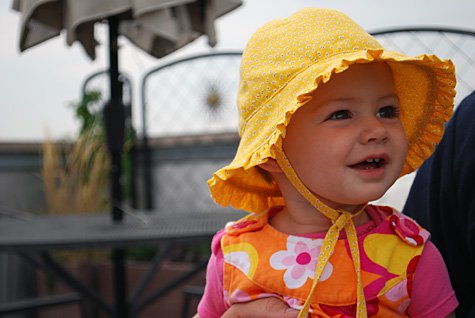
Required Material:
- Kathy’s free pattern for a baby sunhat with ruffles and ties (PDF – sized for 6-12 months)
- 1/2 yard of fabric
- Rotary fabric cutter, self-healing cutting mat and clear acrylic ruler
- Good fabric scissors
- Good iron (like Rowenta) and Ironing board
- Thread
- Pins (I prefer glass head pins)
- Sewing machine
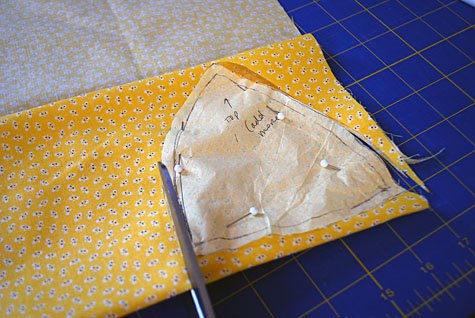
Cut your free baby hat pattern pieces
Print my free baby sunhat pattern. It’s sized for 6-12 months so you can scale it up or down as needed. You can use one fabric print or two.
Cut 4 triangles for outside crown
Cut 4 triangles for inside crown lining
Cut 4 brims (2 top, 2 lining) – cut 2 brims right side up, then flip the pattern so that you’re cutting 2 brims wrong side up
Cut 2 strips 16″ x 1″ for the ties
Cut 2 strips 25″ x 2″ for ruffle
For this tutorial you’re going to sew everything at 3/8″ seams. I usually do 1/2″ seams for my tutorials but wanted them to be a bit smaller for Elise’s baby head.
Create the outside crown and crown lining
Take four of your crown pieces. Line up two pieces, right sides together, and sew along the side. Repeat with the other two pieces.
 Press seams open; they will be slightly curved.
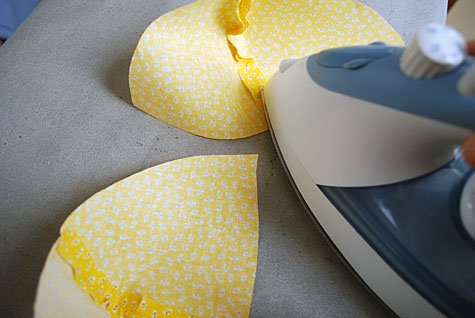 Pin the two pieces together, right sides together.
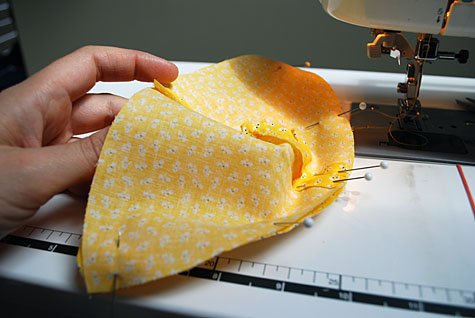
 Repeat to make the lining crown.
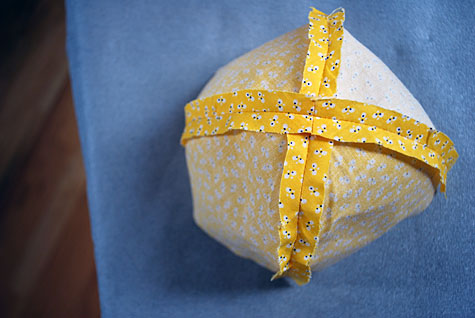
Create the brim
Grab your four cut pieces for your brim. Now because it’s a bit of an asymmetrical brim, be sure to match pieces together so the brim top will match your brim bottom.
Sew two pieces of the brim together to make the outside brim. Press the seams open. Repeat to create inside lining brim.
 Create the ruffle
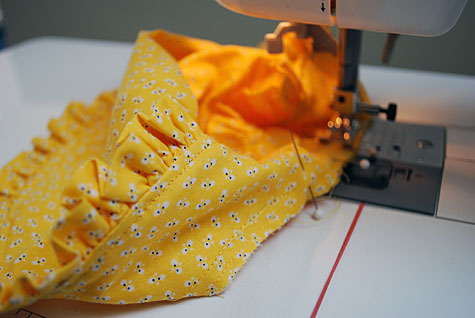
Sew pieces together on the ends, pressing seams flat. It should look like a large circle. Iron the circle in half, wrong sides together. The right side of the fabric will be on top and bottom now, and there’s now a finished edge and a raw edge.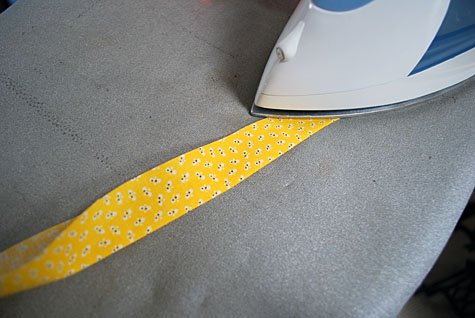 Using a basting stitch, sew two rows of stitching around the raw edge of the circle. I stop at the seams and then start again because I find it’s easier to gather (in the next step).
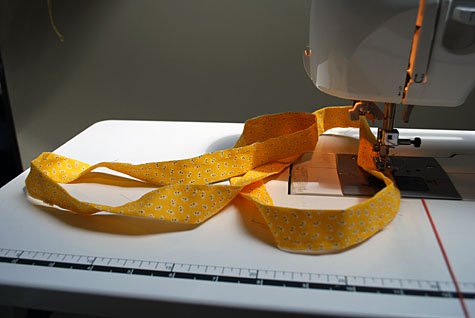 Match the seams of the ruffle to the seams of the brim. Pin. Pull the gathering threads gently to gather the fabric into ruffles. Pull it until it’s the same size as the outside of the brim. Pin the ruffle onto the edge of the brim, raw edges together.
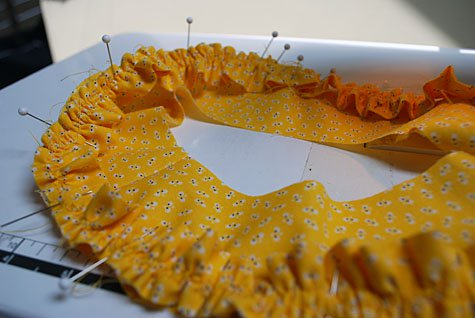 Sew the ruffle onto the brim.
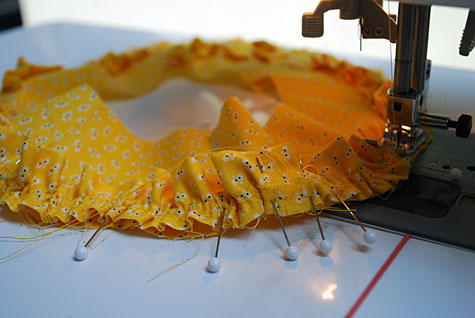 Place the other brim piece on top of the ruffle piece you just sewed, basically making a ruffle sandwich with the two right sides together. Pin and sew.
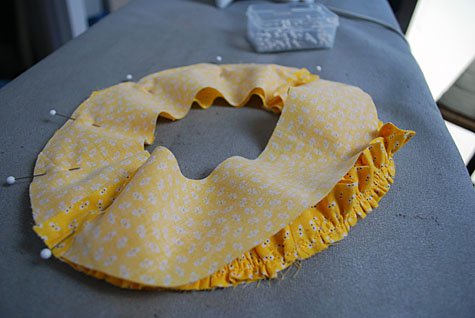 Turn right side out and iron. Finished brim is 18 inches circumference.
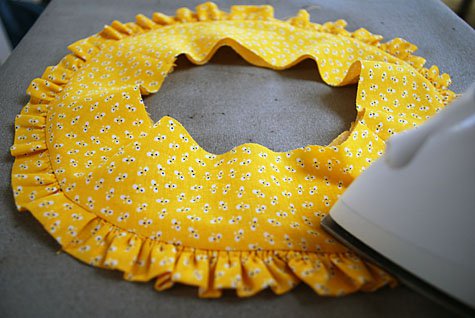 Topstitch the brim near the ruffle edge.
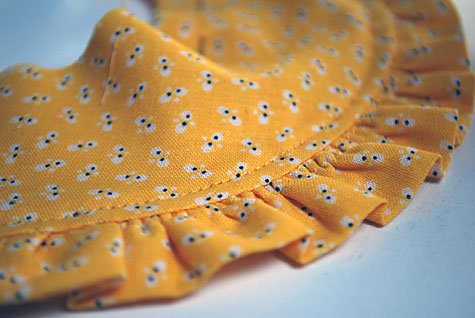 Sew the brim shut by sewing close to the inside circle edge.
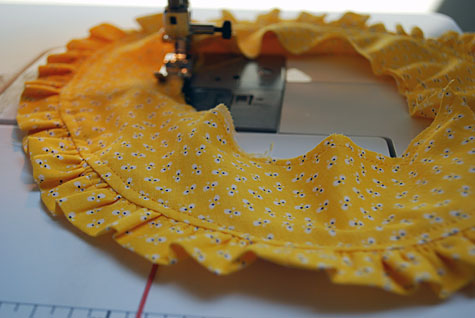
Take out any basting stitches that show (yikes, I had a lot on this one …that’s what I get for sewing fast during naps).
Attach hat crown to the brim
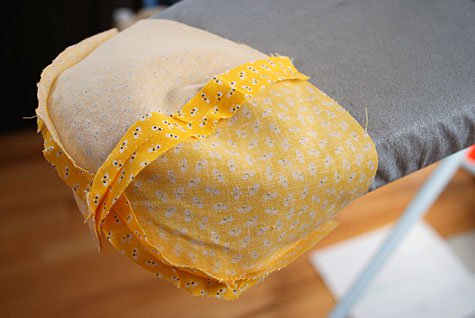
Pin the crown onto the brim, right sides together matching seams. Sew around the crown to attach it to the brim.
 On the right side of the hat, iron the seam open so the raw edges are up inside the crown. It’s starting to look like a hat now, yes?
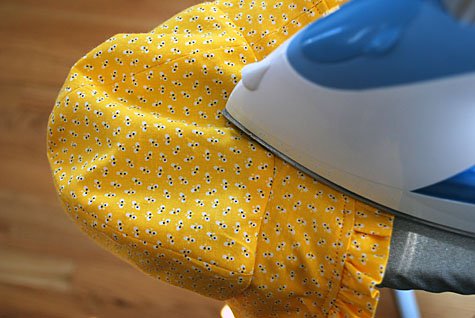 Make and attach ties
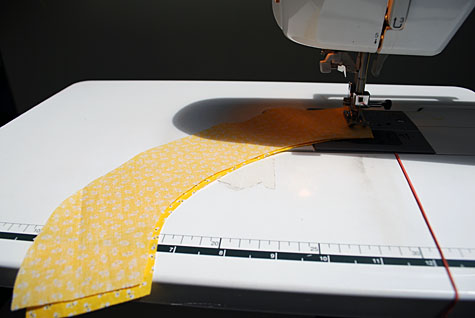
Fold ties in half and iron. Fold raw edges into that center crease. Iron again.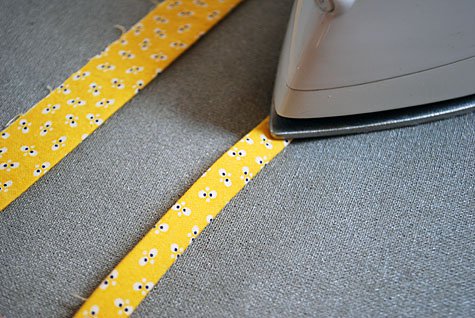 On one end, make a triangle with the ends and fold in.
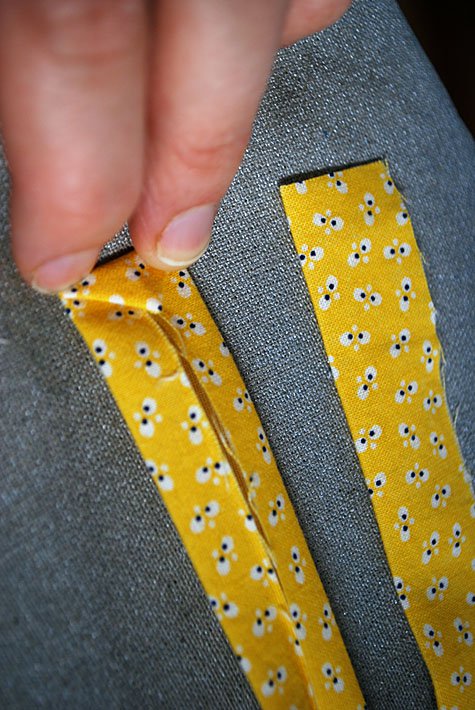 Sew along the open edge of the tie to sew it shut. Repeat for the second tie.
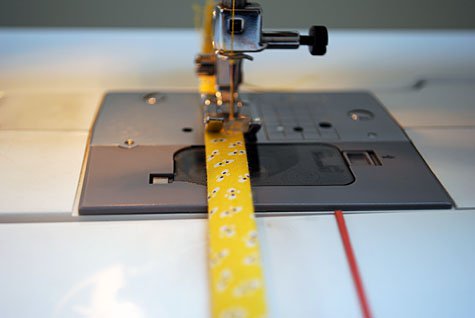 Now you’re going to attach the ties to the hat. Find the two sides of the hat. Pin the raw edge of the tie to the raw edge of the crown at the side seams.
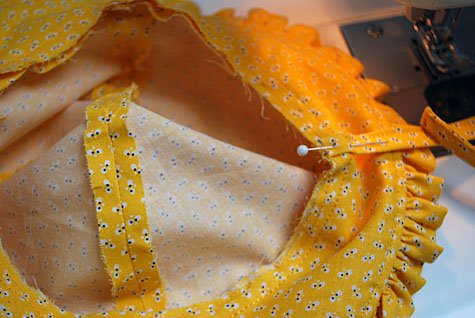 Sew back and forth a bunch of times so it’s secure. Repeat on the other side.
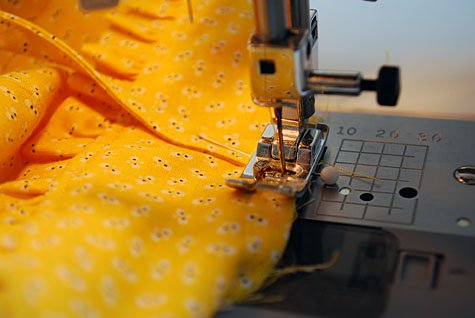 Attach hat lining
Turn lining under 1/2″ along the raw edge and iron. Turn the lining so the wrong side is on the outside. Pin the lining inside the hat, matching seams. Put your pins on the outside of the hat because you’ll be sewing from that side to make sure it looks nice on the outside.
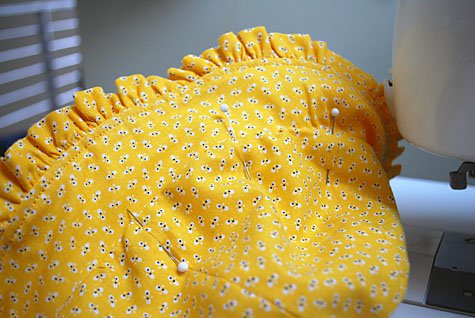 And here’s what it looks like inside…
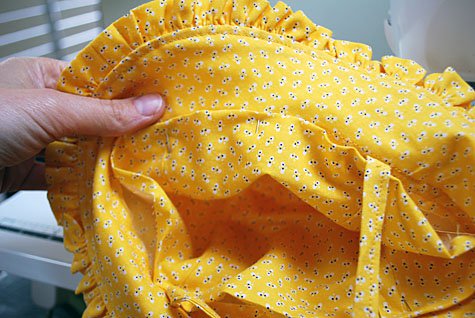 Sew it all together, stitching close to the brim, catching the lining underneath as you go. I’m not a huge fan of blind stitching like this but it’s the way I figured out how to do it, so there you go. Suggestions welcome.
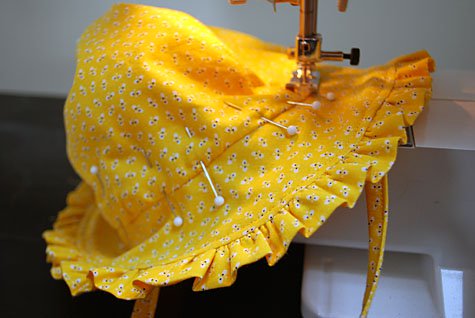 Tie that hat on and go outside!
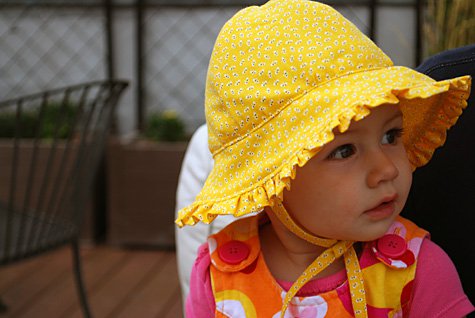

Courtesy: Merriment Design